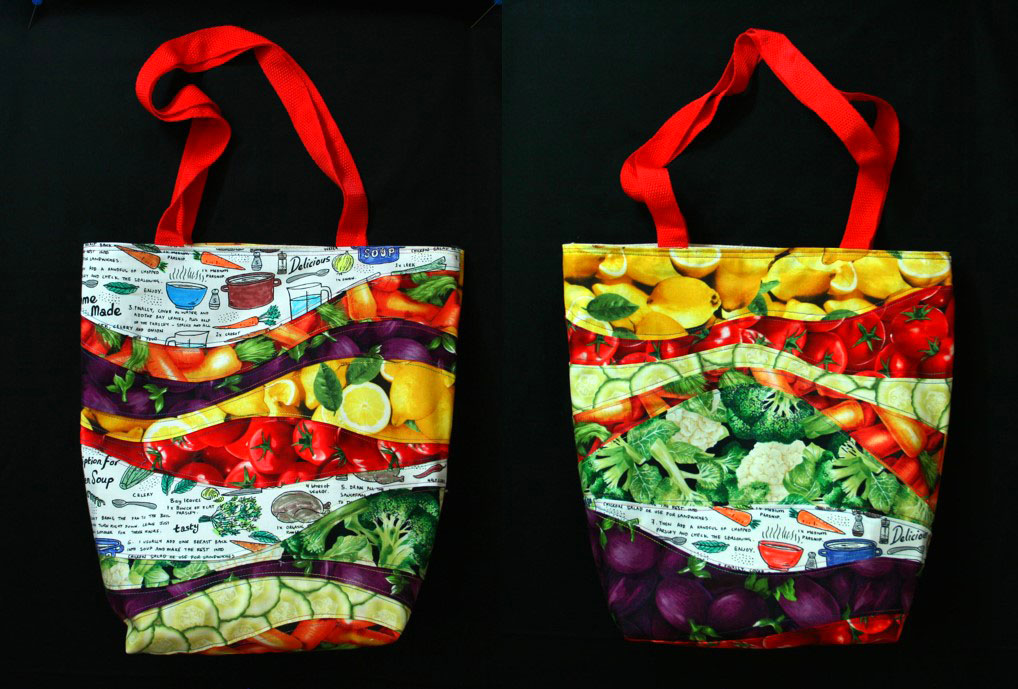
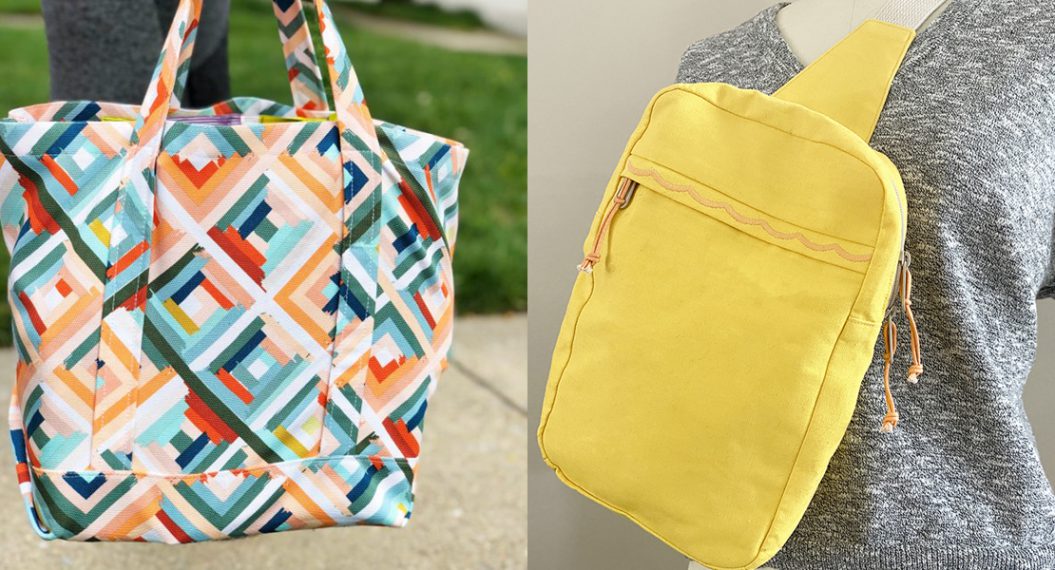
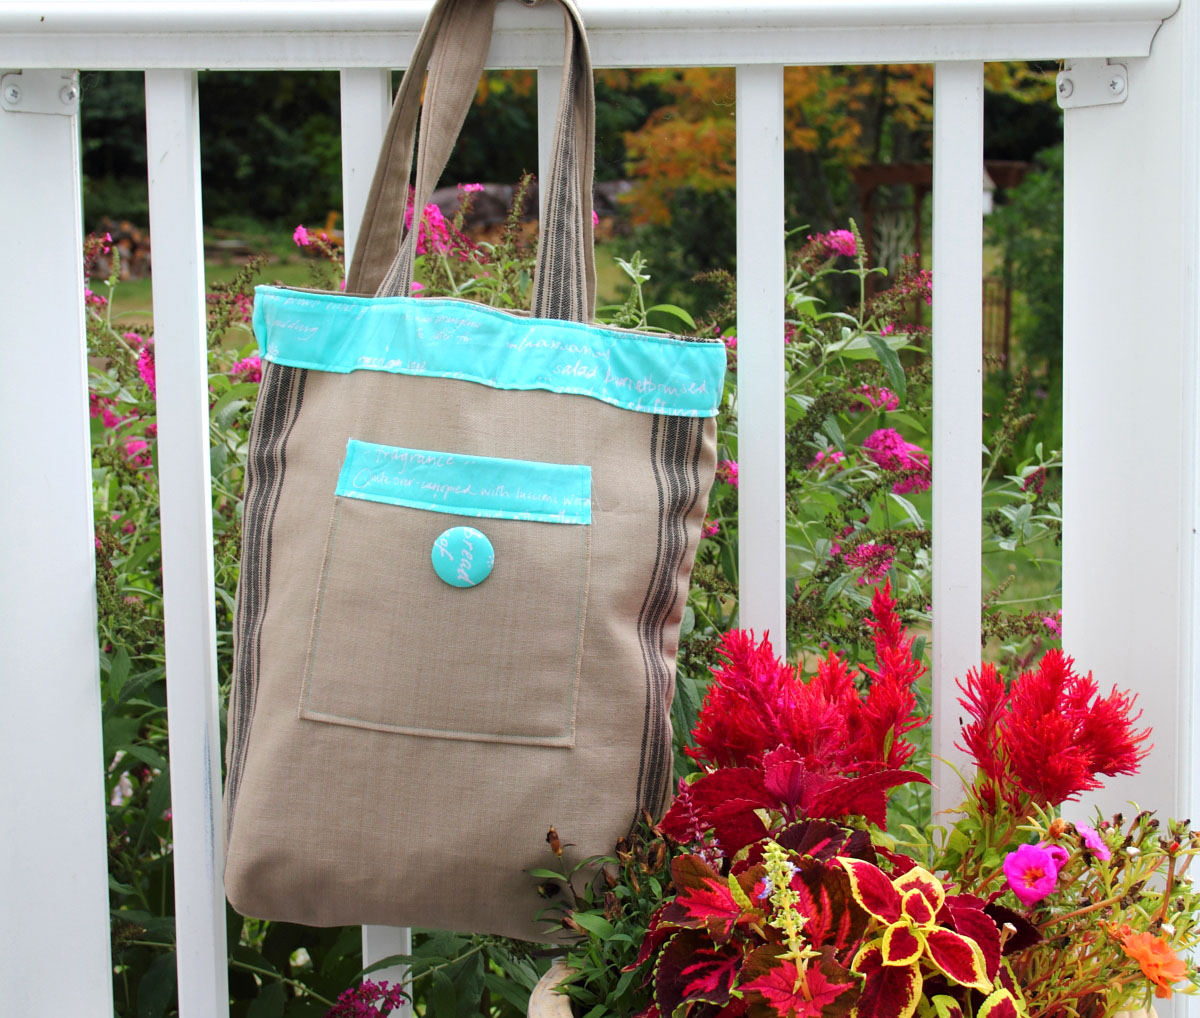
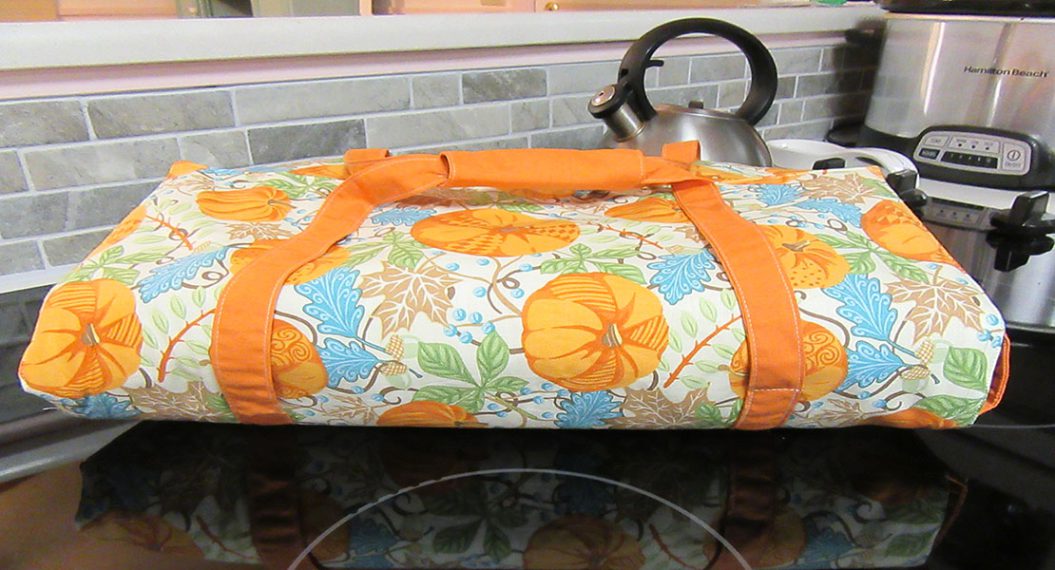
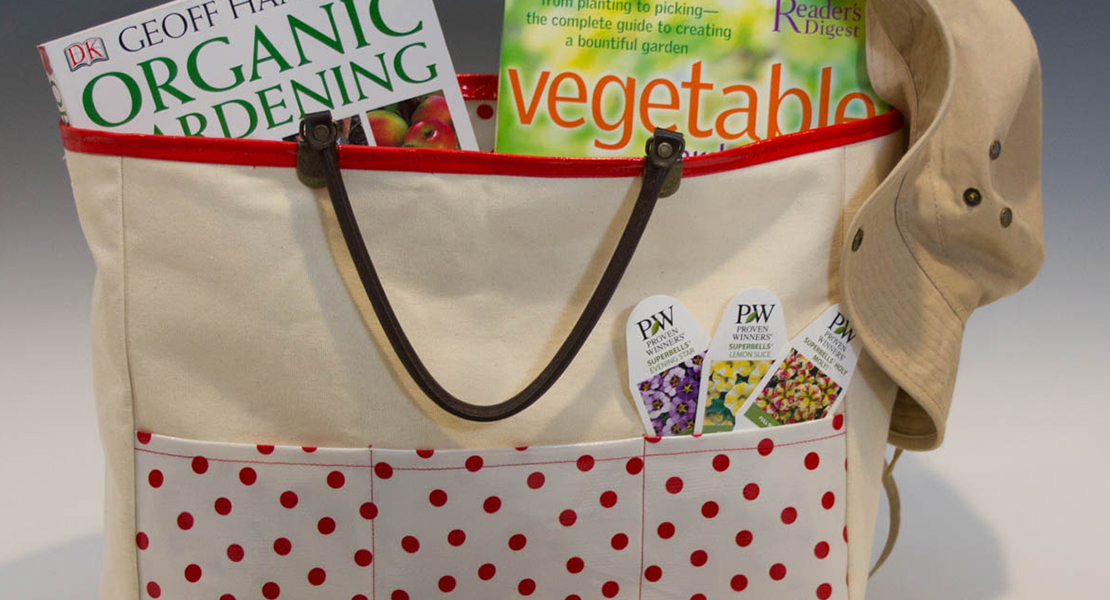
Canvas Market Bag Tutorial
Hello everyone!! Kymona here safe and healthy! I hope all of you are as well. Can you believe how our lives have changed in the last two months? If someone told me we would be social distancing and staying at home, I would not have believed you. So many things have changed in New York in such a short time.
Back on March 1, 2020, a new plastic bag ban took effect. What does that mean for the residents of NY? No more bags when you leave a store. That’s because every store used plastic bags and they can’t anymore. Imagine going to the supermarket and walking out with a paper bag with no handle or no bag at all. Well, it happened to me, and all I could do was laugh at the moment. So, I went home and made my canvas market bags.
Let me show you how!
Materials to Create a Canvas Market Bag
- 1 Yard of Canvas Fabric (I used Fleet and Flourish Canvas by AFG)
- Rotary Cutter and Mat
- White Thread
- Scissors
- Straight Ruler
- Wonder Tape
- Clips
Instructions to Sew a Canvas Market Bag
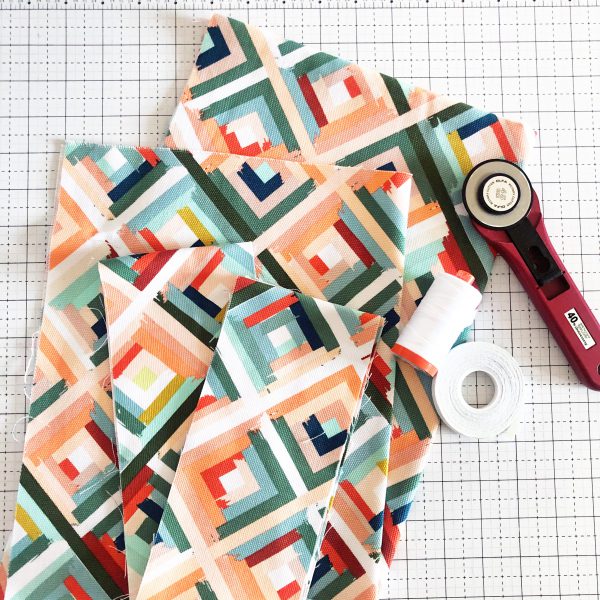
Step 1 – Cut the fabric
Cut (1) 36 inches x 19 inches (main body)
Cut (1) 13 inches x 19 inches (bag bottom)
Cut (2) 36 inches x 4 inches (handles)
Step 2 – Prepare the fabric for sewing
Handles
Place wonder tape on the longer edge of the canvas fabric. Fold the edge over 1/4 inch on that long side.
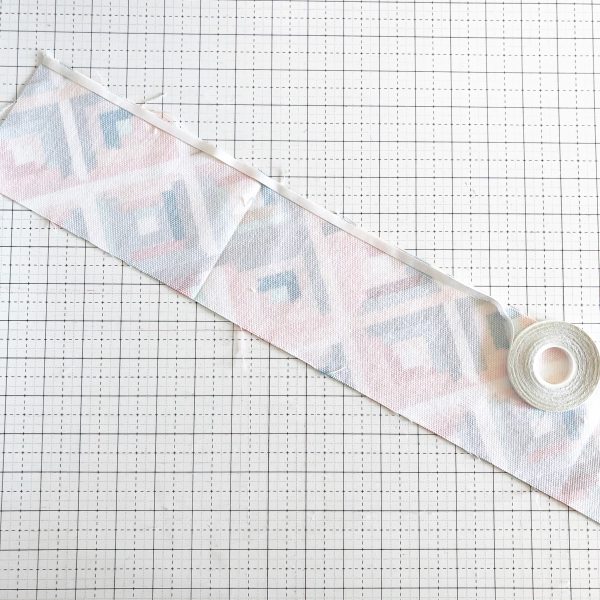
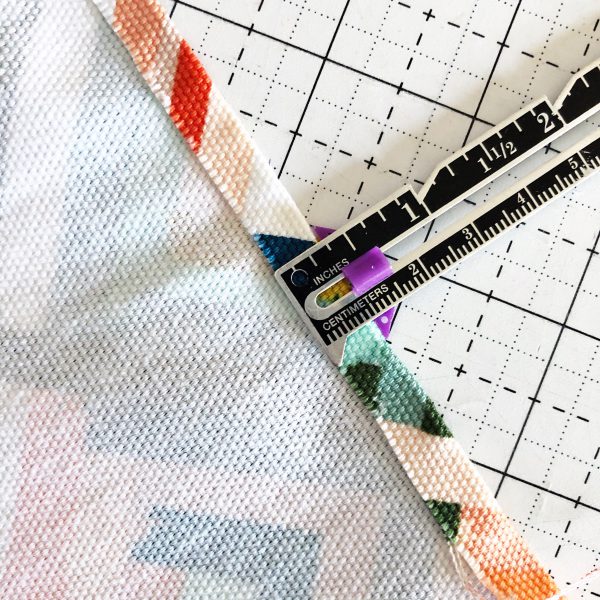
Adhered tape, on the other long edge of the canvas fabric. Fold the border over 1-3/4 inch on that long side.
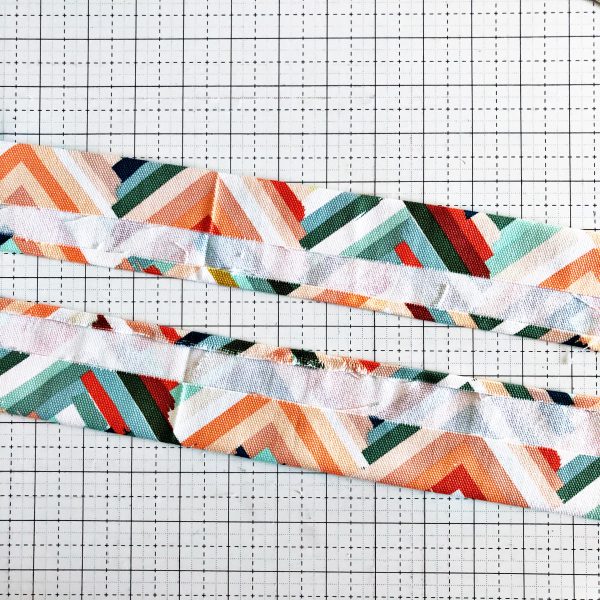
Fold the handle in half now and clip. Repeat for both handle pieces.
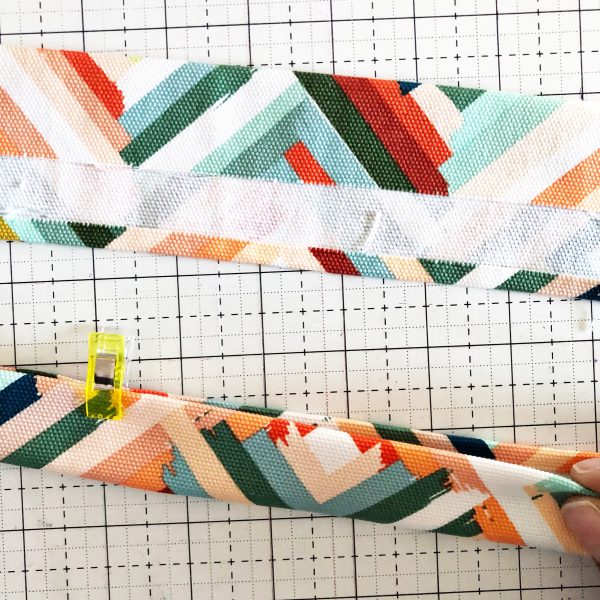
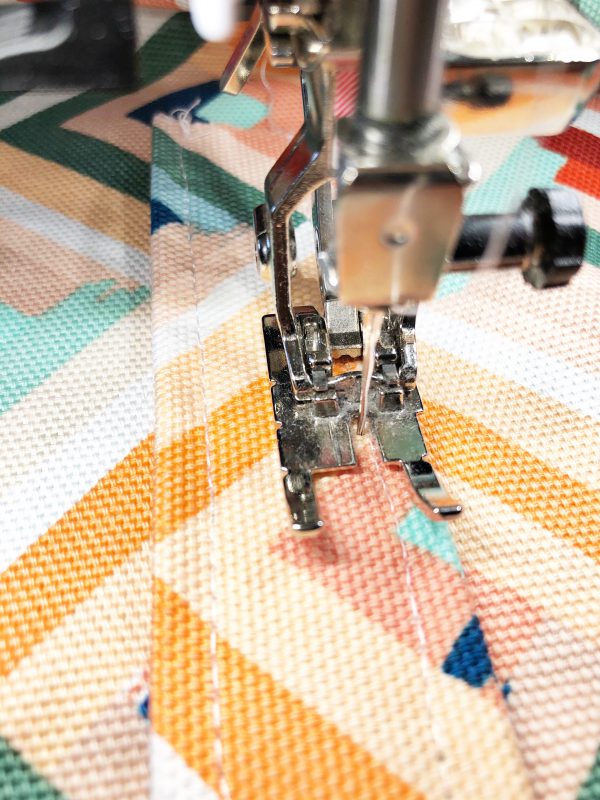
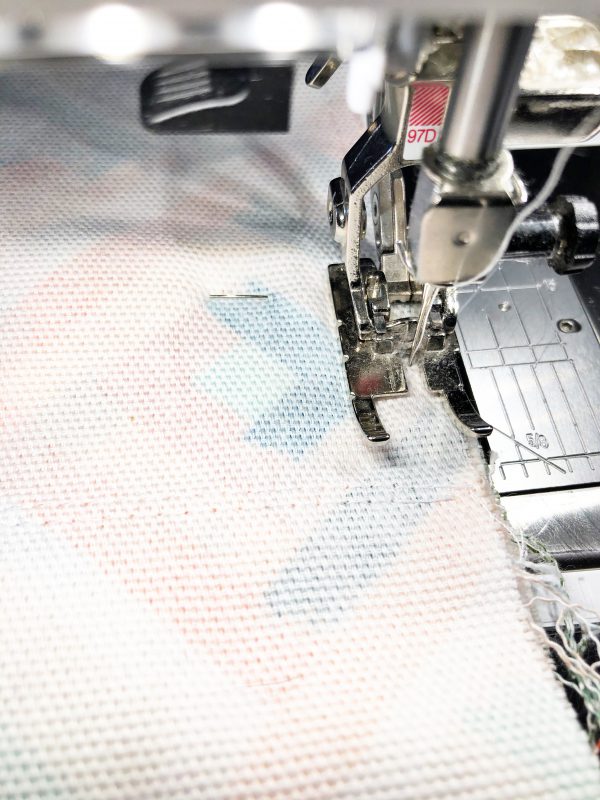
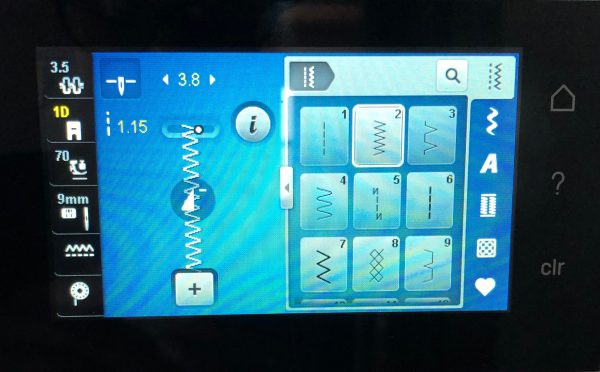
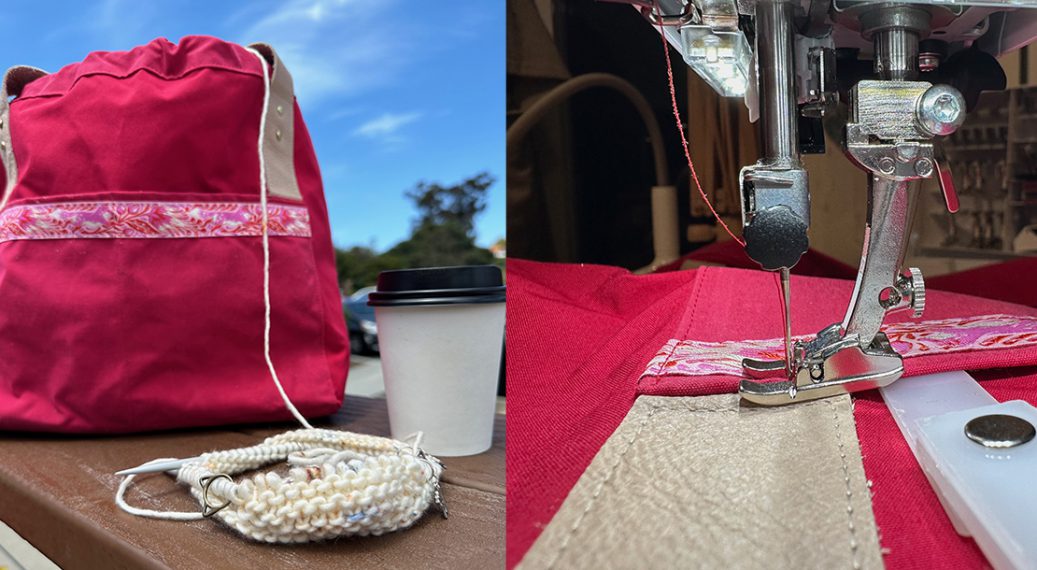
Attach the #97D foot, set your stitch length to 4mm, and sew a 1/4 seam on both sides of the handles.
Repeat for both.
Main Body Panel
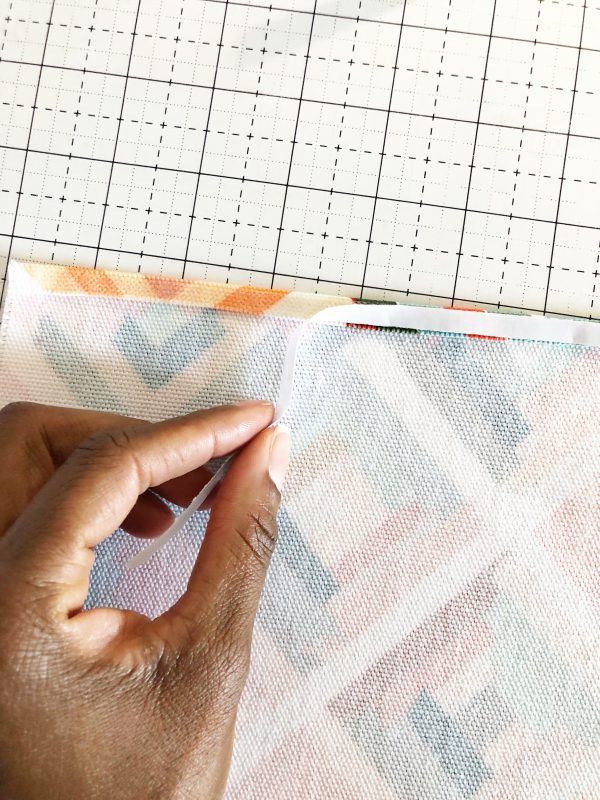
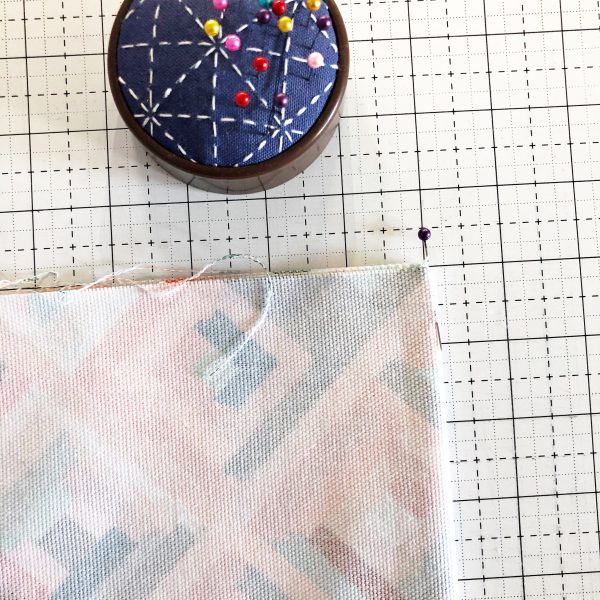
Place tape along the shorter edge of the fabric. Fold 1 inch then fold another 1 inch creating a 1-inch double hem.

Repeat on the other shorter side.
With the #97D foot, sew 1/8 inch from the inner hem and the otter hem on both sides.
Bag Bottom Panel
Create a hem 1/4 inch on the long side of the bottom panel. Stitch 1/8 inch away from the edge.
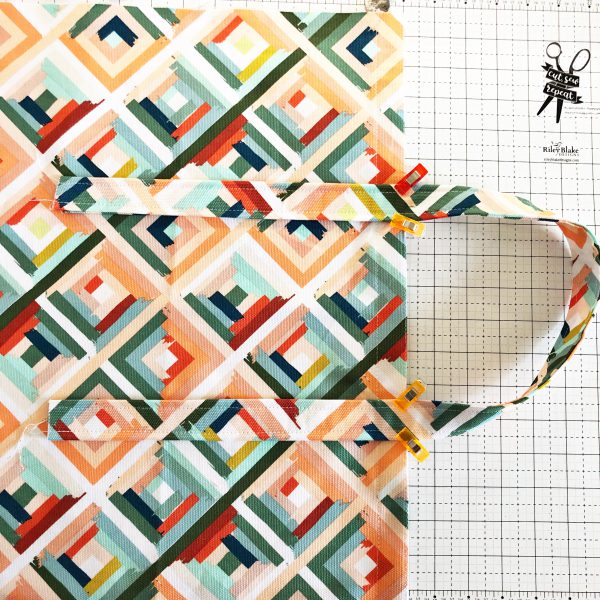
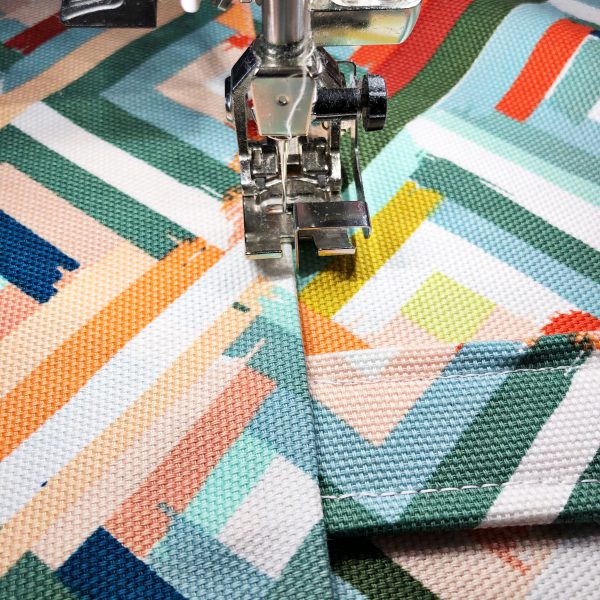
Step 3 – Attaching the handles.
Attach the handles to the right side of the main bag panel, measure 5 inches from the side, and 10.5 inches from the top edge, clip in place.
Stitch the handles in place using the #97D foot, stitching right over the previous stitches.
When you get to the top hem, turn and stitch going back down.
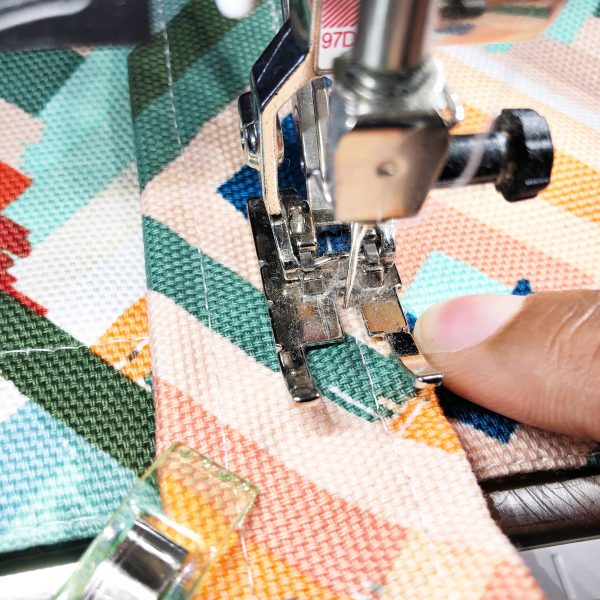

Repeat for the second handle.
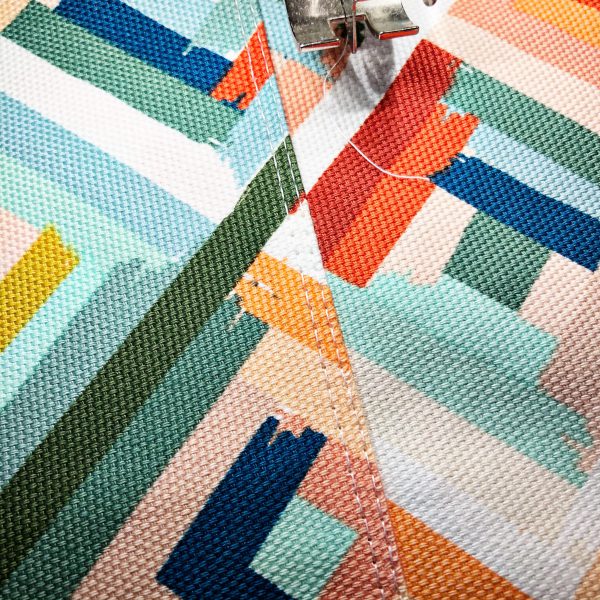
Step 4 – Attaching the bag bottom panel.
With the hem down, center the bottom of the bag covering the handle ends, making sure the bottom is even on both sides—pin place.
With the #10D foot, stitch 1/8 of an inch from the edge, down the long side of the bag bottom, backstitching over the bag handles.
Stitch another stitch line 1/4 inch away from the 1/8 inch stitch line. Repeat on the opposite side.
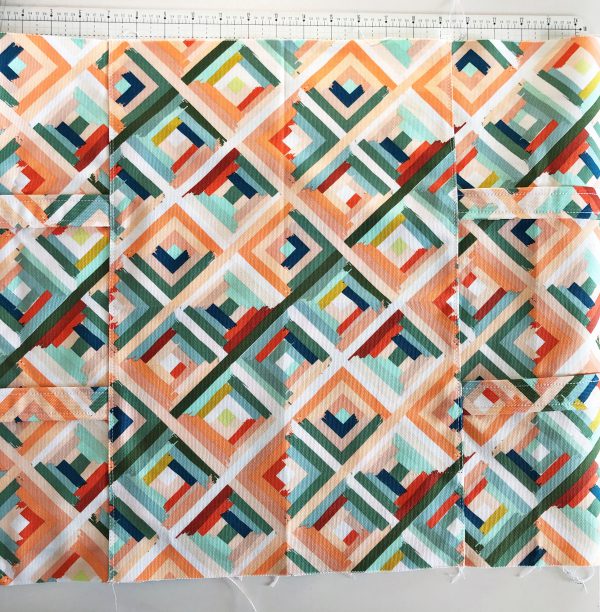
Step 5 – Assemble the bag.
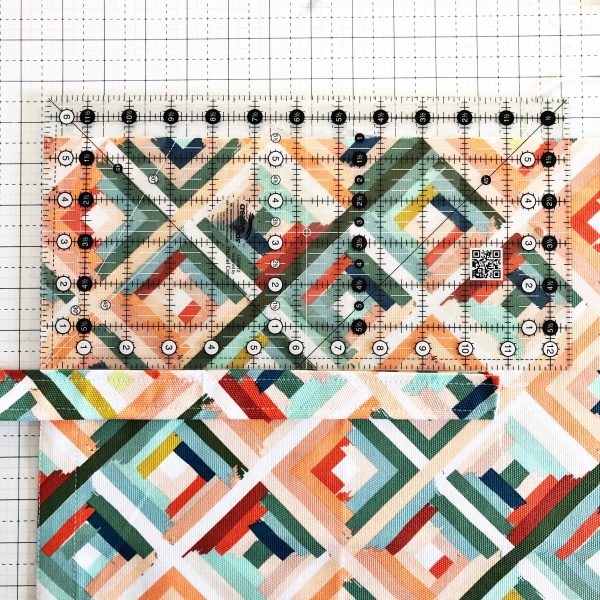
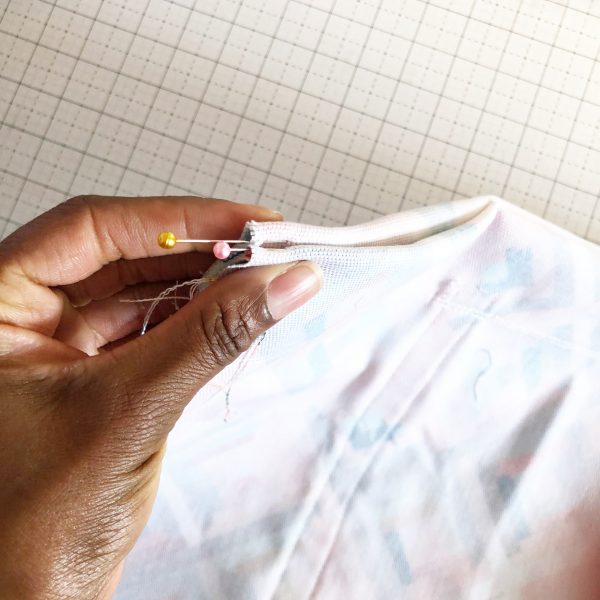
Find the center of the back and mark the center with a pin.
Measure over 4 inches on both sides of the pin and make it with a pin.
Repeat on the other side.
Note: The pins are just for reference when you fold the bag.
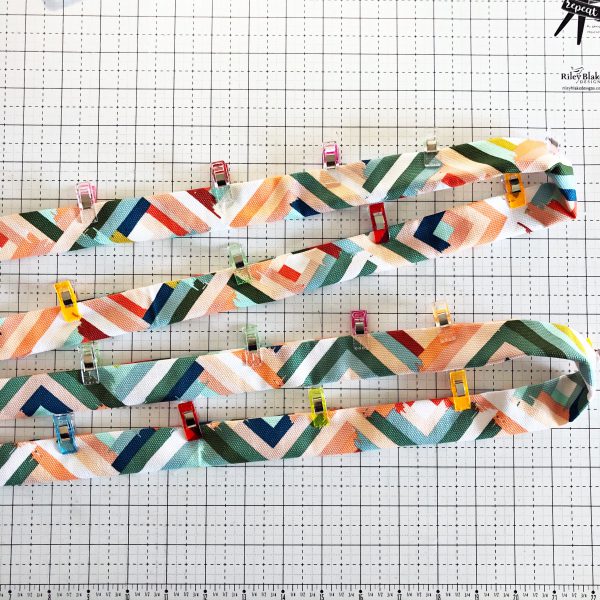
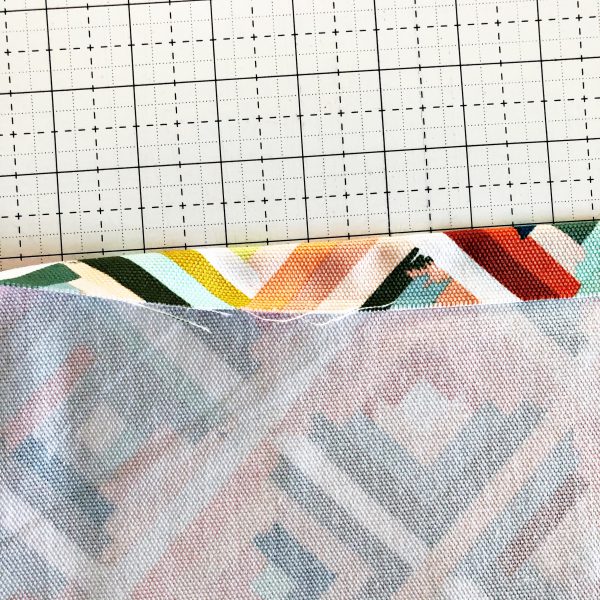
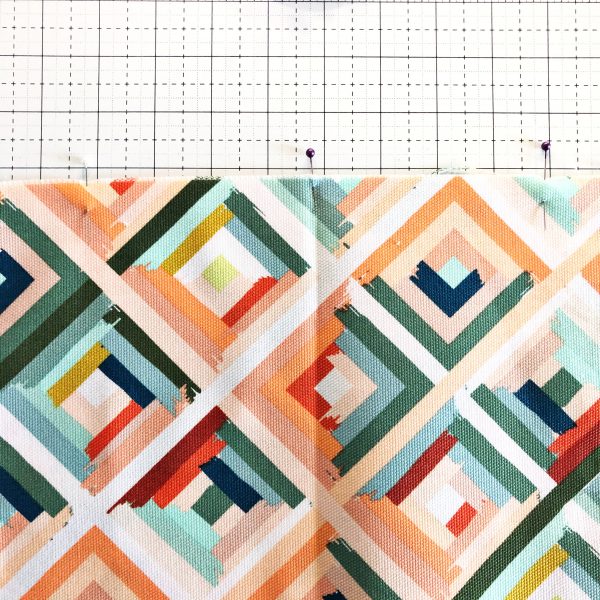
Fold the bag in half, wrong sides together.
Fold the top part of the bag back down to the first pin.

Clip-in place.
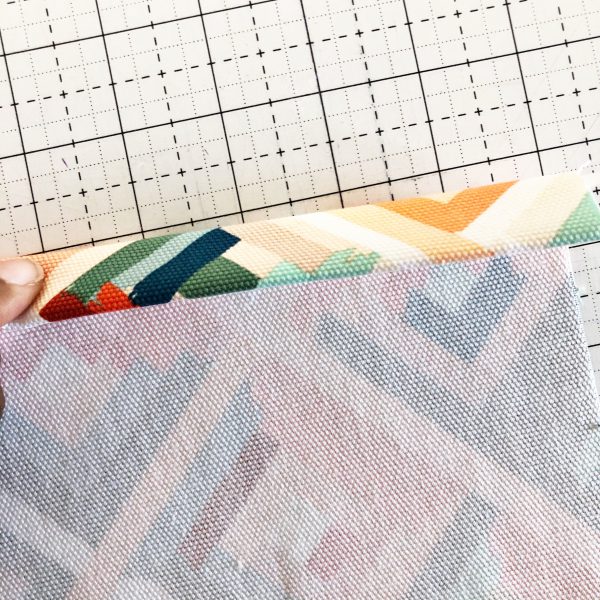
Fold the other side of the bag the same way.
Make sure the top edges of the bag are lined up and pin. Double-check the bottom folds to make sure they are even. Remove the fold reference pins.
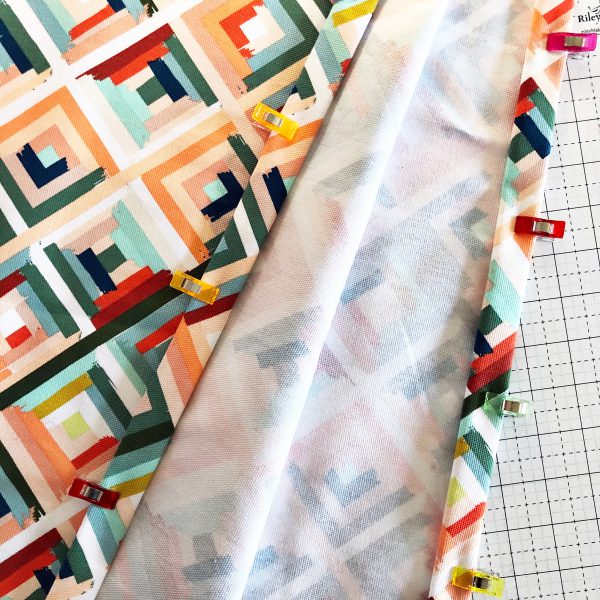
Clip the folds at the bottom, so that they stay even while you sew.
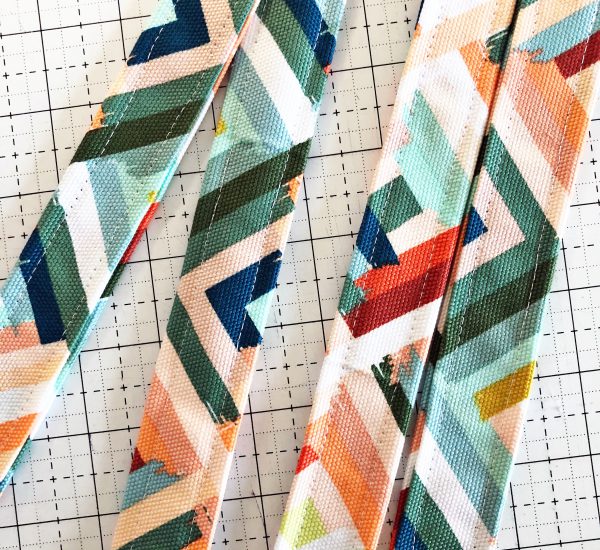
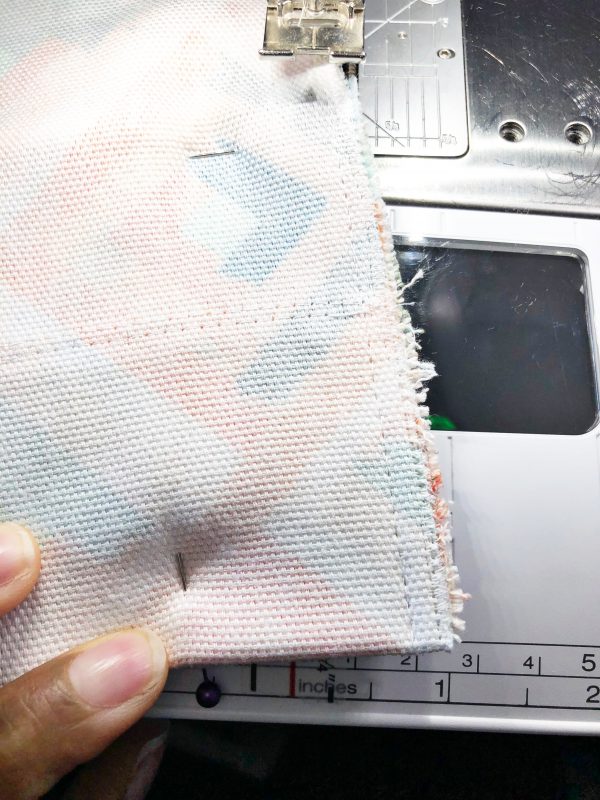
Sew a 1/4 inch from the top down the entire side of the bag. Remember to backstitch at the top and bottom of the bag.
Repeat on the other side.
To stop the bag edges from unraveling, use a zig-zag stitch to cover the raw edges on both sides.
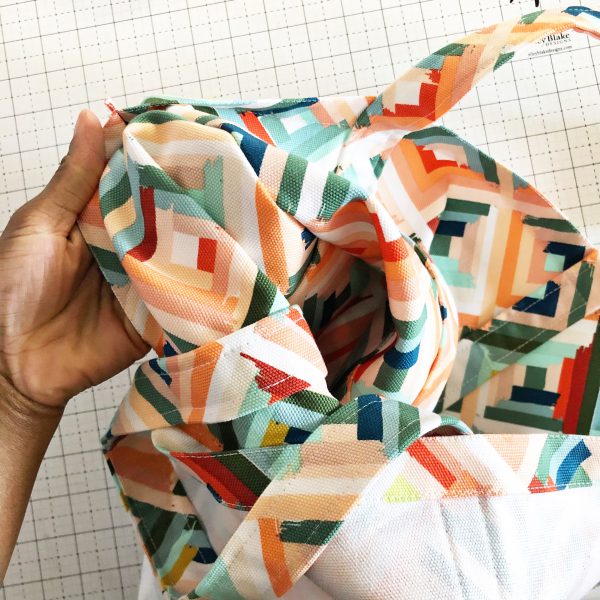
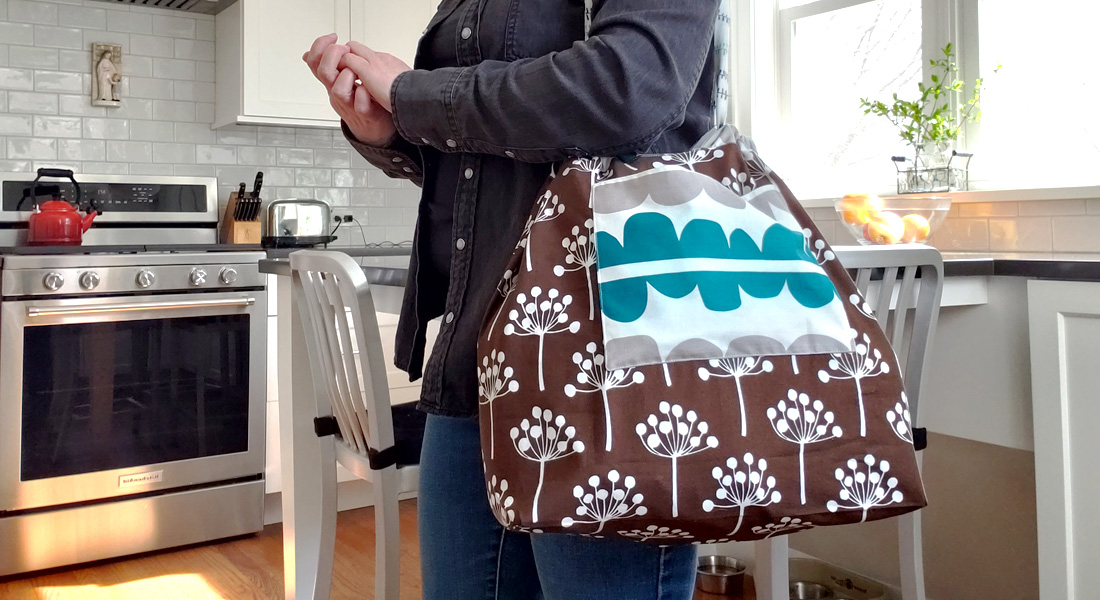
Turn the bag inside out. It’s ready to use!
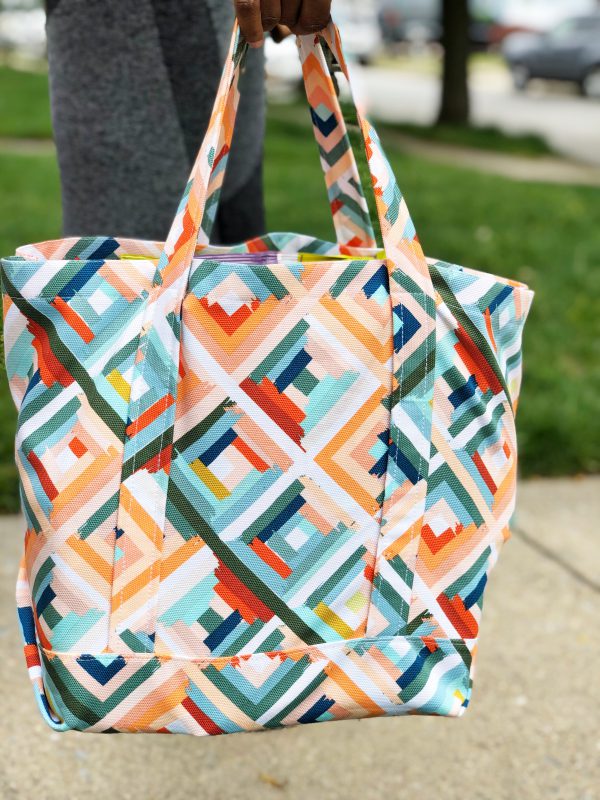
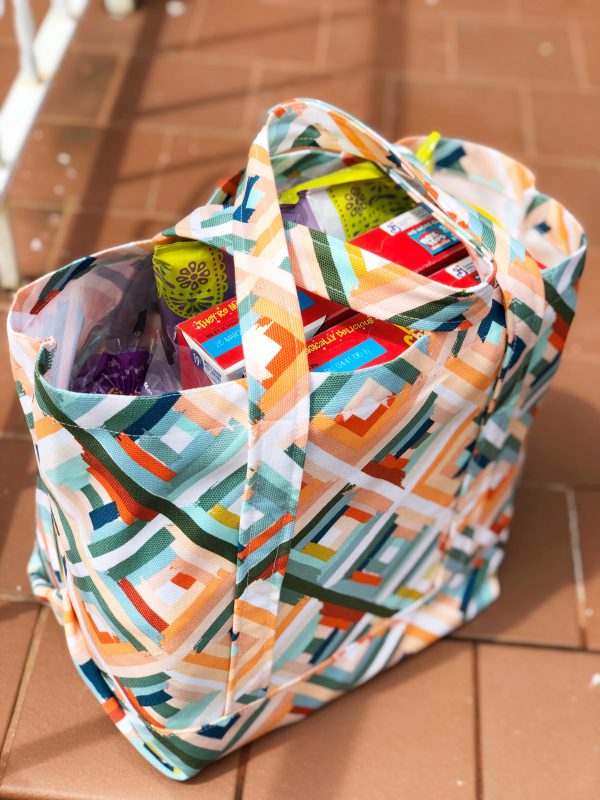
This canvas market bag is the perfect size for a quick run to the supermarket. Having more, then one is perfect.
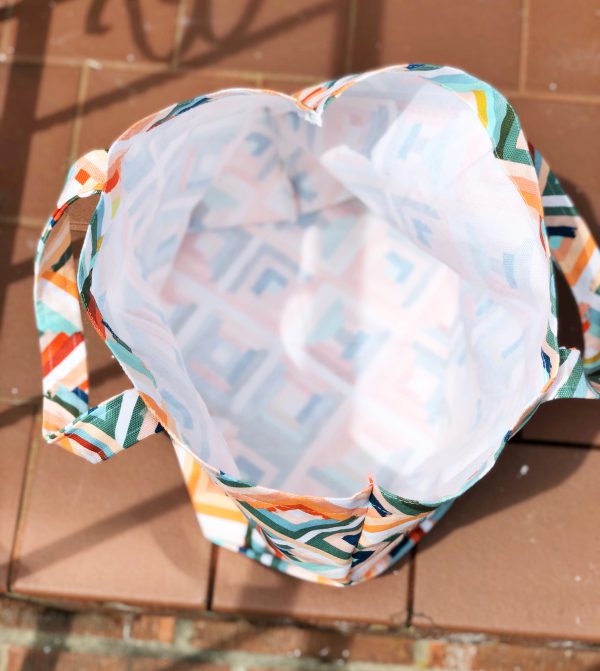
Since the material is canvas cotton, it doesn’t require a lining, and it is very steady.
It’s also machine washable, so don’t worry if it gets a bit messy from constant use.
This canvas market bag is a perfect alternative to plastic bags. It has multiple uses, will not end up in the ocean, and look super cute!
Used Products


What you might also like


18 comments on “Canvas Market Bag Tutorial”
-
-
Hello Marybeth!! Thank you so much. I’m so happy to see you here. I hope you are enjoying your new BERNINA! I can’t wait to see what you create.
-
-
I love to bring my own bags and when I can make a really pretty one.. so much the better. Thanks for this lesson! I am going to make one asap.
-
Hello!! Yes, when you make your own, its always the best. You are more than welcome and I can’t wait to see your bag.
-
-
Except for one measurement (13 x 19 bottom of sack) and the use of wonder tape this pattern is Terry Atkinson’s design and was a free tutorial from November 7, 2008.
-
Hello! Thank you so much for the info, but I do not know Terry Atkinson’s and have not seen her 2008 post. I learned how to make this type of bag when I took a class last year. I did not receive a pattern or measurements.
-
Thank you. I found Terry pattern and was able to understand how the bottom was sewn up!
-
-
Don’t quite understand when you say fold the top part of the bag back down to the first pin. Can’t really tell where the fold goes with the diagram. Thanks
-
Hello Mara! I’m sorry this is unclear. I needed to take better pictures. I will try to explain it here. This part of the process will create a wide bottom with triangles on the outside of the bag. Once you fold the bag right sides together, the middle pin will show you that it’s folded evenly. The next step is to take one of the sides and fold it back on itself to the first pin. You are looking at the right sides of the bag again. You will repeat for the other side of the bag, fold it back onto itself to the first pin. This creates a big bottom. I will try and take photos and email them to you if this is still unclear. Just let me know.
-
So when you say you are looking at the right sides again, does the fold go inside the two sides, versus just folding the folded bottom up to the pin, or is this like when you make a triangle on the sides, I’m used to using that technique to make the bottom of the bag wider, thanks for responding,Mara
-
-
-
I think i just got it. You said to fold the wrong sides together, but the picture looked like you say Theriot sides together,my mistake, It makes sense now, sorry I wasn’t listening to what you said, thanks, Mara
-
Hello Kymona,
Nice looking bag ?
Got confused at the 2nd picture for step 5 where you say wrong sides together but in the photo it is right sides together ?
Could you please clarify?
Thanks Heike from Berlin, Germany -
Is this available in a pdf form?
-
I am sooo confused about the measurements you state and the pictures.They do not correlate.
The first discrepancy appears to be the 1/4 hem which appears to be a 3/8 inch hem in the picture.
The next discrepancy is to fold the other side of the strap 1 3/4 inches but your fold in the picture is clearly much smaller!
Then on to preparing the bottom…..if the bottom only gets a 1/4 inch hem the 10″ measurement doesn’t work to meet the handles at the same place on both sides.
Am I missing something? -
Also in the pic\tre the straps seem to be placed at 5.5 inches but the directions suggest 5 inches!
-
I have a lot of the same confusion. Especially sewing the bottom piece on. One thing that may be helpful is to use plain fabric for your videos. Your beautiful patterned fabric Is very hard to visually Follow in the instructions
But i am going to try it. Looks like a great bag to take shopping!! Thank you. -
Definitely making one these! Or 10!! Love the sturdy bottom & side of this one. Very versatile for lots of things! Thabks for super clear directions! Love this.
-
Dear Kymona,
This bag looked so easy that I cut out fabric to make five of them.I have finished the first bag through to pinning the top part of the bag down to the first pin. Do not understand the directions after that. Have spend the last two hours, pinning and sewing and ripping out and starting the process all over again.
Why is there a middle pin, and then a pin on each side, four inches apart from the center pin? I guess it has something to do with the folds, but I just cannot figure it our!
Could you please show a picture or pictures of exactly what needs to be done? I have sewn this together so many which ways, and I must be folding it incorrectly.
My sincerest thanks in advance for your help as I have five of these to make.
Leave a Reply
You must be logged in to post a comment.

Kymona….. So excited to see you here, grinning from ear to ear! I cannot wait to give this bag a try! Your step by step make it all look so easy! I went to a class today taught by Susan Beck. Sending hugs!