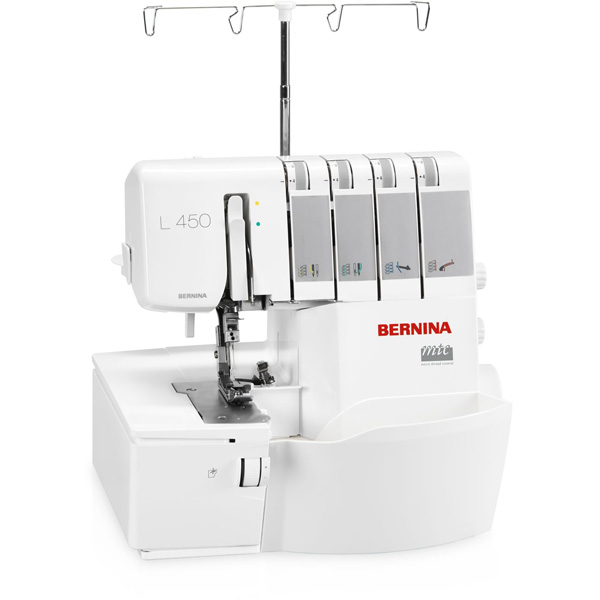
Overlocker for Beginners-The Flatlock Stitch
Welcome back to our essential guide to overlockers! So far, we’ve gotten a broad look at these machines and spent some time looking at the actual overlock stitch. Now things get a little bit more intricate. Not necessarily more complicated, but we’ll start diving into how to expand the use of your overlock machine.
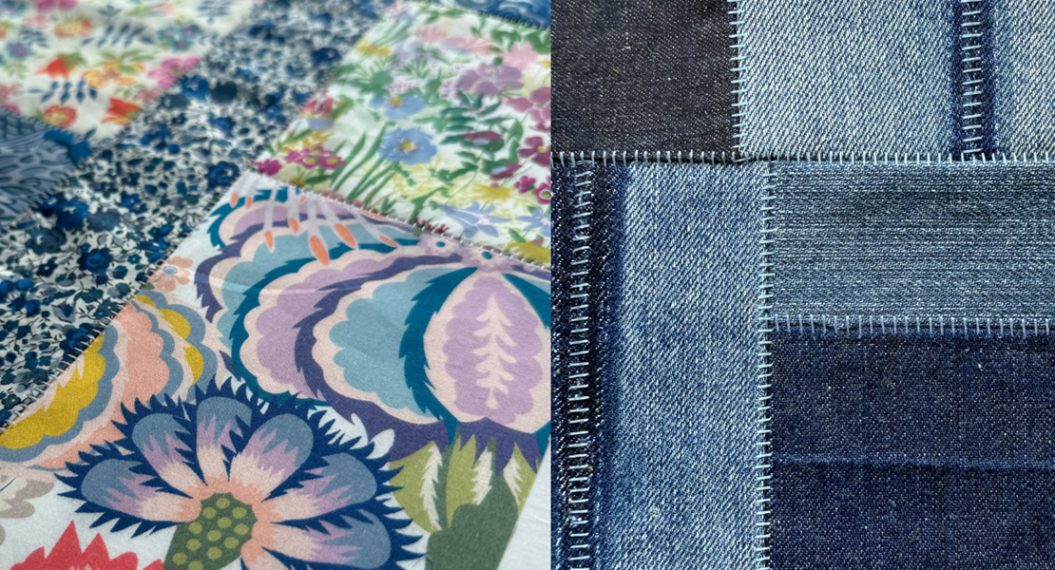
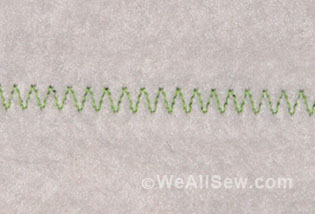
Among the variety of stitches our sergers can create is the flatlock. This is a stitch that can be created in three-thread or two-thread forms and, as its name implies, results in a flat seam.
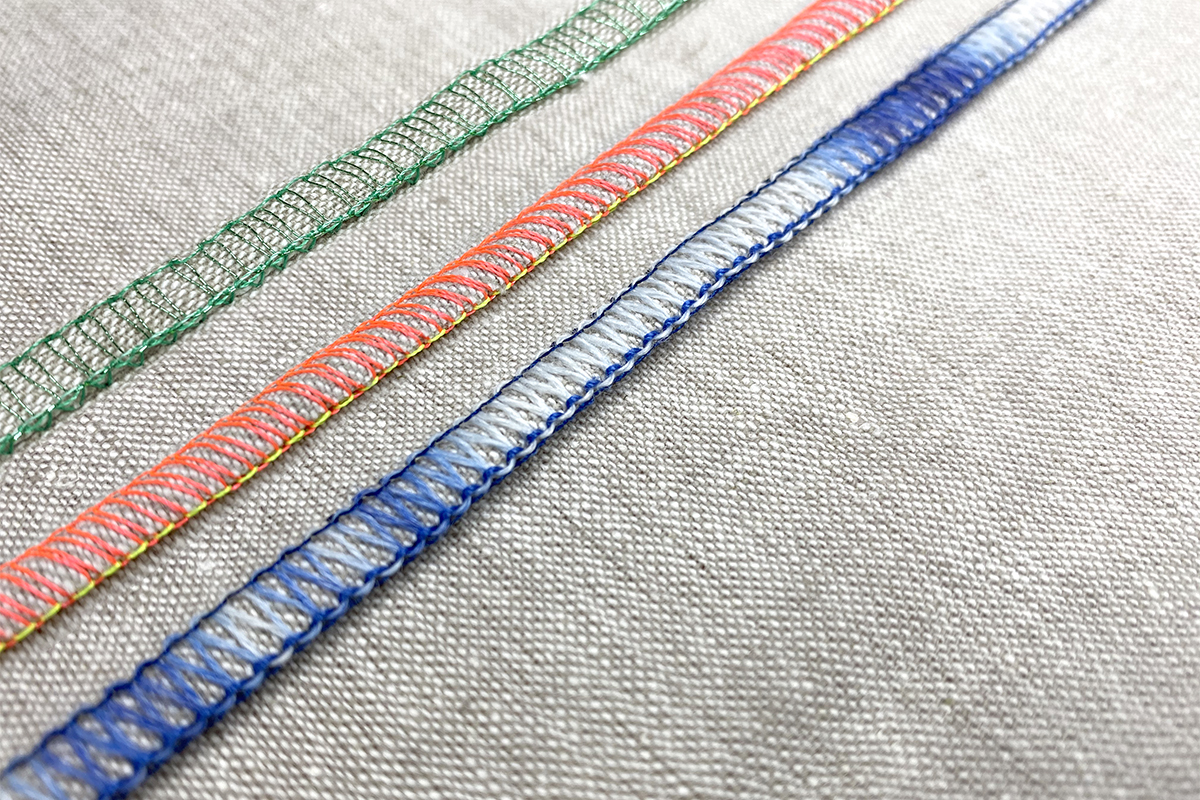
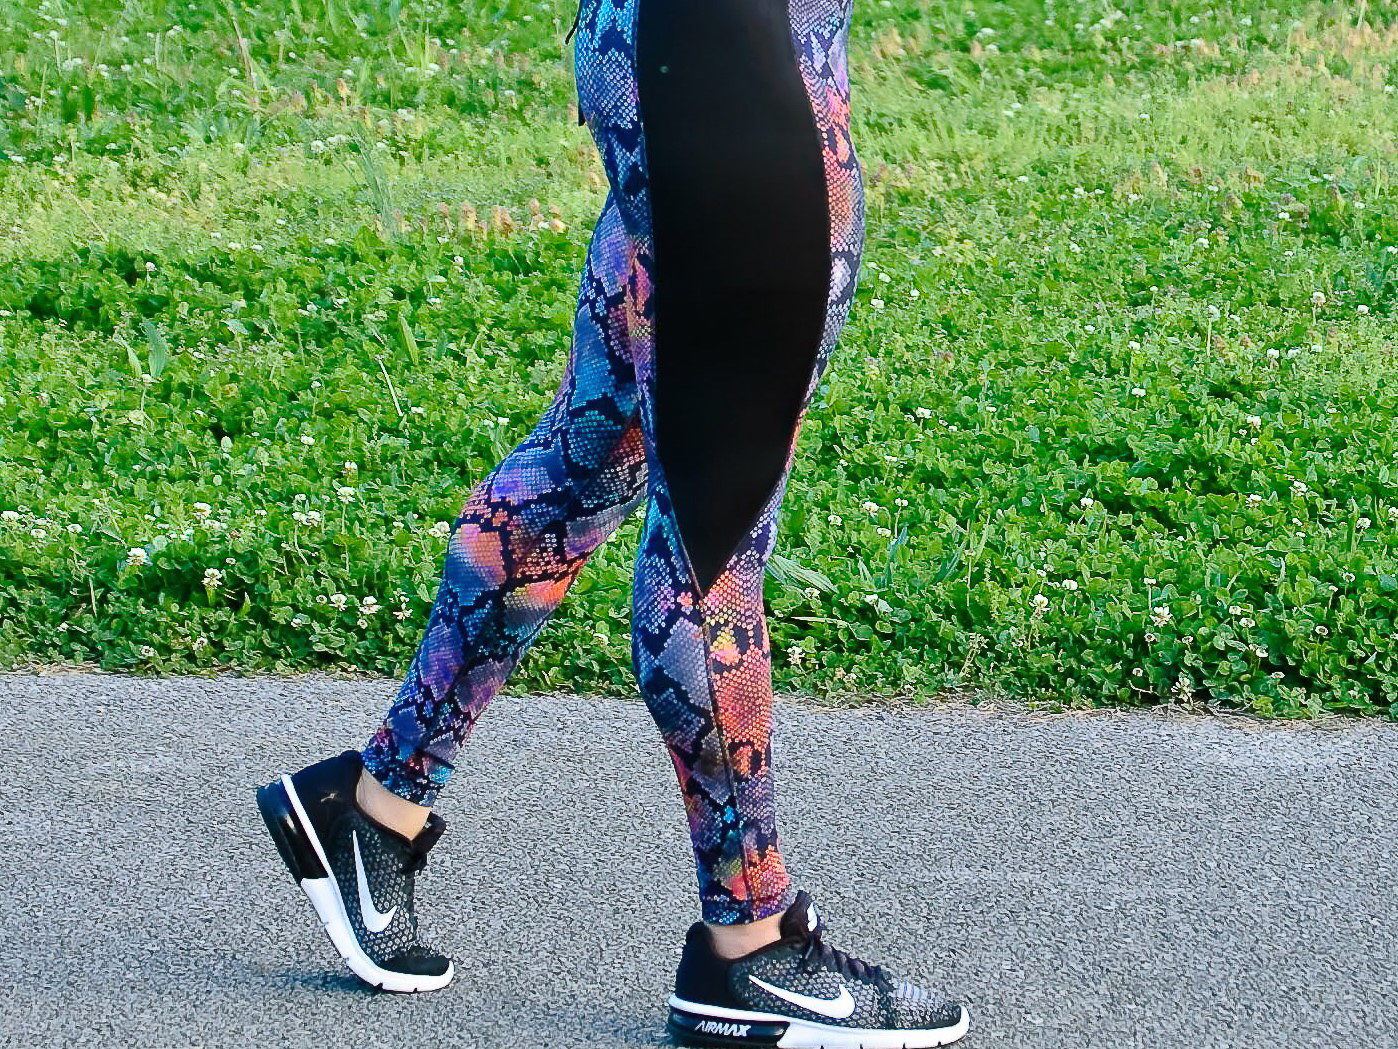
A flatlock can be used in a variety of instances. The key advantage is that it has very little bulk because the raw edges of fabric are completely encased in the stitching and looper threads. This is a fantastic stitch to use for hemming and is seen more and more on ready-to-wear items. It’s also a great stitch for super-fitted items like active wear.
The Two Faces of the Flatlock
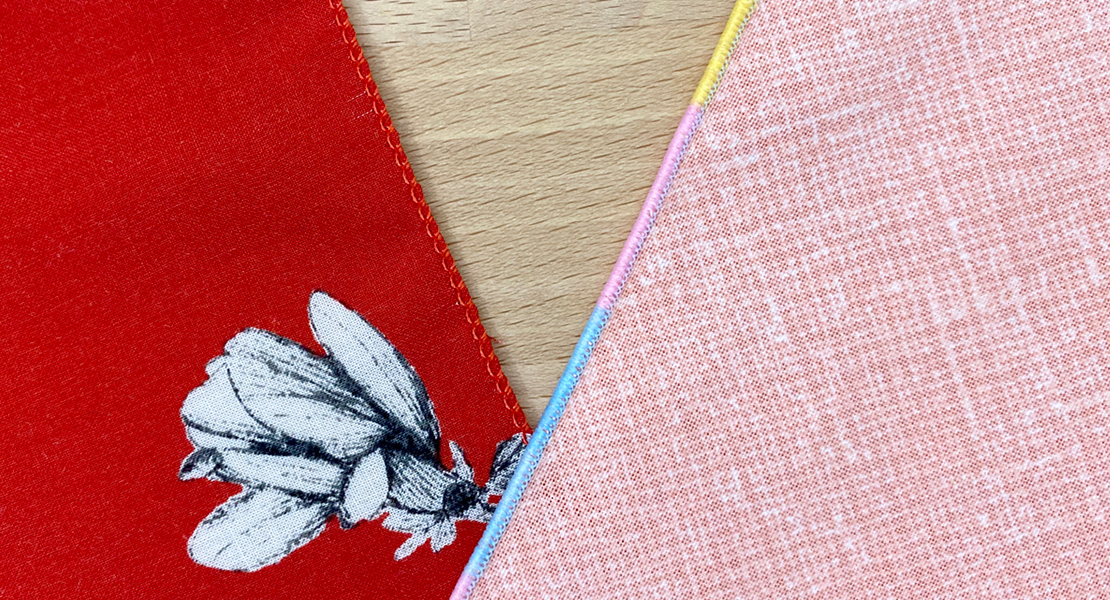
We generally think of our fabric and sewing projects as having a “right” and “wrong” side. Thinking in this framework, our flatlock is actually reversible. The “right” side of the stitch looks like rows of small bars of threads, or ladders.
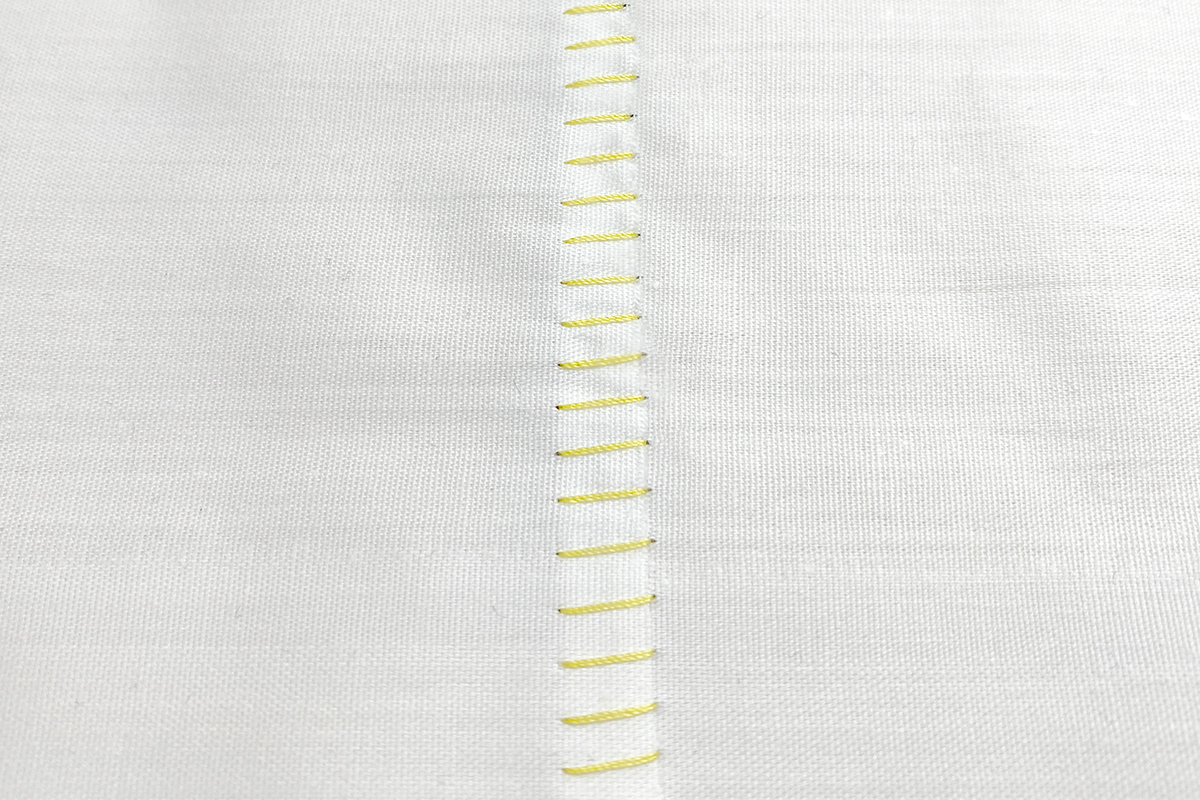
The “wrong” side of this stitch shows our looper thread(s) as they serpentine back and forth across the division in our fabrics. This is sometimes called the “loops” side.

Either of these looks can be desirable, depending on the project you use them on. The “right” side of the stitch looks, and can be used to create, a blind hem look. However the “wrong” side has a more decorative look and when decorative threads are used, can create really interesting looking and feeling seams. Because there is no wrong or right to this stitch, let’s choose to call these the back and front or loops and ladders, respectively.

Strength in Numbers
Just like our overlock stitch, the number of threads correlates to the strength of the seam which means our three-thread flatlock is going to be stronger than its two-thread counterpart. Keep this in mind when choosing which version will hold up better for your project.
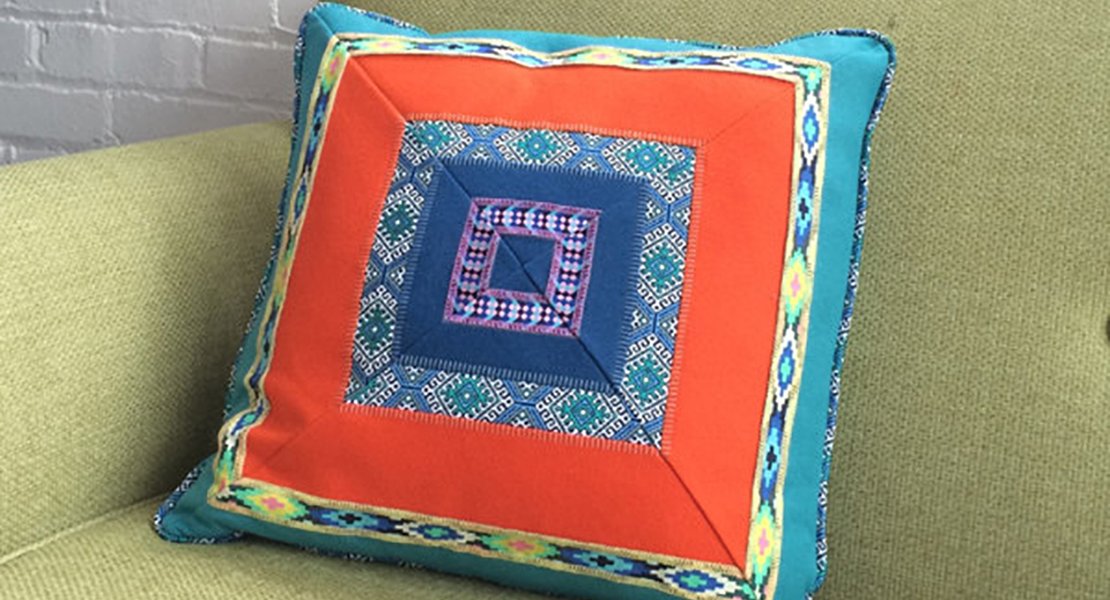
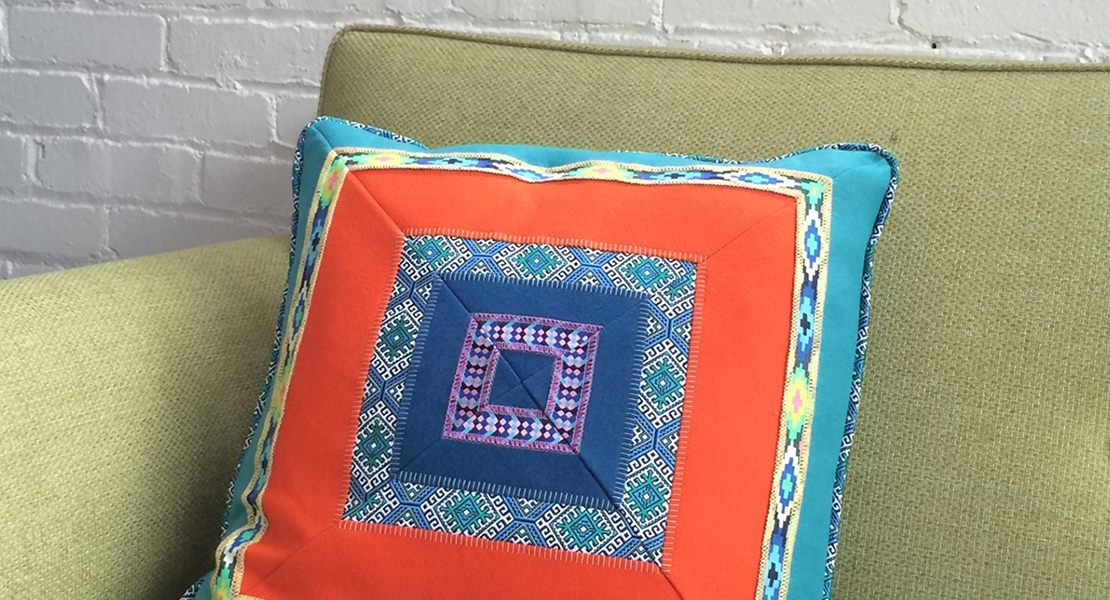
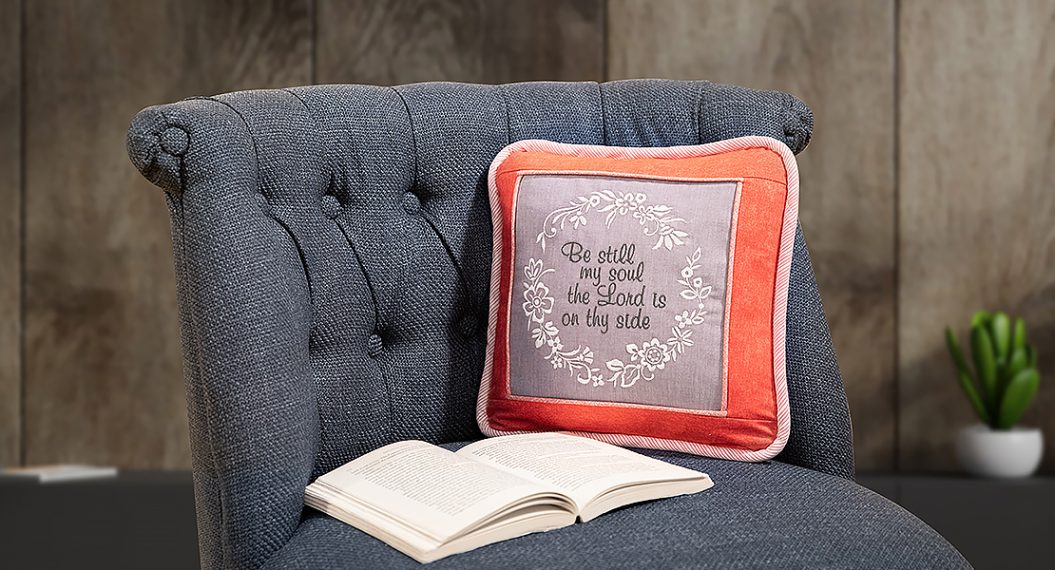
When sewing flatlocks in active wear, which is likely made from a high stretch material and will see lots of stress and pulling every which-way, choose the stronger three-thread version. However, when used as a hem on a loose fitting garment or simply as a decorative seam (like this pillow stitched up by resident overlocker expert Jaime).
Wide vs. Narrow
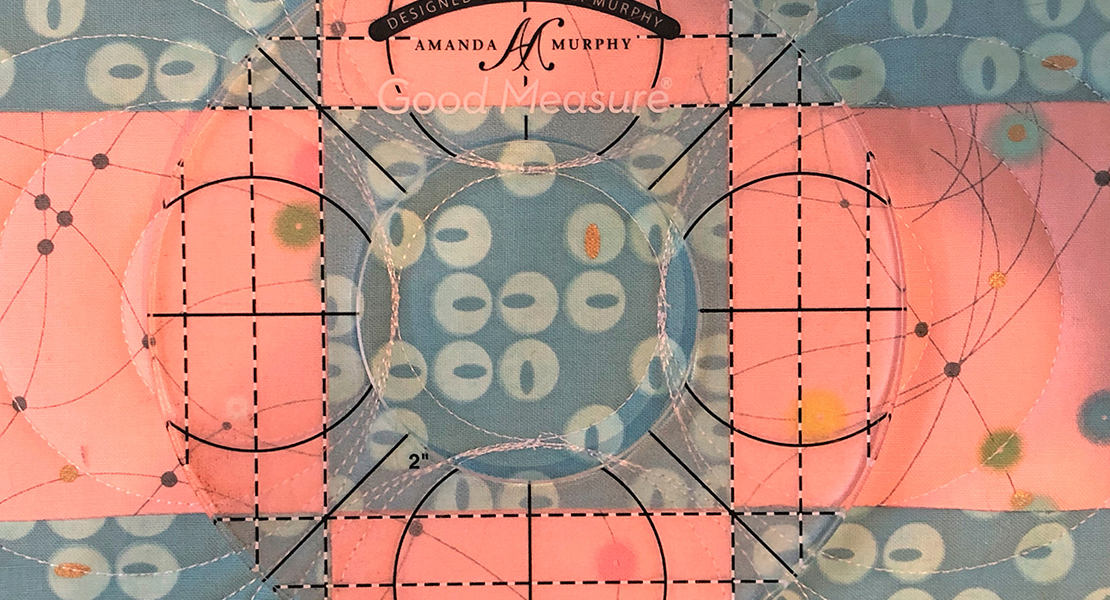
We learned in our overlock stitch lesson that when we only use one needle on our overlocker, we have the option of creating wide or narrow stitches depending on the needle placement. Using the left needle creates wider stitches and the right needle creates a more narrow stitch. Cutting width can fine tune the width of your stitch.
Choosing a wide stitch or a narrow one may be determined by the weight or thickness of fabric being sewn. But it may just be a visual choice—because this seam is so visible, choose the width that you prefer visually.
Setting Up the Stitch
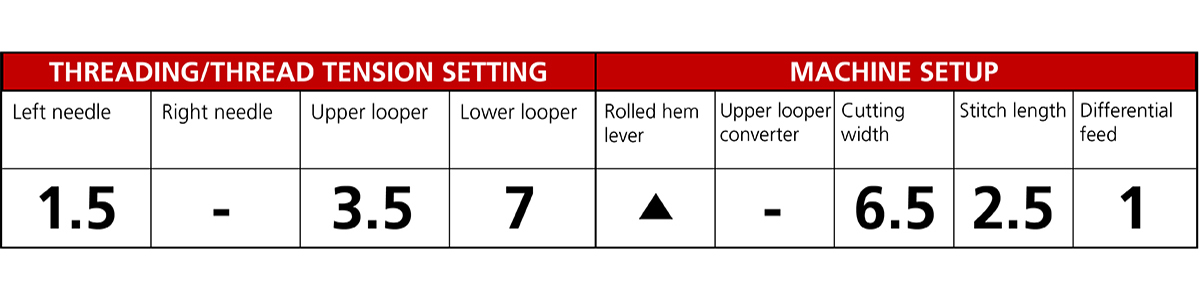
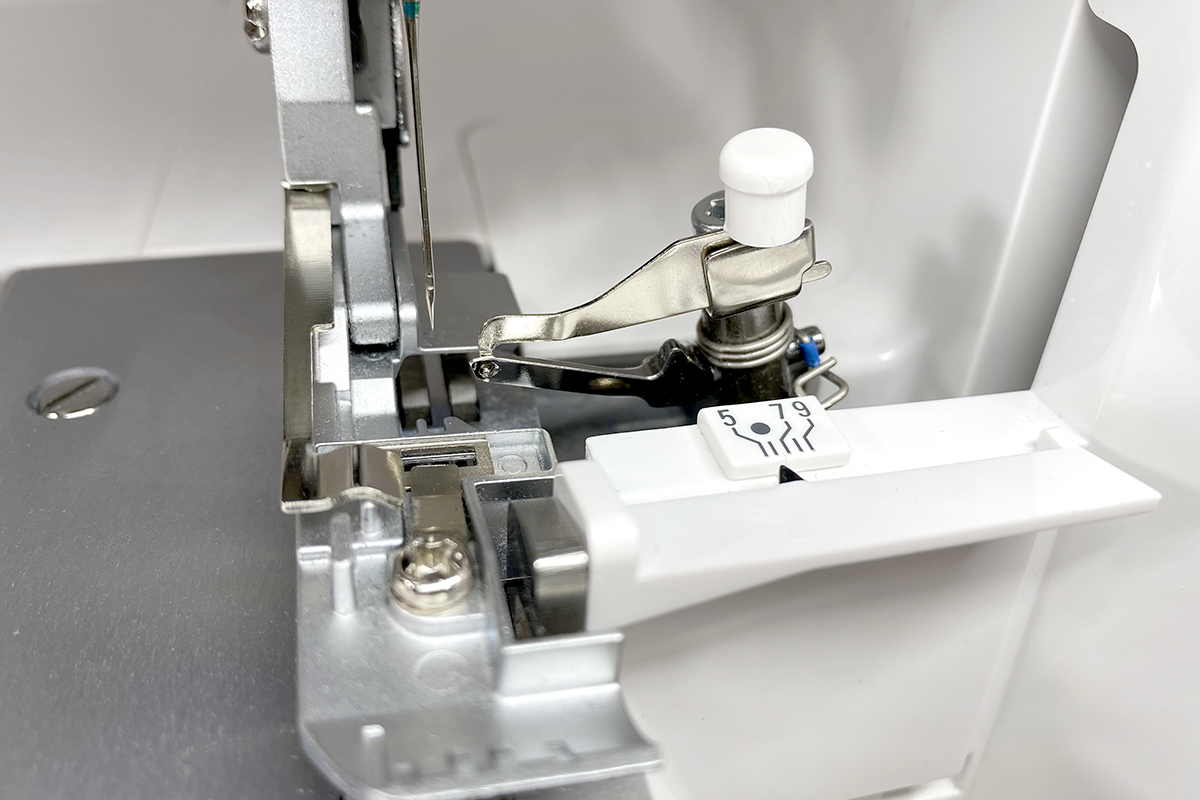
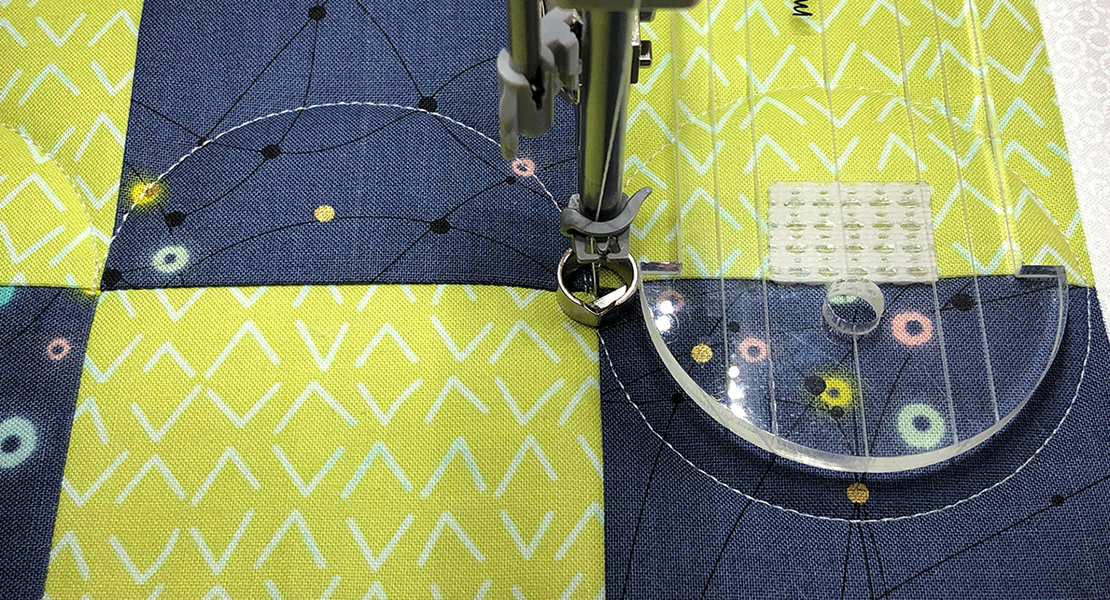
Let’s actually move to the machine and sew this stitch out! First, we need to set up our machine. Unlike the overlock stitch, we have to venture outside the “default” settings on our sergers. But fear not—it’s quite simple. We’ll start with a wide three-thread flatlock. Remember that when we’re only using one of our needles, it’s important to remove the unused needle from the machine.
Here’s a simple chart for our settings:
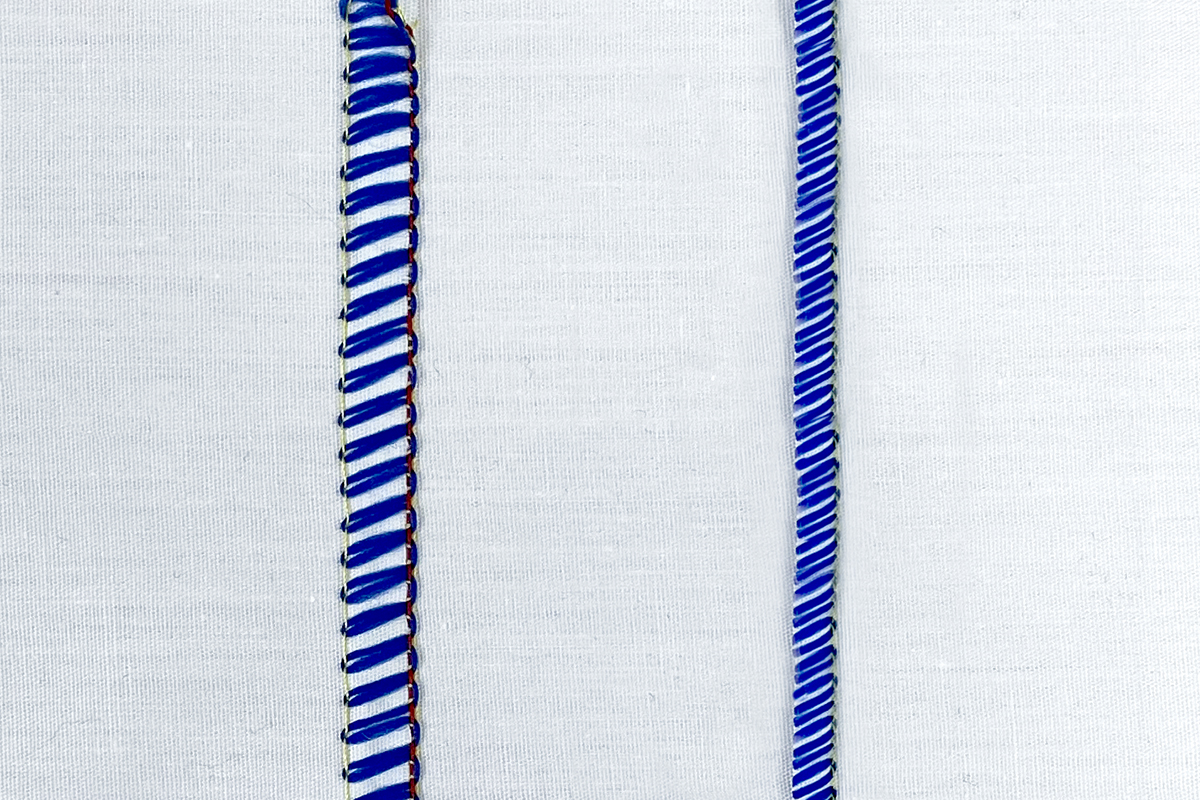
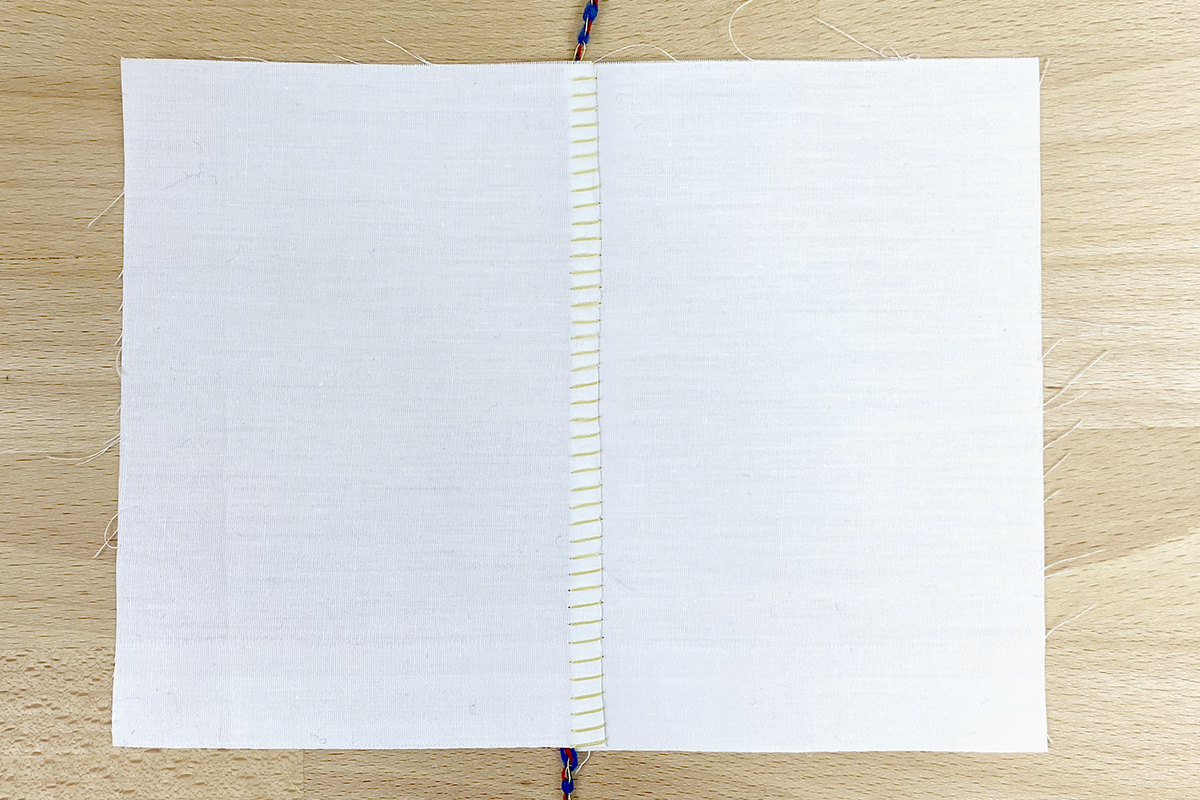
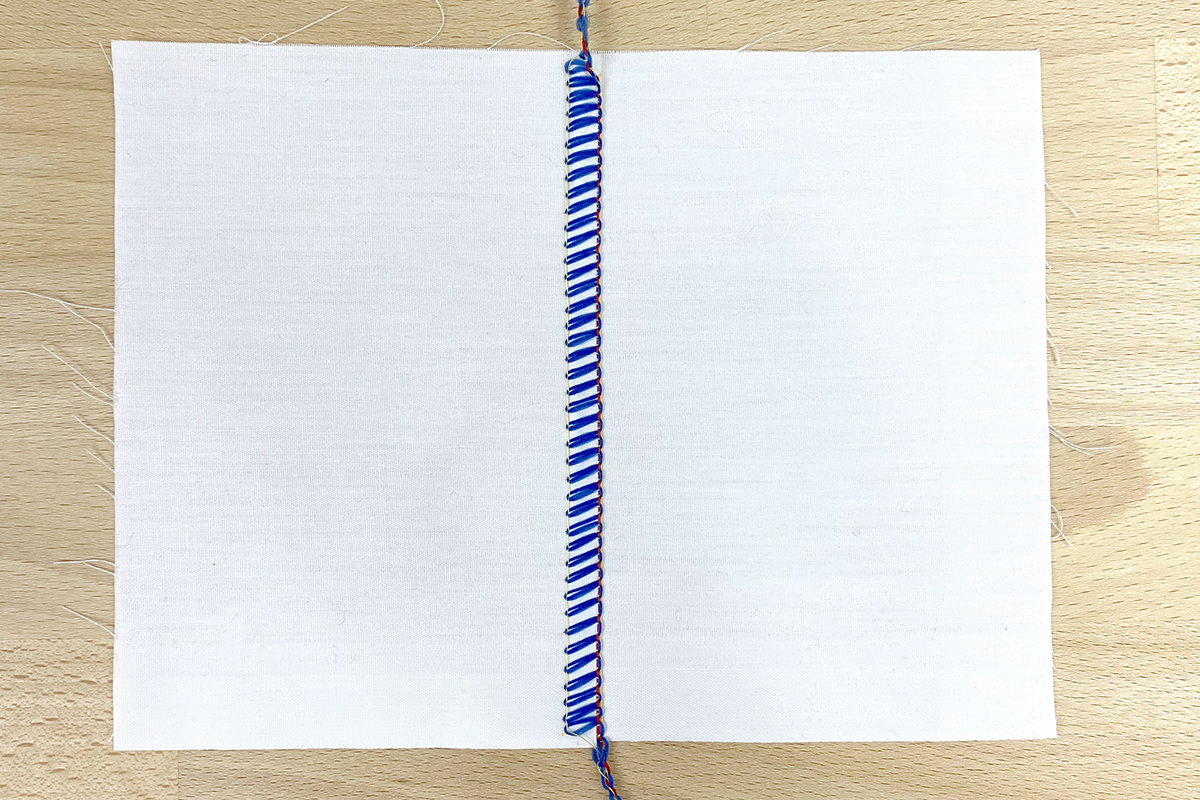
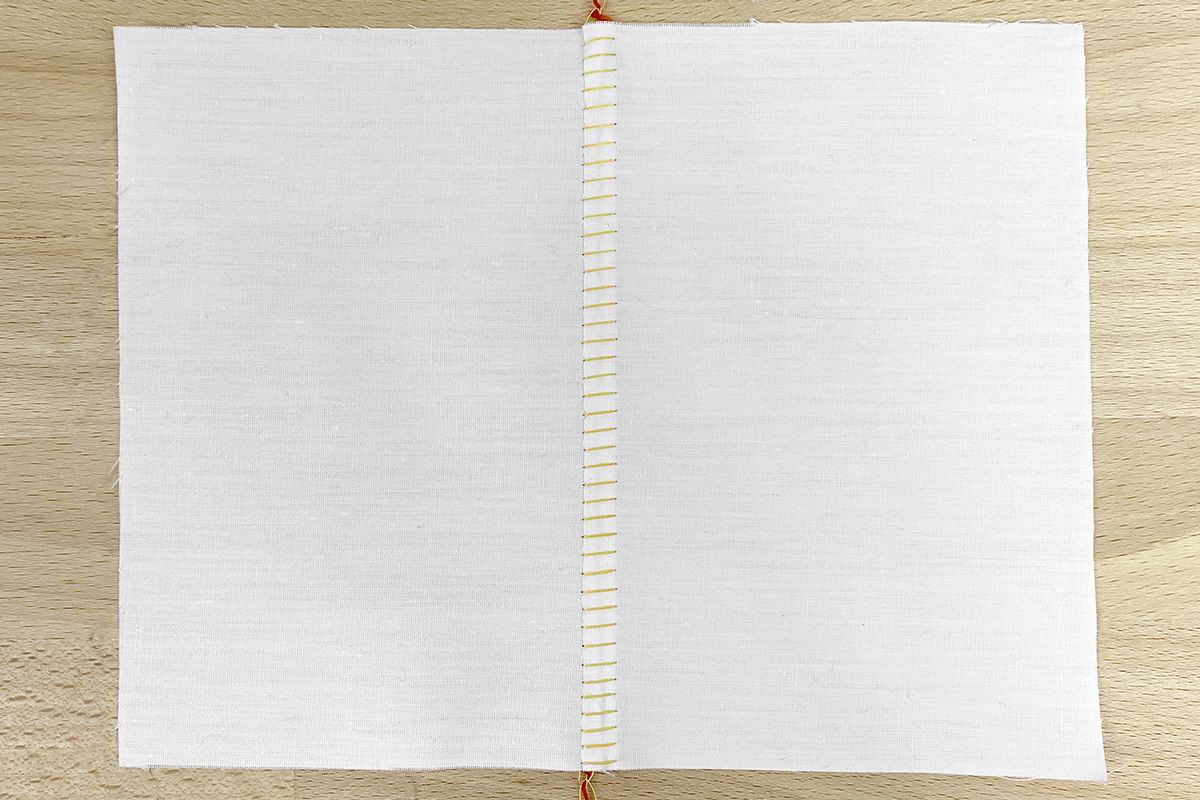
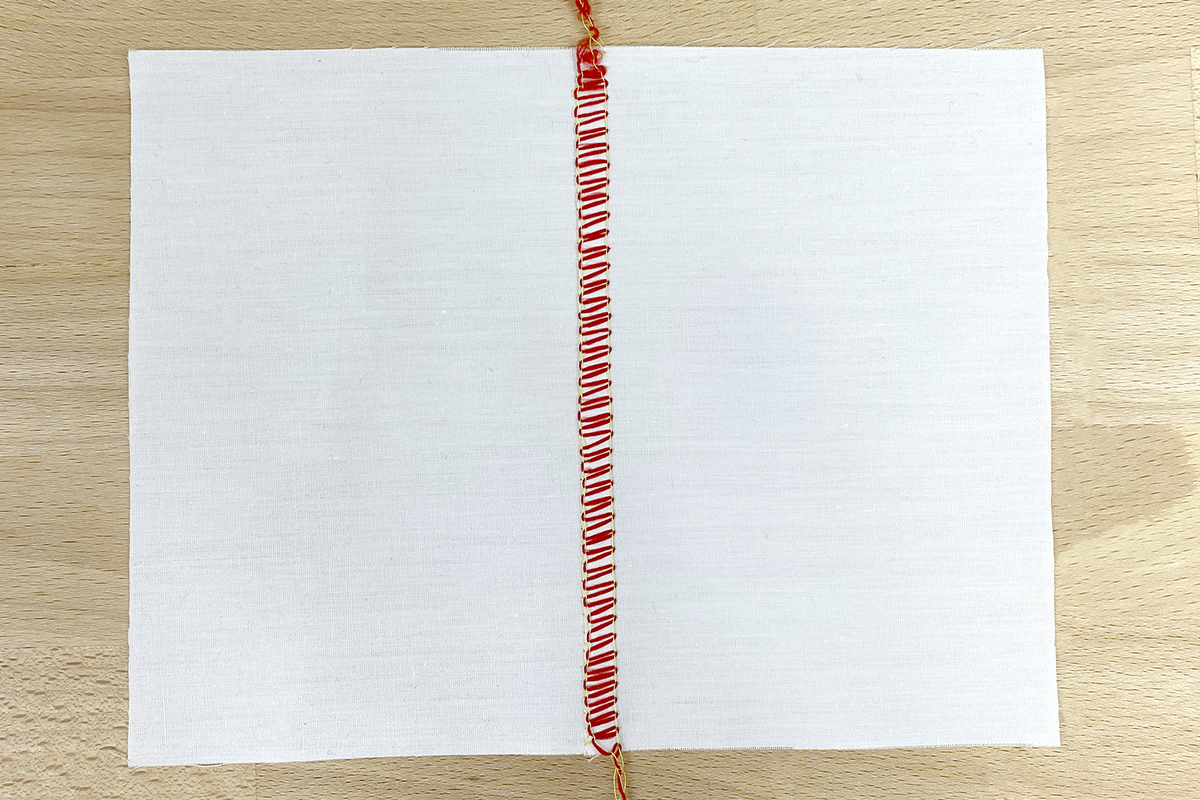
When the seam is first stitched out, it may not appear all that unusual at first. But when the two layers of fabric are opened up and pulled apart from one another, the ladders of our stitch are exposed and the loops lay flat on the other side.
Now let’s take a look at the two-thread flatlock. Since we left off with a wide stitch using the left needle, we’ll set up the two-thread wide stitch here. Our machine settings are as follows:
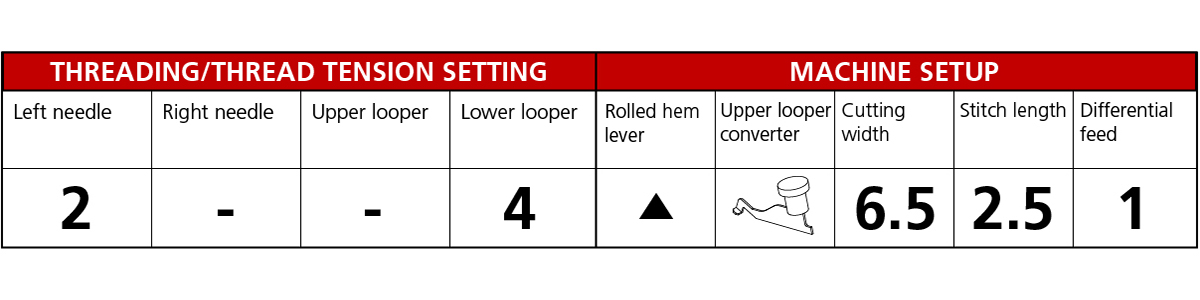
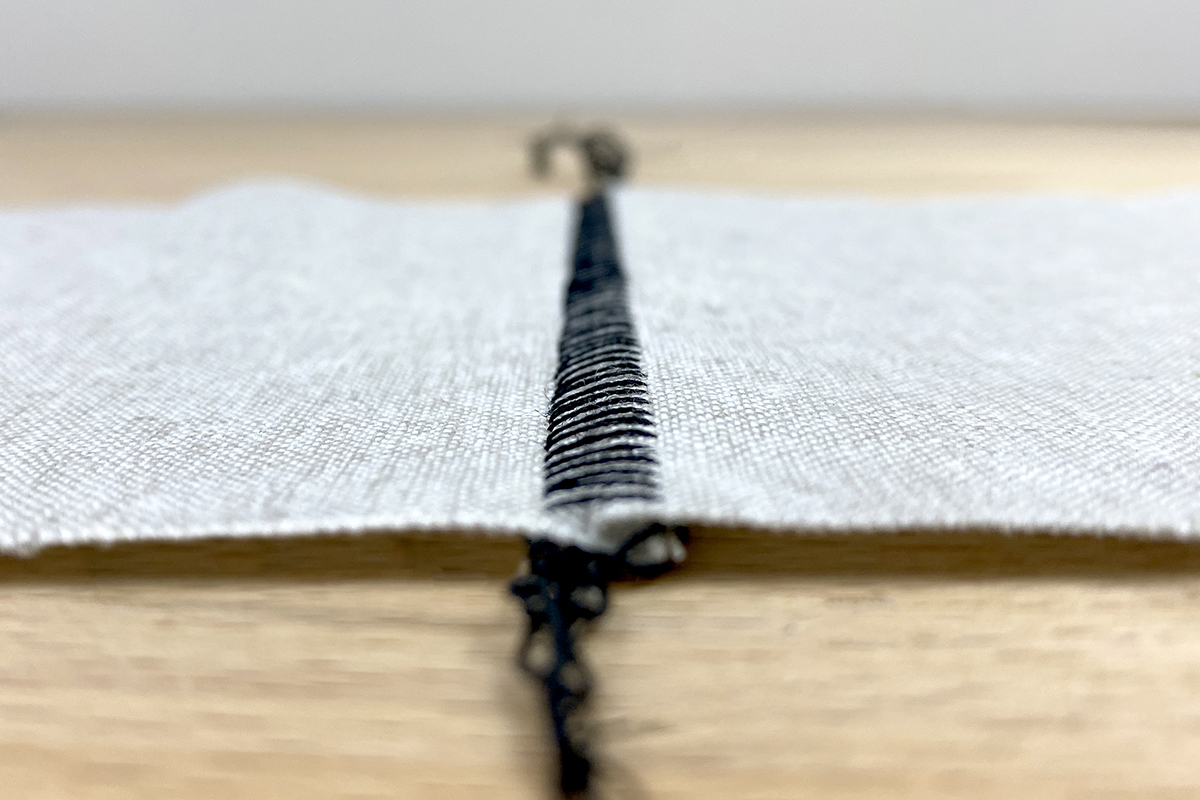
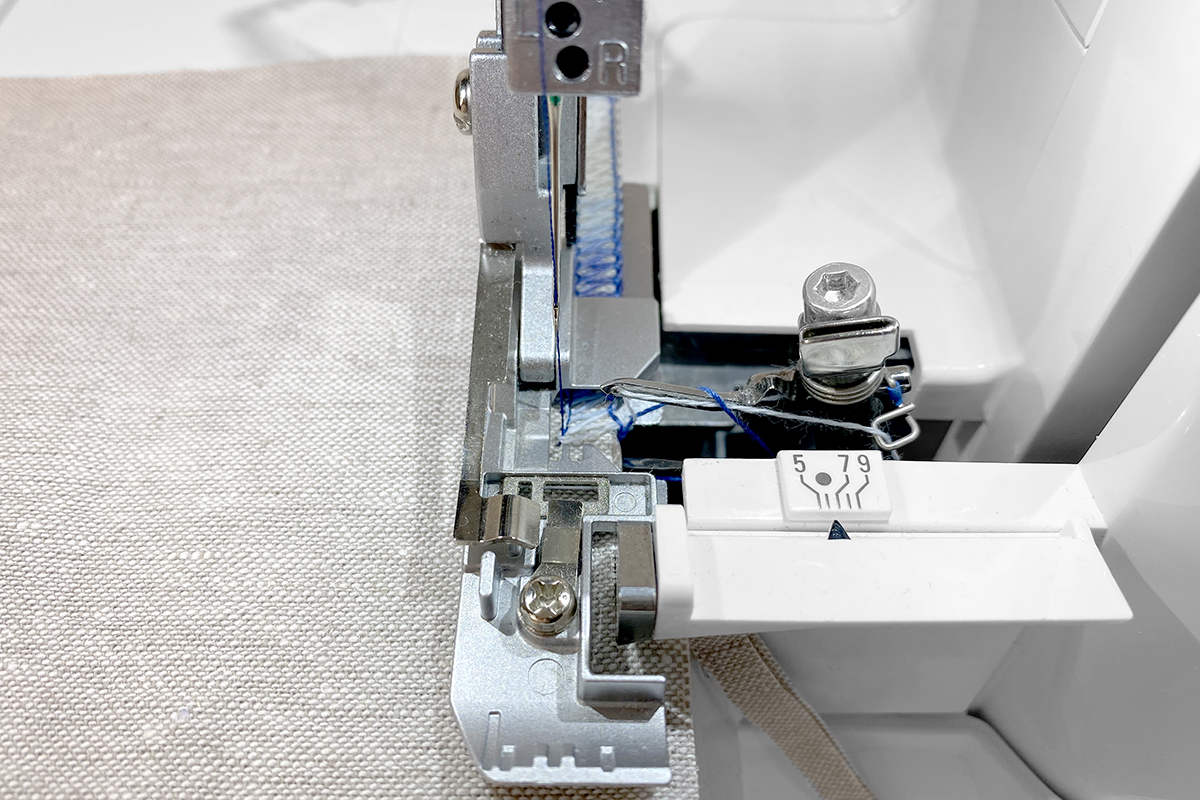
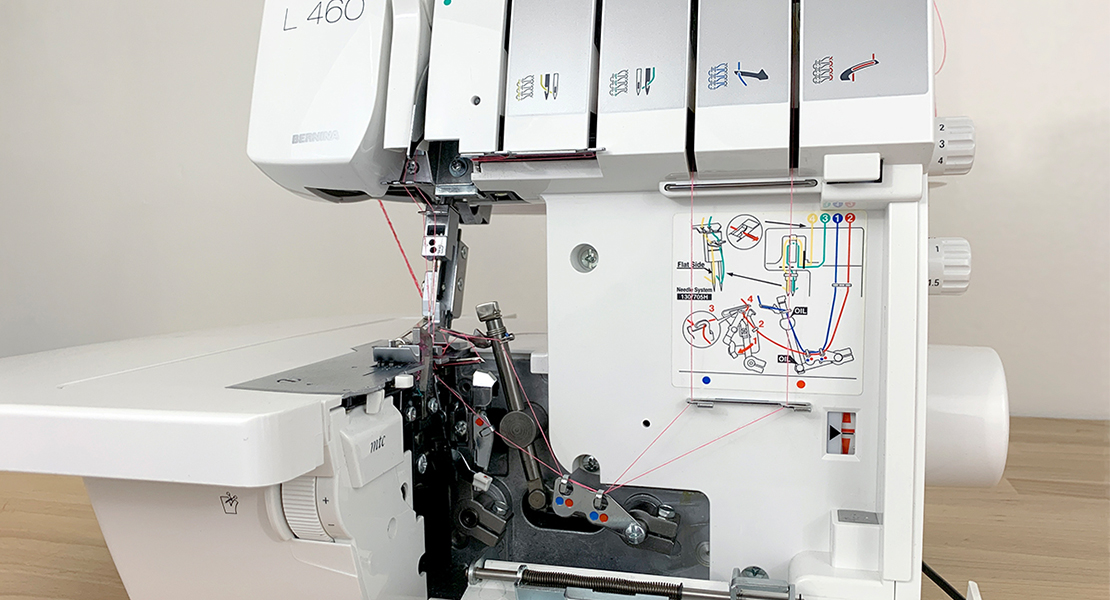
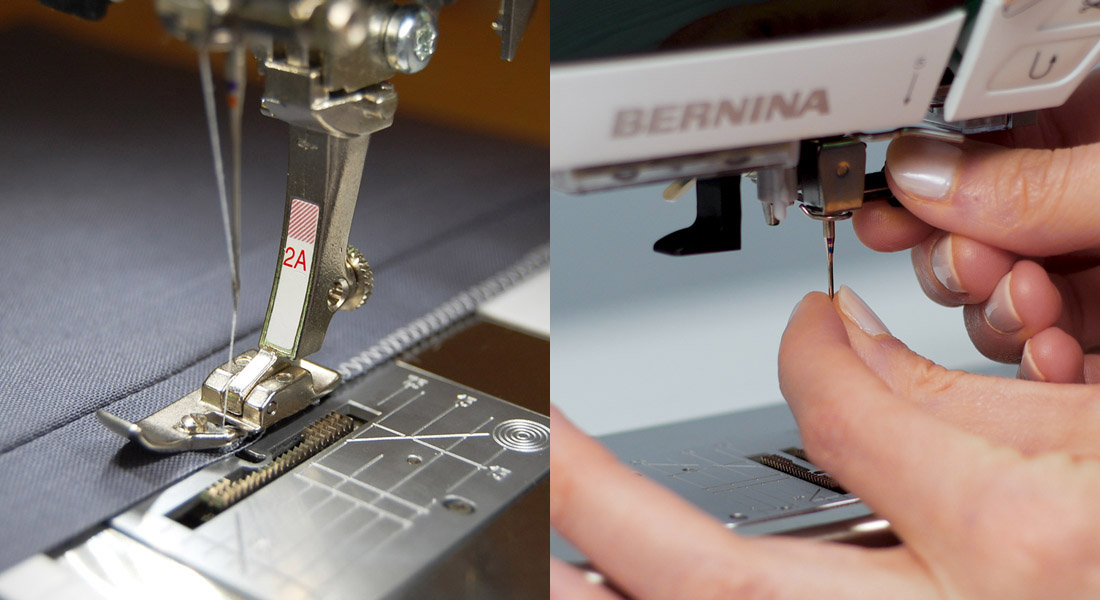
Notice here that since we aren’t using the upper looper, we need to install the upper looper converter (ULC). This is a tiny piece that stores in the looper door when the machine is opened up. Slide the blunt end of the ULC into the groove at the top of the looper.
Then, give the pointed end a careful pull around the back side of the looper to hook through the looper eye.
Again, stitch down the seam and then pull the fabrics apart. Here you can see the difference between the two-thread and three-thread versions of this stitch. They may look generally similar but keep in mind how much strength an extra thread adds to this stitch.
Stitch Troubleshooting
Many of the tips for correcting thread tension from our post about the overlock stitch will carry through to any stitch sewn on the overlocker. There are a few other things to consider for the flatlock though
Prescribed settings are found in the stitch charts provided (which are also found in your machine’s manual), but don’t be afraid to tweak them. If you find your fabric doesn’t want to open up and lay quite flat, reduce tension on your needle. This should create more slack in the “ladders” of our stitch.
You also don’t want to forget about the Micro Thread Control (MTC). Increasing the MTC, and thus moving our stitch finger out away from the fabric, is also a way to add create a little extra room in our seam for our fabrics to open up and nest neatly, while preserving the tension and integrity of the stitch.
Decorative Flatlocks
As I mentioned earlier, some really cool decorative stitching effects can be created when different weights and textures of threads are brought into a flatlock. These threads will perform best when used in the loopers as opposed to the needles.

Texturized nylon threads create an extra soft, fluffy seam that’s fantastic for active wear or curve-hugging knits. Heavier weight (like 12 or 30wt) threads in cotton or wool create bold stitches. You can even try metallic threads in your loopers for a little extra sparkle in your stitching.
Finishing the Seam
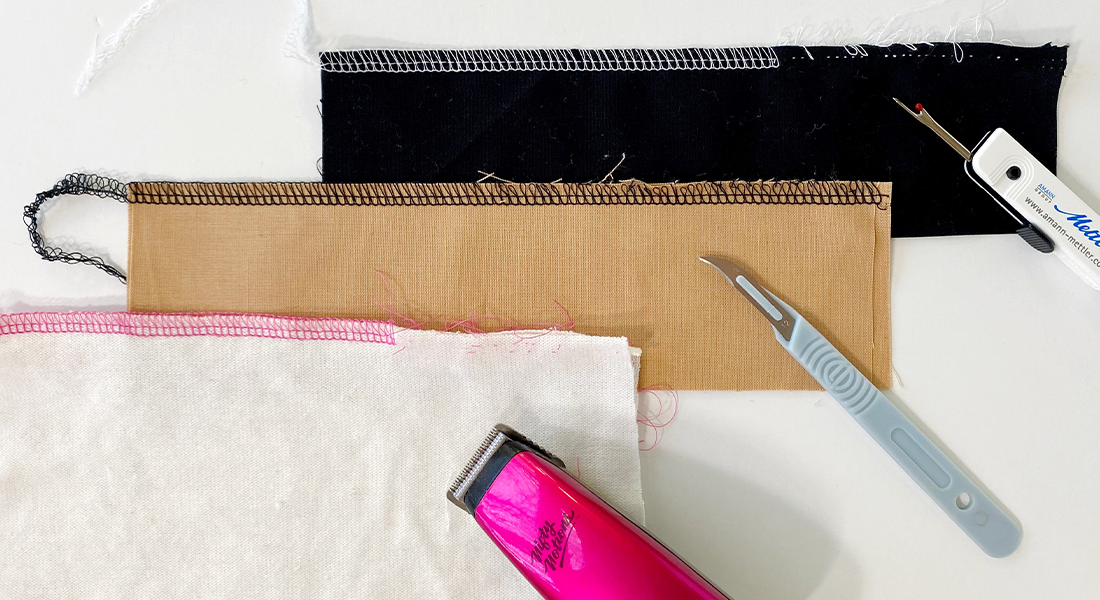
Just like with our overlock seams, it’s important to secure the ends of the flatlock seam. Because this seam gets opened up, it’s important to leave a decent length (3-4”) thread chain at the beginning and end of your seam. Your needle thread may pull up from the thread chain as you start opening the seam.
Once again it is important to tuck your threads and secure with a fray blocker.
Overlocker/Serger for Beginners Series
Part 1: Overlocker for Beginners—An Introduction to Sergers
Part 2: Overlocker for Beginners—The Essential Overlock Stitch
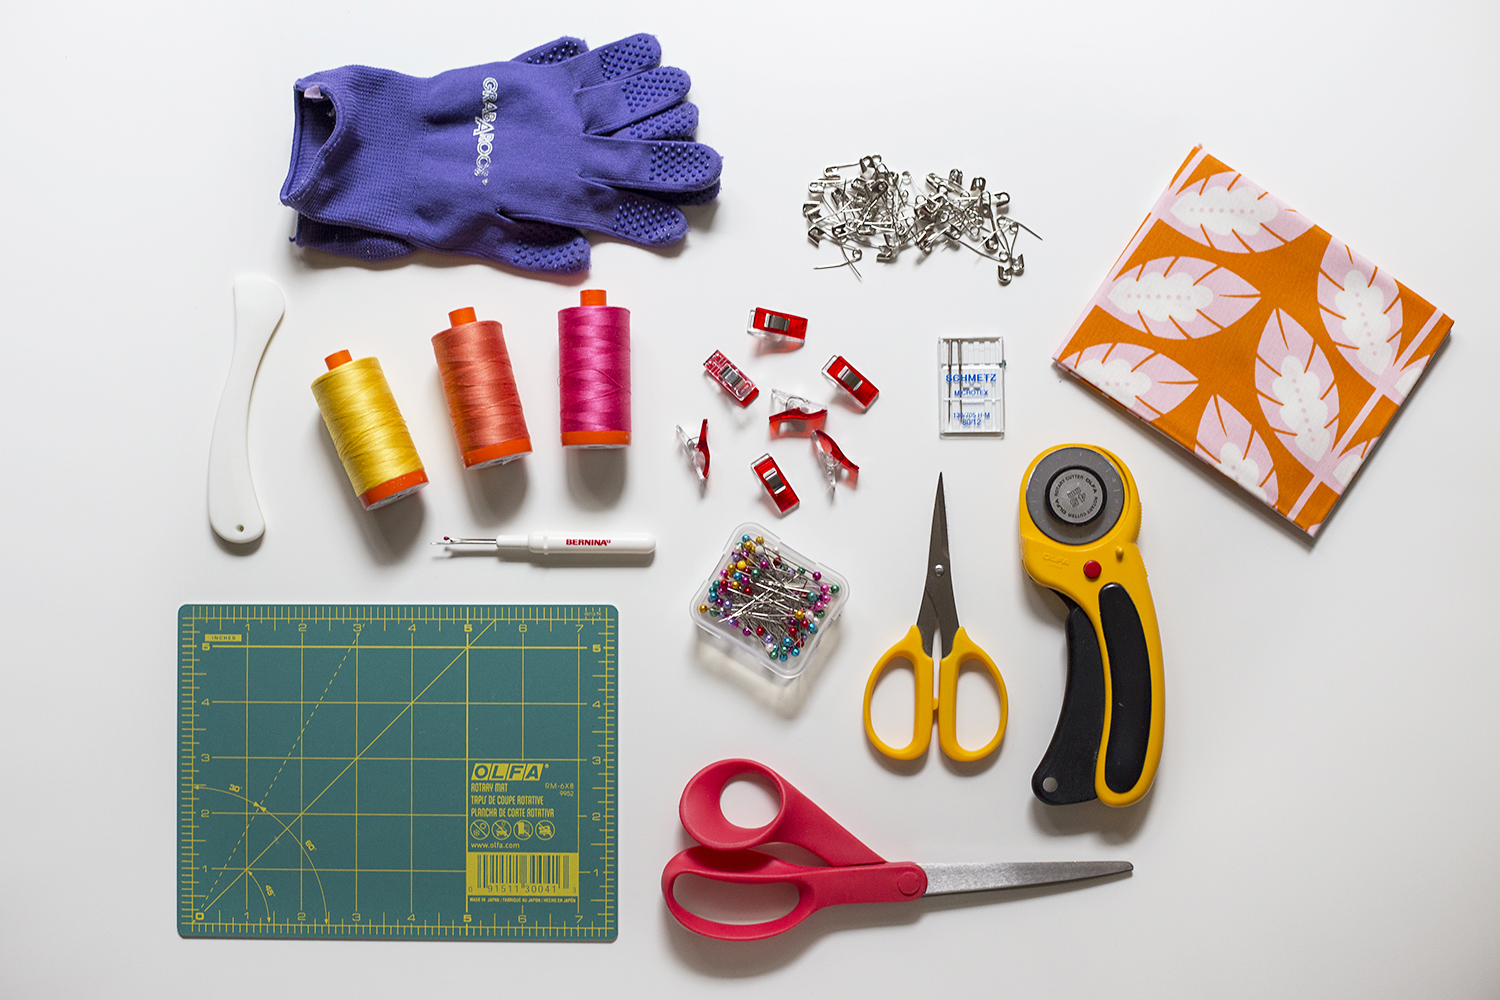
Used Products

What you might also like


6 comments on “Overlocker for Beginners-The Flatlock Stitch”
-
-
I just purchased the L460 – it is so quiet and does such a great stitch. I have not had to adjust a thing, but with all the info on the machine, it will be easy.
-
I have an older 334D and would like to get a new serger but this one works so well. There isn’t any stitch that doesn’t work great on my serger. A cover stitch machine would be wonderful to have but I will settle for a perfect flatlock stitch.
-
I have the 334DS for all these many years. It still works like a champ. Did you know that the Bernette was made by Juki? I just used my flatlock converter (how I never lost the adapter I don’t know). I had the idea that I could use this flatlock using the widest stitch length to sew batting scraps together. It worked beautifully! I set the tension in the needle and the lower looper to 0. I will also try to do some decorative stitches too. I did give myself a birthday present. I bought the Juki MO1500. It’s a workhorse like our serger!
-
I also have the 334D and just love it. But I did buy the Bernina Coverstich machine and love it too. I am just 5″ and have to hem lots of top hems and sleeves. I hemmed 10 items when I first bought it. Very easy to use, threads very similar to the serger. If you get it, I’m sure you’ll just love it.
-
-
When using a flat lock seam in spandex active wear, is it necessary to sew a double straight stitch over the flat lock stitch?
Leave a Reply
You must be logged in to post a comment.

I use my Bernina 900 sewing machine for everything from appliqué to mending to garment construction to decorative projects and it has not failed me since its purchase nearly 50 years ago! I love that it will sew leather, denim seams, quilt binding as easily as quilting cotton seams. It truly is a workhorse and I love it! I wonder if the new versions of this machine are as strong and reliable as this machine is.