Stardust Quilt-along: Quilting
Hi there! I’m BERNINA Expert Amanda Murphy and this month I’d like to show you how I quilted the Stardust quilt.
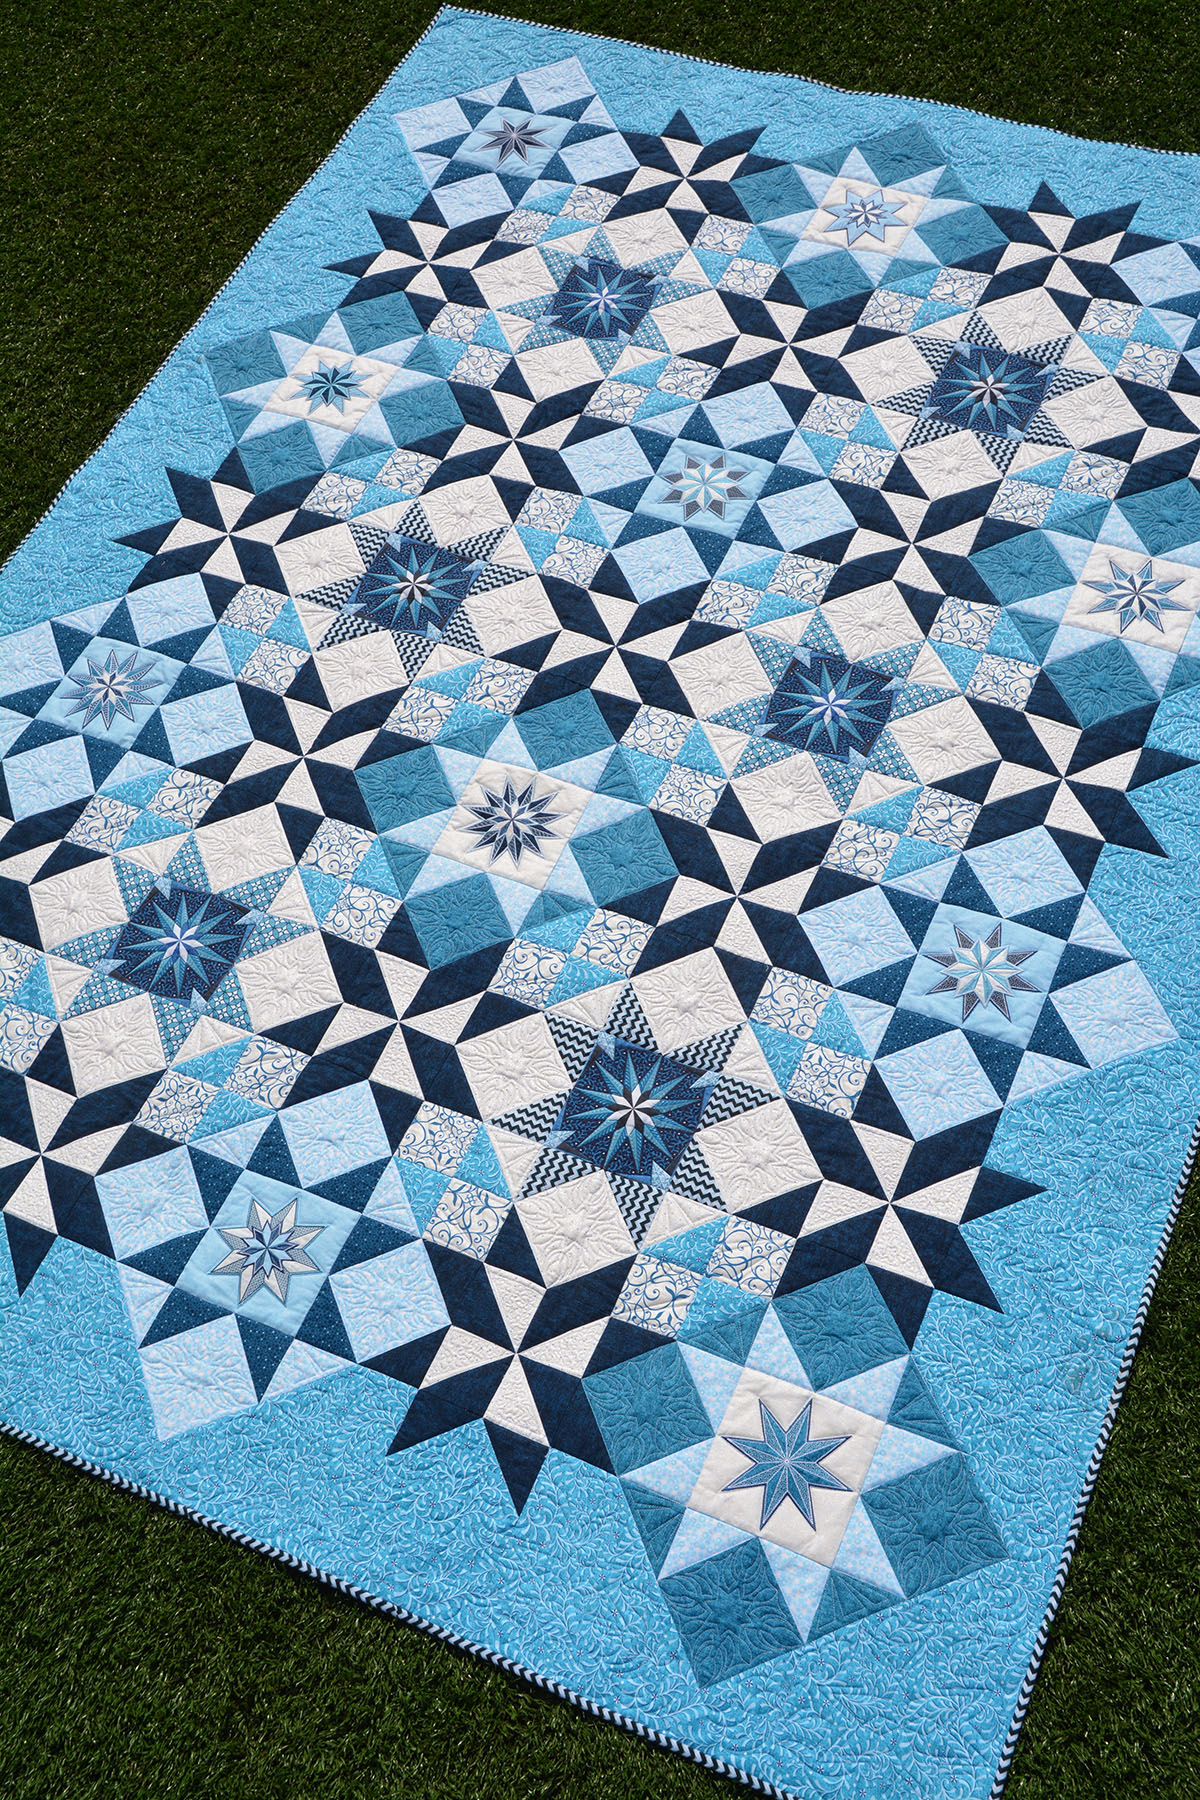
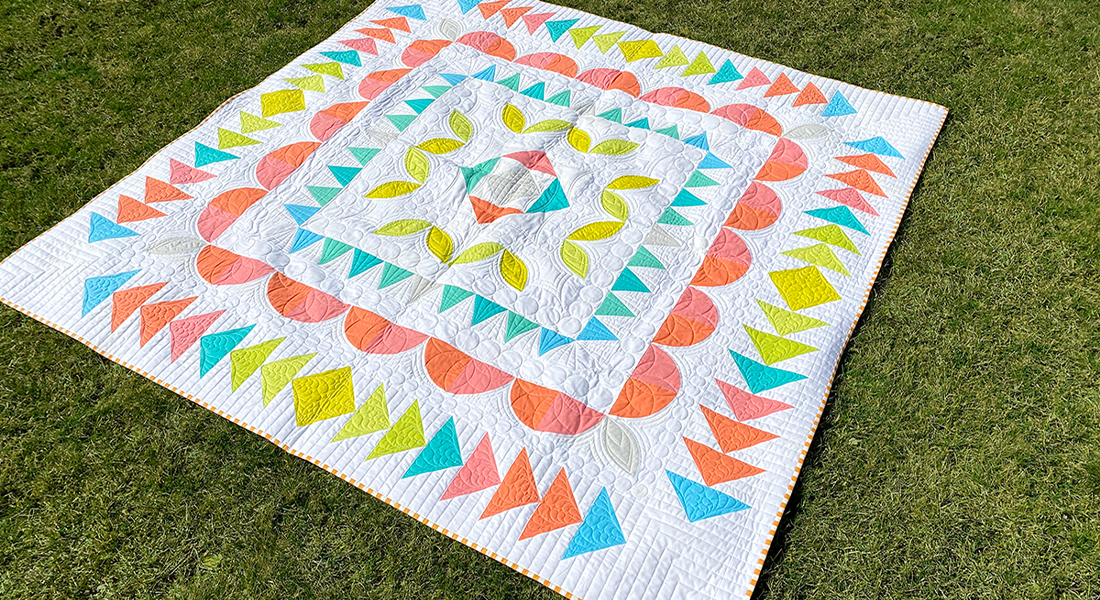
The Stardust Quilt
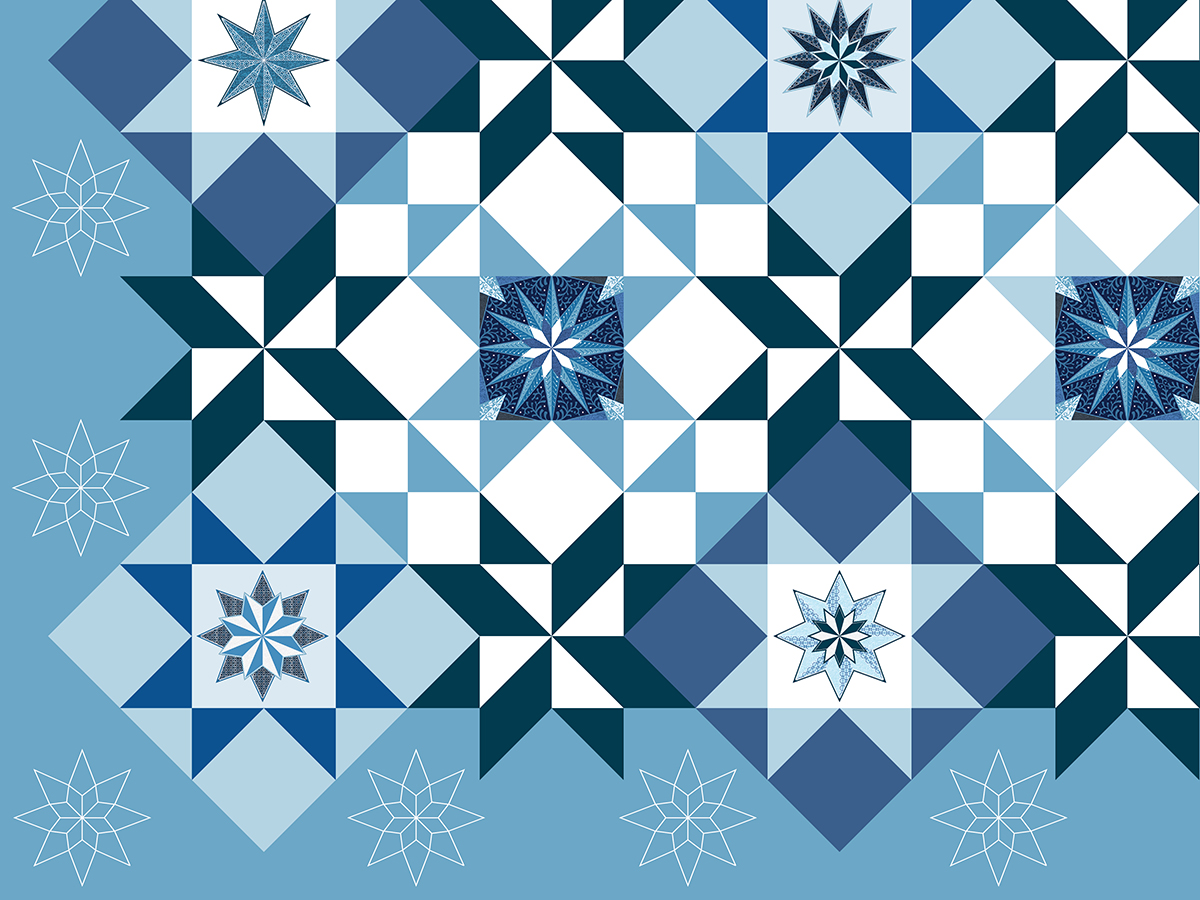
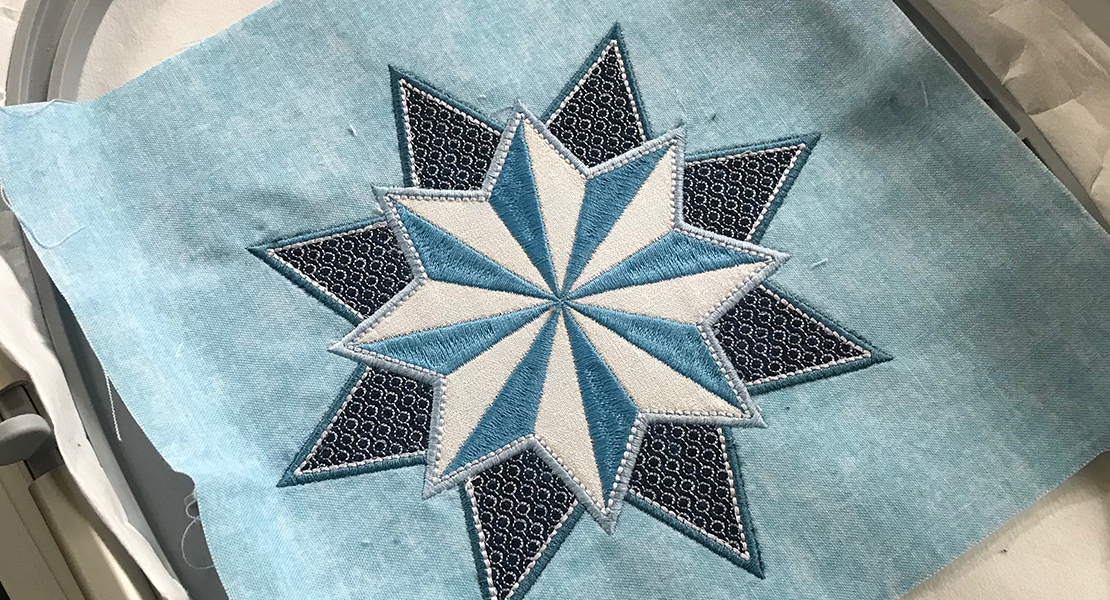
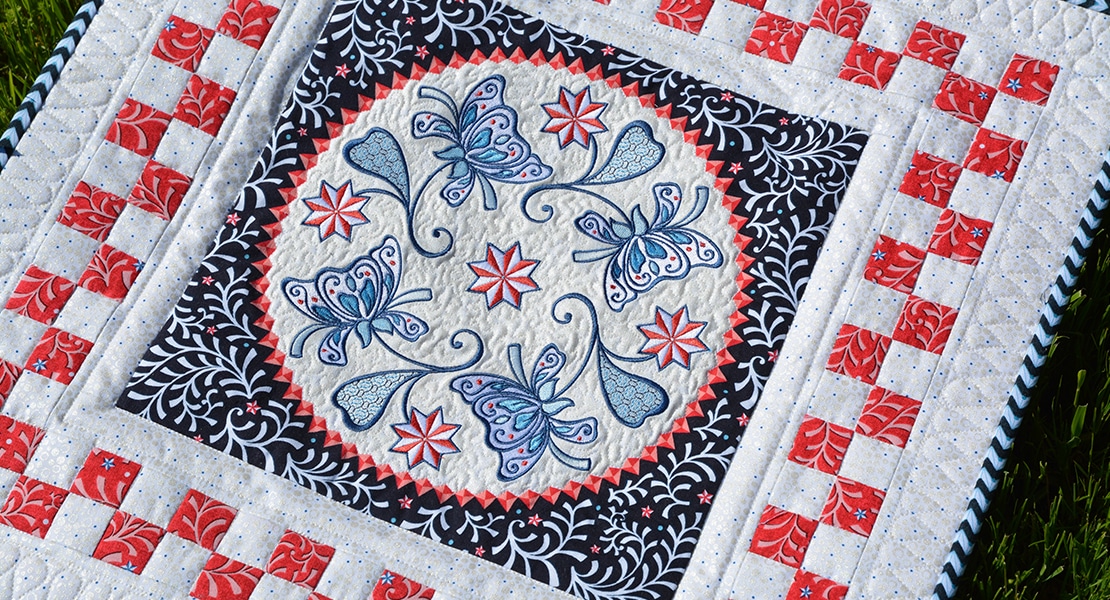
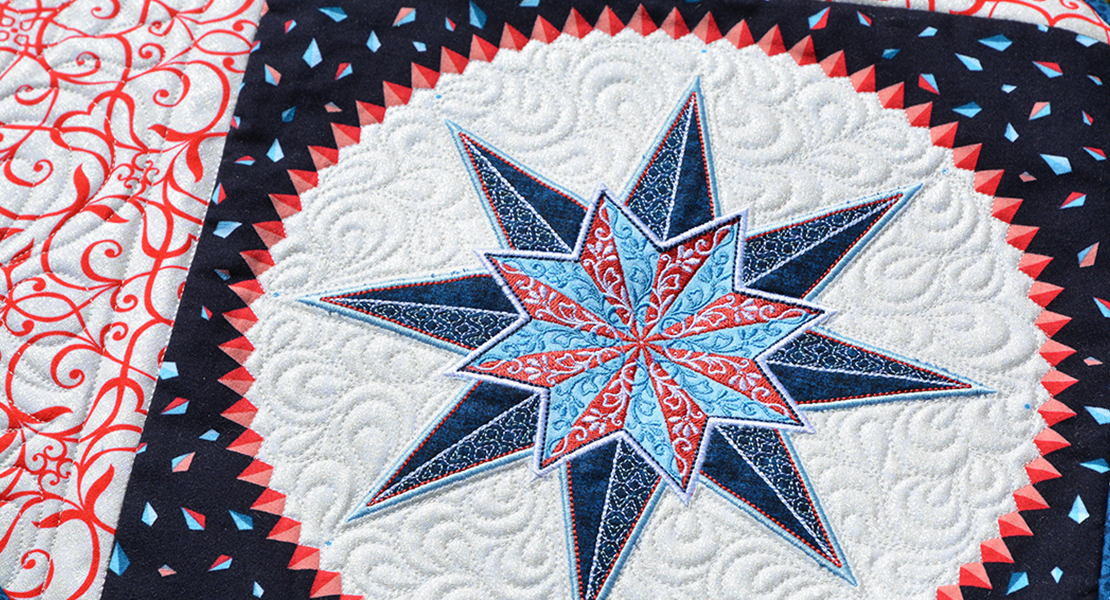
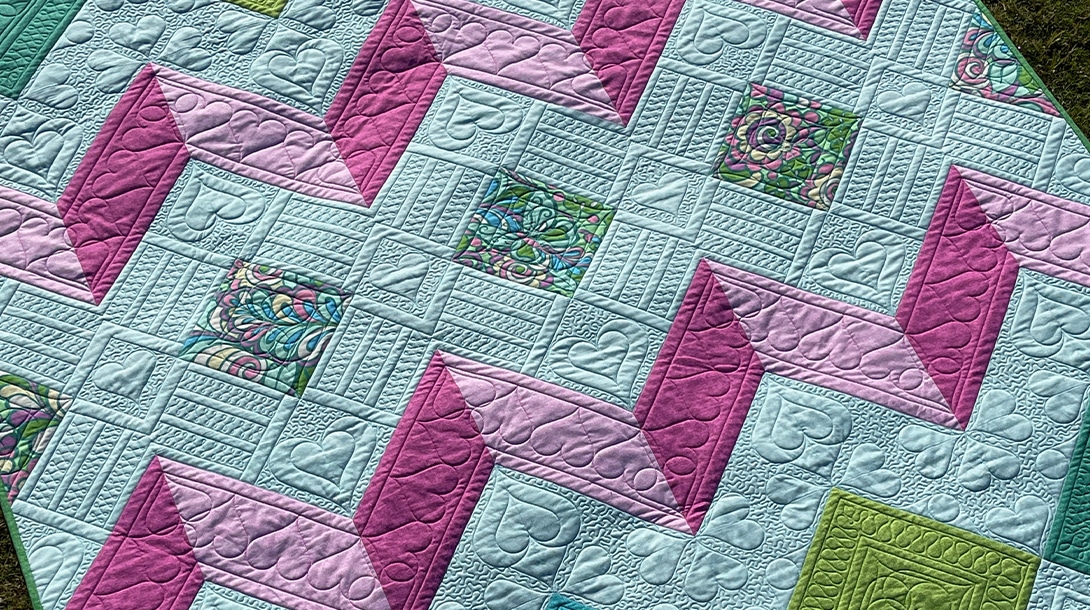
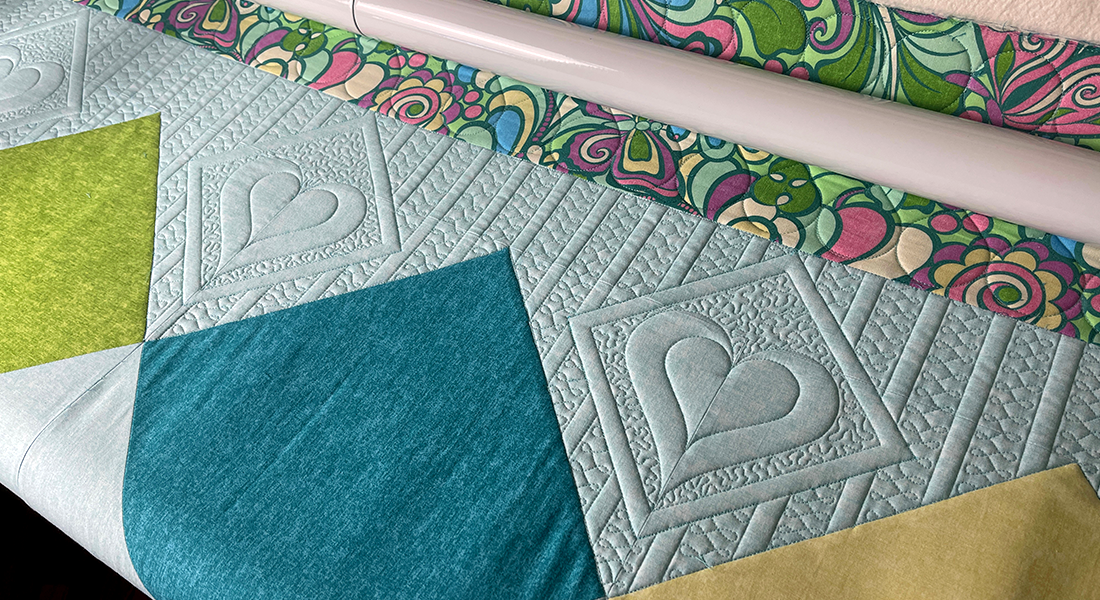
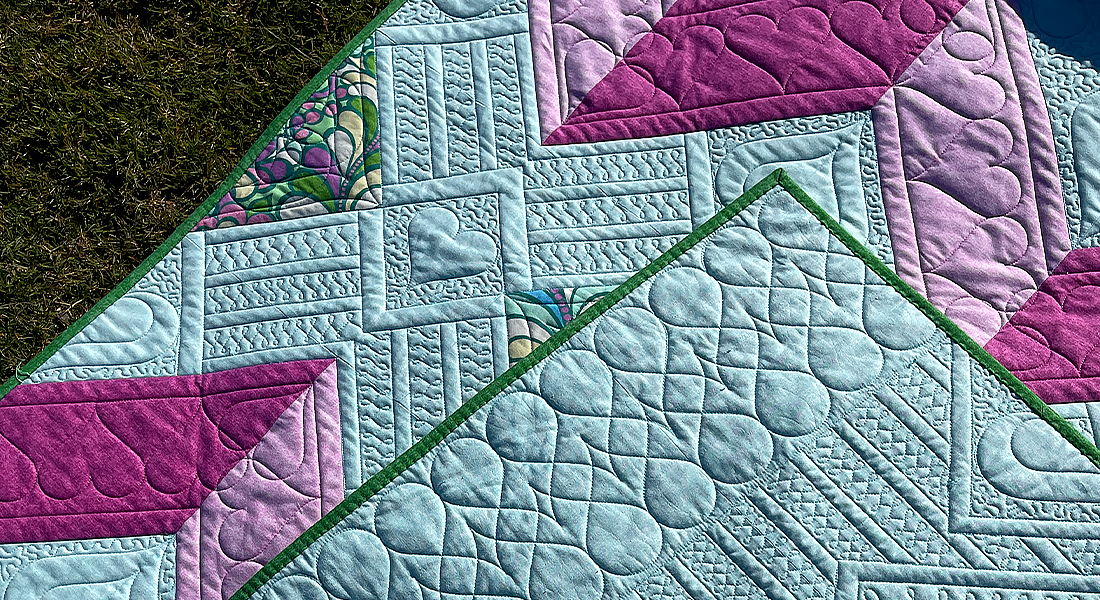
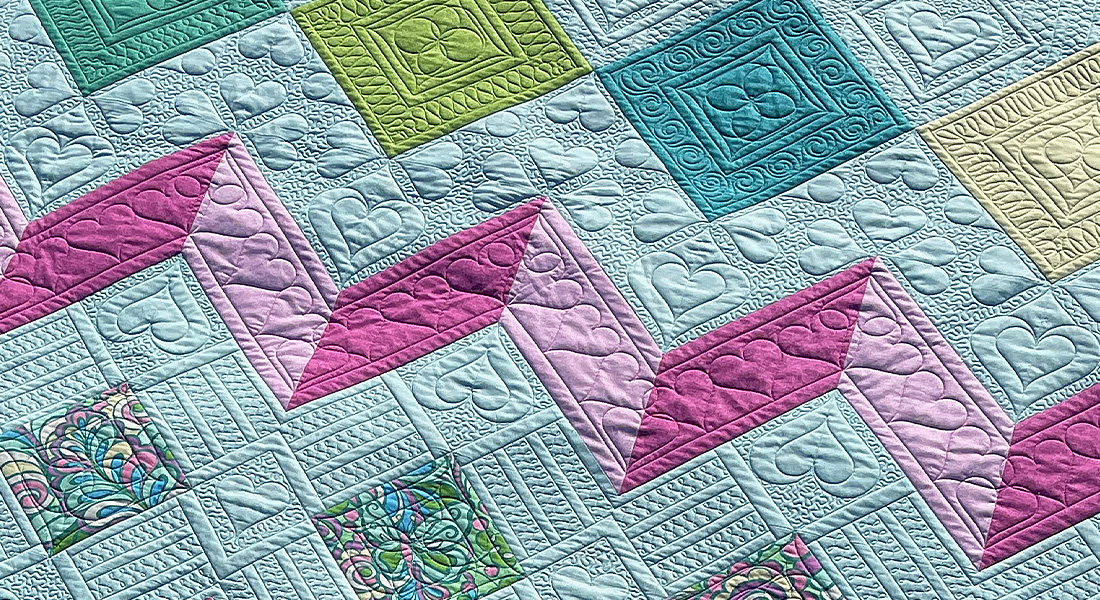
I quilted my quilt on my spectacular BERNINA Q24 longarm (more on that process later) but regardless of what machine upon which I was working, I’d start with the basic quilting and build up the quilting density as I went. I used the quilting designs in the BERNINA-Exclusive Celestial Lights Embroidery Collection, available from your BERNINA dealer, to quilt Stardust. These designs are digitized for BOTH longarm and domestic embroidery machines.
Reminder
Remember to allow plenty of excess backing and batting if you plan to quilt using the custom designs in an embroidery hoop, otherwise there won’t be anything to hoop on the border!
If using a domestic machine, I’d quilt in the following order:
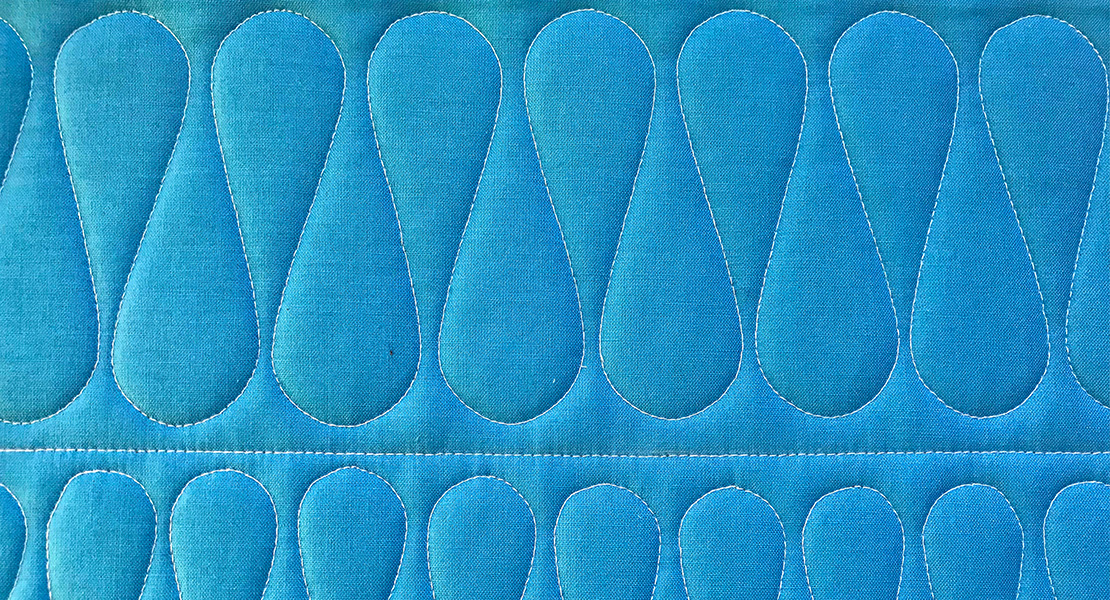
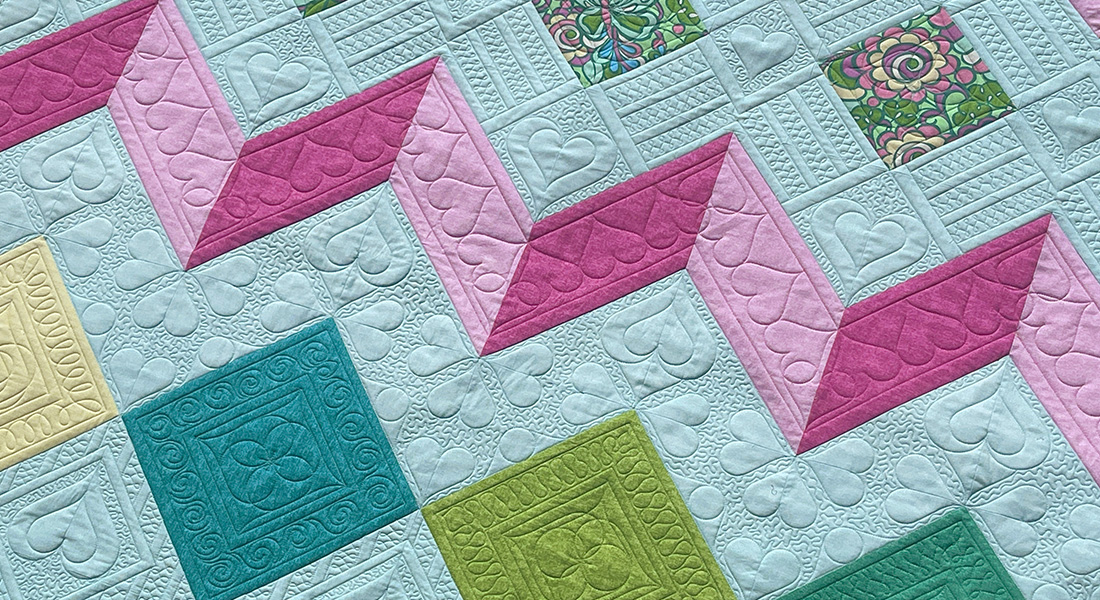
- All the basic quilting lines, which in this case is the “in-the-ditch” work. In all actuality I usually quilt a hairline to one side of the seams, so as not to pierce my stitches, but I’m calling it “stitching-in-the-ditch” here for simplicity. I’d probably start in the center and work out for this process, since there is no defined border that I need to worry about getting straight.

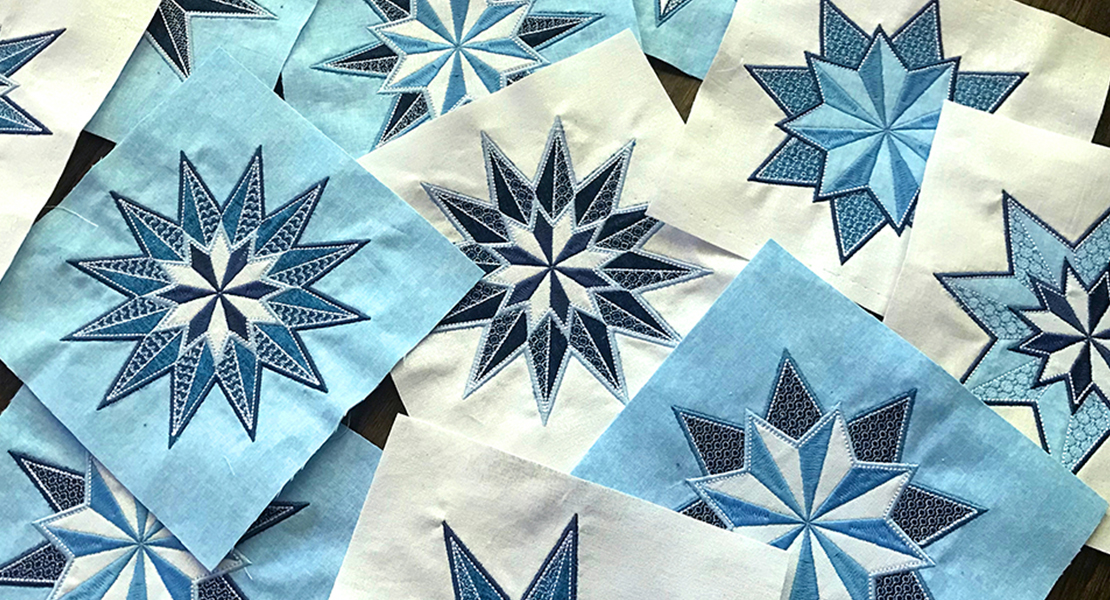
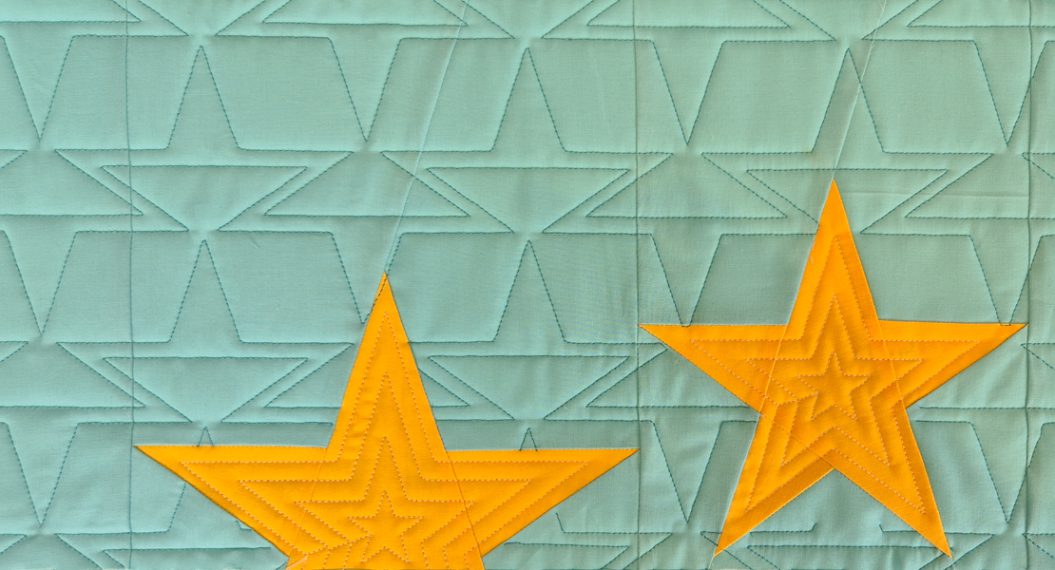
- Stitching around the embroidered stars and the fussy-cut stars, and then the stippling behind them.
- The rays inside the triangle blocks. Also the stippled areas in the rays that are in the white pinwheels that are inside the navy stars. Travel along previous stitches to get to these places if desired.

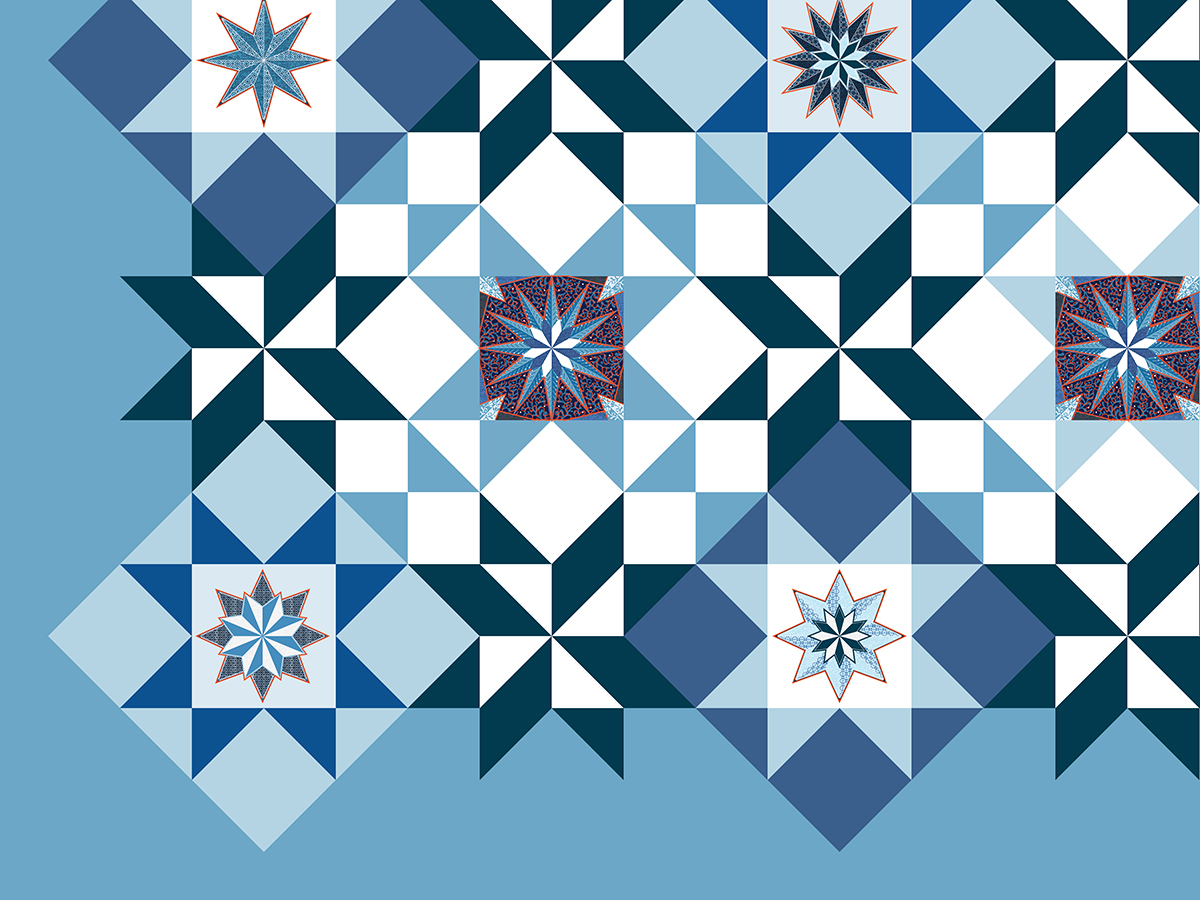
- The digitized block designs 80300-60 in the BERNINA-Exclusive Celestial Lights Collection.
- Tip: if embroidering in the hoop, I would consider scaling these so that they are about 1/4” away from the edges of the block on all sides so your placement doesn’t have to be exact.

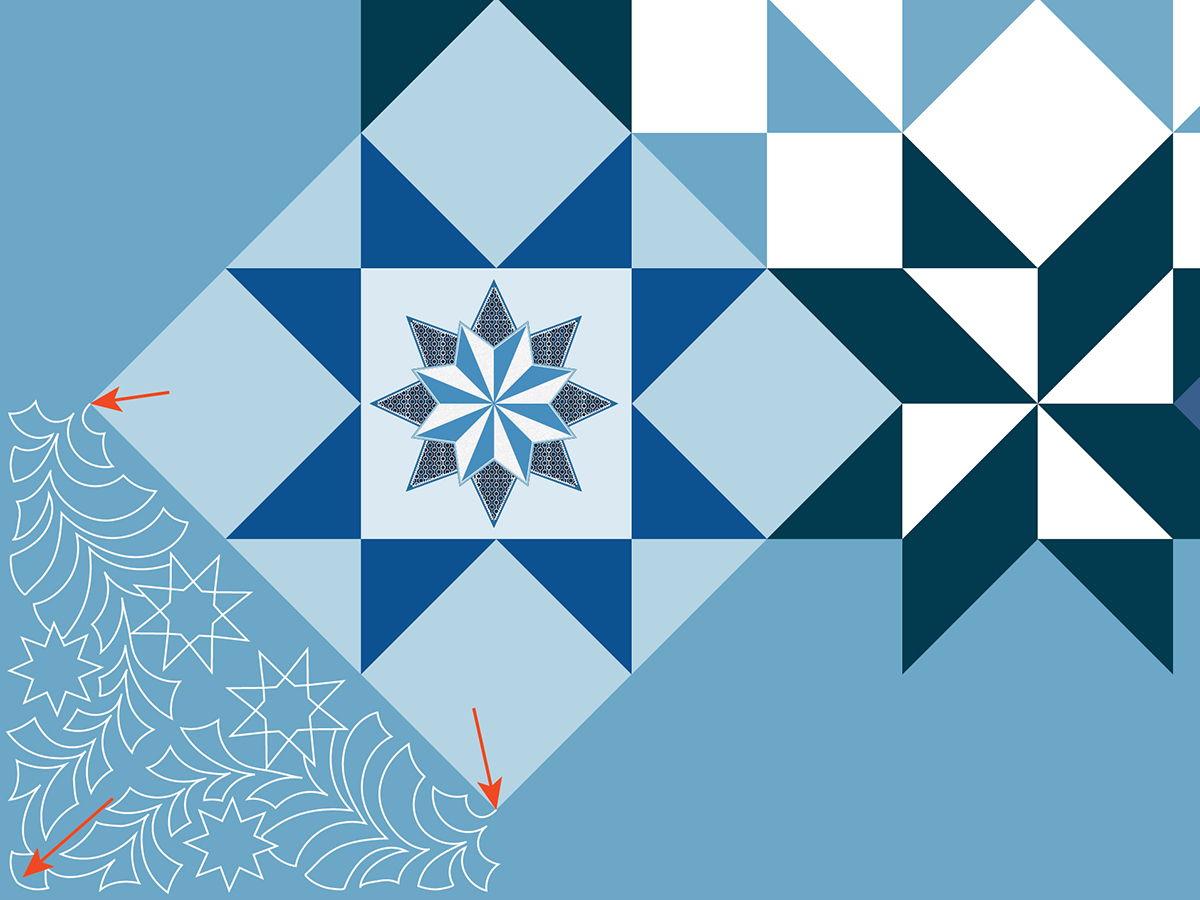
- With regard to the digitized border designs; you have a choice here. You can use pinpoint placement if you have a Maxi or Jumbo hoop to align the starting and ending stitches of Design 80300-63 for the side borders with the seams of the piecing. You’ll flip the designs as you work along the border. Note: the arrows in the diagram pointing to the pinpoint placement points. You can download, print and tape together these pages Stardust_Jumbo_Maxi_Hooping_Hoop Diagrams to help with hoop alignment for Maxi and Jumbo Hoops for the border designs.
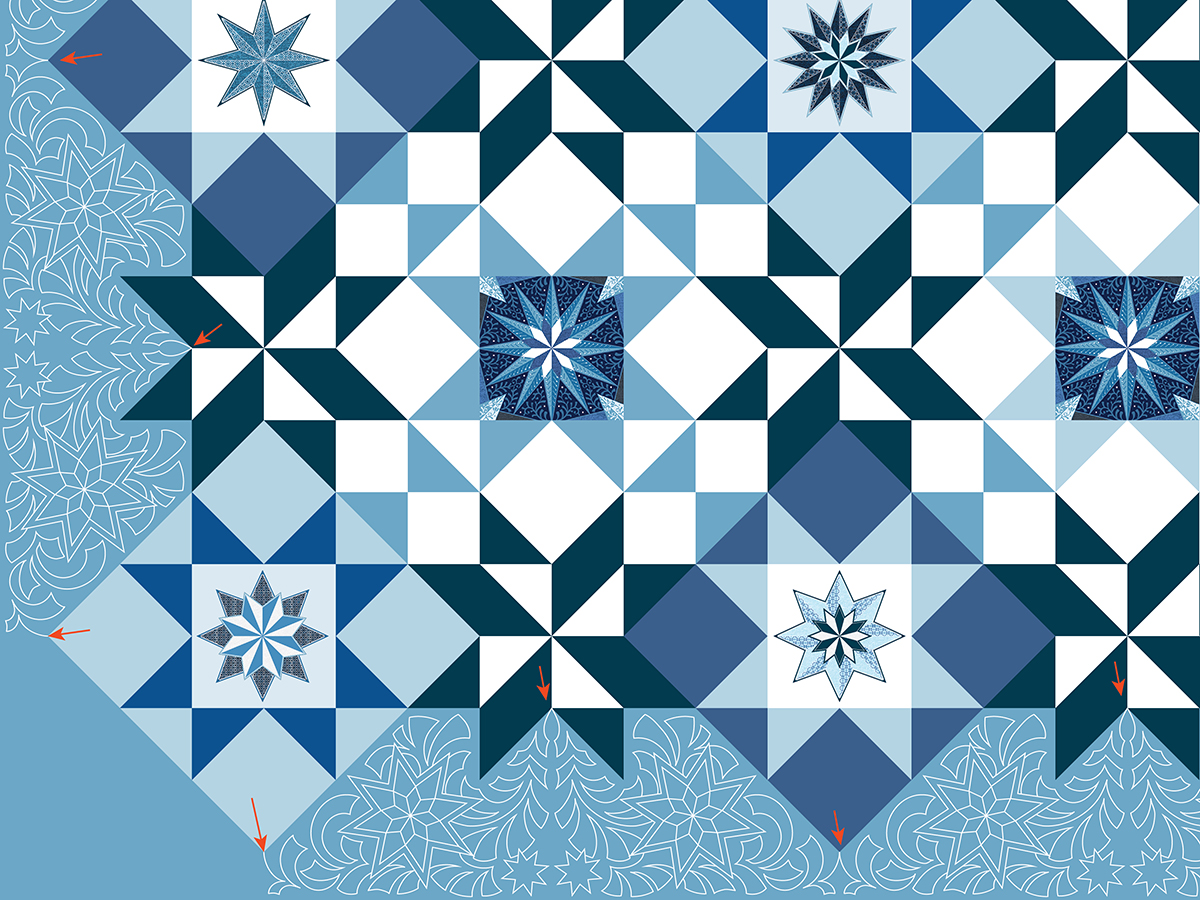
If you have a Jumbo hoop you can use design 80300-61 for the border corners. Note: the arrows in the diagram pointing to the pinpoint placement points.
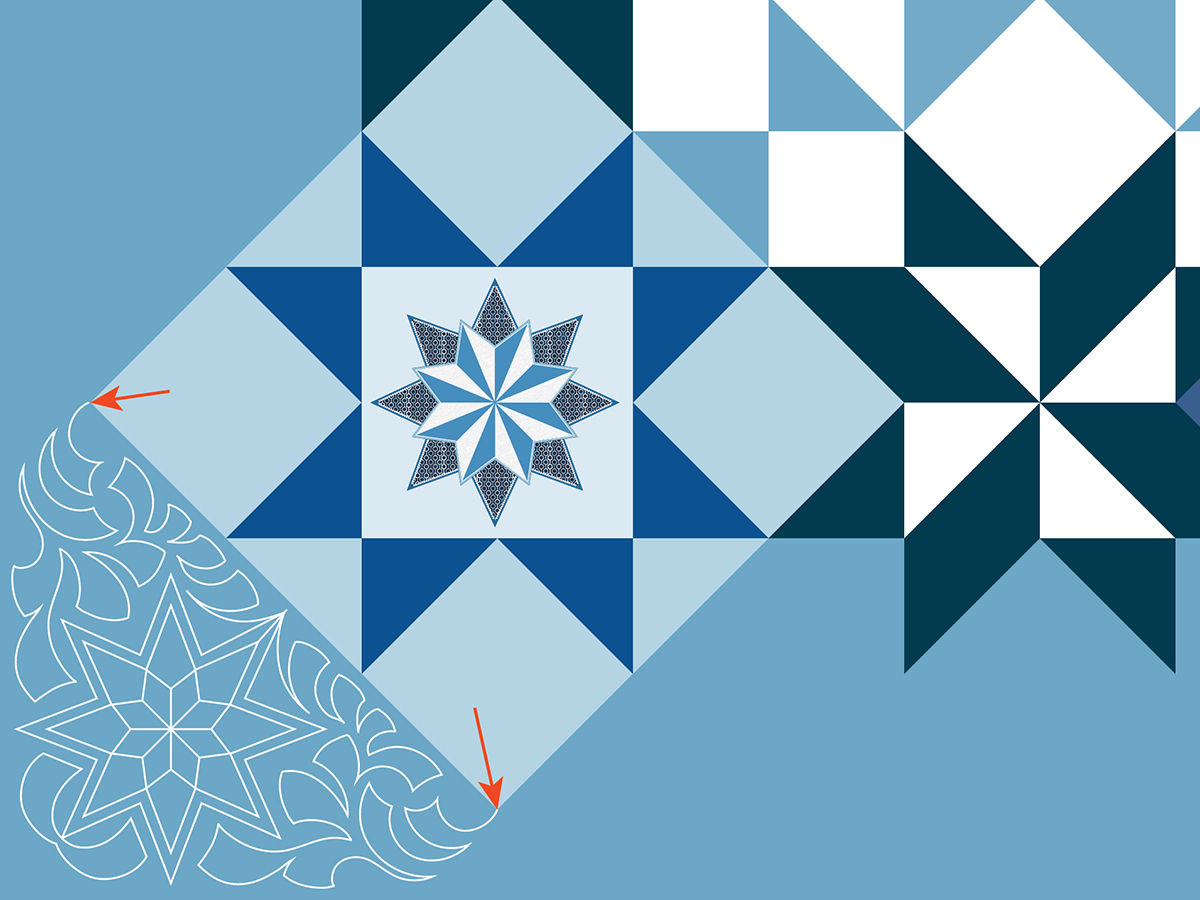
If you have a Maxi Hoop you can mirror image design 80300-62 for the border corners. Note: the arrows in the diagram pointing to the pinpoint placement points.
Or, if you don’t want to mess with any placement, you can plop Design 80300-57 in the border at strategic intervals (you will probably want to scale it) and then free-motion around it.
On a longarm I basically use the same process, doing each of these steps and then rolling the quilt, working from the top of the quilt down.
On a REALLY heavily quilted quilt like the BERNINA 125th Anniversary Quilt, I’d work up and down the quilt in two or three passes to help keep the piece square. The trick is to get enough quilting in the first pass that your quilt top doesn’t get folded on the bars. The Stardust Quilt wasn’t as heavily quilted though, so I was able to finish it in just one pass, completing all the steps and then rolling the quilt before working the next section.
Stardust Quilt-along Schedule
Stardust Quilt-along: Ribbon Candy
Stardust Quilt-along: Piecing Tips and Tricks
Stardust Quilt-along: Stabilizers for Embroidery in Quilts
Quitting Stardust on the BERNINA Q24 longarm
I hope you have enjoyed quilting the Stardust Quilt! Have a happy holiday season!
Amanda
Used Products

What you might also like


2 comments on “Stardust Quilt-along: Quilting”
-
-
I have Q20, having a hard time with my stitching do I need the Bernina needles to quilt?
Leave a Reply
You must be logged in to post a comment.

I LOVE the Stardust quilt. Can I get a pattern? I don’t have a Bernina. I have a Pfaff Creative Sensation embroidery machine. Can I do the embroidery from Bernina on my Sensation??