Stardust Quilt-along: Embroidery
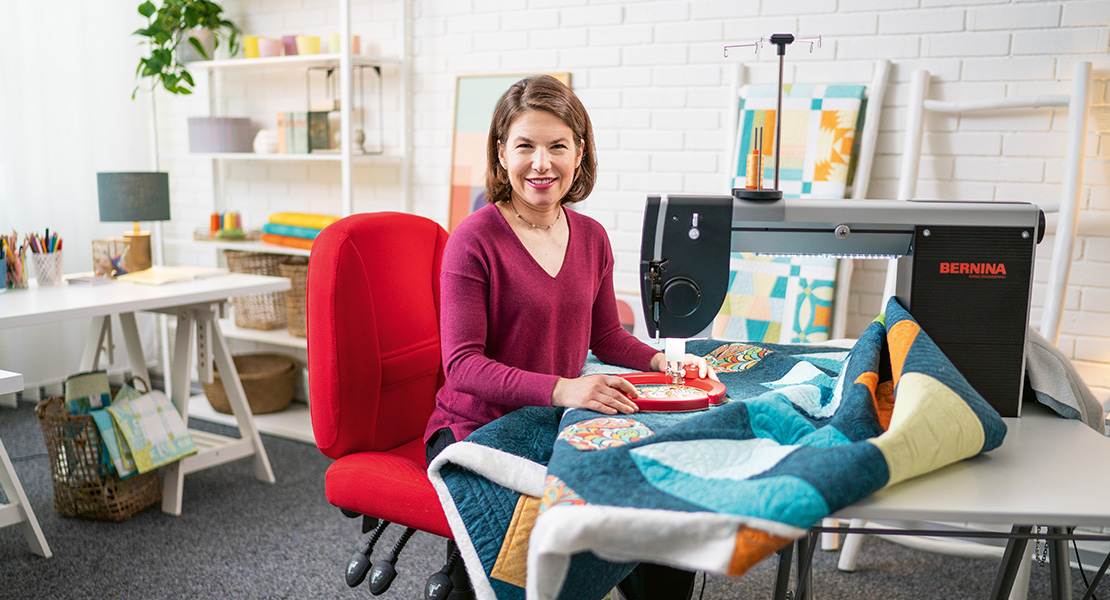
Hi there! I’m BERNINA Expert Amanda Murphy and, as part of the Stardust Quilt-Along, I wanted to share with you how I embroider blocks for incorporation into a quilt.
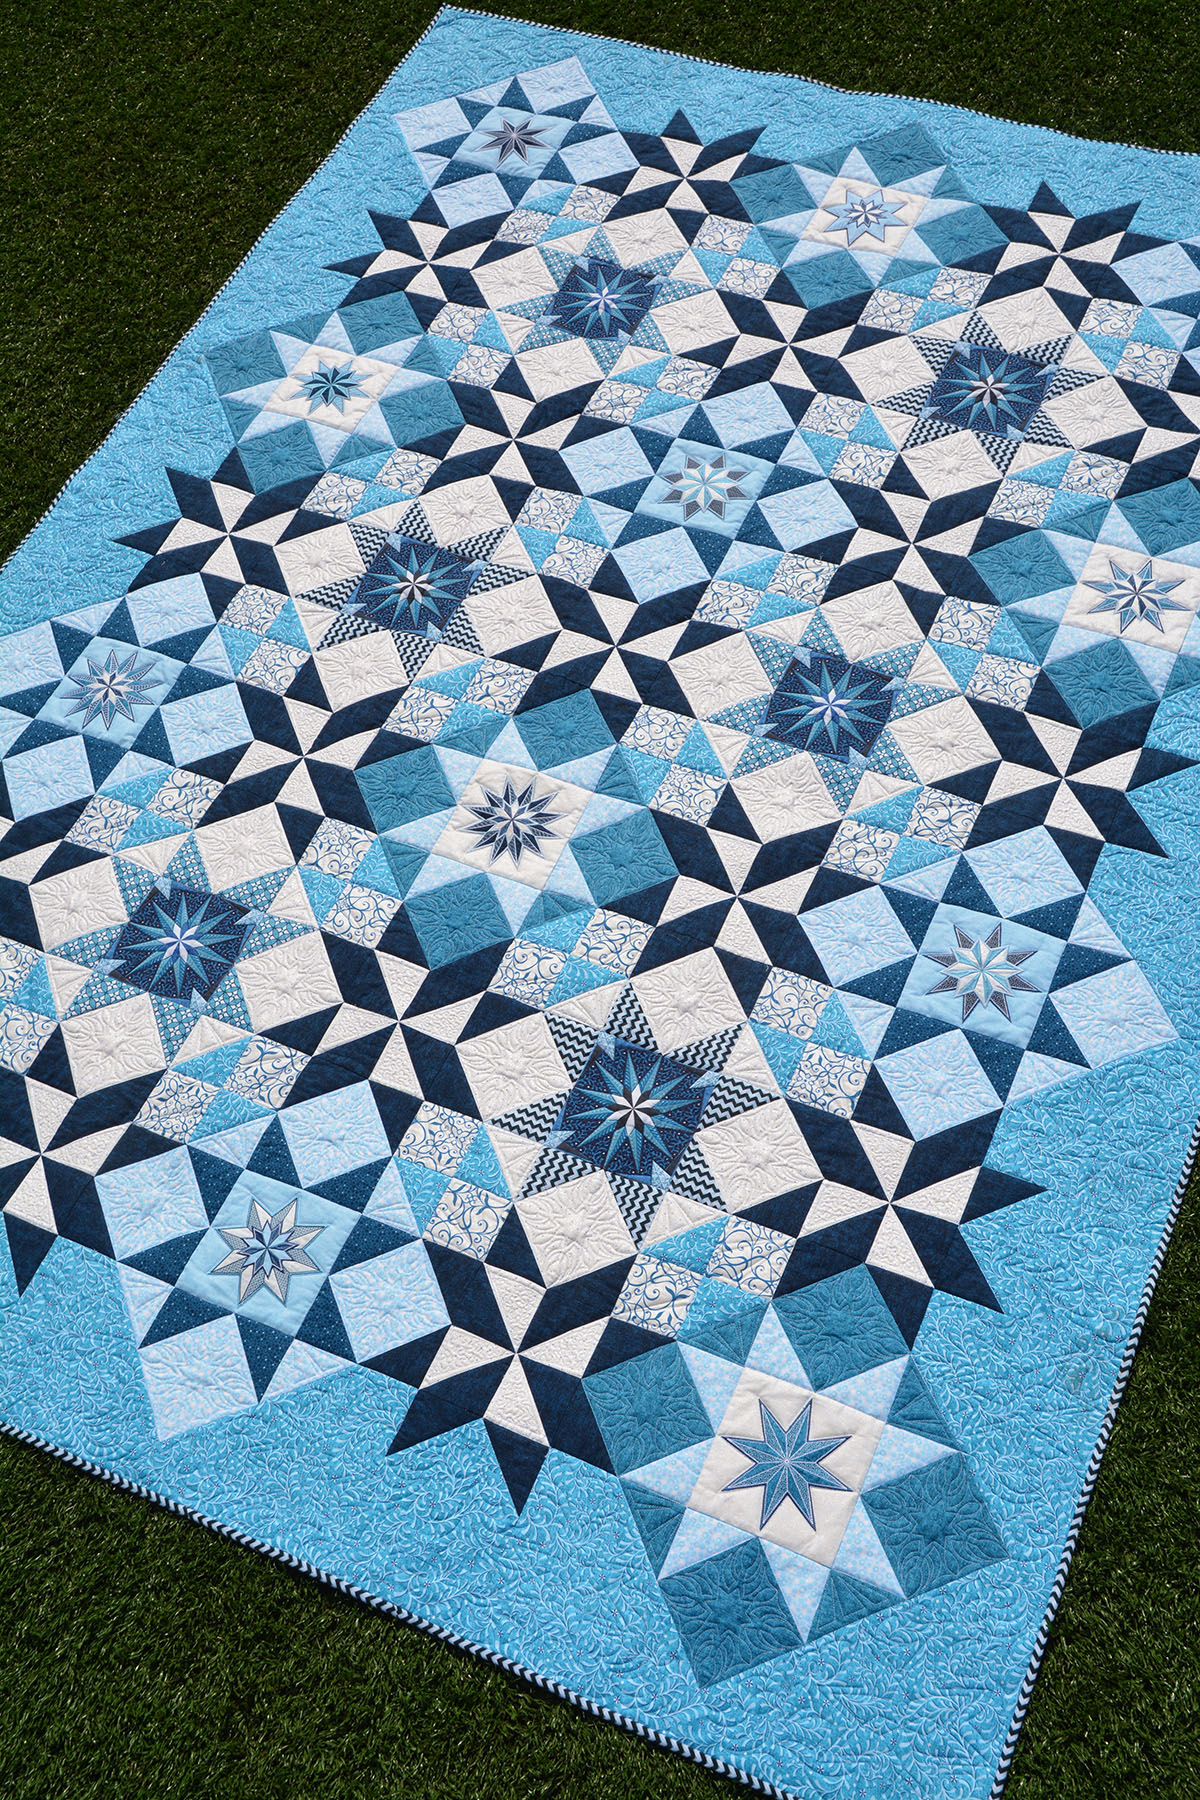
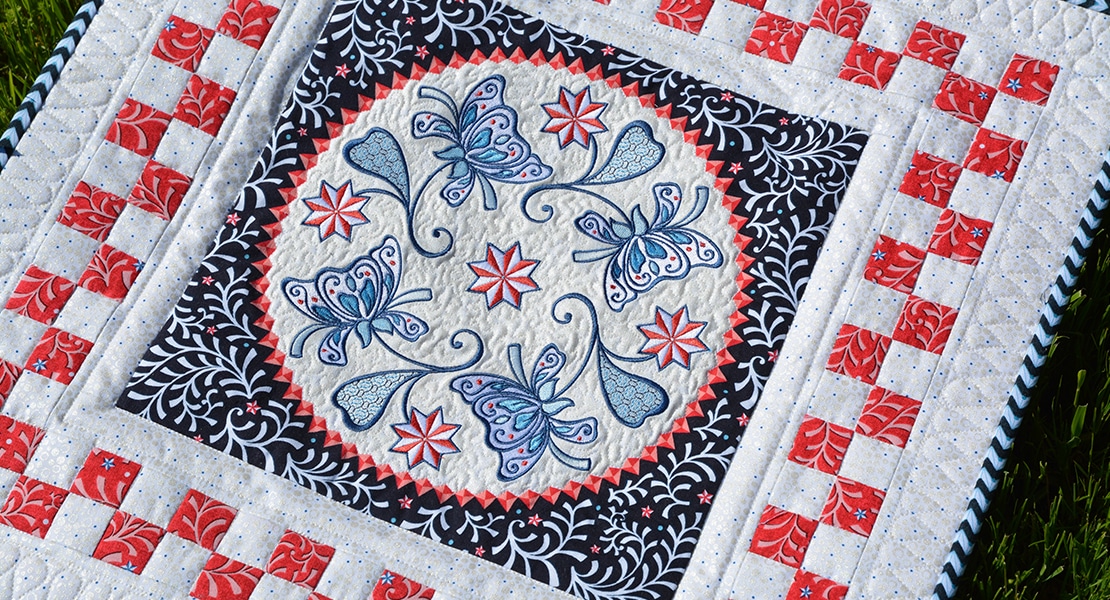
The Stardust Quilt
Stardust Quilt-along Schedule
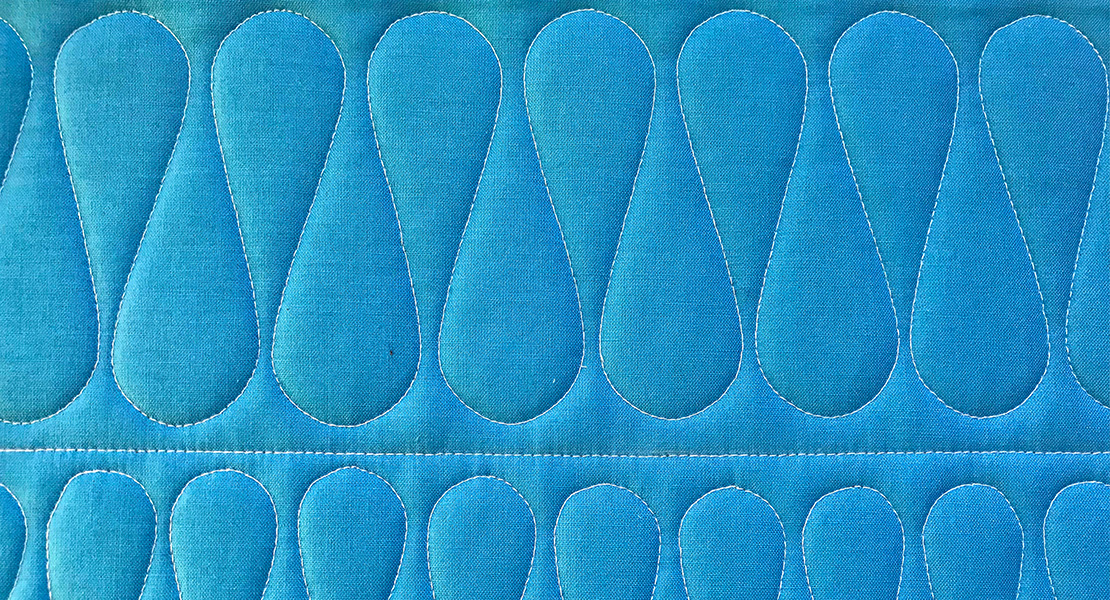
Stardust Quilt-along: Ribbon Candy
Stardust Quilt-along: Piecing Tips and Tricks
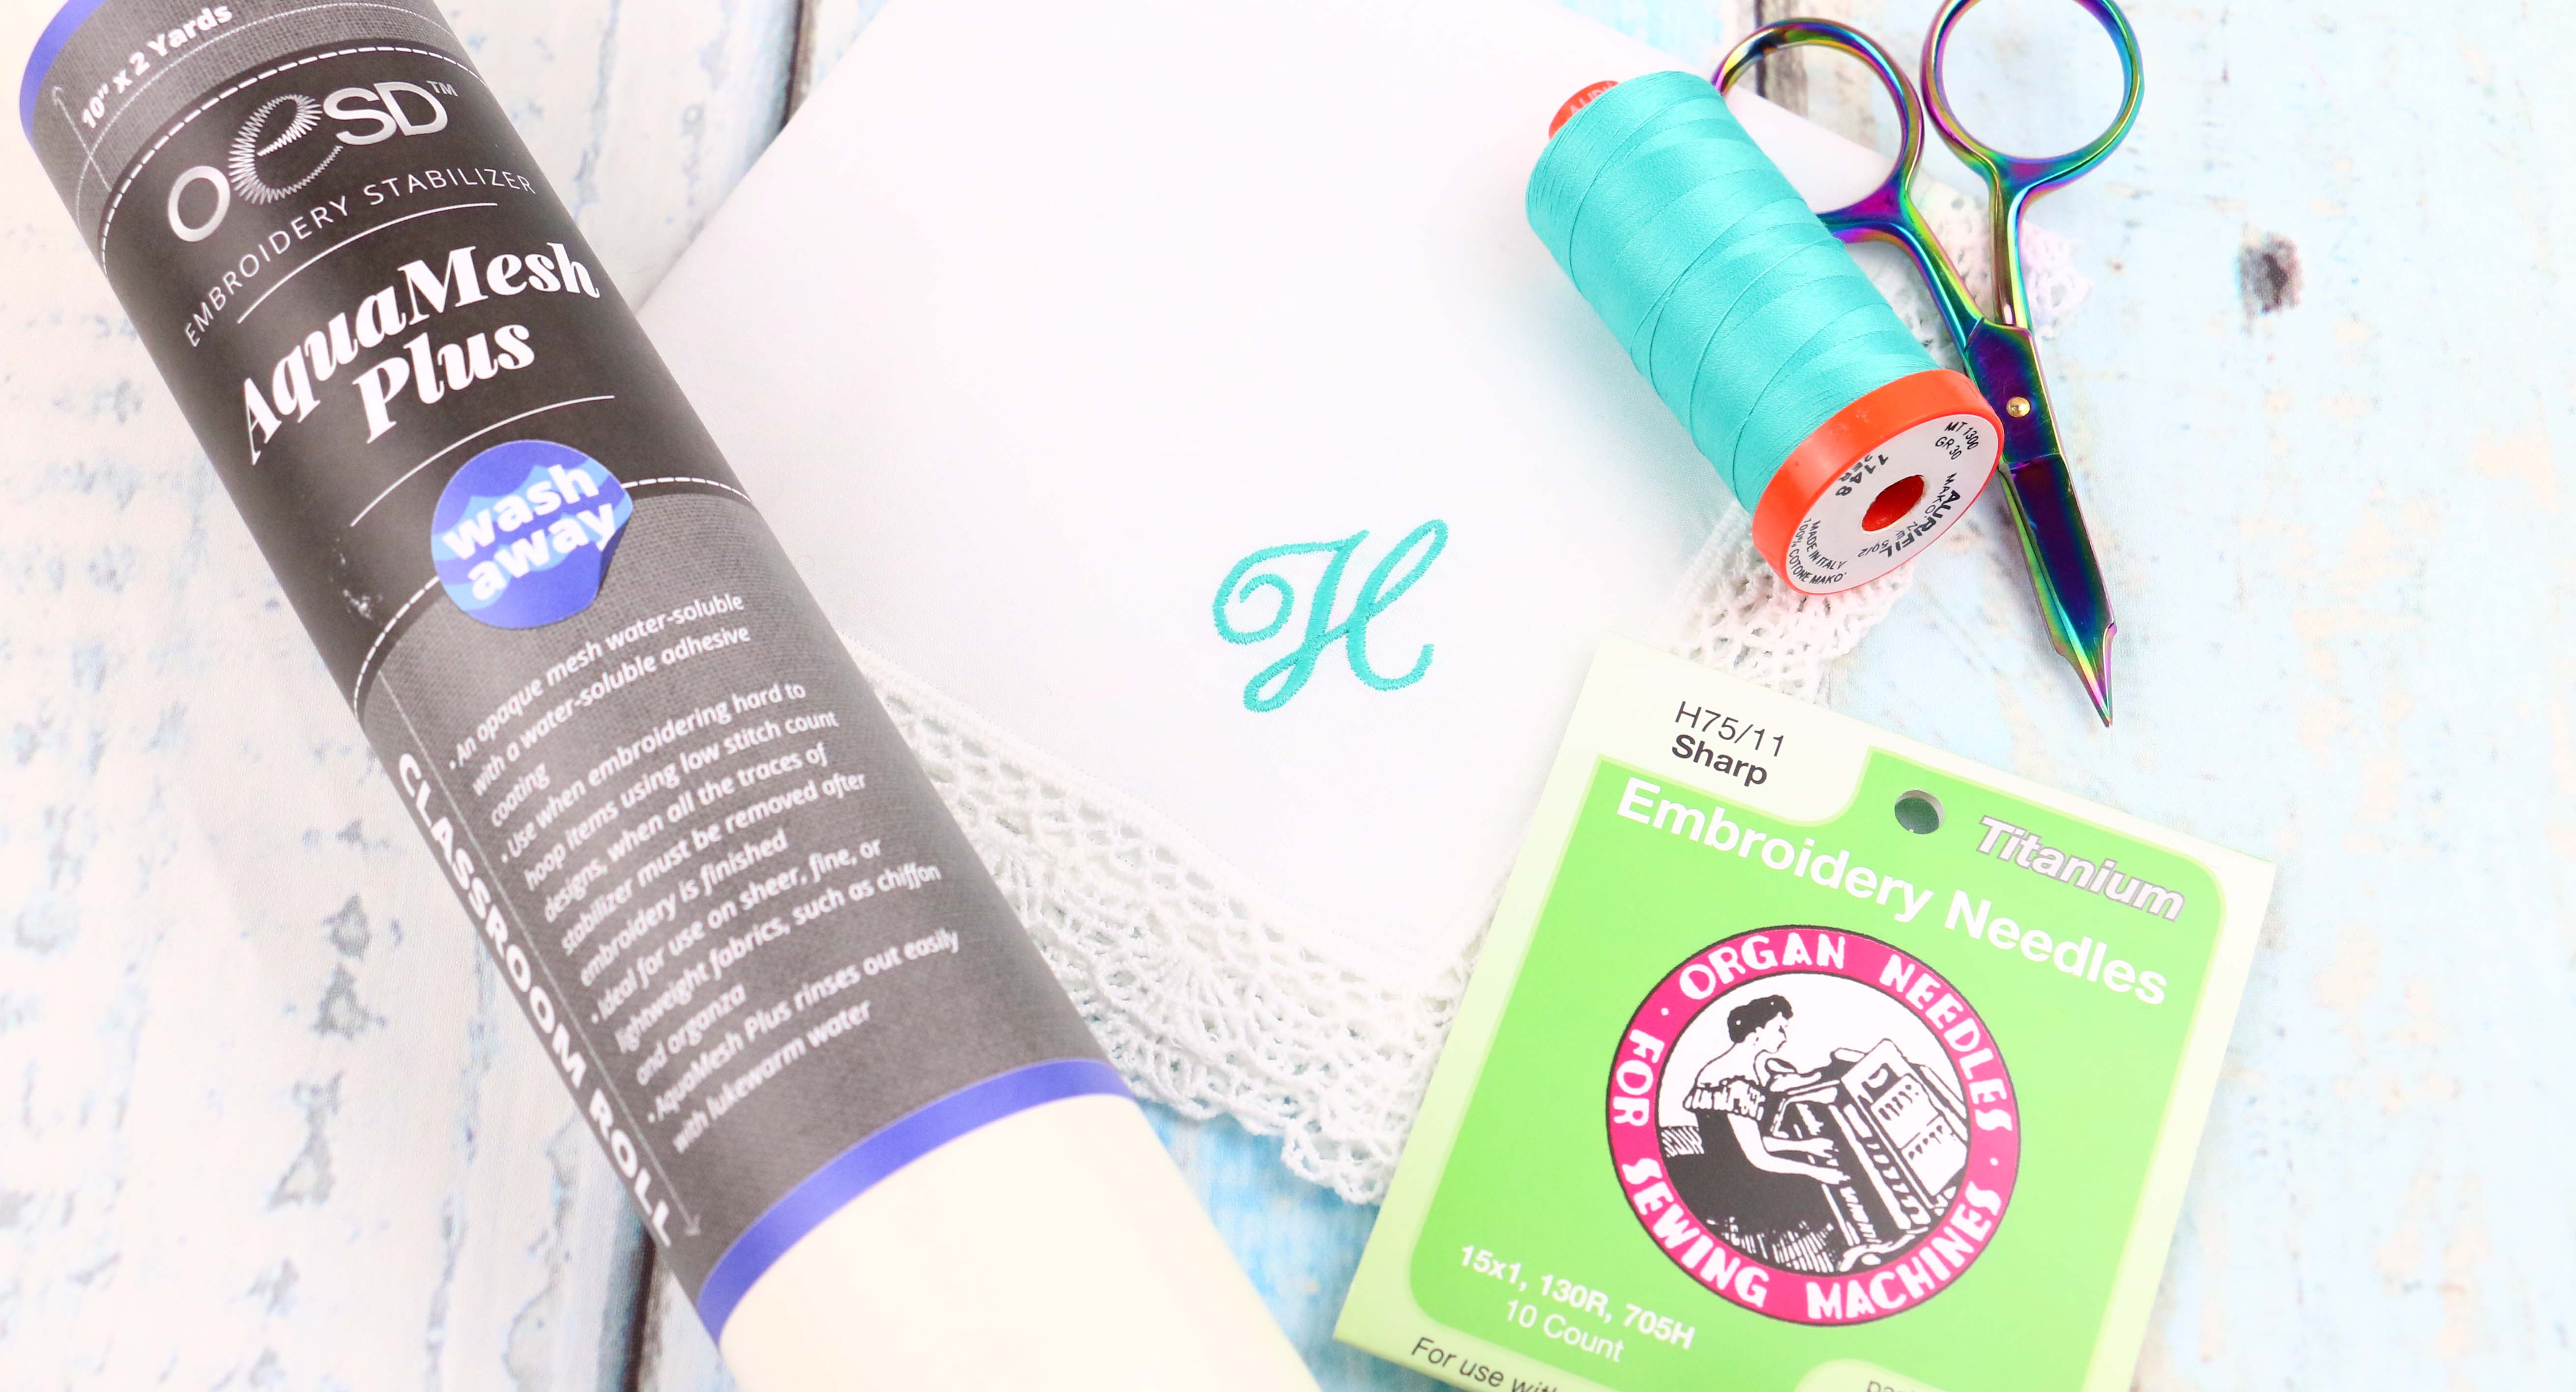
Stardust Quilt-along: Stabilizers for Embroidery in Quilts
A few of weeks ago I wrote a post explaining how I prepare fabric to be embroidered as part of a quilt. This month, I thought I’d show the process of embroidering a design that incorporates BOTH embroidery and applique, using the stars that are incorporated in Stardust from the BERNINA-exclusive Celestial Lights Embroidery Collection as examples. The Celestial Lights Embroidery Collection can be ordered from your local US BERNINA store. The first 12 star files are used in this quilt.
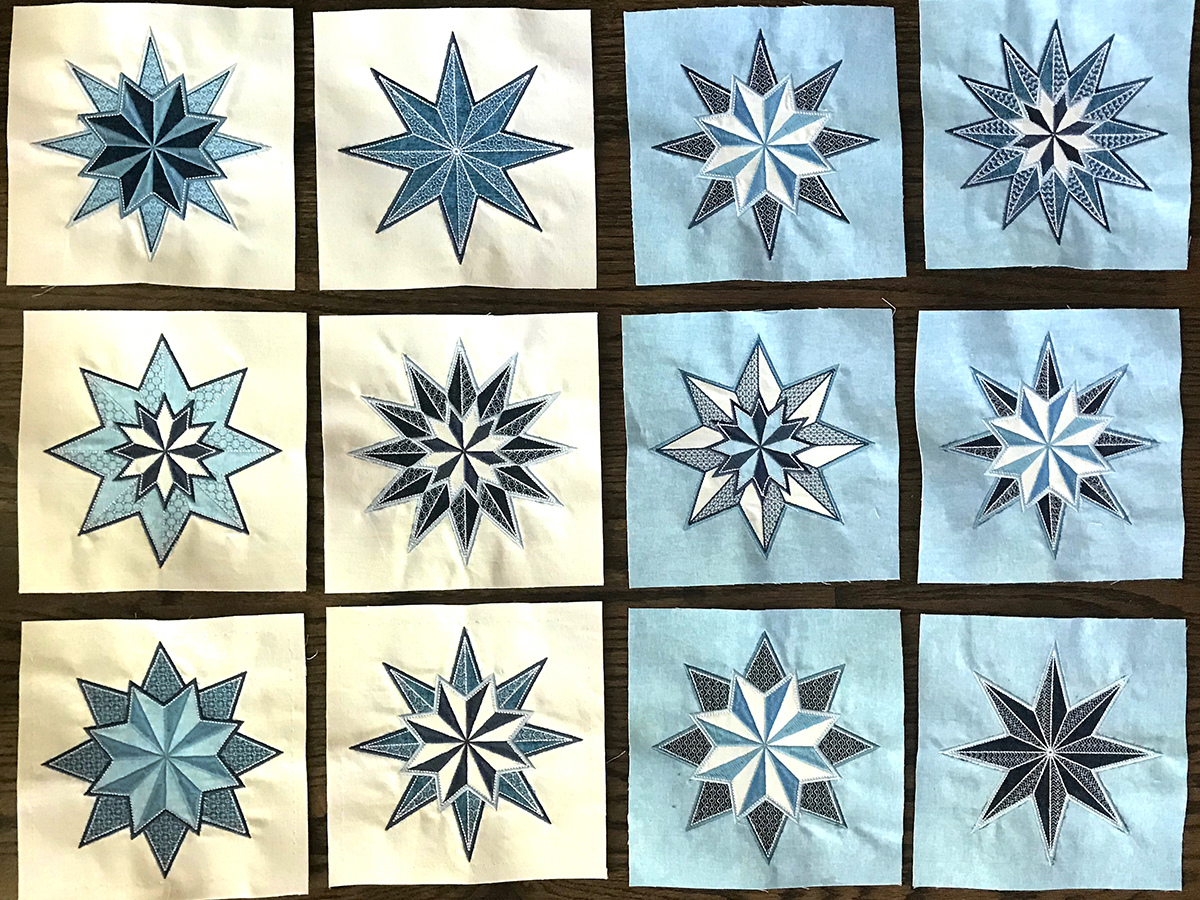
The Stardust Stars
Here is a video highlighting that embroidery process
Embroidering the Stars in Stardust
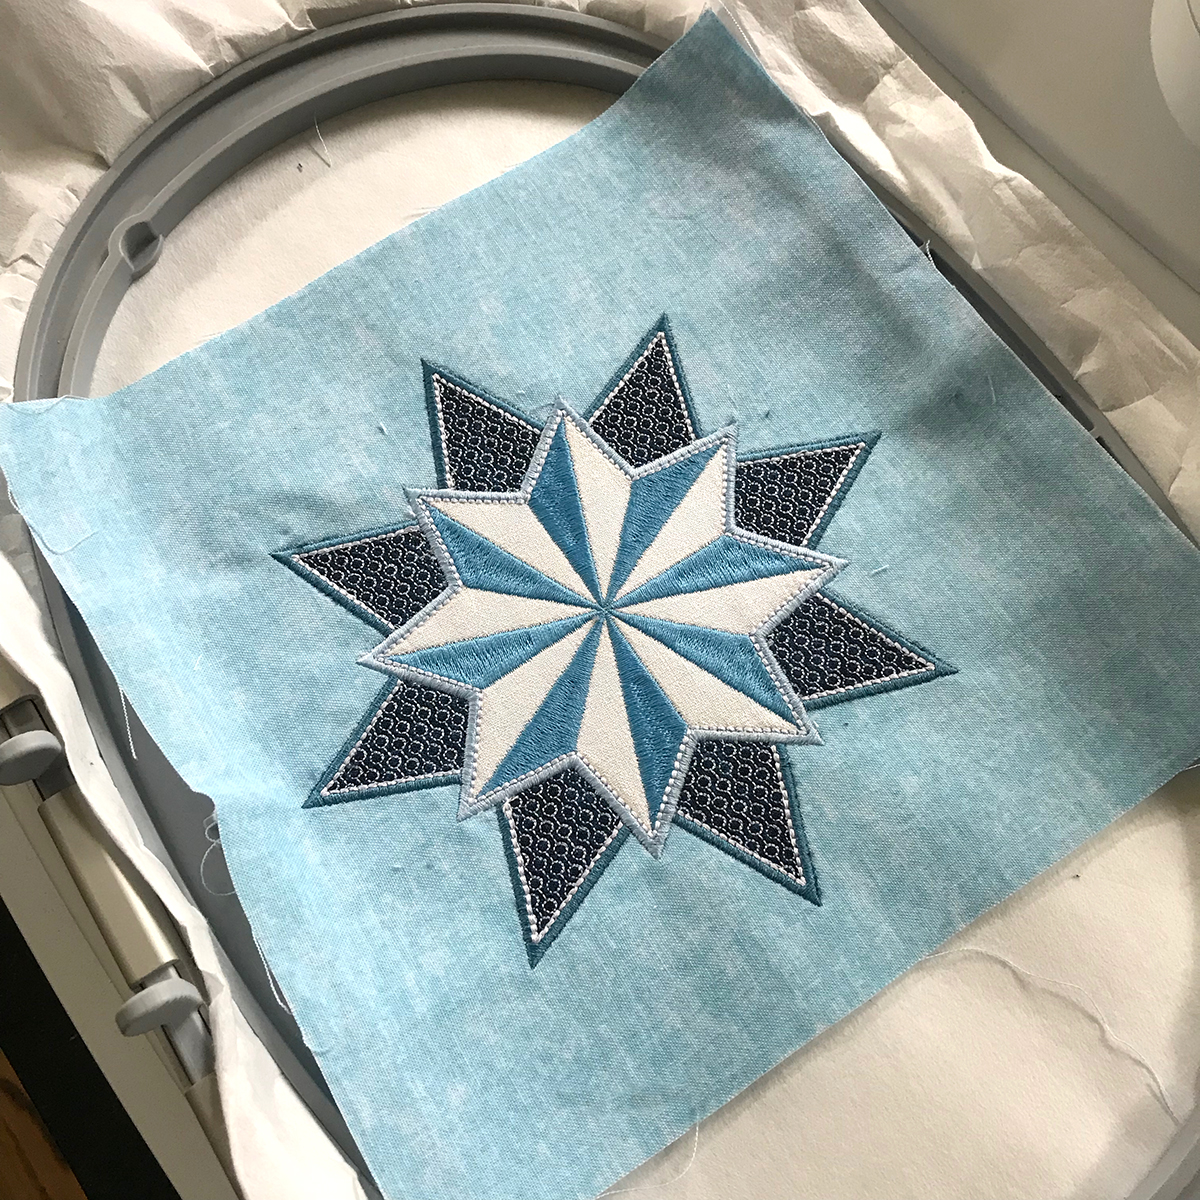
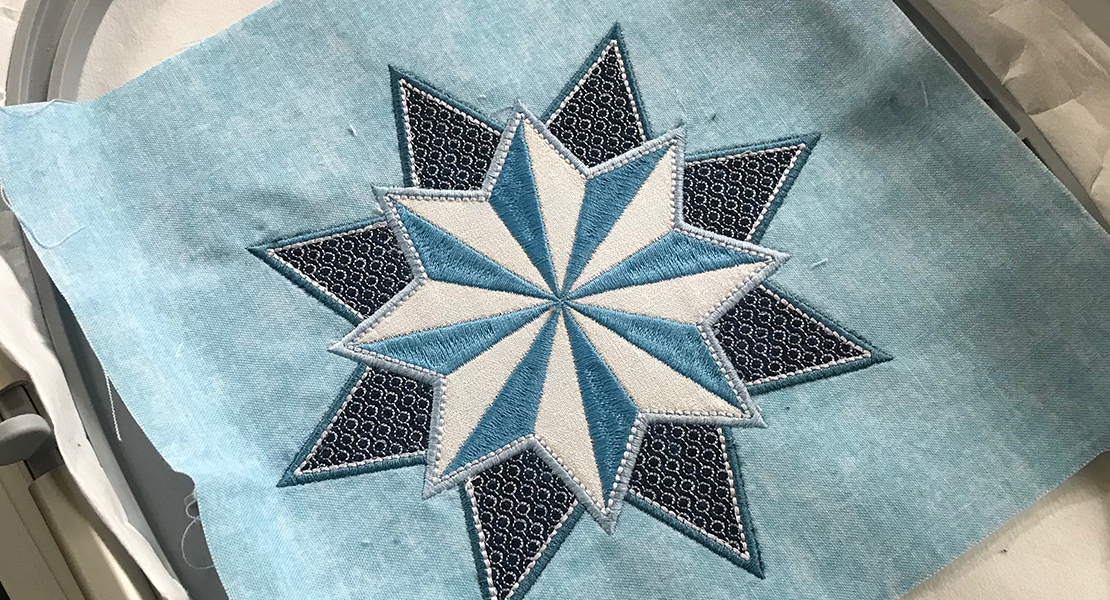
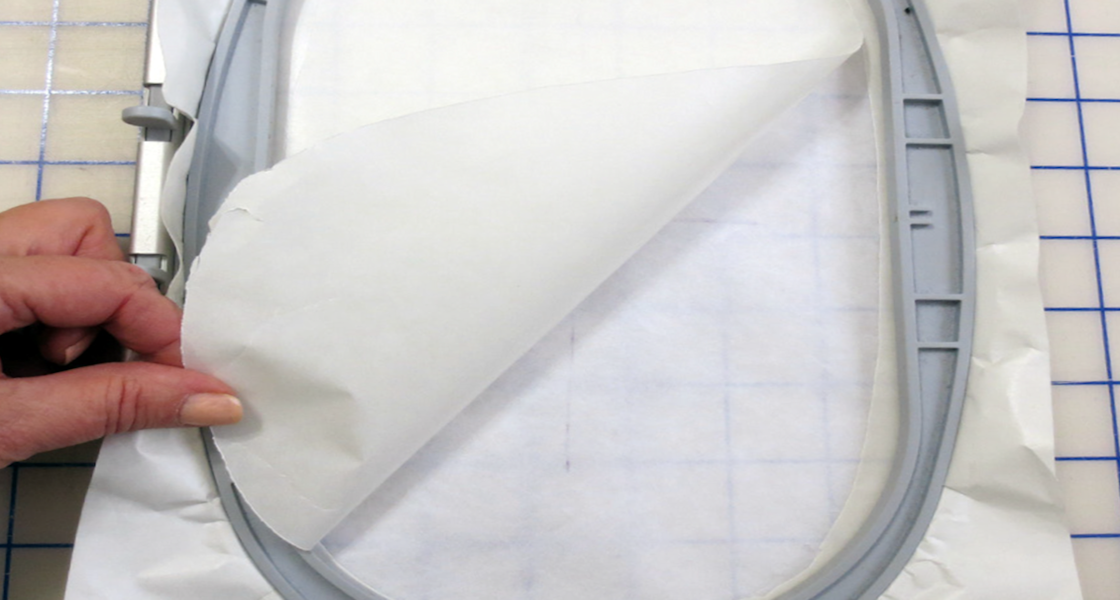
To embroider each star I hooped two layers of OESD Ultra Clean and Tear. I backed my block fabric with OESD Fusible Woven and used temporary spray adhesive to attach it to the hoop. You can use the machine’s basting feature to stitch out a basting square around the design area, but I found it was not completely necessary with these designs. Next, I stitched out my appliqué placement line.
Then it was time to apply the appliqué fabric. The collection includes a PDF which you can use to trace onto fusible web, fuse to the wrong side of the fabric, and then cut out the stars so that your fabrics will fit perfectly inside the placement lines. I found I could simply cut a large enough square of appliqué fabric to cover the placement lines, back it with just a bit of temporary spray adhesive, and lay the entire square down on the fabric. Then I embroidered the tackdown stitches and then used curved stitches to trim the fabric as closely as I possibly could to the stitches, without cutting into the background. Yes, this qualifies as living on the edge sewing-wise, but it works if you cut closely enough.
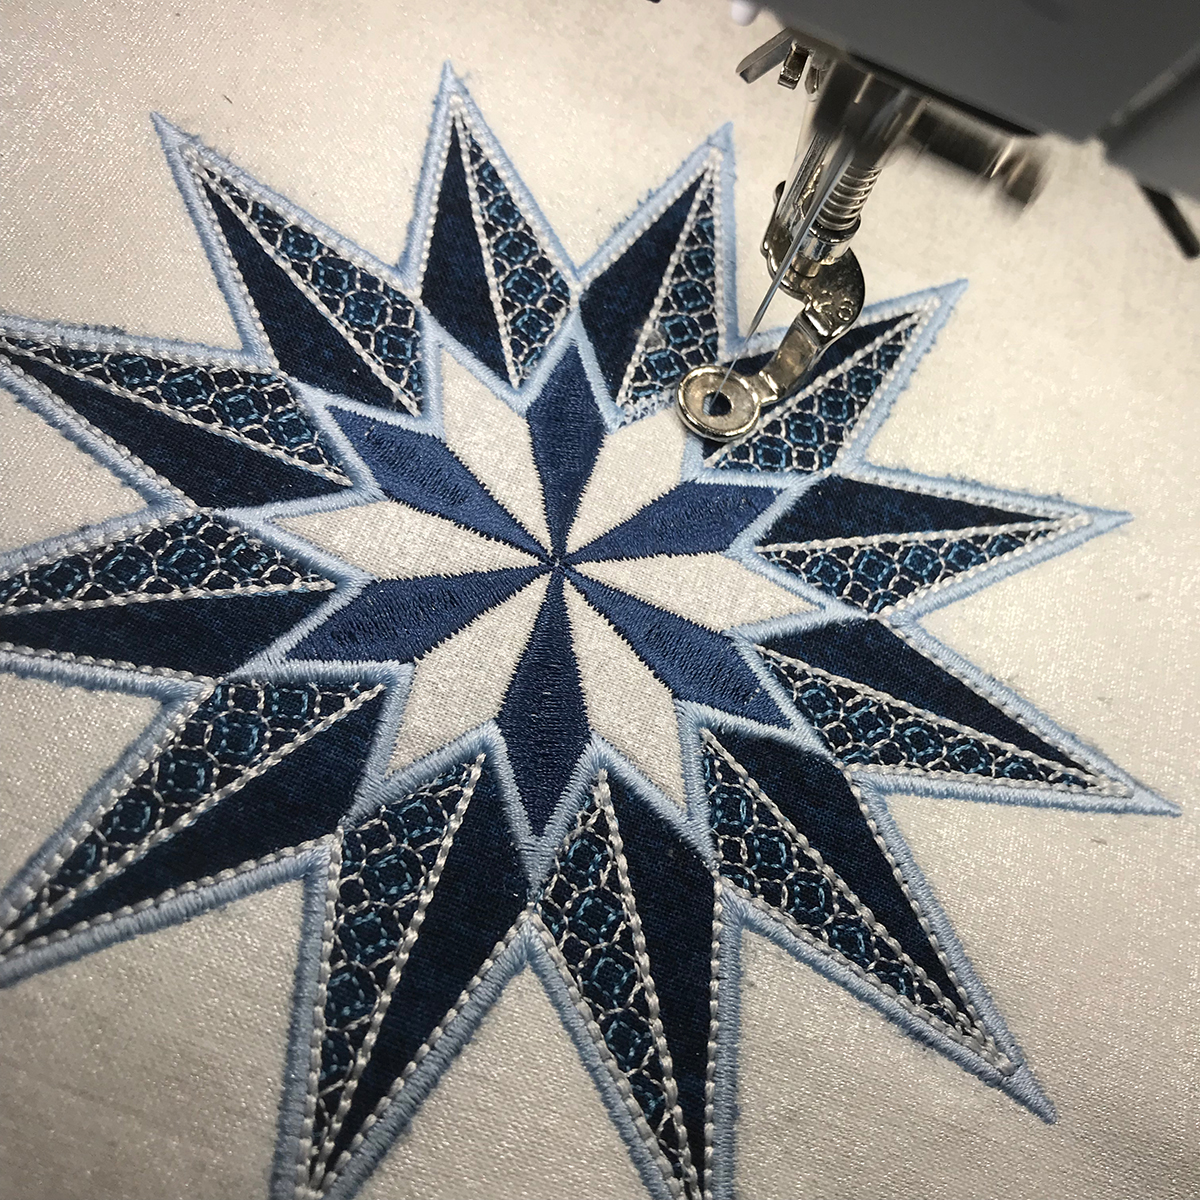
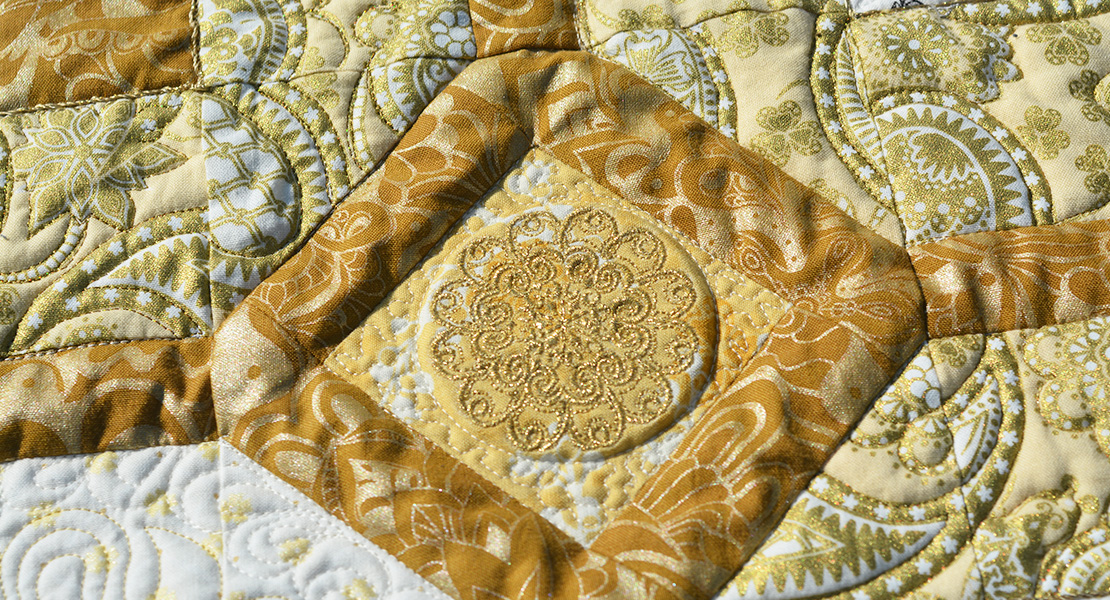
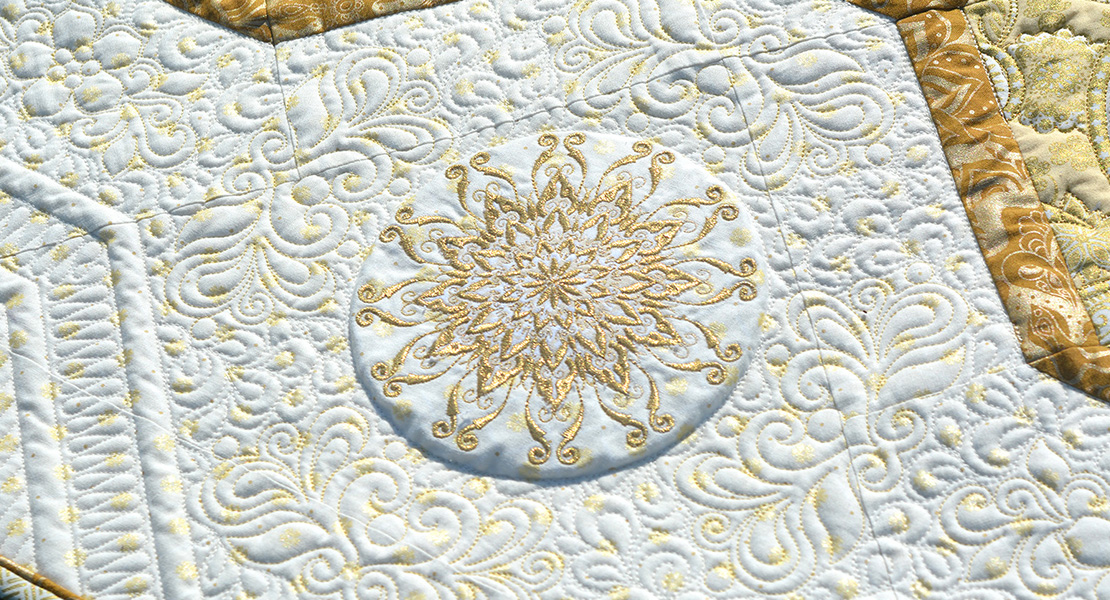
Then I proceeded with the appliqué and the embroidery. Part of the beauty of this collection is that each star is a bit different and showcases a custom blackwork pattern.
For some stars there are two layers of appliqué fabric and for others just one. Consult the corresponding thread chart to be sure. For all stars there are several layers of thread, which gives a beautiful, rich look.
A finished star.
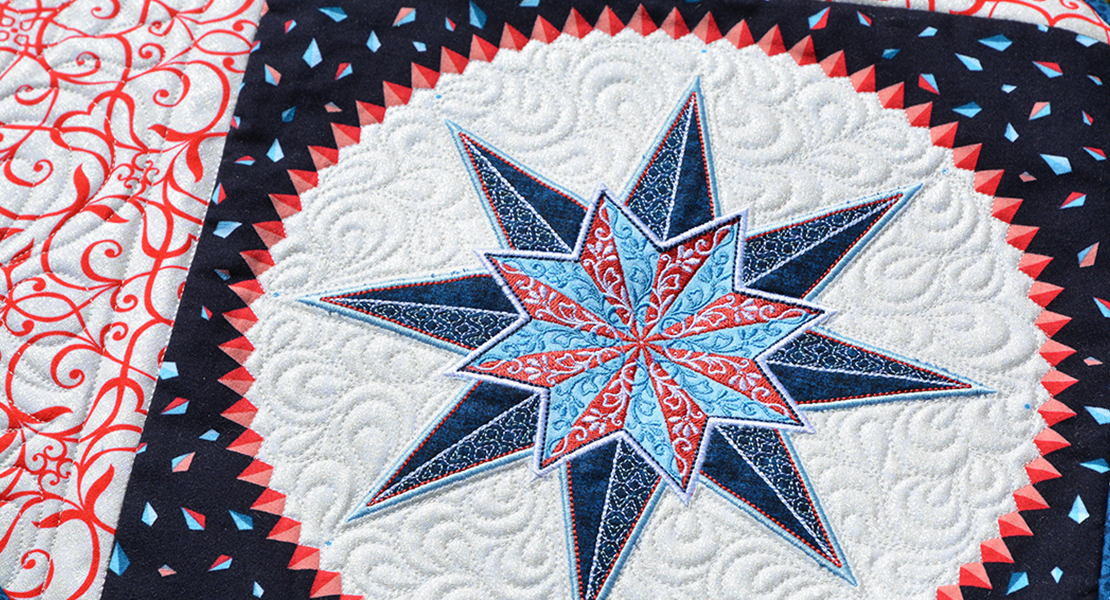
And this is the result:
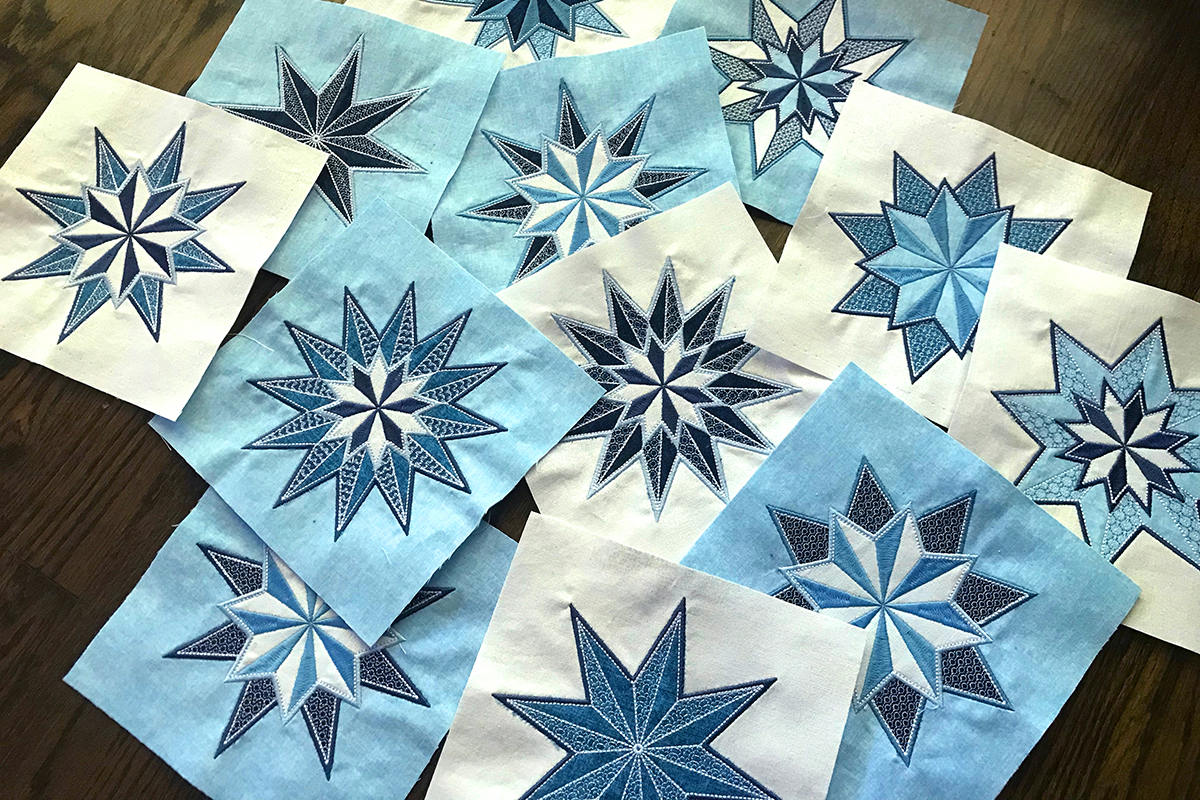
The Stardust Stars
Tips
1) SLOW DOWN! There is a lot of detail in these stars!
2) I found a BERNINA ballpoint SUK needle gave me the best results.
3) I pressed lightly from the back using an OESD pressing sheet and a wool mat.
4) You can use a Snag Nab It took on loops that might be formed. If your tool is new make sure to rub off the machine oil first!
And don’t feel you necessarily have to stick to the same threads as I did. Make it your own by exploring thread colors in different sequences!
I did just that using my First Frost fabric for Contempo that ships in April/May as an example.
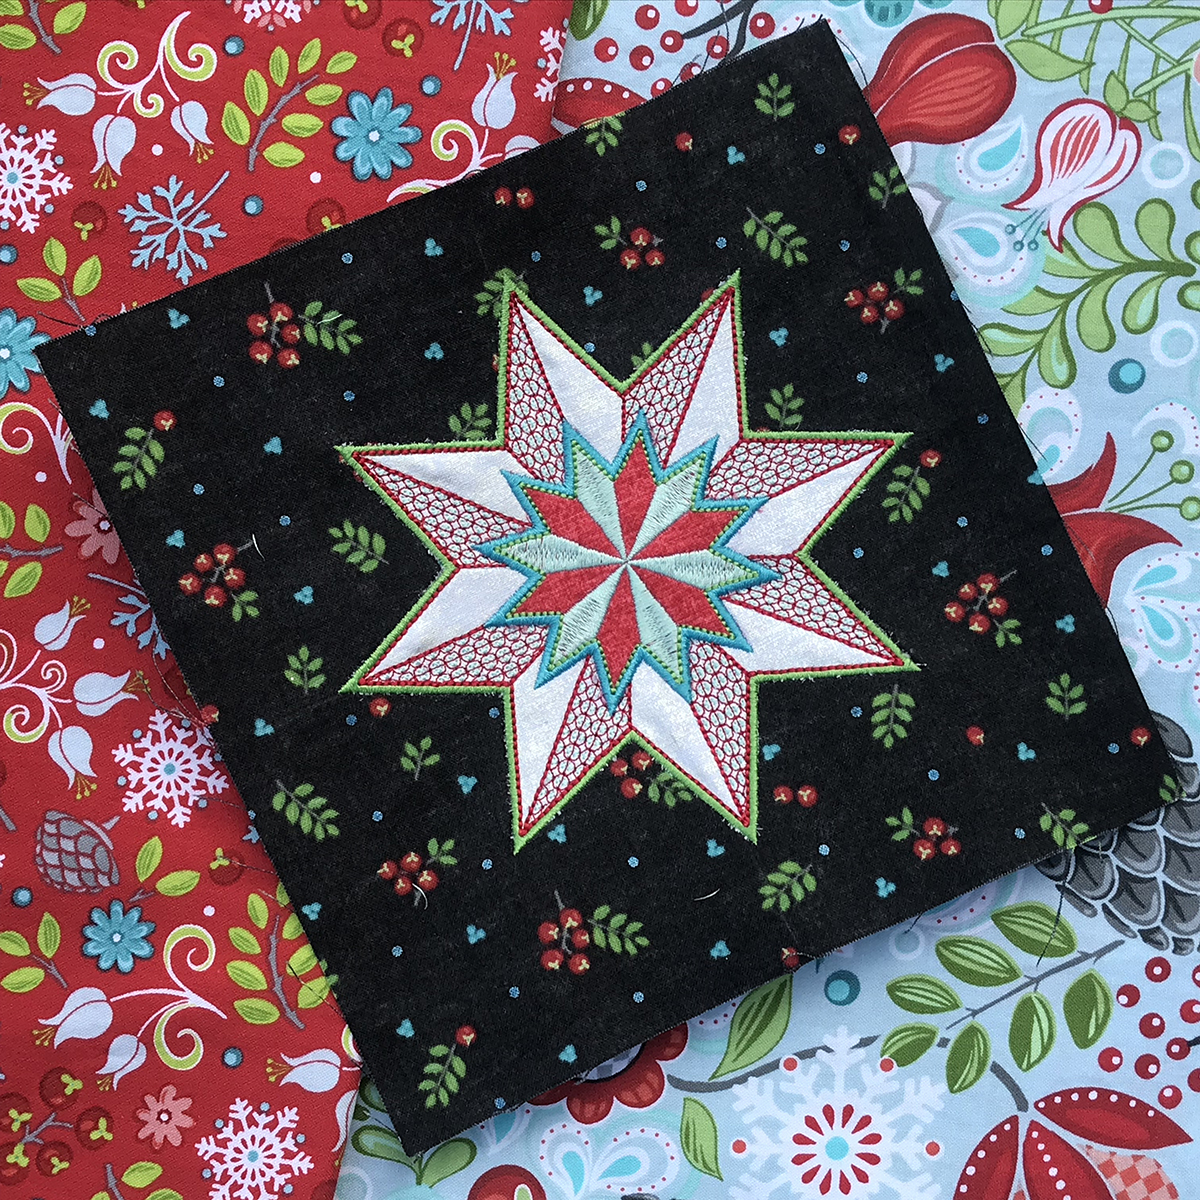
Example of multi layers of and colors of thread in a Stardust Star in First Frost fabrics
And here is the Market booth that inspired that version of the star.
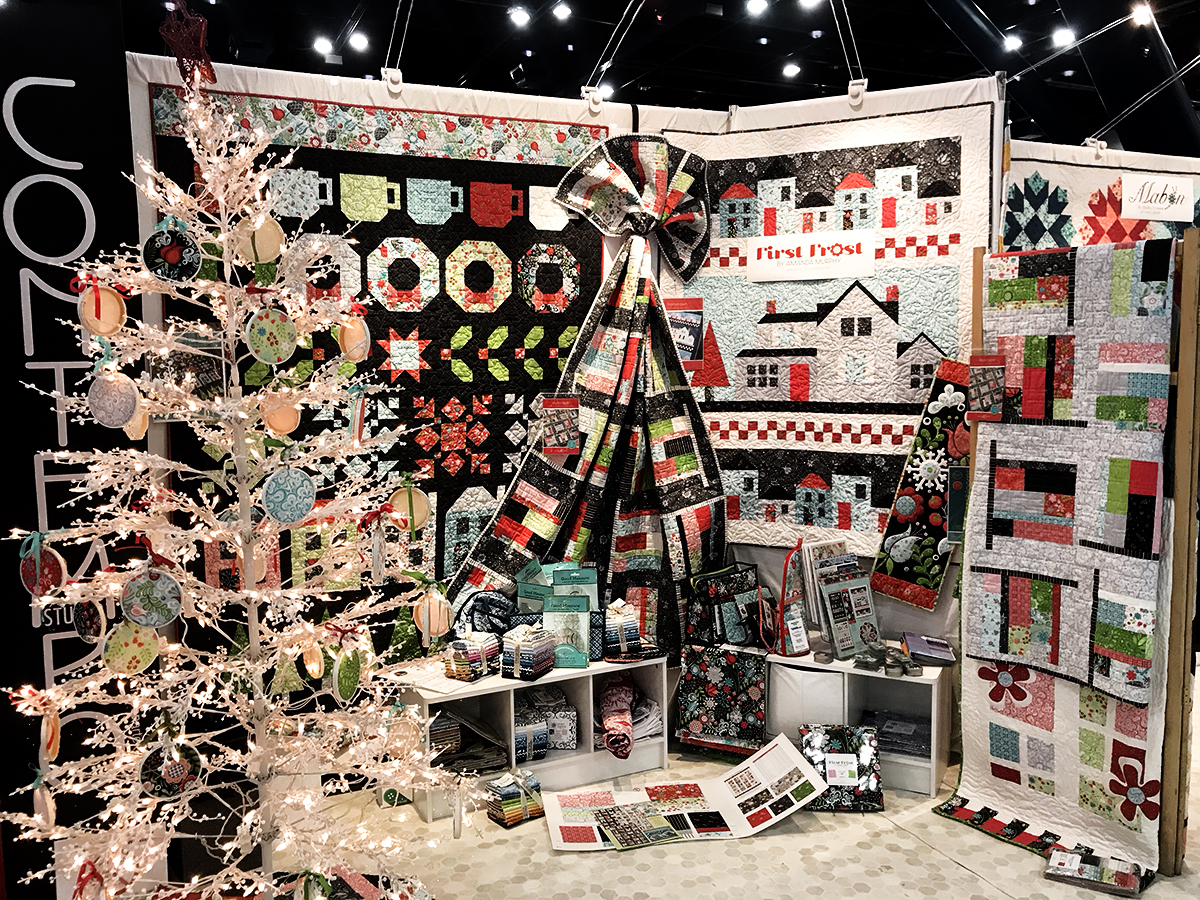
First Frost at Quilt Market
I’ll be back to show you some tips on multi-hooping in two weeks. You don’t need it for this quilt but there are a few designs in the collection that can be multi-hooped. In the meantime, happy embroidering!
Amanda
Used Products
What you might also like


2 comments on “Stardust Quilt-along: Embroidery”
-
-
Can I use my 590 for these embroidery designs or it it just for the larger hoop machines, like the 790, etc? I am smitten by this quilt!
Leave a Reply
You must be logged in to post a comment.

Would you please explain how to use the Snag Nab? I have one but am not certain if you work from the top or the bottom? Can’t find directions… Thank you!