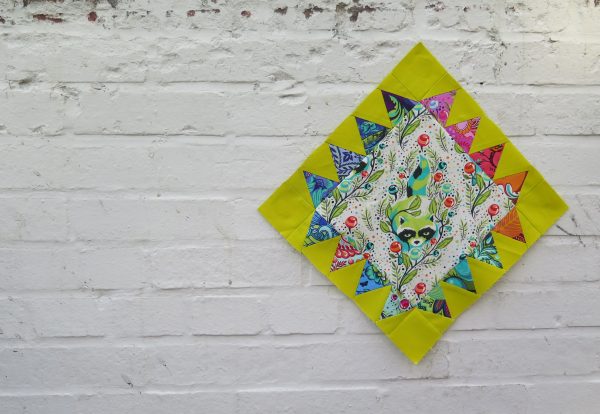
All Star Quilt-along Block 5
Week 5 and the final block! Can you believe it? The time has gone by quickly. If you’d like to catch up, click to visit Block 1, Block 2, Block 3, and Block 4.
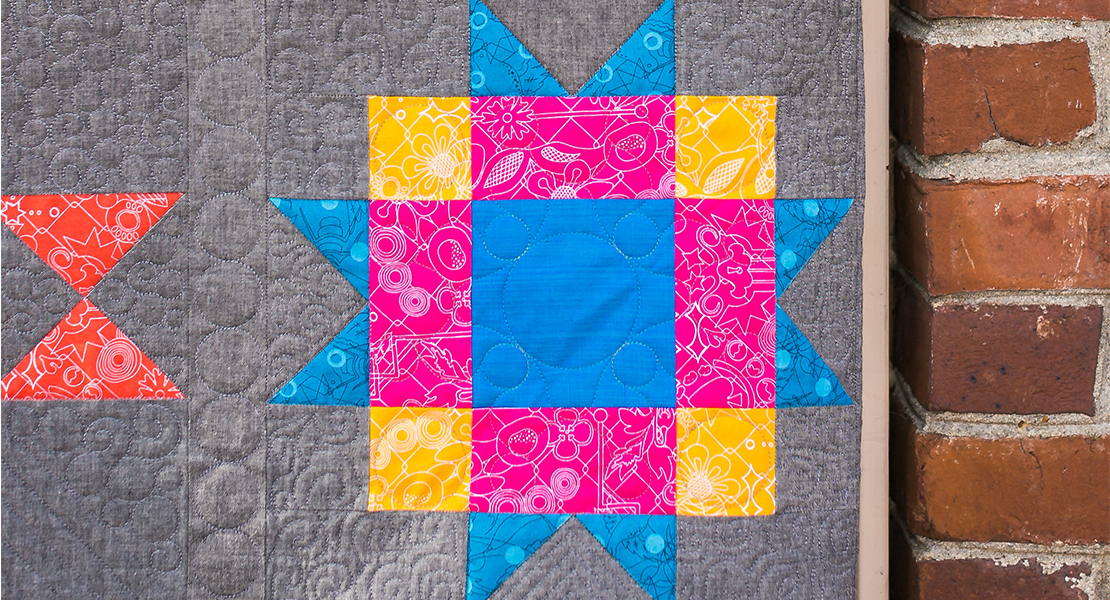
I’m very excited to share this final block with you. We will employ a different method for assembling this block: foundation paper piecing. This is my personal favorite way to piece together a quilt block. It’s easy, fun, and guarantees accuracy when done correctly.
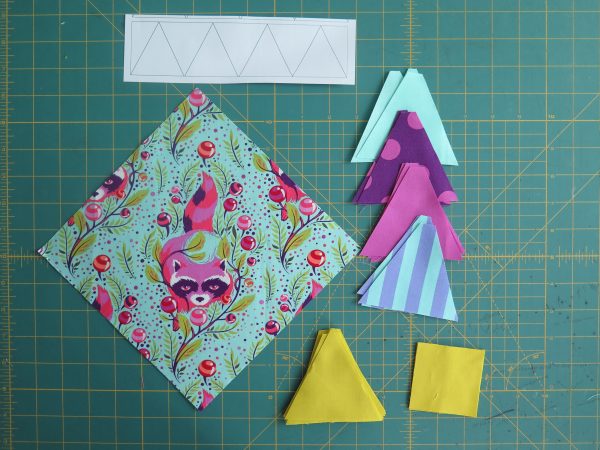
Here is what you’ll need to cut for ONE block:
- 4 foundation paper pieced triangle rows (download the All Star Quilt Block 5 Template pattern)
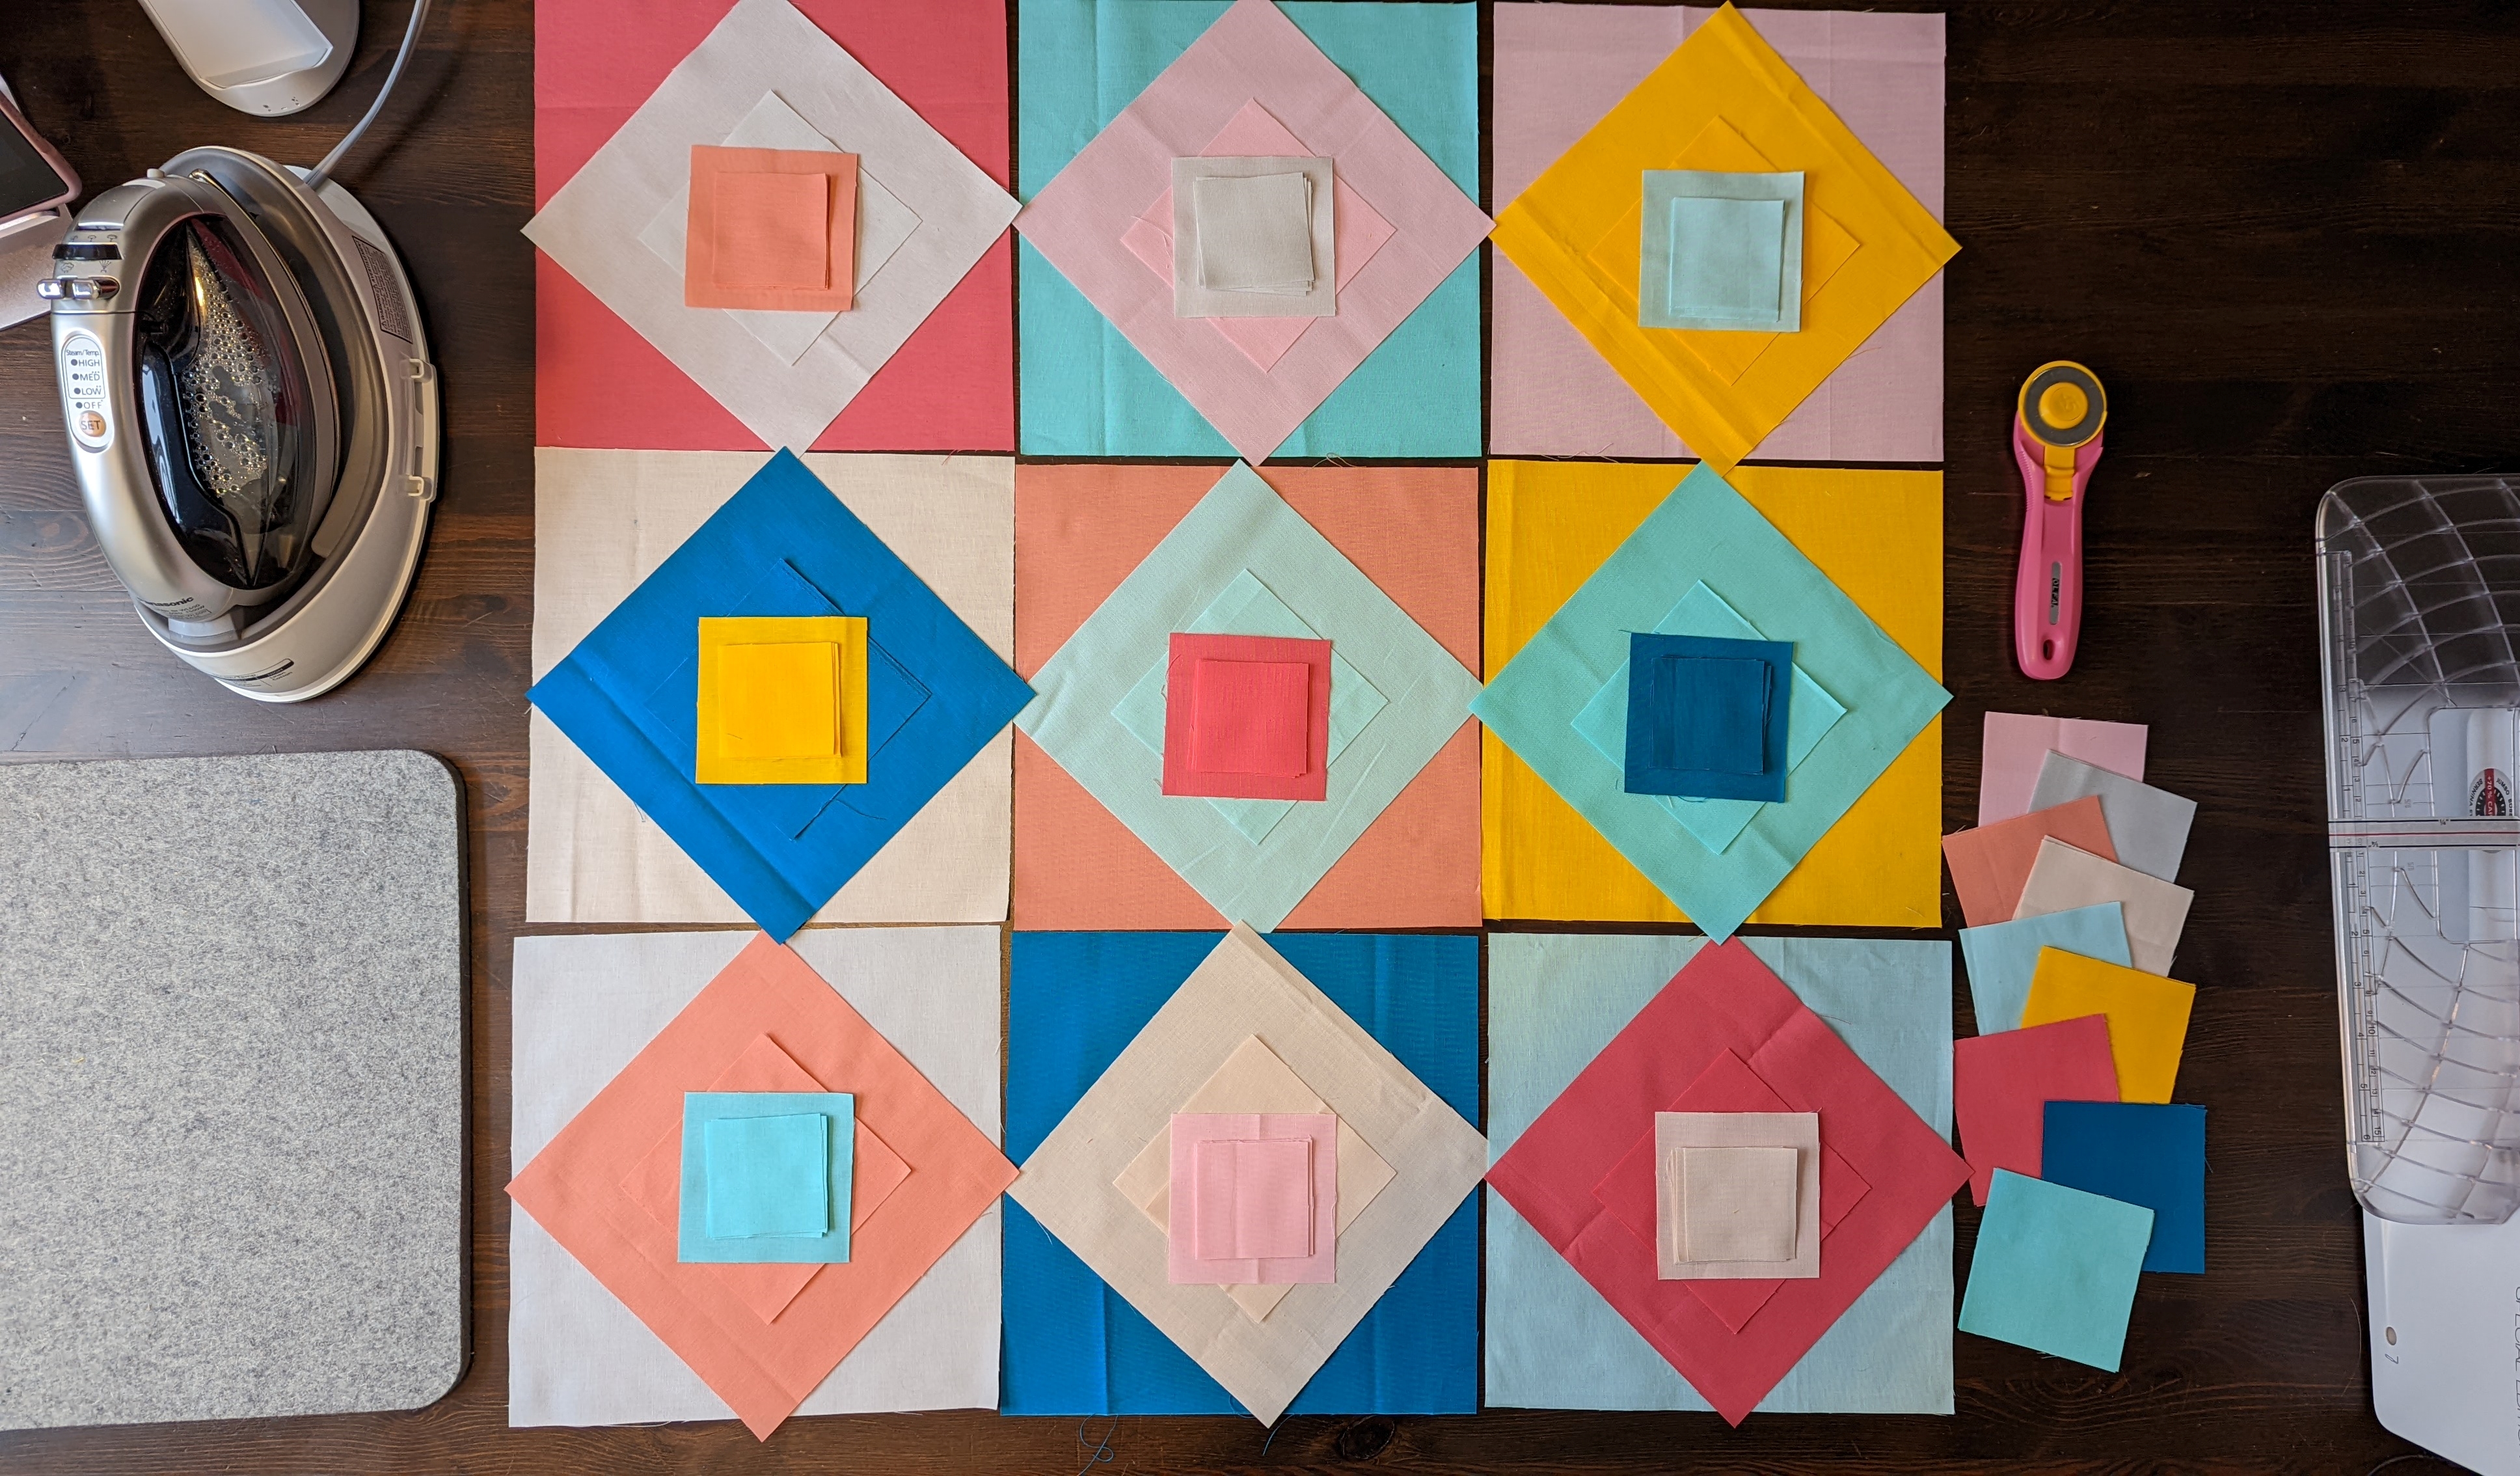
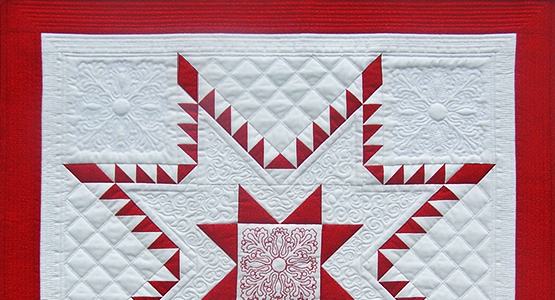
- 1 – 8 1/2″ center (be sure to cut the block on point if you are using a focal fabric like the one below)
- 16 – 2 1/2″ triangles in foreground fabric (you can also use scraps instead of triangles)
- 20 – 2 1/2″ triangles in background fabric (again, you can use scraps instead of triangles)
- 4 – 2 1/2″ background squares
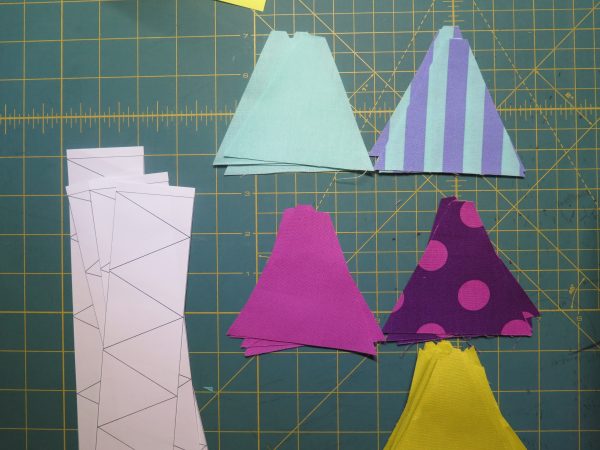
When cutting your foundation paper piecing templates, you can choose to leave the seam allowance on, or cut it off (the downloadable PDF has seam allowance added). I prefer to cut my seam allowance off because I find it easier to join the block together with no paper in the seam allowance.
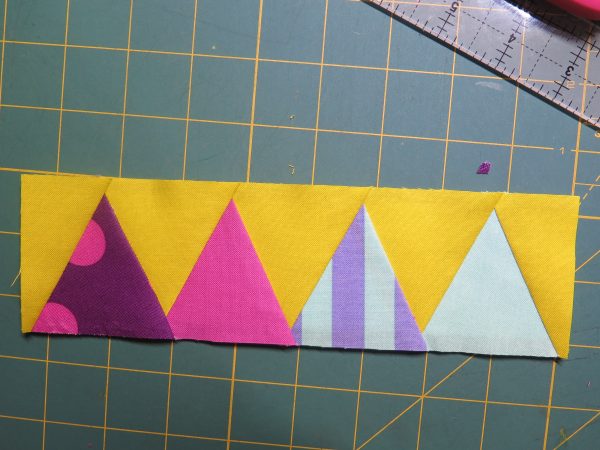
Note that one side of the triangle template has 4 whole triangles and one side has 3 whole triangles and 2 half triangles. The side with 4 triangles is foreground fabric, the other side is background fabric.
Start by dropping your stitch length down to about 1.5/1.55mm. This will secure your pieces better when we tear the paper out later and perforate your paper more so it’s easier to tear out later.
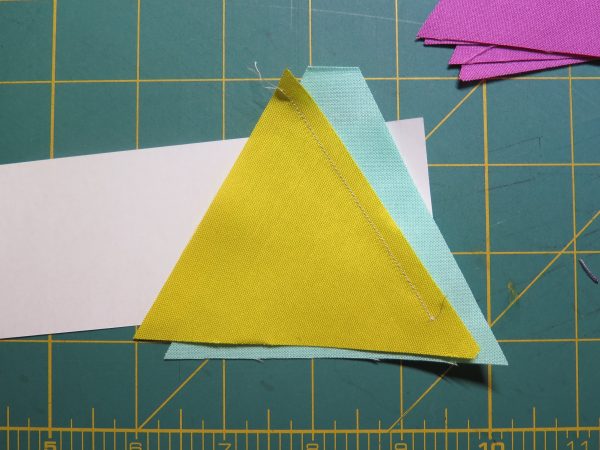
Start with your first and second pieces of fabric. With the pattern facing you, put your first piece of fabric on the first section, the wrong side to the back of your paper pattern. Be sure the fabric covers the entire section. Overlapping the seam line between the first and second pieces, put your second piece of fabric for the second section. You will sew on this line and fold back the second piece. Hold the piece up to the light so you are sure you have overlapped the pieces enough.
Sew on the line.
Once you have done so, fold your paper back and with a ruler, measure 1/4″ from the seam line and cut excess fabric with a rotary cutter.
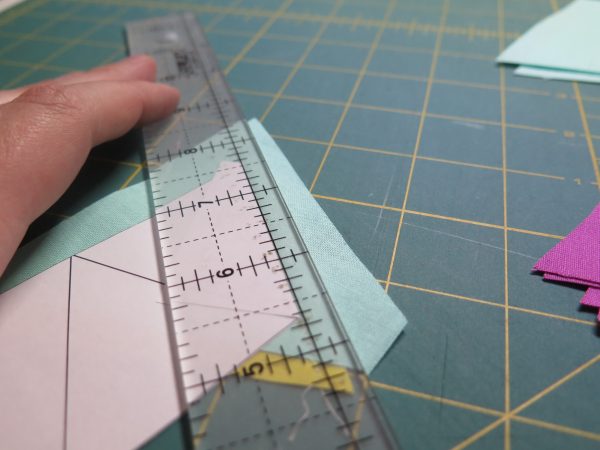
Now take the second piece of fabric and unfold to so you can see both your first and second pieces of fabric. Be sure that you have covered all of section two. If you have, press the fabric back with an iron or pressing tool.
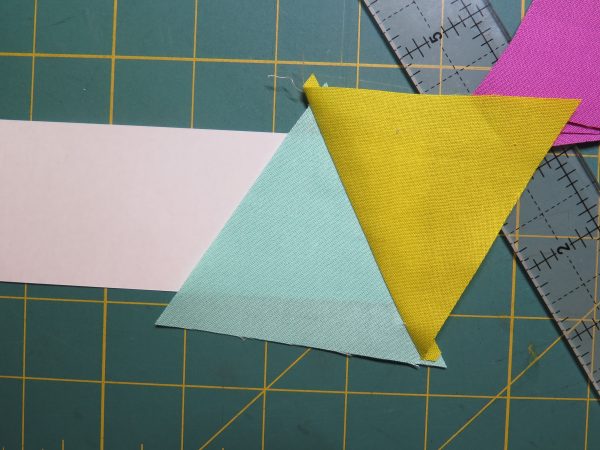
Add the next piece.
So on and so forth until you have completed the row.
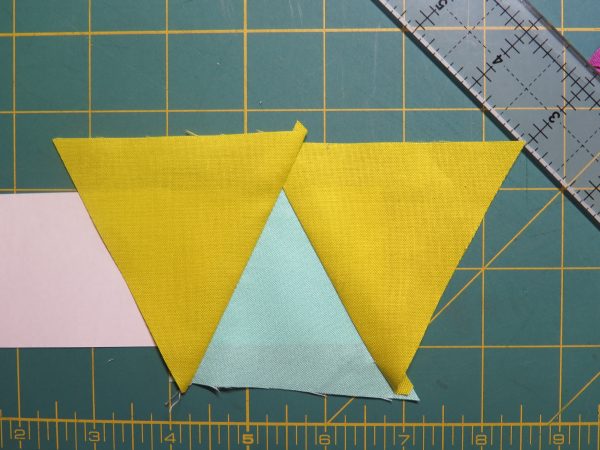
Trim your pieces down. If you left the seam allowance on your template, just trim to size. If you did not, be sure to add a 1/4″ seam allowance.
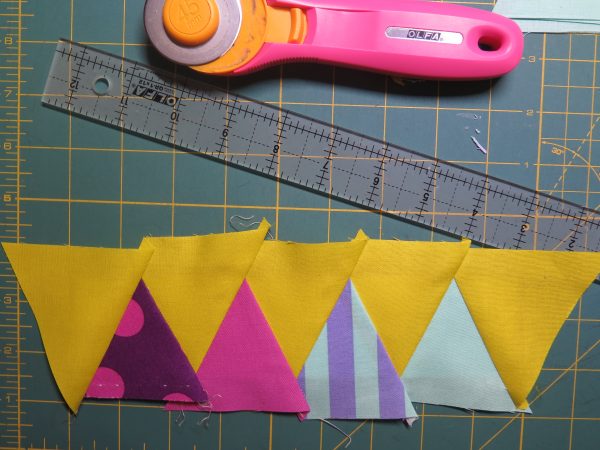
Repeat for the remaining 3 rows of triangles. Then remove your paper from the back of the rows.
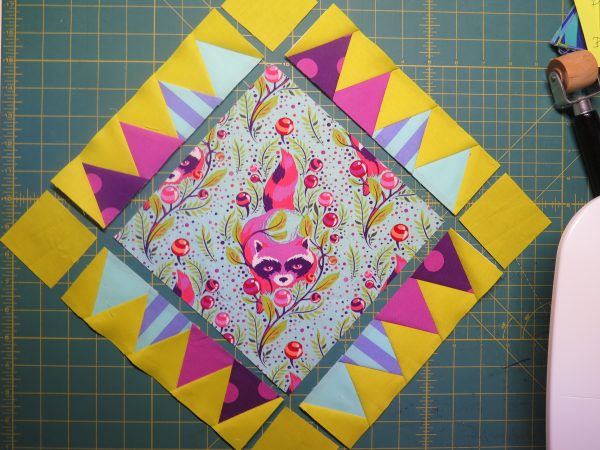
Add your background squares to either side of two of your rows of triangles as pictured below.
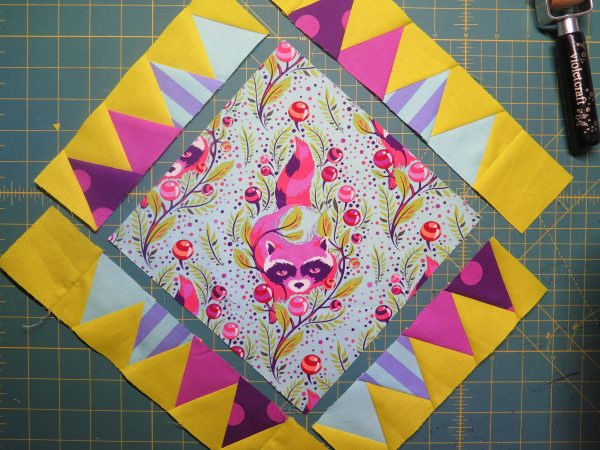
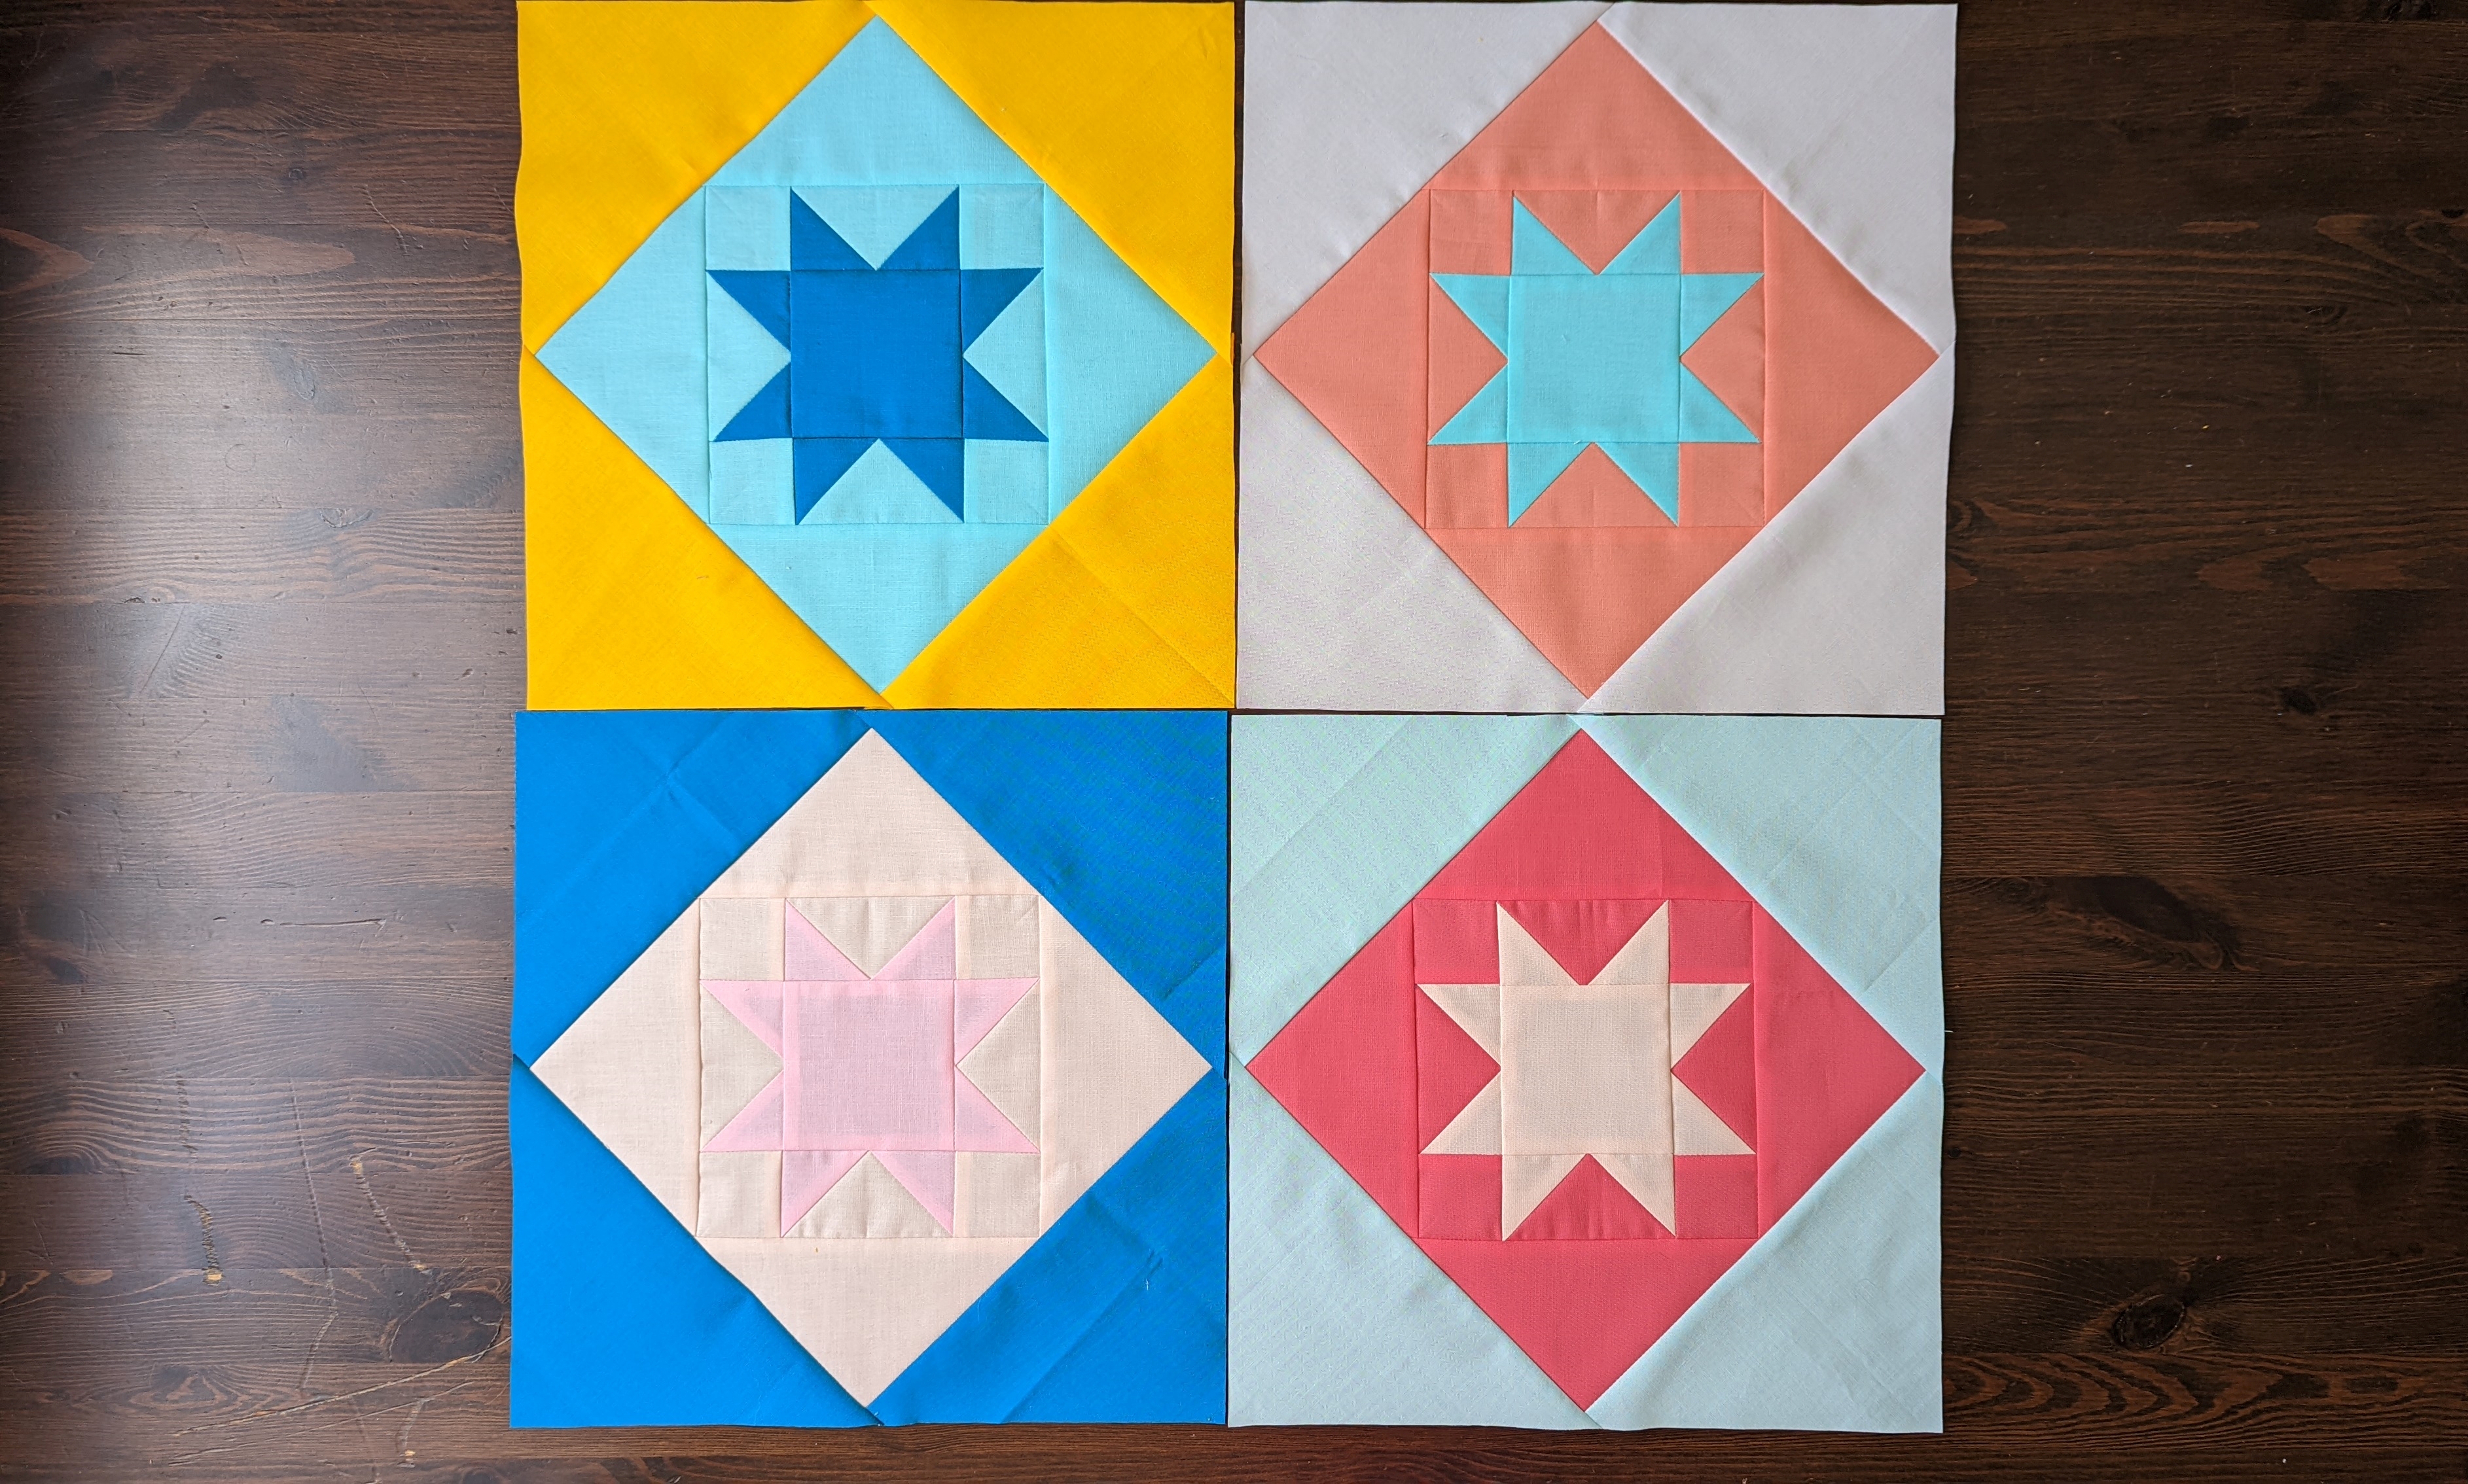
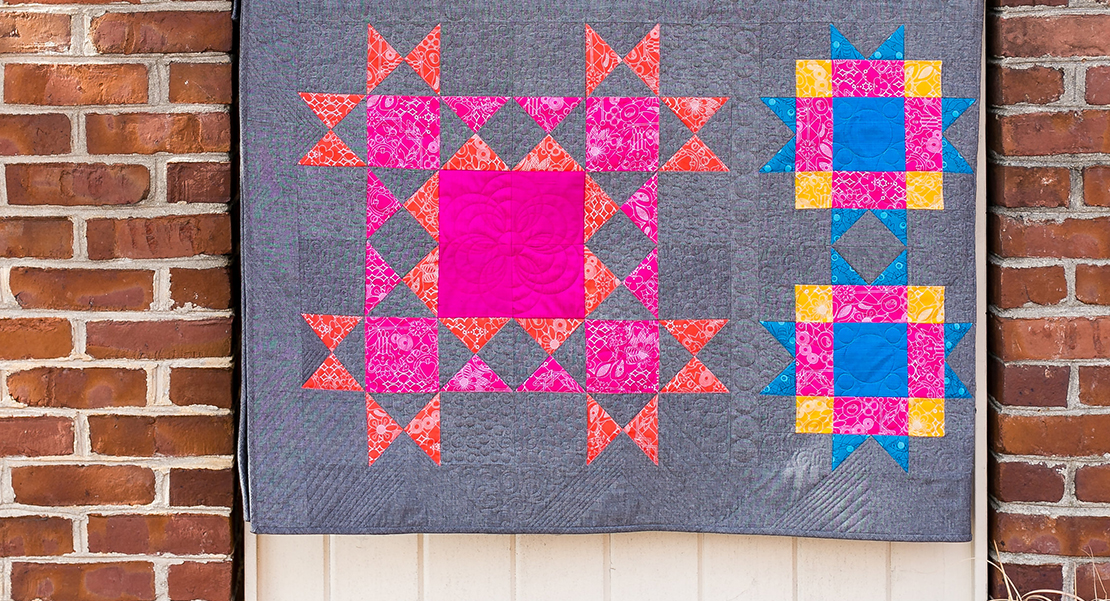
Join your short rows of triangles on opposite sides of your 8 1/2″ center. Then add the rows with background squares to the opposite sides as pictured below.
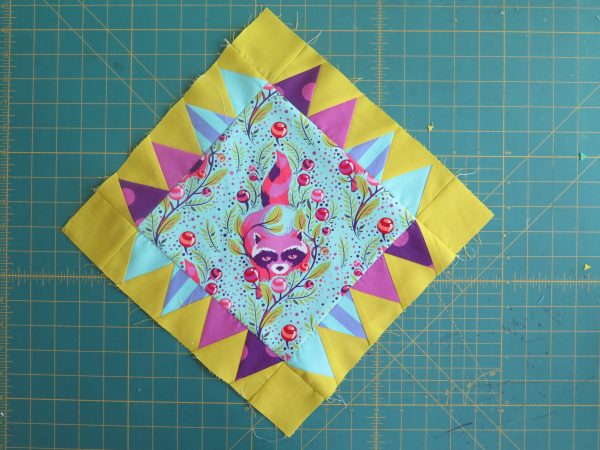
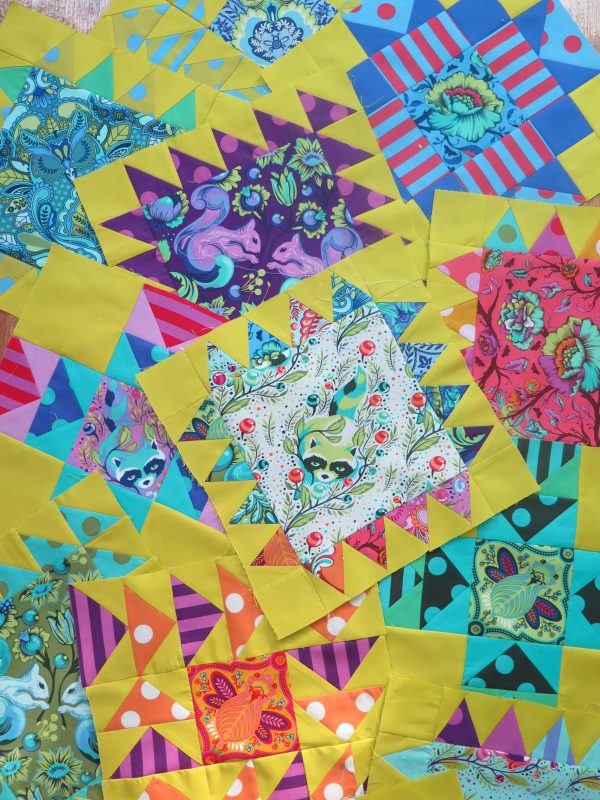
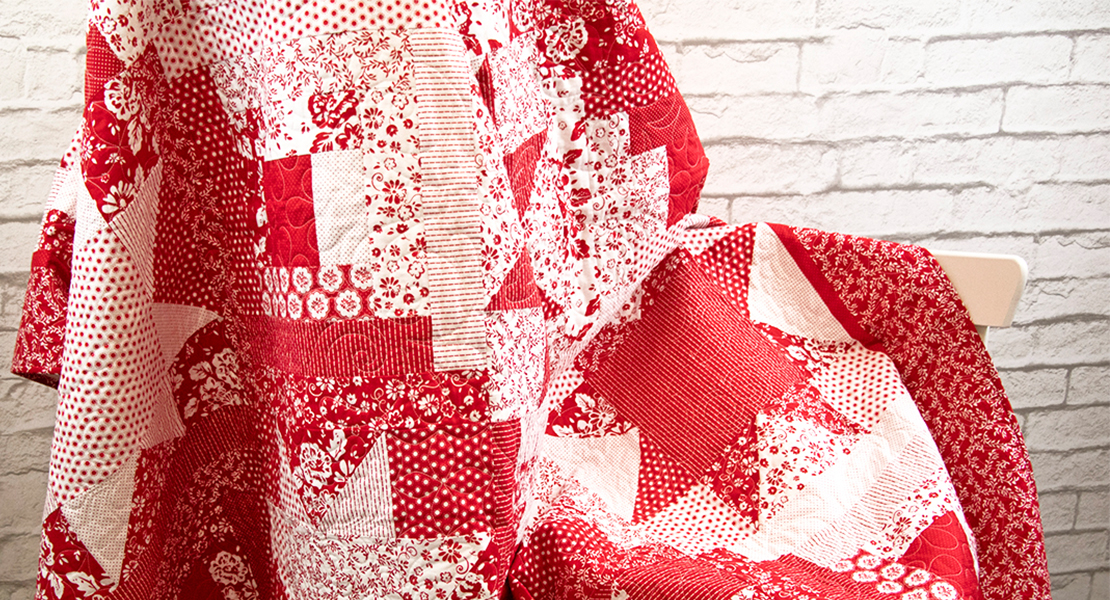
For the other blocks, we have made 2 each. For this one we need to make 5. This block acts as a string center and the cornerstone of the quilt so it is very important. Have fun with it! Be bold with the center of your blocks. Take a chance and try some really big, beautiful prints.
See you next week when we finish up the whole quilt!
Used Products


What you might also like


5 comments on “All Star Quilt-along Block 5”
-
-
Will you be posting a photo of the entire quilt? Thanks!
-
I’m having some trouble with my template print out. Is there something I’m doing wrong? If my calculations are correct, the finished row of triangles should be 8 1/2” by 2 1/2”, but when I measure the template with seam allowances, it measures 8”by 2 3/8”. My 1” square measures 1” square. Is my template just not printing to scale right? Or do I have my math wrong?
-
Template error. When I print (with no restrictions, ie fit to size) I do not get accurate 1 inch, more like 15/16, thus, my template is not to size either. Susannah
-
I don’t know if you and I have the same problem, but I just tried printing again using a completely different computer, and I used google chrome web browser. After I printed, the template does measure 8 1/2 by 2 1/2 now. Maybe they fixed the template, or I just screwed up before.
Leave a Reply
You must be logged in to post a comment.

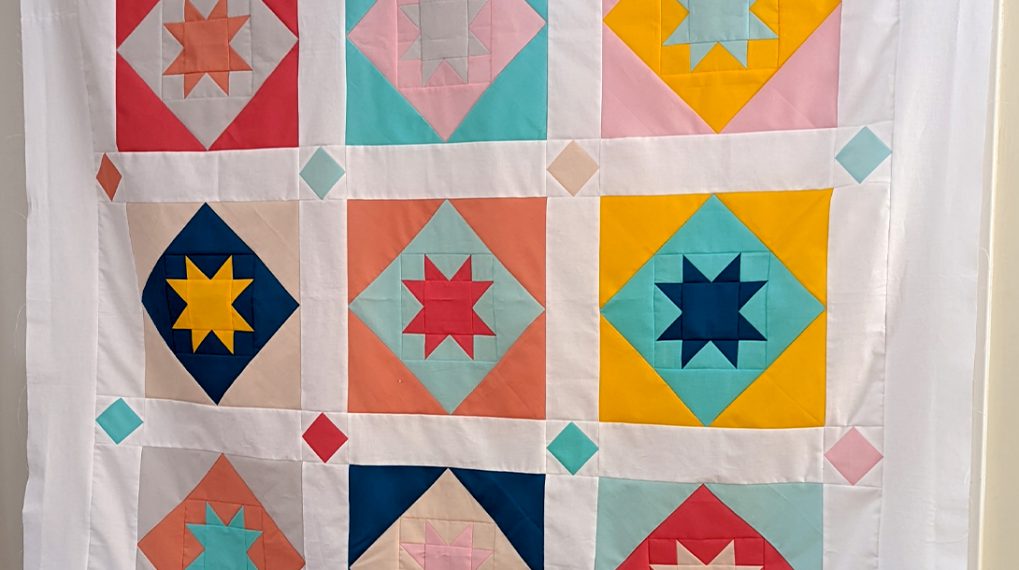
I cannot wait to see everyone’s completed tops!! Love the original and all the variety of everyone else’s variations.