Beginner-Friendly Foundation Paper Piecing

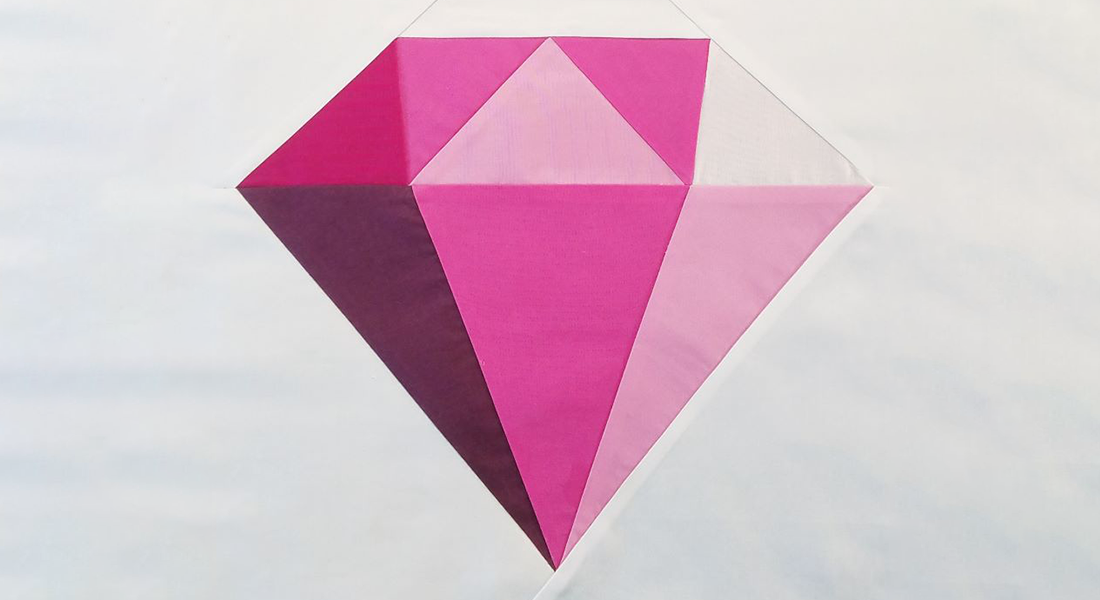
Foundation paper piecing is a popular technique in making quilts but can be incredibly intimidating if you haven’t tried it! It’s done by sewing fabric to a printed paper foundation. This method is beloved by experienced piecers because it can be used to create extremely precise points and shapes. Paper piecing can be used for many designs, from simpler blocks like a square-in-a-square or elaborate patterns like a Mariner’s compass. Let’s take a look at how to execute this technique with a free downloadable, beginner-friendly star block pattern!
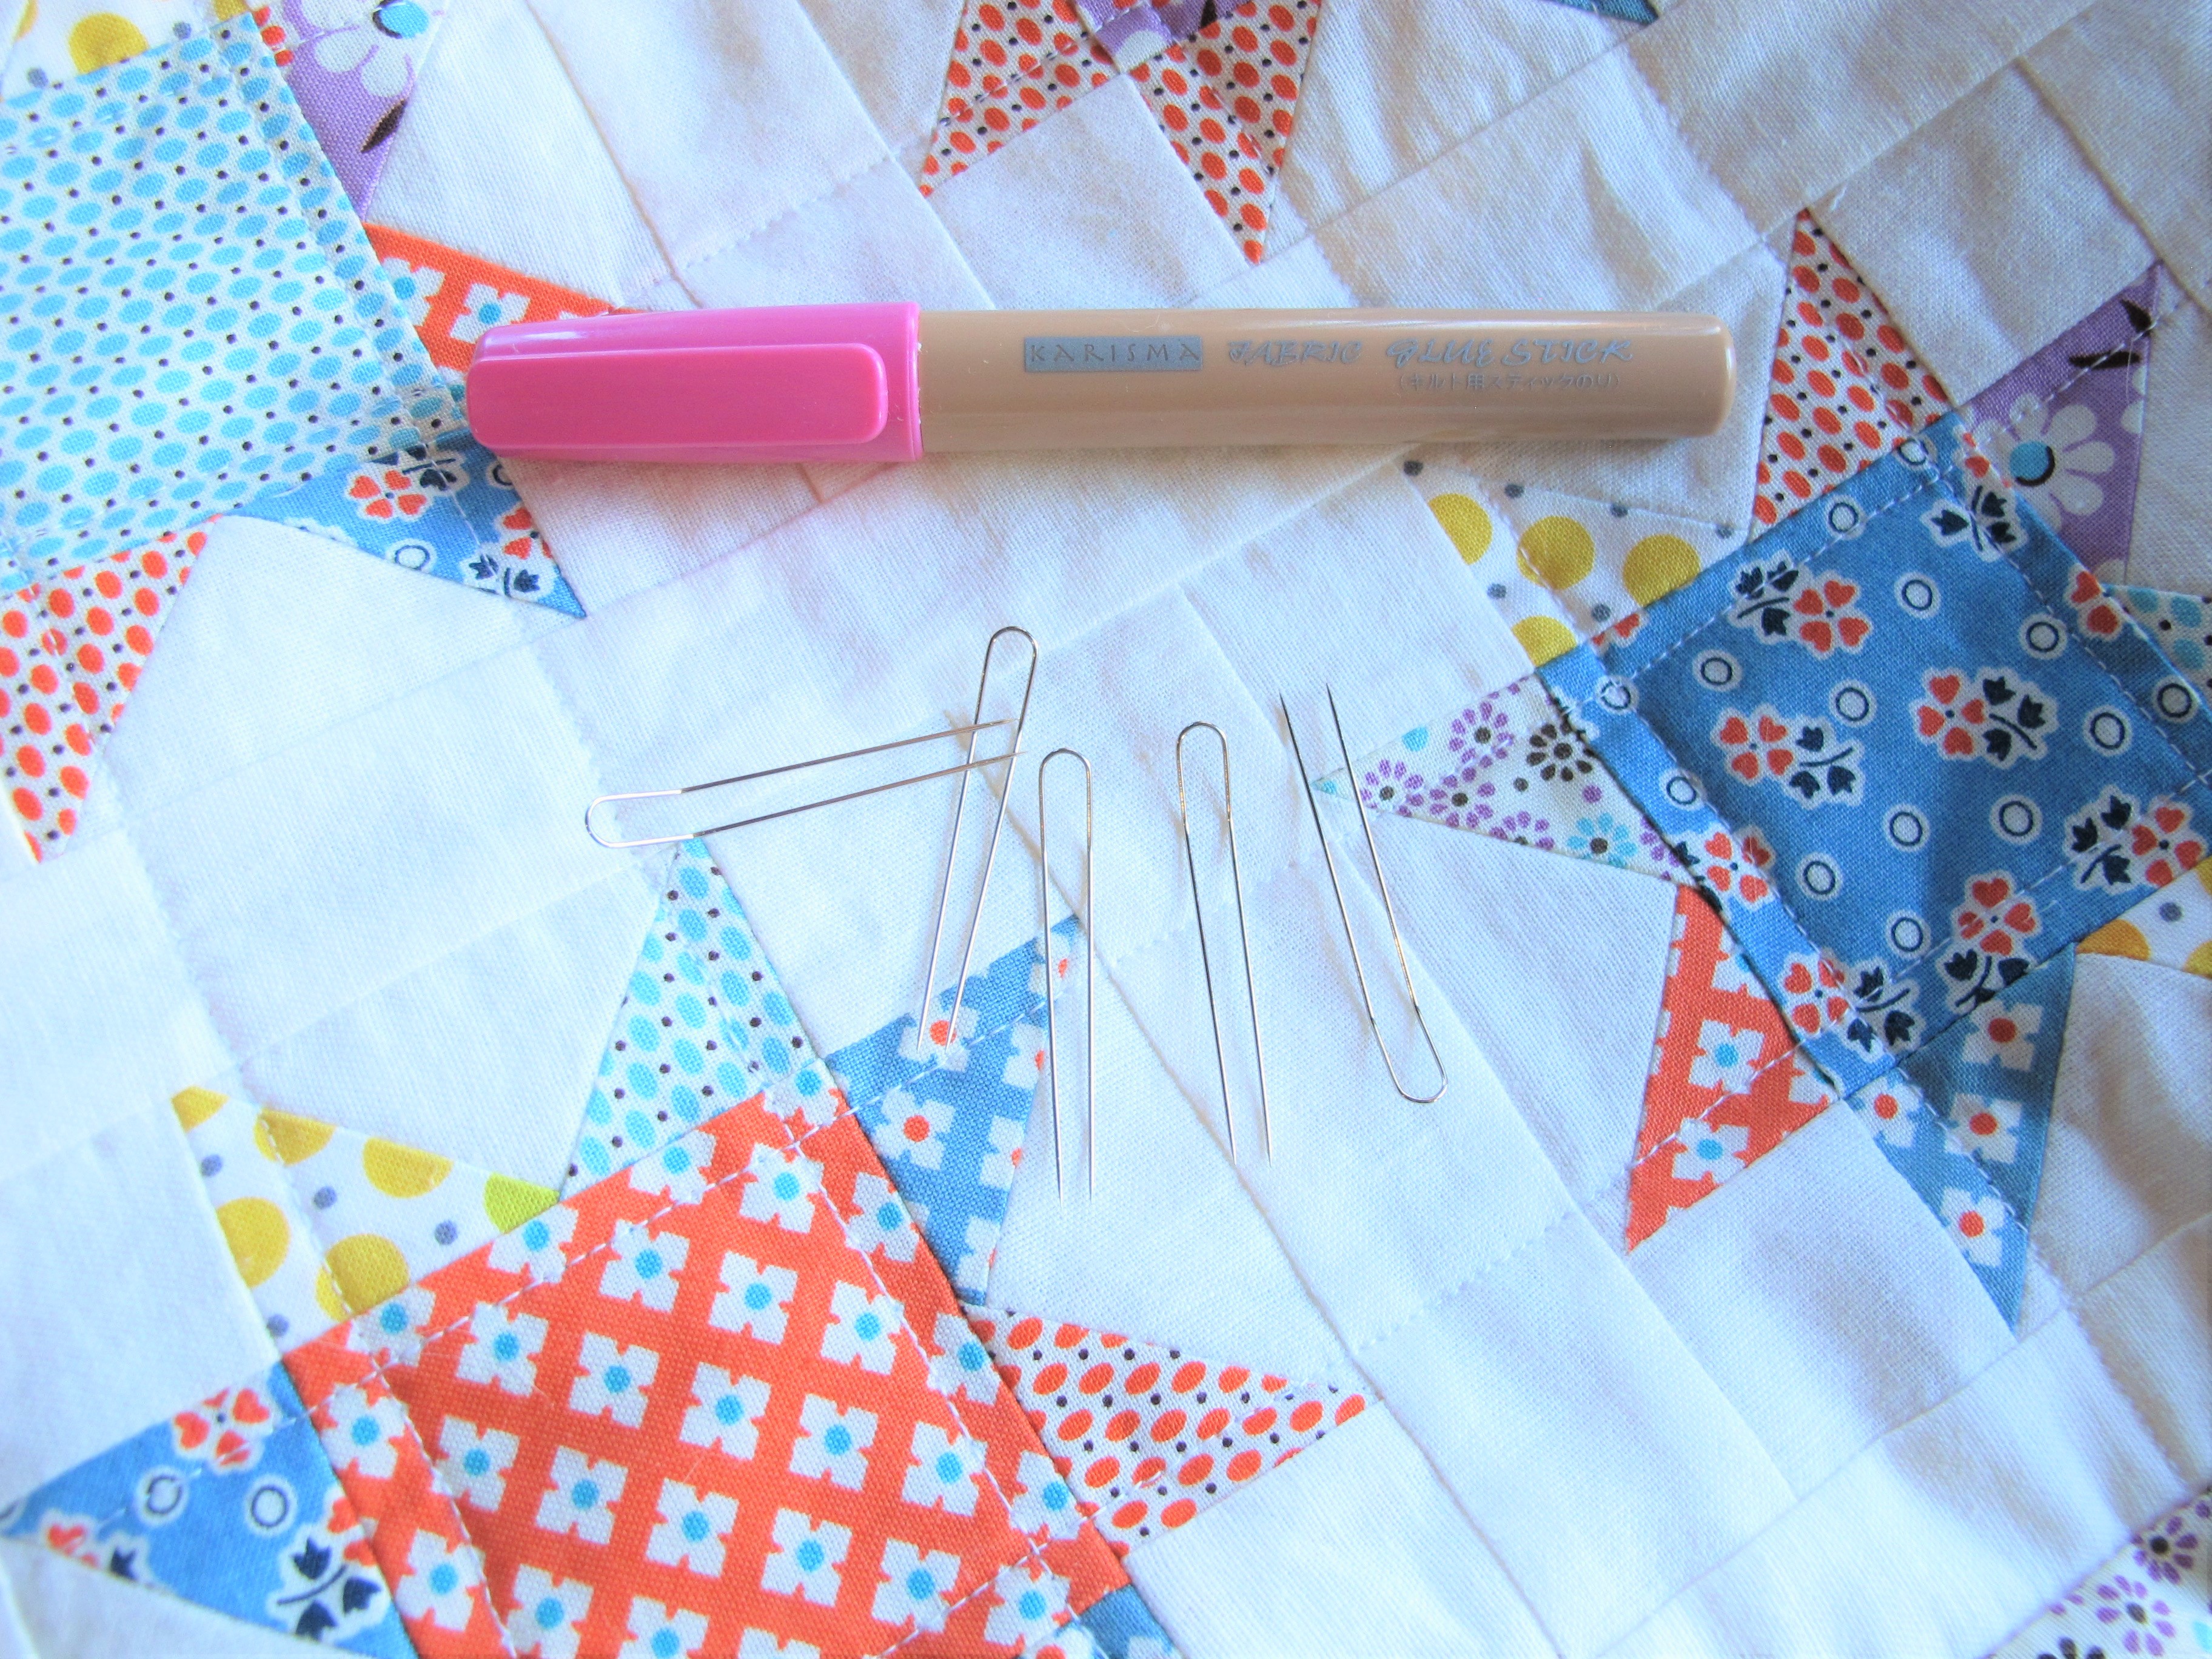
Materials for Foundation Paper Piecing
- Paper pattern
- Simple Star Paper Piecing Pattern
- Print four to create one 10” finished block
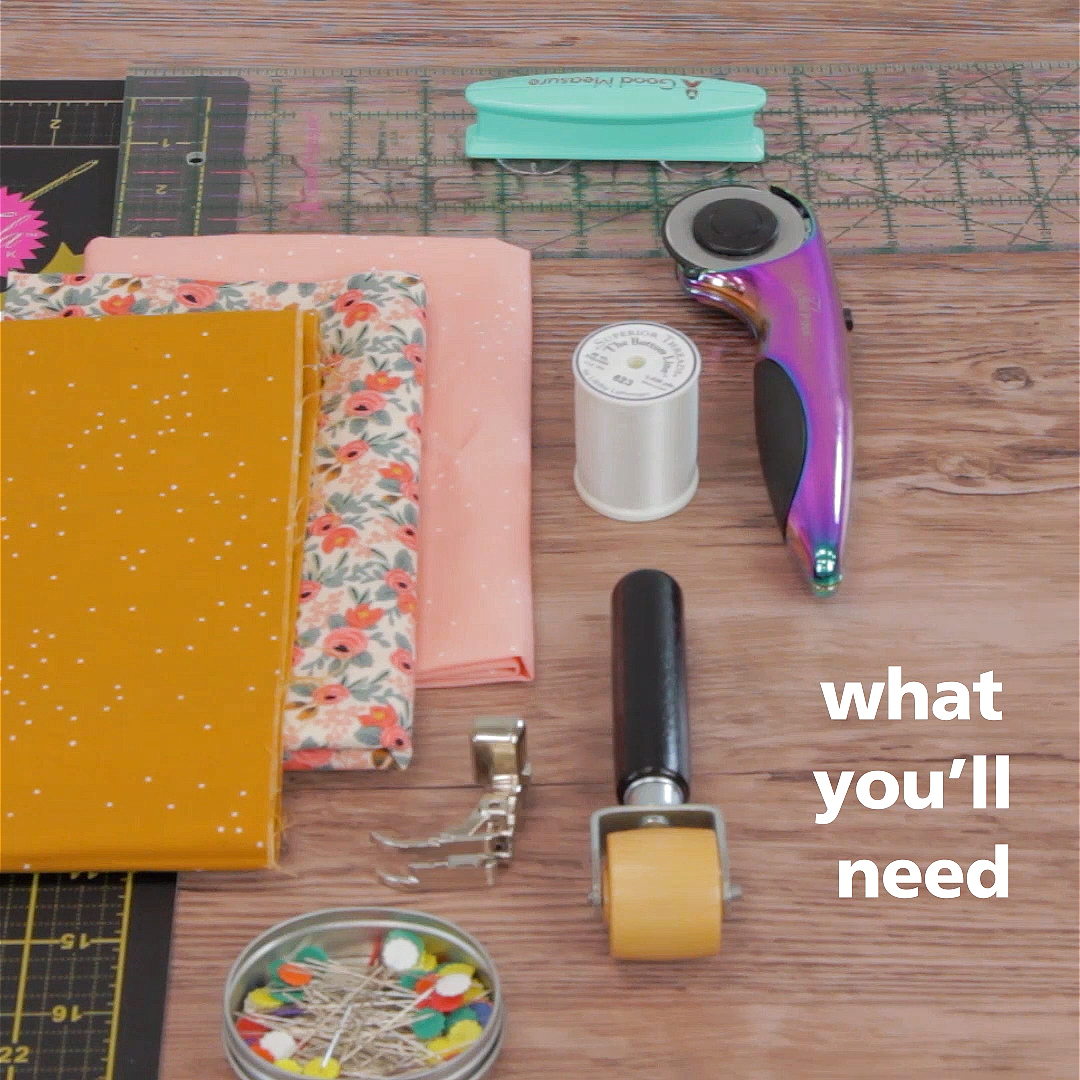
- Fabric
- Background + two focal colors
- Thread
- Wonderfil Decobob (80wt polyester)
- Lightweight for precise stitching but strong enough for when we need to tear out paper
- Rotary cutter
- Cutting mat
- Pins
- Paper scissors OR specifically designated paper-cutting rotary cutter
- Seam roller
- Iron & ironing board
- Patchwork foot #97 D
- B 570 QE
Steps for Foundation Paper Piecing
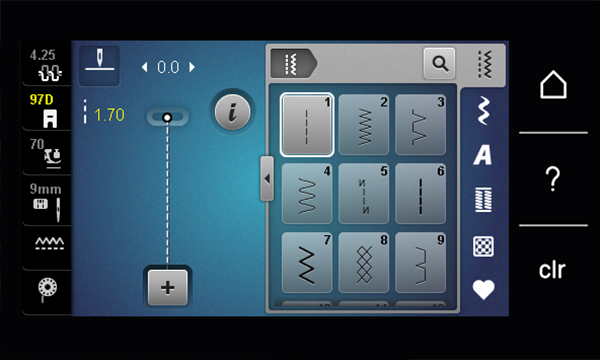
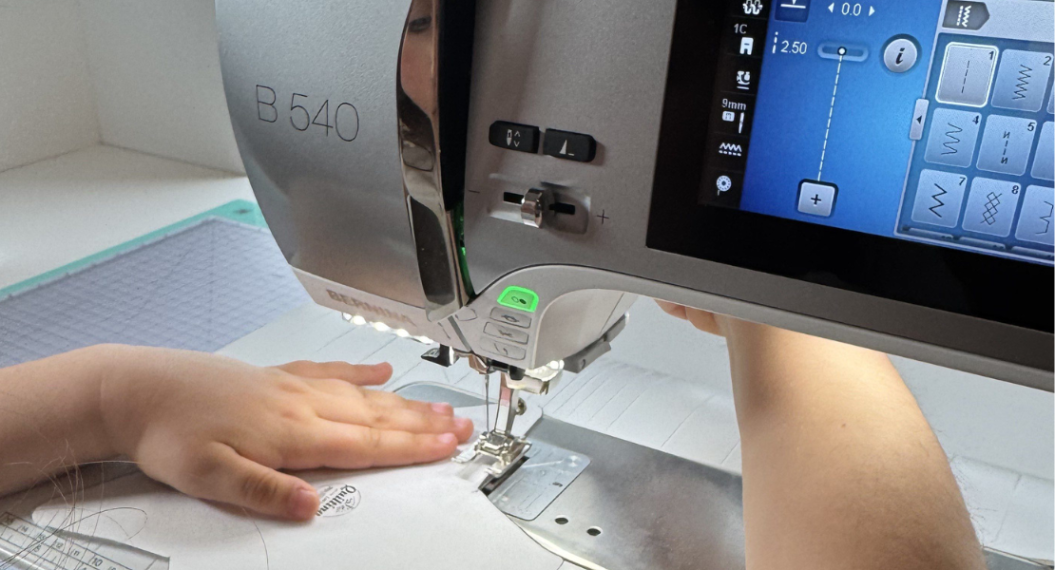
Step 1. Prepare your machine
Because seams created in foundation paper piecing go through more stress than your standard patchwork (because of the tearing-out of papers at the end) we want to make sure these seams are nice and strong. To do that, use a shorter stitch length like 1.5mm to 1.8mm. Also, while I typically opt for cotton threads in my quilts, a fine polyester thread like Wonderfil’s Decobob is a great, strong choice for this type of piecing. Since this thread is 80wt, it’s also exceptionally fine which makes your piecing that much more precise.
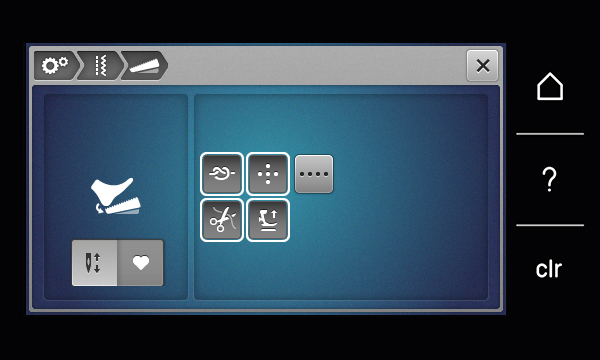
Next, set your machine to begin each seam with a locking stitch.
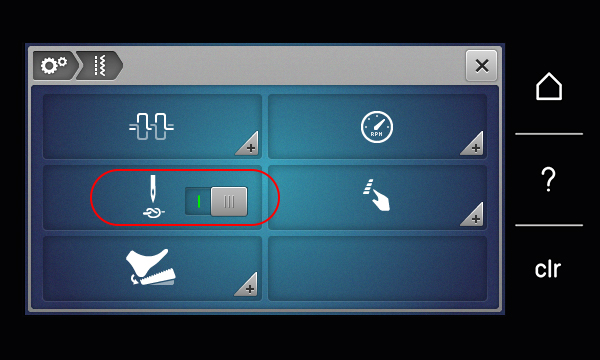
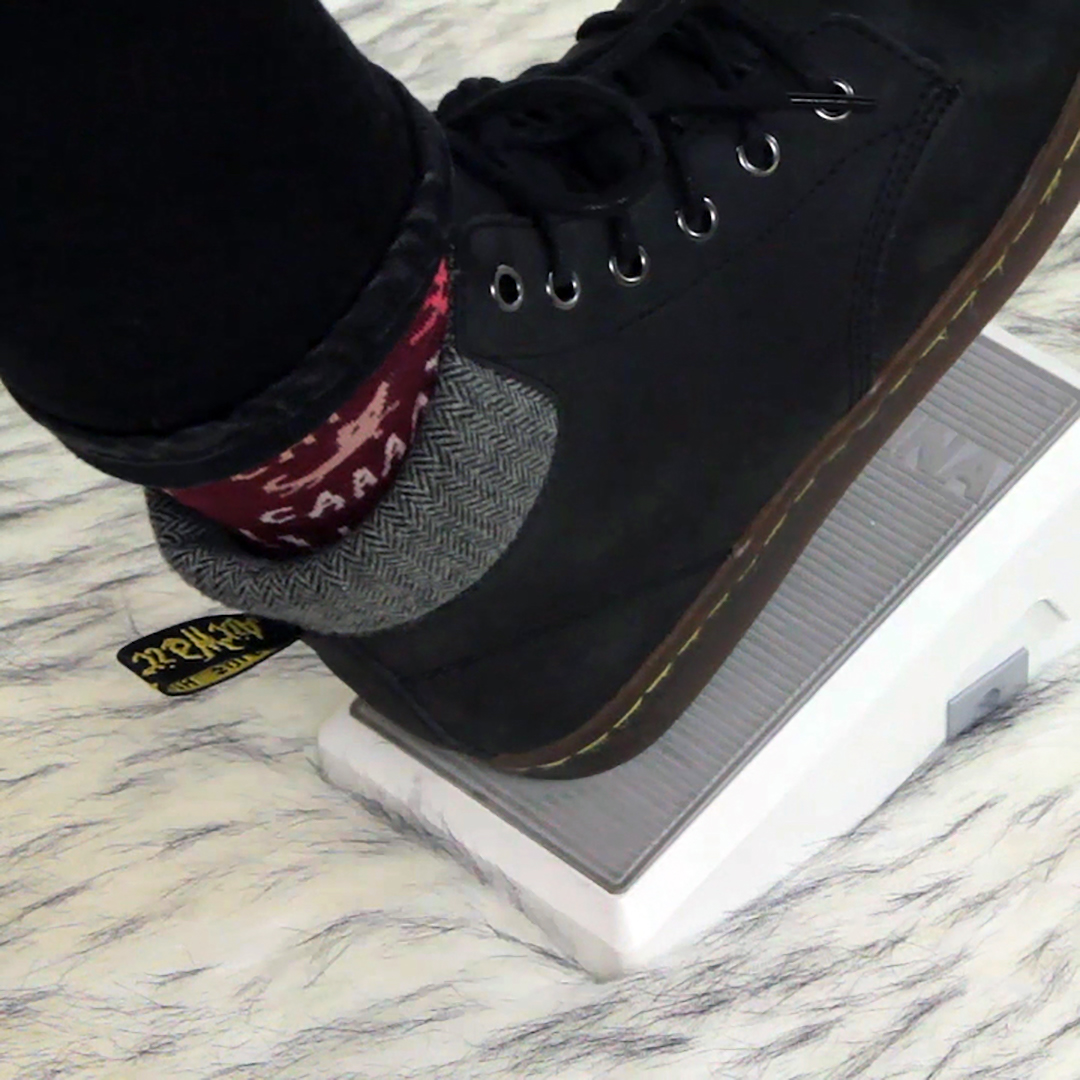
Another beloved setting for precise work like this is the programmable back kick function. With this function, I will program the back kick on my foot control to lock the stitch, cut the thread, and raise the presser foot automatically.
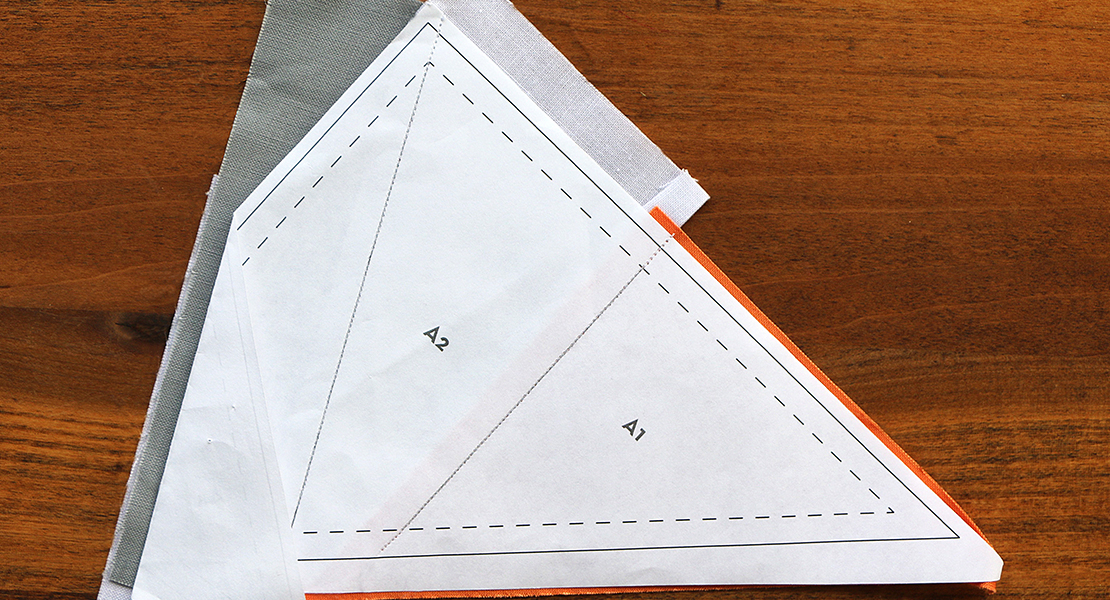
Step 2. Trim down your pattern
Before we get started sewing, it is helpful to trim down the paper pattern that will be sewn on. The solid border on our pattern is the finished size and the dashed border is a ¼” seam allowance. After printing out four of these paper patterns, trim them down to slightly larger than the dashed line.
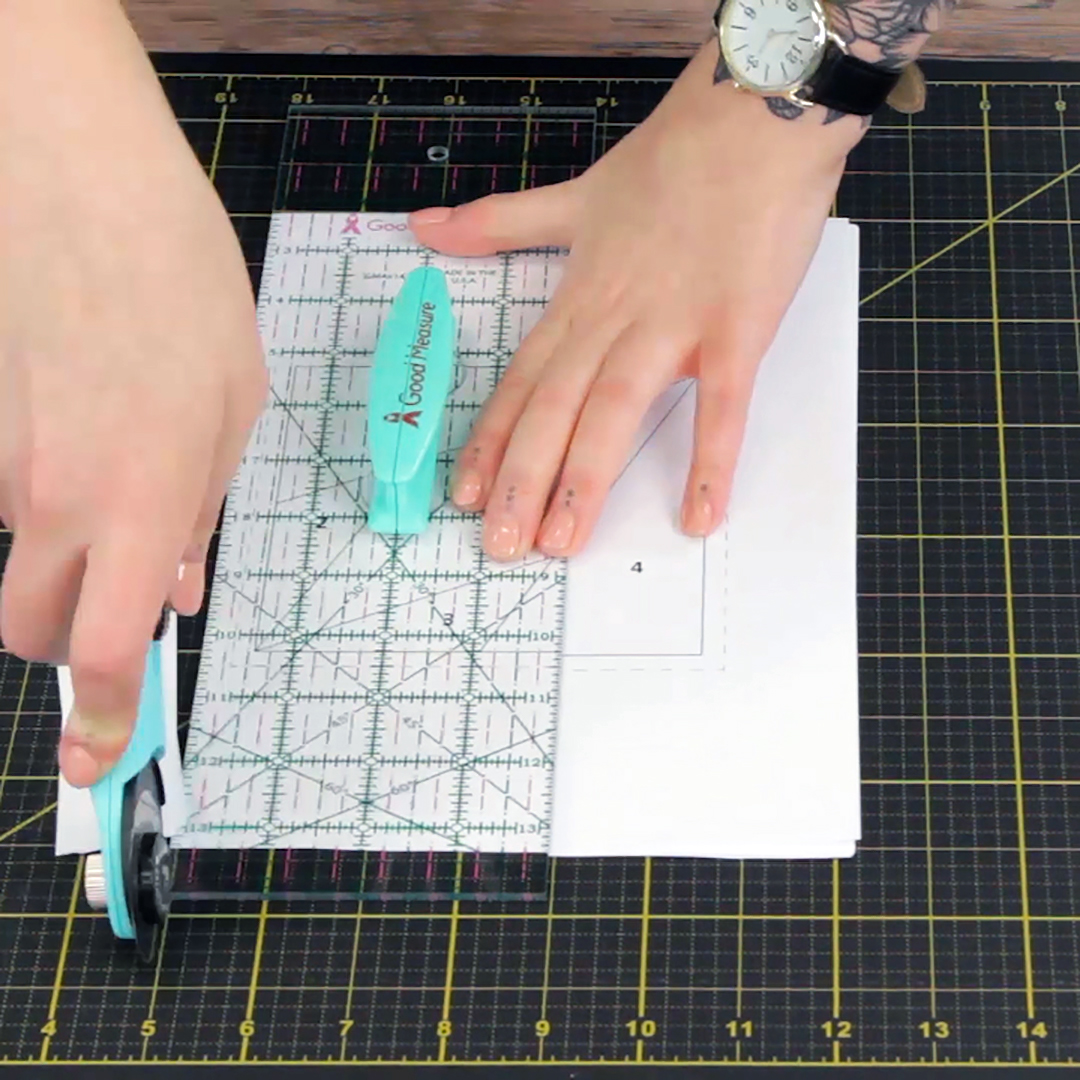
Tip: We all know to never use our fabric scissors or rotary on paper. I like to keep a second rotary cutter around specifically for paper. When my fabric blade starts getting dull, I mark it with a permanent marker and use it to cut paper until my next fabric blade is ready to go. Be sure to keep these rotary cutters clearly labeled!
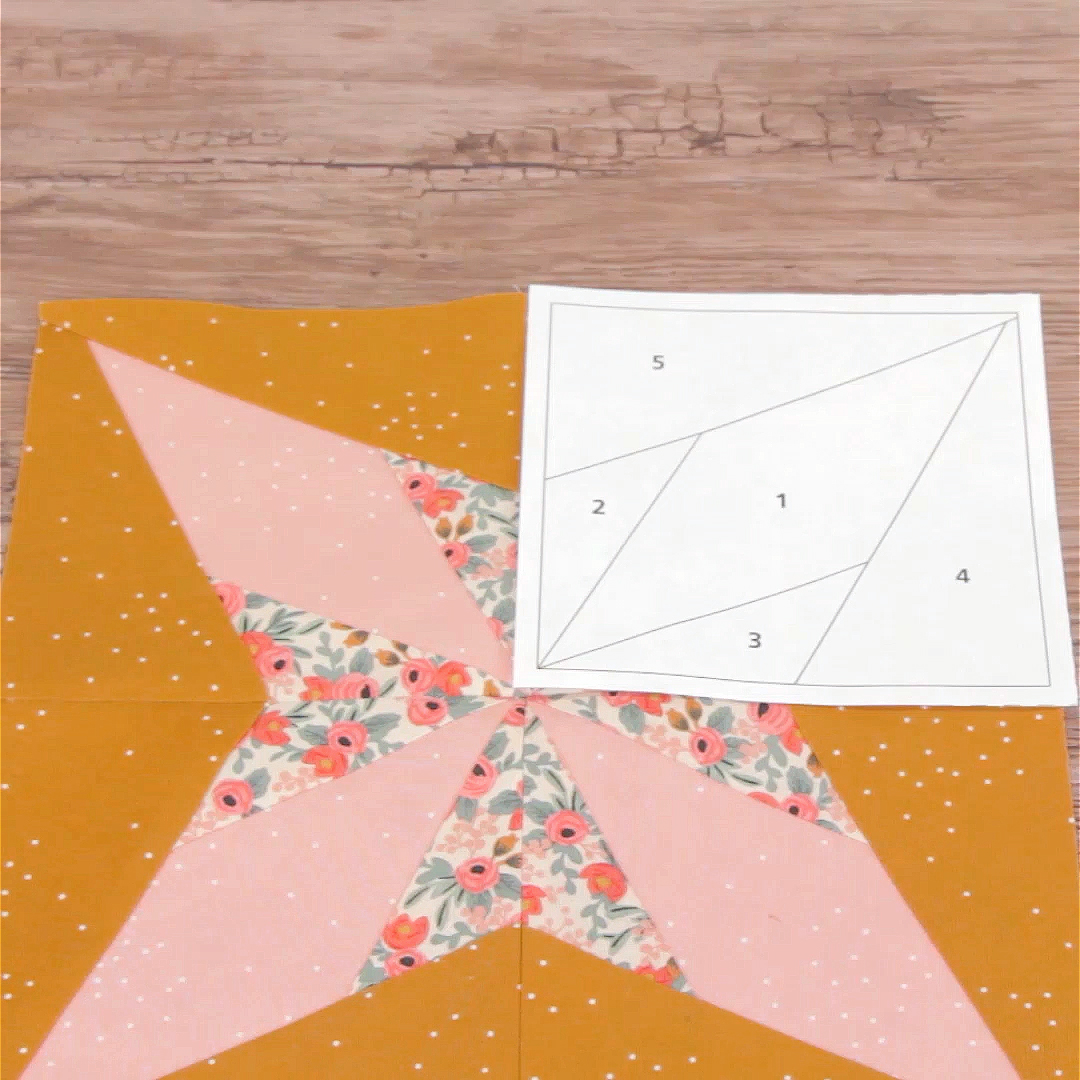
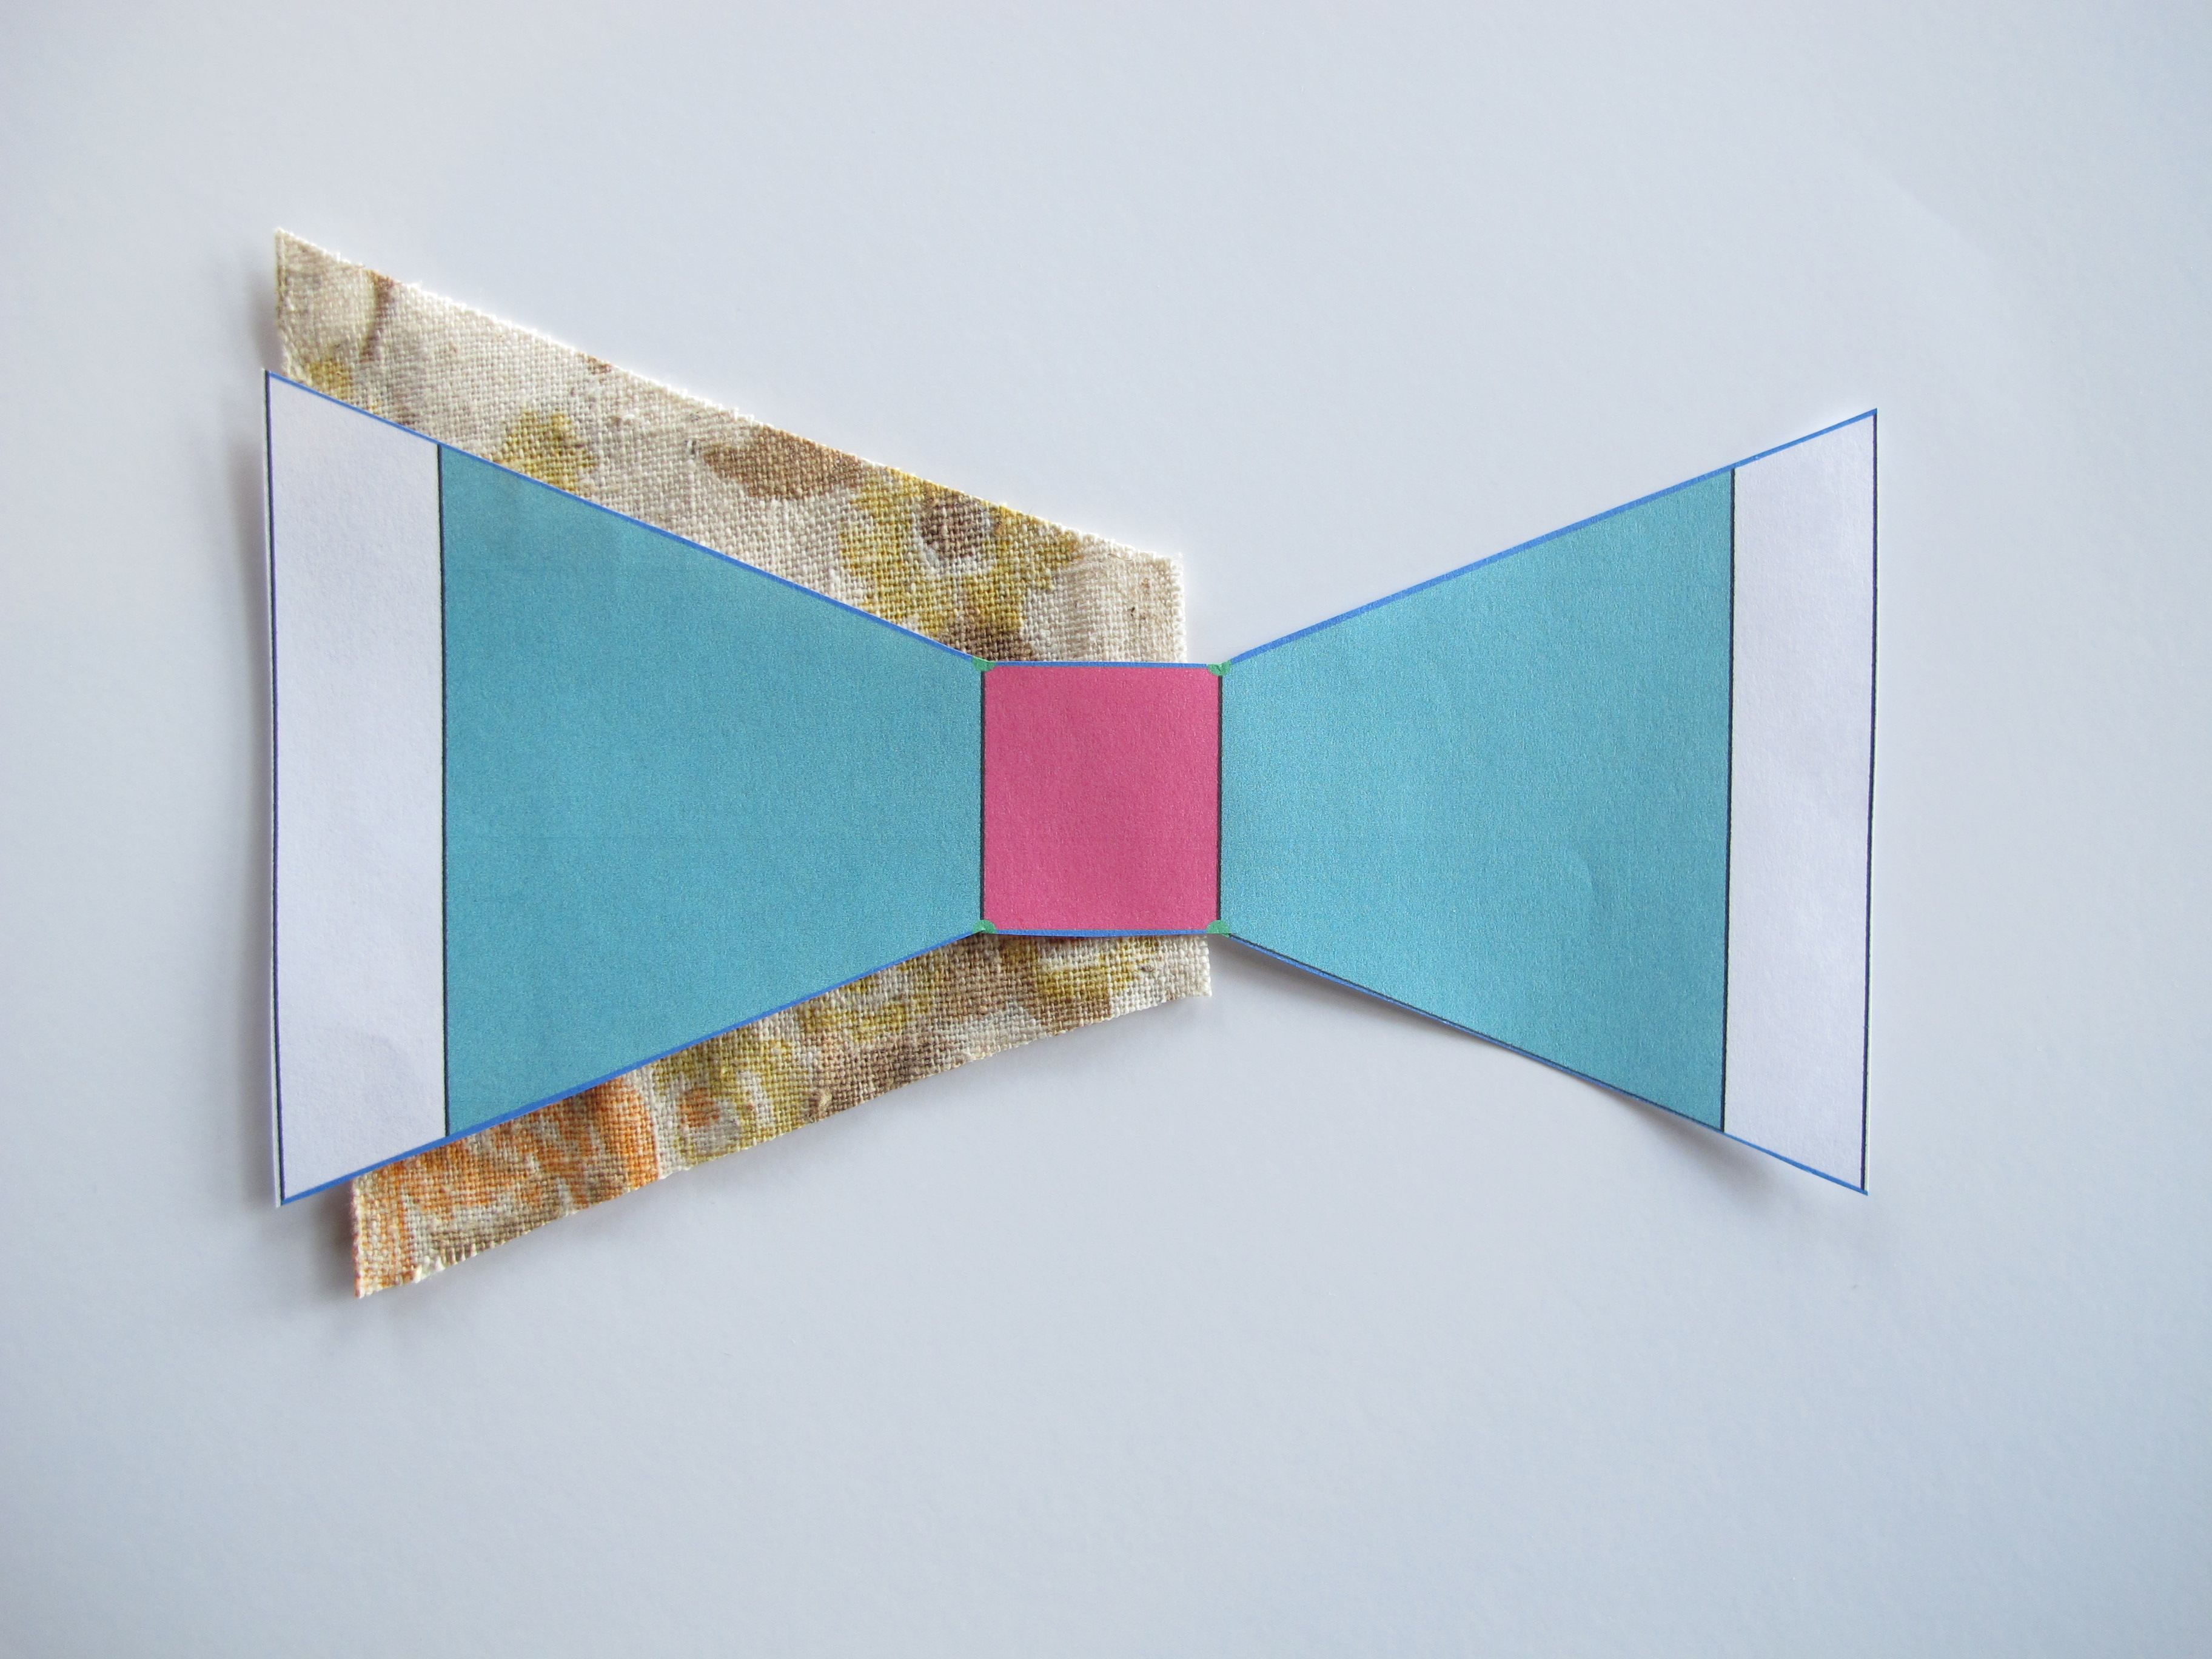
Step 3. Align fabric
Take a look at your paper pattern—each section of the pattern is labeled with a number. These numbers indicate the order in which the pieces are sewn down. Beginning with section one, line up a piece of fabric slightly larger than this area with the wrong side to the back of the paper (if paper had a “wrong side”, they would be wrong sides together). Pin in place.
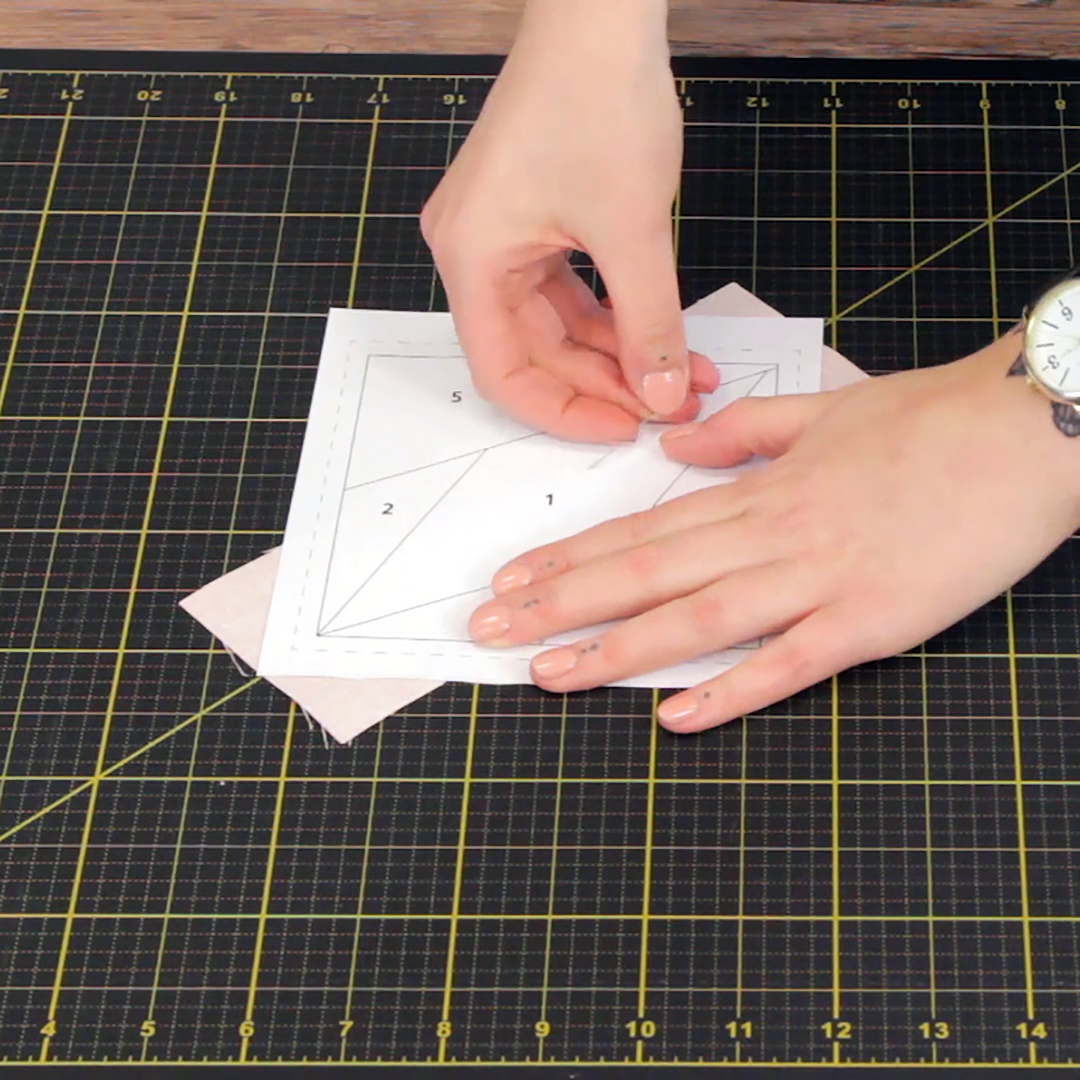
Fold the paper along the line between sections one and two. This will help you place and align your fabric for section two.
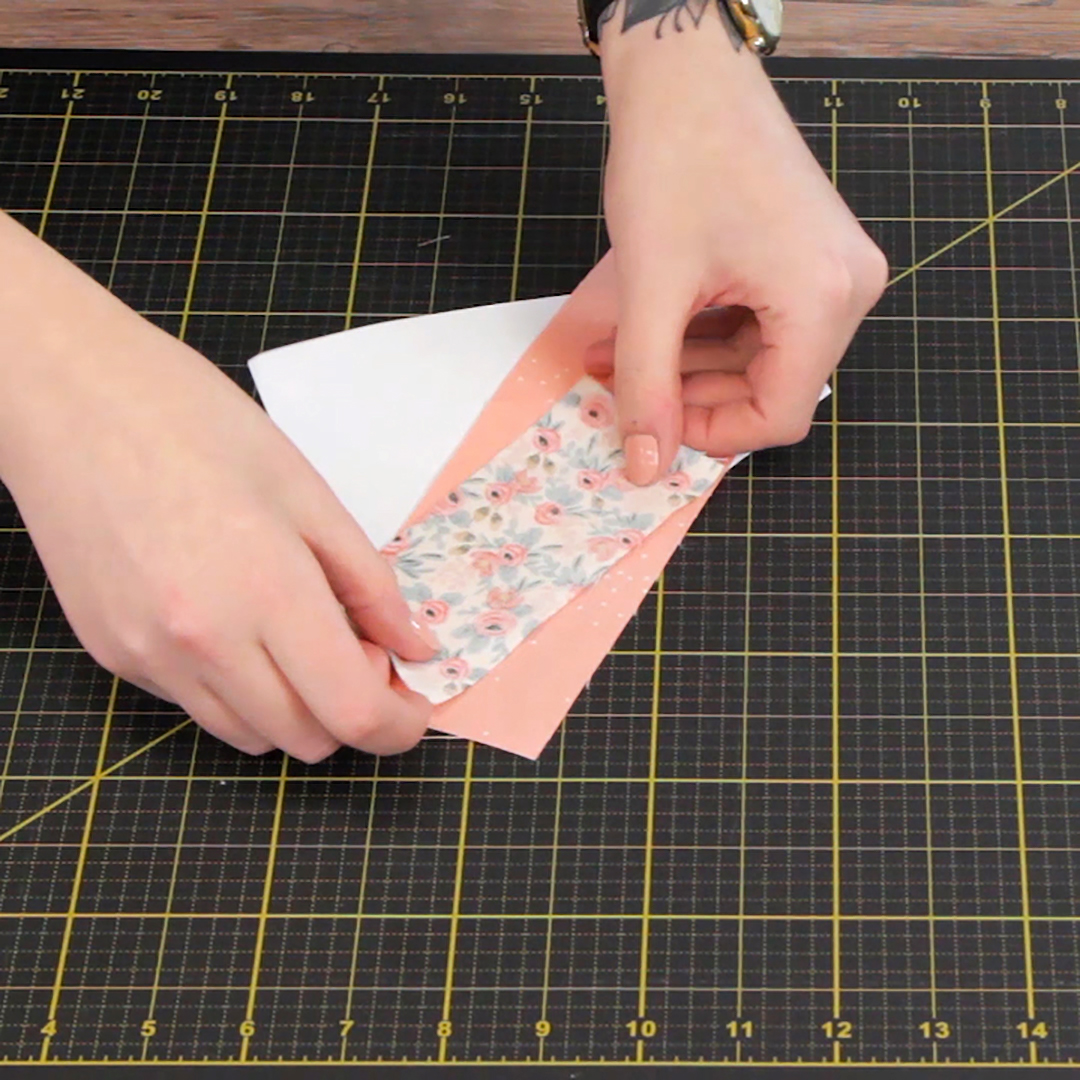
Next, align the piece of fabric for the section labeled two. Place this piece right sides together with your first piece, with a straight edge extending at least ¼” beyond the fold—this is your seam allowance. Make sure your fabric is at least as large as the section folded back and covers this folded section. This ensures that when the seam is sewn and the fabric pressed correctly, it will totally cover its section of the pattern. Pin the fabric in place and unfold your pattern.
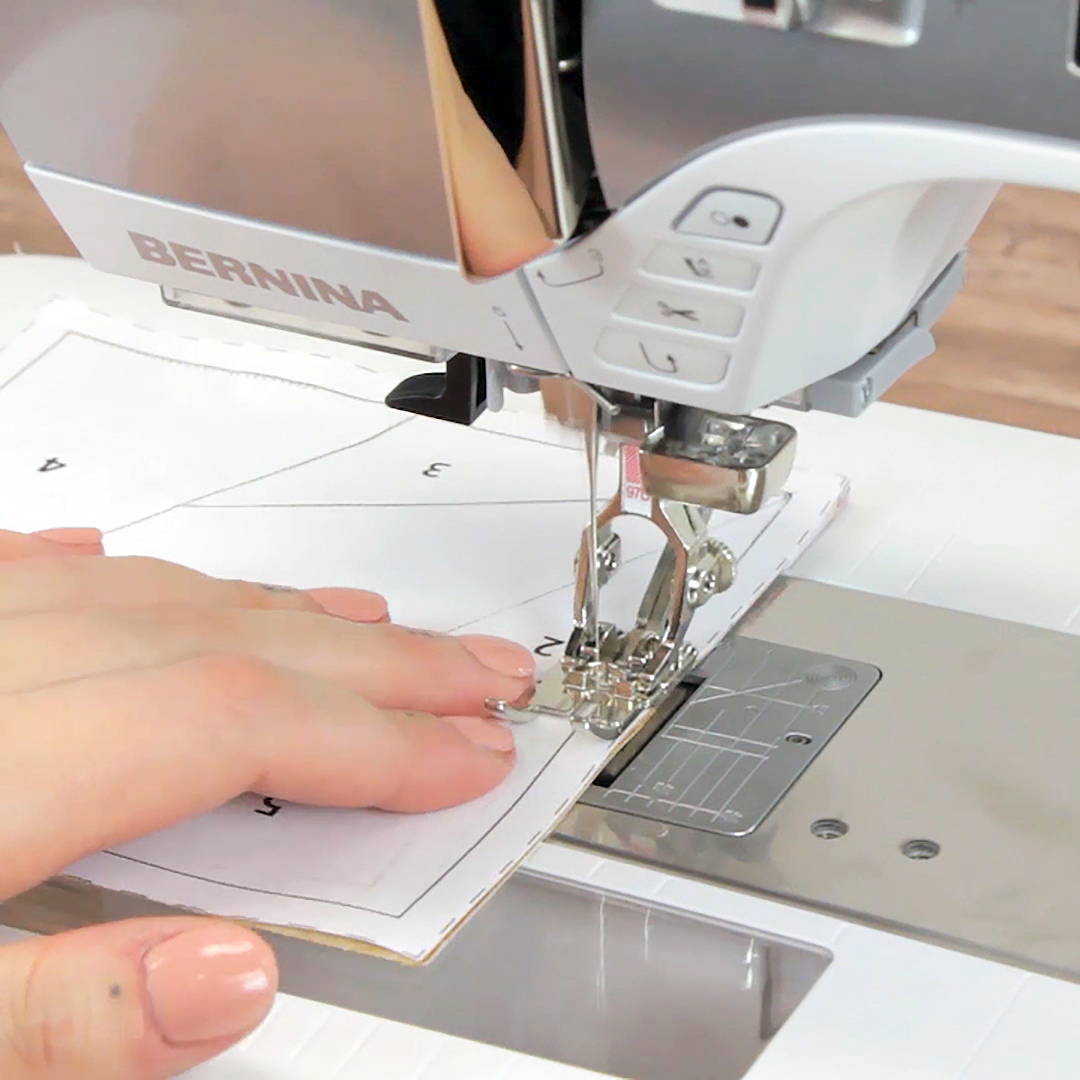
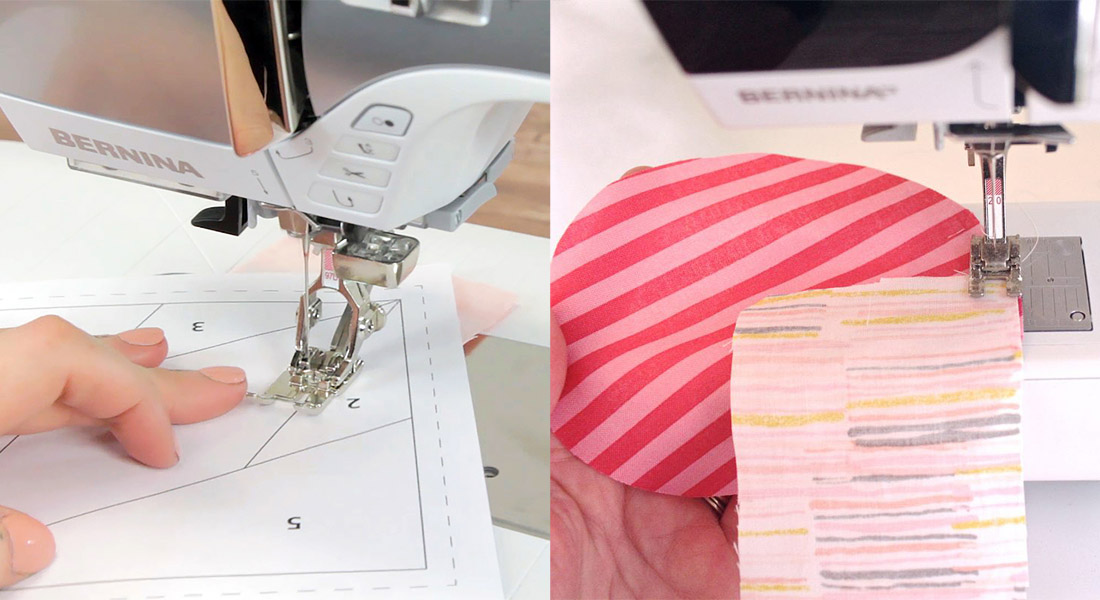
Step 4. Stitch down
Now that everything is lined up and placed precisely, it’s time to stitch! Sewing on the printed side of the paper pattern, sew only on the solid lines. Using the Patchwork foot #97D, begin the seam with a locking stitch and sew all the way to the end, locking at the end as well. Dual Feed is a great help in foundation paper piecing because it will ensure that our seams are incredibly precise and it will help feed some potentially bulky intersections more evenly.
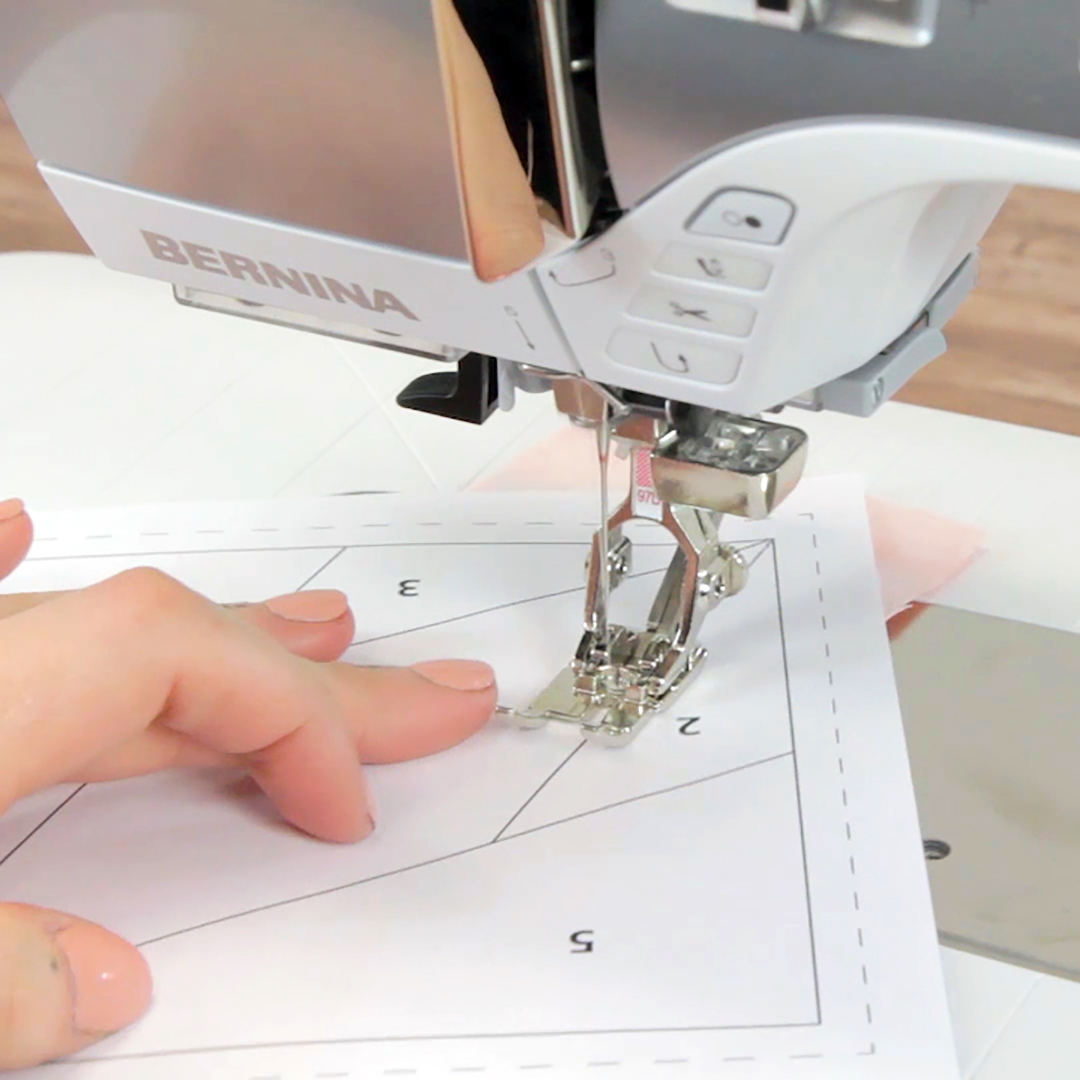
When you reach the end of your seam, use back kick to lock the seam, cut the threads, and raise the presser foot.
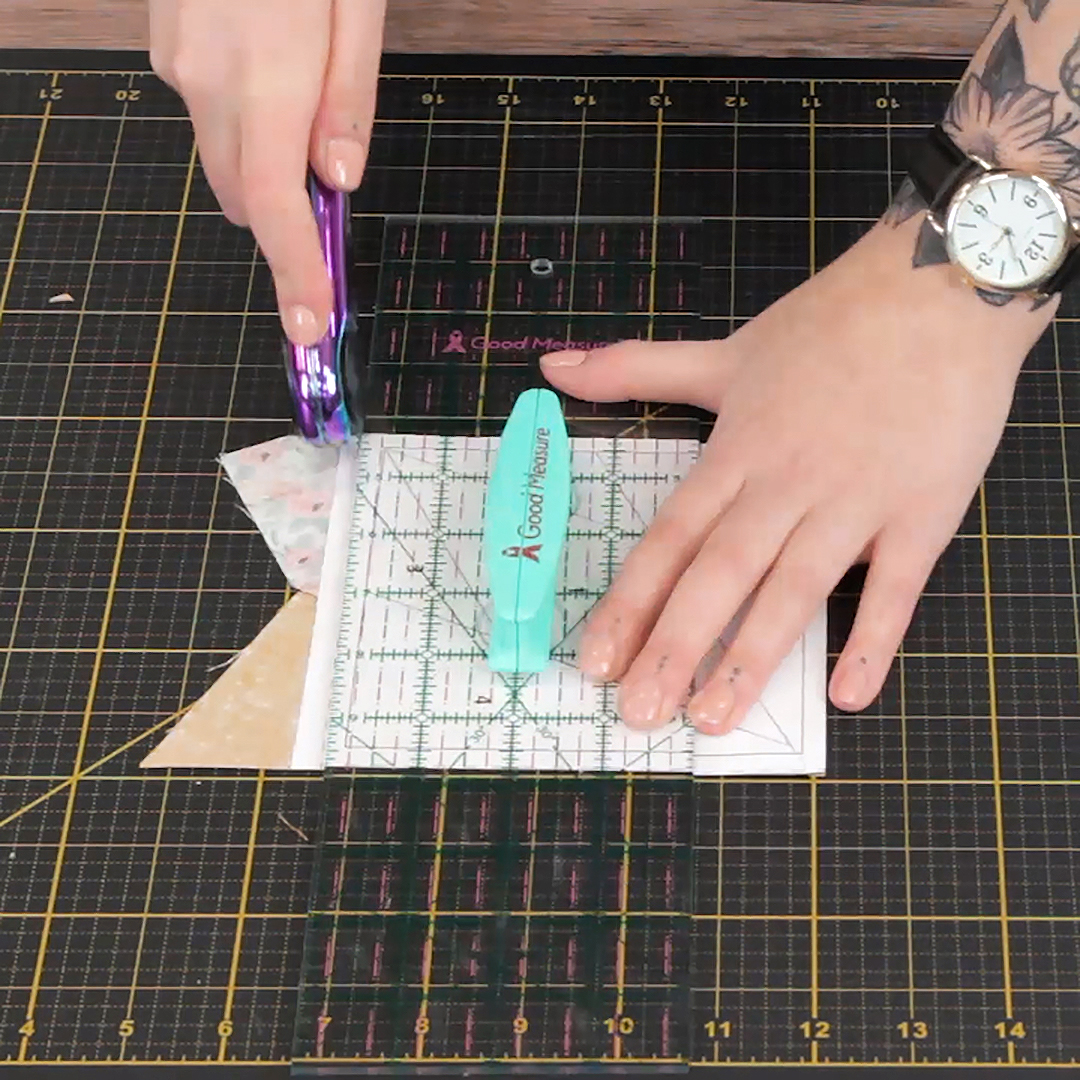
Step 5. Trim seam
Fold back the paper pattern at the seam, as we did when aligning the fabric, and trim down the seam allowance to a scant ¼”. Double and triple check, before you trim, that you do not cut through paper!

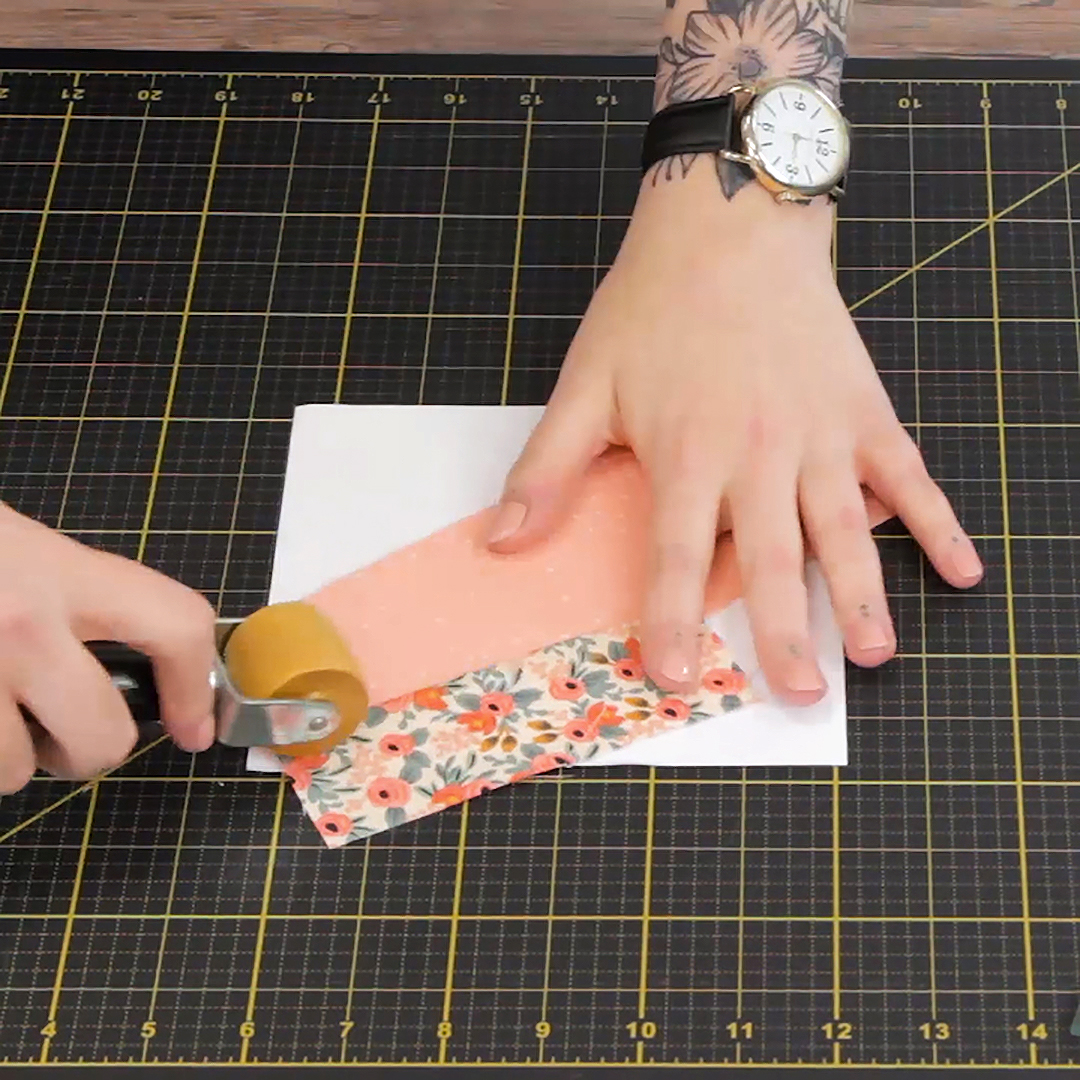
Step 6. Press seam
Unfold your paper pattern and place the block fabric side up. Fold the fabric in section two down and press the seam. For paper piecing, I love to use a wooden seam roller. These blocks often have lots of seams and using a seam roller saves time from constantly running back and forth from an iron.
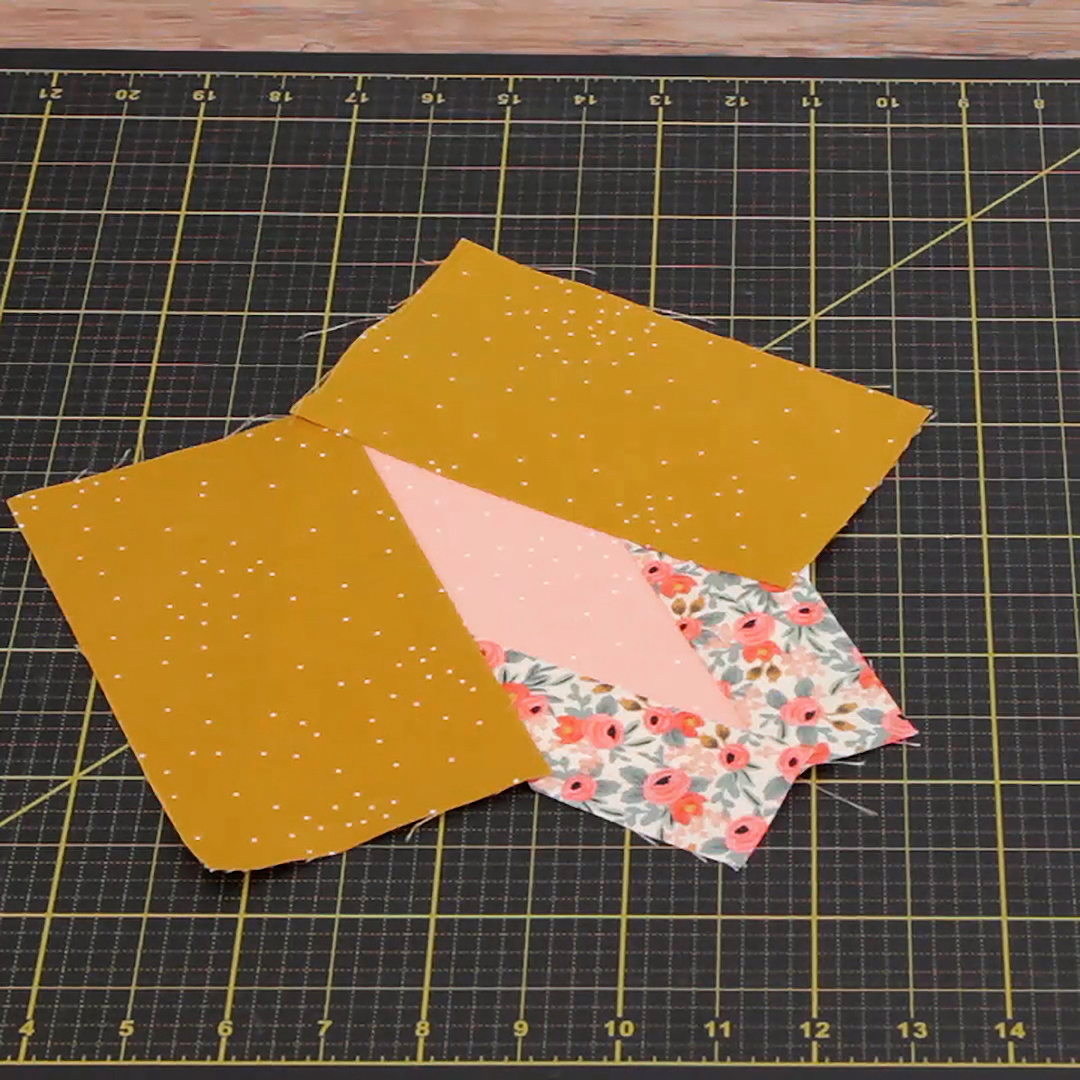
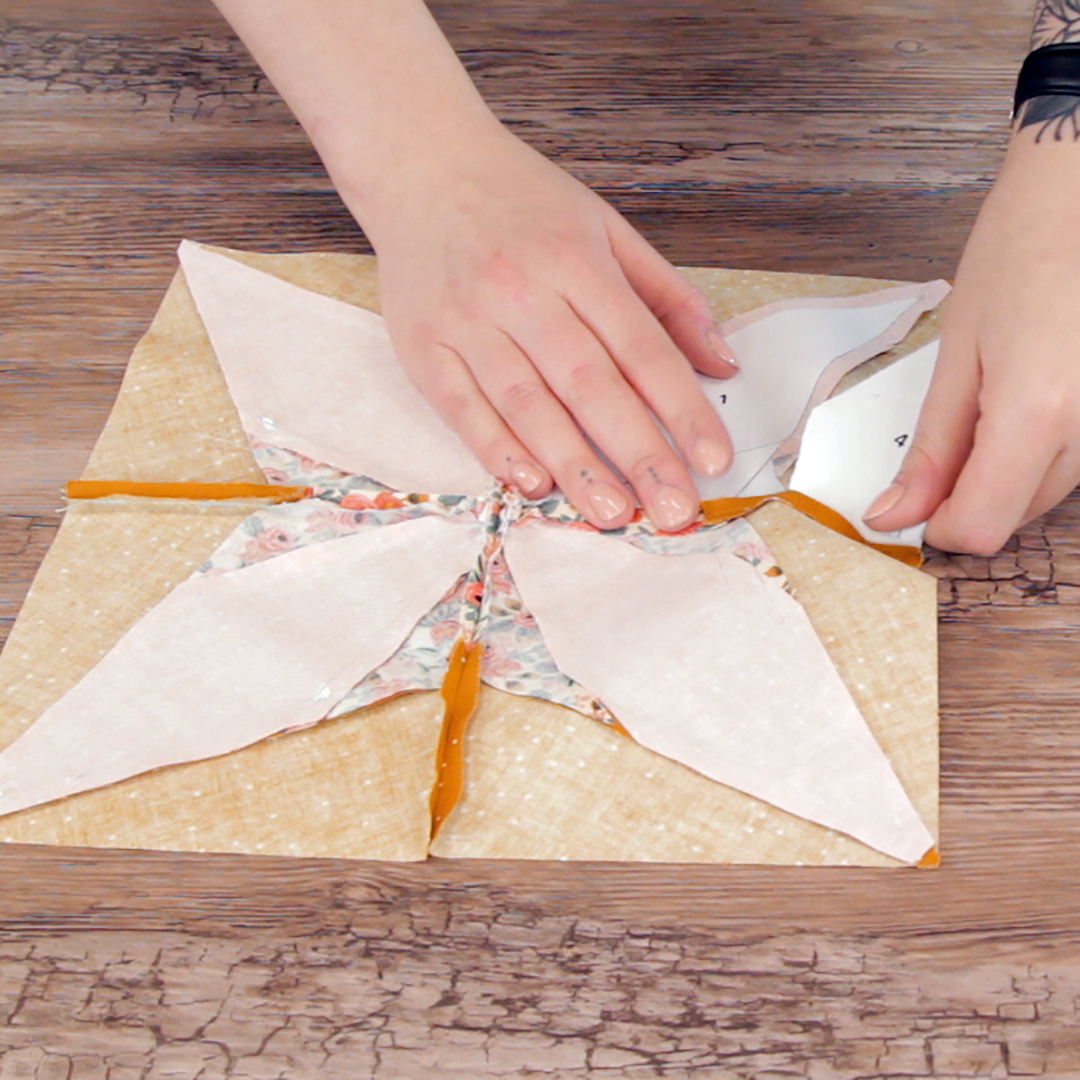
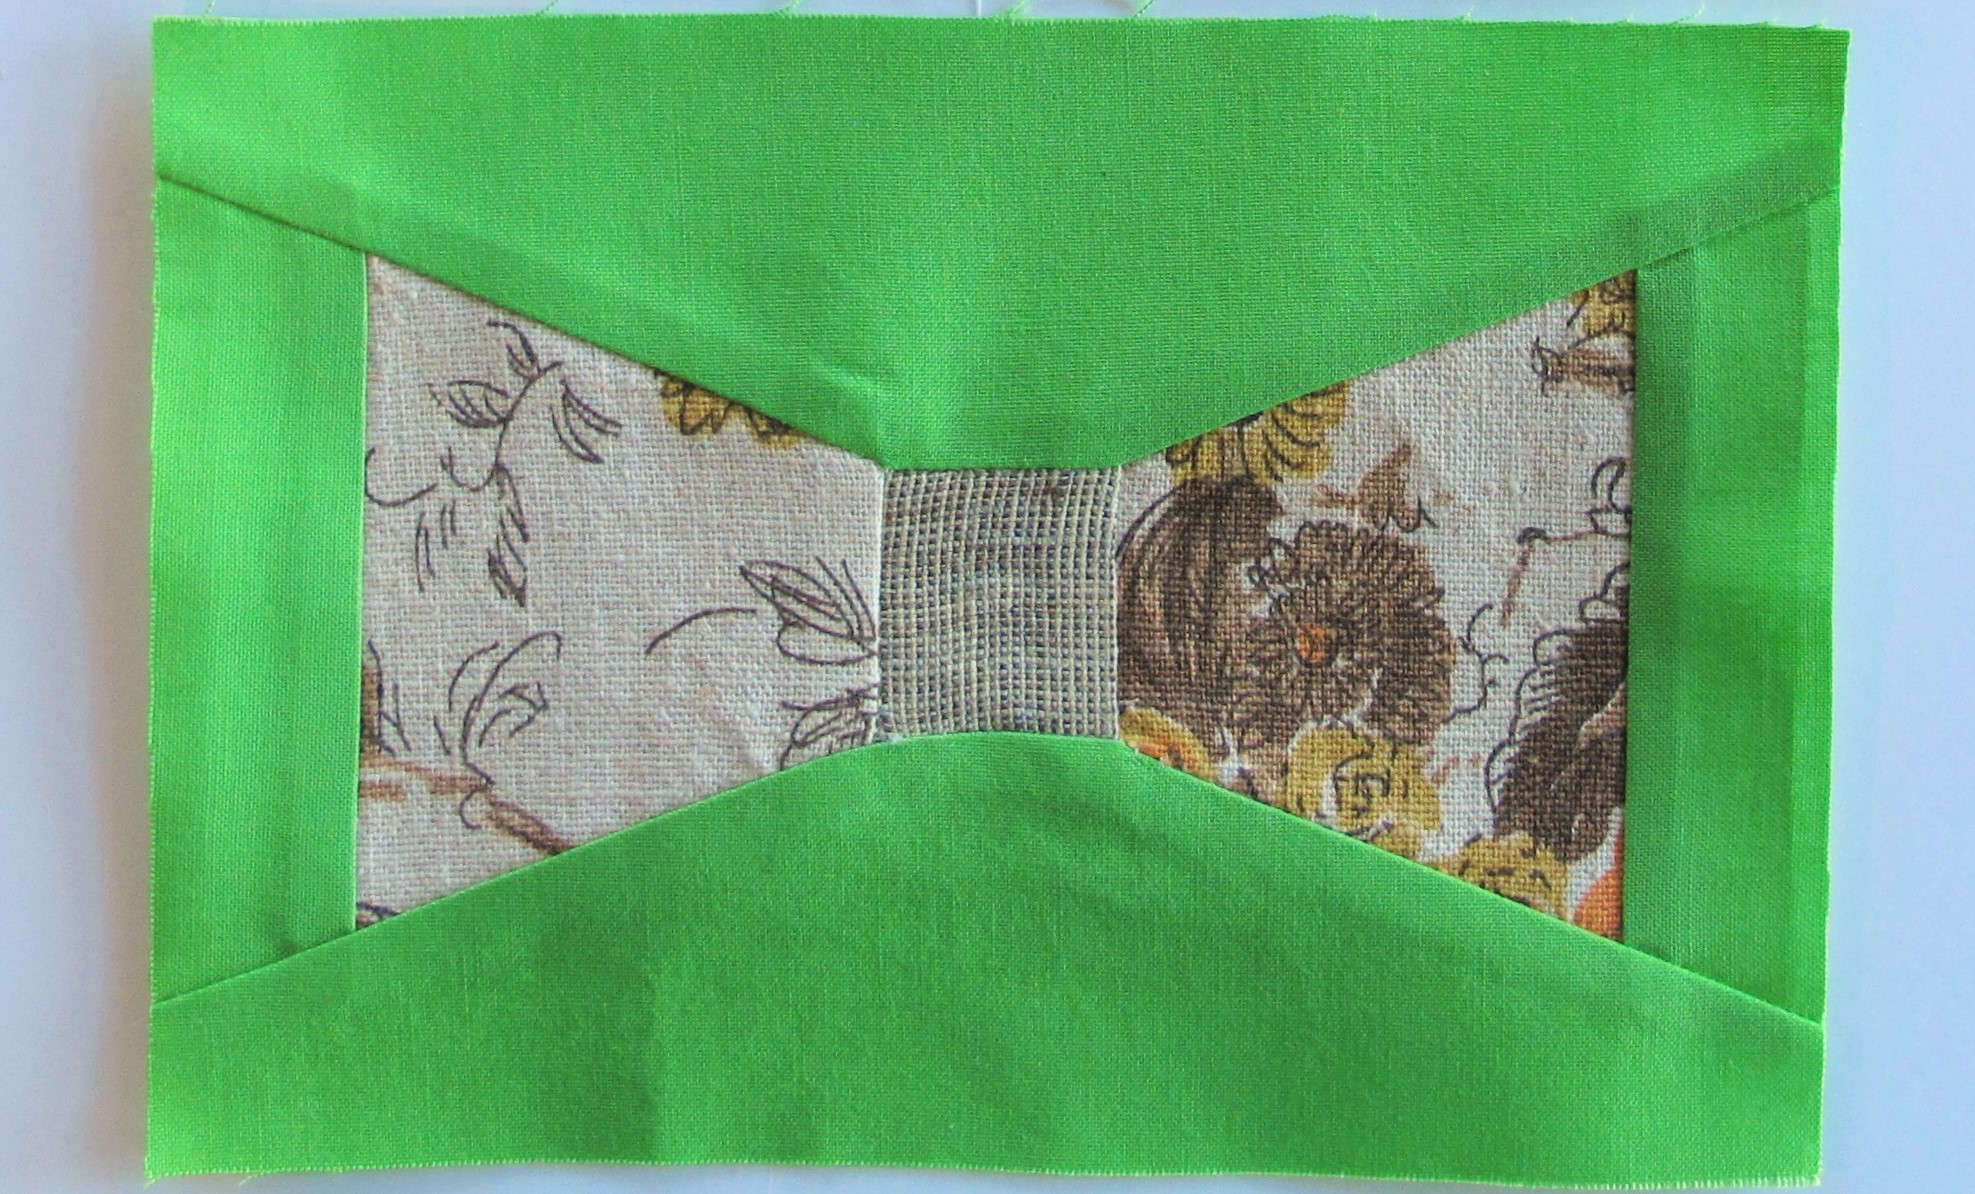
Step 7. Repeat process
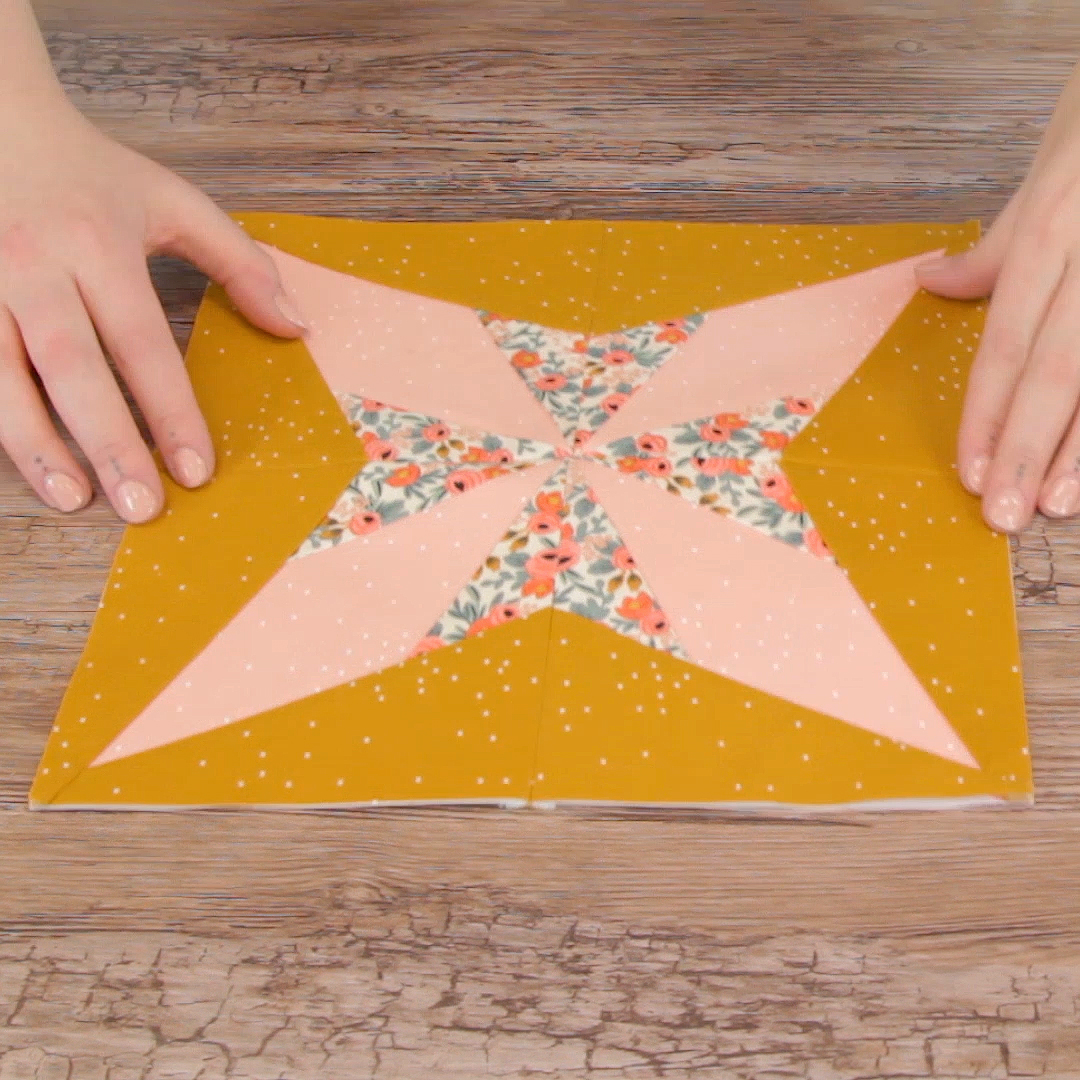
Repeat the same process for sections three, four, and five as well as three additional blocks. Once all pieces are sewn to the paper foundation block, you will have something that looks like this, with quite a bit of excess fabric.
Step 8. Trim down block
With the printed side of the pattern up, trim your block down to the dashed line border. This section is now ready to be assembled into a complete block.
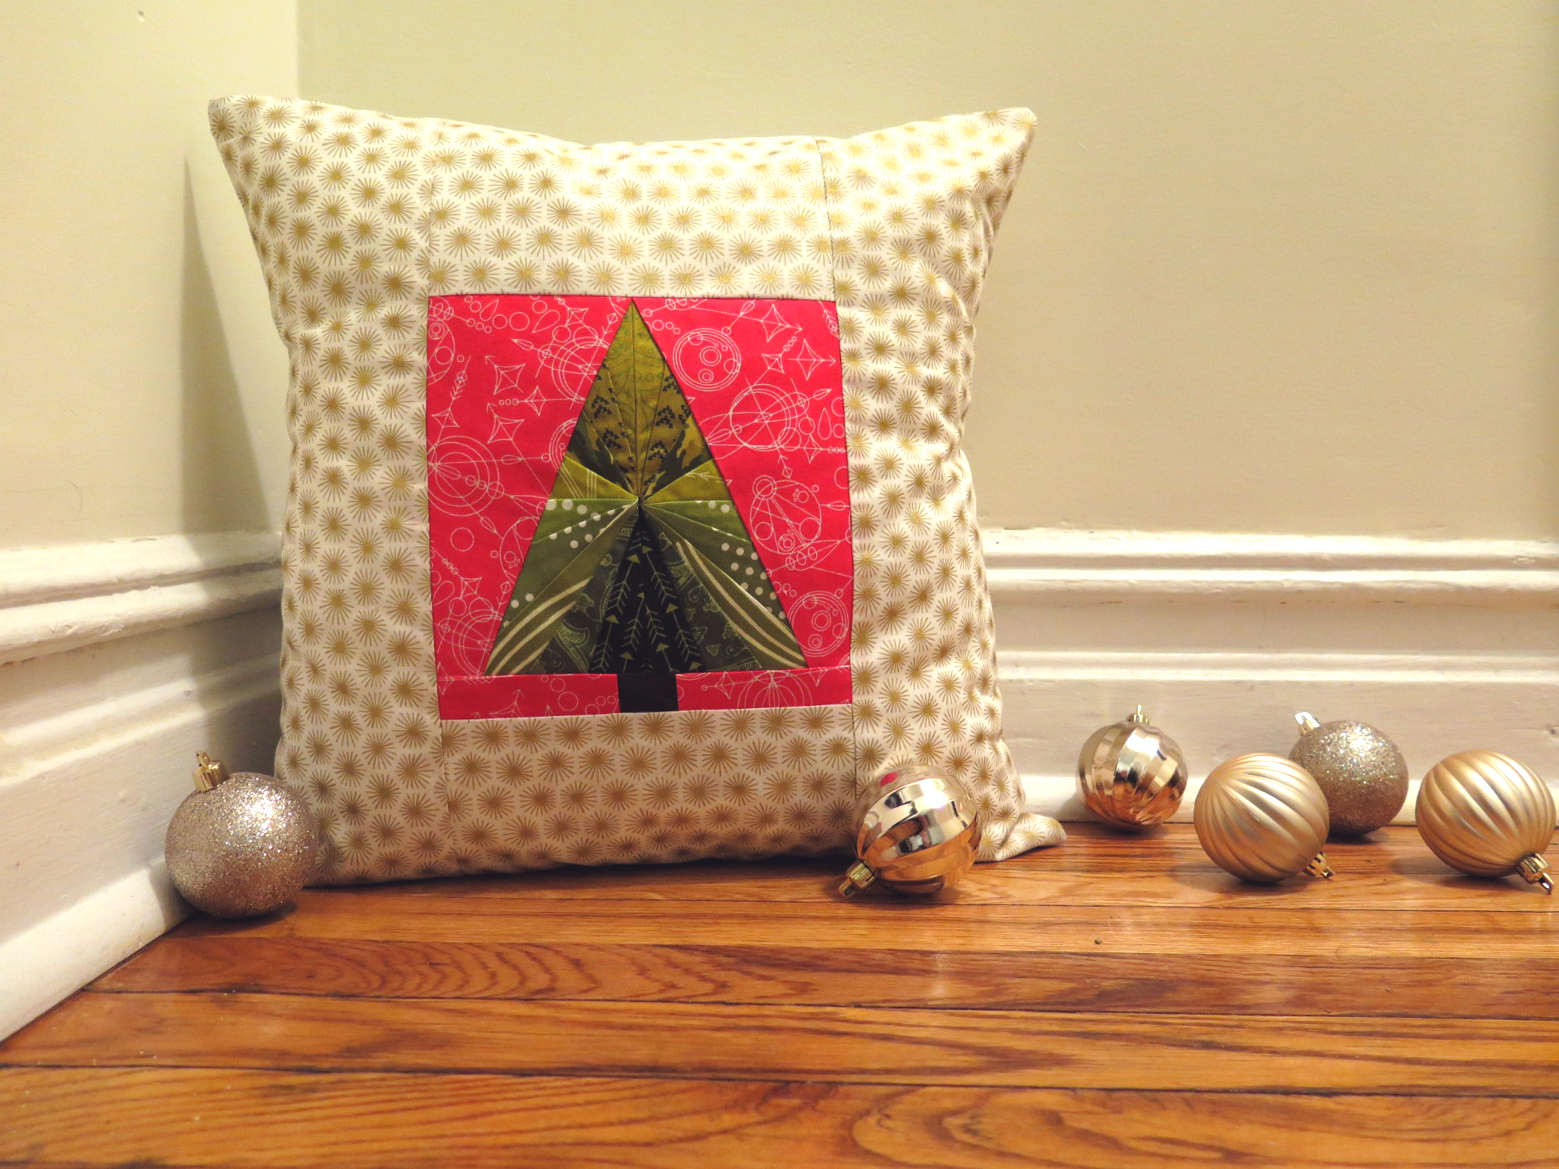
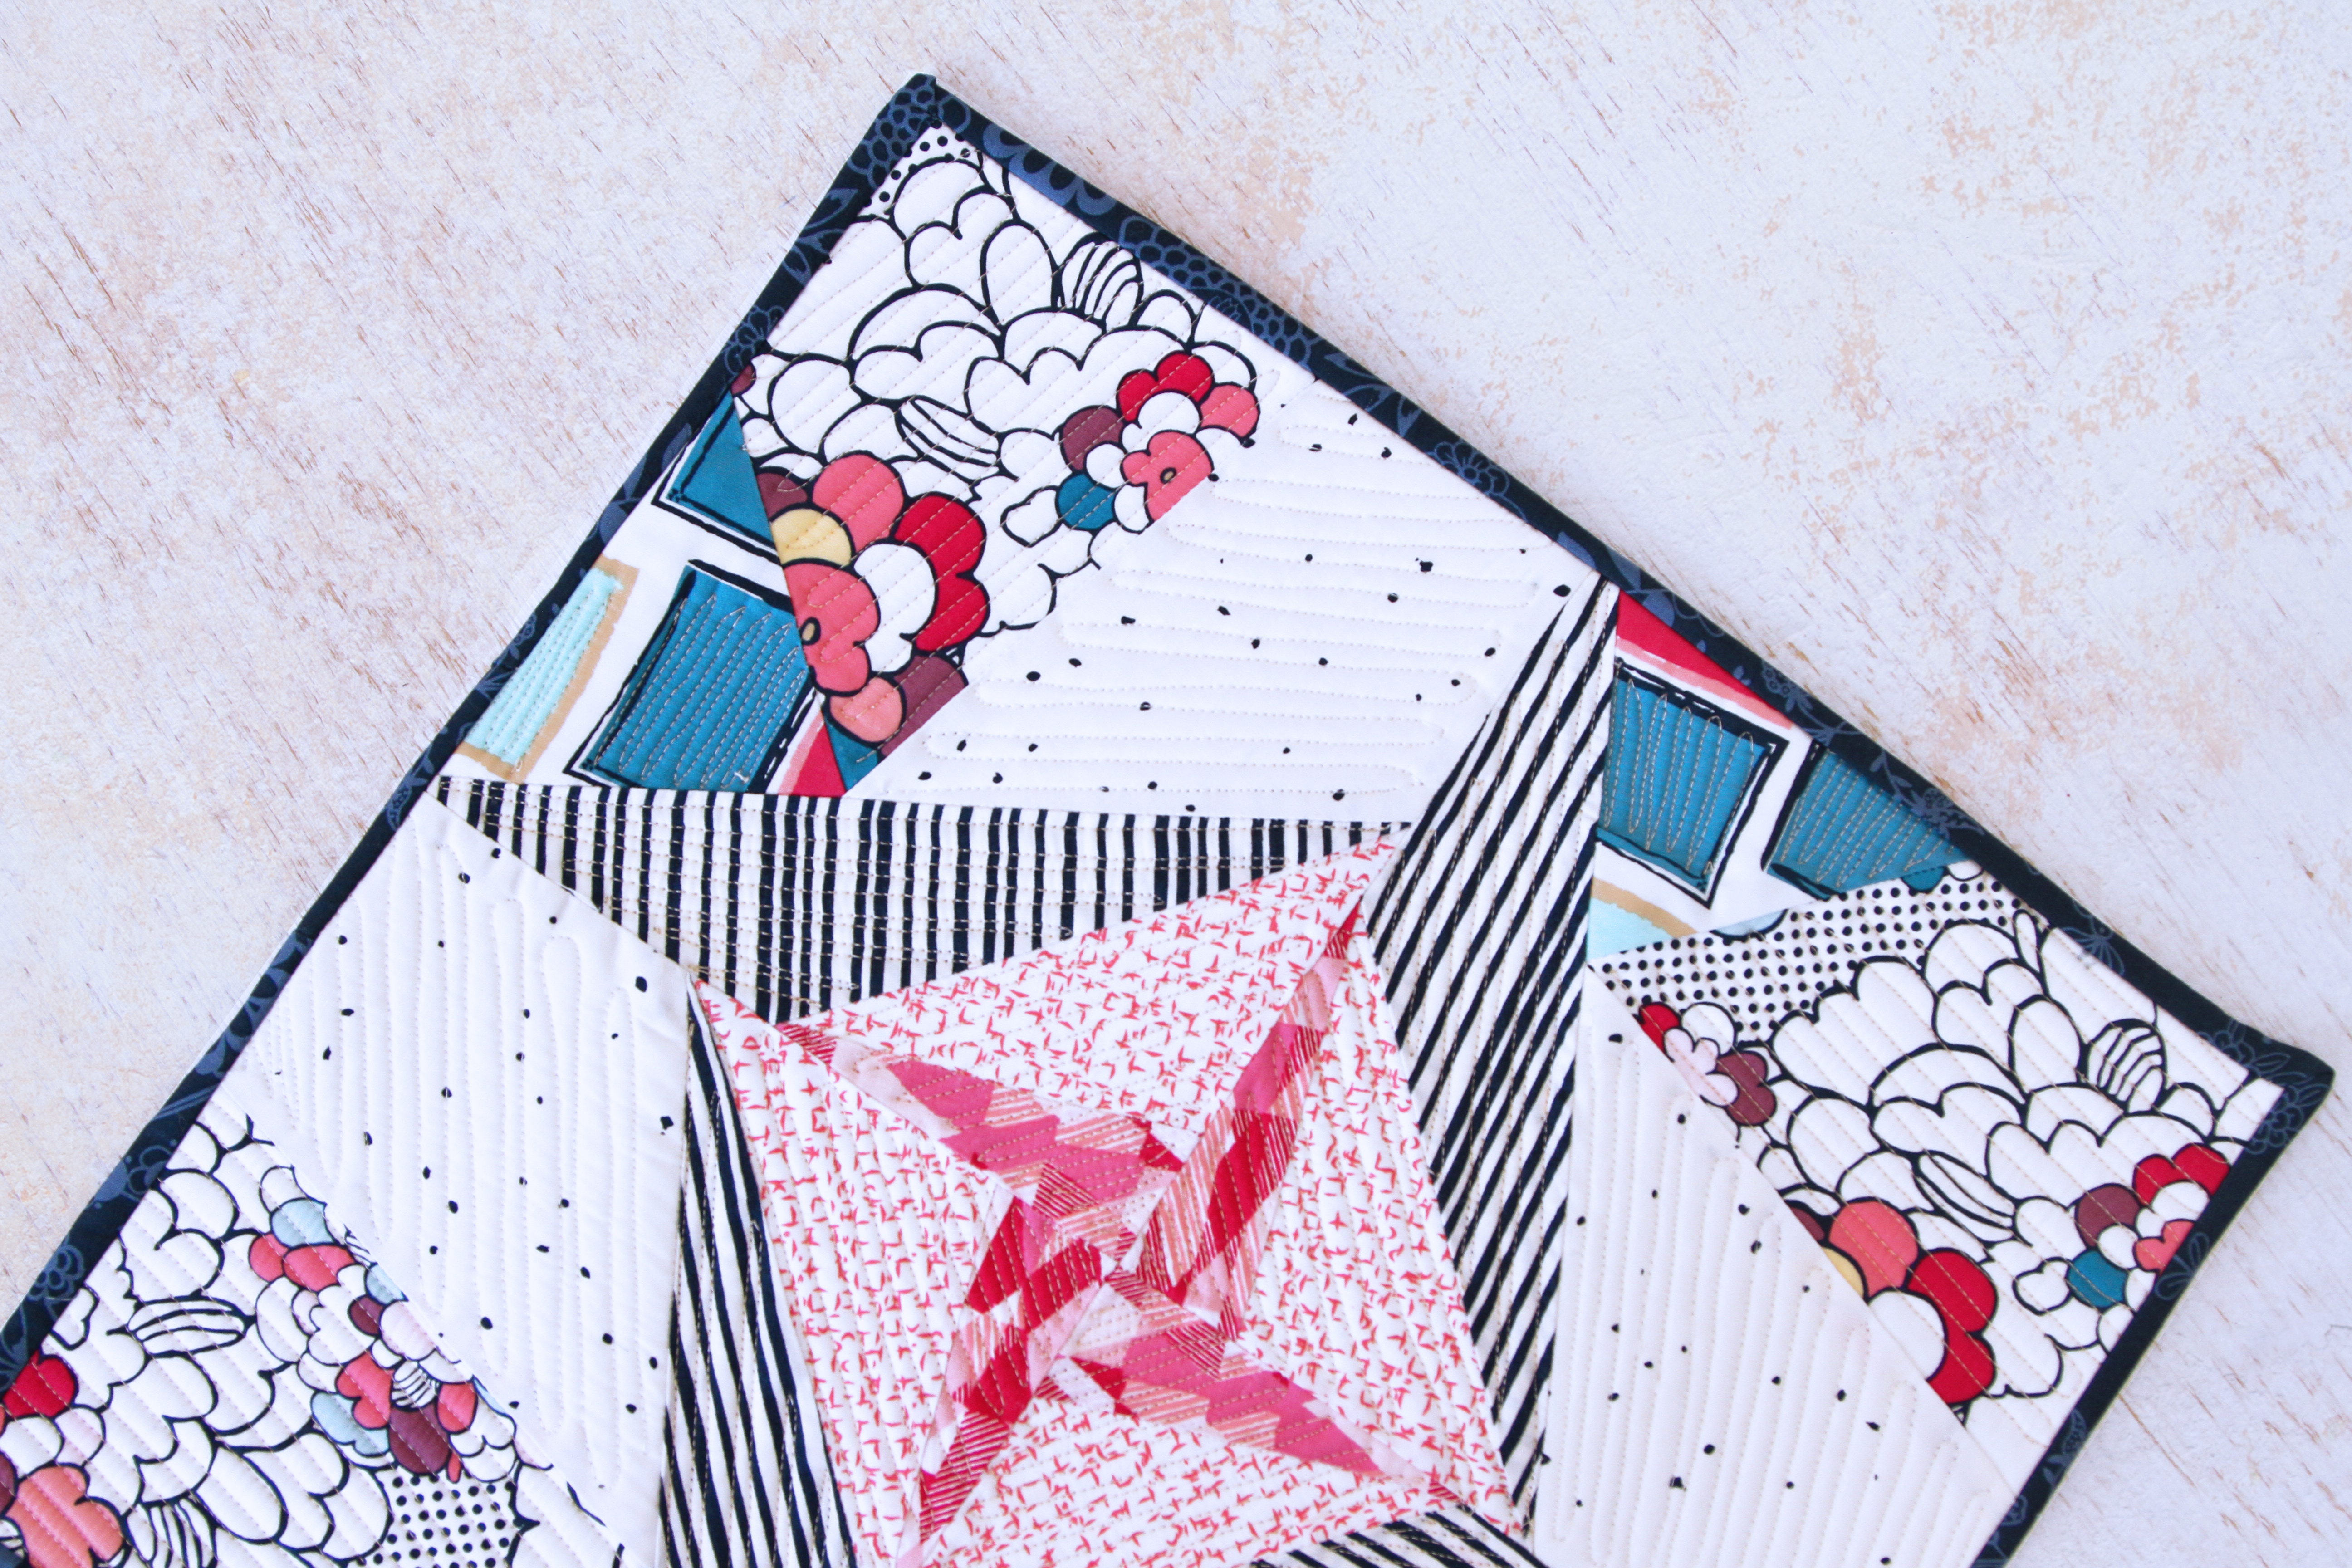
When all four pieces are pieced and trimmed down, we can start assembling the full block!
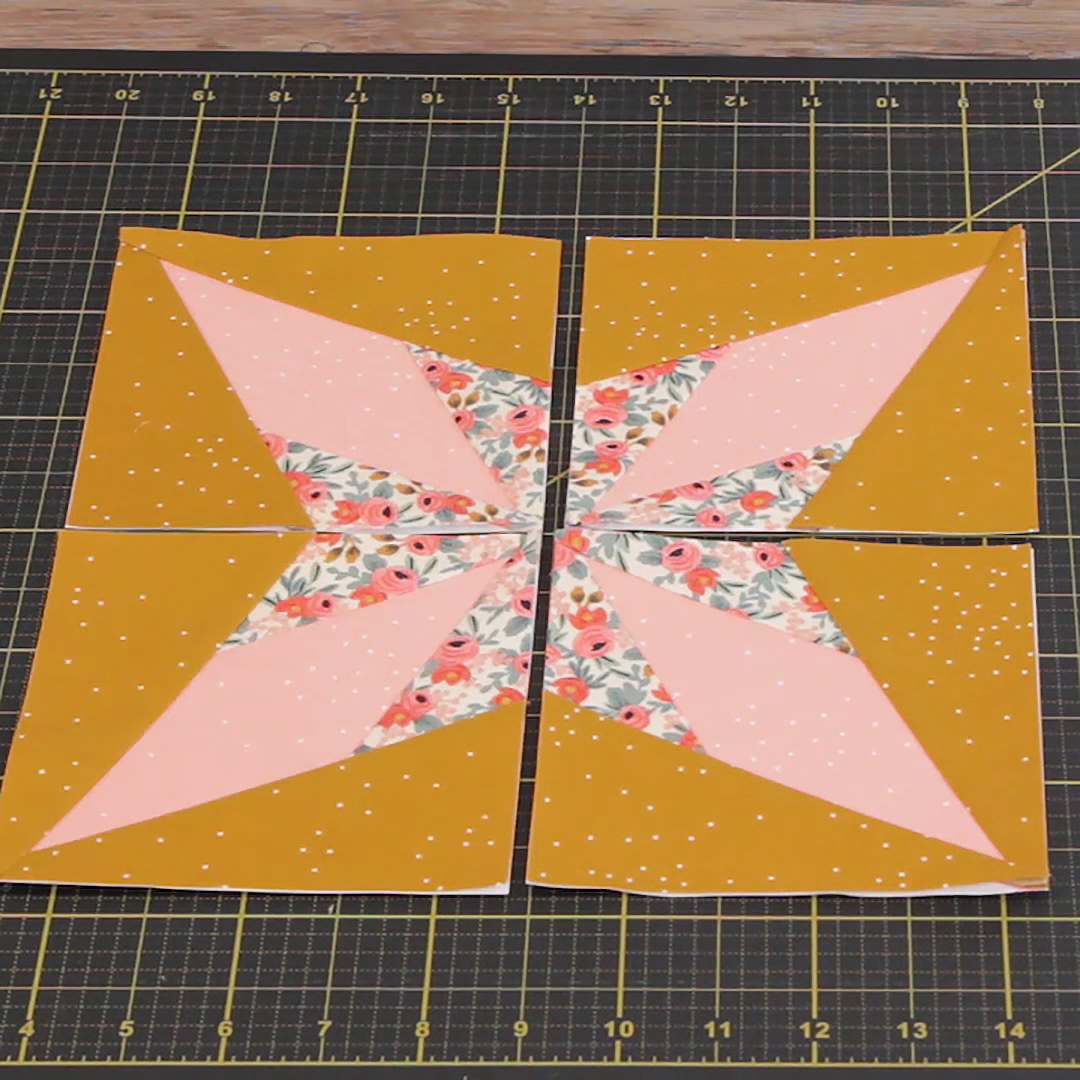
Step 9. Seam blocks together
Line up two blocks at a time, right sides together, and seam together with a ¼” seam allowance. Stitching through these seam intersections is where dual feed really comes in handy! Press this seam allowance to a side.
Repeat this process for the other two blocks. Seam these two pairs together to create a completed block, with the assembly seams nesting.
Step 10. Remove paper
Finally we can tear those papers out! Rip the paper out from the back of the block with a firm hand. Be careful not to pop any seams in the process. The tight stitching should perforate the paper enough that it tears out fairly easily.
Step 11. Press
Last, give your block a good press. We have been using a seam roller up until this point but as a finishing touch, give the block a press with just a little bit of steam or a light spray of a starch alternative.
Used Products


What you might also like


6 comments on “Beginner-Friendly Foundation Paper Piecing”
-
-
It is definitely not exclusive to the B 570! Back kick with a simple needle up/down has been around for a while on BERNINA machines but the programmable tie-off and cutting features were introduced with the B 880 in 2013. Today, it’s also featured on our 7 Series models (except for the B 700 E) as well as the B 570 and B 590 🙂
It’s one of my favorite tools to help speed up the piecing process!
-
-
Thank you for this great tutorial. I am a newbie at paper piecing and am lucky enough to have this great machine. Can you please tell me if you begin and end stitching at the solid line or do you continue a little into the seam allowance….many thanks.
-
I do it in the seam allowance
-
-
Thank you! I’m a garment sewist learning to quilt and absorbing as much as I can from tutorials like this. The instructions were easy to follow. Although my points need work, I’m very happy with my first effort. I’d post a picture but I don’t see that option here.
One question: what is the reason for sewing the blocks together with the paper still attached? It was so bulky at the tip and I couldn’t see or feel the seams very well to help match them. Any insights are welcome.
-
The paper is ripped out in step 10
-
Leave a Reply
You must be logged in to post a comment.

I’m with you every step of the way except for that photo showing a heel apparently pressing down on the foot control to execute a back kick to lock the end of the seam. Is this only a function of the 570 QE machine as I’ve never heard of it nor have other users on Bernina Lovers Facebook page where my query has generated quite a discussion.