Get Happy!! Quilt Block Foundation Paper Piecing Tutorial
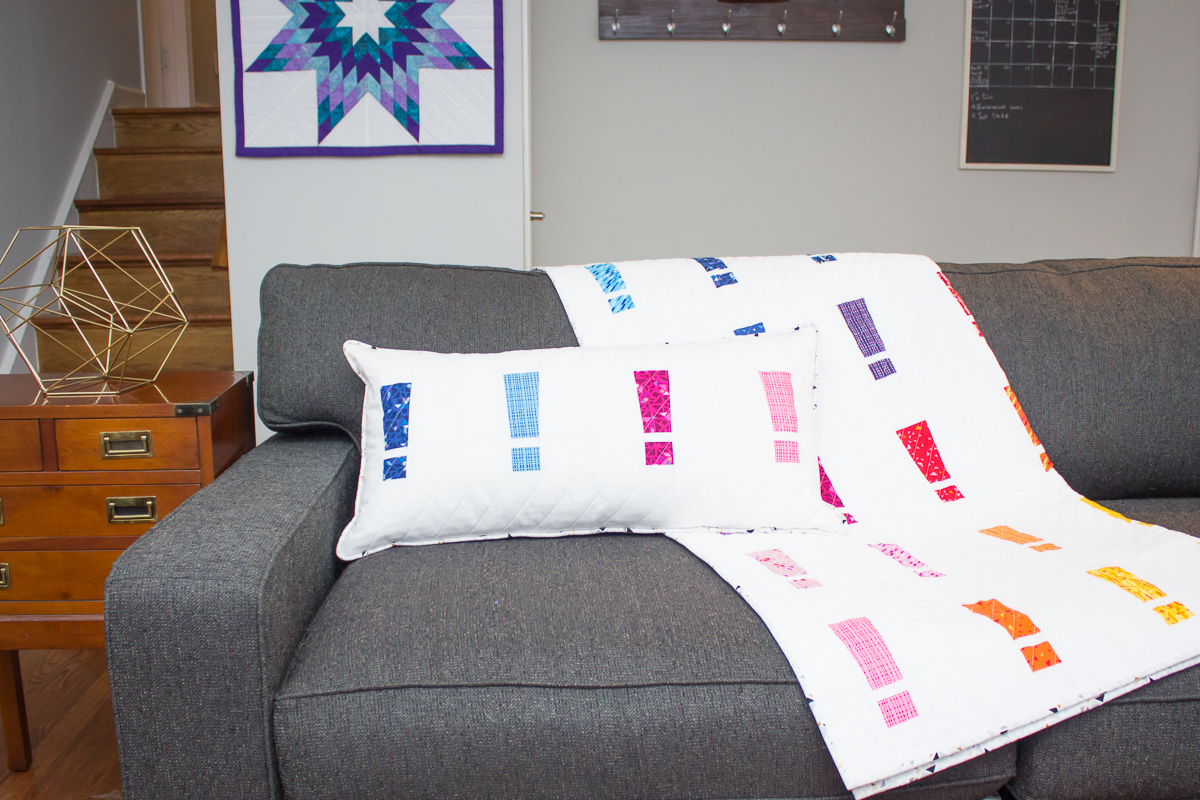
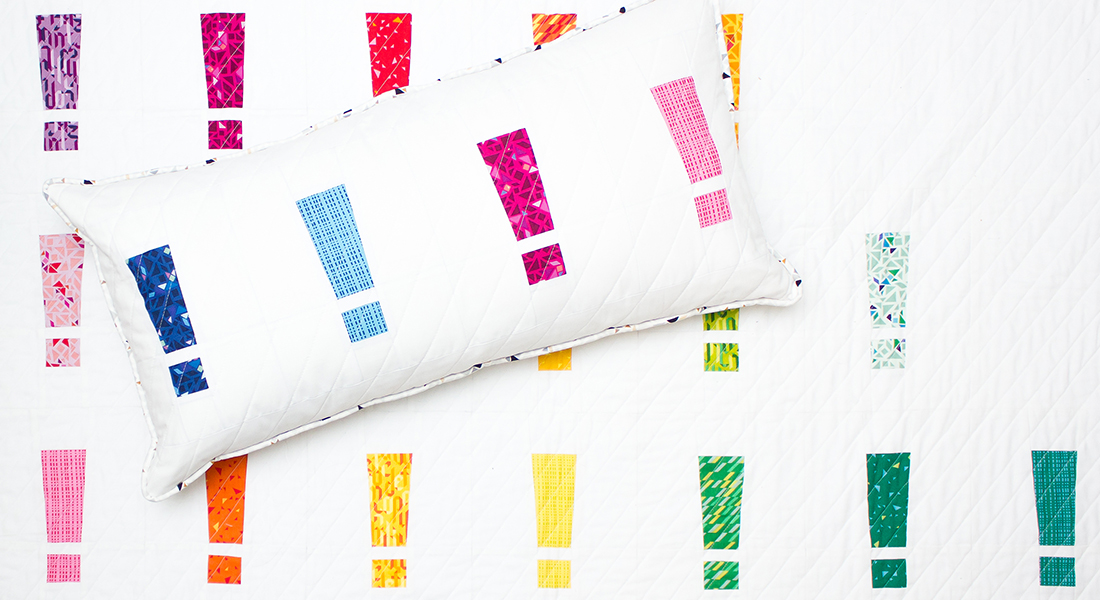
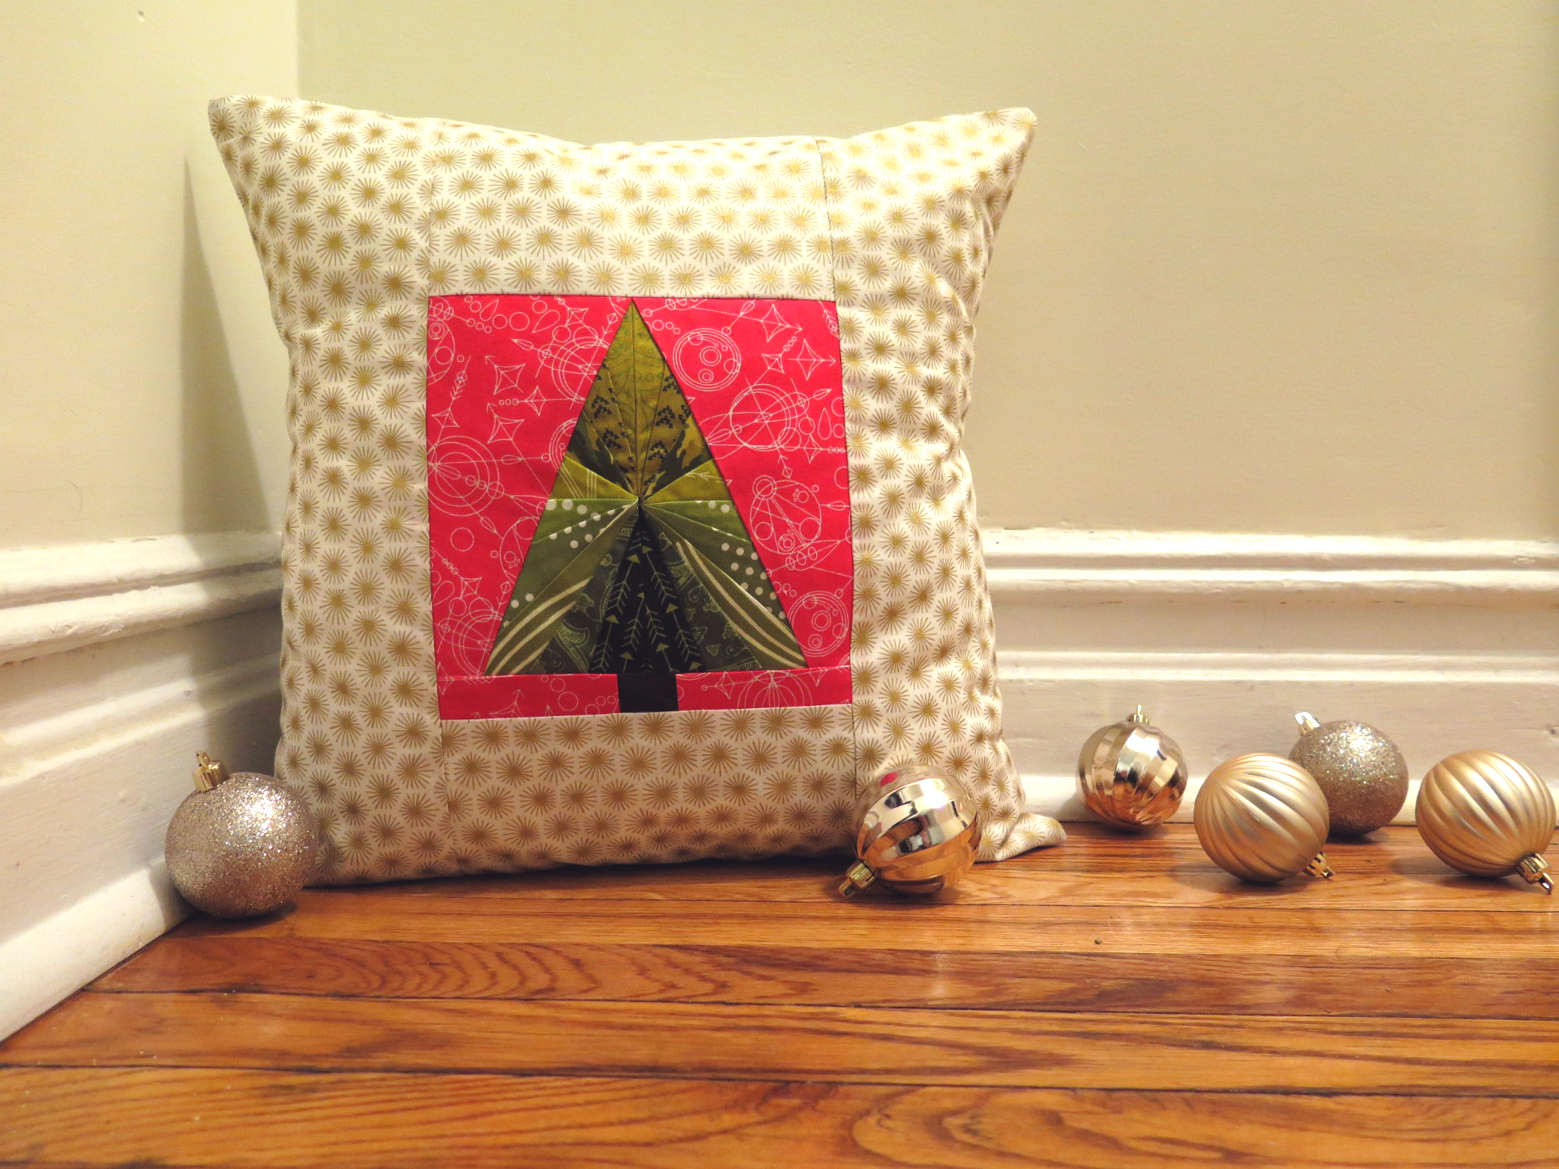
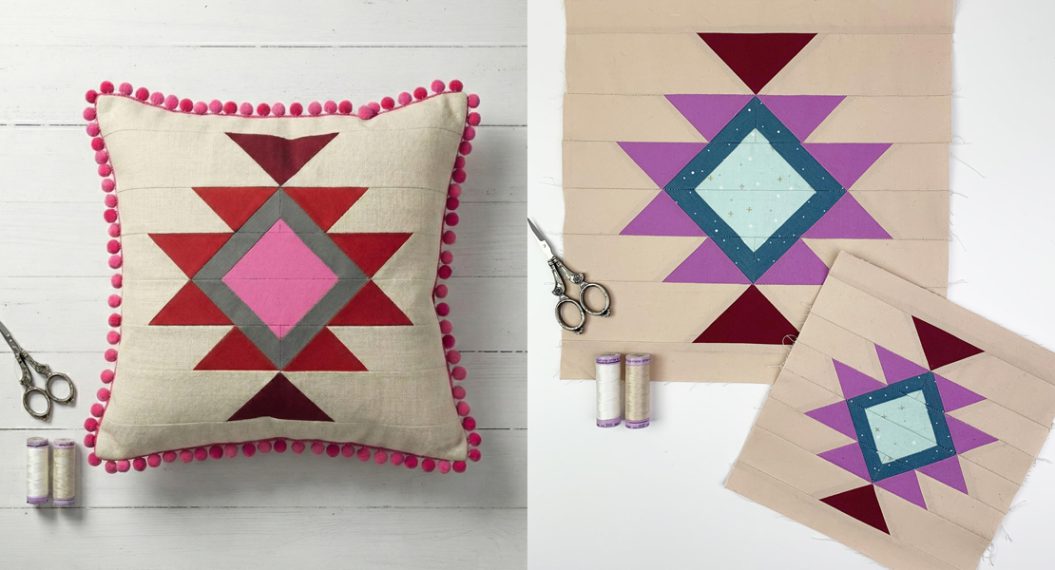
Beginner quilters are sometimes intimidated by foundation paper piecing. I know I was! This technique requires you to sew upside down and blind, which sounds scary, but once you get the hang of the steps it might just become your favorite technique. If you’re a foundation paper piecing beginner, try this block out! It is designed especially for beginners with tips and techniques throughout the tutorial. Look at the beautiful projects you can create with this block! Instructions to make pillow or quilt tops using this block from my Get Happy!! quilt will be posted in a tutorial next week.
Materials to Sew a Get Happy!! Paper Pieced Block
- Get Happy block paper patterns
- Foreground fabric: One 5″ square
- Background fabric: One strip of fabric cut to 4″ x width of fabric
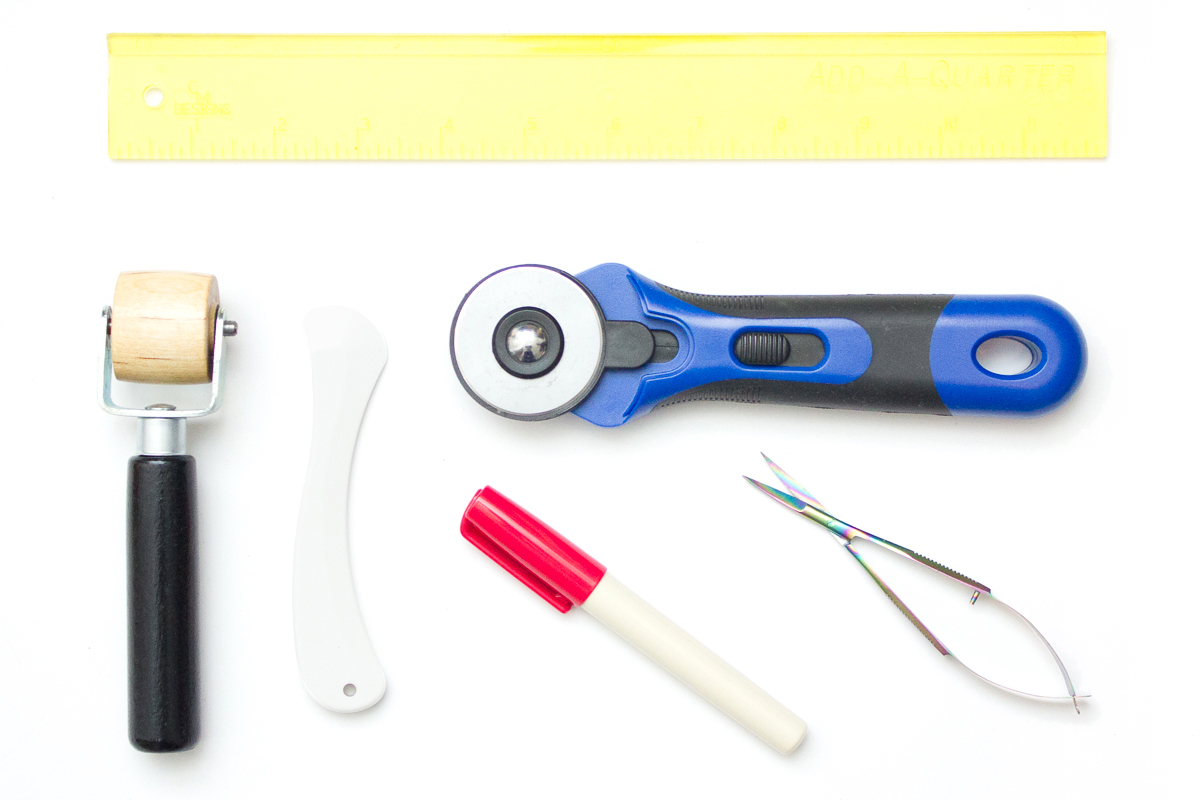
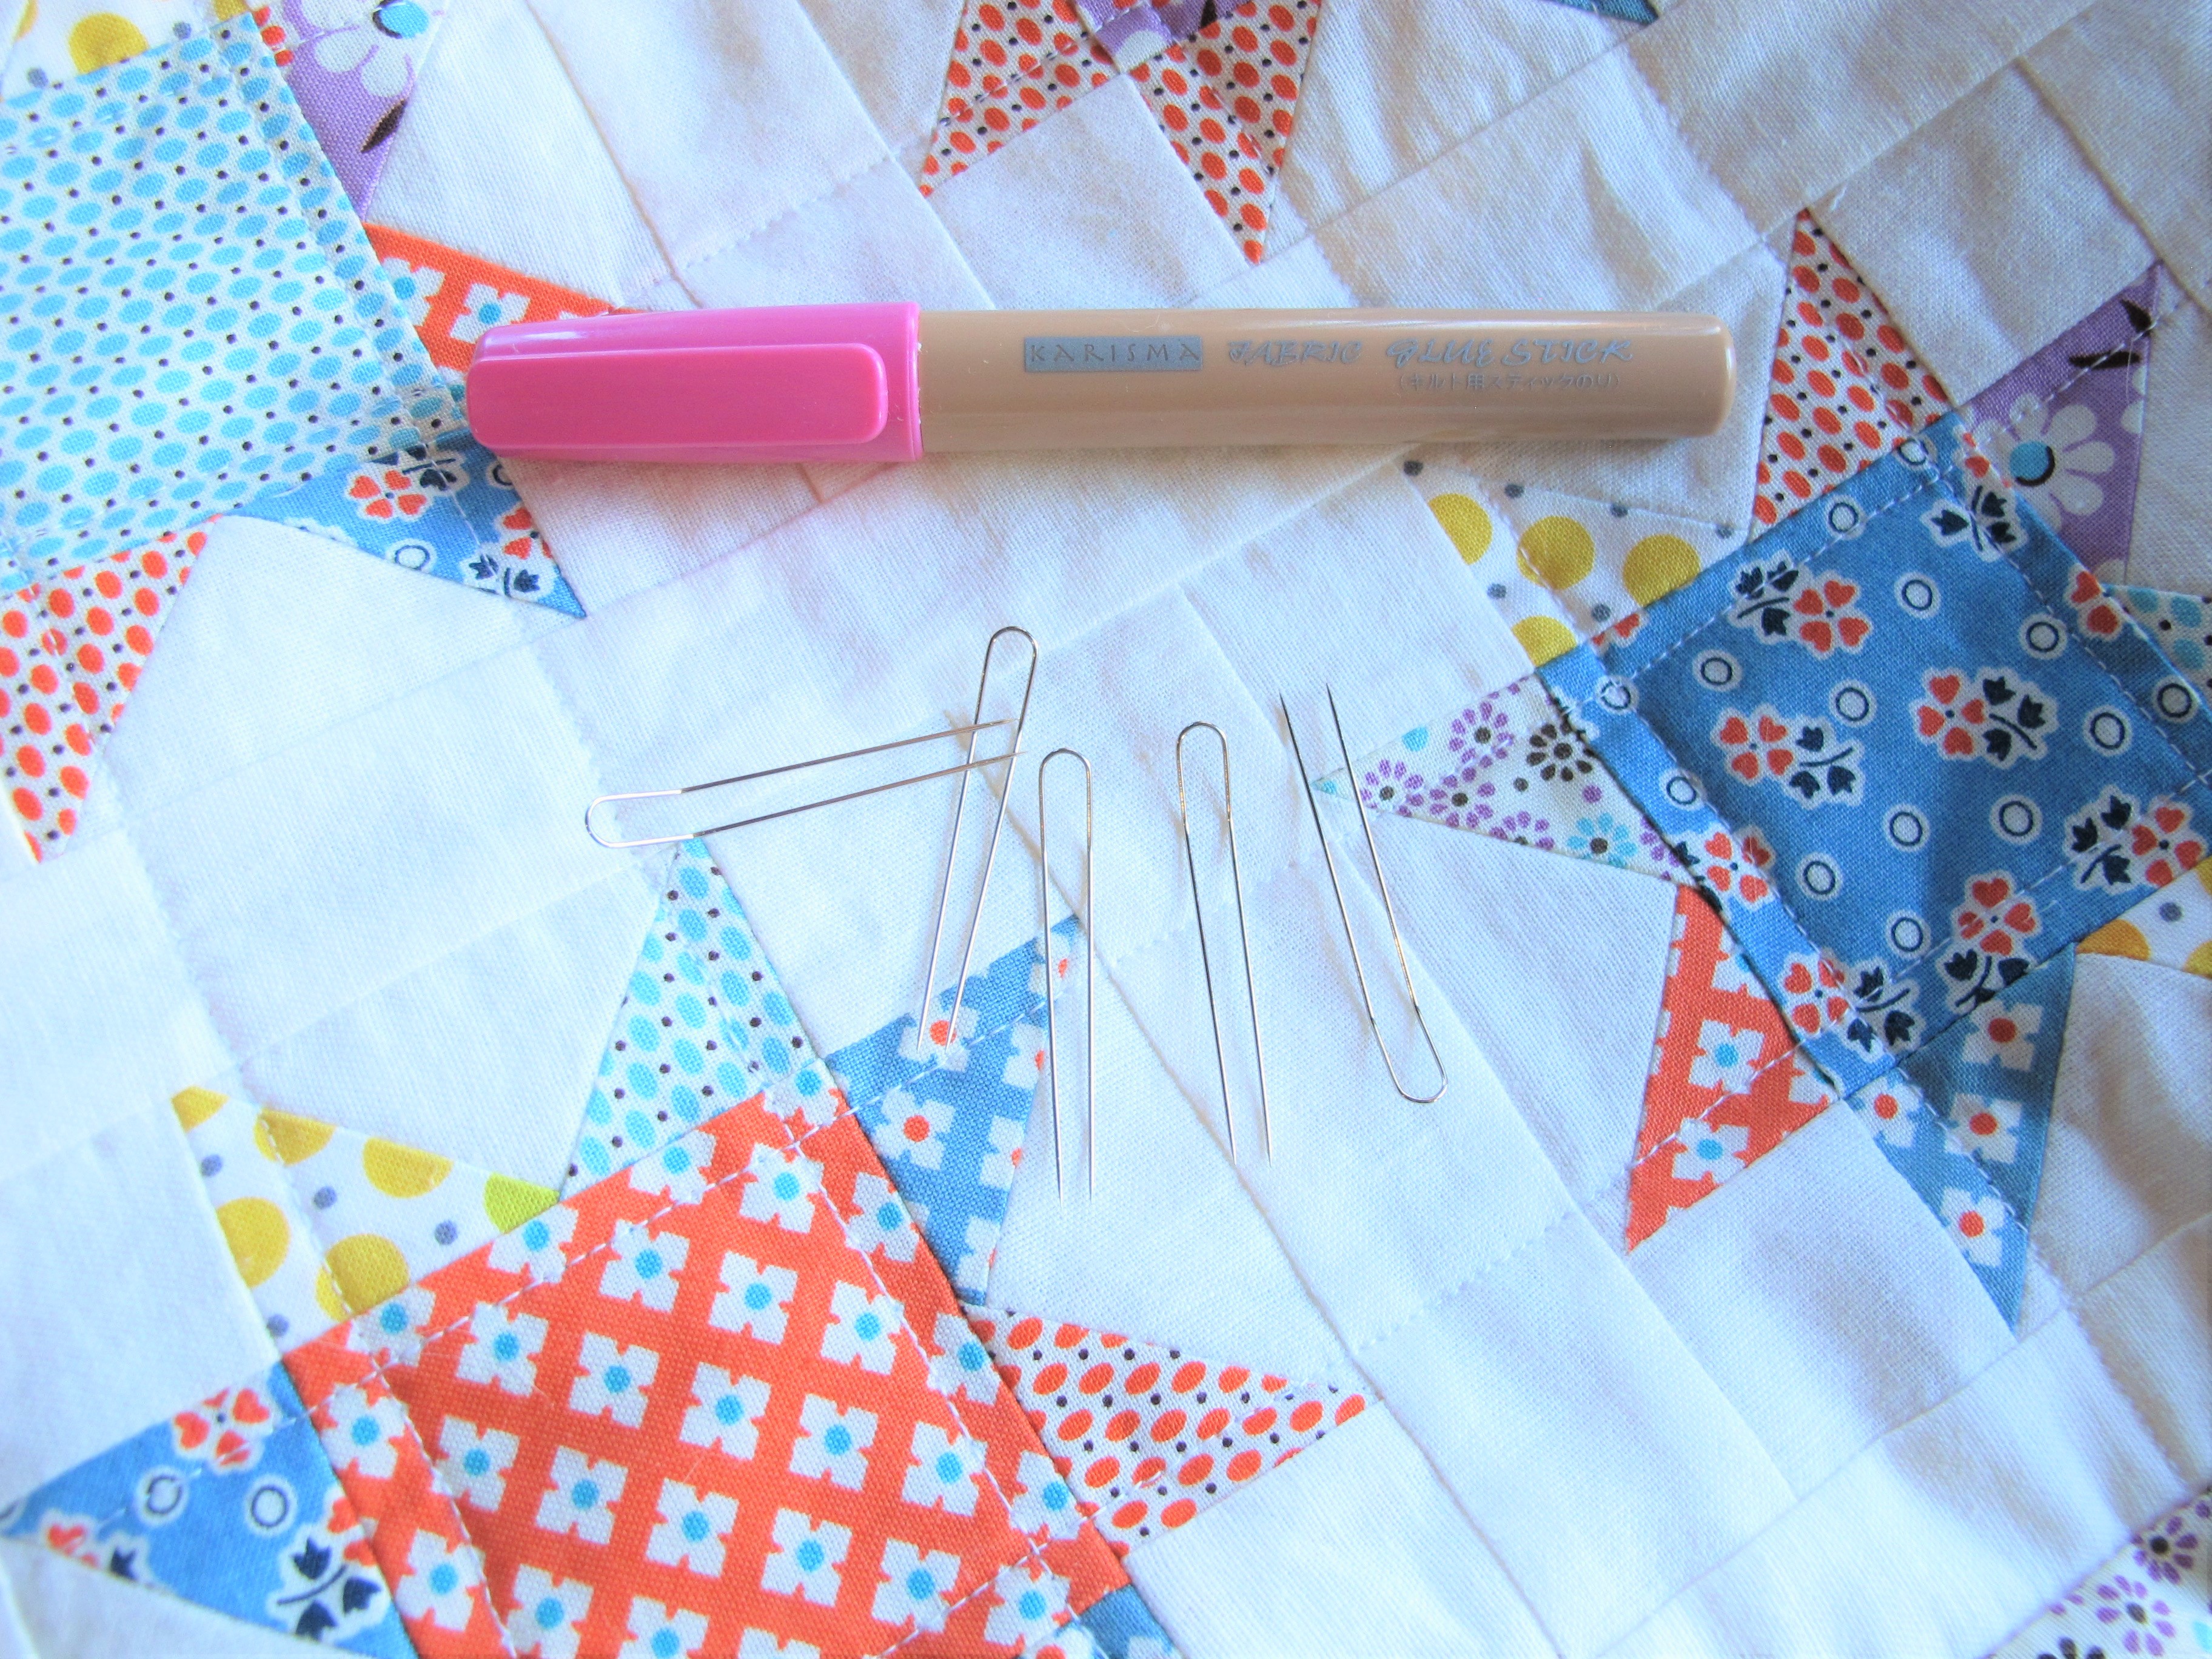
- Add-A-Quarter ruler
- Seam roller (can be replaced with a Clover “Hera” marker)
- Glue pen
- Thread snips
- Rotary cutter
- Cutting mat
- Thread
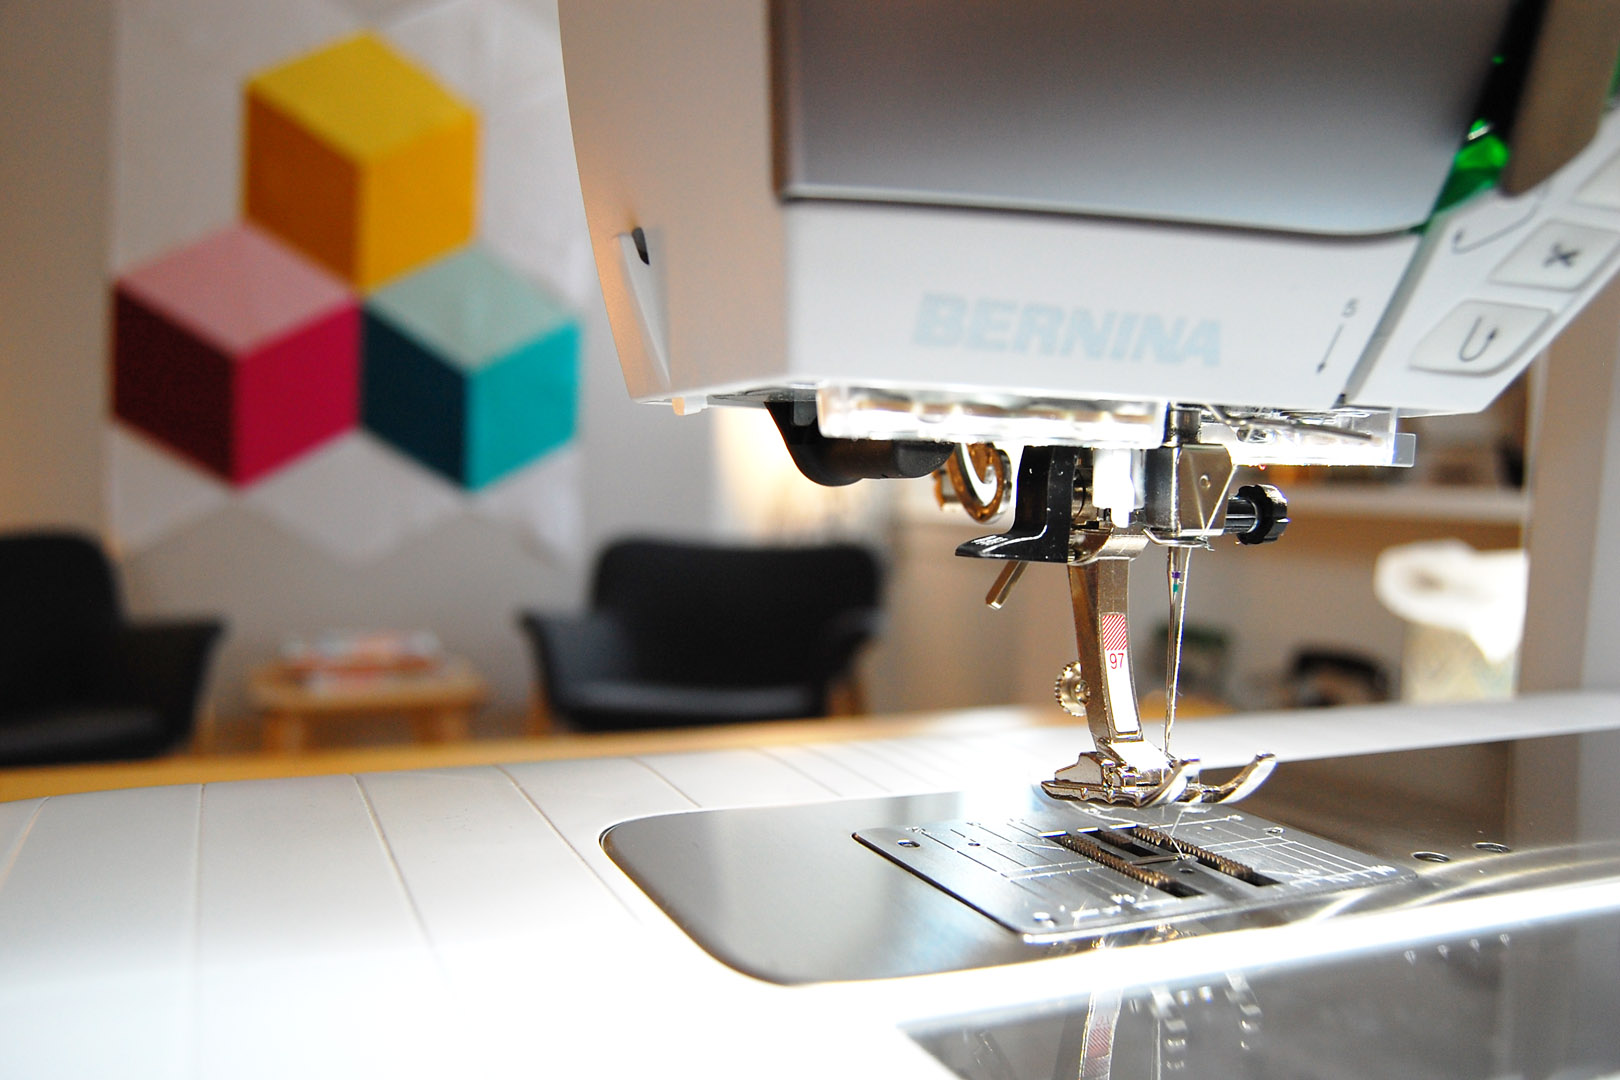
- Sewing machine (I pieced this block on my BERNINA 570 QE)
- Patchwork foot #37/#37D
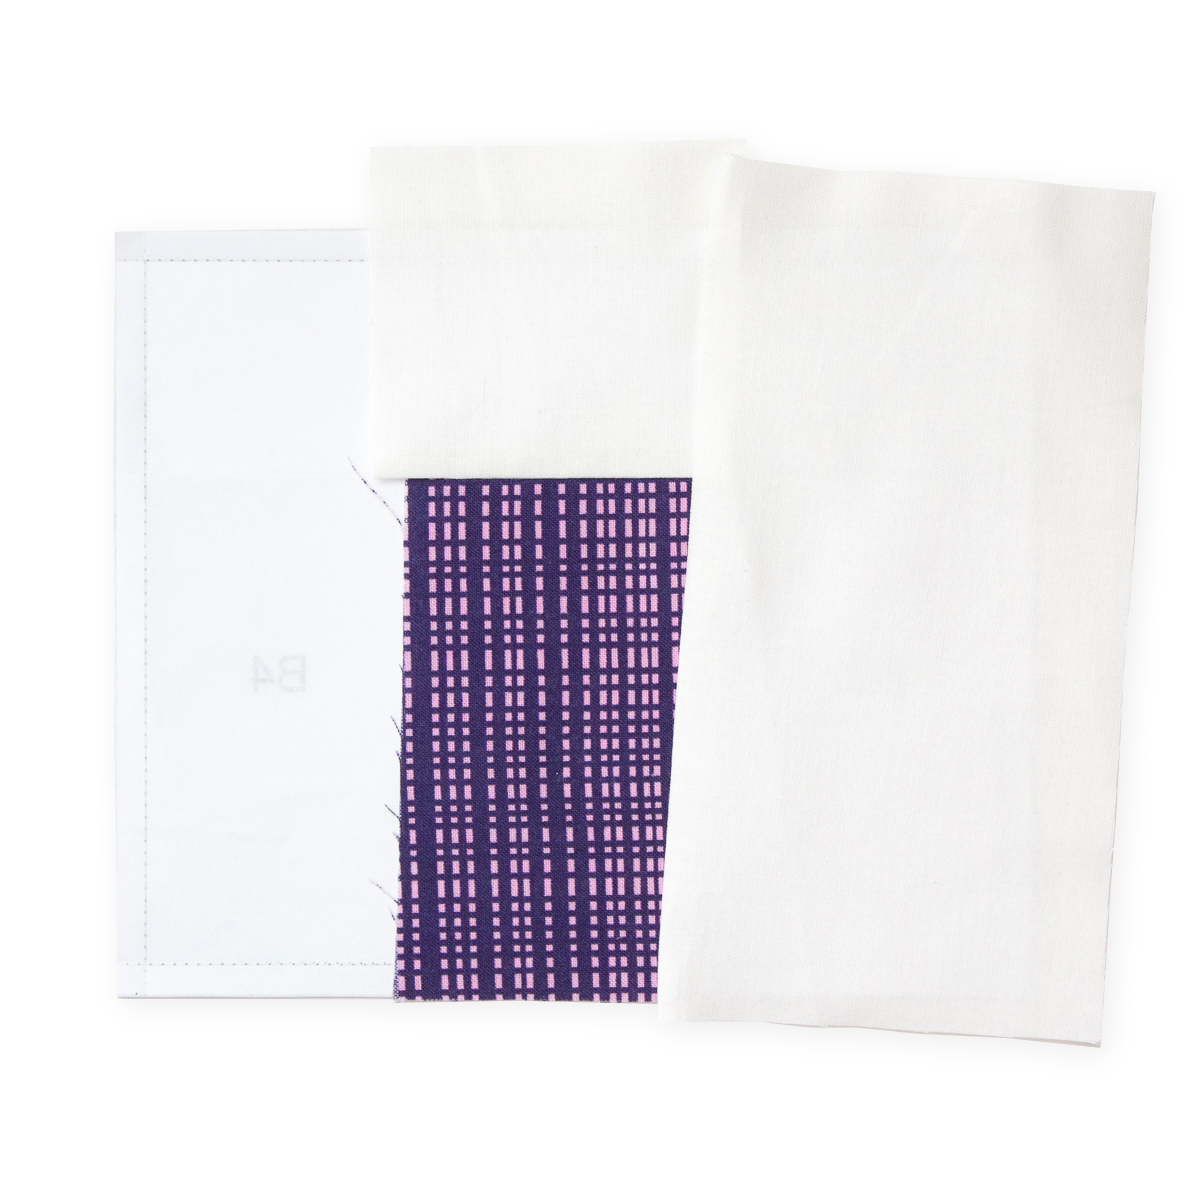
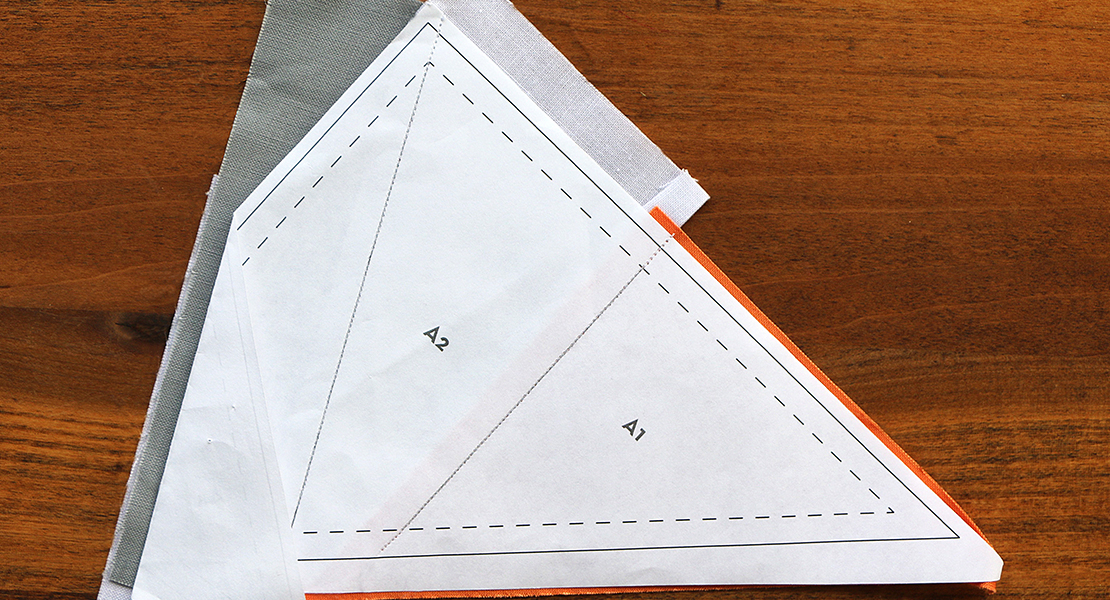
Print both pages of the Get Happy block pattern. I use regular office paper. Print out both pages of the pattern at 100%. Both pages have a 1″ square to test that the pages have printed correctly. Check that 1″ square with a ruler before moving on. Cut both pattern pieces out around the outer most solid line.
Tip: Pulling out the papers you’ve sewn is the last step of foundation paper piecing. If you’d like to make pulling out papers easier, use a scoring tool and a ruler to trace over each line of the patterns, including the inner solid borders. These small perforations also make folding your papers easier in future steps!
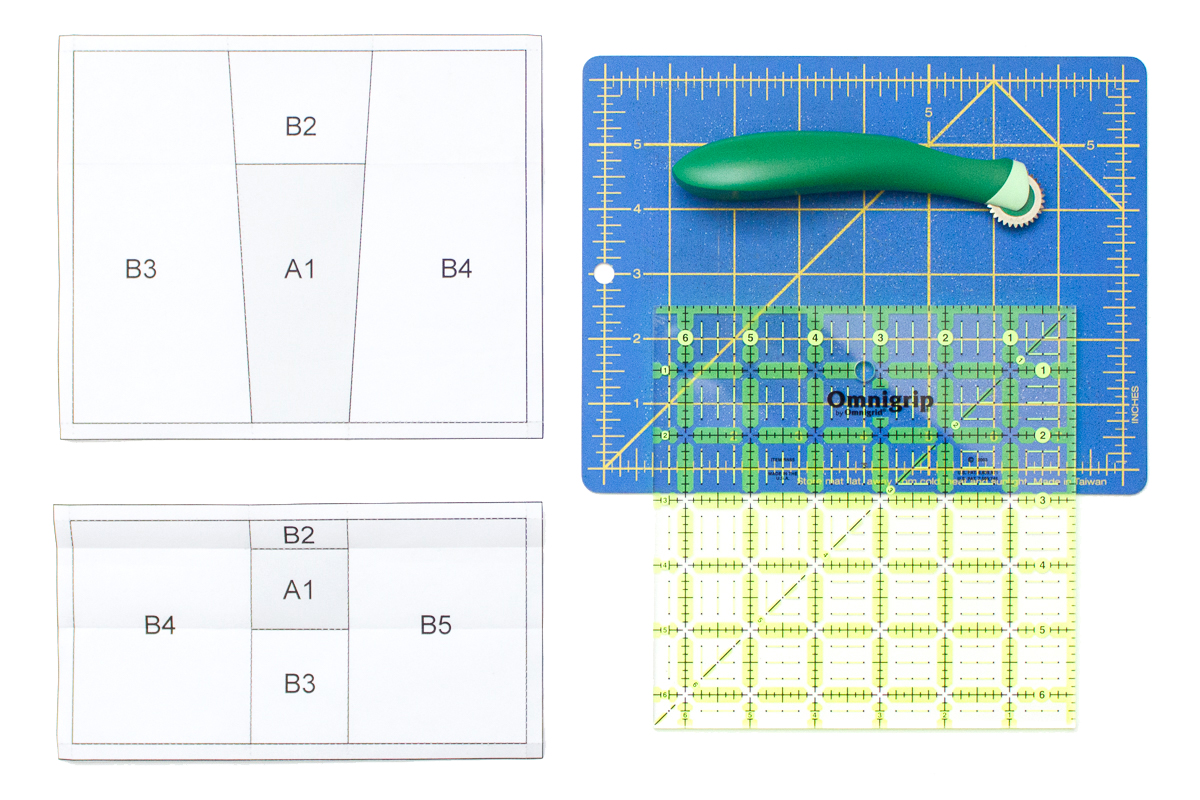
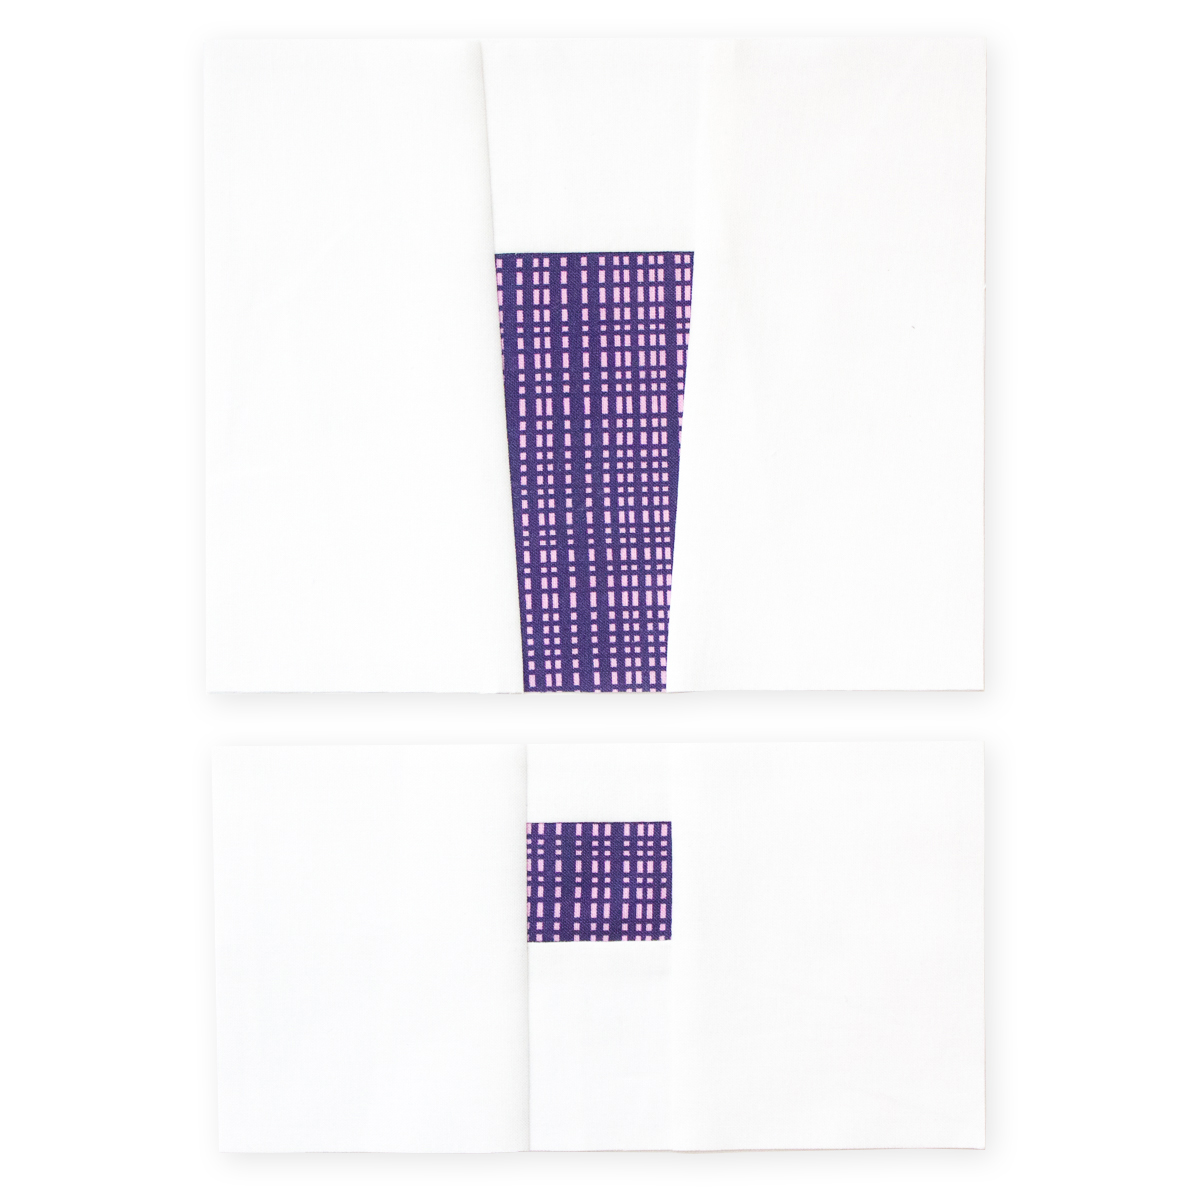
Spaces A on the paper patterns correspond to the foreground color, and spaces B correspond to the background color. The numbers on the pattern are the order that you will sew the fabric together.
Cutting Instructions for a Get Happy!! Paper Pieced Block
Use a charm square or cut a 5″ square of your foreground fabric. Cut a 2 1/4″ square from the lower right of your fabric. This is what your 5″ square will look like when it is cut. The small 2 1/4″ square is your bottom piece A1, and you can use the entire rest of the square for top piece A1.

Follow the instructions below to cut your background fabrics which are numbered to match the pattern pieces. Because you will trim each seam down to 1/4″ while you are making this block, your cutting does not need to be precise. These cutting instructions are intended for foundation paper piecing beginners. If you are experienced in this technique, you can cut your pieces smaller.
TOP fabric pieces:
B2: 3″ by 3.5″
B3: 7″ by 4″
B4: 7″ by 4″
BOTTOM fabric pieces:
B2: 1.5″ by 2.5″
B3: 3″ by 3″
B4: 4″ by 5″
B5: 4″ by 5″
Foundation Piecing the Get Happy!! Block
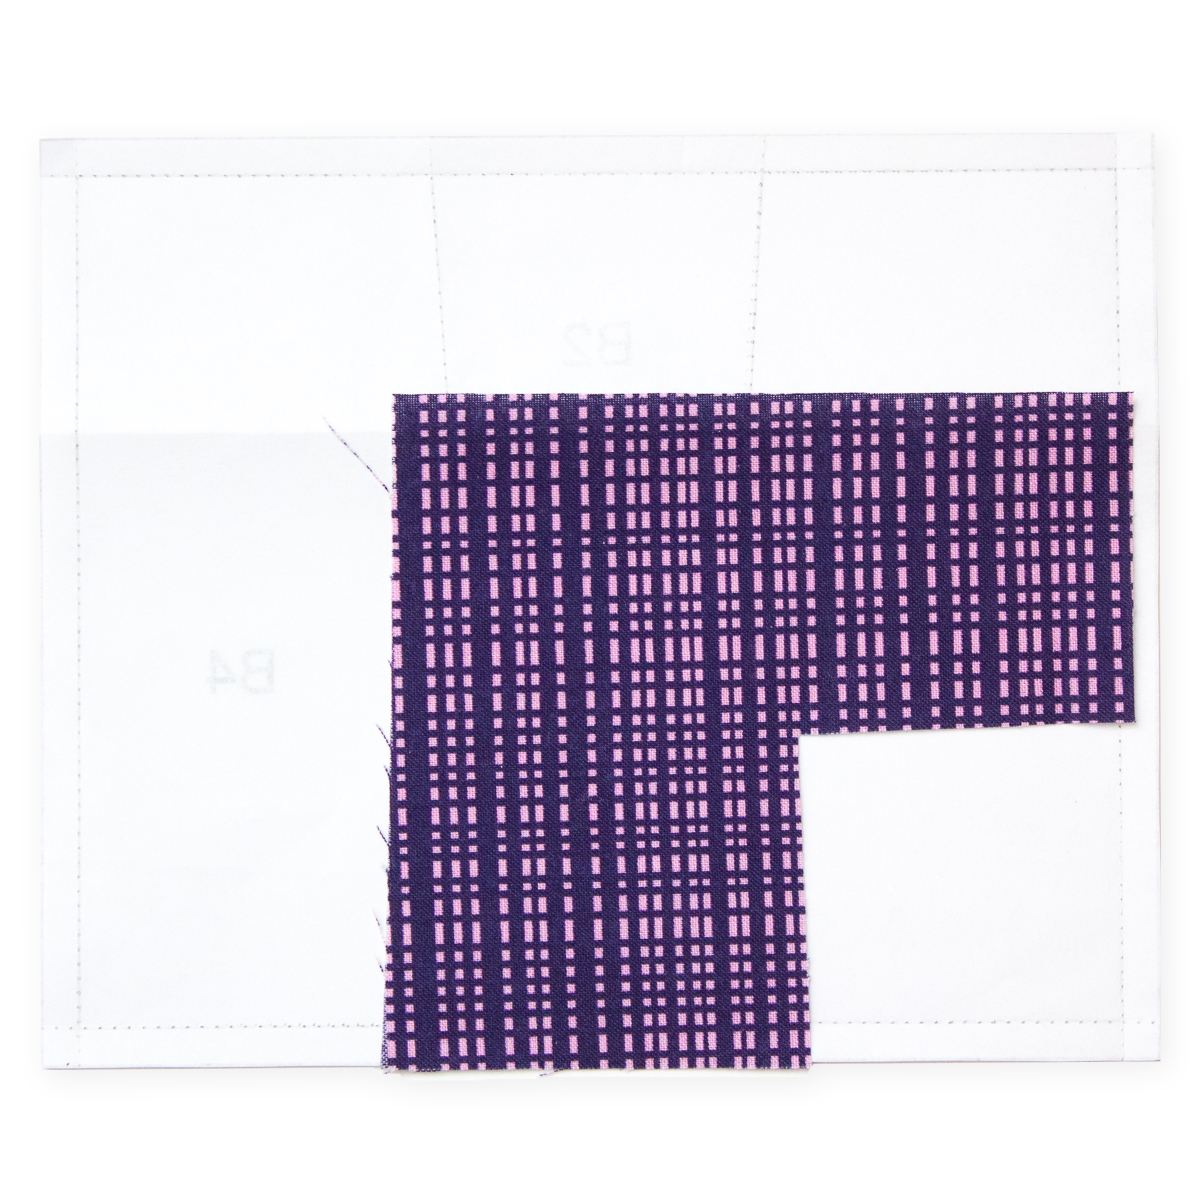
Start with the pattern labeled “Top.” This is the upper portion of the exclamation point. Because your cutting doesn’t need to be precise, it’s ok if you use a strange shape of fabric like this. The fabric should extend 1/4″ beyond all the lines that form space A1. To check that the fabric extends beyond the lines, hold the pattern and fabric up to a light. With the printed side of the pattern facing down and the fabric facing up, use a small amount of glue to baste the fabric to the paper wrong sides together.

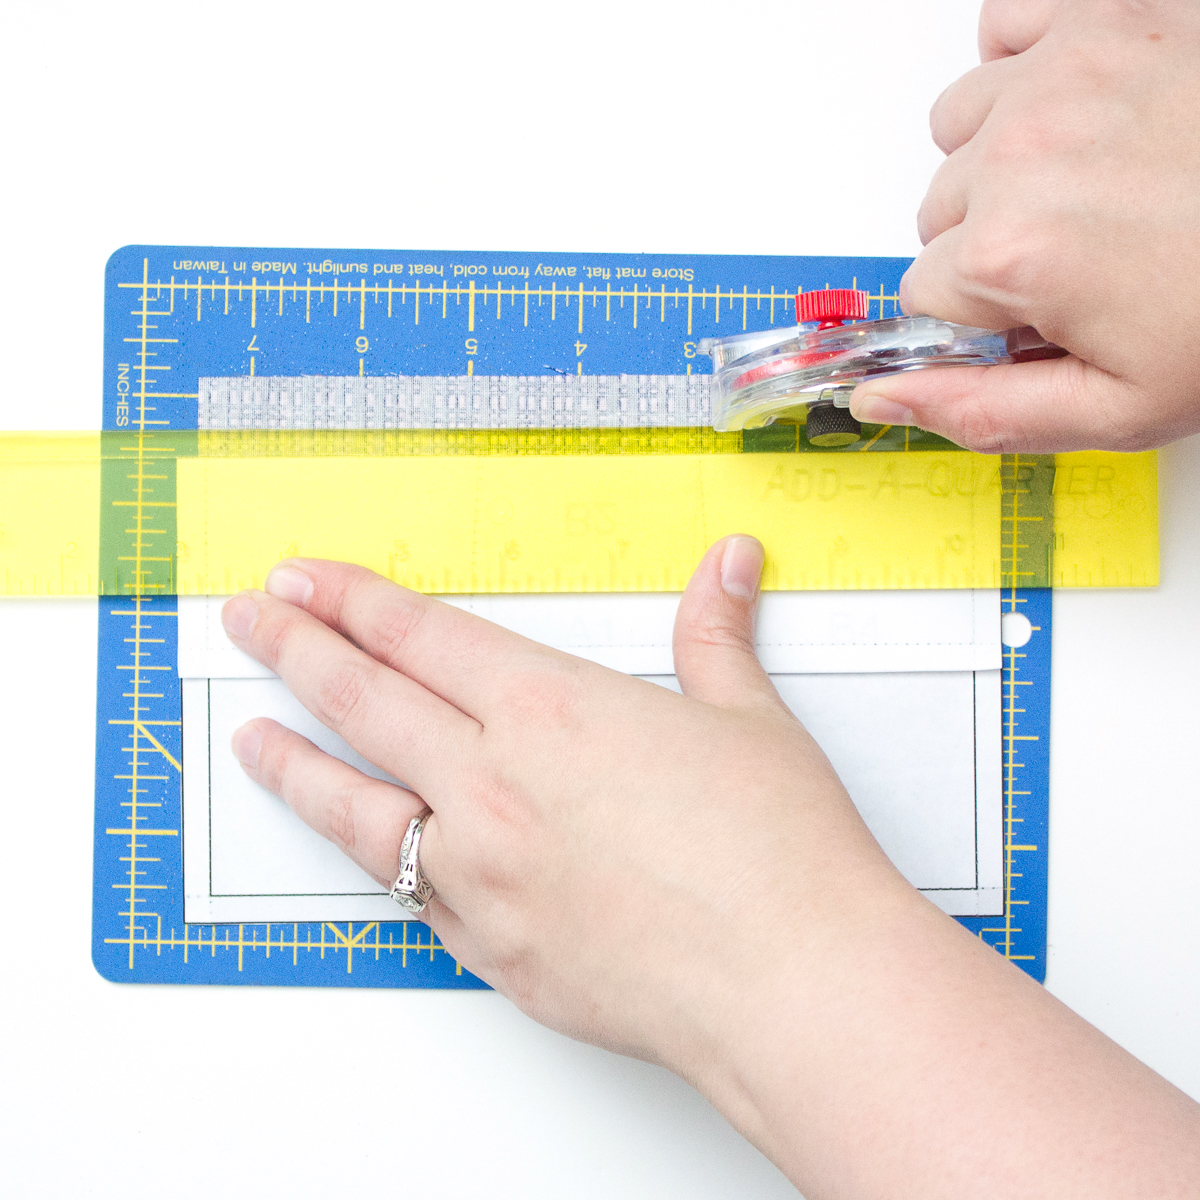
Flip your pattern over so the printed side is facing up. The right side of the fabric will be against your cutting mat. Because you glue basted it to the paper, your fabric should not move. Fold the paper along the line between spaces A1 and B2. Use your Add-A-Quarter ruler to trim fabric piece A1 to a quarter inch beyond the paper fold line.
The top of fabric piece A1 should now extend only 1/4″ above the line between spaces A1 and B2.
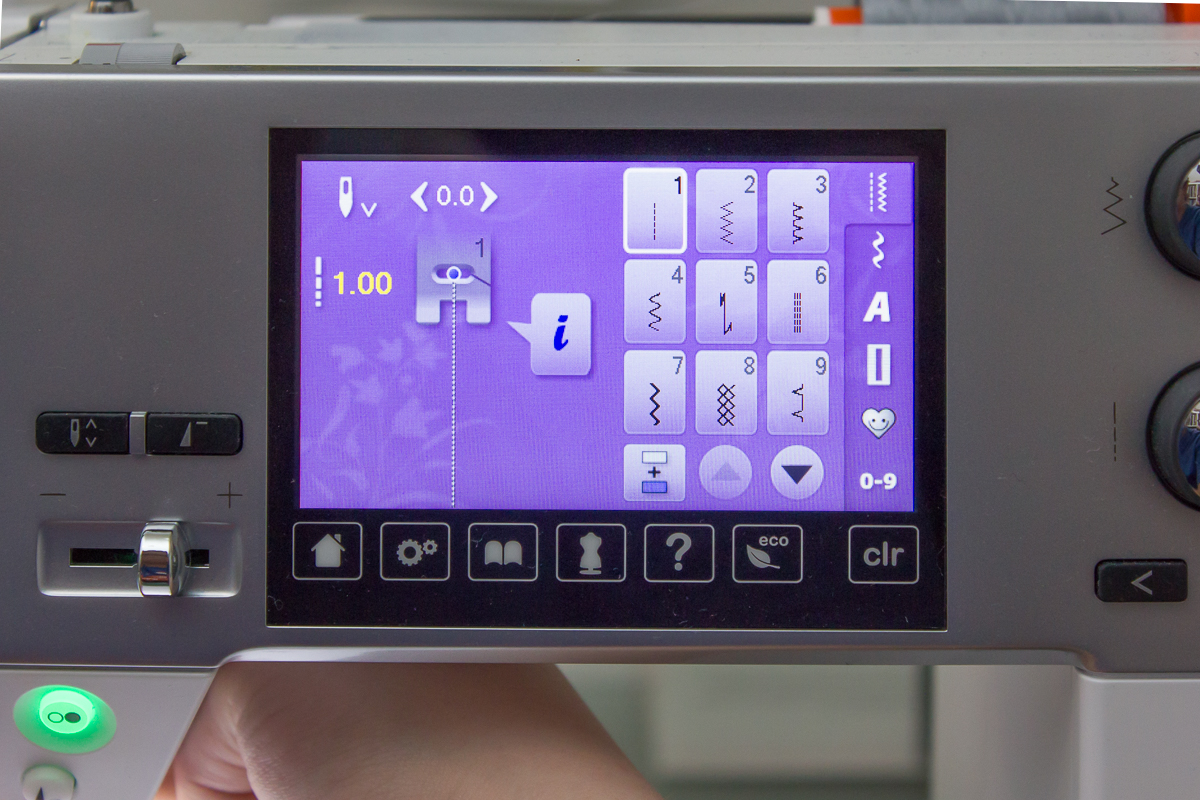
Lay a 3 1/2″ raw edge of fabric piece B2 along the upper raw edge of the piece you trimmed in the previous step. The fabric side of your pattern should look like this. Because the exclamation point flares out towards the top, you may need fabric piece B2 to be offset as shown below.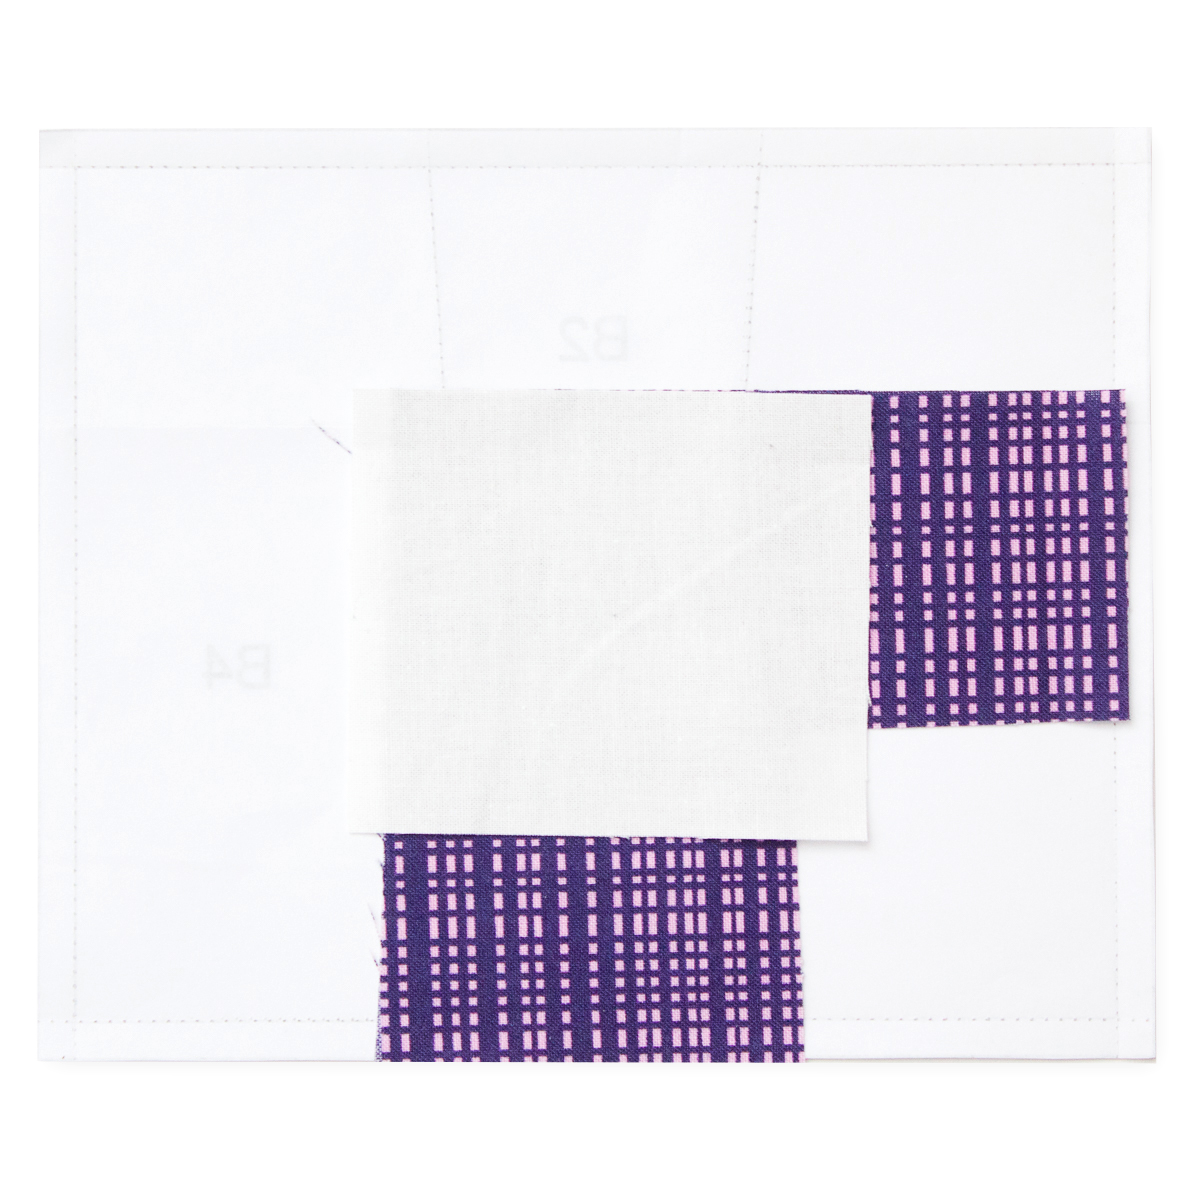 Shorten your stitch length to 1.0 or 1.5. The decreased stitch length helps your seams stay strong when removing the papers at the end.
With the fabric side of your pattern facing down, sew along the line between space A1 and space B2, backstitching at the beginning and end.

After sewing the seam, this is what the fabric side of the pattern should look like. Flip fabric piece B2 up toward the top of the block and press the seam open using a seam roller or hera marker. I recommend a seam roller because it applies downward pressure whereas a hera marker pulls fabric which can distort its shape and even break fibers.
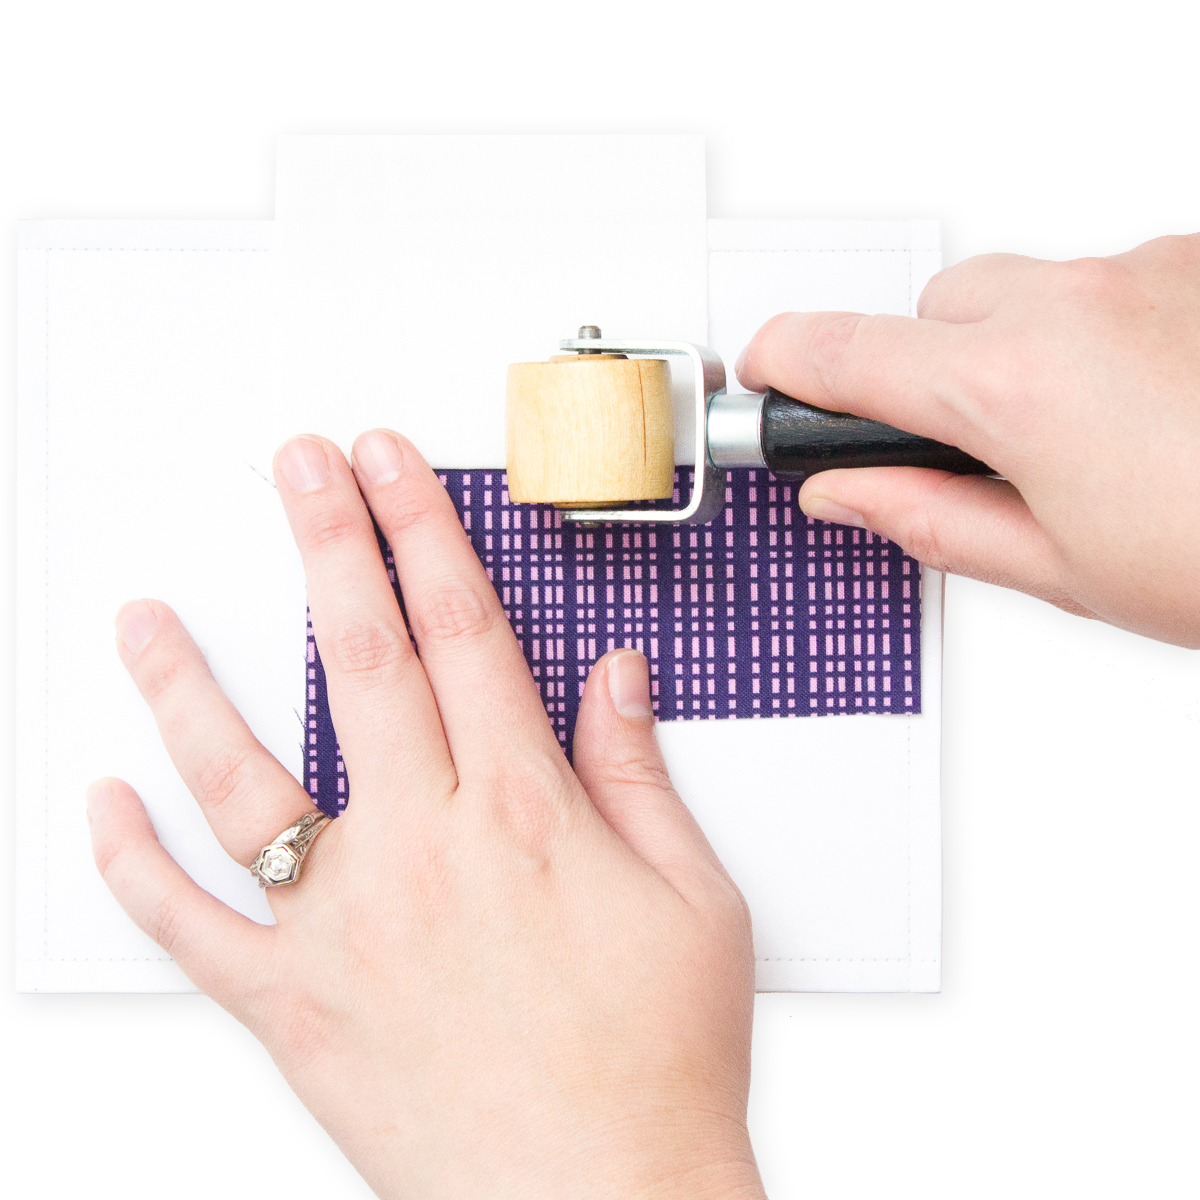
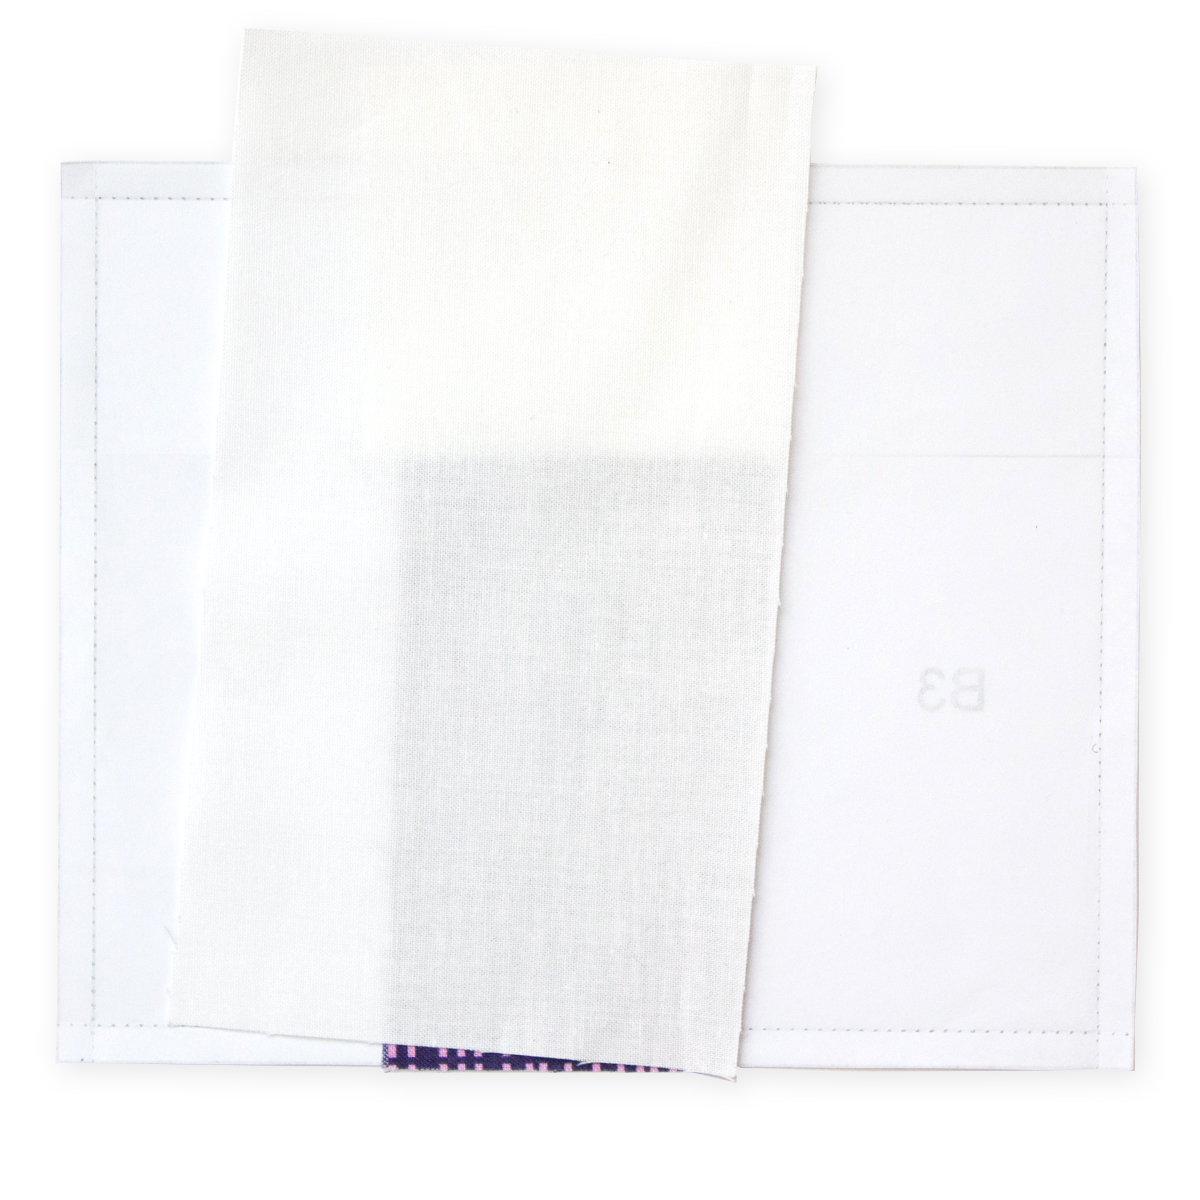
Next, flip the pattern over again so the printed side faces up. Fold the paper on the line between spaces A1/B2 and space B3. Trim the fabric to 1/4″ beyond the fold line.
There is now a trimmed edge on the right and raw edges on the left.
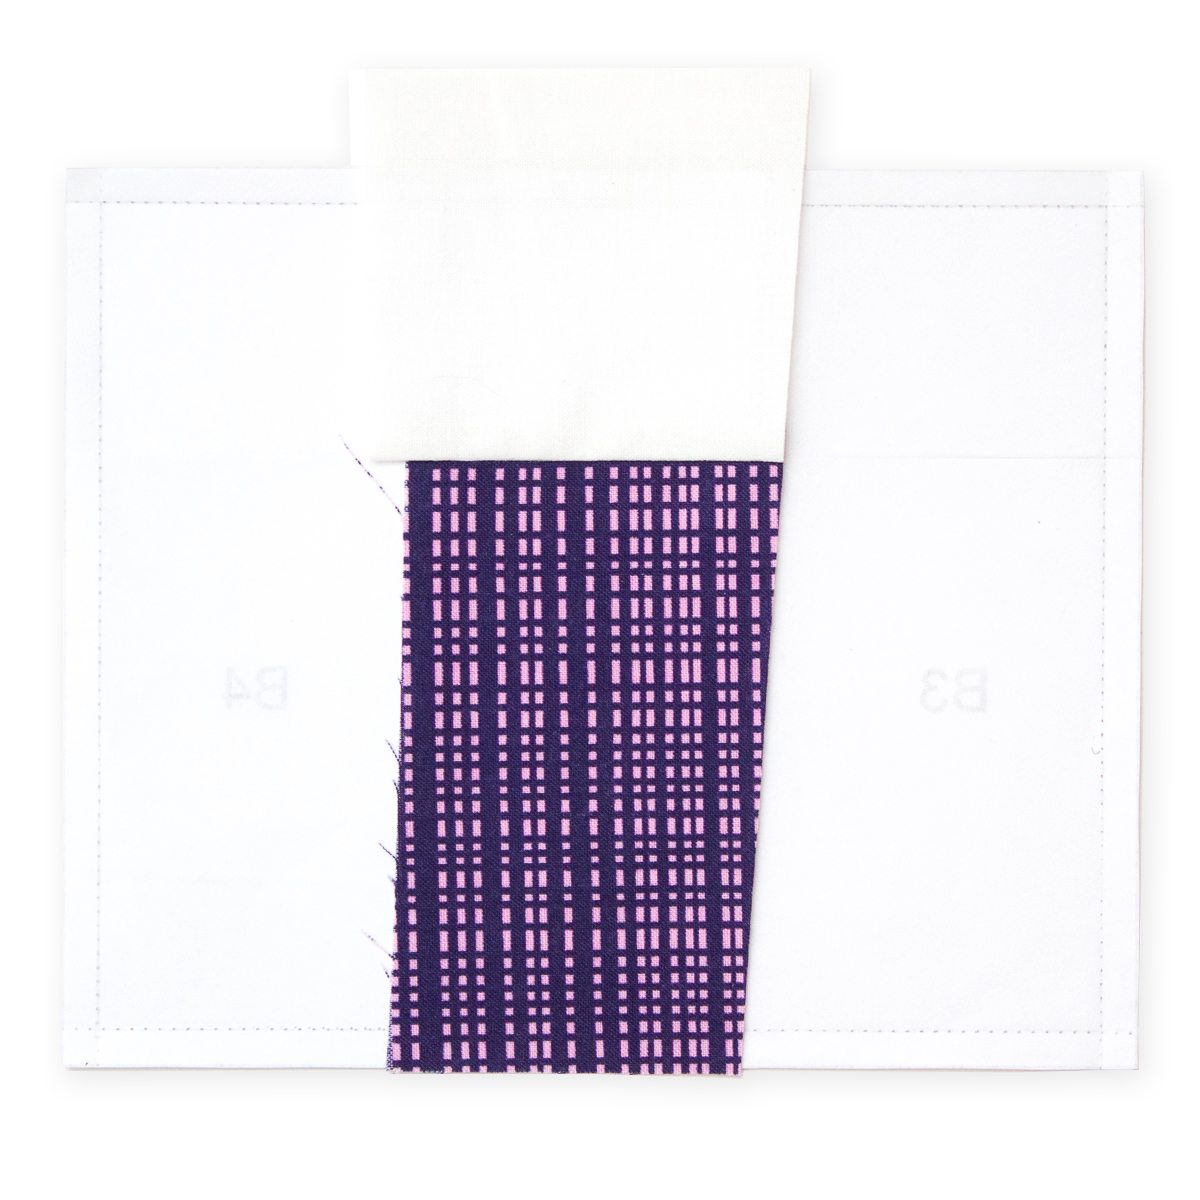
Place fabric piece B3 right sides together with the pieces you have already sewn. Because the exclamation point flares out towards the top, your fabric will not line up perfectly with the paper pattern. Test out your fabric placement by folding fabric piece B3 over while pinching the fabrics together to mimic a 1/4″ seam. Make sure this piece covers all lines of space B3, extending past the edge of the pattern.
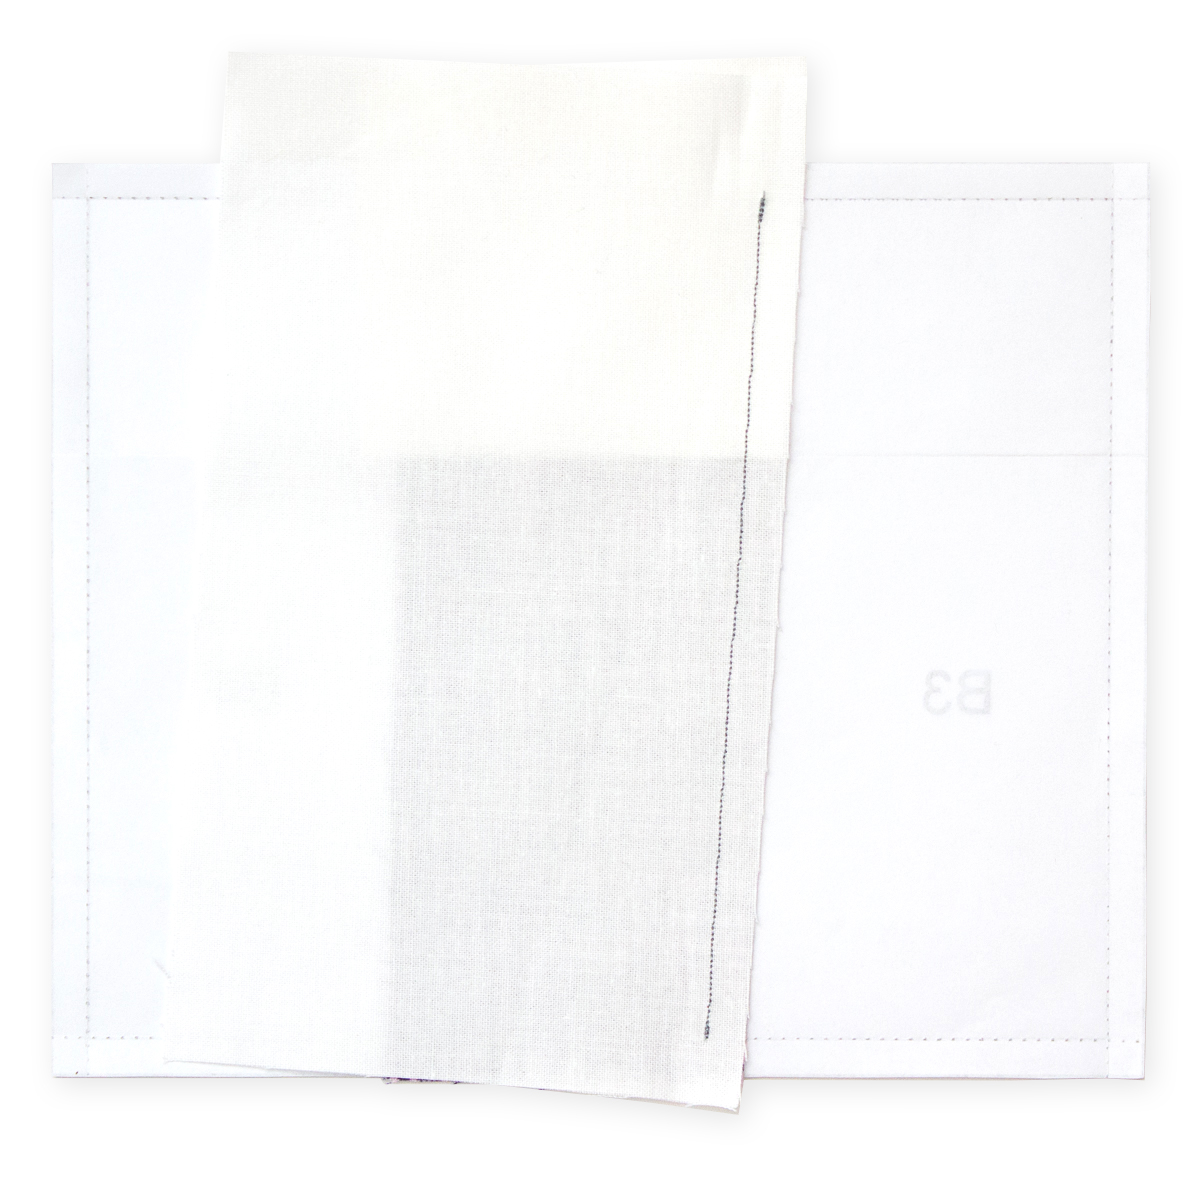
Flip the pattern over so the printed side faces up and sew along the line between spaces A1/B2 and space B3. The fabric side of your pattern should look like this.
Fold the seam open using your seam roller. The fabric side of your pattern should now look like this. Repeat the previous steps to attach piece B4.
When fabric piece B4 is attached, your fabric side will look like this.
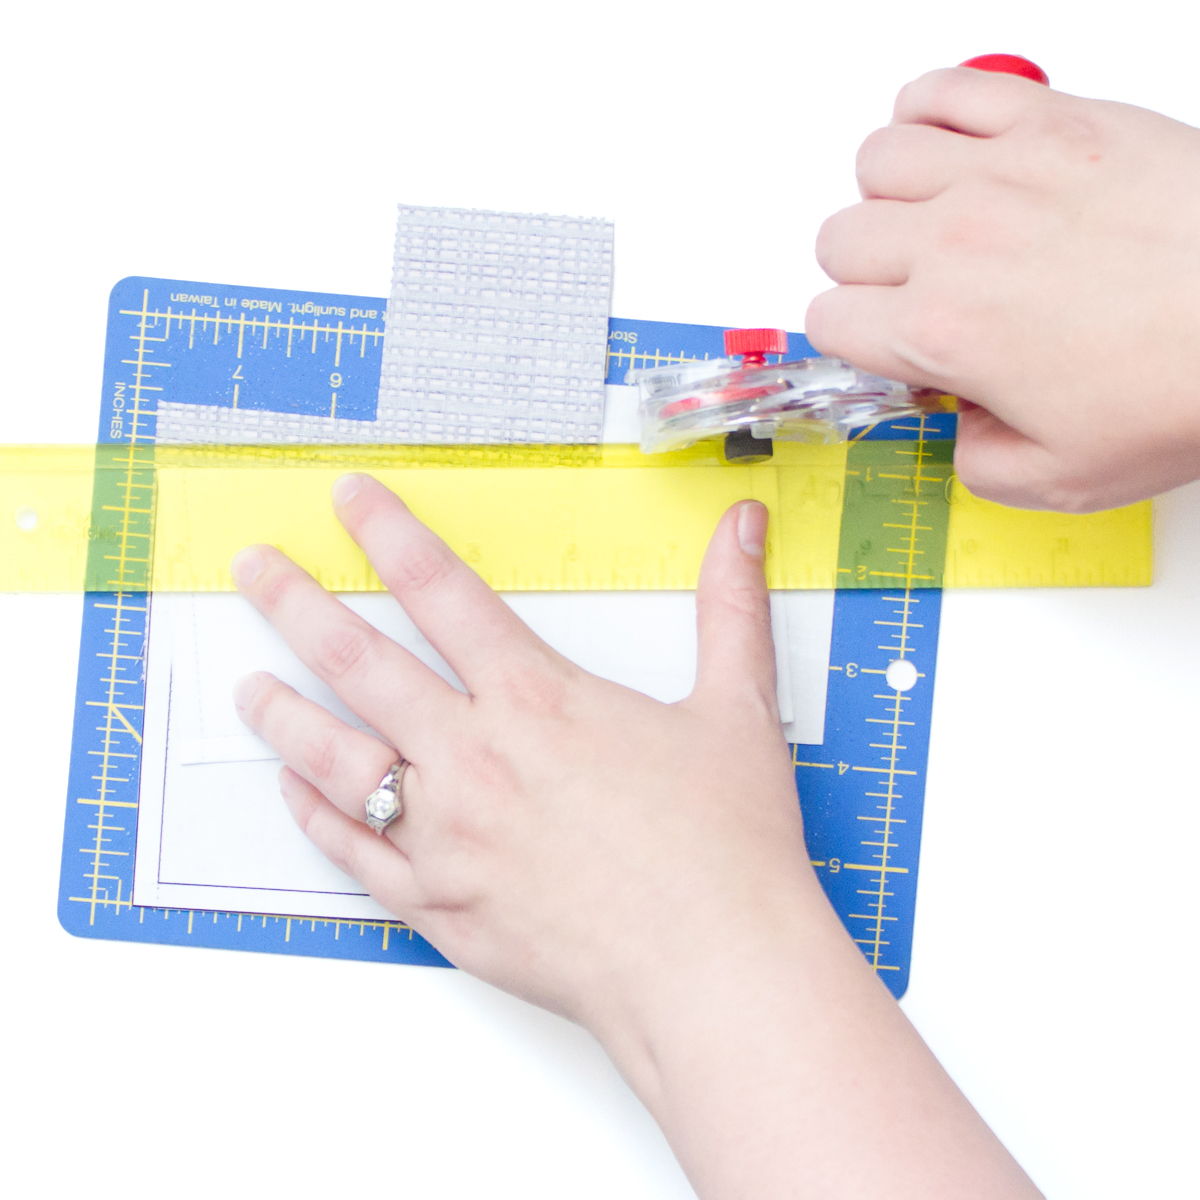
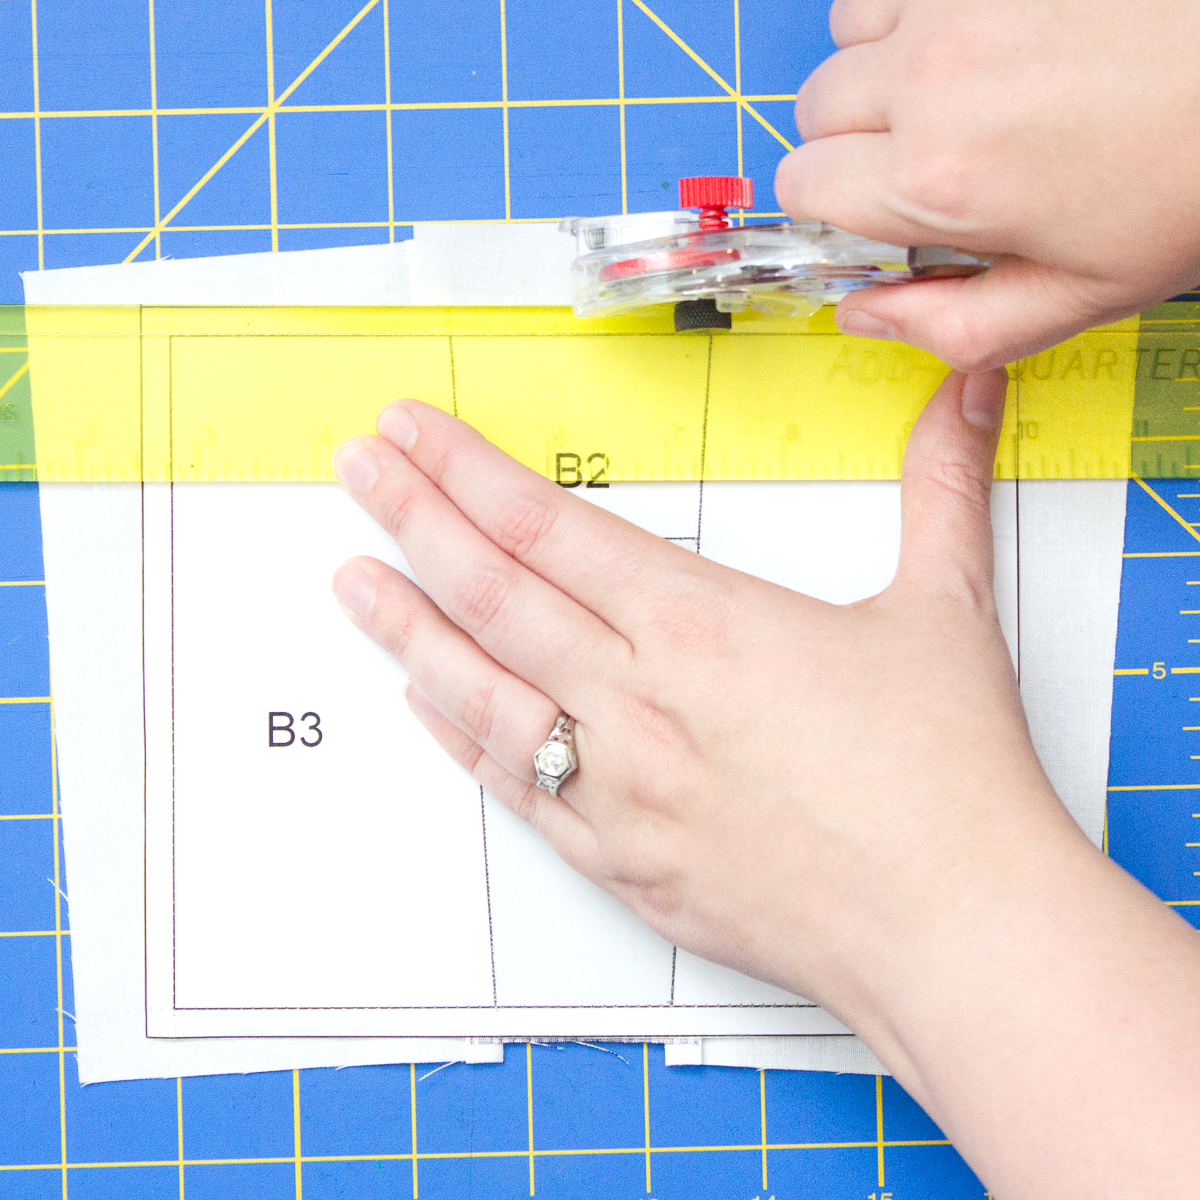
Trim the excess fabric off the outer edges of the paper pattern. Line up your ruler to make sure the inner and outer border form a 1/4″ while you trim all four sides.
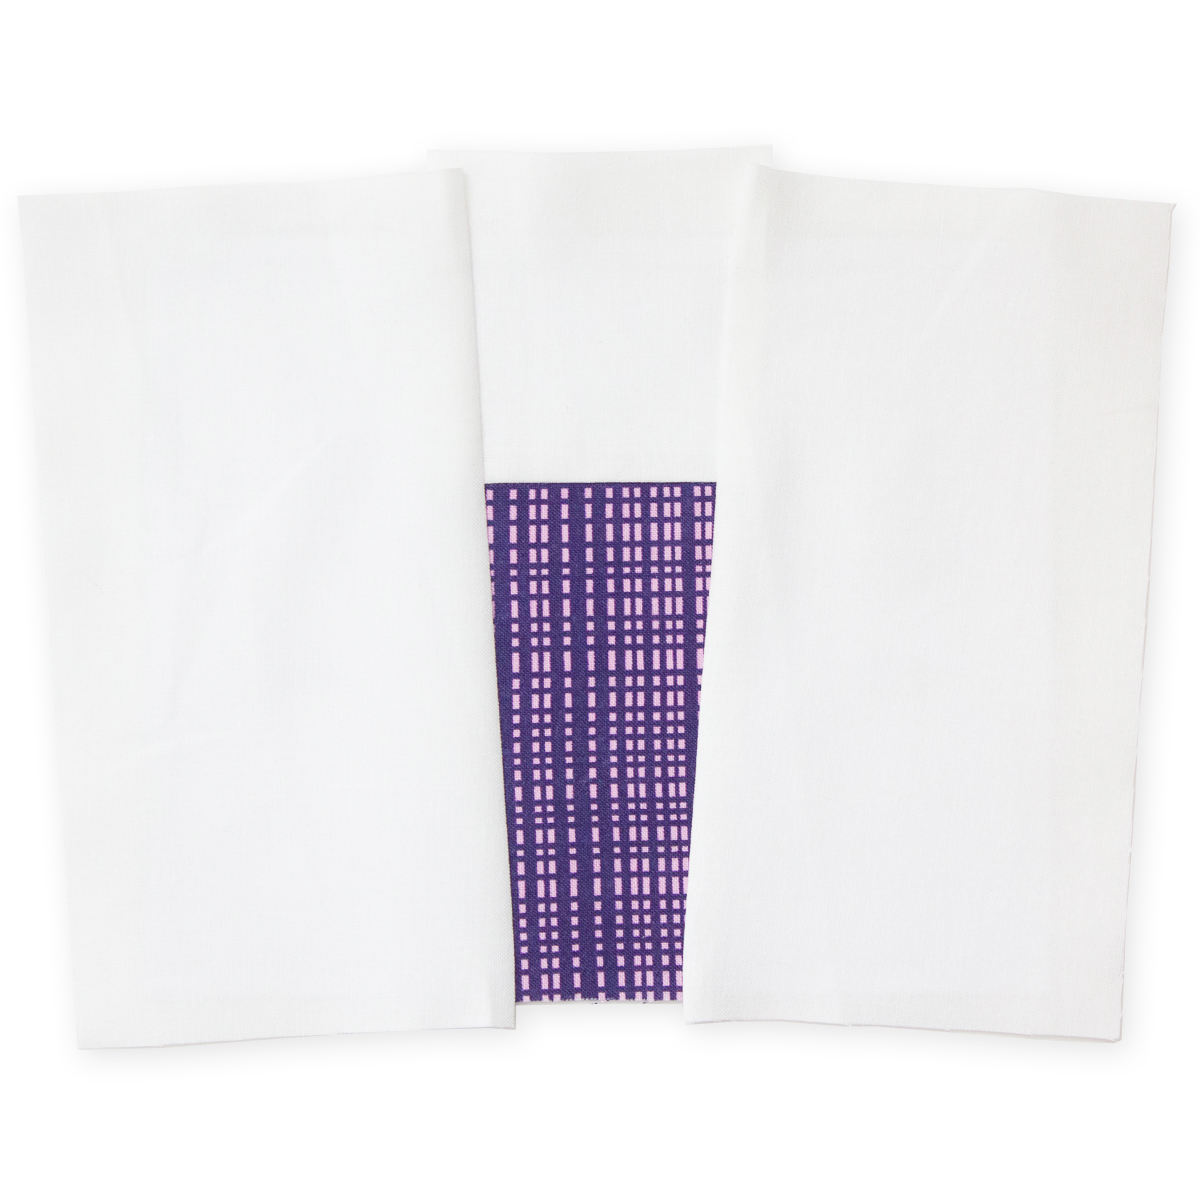
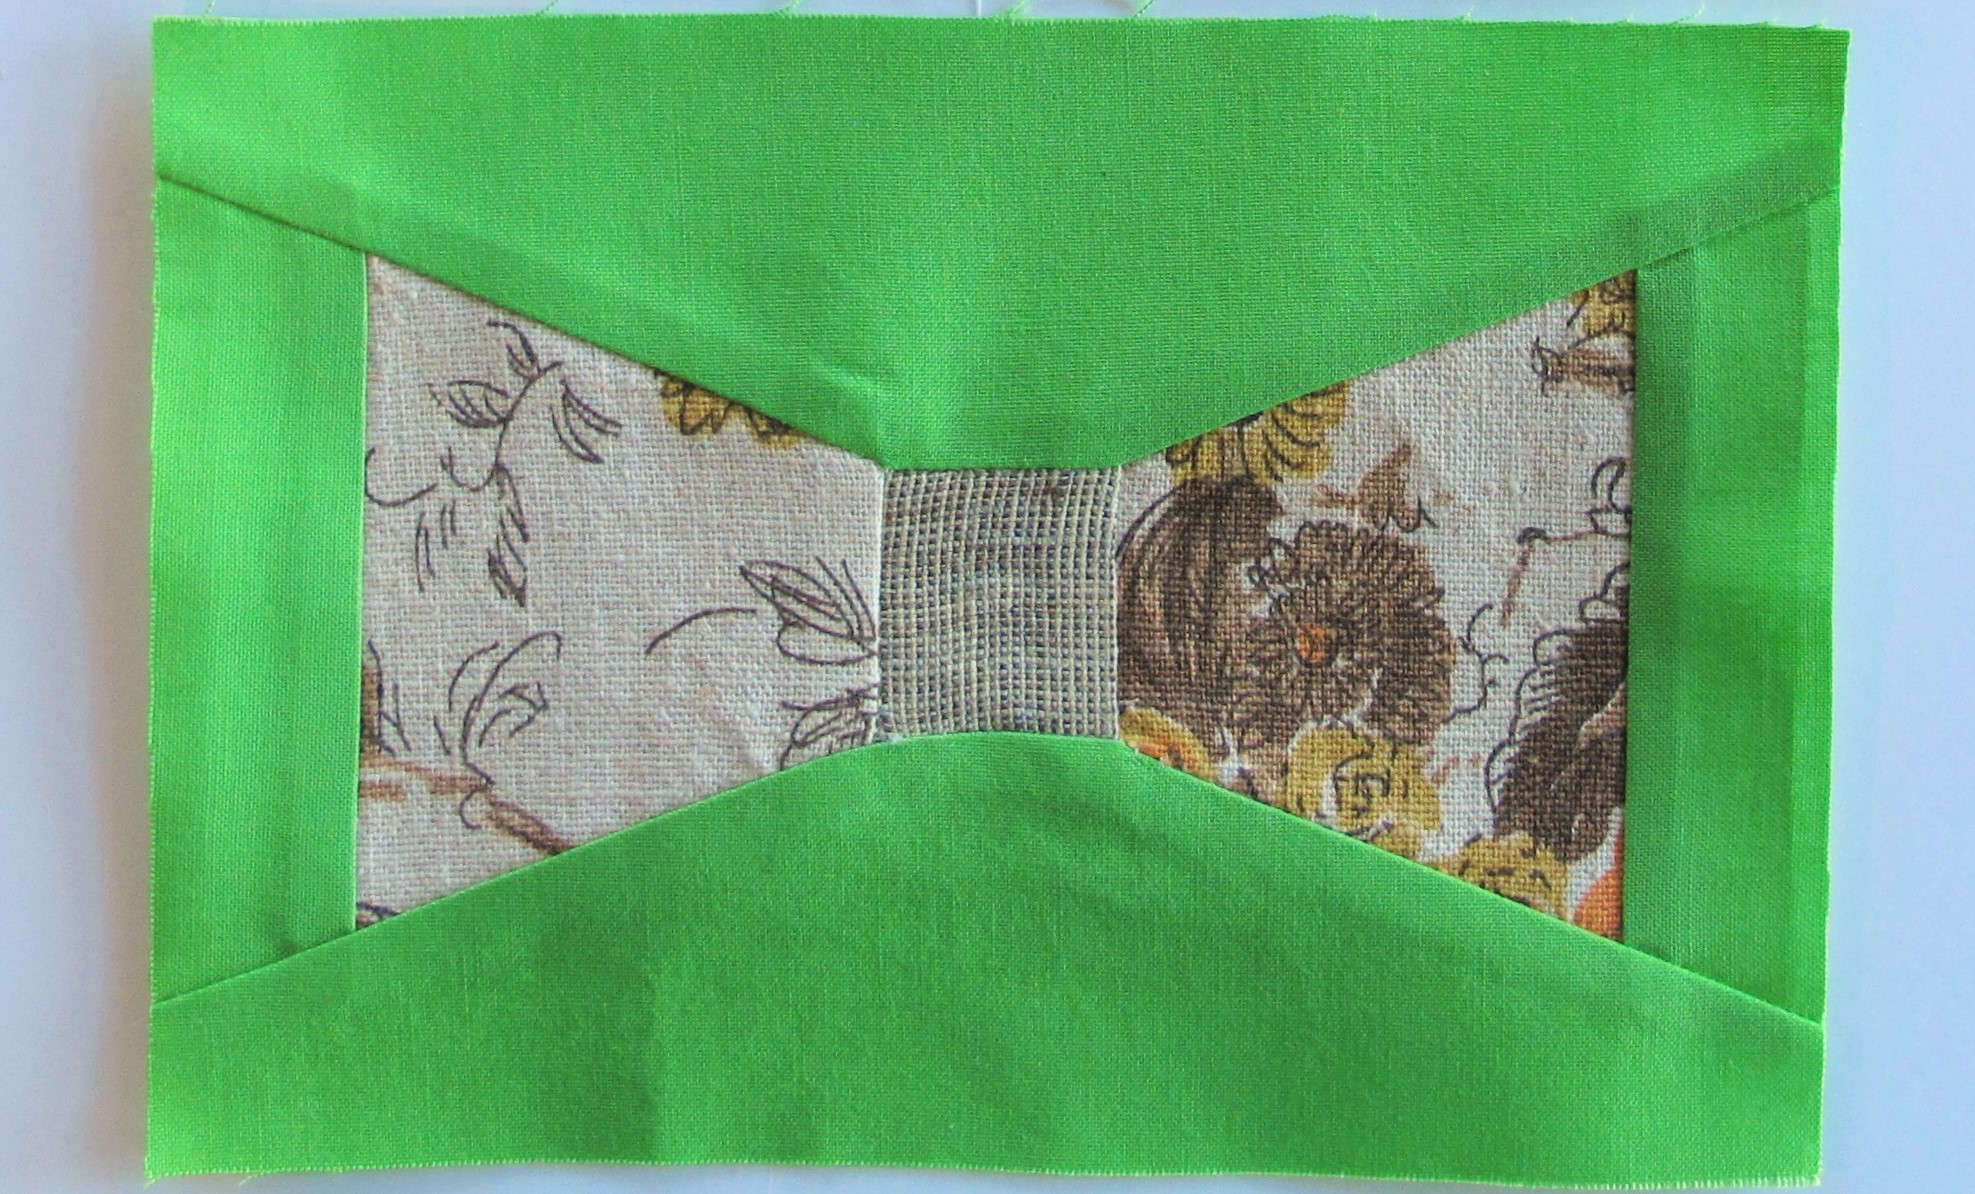
The Top section of your block is finished! Repeat the steps above to make the Bottom section of the block, sewing the pieces together in the number order printed on the paper pattern.
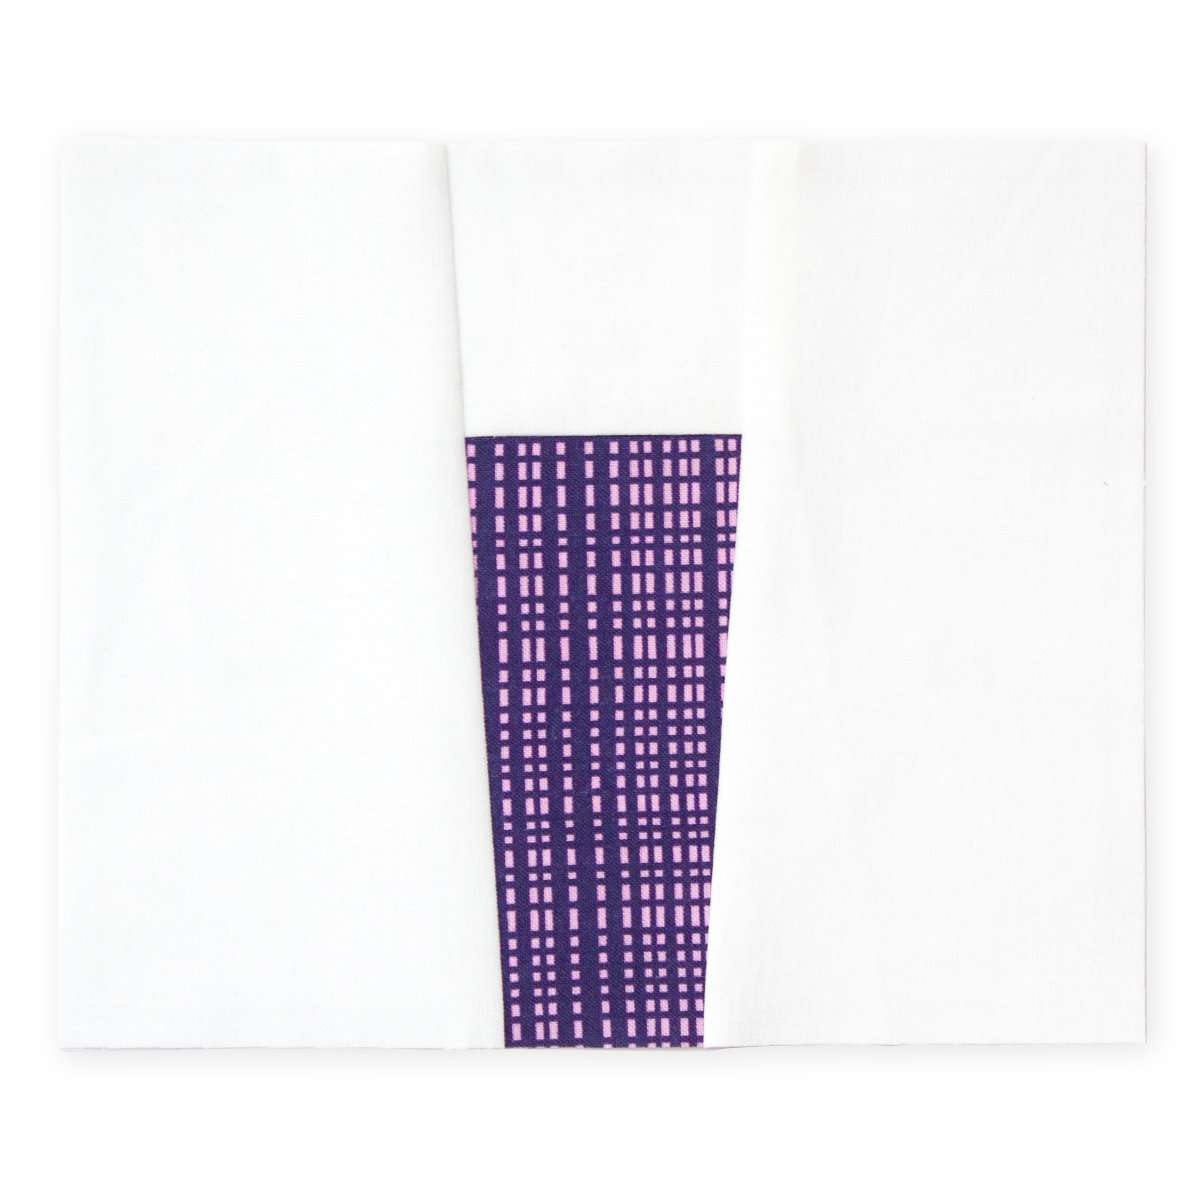
When you finish the Bottom section, your two pattern pieces should look like this.
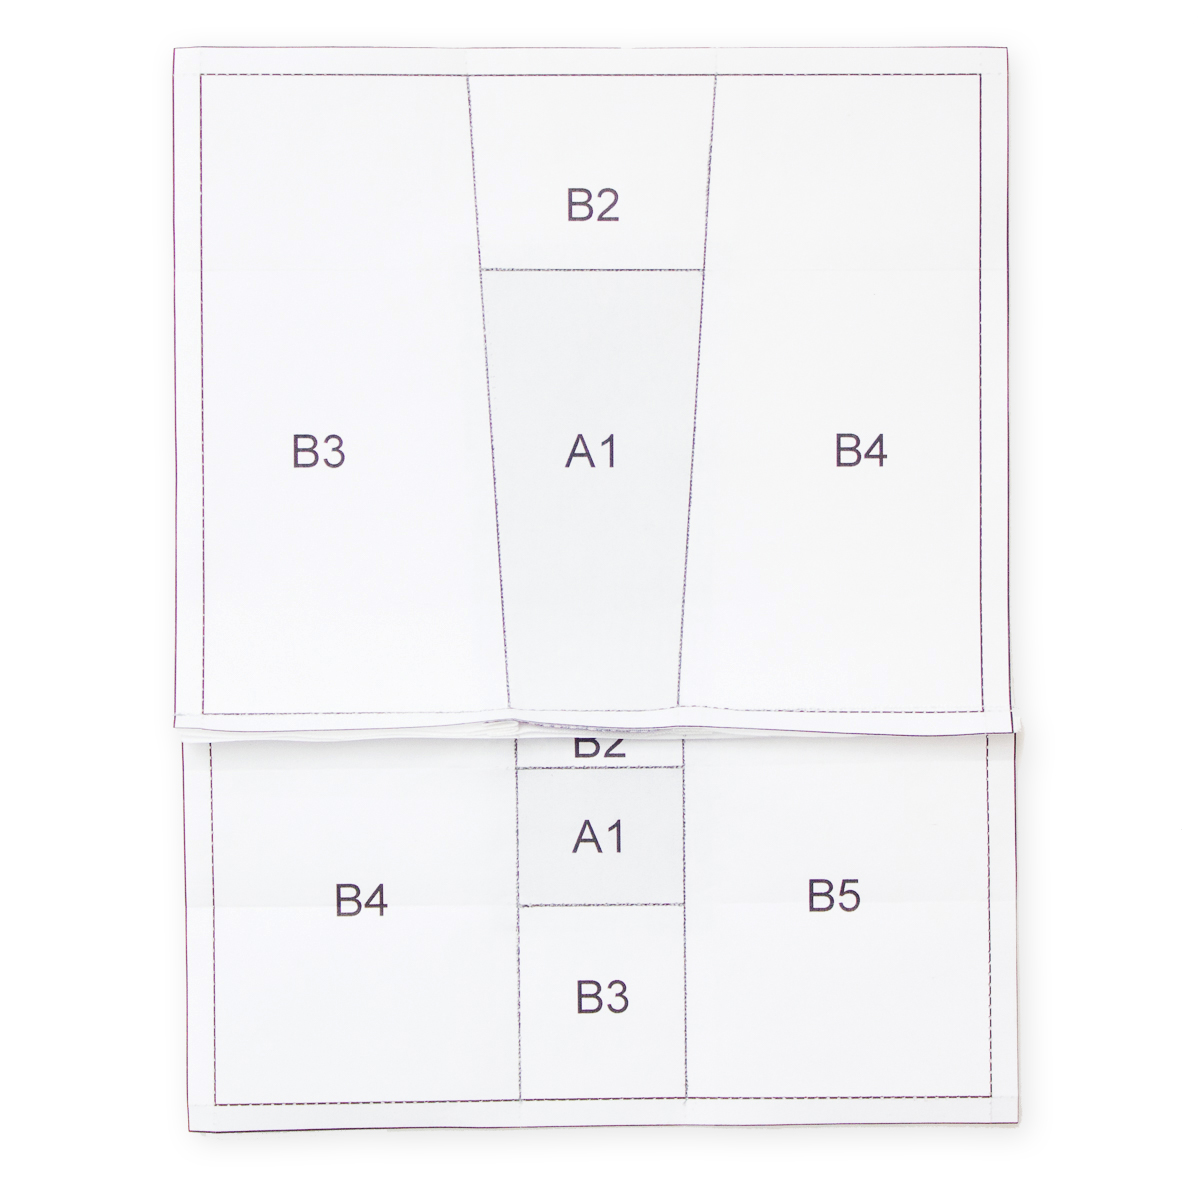
Use clips or pins to hold the two pattern pieces right sides together, lining up the pieces along the edges marked “sew together.”
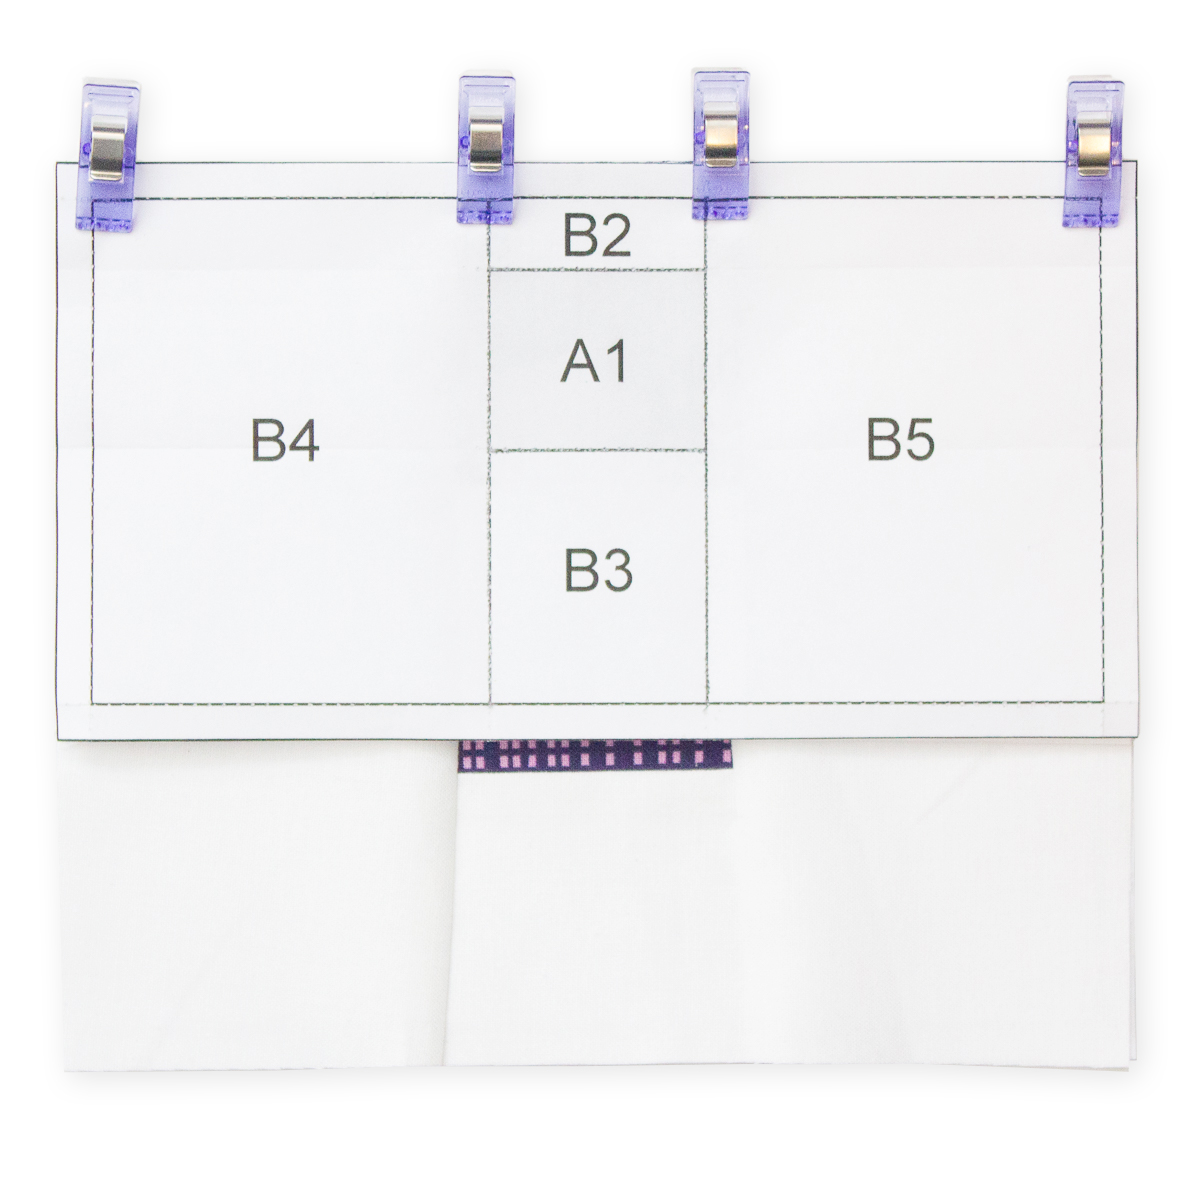
Sew the two pattern pieces together along the inner border, giving it a 1/4″ seam. This is what the printed side will look like.
If you are making only one block, you can now gently remove the papers from the back. This should be easy because of your reduced stitch length and the perforations made during preparation! To make a pillow or quilt top, leave all paper in until you finish the project.

Press the block using an iron, and you’re ready to quilt! Congratulations! You’ve conquered foundation paper piecing!

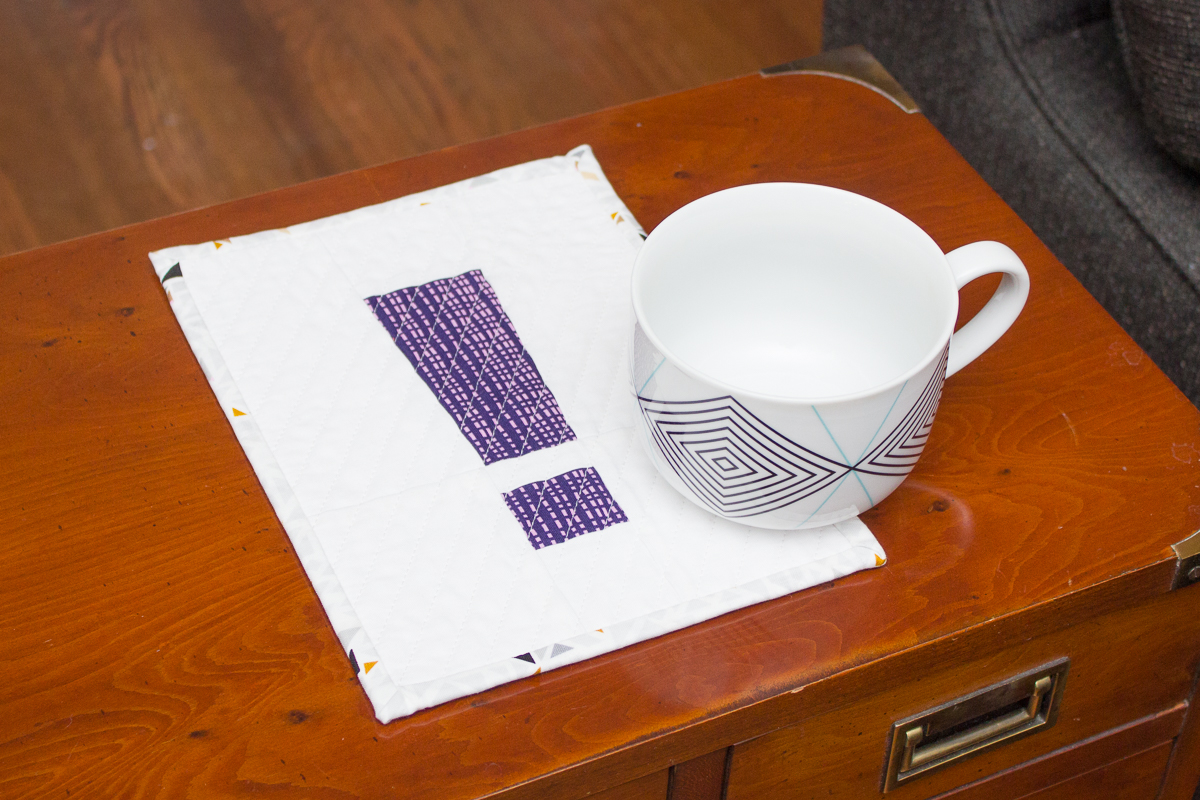
This one quilt block makes a great mug rug. Check back next week and learn how to make Get Happy pillow and quilt tops!

Used Products


What you might also like


One comment on “Get Happy!! Quilt Block Foundation Paper Piecing Tutorial”
Leave a Reply
You must be logged in to post a comment.

Next you make a a tutorial, don’t use WHITE paper and WHITE fabric. That makes it really hard to see what you are doing.