All Star Quilt-along Finishing Touches
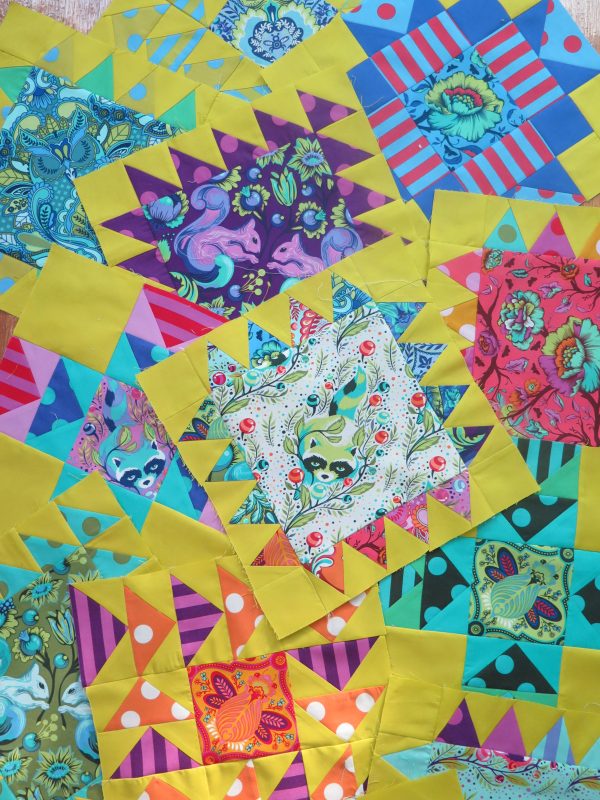
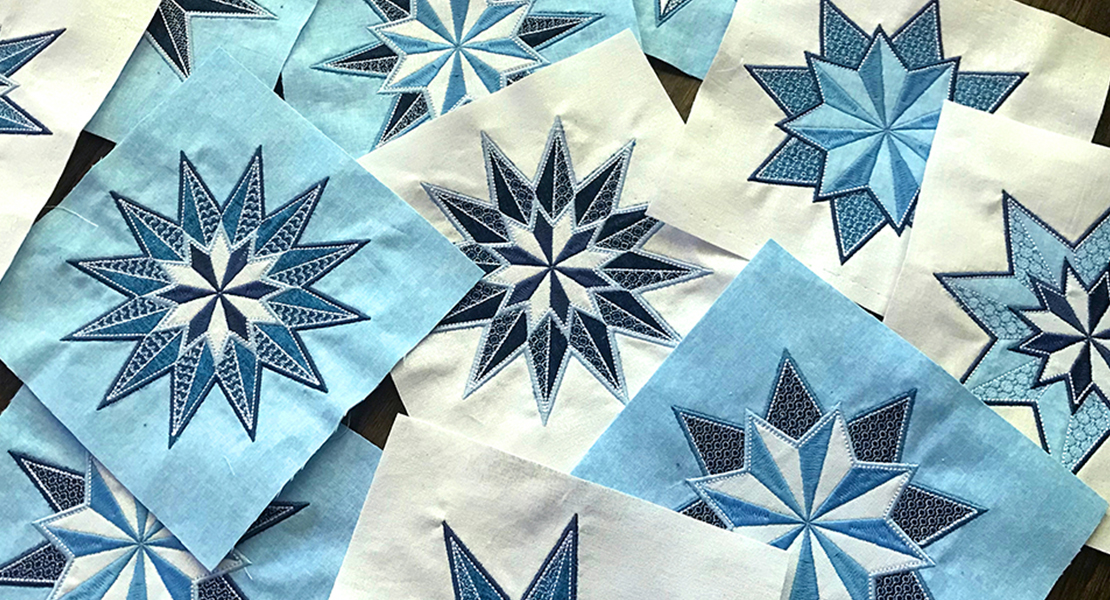
The big day is here! It’s time to finish up your quilt. At this point you should have 13 blocks: 2 each of Block 1, Block 2, Block 3, and Block 4 and 5 each of Block 5. You can click back to each previous block tutorial to make the All Star quilt.
Here is what you’ll need to cut for your background/joining pieces:
- 4 – 12 3/4″ squares
- 1 – 13″ square
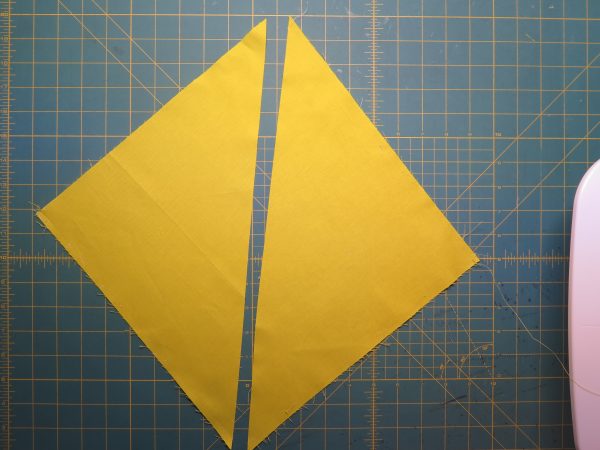
Cut your 4 – 12 3/4″ squares in half on the diagonal like so.
Cut your 13″ square in quarters on the diagonal like so.
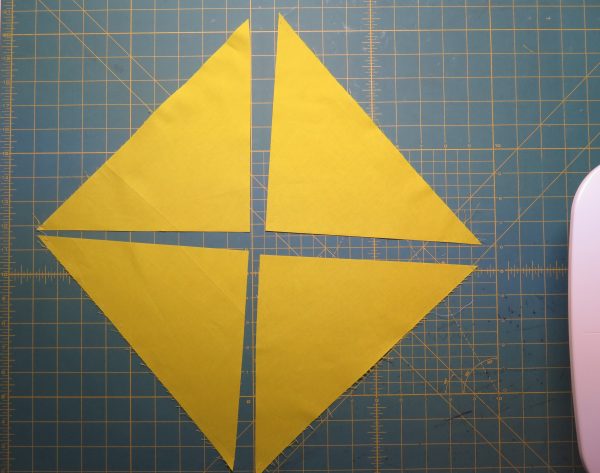
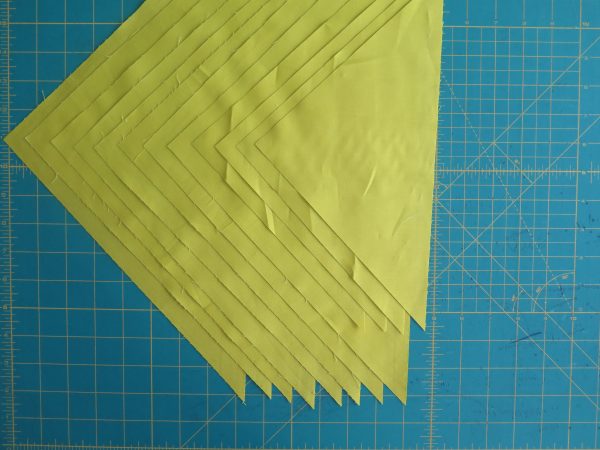
You should have 8 larger triangles and 4 smaller ones.
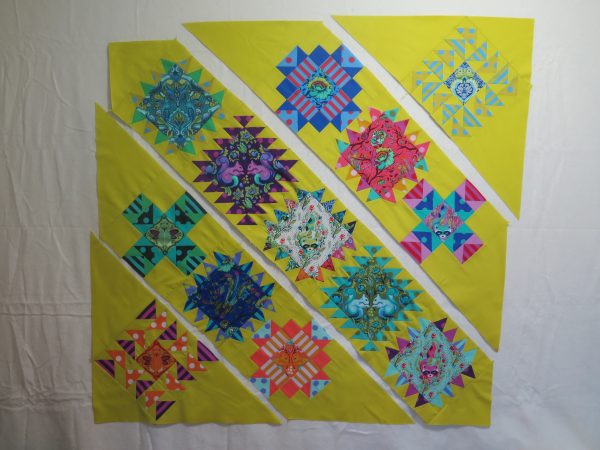
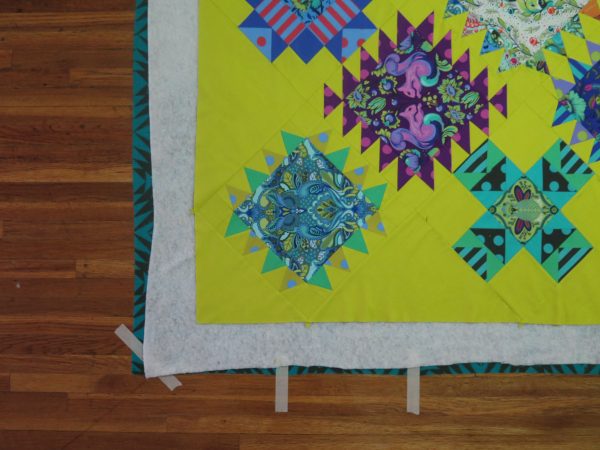
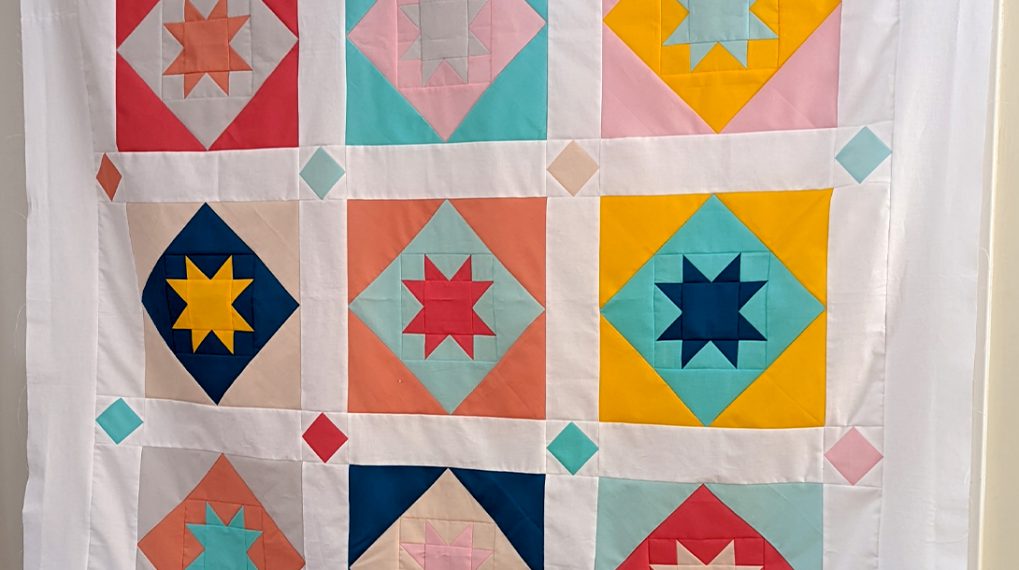
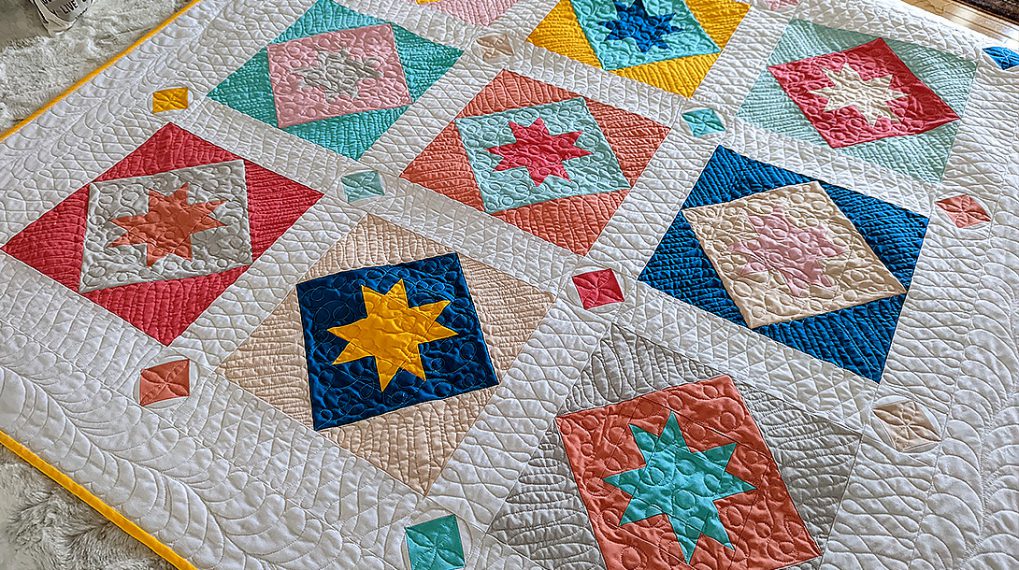
Lay out your blocks on point as pictured below. You can choose the same lay out as me or experiment with your own.
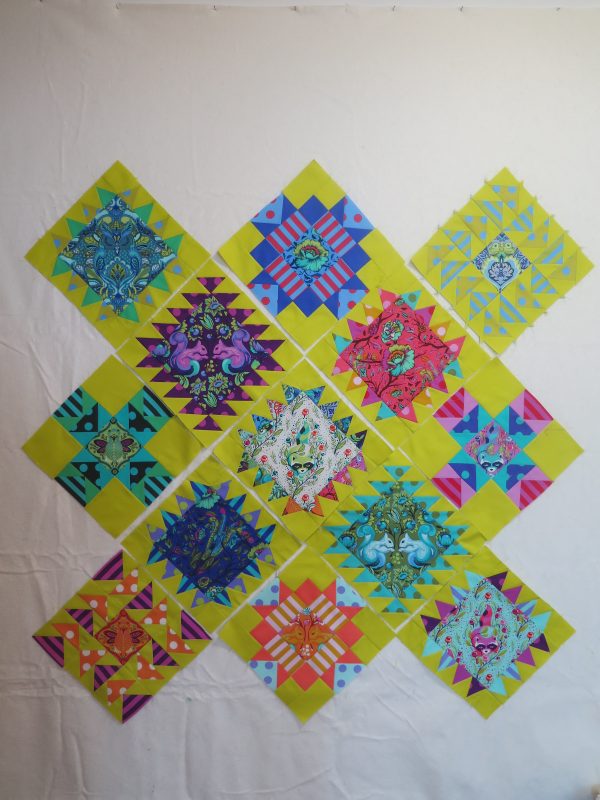
Add your background fabric to the layout. The smaller triangles are for the corners, the larger for the sides between your blocks.
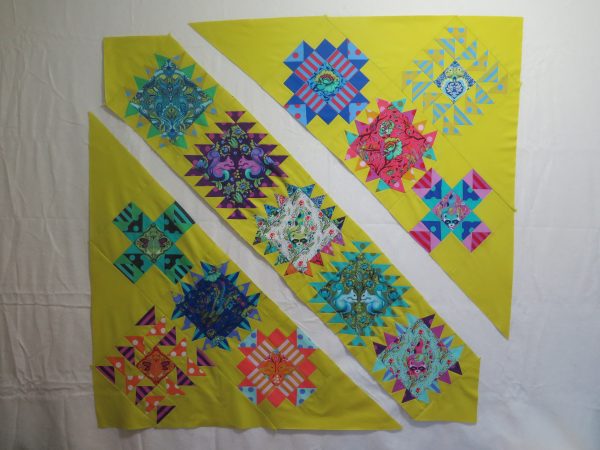
Starting with a top corner piece, add one of the smaller triangles to the top corner as pictured below.
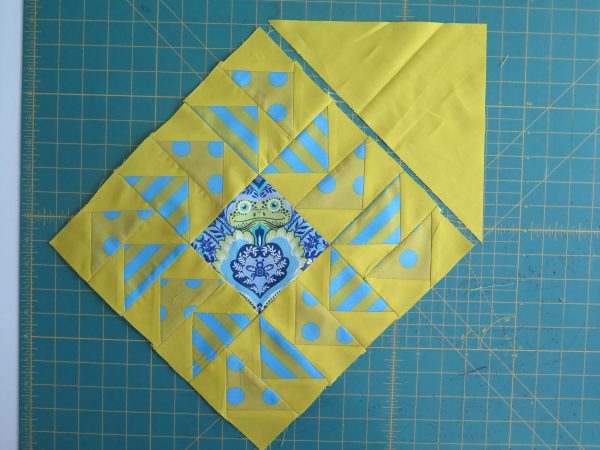
Then add the sides as pictured below.
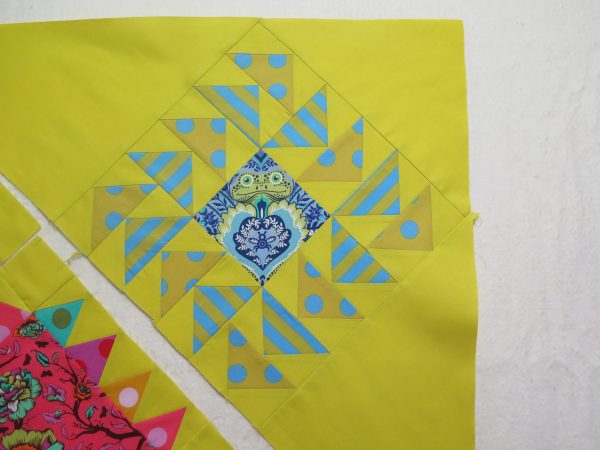
Do the same for the bottom corner, then piece your blocks together as pictured below. You now have 5 strips to sew together.
Sew your corner units to the strips next to them.
Then sew those corners on the center row.
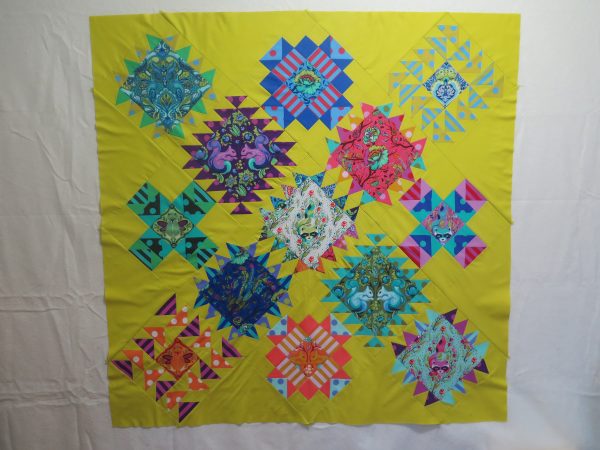
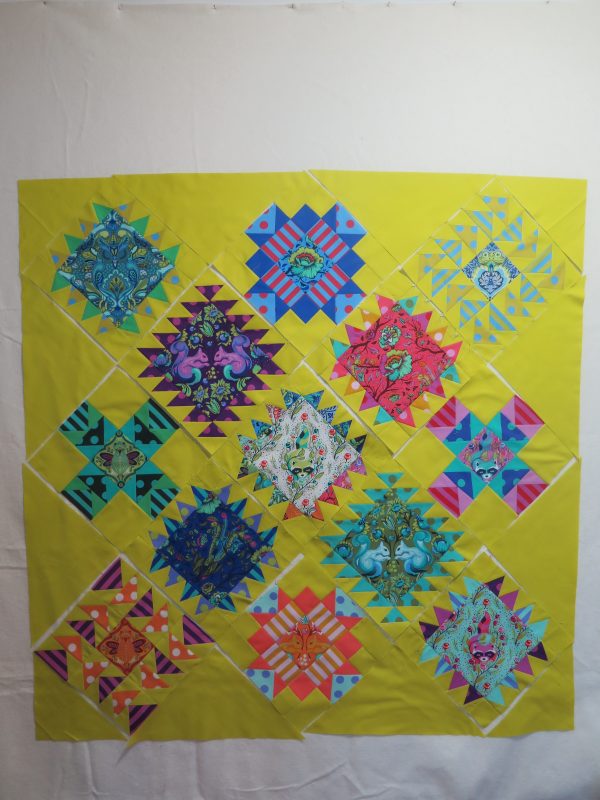
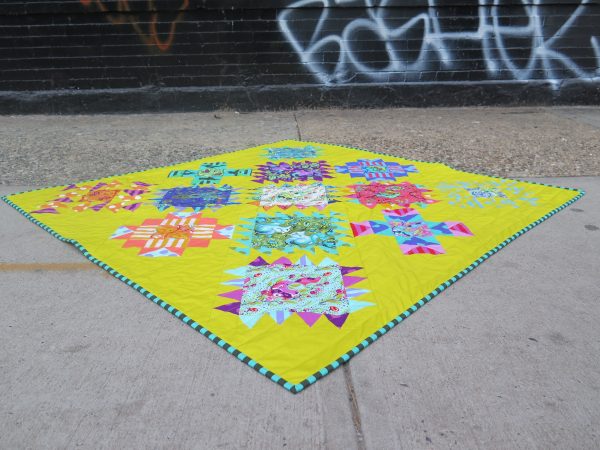
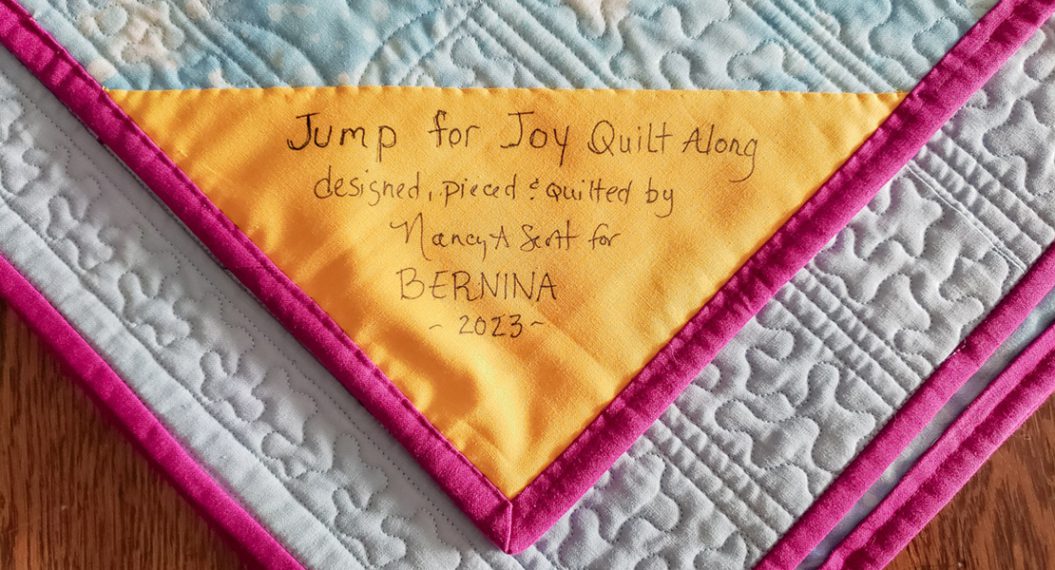
Your top is complete!
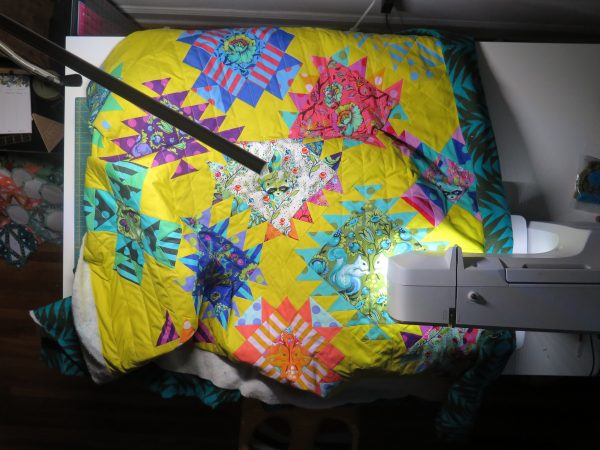
Now it’s time to baste, quilt, and bind. Check out my tutorial from my last BERNINA quilt for detailed instructions on how I baste.
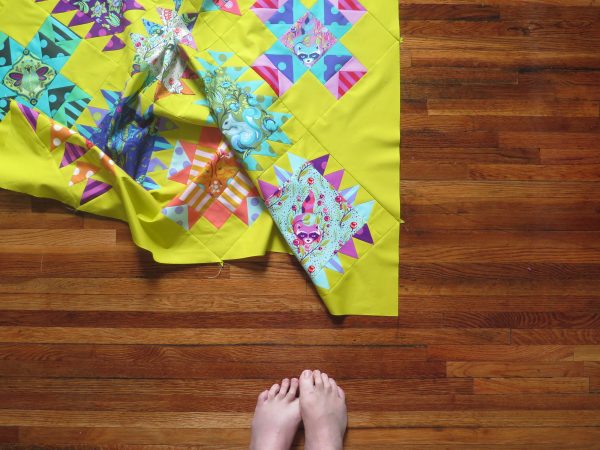
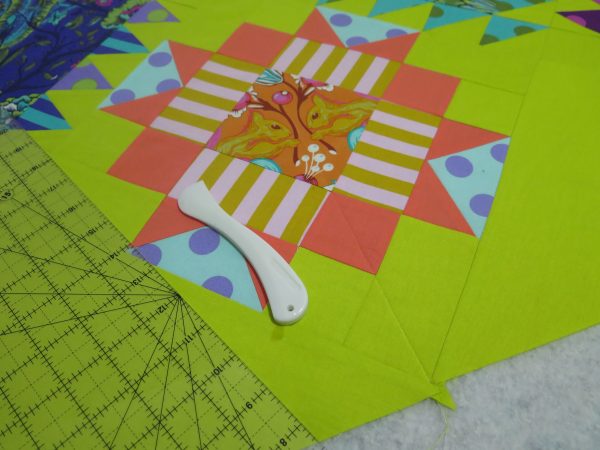
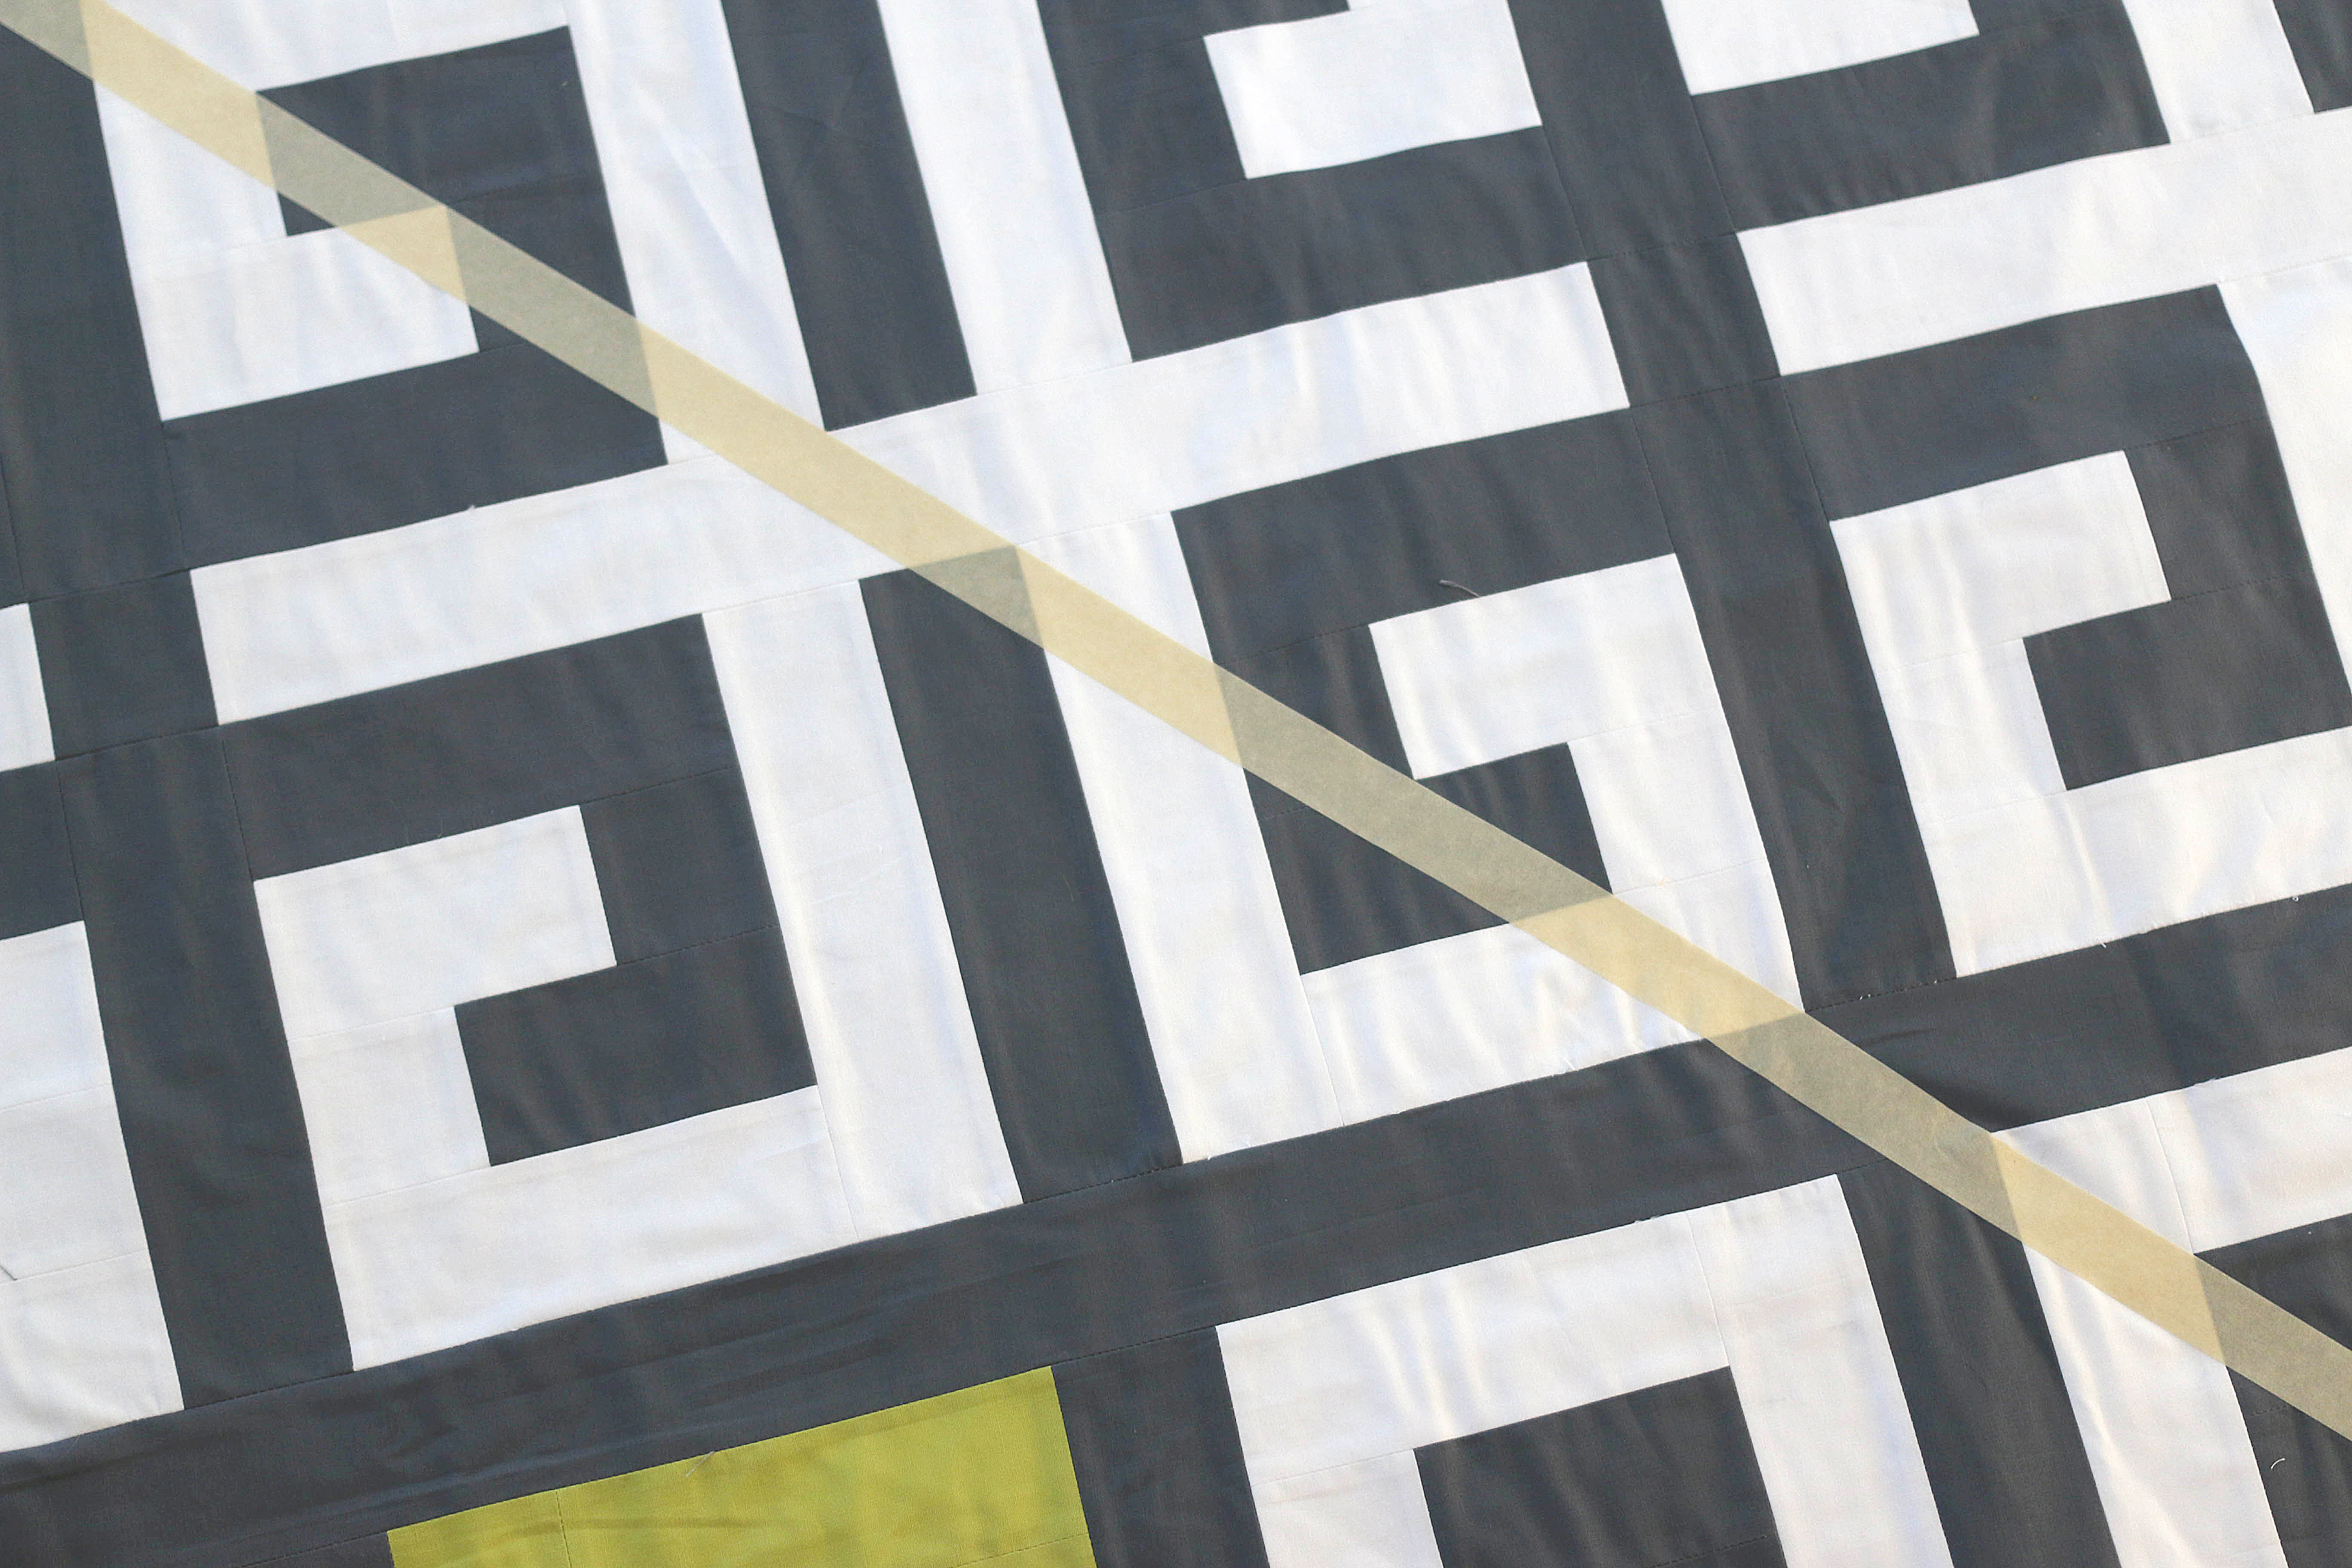
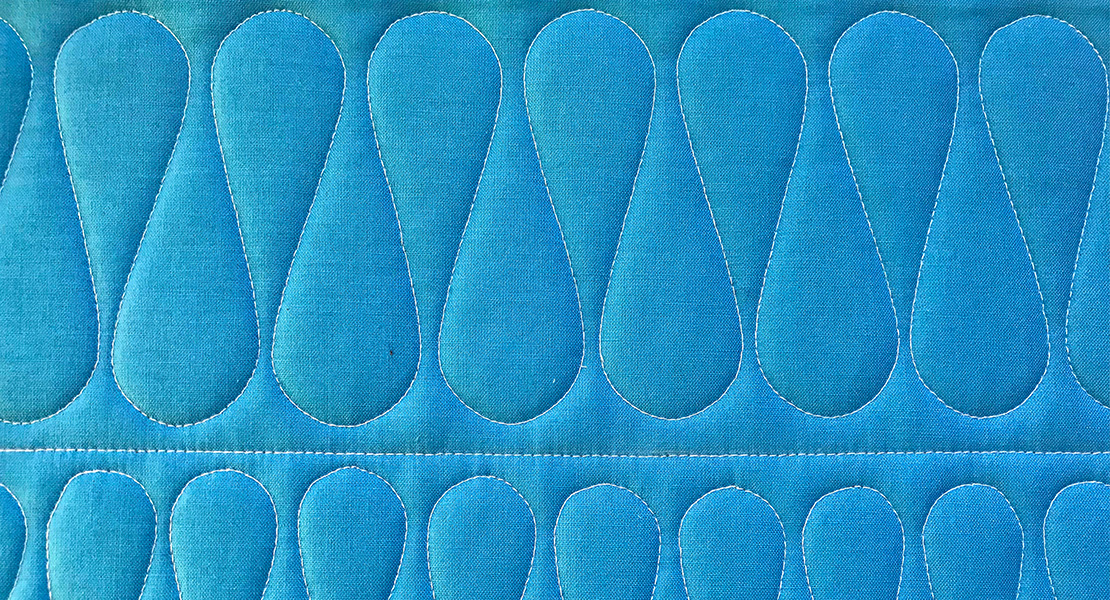
Since there is so much happening with the fabric design and colors in this quilt I decided to keep the quilting very simple. I drew a straight line right down the center of the quilt with a herra marker.
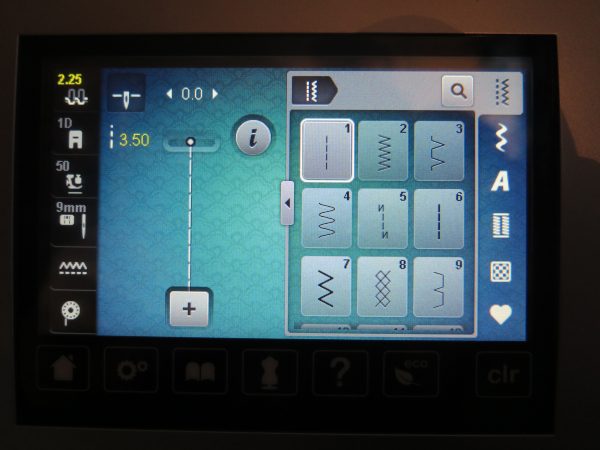
I use a 3.5 mm stitch length when I straight line quilt.
I used my seam guide to help guarantee straight lines, spacing my lines just shy of 2″ apart.
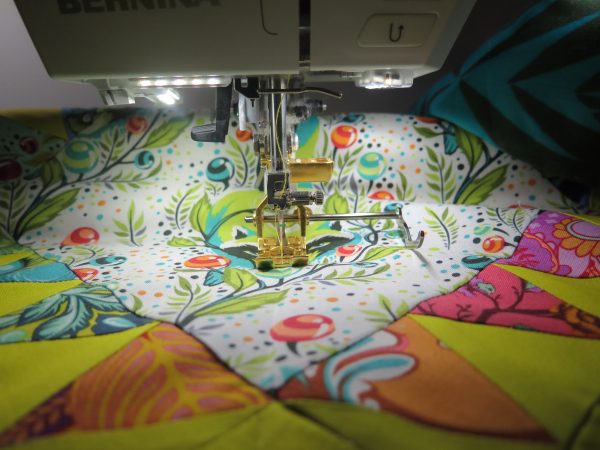
Quilt down the width of the quilt until you’re all done.
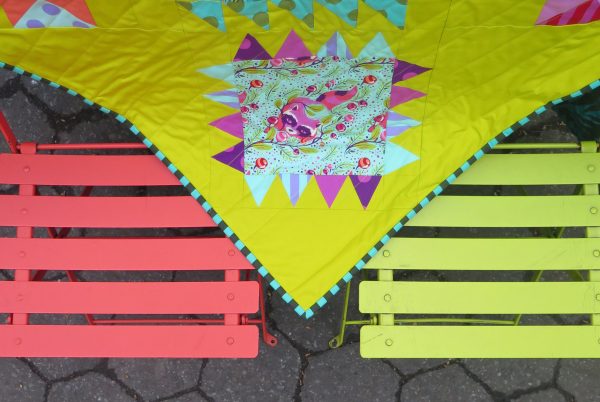
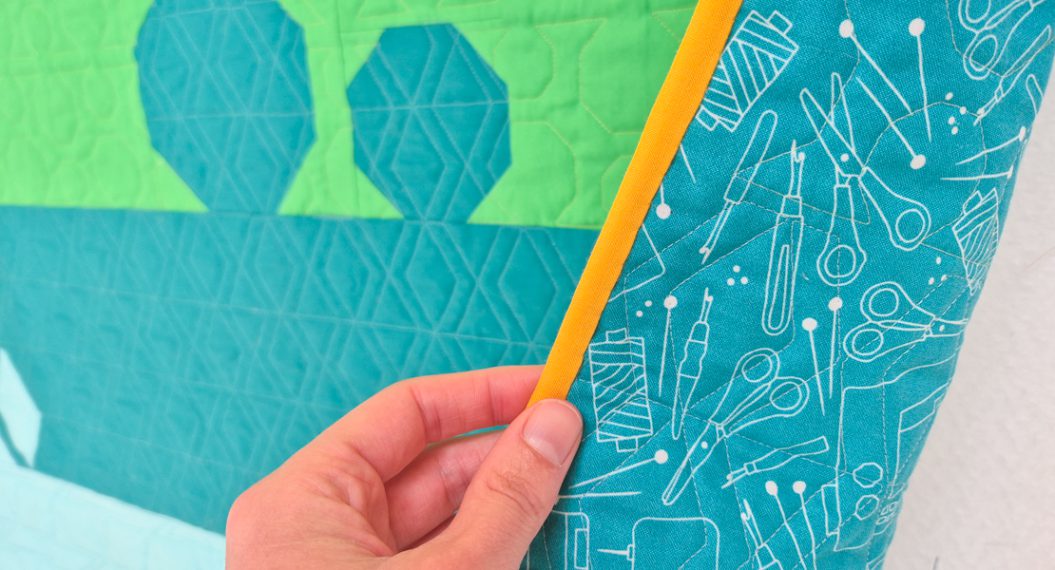
Once you’re finished, trim away the excess batting and backing, then bind. Again, check out my tutorial for binding instructions. I chose a stripey binding for my quilt. Stripes are almost always a good choice!
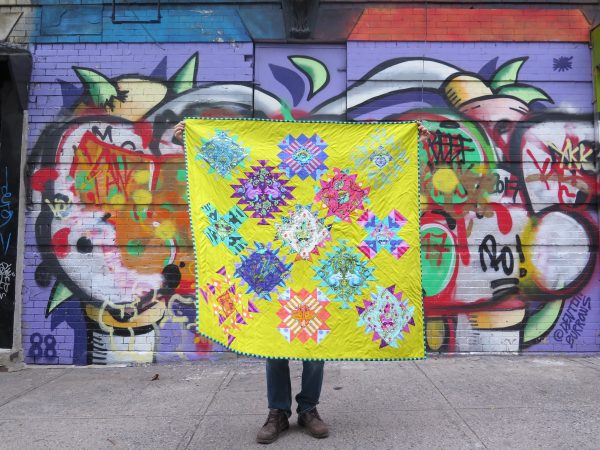
Great work! I hope you enjoyed making this quilt as much as I did.
Thank you so much for joining me on this sew along. Be sure to post your progress on Instagram using the hashtags #heynowyoureanallstar and #giucygiucepatterns.
Used Products


What you might also like


2 comments on “All Star Quilt-along Finishing Touches”
-
-
Just finished the quilt and am cutting my background triangles for the edges. Doing it the way you have stated makes the bias edges on the outside of the quilt instead of the straight of grain edge. Was there a reason for this?
Leave a Reply
You must be logged in to post a comment.

Beautiful ! May I ask what fabric you used for the back and binding? Thank you.