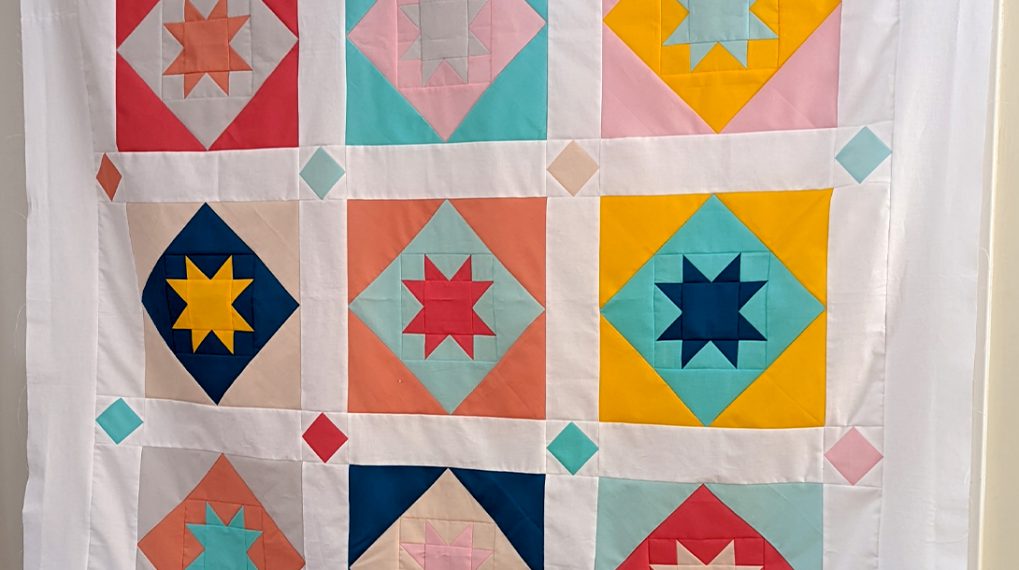
CANDY STAR Quilt Along, Part 6: Finish Quilting and Complete
Hi I’m Satomi from Satomi Quilts and welcome to CANDY STAR Quilt Along, Part 6. This week we are finishing up quilting and attaching the binding to complete the CANDY STAR quilt.
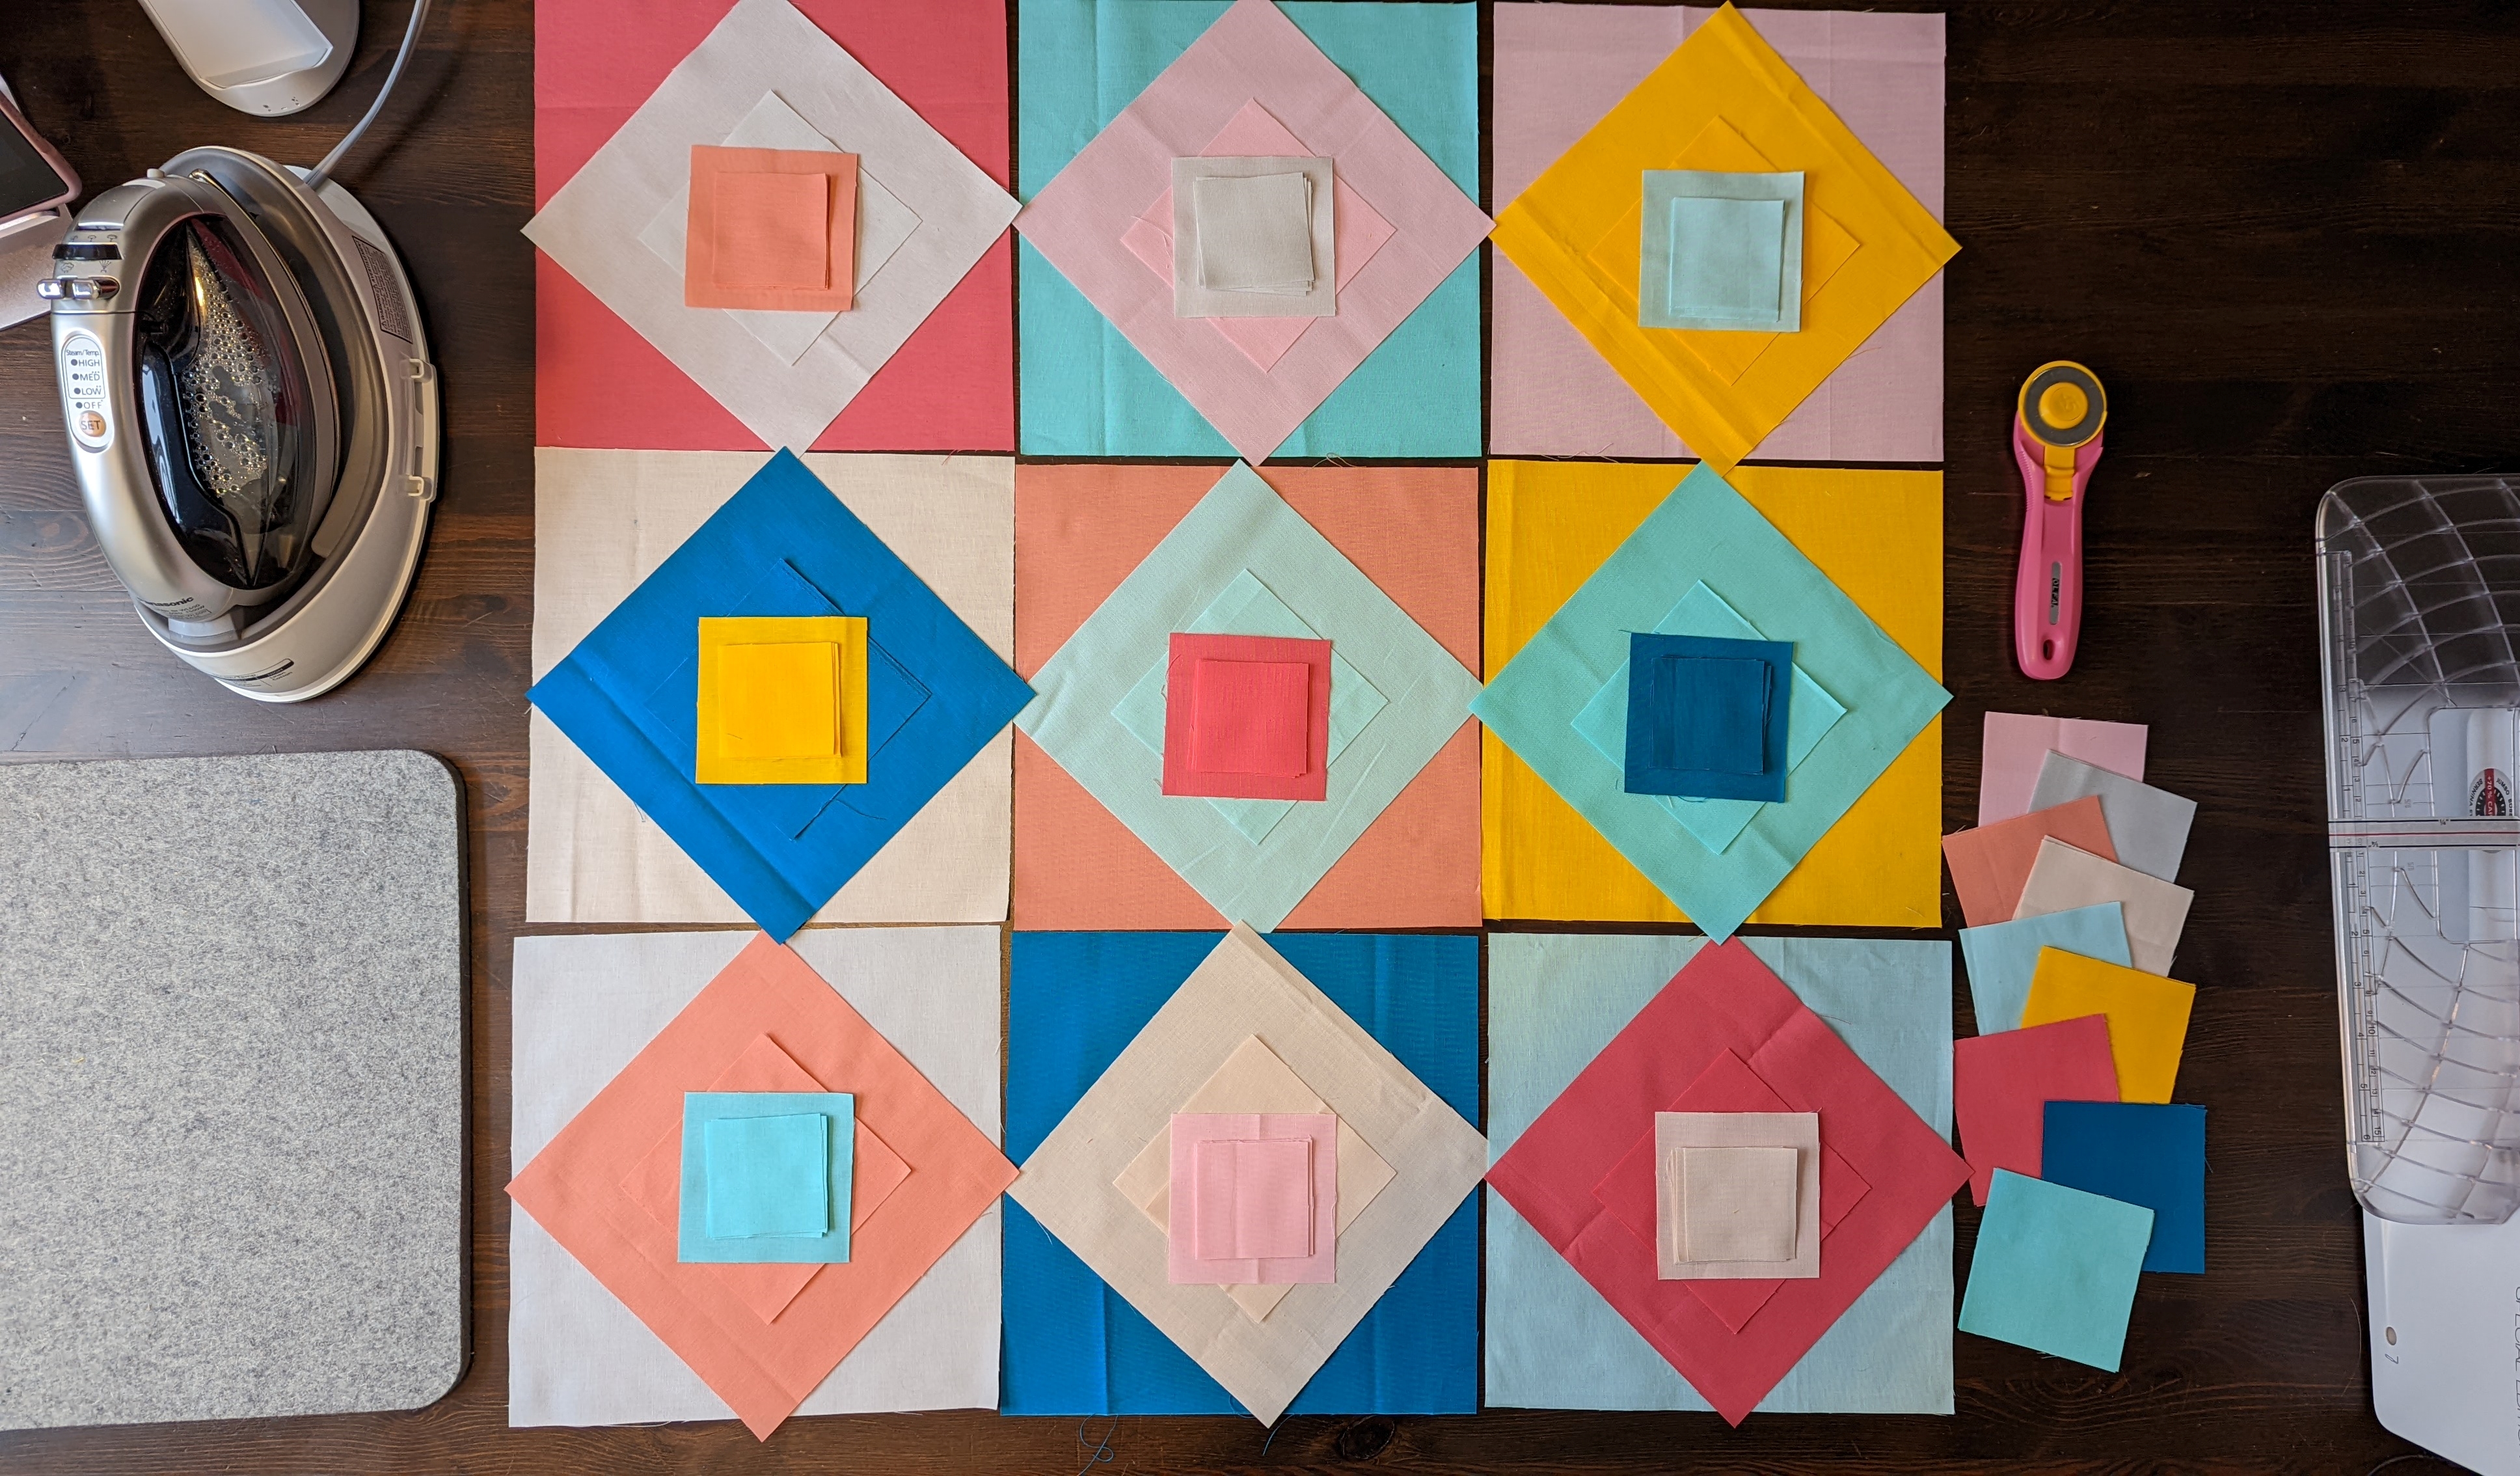
Finish Quilting
Continue quilting on the blocks and the sashing. Refer to the previous post for the details of quilting.
Feather Quilting for the Borders
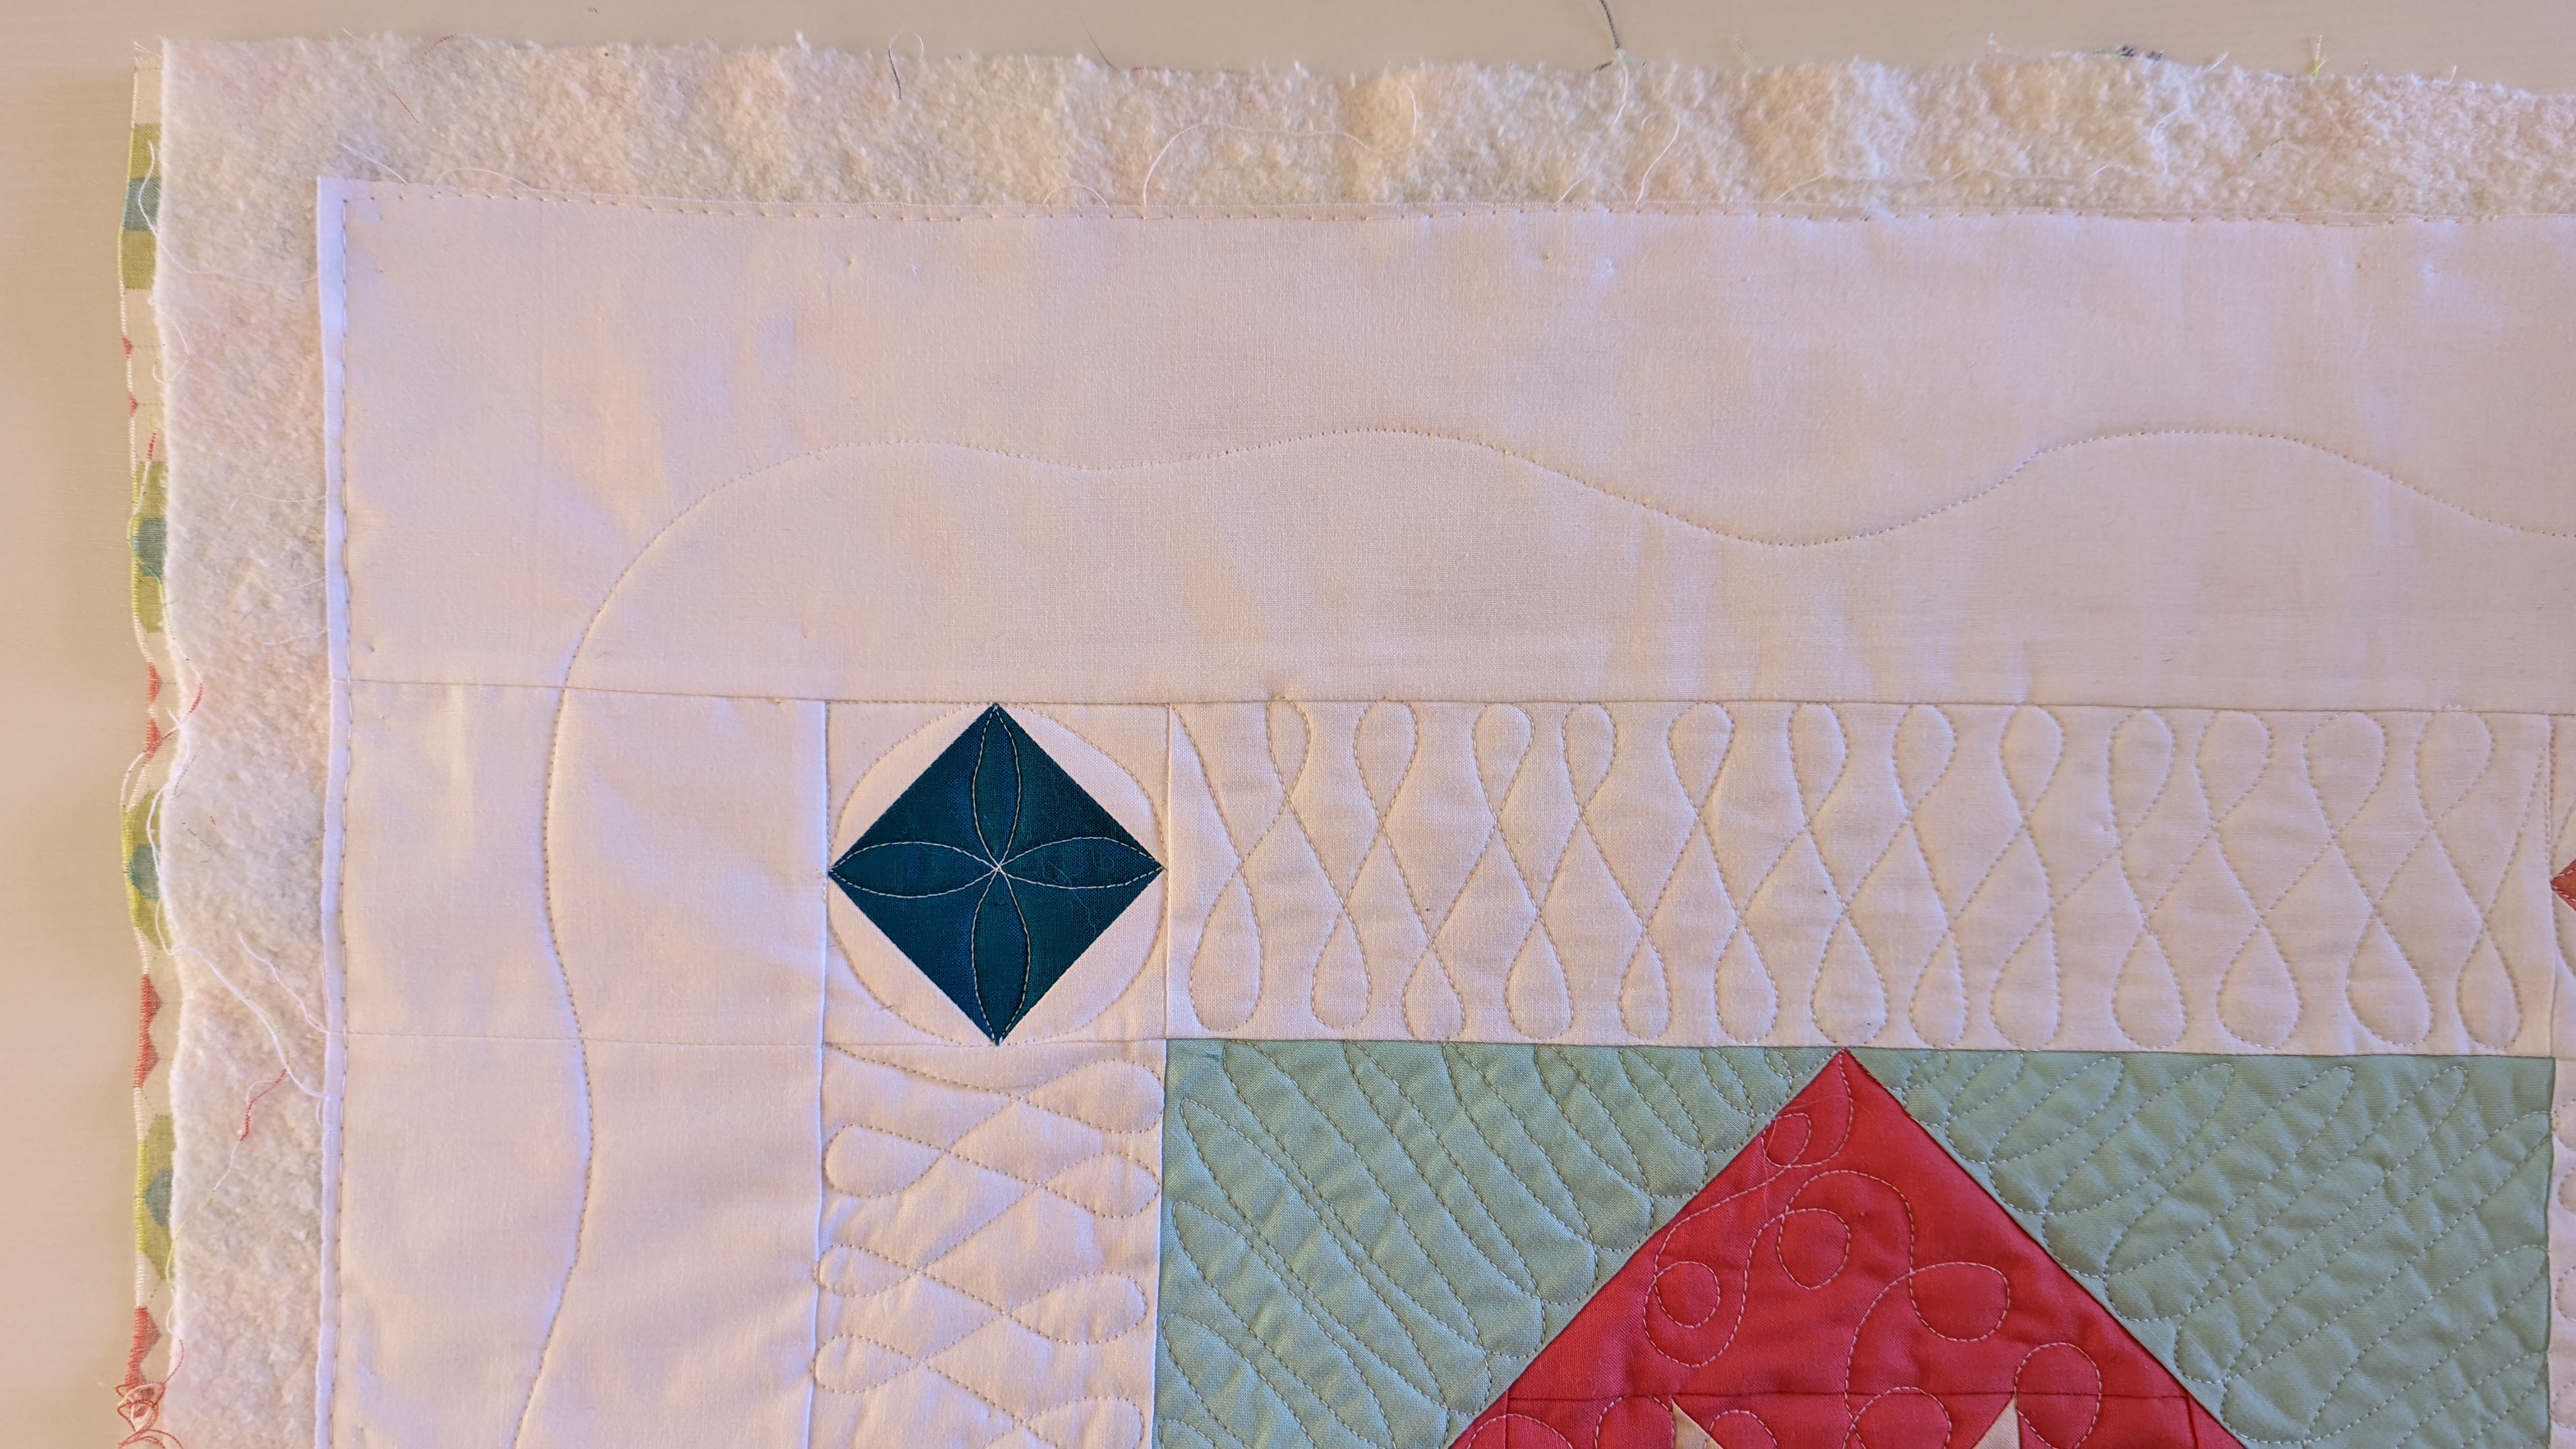
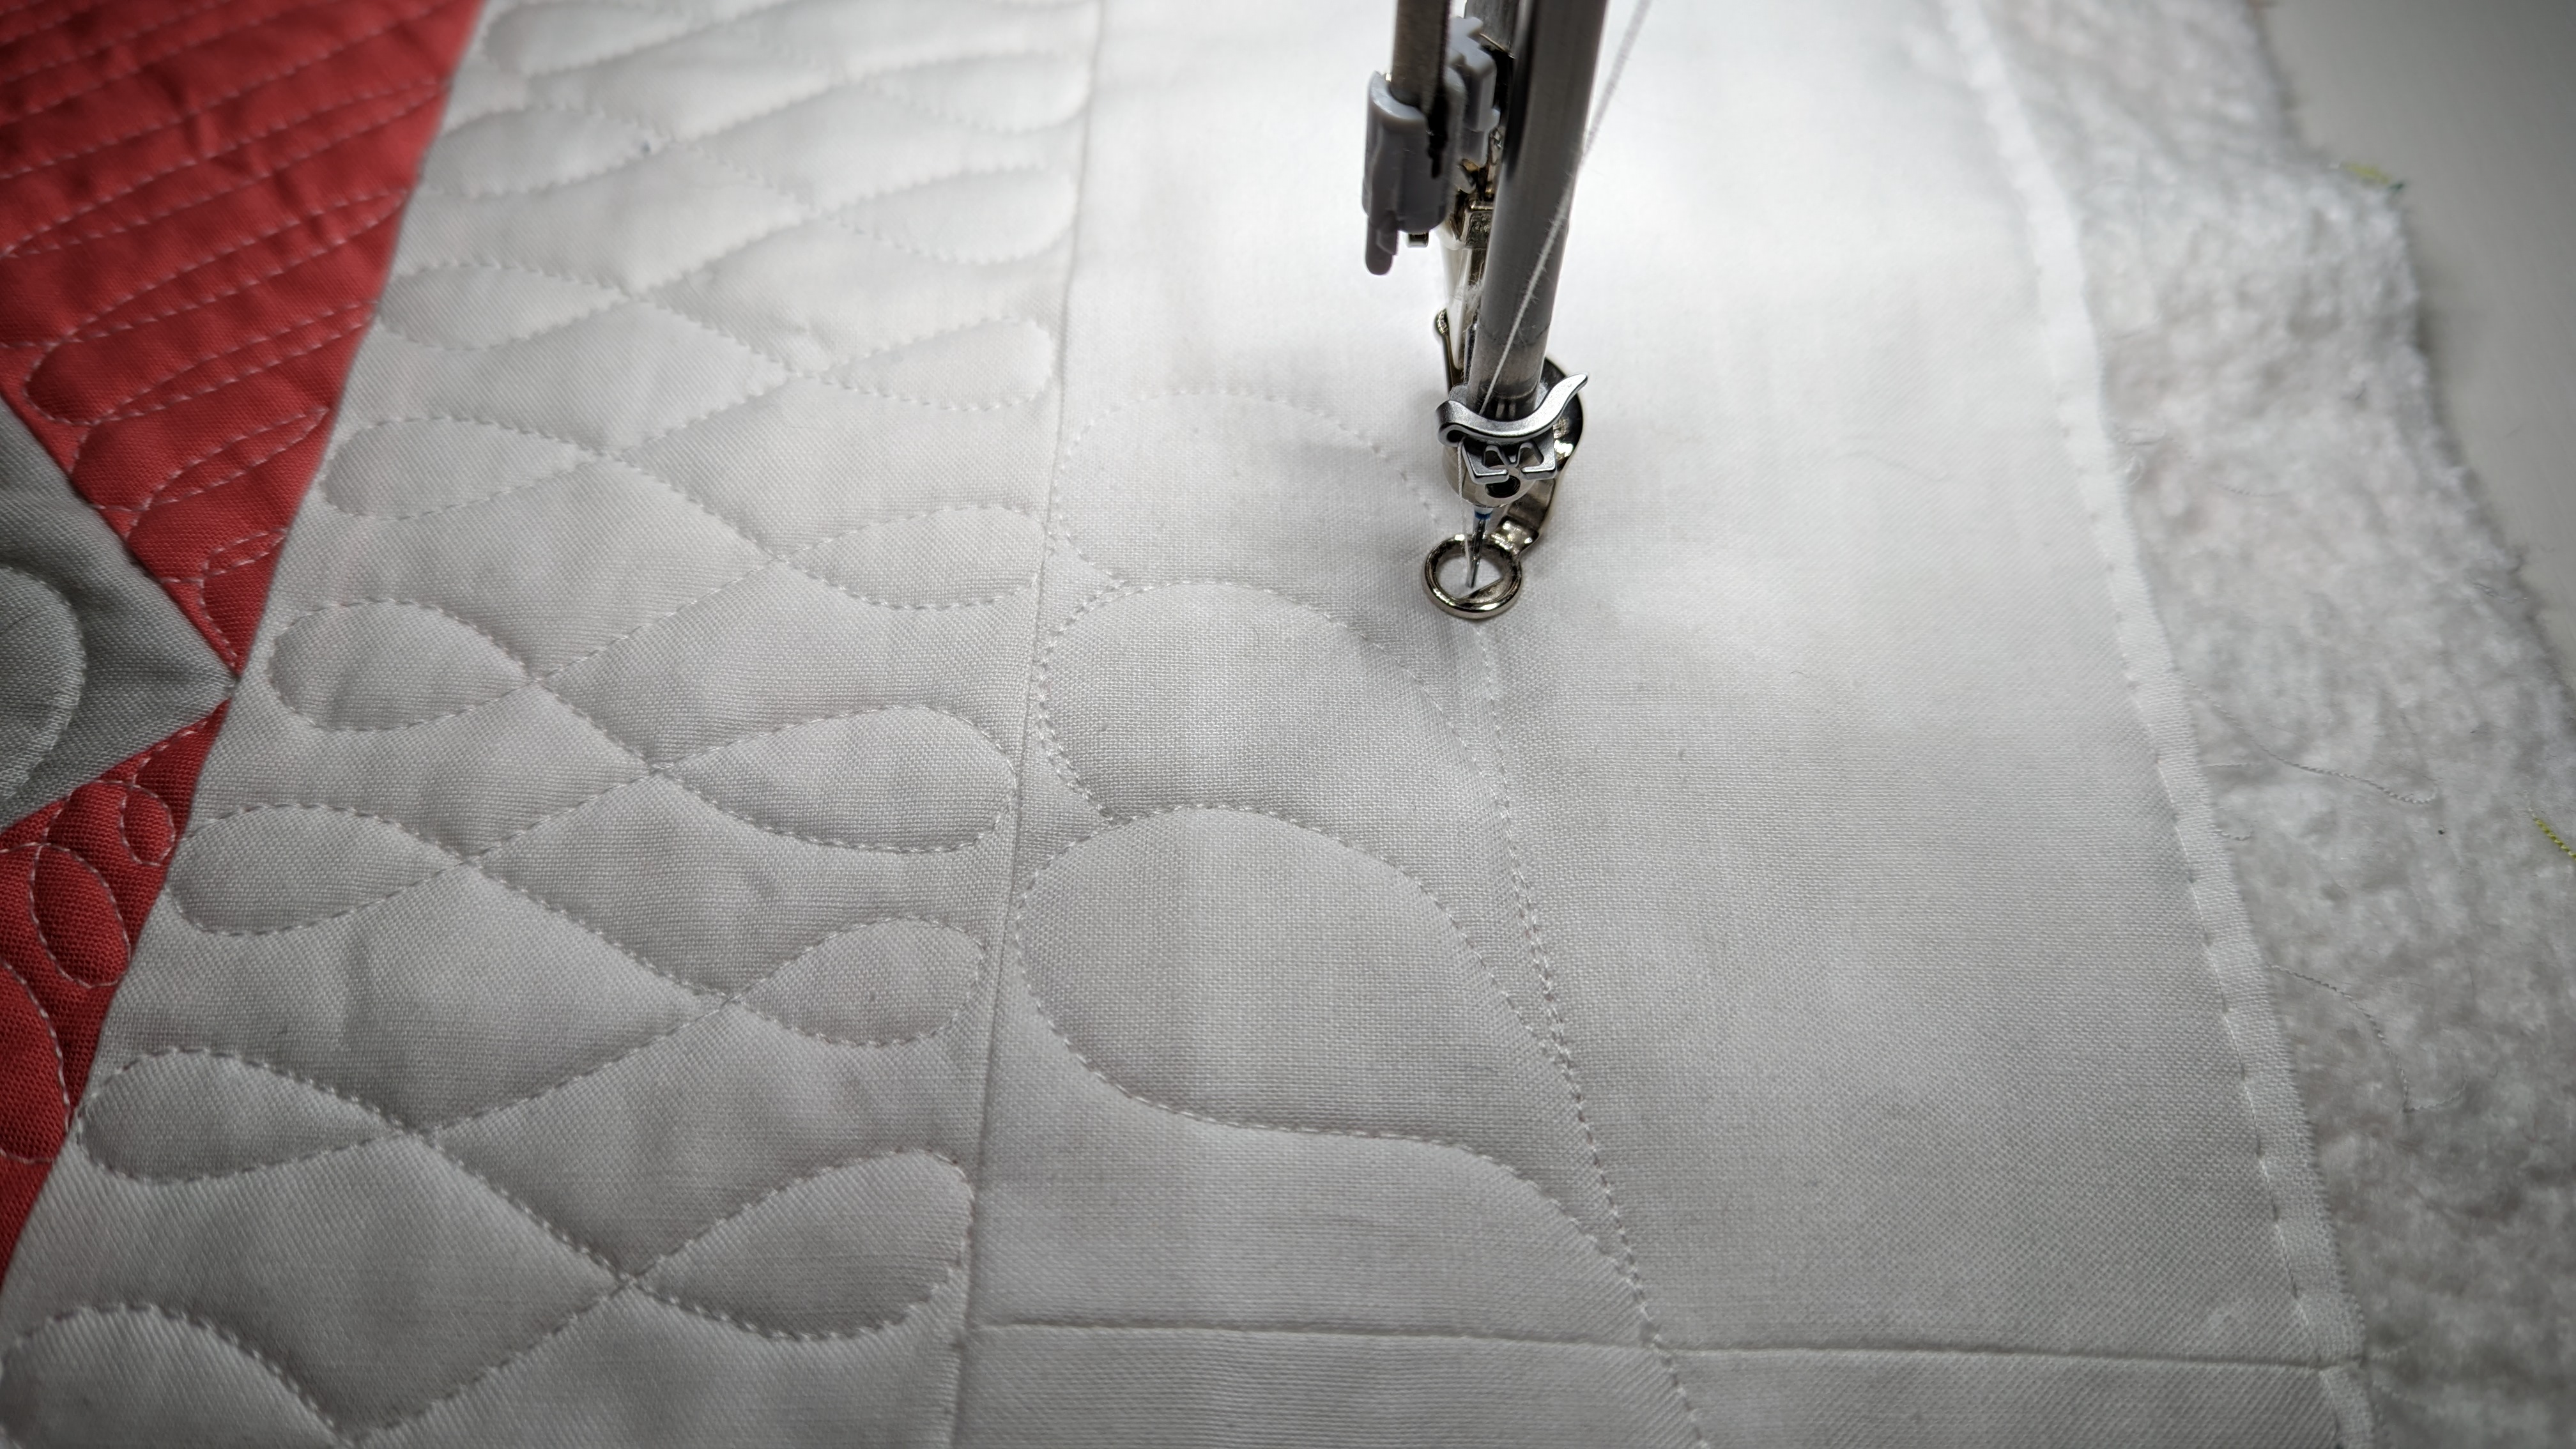
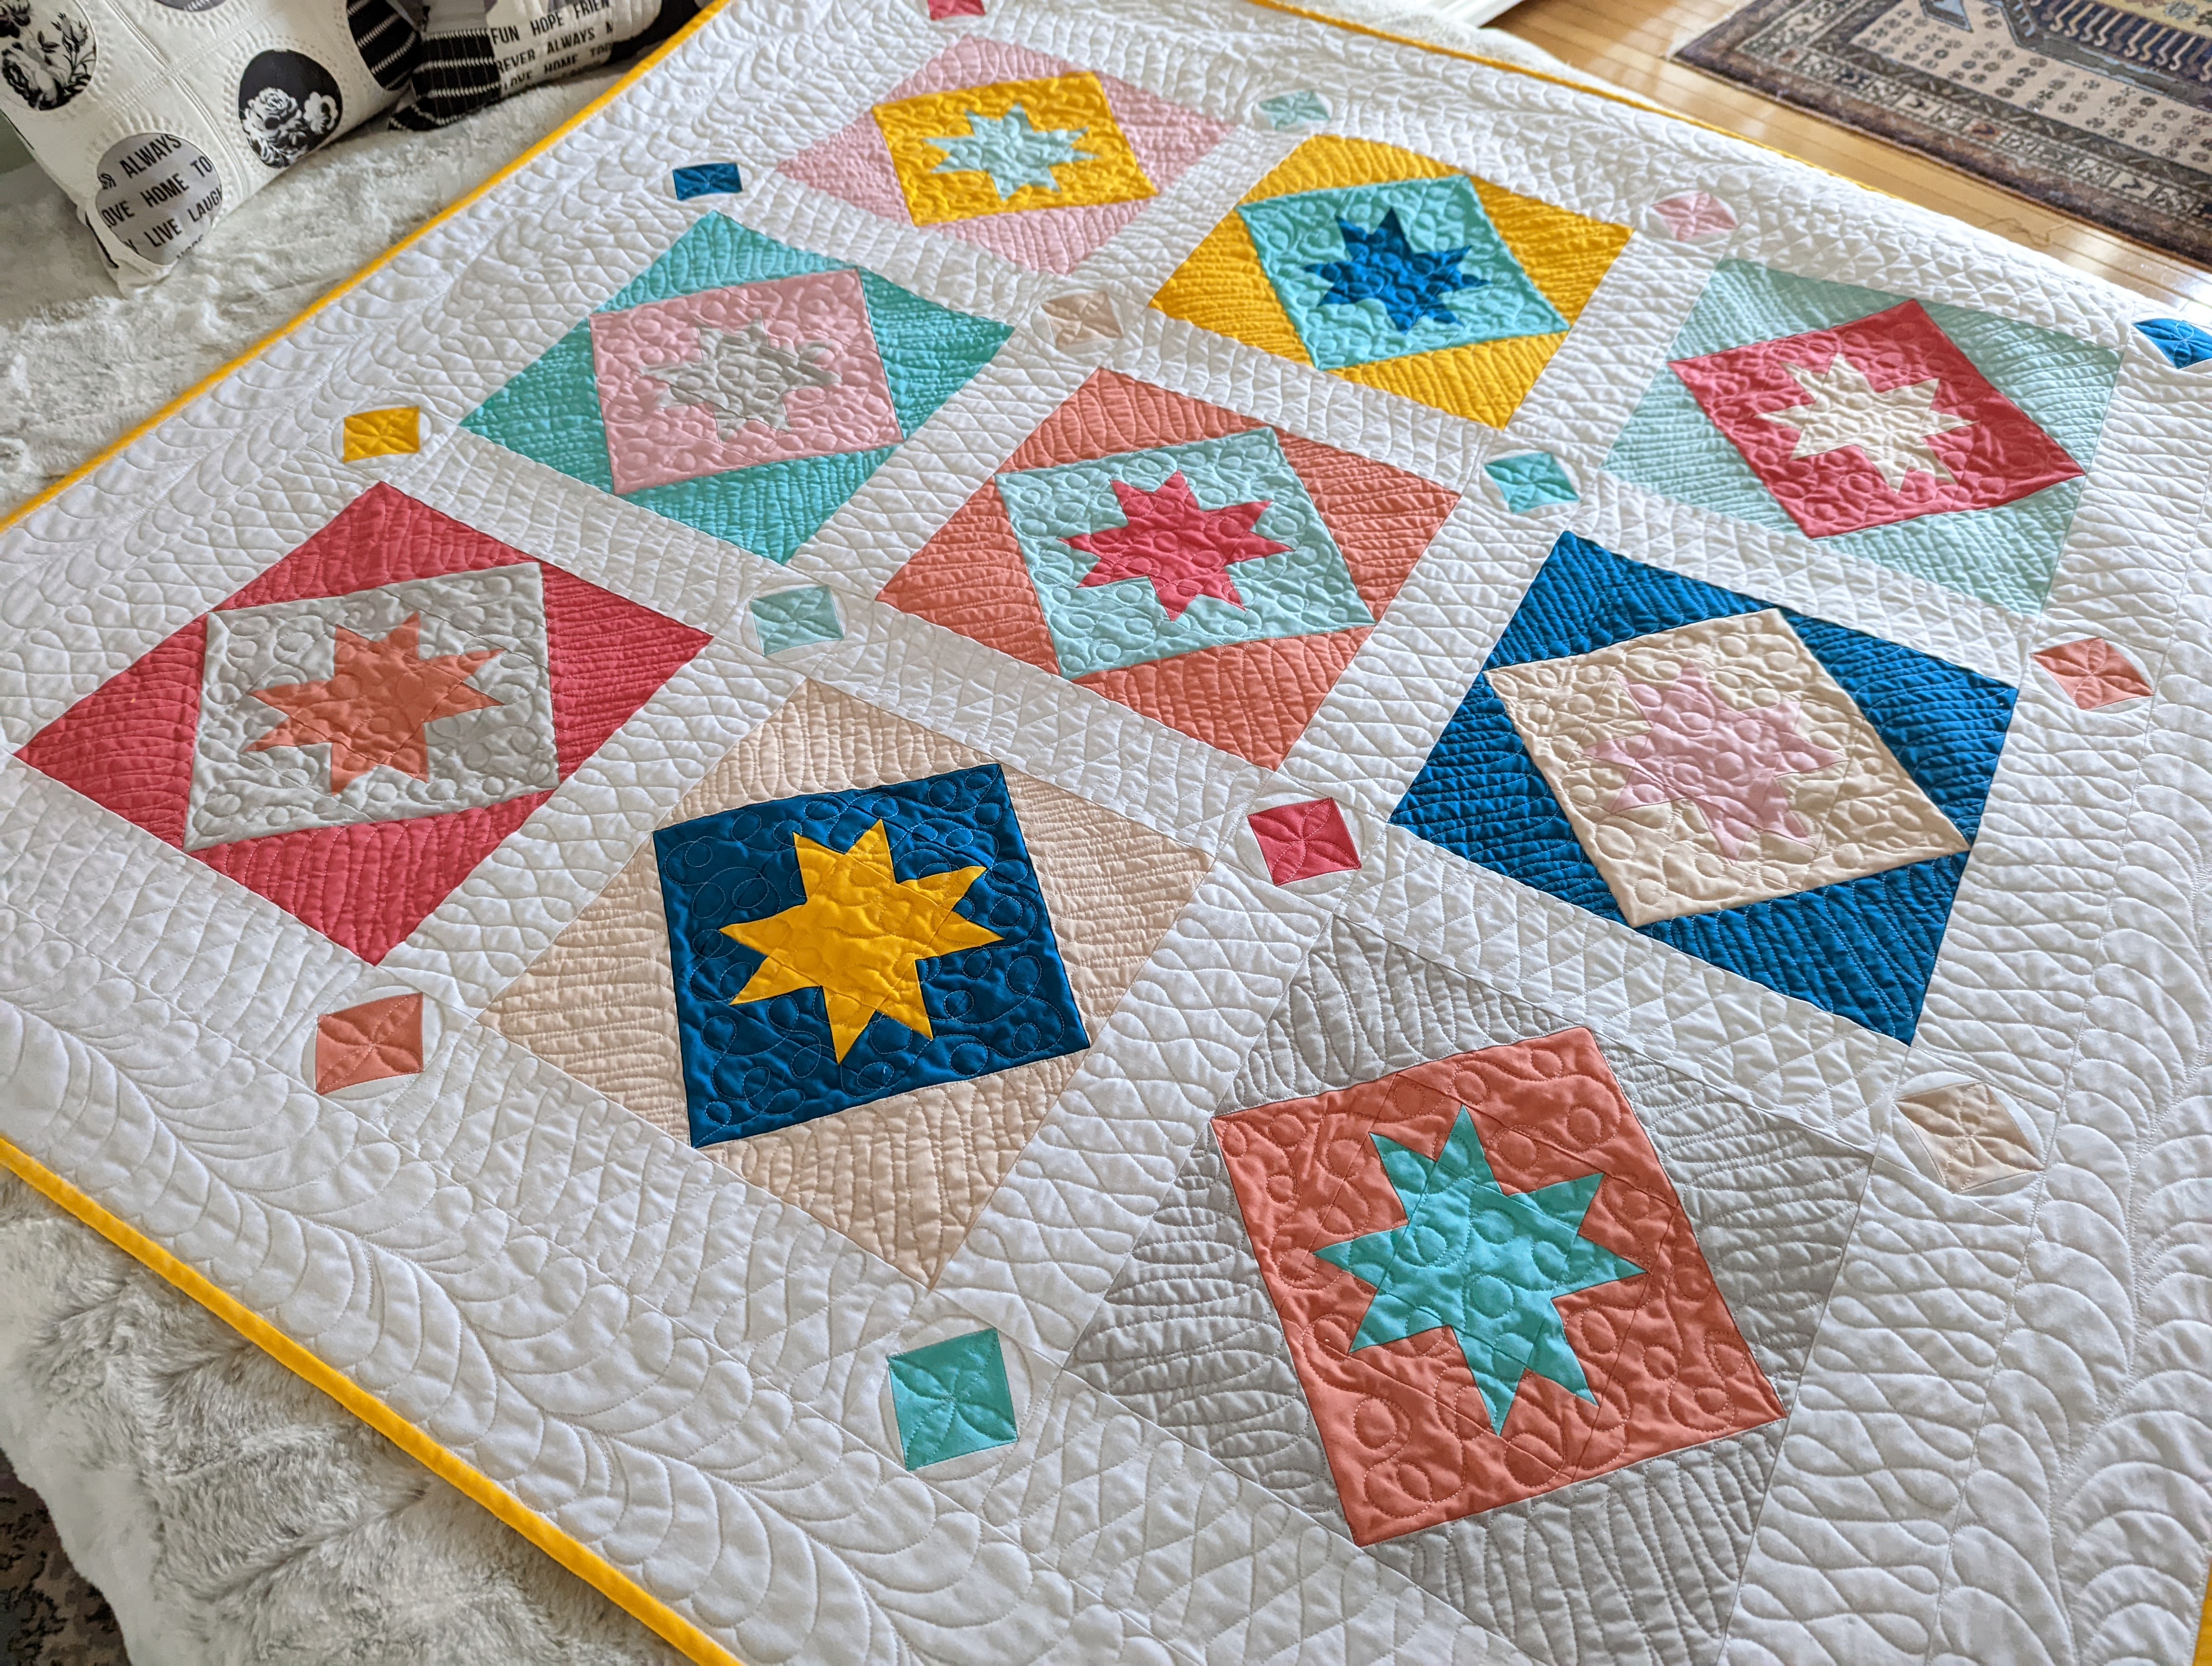
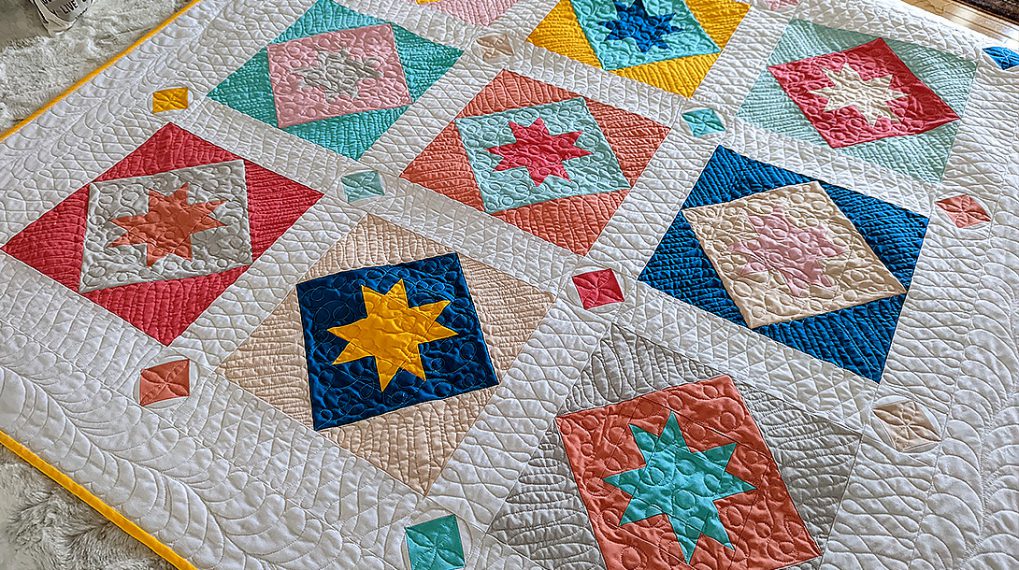
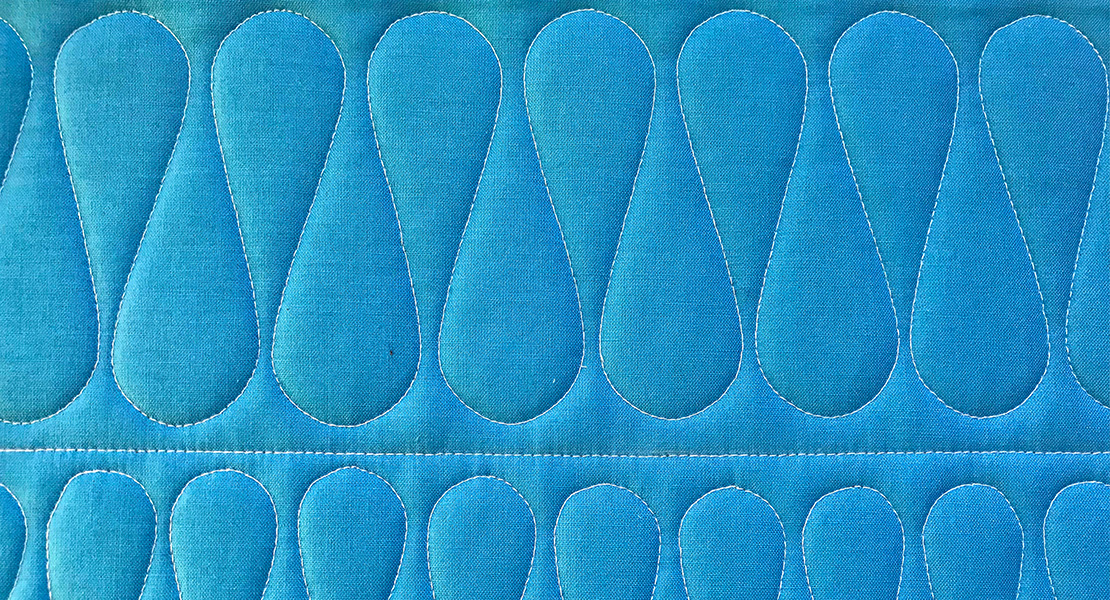
After finishing the quilting on the blocks and the sashing, it’s time to move onto the border. I did feather quilting on the borders. And here is how I quilted it continuously.
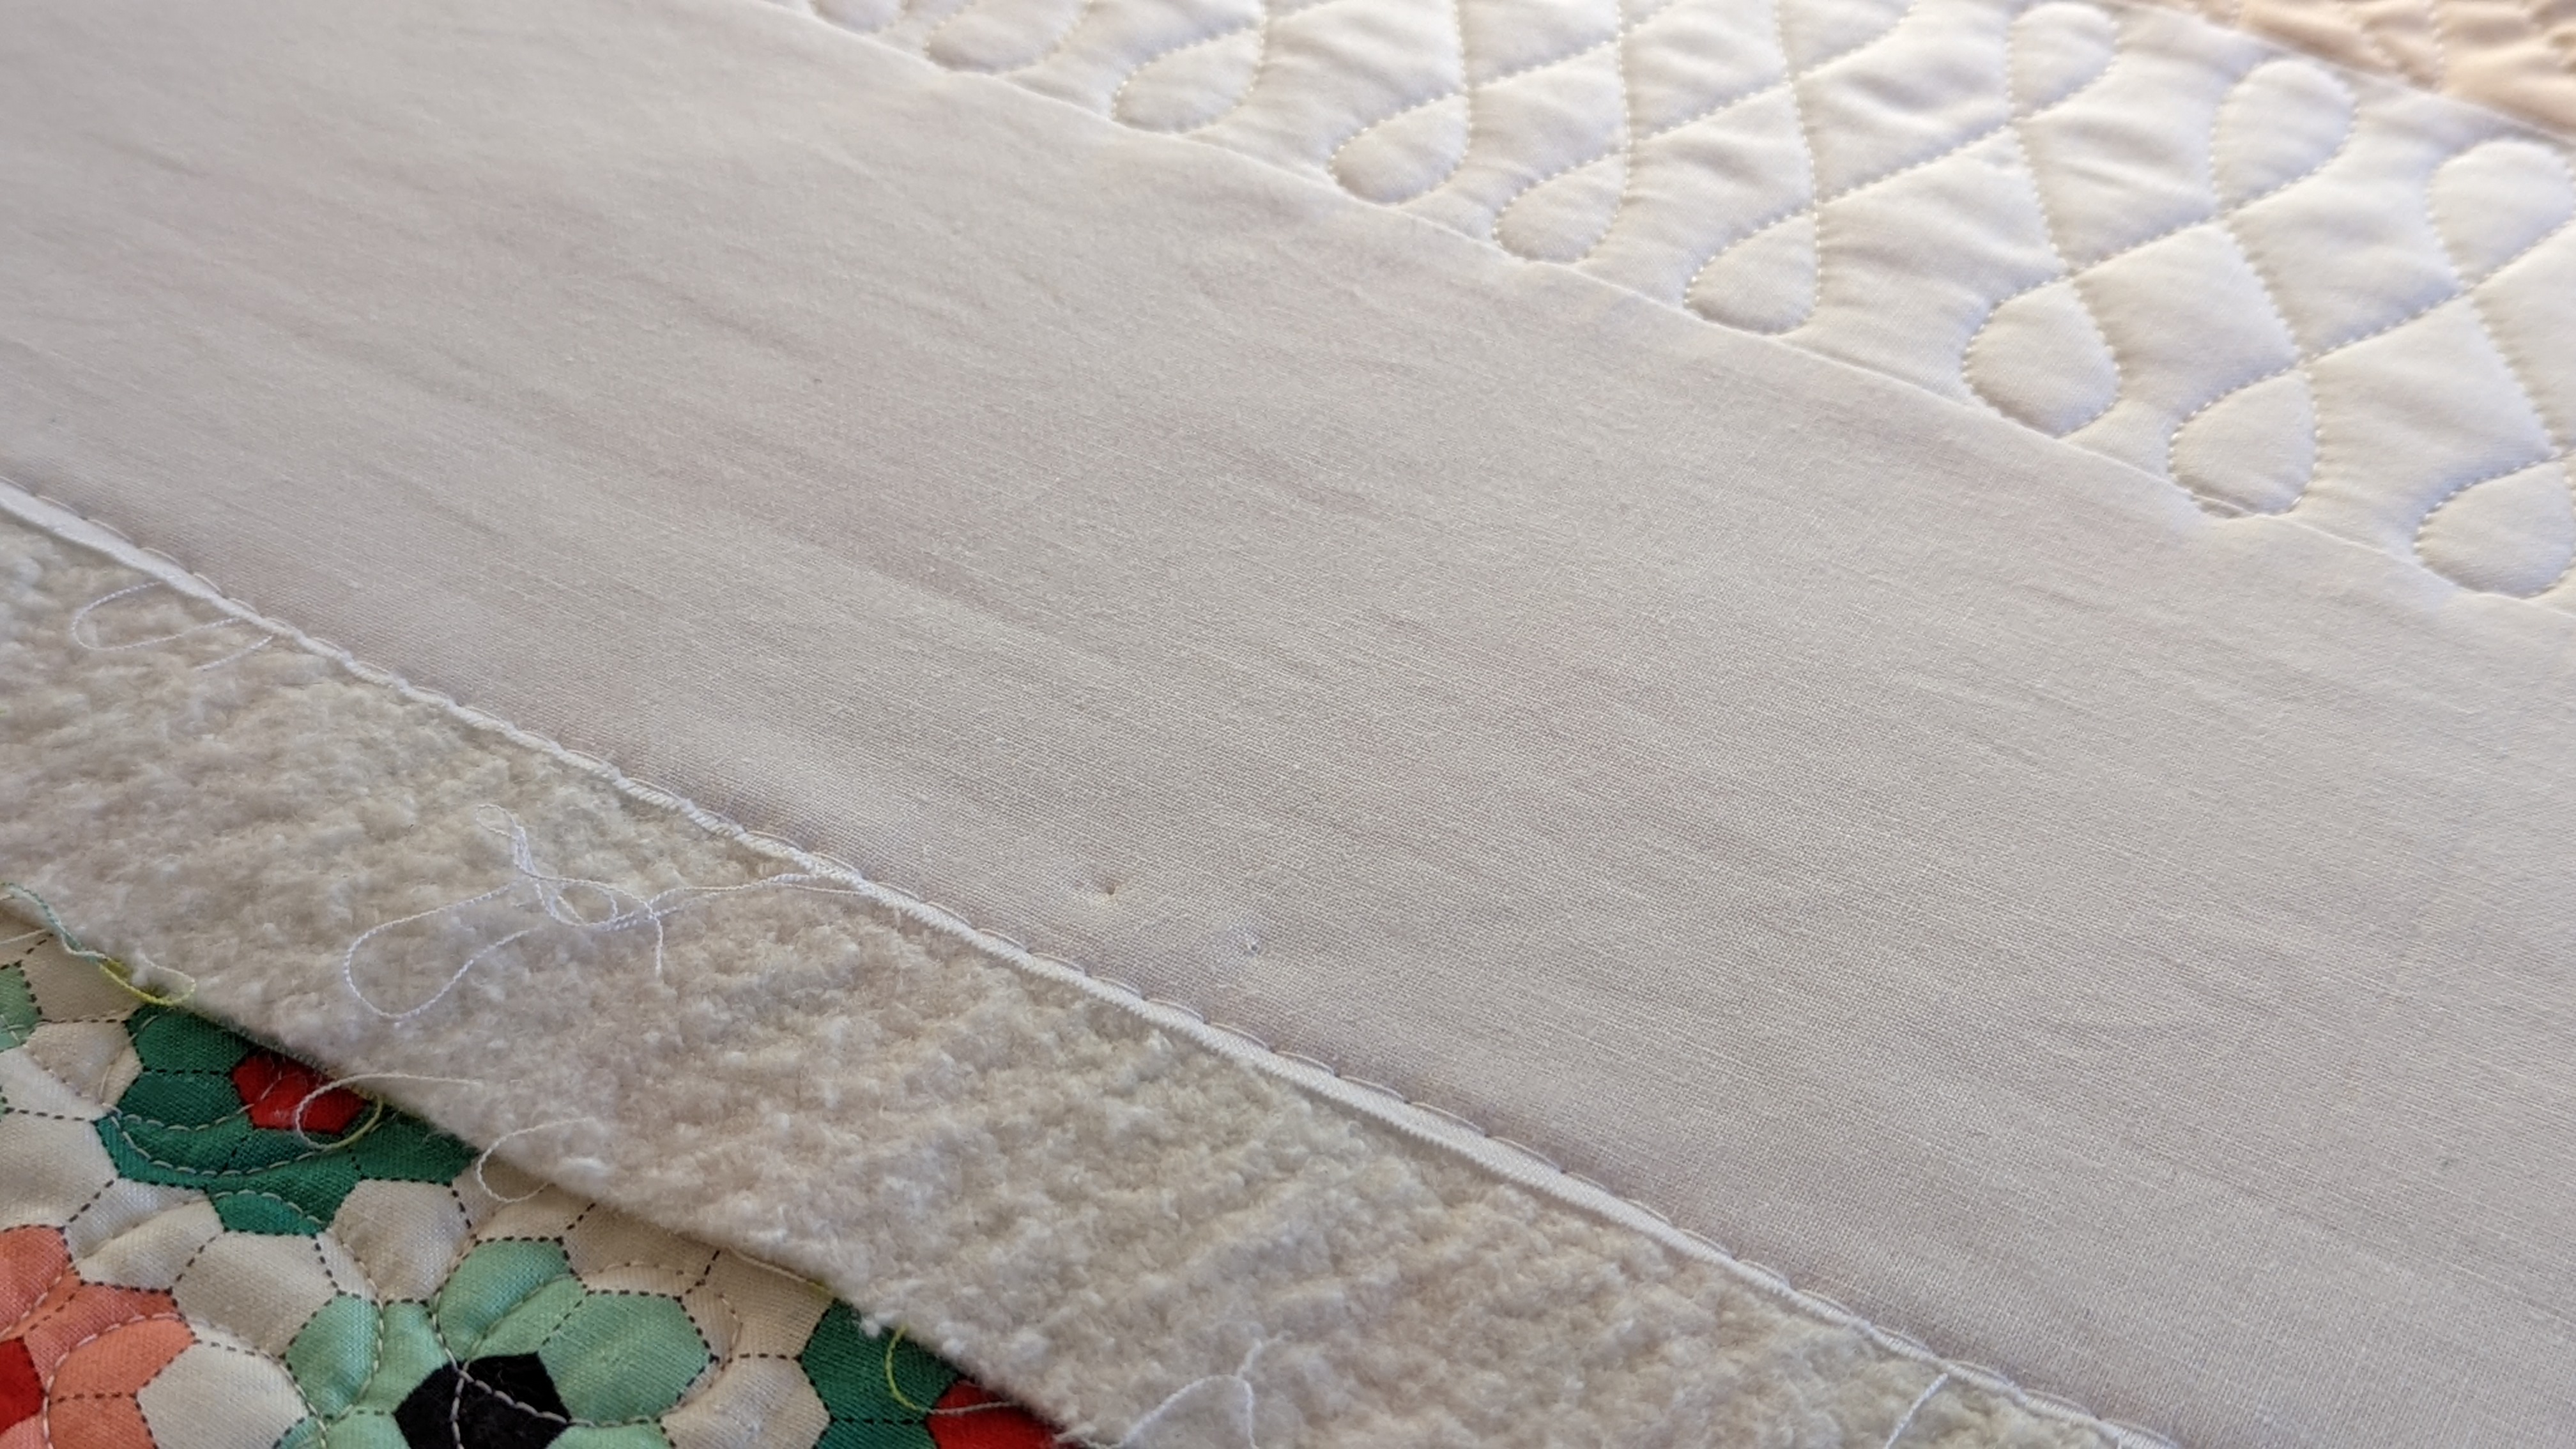
Before getting started, I took all the basting pins from the quilt and smoothed the border fabric out. I re basted the edge of the border to secure using BERNINA Q 16, BSR3 mode. This is important to do because after quilted the blocks and sashing, the backing fabric can shrink due to quilting density.
It’s not important where you begin quilting in this step, start wherever you like. Just make sure to go around the center of the borders with a gentle, curvy line.
When you are getting closer to the starting point, slow down and connect to the starting point.
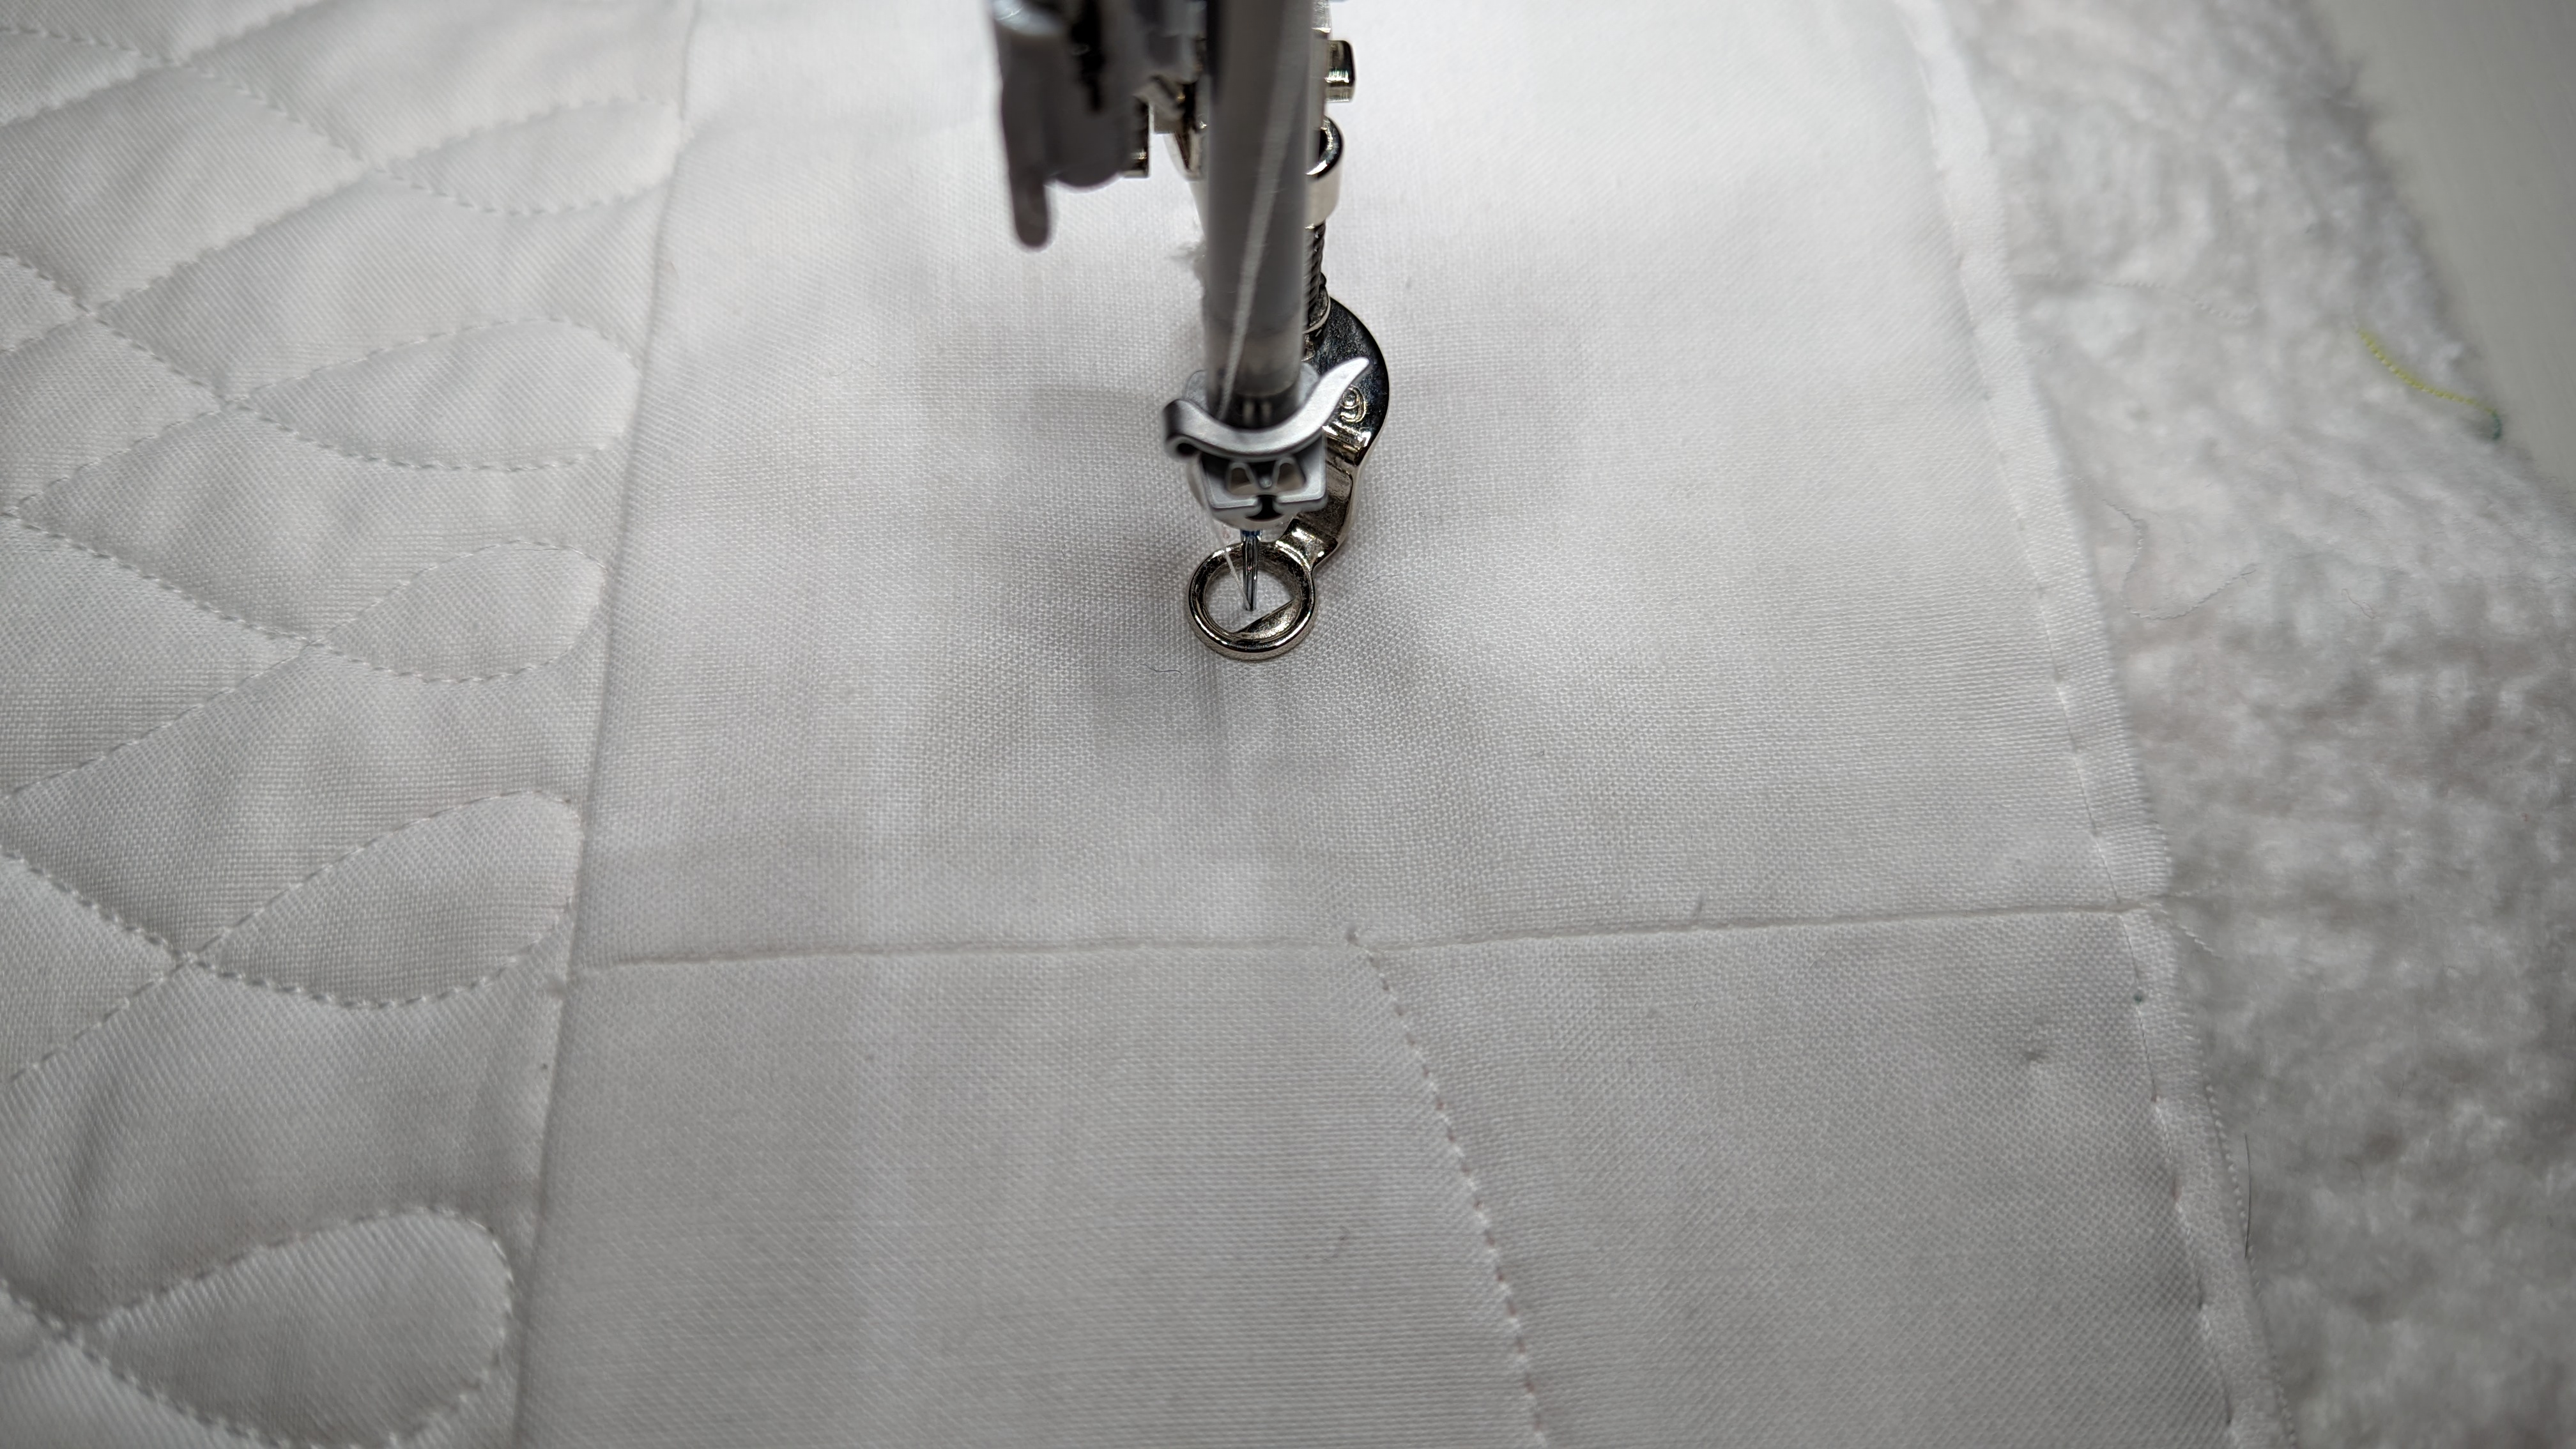
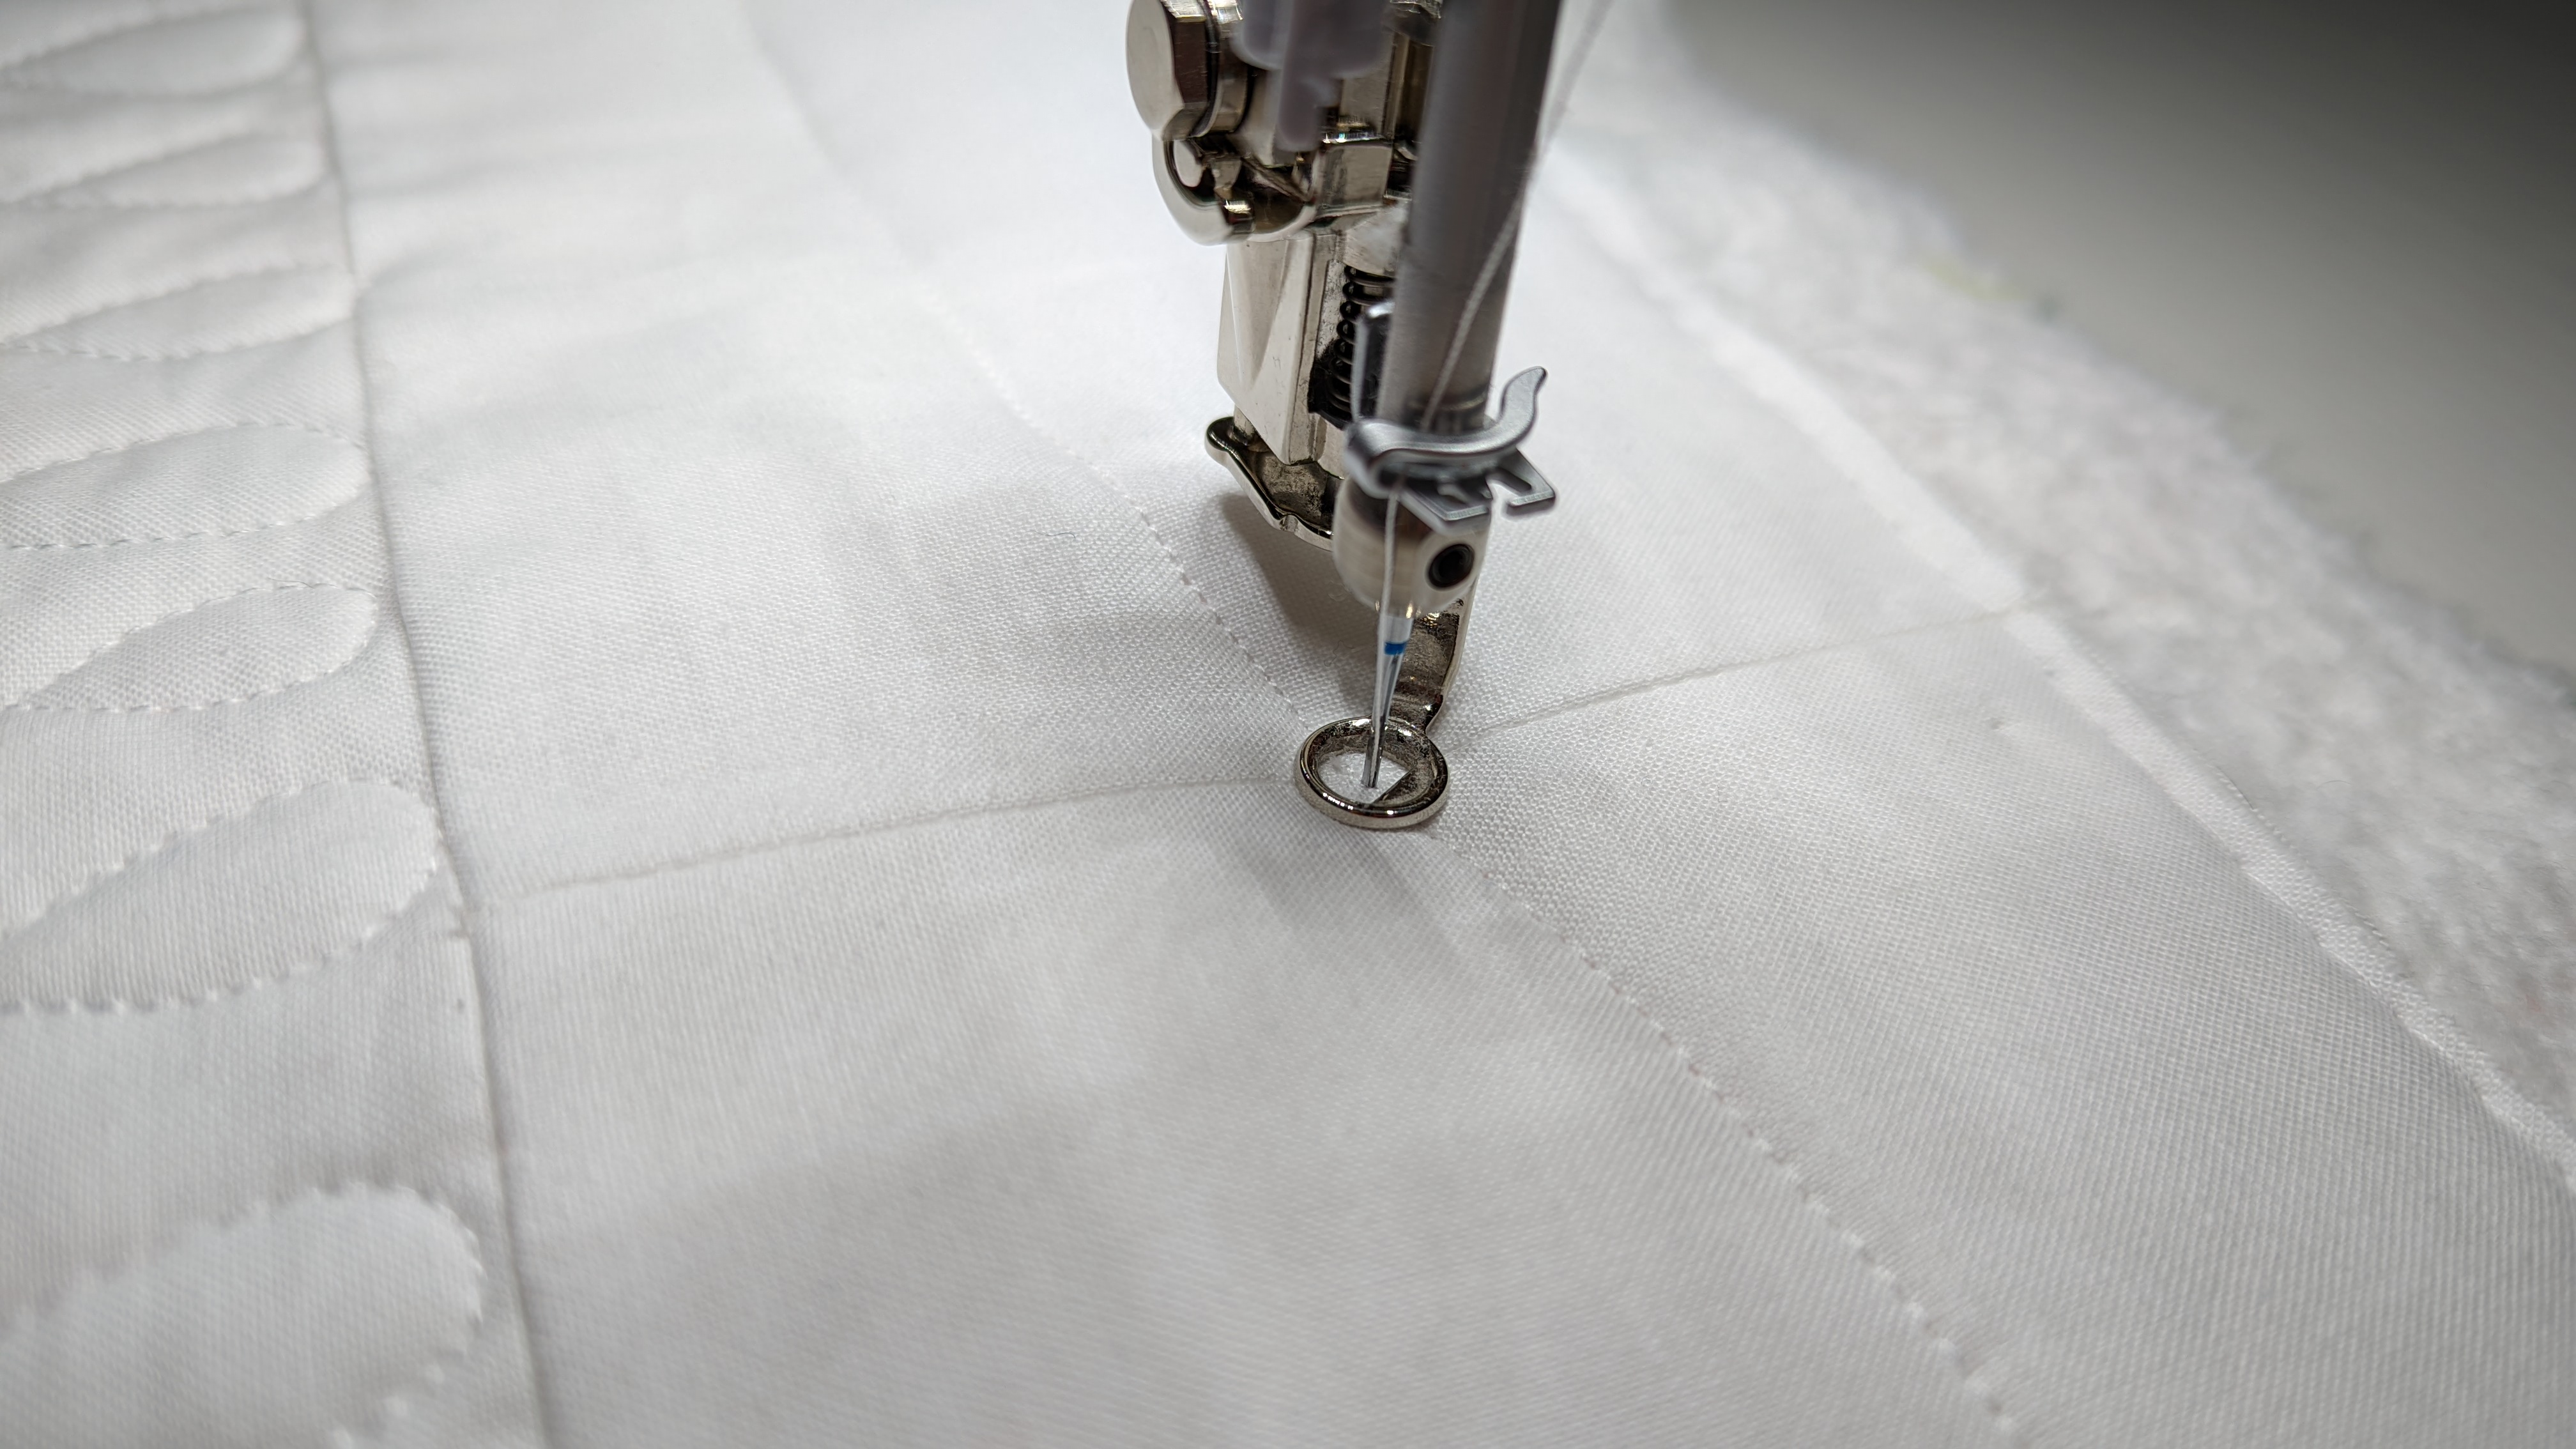
Start quilting the feather from there. I quilted one side first then the other side when I came back to where I began.
Ironing Board Hack
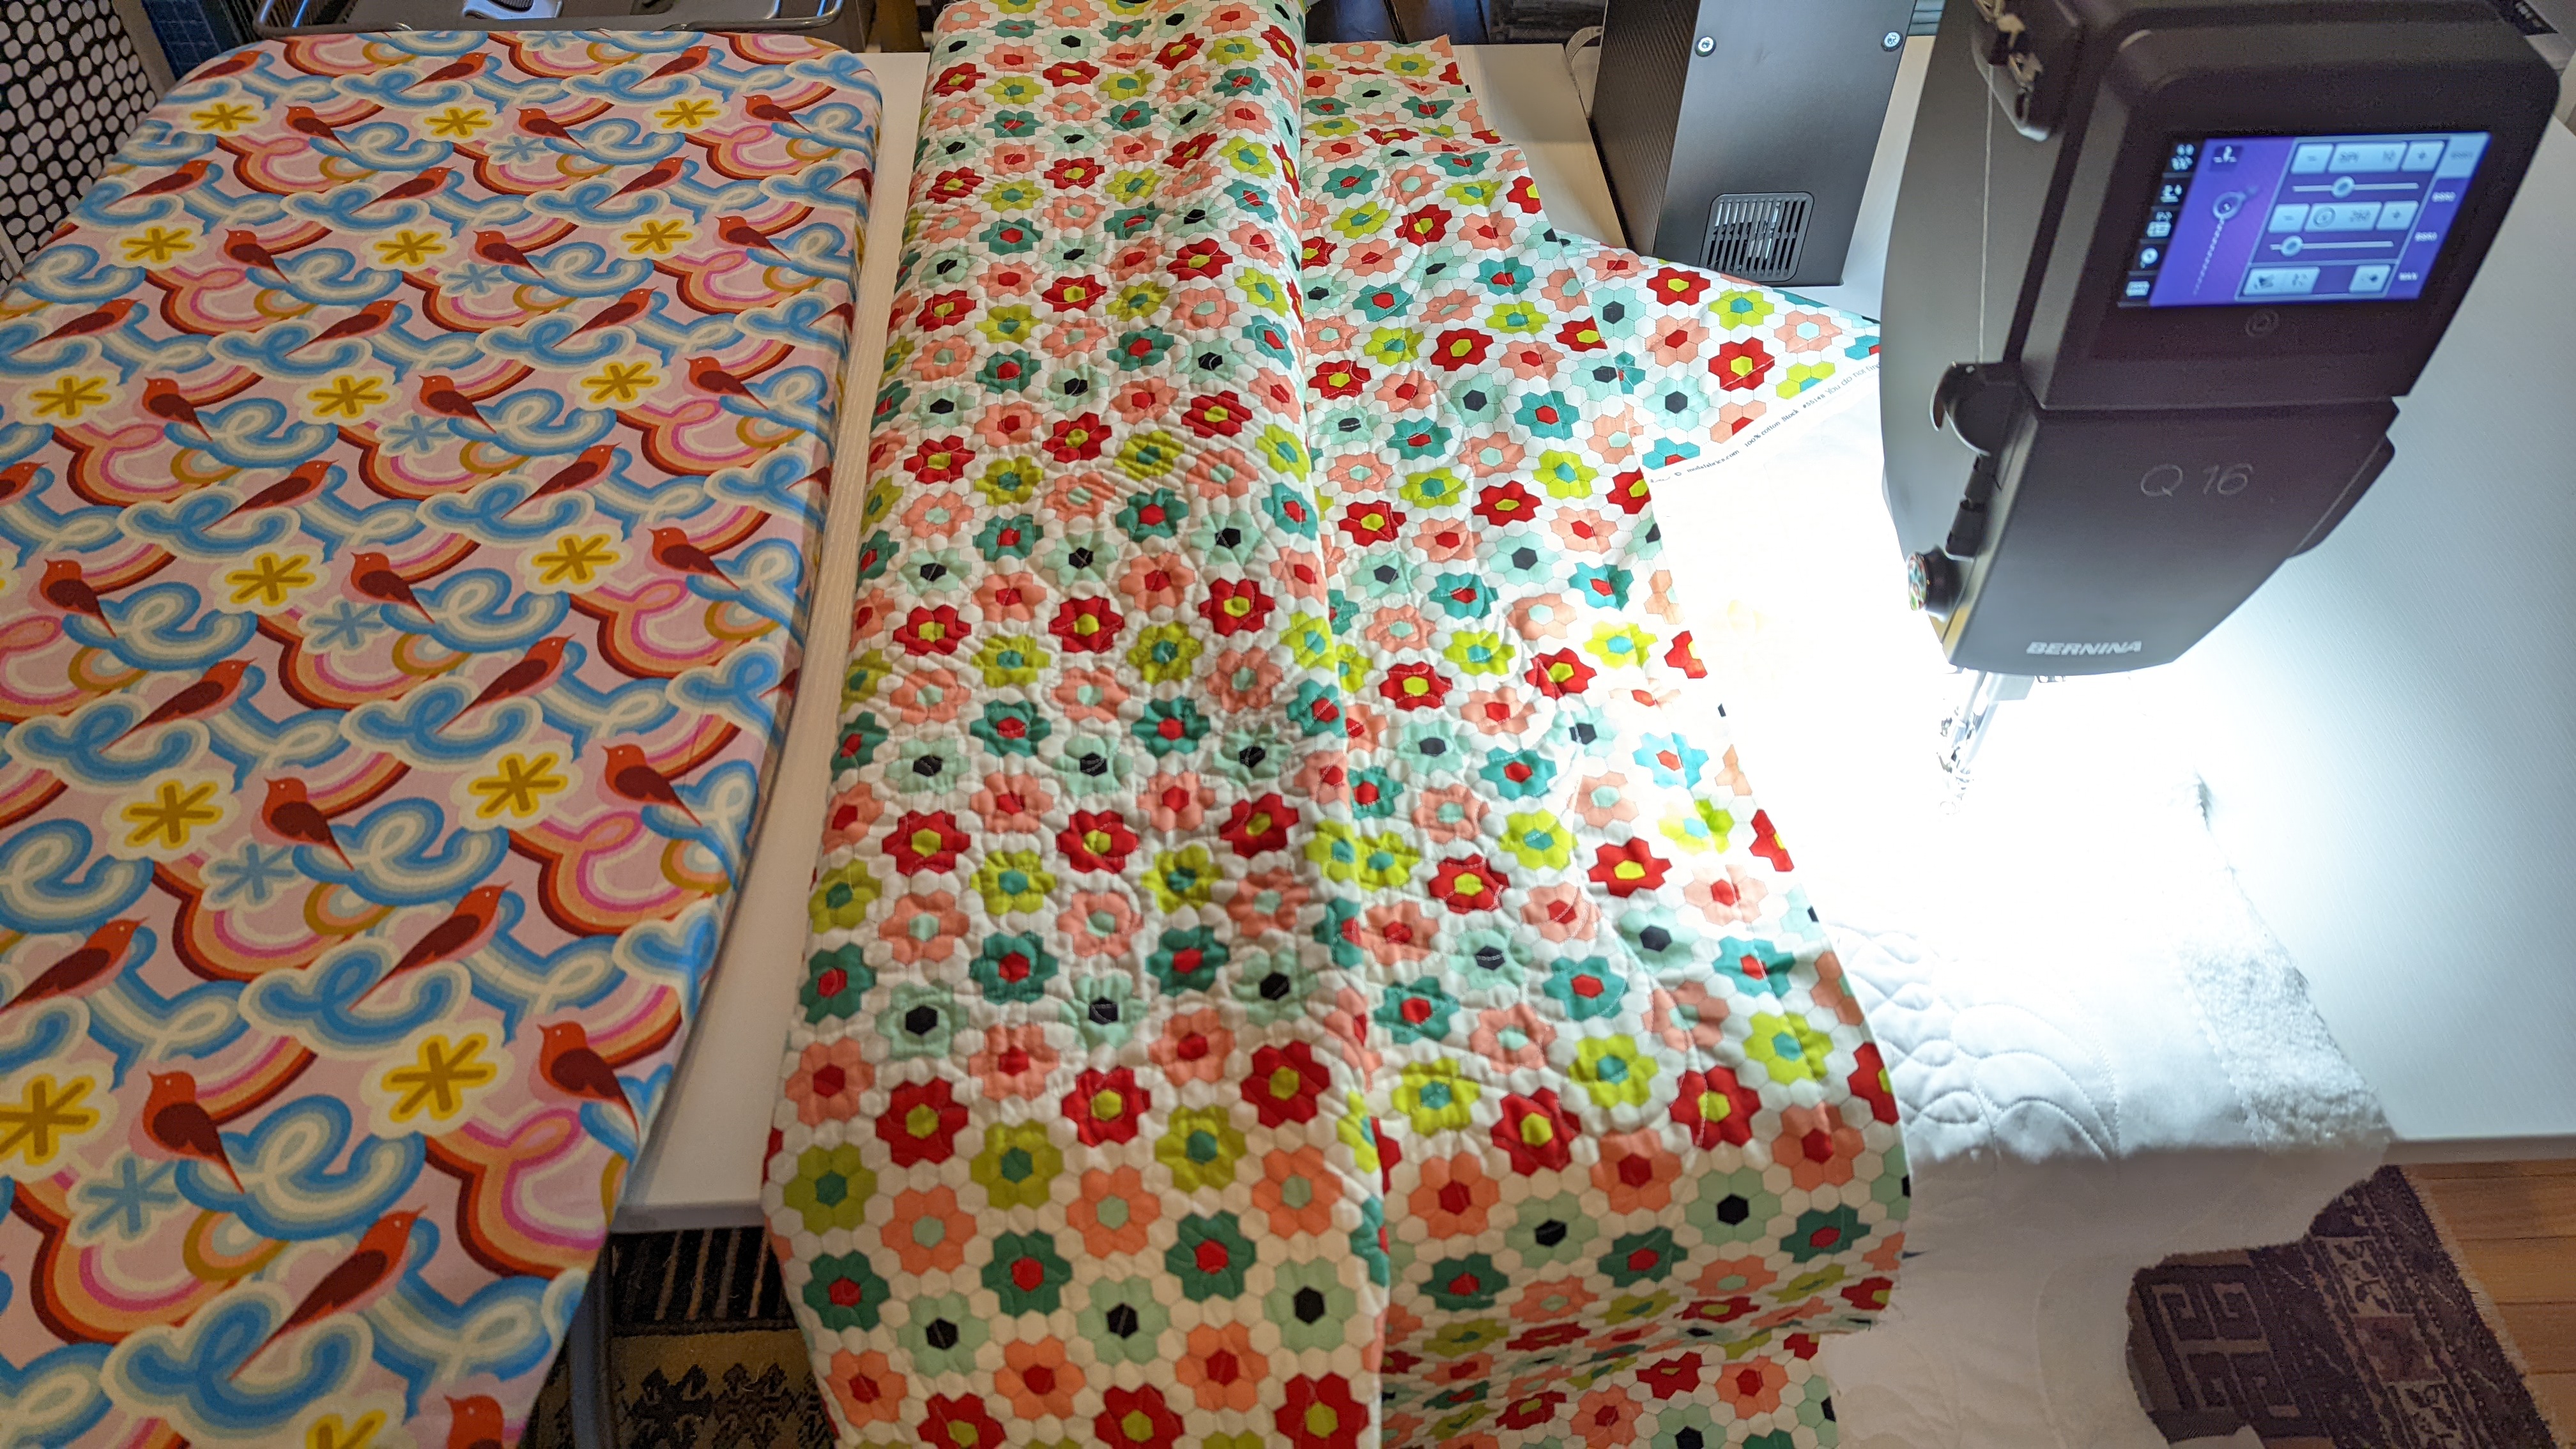
When I quilted the borders, it was difficult to keep the quilt on the table of the Q16. Because of the quilt size and also where I was quilting, it dangled over the edge and kept slipping off as I was quilting. So I came up with this idea to avoid the situation. I placed an ironing board right next to the quilting table. And it prevented it from slipping. Finally, I could focus just on quilting and not fighting with the quilt!
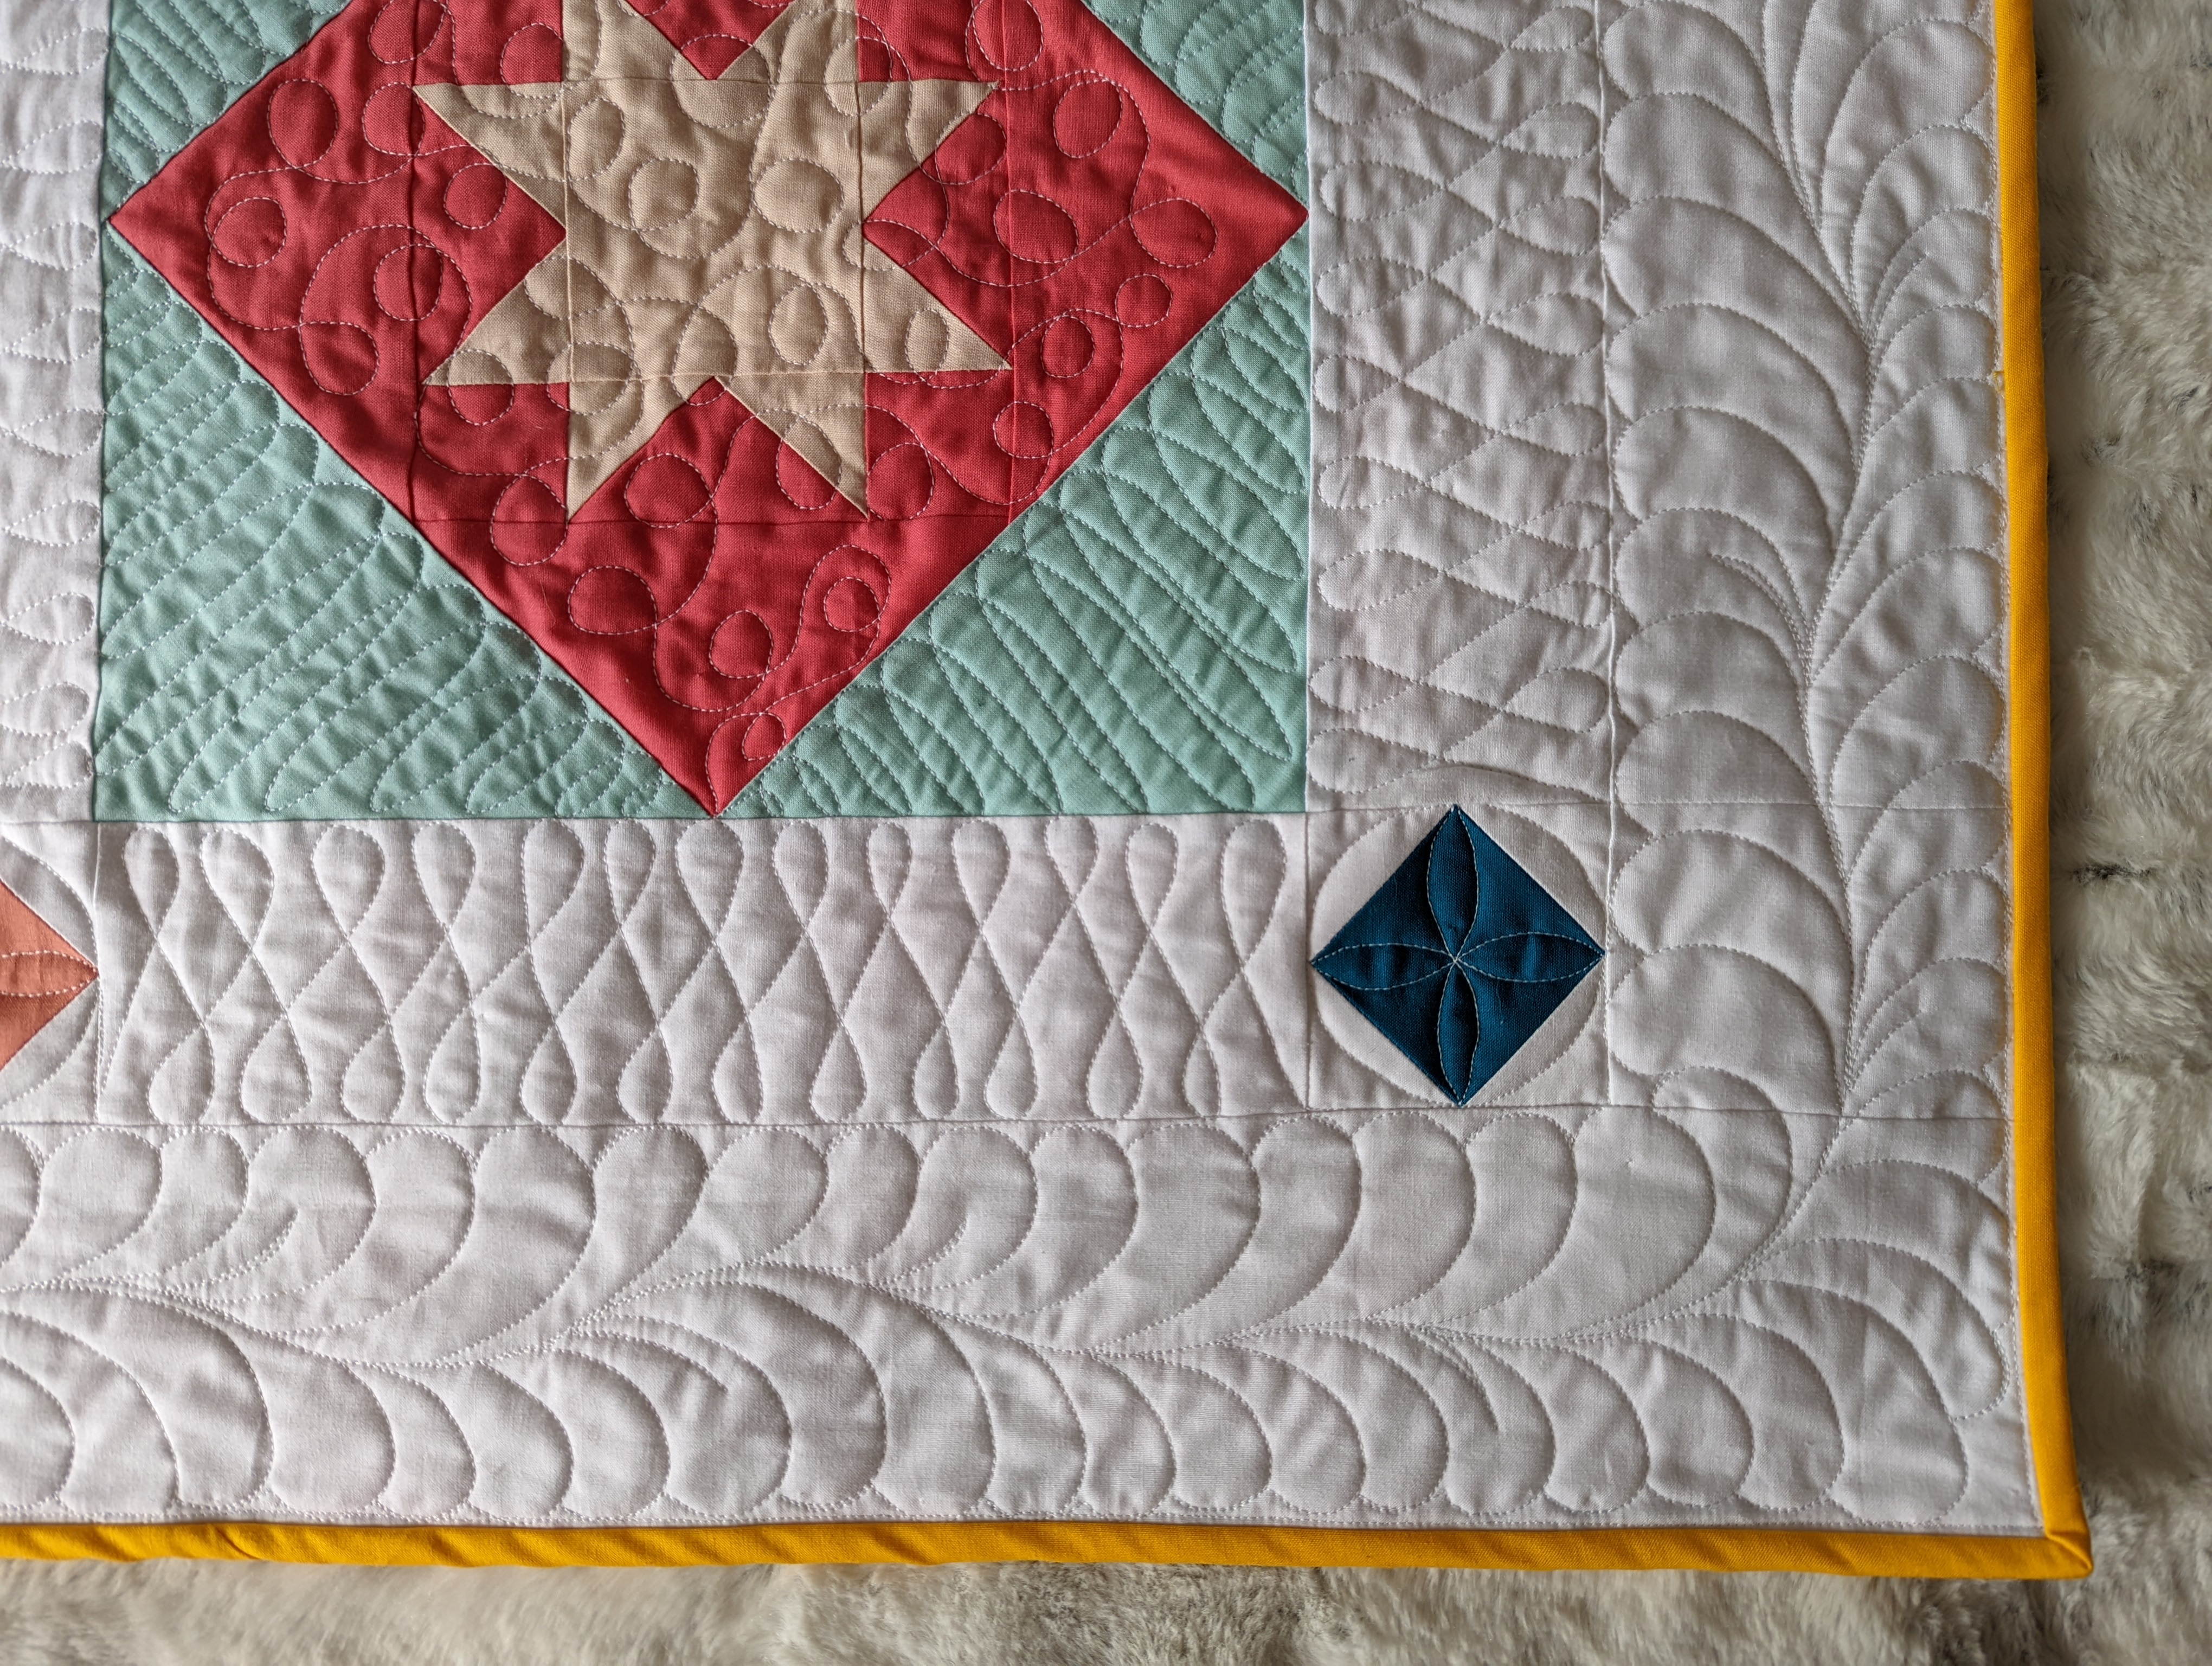
This is what the border quilting looks like.
And here is the video of how I quilted the feather.
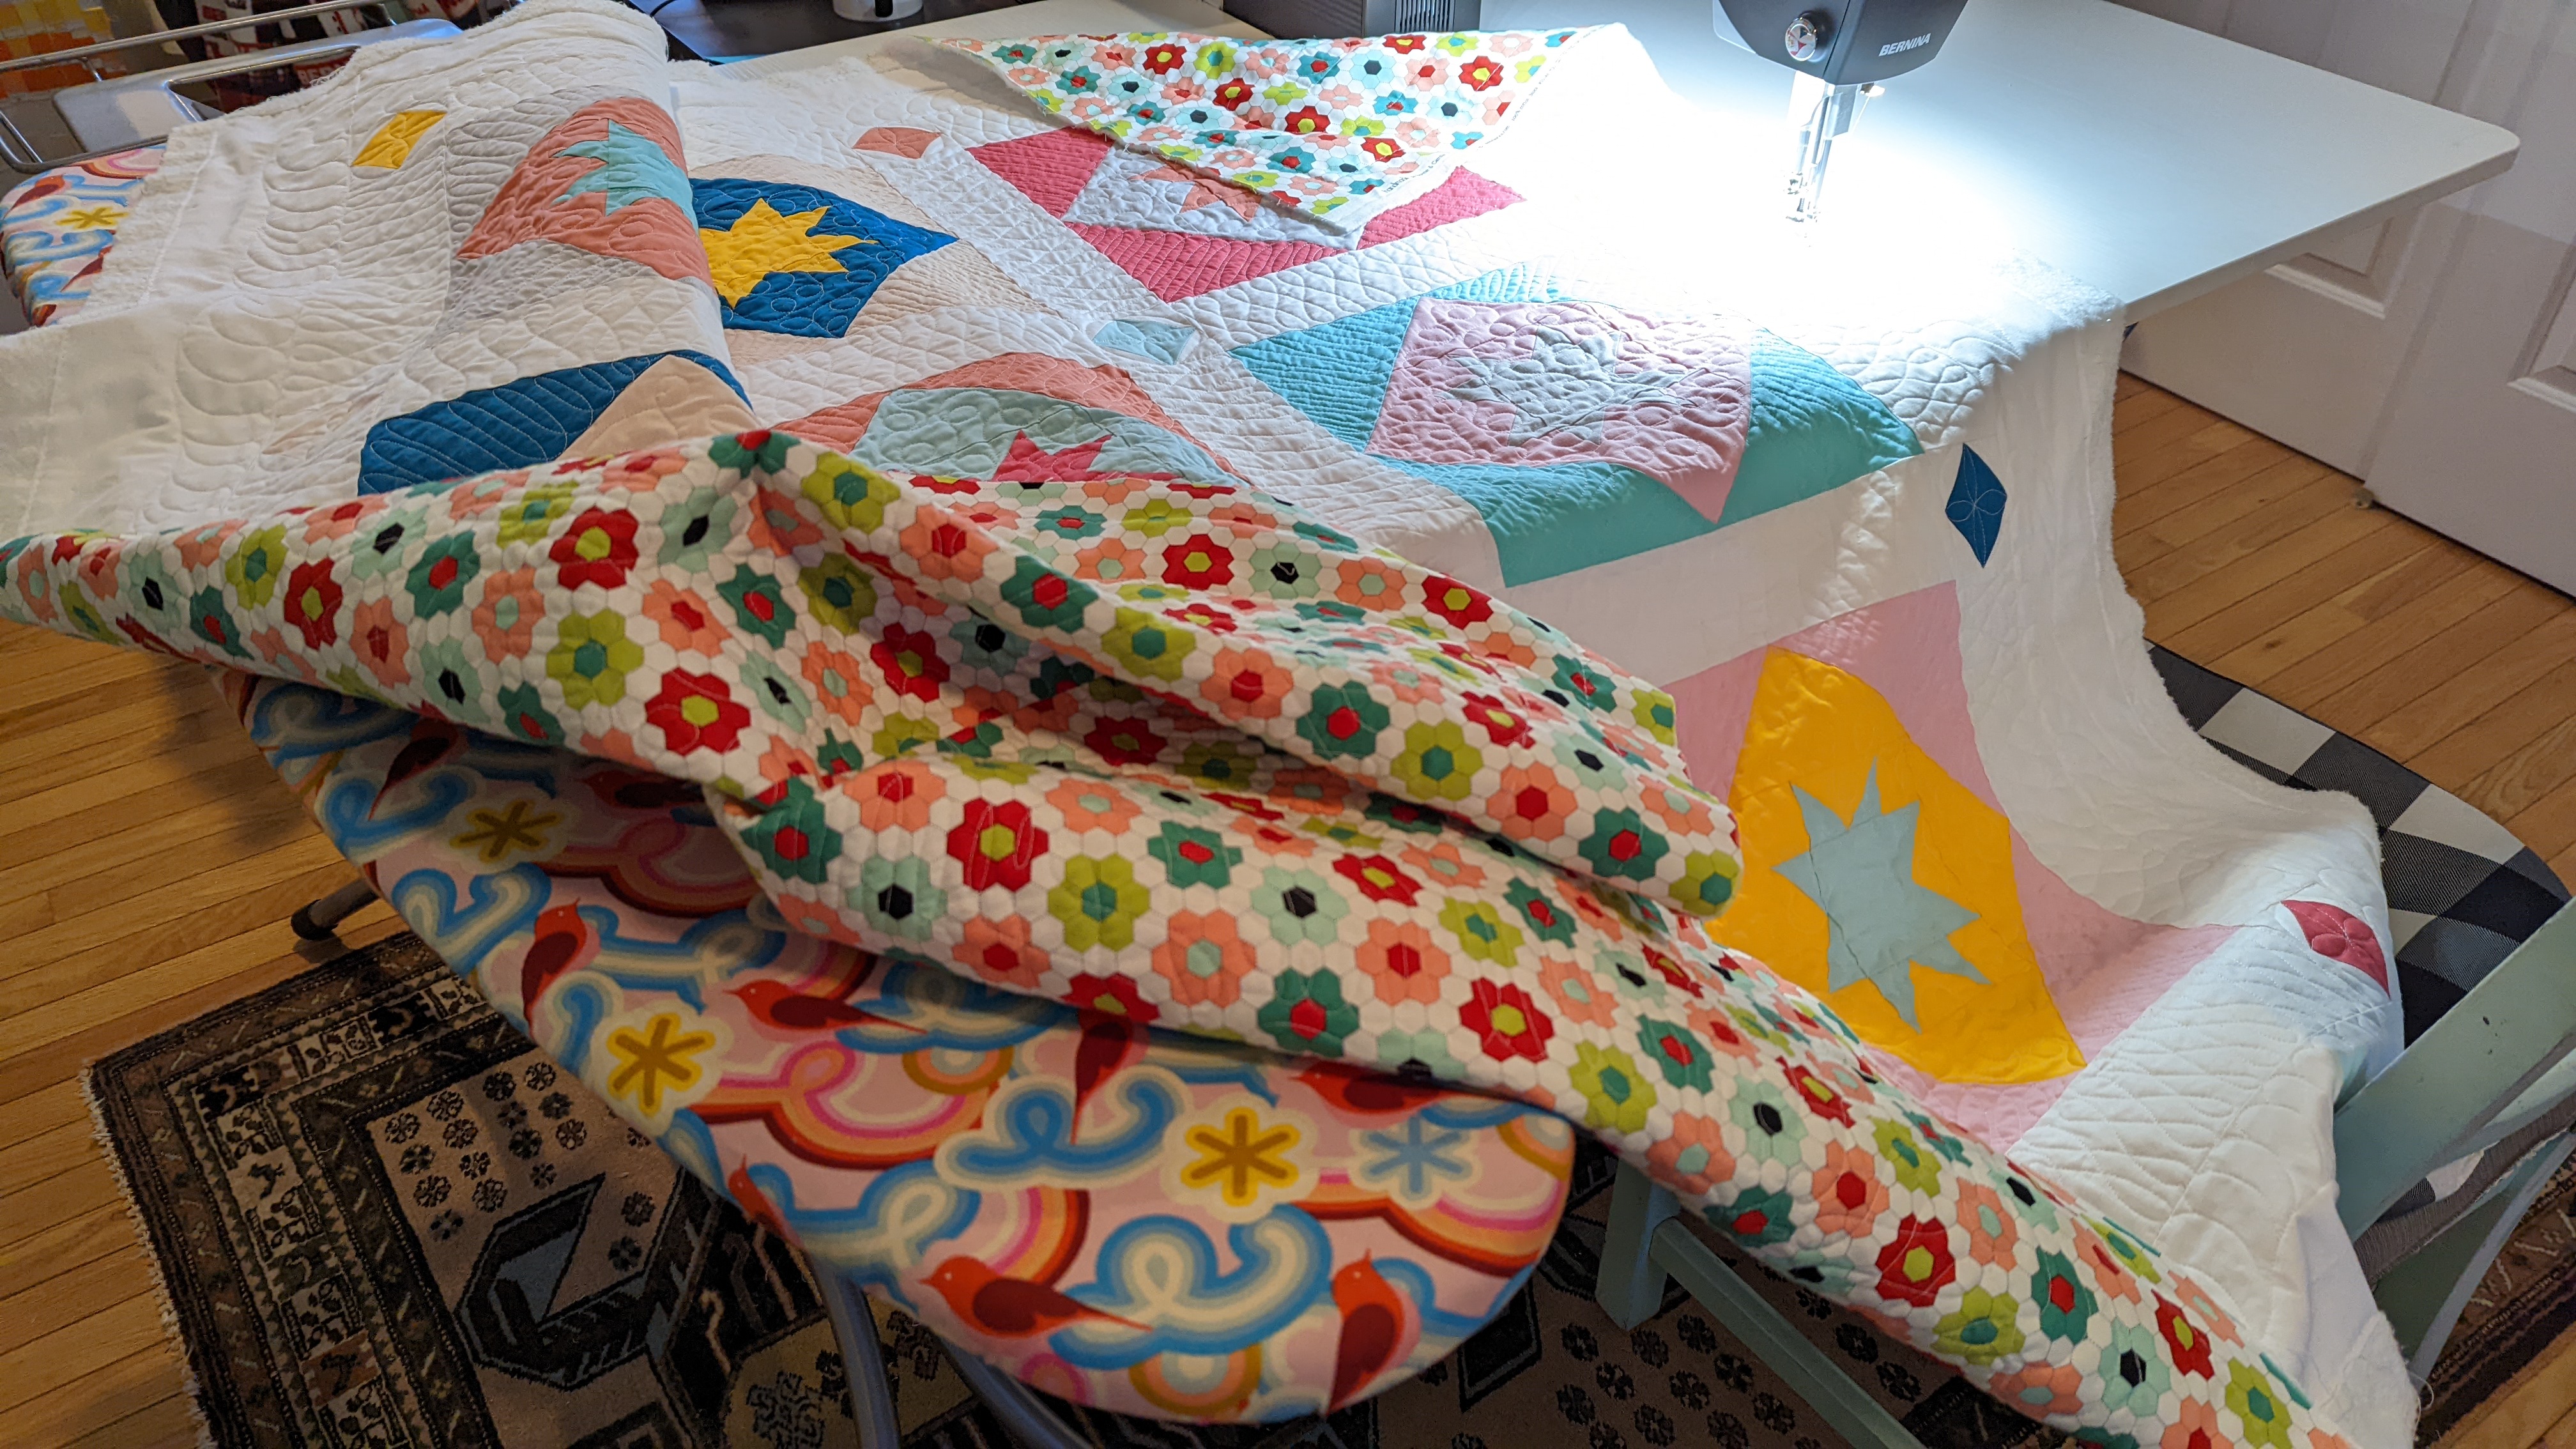
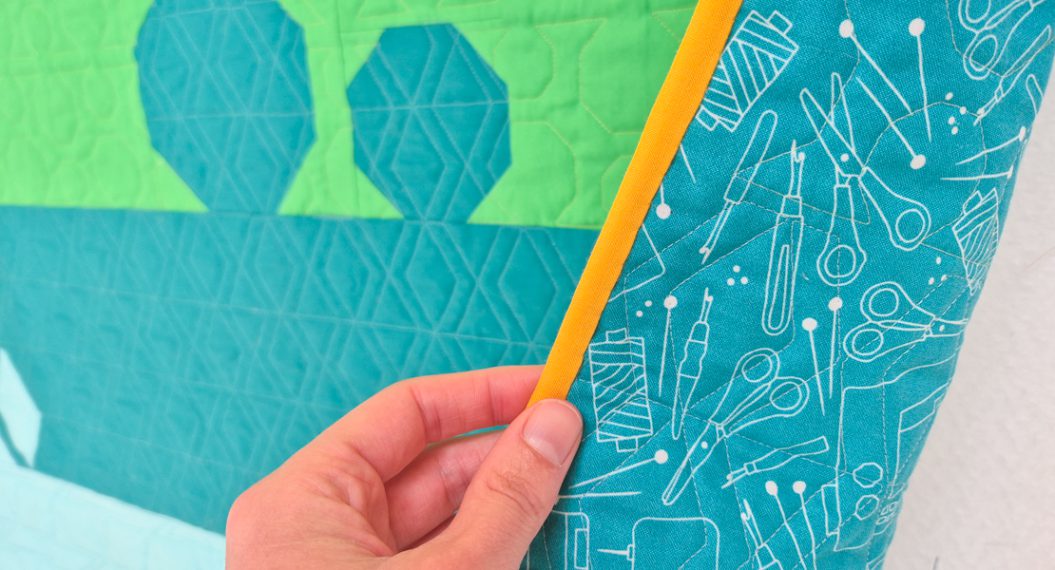
We are getting closer to finishing! Make the binding strips and attach the binding to the quilt. And you have the completed Candy Star quilt! Congratulations everyone!
CANDY STAR Quilt Along Schedule
- Part 1: Prepare Fabrics
- Part 2: Cut Fabrics and Make Five Blocks
- Part 3: Make Four Blocks and Cornerstones
- Part 4: Assemble the Quilt Top
- Part 5: Start Quilting
- Part 6: Finish Quilting and Complete

Thank you so much for joining the Candy Star Quilt Along for the past 6 weeks. It’s been wonderful and I hope you’ve enjoyed making this quilt with me! Share your process and finished quilt on Instagram using #weallsewcandystarqal and #candystarquilt. Also, don’t forget to tag us @berninausa and @satomi_quilts!
Happy quilting!


What you might also like


One comment on “CANDY STAR Quilt Along, Part 6: Finish Quilting and Complete”
Leave a Reply
You must be logged in to post a comment.

Thank you.