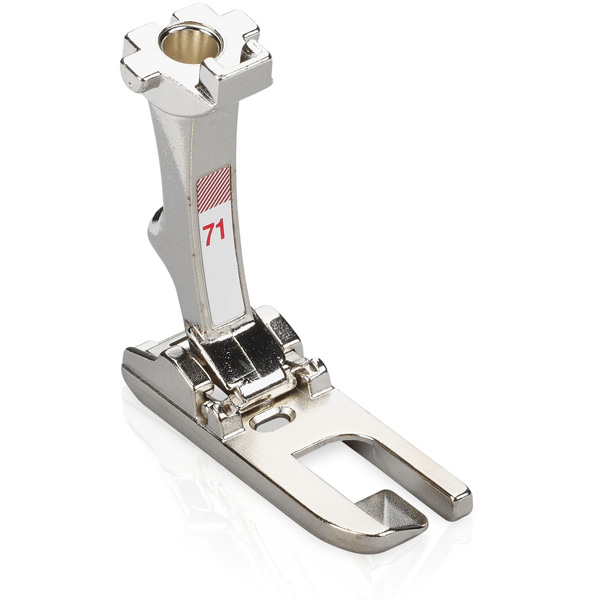
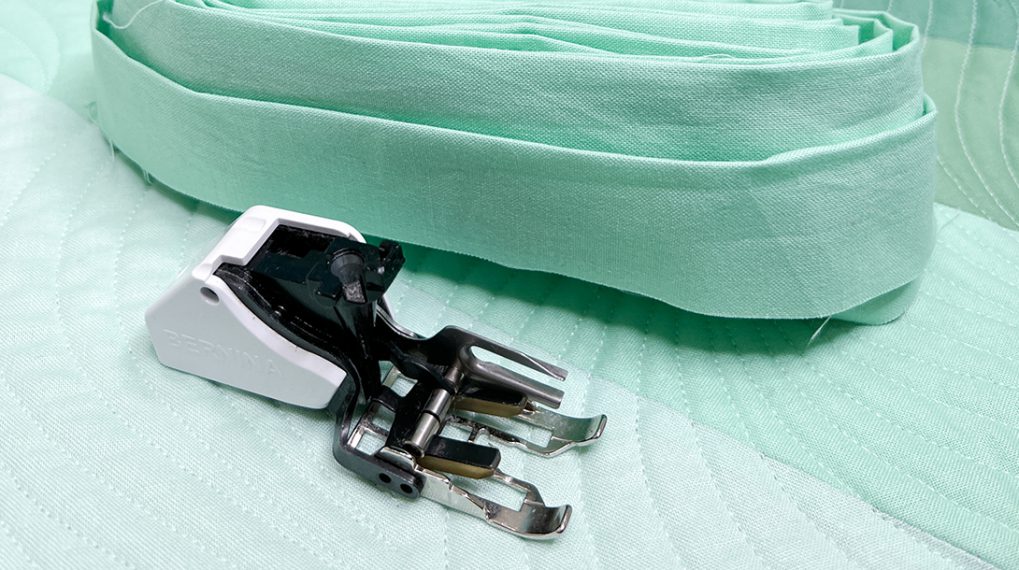
How to Create Binding with the Lap Seam Foot #71
Lap Seam Foot #71 is a great foot to make a flat felled seam. But did you know Lap Seam Foot #71 can be used to create binding?
This machine binding method looks beautiful with little effort and is a great choice when time is limited. This has been my go-to binding method for many baby quilts, table runners and mini quilts.
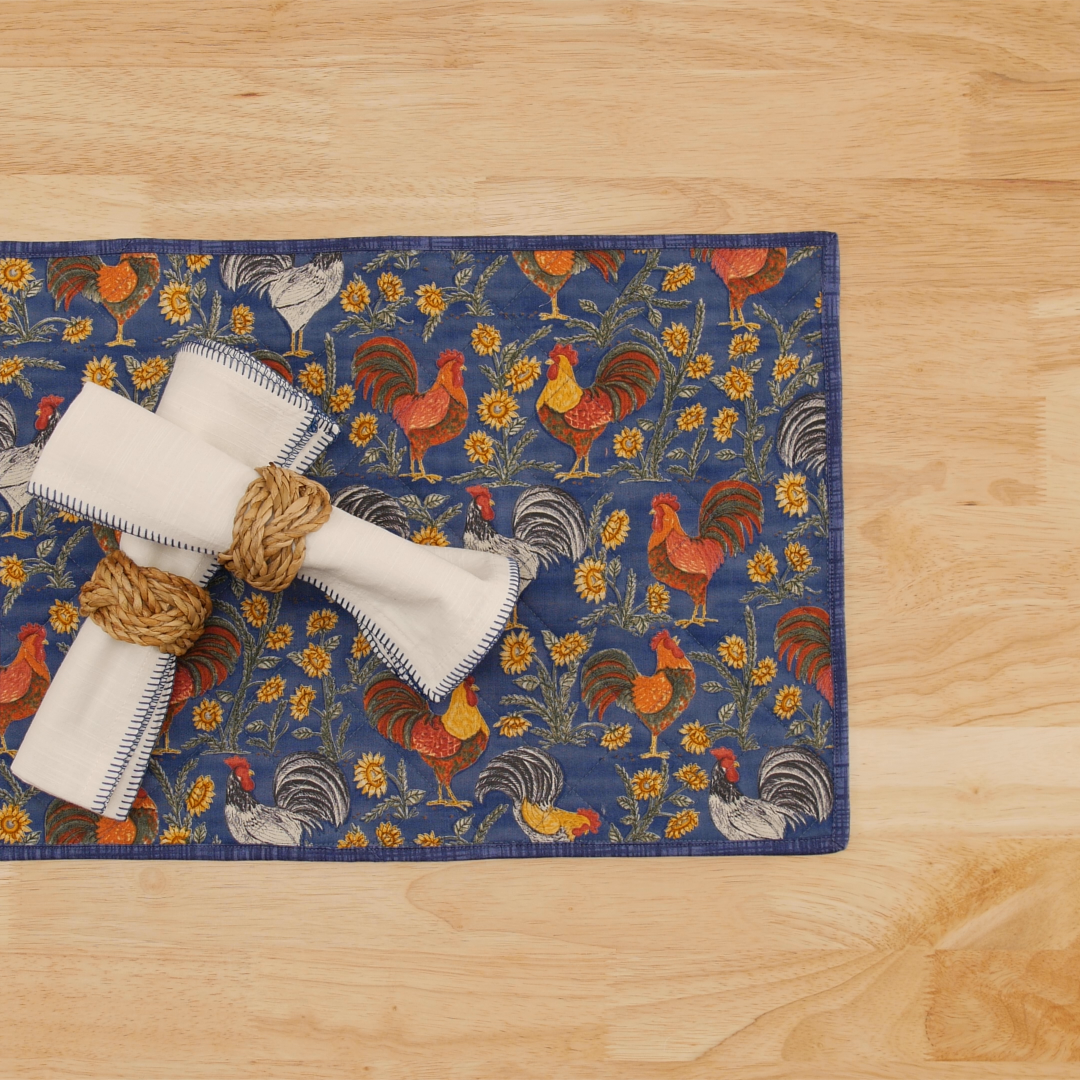
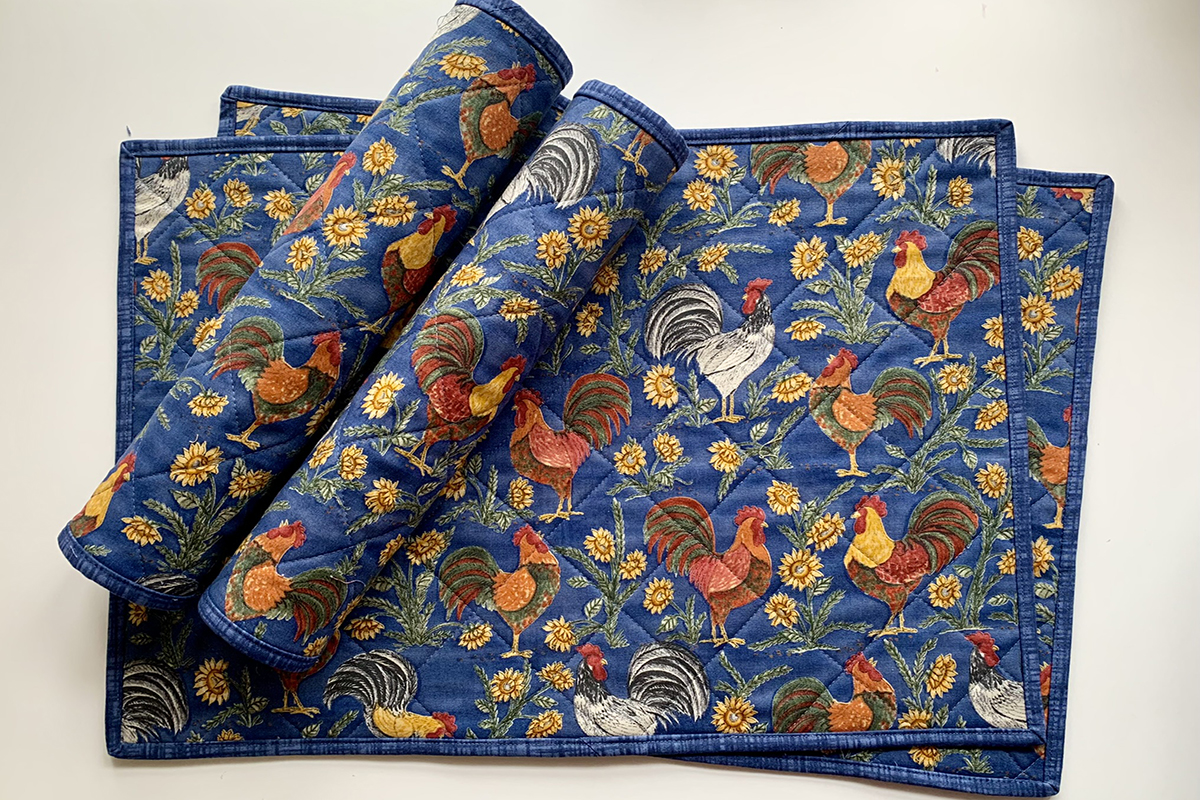
Today, I’m showing this method with placemats. After reading this tutorial and seeing how easy it is, you’ll want to make placemats for every season! Let’s get started!
Machine Set Up
Materials to Create Binding with the Lap Seam Foot #71
- Project ready for binding
- 2” fabric strip, length equal to the perimeter of project + 20”
- Mettler Silk Finish Cotton Thread in matching color
- Schmetz Topstitch Needle 80
- stiletto, such as OESD Expert Point & Press Tool
- tweezers
- iron
- Roxanne Glue-Baste-It
- Wonder Clips
Steps to Create Binding with the Lap Seam Foot #71
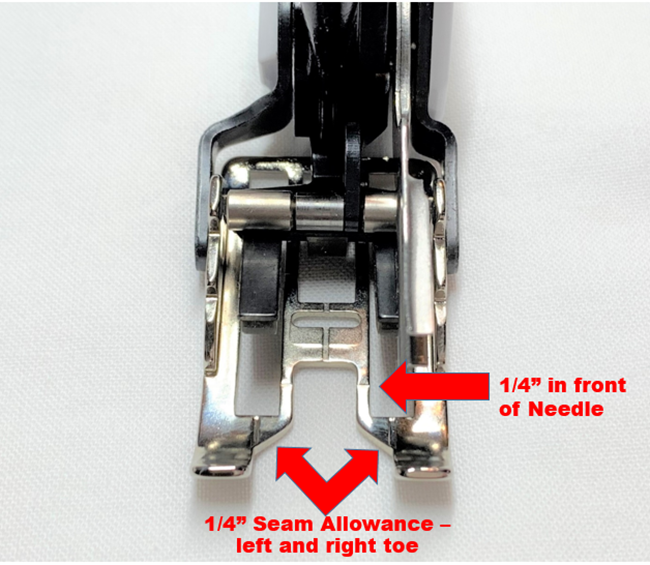
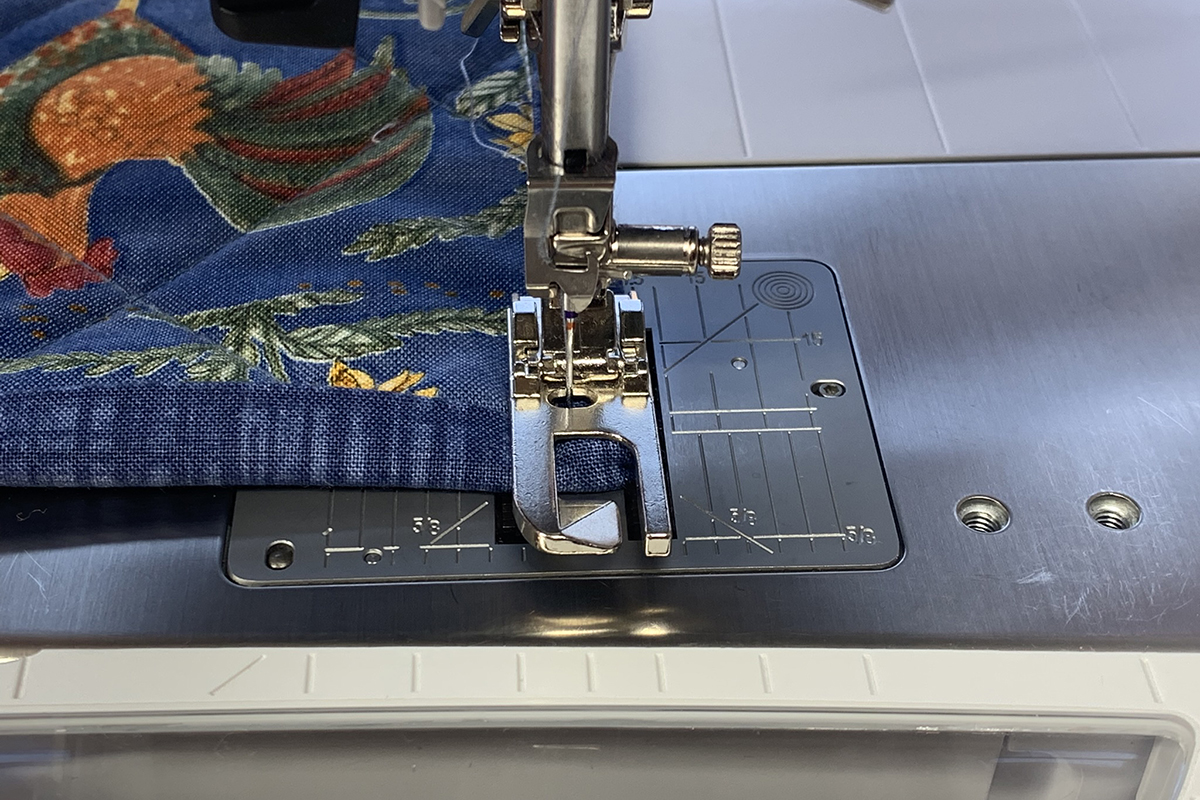
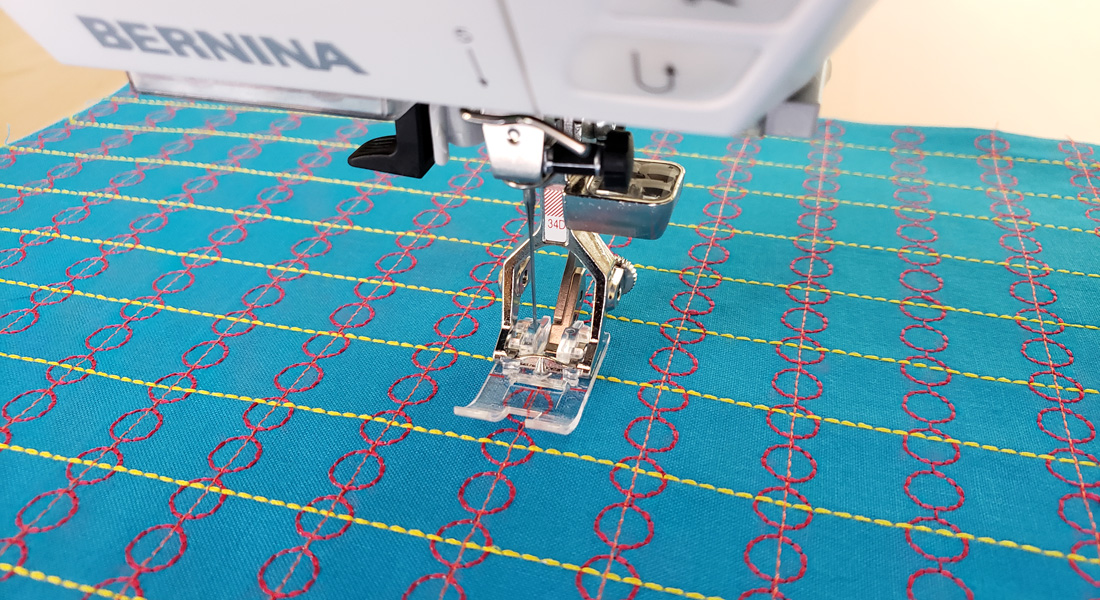
Take a look at Walking Foot #50 and locate the marks shown in the following image. I will refer to these marks in the following steps.
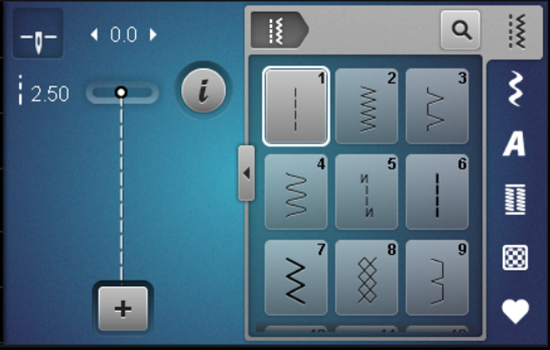
Attach Walking Foot #50 with Standard Sole to your machine. Select Straight Stitch #1 and the Needle Stop Up/Down icon so needle stops in the down position. Insert a Schmetz Topstitch needle and thread the machine with Mettler thread. Tip: Use a thread color that matches the project.
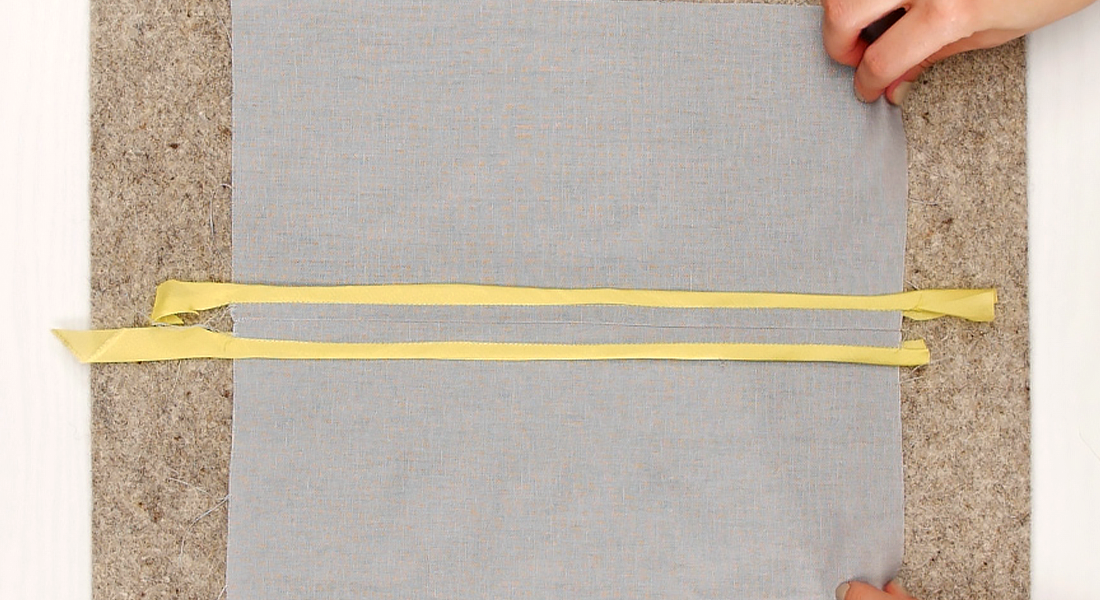
Press 2” binding strip in half with wrong sides together. Line up raw edges of binding with raw edges of project, leaving 8” extra binding at the starting point. Place under the foot with the raw edges aligned with the 1/4” mark on the right toe.
Sew along the raw edge, slowing down about an inch before you reach the corner. Then, sew slowly until you reach the mark on Walking Foot that is 1/4” in front of the needle (refer to earlier image). Backstitch.
Raise the foot and the needle. Gently pull the quilt towards you without cutting threads. Fold binding at a 45-degree angle to the right. Finger press fold.
Now, fold binding to the left on top of the project, lining up all the raw edges.
The 1” binding fold on the right should be even with the edge of project.

Carefully turn the quilt so the next side is under the foot. Lower foot about 1/2” from the top. Align raw edges with 1/4” mark on the right toe. This is a good time to use your BERNINA Free Hand System to get the placement just right.
Stitch 2-3 backstitches and then sew until you are 1/4” from the next corner. Repeat the process for the remaining sides and corners. Here is a link to a blog post – How to Sew Mitered Corners – with more details and a fun video.
Join the binding ends with your preferred method. Now, you are ready to learn lap seam binding!
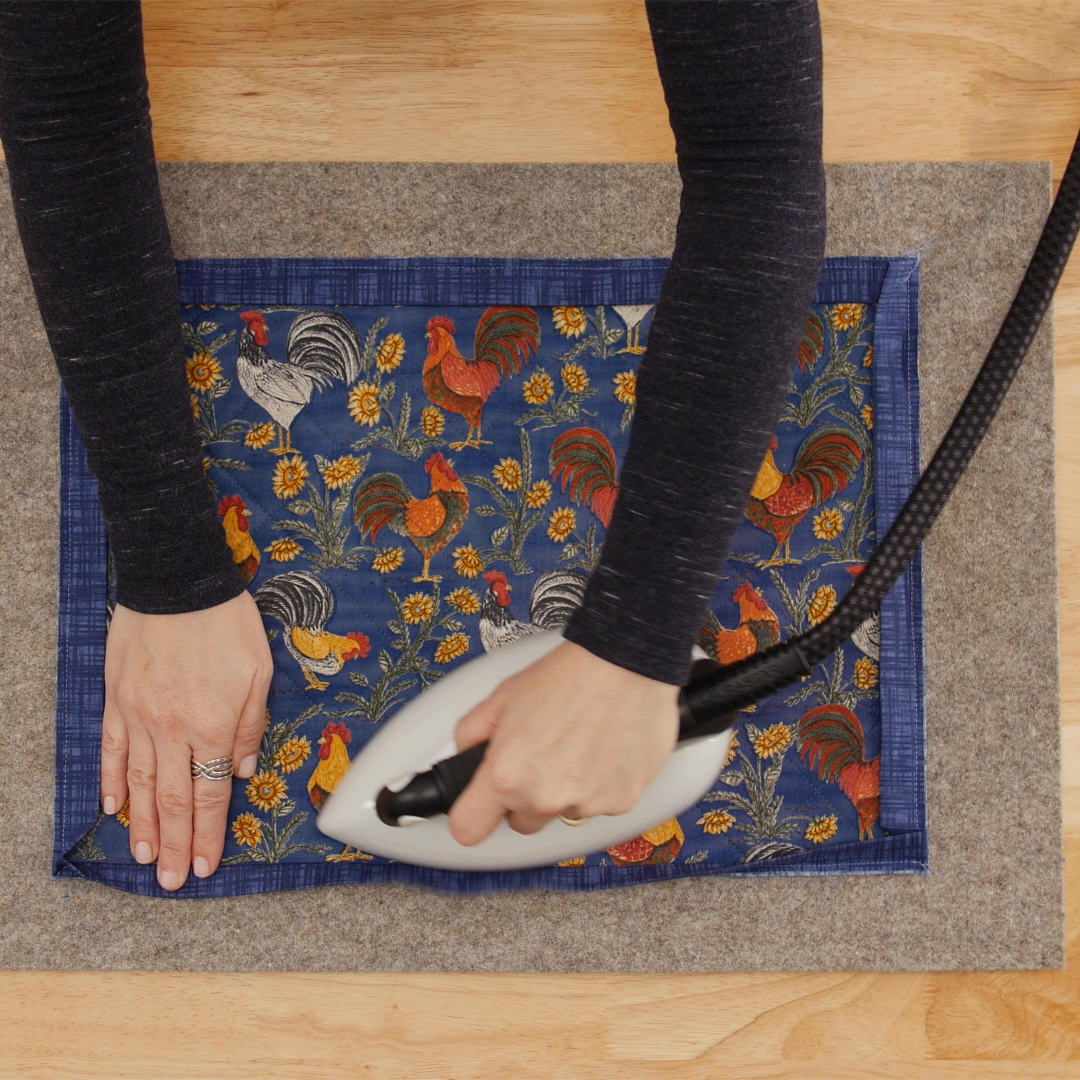
Tip: I press the binding seam towards the outside before wrapping to the other side. This helps keep it in place. I love my LauraStar iron! It comes in white and looks great in my sewing room!
Create Lap Seam Binding
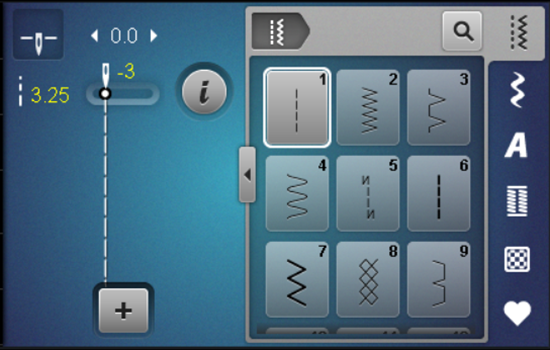
Attach Lap Seam Foot #71. Change length of Straight Stitch #1 to 3.25 mm and Needle Position to -3.
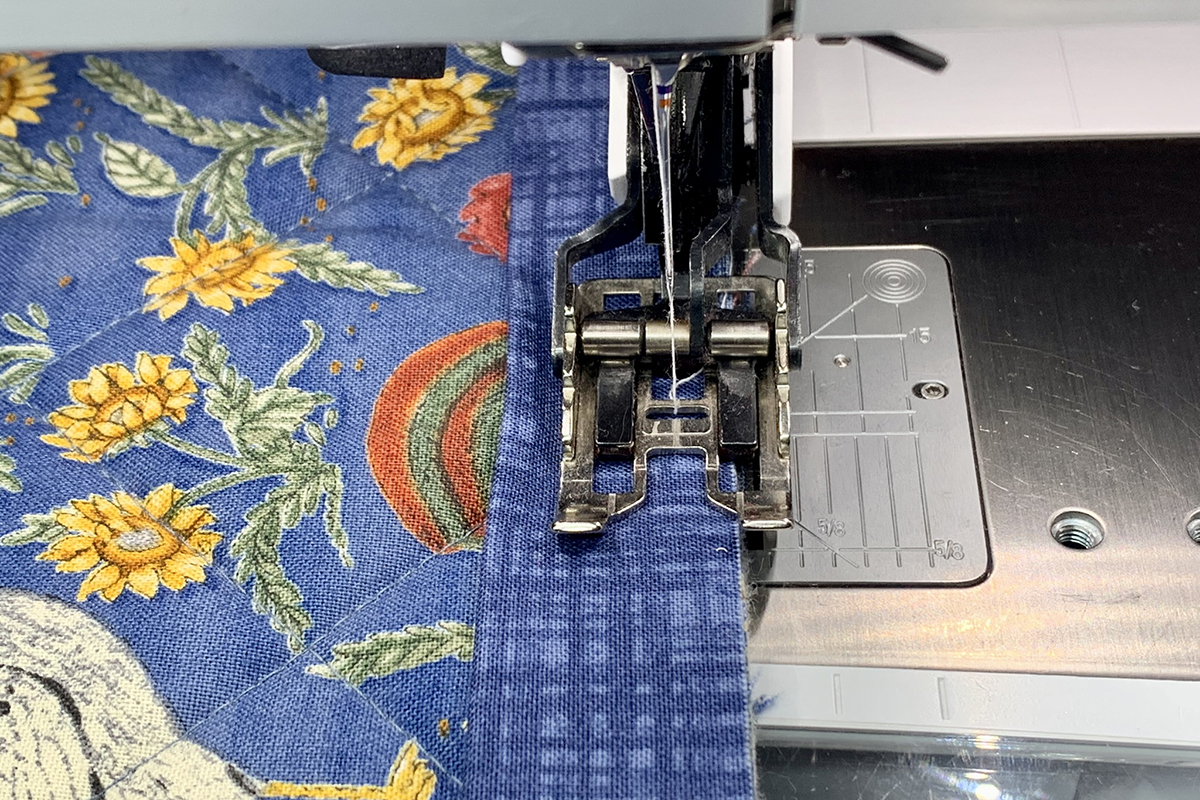
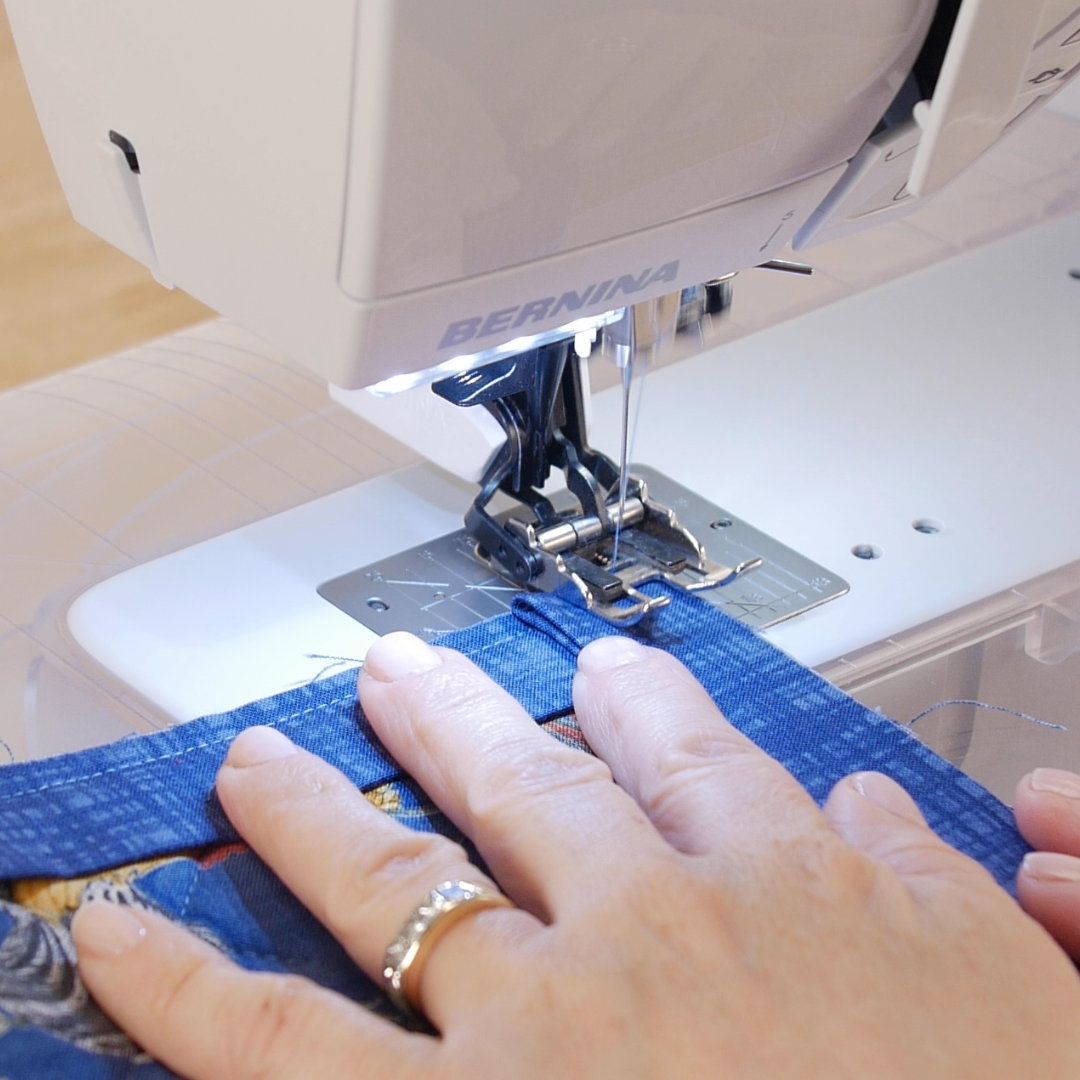
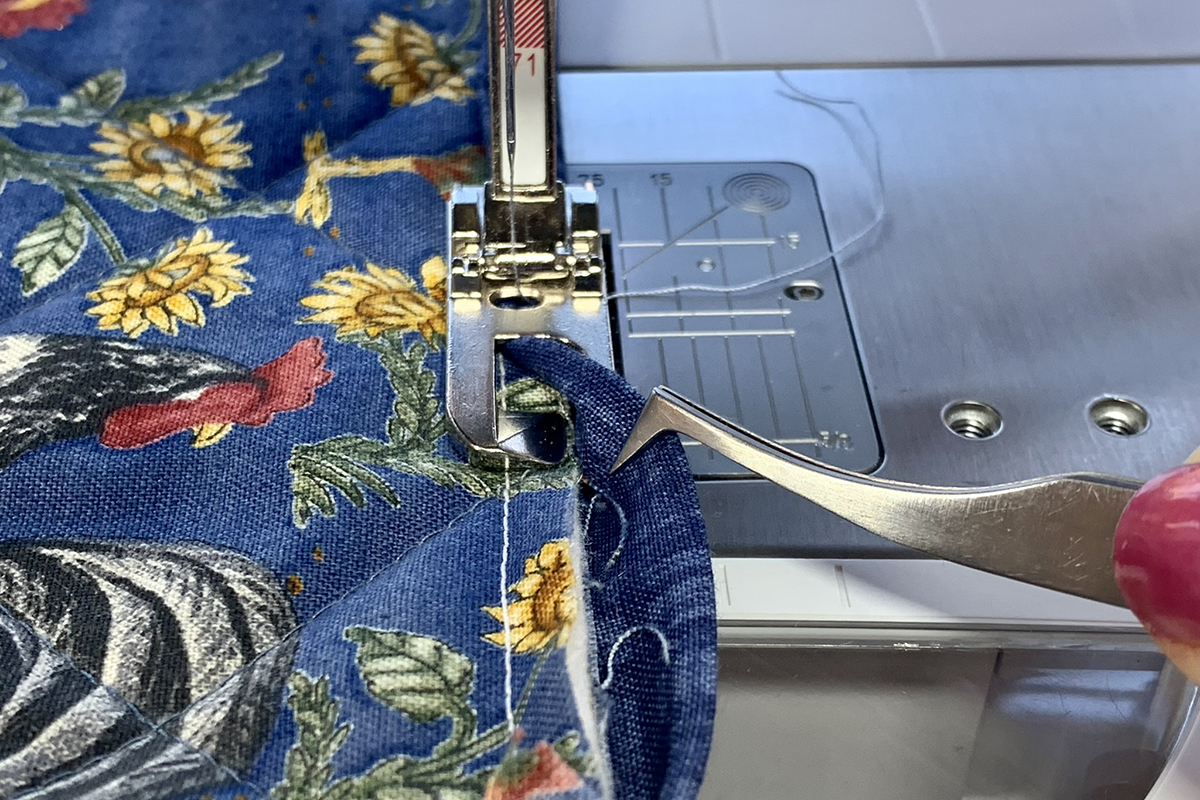
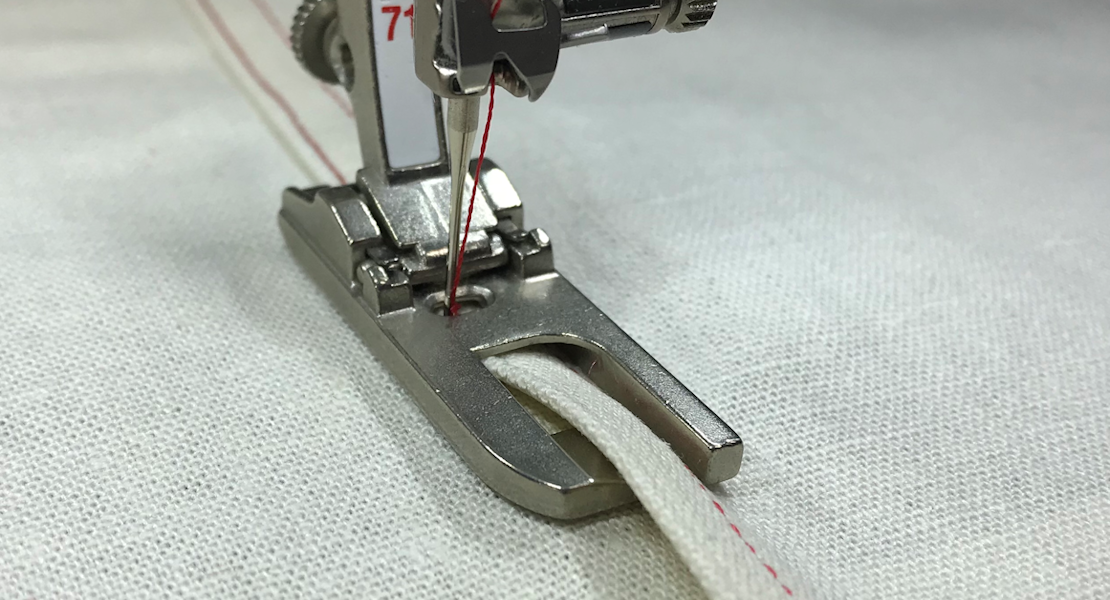
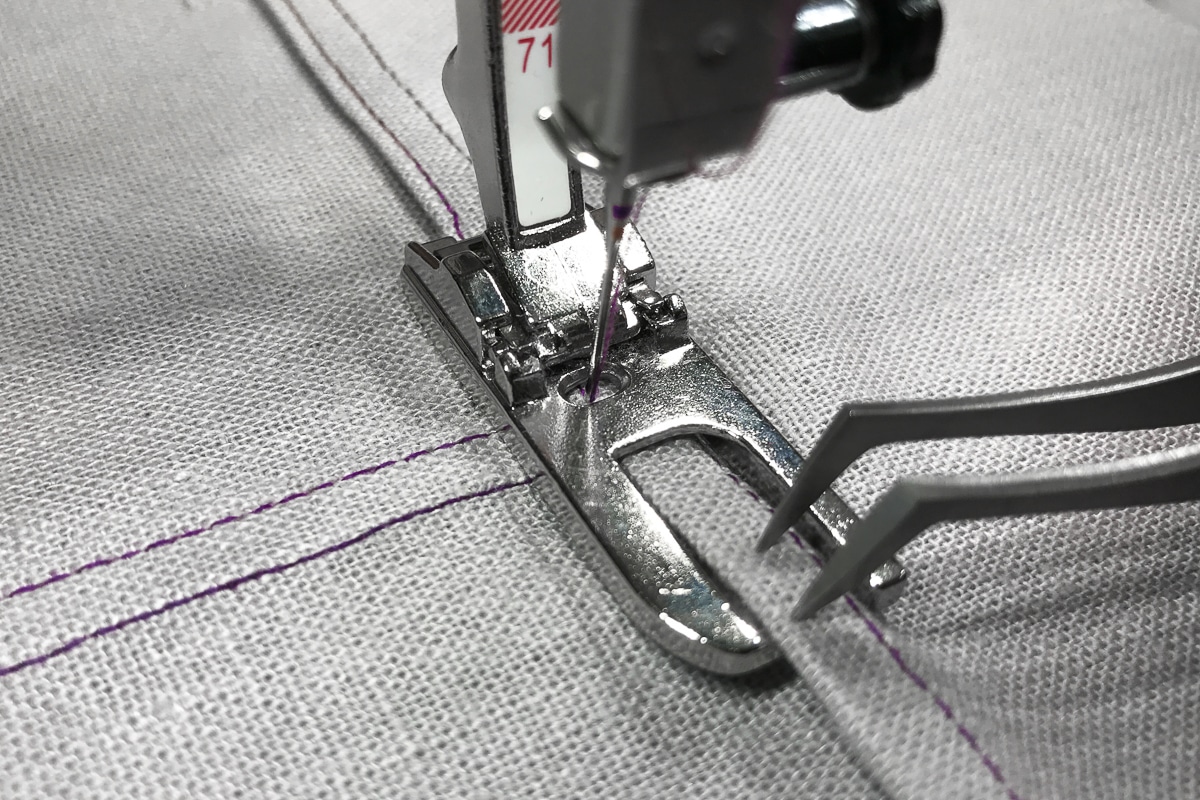
Find a good place to start sewing the binding to the front of your project. Wrap binding to the front and place project under the foot so the binding is against the inside of right toe. For this technique to work, the binding should not be under the right toe. This is why starting with a 2” binding is so important. Using your Free Hand System and tweezers, lift binding over the tongue of left toe.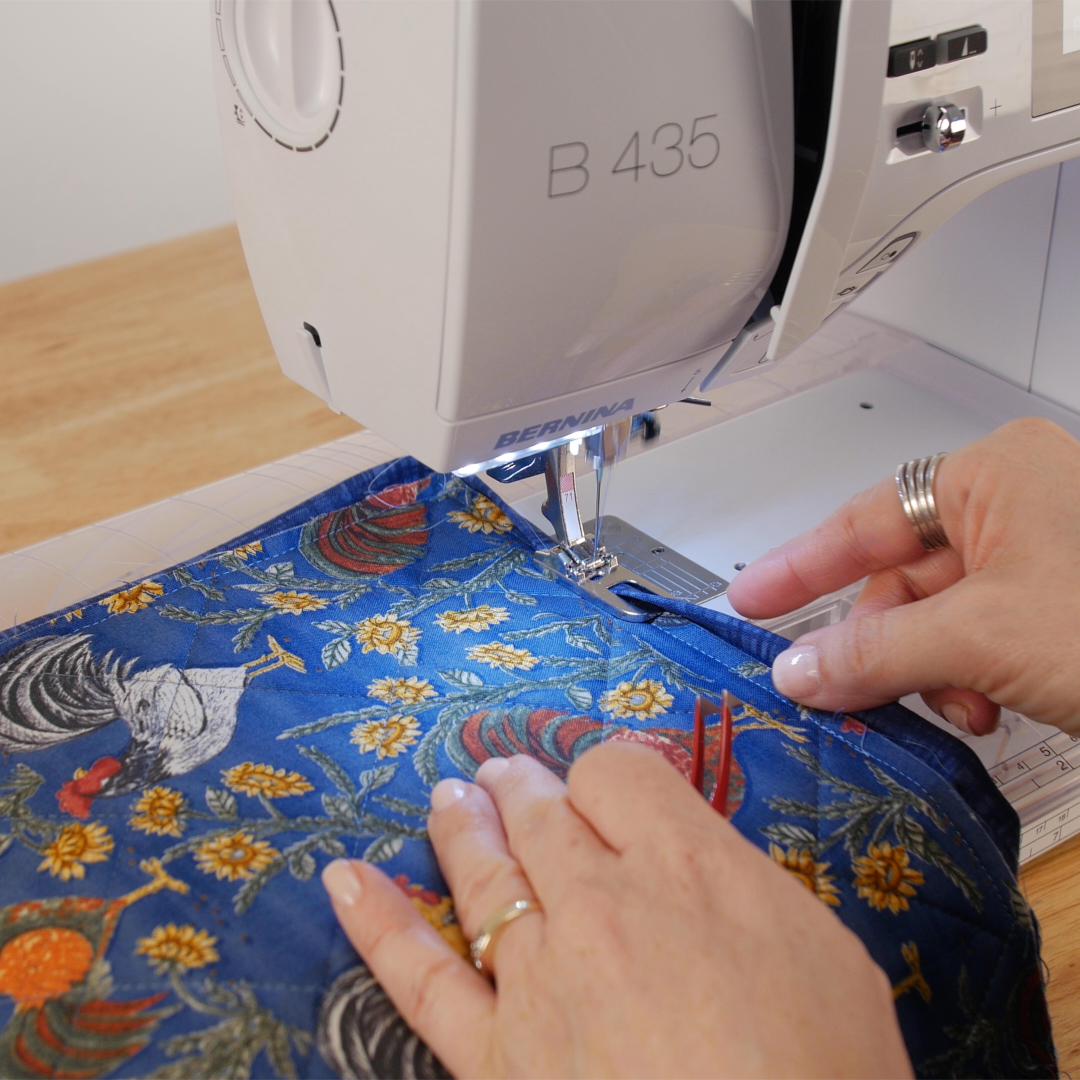
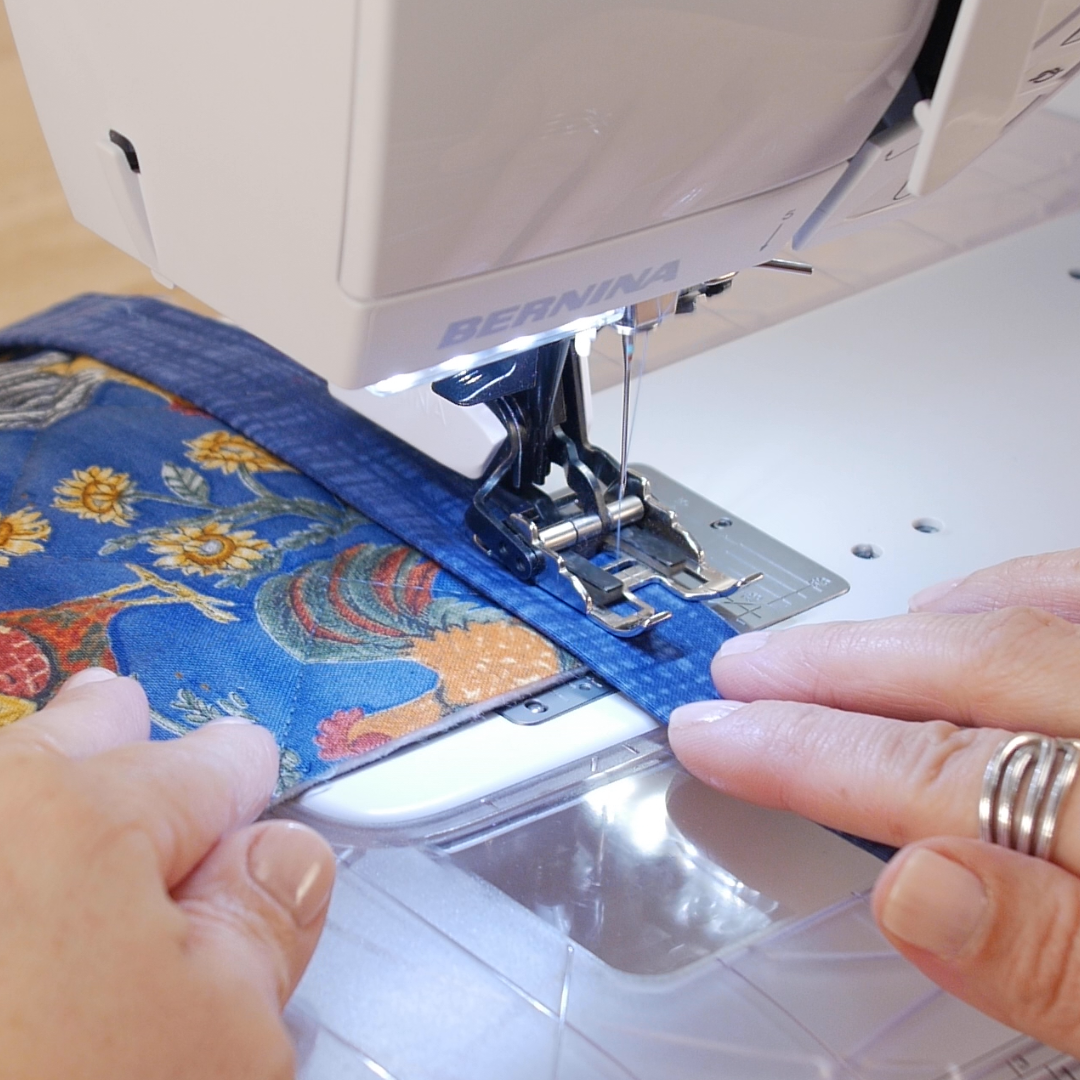
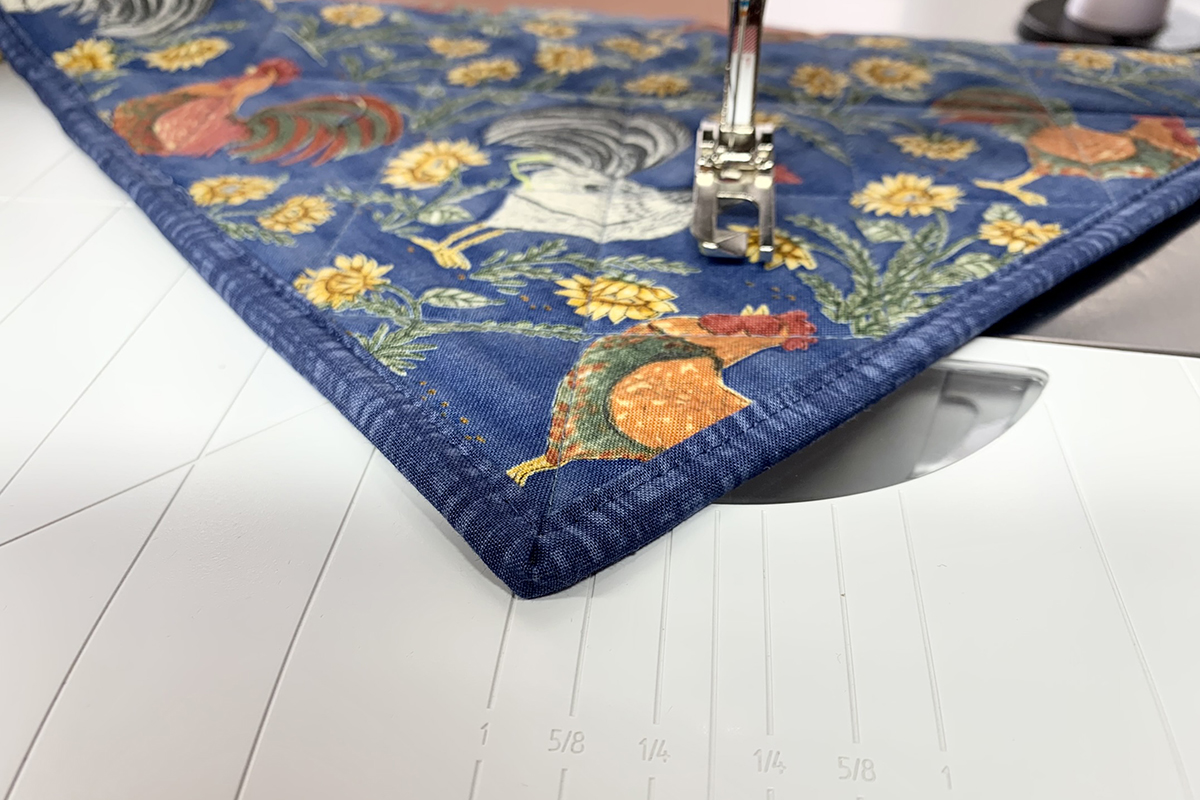
Lower needle with handwheel and check placement. Adjust needle position if needed. Sew the binding using tweezers to help position binding as it feeds through the foot.
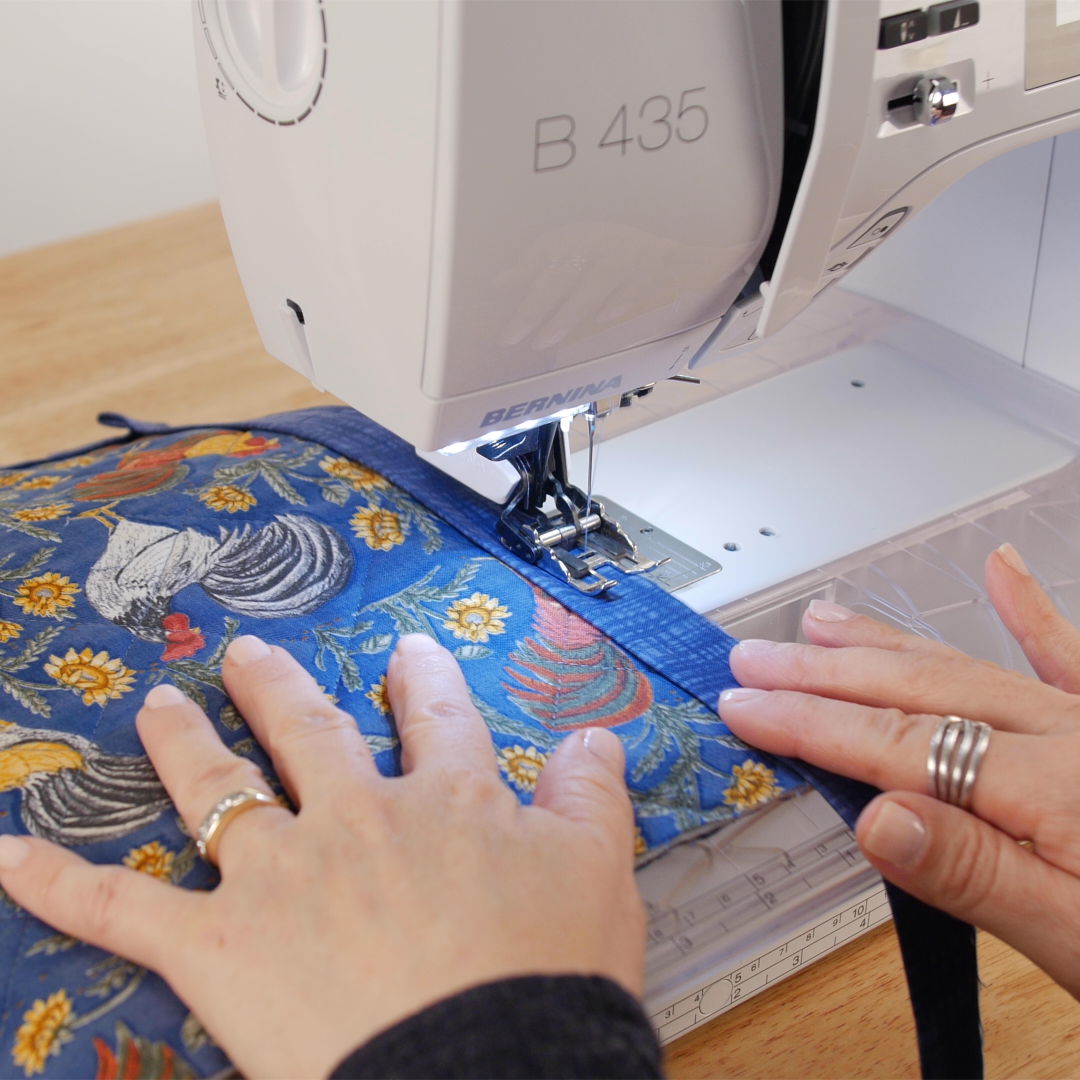
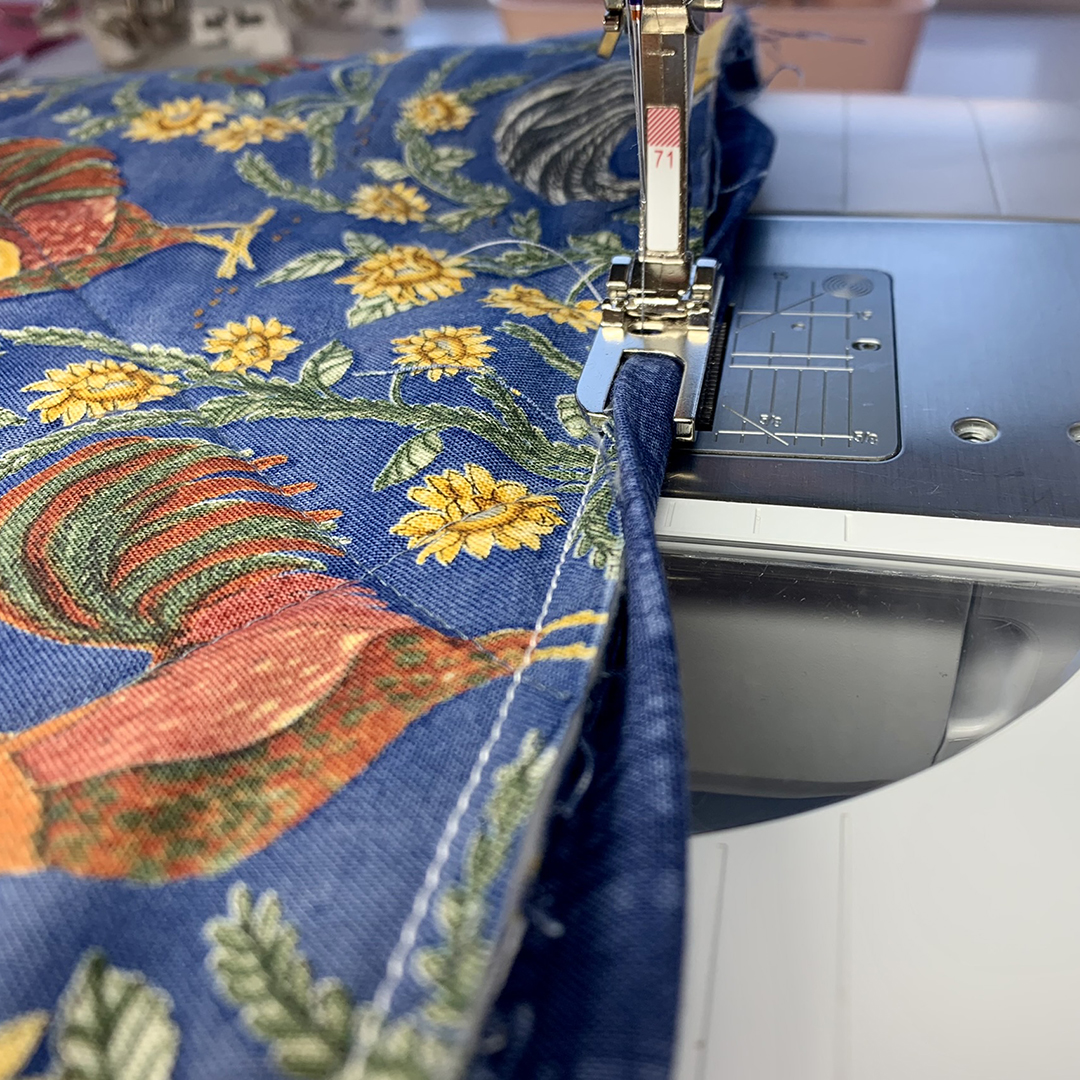
Also, keep an eye on the project under the left toe making sure it stays under the tongue as pictured below.
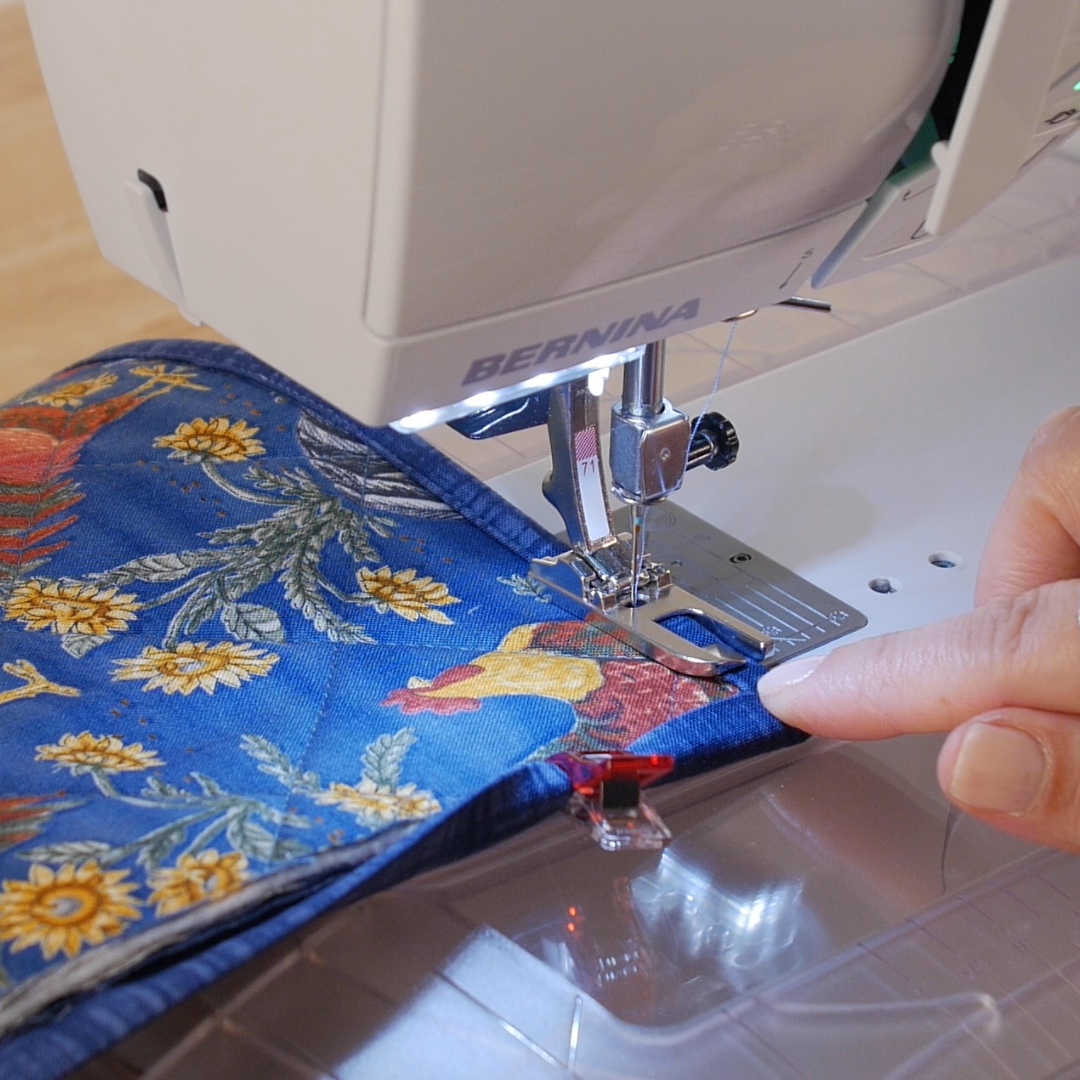
Continue sewing until about 2” from the first corner.
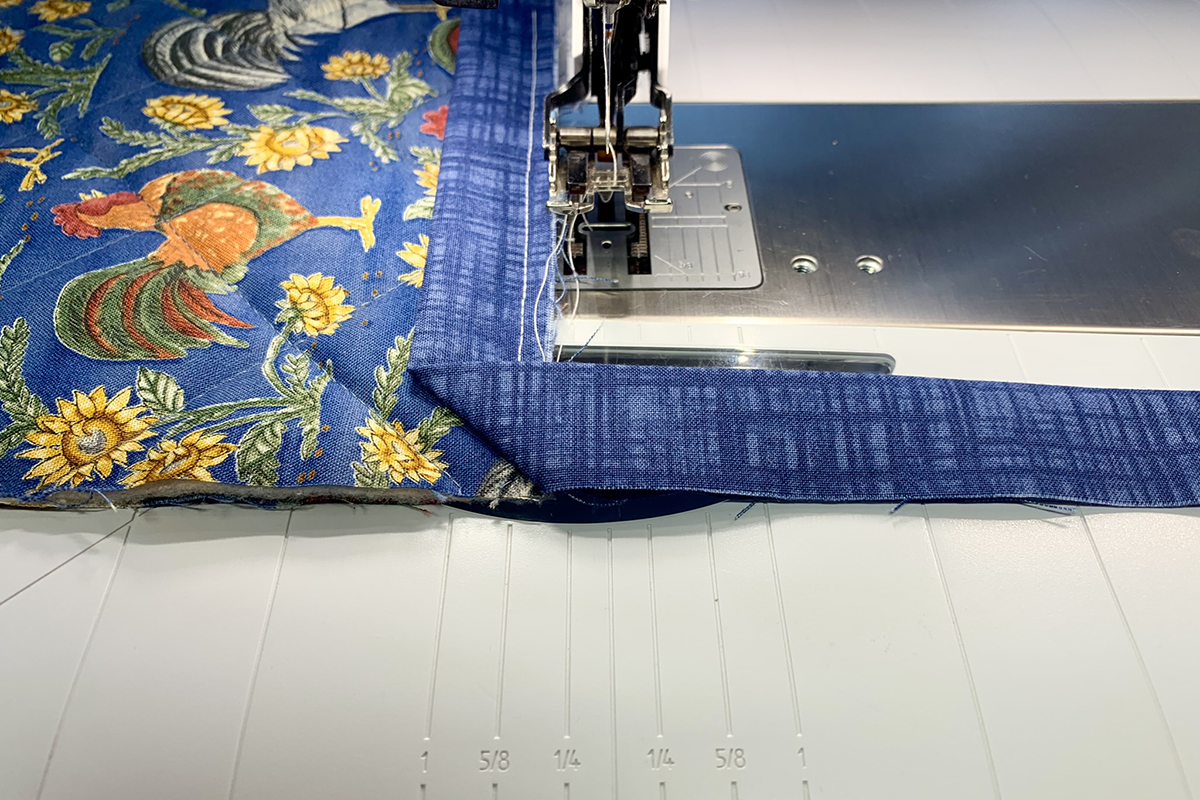
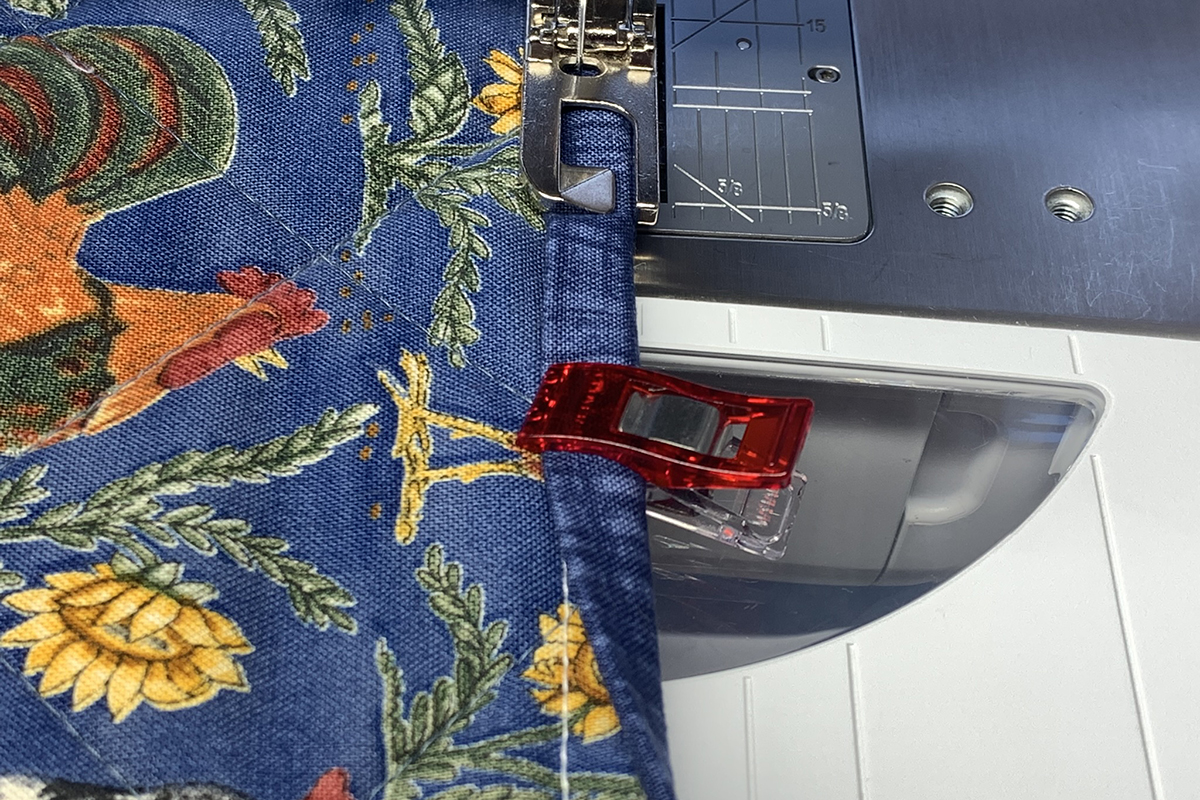
With needle down, remove binding from tongue and place under the foot. Fold corner of binding into a miter. Using a stiletto will help to get a nice, sharp miter. Also, adding a Wonder Clip to the binding on the other side helps keep the binding stable.
Place a drop or two of basting glue inside the corner and finger press.
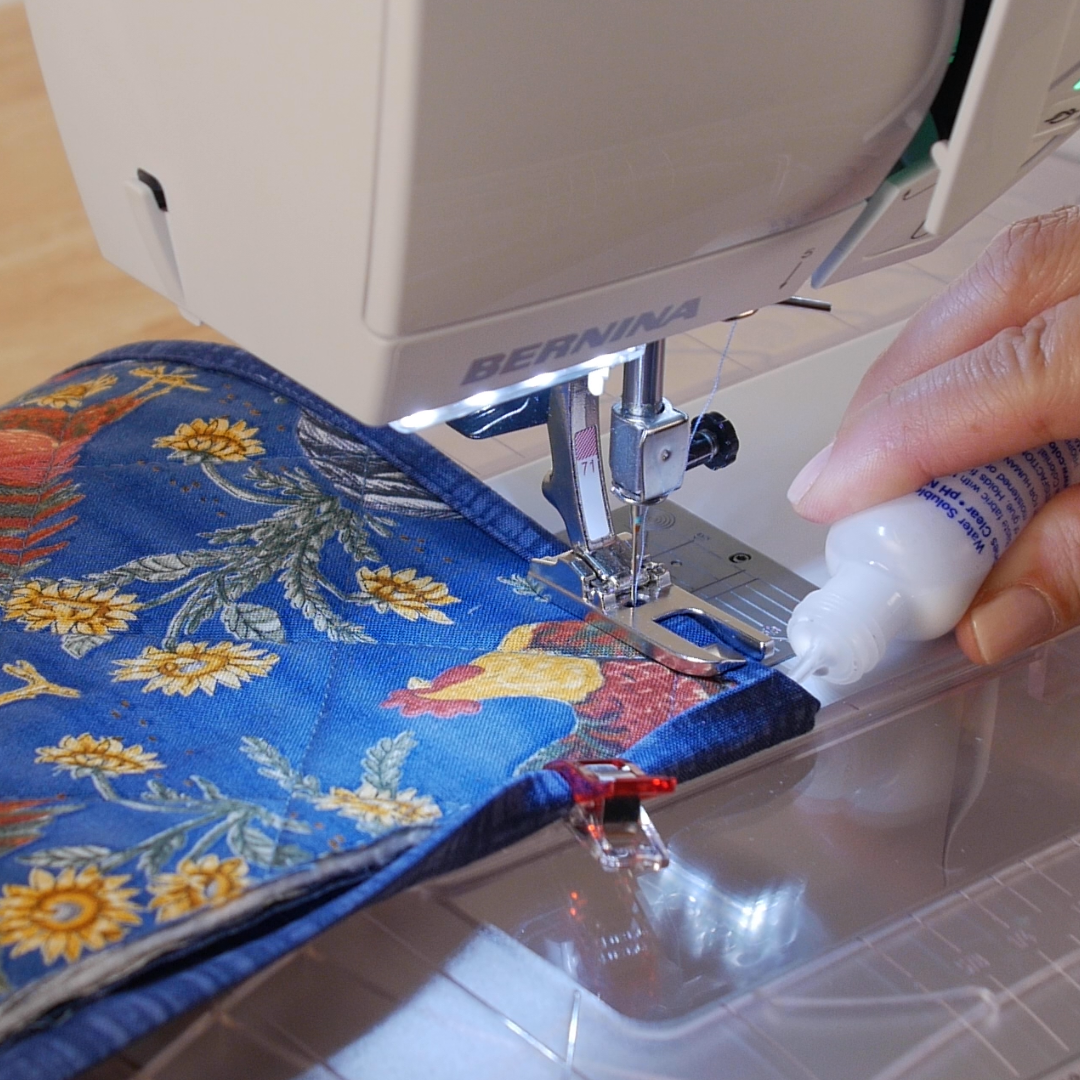
Slowly sew until you are about 3/8” from the end.
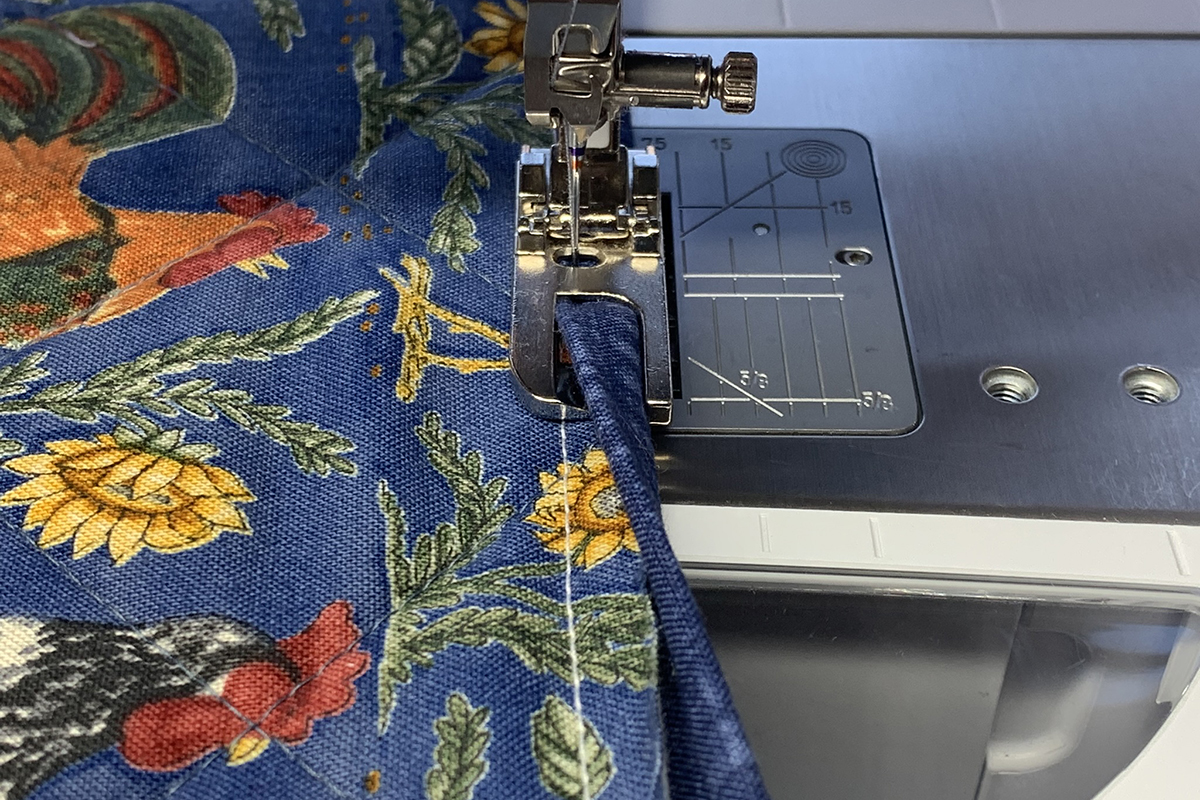
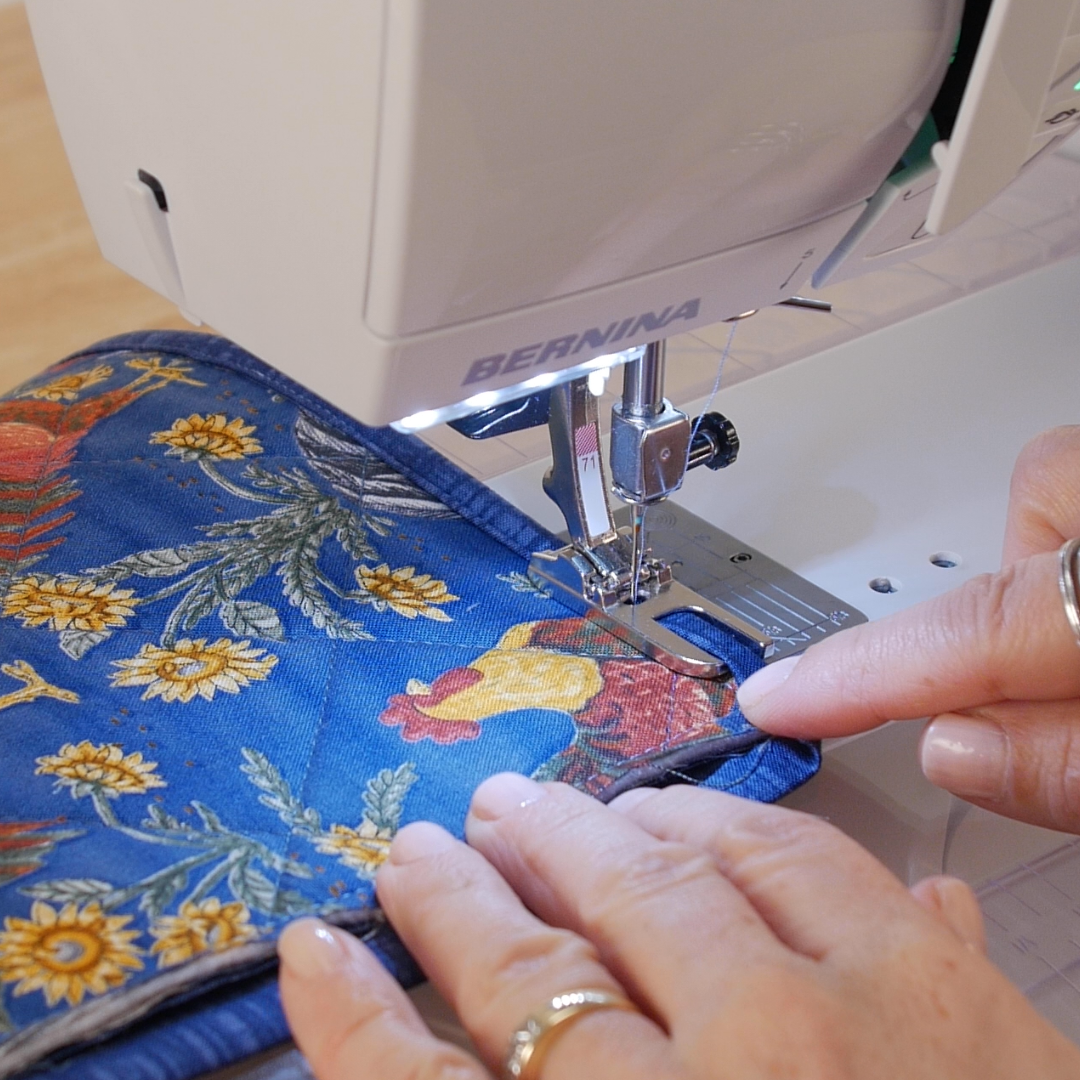
With needle down, turn the project to sew down the next side. Again, the binding should be against the inside of right toe.
With tweezers, place binding over tongue and repeat the technique for the remaining sides and corners. Stop when the you are nearing the starting point. Remove binding from the tongue and place under the foot. Finish sewing and secure with a backstitch or other securing stitch.
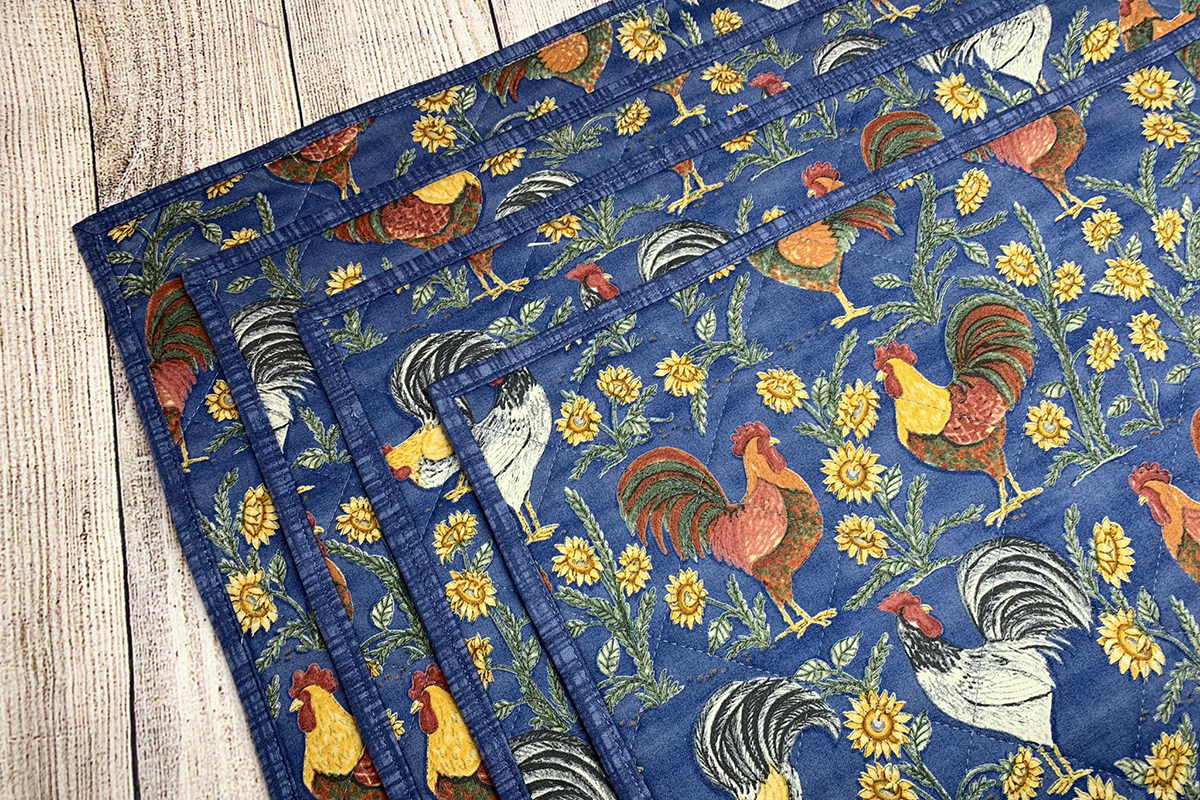
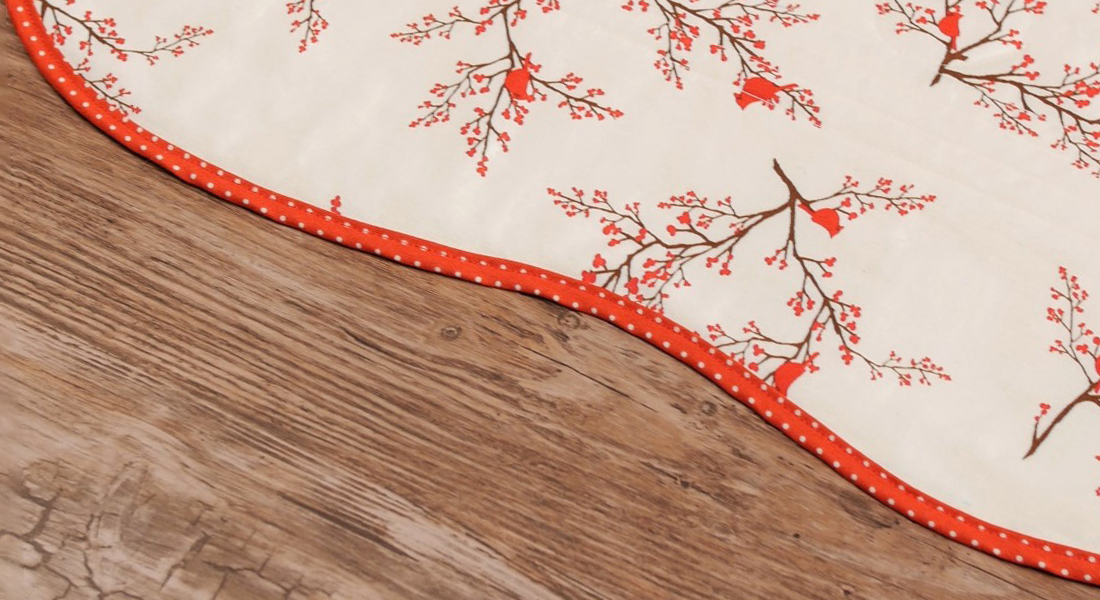
What a creative and practical way to use Lap Seam Foot #71. Lap seam binding is a great method for machine binding that creates great stitches on the front and back. Remember the key is to start with 2” binding and have fun!
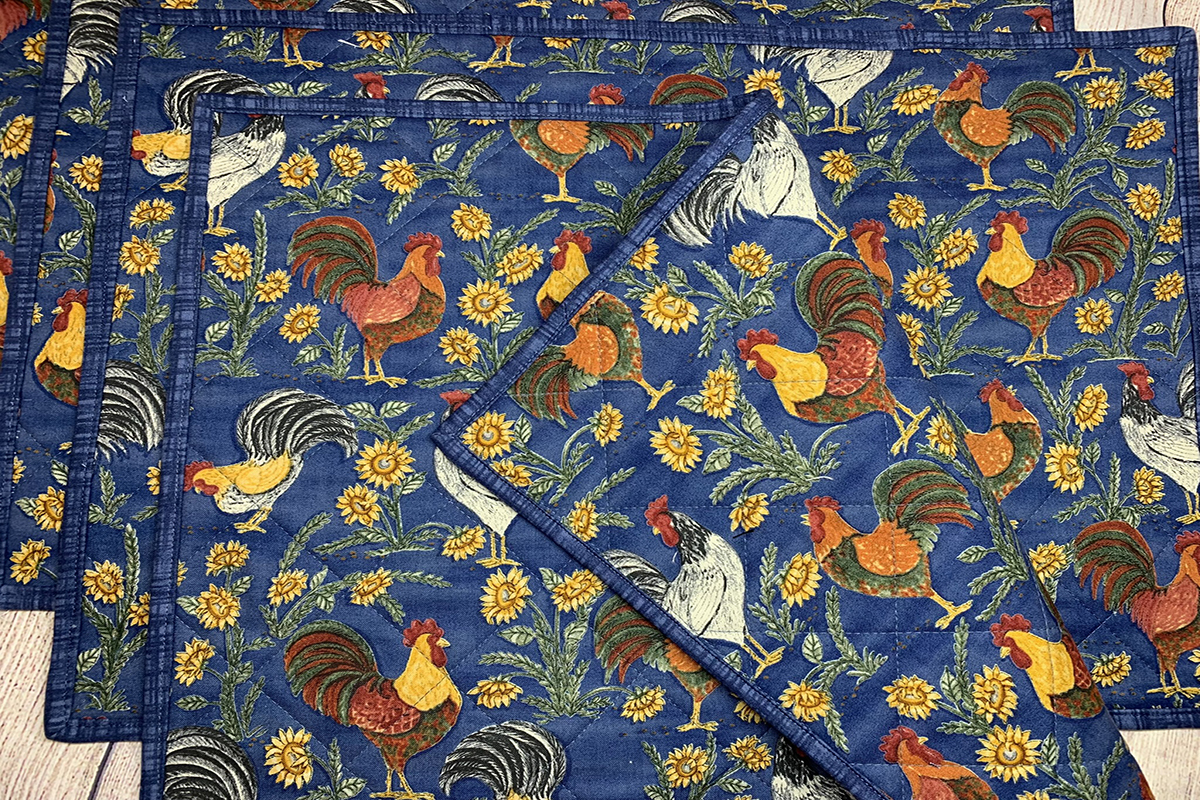
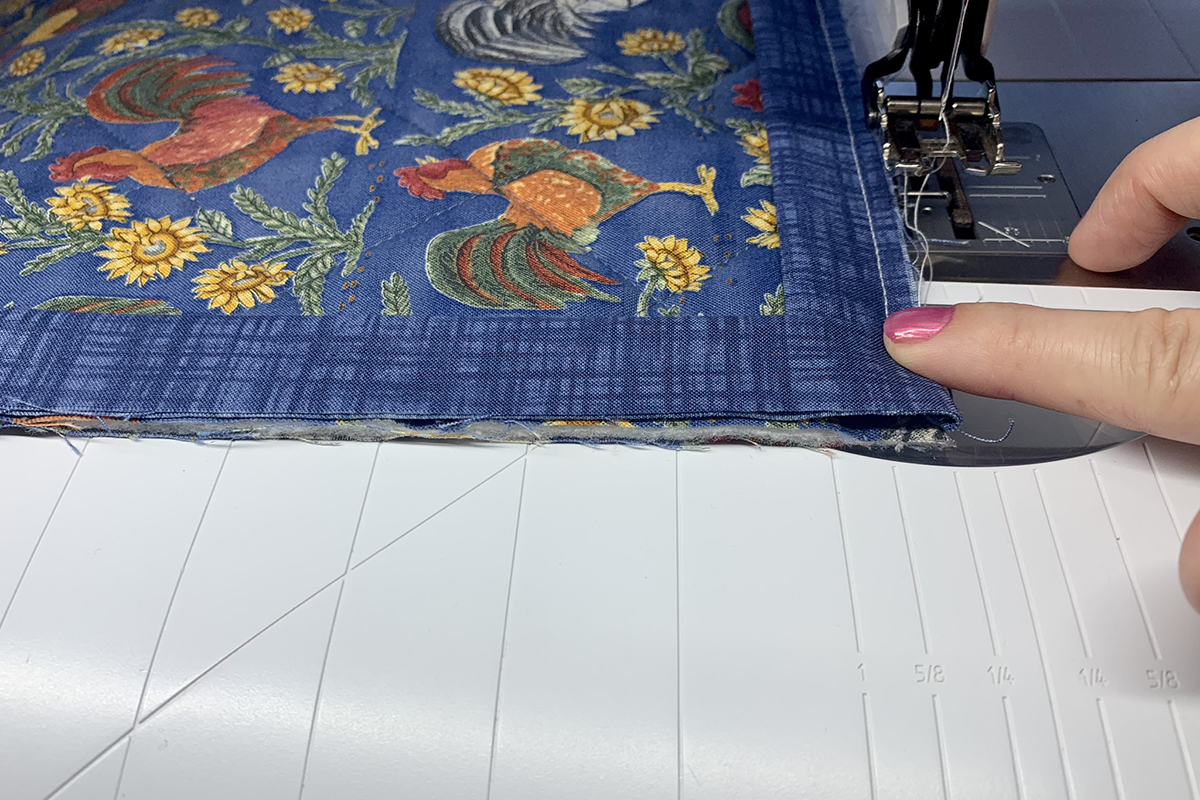
Look at this close-up of a corner. Beautiful!

Used Products

What you might also like


4 comments on “How to Create Binding with the Lap Seam Foot #71”
-
-
Hello! So glad you are going to try this machine binding technique. You are correct – the next photo shows the last step of finishing the binding. There is not another picture that shows placing the binding over the tongue. Have fun and remember to use a drop or two of temporary glue to hold the corner! A stiletto helps too!
-
-
Lovely, but really want to see what it looks like on the back. Does it align up close to the binding or on top of it? Or a distance away onto the quilt backing? Why only on small projects? Is there an issue using this on larger projects? Thanks for the nice step-out photos and directions.
-
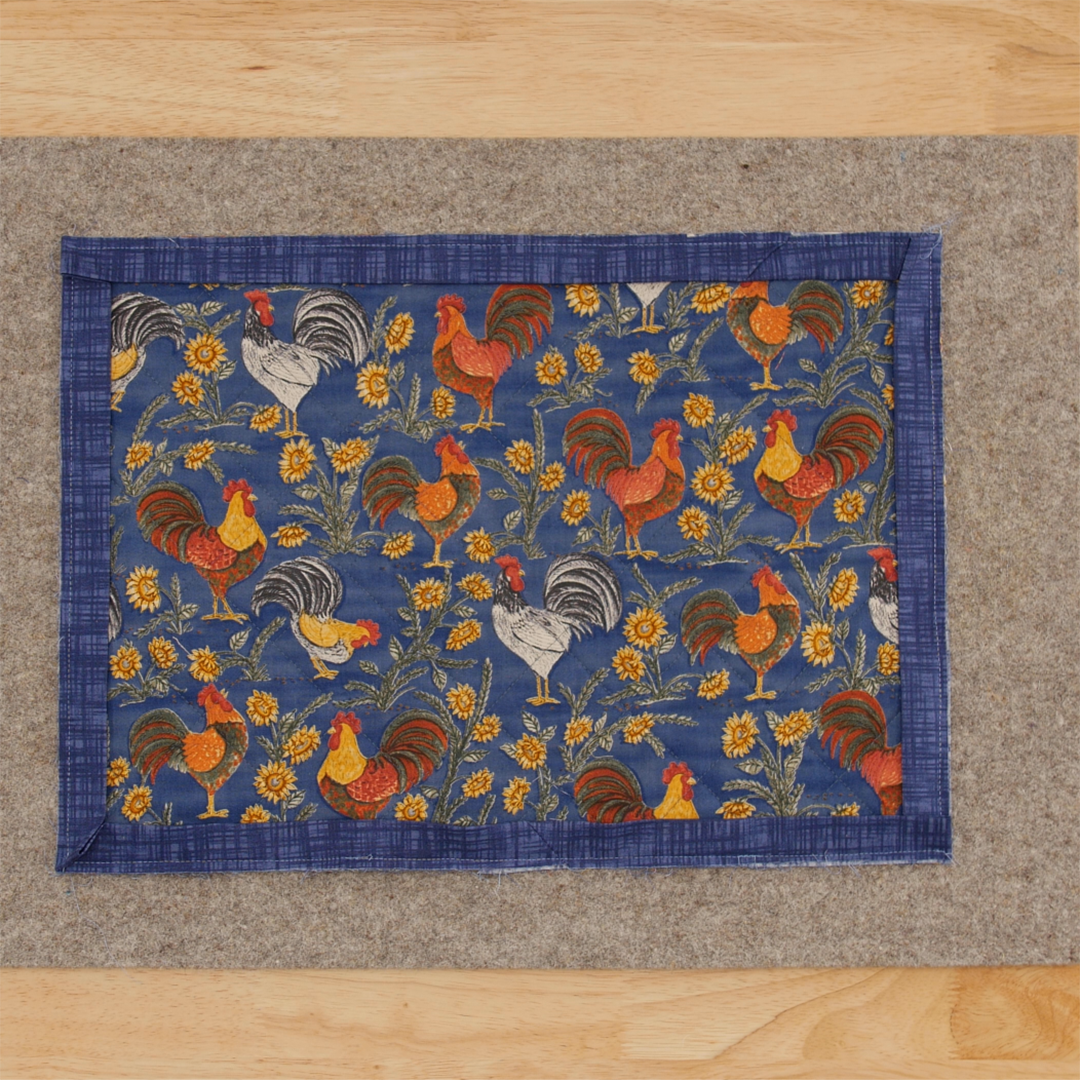
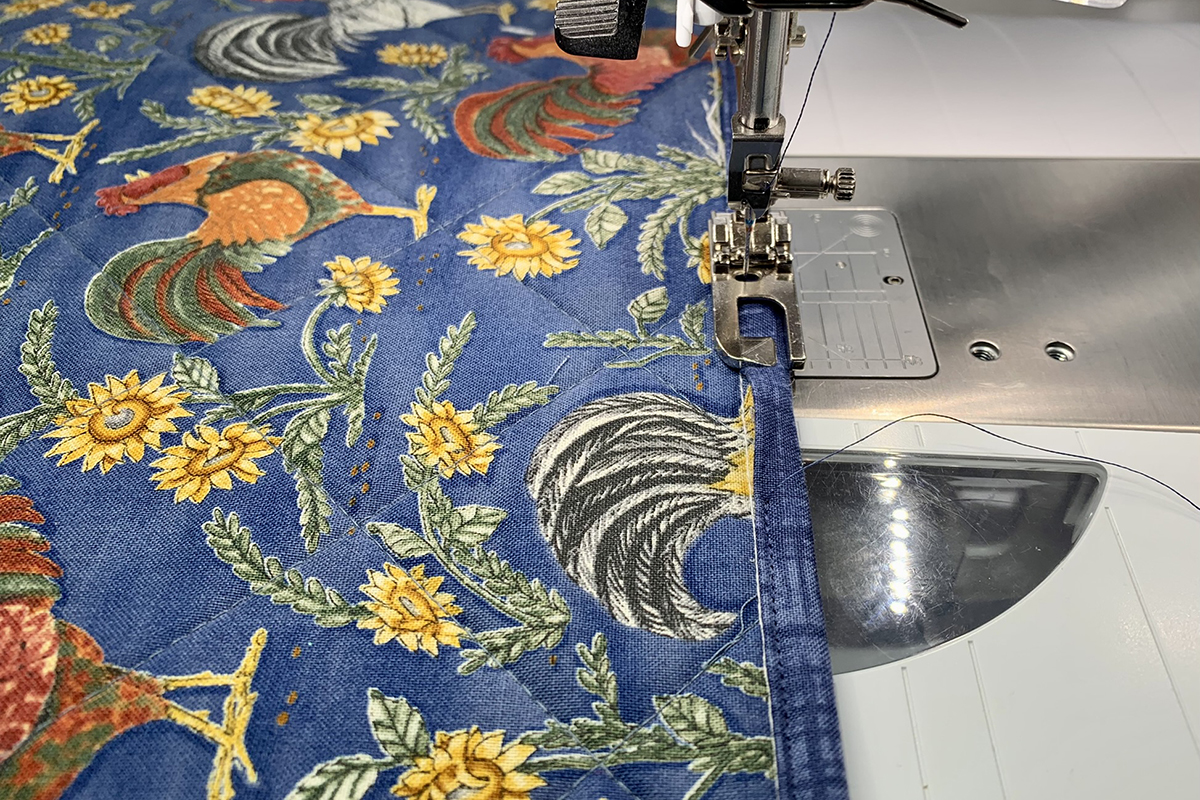
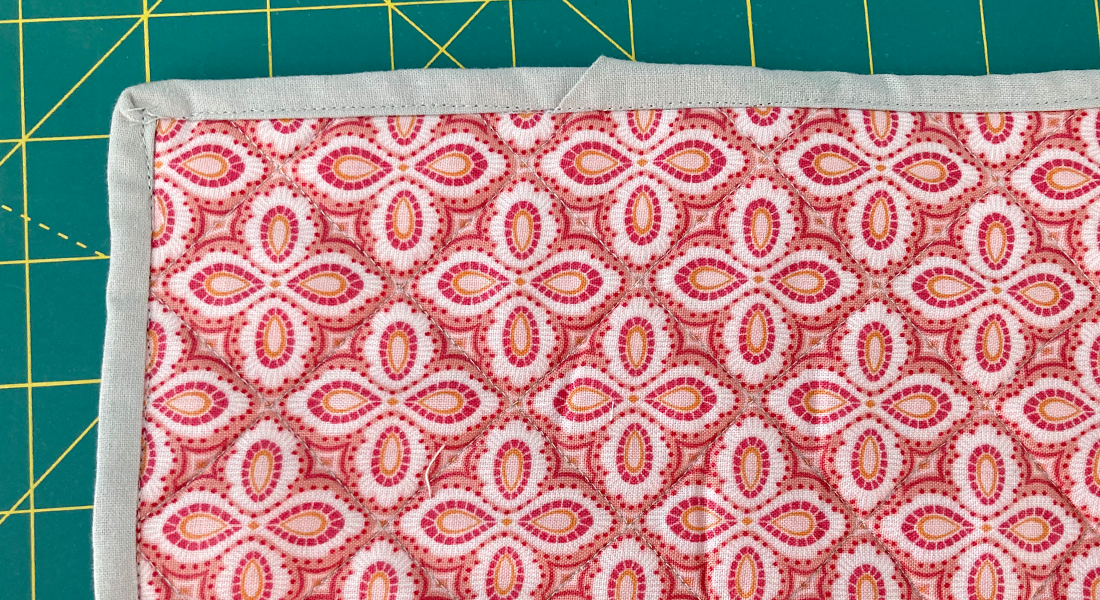
Hello! The 4th to last picture shows the stitching on the back. Part of the placemat is folded over and shows the stitching on top of the binding. I do this method on small projects because it is a narrow binding since it uses a 2″ fabric strip to work. You can certainly do this on larger projects! Have fun!
-
Leave a Reply
You must be logged in to post a comment.

Wonderful idea and I will try this. I will be using my 1130 because that is the machine I have with the #71 foot. Problem with the instructions is after you turn the corner the photo’s do not match the instructions. It says to use tweezers to place the lap over the tongue and continue as before but the next 2 photos shows the tongue on top of the binding flap. Hope I am not reading this wrong. That is a great idea and I will do it. Thanks for the tutorial.