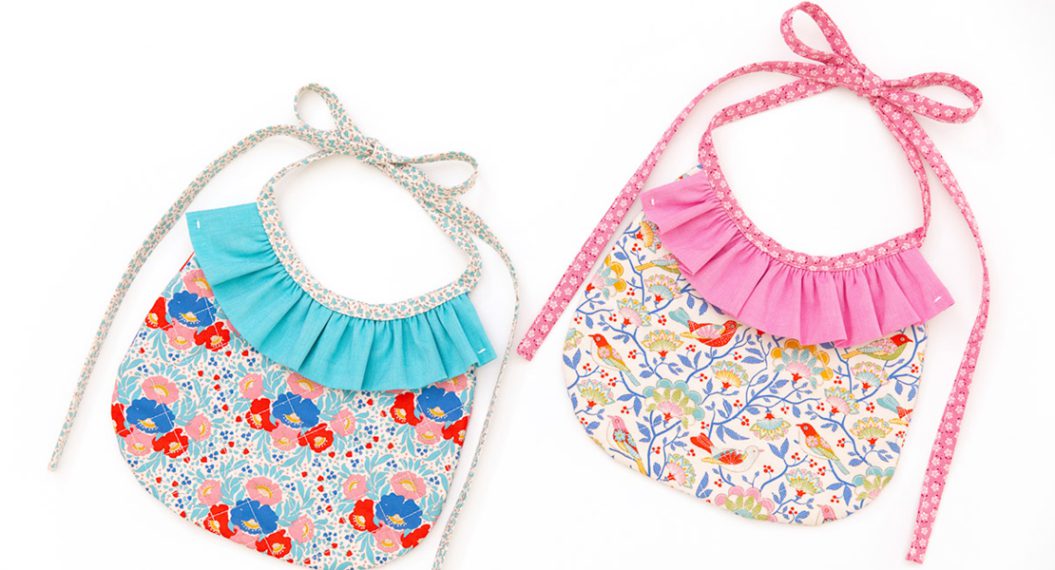
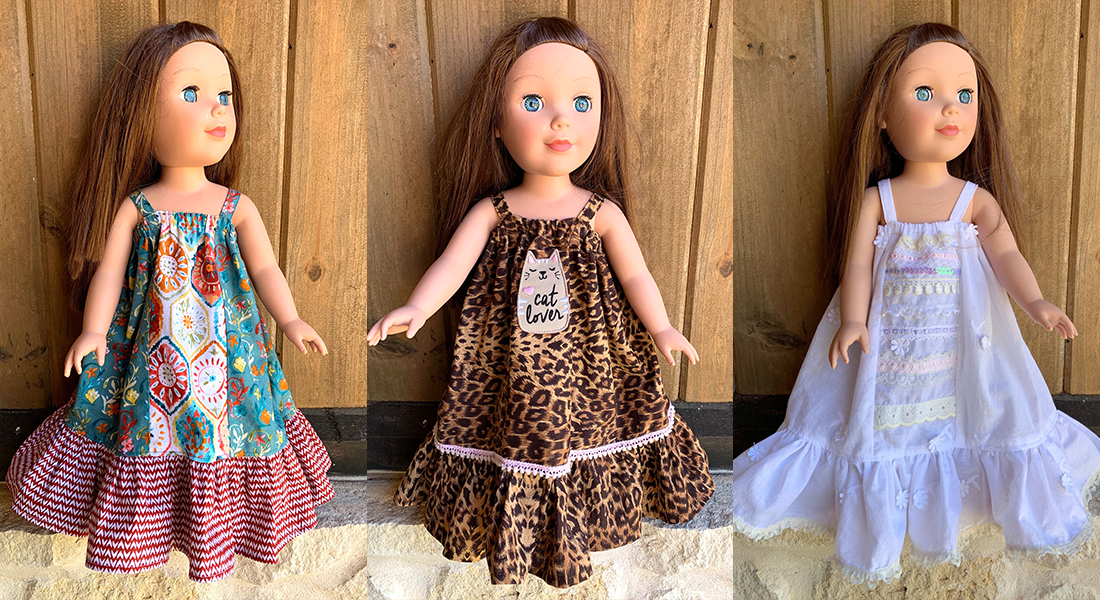
How to Sew a Sweet Baby Binding for Children’s Clothing

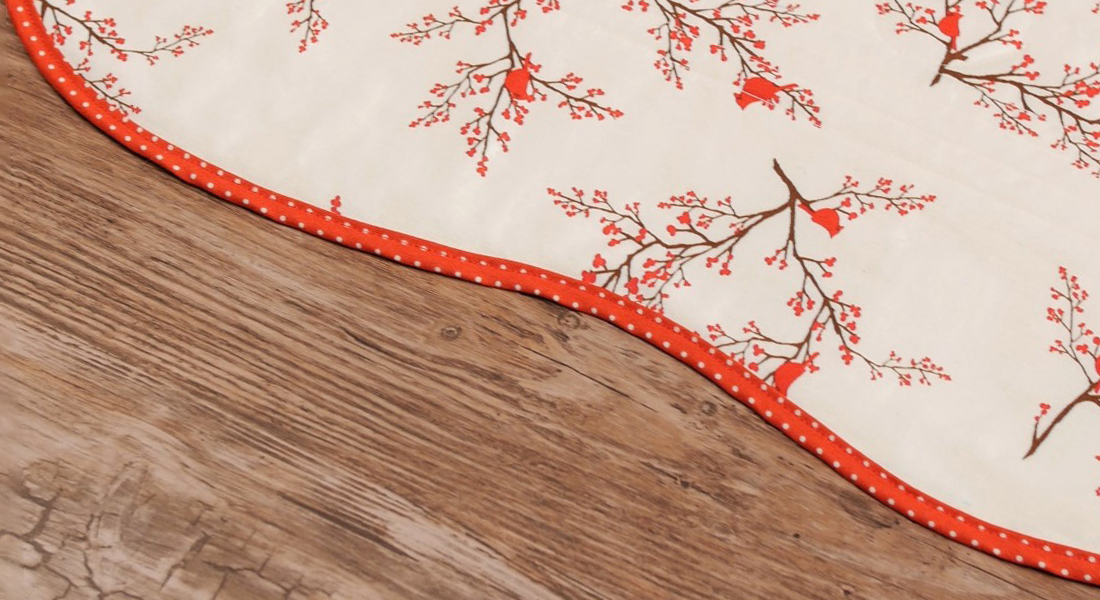
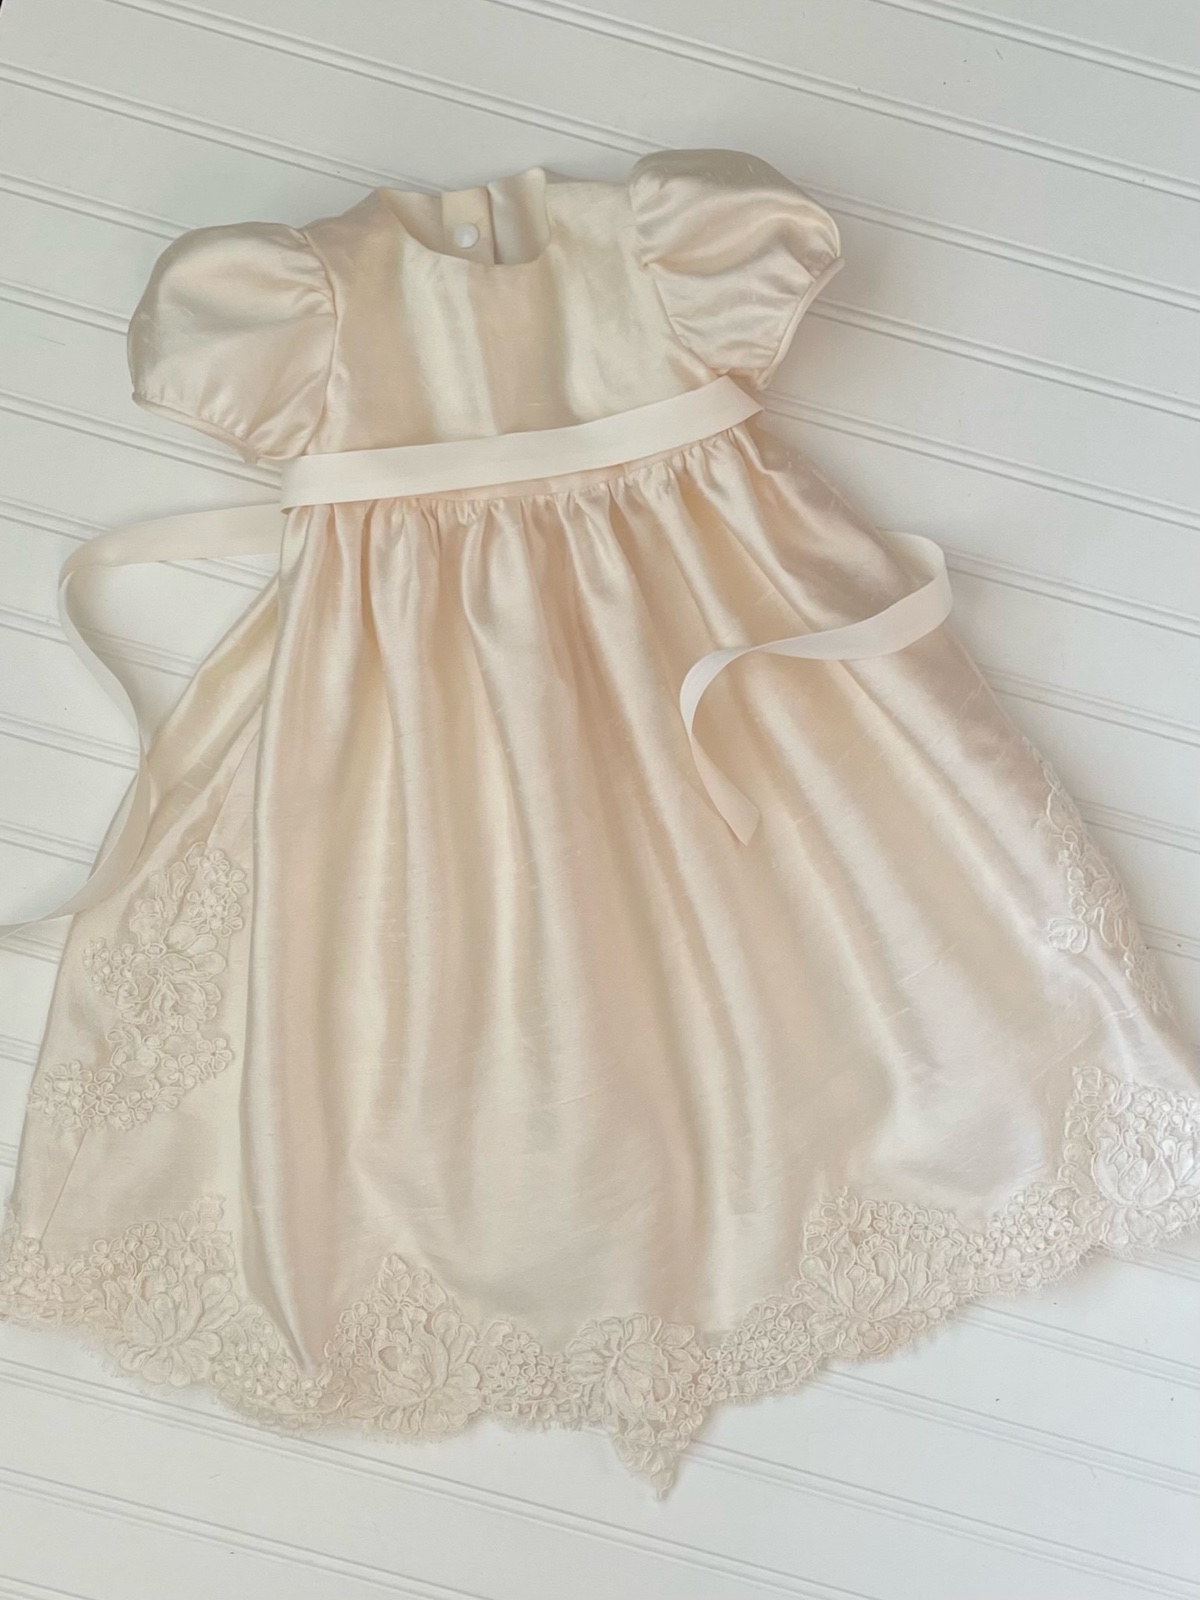
In this tutorial, I will show you a simple, yet classic method for how to Sew a Sweet Baby Binding for Children’s Clothing. This is one of my favorite steps when completing my handmade children’s clothing. I typically use this binding method on necklines and sleeve bands, especially on the Christening gowns I create. You can also use this method to add a tiny binding to a baby quilt, blanket, or bib, just to name a few. Once you see how simple this method is, I’m sure you’ll find lots of ways to use this in your projects!
Materials to Sew a Sweet Baby Binding for Children’s Clothing
Project of choice ready or binding OR fabric swatch for practice (6 x 6 square or similar swatch, whatever you have on hand)
- Fabric for Binding (can be the same as main project or a coordinating fabric) Quantity varies based on your project size or practice swatch. Generally, you’ll want to minimize the number of seams you need in your binding strips. A full width of fabric might be best for a project such as a quilt or blanket. For my example of sleeve binding, I only need a piece of fabric approximately 12 inches square. This tutorial shows you how to join multiple strips.
- Cutting Mat This is optional, but let me just tell you: if you haven’t tried this yet, it’s a game-changer!
- Straight Edge Ruler I am just beginning my quilting journey, but I use my quilting ruler for EVERYTHING! Get one. You’re welcome. 🙂
- Rotary Cutter I have had one of these just about forever. Longer than my quilting mat. I think I started with a cutting board. Don’t follow my lead on that unless you love to work with dull blades. If you don’t have one, get one. If you have one, change the blade more than once every 20 years. Ask me how I know this.
- Iron/Ironing surface For obvious reasons. Awhile back I upgraded to a Rowenta iron I picked up at a local TJ-something discount store. I’ve never looked back. Now if someone wants to gift me with one of those snazzy Laurastar systems, I’m all about trying one. I’ve heard they’re amazing!
- Sewing Pins
- Wonder Clips
- Seam Gauge
- Thread I can’t stress enough the importance of using the right thread for a project. Here’s a tutorial to help you if the world of thread is overwhelming.
- Hand Sewing Needles Have you discovered self-threading needles? What? Oh. My. Goodness.
Steps to Sew a Sweet Baby Binding for Children’s Clothing
Step 1 Create a Sample Swatch (optional, but recommended for beginners)
If you are not planning to do a sample swatch, feel free to skip to step 3. You will need a project which is ready to have binding added.
Step 2 (Sample Swatch) Cut a Sample of Fabric
Don’t make it complicated. Just cut a straight edge on a piece of fabric so you can practice. I recommend at least 6 inches in order to have enough practice to get the hang of it.
Step 3 Measure Length of Edge to Be Bound
Whether you’re using a practice swatch or an actual project, measure the length of the edge you plan to bind. Add a few inches extra to be sure you have enough to finish your ends as needed.
Step 4 Cut Bias Strip(s)
Using a straight edge, cutting mat, and rotary cutter, cut a strip of fabric on the bias.* For my example of Baby Binding for sleeves, I will use strips that are 1 inch wide and approximately 12 inches long.
*If this is your first time creating a bias binding, follow these simple instructions to be sure you cut your fabric correctly. A cutting mat with markings makes this process super-easy. If you don’t have these tools, no worries. Take a quick peek at this video for a simple method for cutting. It will also show you how to seam several strips together for a longer project, such as a quilt binding.
-
Step 4a Prepare Fabric
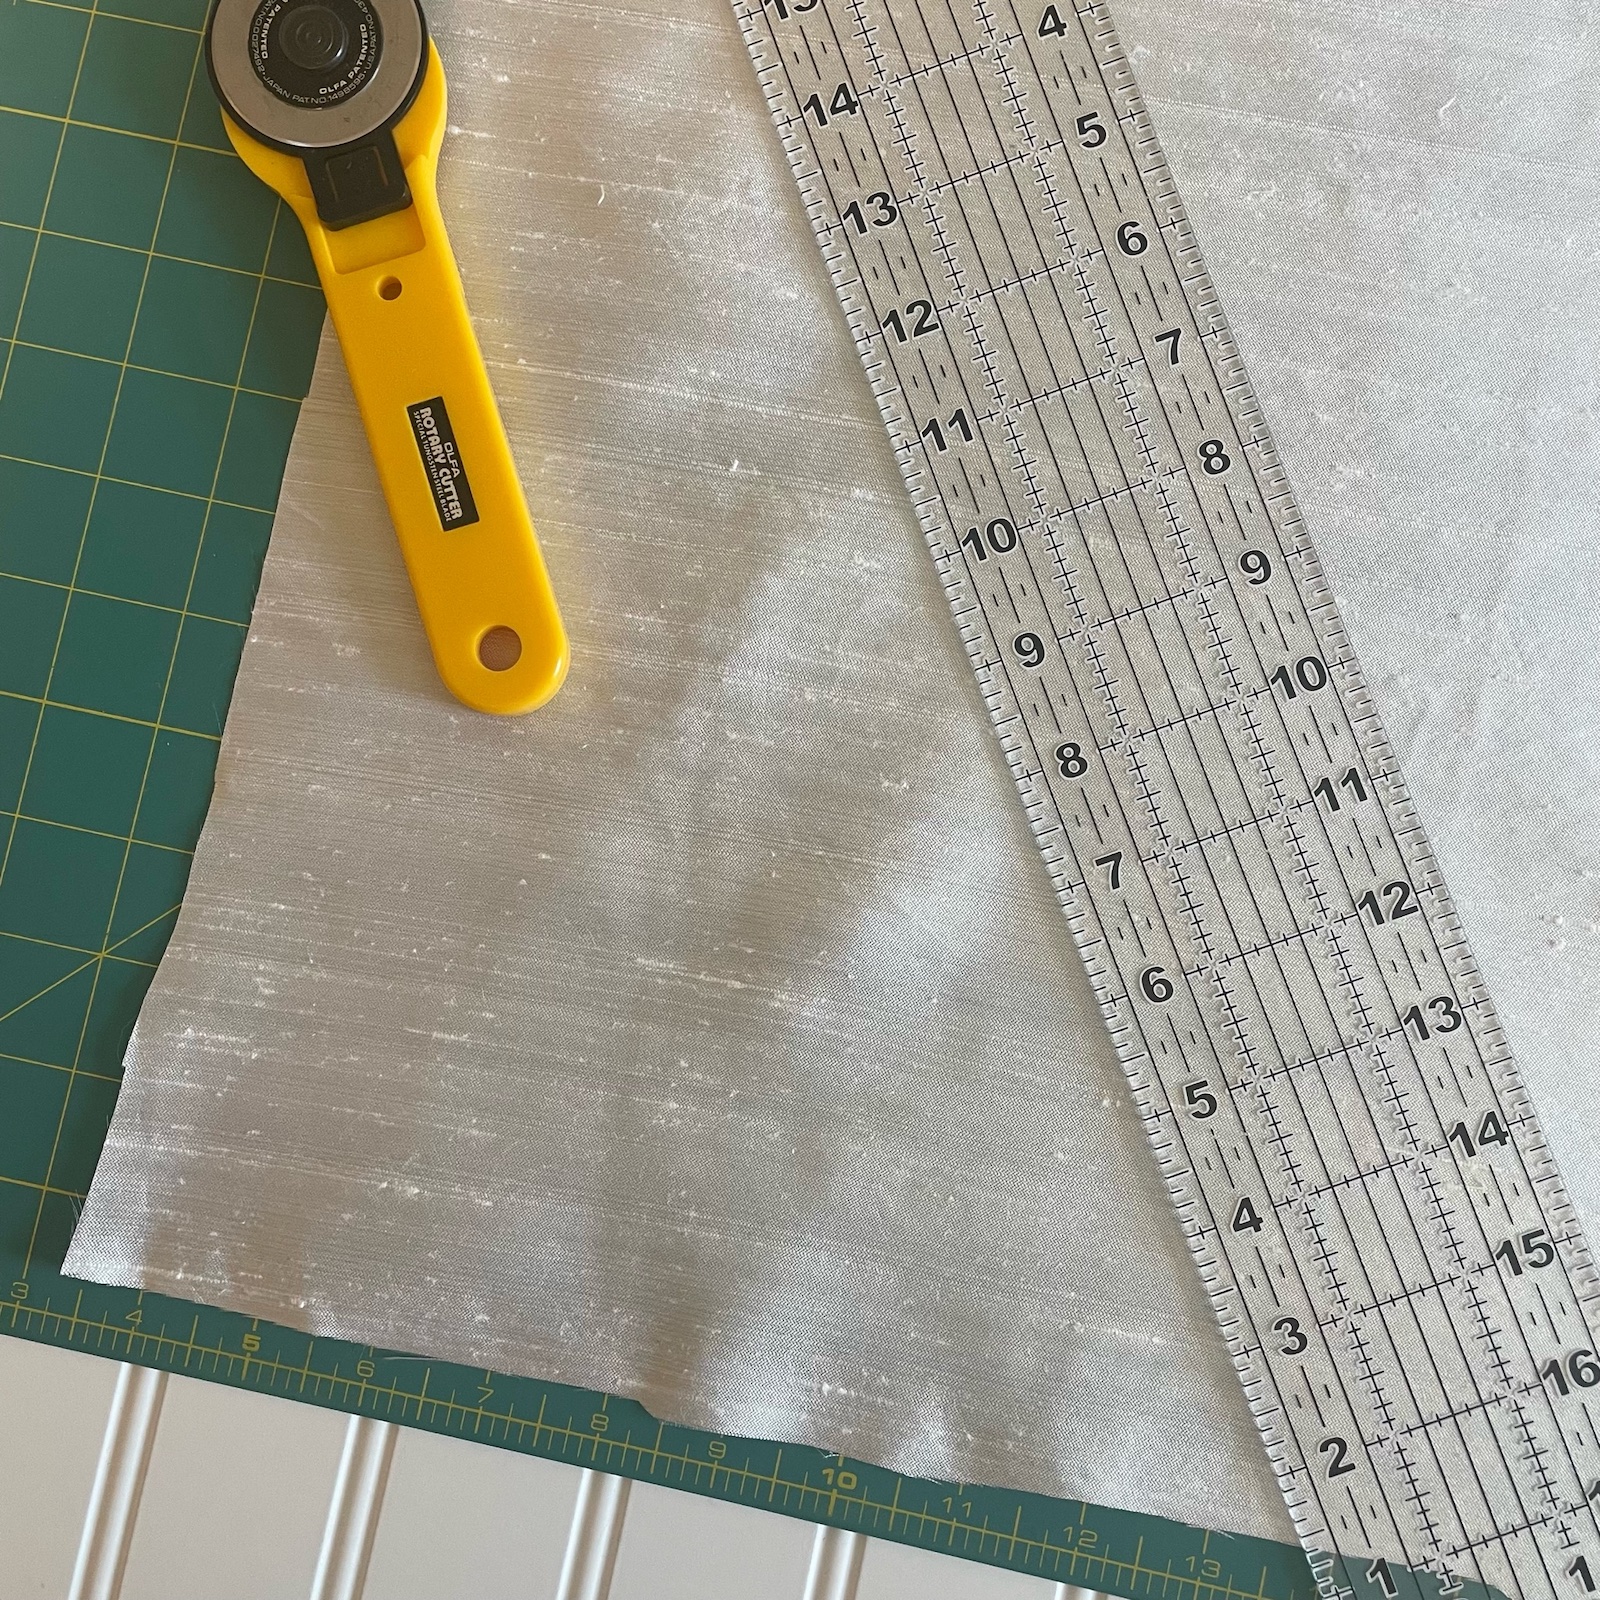
Trim the selvage (the narrow border that runs along the length of the fabric edges). Line up the left edge of your fabric along the left side of the cutting mat. Square up the bottom edge of the fabric to be sure you have a straight line across the bottom.
-
Step 4b Set up Bias
Fold the bottom right corner diagonally toward the top of your mat so the corner touches the left edge of the fabric and the bottom edge and left selvage edge meet. This will form a triangle with your fabric with a perfect 45 degree angle. Notice the swatch does not have to be square. A rectangle works just fine as long as you line up the edges as in my example below.

-
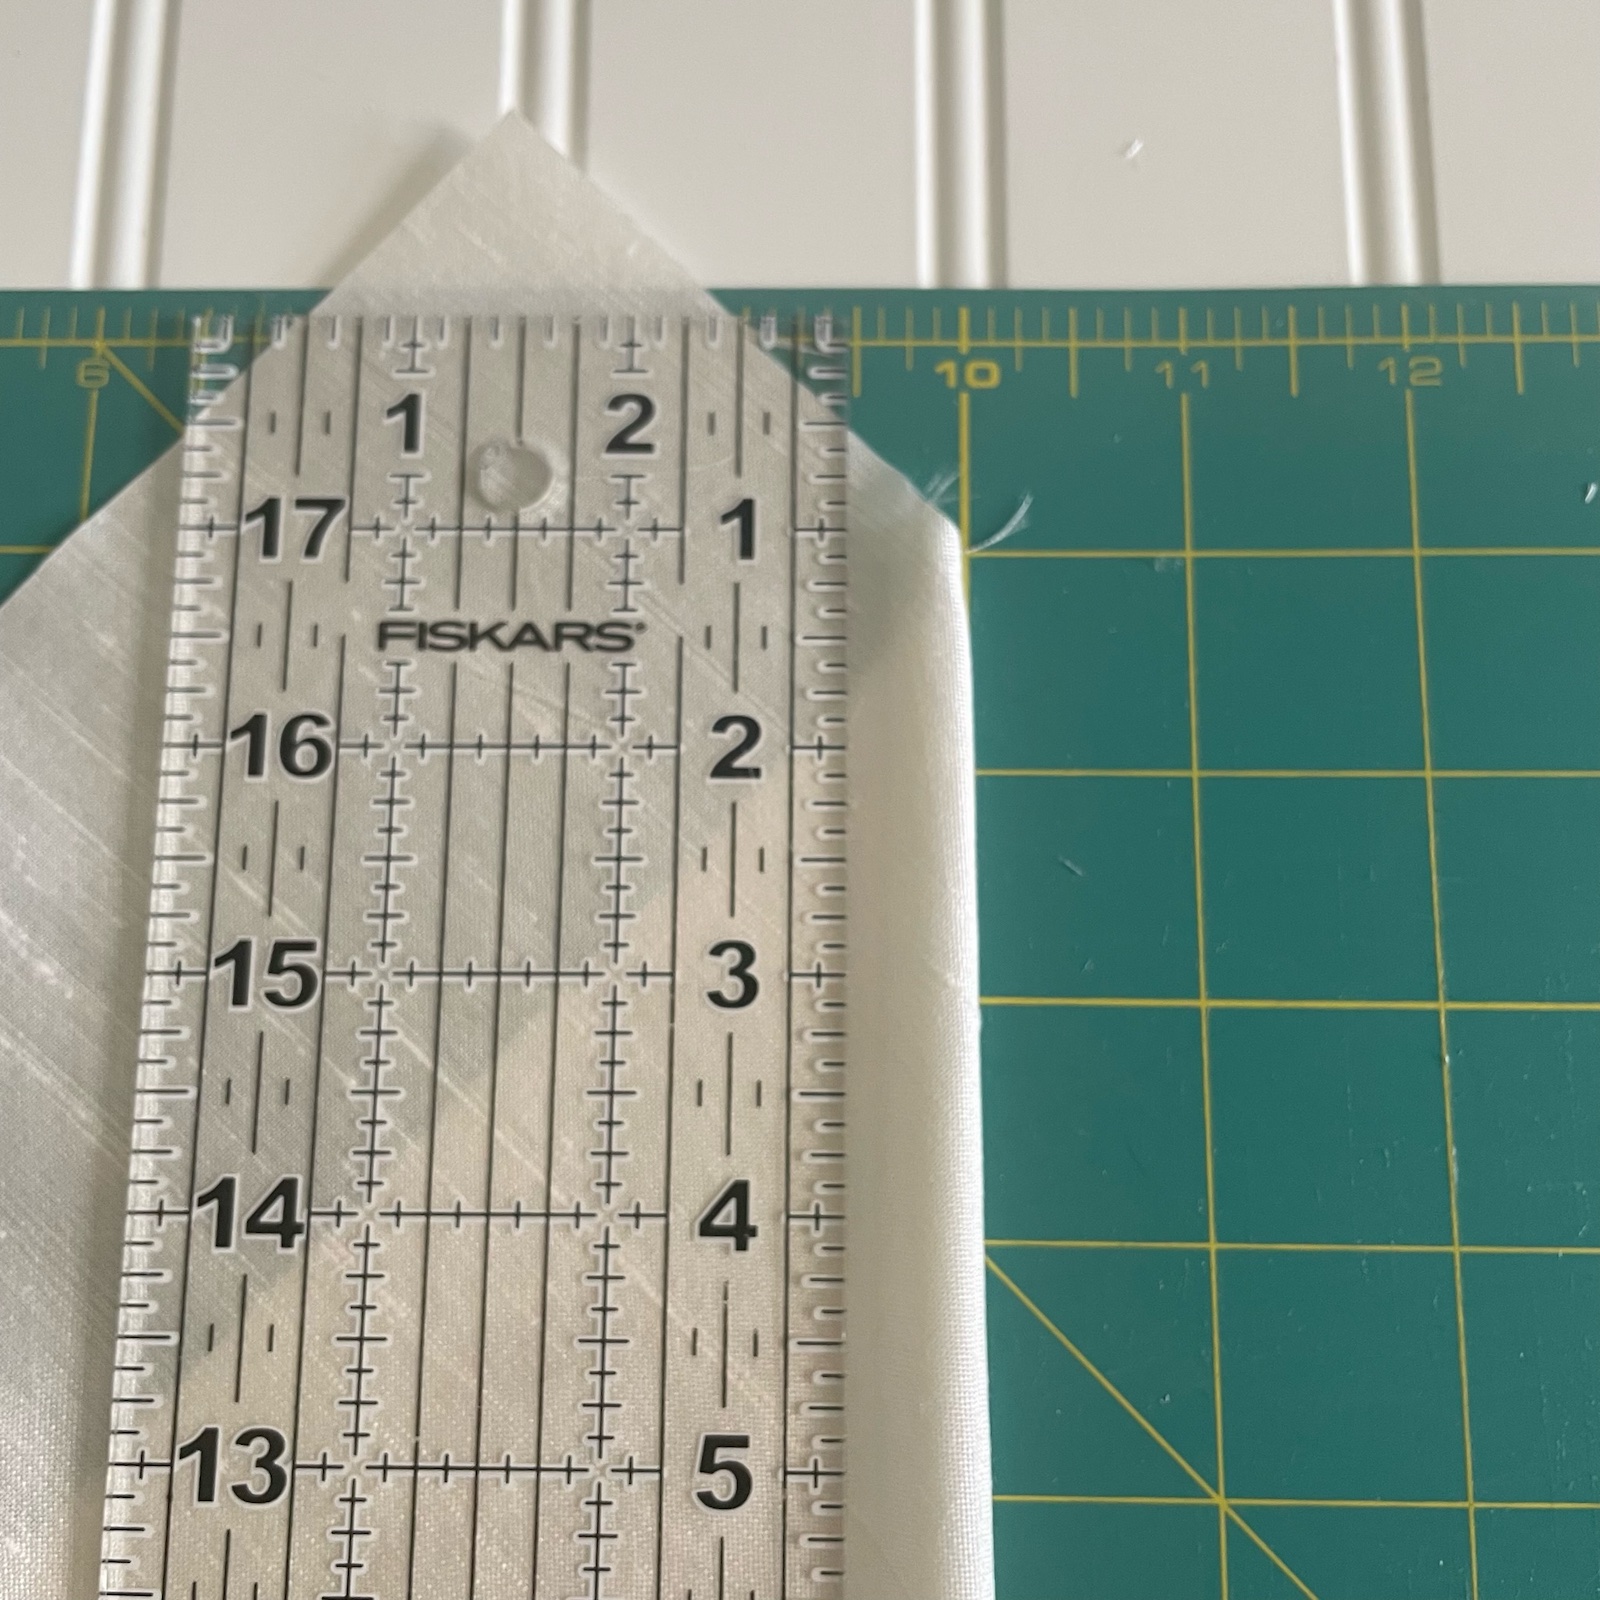
Step 4c Cut Strips
Using your straight edge and rotary cutter (or marking pen), cut (or mark) a vertical line 1/2 inch from fold. When unfolded, this will be the 1 inch measurement referred to in the beginning of Step 4. Repeat this step to cut as many strips as determined in Step 3. One strip is all you need for the Sample Swatch. This tutorial shows you a simple way to join multiple strips.

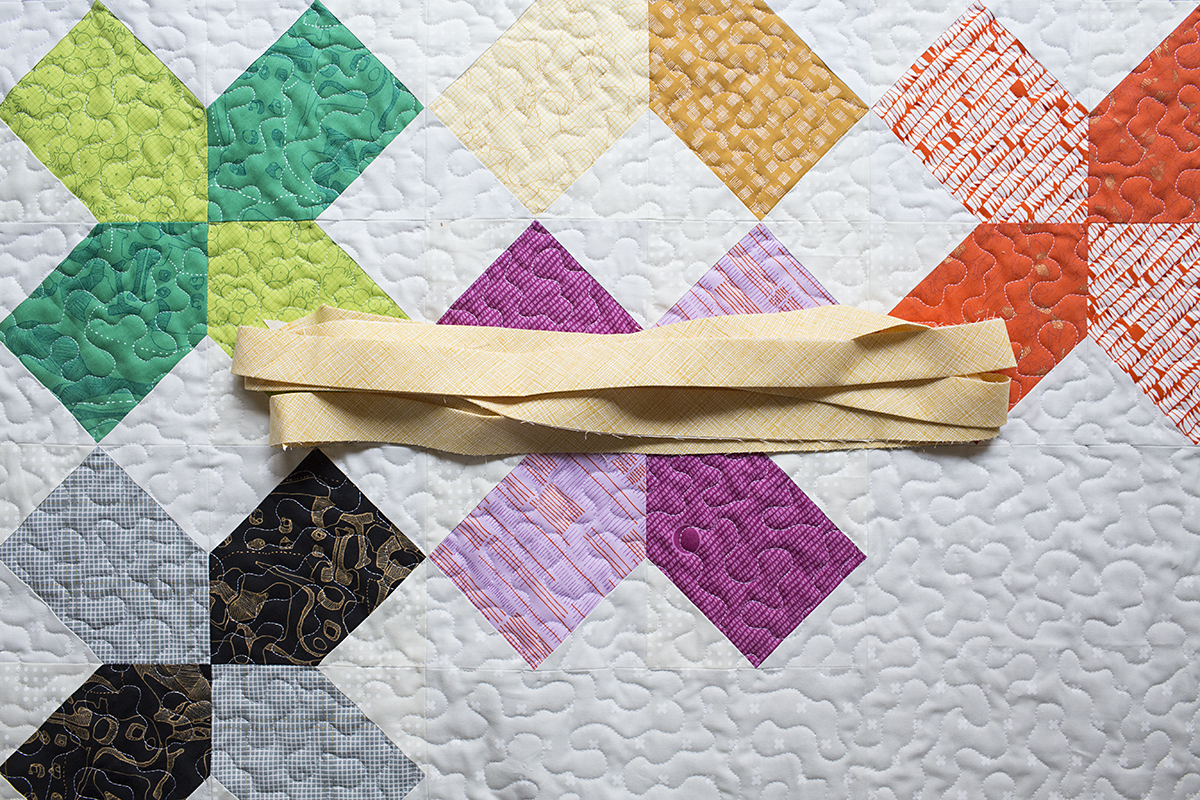
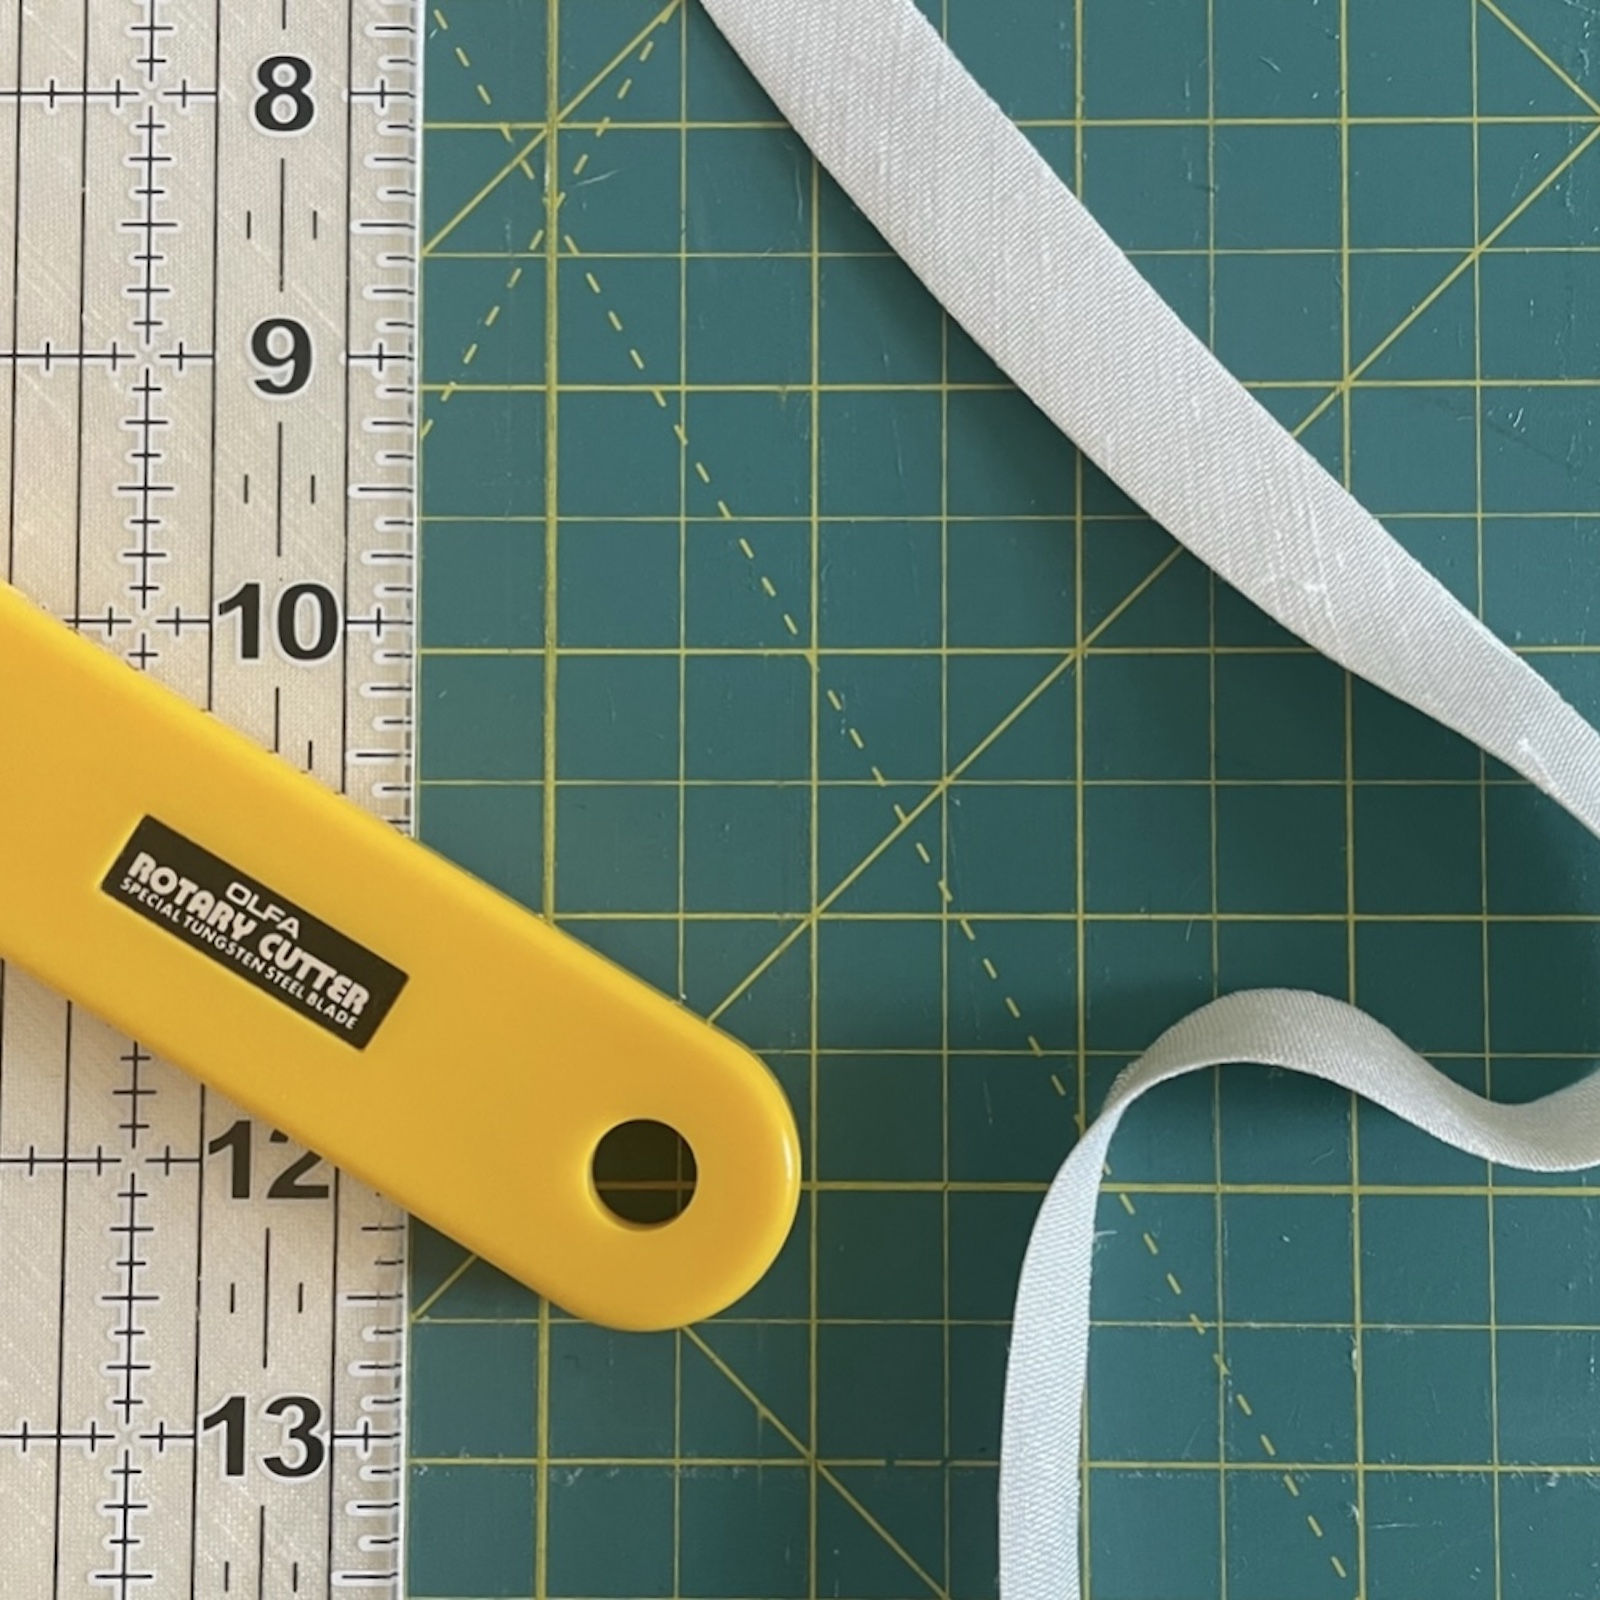
Step 5 Fold Bias Strip in Half Lengthwise and Press
If you have multiple strips, you will need to sew them together first (see note below). Otherwise, press strip in half lengthwise. I like to use spray starch for this step to be sure I am working with a clean, crisp edge.
Note: If you have a longer edge to bind, you will need to join your strips by sewing them together before you begin. See the video linked in step 4. Note: binding a quilt perfectly takes a little math and is a little bit more advanced. This tutorial walks you through it. I have no doubt you can do it, but if it’s your first time, I’d recommend a sample swatch.
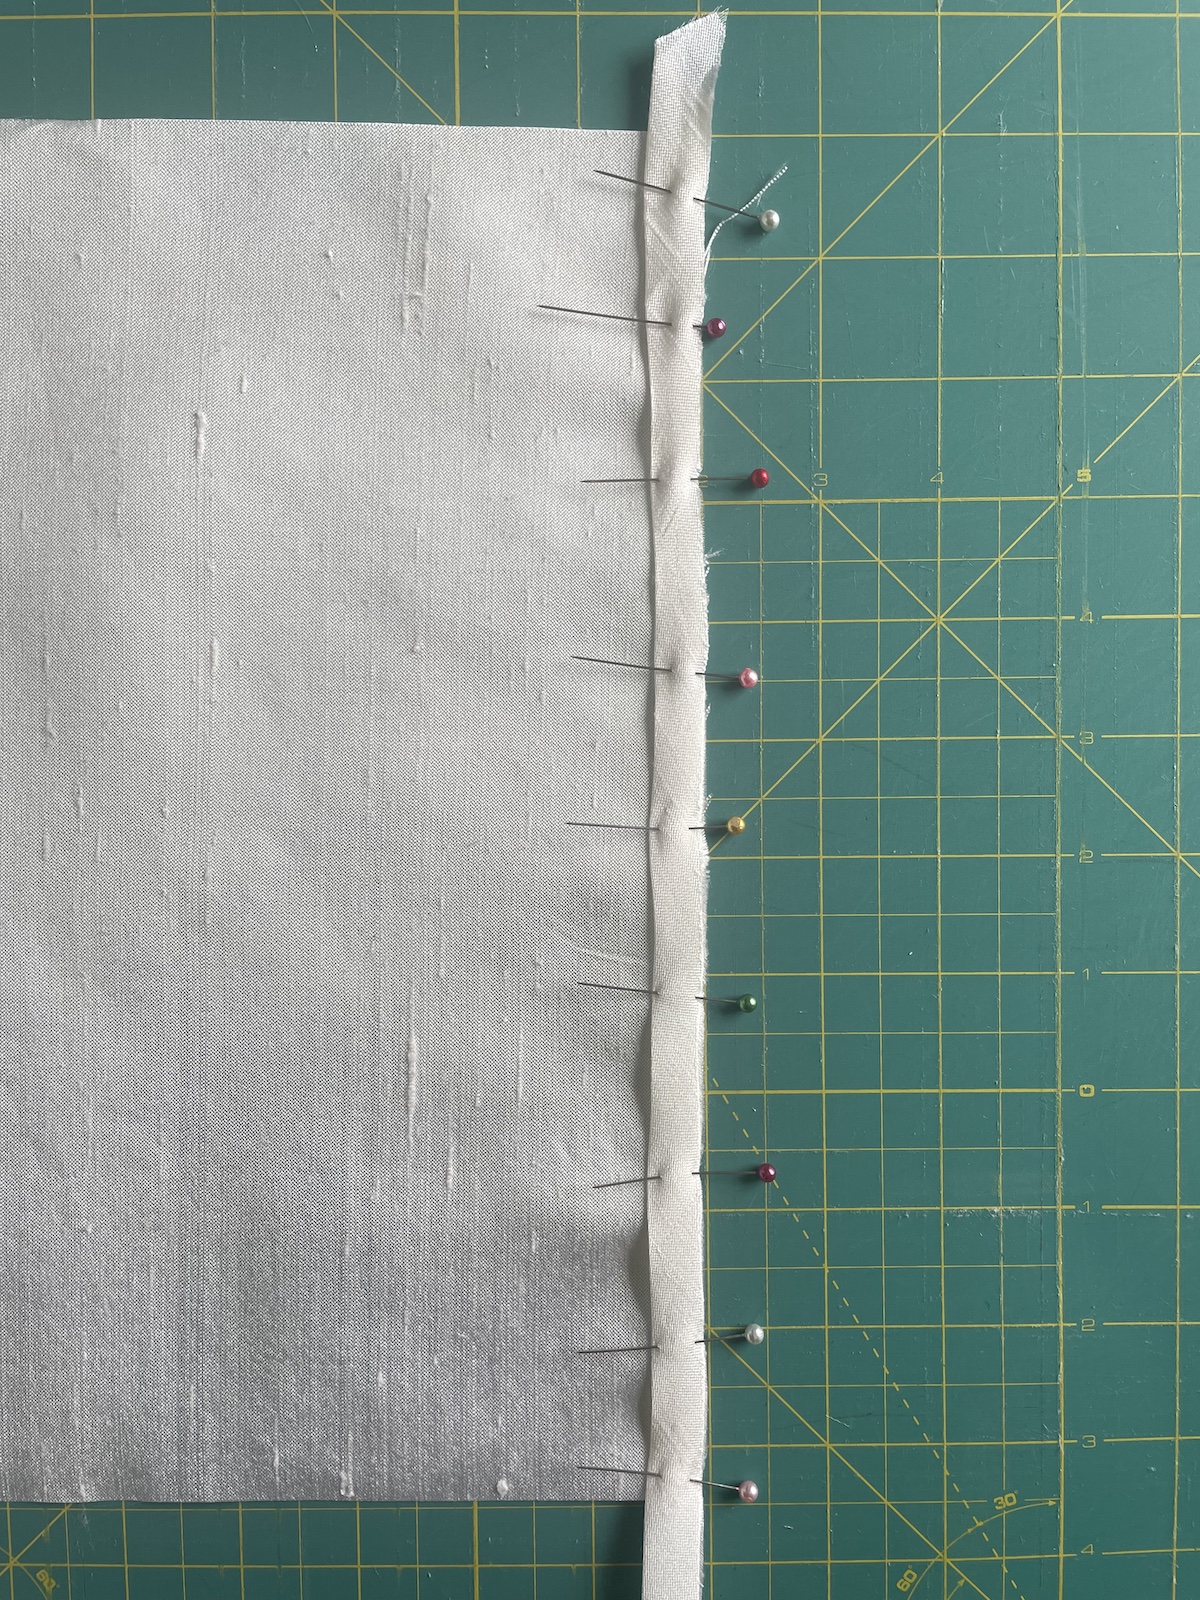
Step 6 Pin Folded Strip to Swatch/Project Edge
Lay bias strip on top of the right side of the fabric (hint: not right as in opposite of left, but right as in not wrong side!) Line up raw edges and pin in place.
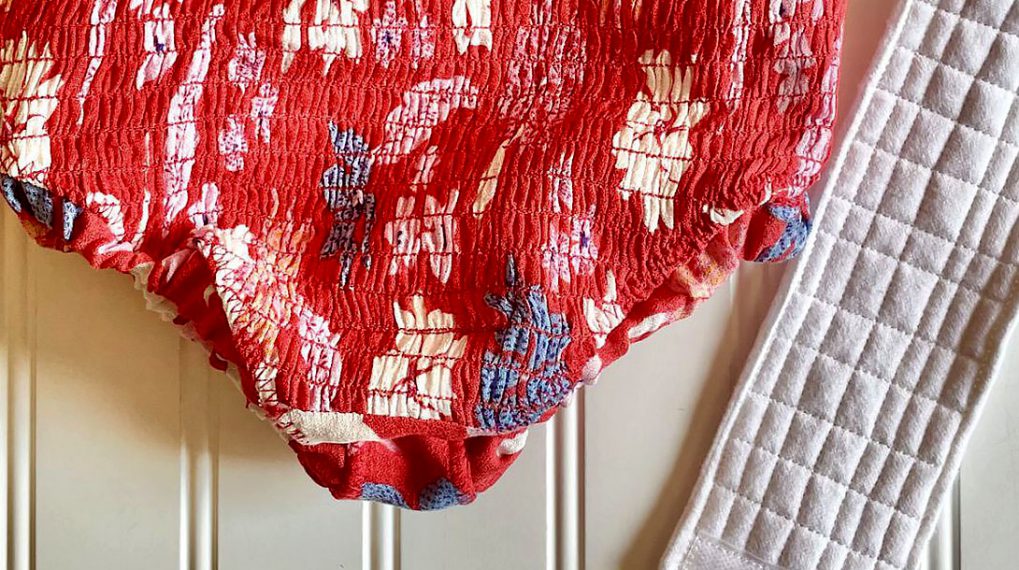
Bonus
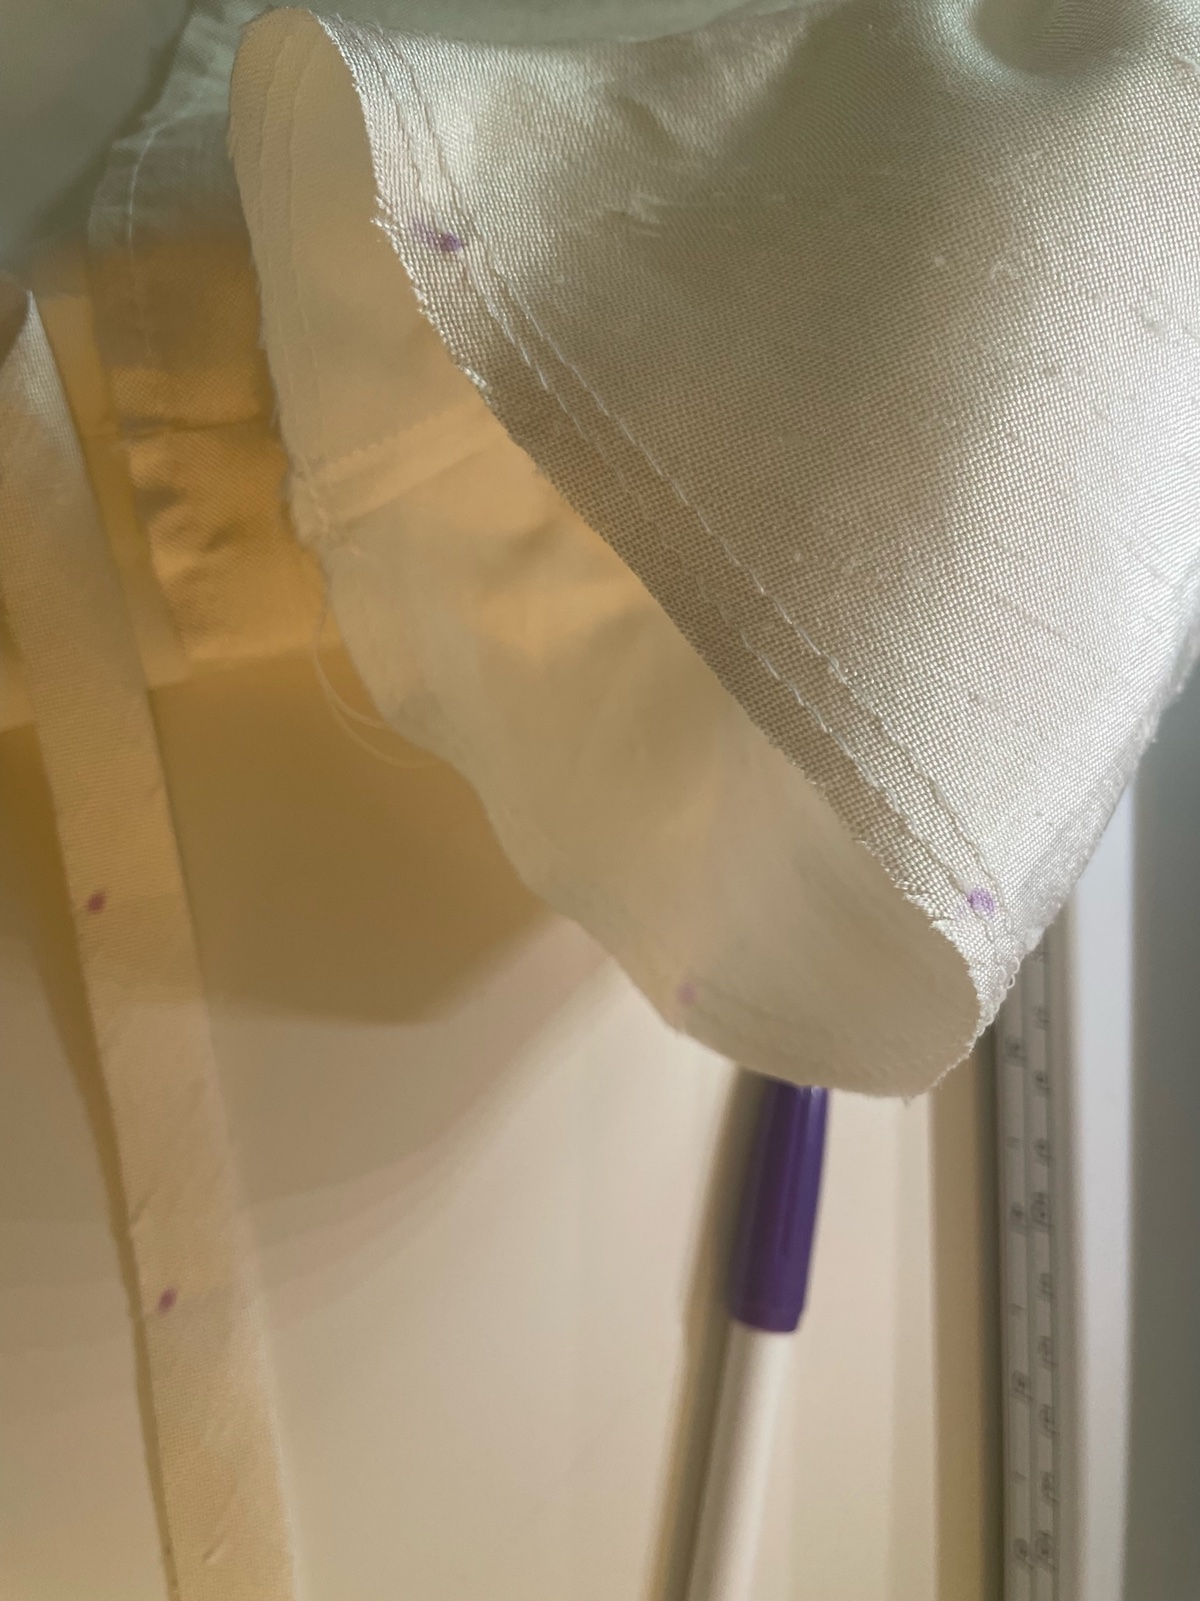
Note: My example is a gathered sleeve edge, which is a slightly more advanced skill, but I’m sure you can do it! I consulted my dress pattern instructions to determine the finished sleeve opening measurement. Next, I cut my binding to that length plus one inch for overlap. I marked the binding in four places and marked the sleeve edge in four places before gathering. Next, I pinned the binding to the sleeve edge matching up the markings. Then I pulled my gathering threads the fit the sleeve to the binding and pinned.
Here are the photos of that process:
(1) Mark binding and sleeve before gathering
(2) Pin Binding to Sleeve Matching Markings
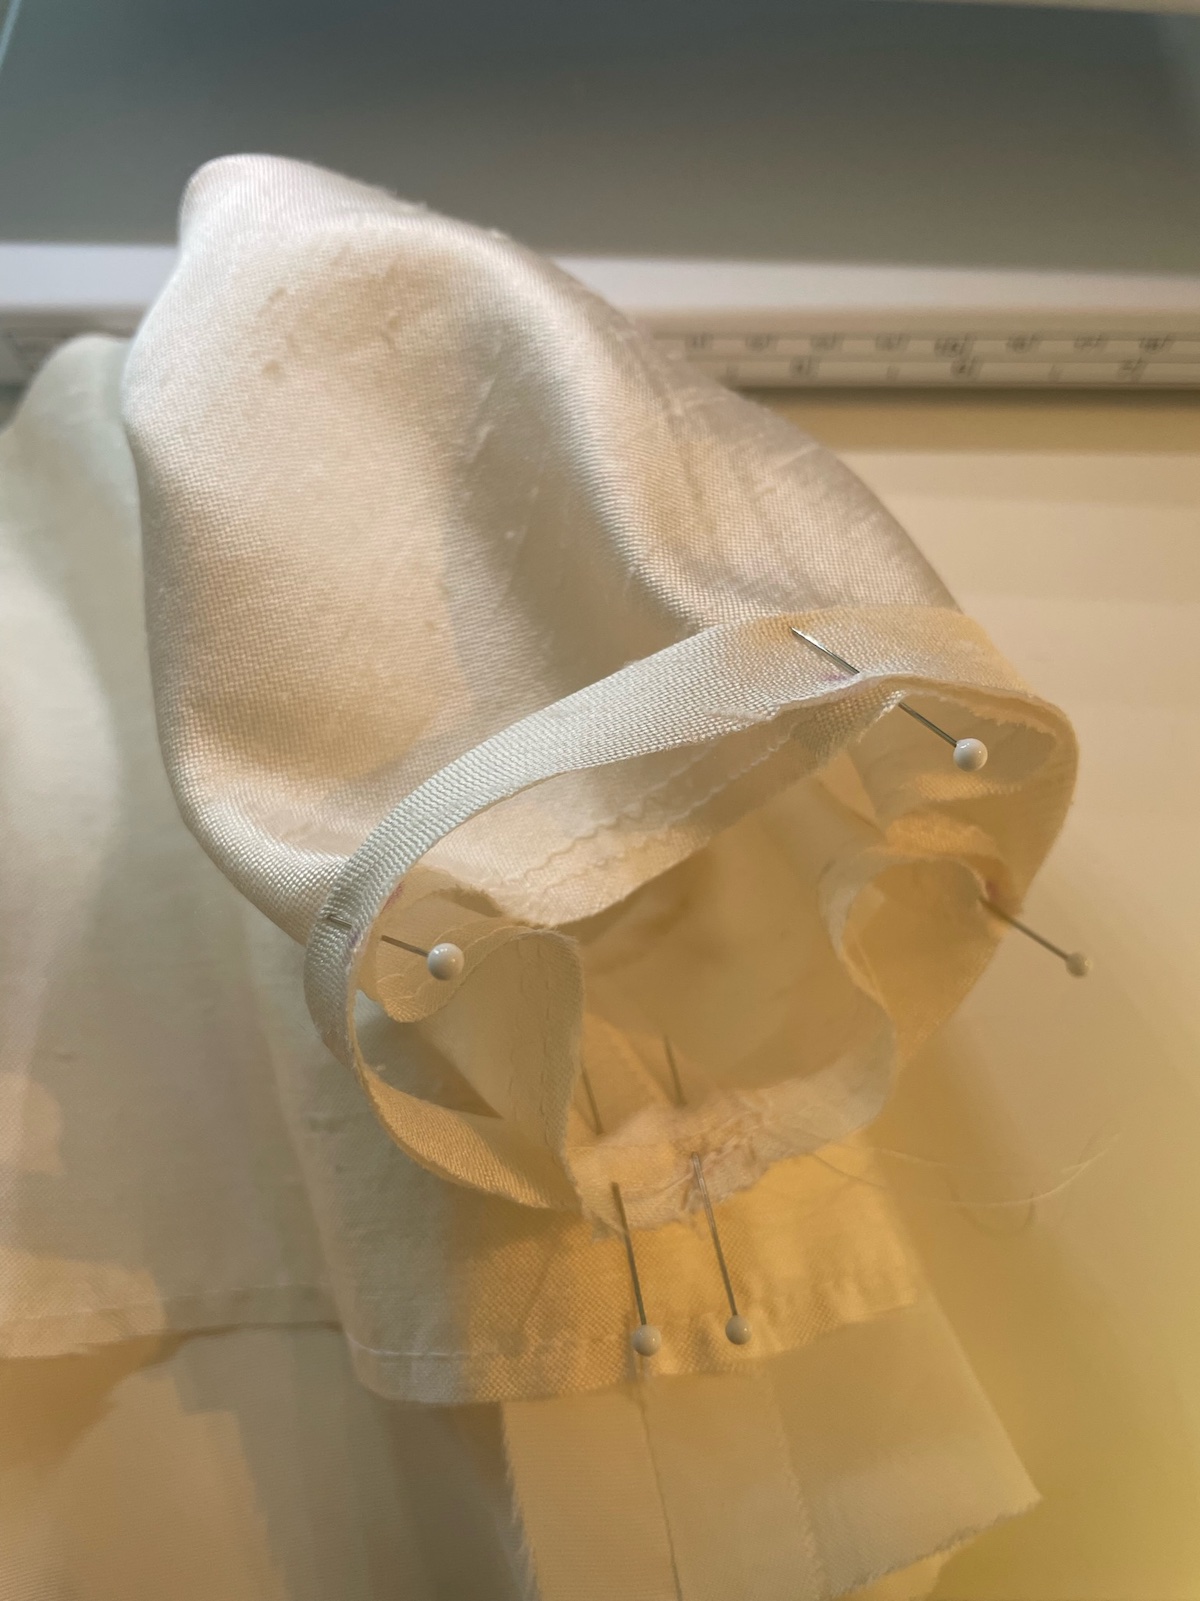
(3) Pin Binding to Join Ends
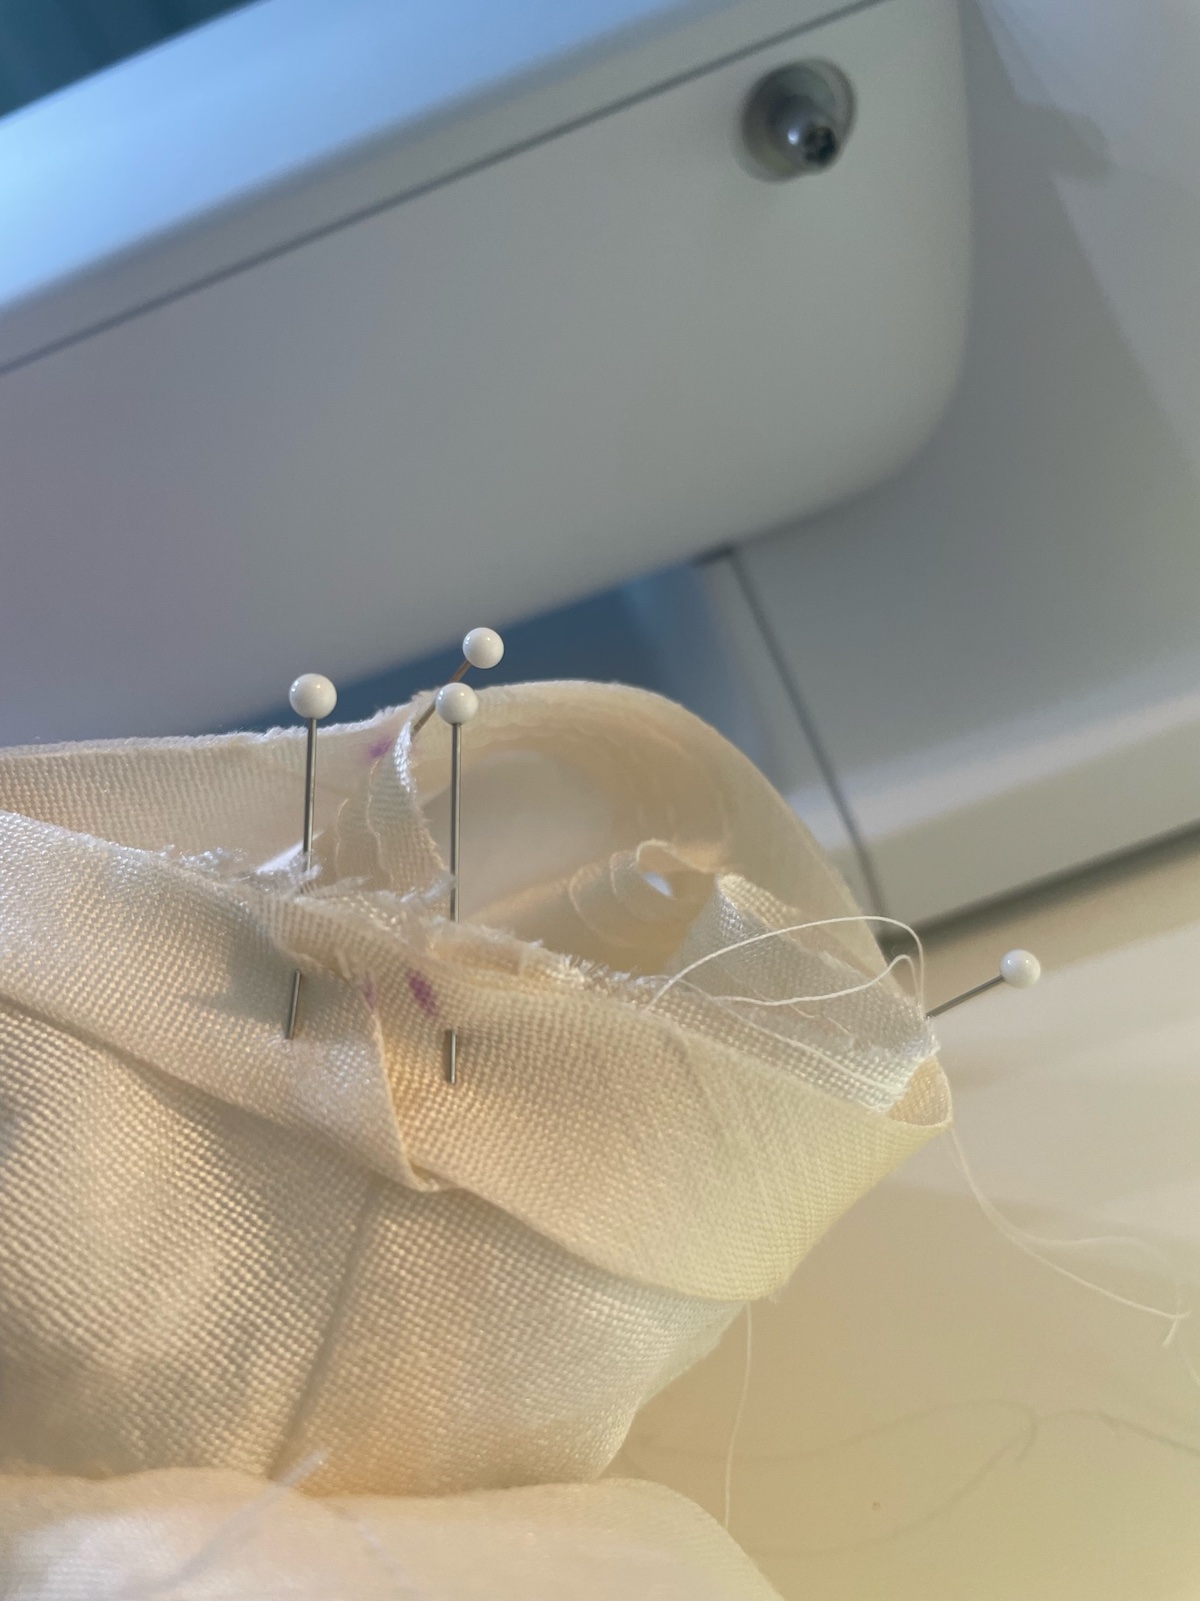
(4) Pull Gathering Threads and Pin Entire Opening

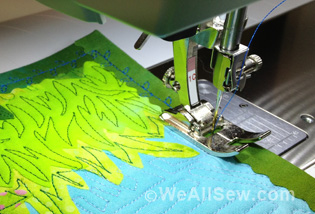
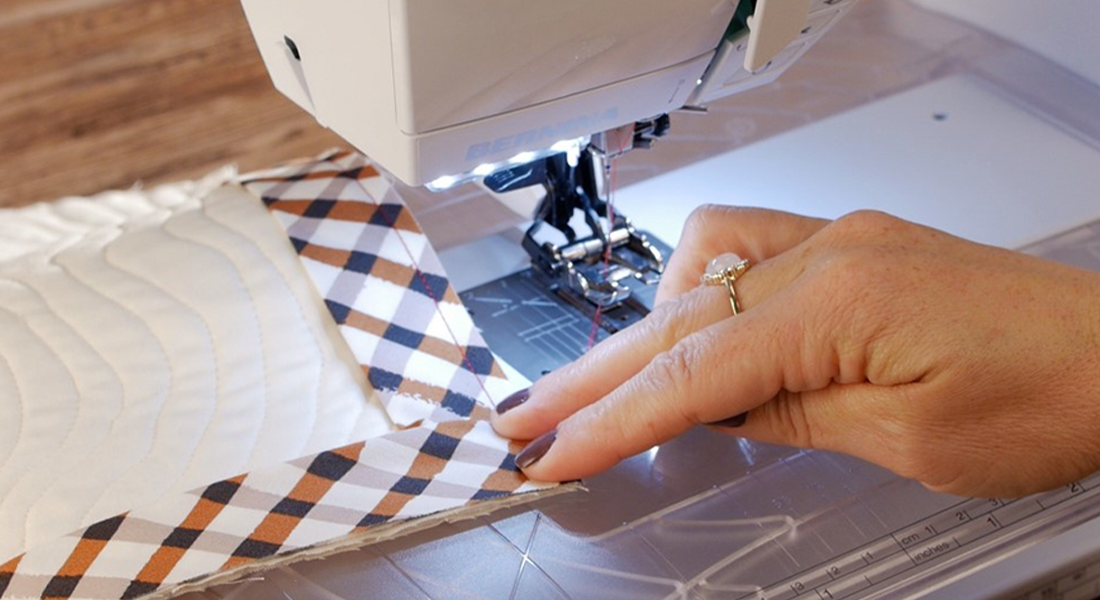
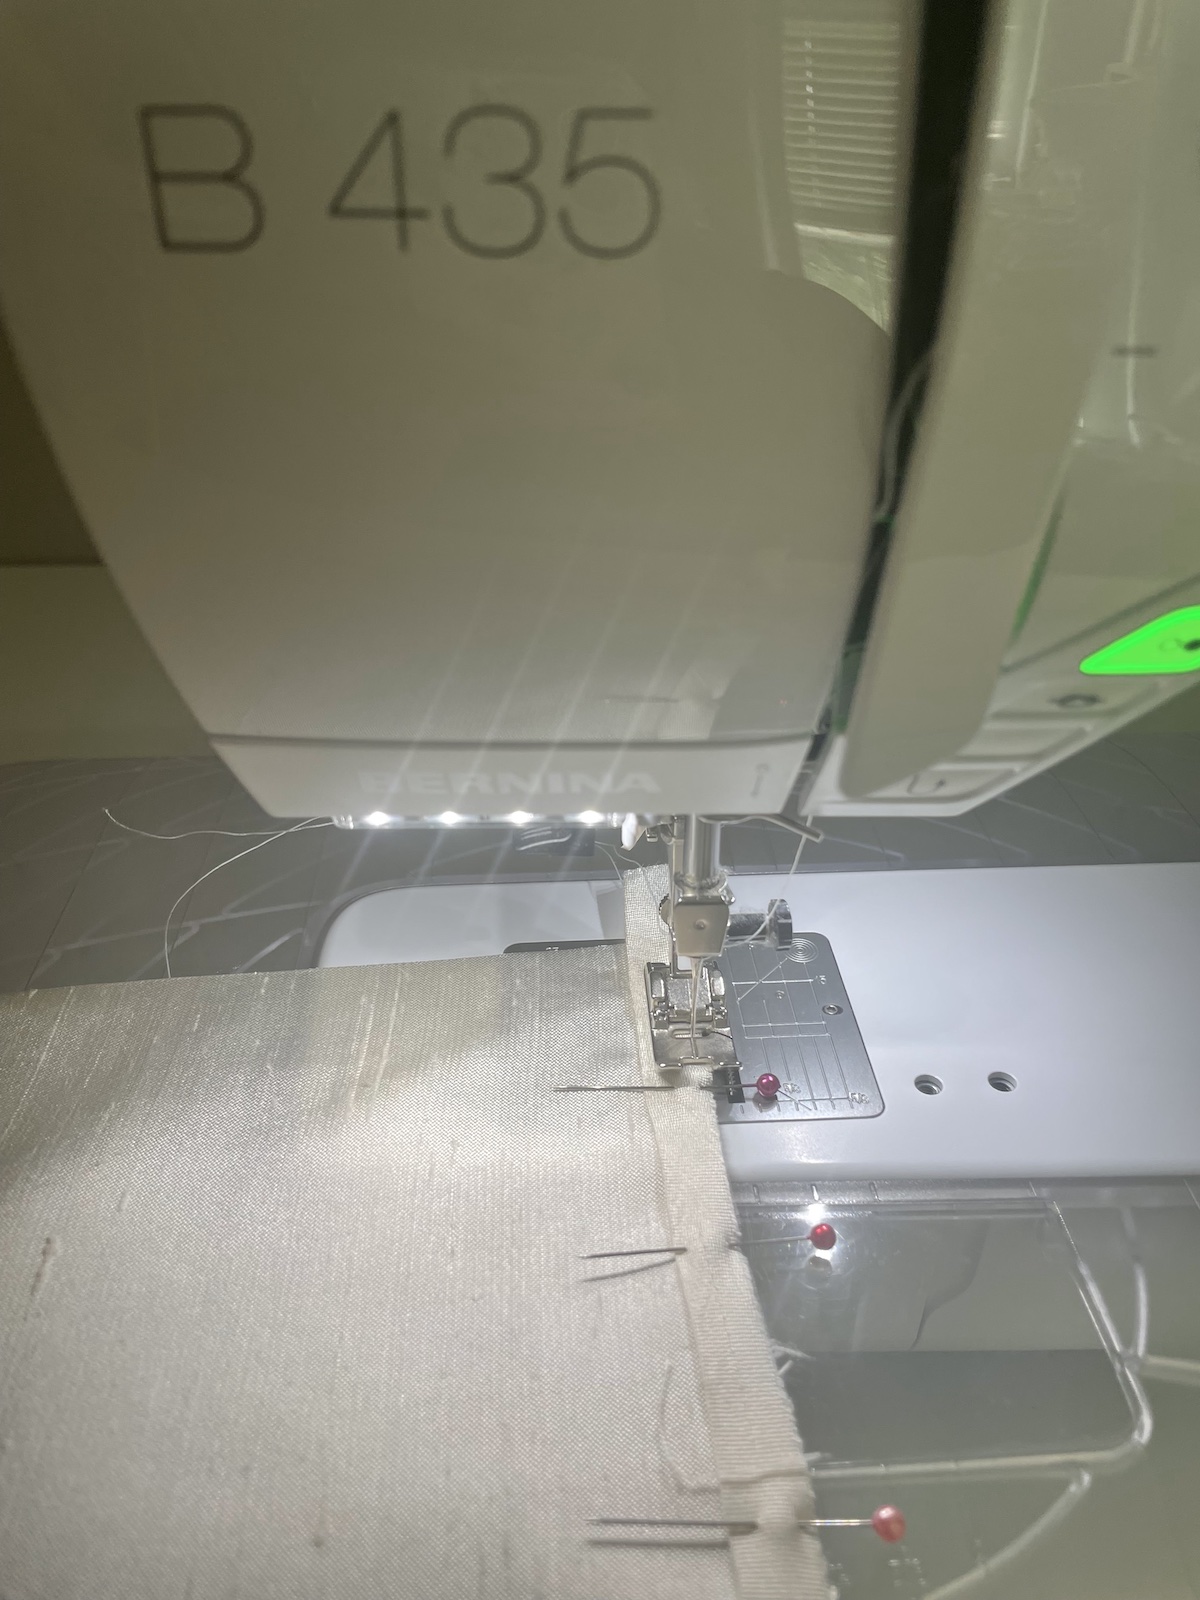
(5) Stitch
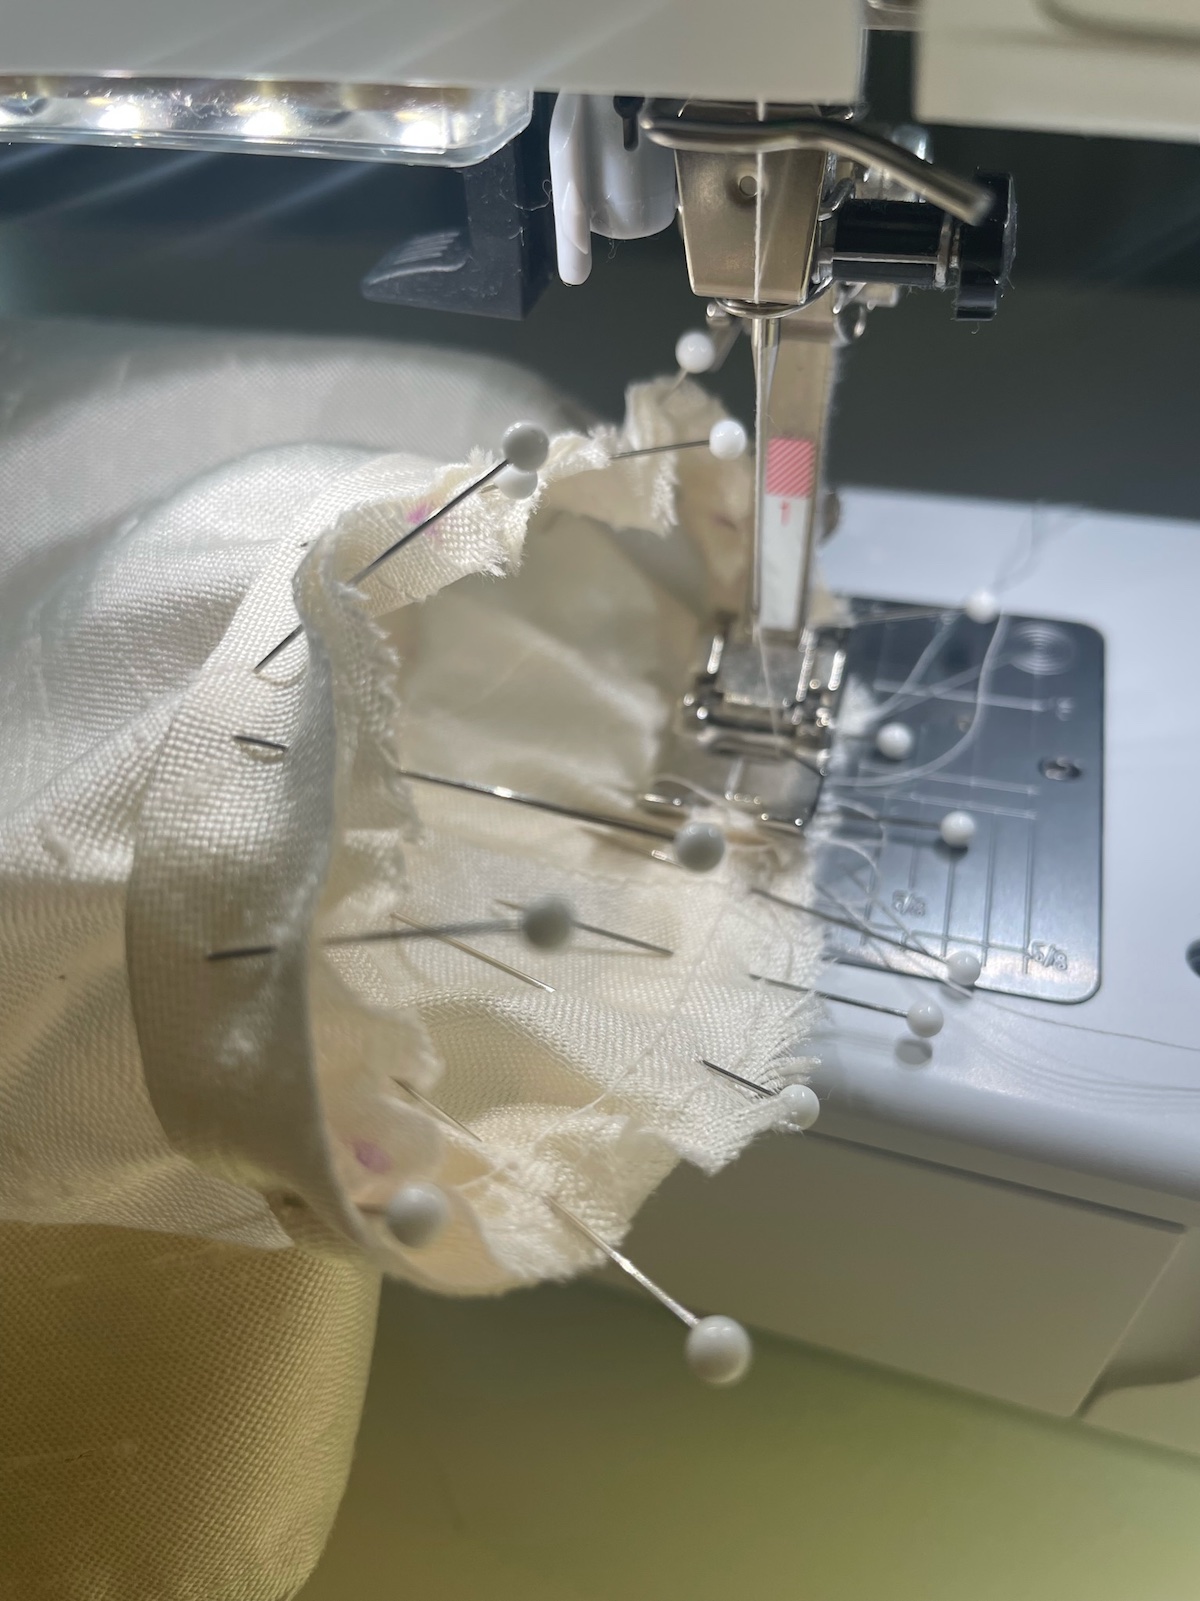
Important Tip: stitch so your pins are on the top near the presser foot and not on the bottom near the throat plate. This will make it easier to see your pins in time to remove them as you stitch as well as to avoid damaging your machine if you accidentally hit a pin.
Back to your regularly scheduled tutorial 🙂
Step 7 Stitch Binding
Using 1/8 inch seam allowance, stitch binding to fabric, removing pins as you go. Because you used such a small seam allowance, you will not need to trim your seam. I recommend double-checking your stitching to be sure all layers are stitched before moving on to Step 8.
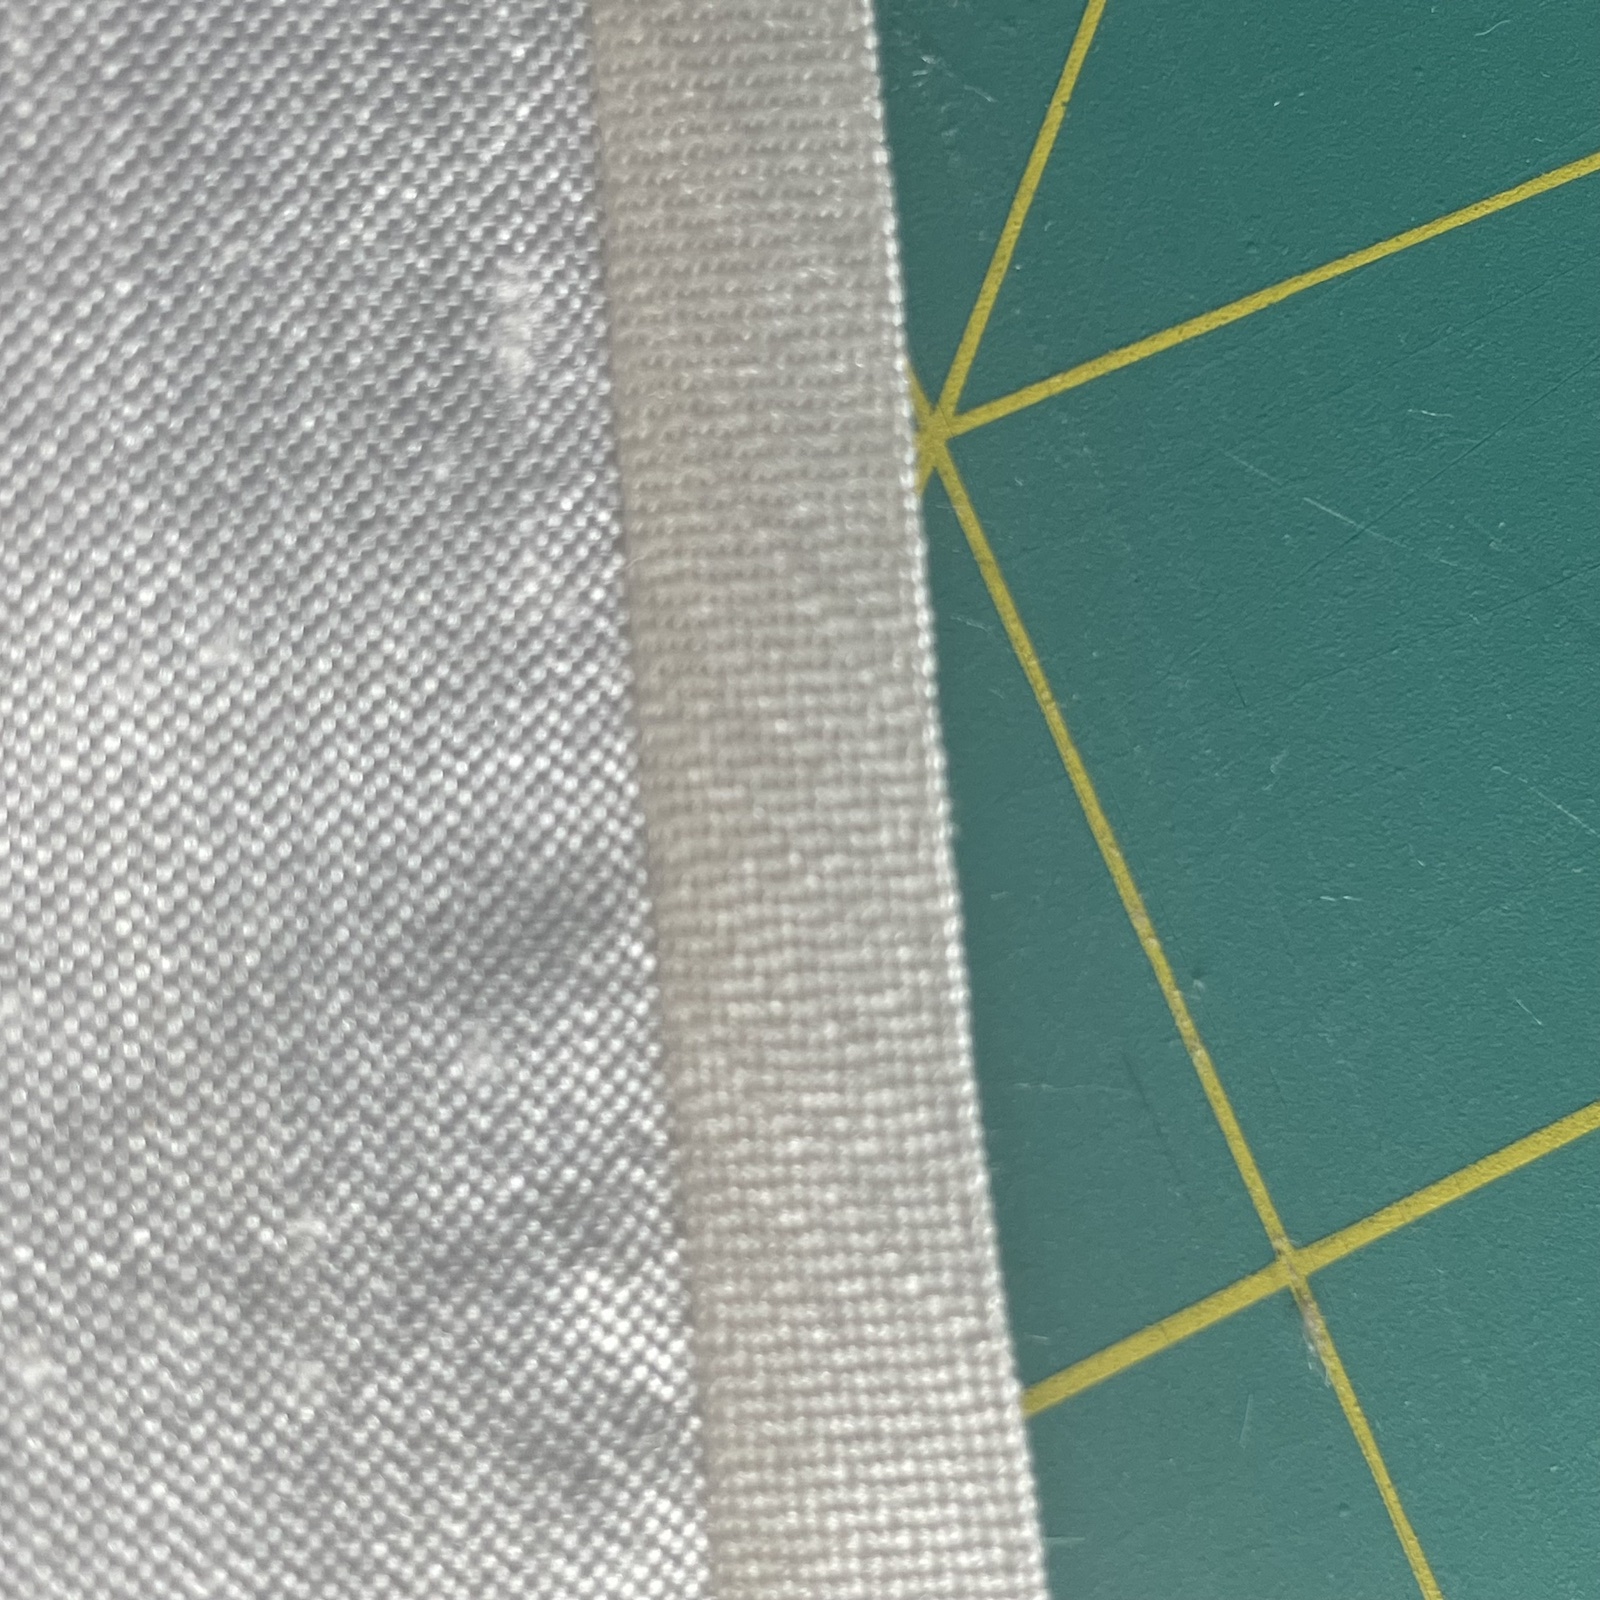
Step 8 Open and Press
Press binding toward the right (as in opposite of left!) so you see the finished side of the project and binding as pictured below. Press it really well and use steam or a pressing cloth as your fabric allows. The goal here is to make it is flat as possible to avoid bulk as you fold the Baby Binding to the back side.
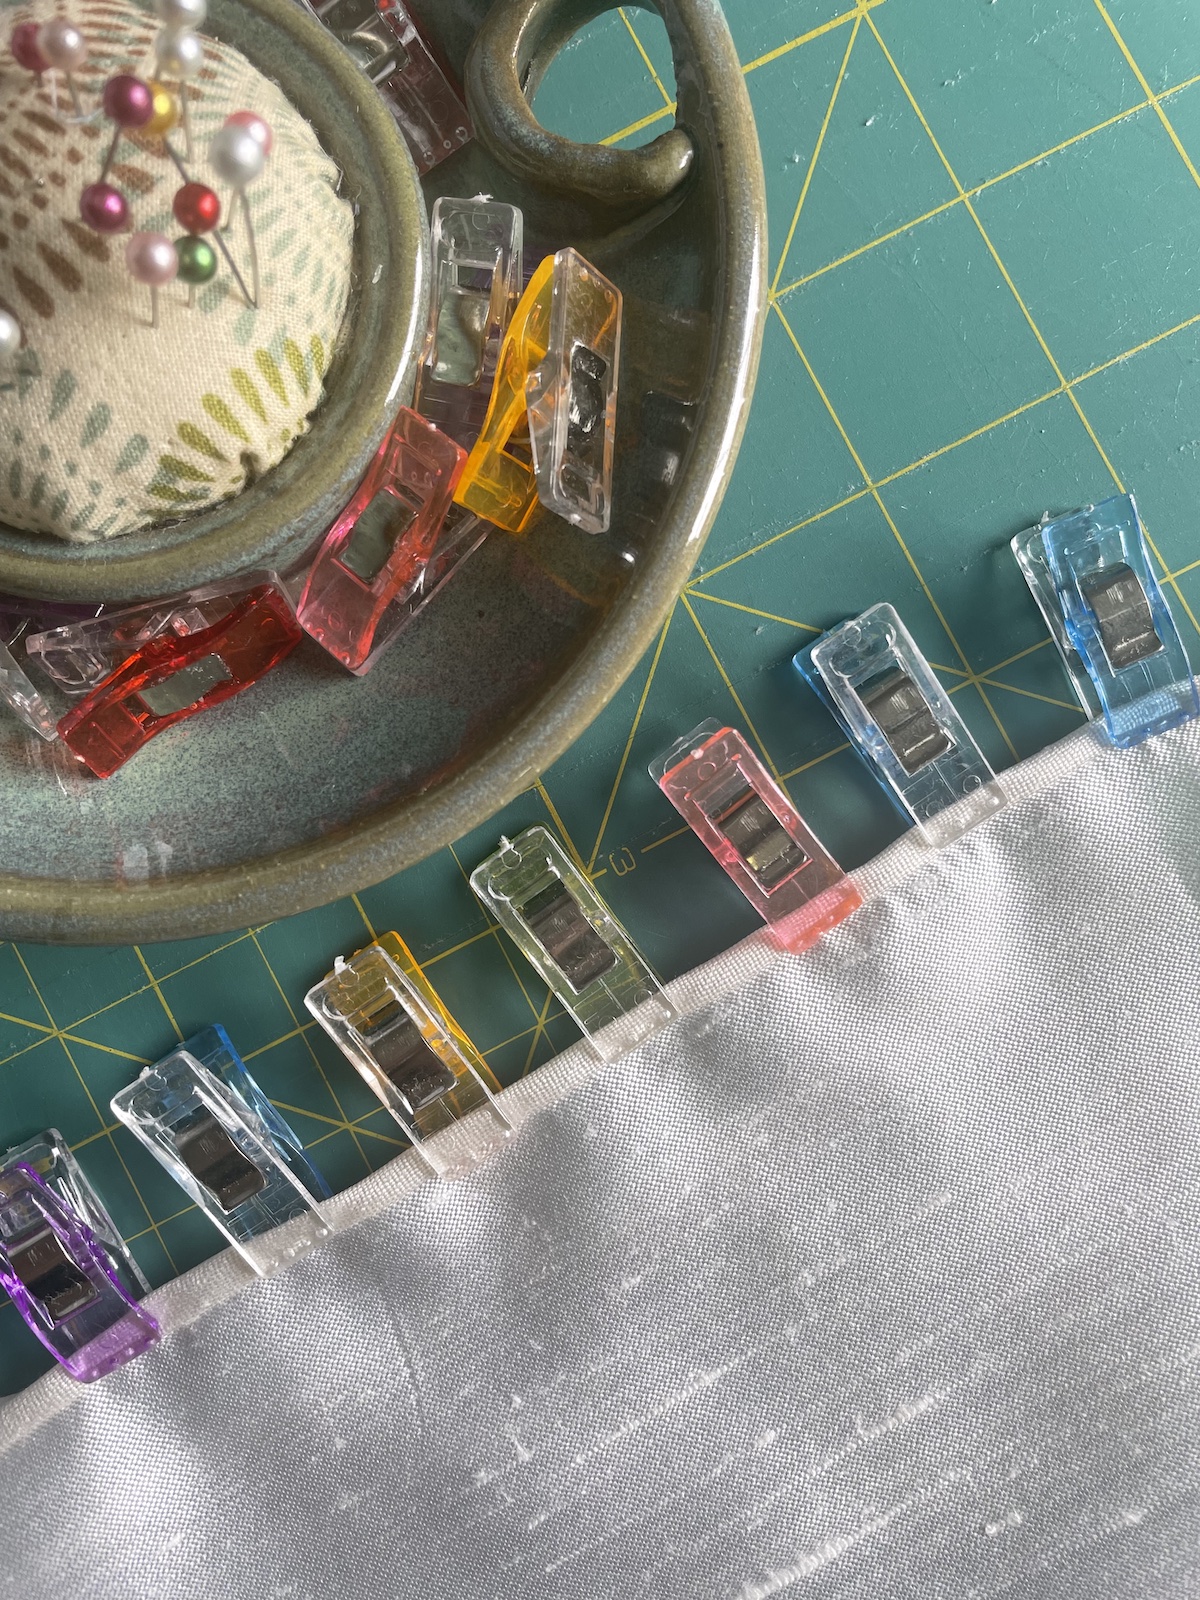
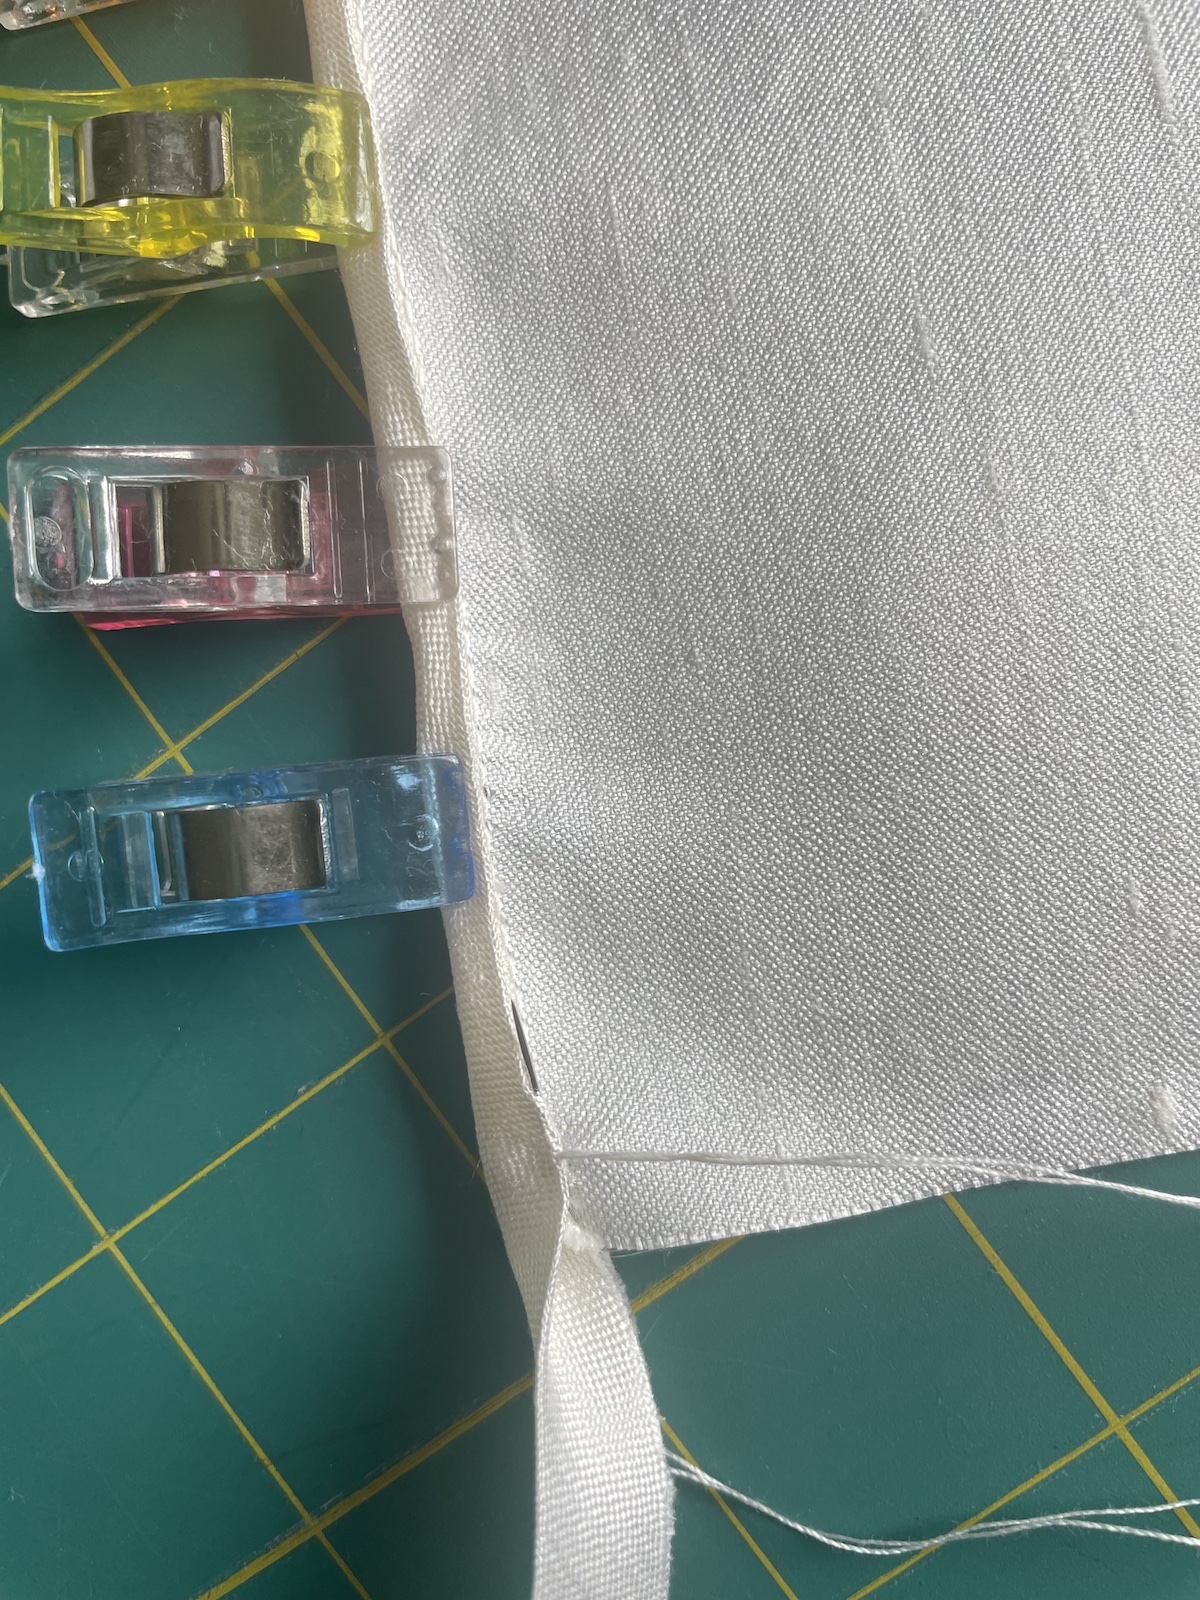
Step 9 Fold and Clip
Next, fold the binding around to the back side of the project and pin or clip to secure. A seam gauge comes in handy here to be sure you’re keeping the binding width consistent as you complete the hand stitching in the next step.
Tip: It is more important that the width is consistent on the front than on the back. If your seam wasn’t as perfect as you’d like (because we’re all beginners sometime) just fudge it a little on the back side to be sure the front looks great! It’s OK, I won’t tell! 🙂
Step 10 Hand Stitch to Finish
Because you have a double layer of fabric with a perfect folded edge, you now have a stronger binding and an easy way to complete your stitching. Use the Blind Running Hand-Stitching Method as follows:
-
Step 10a Thread Needle
Pull thread down to meet the bottom and knot the two ends together. This will add more strength to your stitching than a single strand of thread will. If you are binding a small area, one round of thread is fine. If you are binding a longer distance, try to resist the temptation to thread your needle with a really long piece of thread. Keeping your thread length relatively short (about 12 inches from needle to knot) will avoid tangling. Also, in the unlikely event that a thread breaks or comes loose at some point in the future, you will only have to replace a small section. If you hate the idea of constantly rethreading your needle, do yourself a favor and thread several before you begin and your future self will thank you later!
-
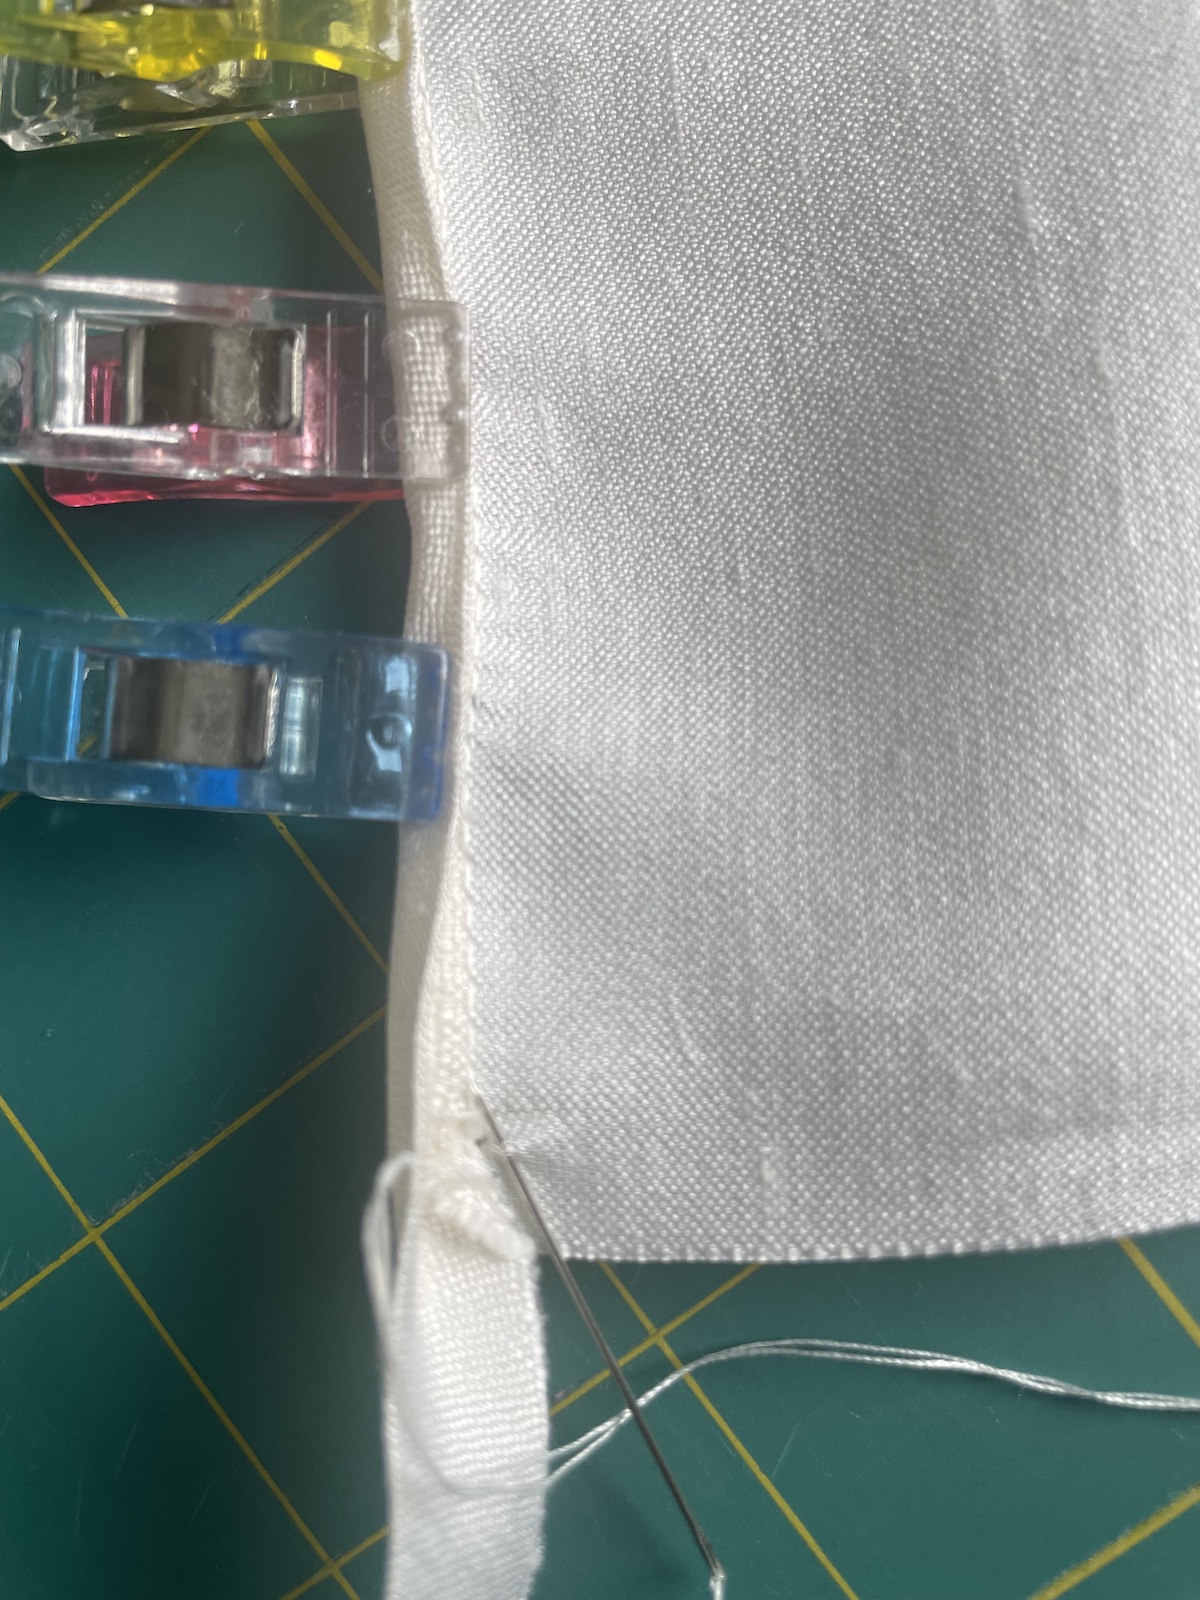
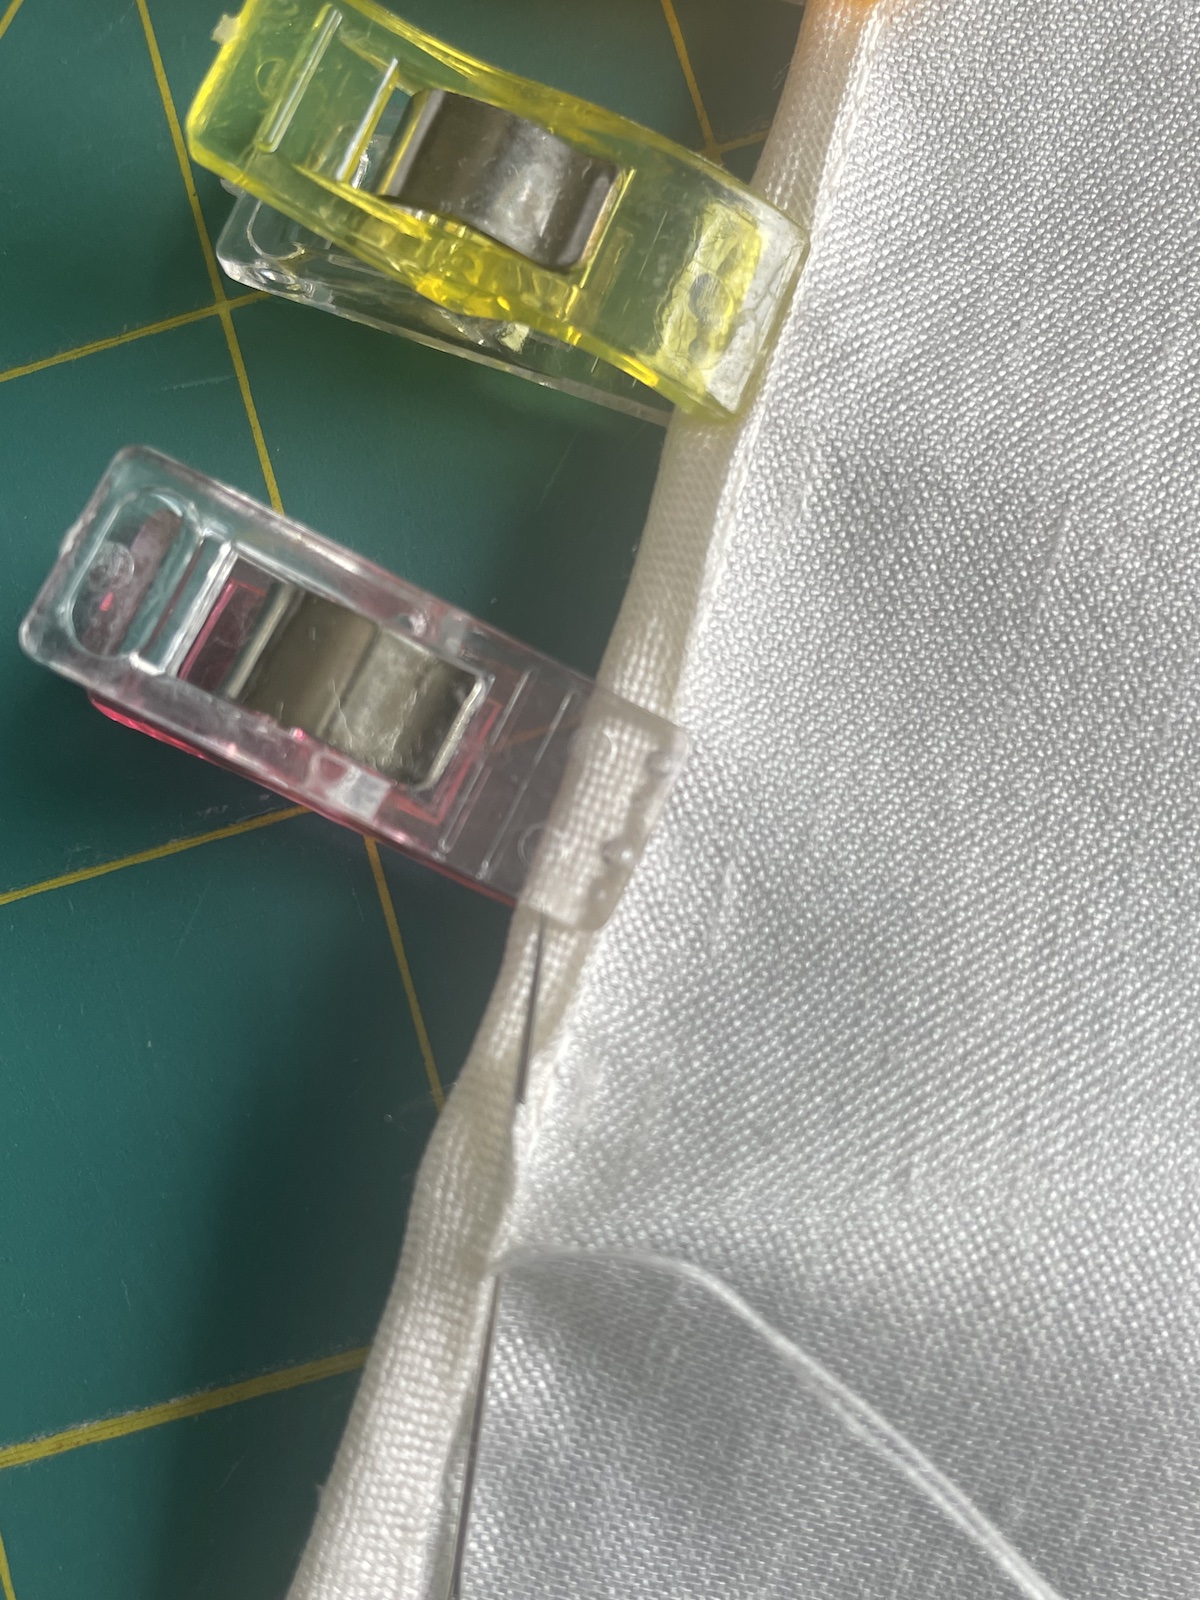
Step 10b Set up First Stitch
Starting at the beginning of your binding (or the place where binding overlaps, such as on a sleeve), slide your needle under the binding and bring the tip of your needle out directly on the folded finished edge. Pull the thread taut, making sure the knot stays hidden under the binding.
-
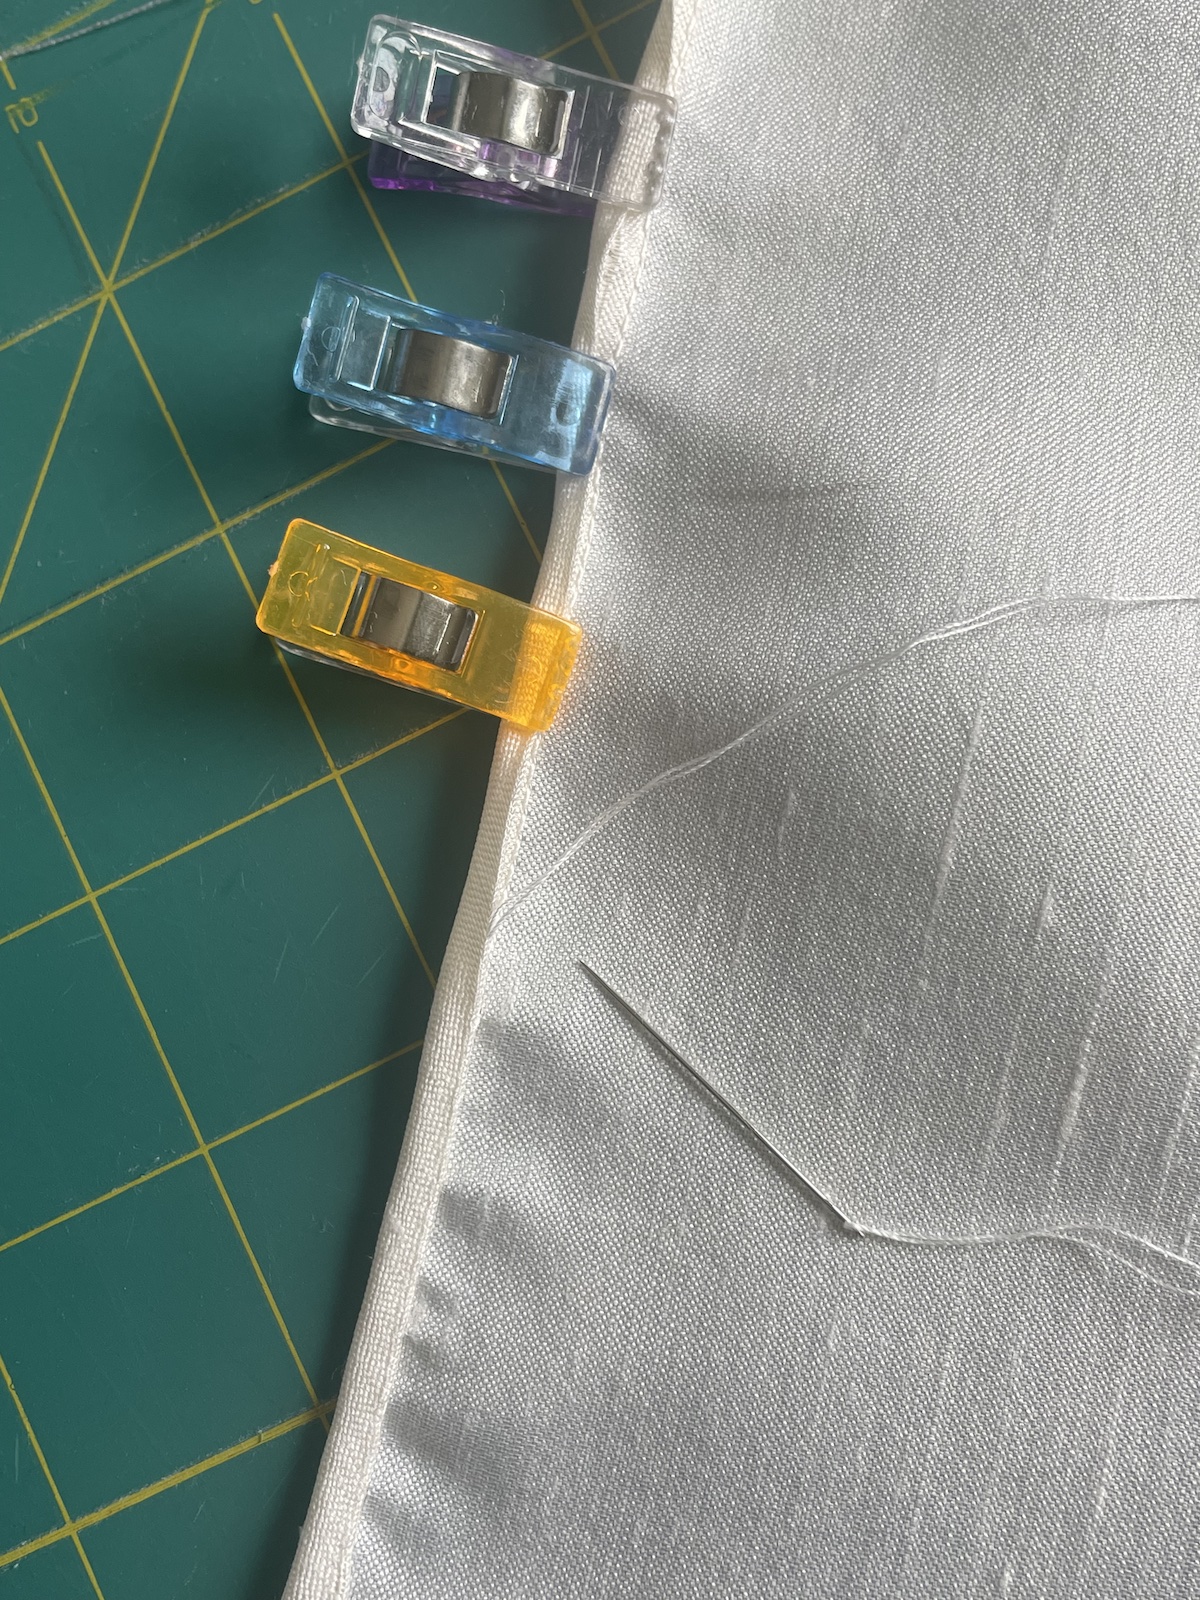
Step 10c Begin Stitching
Make a tiny stitch just of the folded edge by taking the tiniest “baby bite” of fabric and bring the tip of the needle back through the bottom of folded edge of the binding. Now move the needle between the folded layers about a 1/4 inch and bring the needle back out exactly on the fold line. Next, push the tip of then needle through, pull taut (not tight) and set up for next stitch. If you pull tight, your work will be puckered and your thread is more likely to break.
These steps are shown in the photos below:
(1) Set up your first stitch

(2) Take a “baby bite” of fabric
(3) Bring needle back through bottom of folded edge
(4) Move needle between folded layers 1/4 inch
(5) Push the tip of then needle through, pull taut (not tight) and continue stitching
Step 10d Secure Stitching and Press
Tie off your stitching, making sure the knot stays behind the binding. After I make my final knot, I like to run my needle between the layers of the binding one last time moving my needle about an inch along the inside of the fold. This time I do pull it tight and snip the thread. When you smooth out the binding, that thread end will sneak back into the folded fabric never to be seen again. Magic! Press according to recommendations for your fabric. You now have a Sweet Baby Binding almost as sweet as the Little who will use it!

I hope you’ve enjoyed this tutorial on how to Sew a Sweet Baby Binding for Children’s Clothing. If you like this method, please share about how you used it in your own projects!