How to Create a Faux Piped Binding
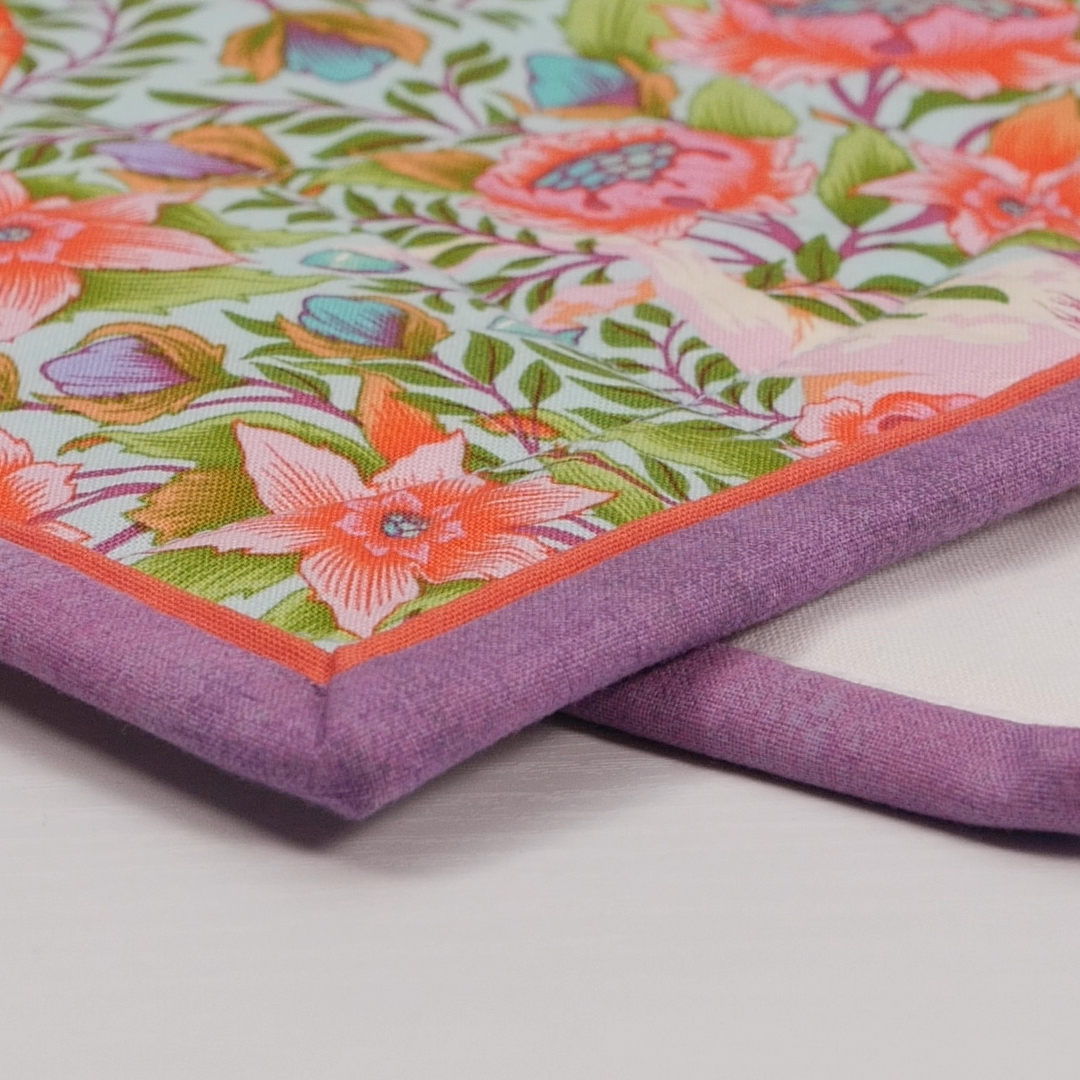
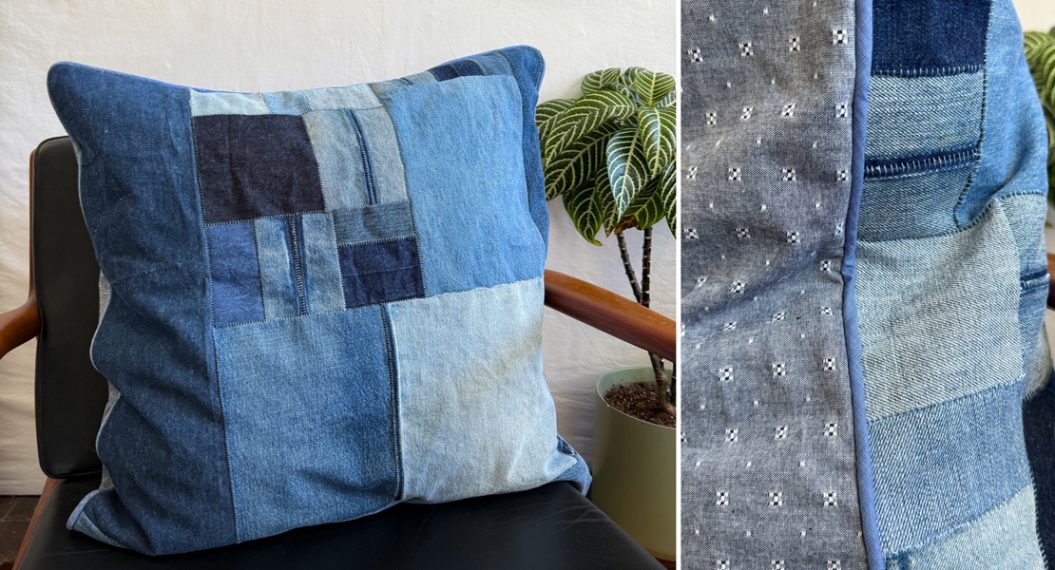
Faux piped binding is one of those sewing techniques that looks time-consuming and intricate. I’ll let you in on a little secret–it’s not! I have admired piped binding on many quilts thinking “one of these days, when I have more time, I need to try the technique”. Well, if I had realized its simplicity because of the “faux” aspect, I would have been sewing this type of binding to my quilts years ago. Keep reading and you’ll see for yourself how easy it is. I wouldn’t be surprised if your next quilt has faux piped binding!
Machine Set Up to Create a Faux Piped Binding
- BERNINA 570 QE
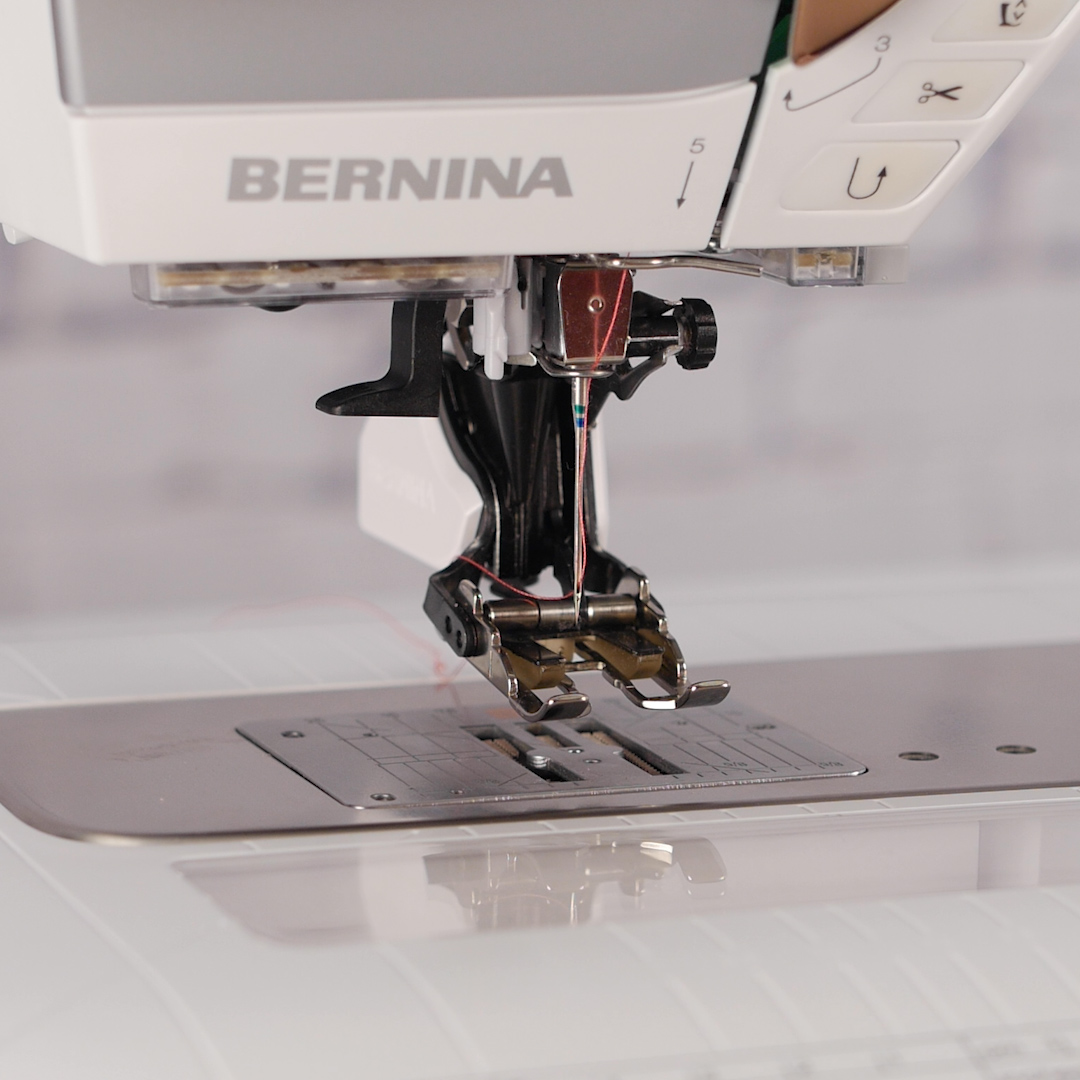
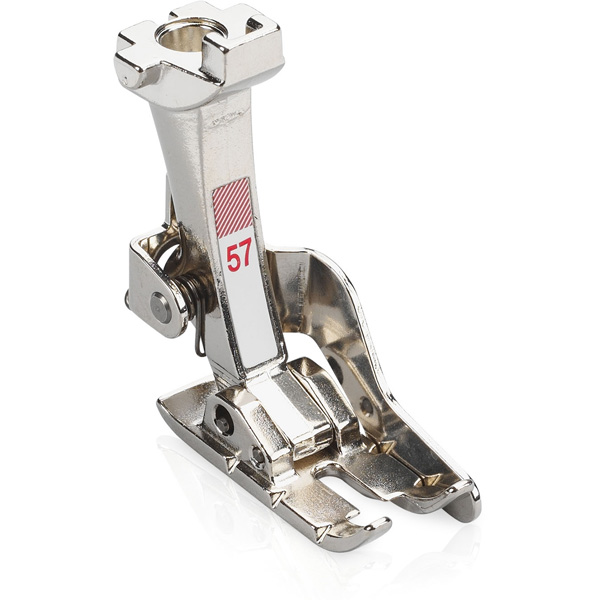
- Patchwork Foot #37/37D, 57/57D, 97/97D
- BERNINA Walking Foot #50
Materials to Create a Faux Piped Binding
- Two contrasting cotton fabrics for binding
- Main fabric – binding
- Accent fabric – piping
- Thread to match or monofilament
- Rotary ruler and cutter
- Scissors and pins
- Iron and mat

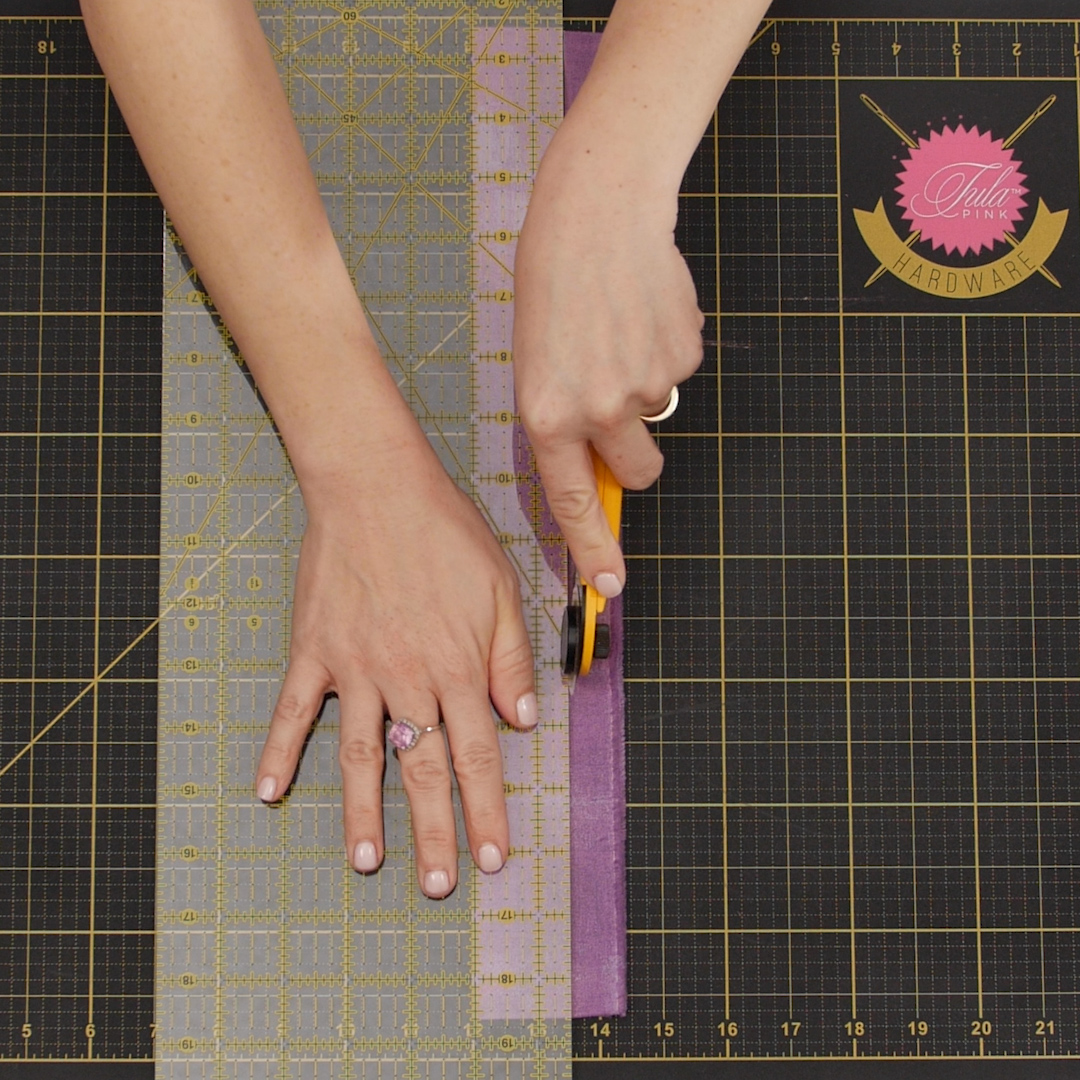
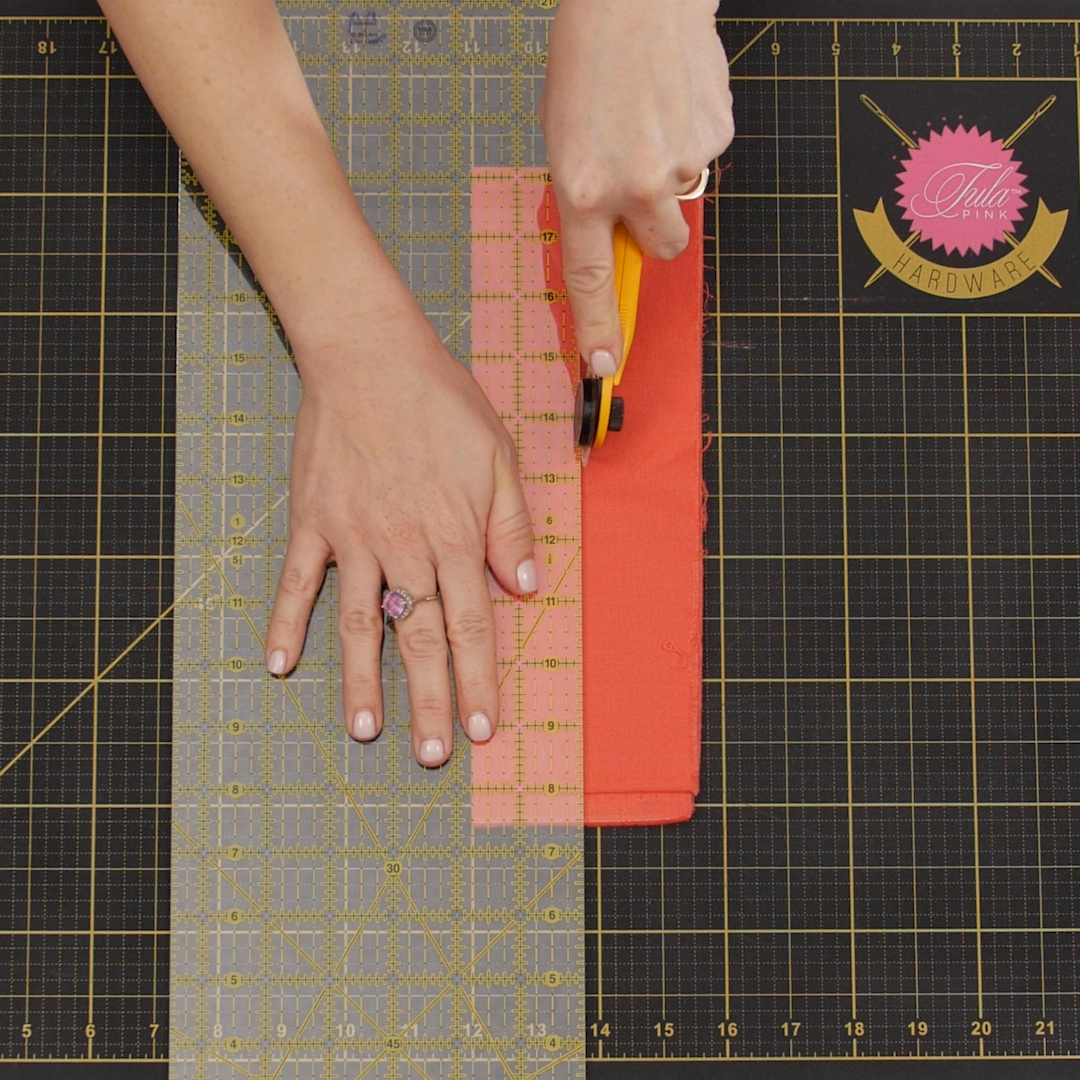
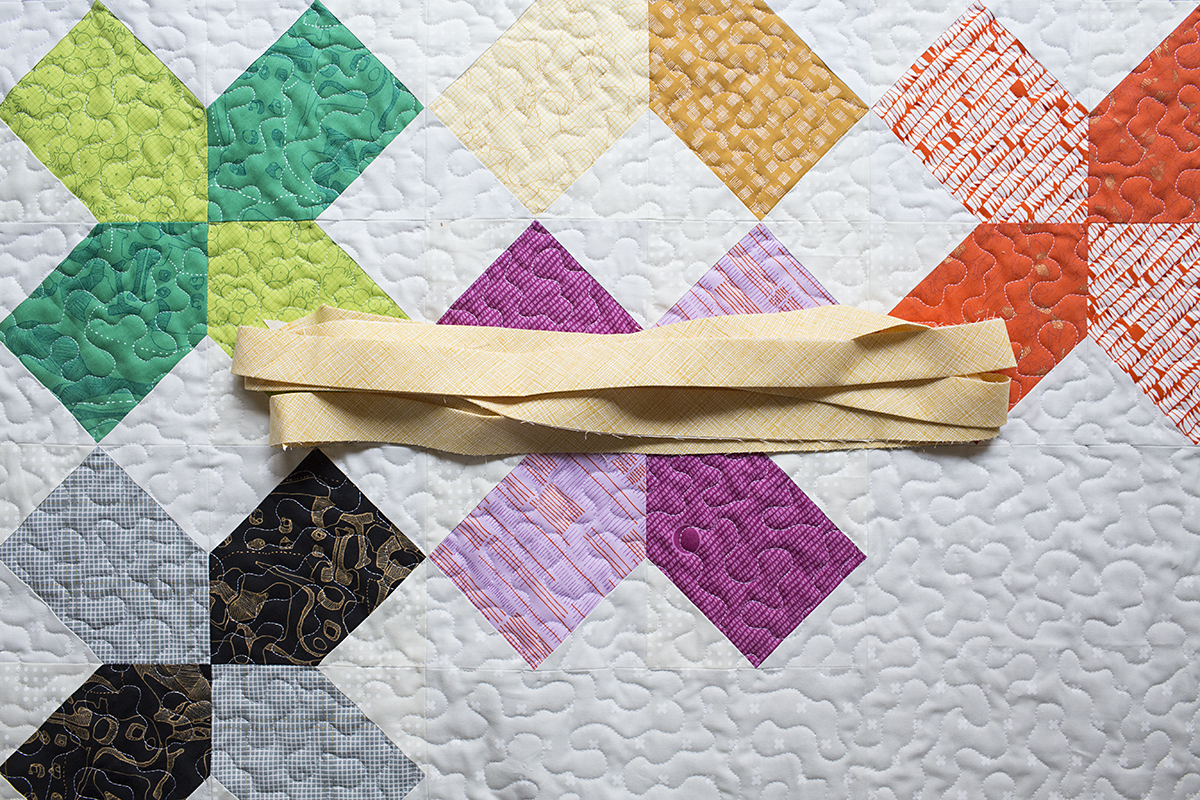
Cut and Join Binding Strips
Cut main fabric in 1 1/2” width strips. Cut enough strips to go around the perimeter of quilt + 20”.
Cut the accent fabric in 1 3/4” width strips. Cut enough strips to go around the perimeter of quilt + 20”.
The formula to find out how many strips you need is the perimeter of quilt + 20” = Total. Then, divide Total by 42 and round up. This is the number of strips needed for binding.
The wider fabric is the accent fabric or the piping fabric. It is always 1/4” wider unless you want more to show, but I think it looks just right at 1/4”.
If you need a refresher on how join binding strips, check out this link.
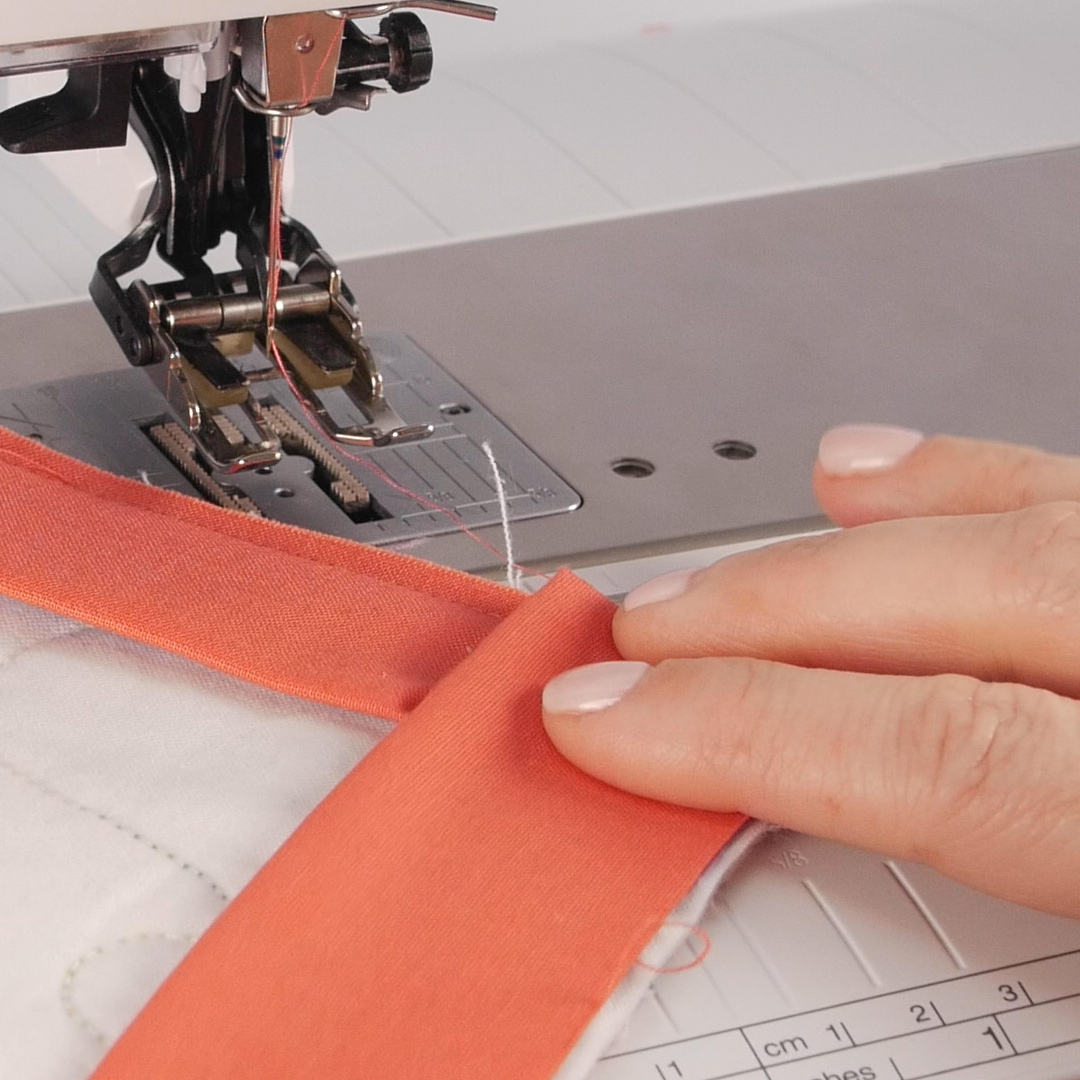
Attach your BERNINA Patchwork Foot #37/37D, 57/57D, 97/97D and sew the two strips right sides together with a 1/4” seam allowance.
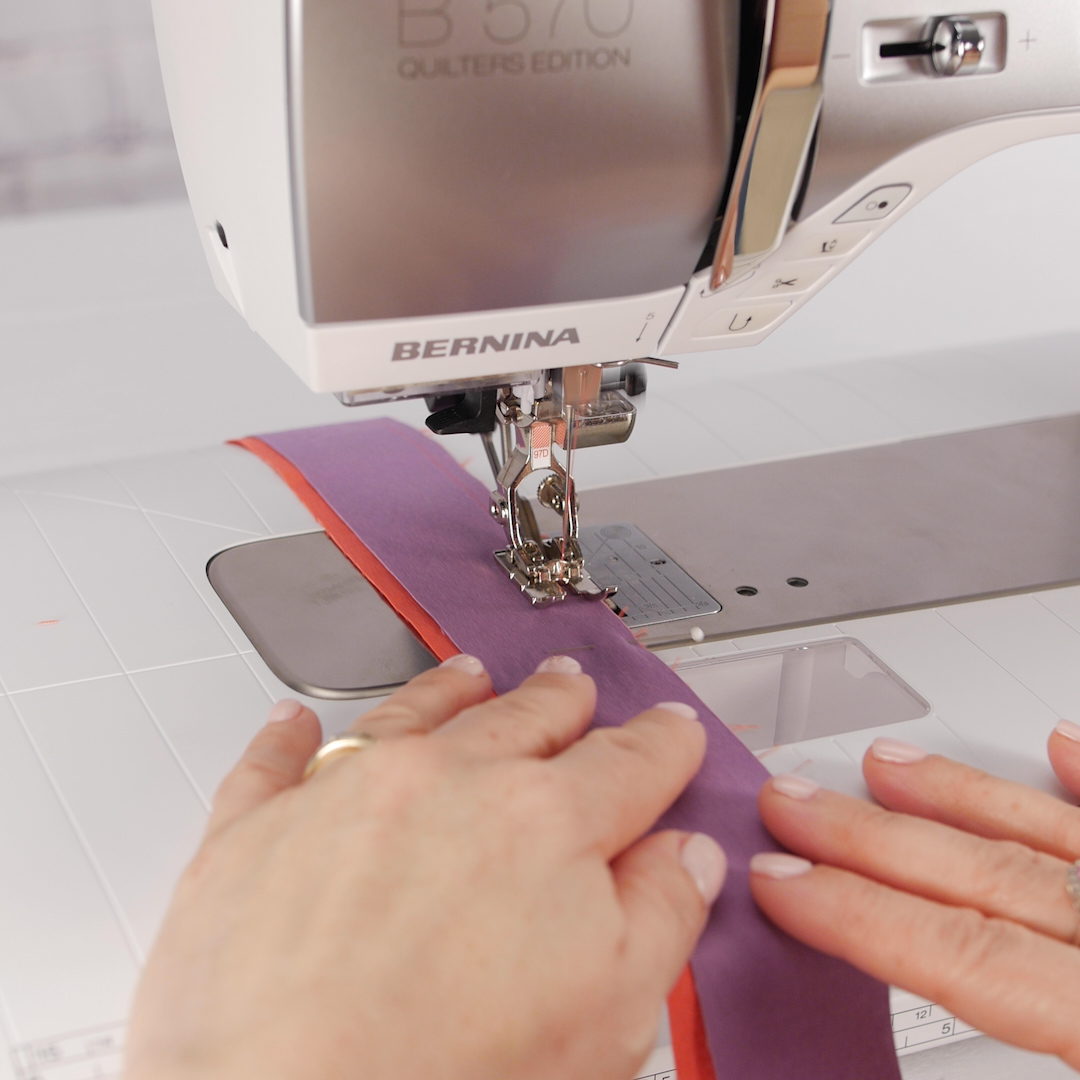
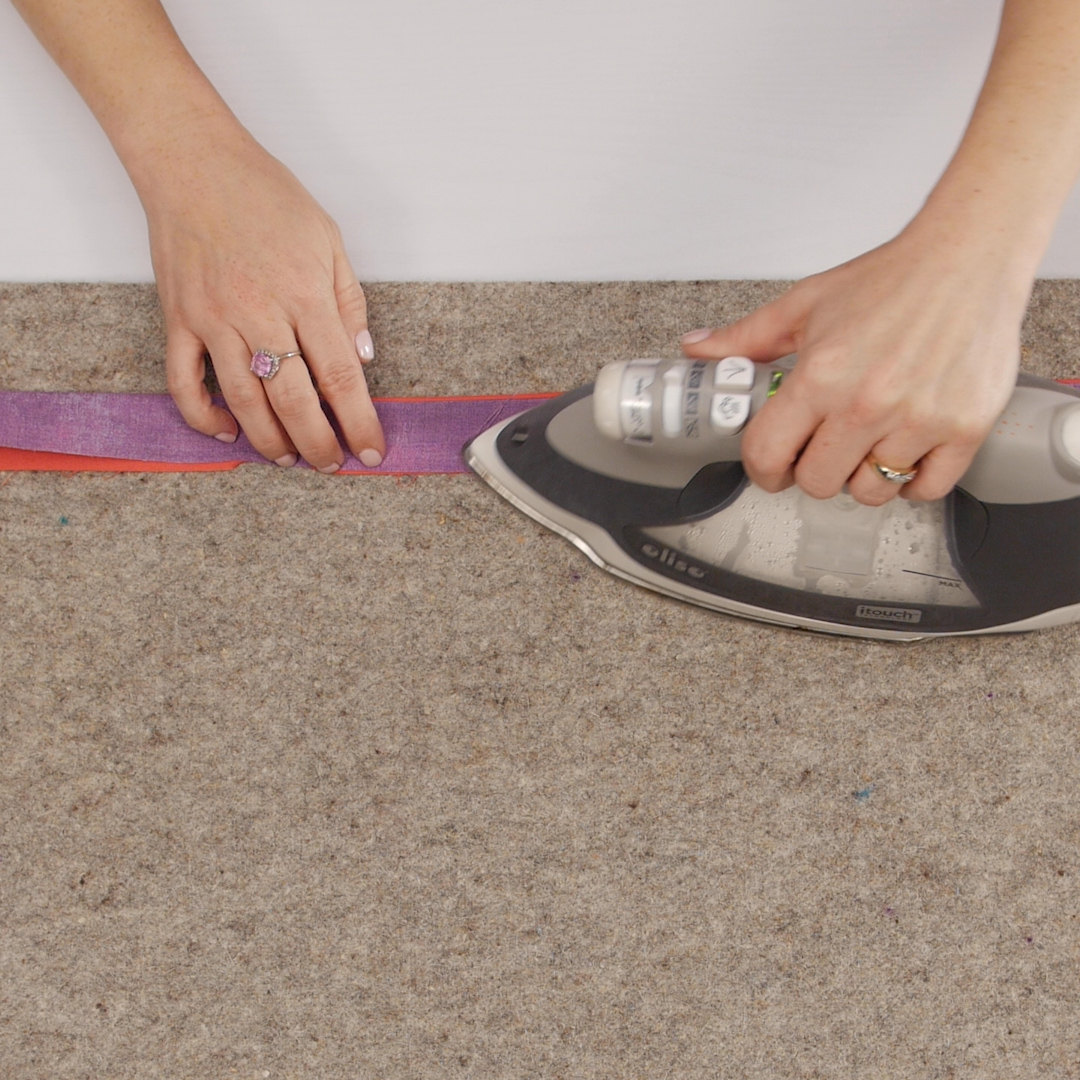
Press the seam allowance towards the main fabric. Press binding strip in half, lining up the raw edges. Press. On one side, the accent fabric should be peeking out 1/4” on top of the main fabric. The other side should be all accent fabric.
Sew Binding to Quilt Back
On the back of the quilt, place the binding right side down (the side with the accent fabric peeking out). Place the binding along the perimeter of the quilt to make sure none of the joined seams land in a corner. If so, reposition the start point a couple inches. Having a seam in the corner can get bulky and fiddly.
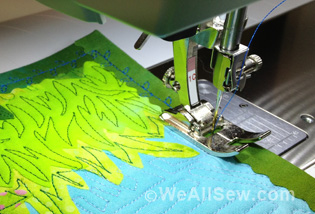
Attach the BERNINA Walking Foot #50 to your machine with the standard sole or the quilting sole.
Leaving a 10” tail, sew the binding to the back of the quilt with a 1/4” seam allowance.
Slow down machine speed as you near a corner. Stop 1/4” away from raw edge. Gently pull the quilt out and fold the binding to make mitered corners. To do this, fold binding up (or away from you) at a 45 degree angle; then, fold binding down (or towards you) so raw edges of binding are even with raw edge of quilt. Here is a post on how to fold a mitered corner.
Join binding ends using your favorite method. There are many out there!
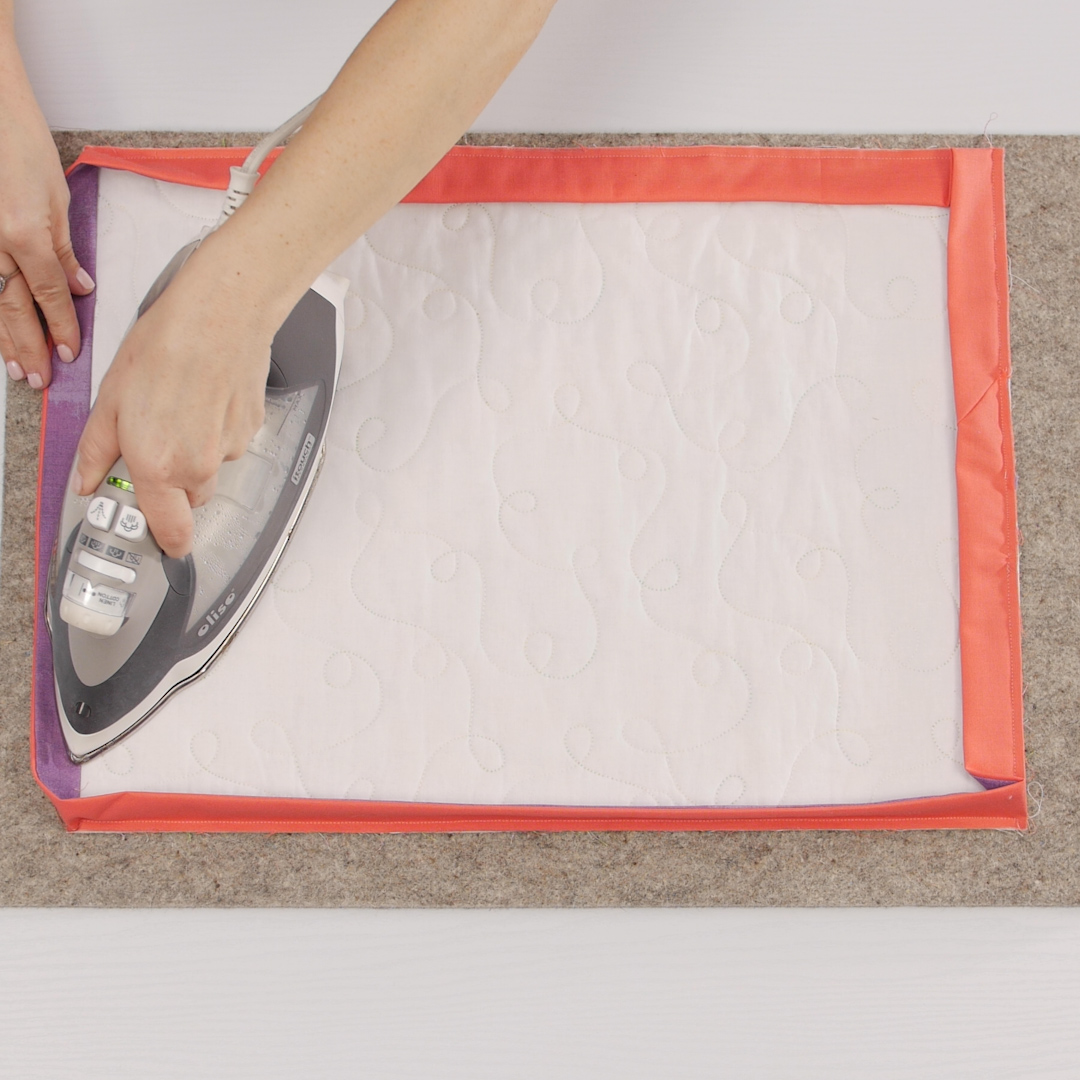
Press binding up and over the raw edges. This makes it easier to fold over and pin to the front.
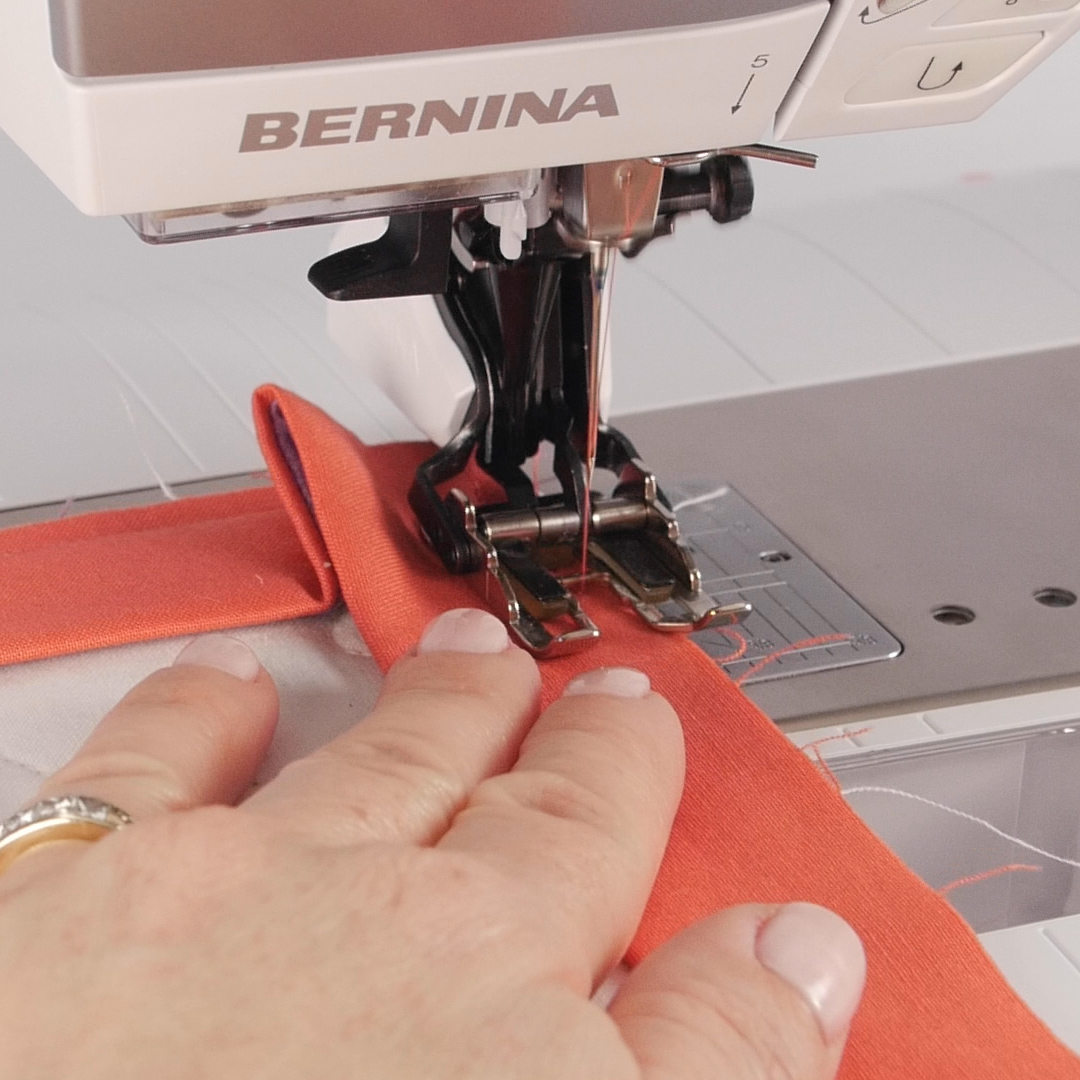
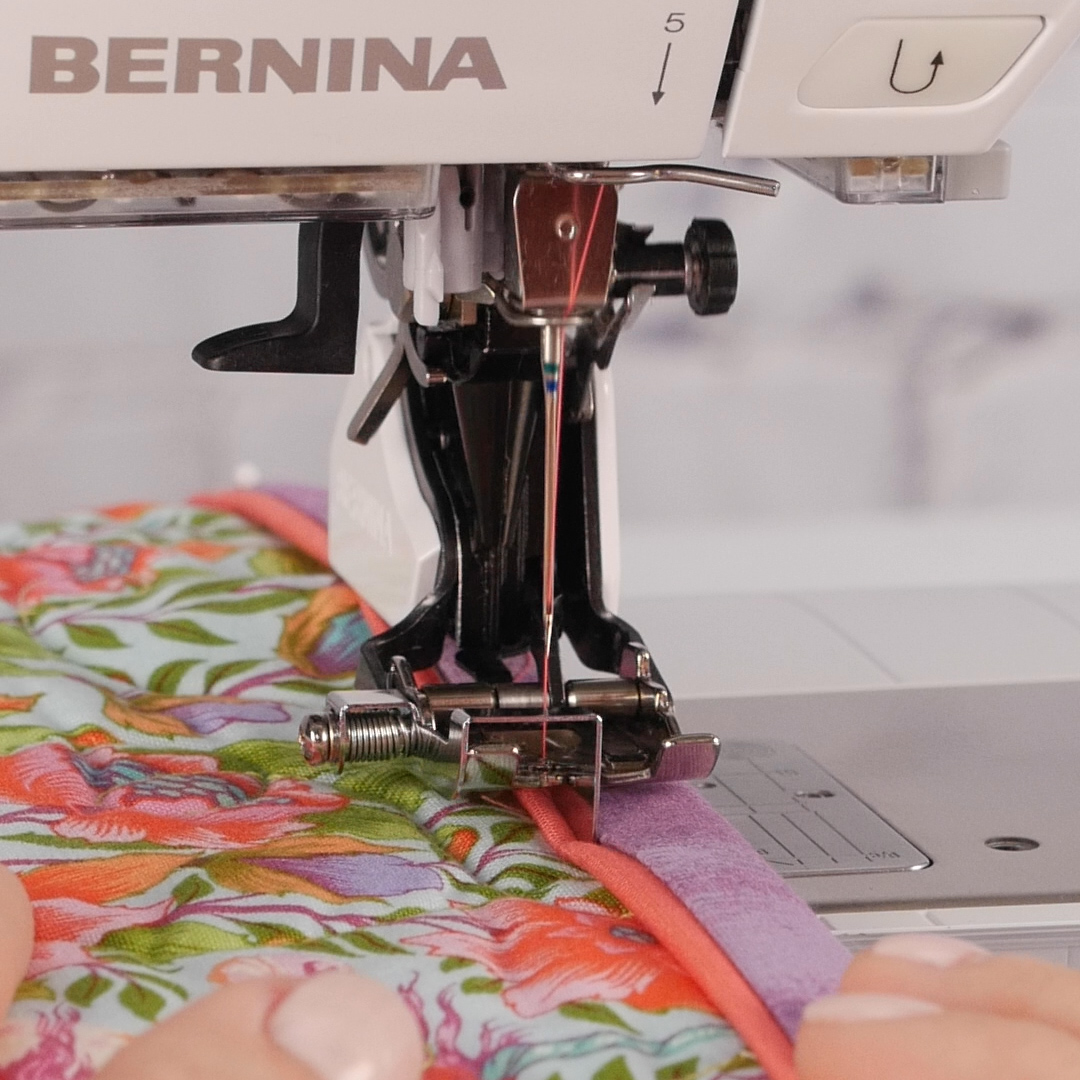
Sew Binding to Quilt Front
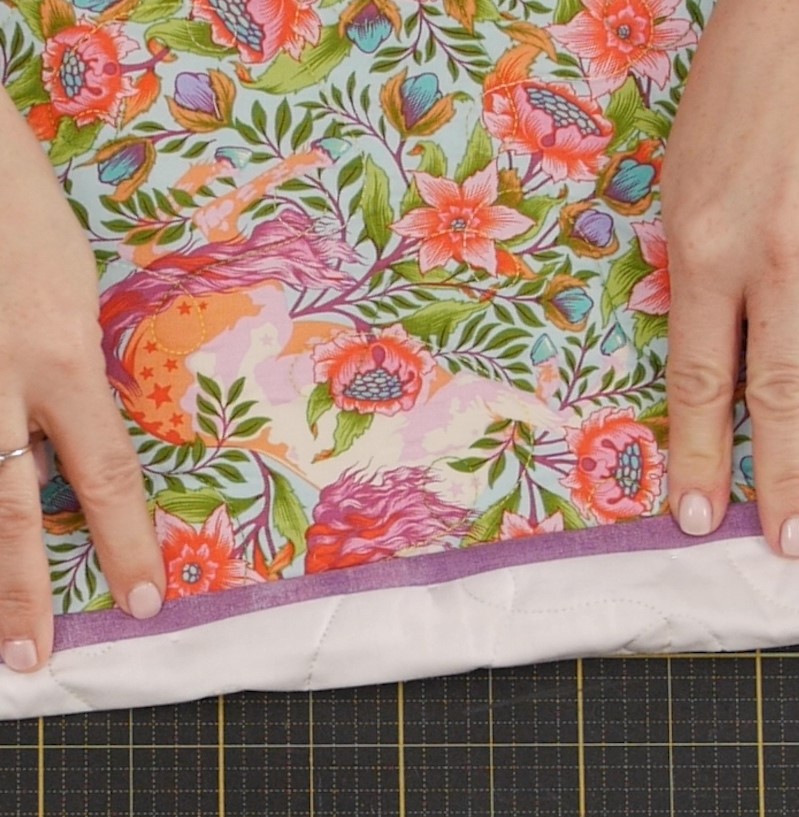
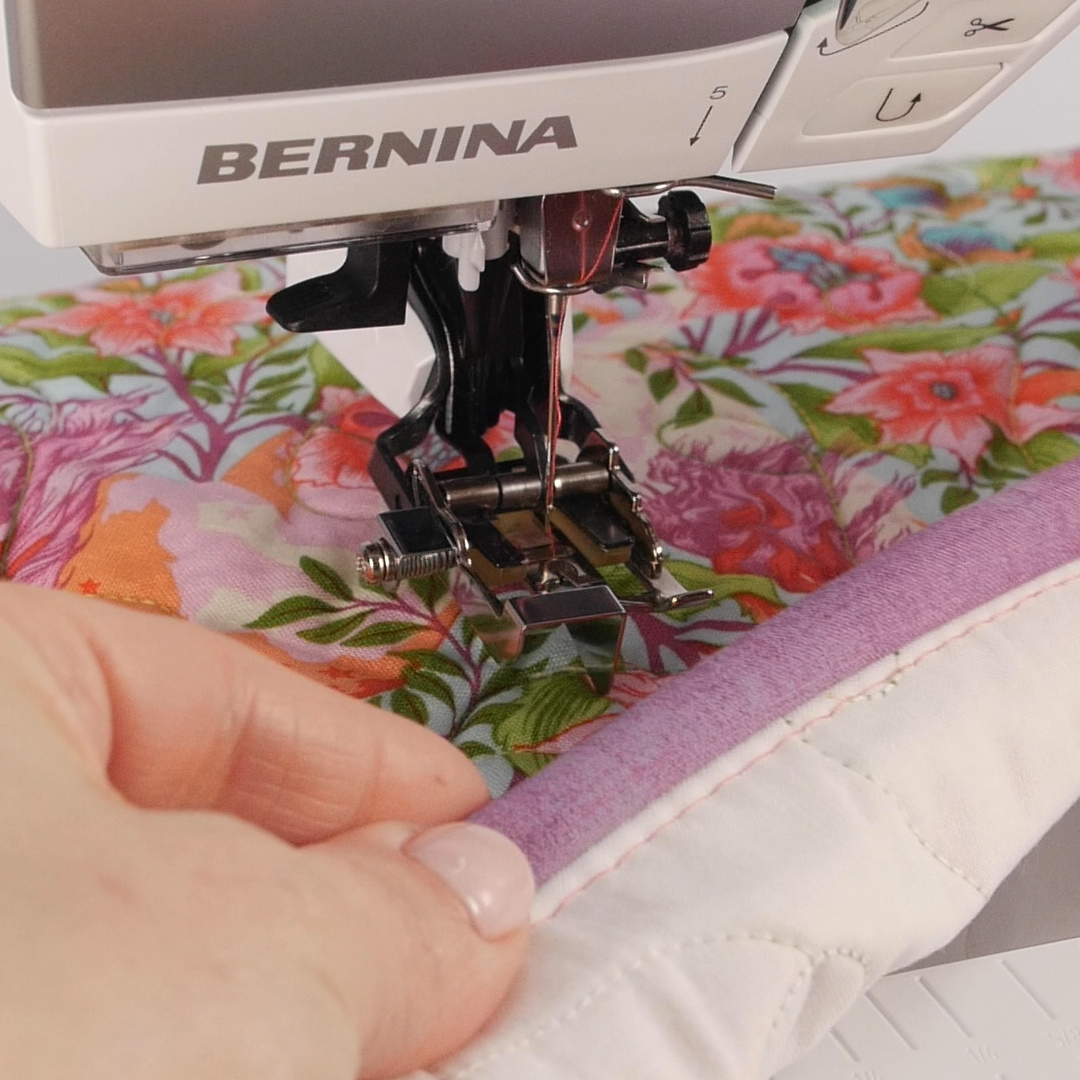
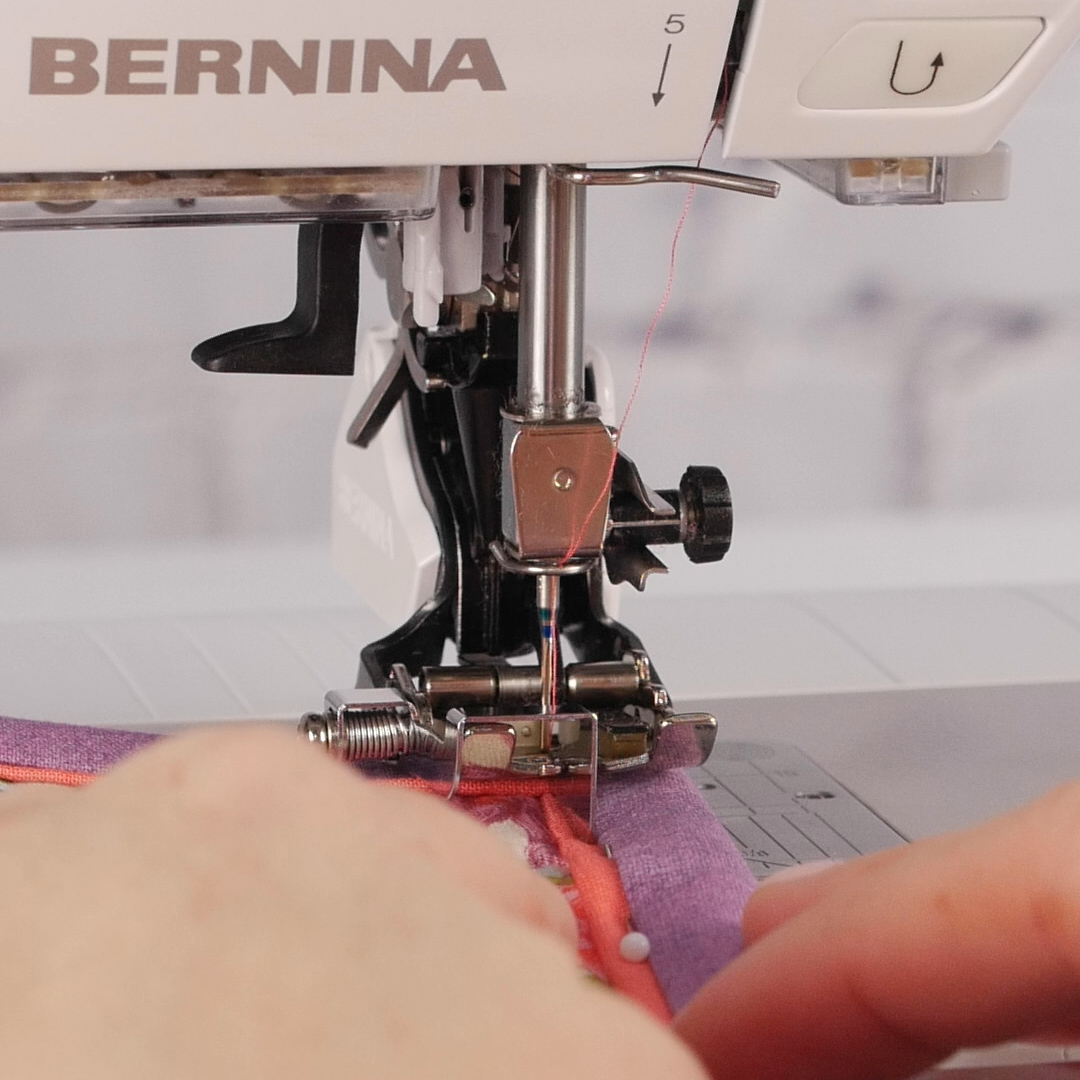
Fold binding to the font of your quilt. Pin between the main fabric and accent fabric a few inches. Check the back of quilt to see where the pins fall. They should be next to the binding and not in the binding. Pin around the entire quilt. Miter the corners so that the fold will be toward you when sewing rather than away from you. With the extra bulk in the binding from the seam allowance, this make a big difference. I found out the hard way!
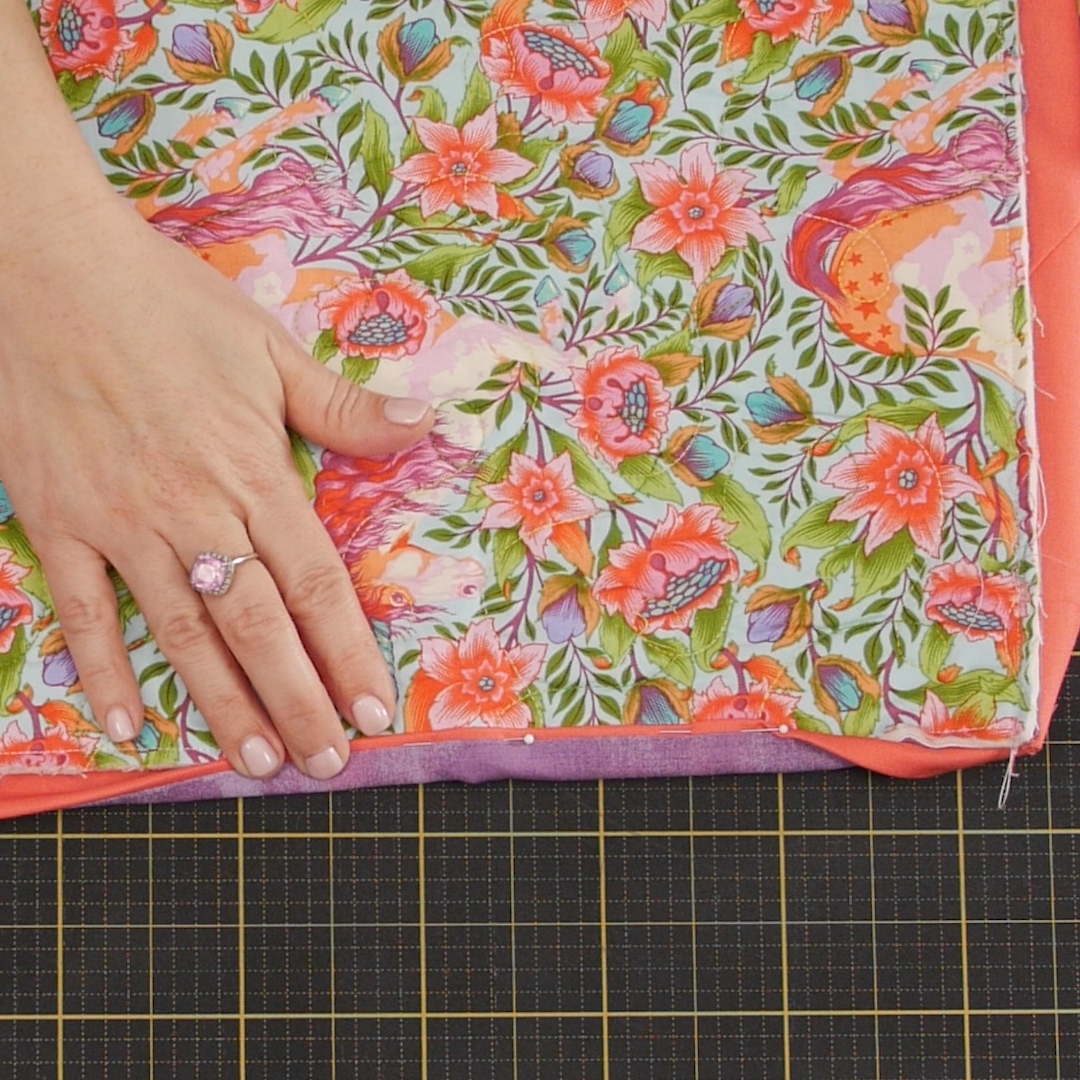
Placement looks good on back.
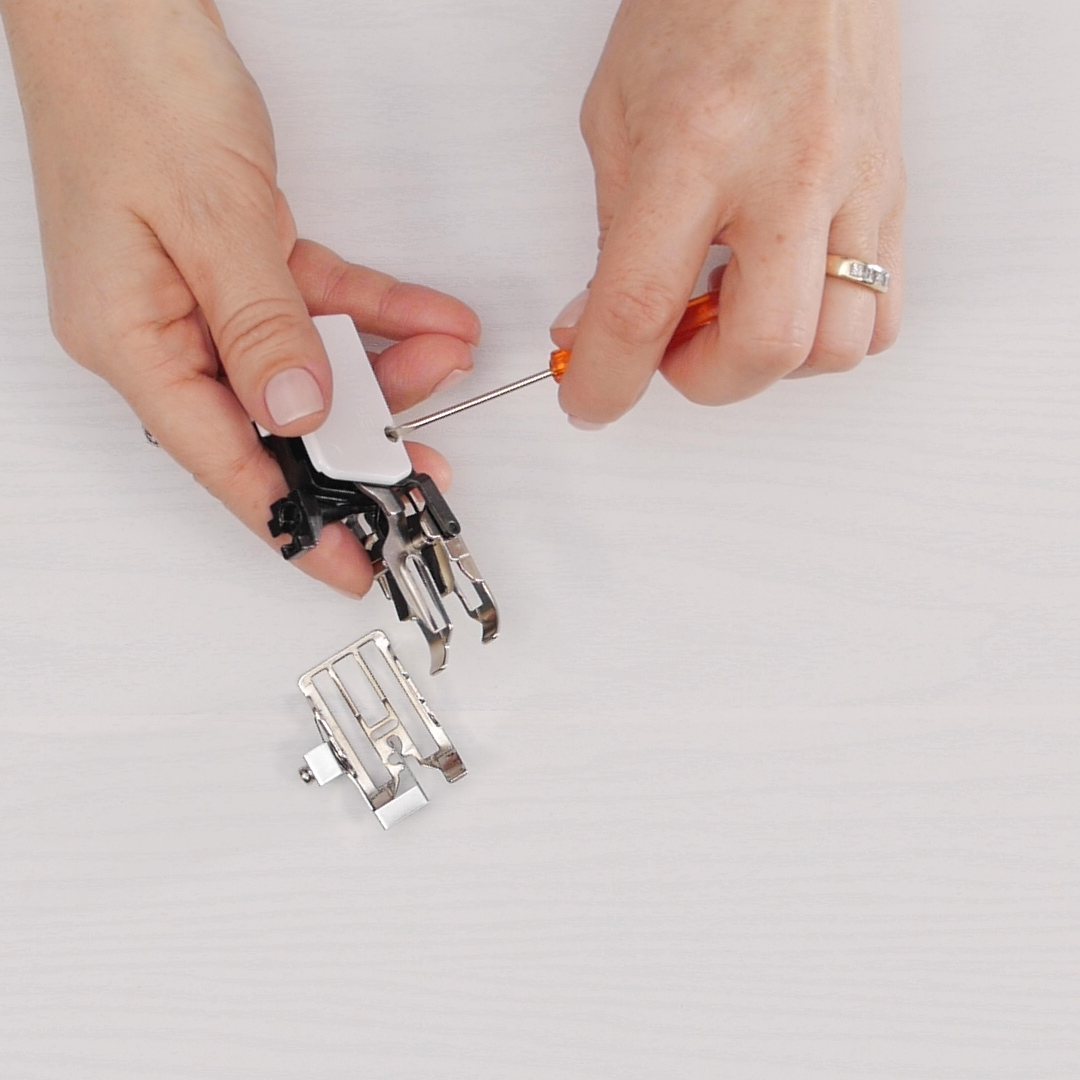
Attach the Center Guide Sole to Walking Foot #50 following packaging directions.
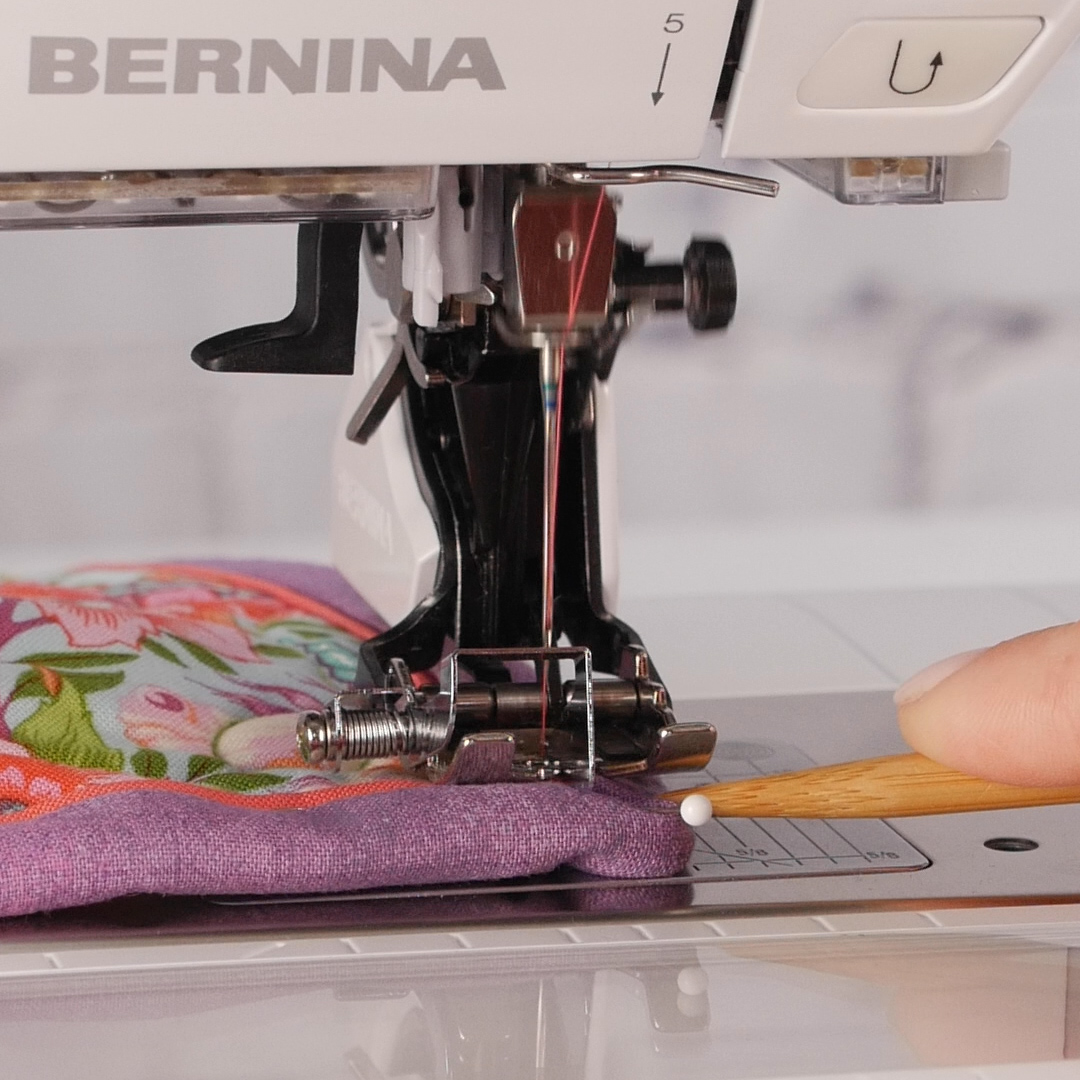
First, test your stitch placement. Increase Straight Stitch Length to 6 mm. Lower the presser foot and place the center guide between the main fabric and the accent fabric.
Sew a few inches and then check stitch placement on back of quilt. Stitches should land next to binding, not in binding.
When placement looks good, remove the basting stitches and change the stitch length to 3 mm.
Sew around the perimeter, slowing down at corners. Use a stiletto to help hold the corner in place. Make sure your Needle Stop function is set in the down position when you pivot, and remember to use your Freehand System. Again, I found it much easier to turn corners when the fold was towards me, not away!
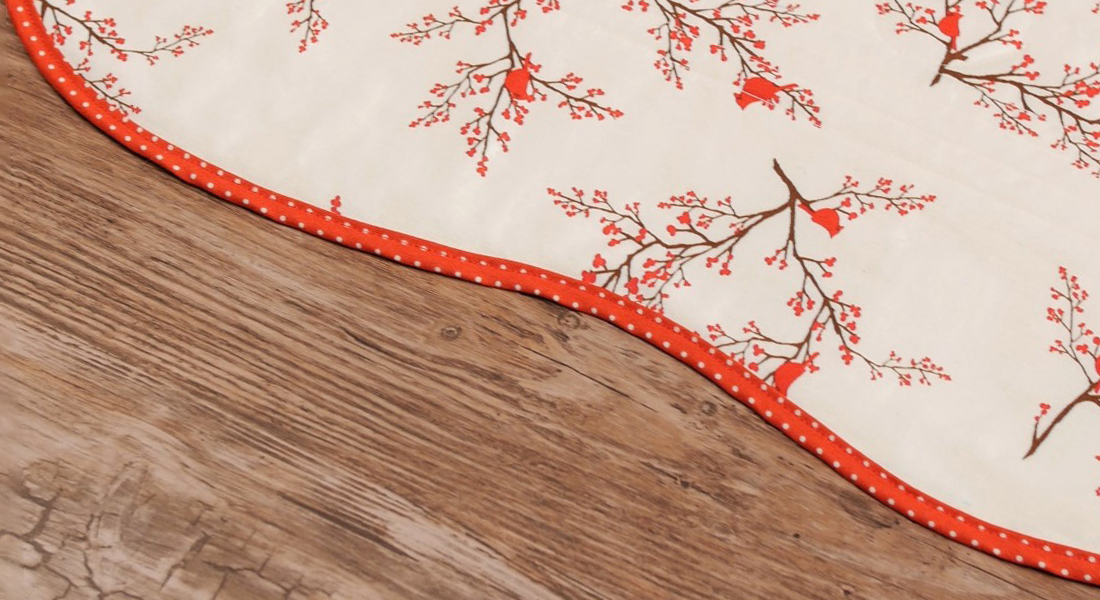
Continue sewing the binding until you are back where you started. Done! Now wasn’t that easy? A few extra steps compared to traditional quilt binding but nothing difficult or complicated. And I love the option to add an accent color. On some quilts that is exactly what is needed to make it extra special!


What you might also like


9 comments on “How to Create a Faux Piped Binding”
-
-
You’re welcome! It’s fun to have the option to add a second color too!
-
Hi Julie,
Could this lesson on faux binding made into a .pdf file so that I could easily save it? Please?
-
Hello! If you go to print the page, under destinations where you see the printer name, there should be an option to save as pdf. Hope that helps!
-
-
-
-
I love adding Faux Binding to my creations!
Your instructions are excellent. Wondering if there is a way to print these instructions?
Thank you so much for the fabulous information! Happy quilting.-
Hello! So glad you like the tutorial! It sounds like you have been adding faux piped binding to your projects already! I hope I included some tips you find useful. We don’t have a direct link to print the instructions but you should be able to print them from your computer.
-
Hello! If you go to print the page, under destinations where you see the printer name, there should be an option to save as pdf. Hope that helps!
-
-
I am new to binding so please bear with me. You say that you used feet #37, #57 & #97. But in the instructions you say to “Attach the Center Guide Sole to Walking Foot #50 following packaging directions.” Sorry but I don’t understand. I have a Bernina 770QE.
-
Hello. Use Patchwork Foot #37, 57, or 97 to sew the binding strips together with a 1/4″ seam allowance. Use Walking Foot #50 to attach the binding to the quilt. As you go through the steps with your project, it will make sense. Goodluck!
-
Leave a Reply
You must be logged in to post a comment.

Thank you! I love this finished look.