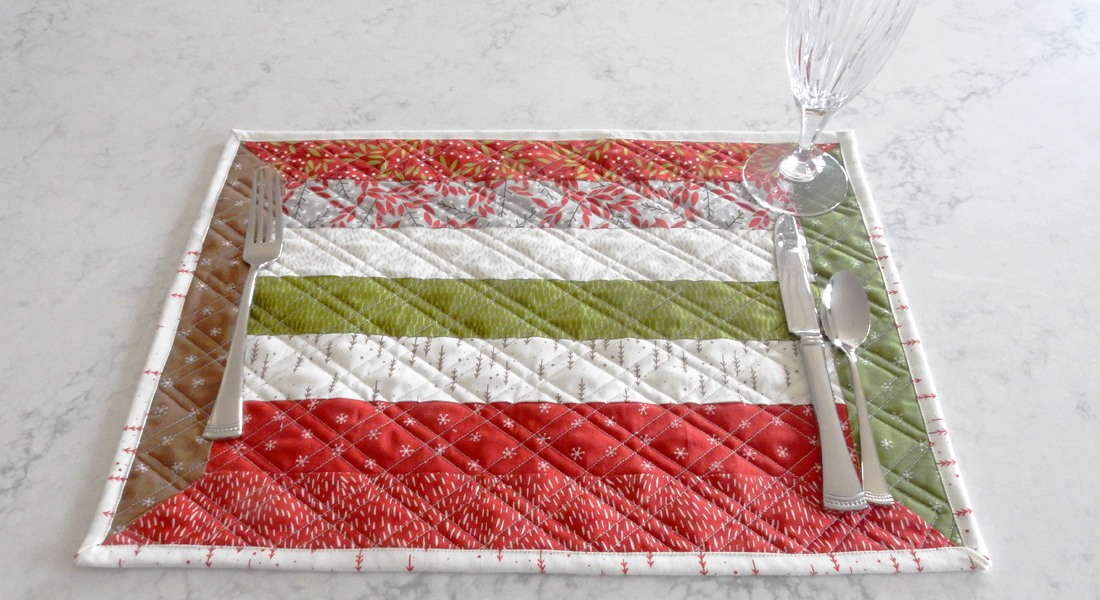
Sew Mitered Binding Corner
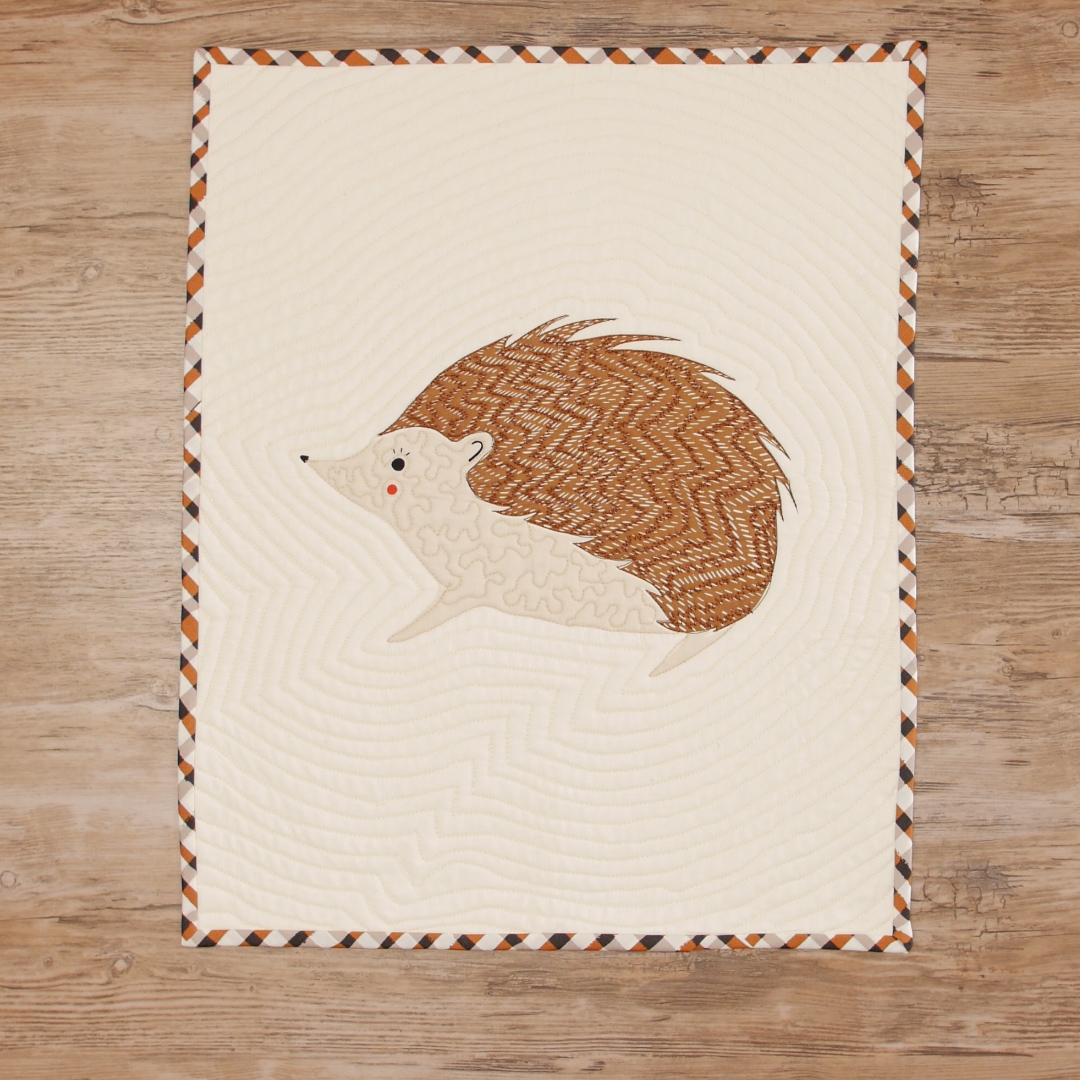
French binding, also known as double binding and double-fold binding, is the traditional way to cover the raw edges of a quilt and the last step of the quilting process. Some quilters do not like this step for various reasons, but I look forward to binding because this is one of the few times I can sit and sew by hand. But before you start hand sewing the binding to the back of the quilt, you must first machine sew the binding onto the front. Part of sewing the binding onto the front includes mitering the corners. This is a very simple step that sounds intimidating, but I promise, it’s easy and you can do it! Learning how to miter corners will make your quilt look very professional and ready for a quilt show!
Machine Set-Up
- BERNINA 475 QE
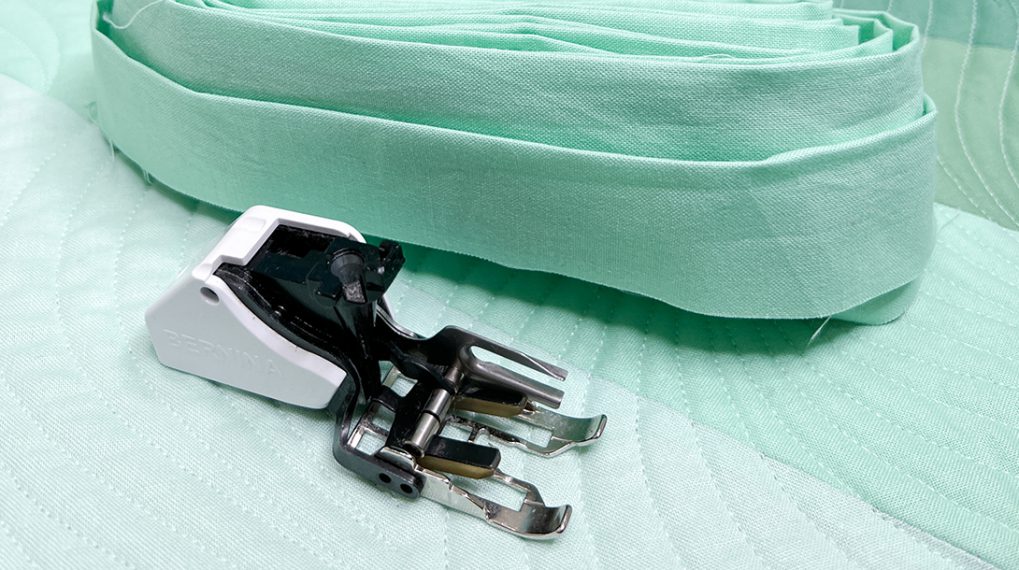
- Walking Foot #50
- Straight Stitch Plate (Optional accessory for the B 475 QE)
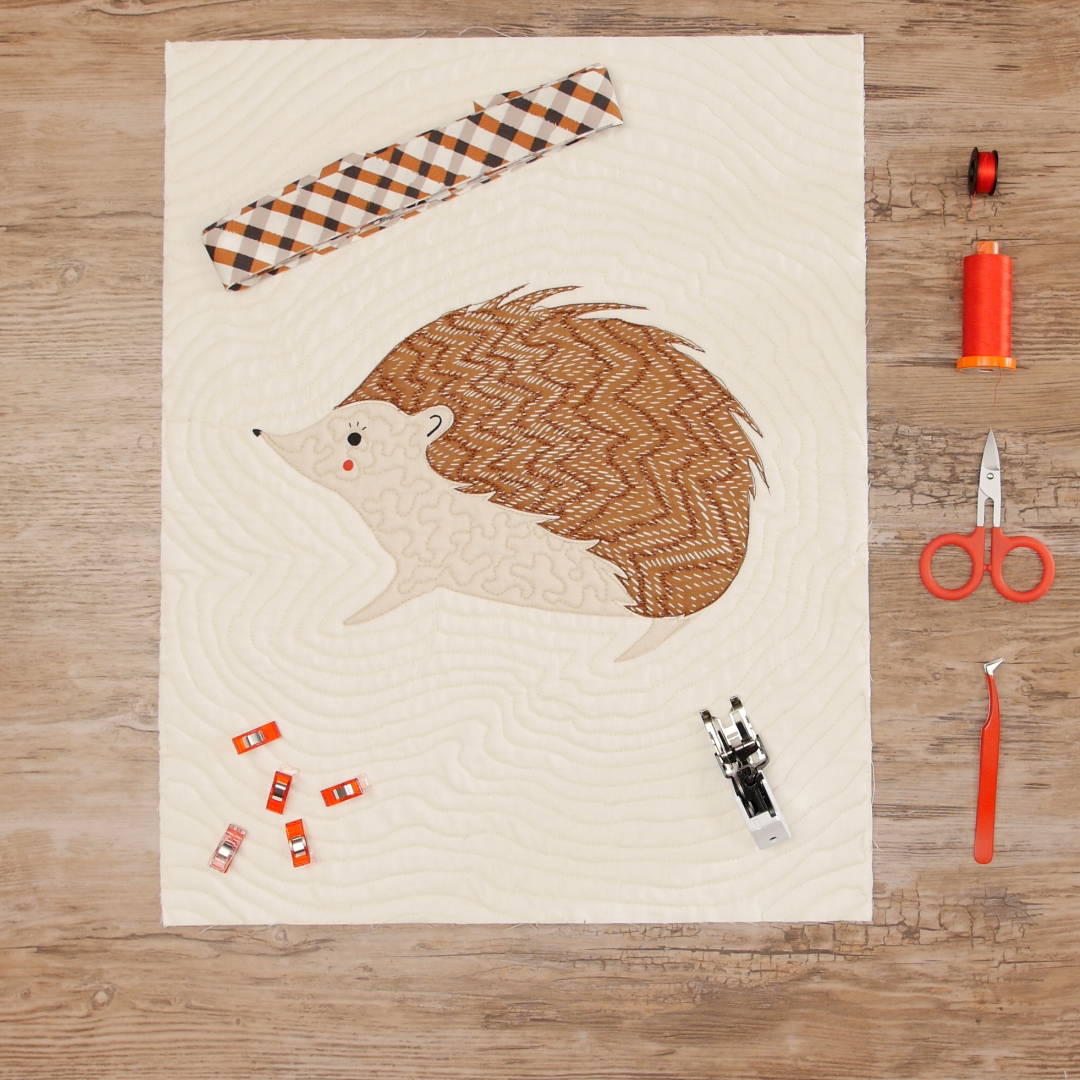
Materials to Sew Mitered Corners
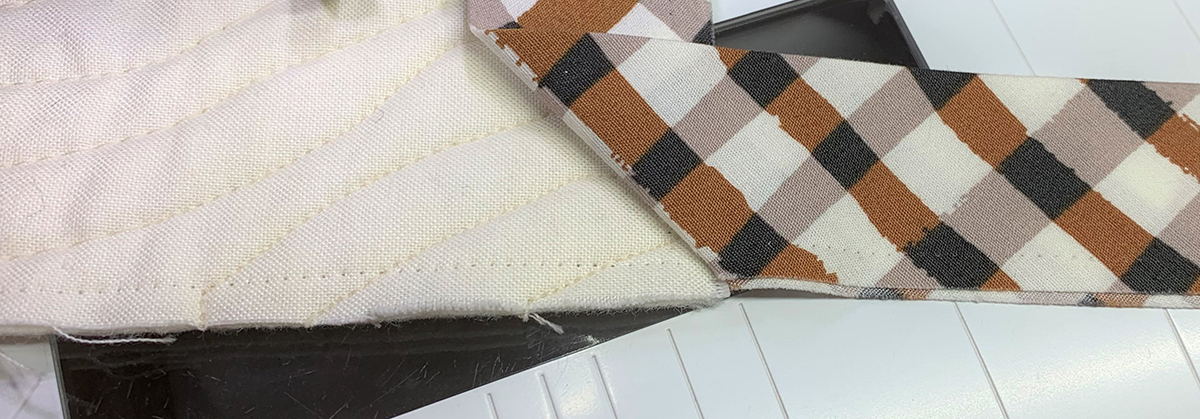
- Quilt ready to bind
- Binding
- Stiletto
- Clover Wonder Clips or pins
Check Binding Length
With your binding strips already sewn together and pressed in half lengthwise, place the binding along the perimeter of the quilt. Start at the bottom or the sides where the join will be least noticeable. Do you have enough binding to go around the quilt with an extra 12”? If not, add another binding strip. Are any binding seams landing in a corner? If so, adjust the starting point. The seam will make the mitered corner bulky and harder to fold. Pin the start point in place leaving a 5” tail.
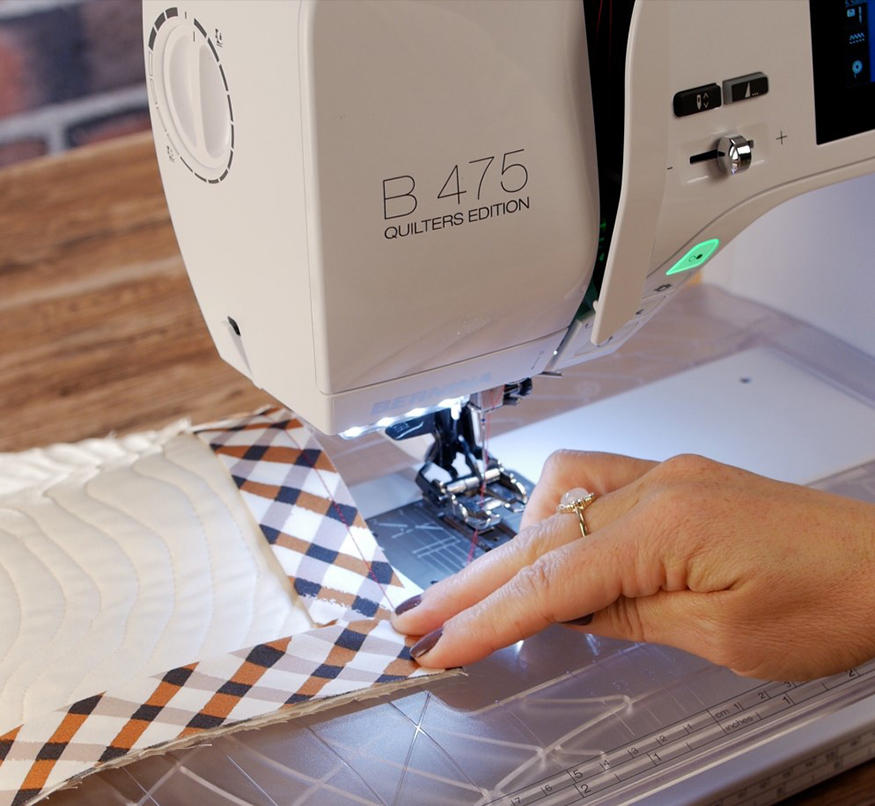
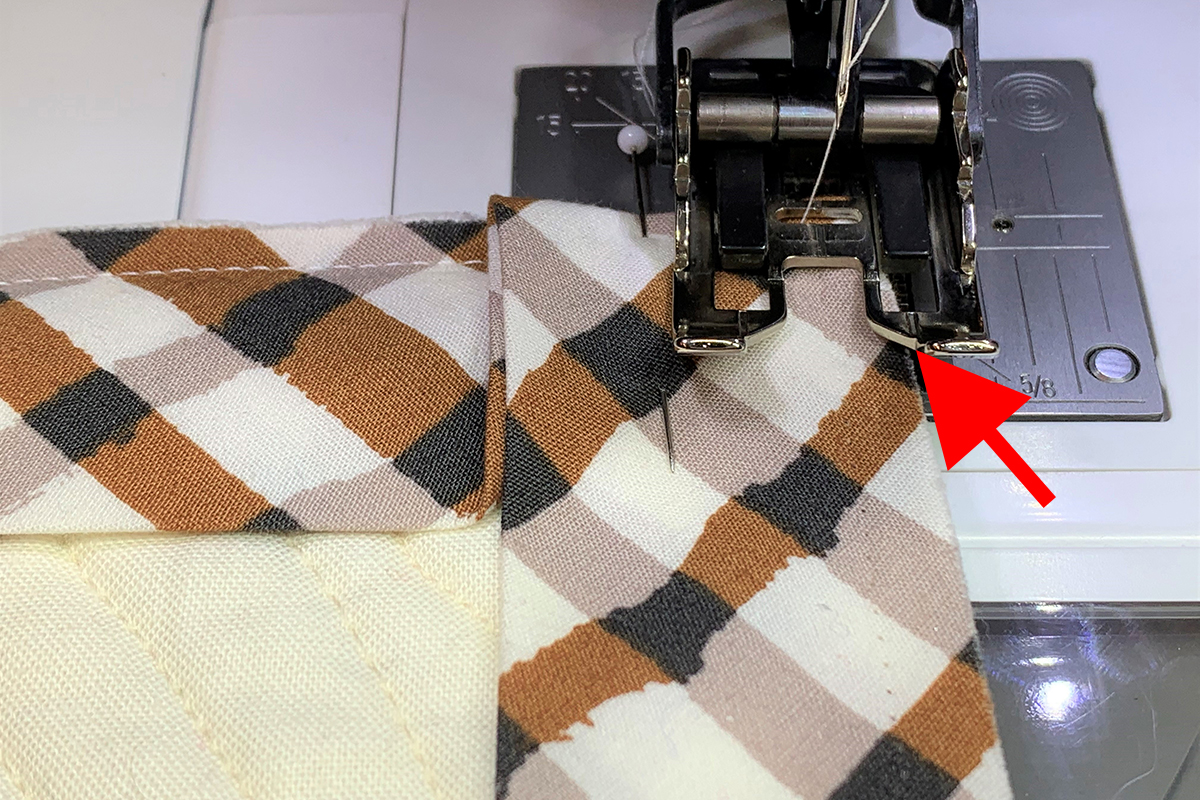
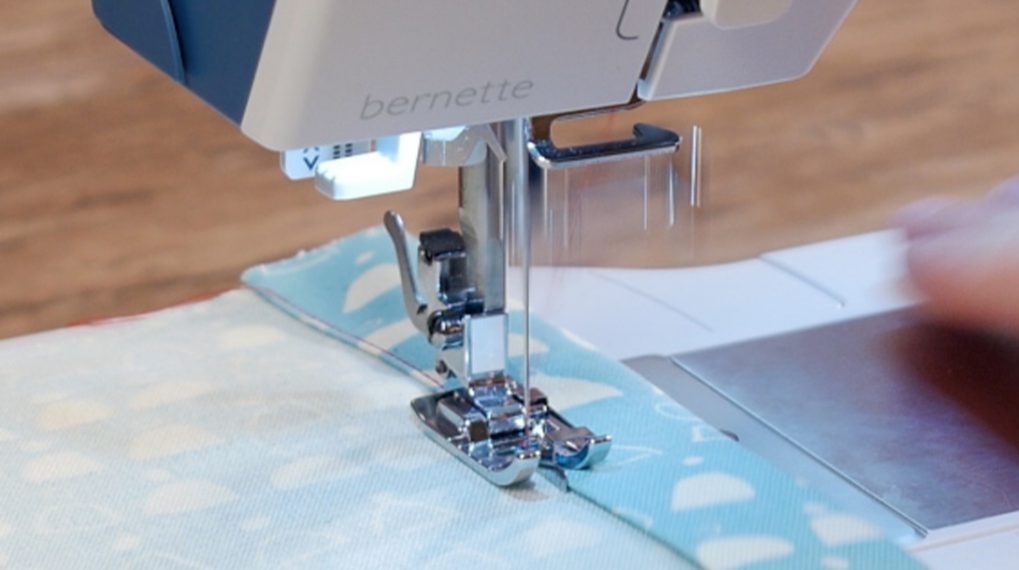
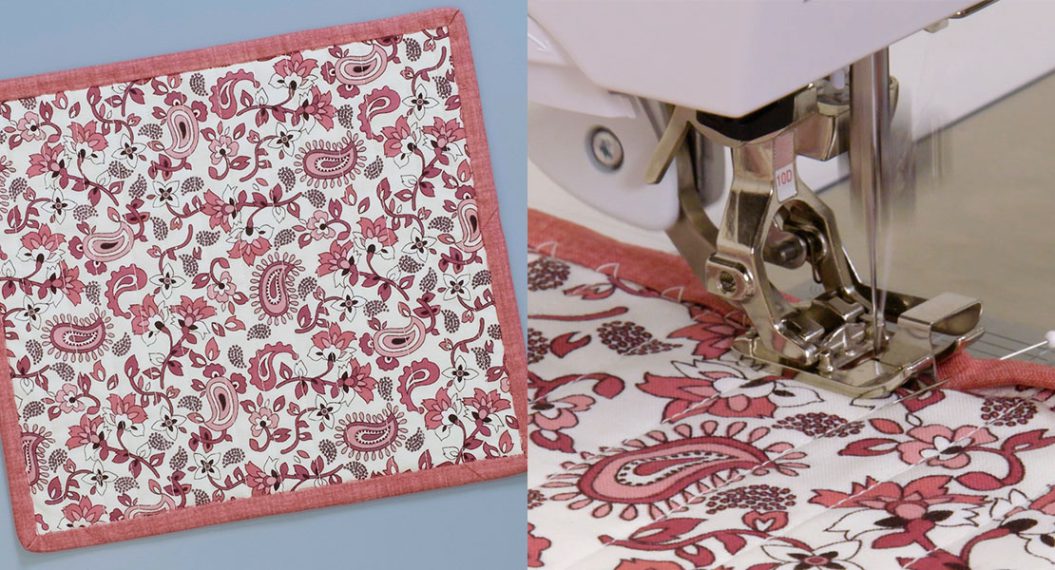
Because we are working with four layers of fabric and the batting, I use BERNINA Walking Foot #50 to stitch my binding onto the quilt. Some quilters use their Patchwork Foot, but I have had great success with my Walking Foot. The goal is to stitch a 1/4” seam allowance around the perimeter and make sharp mitered corners. Here is a picture of the markings on BERNINA Walking Foot #50 with Standard Sole:
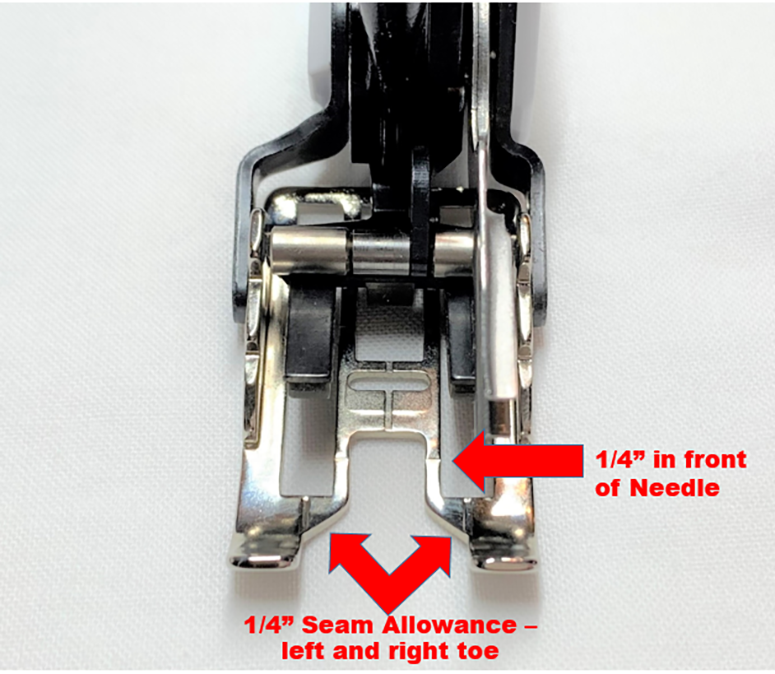
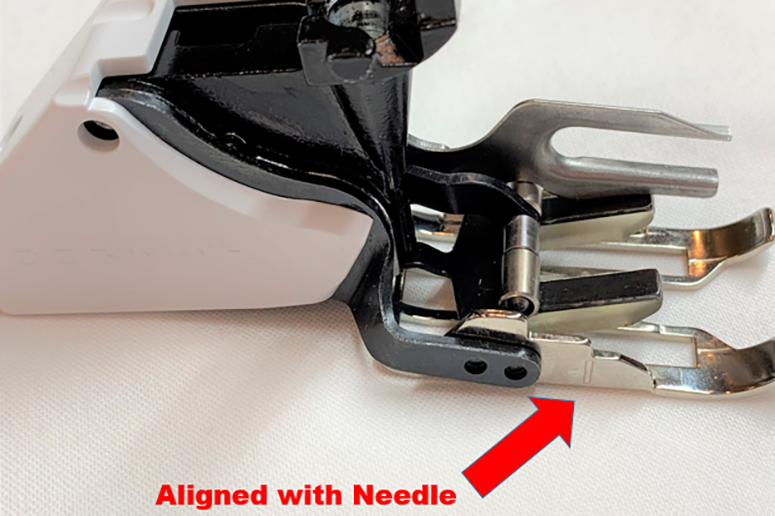
Attach the Walking Foot with Standard Sole and select Straight Stitch #1. Also, select the Needle Stop Up/Down function so the needle stops in the down position. Line up the edge of all layers with the 1/4” seam allowance mark on the right toe. Remember to leave 5” excess binding.
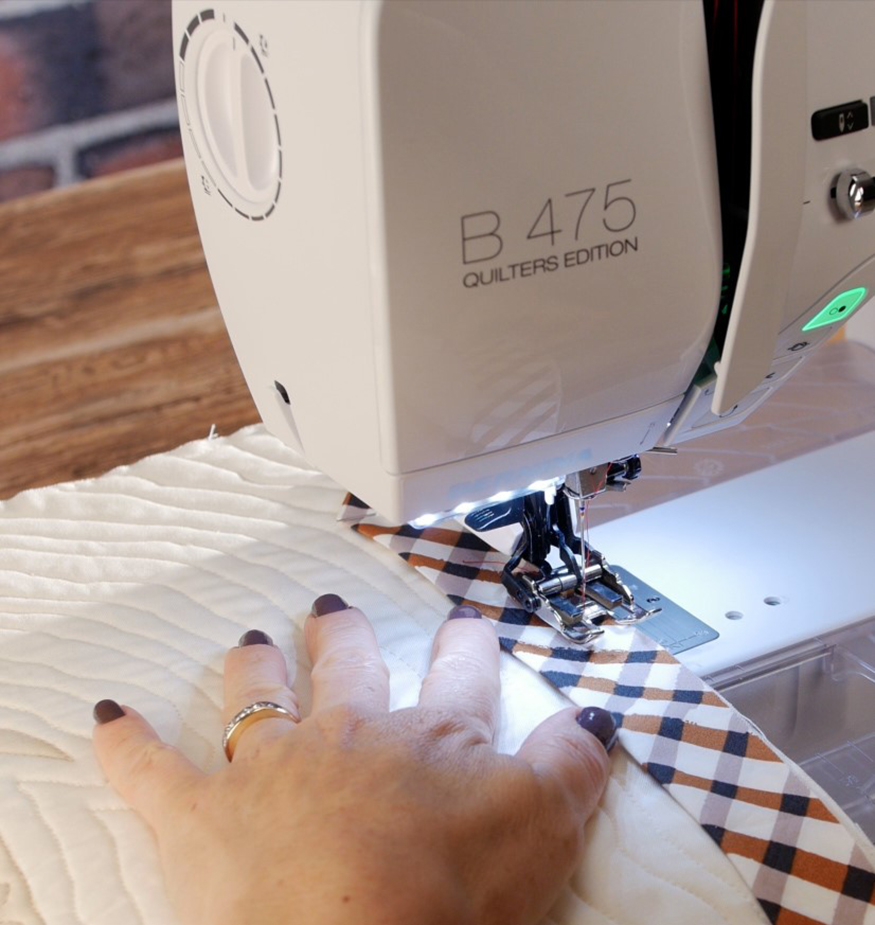
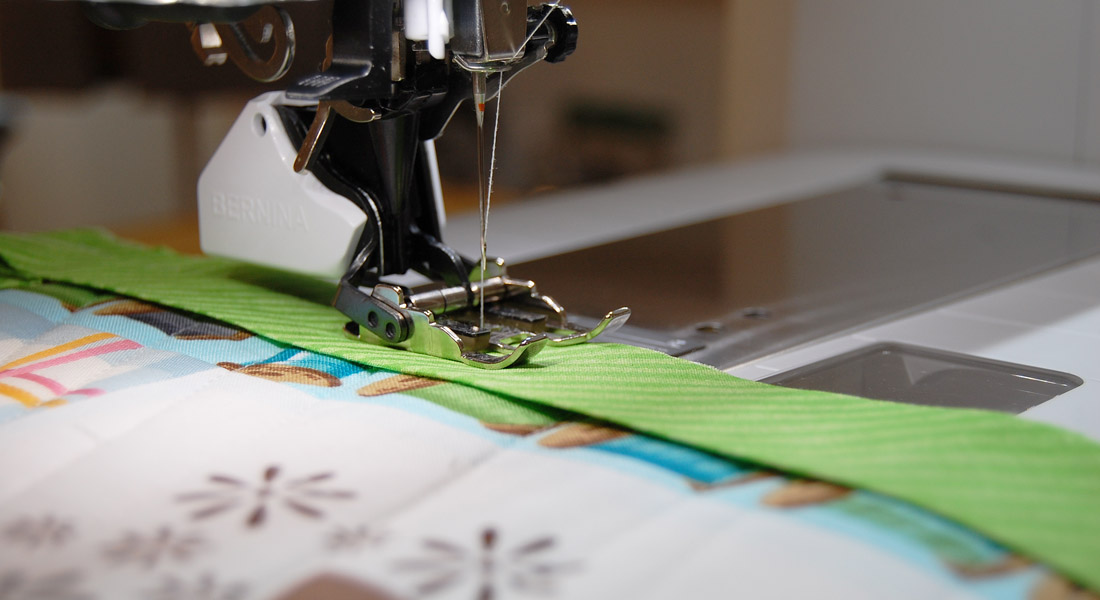
Sew along the raw edge, slowing down about an inch before you reach the corner. Then, sew slowly until you reach the mark on Walking Foot that is 1/4” in front of the needle. Stop.
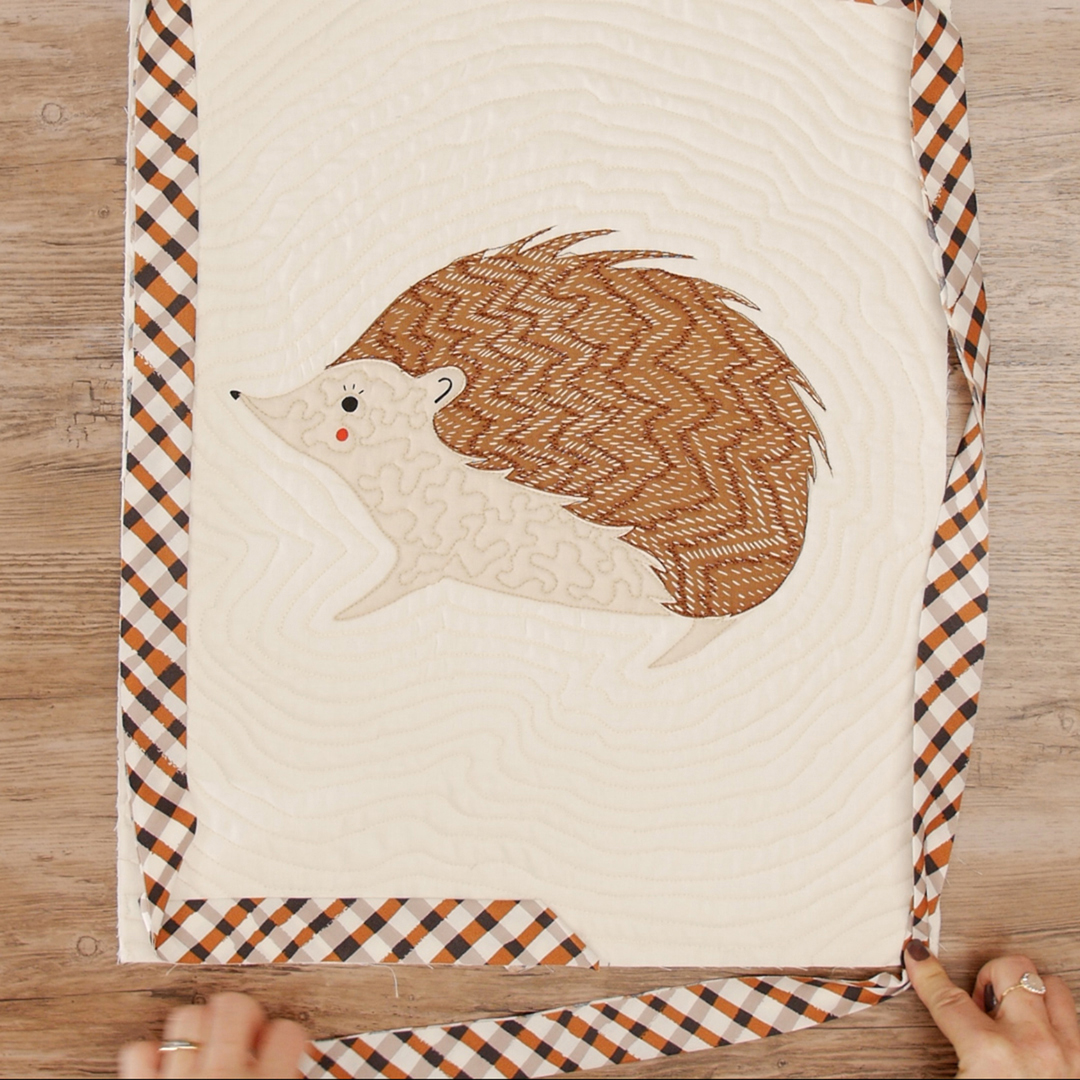
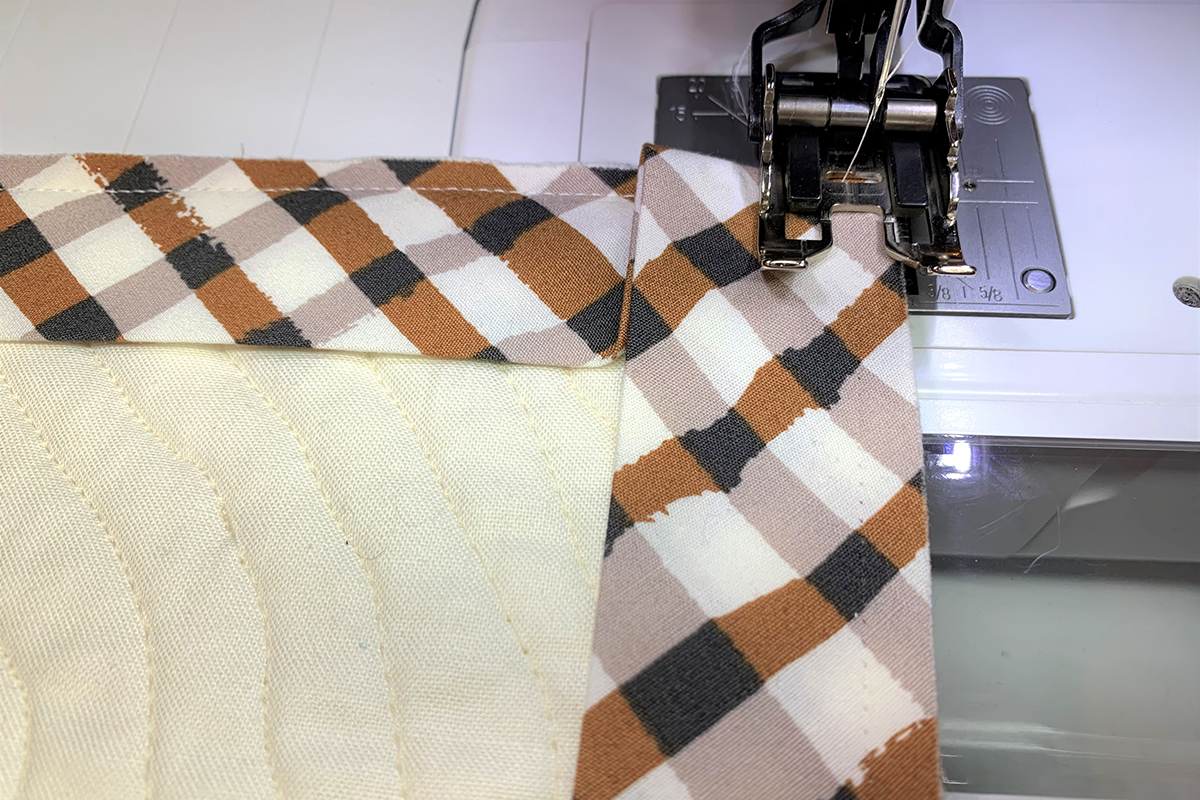
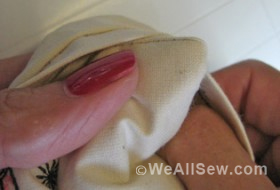
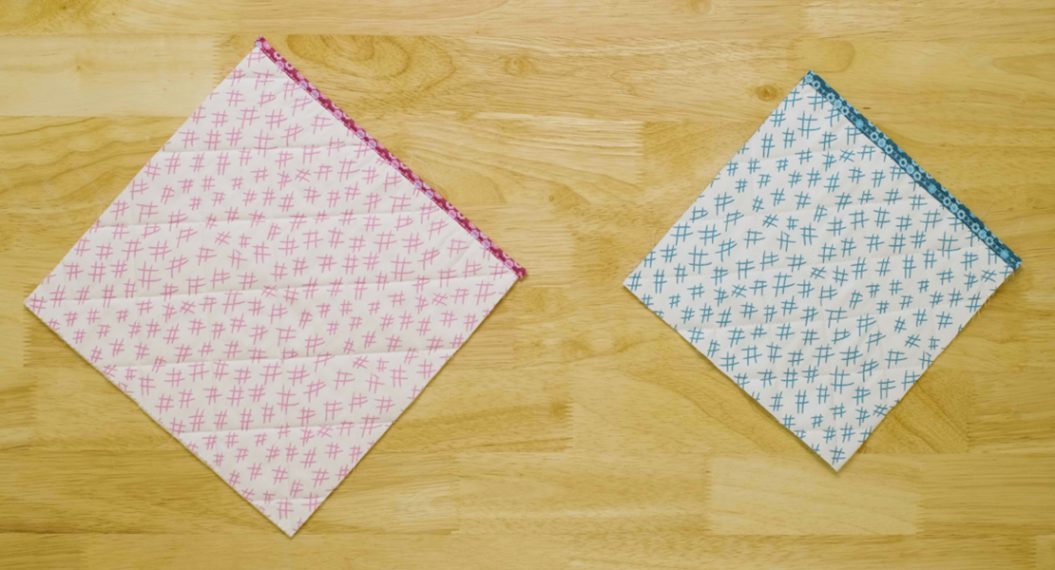
Here’s the magic formula! Push the Needle Button on the machine so the needle is in the up position. Gently pull the quilt towards you. Do not cut threads! Fold binding at a 45-degree angle to the right.
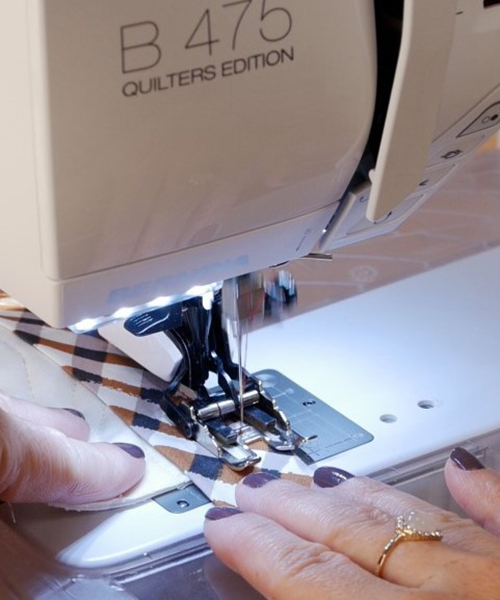
The binding should be aligned with the edge of the quilt so that all raw edges are in a continuous line. Finger press in place.
The raw edge of the binding should be aligned with the edge of the quilt.
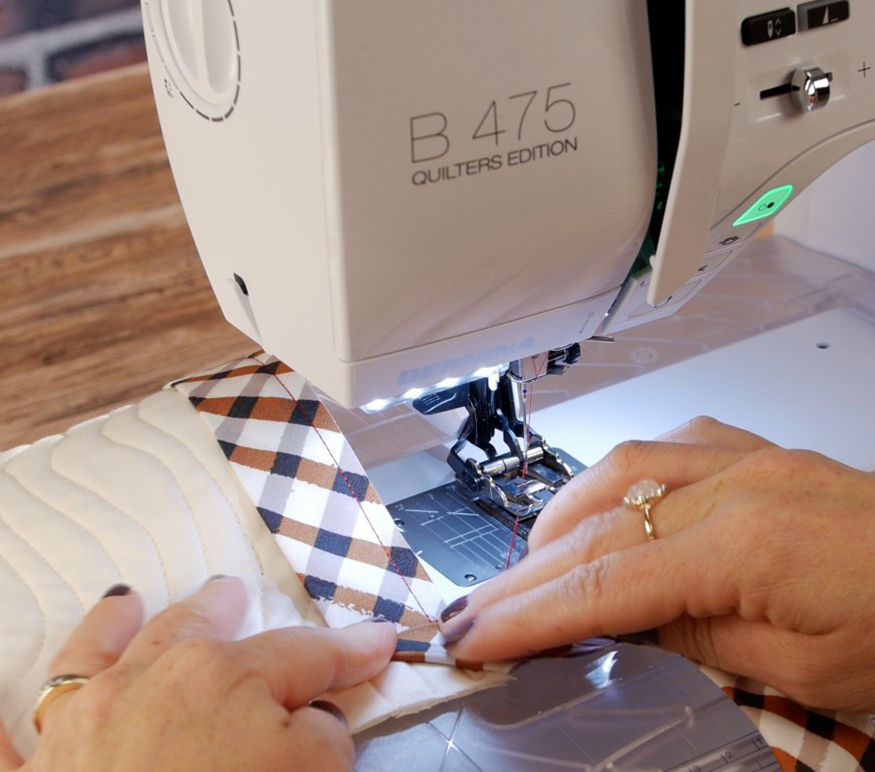
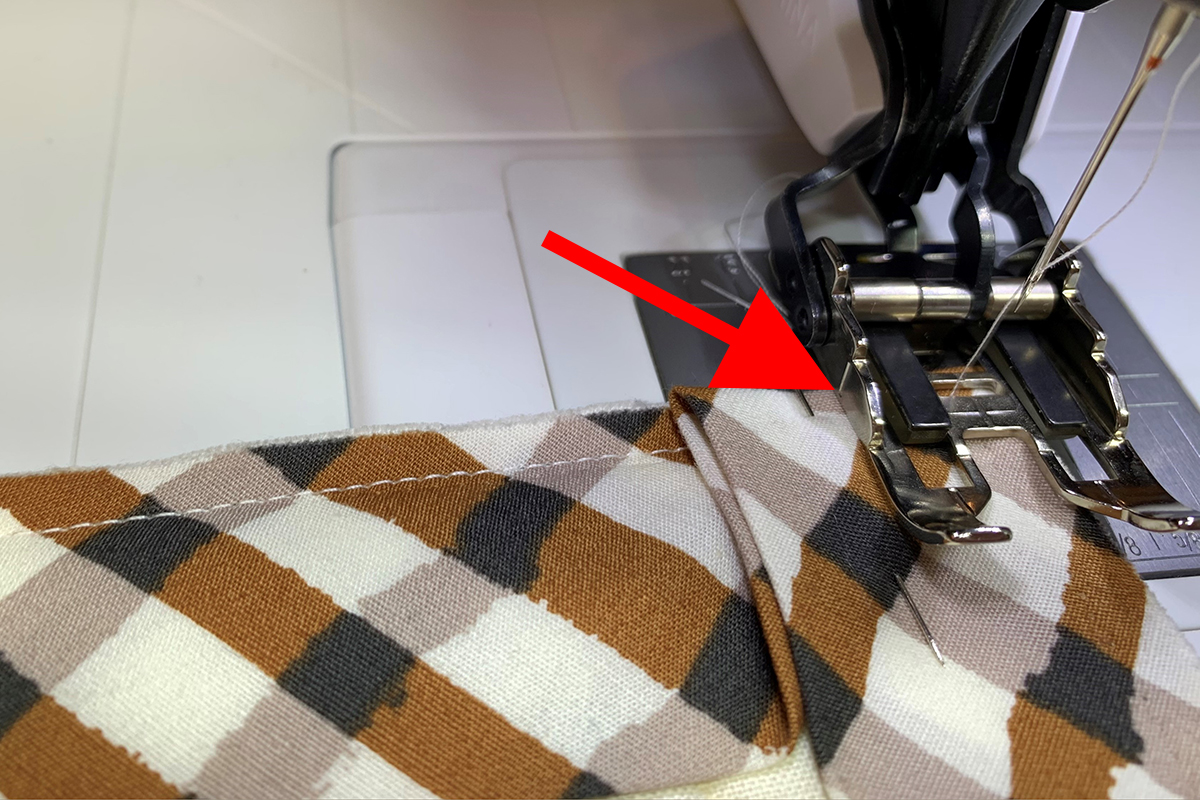
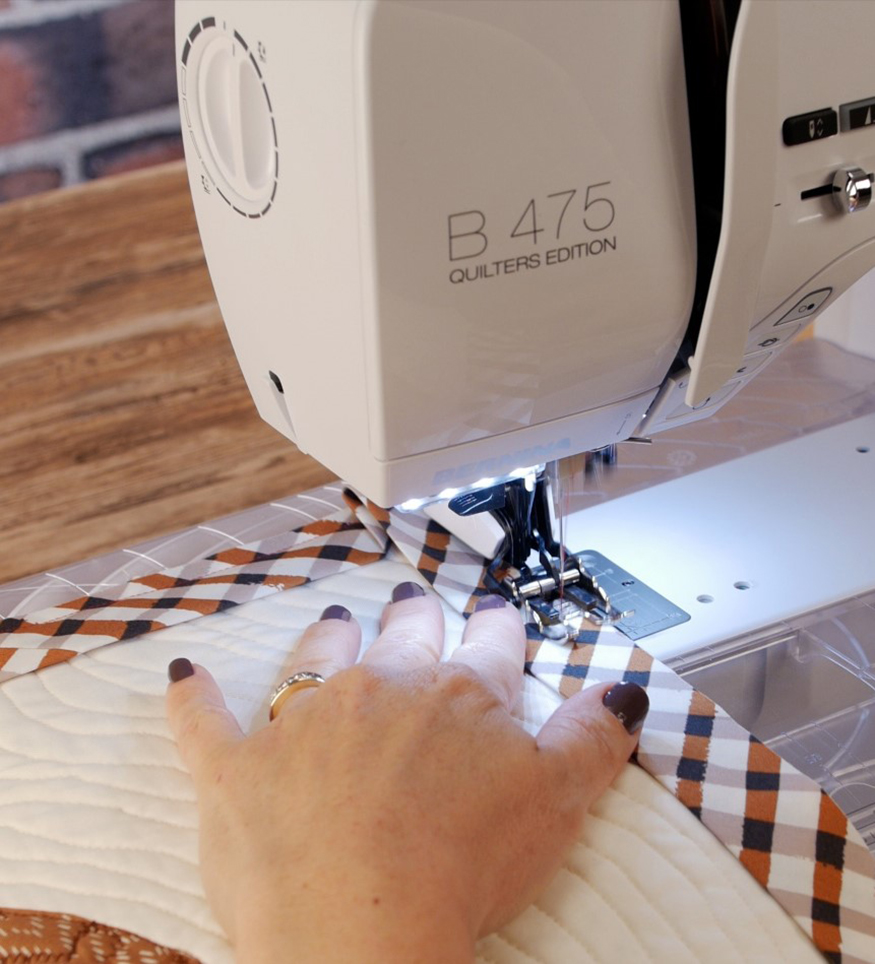
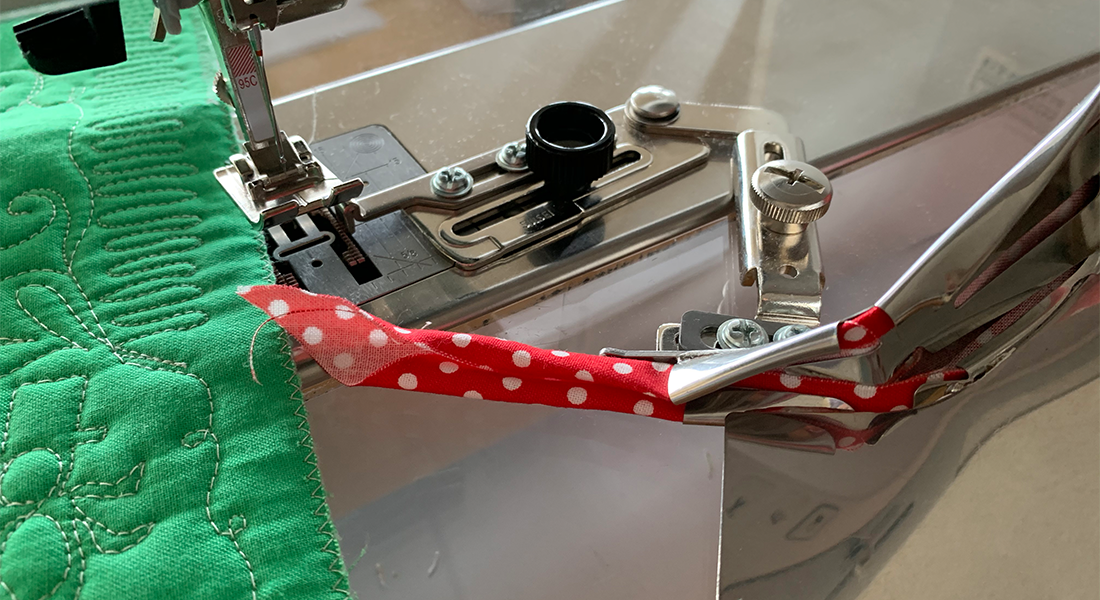
Carefully turn the quilt so that the stitch line is horizontal to you and the side ready to be stitched is under the foot.
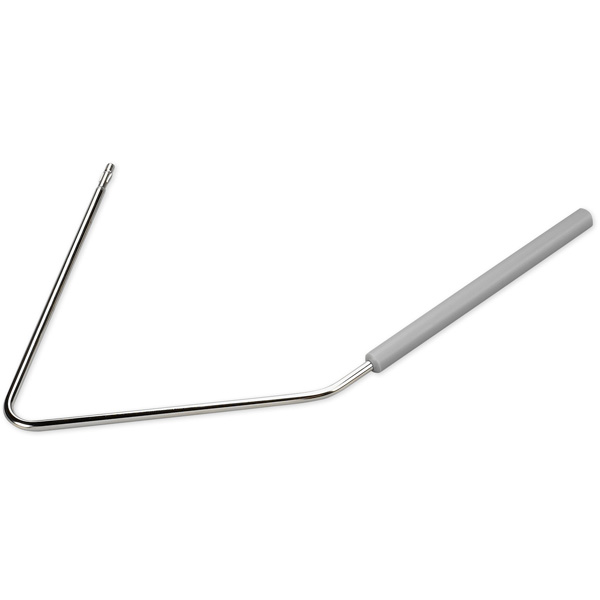
Lower foot so that the mark on the outside of the left toe is even with the top edge (this mark is aligned with the needle) and the 1/4” seam allowance mark on the right toe is even with the raw edges. This is a good time to use your BERNINA Free Hand System to get the placement just right.
Lower the foot and remove the pin. Sew 5-6 stitches. Do a couple of backstitches. Then sew until you reach the 1/4” mark at the next corner.
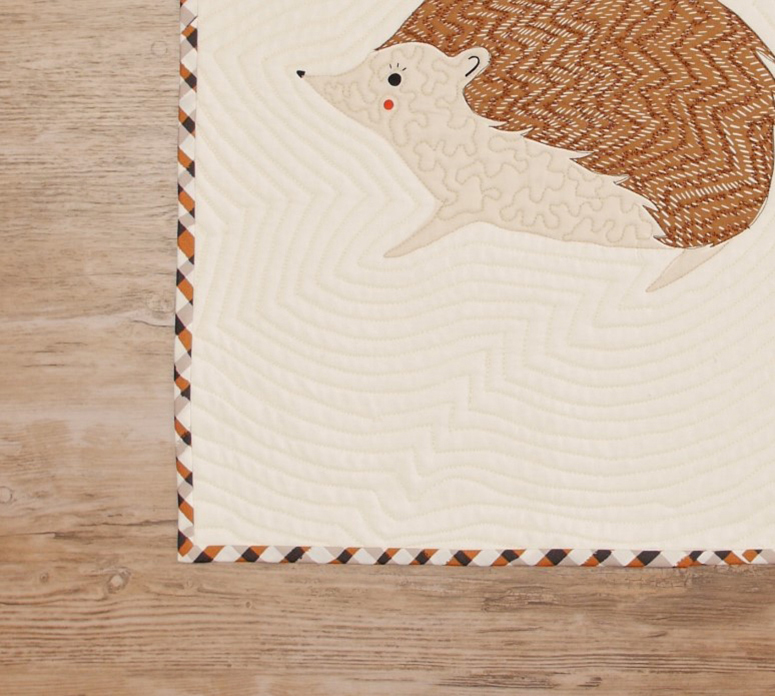
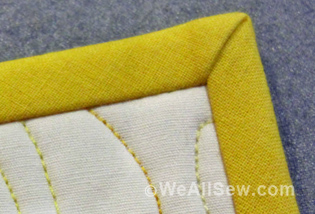
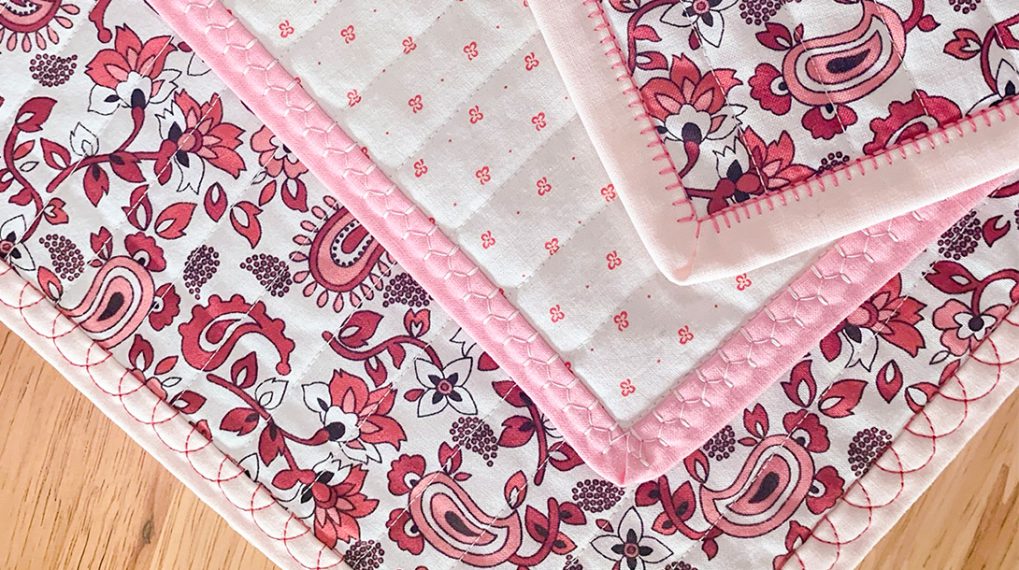
Repeat for the other three corners. Connect ends using your favorite method. Fold the binding to the backside. When you hand stitch the binding to the backside, the mitered corners will fold nicely into place. That’s all there is to it! Once you do this a couple of times, you’ll wonder what all the fuss was about! Mitered corners are easy to create and beautiful on a finished quilt!
Stay safe, keep sewing and enjoy the process! We’re learning together!


What you might also like


2 comments on “Sew Mitered Binding Corner”
-
-
You are welcome! I hope you have sharp mitered corners in your future!
-
Leave a Reply
You must be logged in to post a comment.

Thank you so much showing me how to miter the corners.
Nancy