CANDY STAR Quilt Along, Part 4: Assemble the Quilt Top
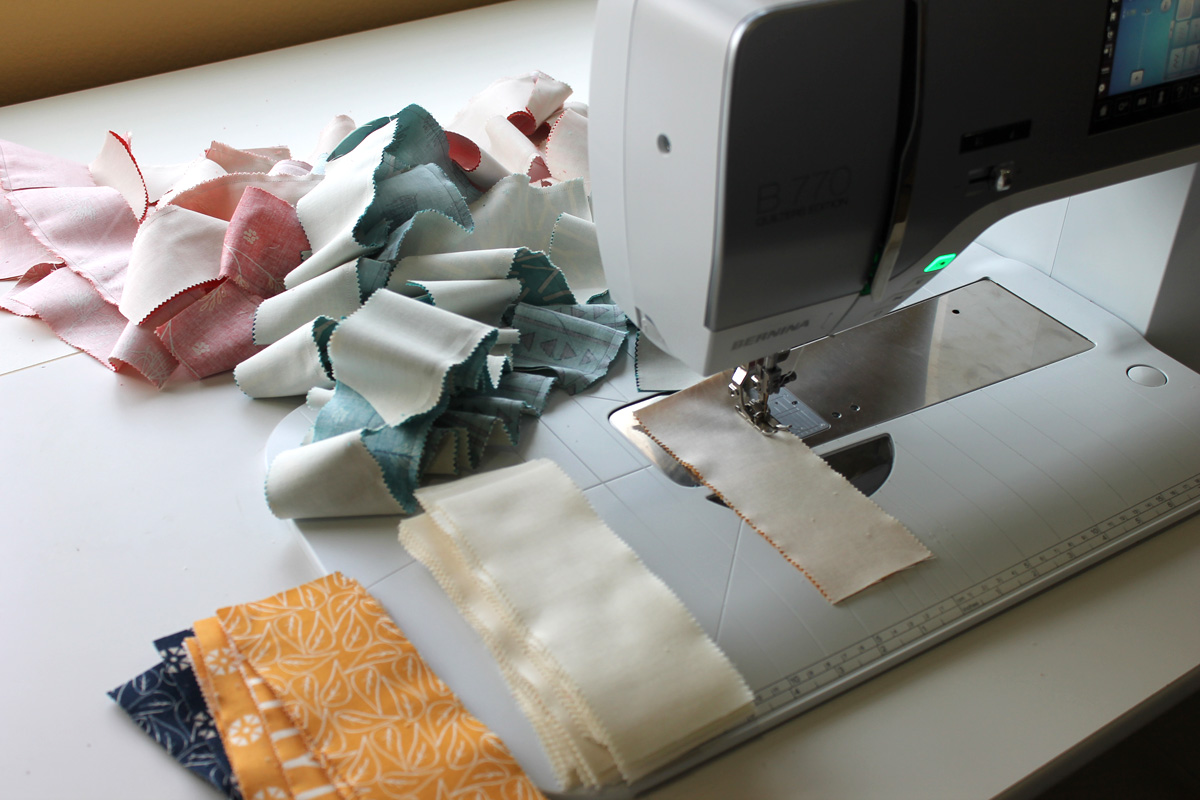
Hi, I’m Satomi from Satomi Quilts and welcome to CANDY STAR QAL PART 4! Have you made all the blocks and the cornerstones? This week we are finally assembling the quilt top.
ASSEMBLING THE QUILT TOP
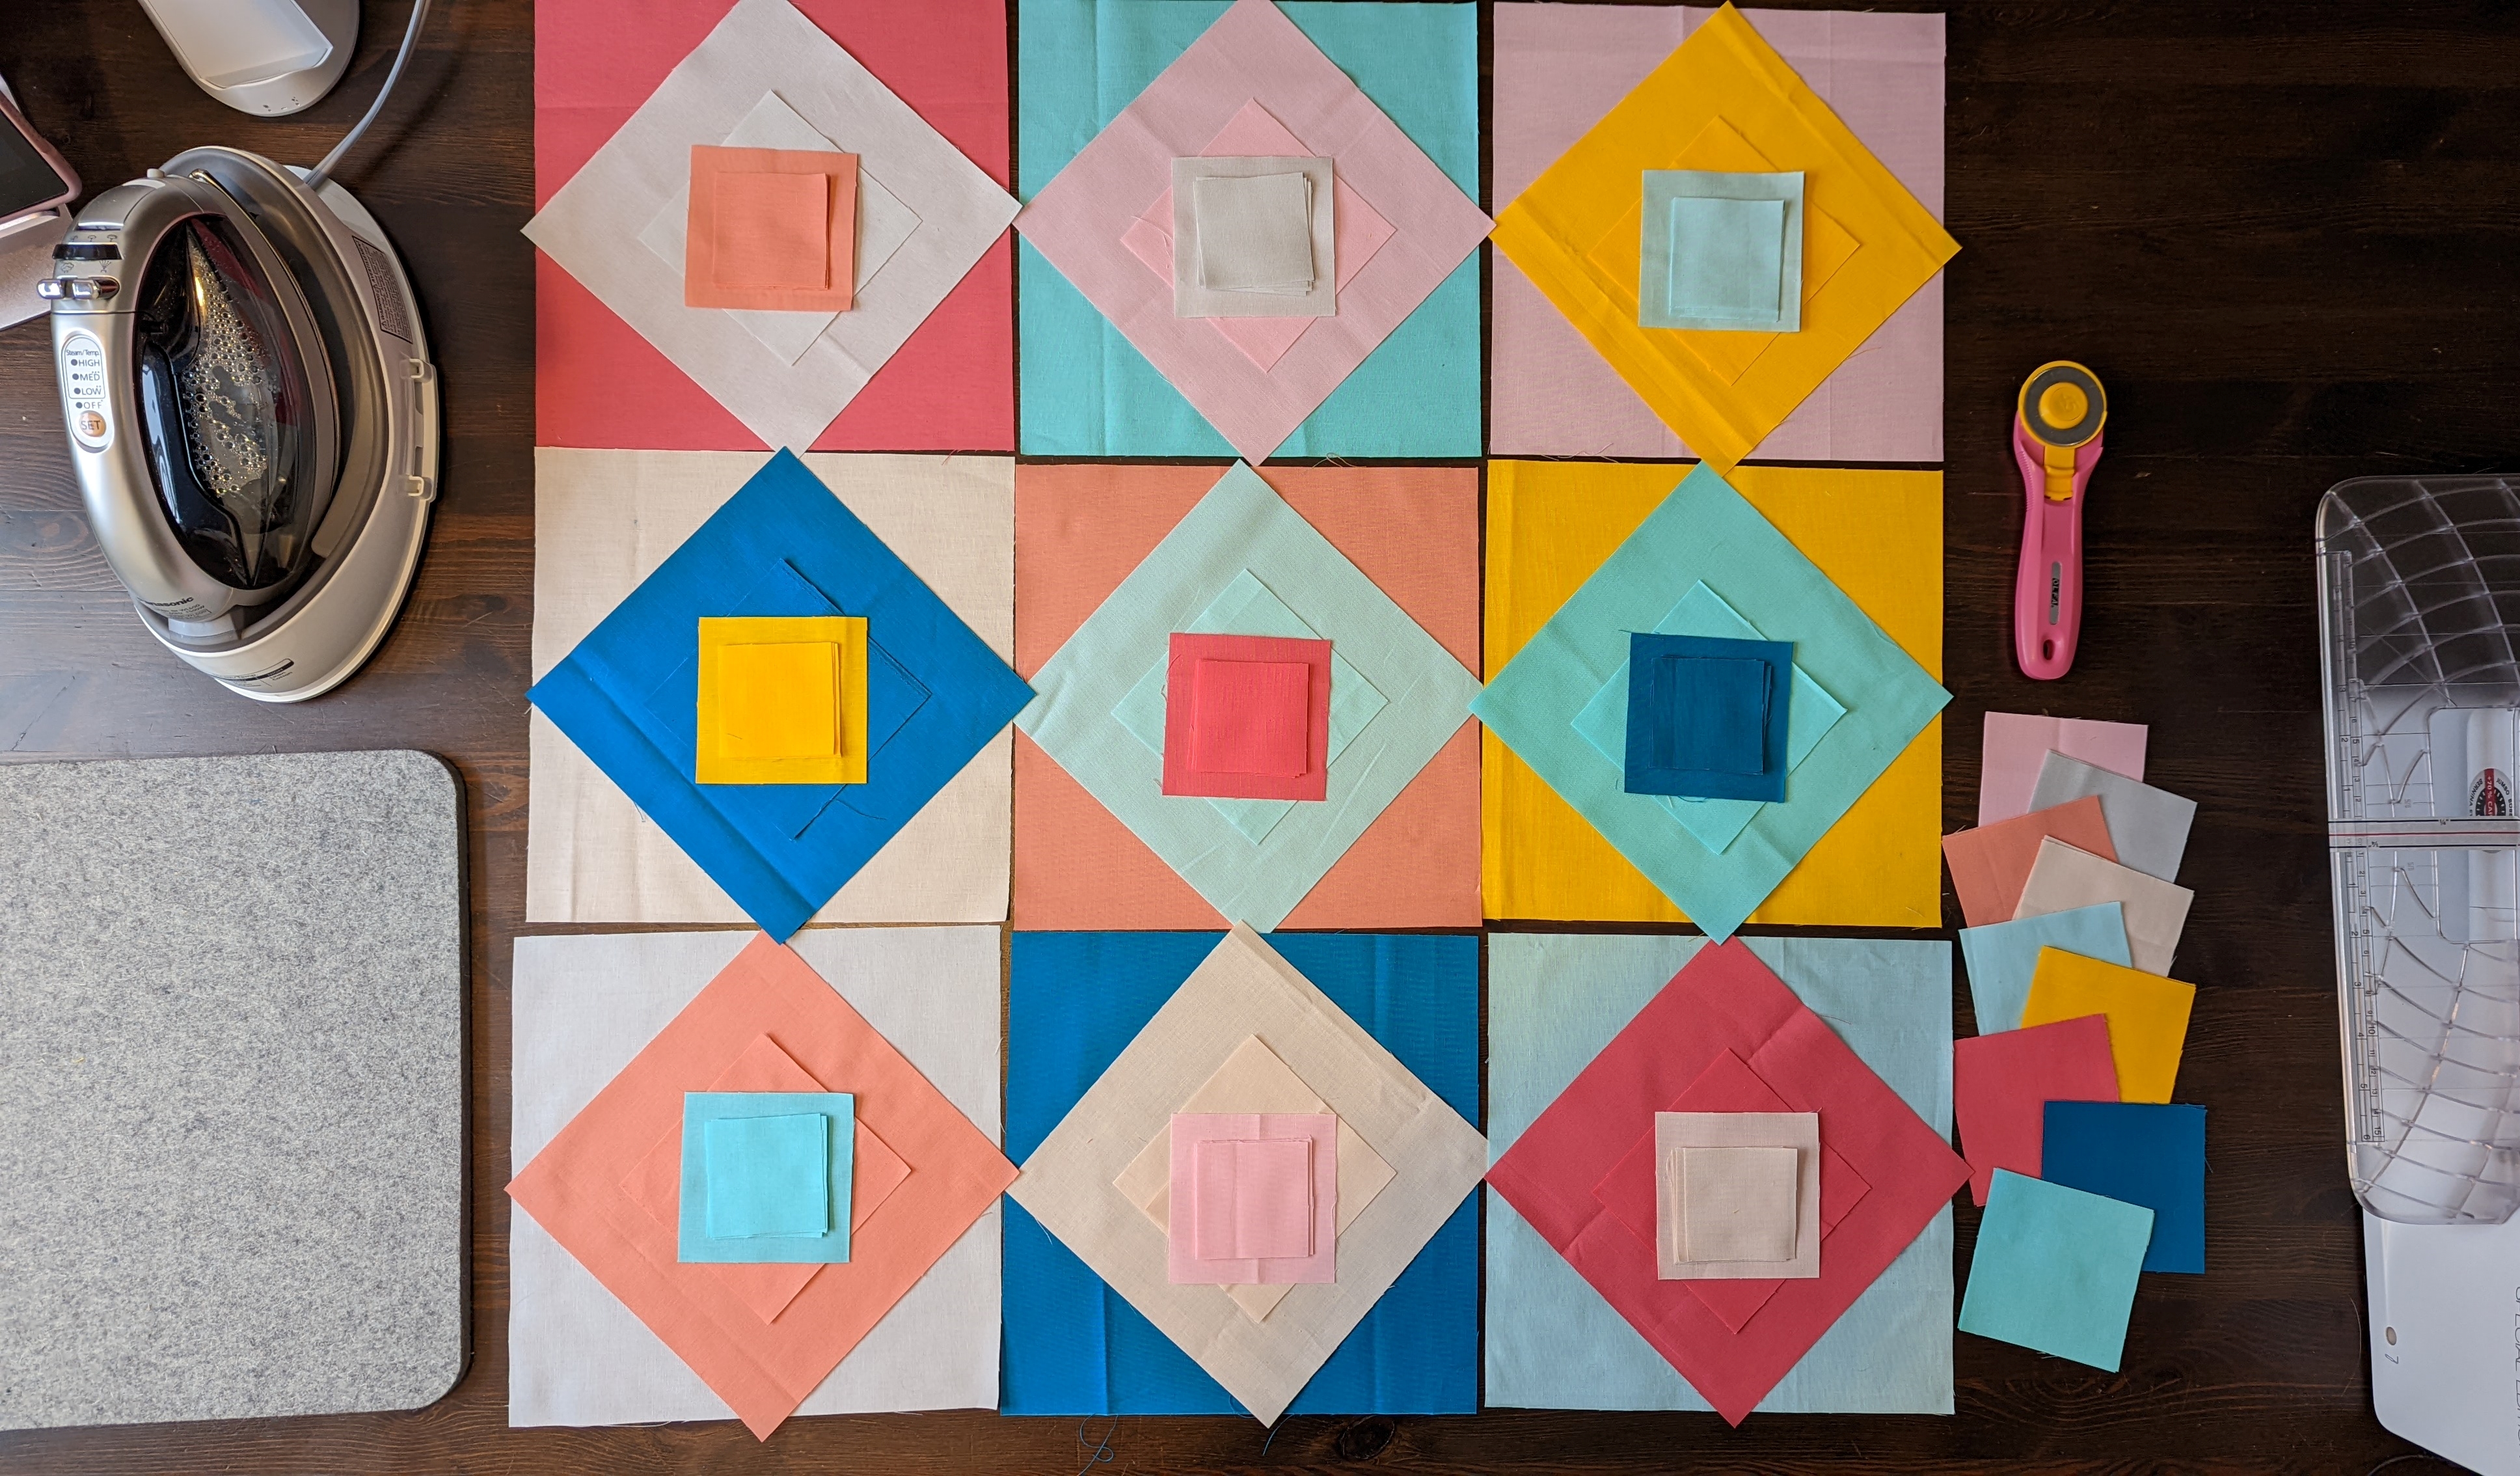
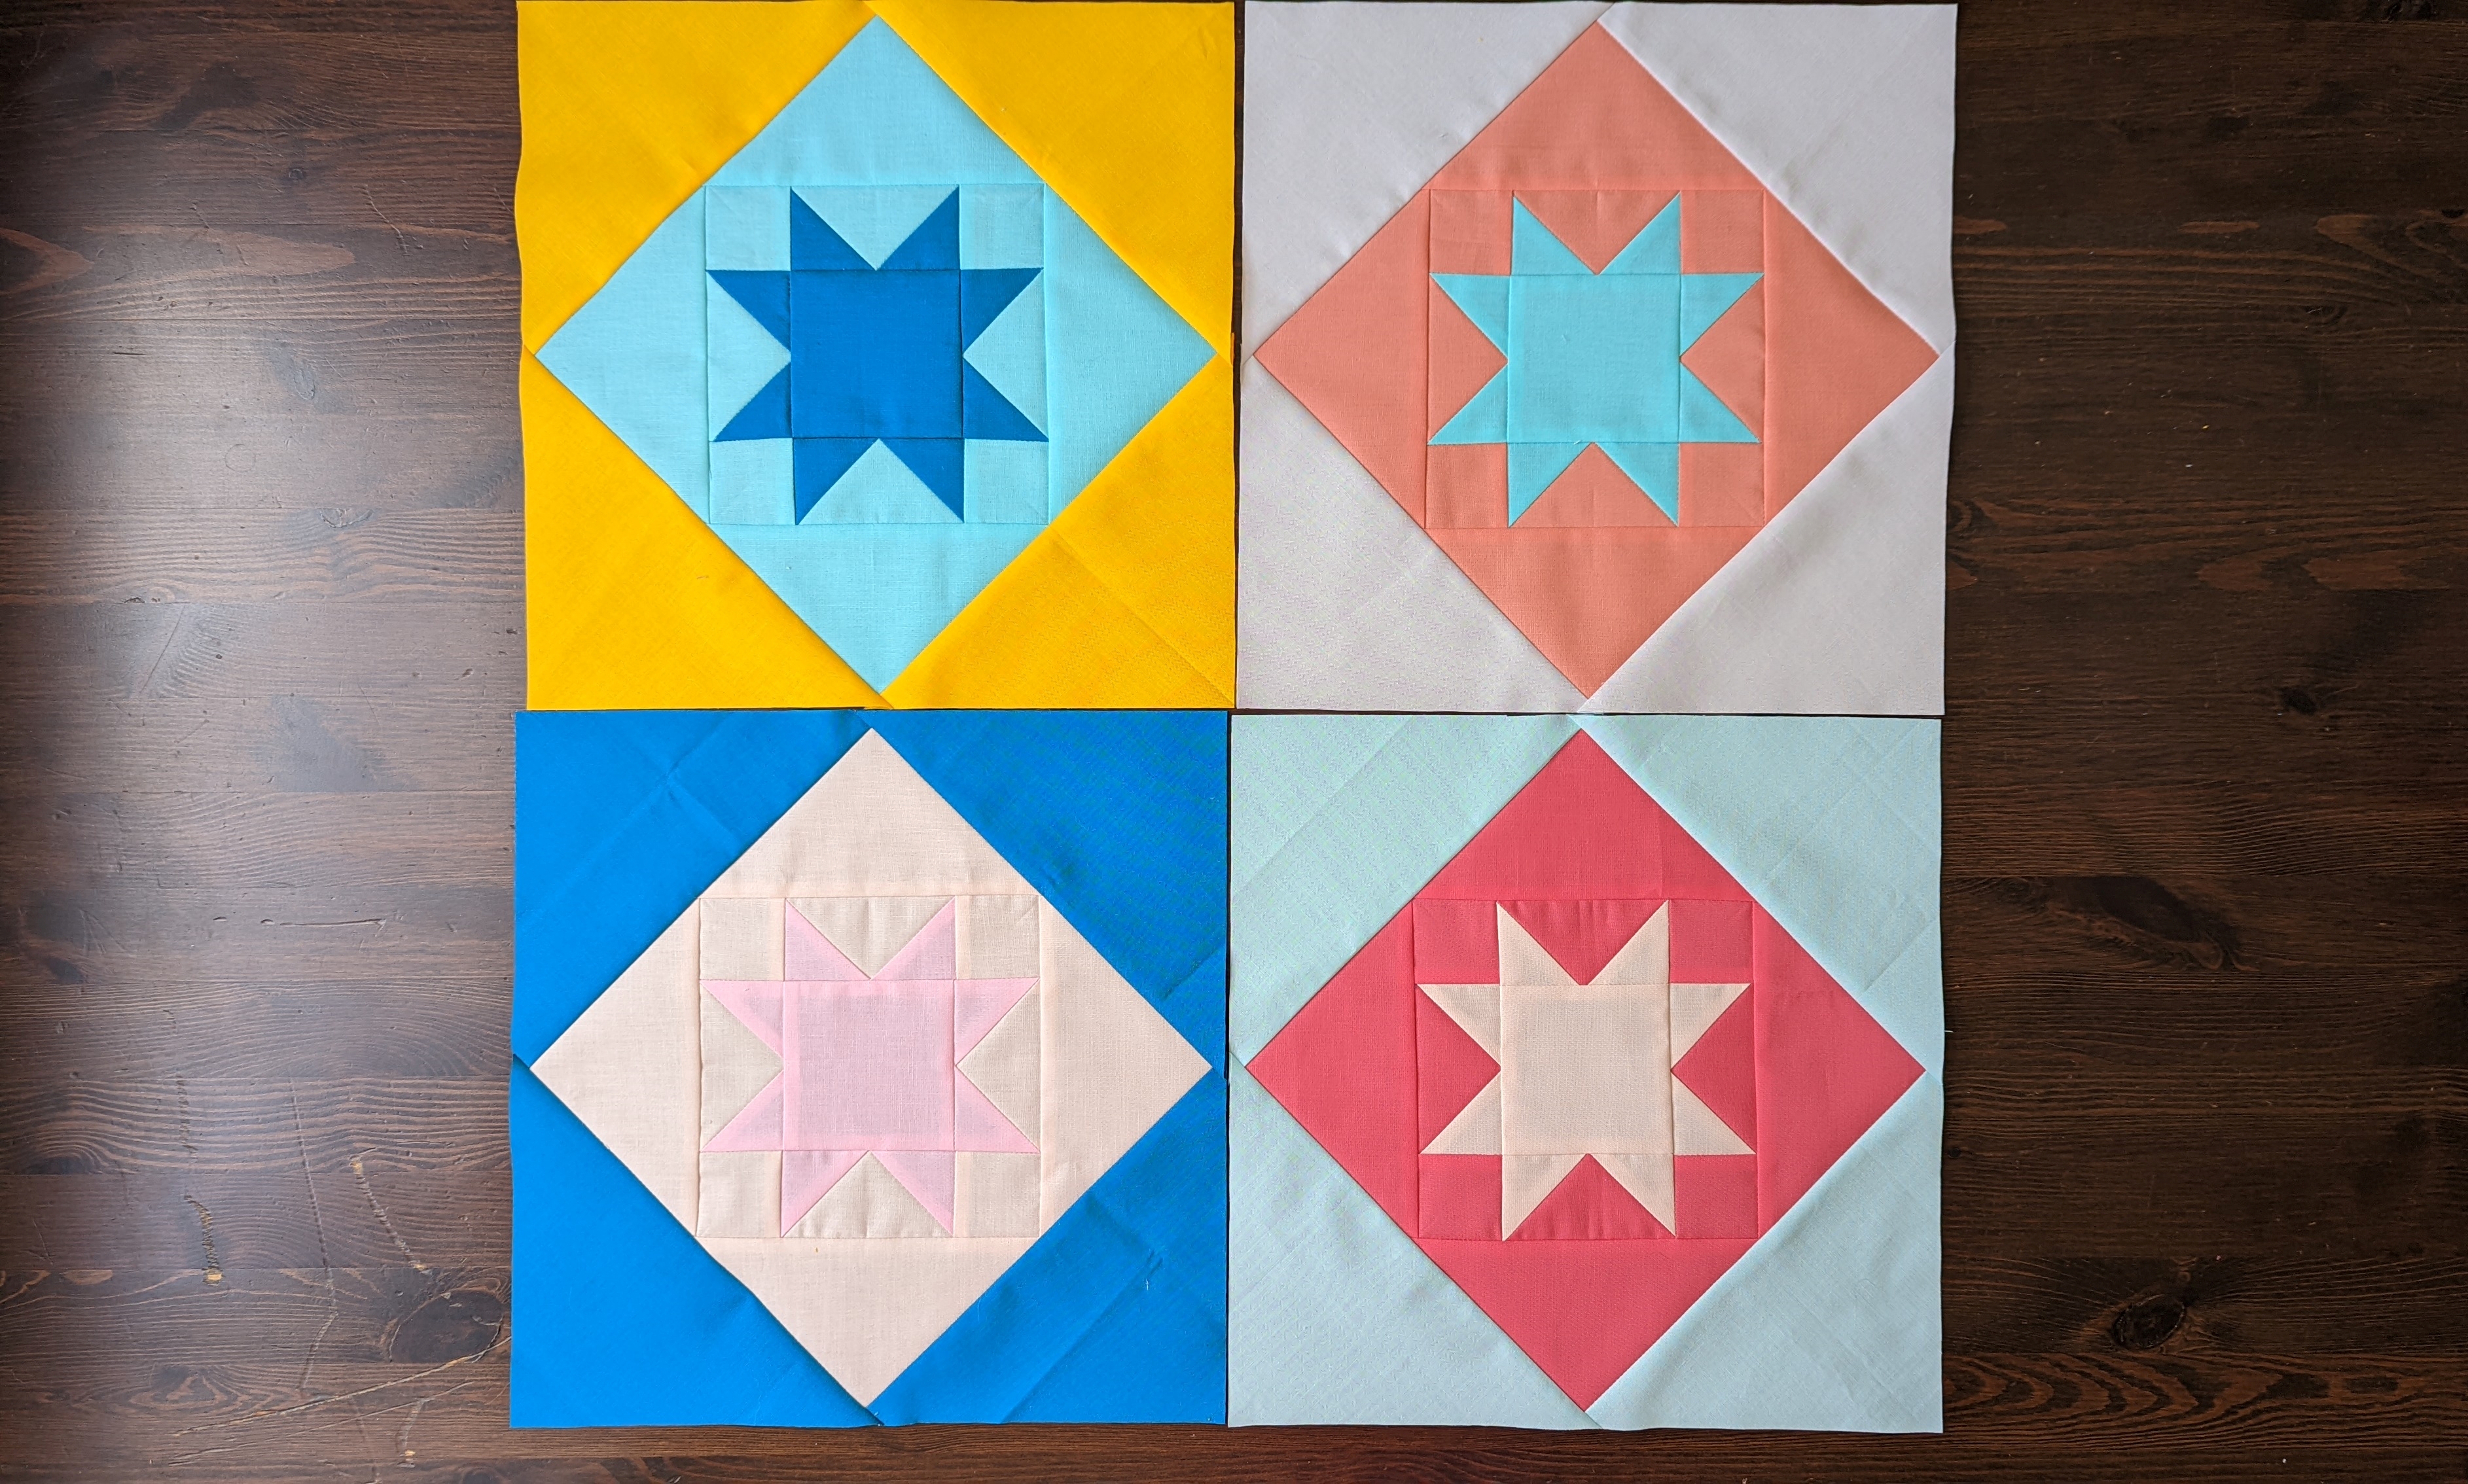
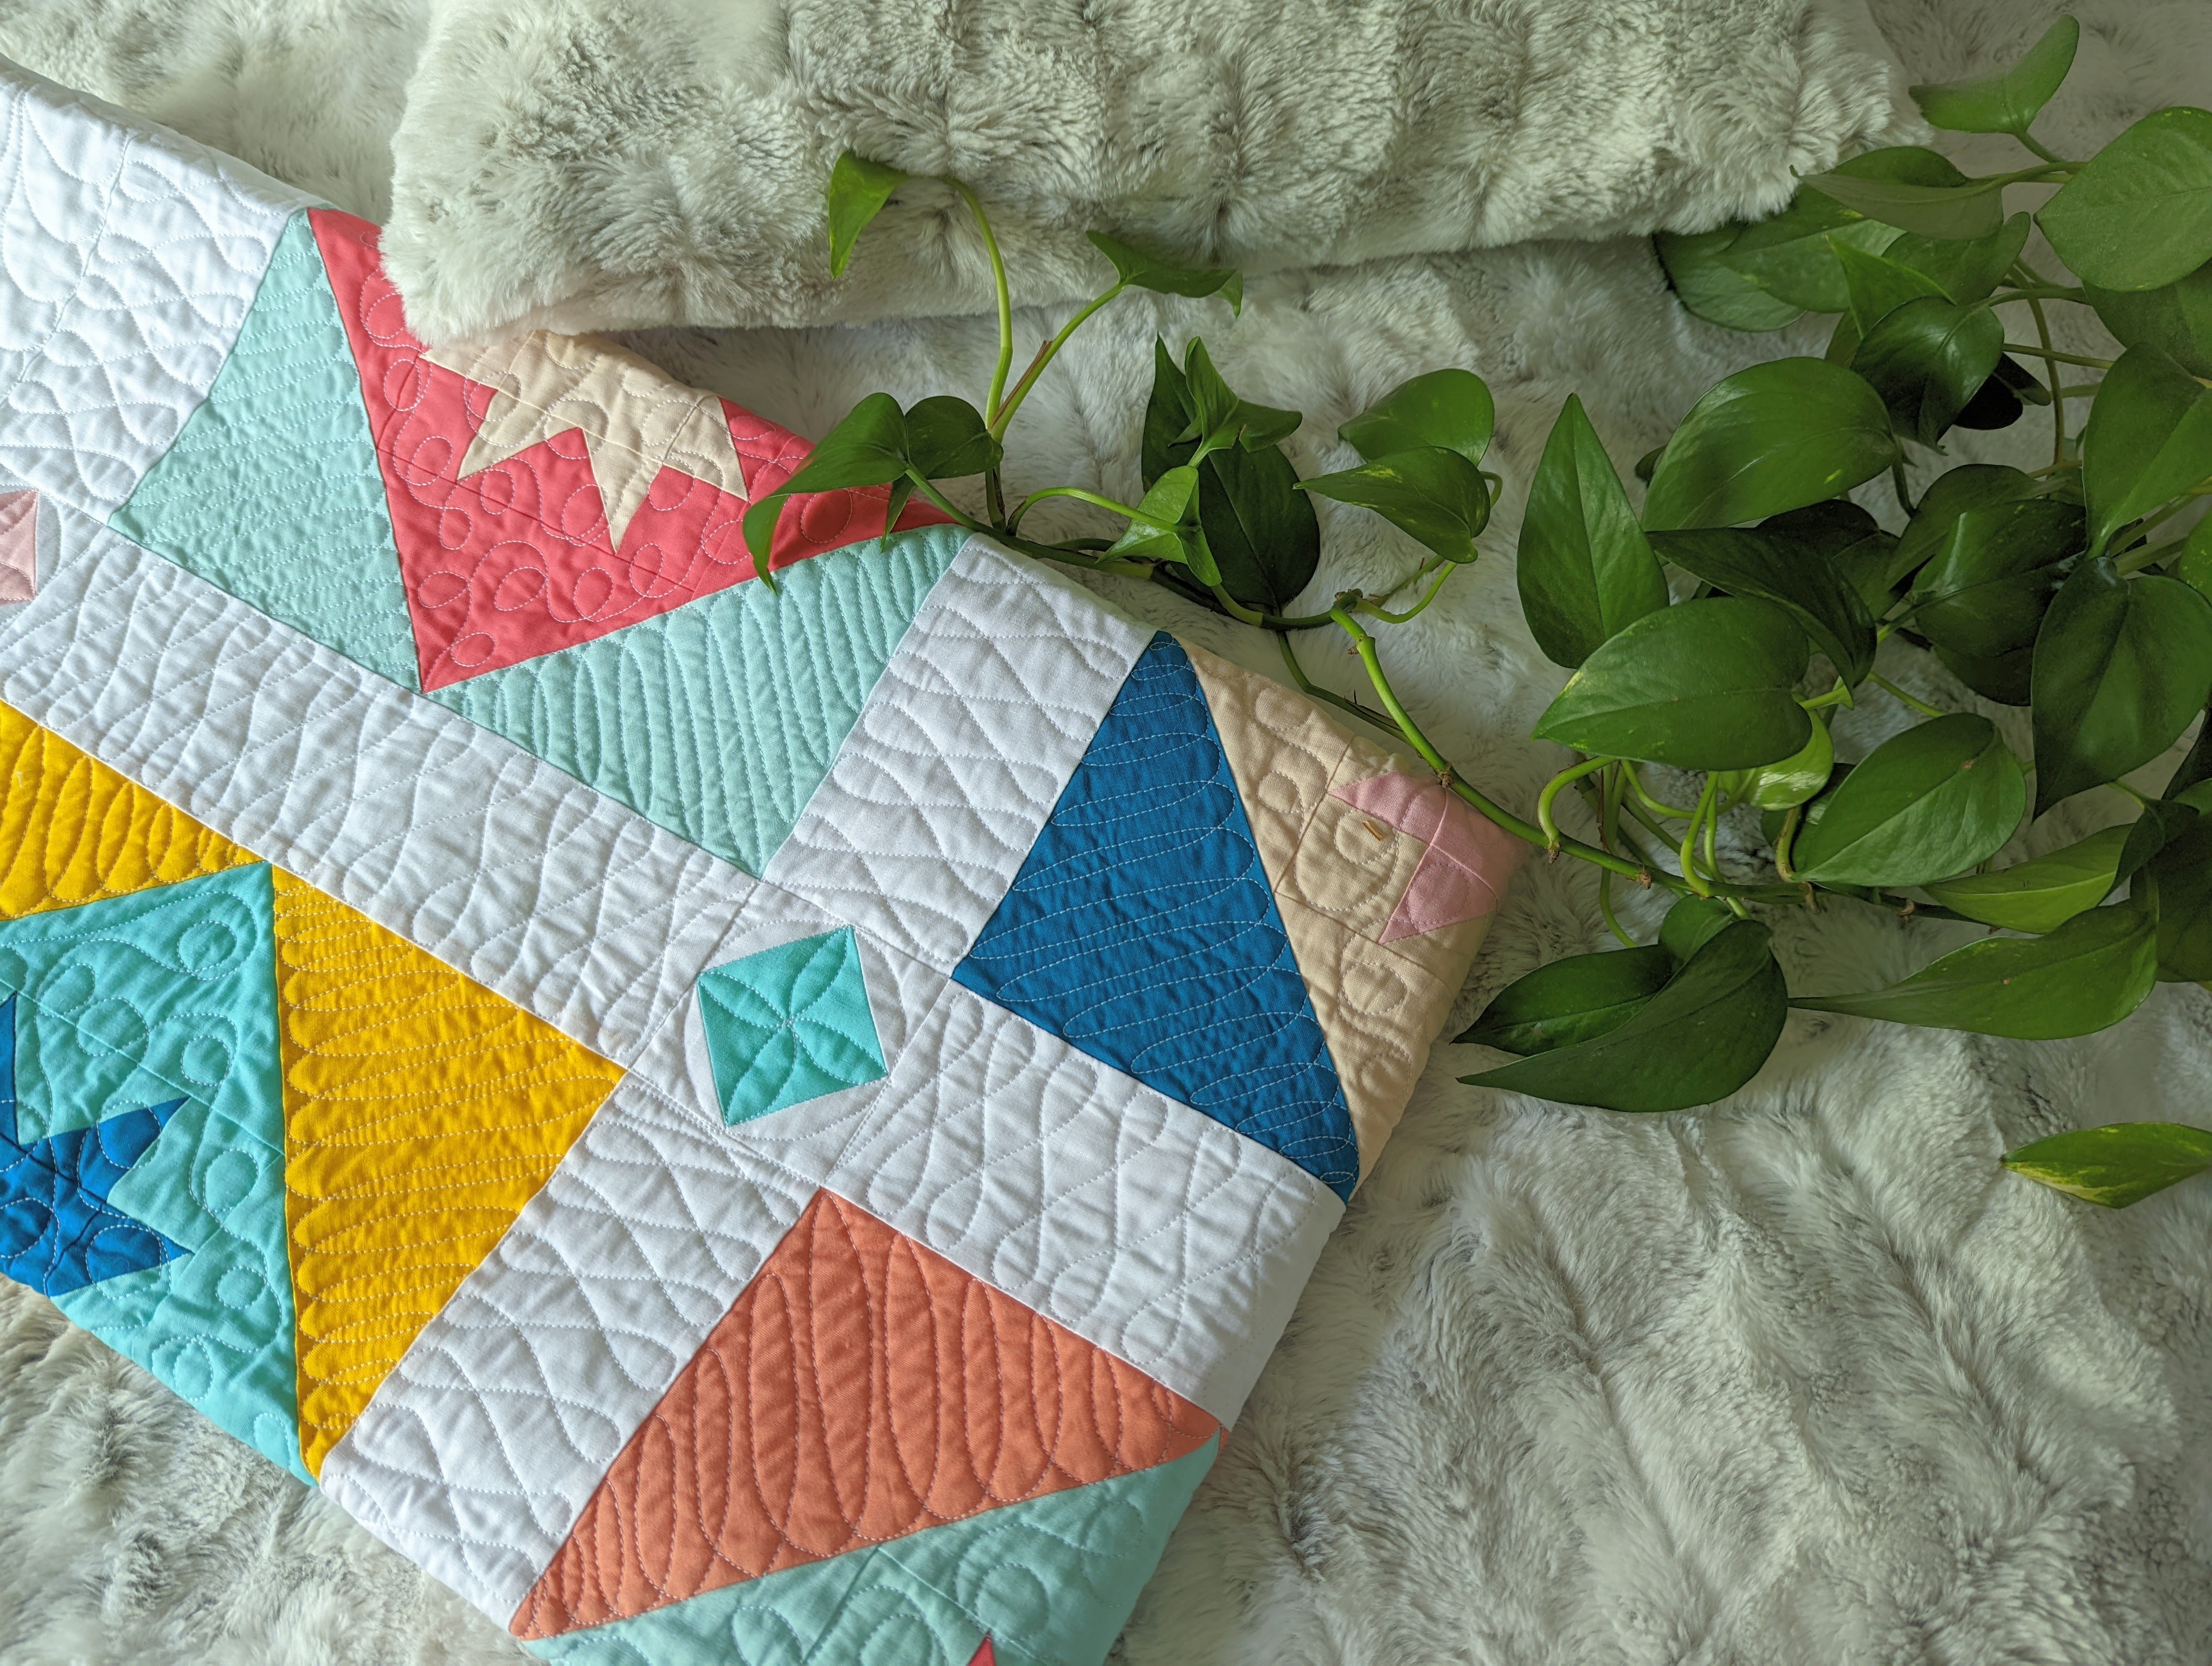
First, lay all of the blocks and cornerstones to plan the layout and to make sure you have a color balance. Once you have decided on the layout, I recommend taking a photo of the layout so you can refer to it later if you like.
I always take a photo of the quilt top layout before assembling. Sometimes I accidentally switch the sides of sewing without realizing and it totally messes up my layout. It’s just one snap to have a backup photo and it will be helpful (when the time comes…but I hope it won’t happen to you though!).
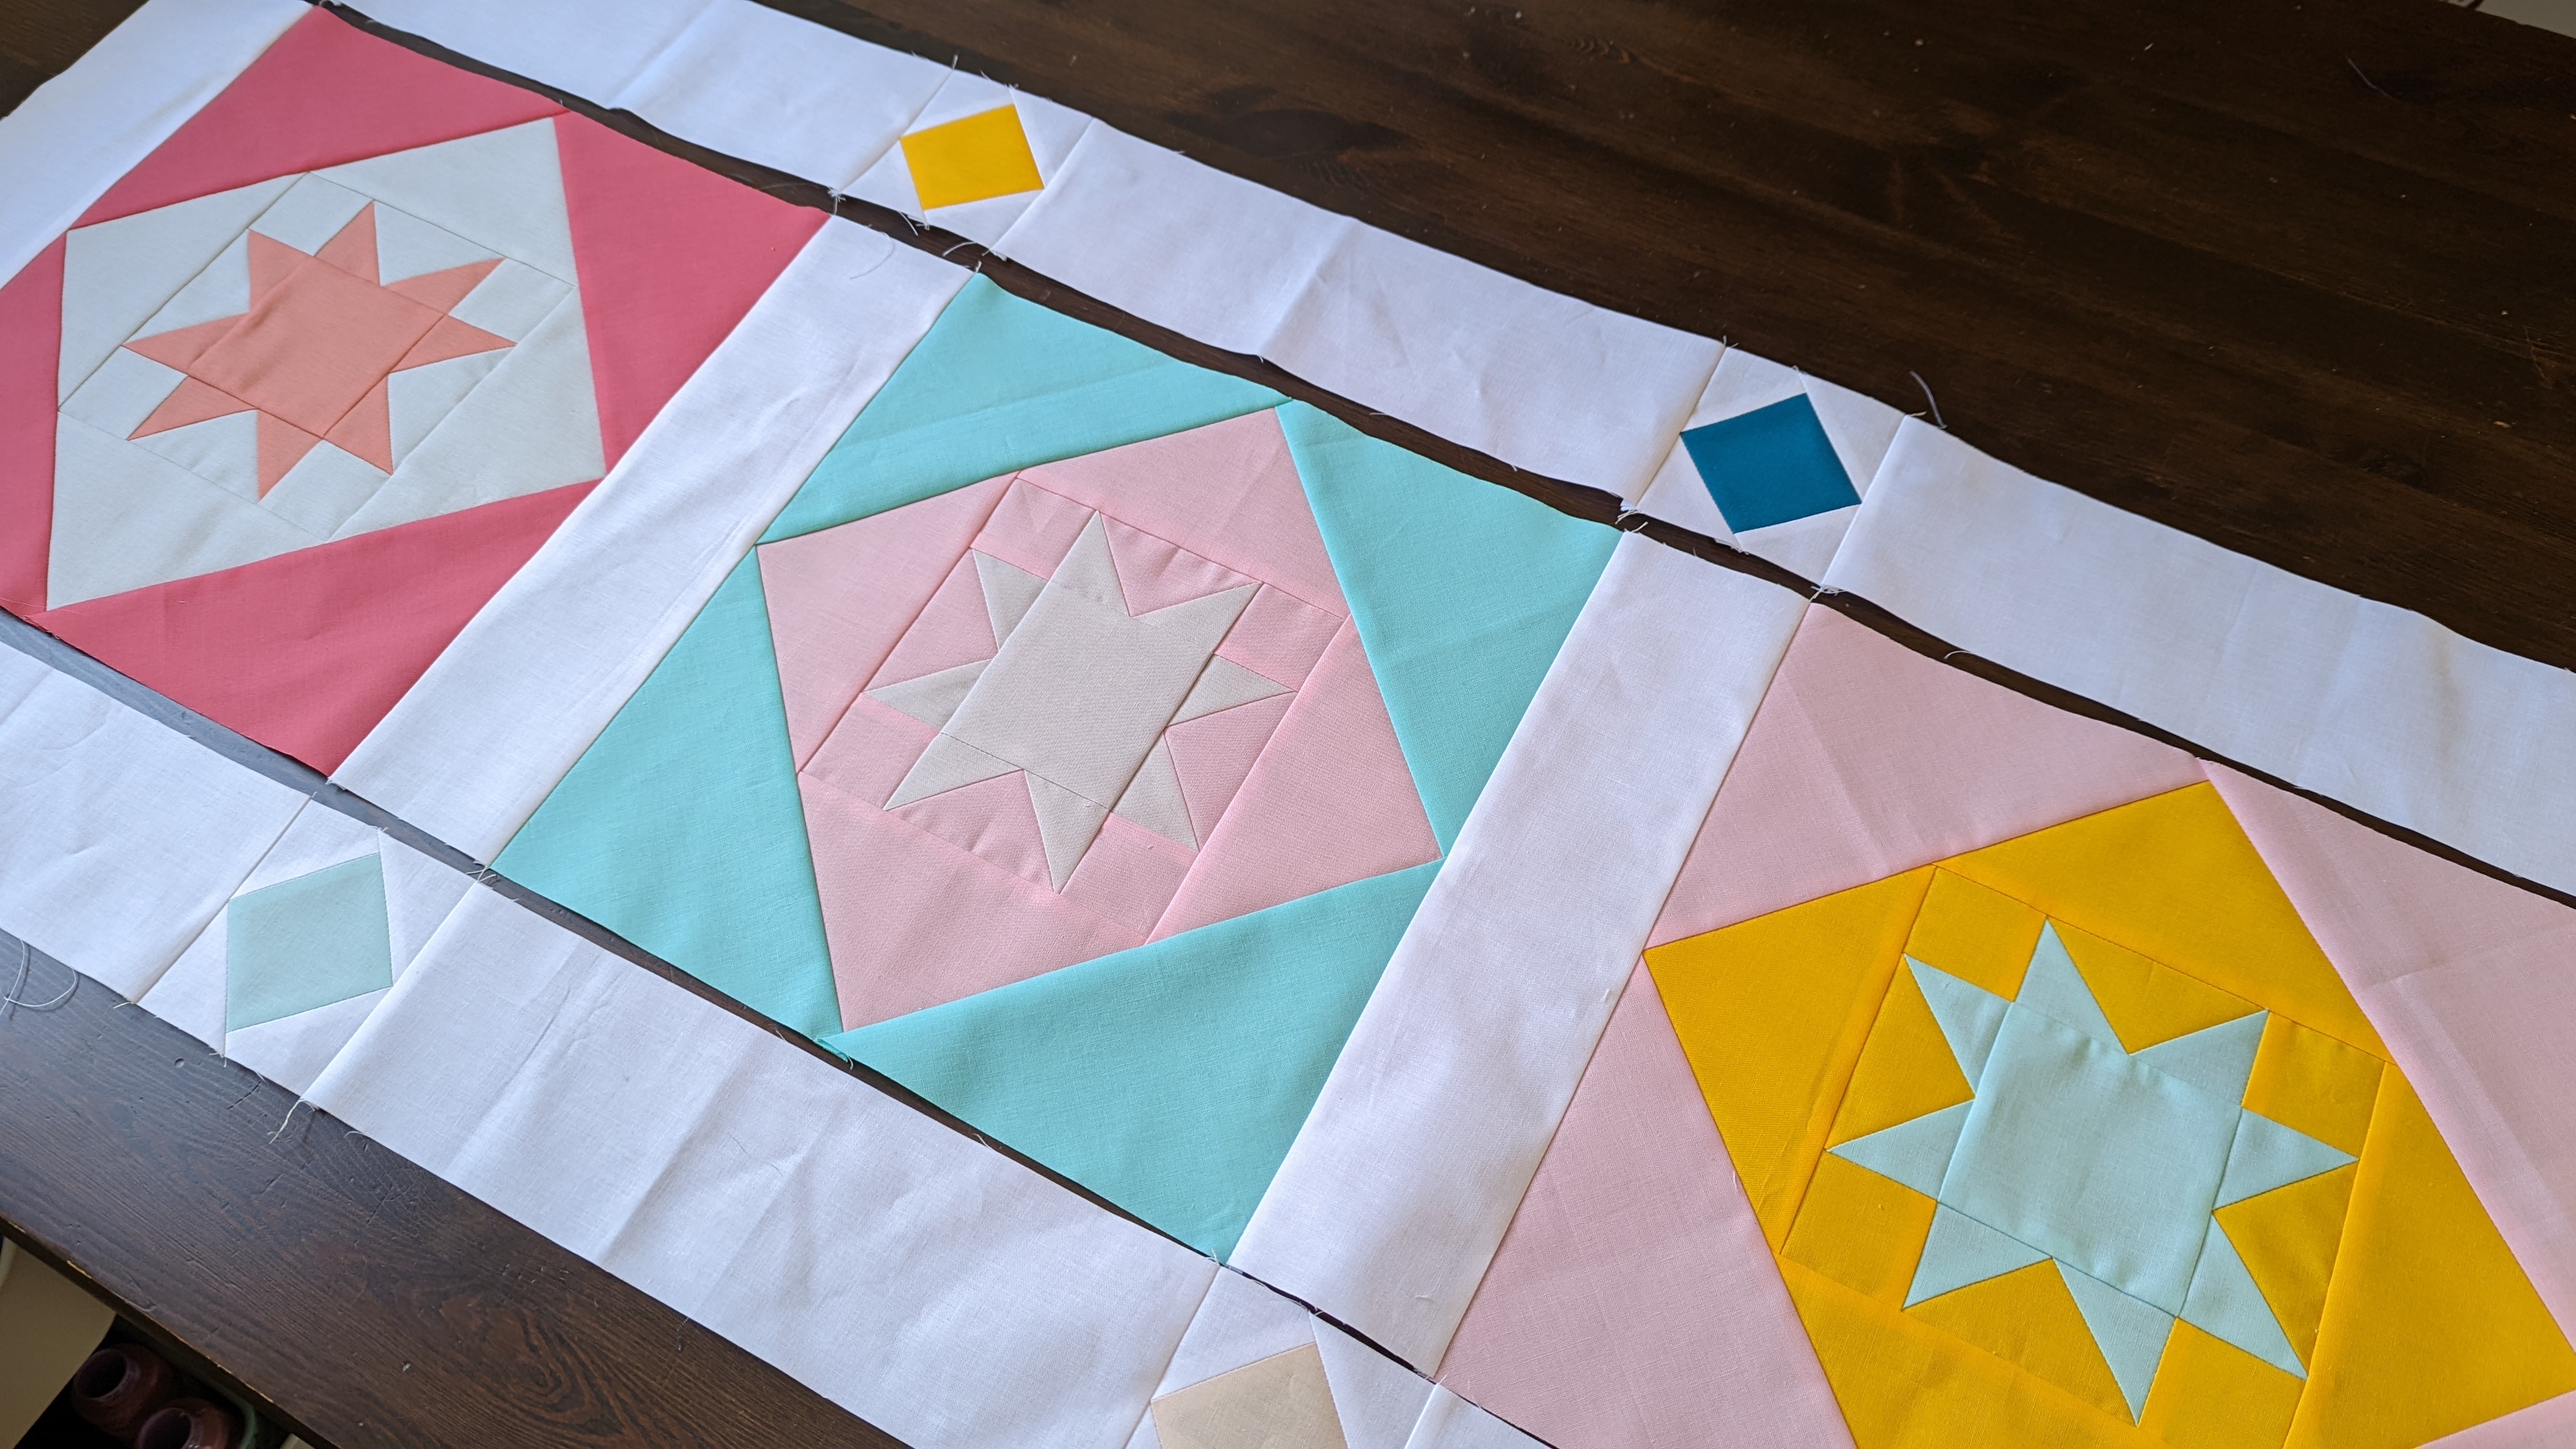
Sew the sashing and the cornerstones to create the pieced sashing. Also sew the sashing and the blocks to create the rows.
When you sew the piece sashing and the row, try your best to match the seams so that the quilt top looks nice and clean.
After sewing all the pieced sashing and the rows, now attach the side borders. Then, attached the top and bottom borders. Assembling the quilt top is done!
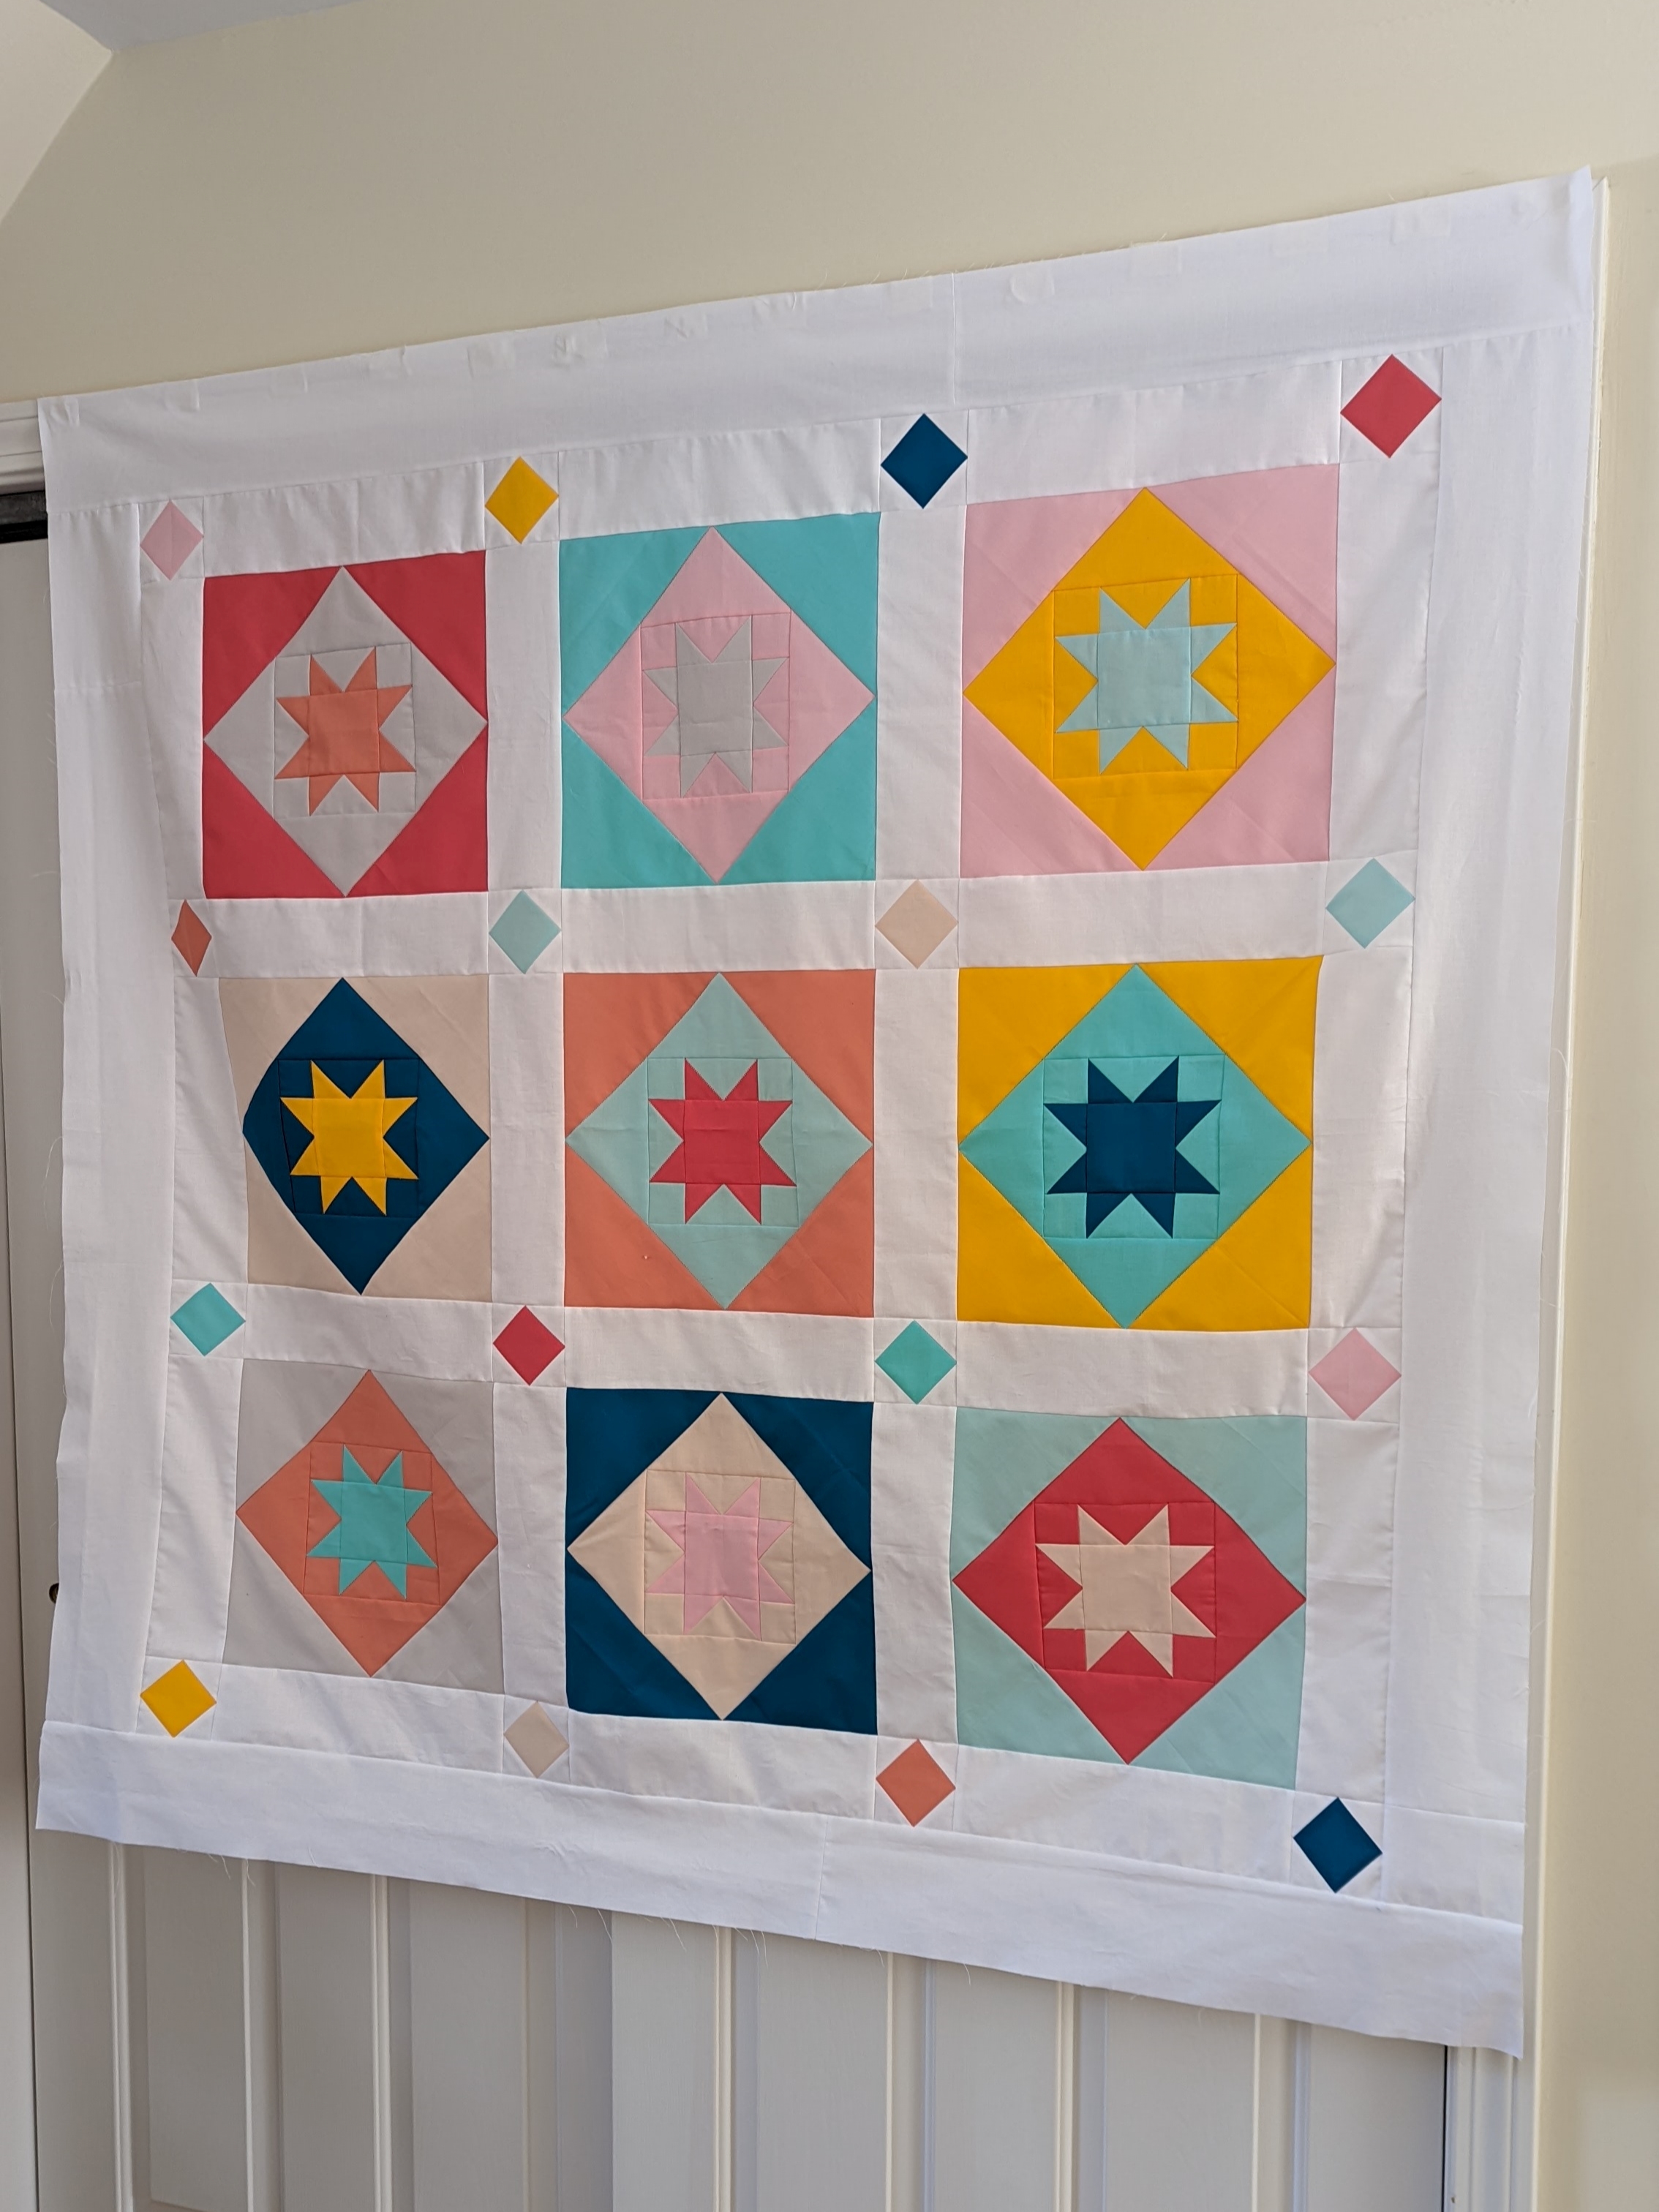
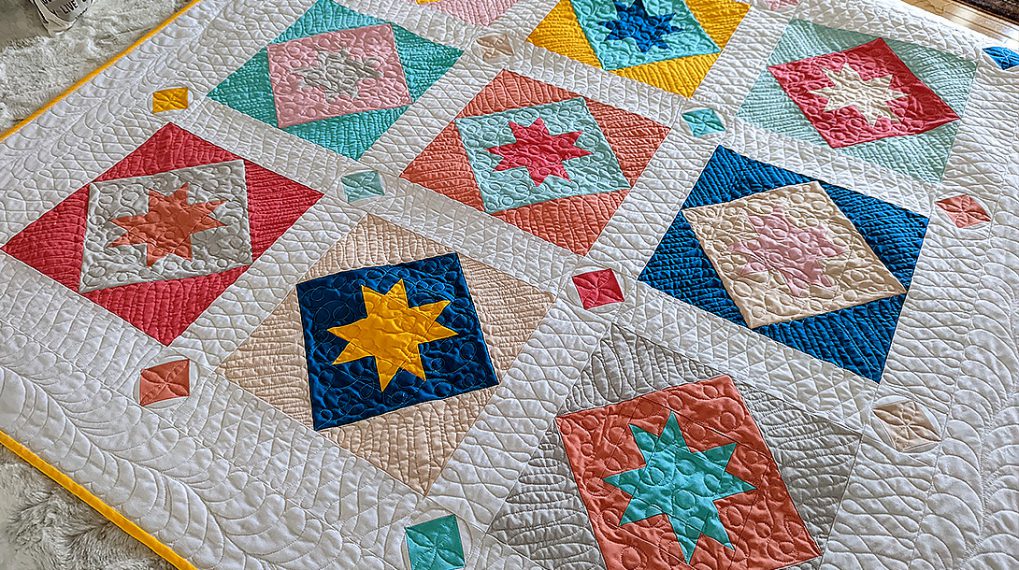
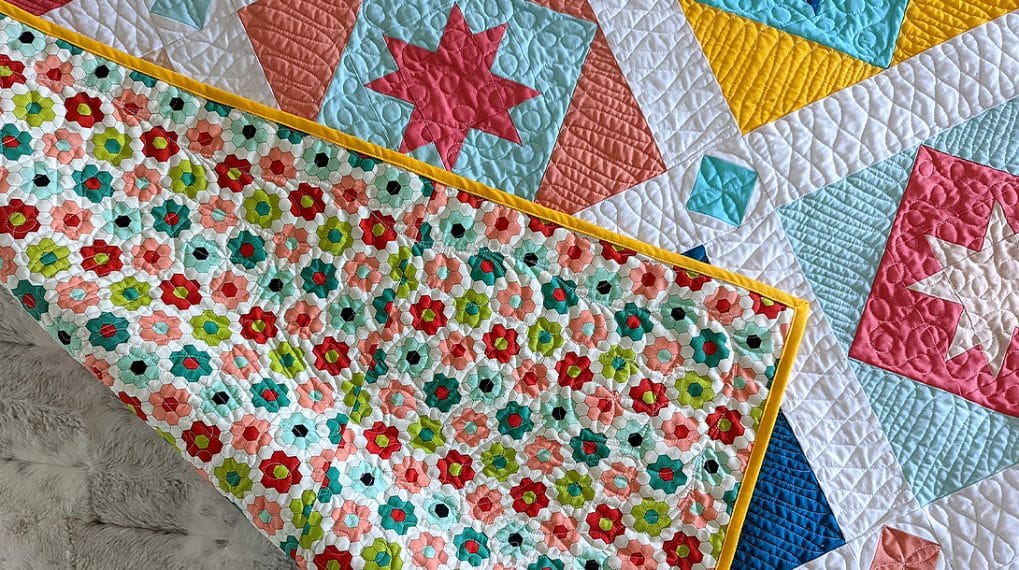
I love how it turned out! I wanted to use bright and pretty colors to create a positive image from my childhood.
CANDY STAR Quilt Along Schedule
- PART 1: PREPARE FABRICS
- PART 2: CUT FABRIC AND MAKE 5 BLOCKS
- PART 3: MAKE 4 BLOCKS AND CORNERSTONES
- PART 4: ASSEMBLE THE QUILT TOP
- PART 5: START QUILTING
- PART 6: FINISH QUILTING AND COMPLETE
Next week will be PART 5. We will start quilting and I will share how I quilted it on the BERNINA Q16. If you are a little behind schedule, you still have time! Finish up the rest of the blocks and assemble the quilt top.
Happy quilting!