BERNINA Anniversary Quilt-along: Part 3 Embroidery
Welcome back to the BERNINA 125th Anniversary Quilt-Along! I’m BERNINA Expert and Amanda Murphy and in this post we’ll be working on the quilt’s optional side border embroideries. This was originally scheduled for December but some of you have been such enthusiastic piecers and embroiderers we decided to post this step early!
We’ll work on the corner border embroideries next month as scheduled. No worries if you aren’t ready yet—these posts will remain up on We All Sew so you will have them when you need them!
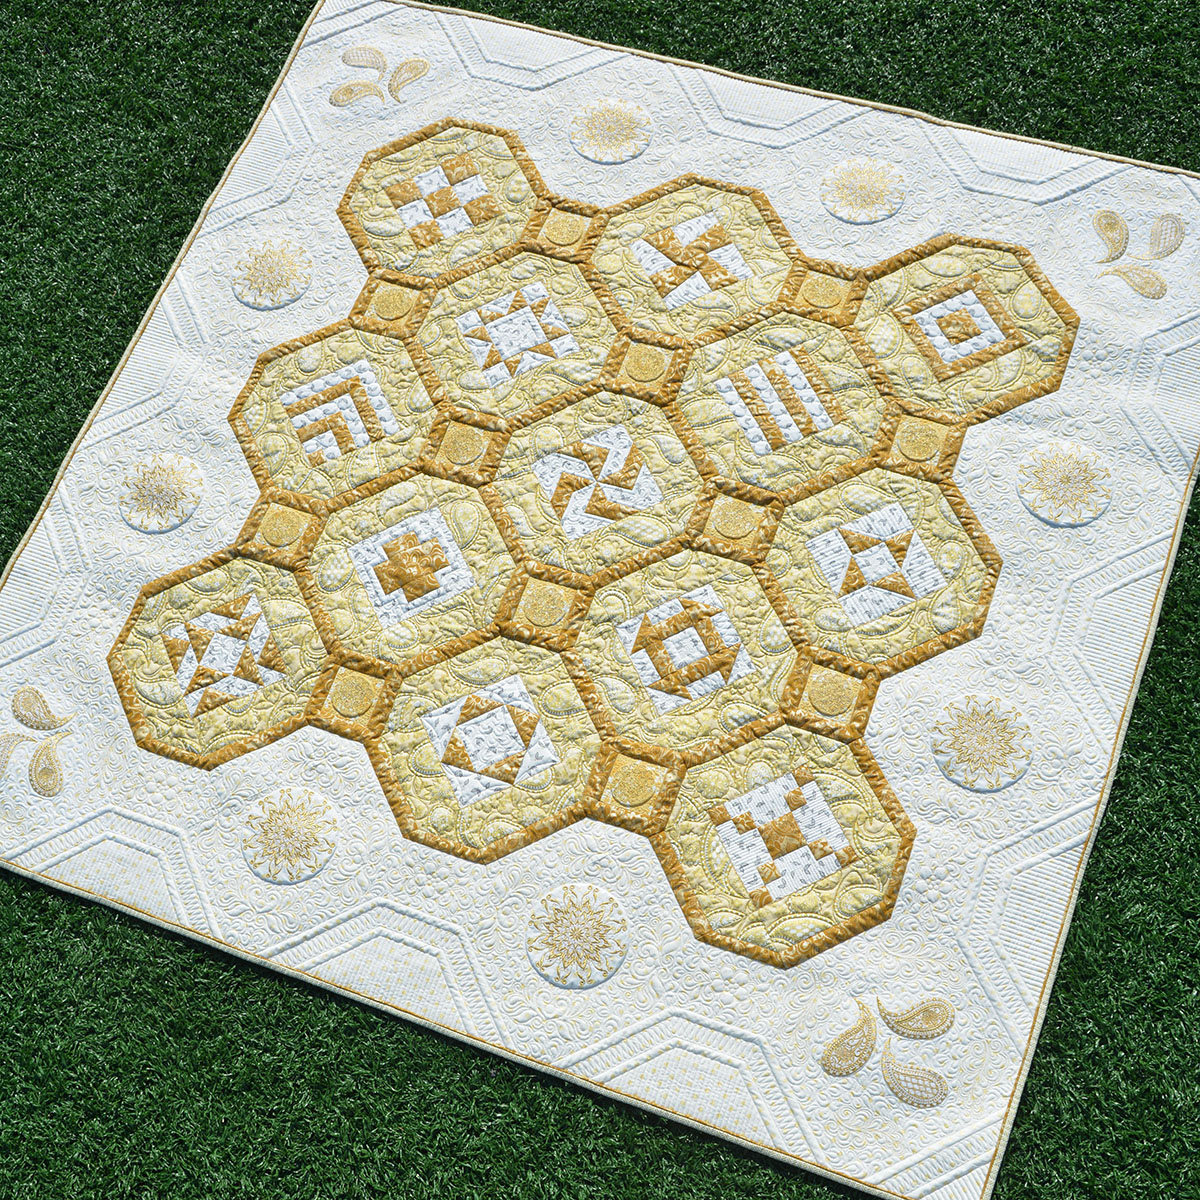
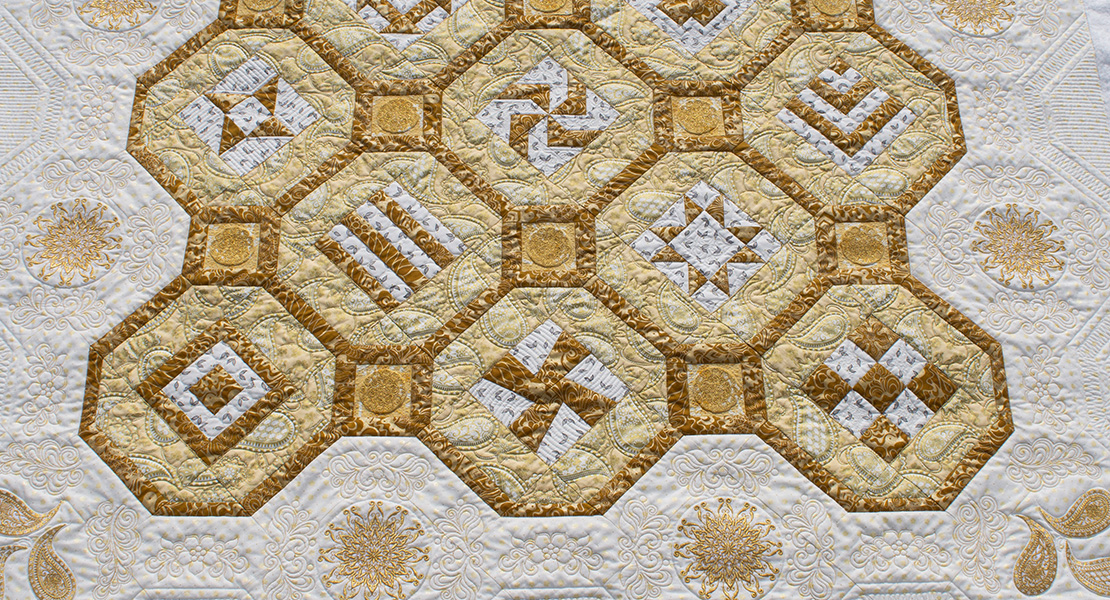
The BERNINA 125th Anniversary Quilt.
For those of you that might join us now, you can find the previous tutorials of the BERNINA 125th Anniversay Quilt-along here:
BERNINA Anniversay Quilt-along: Part 1
BERNINA Anniversary Quilt-along: Part 1, Embroidery (optional)
BERNINA Anniversary Quilt-along: Part 2
BERNINA Anniversary Quilt-along: Part 3
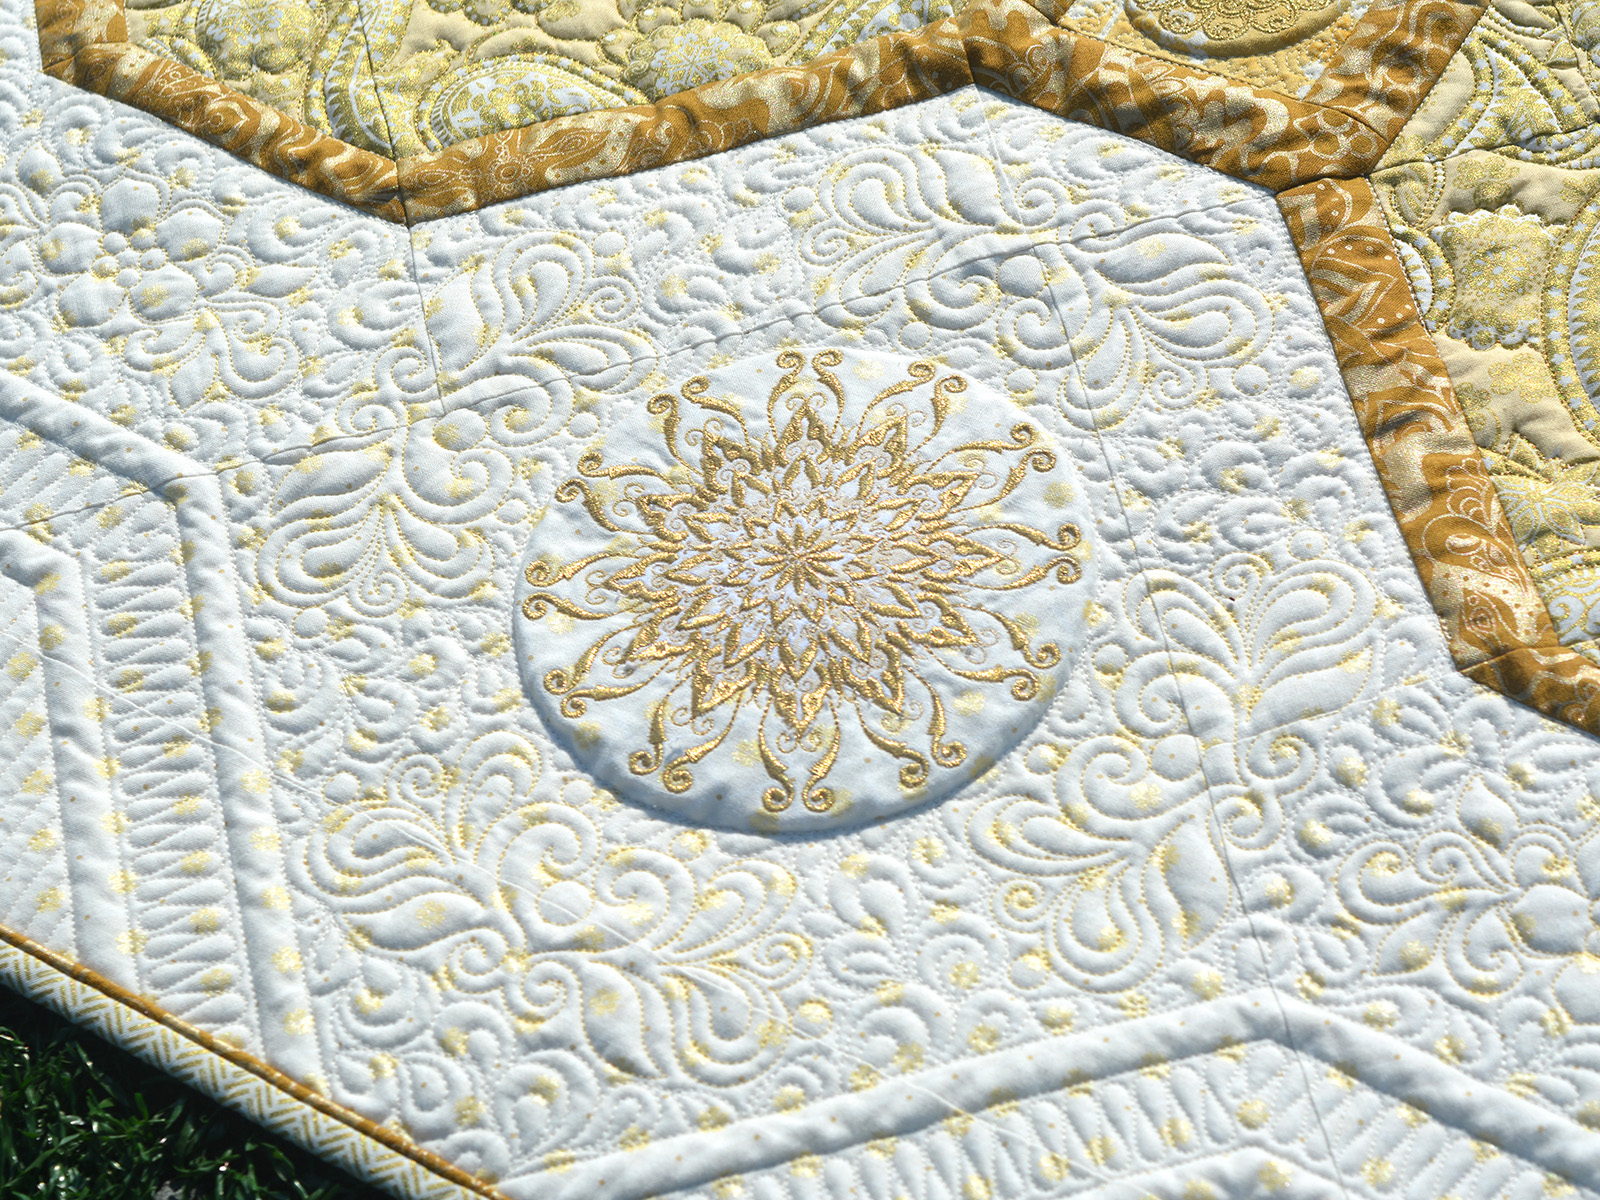
A detail of a side border embroidery in the BERNINA 125th Anniversary Quilt.

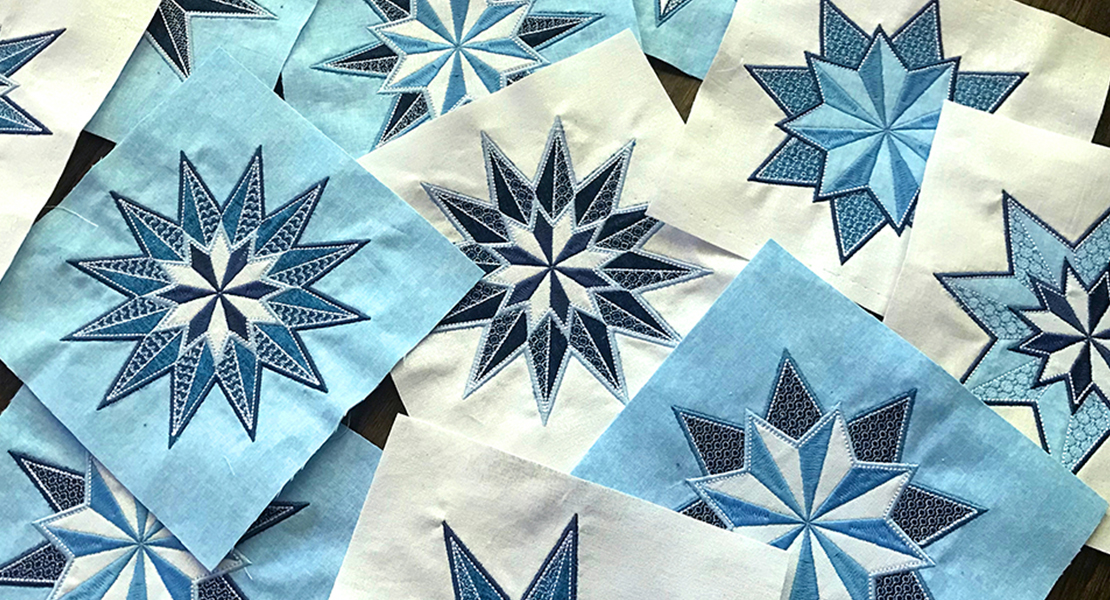
The side border motif embroidered in the BERNINA Oval hoop.
You can download a PDF of the instructions that you will need to complete these optional embroideries here: 125th_Anniversary_Quilt-along_Month_3_Embroidery
You can download the embroidery file here: 125th_Anniversary_Quilt_along_Month_3_Embroidery
I also made a video below showing you the entire process to make things simpler. Note that if you use the file (as opposed to substituting another embroidery motif) you can skip over the step of marking the motif’s center because placement lines are included in the file!
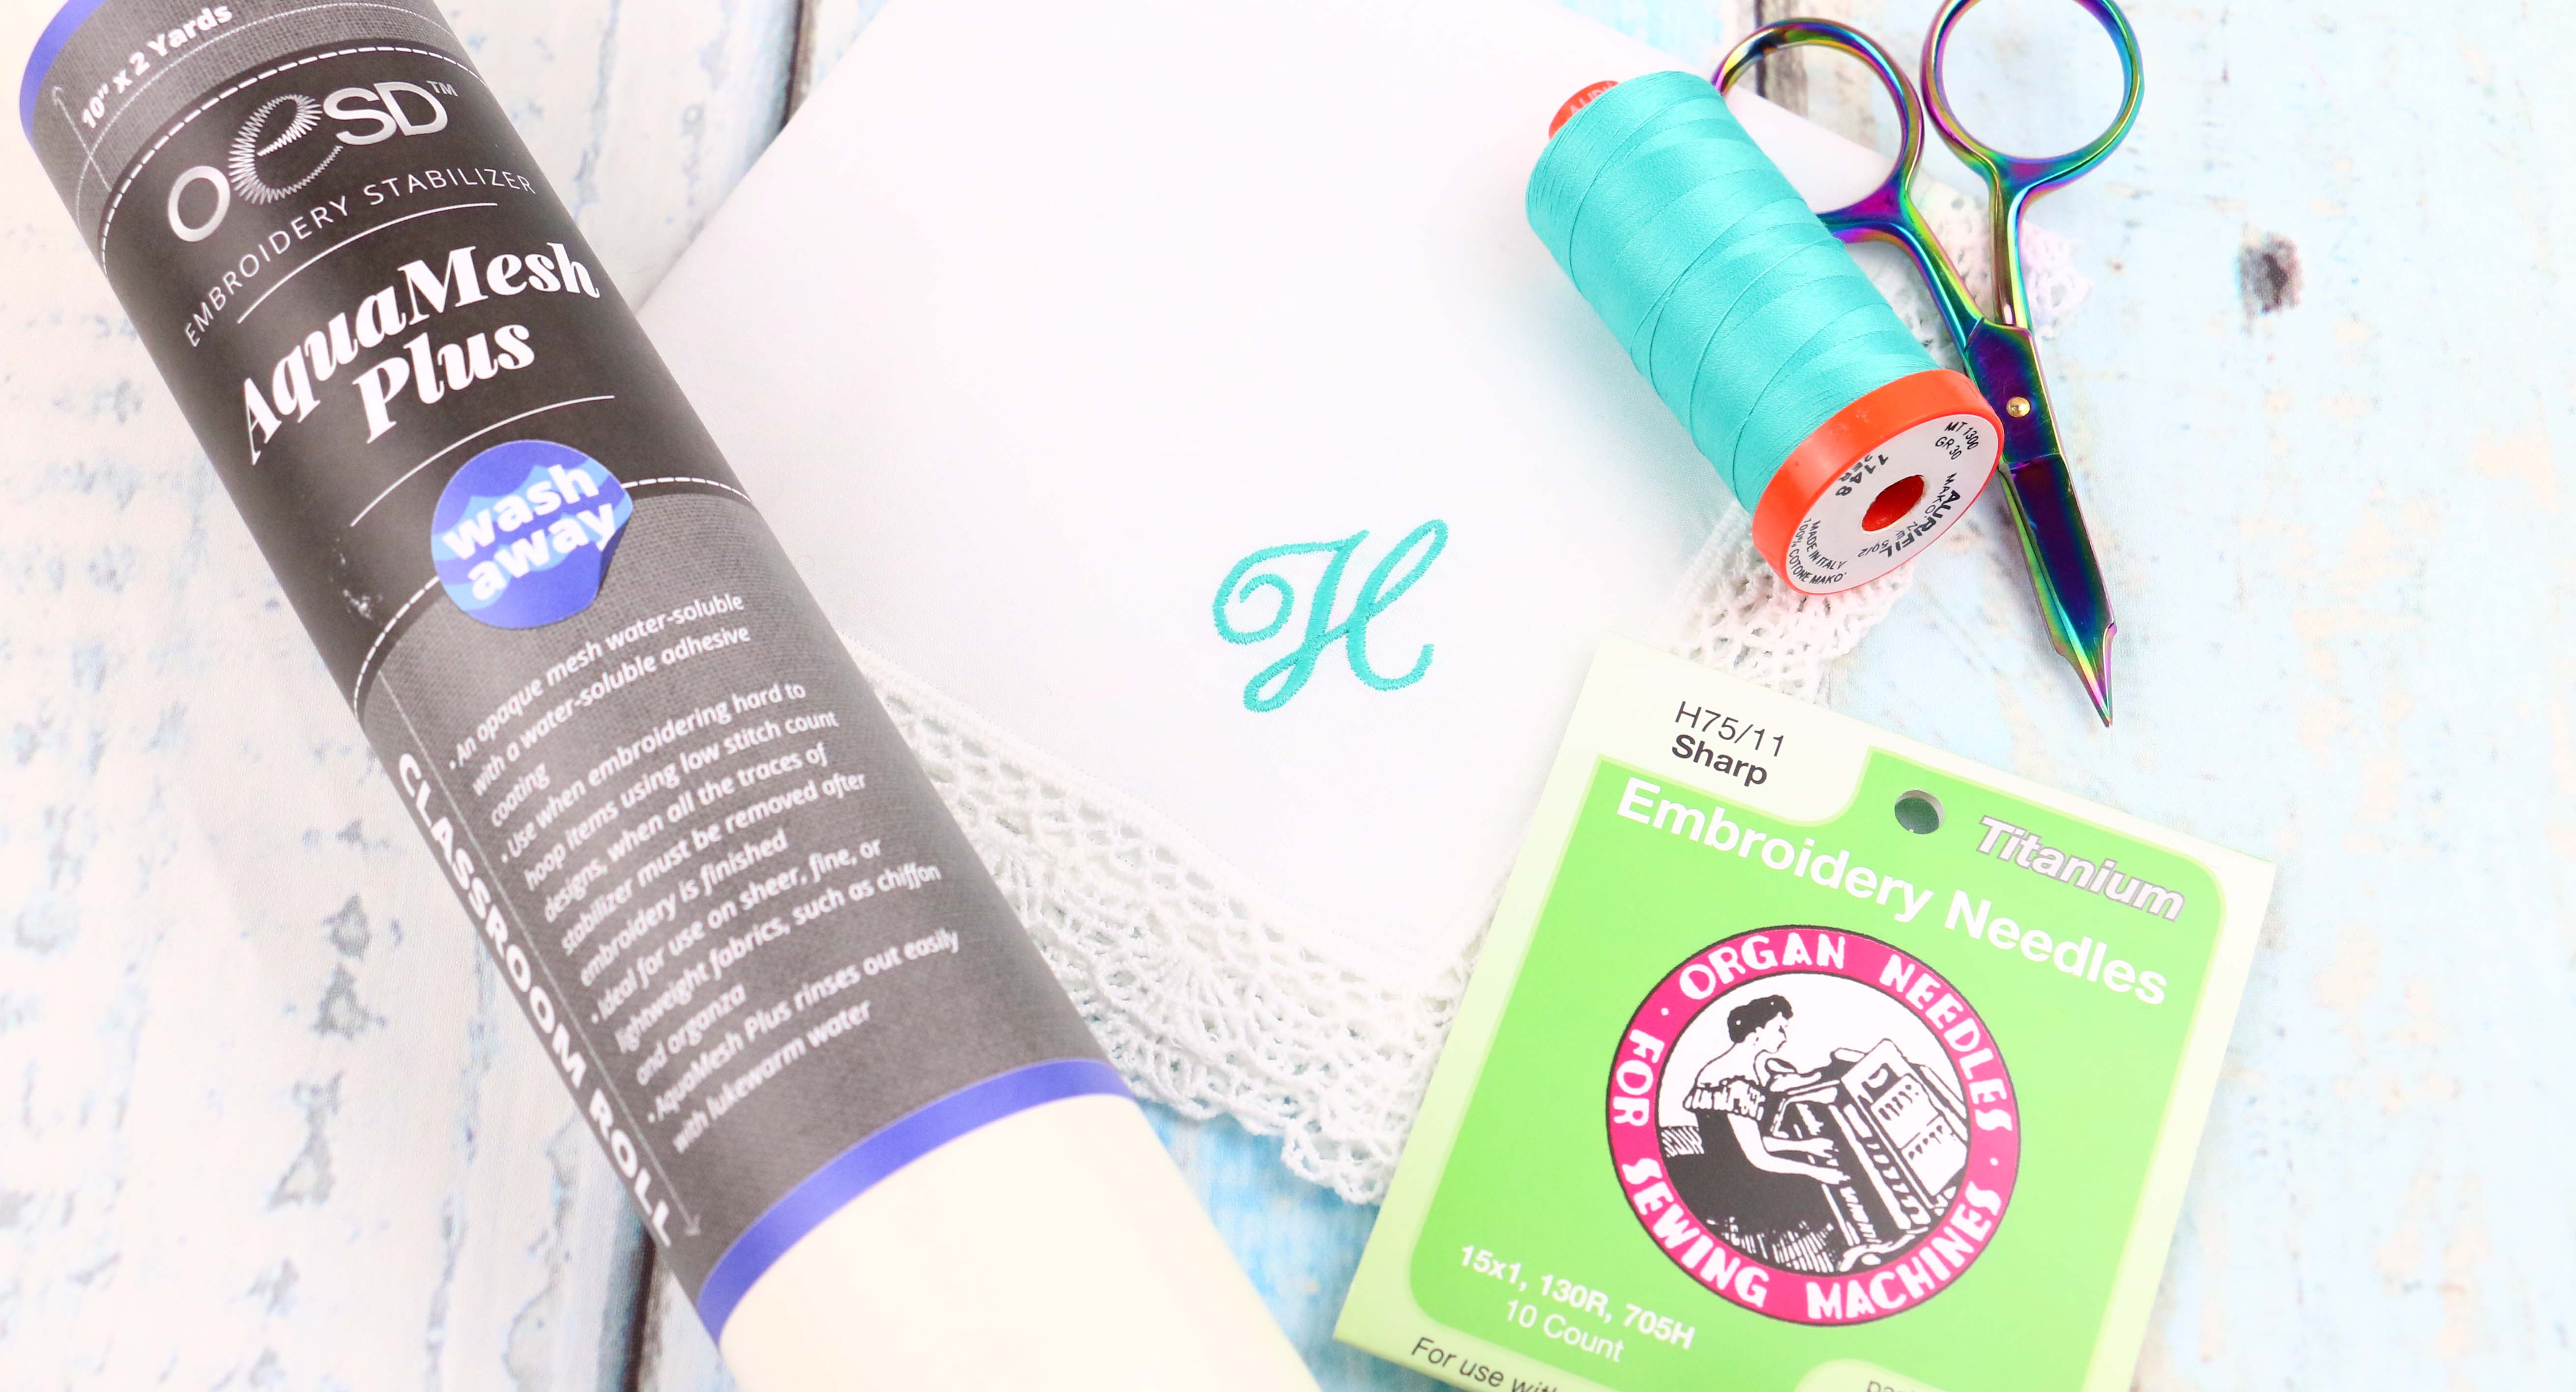
How to embroider the optional side border embroideries for the BERNINA 125th Anniversary quilt in the BERNINA oval hoop.
The Basic Steps For Completing this Embroidery
- Apply Fusible Woven (or other woven stabilizer) to the back of the large triangles cut from the 19-1/2” squares. (No need to mark the embroidery’s center if you are using the file from this post since there are placement lines in the file!)
- Hoop two layers of Ultra-Clean and Tear or other tear-away stabilizer.
- Starting with Isacord in the needle, embroider your placement lines through the stabilizer.
- Attach your stabilized fabric along the placement lines using temporary spray adhesive.
- Embroider the placement lines for the appliqué.
- Attach your appliqué fabric using just a touch of temporary spray adhesive. Embroidery the tack-down line and trim the appliqué fabric very close to the tack down line, being careful not to clip your fabric.
- Embroider the rest of the design. (This is the point at which I’d change to metallic thread, if desired.)
- Remove the embroidery from the hoop and remove the tear away stabilizer. You can trim down the woven stabilizer as well, but leave it intact behind the embroidery.
- Trim the short edges of the triangle if needed so that those sides are 3/4” away from the design.
I used metallic thread to embroider the original quilt motifs, but you can also use Isacord for a quicker finish. If you use metallic thread you can find my tips for working with this thread in this post.
If You Choose To Opt Out Of The Embroidery Shown You Have a Few Options
- You can choose a different embroidered design. Note that this motif has a 133mm diameter. I’d recommend your chosen motif fit within a 133 mm circle. (If you have the original printed directions note that the design’s center should be 3-1/2”, rather than 4-1/2” from the short edges of the triangle.)
- You could appliqué similarly sized design in its place. Again, the appliqué motif should fit within a 133mm circle and its center should be 3-1/2” from the short edges of the triangle.
- You can purchase the Jubilee embroidery panel and back the motifs on it with paper-backed fusible web and appliqué them down to the block for a similar look to the original 125th Anniversary Quilt. The motifs on the panel are the same size as the embroidery motifs.
If you choose to substitute the embroidery with something smaller than a 133mm motif make sure not to trim down the short edges of the triangle very much when finishing—just clean it up a bit!
That is it! I’ll be back on December 5th to for a bit more piecing and December 19th to cover the last of the optional embroidery. In January we’ll assemble our quilt top and in February we will cover the quilting.
Don’t forget to post photos in the We All Sew Community Forum of your progress to be eligible for the fantastic prizes BERNINA of America is offering! Contest rulers can her found here.
If you have questions please comment below and I’ll try to help. You can also join me in my Facebook Group, Quilting with Amanda Murphy.
Share how you are progressing on Facebook and Instagram using the hashtags #bernina125quiltalong.
Happy quilting and HAPPY ANNIVERSARY, BERNINA!
Amanda Murphy
BERNINA Expert/Quilting and Longarm Spokesperson


What you might also like


5 comments on “BERNINA Anniversary Quilt-along: Part 3 Embroidery”
-
-
I just reread the cutting instructions and see the triangles were to be cut in both directions so now I have 8!
-
-
Thanks for the embroidery file. I am so excited to download it.
-
Can someone give me instructions on how to post pictures and text for the quilt along- It tells me I don ‘t have permission
-
If you’d like to share photos, you’ll need to create a post in our WeAllSew Community section, as you are not able to upload photos in a comment to a post. To learn how to create a post for our Community section you can follow the step-by-step tutorial here: https://weallsew.com/share-your-projects-at-our-weallsew-community/
-
Leave a Reply
You must be logged in to post a comment.

I have a question on this. In the cutting instructions for Fabric D, my instructions say to cut 1 strip 19 1/2″ by width of the fabric and then to cut that into 2 squares 19 1/2 x 19 1/2 and then cut into half diagonally. So I ended up with 4 triangles. The embroidery instructions say to repeat to make 8 embroidered blocks. I purchased the kit for this and I don’t have a wide enough piece left of Fabric D to cut out another 4 triangles? Any suggestions or did I not read the instructions correctly? This is my first quilt.