BERNINA Anniversary Quilt-along: Part 5
Happy New Year! I hope you enjoyed the holidays! Welcome back to the BERNINA 125th Anniversary Quilt-Along! I’m BERNINA Expert and Amanda Murphy and in this post we will assemble BERNINA’s 125th Anniversary Quilt. After this post there is just one more—on February 6th I’ll be back to cover the quilting of this piece!
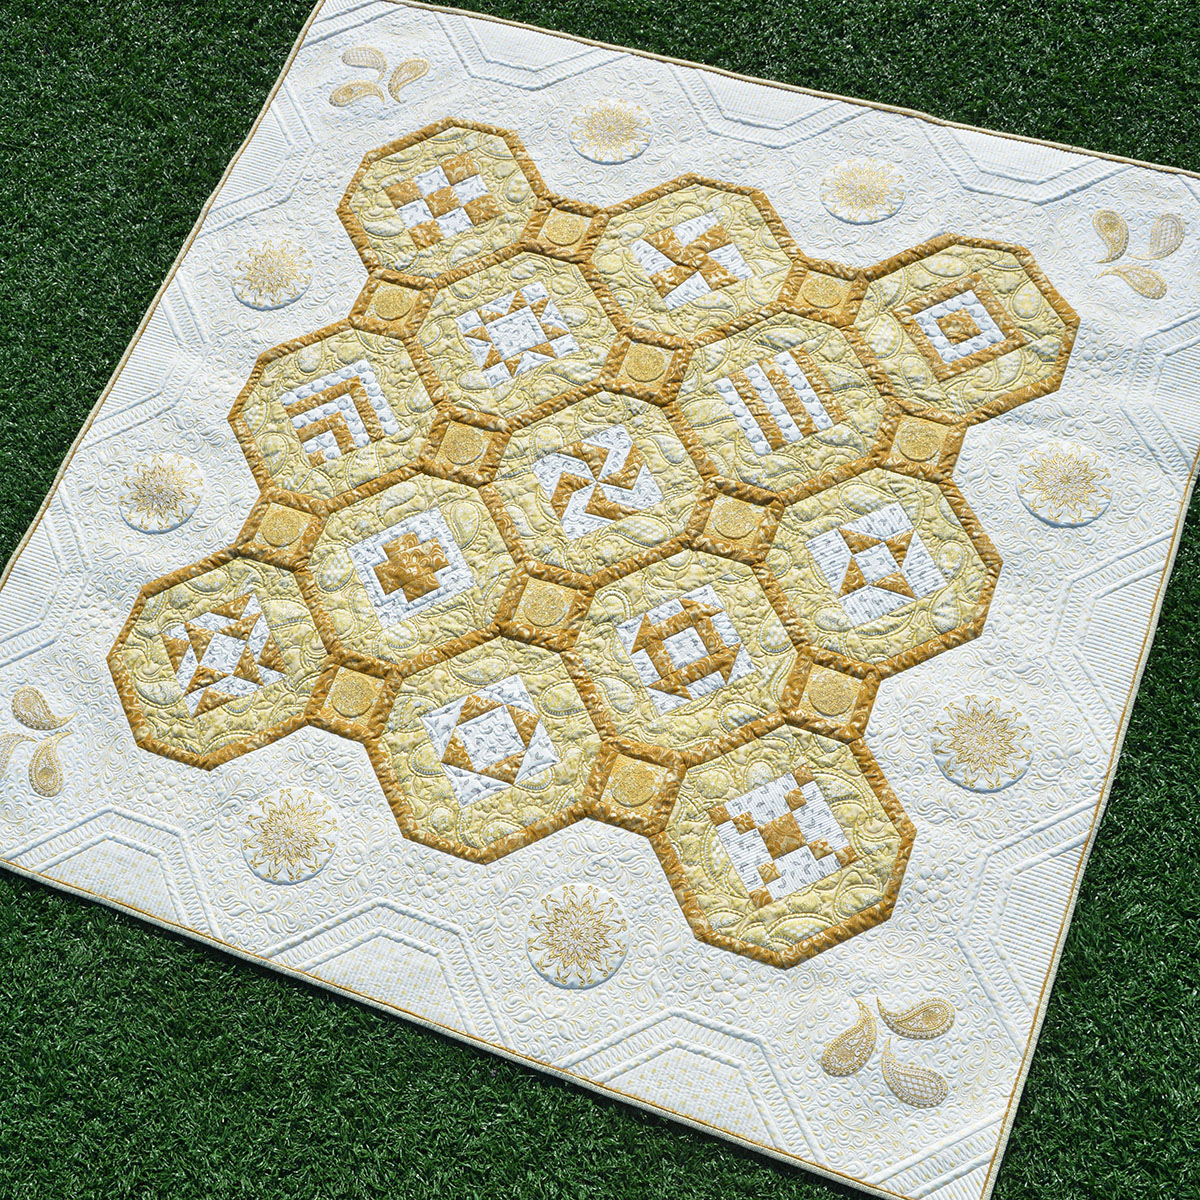
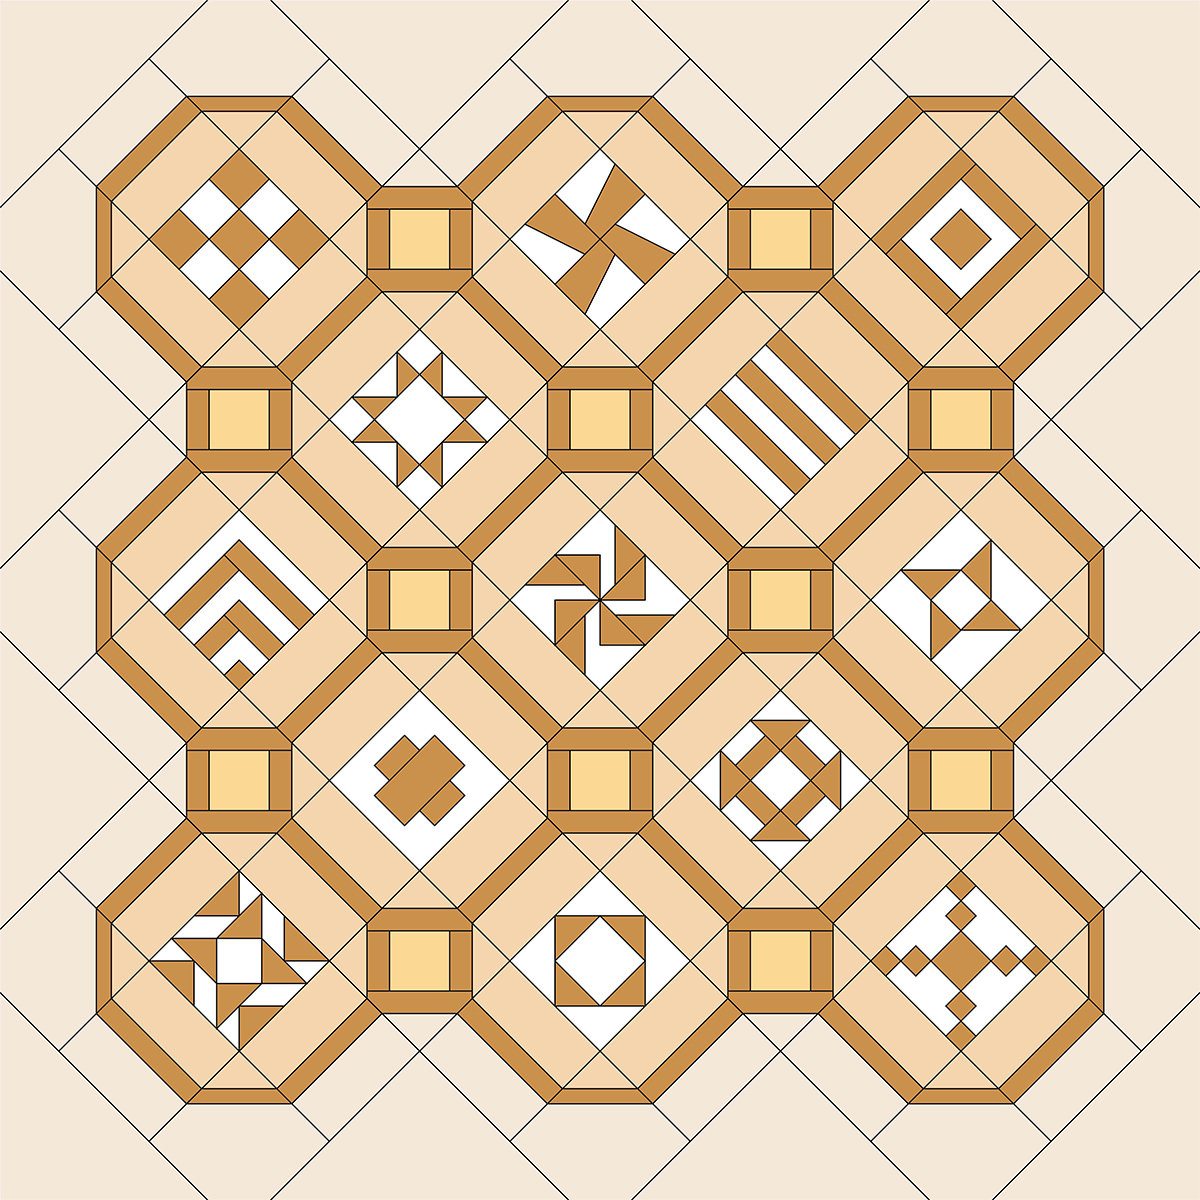
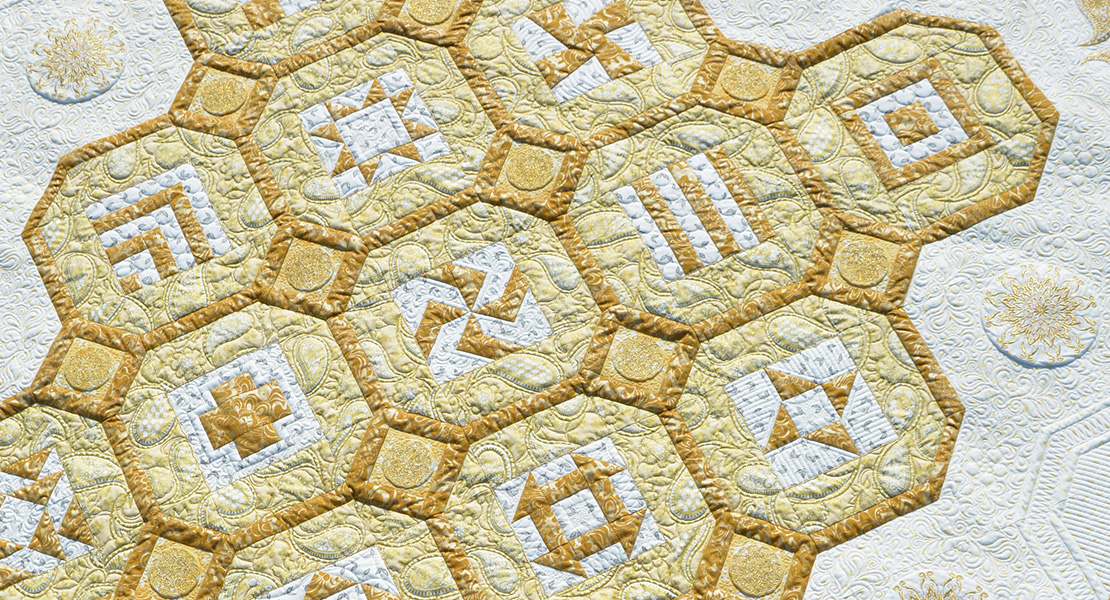
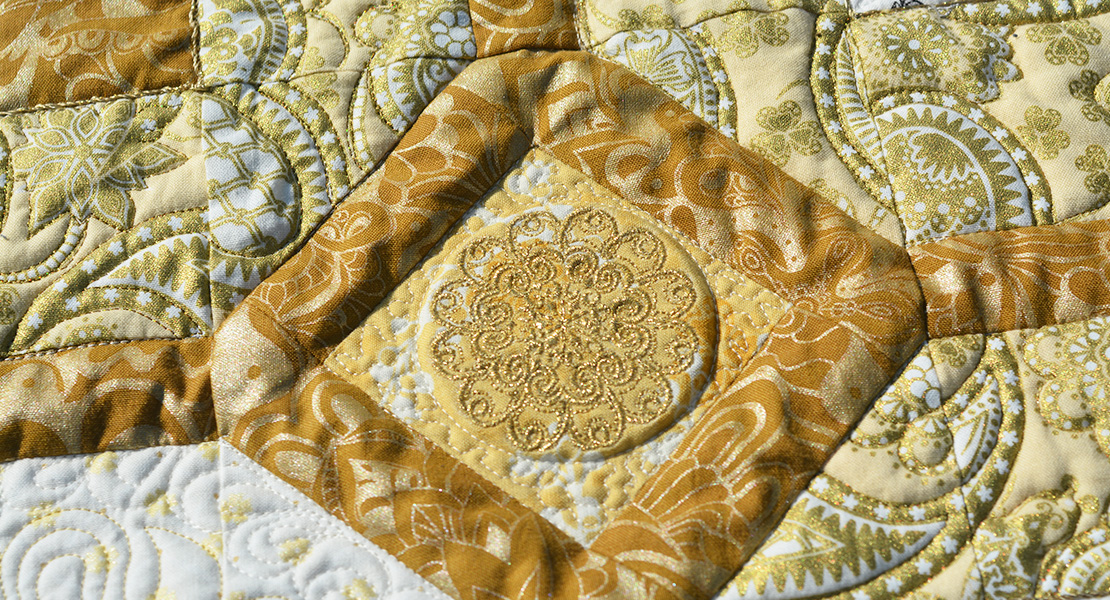
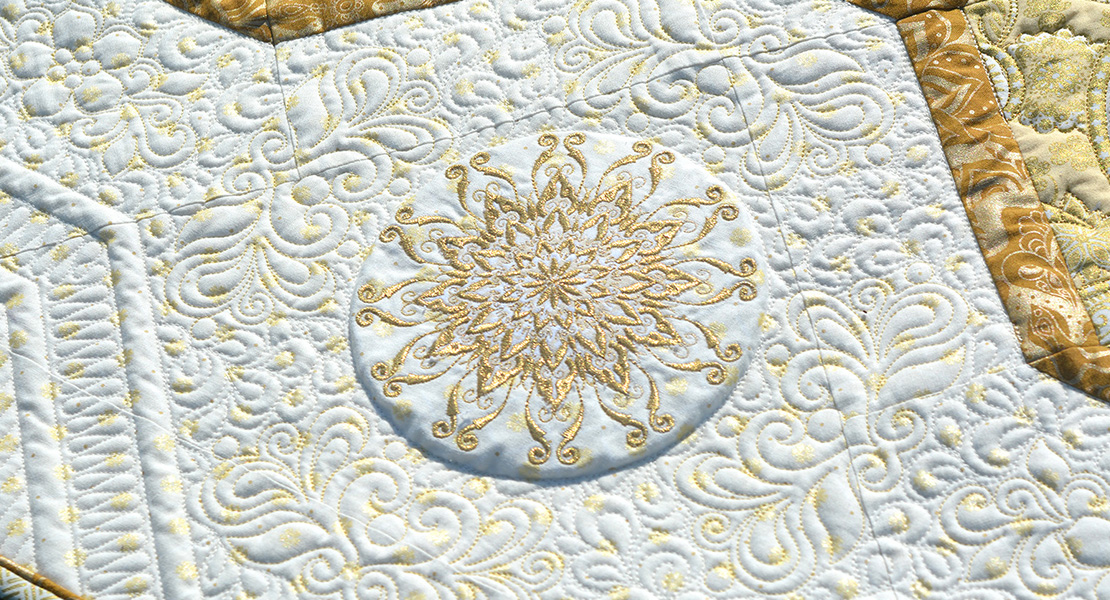
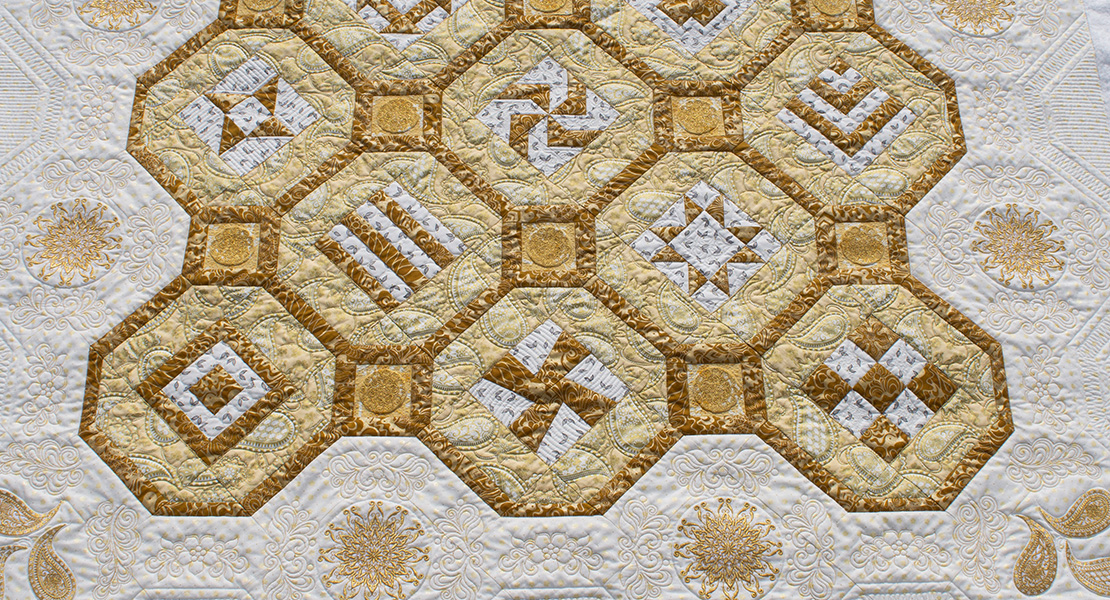
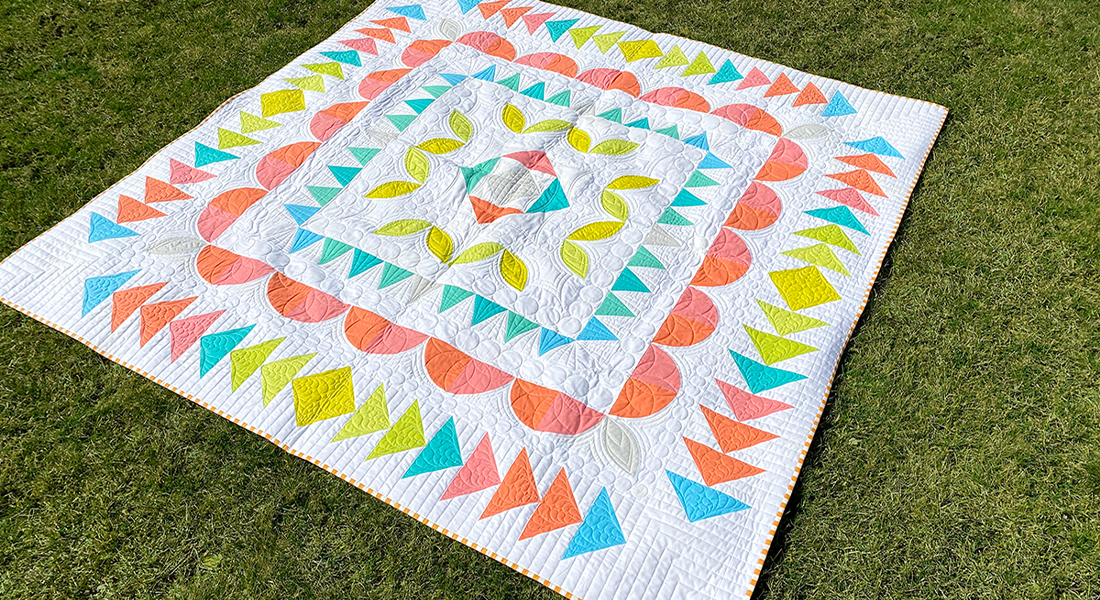
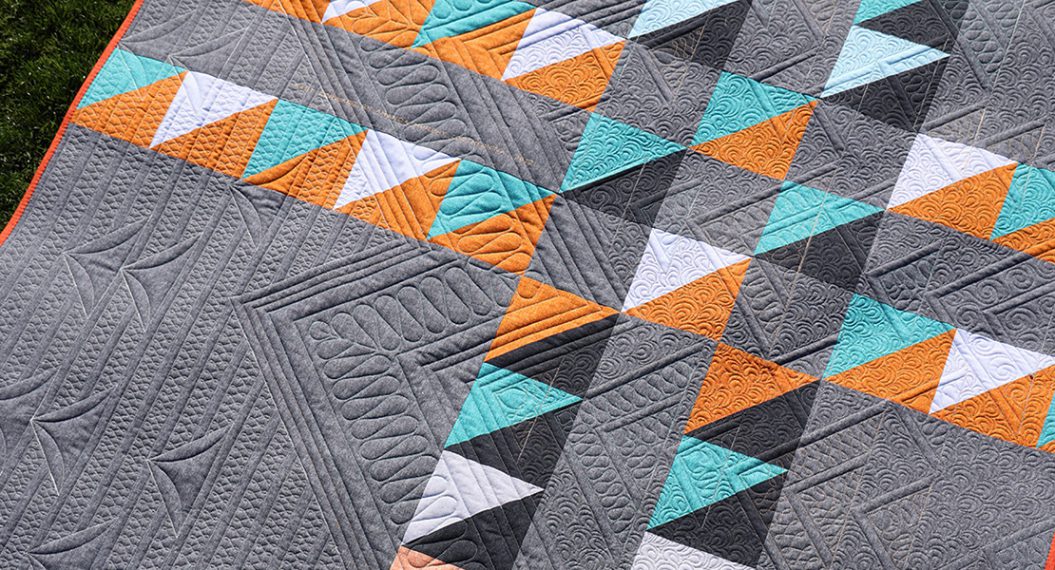
The BERNINA 125th Anniversary Quilt.
For those of you that might join us now, you can find the previous tutorials of the BERNINA 125th Anniversay Quilt-along here:
BERNINA Anniversay Quilt-along: Part 1
BERNINA Anniversary Quilt-along: Part 1, Embroidery (optional)
BERNINA Anniversary Quilt-along: Part 2
BERNINA Anniversary Quilt-along: Part 3
BERNINA Anniversary Quilt-along: Part 3, Embroidery (optional)
BERNINA Anniversary Quilt-along: Part 4
BERNINA Anniversary Quilt-along: Part 4, Embroidery (optional)
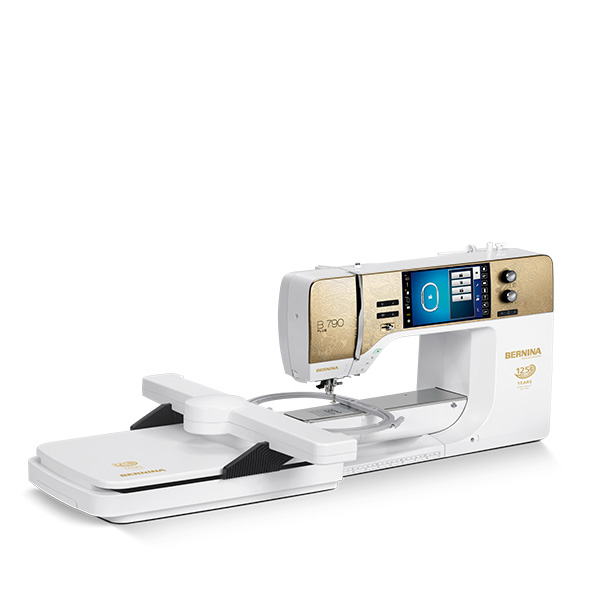
I did all my piecing on my BERNINA 790 Anniversary edition with Aurifil 20 weight thread.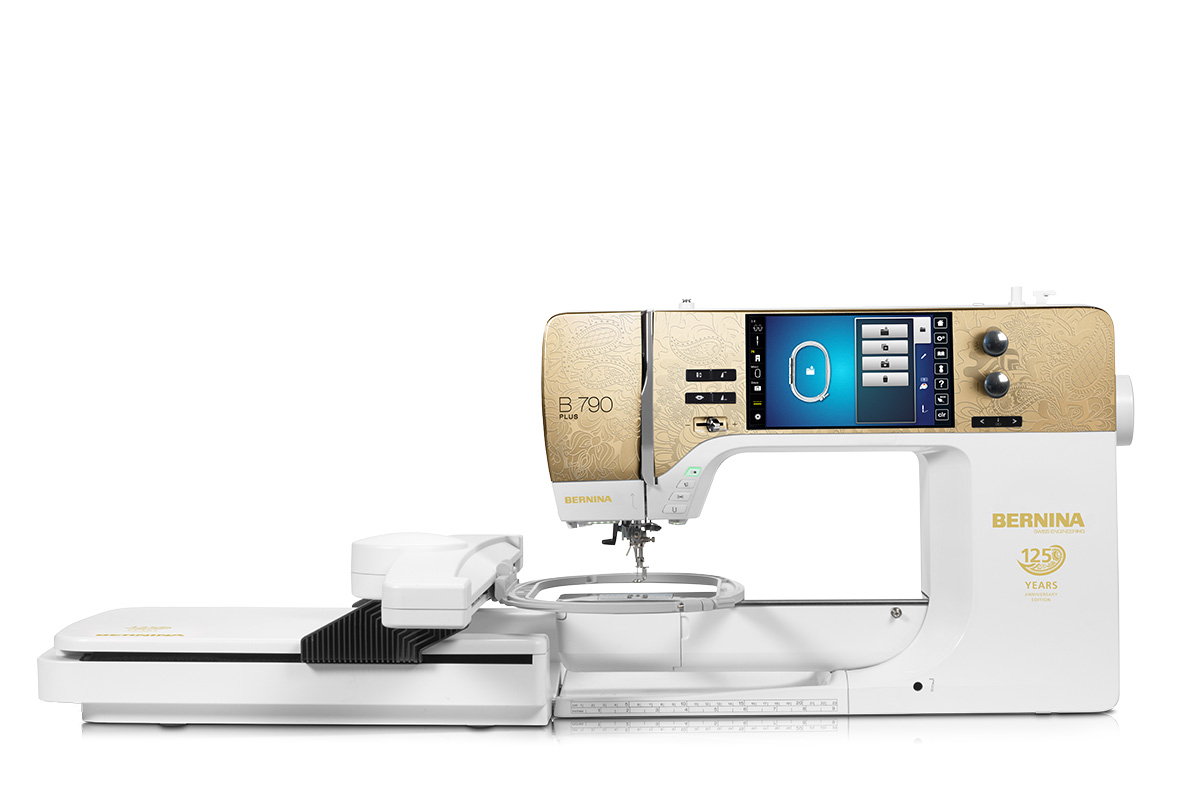
Download the PDF of the instructions that you will need to assemble the quilt here.
In the PDF there are diagrams to walk you through the process, but here are some tips to keep in mind.
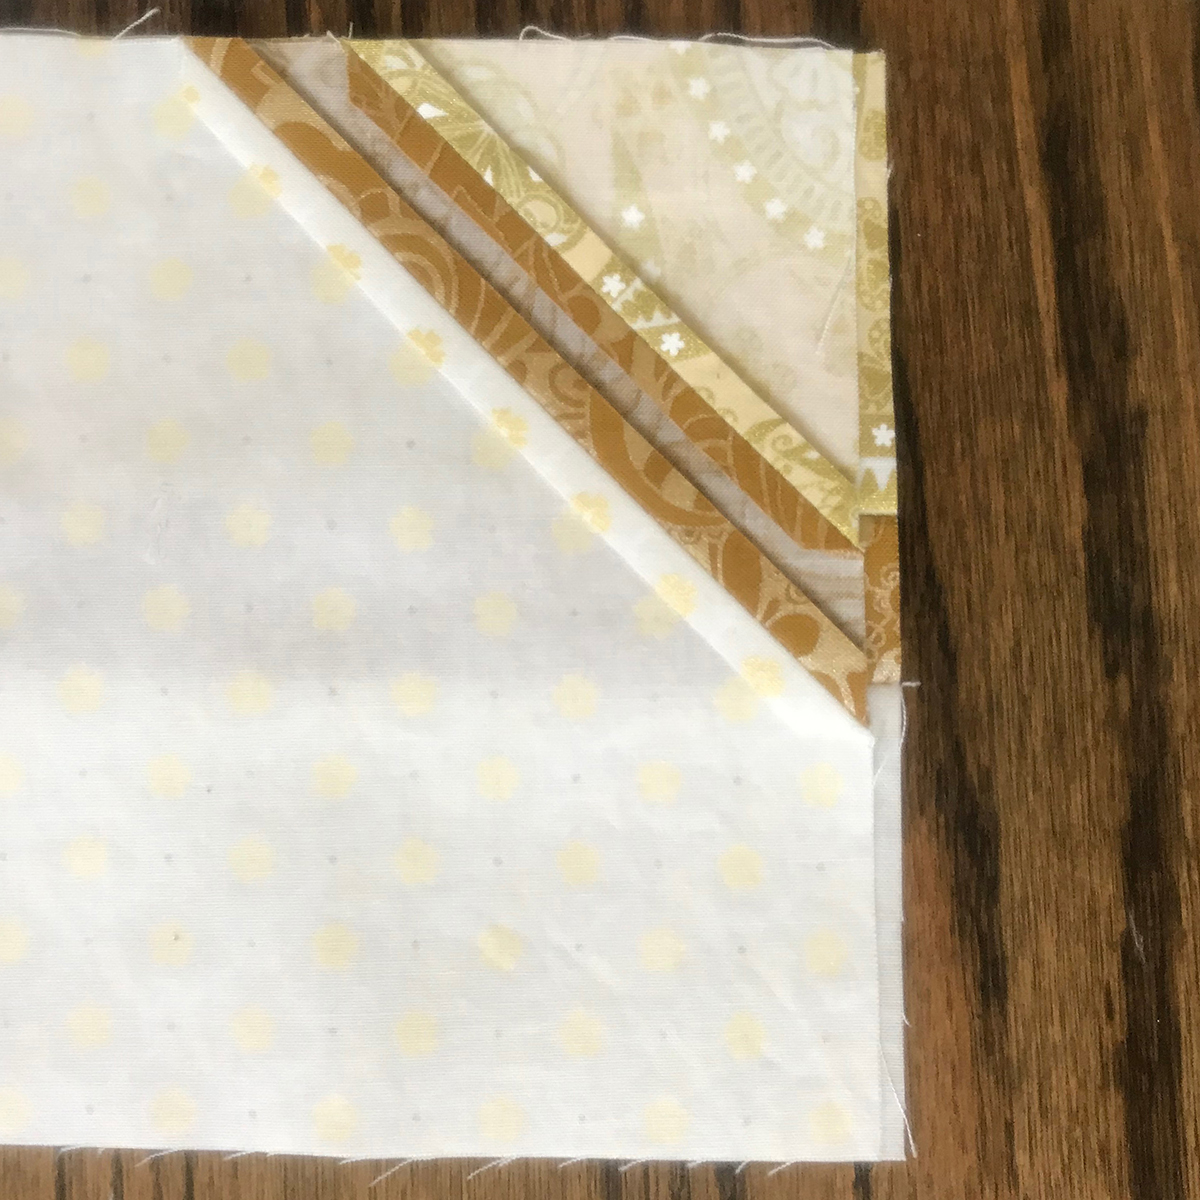
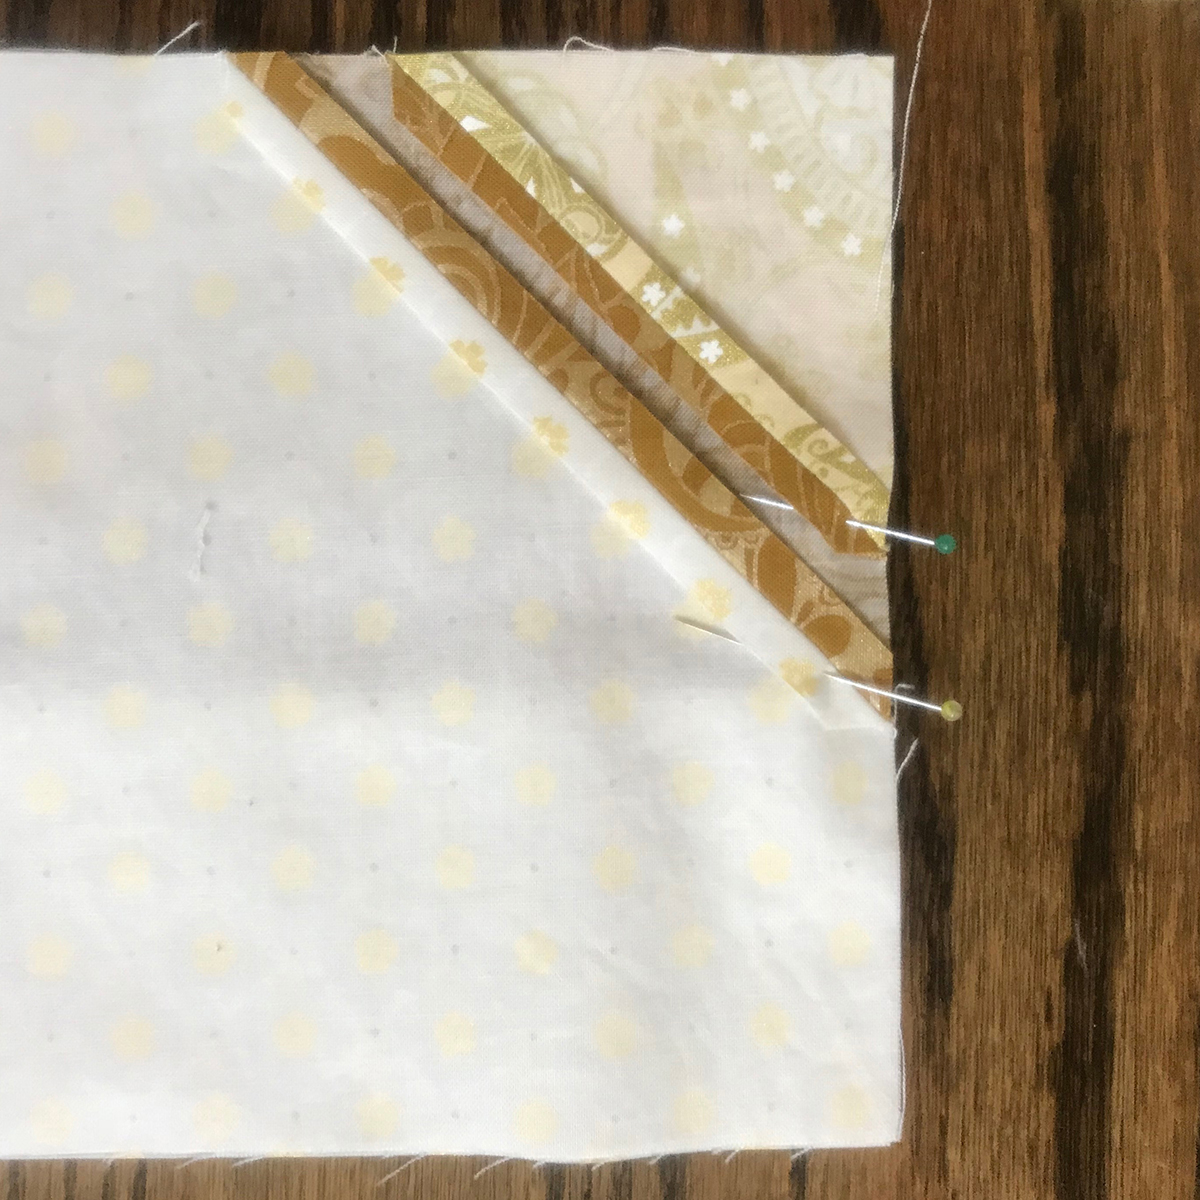
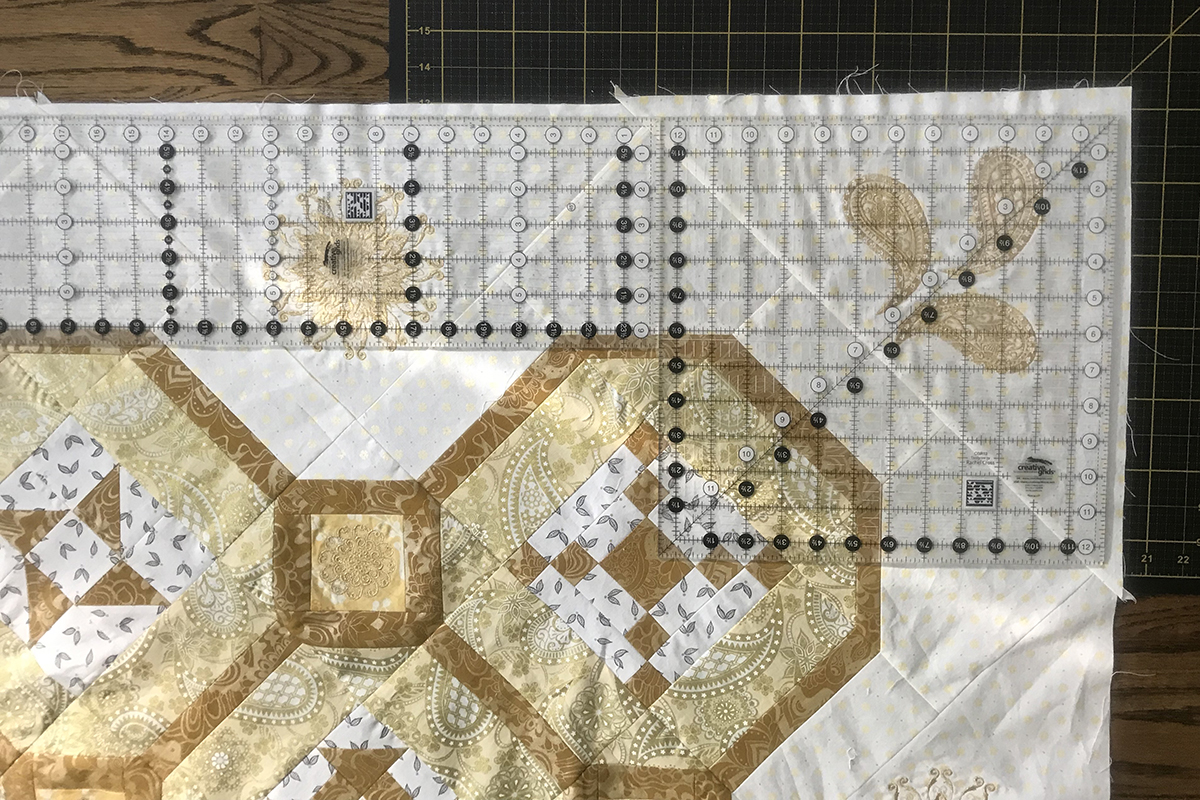
- Pin the areas where the octagonal “framework” meets. These points are even more important than pinning the ends of the blocks! Notice in the pictures below that I’ve lined up the blocks just a little offset first, so I can see the alignment of the blocks will be correct when I join them with a 1/4” seam. Then I shift the top block over the bottom and PIN PIN PIN!
- I checked each of my seams before pressing them. If I had a problem I could often just let out or take in the seam just a stitch or two around the framework to get a perfect join. (But if you miss one you likely would not notice in the finished quilt because the paisley print that surrounds them is so busy! (Ask me how I know. I had one that was off, and I never even noticed it until I was quilting!)
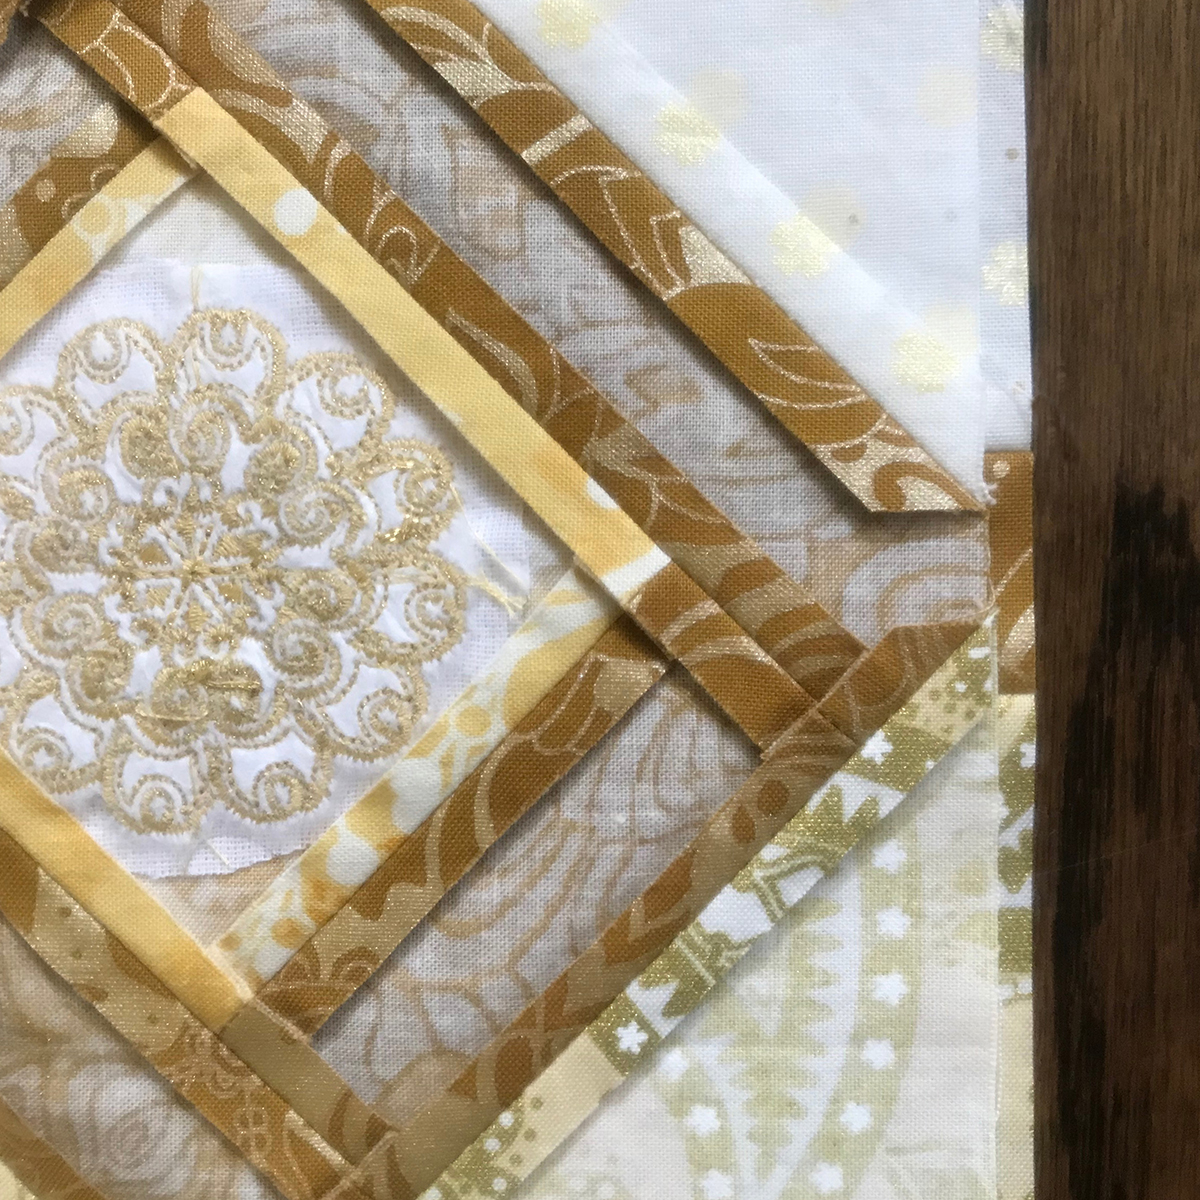
Align the framework…
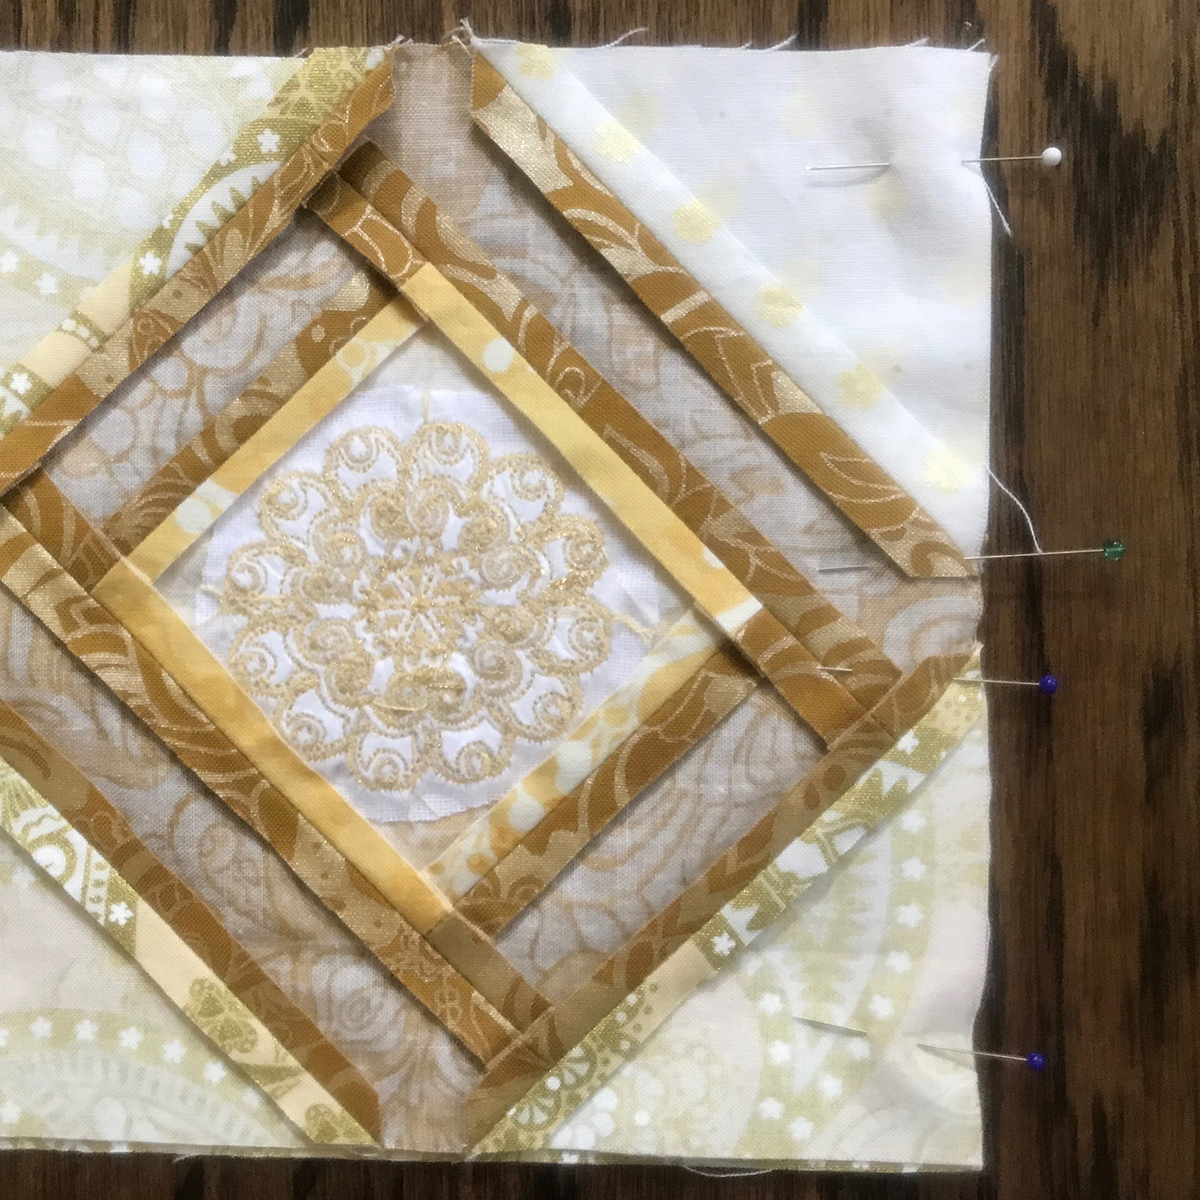
Slide the top block over and pin at the intersections.
- Same thing goes for joining the blocks on the border.
Align the framework…
Slide the top block over and pin at the intersections.
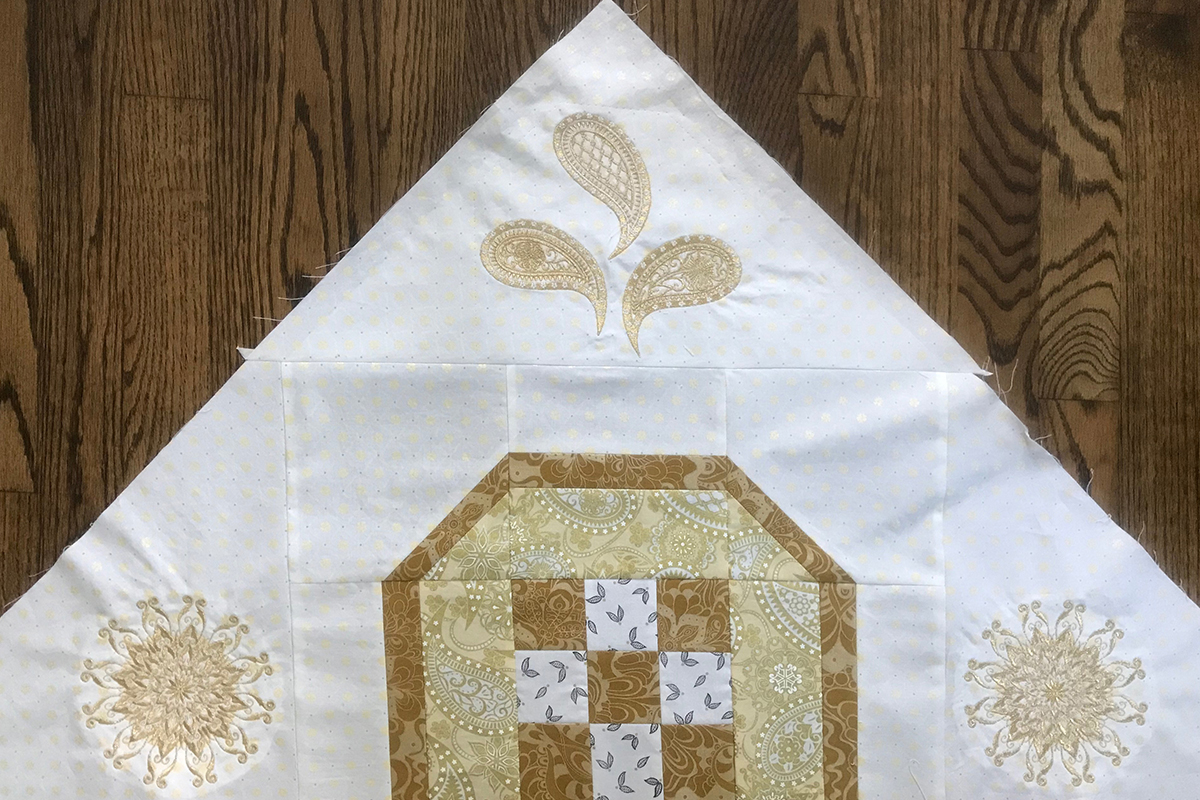
- Ok, next up. When joining the border side triangles, make sure to align the base of the two blocks. One of the triangle points will extend off the edge of the unit and that is okay!

Slide the top block over and pin at the intersections.
- When joining the border corner triangles, visually center them on the unit to which you are joining them. (You’ll trim later, once every thing is joined together.)
Joining a corner triangle to the top of a short row.
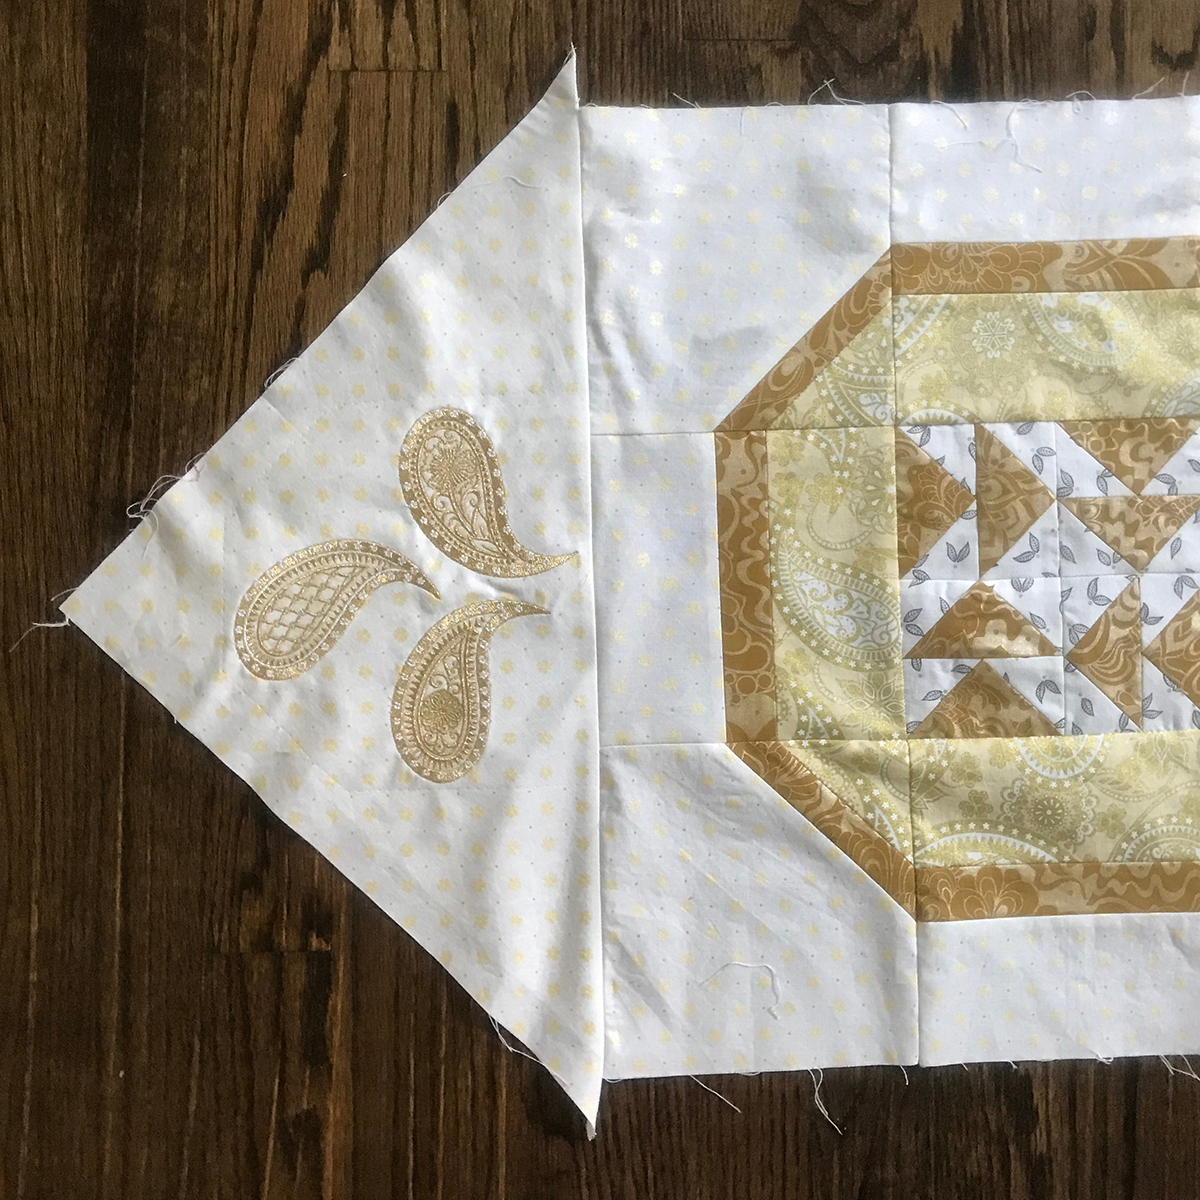
Joining a corner triangle to the side of a long row.
- When you trim the quilt top center after joining all the rows, the intersections of the seams where blocks meet should be 1/4” away from the trim line. (I also like to use a big square ruler to trim the corners.)

Getting ready to trim the quilt top center—note the ruler placement!
I like to use my big square ruler on the corner.
- And finally, if you choose not to incorporate embroidery you will likely want a narrower border. To achieve this, omit the border strips and trim the quilt top center further as shown, lining the ruler up parallel to the outer edges of the octagonal framework to trim. (The border triangles wouldn’t have to be as large because of this, but be careful not to stretch the little bit of exposed bias edge when quilting. You can always add strips of fusible interfacing on the wrong side of the edge of these areas to help with this.)
Decreasing the side of the border by trimming the quilt top center further and omitting the border strips.
- If you are incorporating embroidery with the full size border it is always a good idea to measure your quilt top across the center of the quilt and adjust the border strip measurements as needed before pinning them on!
As usual, I’ve put together a video to walk you through the steps.
How to Assemble the BERNINA 125th Anniversary Quilt
I’m starting to see some pretty exciting pictures on our WeAllSew Community Page, so keep them coming! Remember, you need 6 entries to be eligible to win BERNINA of America’s amazing prizes! Contest rulers can be found here.
See you back here on February 6th! Happy quilting!
Amanda Murphy
BERNINA Expert/Quilting and Longarm Spokesperson
Used Products
What you might also like


4 comments on “BERNINA Anniversary Quilt-along: Part 5”
-
-
You mentioned above that you used Aurifil 20 weight thread to do the piecing. What is the reason for using the 20 weight versus the 50 weight thread? Also, what color did you use? Last question, I attended your trunk show in Ohio and I remember when I was looking at your Anniversary quilt that I really like the backing fabric you chose. Of course, now I can’t remember what it was. Can you remind me? Thanks! 🙂
I just started quilting about 4 months ago and I am really enjoying this quilt-a-long. It has been pretty challenging at times and the learning curve has been steep, but I am learning a TON from your videos. Thank you so much for taking the time and effort to do all this. I am so grateful to you for sharing your talents so we all can learn too!!
-
Your color selection and work is so elegant! ♥️
-
I read somewhere, which I’m unable to locate again, that you will be holding an Amanda Murphy workshop soon for a B790 AE machine cover. As I live in Australia and am unable to attend the workshop, how can I obtain the pattern, instructions and fabric for my B790AE. My email address is [email protected]
Leave a Reply
You must be logged in to post a comment.

Why are all of the lessons of the various techniques and component parts to be stitched and embroidered, rated as “intermediate level?” As a beginner to quilting, I find it had to believe that this beautiful and complex design is never rated “advanced” for any of the parts or for the assembly. And, what measure is “weekend” time? 12 – 24 hours? I have the terrific Bernita 790 plus Anniversary Edition, but am hesitant to try the cording steps and the free hand quilting.