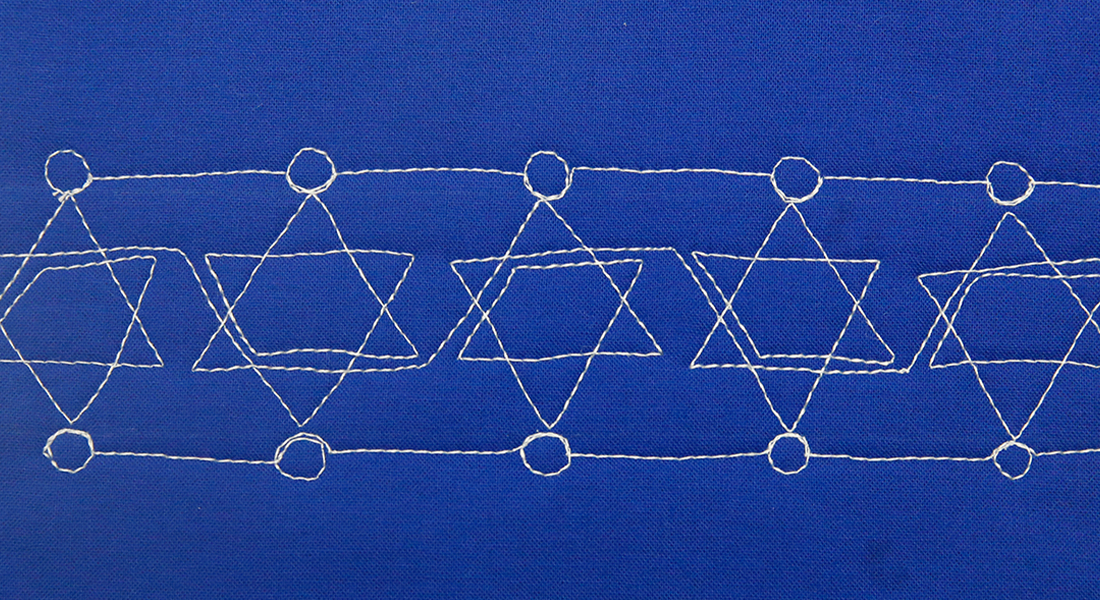
Flame free fabric menorah for little fingers
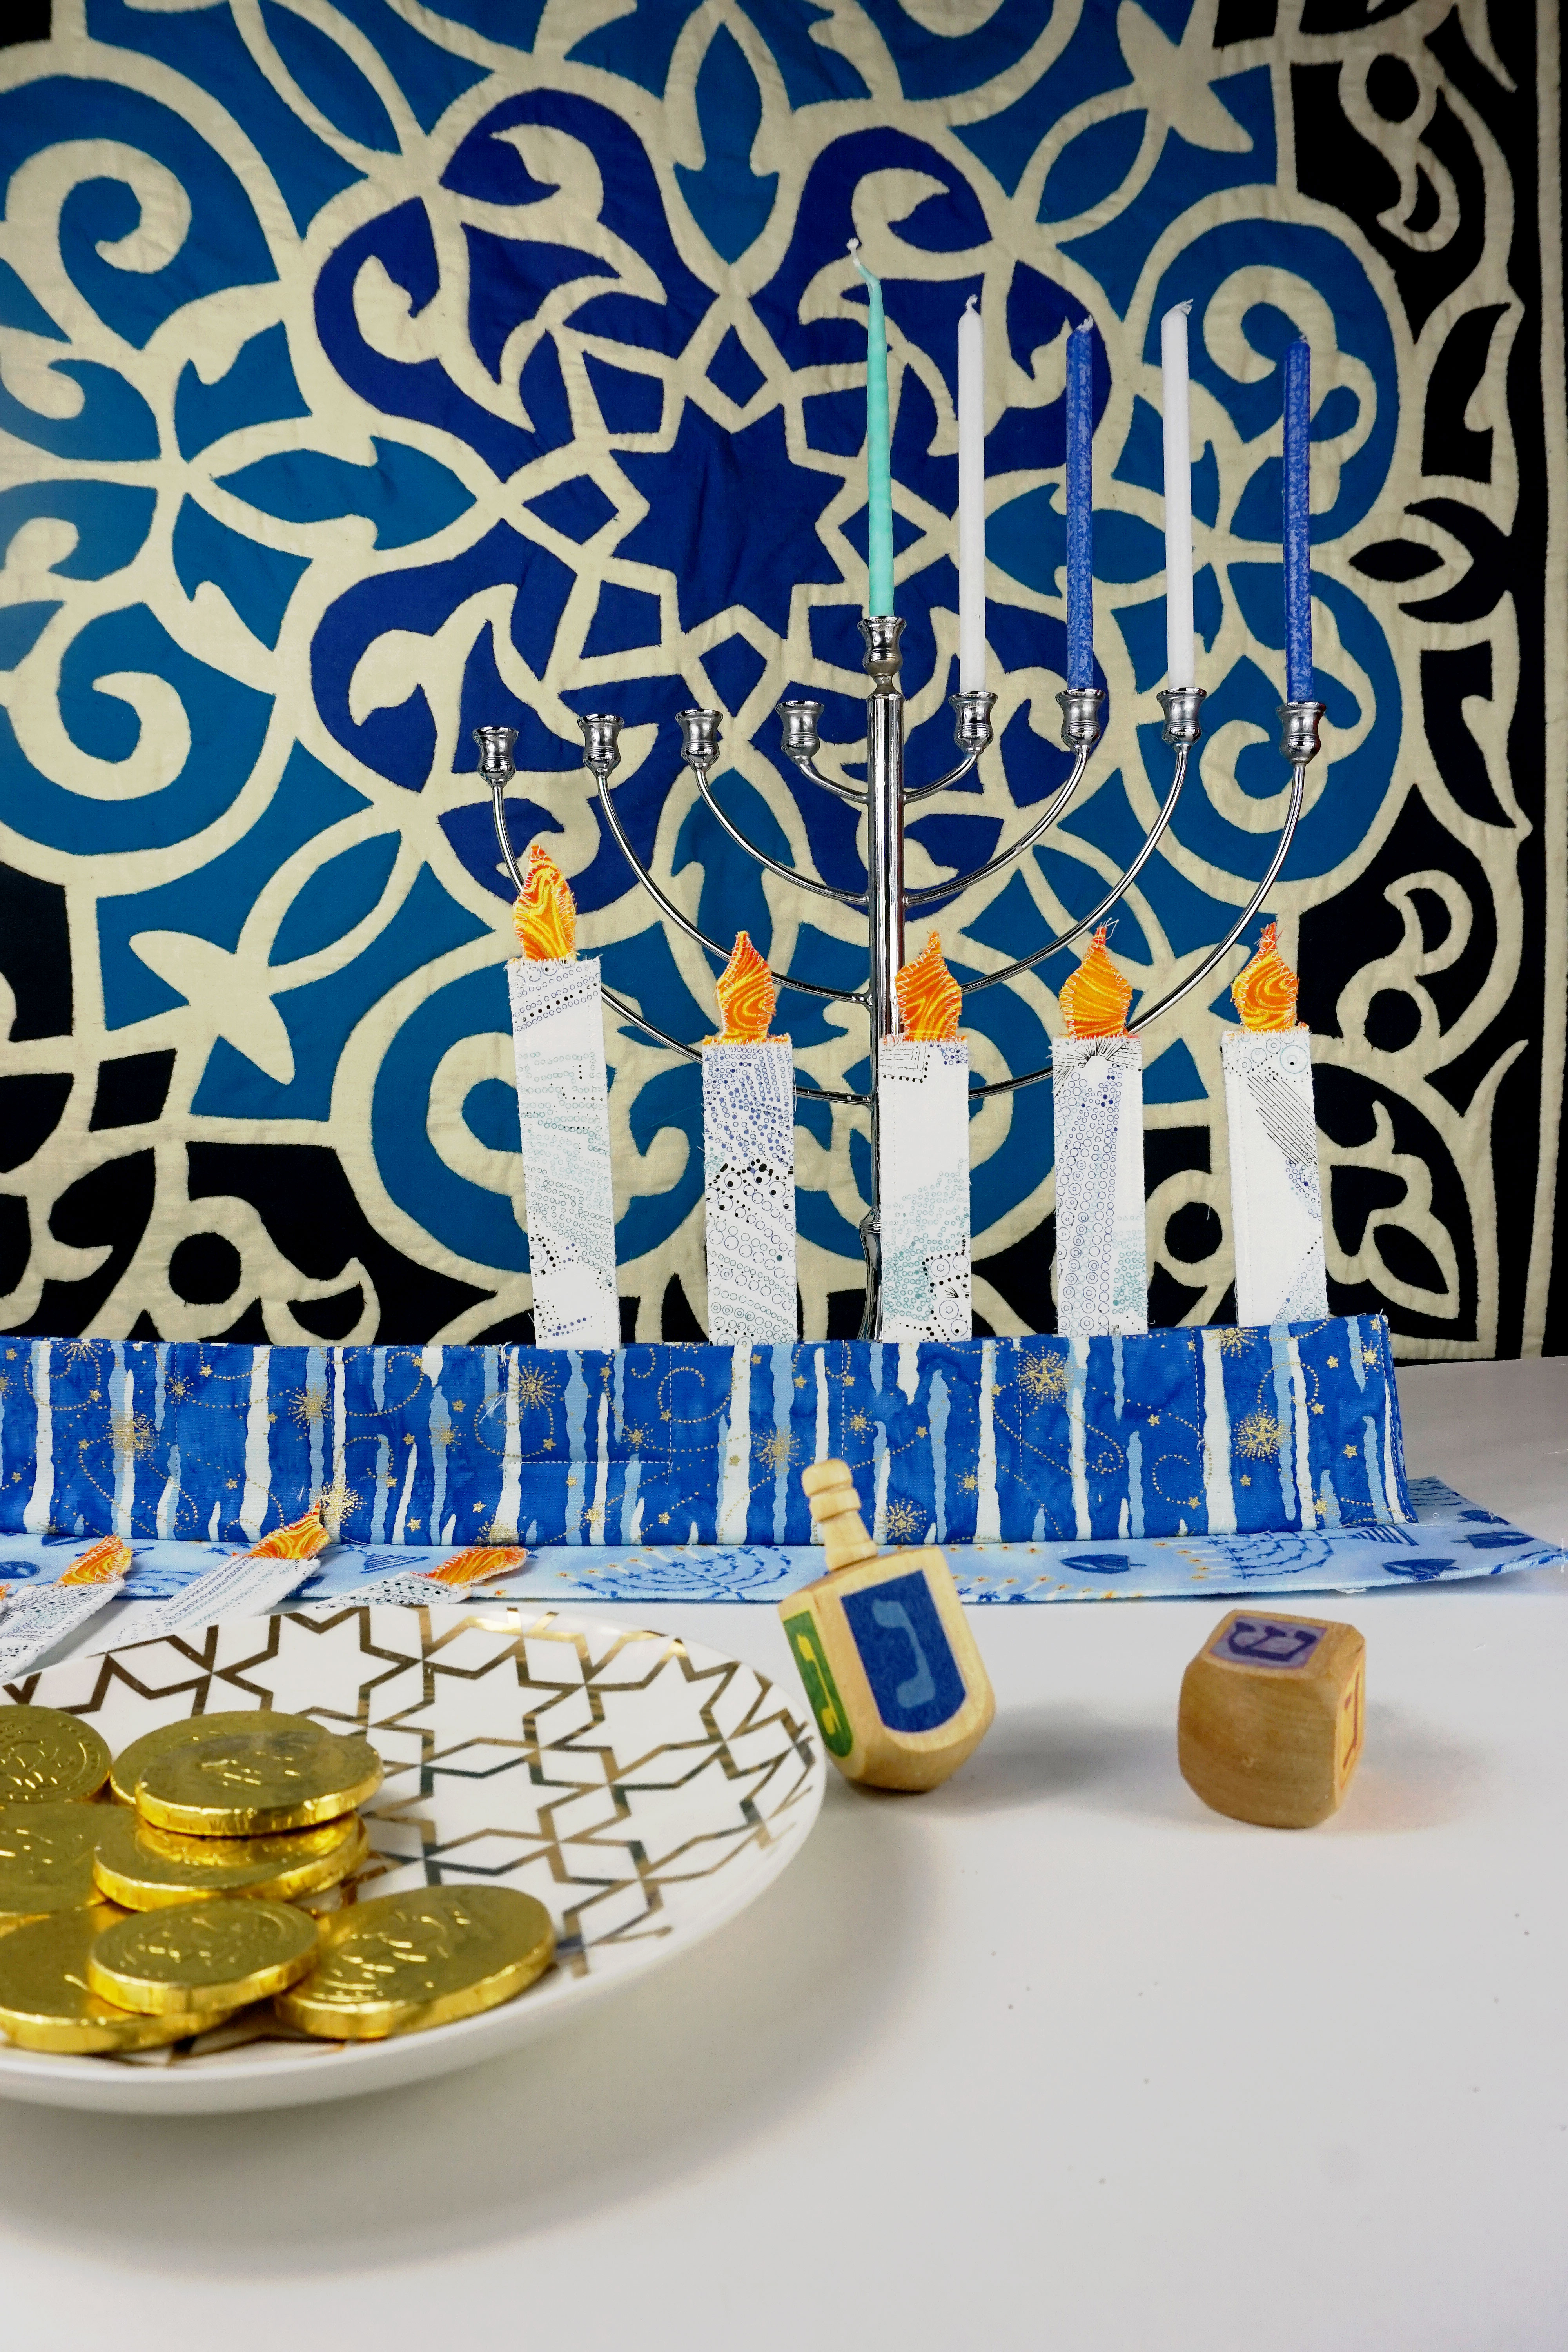
This flame-free fabric Menorah keeps little fingers safe while celebrating Hanukkah. Create one for a little one to greet the season.
Materials for the flame-free fabric Menorah:
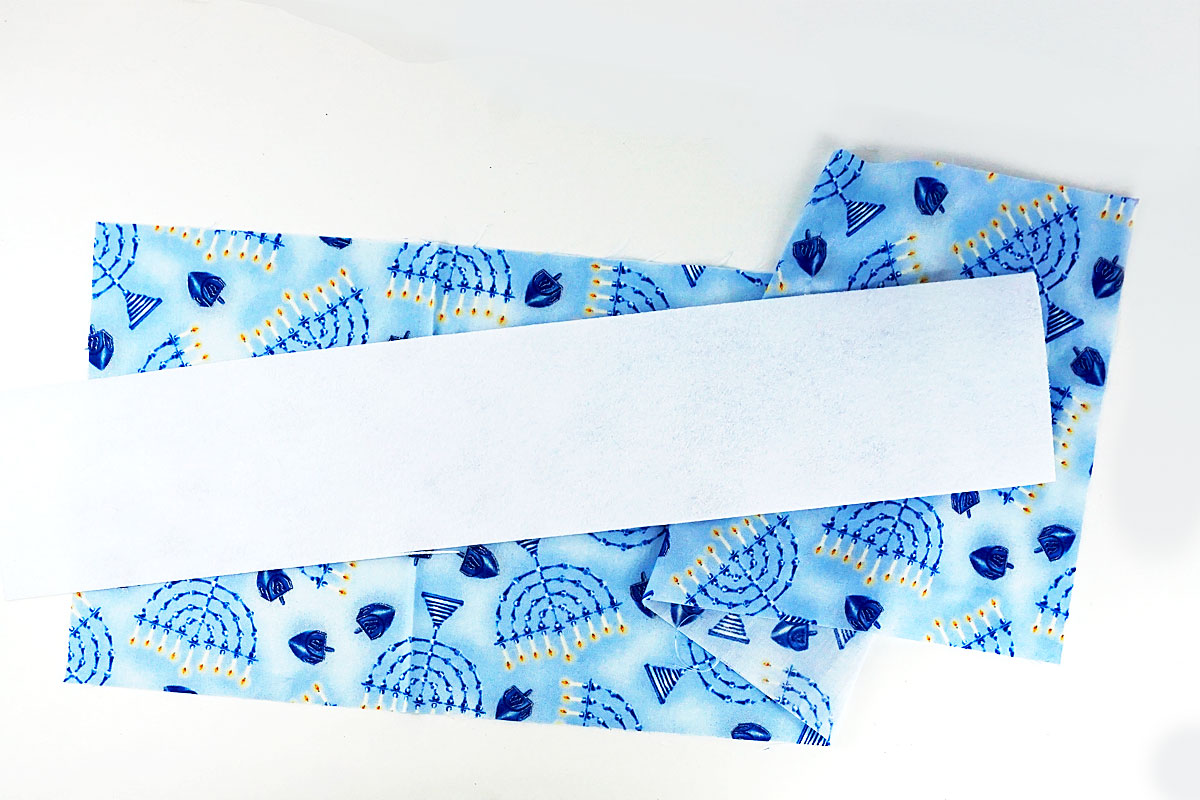
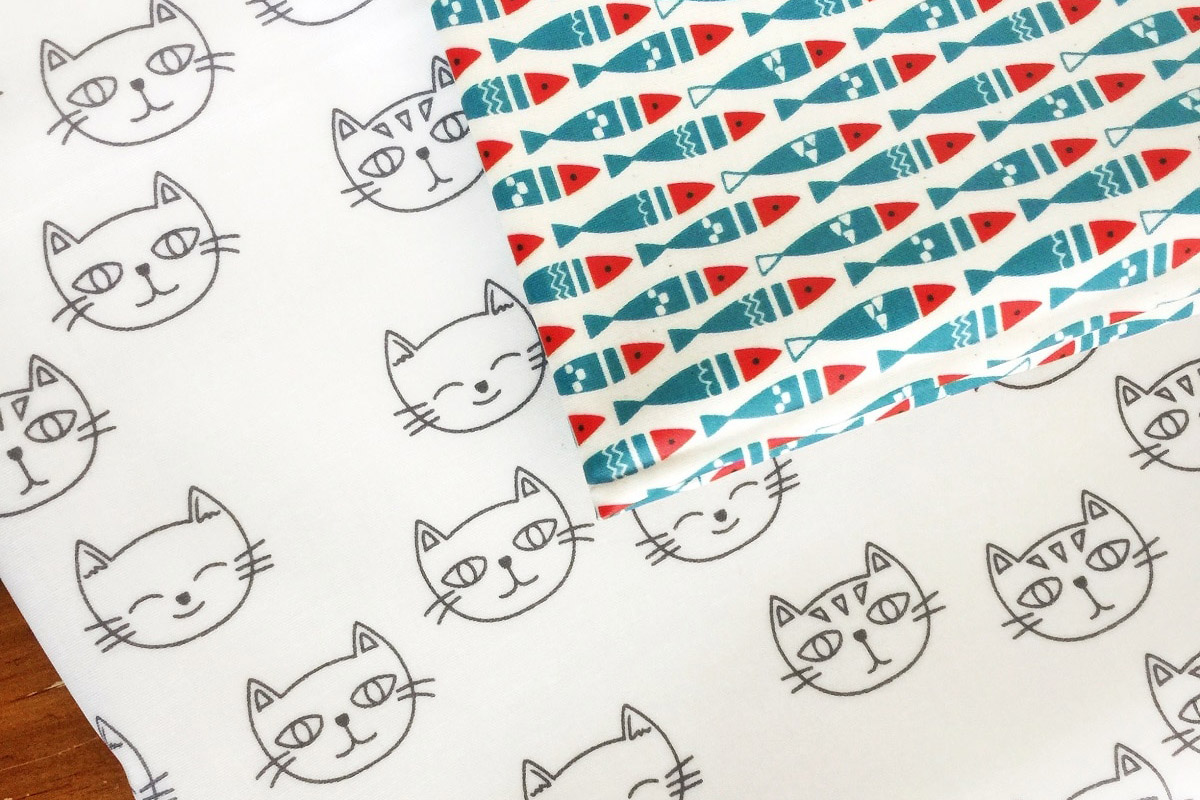
Two strips of fabric, each 5 inches wide by 18 ½ inches long for front and back of menorah (these two strips can be the same fabric, or if you want your menorah to look different on both sides, two different fabrics)
2 strips of batting, each 2 ½ inches by 18 inches

One piece of fabric 9 inches wide by 22 inches long to cover base
One piece of stiffened product like Fast-2-Fuse or Timtex (double fusible) 4 inches wide by 20 inches long
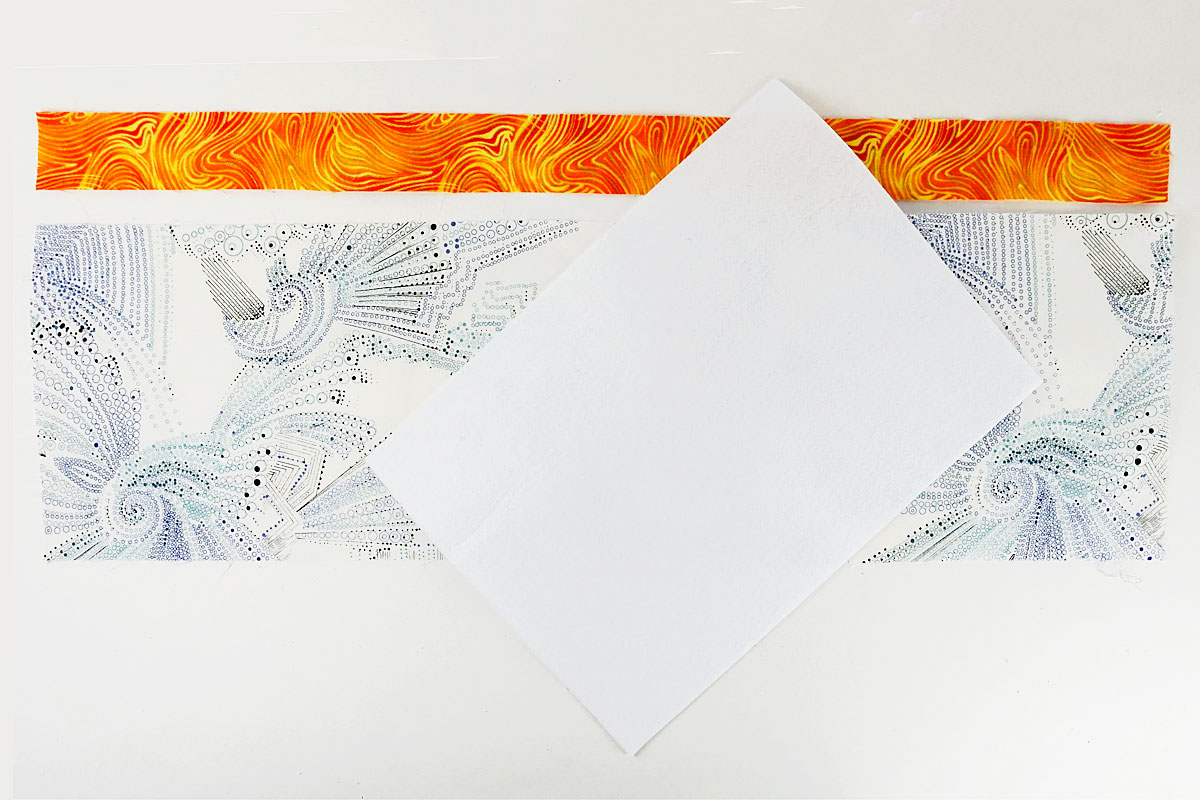
One strip of fabric 5 ½ inches wide by 18 ½ inches long for candles
One strip of fabric 1 1/4 inches wide by 18 ½ inches long for candle flames
One piece of a stiffened product like Fast-to-Fuse or Timtex (double fusible) 6 3/4 inches wide by 9 inches long
Instructions for Making the Fabric Candles
Lay the candle fabric and the flame fabric, face down on the table and align them. Lay the fast-2-fuse over them and pull the rest of the fabrics to the front, making sure everything is lined up and straight.
Press according to manufacturer’s instructions. Flip and press on the other side.
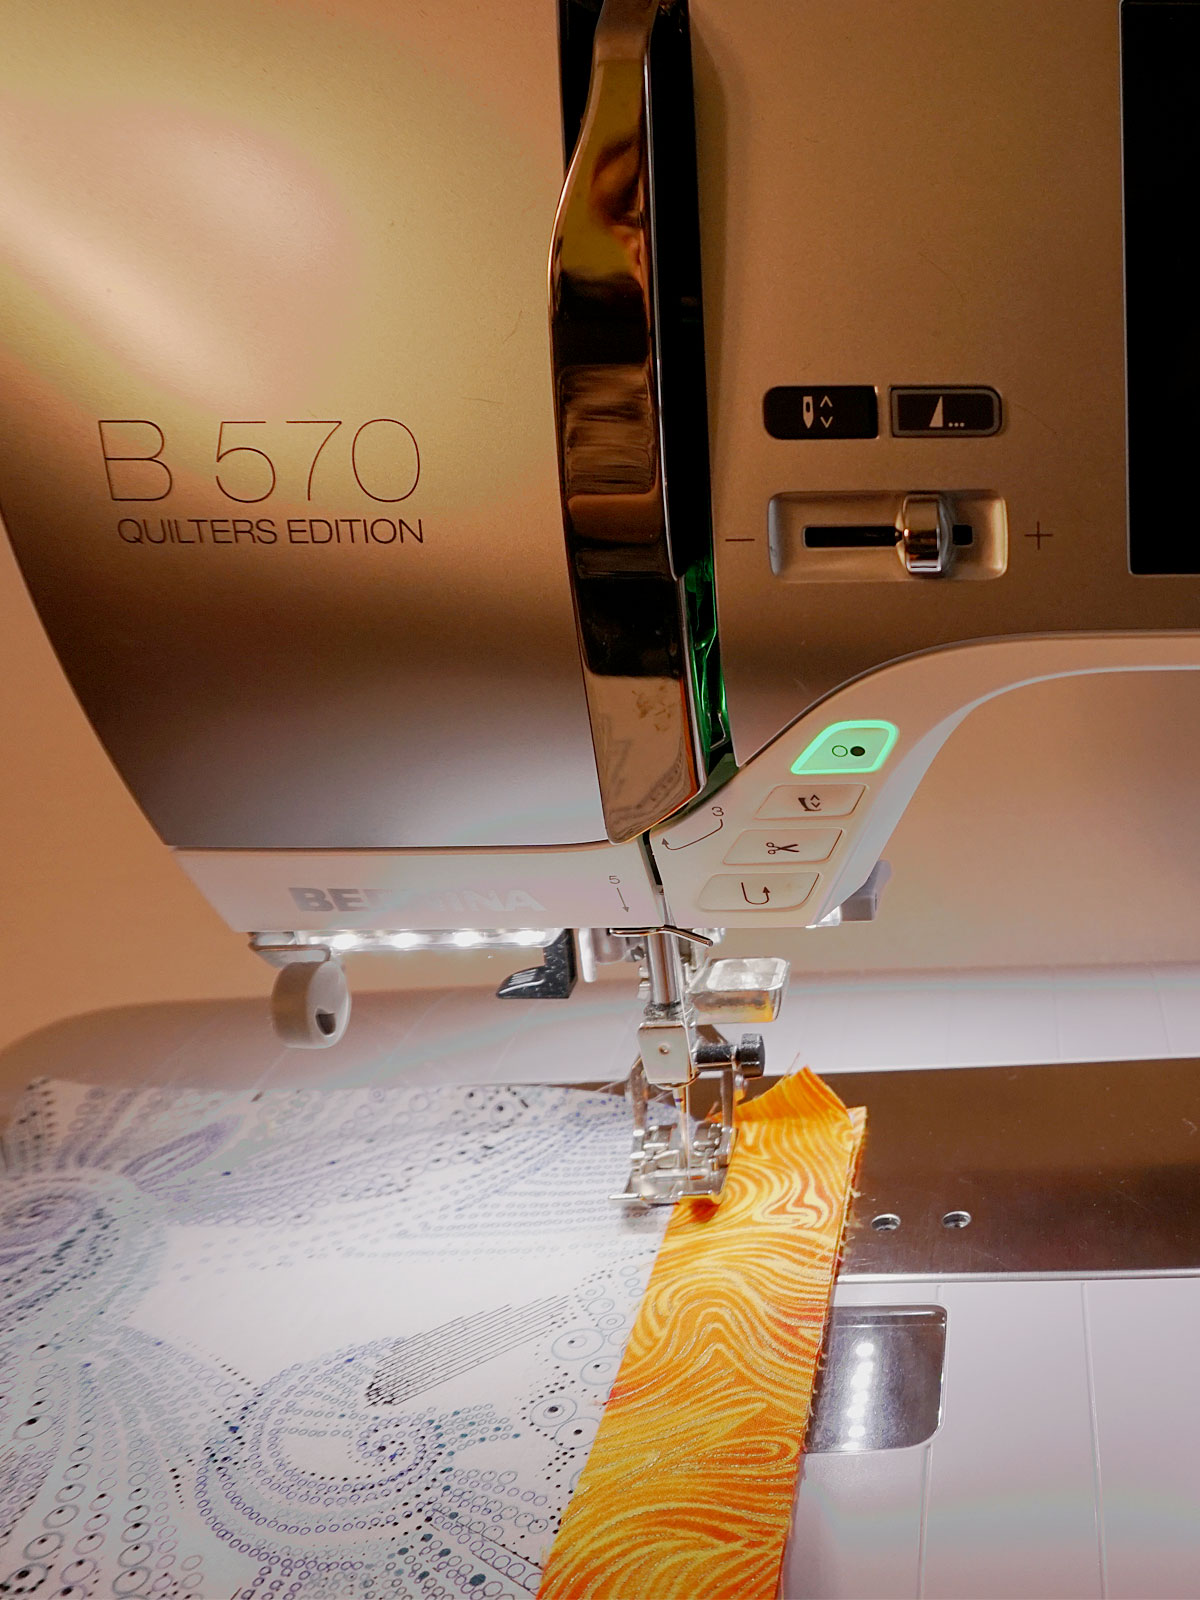
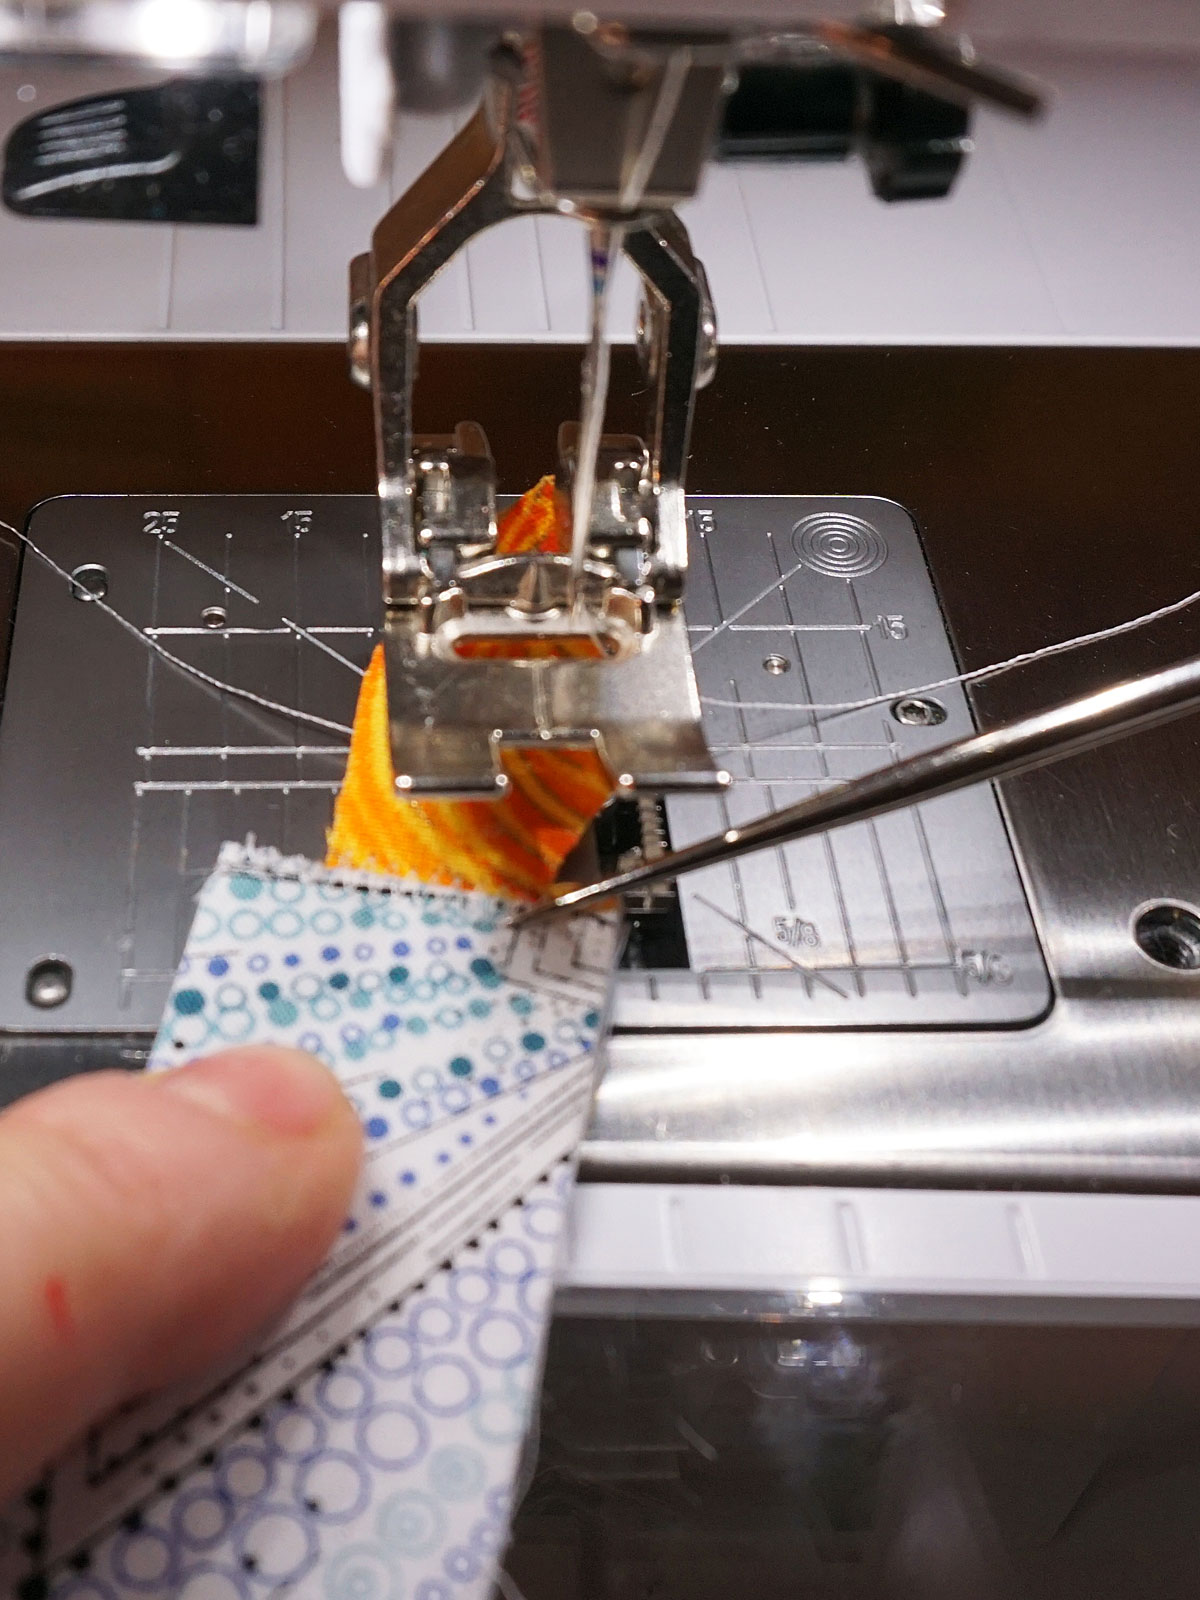
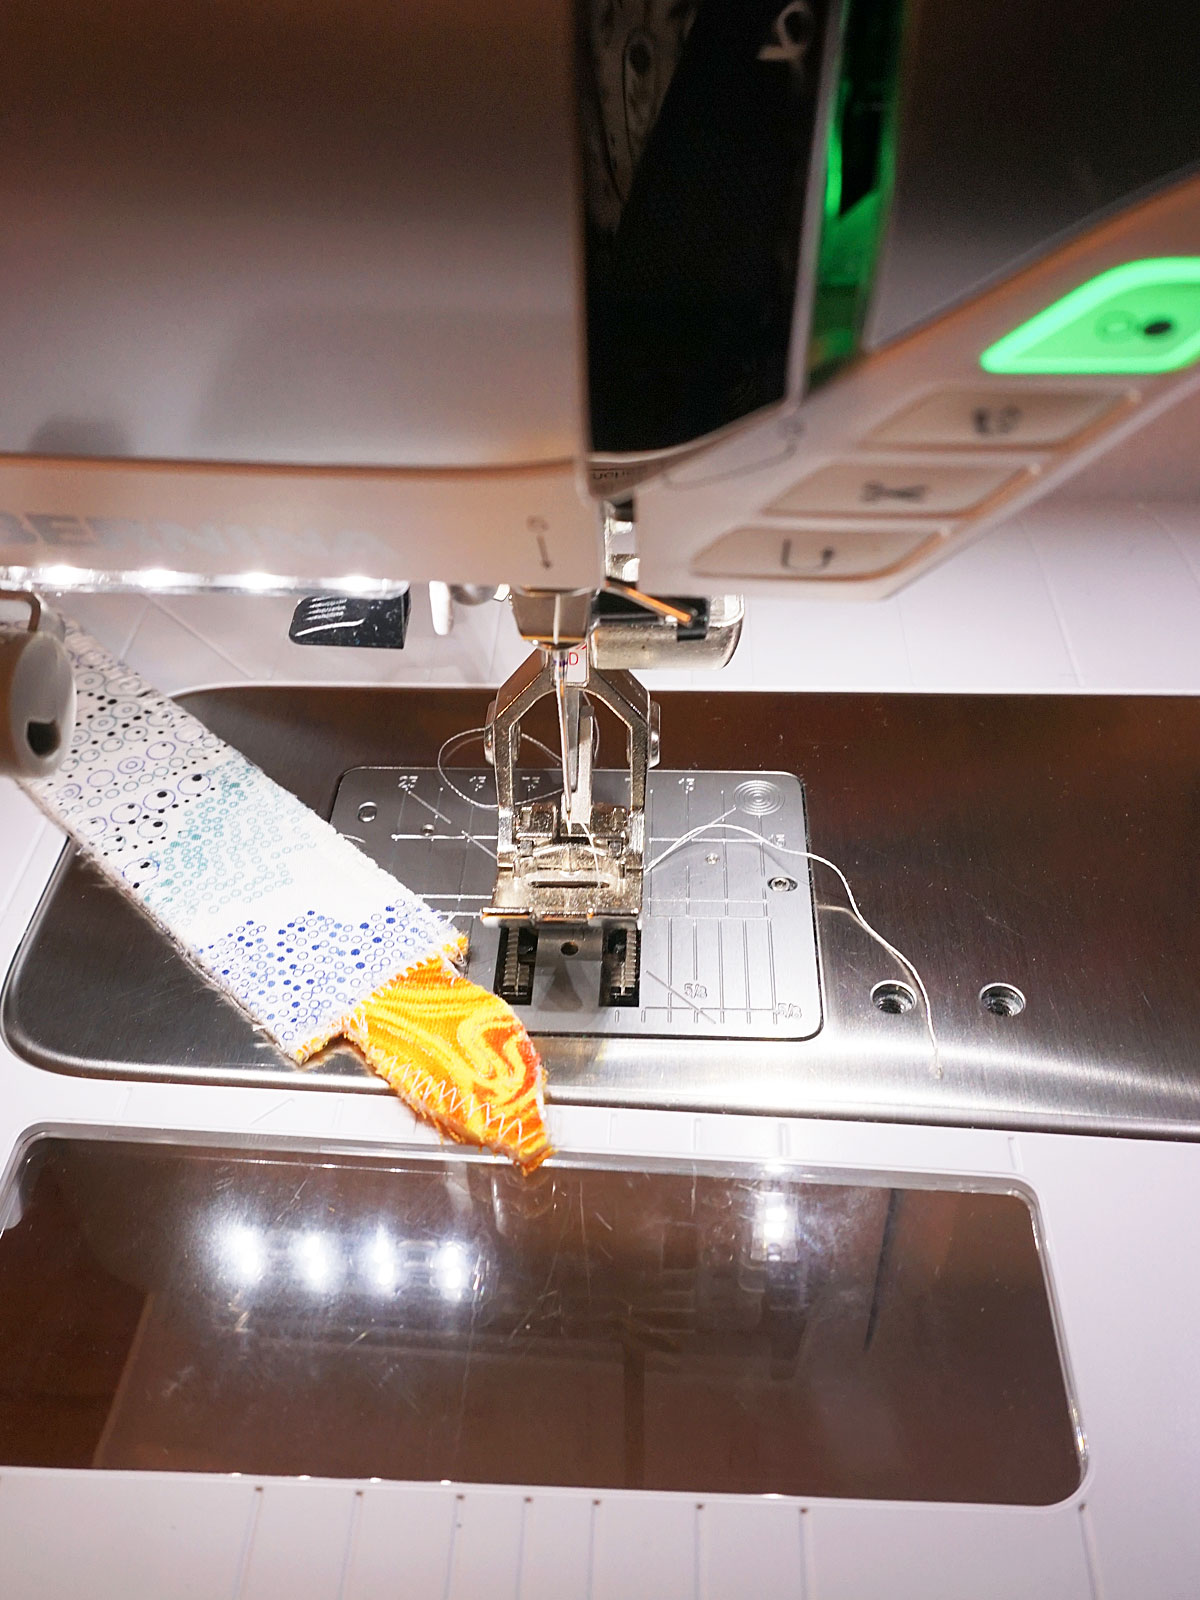
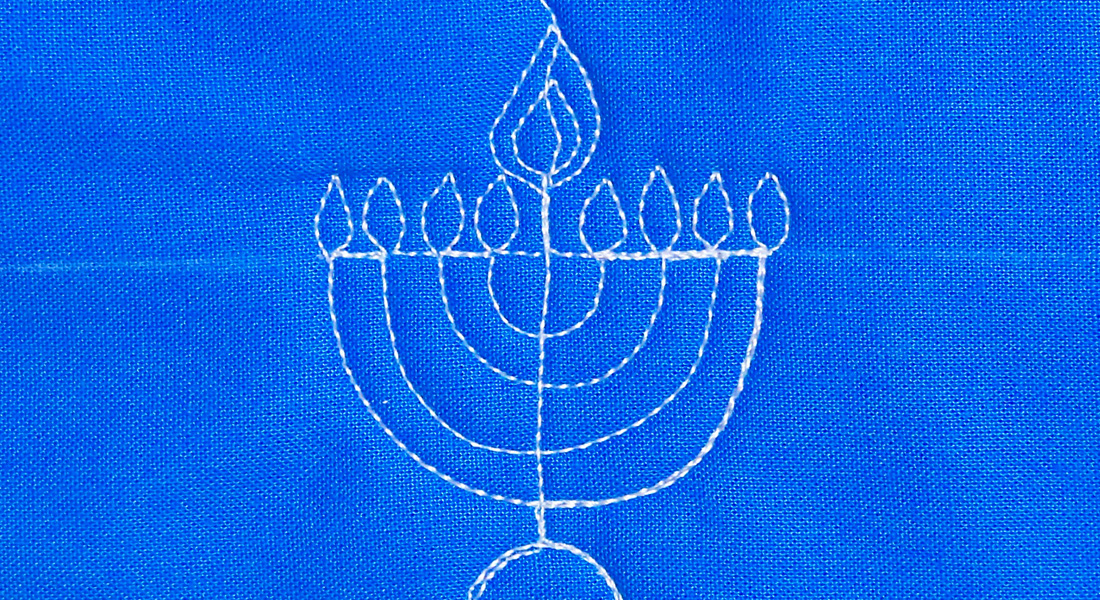
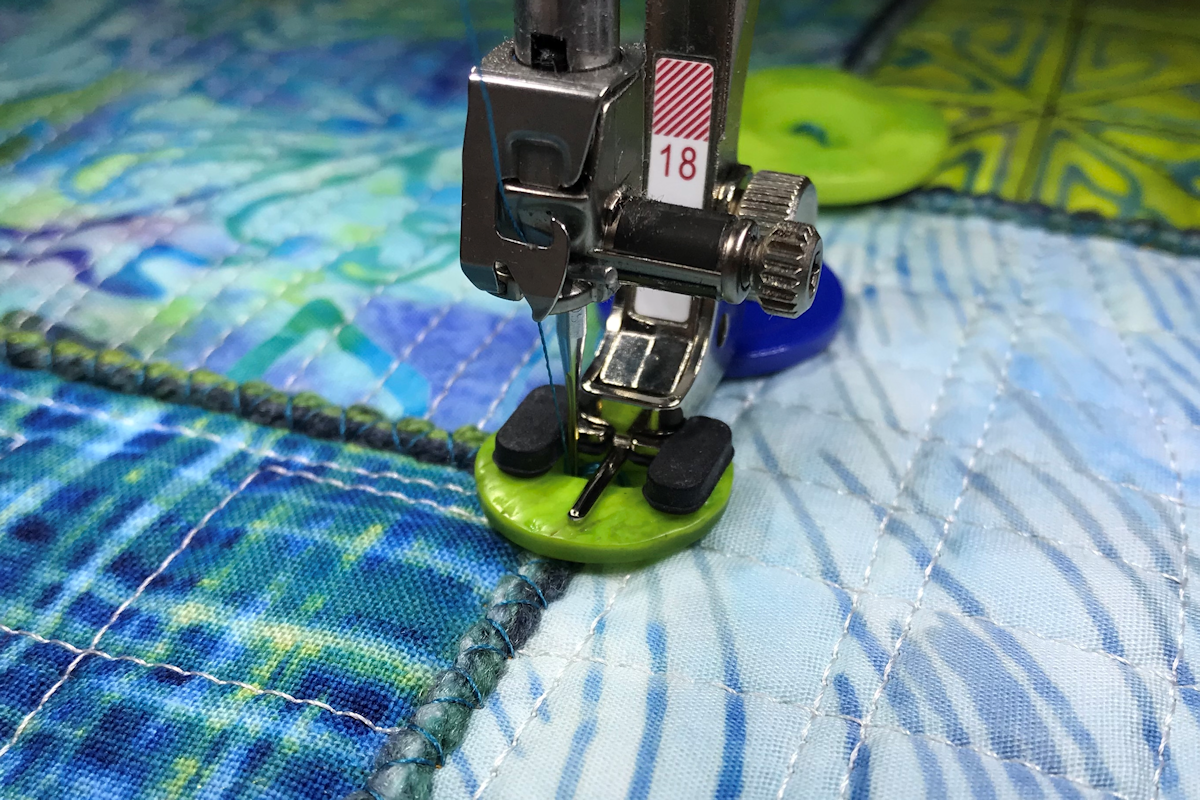
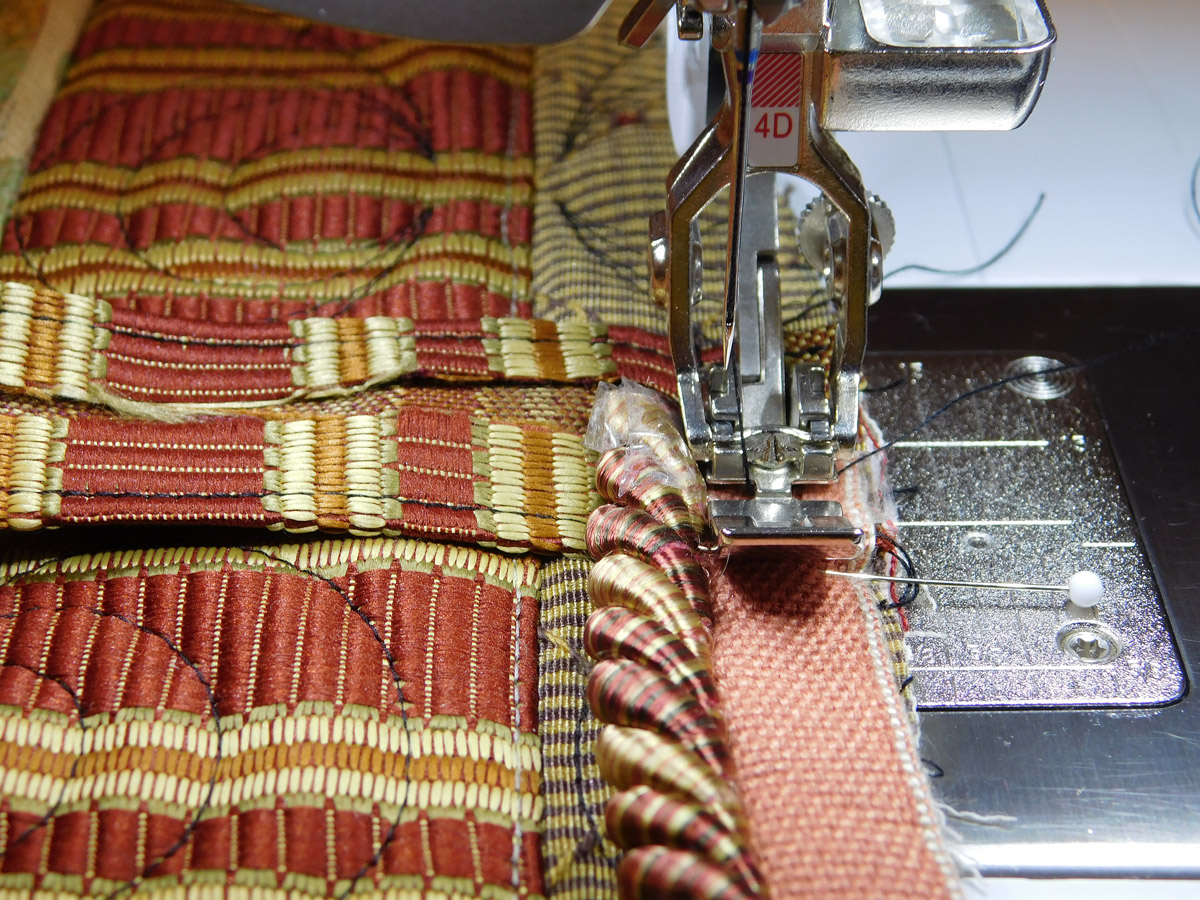
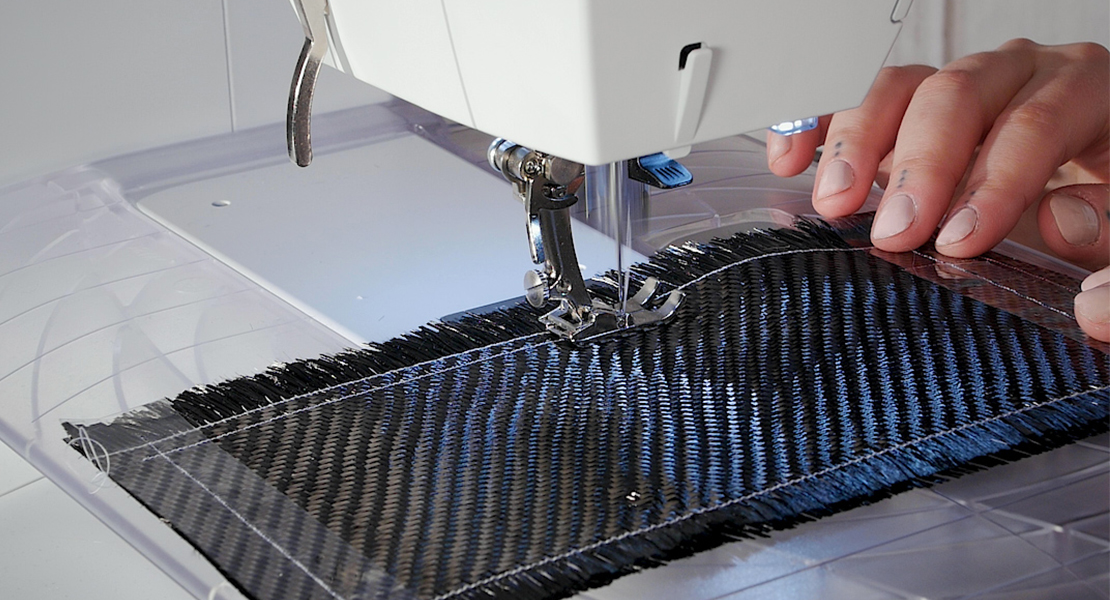
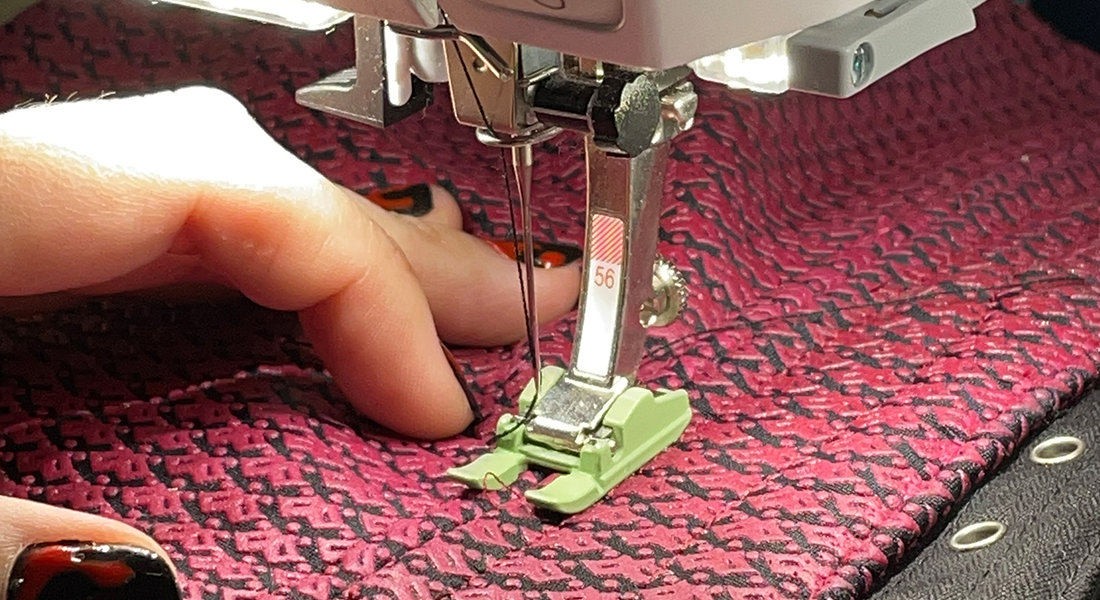
Stitch a zig zag line between candle and flame fabric at .75 long and 3.5 wide. I used white thread, you can use clear if you prefer, but make sure the bobbin and top thread match. Make sure the notch in the foot stays straight along the line where the two fabrics meet.
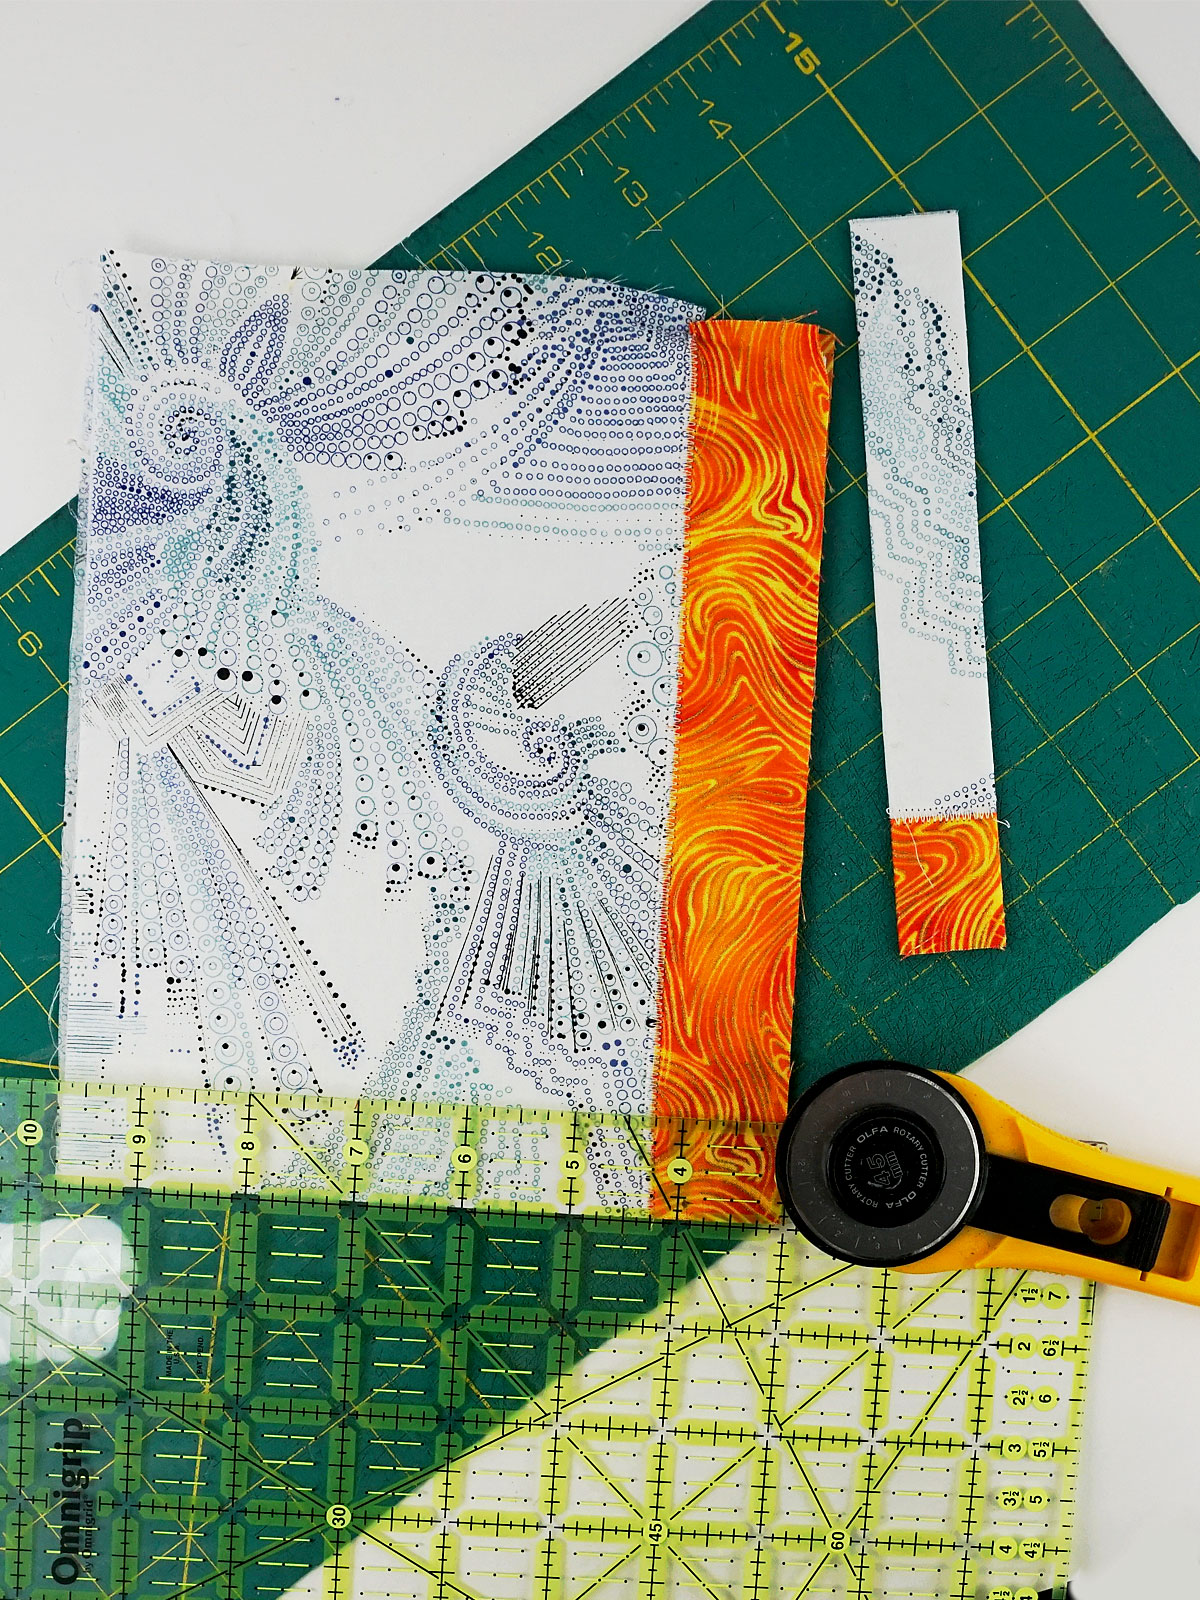
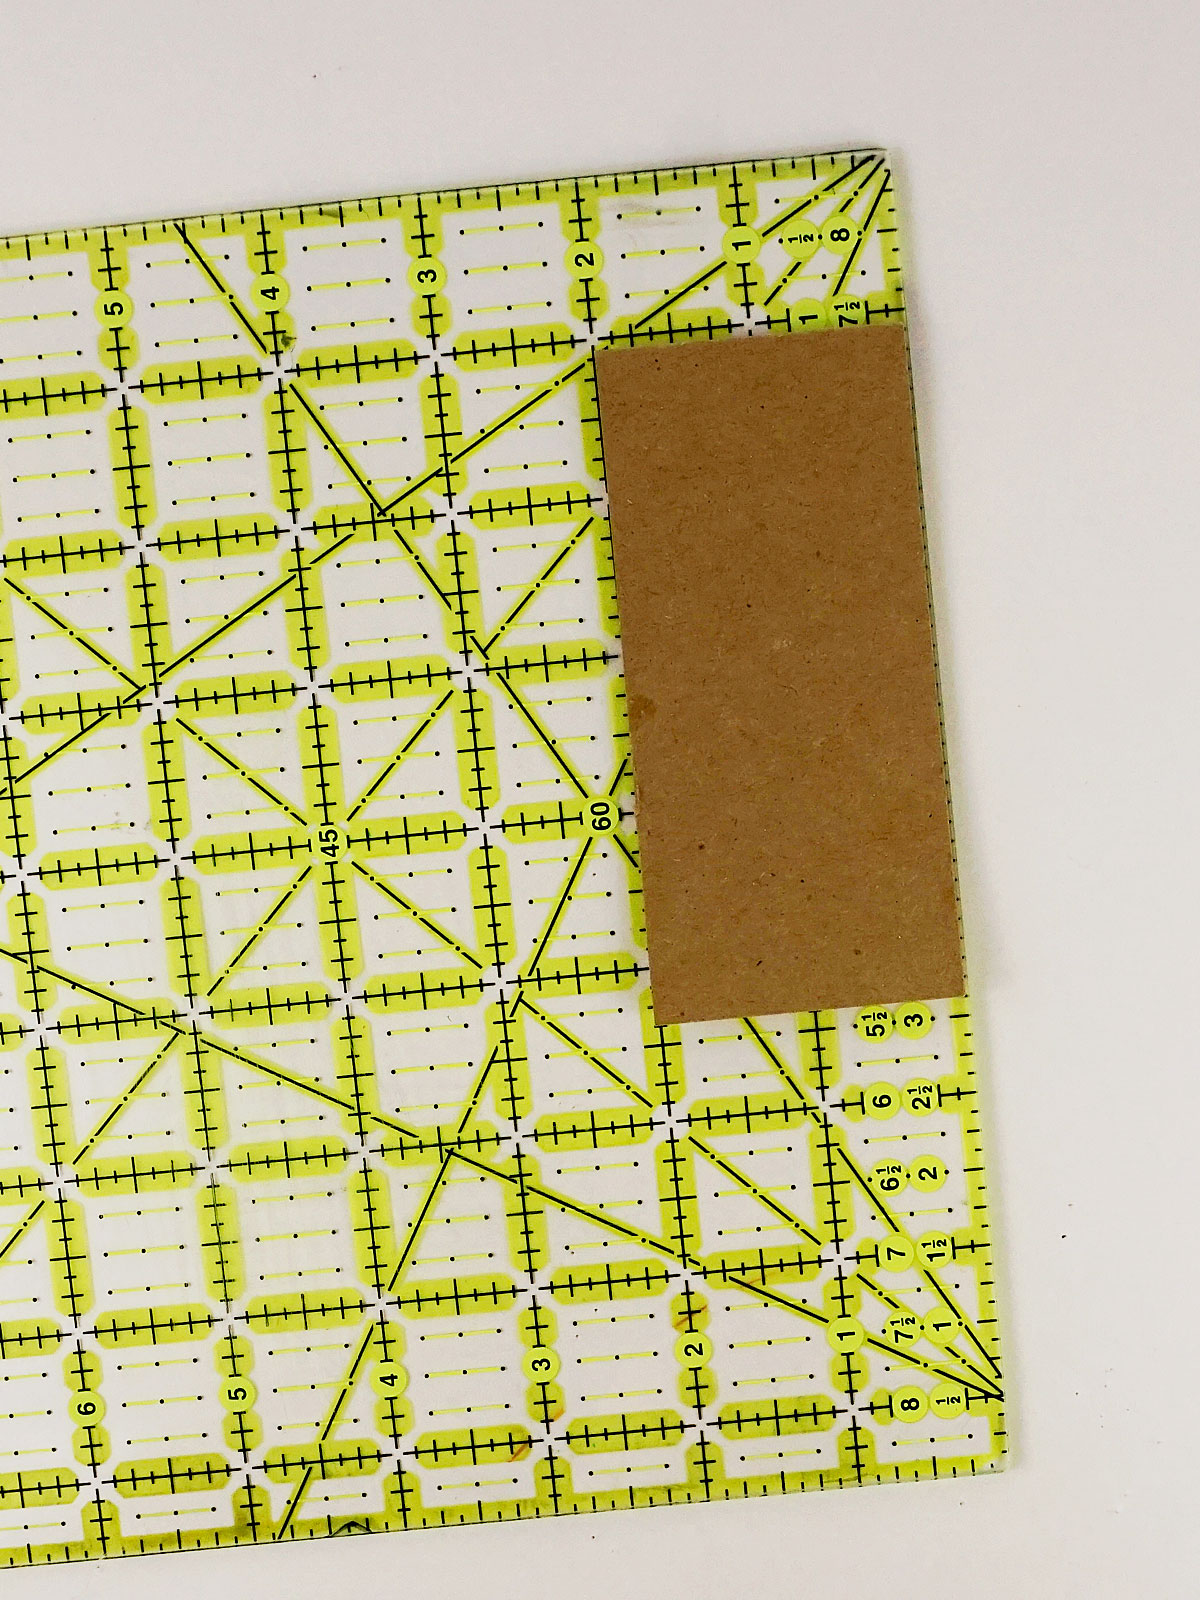
Cut candles apart using a rotary cutter, ruler and mat at 1 inch strip.
Cut the flame shapes by hand (try to avoid breaking stitches but don’t worry if you do—this can be corrected while going around all the outside edges in the next step). Don’t fret if they aren’t all exactly the same, it actually makes the candles look more natural.
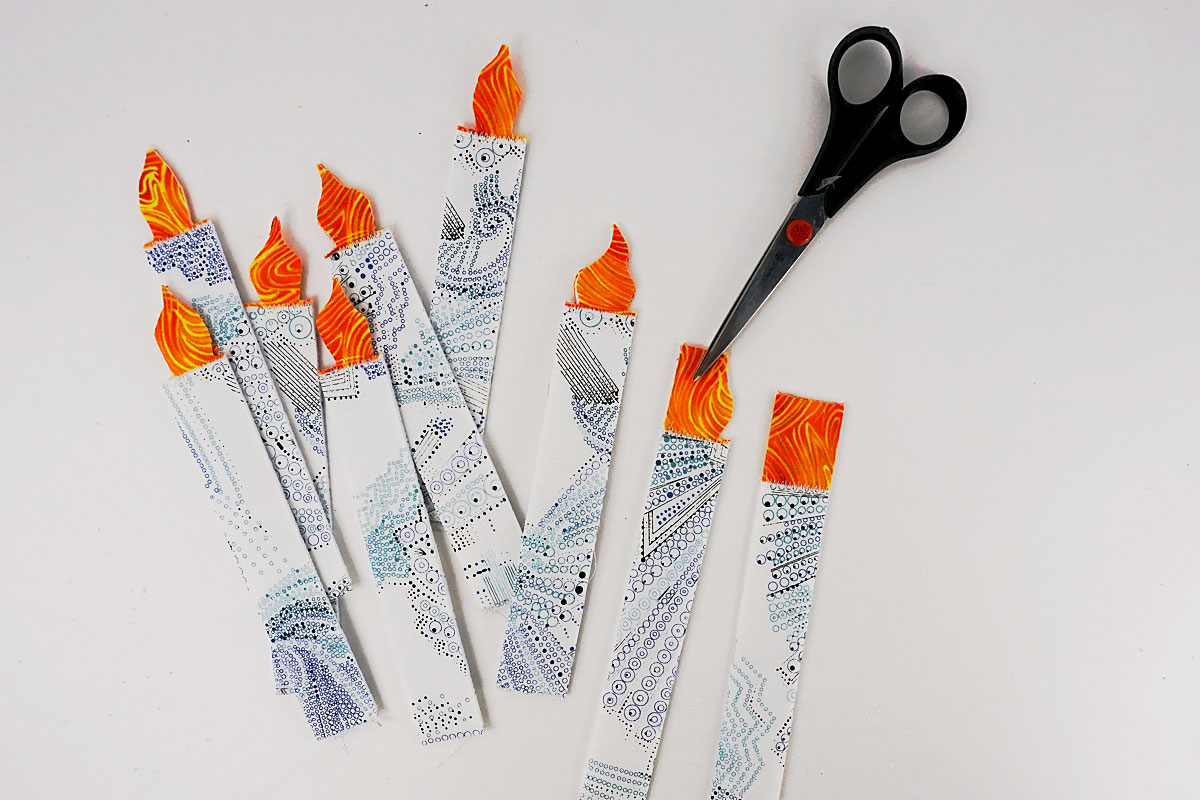
Using the same zig zag setting (.75 long and 3.5 wide), go around the candle to encase edges—starting at right top of the candle, around bottom and up to the flame tip. (The knee lift is very helpful here, if you aren’t using the knee lift that came with your BERNINA, go get it and start using it. Its great–I use mine all the time!)
Flip over to the other side and stitch from the base of the flame up to the flame tip (this prevents that little tip from getting caught in the machine).
Trim any loose threads and set aside, now to move on to the menorah.
Instructions for Making the Menorah
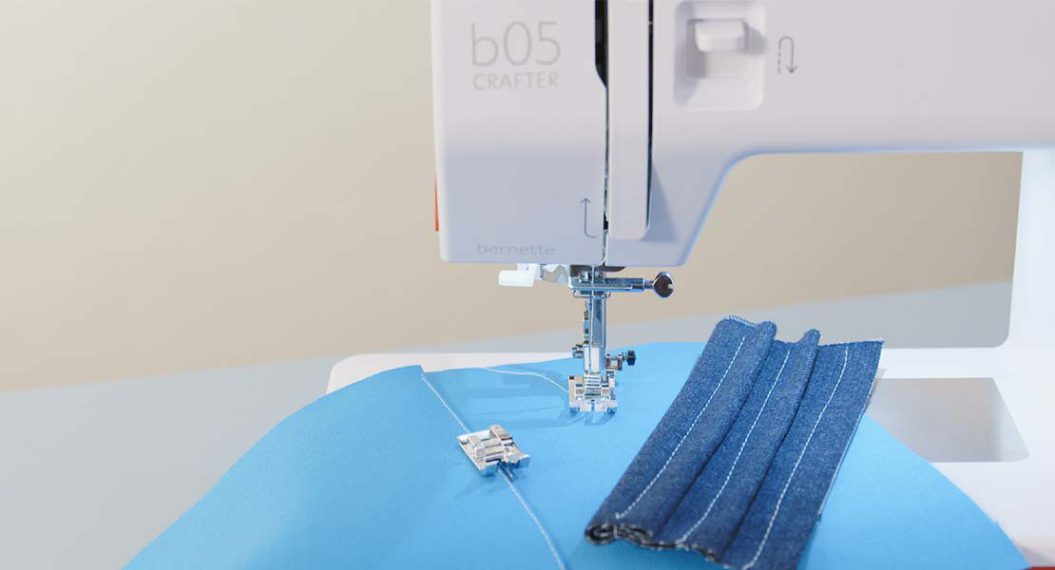
Press each of the 5 ½ inch strips horizontally with wrong sides together. Turn in ¼ inch on each of the short sides and press. Tuck a strip of batting up close to the fold. Pin. Tuck the pressed short edges inside and snug the batting into the fold.
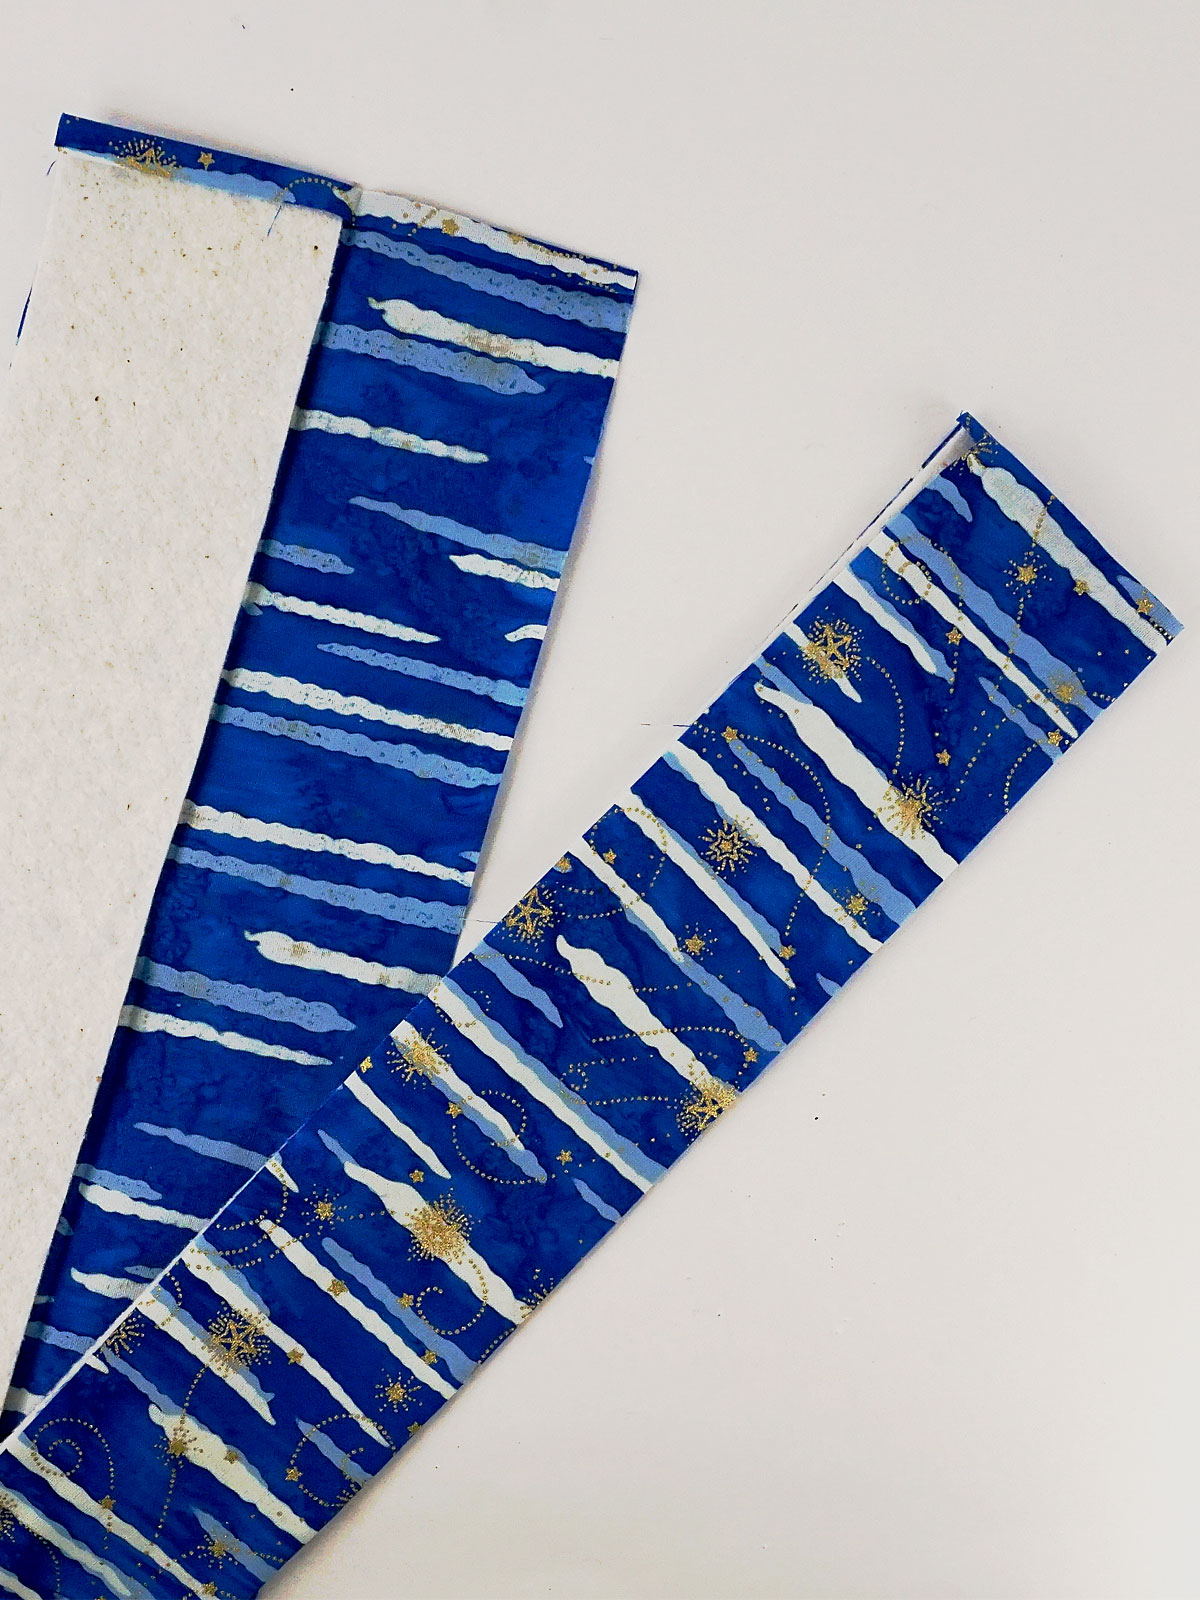
Stitch close to the folded short edges to encase the short ends. Run a zig zag stitch on the long side approximately using the same setting and alignment as you did for the candles (.75 long, 3.5 wide and using the edge of the foot opening as the guide).
Cover the base with fabric, first pull the short edges over the back.
Then fold in the two longs sides to meet in the center. Fold in the corners to meet (like a present) pressing to secure and lining up the raw edges on the underside.

Measure to make sure the raw edges come together 2 inches from each side of the base, turn one under for a clean folded edge.

Run a line of stitching line down the center to secure. This will also be your guideline while sewing the next step. The two inch marking on the edge of the BERNINA extension table is helpful to insure your stitch line stays straight and in the right place.
Edge stitch around the outside edge (I use my #10 foot and move the needle position all the way to the left) on all sides to secure.
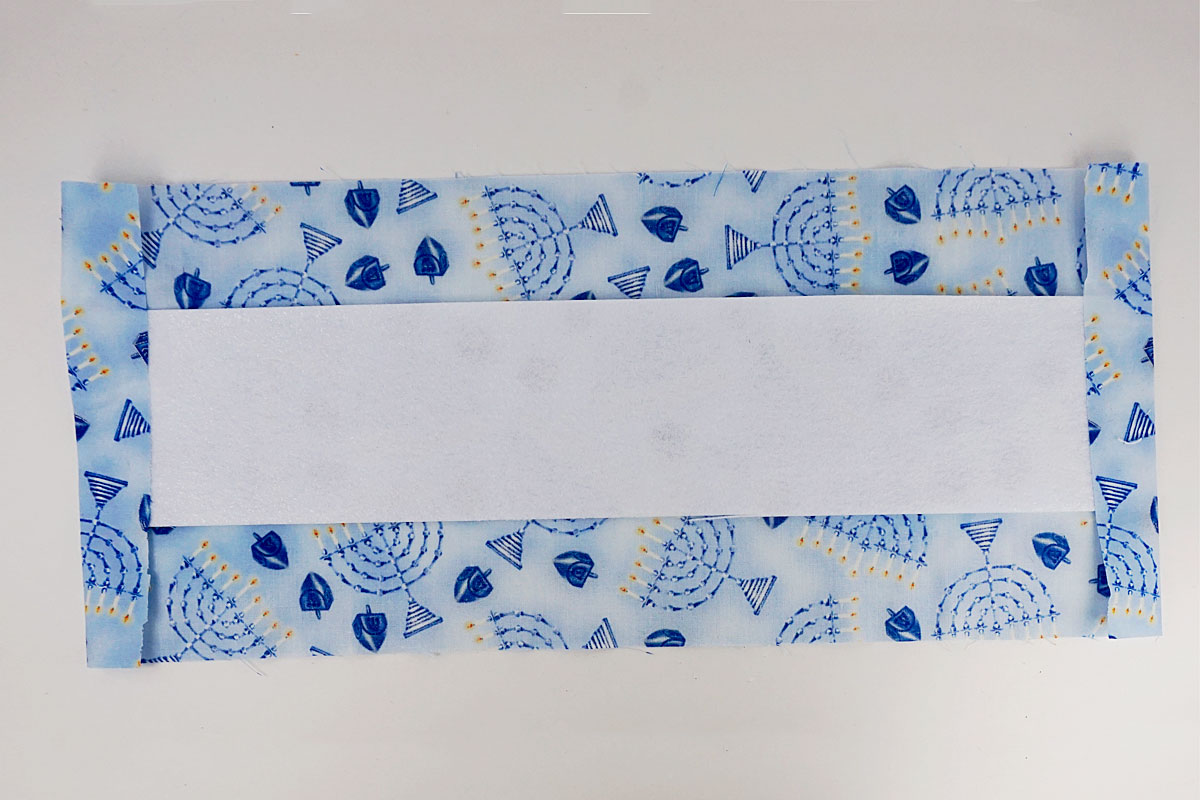
Line up the two stitched strips 1 inch from each end of the base with the zig zagged edges touching (but not overlapping) at that stitched guide line. (The side of the base with the folds is the bottom.) Make sure the edges meet up (you can gently pull them into place if they are slightly off).

Straight stitch approximately 1/4 inch from the raw edge on each of the long edges. Flip up to make sure there are no raw edges poking through.
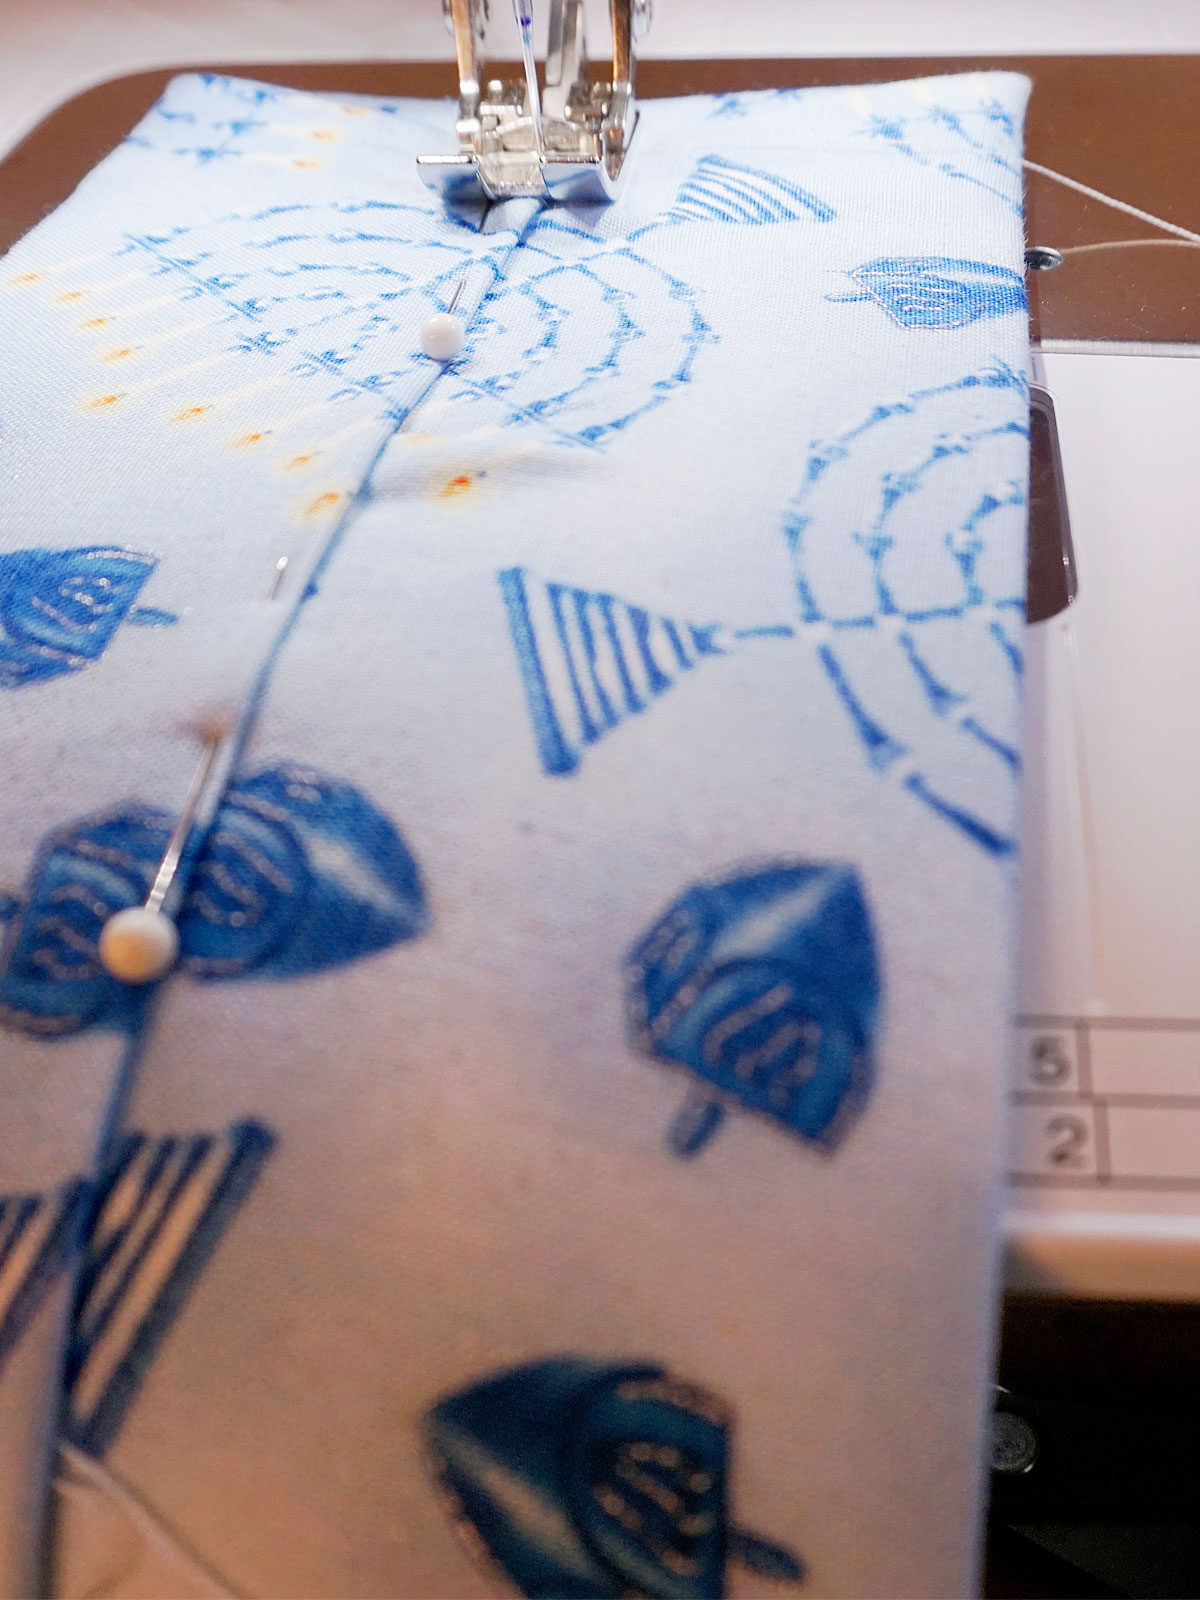
Now pull up the folded edges to meet at the top. Pin the two outside ends closed. Using a piece of cardboard cut two inches wide, place a pin (point up) every two inches.
You should have nine little openings pinned; each two inches wide.
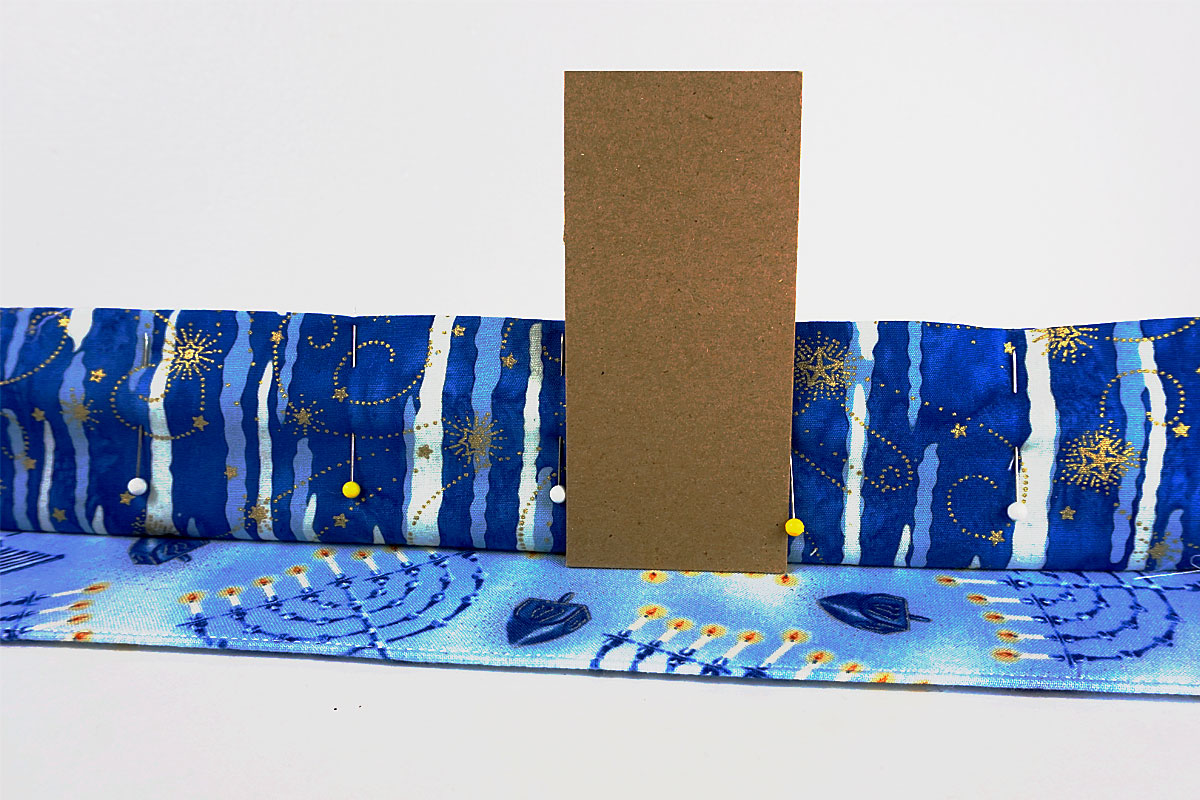
From the top, stitch down first one end, then every two inches, removing each pin as you start and sewing down as far as you can (you won’t get all the way down to the bottom). At about the half way point, flip to the other side and continue so the base doesn’t get in the way of the machine bed (I find it helpful to move the remaining pins to the side facing up at this point).
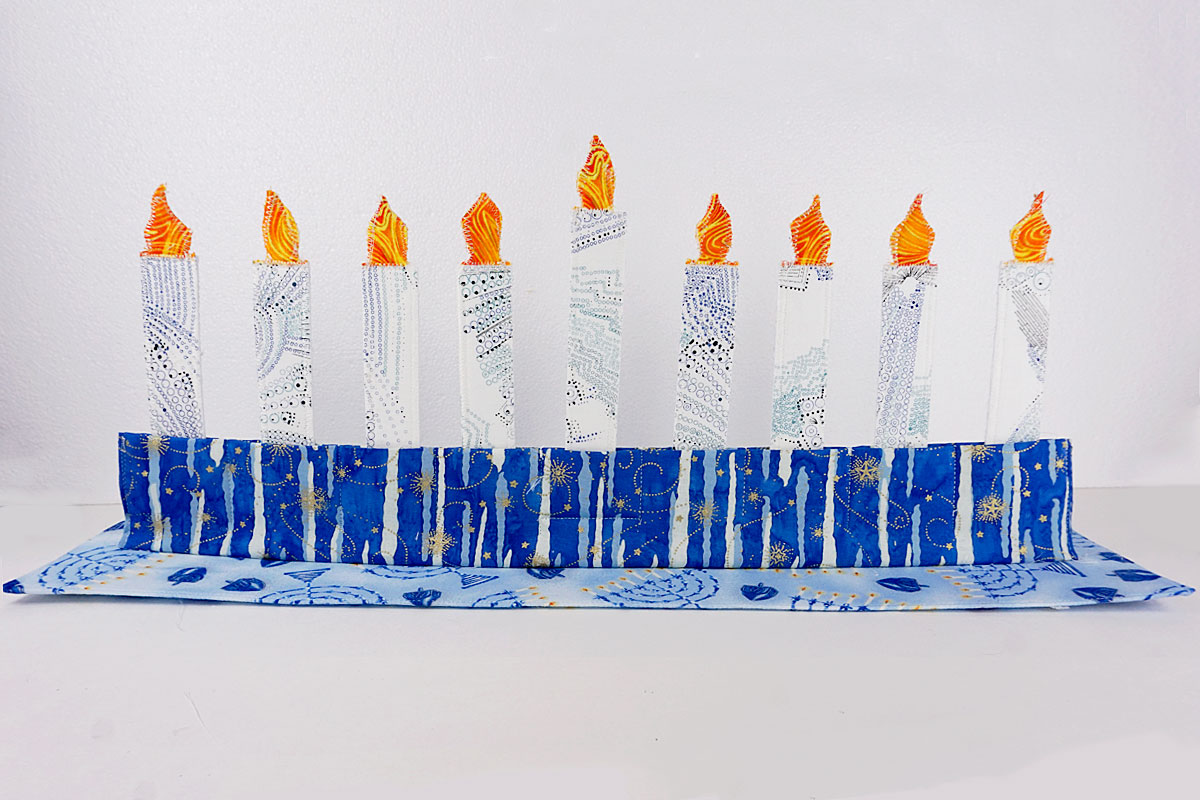
Decide which opening will be for your Shamash, which is the candle used to light all the others (it is usually either the center candle holder or one of the far ends) –and sew a line in that opening only, about one inch from the bottom. This will allow the Shamash to stand taller than the other candles.
Flatten the base back into shape.
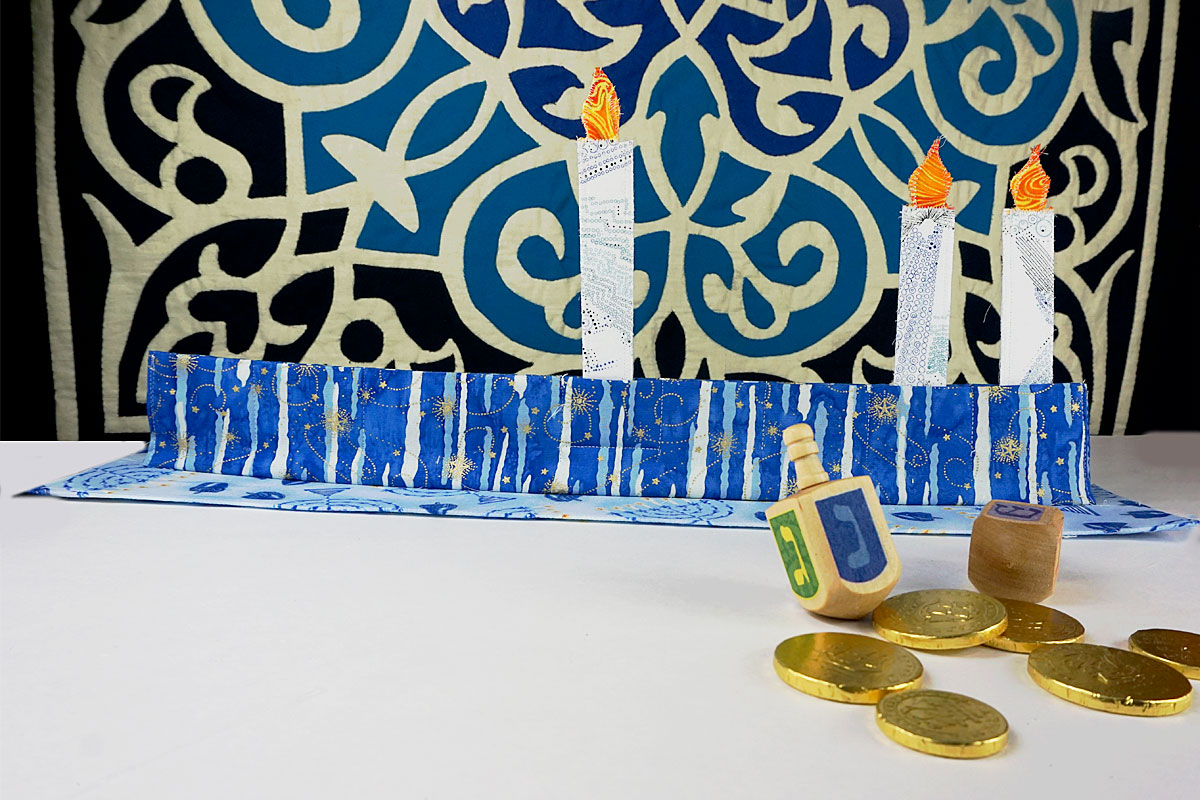
Using Your Fabric Menorah
Every night you will use the Shamash and one candle for each of the eight days of Hanukkah. So, the first night you will use two candles; the second night you will use three, and so on. The good news is since these candles don’t burn like the real ones, you can reuse the same candles to “light” your menorah every night of Hanukkah—and for many Hanukkahs to come.
Used Products


What you might also like


9 comments on “Flame free fabric menorah for little fingers”
-
-
thank you. I will try to come up with cute ideas for other holidays during the year.
-
-
I love this!
-
I am so glad you like it!
-
-
Thank you for the information on the fabric menorah. I think I could use the fabric candles on another holiday crafts as well
-
Absolutely! This could easily be adapted to be a single or double candle holder; for kwanza–for anything you want for little fingers and safe candles! I always love when people take my ideas and run with them, expanding them with their own imaginations and making it their own. Share you finished pieces with me!
-
-
Just this morning I was disappointed to find so few projects for Hannukah–and suddenly this easy and fun project that my almost-three year old daughter will love pops into my mail!
Thank you! And I also look forward to more ideas for Jewish holidays! -
Thank you! Our grandson will love this!
-
Thanks all! My grand-daughter loved this so much last year that she brought it to daycare and all the teachers wanted one for their classrooms–ended up making a few to give them.
Leave a Reply
You must be logged in to post a comment.

Thank you for this Hannukah project. I hope that you will feature a few more for the Jewish holidays.