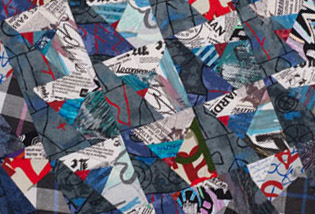
Little Art Quilts

One of my favorite things to do is to make little art quilts. Full of color and texture, these quilts are whatever I want them to be. There are few rules (if any) about the materials I use, the pattern I sew (what pattern?) or the way I put the parts and pieces all together. I love the fact that these types of quilts can be created using remnants and scraps . So visit your stash and choose from fabrics you love – you can even use scraps of batting!
Another thing that appeals to me is that I can work on these projects bit by bit, a few minutes at a time, and before I even know what it is I’m making. I grab a small piece of fabric, add batting, and do some quick quilting. Then, I throw it in a basket or box and wait until I’m in the mood to pull out a few quilted patches and put them all together. And, here’s the last thing I love about making these quilts. It forces me to be creative, using not only my fabric stash but the buttons, charms, trinkets, colorful papers and inks I have to make something beautiful!
Presser Feet
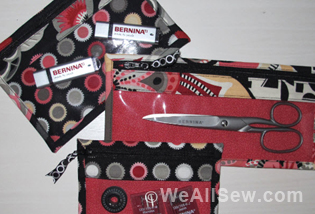
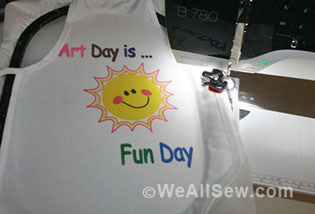
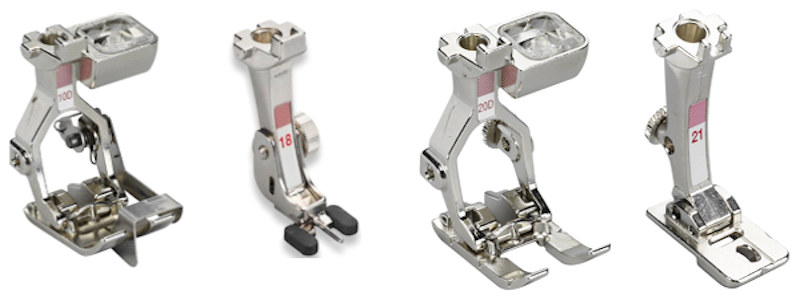
When making these little quilts, there are a few presser feet that I use over and over again: Edgestitch Foot #10/10C/10D, Button Sew-On Foot #18. Open Embroidery Foot #20/20C20D, and Braiding Foot #21. These are not the only feet you can use (remember, no rules!) but I seem to turn to these over and over again.
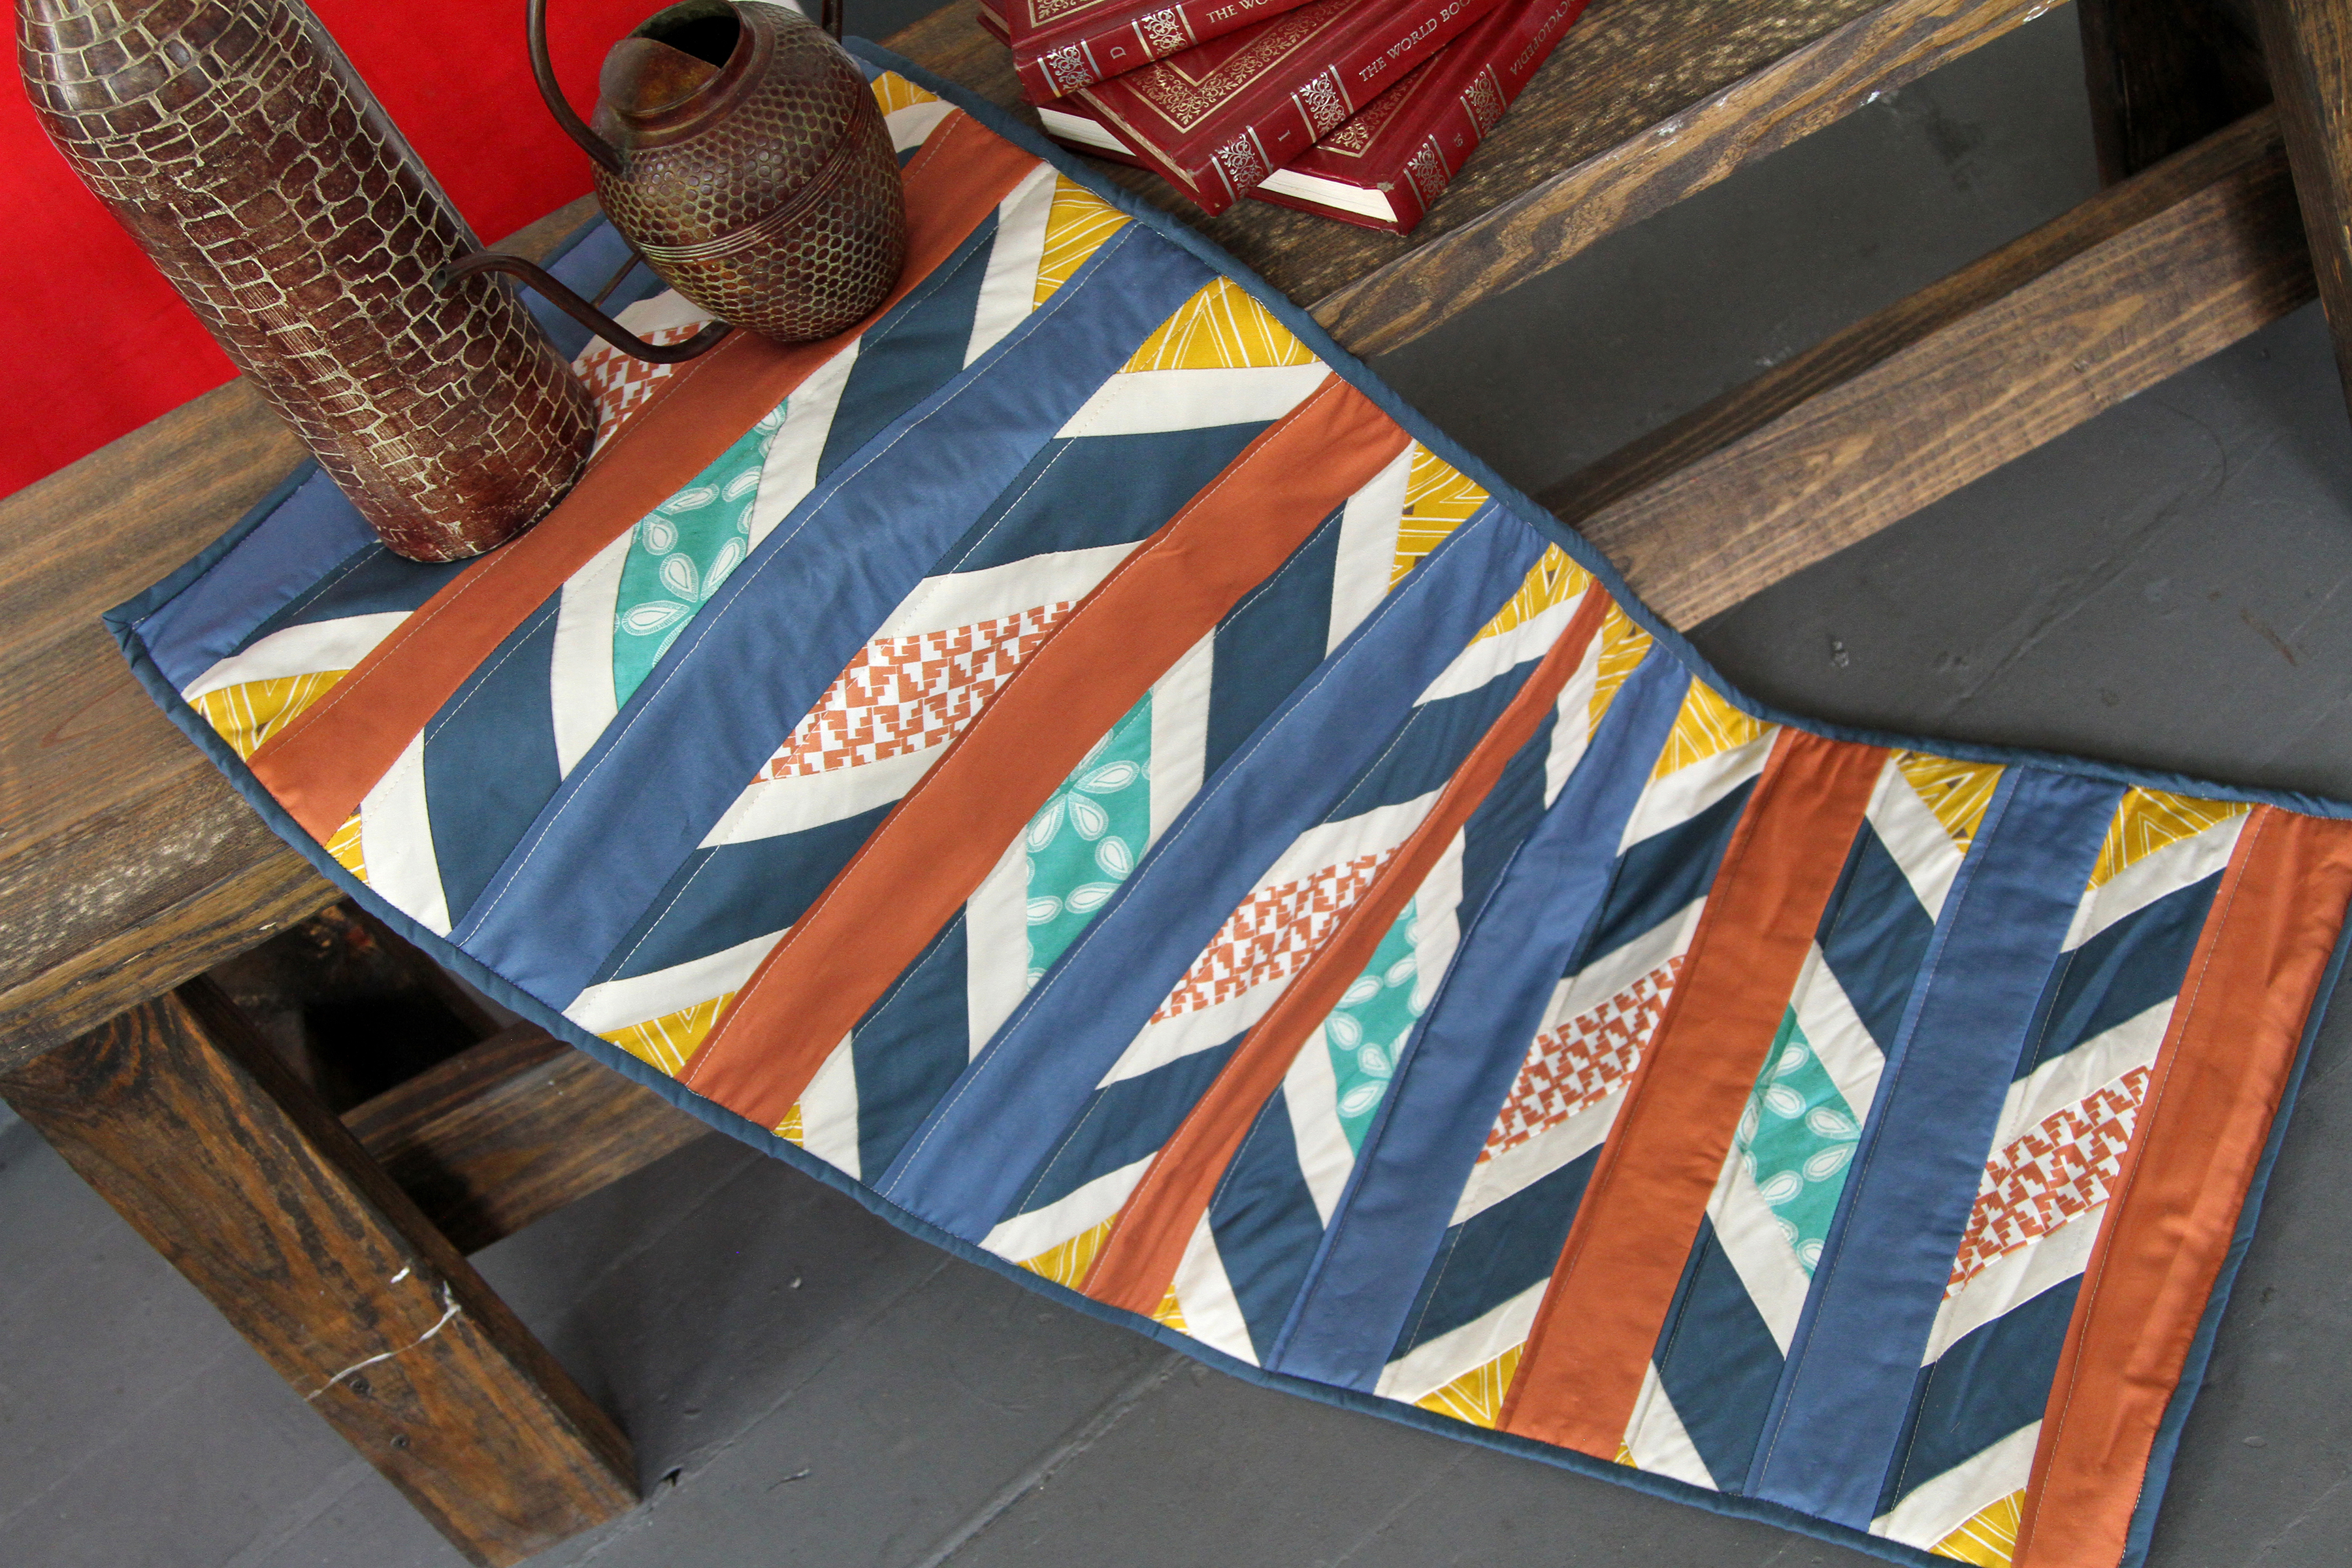
Pieceful Little Quilt
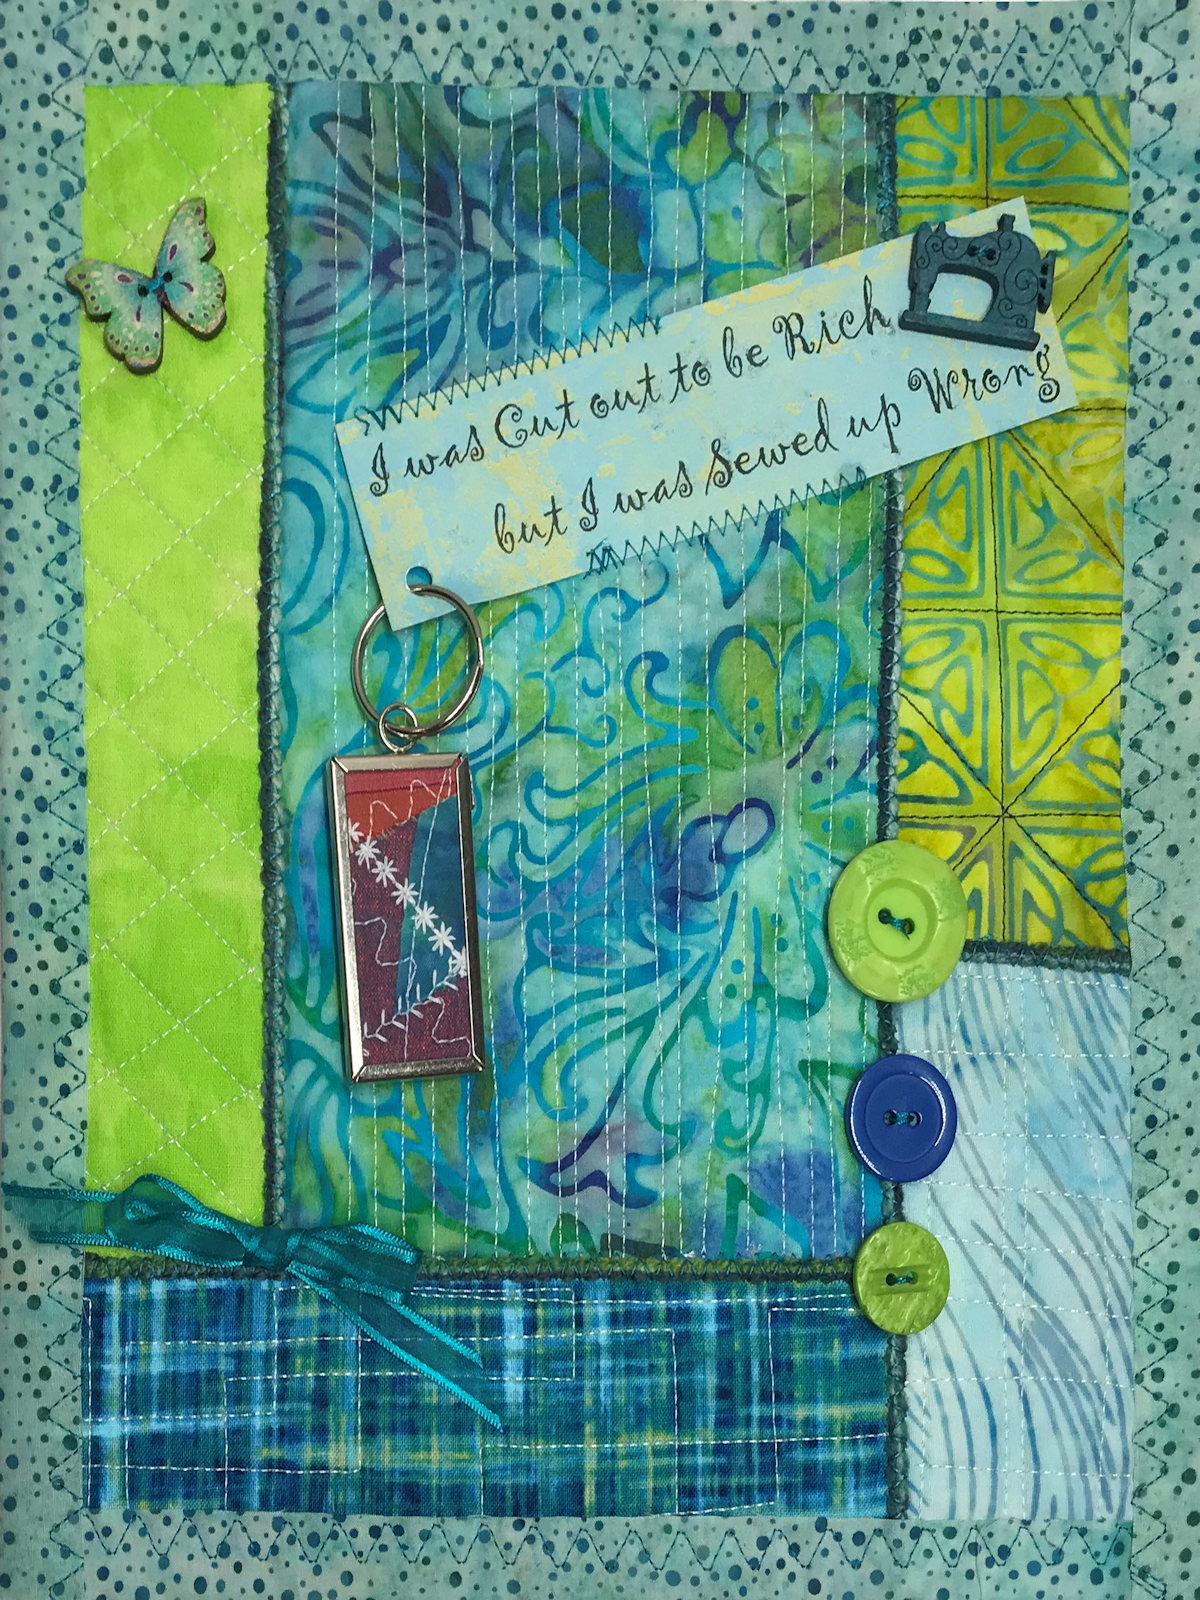
Here are directions for the latest little quilt I’ve added to my collections. Make one like it or use it as a jumping off point to create your own little work of art!
Materials for Pieceful Little Quilt
Five pieces of coordinating (or not) fabric. Look at the diagram that shows the finished cut size for each patch. Start with a scrap that is at least one inch larger on all sides. These will be trimmed to size after you have quilted them.
Five pieces of batting to match your fabric scrap pieces (not the finished cut size).
Backing fabric – I started with a 10” x 12” piece and trimmed it to match my quilt after it was pieced.
Binding strips: two, 1¼” x 10” and two, 1¼” x 12” – I know this is narrow for binding but trust me, I used a fun, fast binding method that works for these types of quilts.
About 1 yard of yarn (I used 2 pieces of a narrow yarn, so it took 2 yards); the yarn needs to cover the seam lines where the patches are joined.
Assorted buttons, charms, and trinkets – yours will vary from mine but that’s what makes it yours!

Quilting
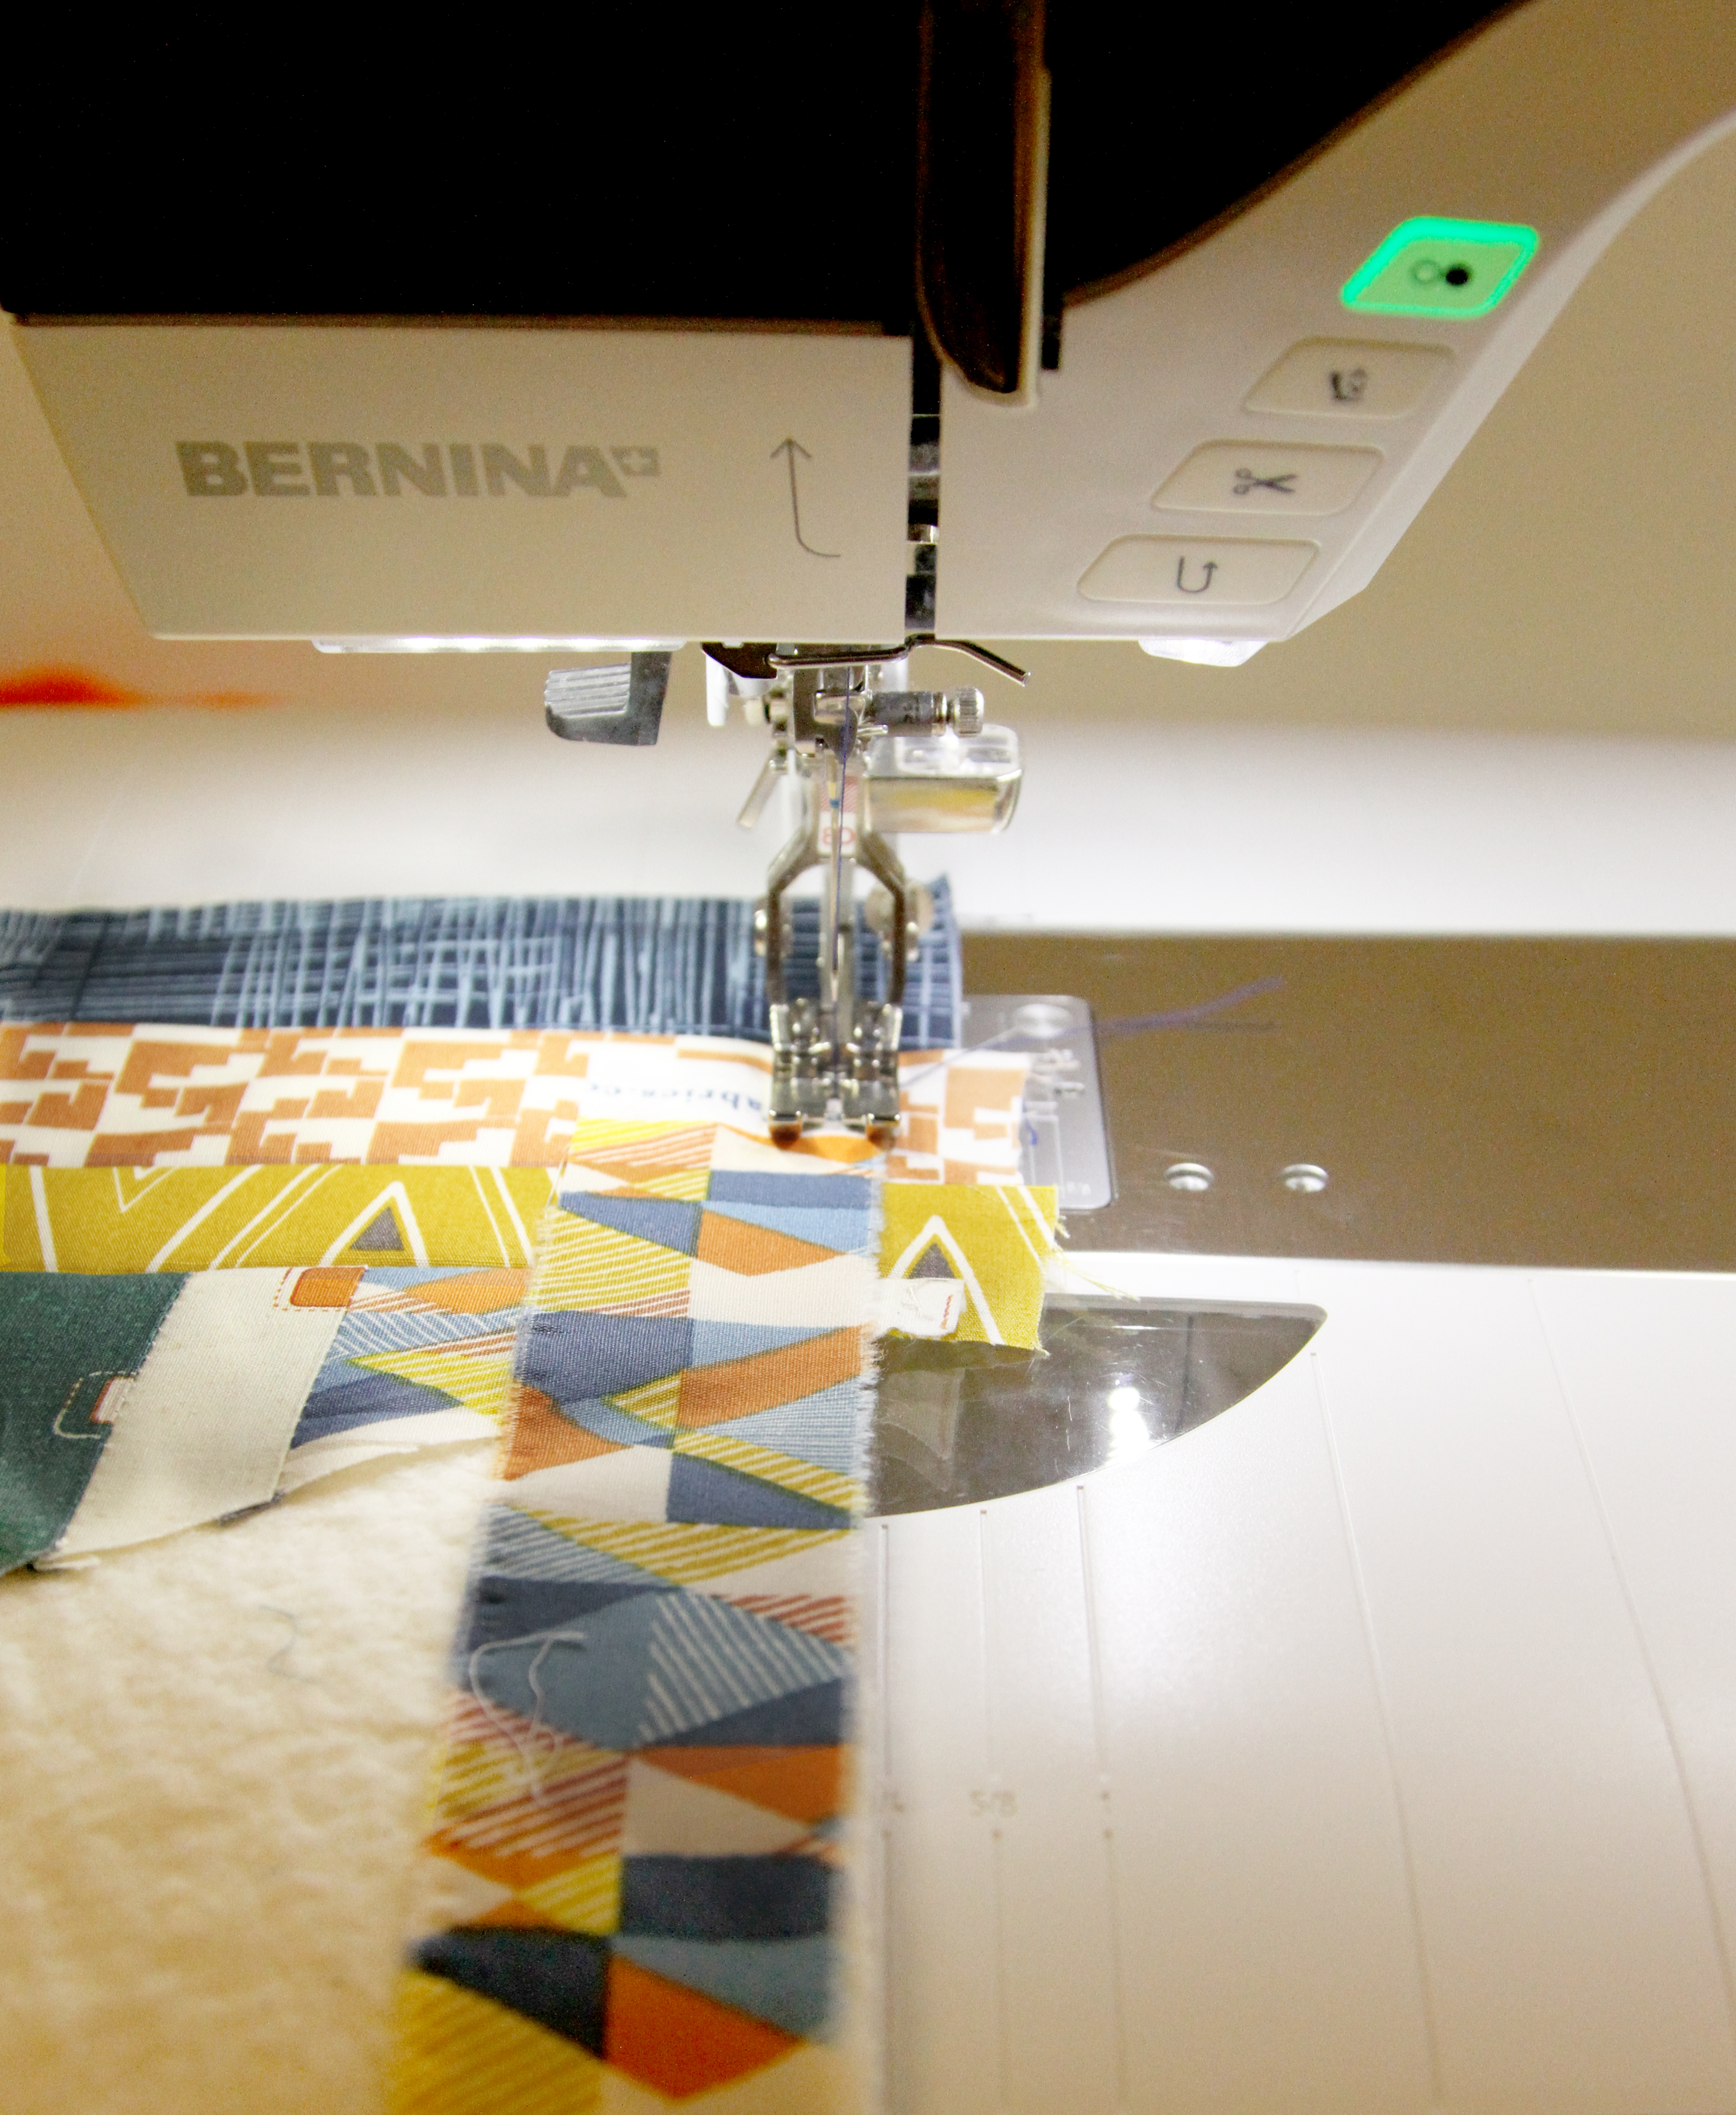
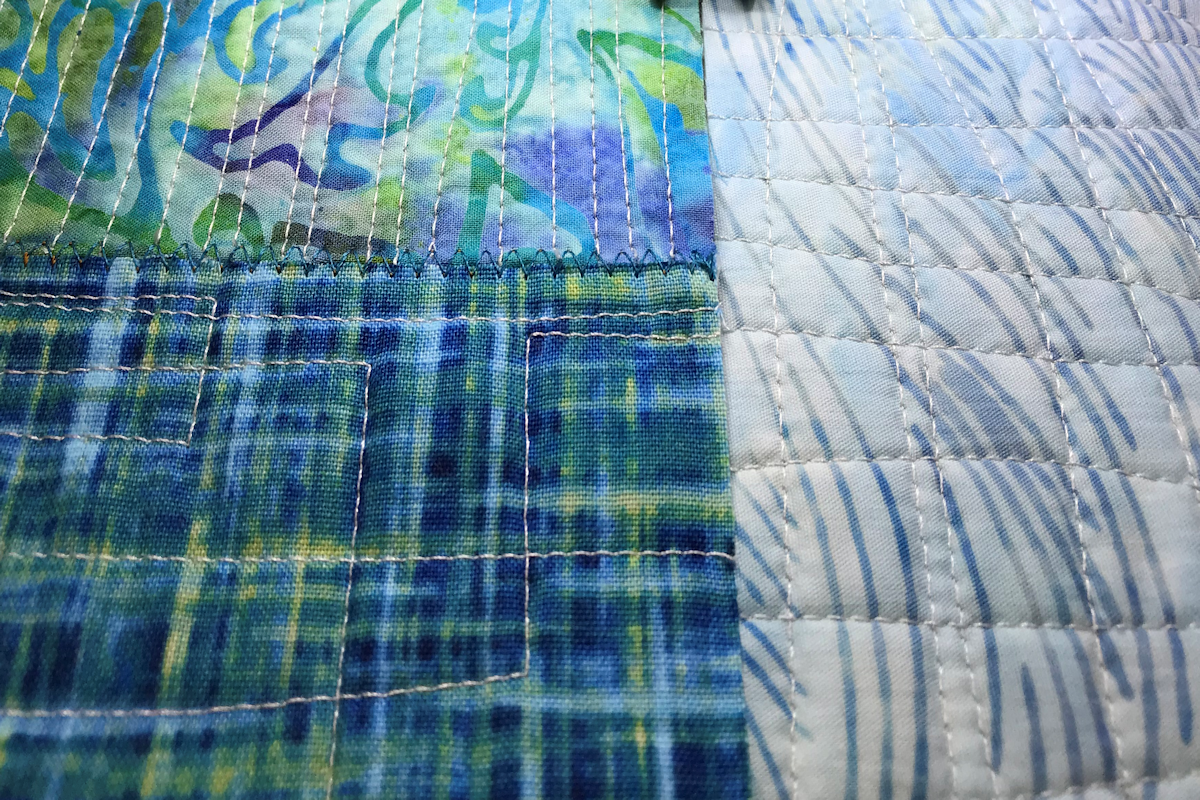
Attach Open Embroidery Foot #20/20C/20D to the machine. If the D foot is an available option for your machine, I would use it to keep the layers from slipping as you stitch. However, what you are doing with these little projects is not precise sewing, so it won’t be a problem in the finished quilt. Place batting behind the fabric and stitch, using a straight stitch and any pattern you choose. I like randomly placed vertical lines, wonky grids, and crosshatching. I also sometimes, follow the pattern of the fabric if it speaks to me. Trim each patch to the size shown on the diagram.
Joining
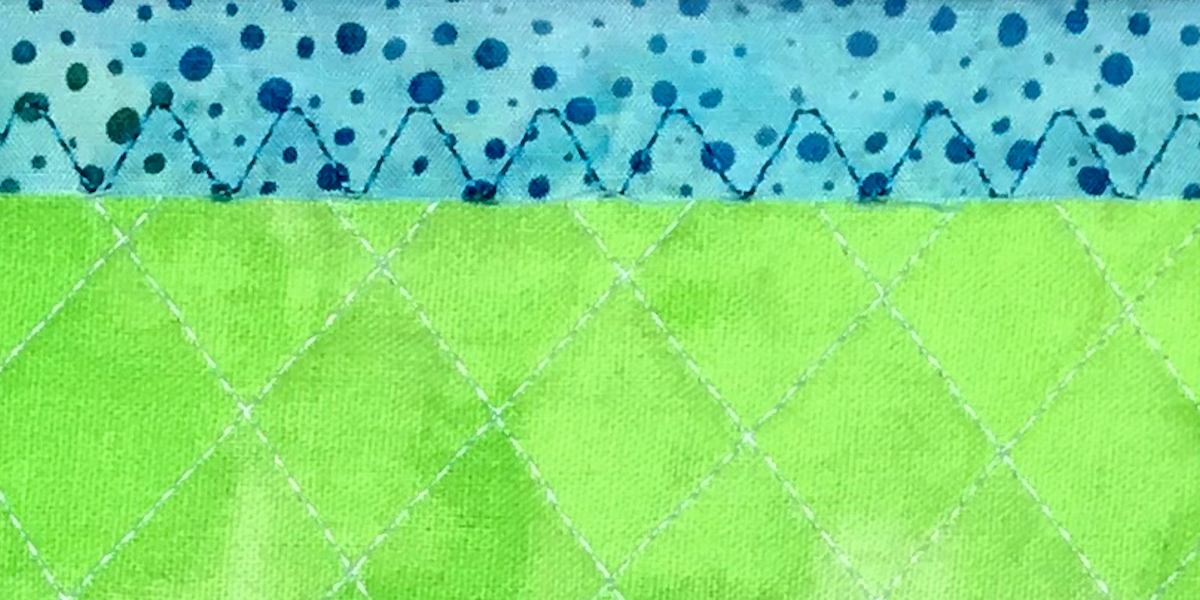
Attach Edgestitch Foot #10/10C/10D to the machine. The center guide of the foot is going to help you join the patches edge-to-edge – no seam allowances. Place Patch A to the left of the guide and Patch B on the right. Select the Zigzag stitch and adjust the length and width to 3-4mm. Stitch the two edges together. The guide will keep them from overlapping and the zigzag stitch should be stitching into one fabric on the left swing and the other one on the right. Add Patch D to the bottom of Patch A/B. Stitch Patches C and E together in the same manner. Add Patch C/E to Patch A/B/D. Square up the quilt if needed.

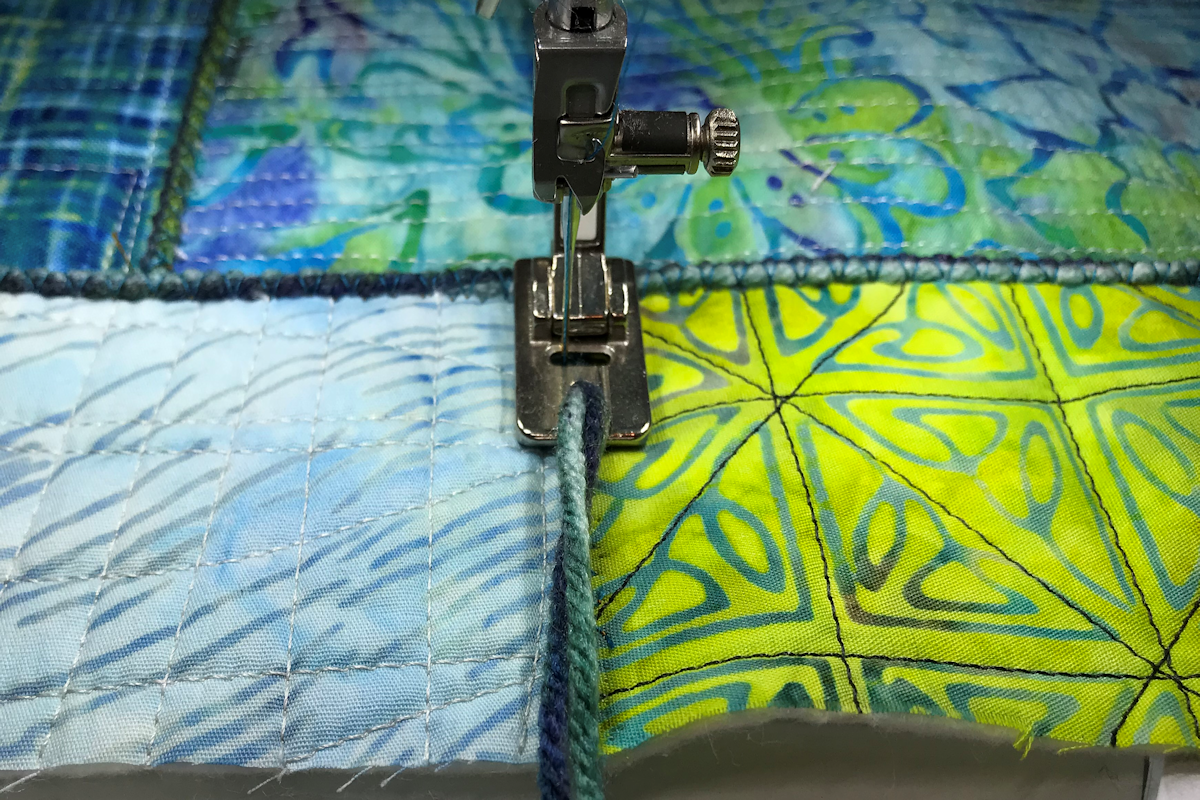
Couching
Attach Braiding Foot #21 to the machine. Feed the yarn (1 or 2 strands as needed) into the hole on the top of the sole, pulling a few inches under the foot and out the back. Select the Zigzag stitch and adjust the width to stitch on each side of the cord. Adjust the length as desired. Couch the yarn over the seam lines, starting with the shorter lines first to cover as many raw ends as possible with the longer ones.
Embellishing
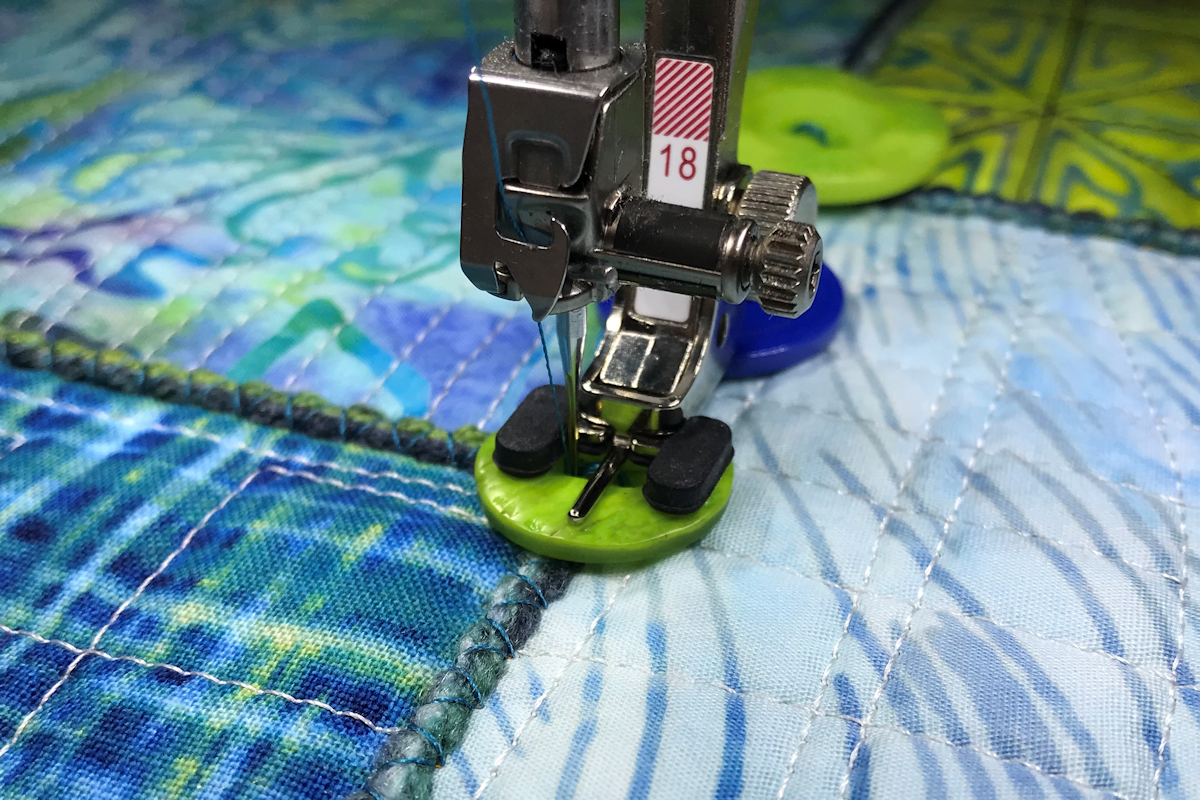
Pull out your buttons, charms, and trinkets and play with the layout of them on the quilt. I added a saying printed onto scrapbook cardstock. Keep in mind that you need to keep ½” – 1” clear around the edges to allow for the binding. Once you have decided where things go, attach them as desired, stitching the buttons using Button Sew-On Foot #18. Click here to see how.
Backing
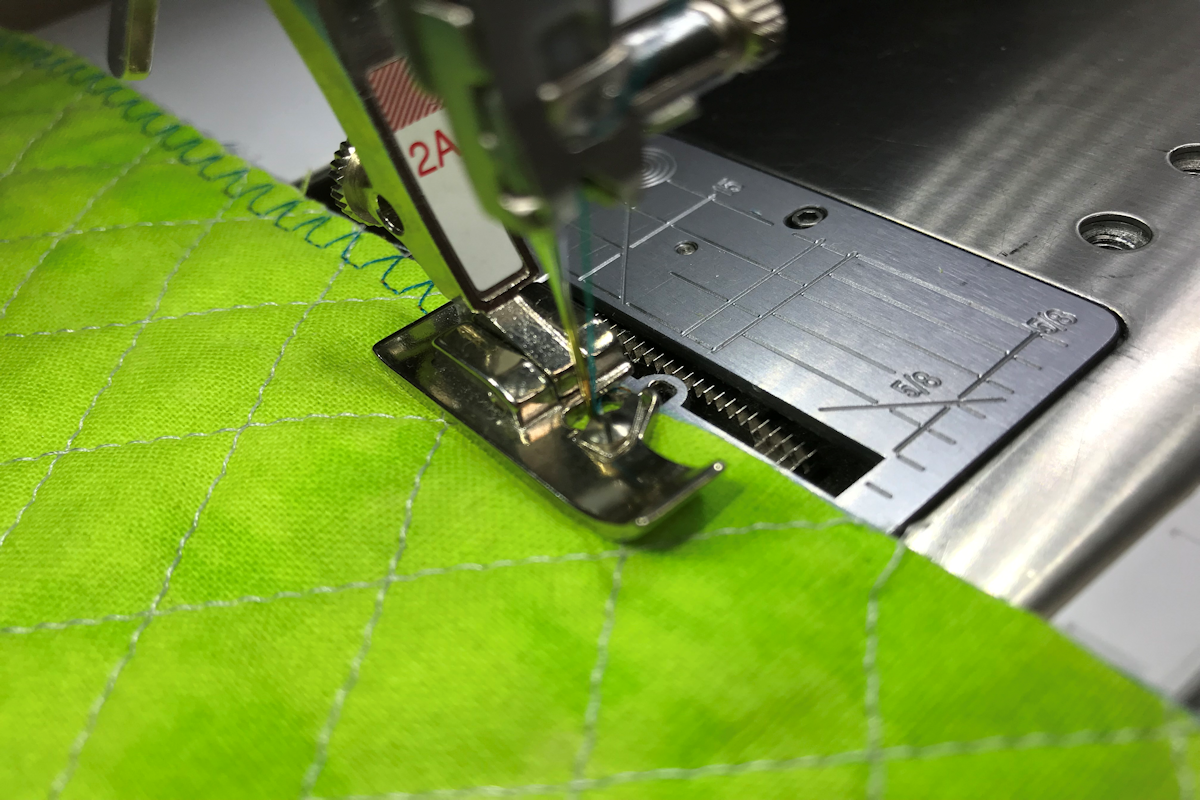
Trim the backing to fit the quilt and place it on the back with the wrong side facing the batting. Use temporary spray adhesive or clips to hold it in place. Attach Overlock Foot #2/2A to the machine. Select the Overlock stitch (Stitch #3 on most current BERNINA models). Position the quilt under the foot, aligning the pin on the foot on the raw edge. Stitch along all four edges to “seal” them in preparation for the binding.
Binding
I finished the edges of the quilt with simple raw-edge binding. It happens all in one step and it’s foolproof – just the right finish for this “no rules” project. Fold each binding strip in half lengthwise and press. Sandwich the edge of the quilt between the folded binding strip, making sure the edge is fully into the fold. Clip or pin to hold the binding in place. Using Open Embroidery Foot #20/20C/20D, stitch on the binding using the Running stitch (Stitch #4 on most current BERNINA models). Adjust the stitch length to 3-4 mm.
For more information about the BERNINA presser feet used in this post, see The Big Book of Feet, available at your loca BERNINA Store.

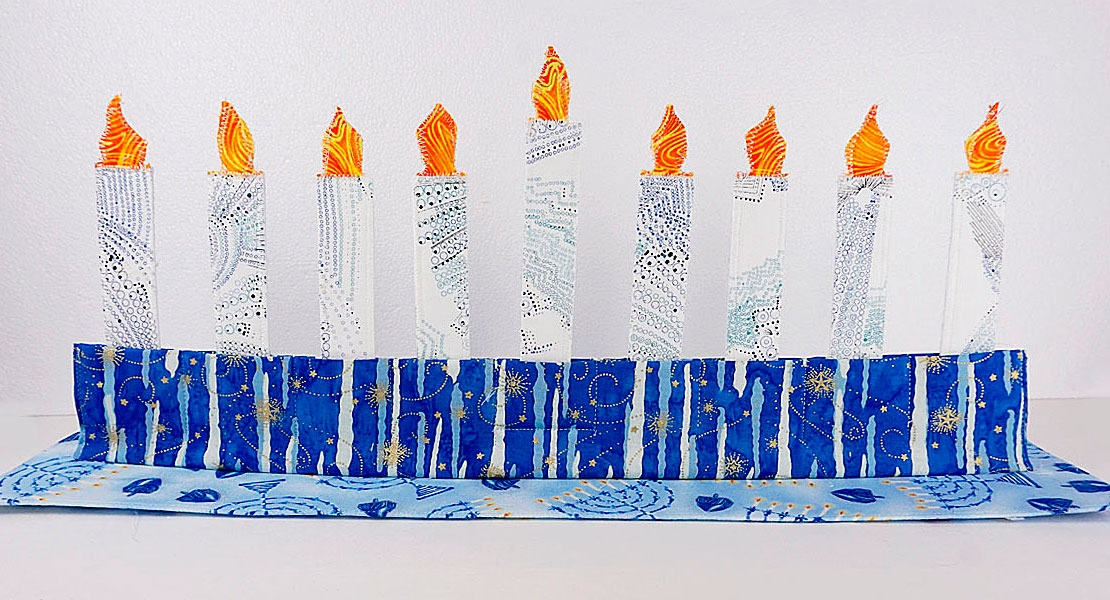
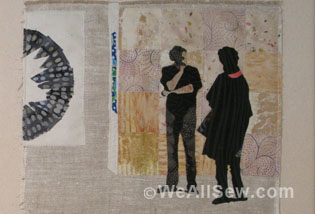
For more fun with art quilts, check out these inspiring posts:
How to Use Zippers as Embellishments in Art Quilts
Sylvia Einstein Quilts at ArtQuilt Gallery NYC