How to Use Zippers as Embellishments in Art Quilts
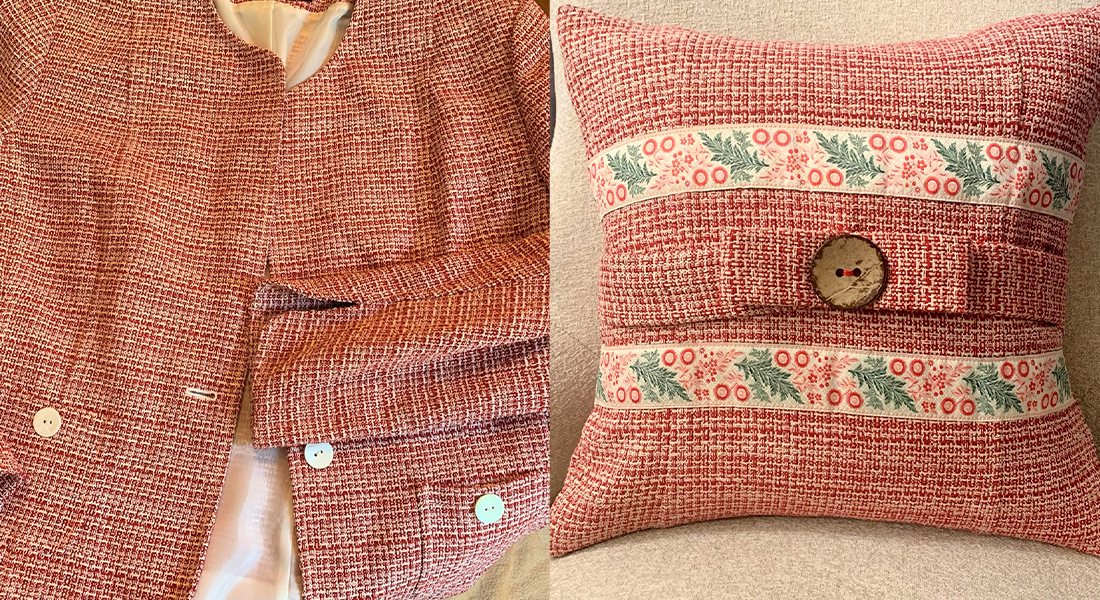
You know I love zipper trim, so you can imagine how thrilled I was when “rebel quilter” Jamie Fingal sent in this tutorial for using zippers for art quilt embellishments. These techniques would also be super for home dec and garment projects such as pillows and jackets/coats. Enjoy! Jo
Zippers started appearing in my work in 2007, and now they have become part of my signature style. I like the shiny silver teeth and zipper pull. I think they add interest and texture to my pieces. I have two techniques to share with you: 1) sewing with zipper trim, and 2) inserting a zipper into an art quilt.
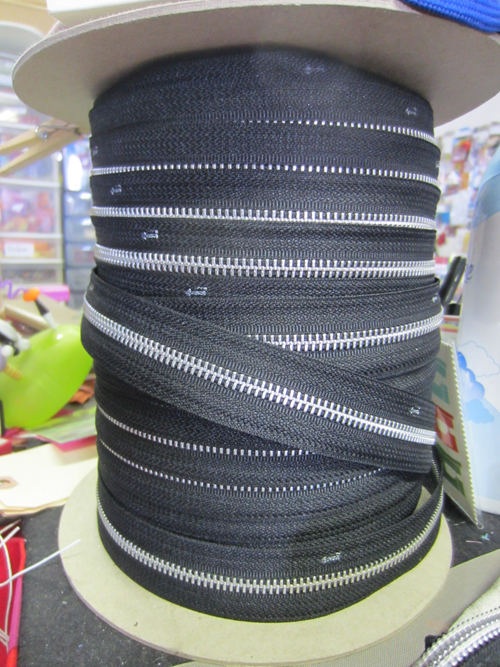
Enter zipper trim. I bought a bolt of this some years back. I’ve made a dent in the 150 yards. I pull it apart to use in my art quilts as a trim or embellishment.
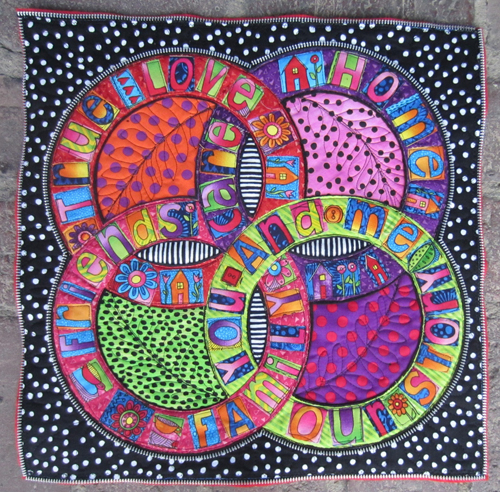
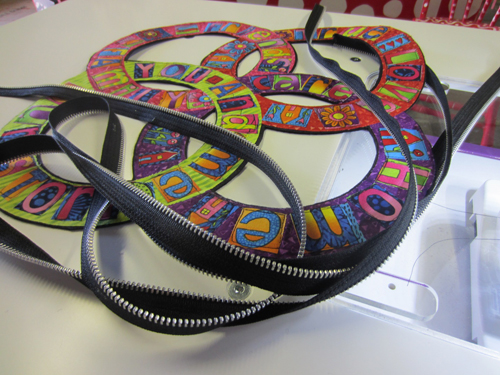
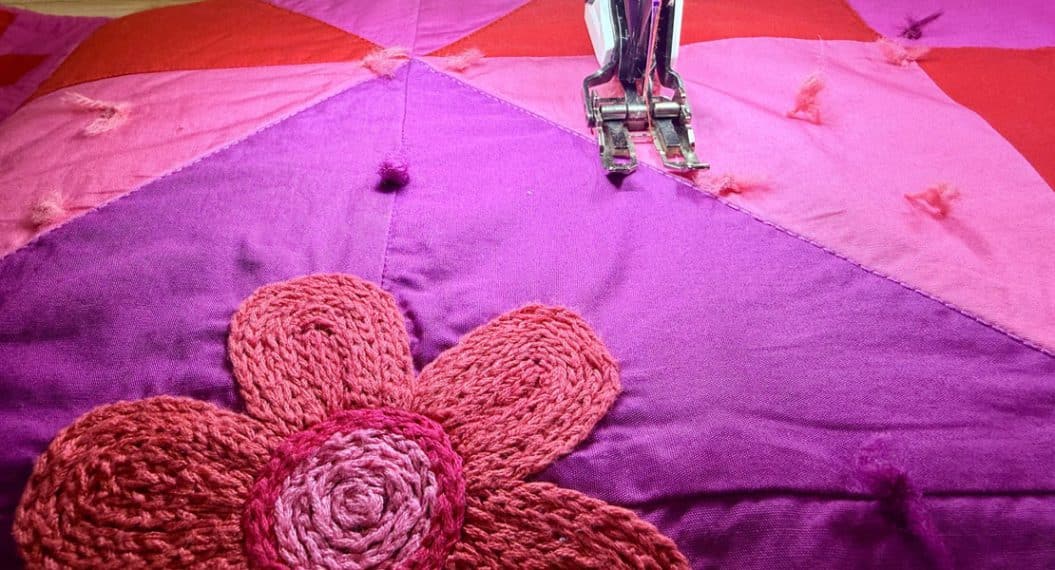
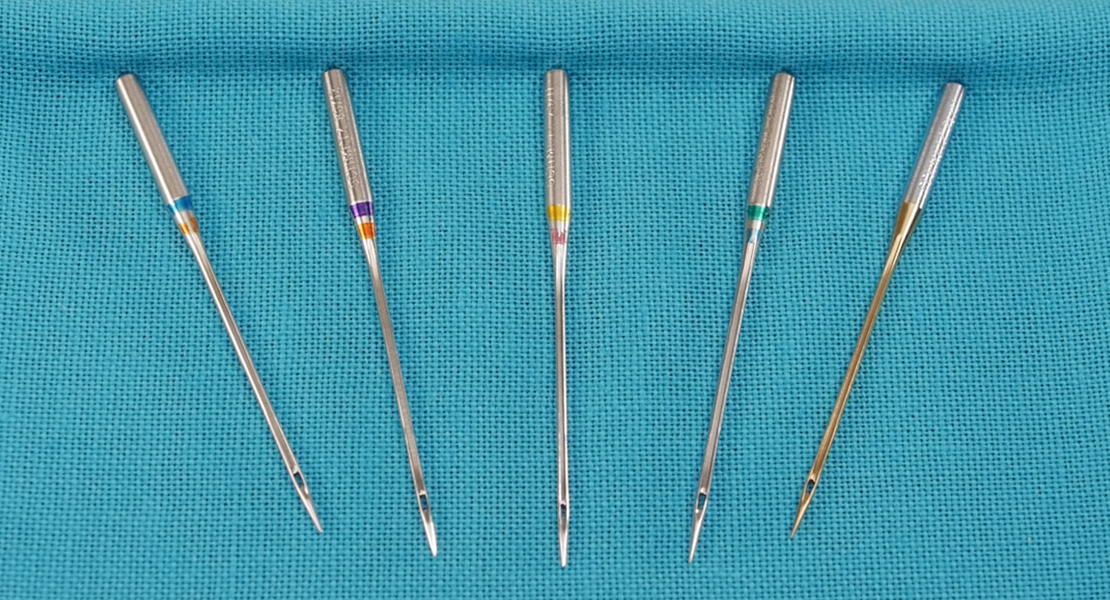
This is my project. My version of a double wedding ring quilt. These are just the rings, and I want to add zipper trim to the outer edges. Just so you know, the fabric is fused to wool-blended felt to give it stability. I use a Topstitch needle. All of my quilts are made using black wool-blended felt (35% wool) as the foundation and then backed with a coordinating color of wool-blended felt for the backing. I don’t use batting and I don’t do binding. Call me “the Rebel Quilter.”
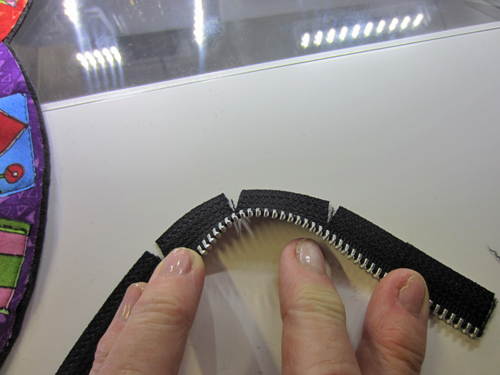
The first thing that I do is cut slits in the twill tape portion of the zipper. This will allow me to sew easily around curves, and the zipper won’t bunch up.
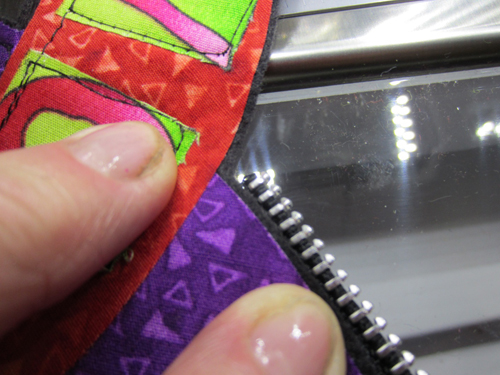
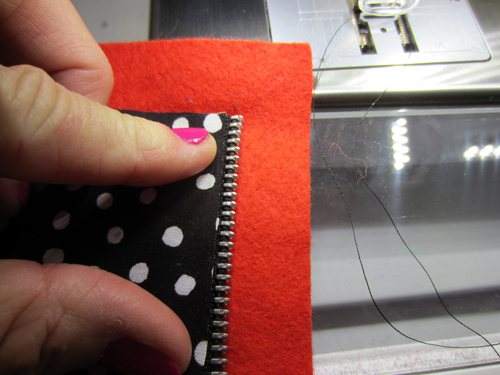
I take this to the machine and carefully place the zipper trim underneath the edge of the fabric. I don’t have it right up to the corner, because when I come around to the end, I will want the other zipper end to fit into that spot. You can pin the zipper trim into place if you so desire. I anchor my beginning stitches when I start sewing.
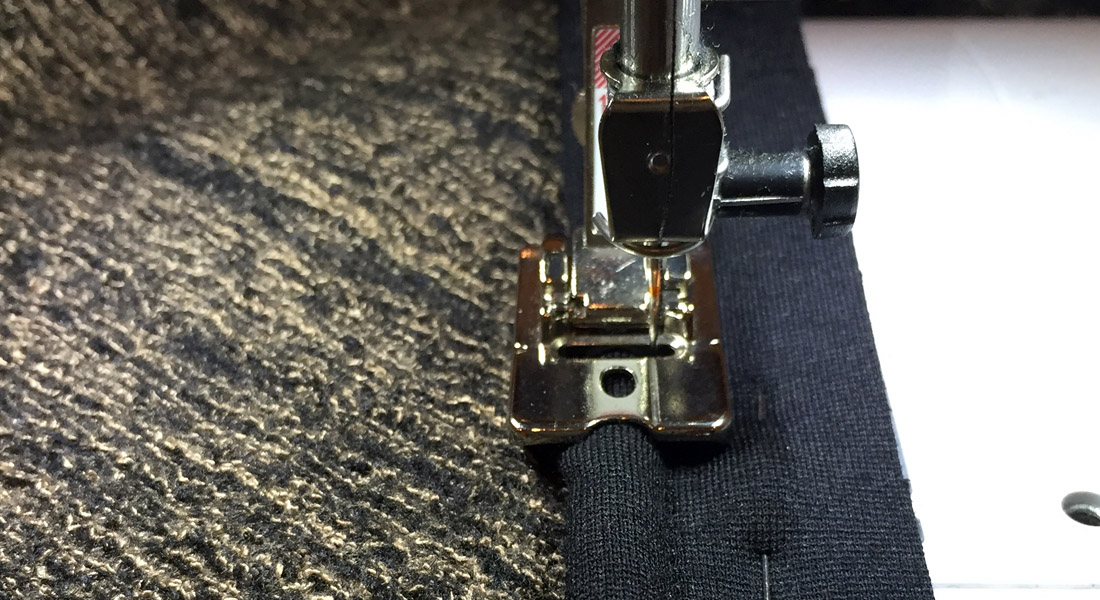
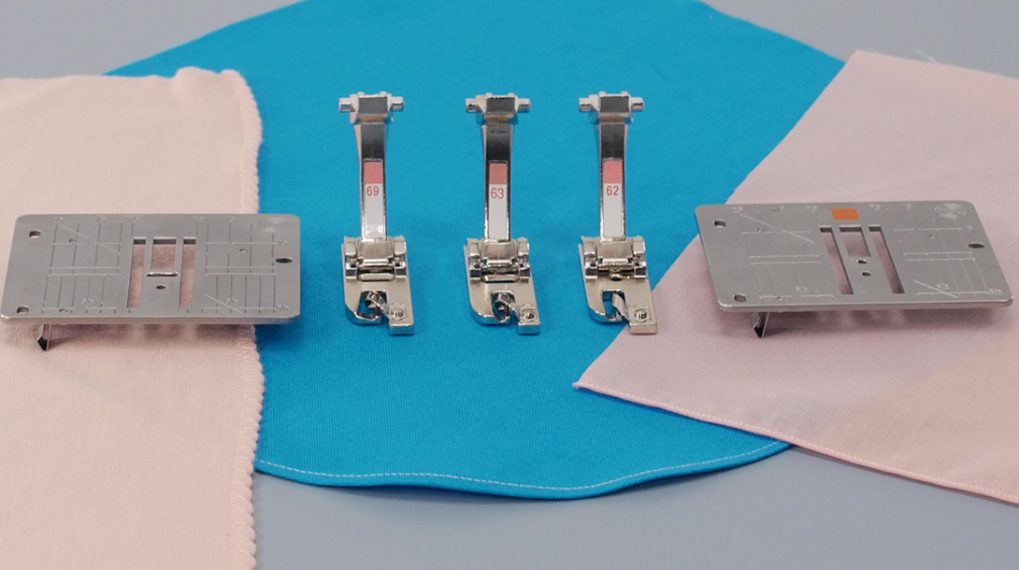
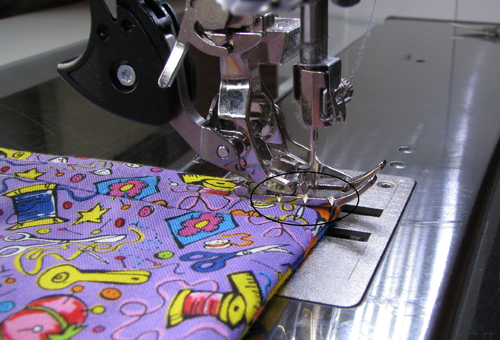
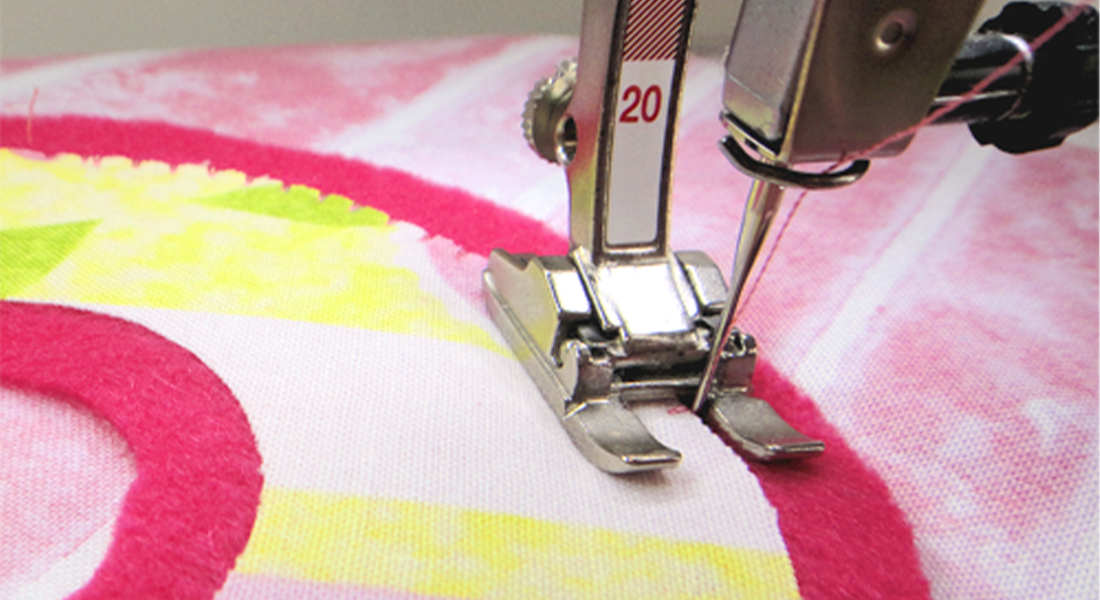
Walk on the wild side, and sew this with a clear free-motion foot such as Freehand Quilting Foot #29/29C. My reasoning is that I can see exactly where I am going, and the foot doesn’t interfere with the zipper. Sometimes I use a zipper foot, but most times I use this foot. I use a straight stitch and 40-weight polyester thread.
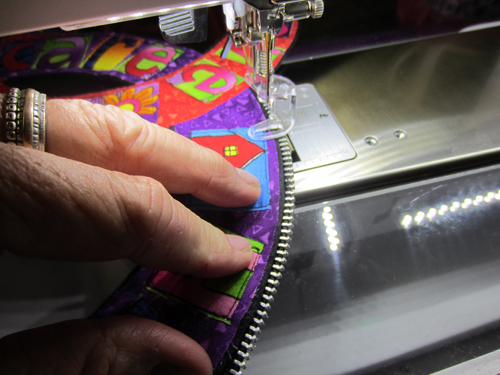
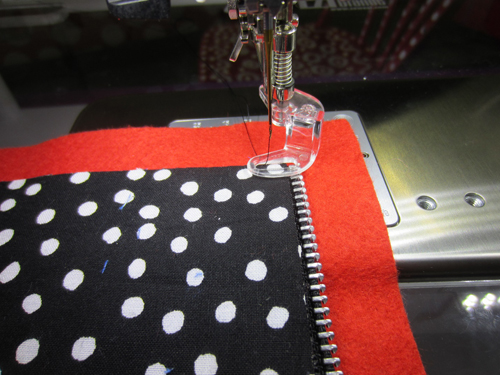
As I come to the end of this section, I am holding the fabric in place with my left hand and carefully sewing the zipper trim into place, being careful to not let the needle come in contact with the aluminum teeth of the zipper.
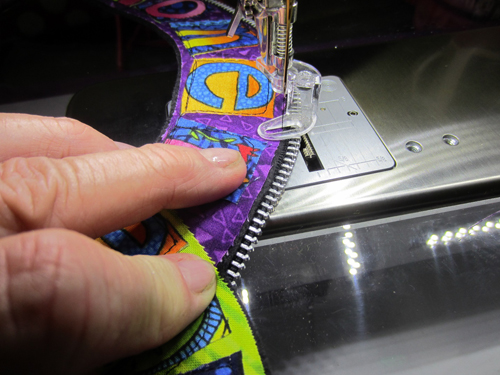
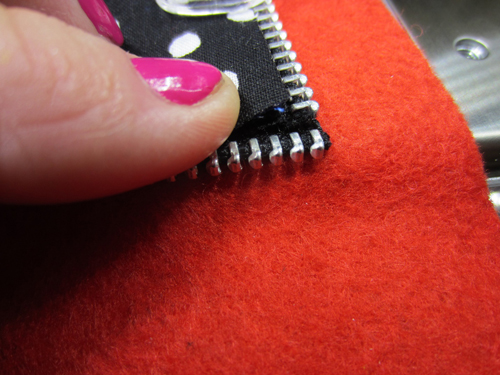
Here we come to the tricky part. I put my needle down and carefully cut the zipper trim so it will fit in the right place, allowing room for the next trim at the corner.

As I get closer to the end of one section, I take the next zipper and place it under the one that I am sewing to secure it into place. I make some anchor stitches at the end and the beginning of the next trimmed section. My goal is to have the trim meet up in the corner. It won’t be perfect, but it will be close. The aluminum portion of the zipper is a bit of a challenge to work with.
After all of the zipper trim is sewn onto the double wedding rings, I carefully press it with a dry iron on the cotton setting.

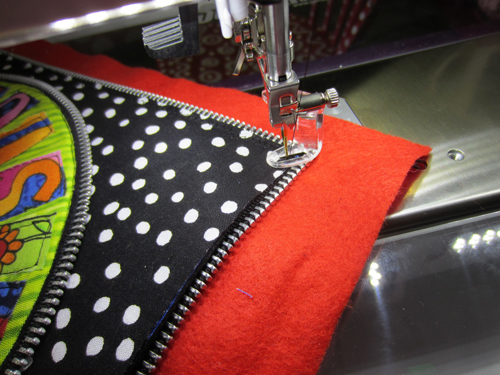
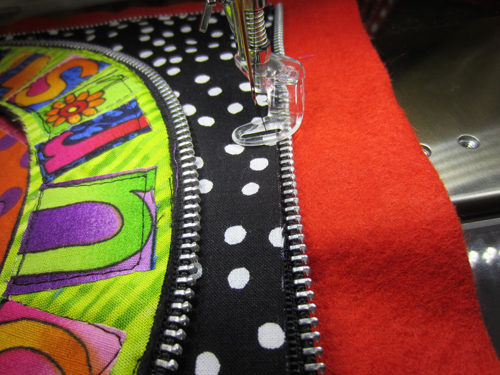
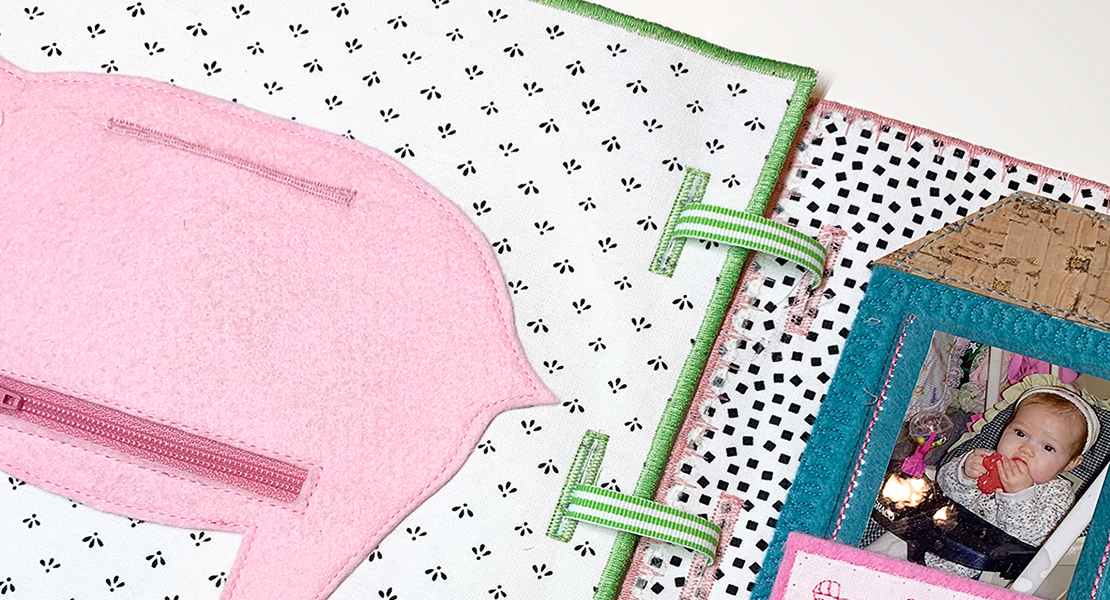
Now, for the edging of the quilt, I add some more zipper trim to bring it all together. I carefully place the zipper trim (I did not cut the slits on the bias tape for this) under the fabric. This also has wool-blended felt underneath the black and white polka dot. The red wool-blended felt is the backing. You can pin this in place.
First, begin sewing about 1/4″ down, using a straight stitch and a free-motion foot. Starting just a little lower allows room for the zipper trim at the end.
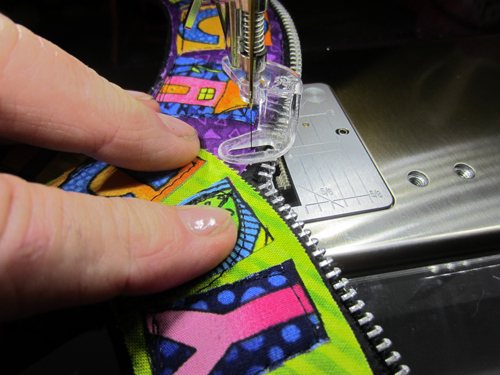
Before I get to the end, I stop with about an inch to go, put my needle down, and carefully place the next length of zipper trim behind the current one. I carefully slip it into place for it to be sewn down.
Sew around the edge. I anchor my stitches at both of these points for security.
As I sew the zipper trim into place, I make sure that it is in place further down, where I will sew next. I give it a little nudge with my hand before it goes under the needle.
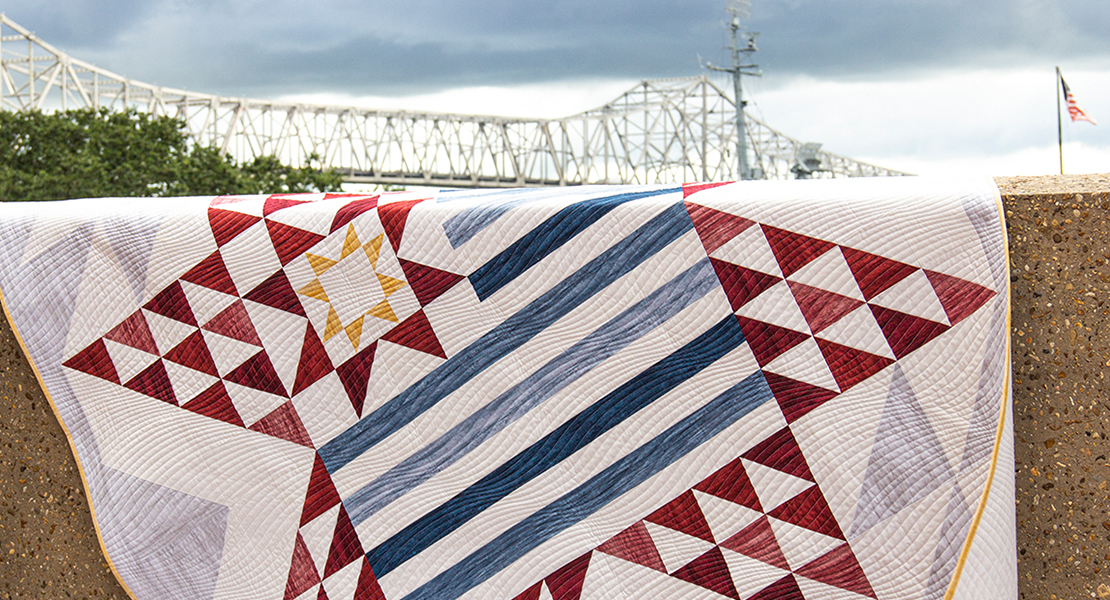
And this is how it looks finished. 16″ x 16″ Double Wedding Ring – Jamie style. “True Love” 2014.
Inserting a Zipper
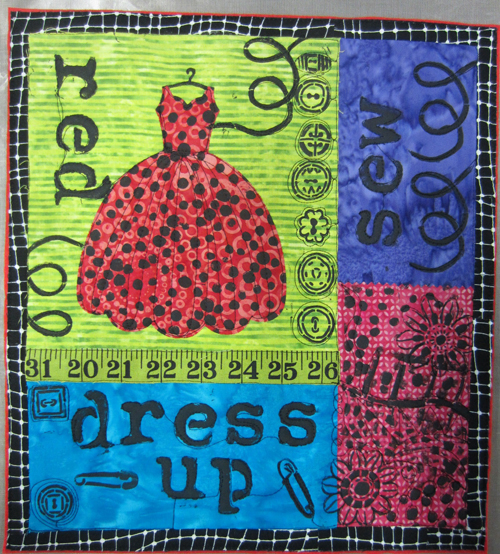
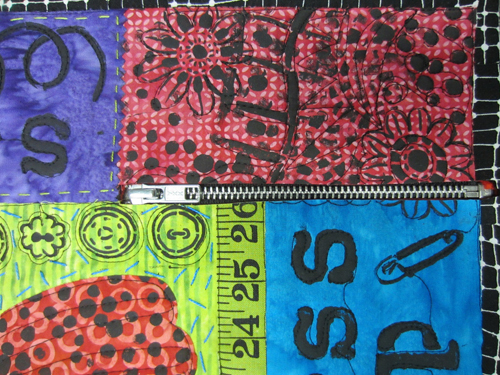
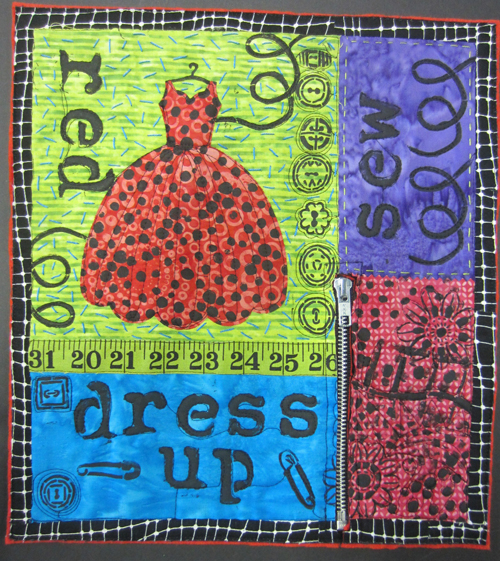
I have this small art quilt that I made with a Sizzix die (the dress) and stencils by StencilGirl Products, and I think a zipper would be fun to insert somewhere on this piece!
I found this zipper in my stash. It’s about six inches or so in length, and I think it would fit nicely into this section of the quilt.
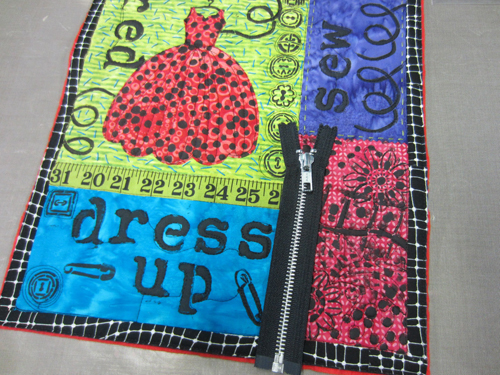
After measuring the zipper from zipper pull to the metal part where it ends, I cut a 1/4″ slit in the quilt. I left a small portion on the bottom edge to cover the end of the zipper, because I don’t want it to show.
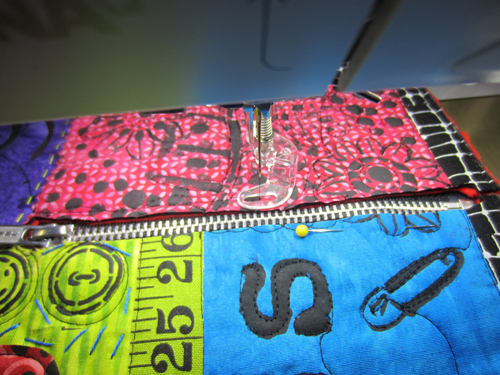
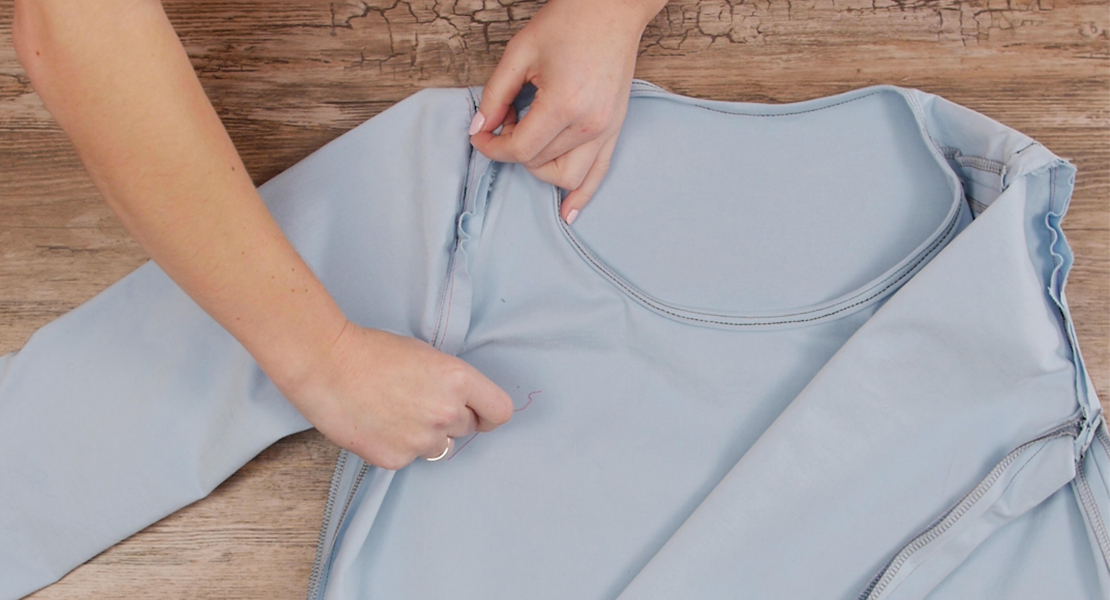
The zipper tucks into the slit very easily. Now I am ready to sew it into place!
This is the sideways view, using the free-motion foot and sewing the zipper into place with a straight stitch.
I am super-careful not to let the needle come in contact with the metal parts of the zipper. I sew completely around the zipper pull on the top portion.
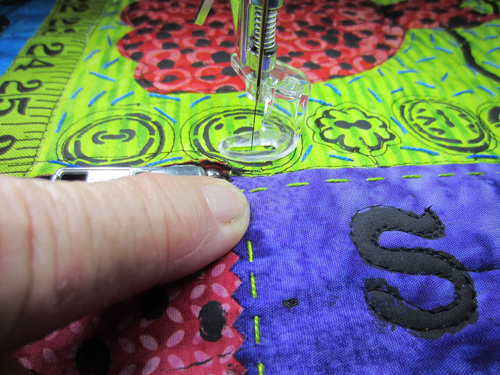
Sometimes moving the zipper pull up or down makes it to easier to stitch the zipper into place.
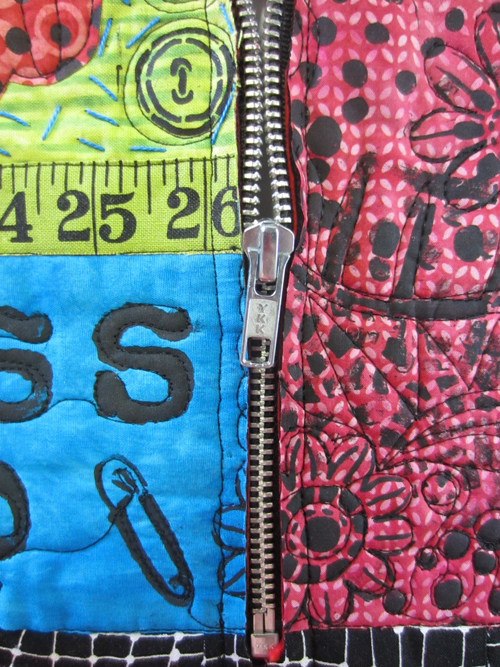
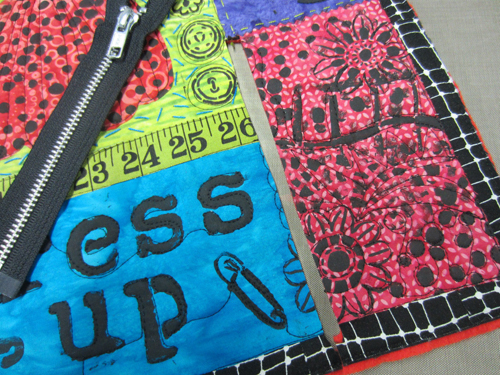
Finished. I think it looks even better with the zipper! “Dress Up” 12″ x 13″
Visit Jamie at her blog, Twisted Sister, at JamieFingleDesigns.com.


3 comments on “How to Use Zippers as Embellishments in Art Quilts”
Wow – t his was a great tutorial – I tried it on the weekend and put a zipper outline on two circles I was doing. It worked out very well!!! Thanks!!!