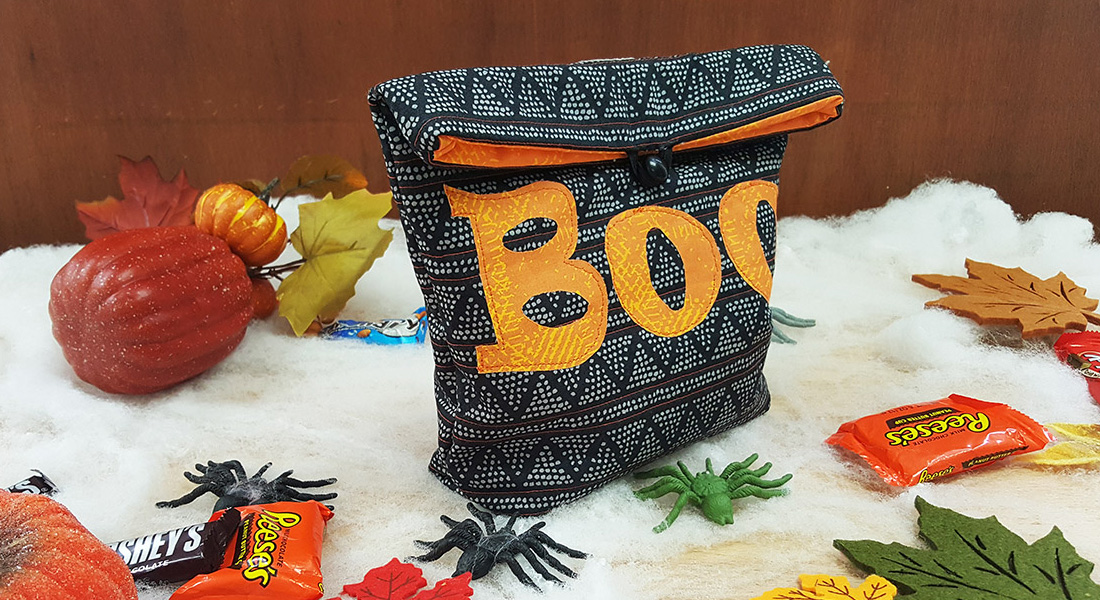
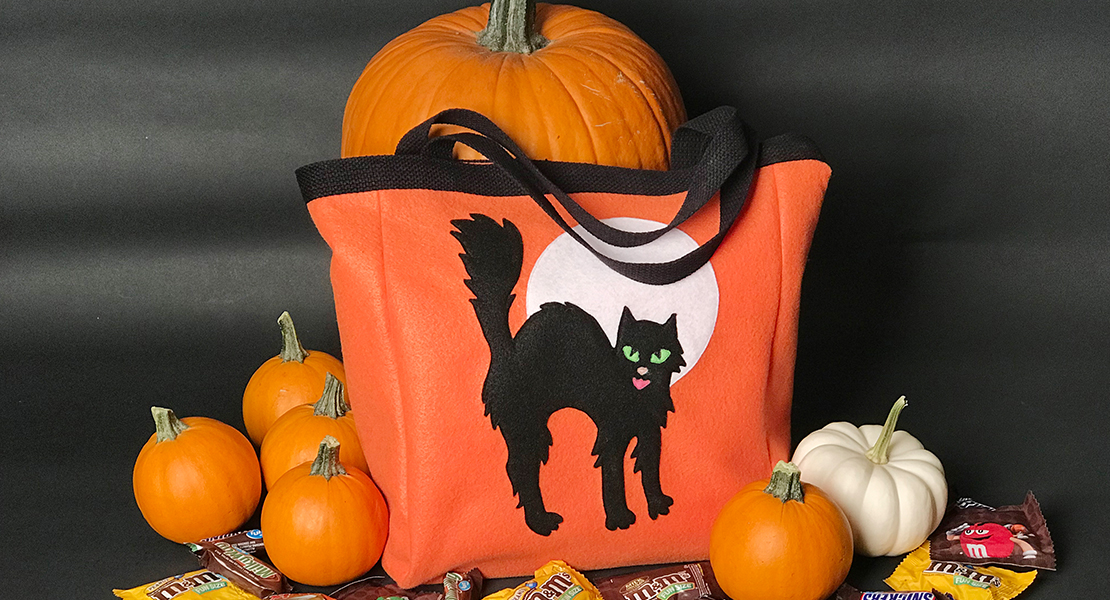
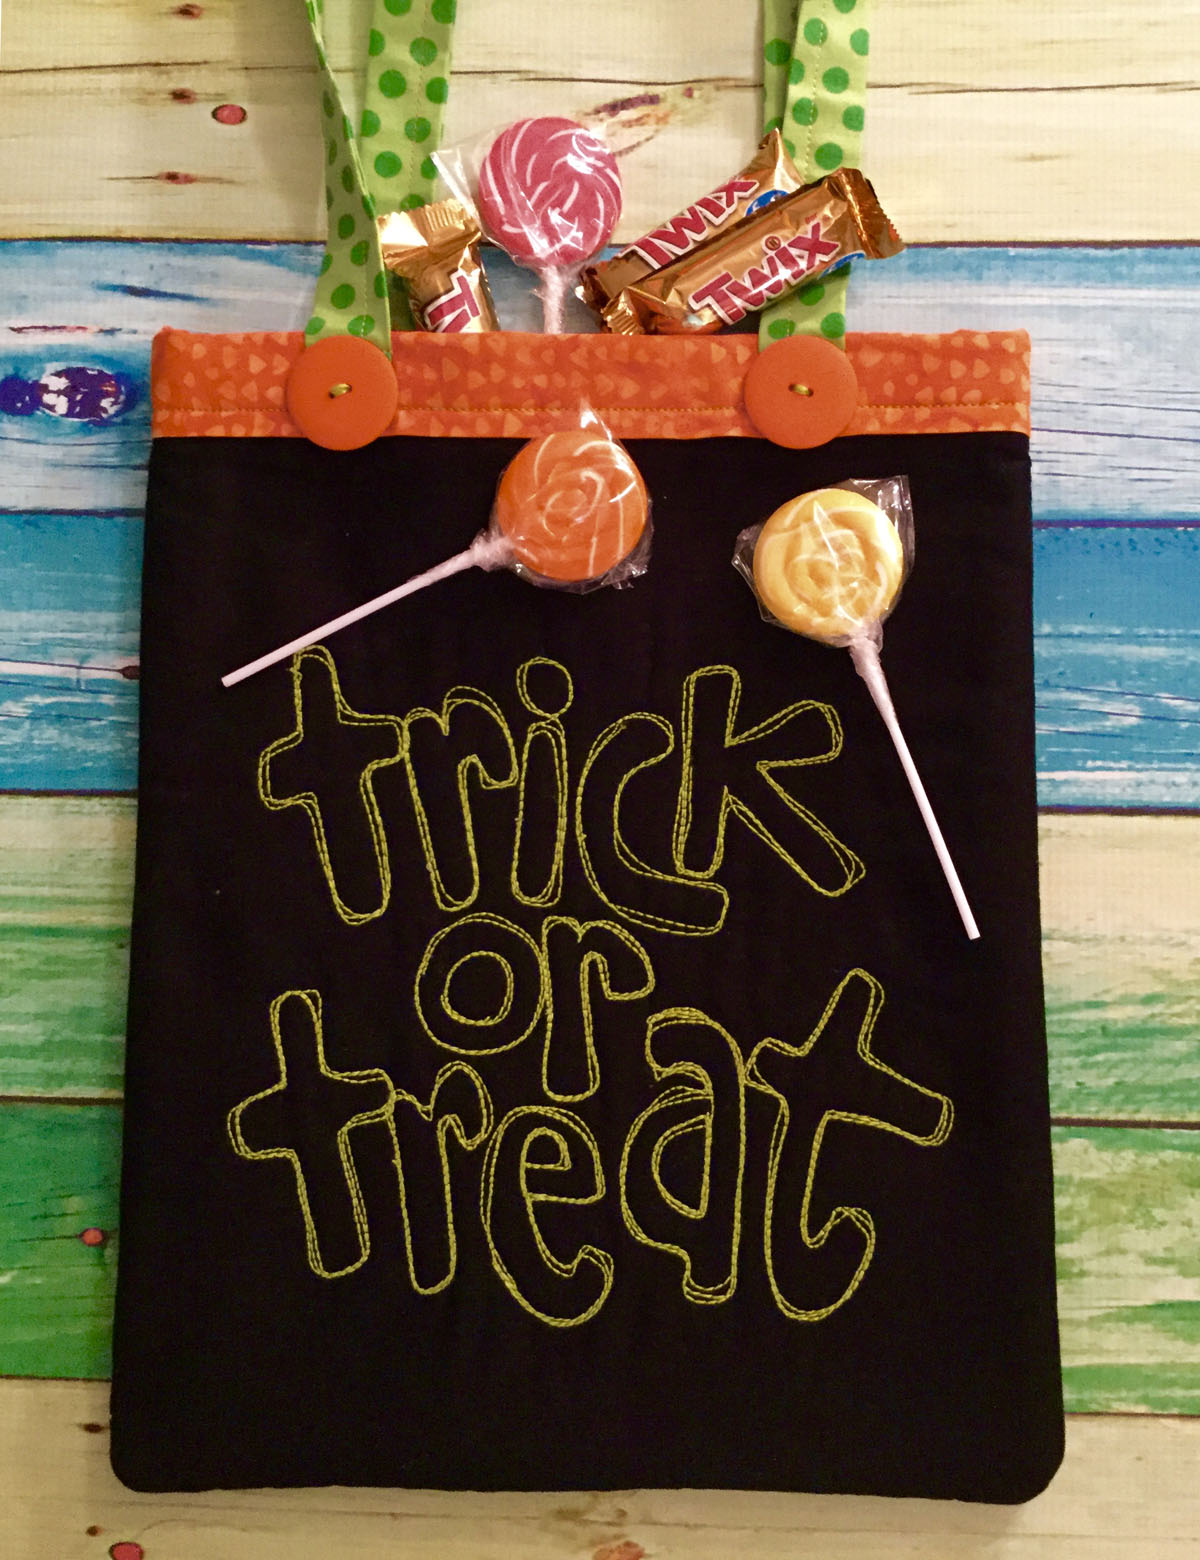
Little Jack Trick-or-Treat Bag
I welcome every opportunity to “draw” with my BERNINA 790 to make my art and lettering come to life in fabric and threads. This Halloween, create a whimsical goody bag for trick or treaters using simple sketches and personalized artwork. Make it even more special one of a kind work of art by having your favorite children provide the artwork right on the front and back of the bag. A loose, playful sketch of a pumpkin face becomes “Little Jack” ready to announce “trick or treat”! The free-motion sewn artwork pops off the black background with loose thread sketching and transforming personal handwriting into a stitched message.
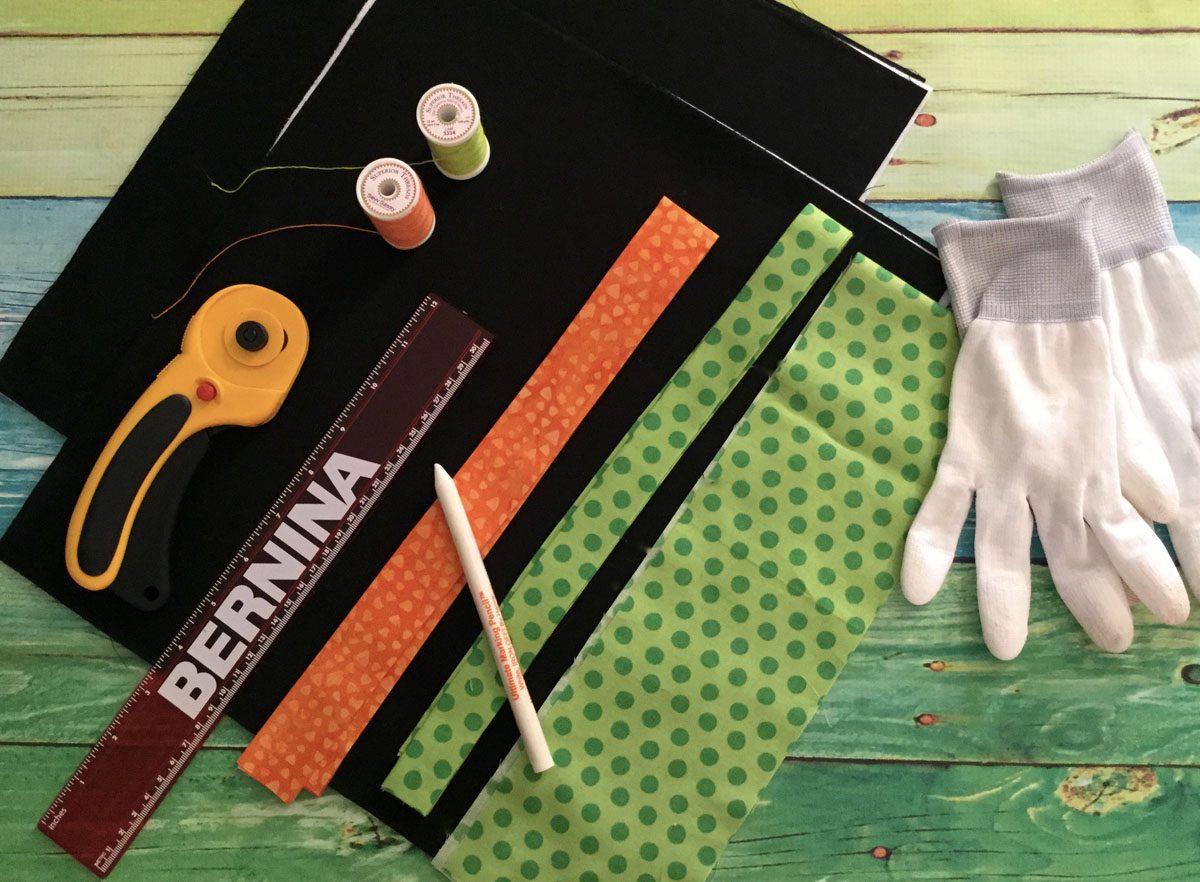
Materials to make a Little Jack Trick or Treat Sack
To make a 12″ x 14″ tote with handles:
- Black Kona cotton (2-13″ x 15″ rectangles), orange (6″ x 26″) and lime green (4″ x 14″) contrasting fabrics
- Liner fabric (2-13″ x 15″ rectangles)
- 12wt cotton thread-orange and lime green
- 60wt bobbin thread
- #100/16 machine needle
- BERNINA Stitch Regulator (or favorite foot for free-motion quilting)
- Reverse pattern foot #1D with Dual Feed (or use Walking foot #50)
- fusible fleece (2-13″ x 15″ rectangles)
- fusible webbing (2-13″ x 15″ rectangles)
- Rotary cutter
- Ruler
- White erasable marking pencil
- Decorative buttons
- Quilting gloves (optional)
Have an extra quilt sandwich handy to practice your drawing and stitching.
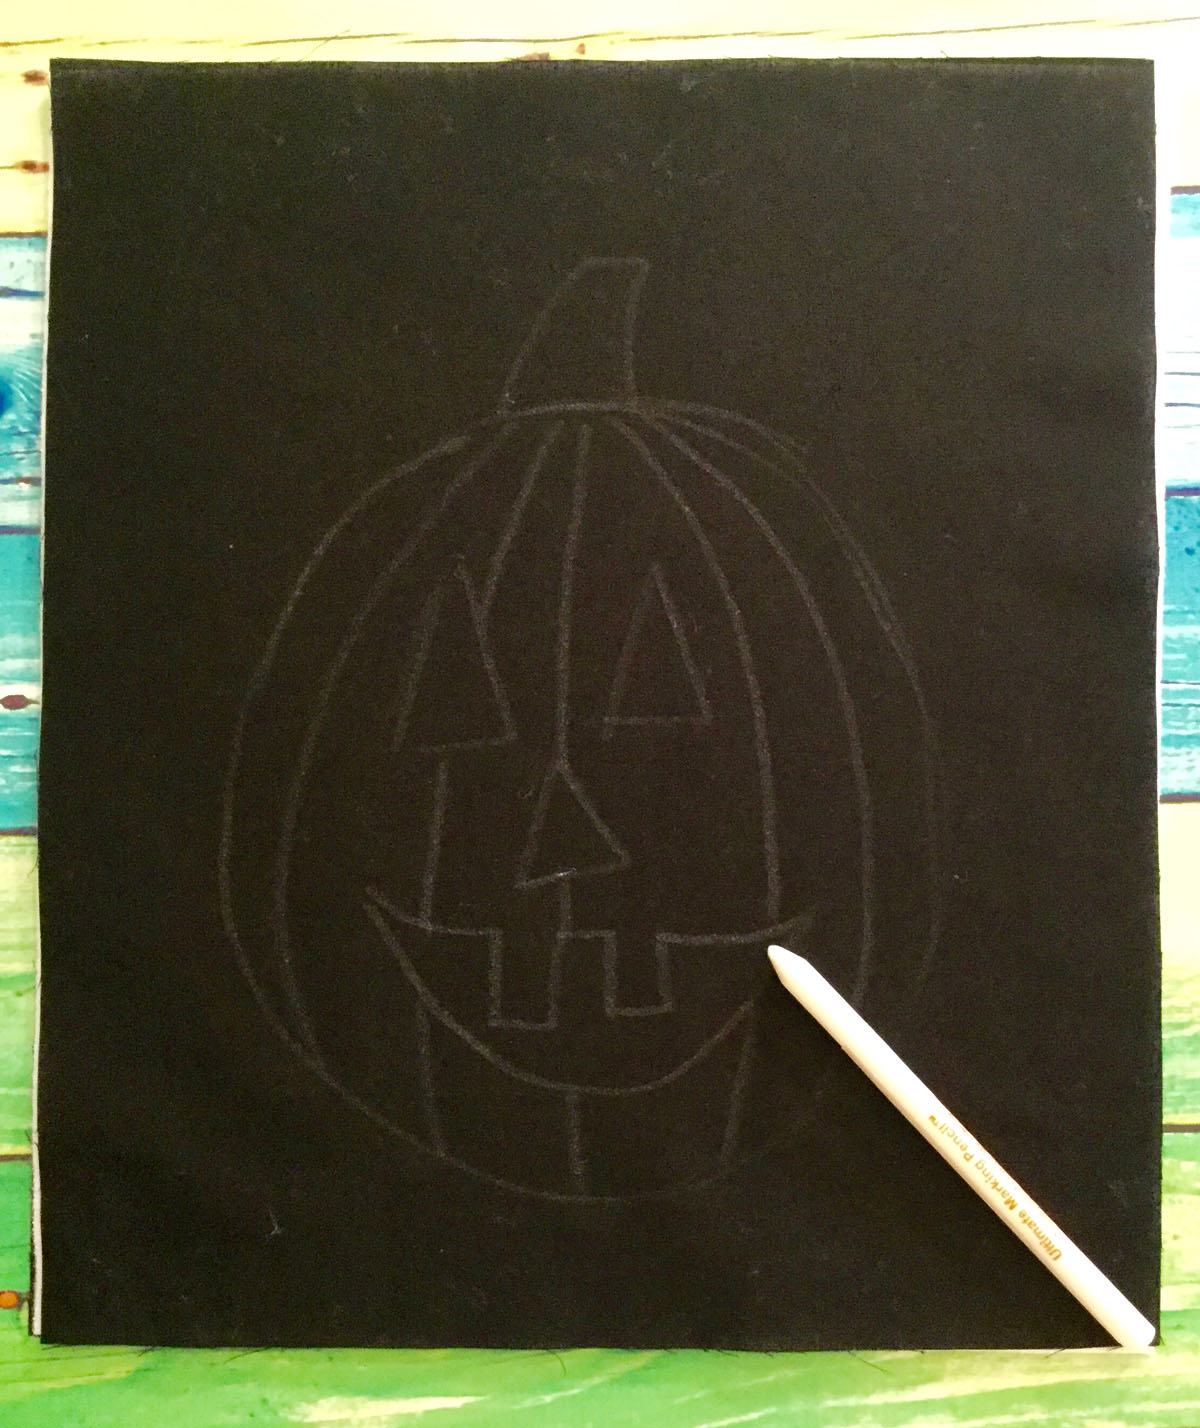
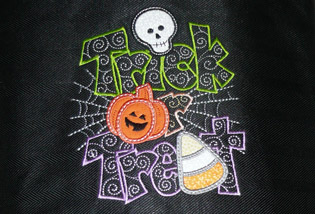
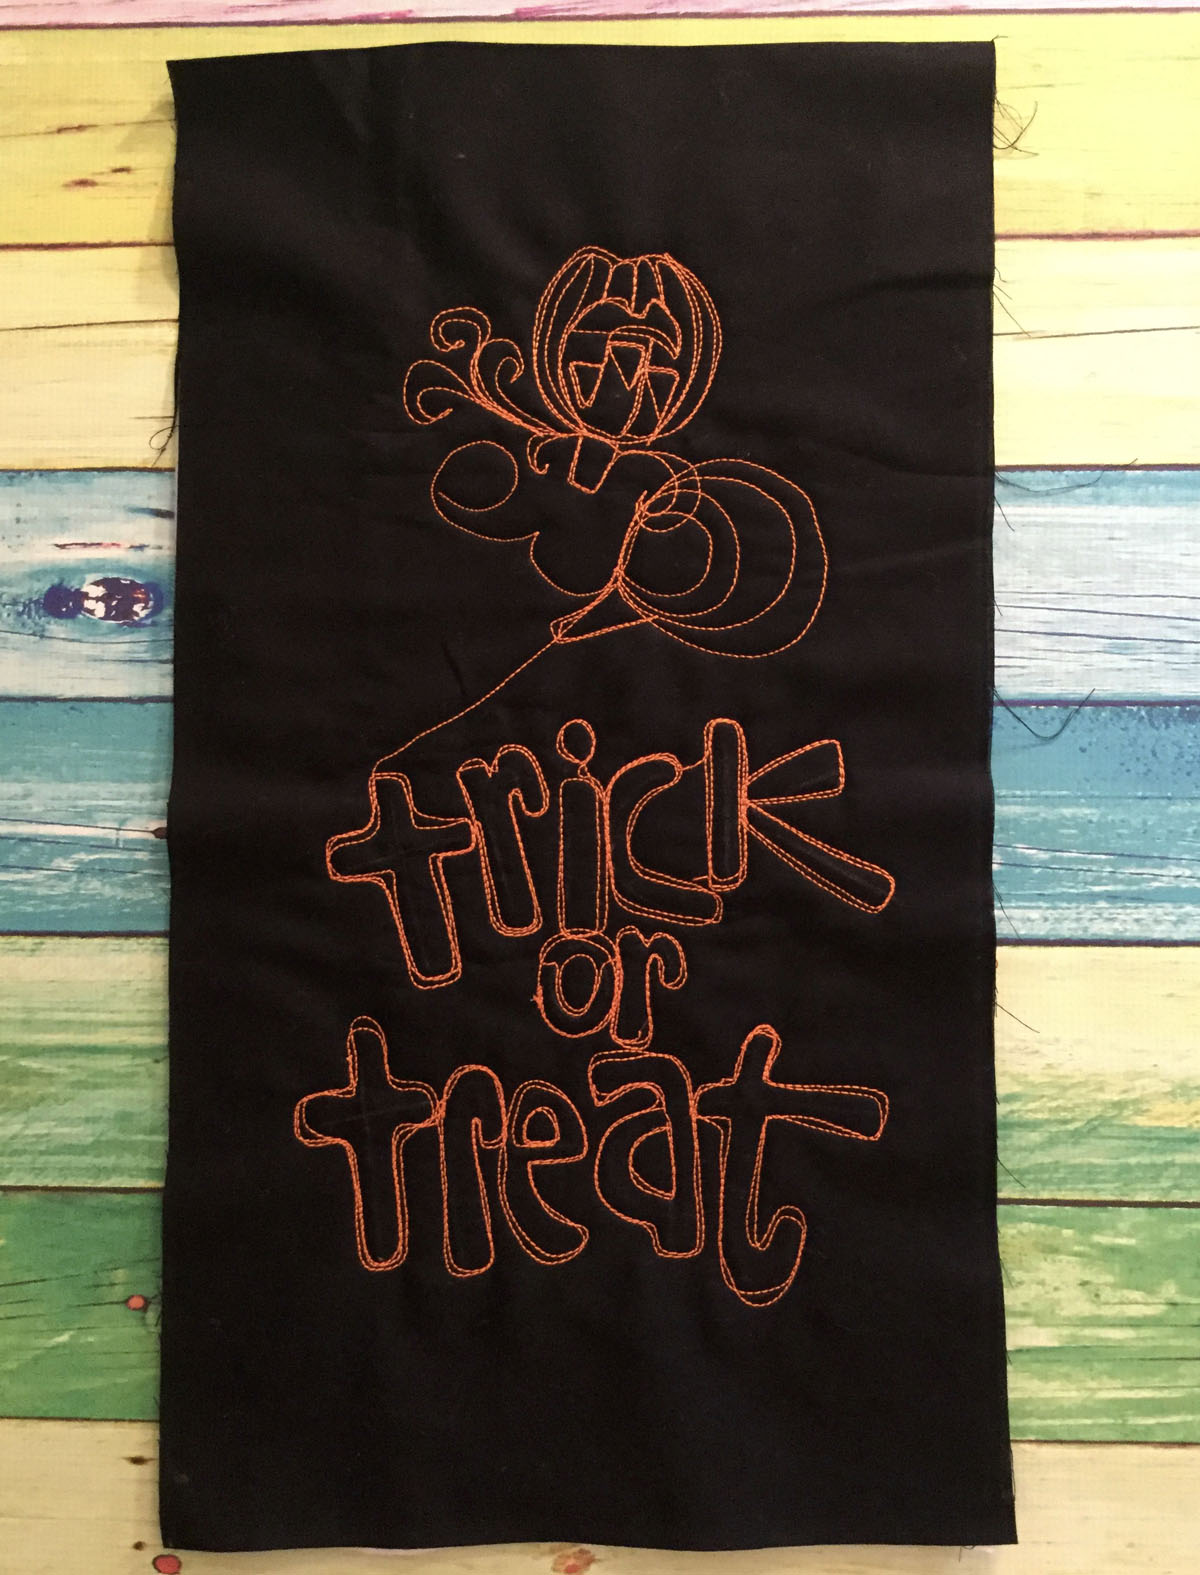
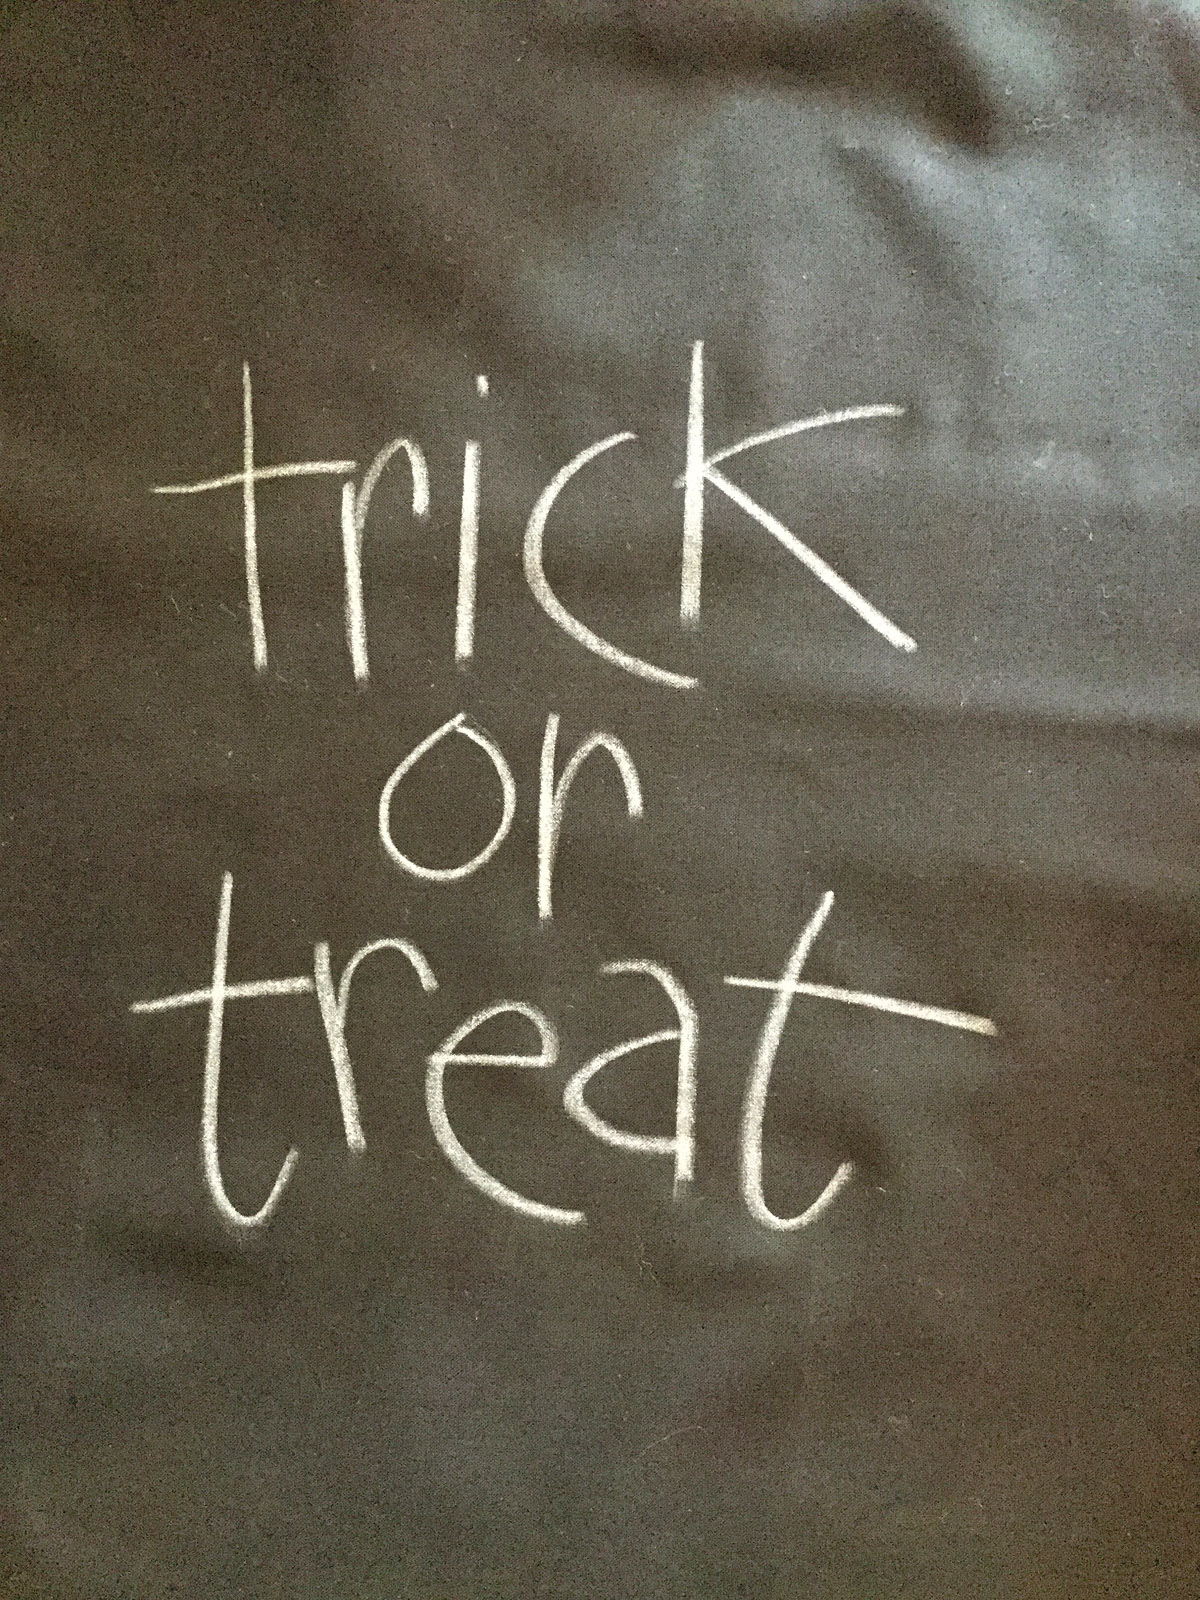
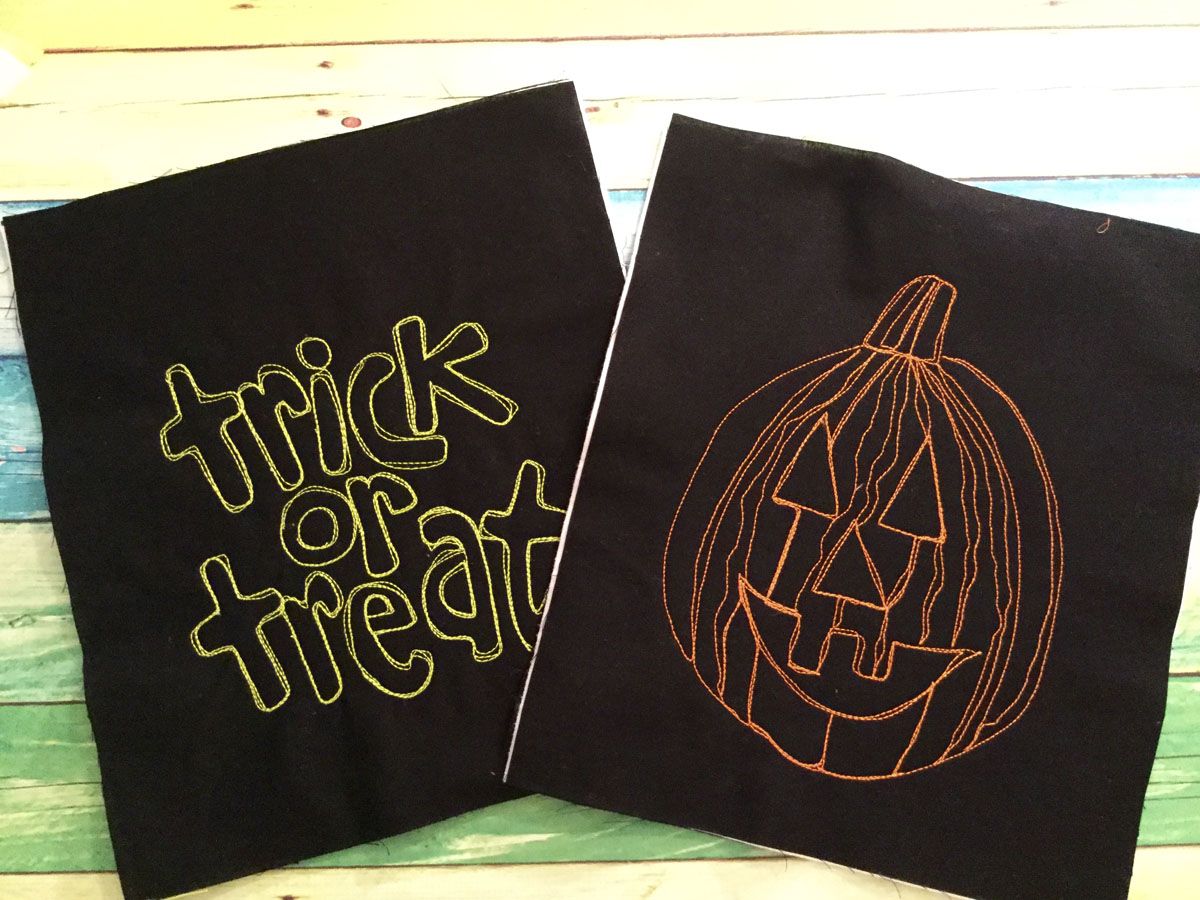
Make two 13″ x 15″ rectangle quilt sandwiches with two pieces of black fabric and the fusible fleece in the middle. Fuse the fleece to the top piece. With a white chalk pencil, lightly and loosely sketch out a Jack-O’-Lantern face on the first piece of the black bag fabric, and hand letter the words “trick or treat” on the second piece.
The more whimsical the better!
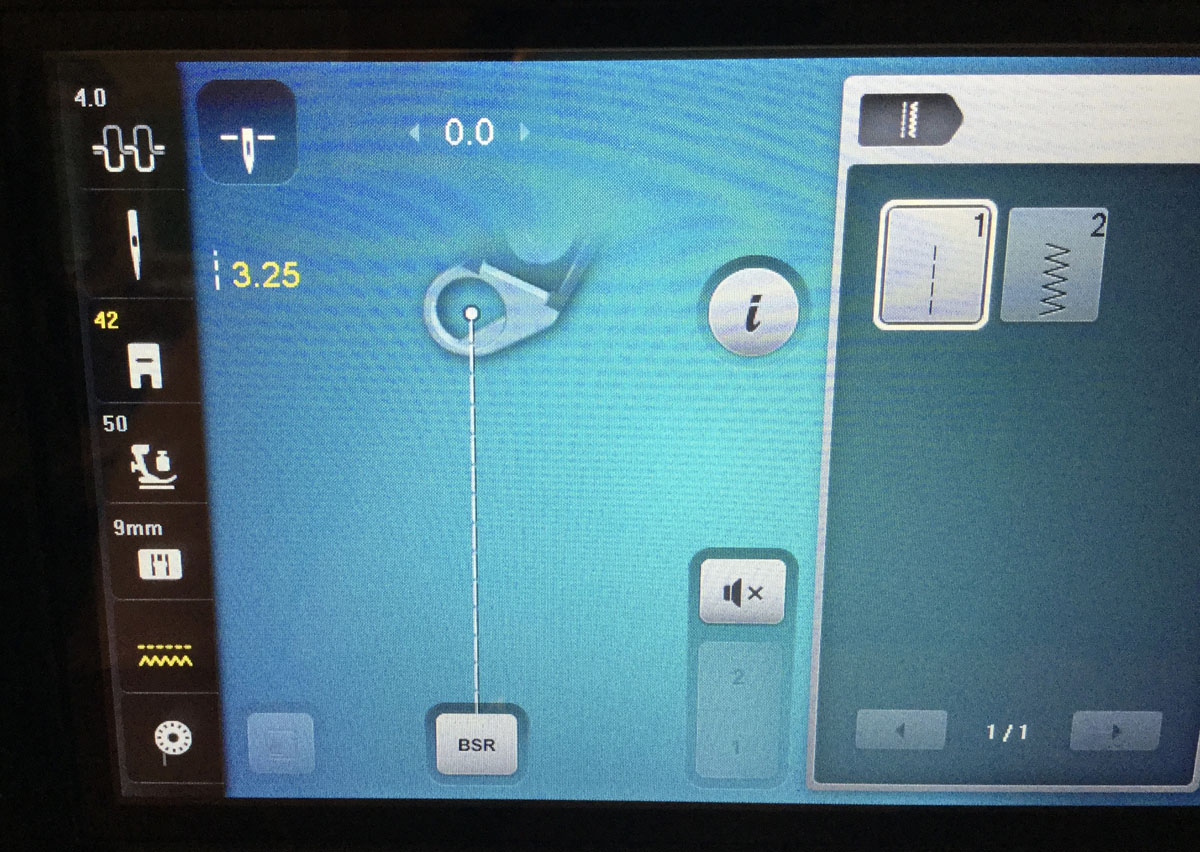
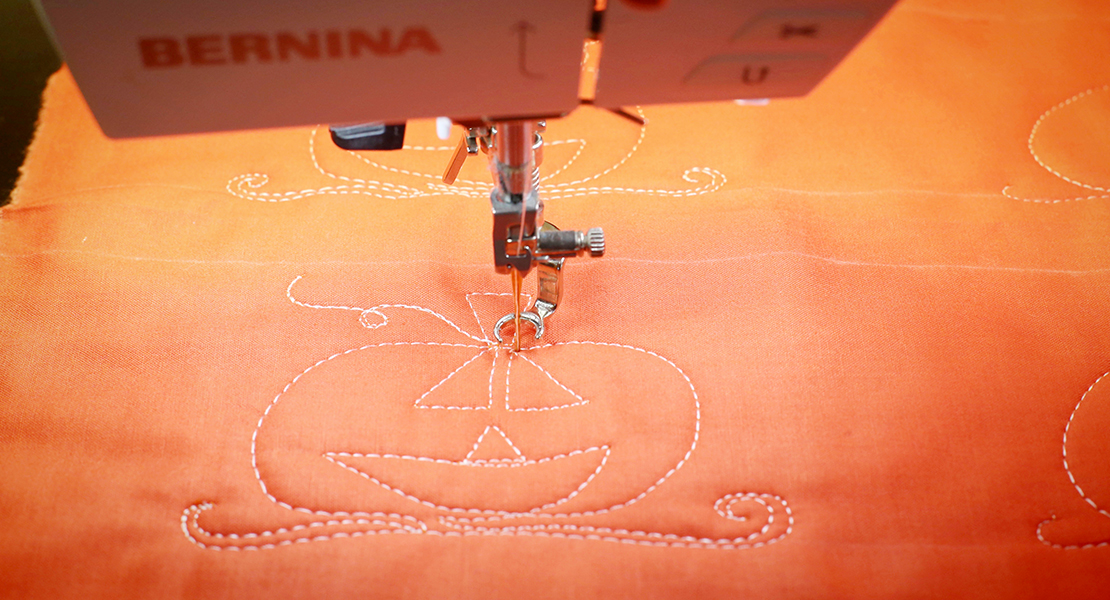
Set up your machine for free-motion sewing, dropping the feed dogs. I used my BSR (BERNINA Stitch Regulator) to make the perfect stitches. I like a longer, bolder stitch, so I lengthened it to 3.25. The BSR makes an awesome consistent stitch every time without guessing, enabling me to draw more freely.
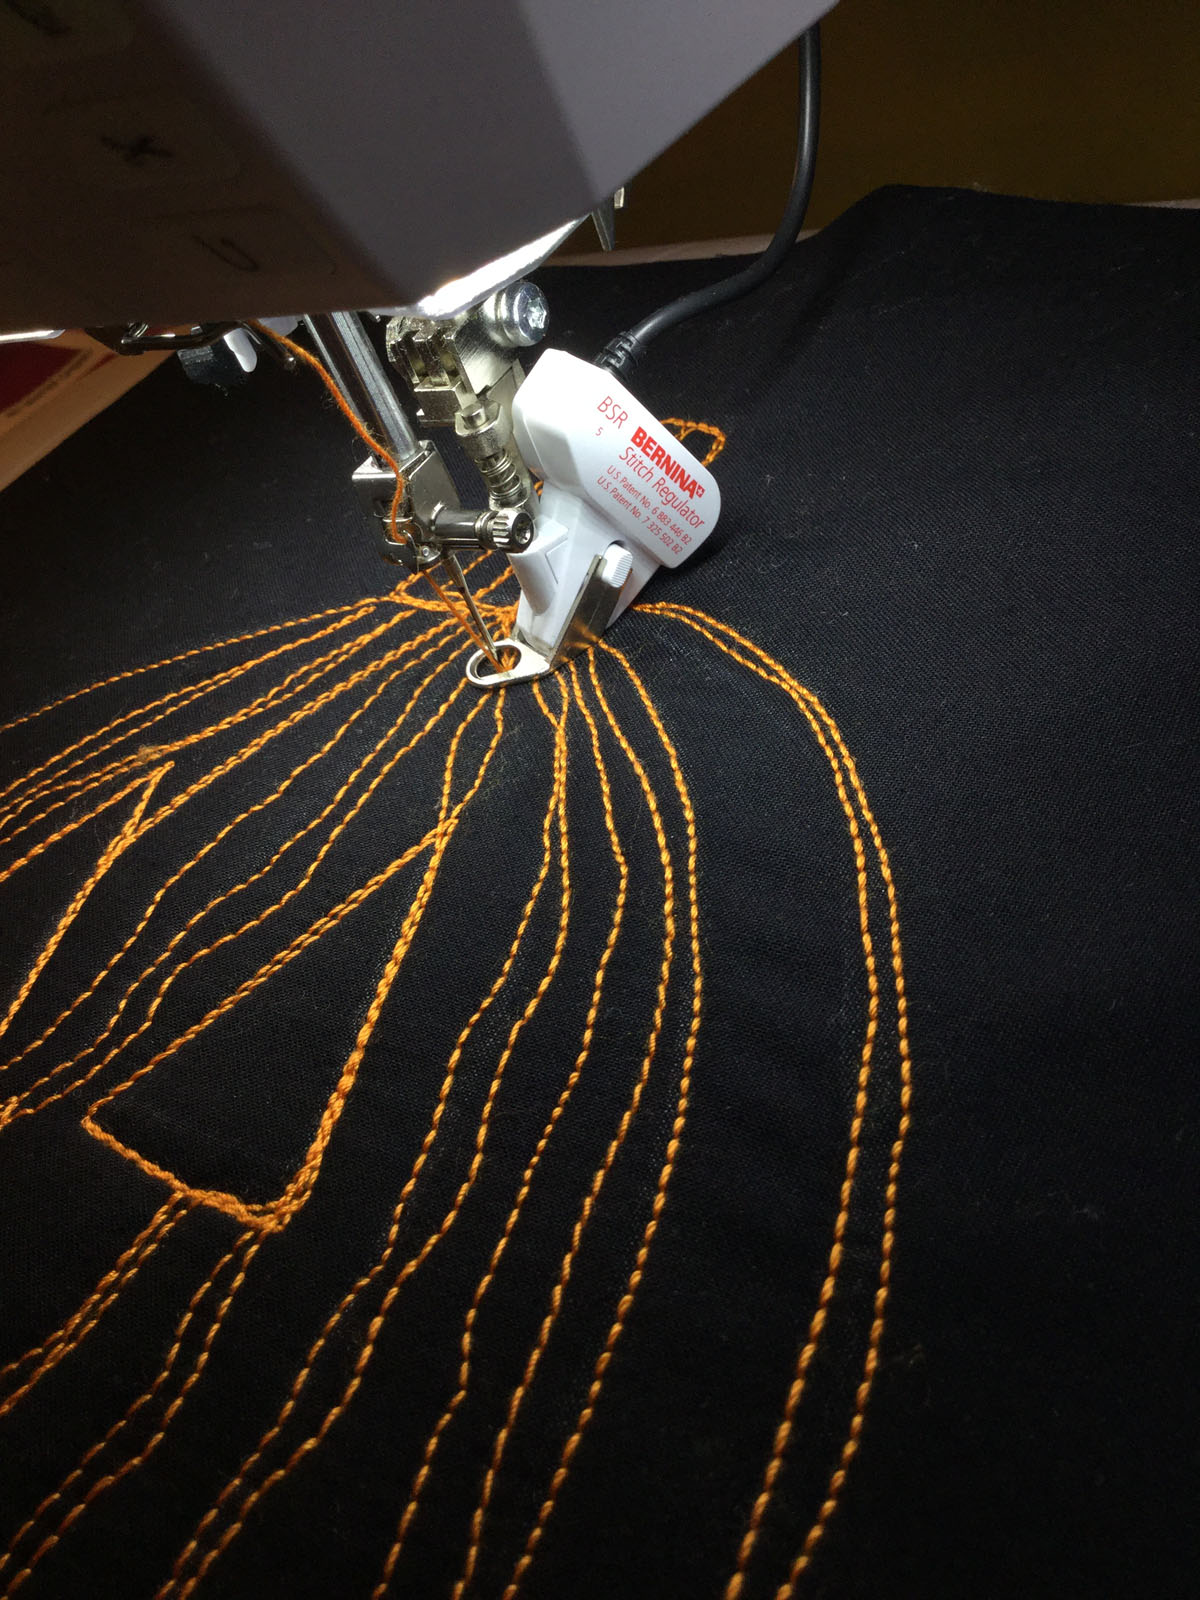
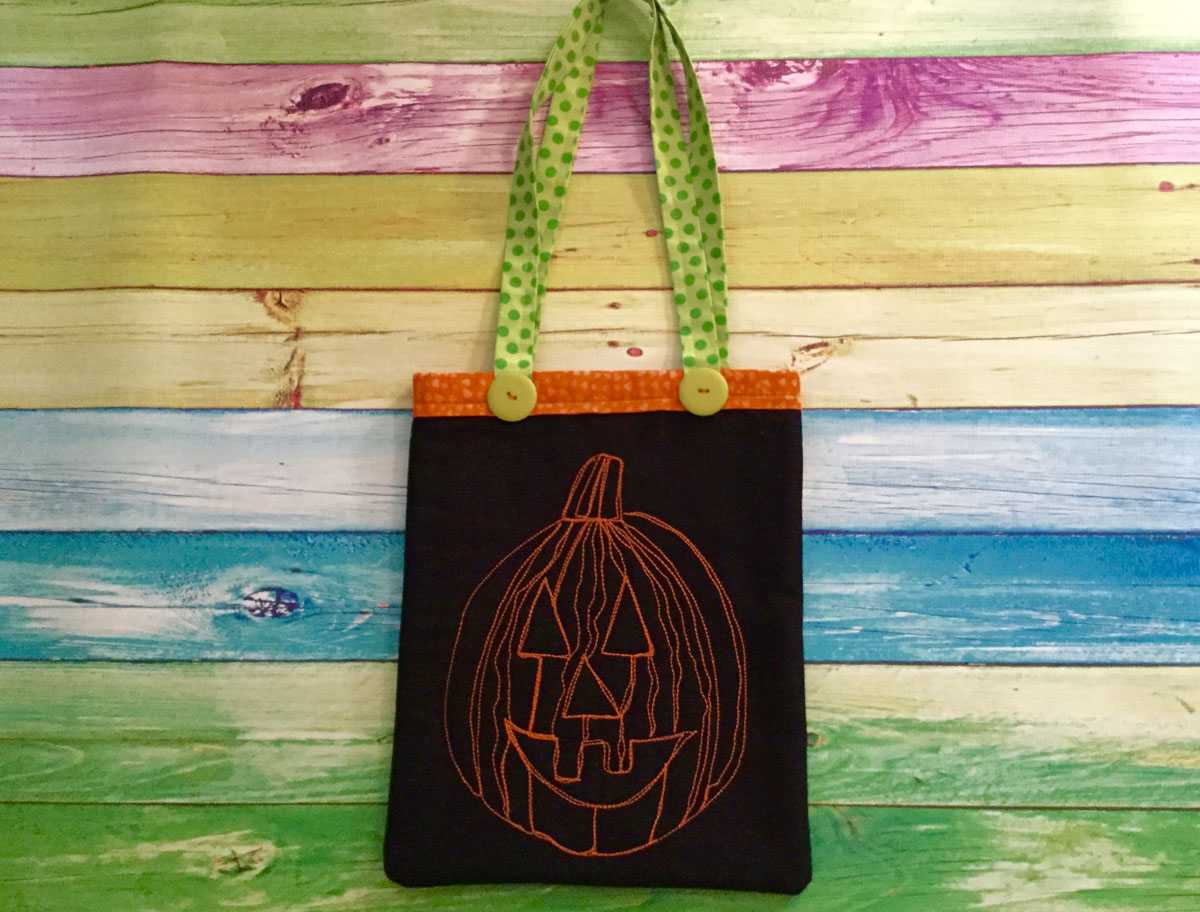
With orange 12wt thread (60wt in the bobbin) “draw” over the white sketch jack-o-lantern face with free-motion stitching. Stay sketchy and loose, going over the lines several times creating a playful look, giving the illusion of movement and dimension.

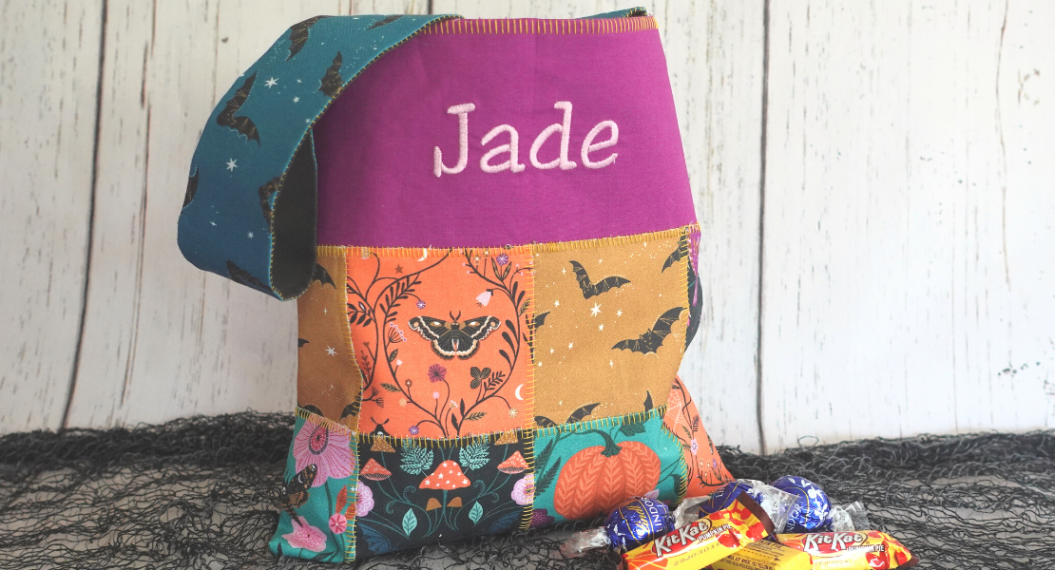
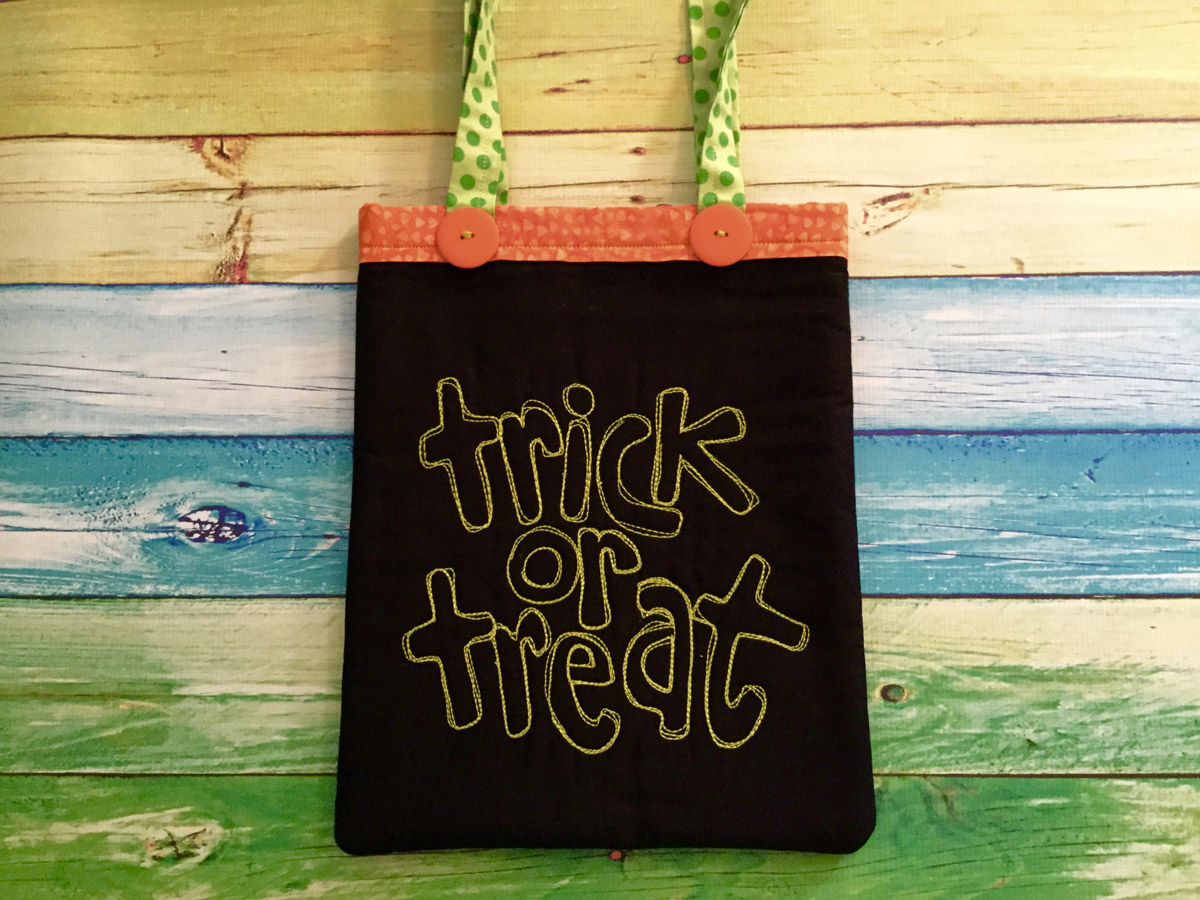
Using your own handwriting to sew personalized lettering on projects is easy and makes for a truly one of a kind piece. On the “trick or treat” panel, simply and slowly trace around the letters (about ½” from the white chalk pencil lines) with free-motion stitching in the lime green thread.
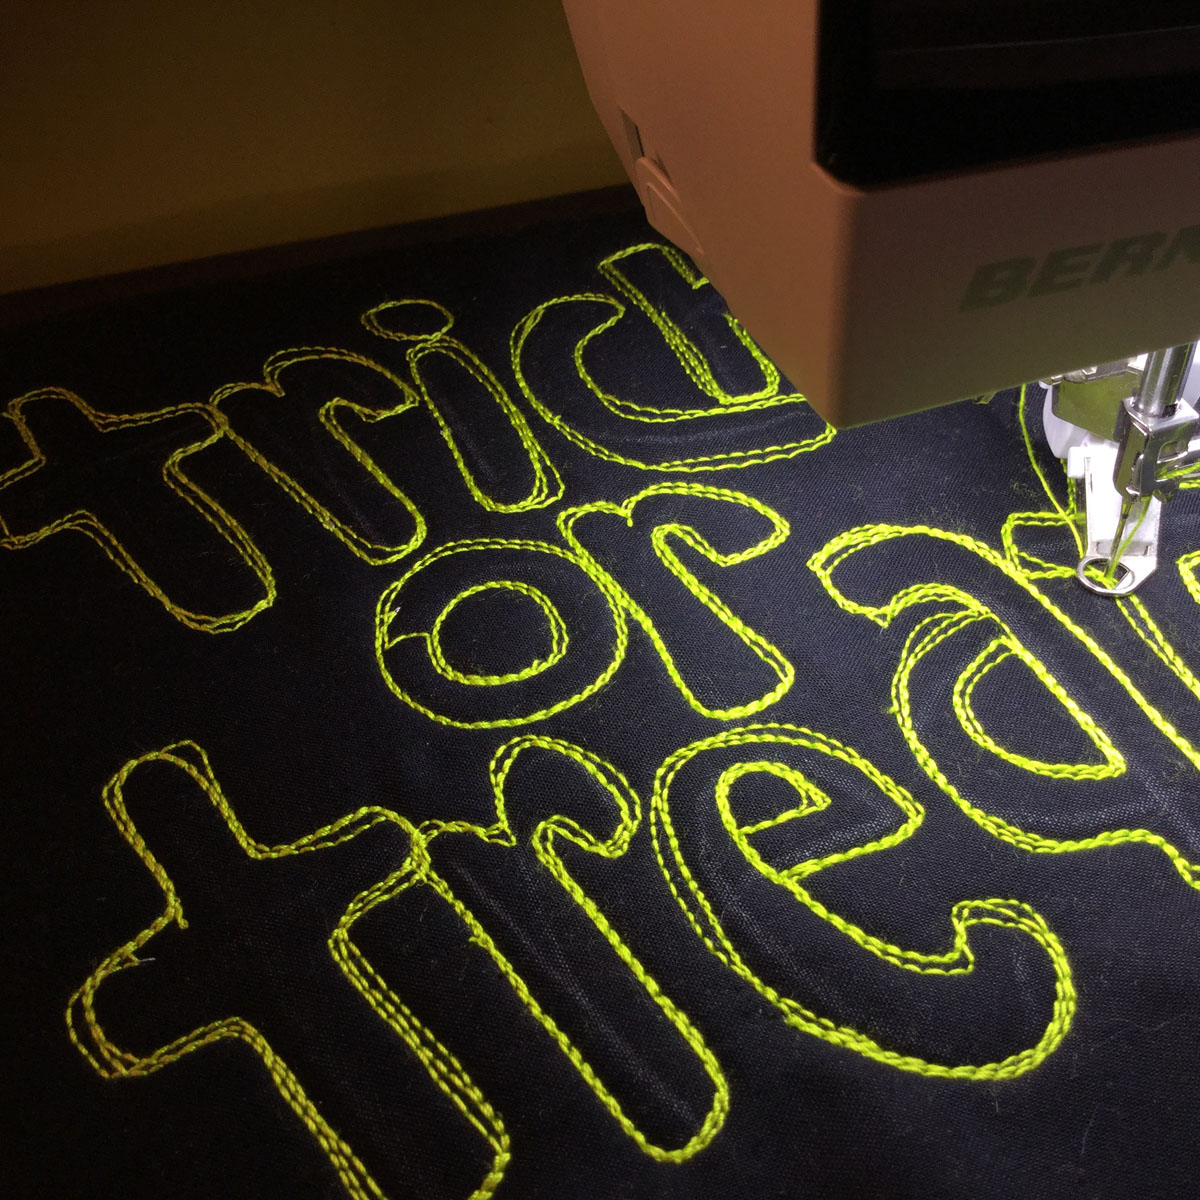
It’s challenging to get the perfect letter shape, so loosely trace and define the letters with the stitching two to three times so it looks casual and deliberate.
Erase the white outlines on your stitched pieces per the manufacturer’s instructions on your marking product.
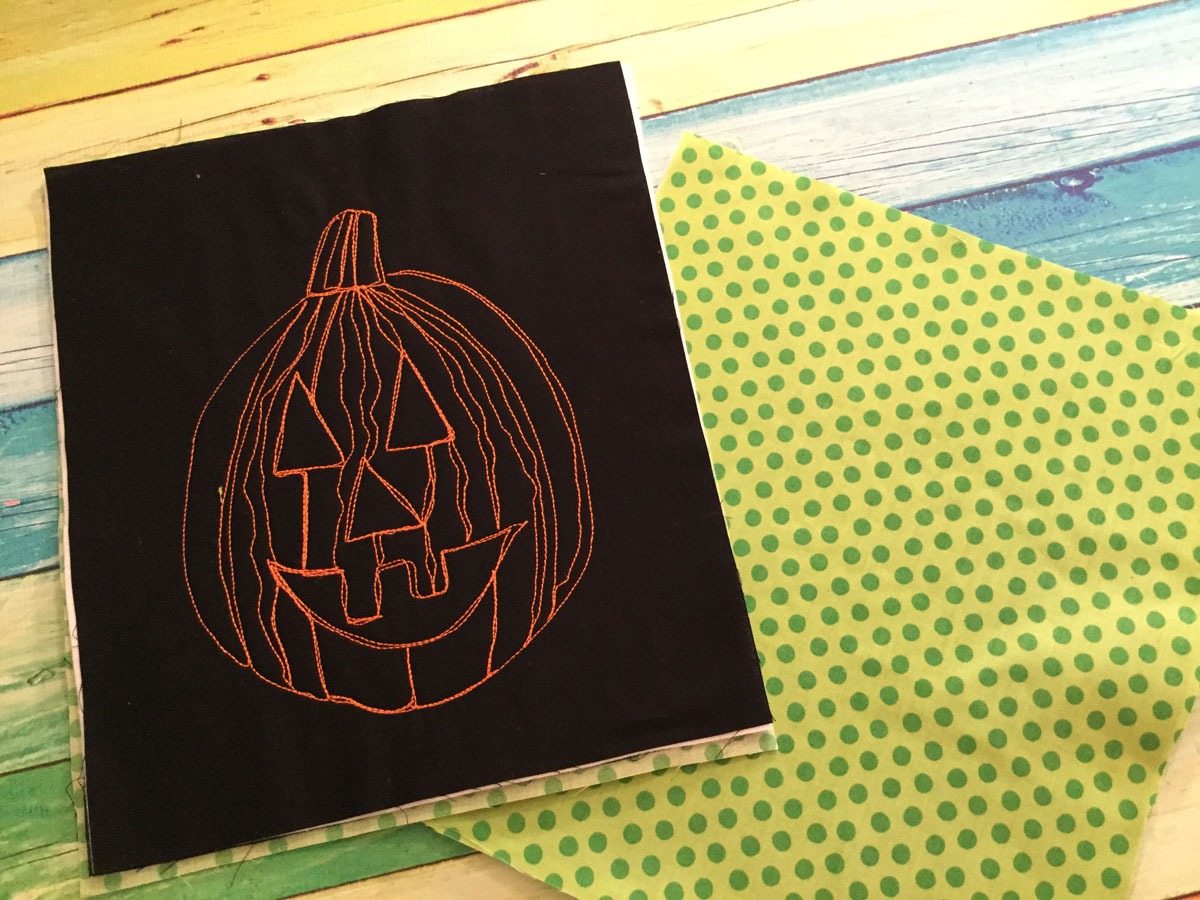
Fuse a same size liner fabric to the back of each stitched panel with the fusible webbing. This will hide the free-motion stitching.
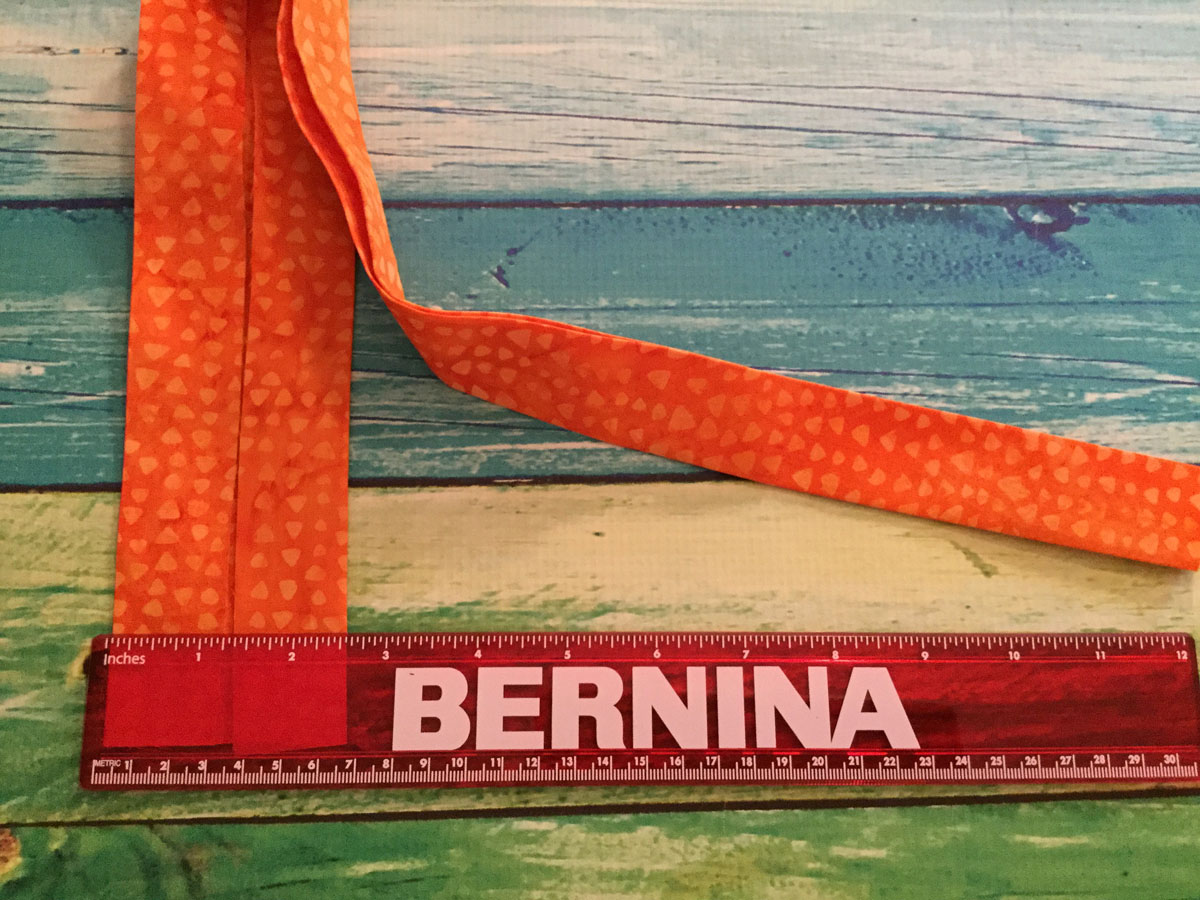
TOP TRIM: For the top trim of the bag, cut two pieces of orange piece of fabric 6″ x 26″. Fold in half and press. Fold the edges into the center and press again so that you have a band that is 1 ½” x 26″. Cut the strip into 2-13″ pieces.
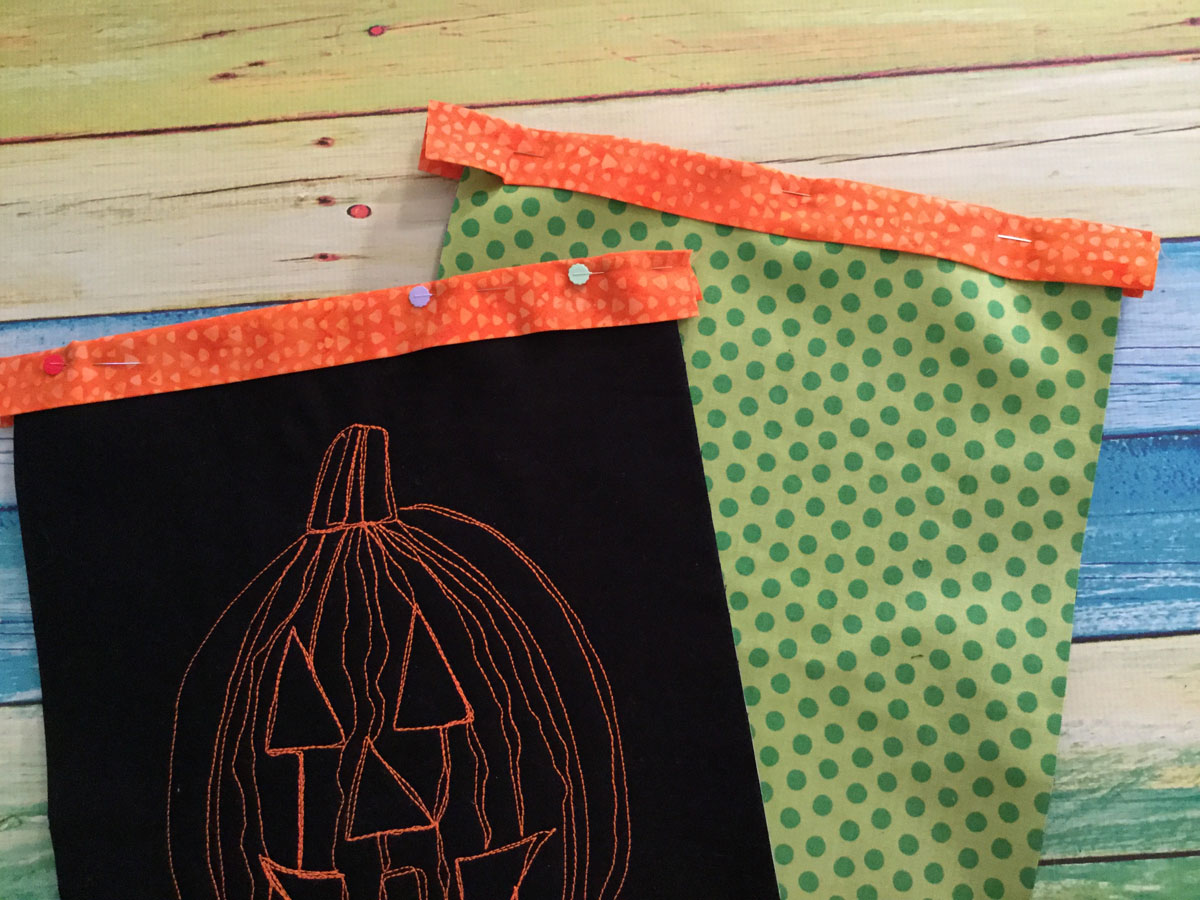
Open the fold and tuck the strips onto the top of each bag piece, leaving ½” over the edge. Topstitch onto the bag pieces.
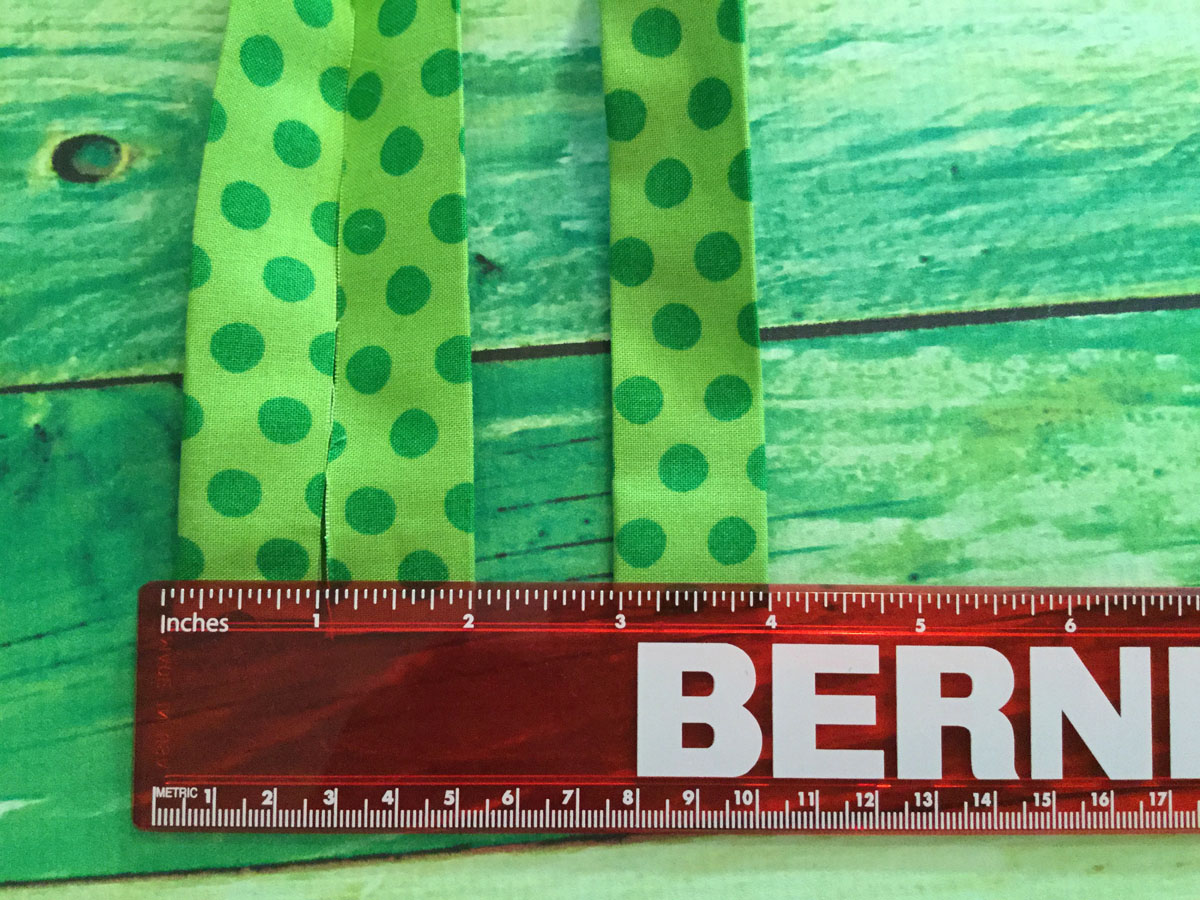
HANDLES: Construct two bag handles 4″ x 14″ using the same technique as shown in for the orange trim. Hide the ends of the strips by turning the ends into the wrong side of the fabric, press, and fold the entire strip over to make a 1″ x 14″ handle.
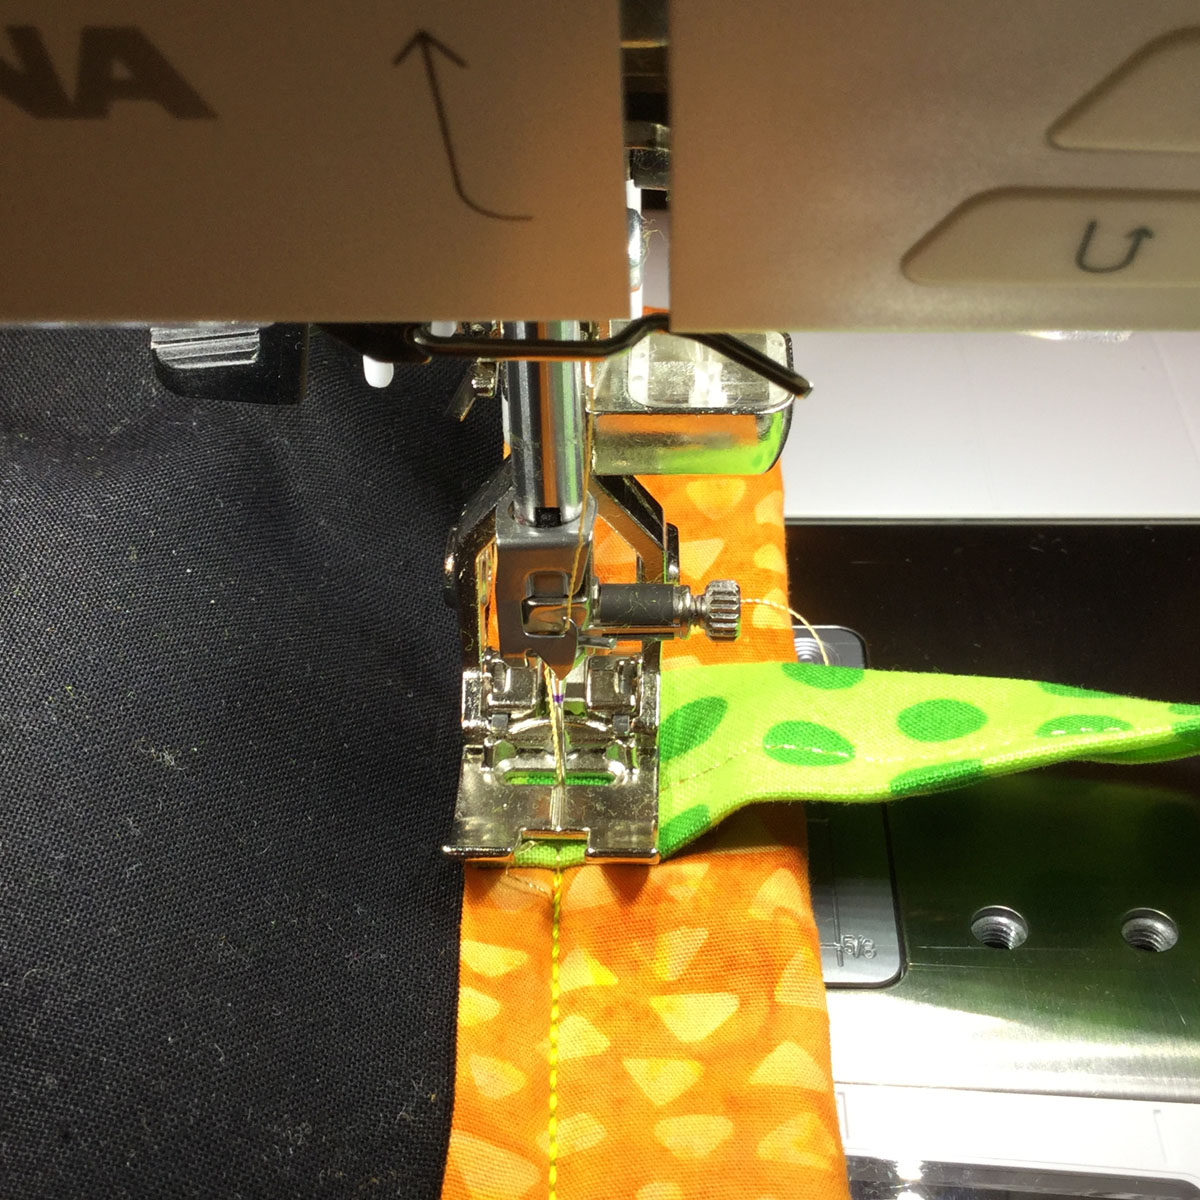
Sew the handles 2″ from the edge of the front and back pieces onto the outside of the bag. Reinforce the handle strength with repeating stitches.
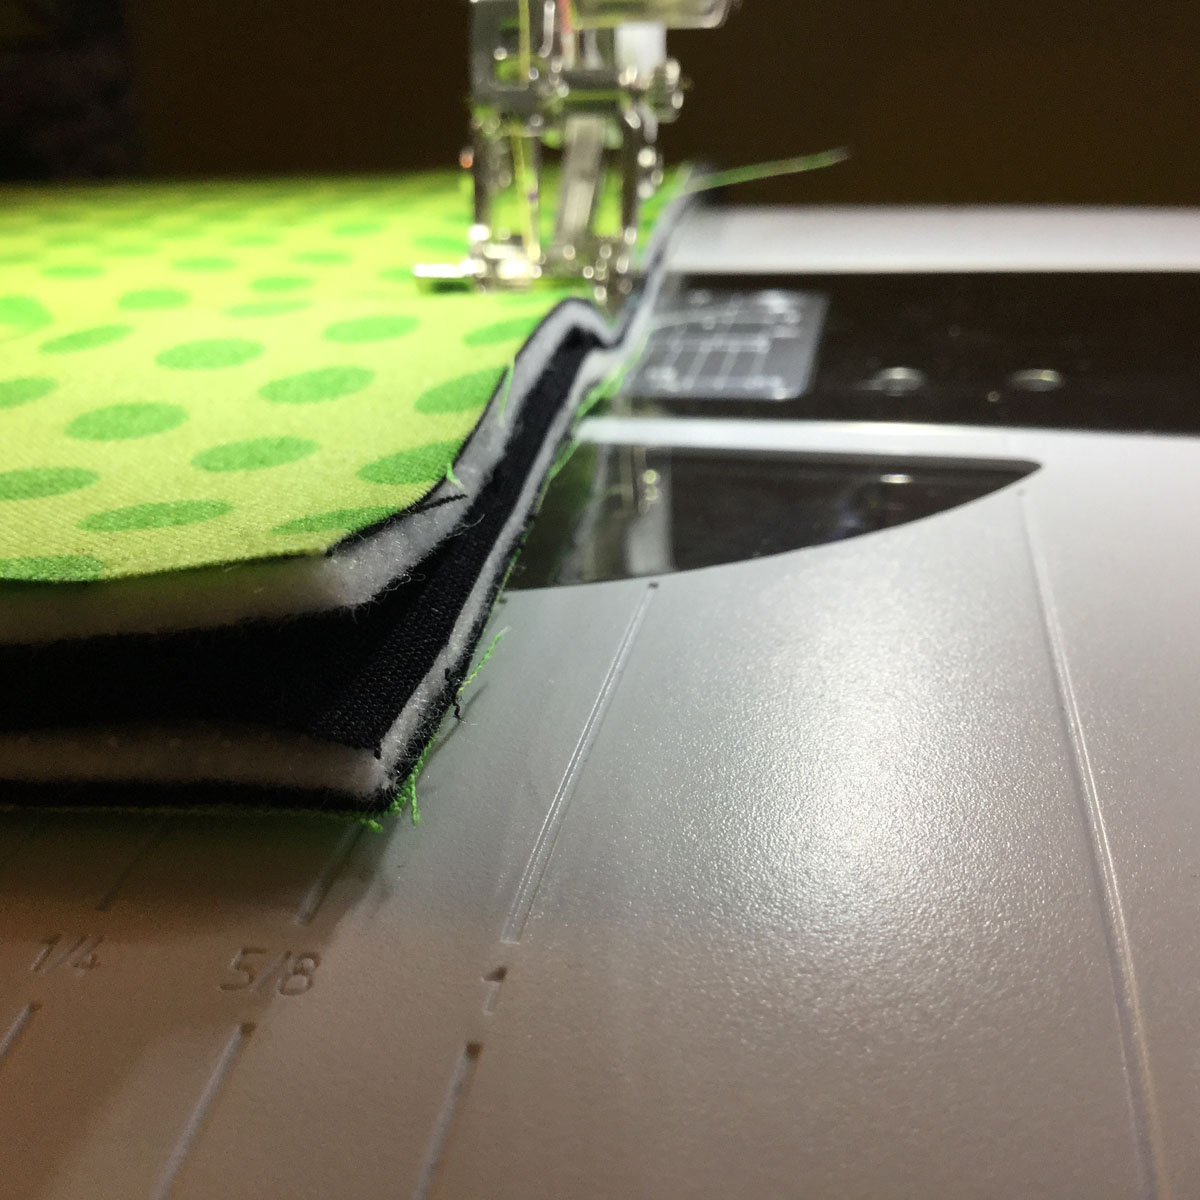
With right sides together, stitch the two panels together on three sides, leaving the top open for the functionality of a tote bag. Be sure to backstitch at the top of the bag for added strength. My BERNINA Dual Feed was a perfect in stitching the thick, quilted bag together with great ease! If you don’t have Dual Feed on your machine, use a walking foot to help sew more evenly over the thick layers. Clip the corners and turn right sides out.
Meet Little Jack! Embellish (hide the ends of the handles!) the bag trim with large lime green buttons.
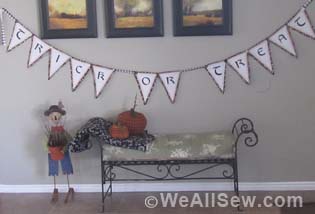
Hit the streets and “Trick or Treat” to fill your artful bags with lots of yummy goodies. When your child outgrows this little bag, use year after year and hang it up as a door decoration. Or, why use a bowl? On Halloween, fill the bag with candy to distribute with candy for the trick or treaters that come to your door each year. Wishing you a happy, sweet and safe Halloween!