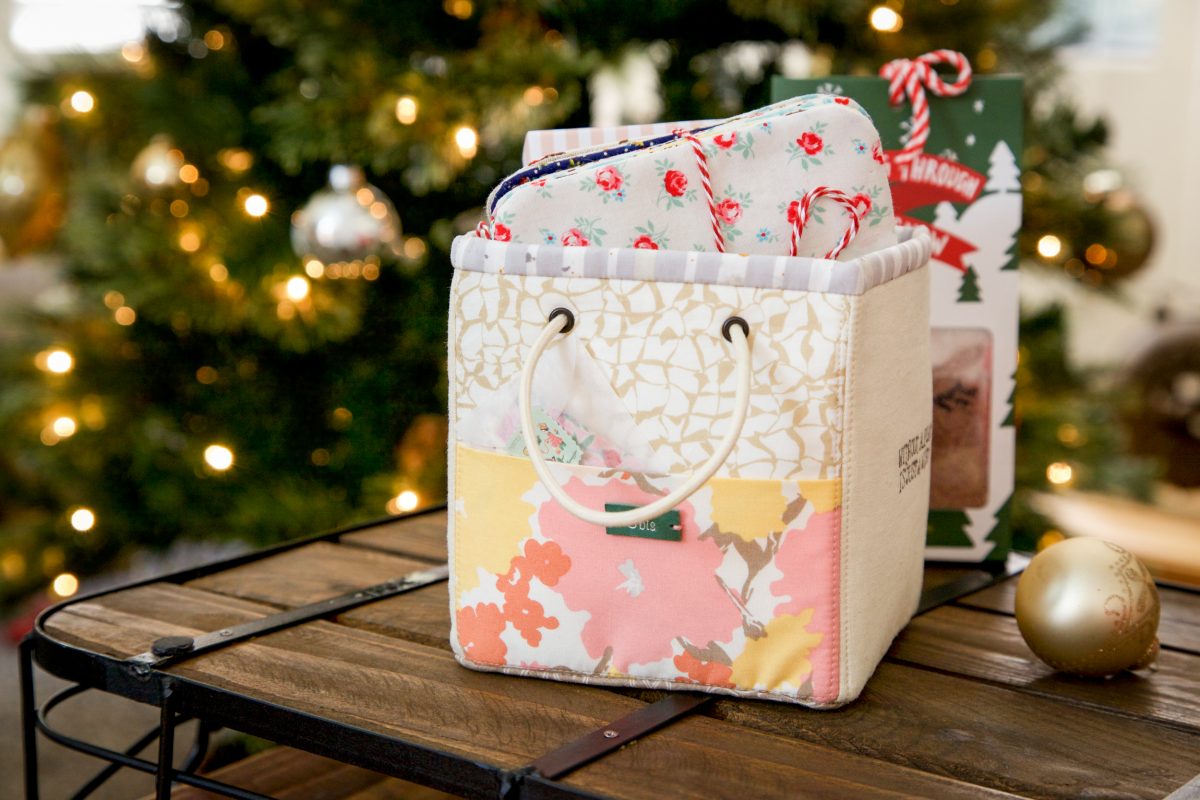
Embroidered Fabric Basket Plus Free Embroidery Design
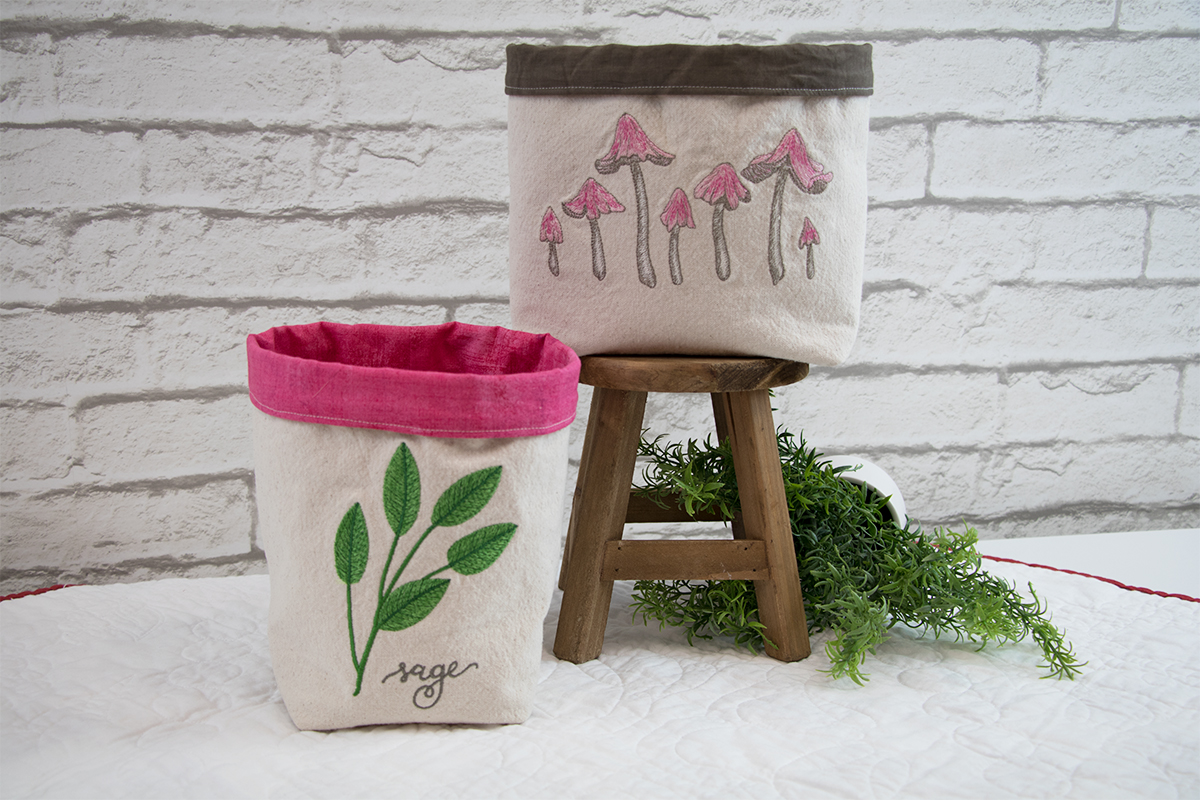
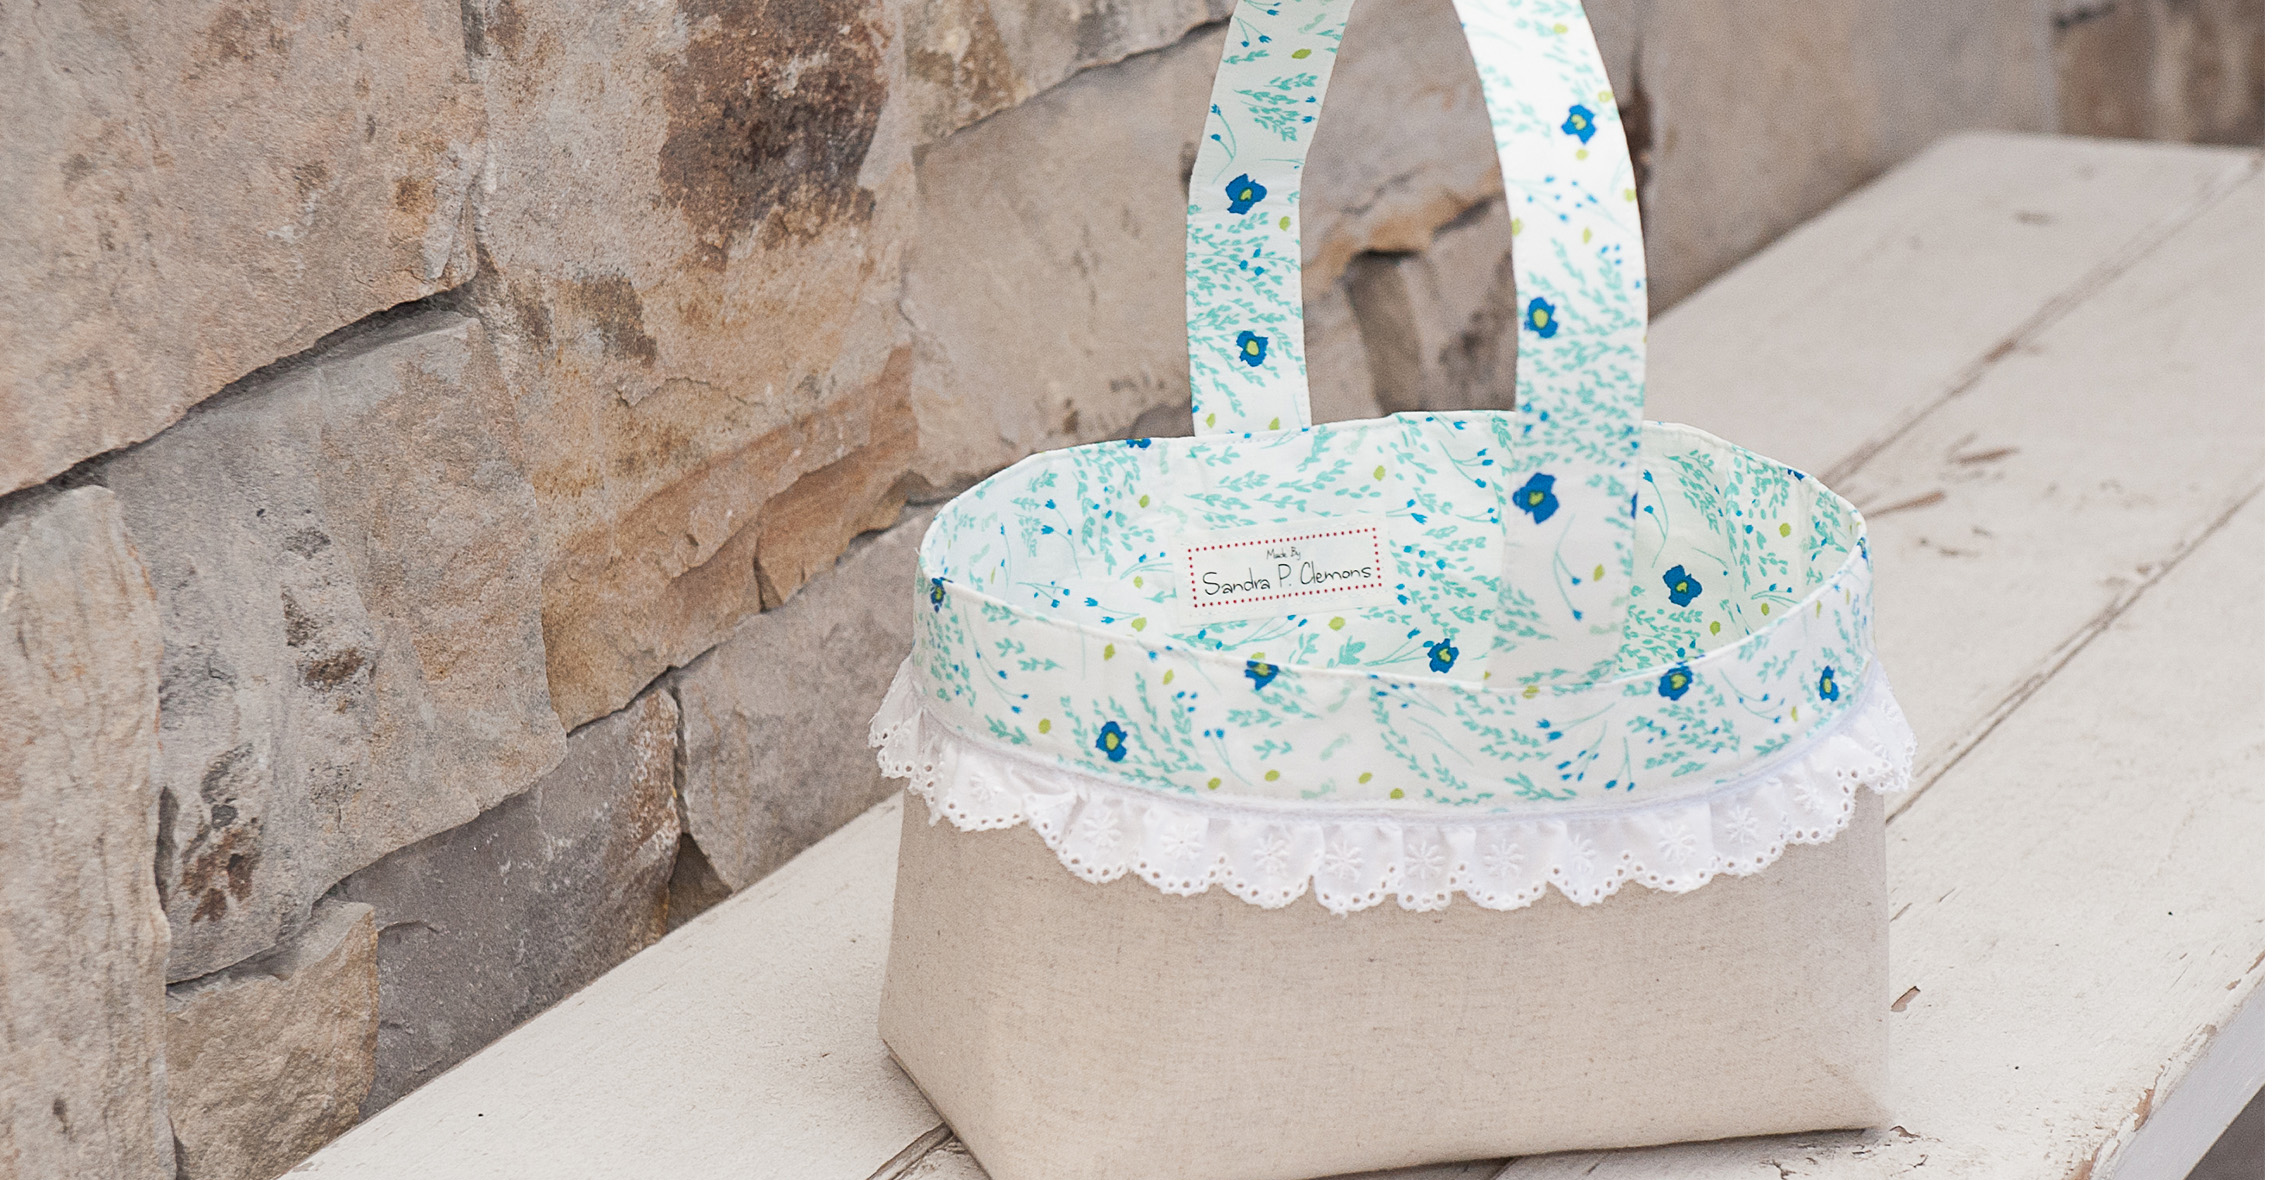
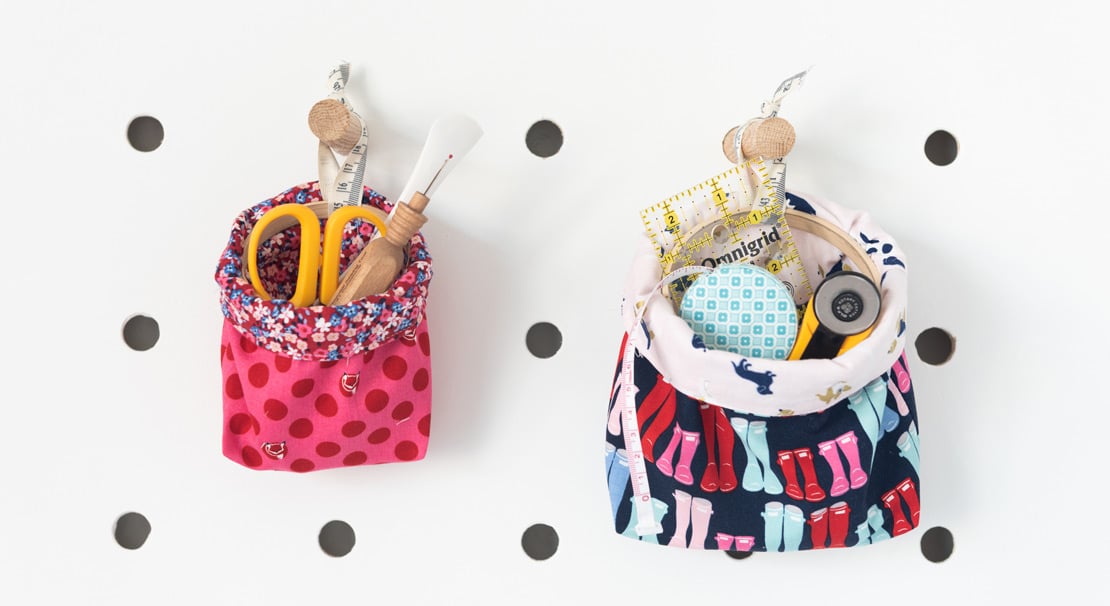
Embroidered fabric pails are great way to organize and decorate at the same time! Use them to hold small potted herbs, sewing notions, breakfast bars, or used as a goody bag filled with fresh fruit snacks and magazines for a sick friend. The options are truly limitless. The BERNINA Exclusive Embroidery Collection #82022 Home at Heart is the perfect collection to pair with the fabric pails. Its natural botanicals and heartfelt messages would be a welcome touch of home in any environment.
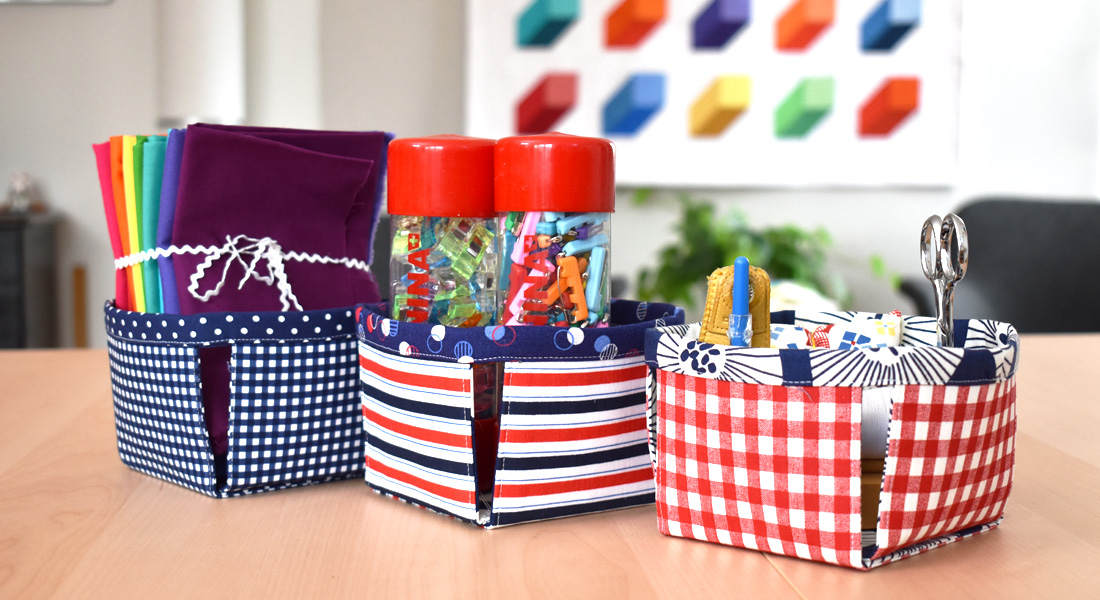
Materials to Create a Fabric Basket
Fabric and stabilizer measurements are to create two pails, one of each size.
Stabilizers
StabilStick TearAway Stabilizer
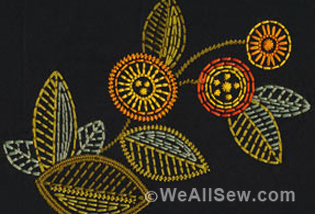
BERNINA Exclusive Embroidery Collection #82022 Home at Heart
Mushrooms #82022 –23 (large size)
Sage #82022 –07 (small size)
Download the free Pink Mushrooms Embroidery Design 82022-10 files 82022-10 here.
Fabric and Notions
Isacord threads per design thread chart or color of choice
1/3 yard of 54” – 60” wide canvas or duck cloth
2 fat quarters or 1/3 yard of fabric to coordinate with Isacord threads
Organ 75/11 Sharp Embroidery Needle
Rotary cutter and ruler
Fabric marking pen/pencil
Pins
OESD Perfect Embroidery Press Cloth or OESD Ironing Board Cover (Optional)
OESD Loop and Wand Tool (Optional)
Tread to match the canvas or duck cloth
Instructions
Note: Measurements and instructions are given as follows: Mushroom Design (Sage Design)
Step 1—Prepare the fabrics
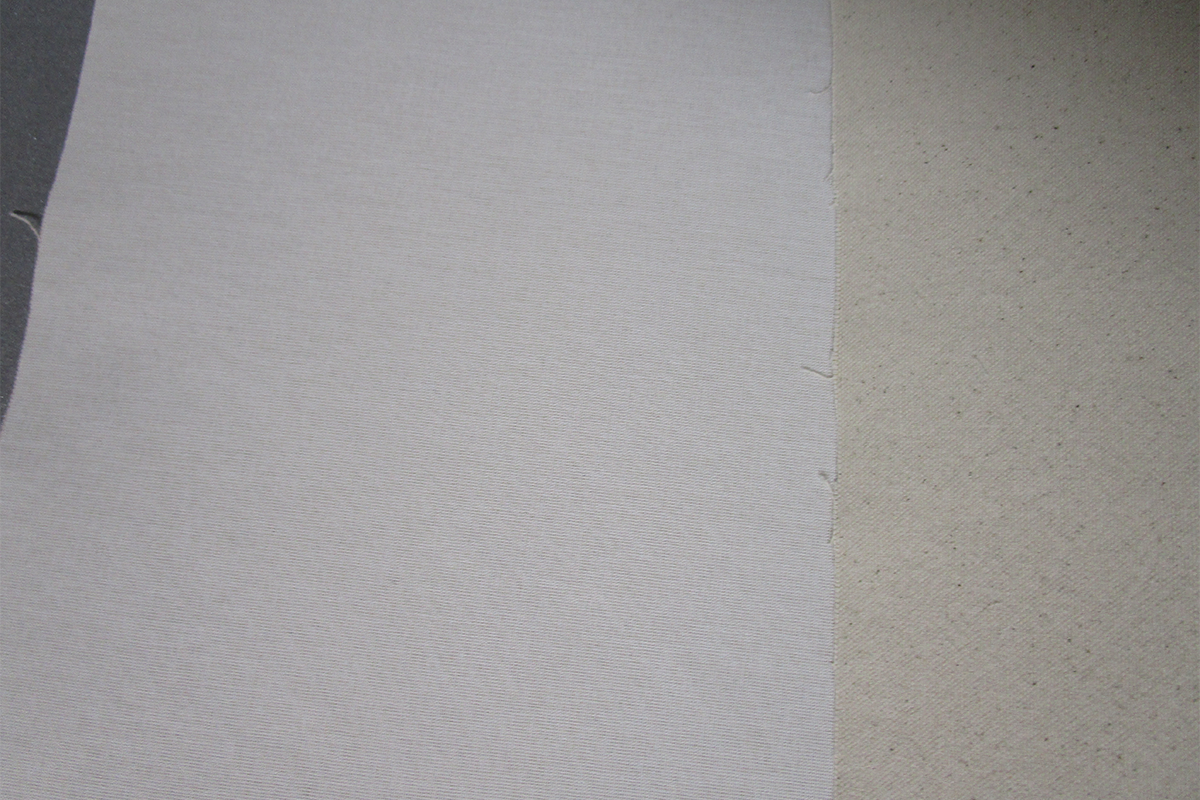
Wash in hot water with no fabric softener. Dry on high heat. Iron. Cut the following
Canvas 11” x 22” (13” x 22”)
Basket Lining 11” x 22” (13” x 22”)
Fusible Woven 11” x 22” (13” x 22”)

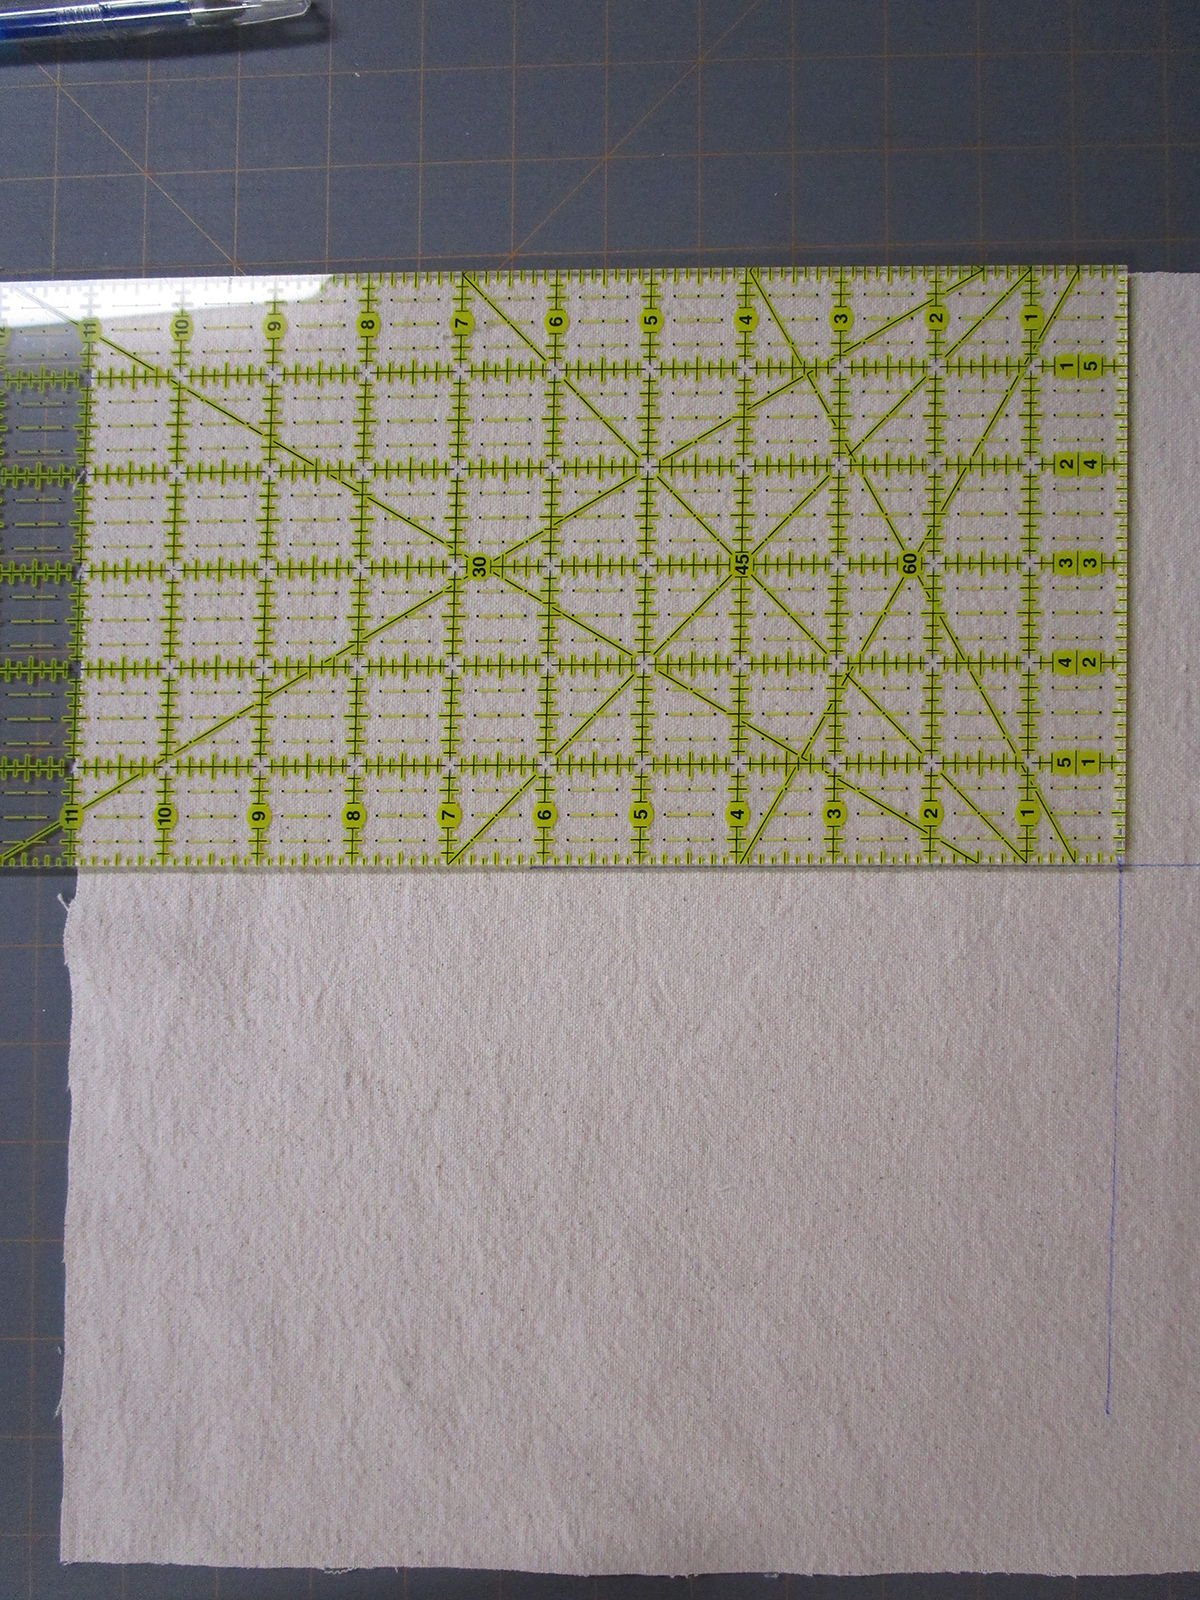
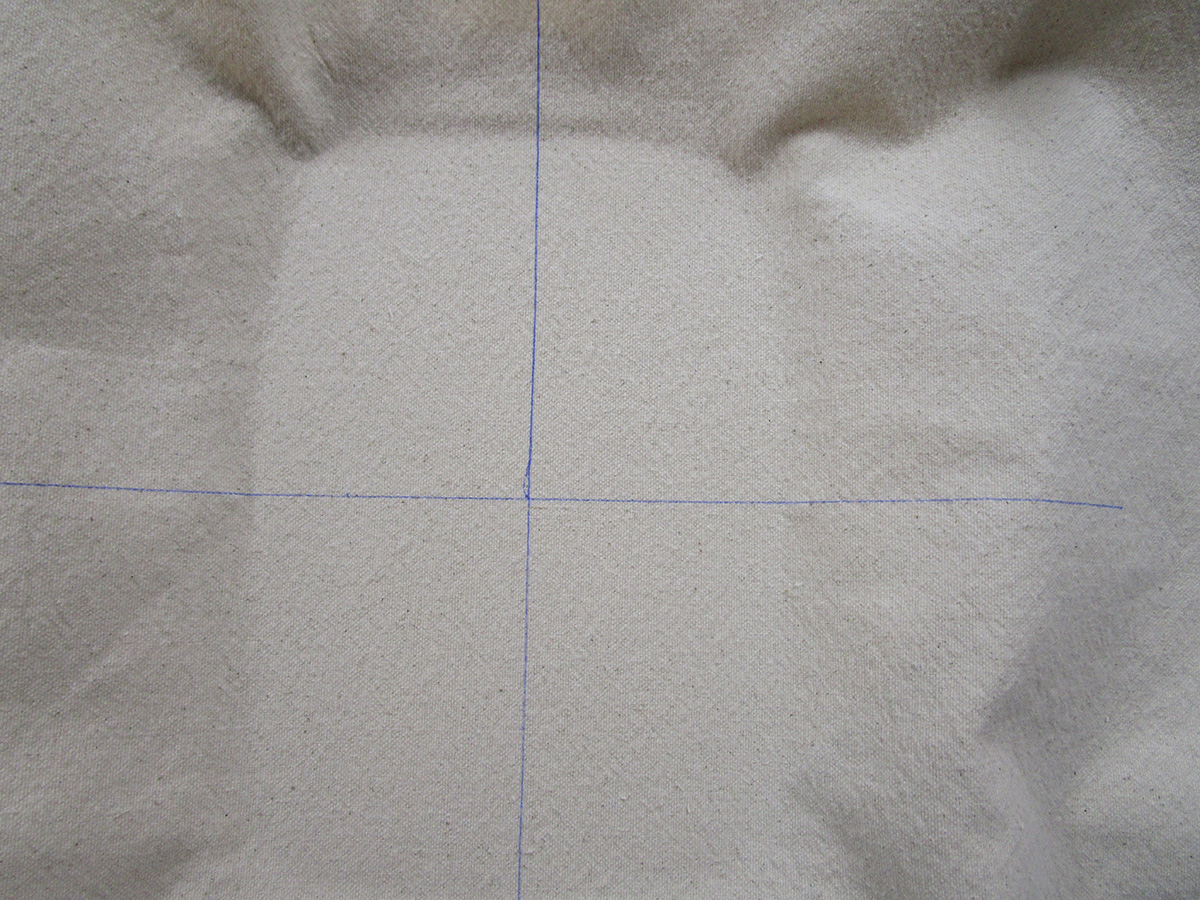
Step 2—Mark the fabric (Pictures shown are for the Sage Basket)
Mark center of design on canvas 5” (6” – Sage) from the top and 11” from the side.
Step 3—Hooping
Hoop StabilStick TearAway paper side up. Score and remove paper to expose the tacky surface. Use center markings and template or method of choice to place the canvas on the hooped stabilizer.Place the hoop on the machine.
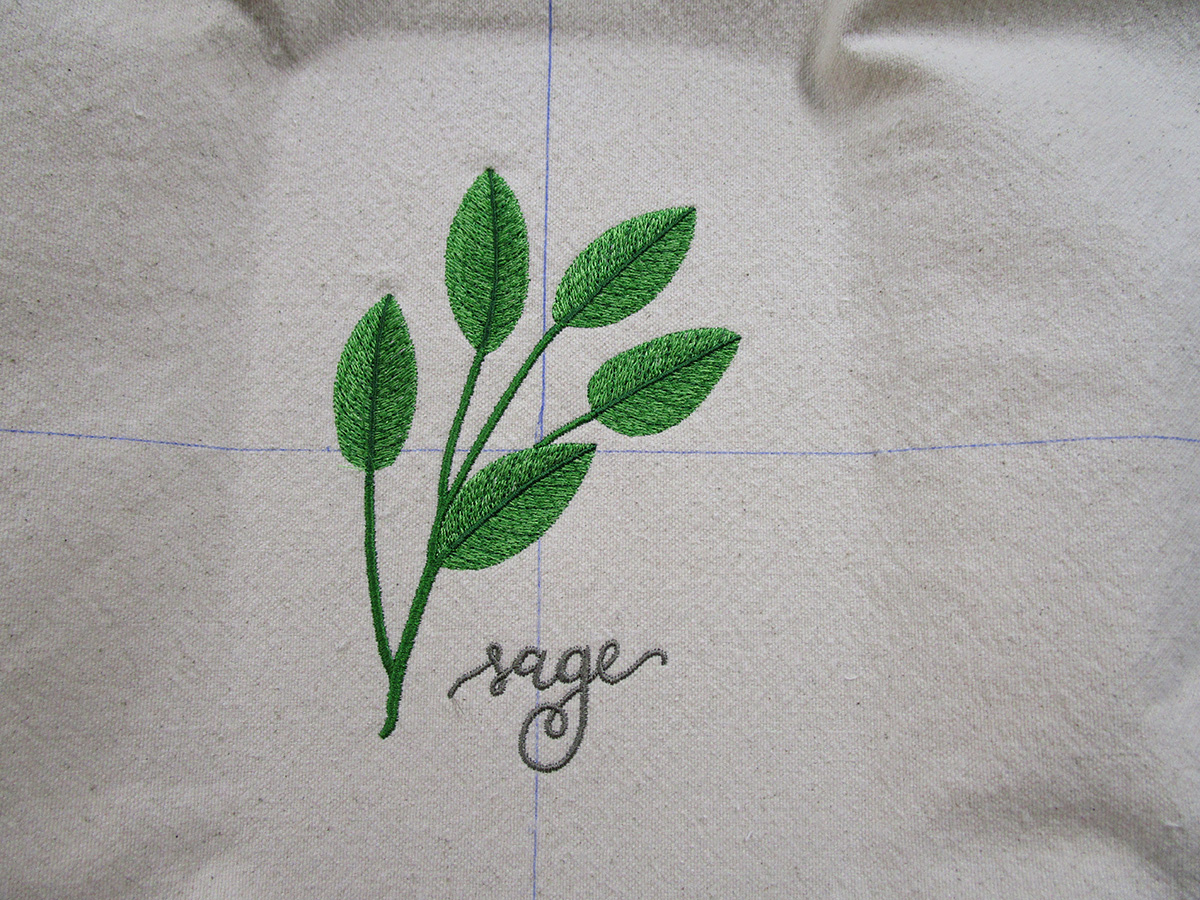
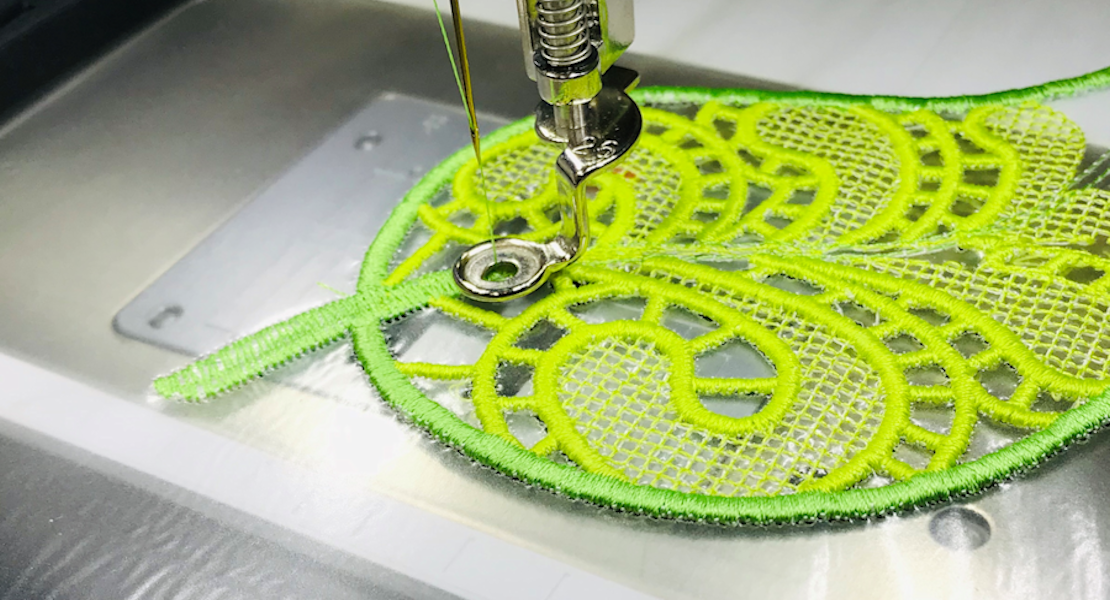
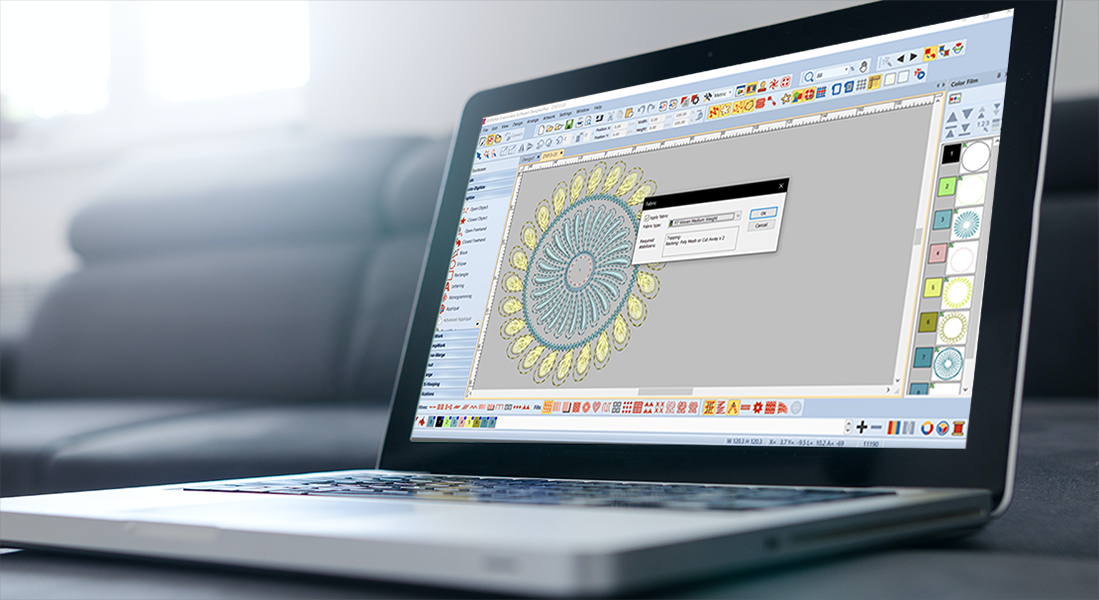
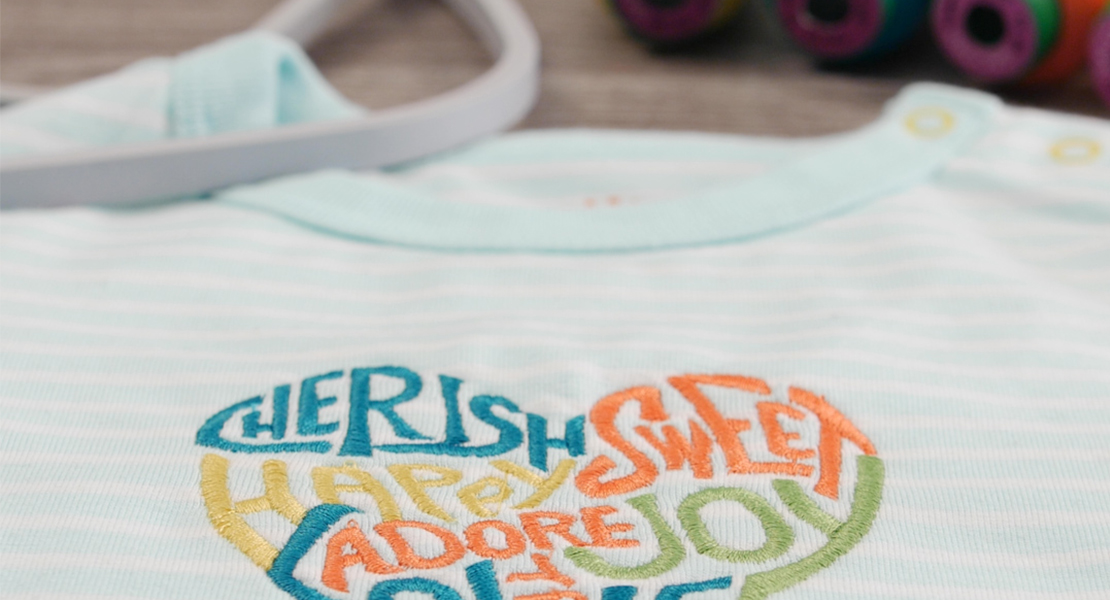
Step 4—Stitch the design
Select design to stitch out Mushrooms 82022-23 (Sage 82022–07). Follow the thread chart to embroider the design on the background fabric and begin embroidering the design. Remove the hoop from the machine when the design is complete.
Step 5—Press fabric
Remove fabric from the hoop. Remove stabilizer per manufacturer’s directions Press with the embroidery side down using an OESD Pressing Cloth or OESD Ironing Board Cover.

Step 6—Apply Fusible Woven
Apply the Fusible Woven 11” x 22” (13” x 22”) to the wrong side of the canvas matching top edges and side edges. The fusible woven will help protect the design and support the basket side walls when complete.
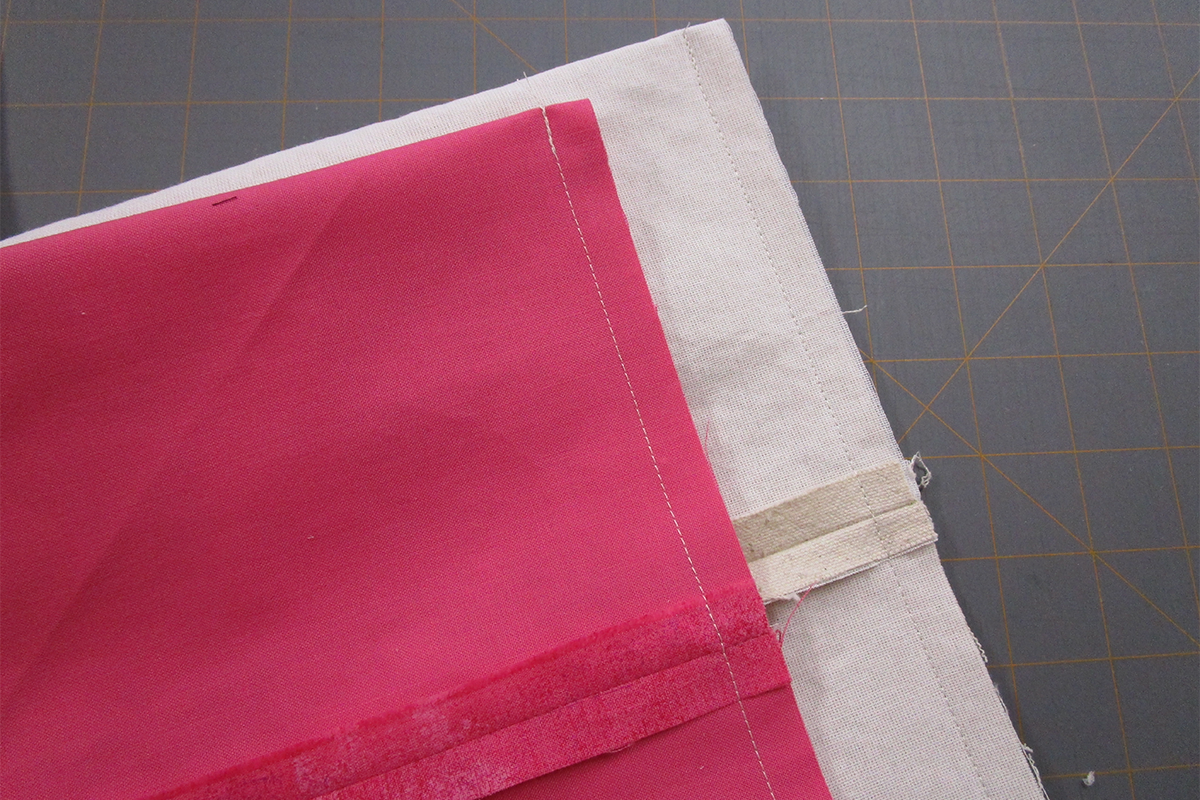
Step 7—Make tubes
Make two tubes, one canvas and one lining fabric, by stitching the short sides of the each of the rectangles together using a 1/2” seam. Press the seam allowance open.
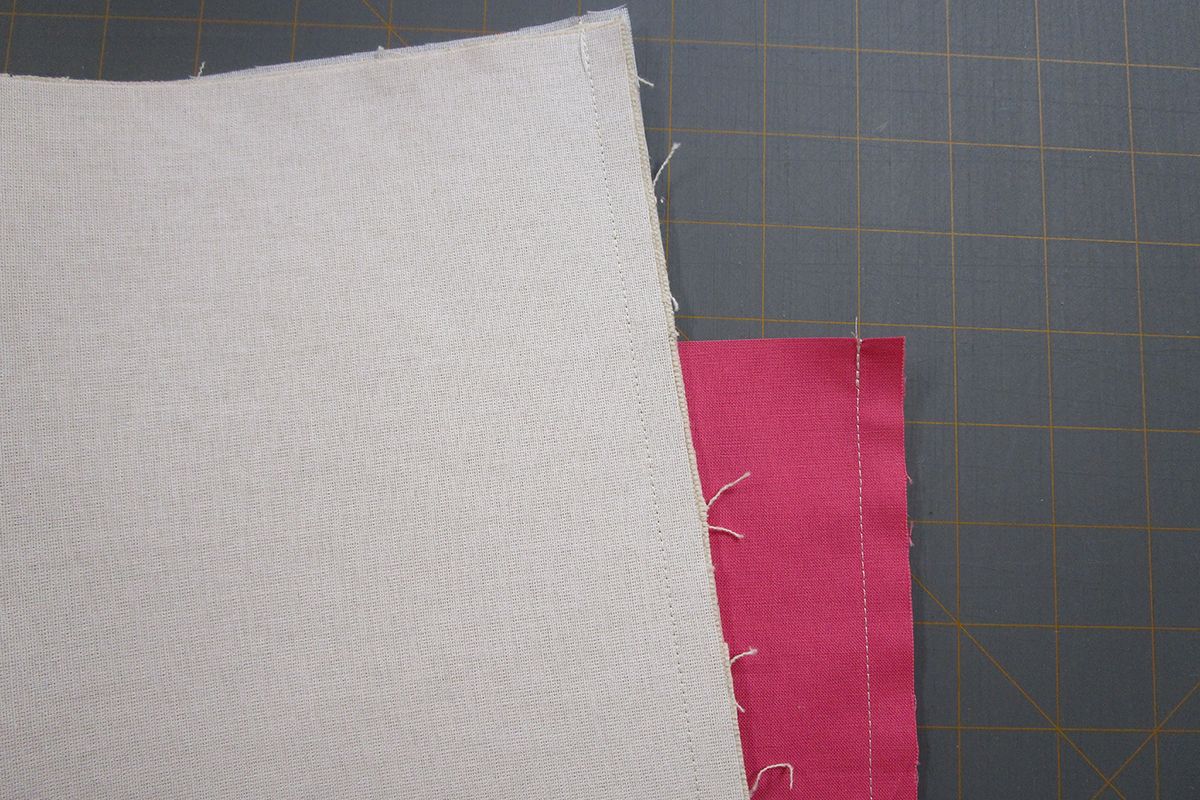
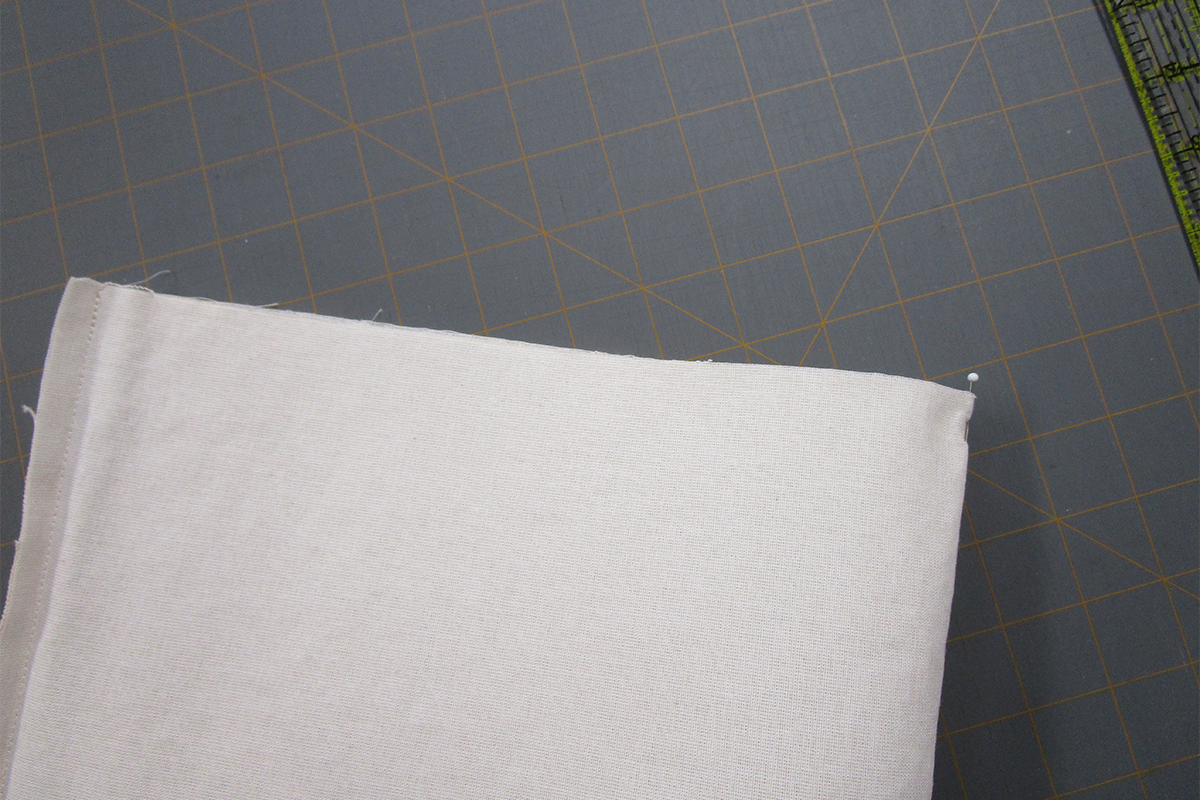
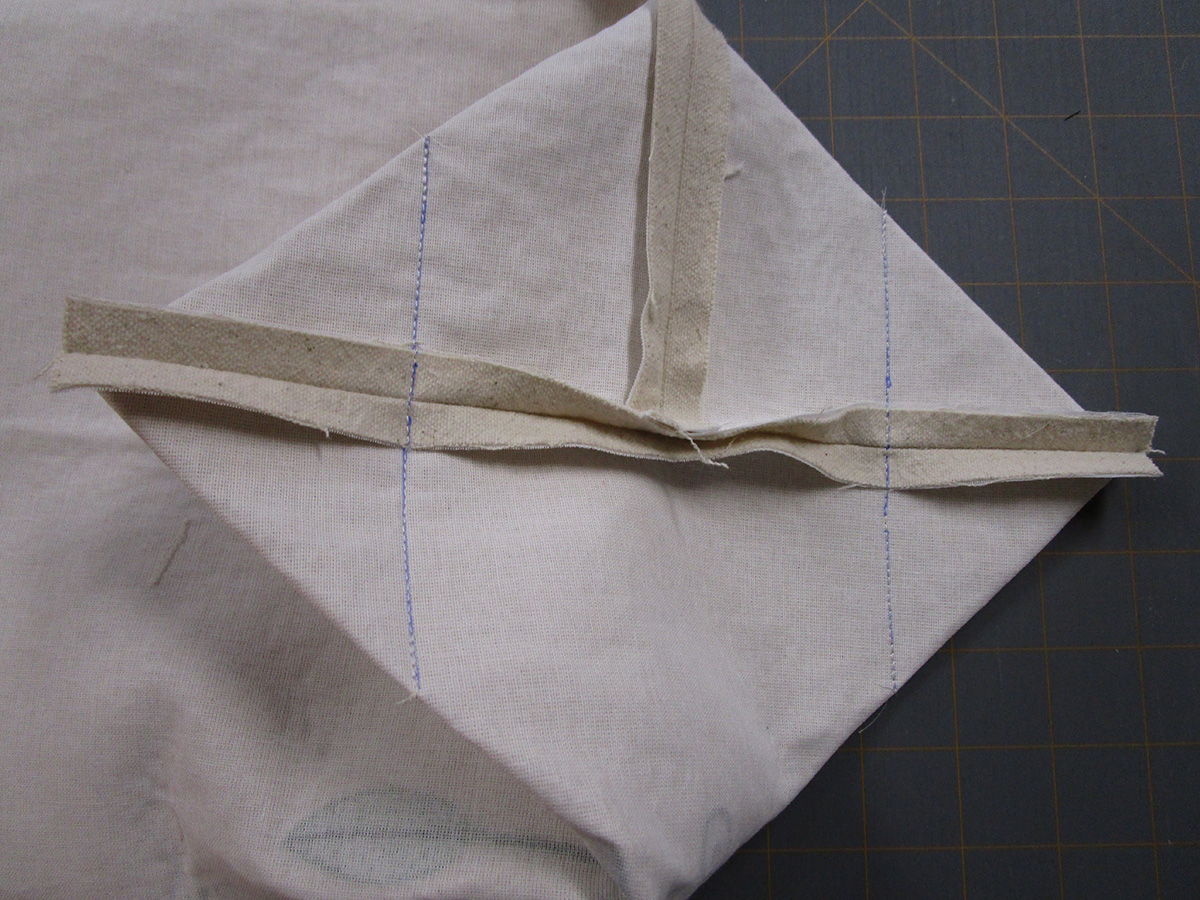
Step 8—Create base
Fold the pail in half with the seam on one side and place a pin opposite the fold.
Match pin to seam with sides out on each side. Pin in place. Repeat for lining.
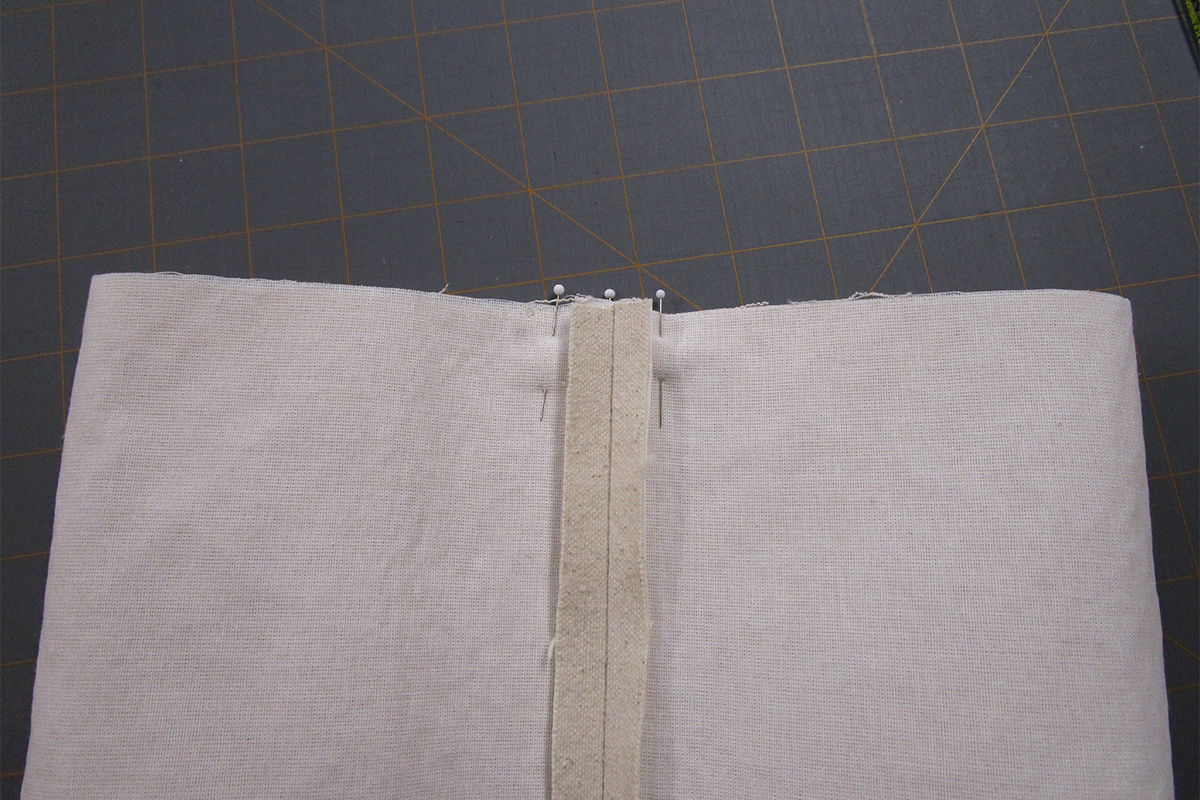
Step 9—Stitch base
Stitch across the bottom using a 1/2” seam allowance. Clip the seam open at the ends carefully up to but not through the seam. Repeat for lining.
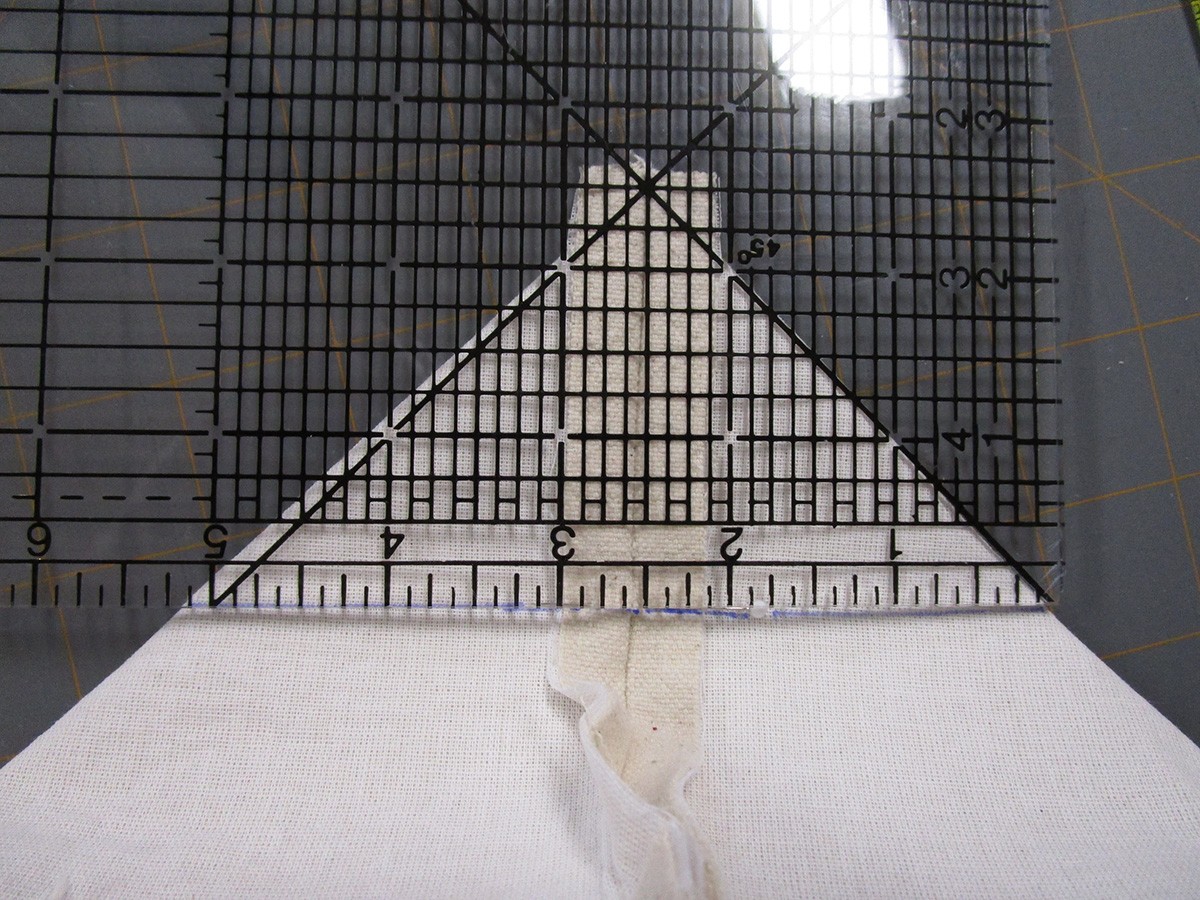
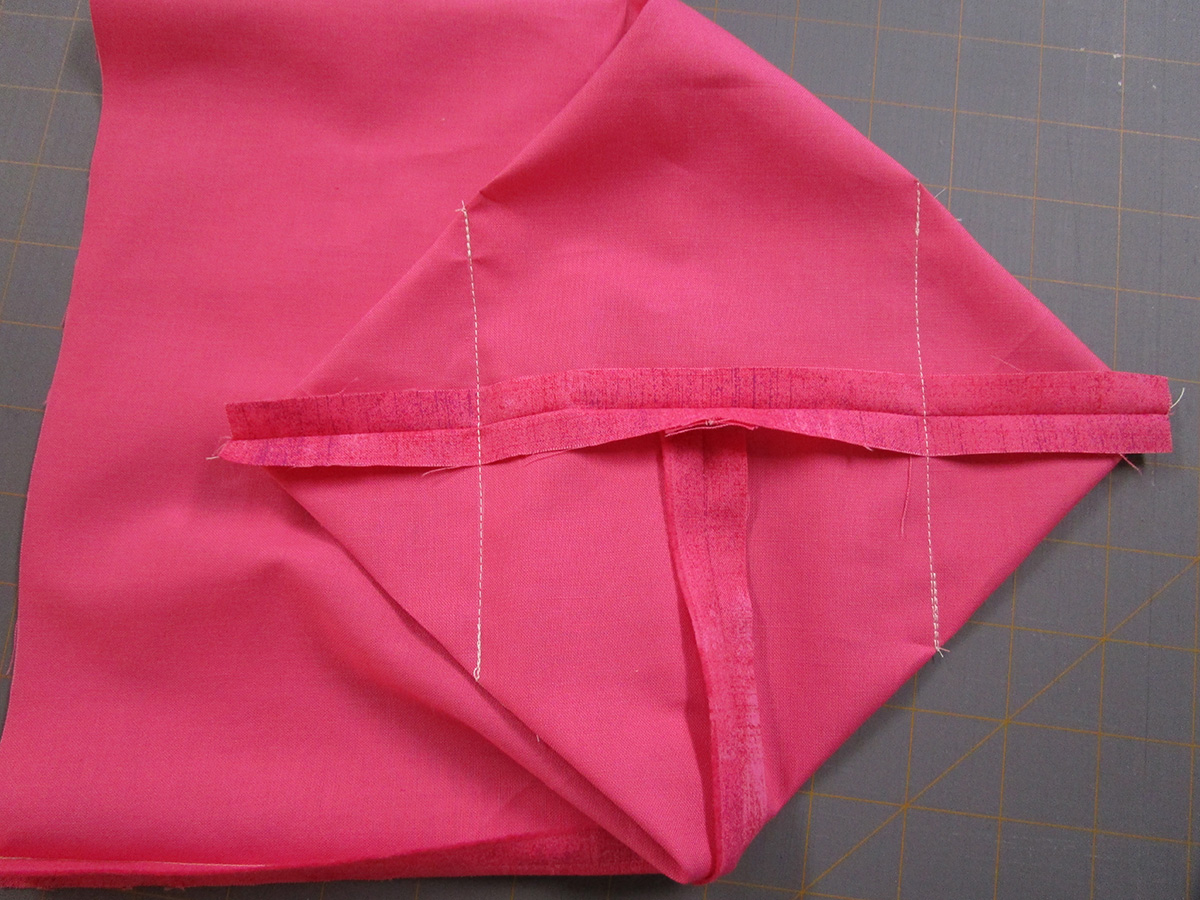
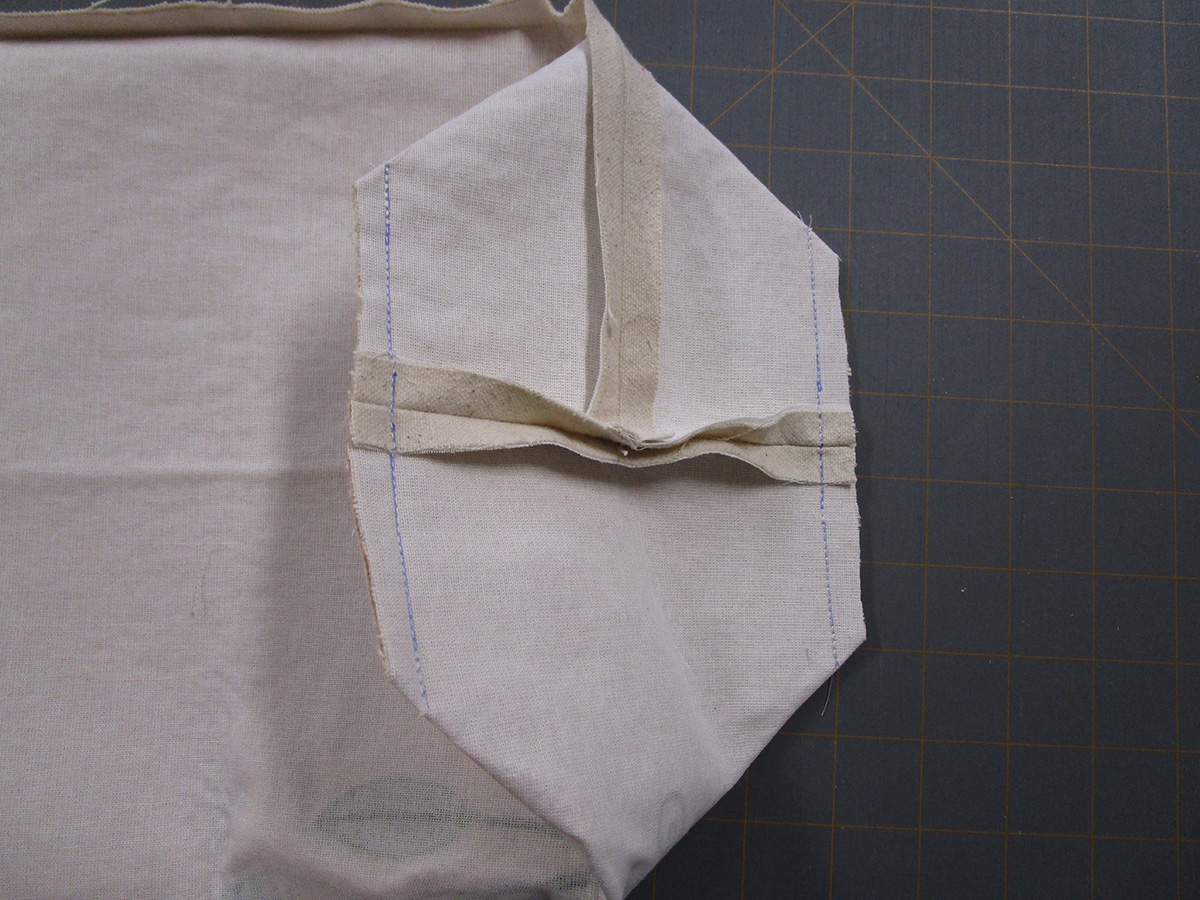
Step 10—Create corners
Make triangles with the corner edges by aligning the side folds to the bottom seam. Measure and mark lines where the triangle measures 3″ (5 1/4”). There will be 4 triangles created; 2 on the pail and 2 on the lining.
Step 11—Sew corners
Sew across the 4 triangles.
Step 12—Trim Corners
Trim the 4 corner edges to 1/4” seam allowance.
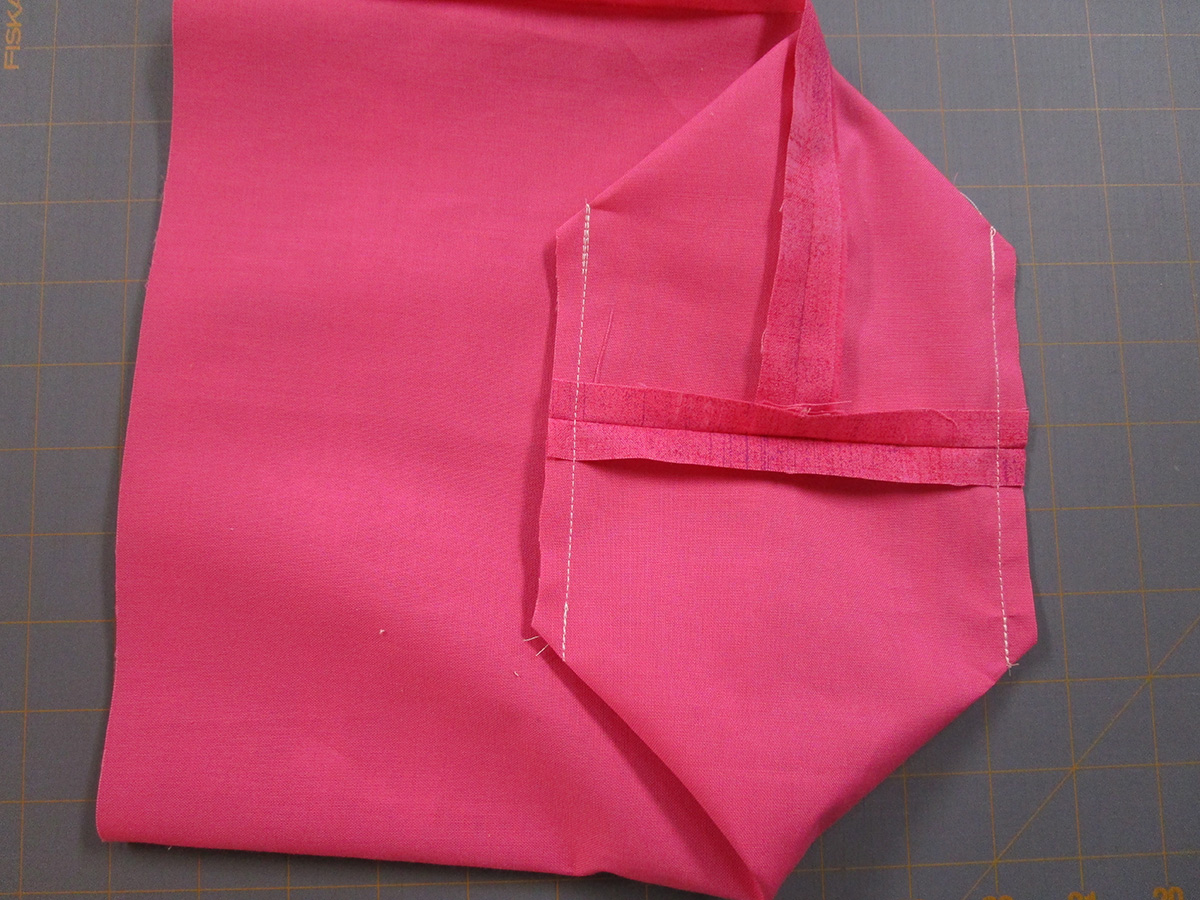
Step 13—Assemble the pail
Turn the pail lining right side out and insert into the exterior so that the right sides are together. Match center back seams and pin as needed.

Step 14—Stitch the pail
Sew a 1/2” seam allowance leaving a 3” opening for turning. Turn right side out through the 3” opening.

Step 15 – Finishing touches
Position the lining inside the bucket and press. Whip stitch or use method of choice to close the 3” opening. Top stitch around the top edge to keep the edge from rolling.
Step 16—Enjoy!
Turn down top edge to create a cuff, fill, and enjoy.


What you might also like


4 comments on “Embroidered Fabric Basket Plus Free Embroidery Design”
-
-
It looks like the Mushroom design is 13 x 22, but the instructions have the Sage design in parenthesis with the larger measurements. Pretty cute little project.
-
Love this project. I want to make a litter pail for use in my car. Thank you for posting this.
-
The measurements are for the mushroom pail, and those in parenthesis are for the sage pail. So the mushroom is the 11×22” and the sage is the 13×22”.
Leave a Reply
You must be logged in to post a comment.

What measurement do I use to make the basket using the pink mushrooms?