Applying a Fabric to a Design in BERNINA Embroidery Software 8
If you have been embroidering for a while, you probably have noticed that a design sometimes stitches fine on a plain cotton fabric, but doesn’t do as well on a t-shirt or a towel even though you are sure you used the right stabilizers every time. The reason is simple and basically two-fold:
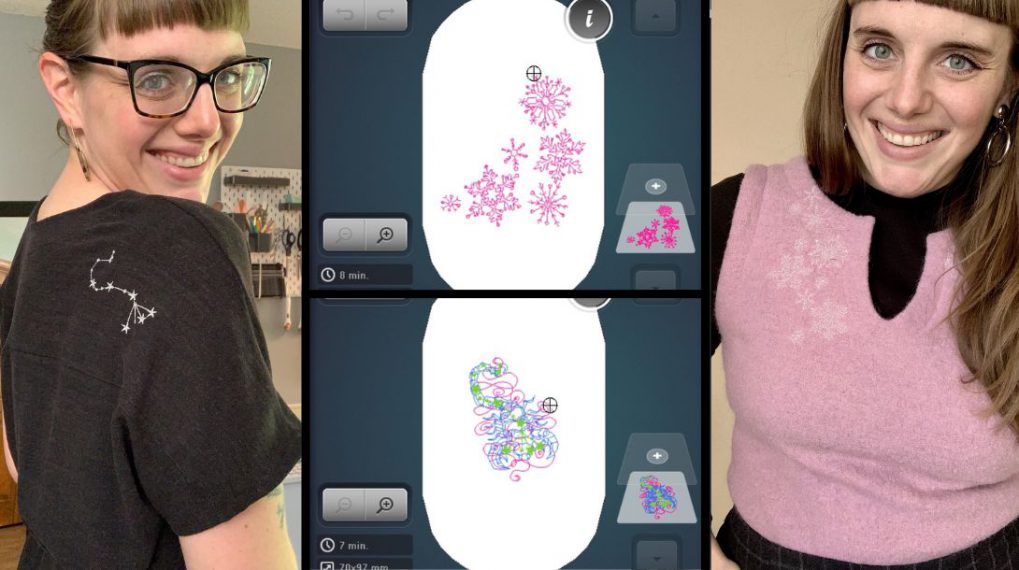
- Was the design suitable for the intended fabric base? A good example of unsuitability would be trying to do a very dense and large design on a light-weight knit like a t-shirt.
- If the design is generally suitable for the intended fabric, the other more common issue is that the design was created with a different fabric base in mind. Typically, a design comes ready to use on a light-to-medium woven unless if it is specifically created for a fabric and application in mind. For example, a monogram created for terry towels will ideally have the right stitch density, underlay, etc. for the intended fabric base.
How to apply a fabric to a design
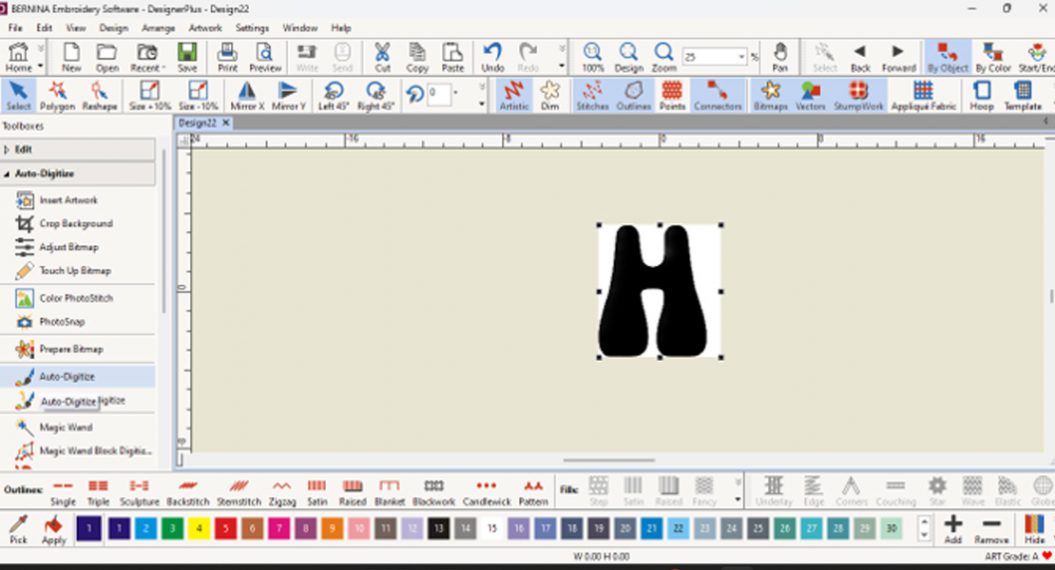
The process is very simple. With a design open on screen
- Use the Design > Fabric command
- The following dialog box will open:
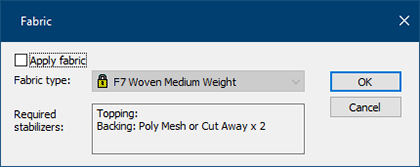
- All you have to do now is check in the option to Apply fabric
- This will enable the drop-list with the choice of 8 preset fabric types and weights:
- F1 Knit Light Weight
- F2 Knit Medium Weight
- F3 Knit Heavy Weight
- F4 Terry Medium Weight
- F5 Terry Heavy Weight
- F6 Woven Light Weight
- F7 Woven Medium Weight
- F8 Woven Heavy Weight
- Select the fabric type/weight that most closely matches your intended project base.
- To help you be successful, the dialog box will recommend the proper stabilizers for the type of fabric and weight you selected.
NOTES:
- The letter F in the fabric name (e.g. in F1) does not refer to the F-keys on your keyboard. It stands for ‘fabric’.
- The padlock to the left of each entry in the list signifies that the fabric ‘definition’ (with its settings) is locked and cannot be changed here. Fabrics and their settings can be managed separately (see below in this article).
What Happens When You Apply a Fabric to your embroidery design
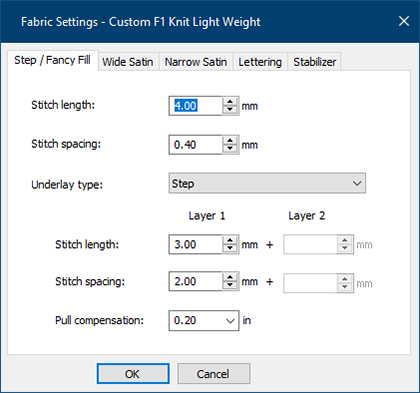
The following stitch settings are affected:
- Step fills: stitch length and spacing between rows of fill
- Satin Stitching: spacing within the satin stitch
- Underlay: settings vary for layers 1 and 2
- Pull Compensation: increased in most cases, compared to the default value of 0.2 (typical of a medium woven setting)
Once you select the fabric to apply, the following dialog box will open:
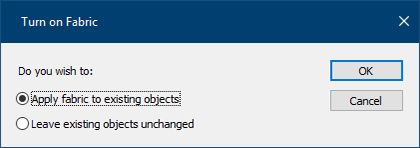
This gives you the option to apply the fabric-related settings to all objects already in the design file or to leave those unchanged and apply the fabric settings only to objects created after the fabric is applied.
TIP: When digitizing your own designs from scratch (e.g. a quilt label), it’s a good idea to select a fabric from the start, before creating objects. So if a design you opened came with its own special fabric settings, it’s a good option to use the second option to preserve the optimizations that were included with the original design.
Once you Confirm to turn on Fabric, the status bar will reflect the fabric you applied.
E.g. if selecting F2 Knit Medium Weight:
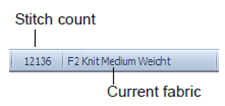
You will notice that the stitch count will likely change upon applying a fabric to a design, as expected.
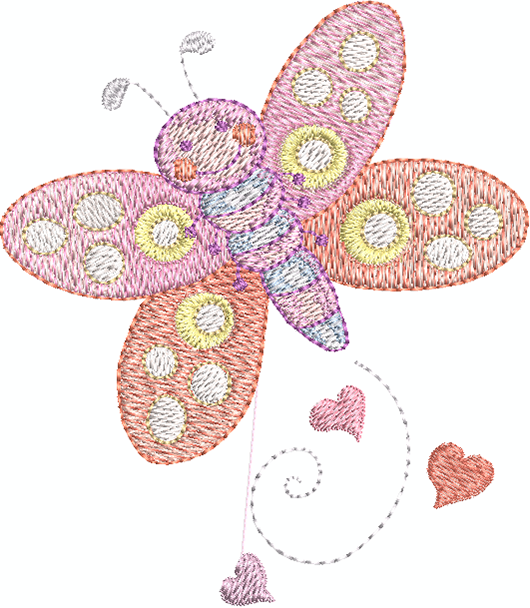
Here’s what applying a fabric to the design used in the companion video does to the stitch count:
- The design is CK909 from the Babies & Children folder of the included design library.
- When the design is opened as is (i.e. with no fabric setting applied manually), the stitch count is 13943.
- When opening the file and opening the Design > Fabric dialog box, you will notice that at the top of the list of fabrics is an entry labeled Custom Fabric – CK909.
- This means that the digitizer who created the design tested the file and tweaked some of the settings to optimize the stitch out.
- Unless otherwise specified, a design is typically optimized for a medium woven fabric.
- If a design’s fabric settings were optimized, it is a good idea to leave it as is and not override the fabric settings, unless it is to be stitched on a completely different type and/or weight of fabric
- A good reason to purchase designs from a quality digitizing firm like EmbroideryOnline.com is that each design is tested and its settings fine-tuned to produce a quality result when stitching it out.
- If changing the fabric choice for this design (and applying to existing objects), the stitch count will change accordingly:
- F1 Knit Light Weight 15034
- F2 Knit Medium Weight 14924
- F3 Knit Heavy Weight 16358
- F4 Terry Medium Weight 16536
- F5 Terry Heavy Weight 16537
- F6 Woven Light Weight 13356
- F7 Woven Medium Weight 15747
- F8 Woven Heavy Weight 14875
Note that how much the stitch count varies depends on the number, types and sizes of objects in the design. I don’t worry about how much the stitch count changes, I just let the software do the math and the magic for me.
For more information about the various settings affected by fabric type/weight, consult the Working with fabrics section of the reference manual.
TIP: The reference manual is a PDF file, and while you have it opened on your computer, use the Save As command to save it to a cloud drive. If you have a tablet (e.g. iPad or Android), you can then download and save the manual to your tablet for easy consultation. Having the manual saved separately makes it easy to search for a topic even when the embroidery software is not opened on your computer.
How to Manage Fabrics Yourself
You can create your own fabric definition in BERNINA Embroidery Software 8, using the Settings > Manage Fabrics command. The following dialog box will open:
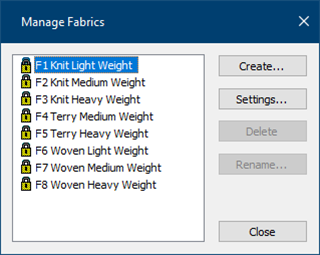
If you click on Create, and you can create your own fabric.
- Note that the original 8 fabrics are locked and cannot be edited. (It’s a good thing!)
- When creating a fabric, you can base it on an existing fabric definition.
- Various settings are available for you to tweak. Just edit the values and click OK at the end.
- This can be useful to adapt the settings from a basic fabric type/weight when you have a special application in mind. Personally, I’ve never had to create my own fabric as I rely on the existing 8 default definitions already in place. Still, it’s nice to have the option.
- Once a custom fabric is defined and saved, it can be edited, renamed or deleted if no longer needed.
So in Short…
While the explanation above is rather lengthy, the use of this wonderful feature in BERNINA Embroidery Software 8 is very simple. When planning on stitching a design on a different fabric (say, other than a medium woven), simply apply the target fabric to the design and test it out on your fabric.
Some Practical Tips
- Consider the type of fabric, size and density of the design to determine if it’s suitable for the intended project/fabric base.
- Applying a fabric type is the best first step. Yet, it may not be enough. Stabilizer(s) and underlay stitching need to be considered also.
- Knits don’t support embroidery stitches as well as woven fabrics. Scaling down size and density tends to help.
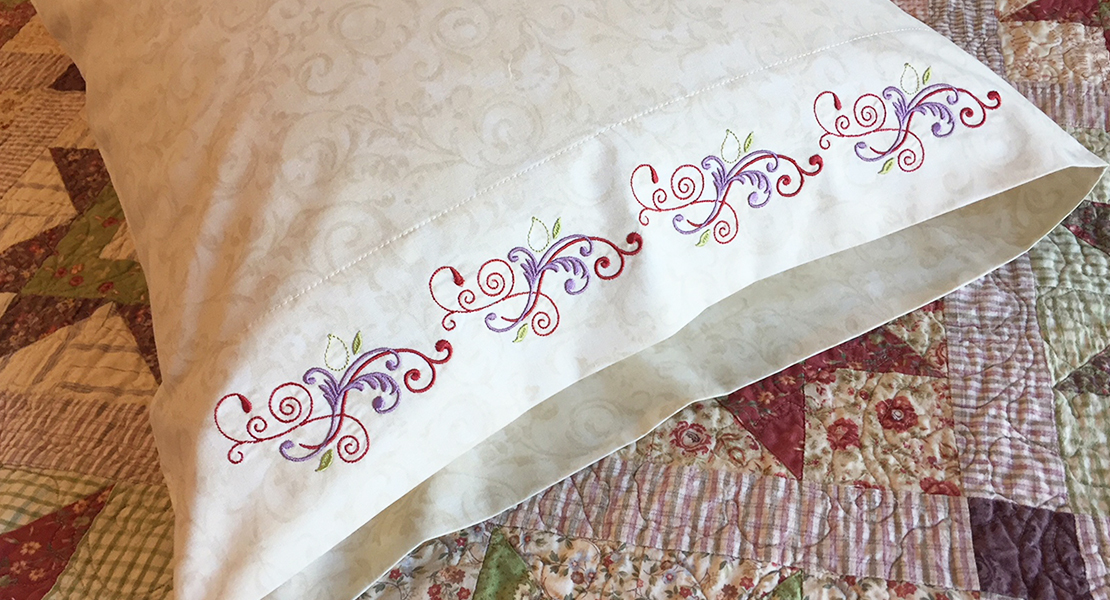
- Terry towels require particular attention as they pose a double challenge:
- Their fabric base is actually a loose weave, which allows the terry loops to go through the base weave.
- The thick pile formed by the loops makes it more difficult for embroidery stitches to cover the terry loops evenly and completely. Again, a backing stabilizer combined with underlay stitches and a topping (usually a water soluble product like OESD StitcH2O).
- Luckily, your Embroidery Software 8 makes it easy to add underlay, change density, etc.
- Woven fabrics typically support embroidery better. However, a lightweight woven will require more stabilization, possibly including fusible stabilizers for a stronger backing, especially with larger, denser designs.
Final words of wisdom… Always test first!


What you might also like


5 comments on “Applying a Fabric to a Design in BERNINA Embroidery Software 8”
-
-
This is really good information. I have V7 software. Can I apply this to V7 or is this exclusive to V8?
-
This feature was available in V7. You’ll want to review your manual for details on how it will work in that version.
-
-
I’ve been experimenting with marine vinyl, and would like to add it to my fabrics. Does anyone have some ideas on what would be good default settings For this?
-
I wouldn’t mind having the version 8 but the dealer here where I live retired and closed her shop. The next closest shop is in Montgomery and that is 80 miles away from me.
Leave a Reply
You must be logged in to post a comment.

Wow, this is great information. Will make a lot of difference on how I manage my files, designing and thinking about the types of material the designs will be applied. Thank you and keep the info coming!