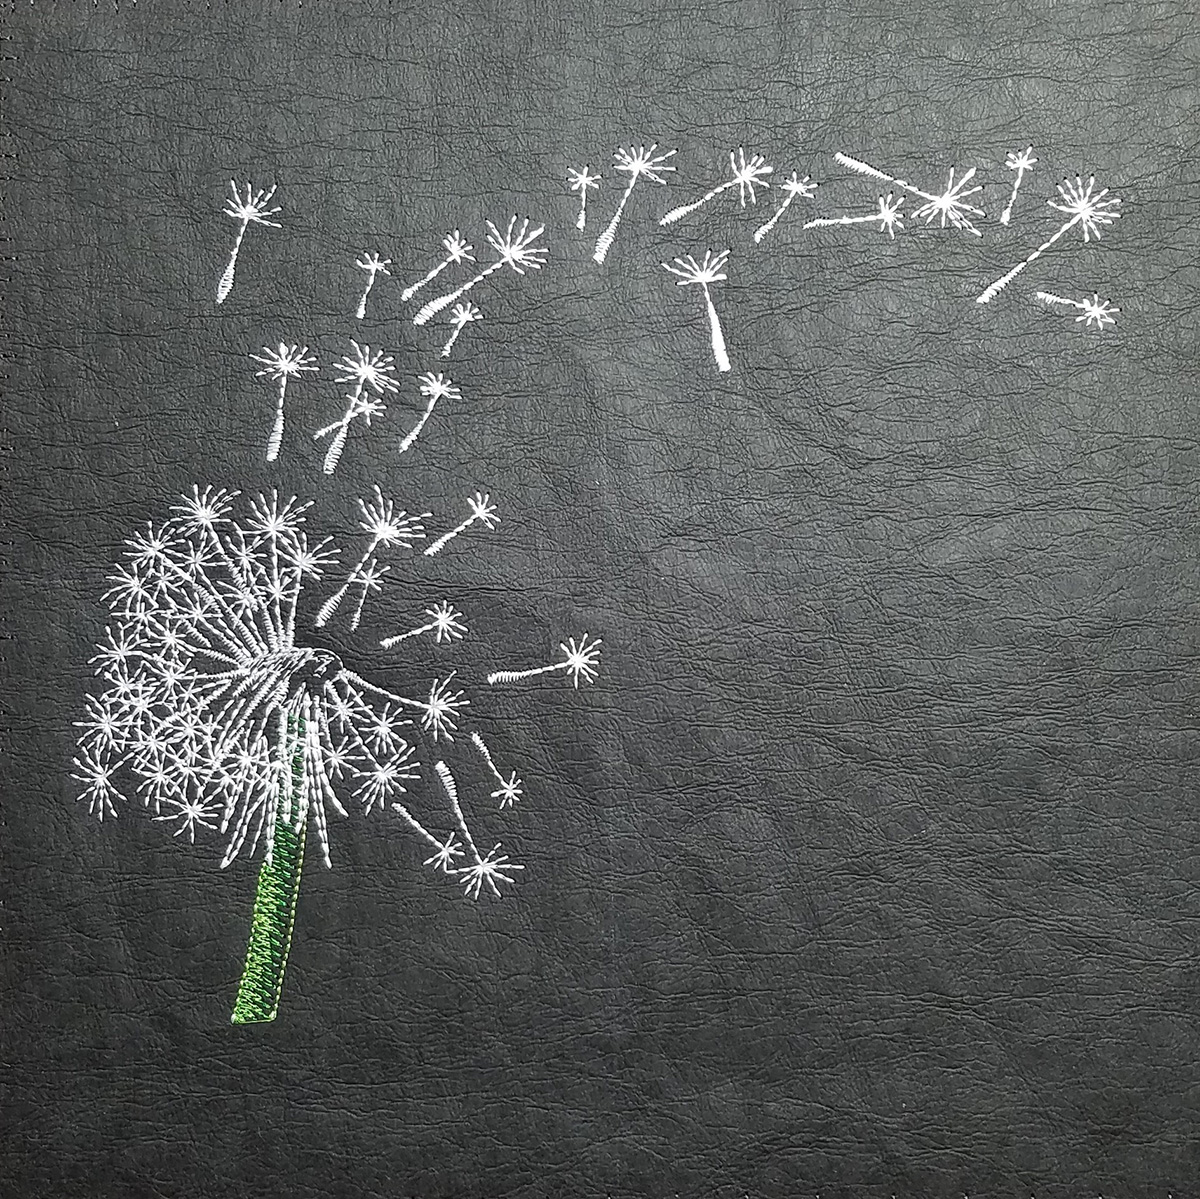
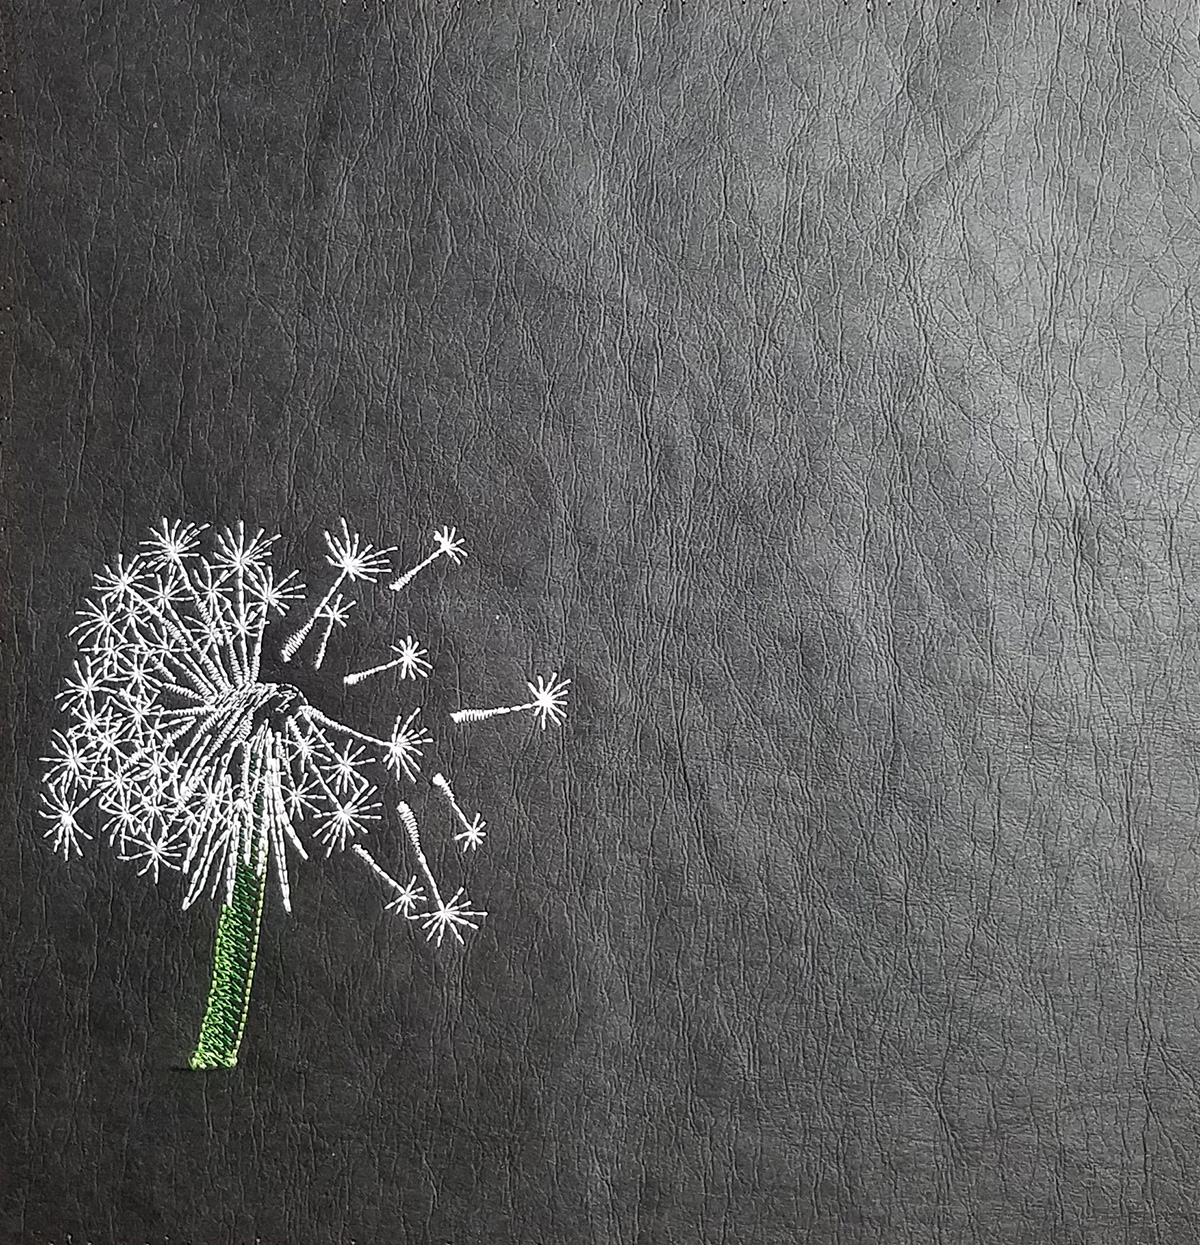
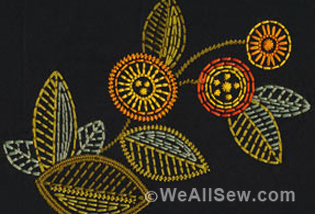
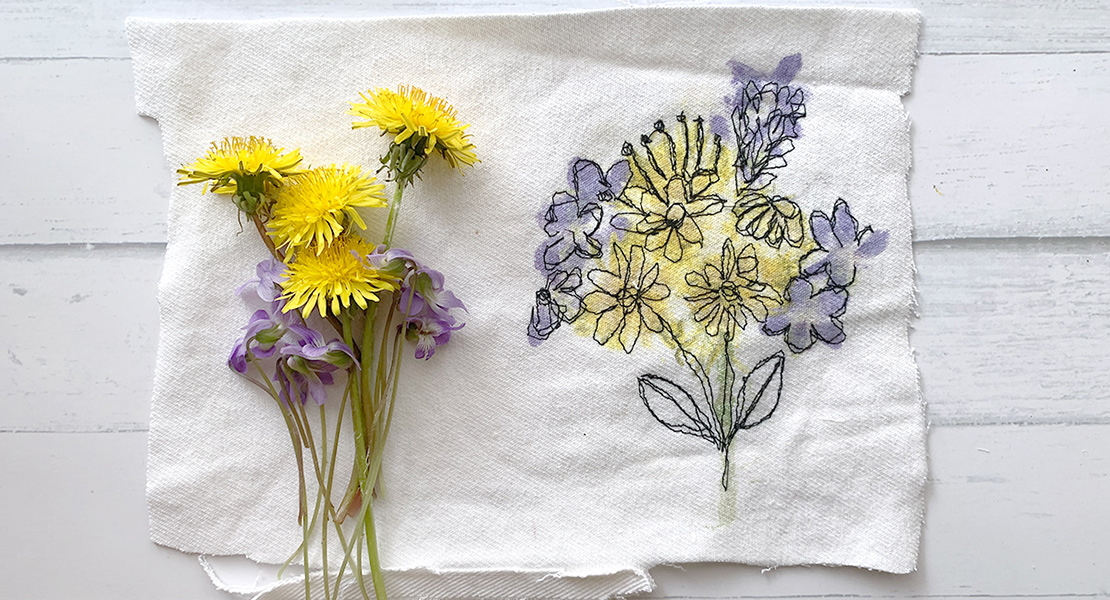
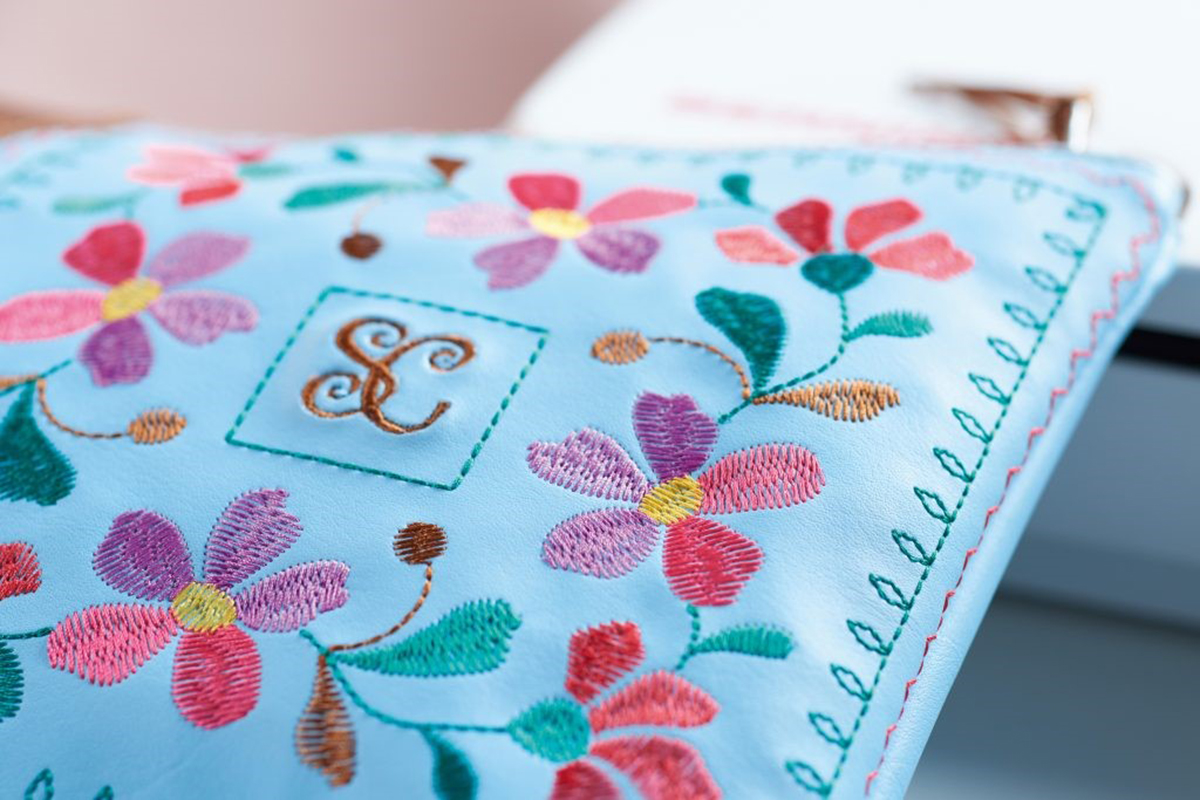
Embroidering Dandelions Plus Free Embroidery Design

This project uses a design included in the new BERNINA Exclusive Embroidery Collection Handcrafted Monograms #80294. Specialty fabrics, BERNINA Embroidery Software 8.1 and features on the BERNINA embroidery machine make this project easy and fun to complete.

Materials to Make a Dandelion Wall Art picture
- Download your free Dandelion embroidery design from the Handcrafted Monogram collection here
- Stabilizer
- StabilStick TearAway Stabilizer
- OESD Expert Embroidery Tear Away Tape
- Threads – Isacord
- 0010 Silky White
- 2152 Heather Pink
- 4752 Vintage Blue
- 5510 Emerald
- 5610 Bright Mint
- 1 yard black Kraft-Tex (19″ x 1.5 yd.), cut into 3 – 11″ x 11″ squares
- 1 yard Faux Leather (36″ x 45″)
- Batting – 18″ x 45″
- Chalk marker
- BERNINA embroidery machine
- BERNINA Maxi Hoop or larger
- BERNINA Embroidery Software 8.1
- 505 Temporary Spray Adhesive (optional)
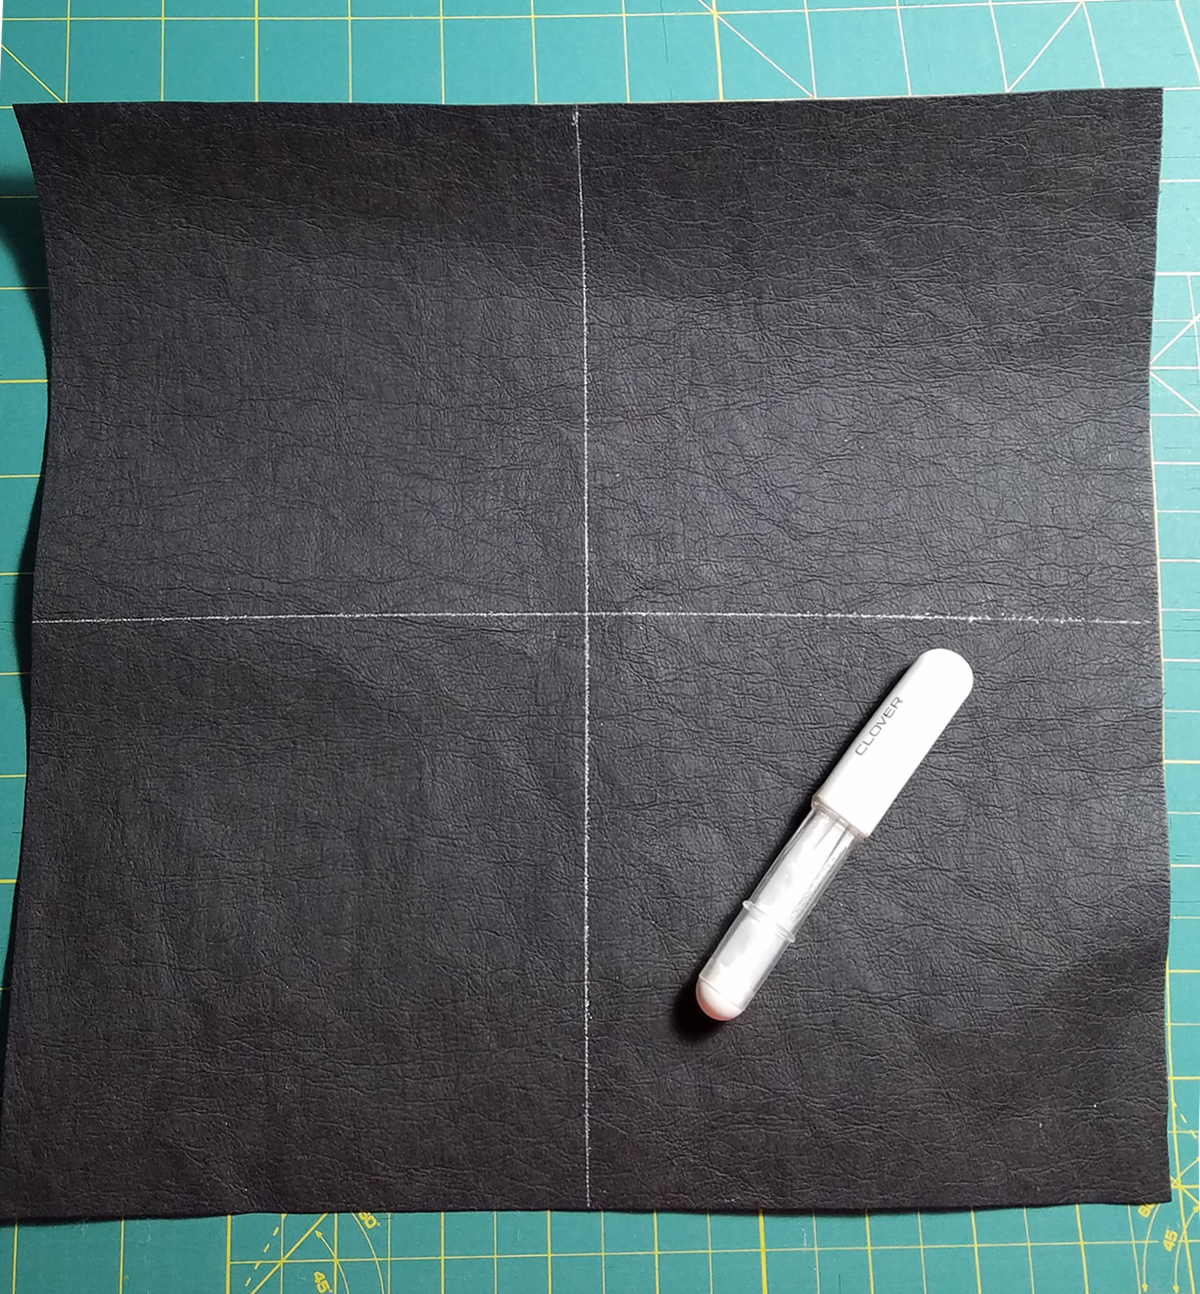
Step 1
Mark the horizontal and vertical center of each 11″ square of Kraft-Tex using a chalk marker.
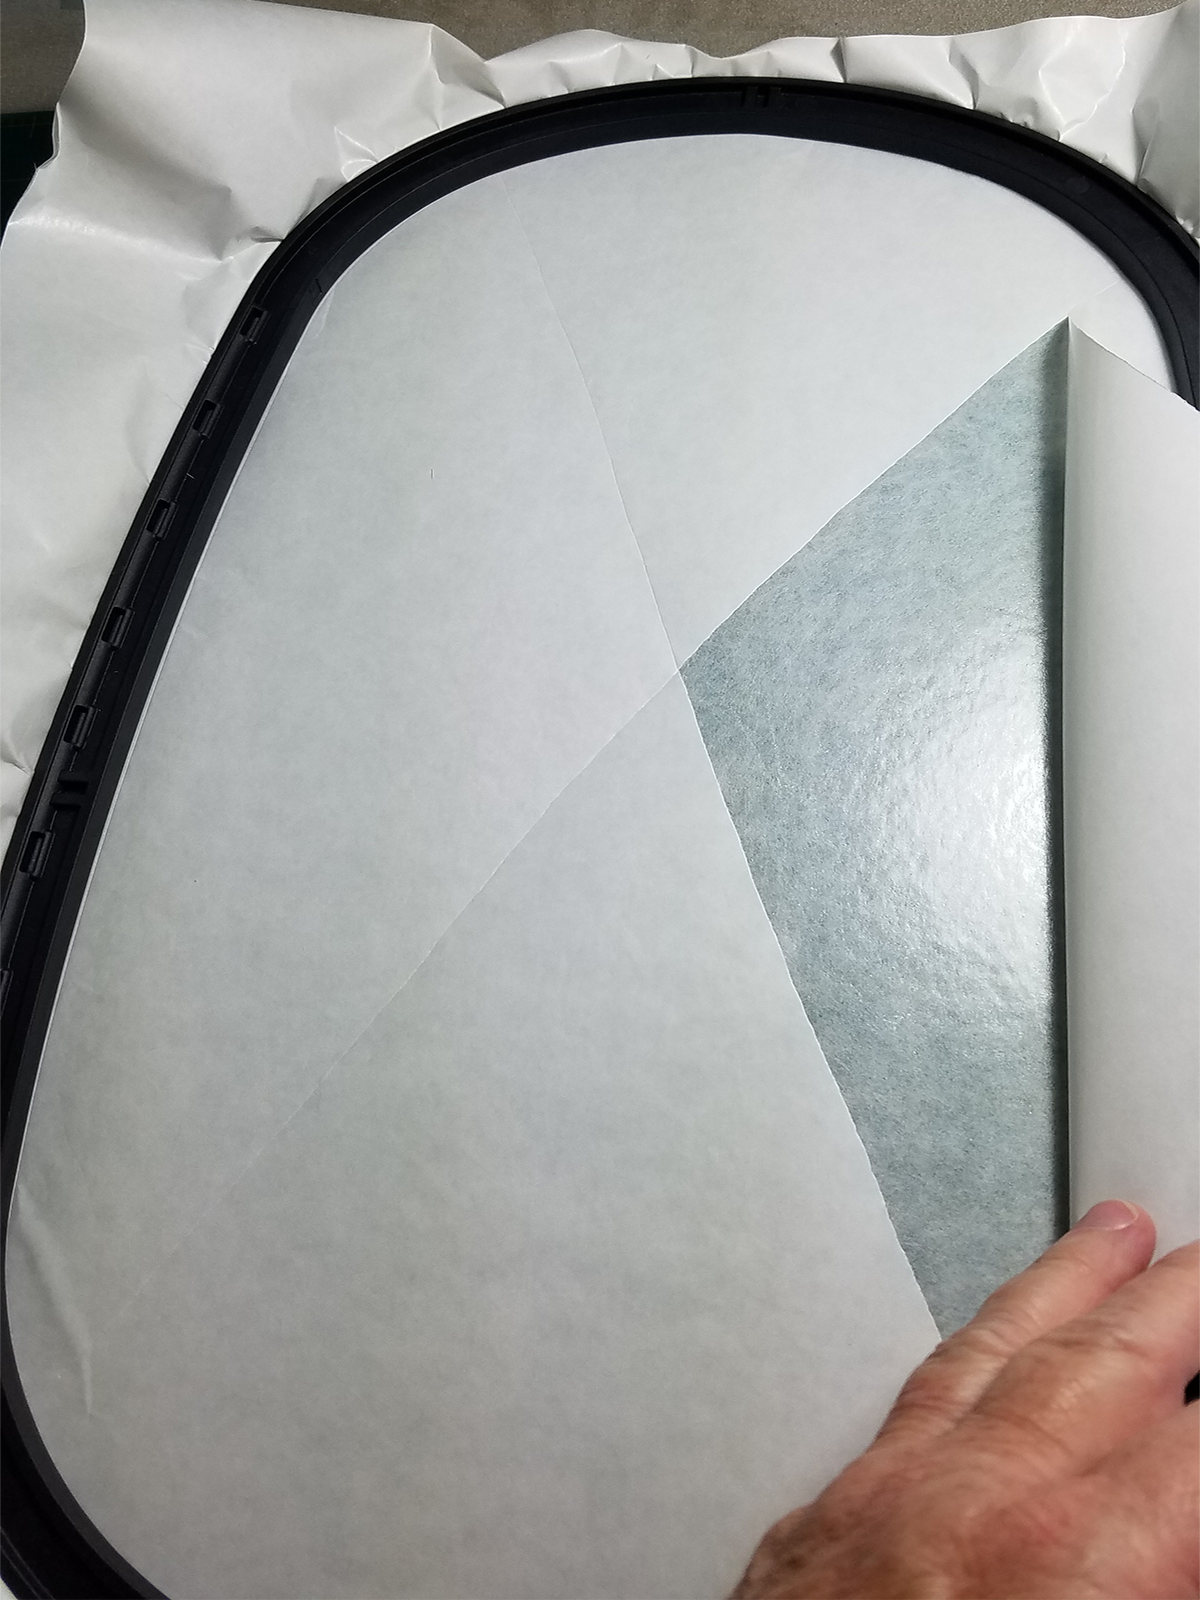
Step 2
Hoop StabilStick TearAway Stabilizer paper side up and score paper inside of hoop. Tear paper away to expose sticky side of stabilizer.
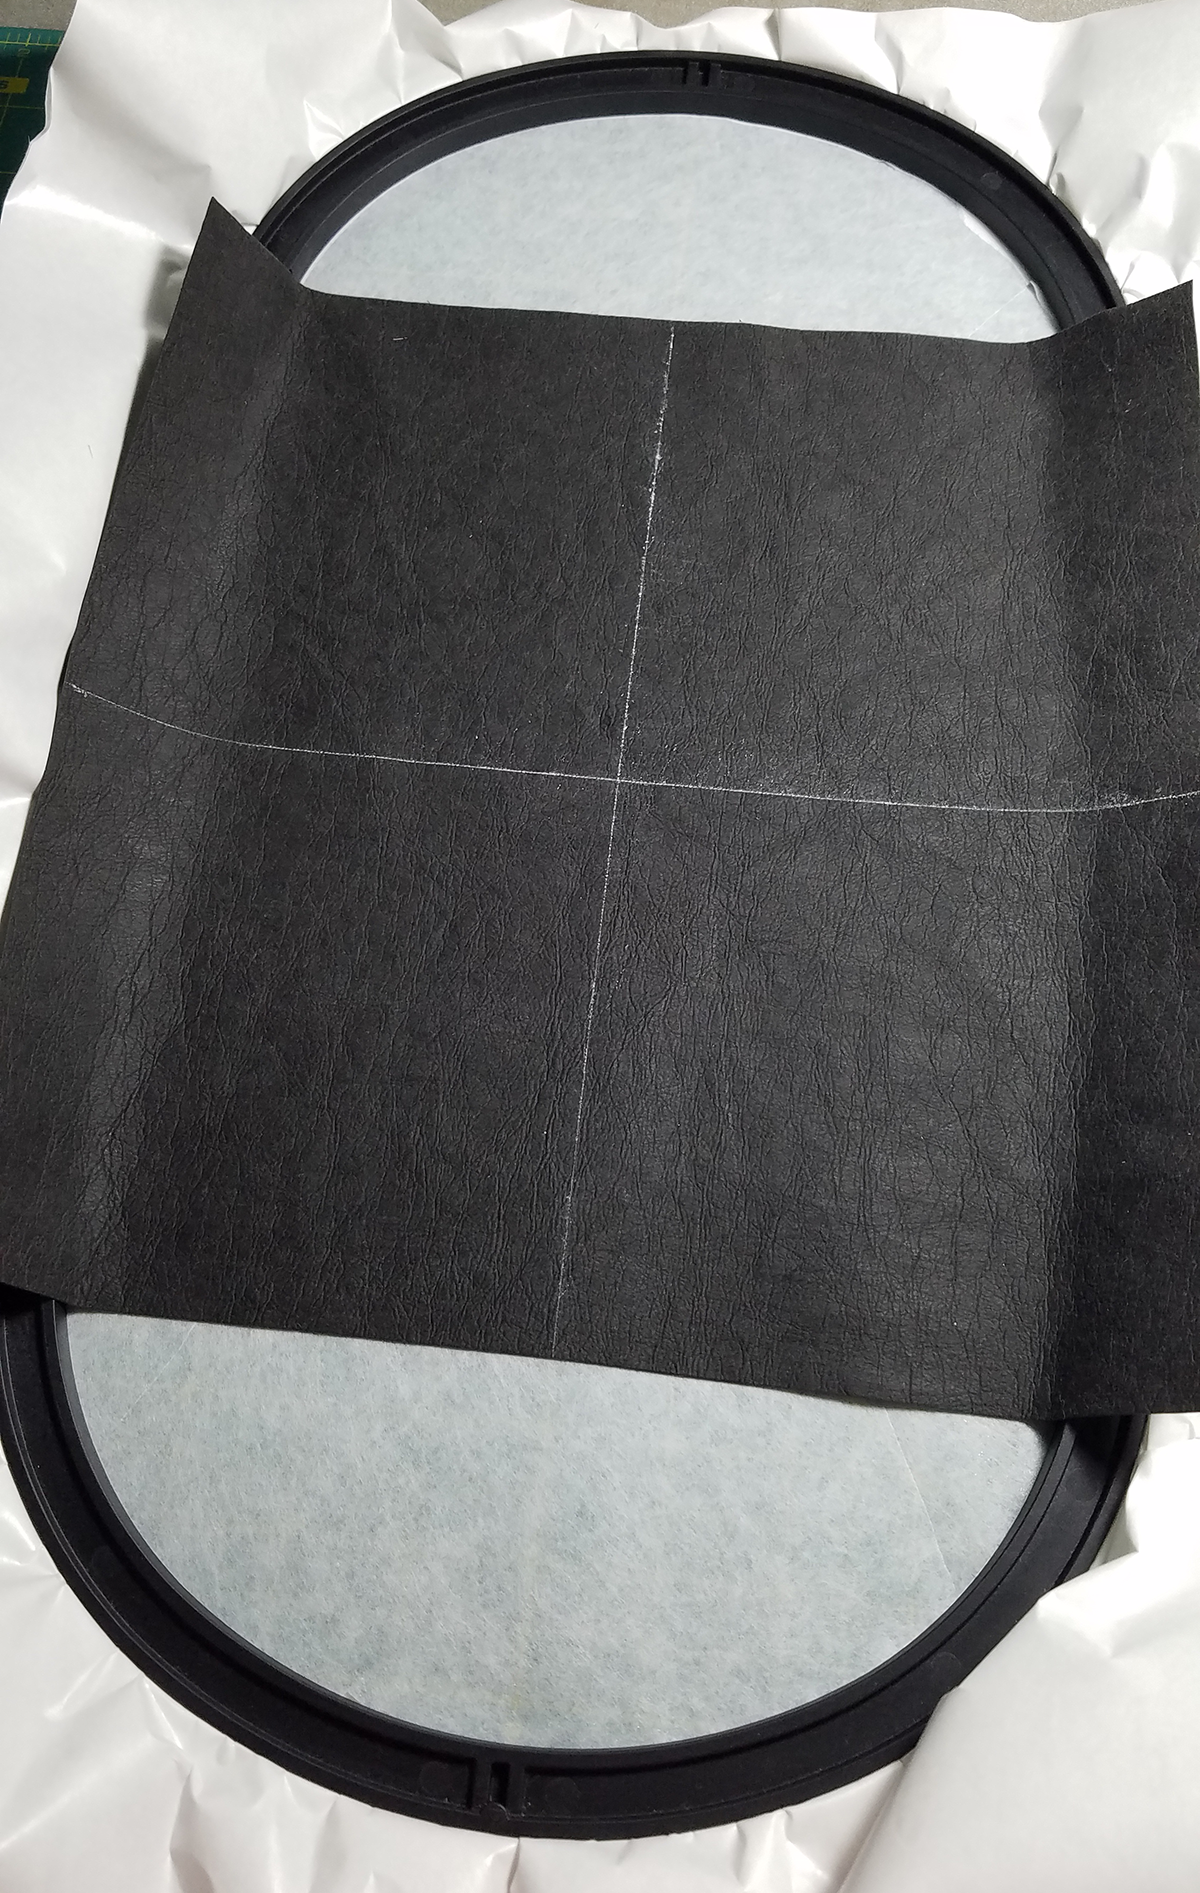
Step 3
Position one Kraft-Tex square in center of hoop using marks and/or hoop template.
Step 4
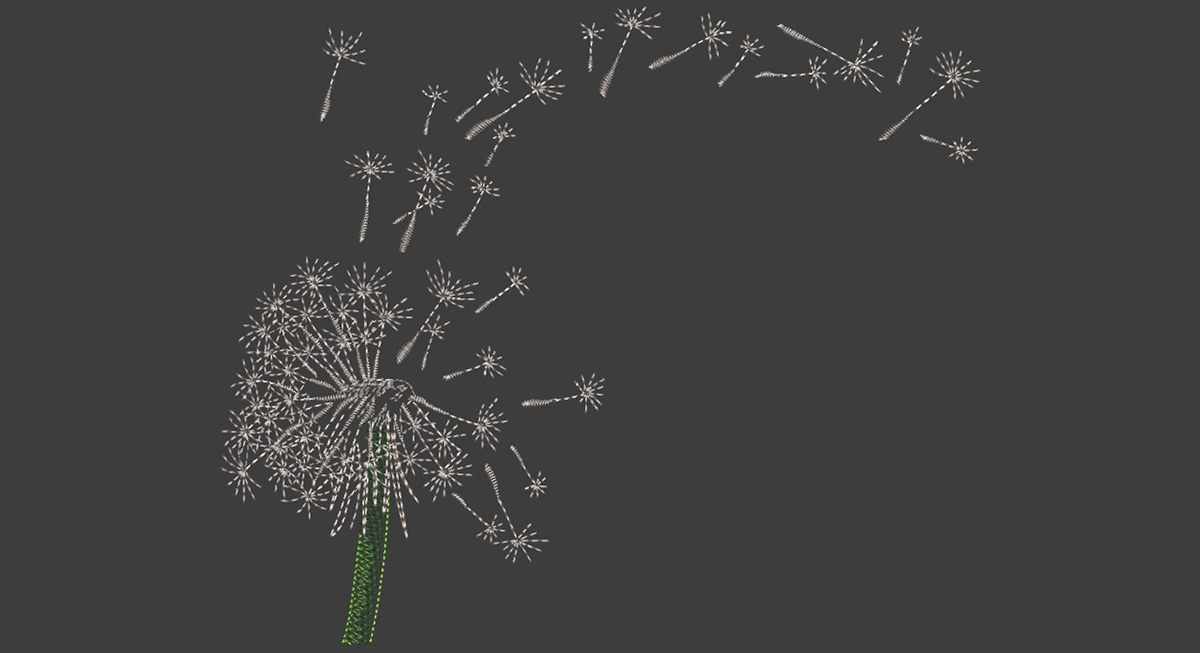
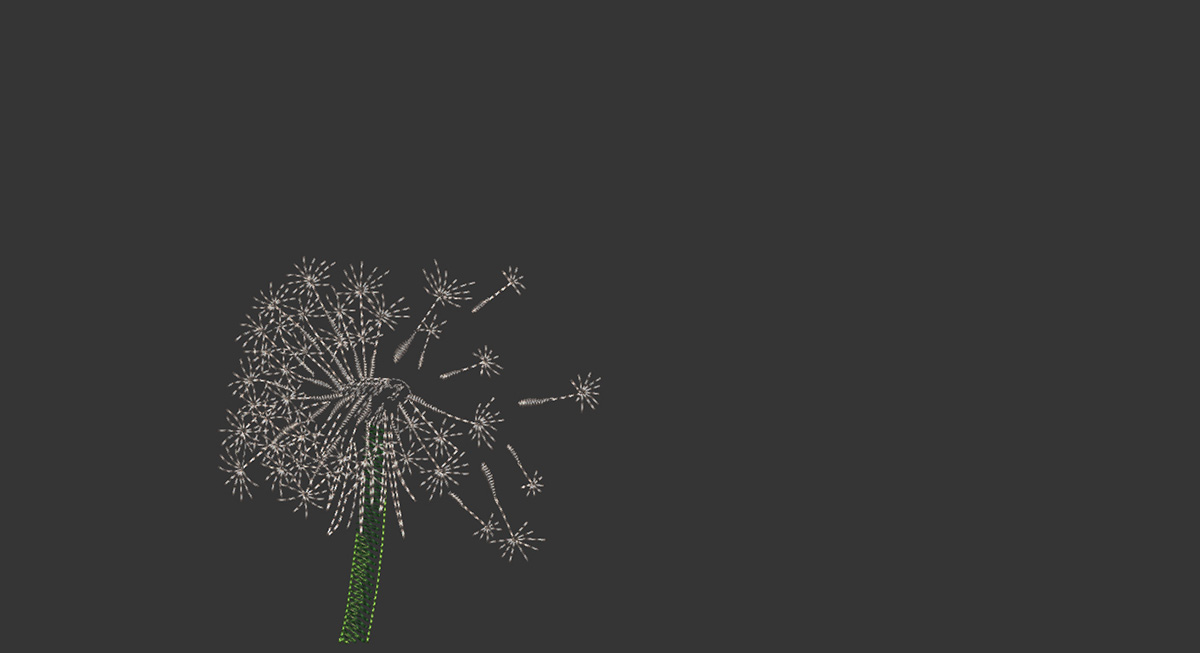
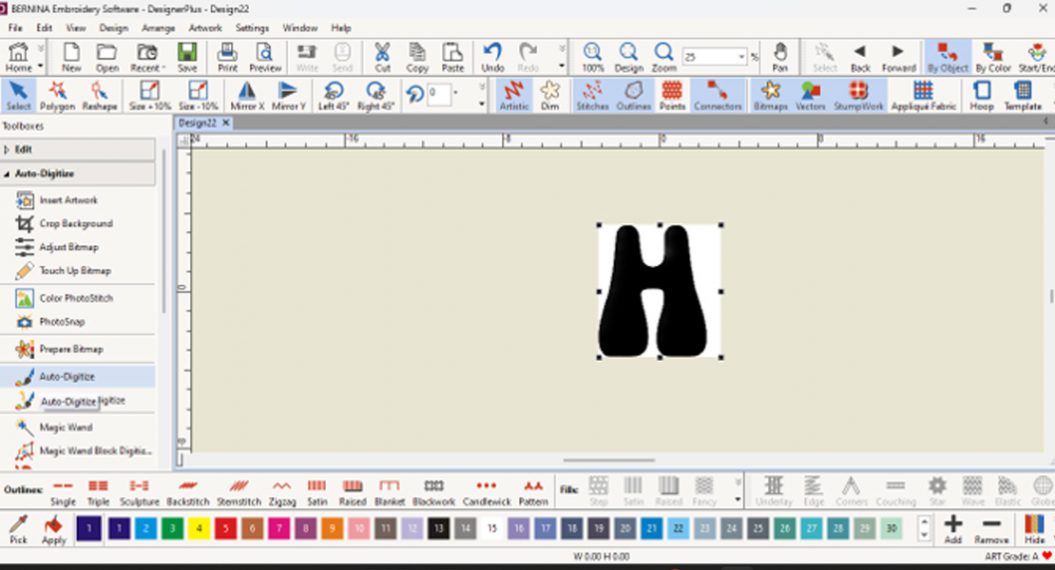
In software, retrieve pattern 80294-75. Remove bottom flying dandelion pieces and words. Save as a different file name than original, i.e. 80294-75a.
Step 5
While second file is still retrieved on the screen, remove top flying dandelion pieces. This will leave just the flower itself. Save as a different file name, i.e. 80294-75b.
Step 6
On machine, retrieve original file (80294-75) and stitch on the first square hooped square, changing colors as suggested. Remove from hoop. Trim stabilizer to size of Kraft-Tex square.

Step 7
Repeat Steps 2 and 3 to hoop a second 11” square. Stitch the second design created in Step 4 (80294-75a). Do NOT remove from the hoop.
Step 8
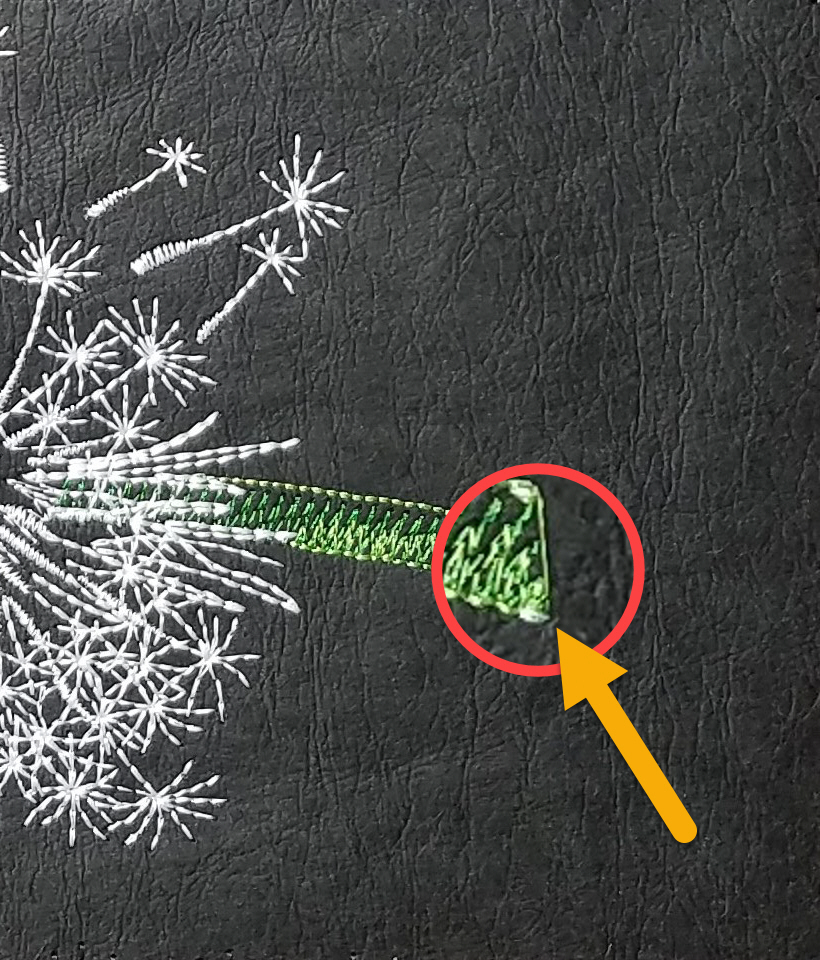
While second design is still in hoop and attached to machine, retrieve last design created in step 5 (80294-75b). Using the Pinpoint Placement option on the machine, touch below the stem on flower (to the right, if the design has been rotated to fit the hoop).
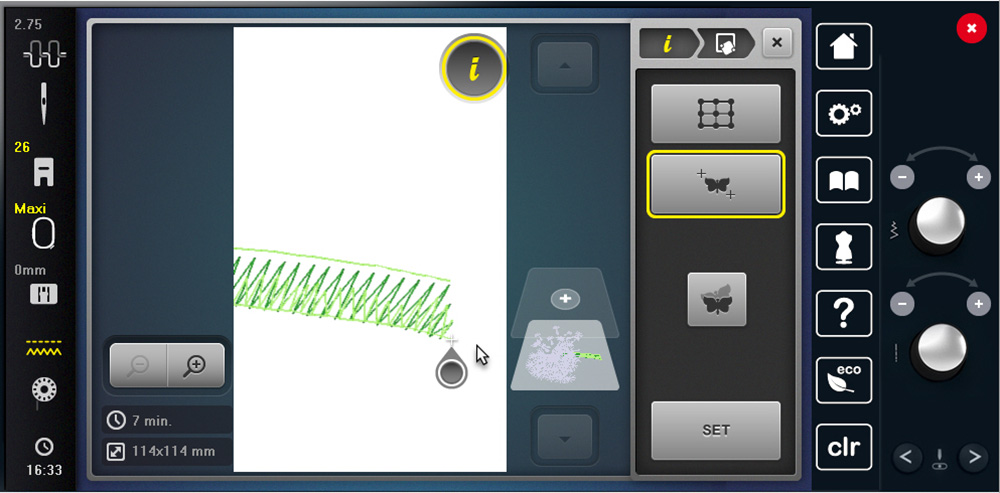
Use the Multifunction knobs (Stitch Width and Stitch Length knobs) to move the hoop until the needle is over the same stitch on the design in the hoop. Touch the Set icon. Close the Pinpoint Placement tool.
Note – When a design is opened, it automatically centers in the hoop. This design should stitch to the left side of the square in the same place it stitched in the first two designs.
Step 9
Once the design is lined up in the correct position, remove the hoop from the machine and remove design from hoop. Trim stabilizer to size of Kraft-Tex square.
Hoop another piece of StabilStick following Steps 2 and 3 to center last Kraft-Tex square in the hoop. Stitch last design that was positioned in Step 8. Remove from hoop and trim stabilizer to size of Kraft-Tex square.
Step 10
Cut the faux leather in half to create two pieces 18″ x 45″. Put one piece aside; it is the backing for the wall-hanging.
Trim the other piece to 36” x 13”. Then cut out the inner 10” squares as shown in the diagram. Cutting the squares from the inside areas creates frames for the Kraft-Tex blocks.

Step 11
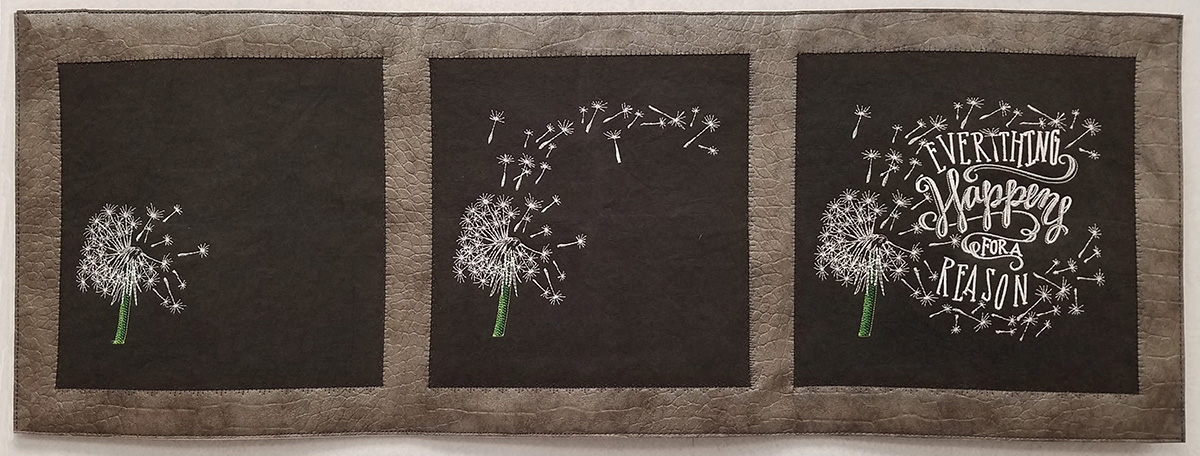
Tape design blocks to backside of frame created in step 12 using tearaway tape. See picture of completed projects for order.
Layer backing, batting and top together. Use a 505 spray to hold layers together if desired. Using a decorative sewing stitch, topstitch around the blocks. Work from the center square out. Trim away the excess batting and backing.
Edge stitch around outside edge of wall-hanging to finish. Hang and enjoy, or use it as as an inspirational table runner!
Used Products

What you might also like


3 comments on “Embroidering Dandelions Plus Free Embroidery Design”
-
-
Shariquilts, on my computer the design automatically downloaded without opening a new browser page; you might check your download file.
-
-
Thank you! Great directions and love learning about “buttons” on my machine that I have not used before. I finished running all three late and I will finish the clean up tomorrow. Kraft-Tex is not available in our area. Improvise! I used chalkboard material and have three 5×7 frames handy. I may have lost some of the “definition” by decreasing size but it is still a beautiful pattern. Keep posting embroidery projects; it’s like taking a class at home.
Leave a Reply
You must be logged in to post a comment.

Love the design! I’m signed in, but the link to the embroidery design sends me to a blank page.