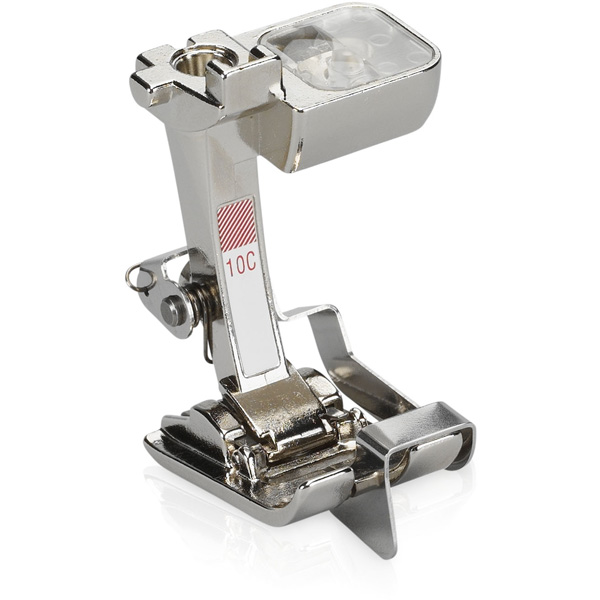
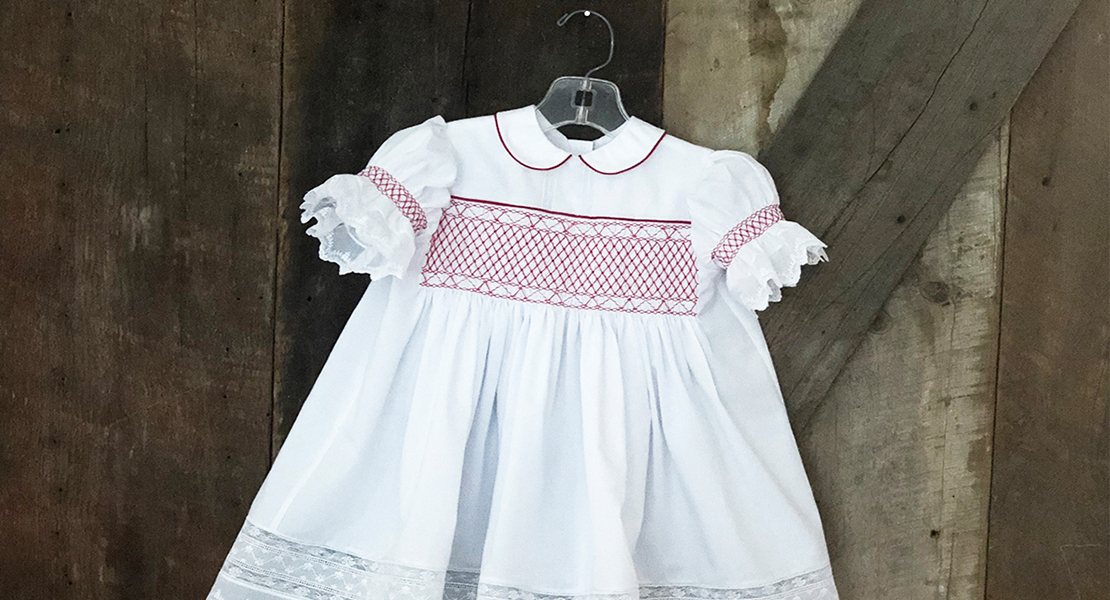
Garment Sewing with BERNINA Edgestitch Foot #10/10C/10D
When making a garment, quality finishing details make the difference between designer style or amateurish results. The presser foot that can help the most with those details is an Edgestitch Foot. Use it for the following techniques to make professional-looking clothing every time.
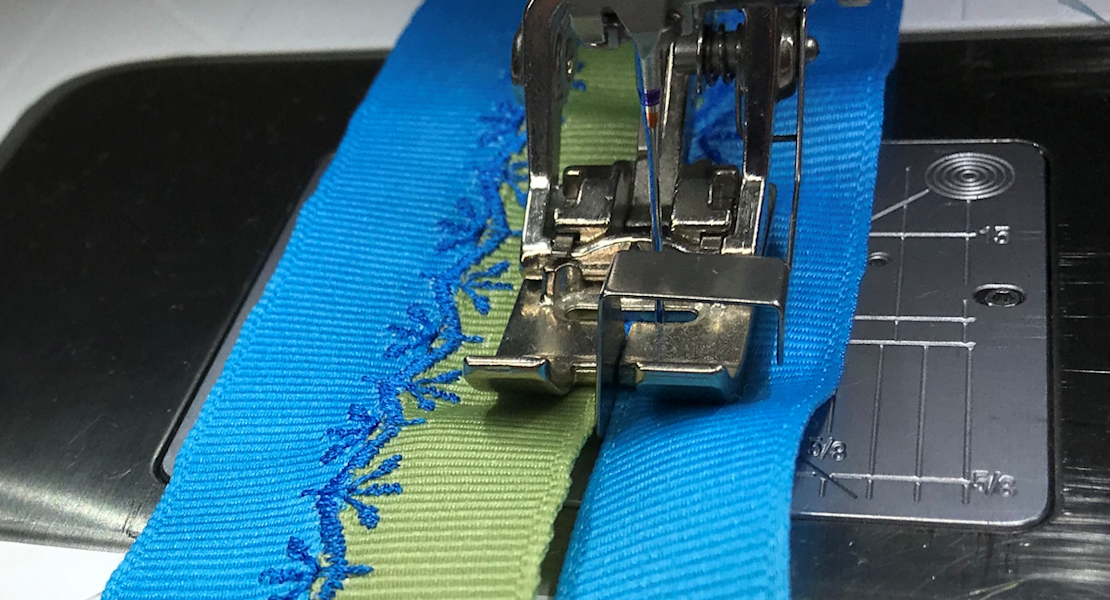
Edgestitching
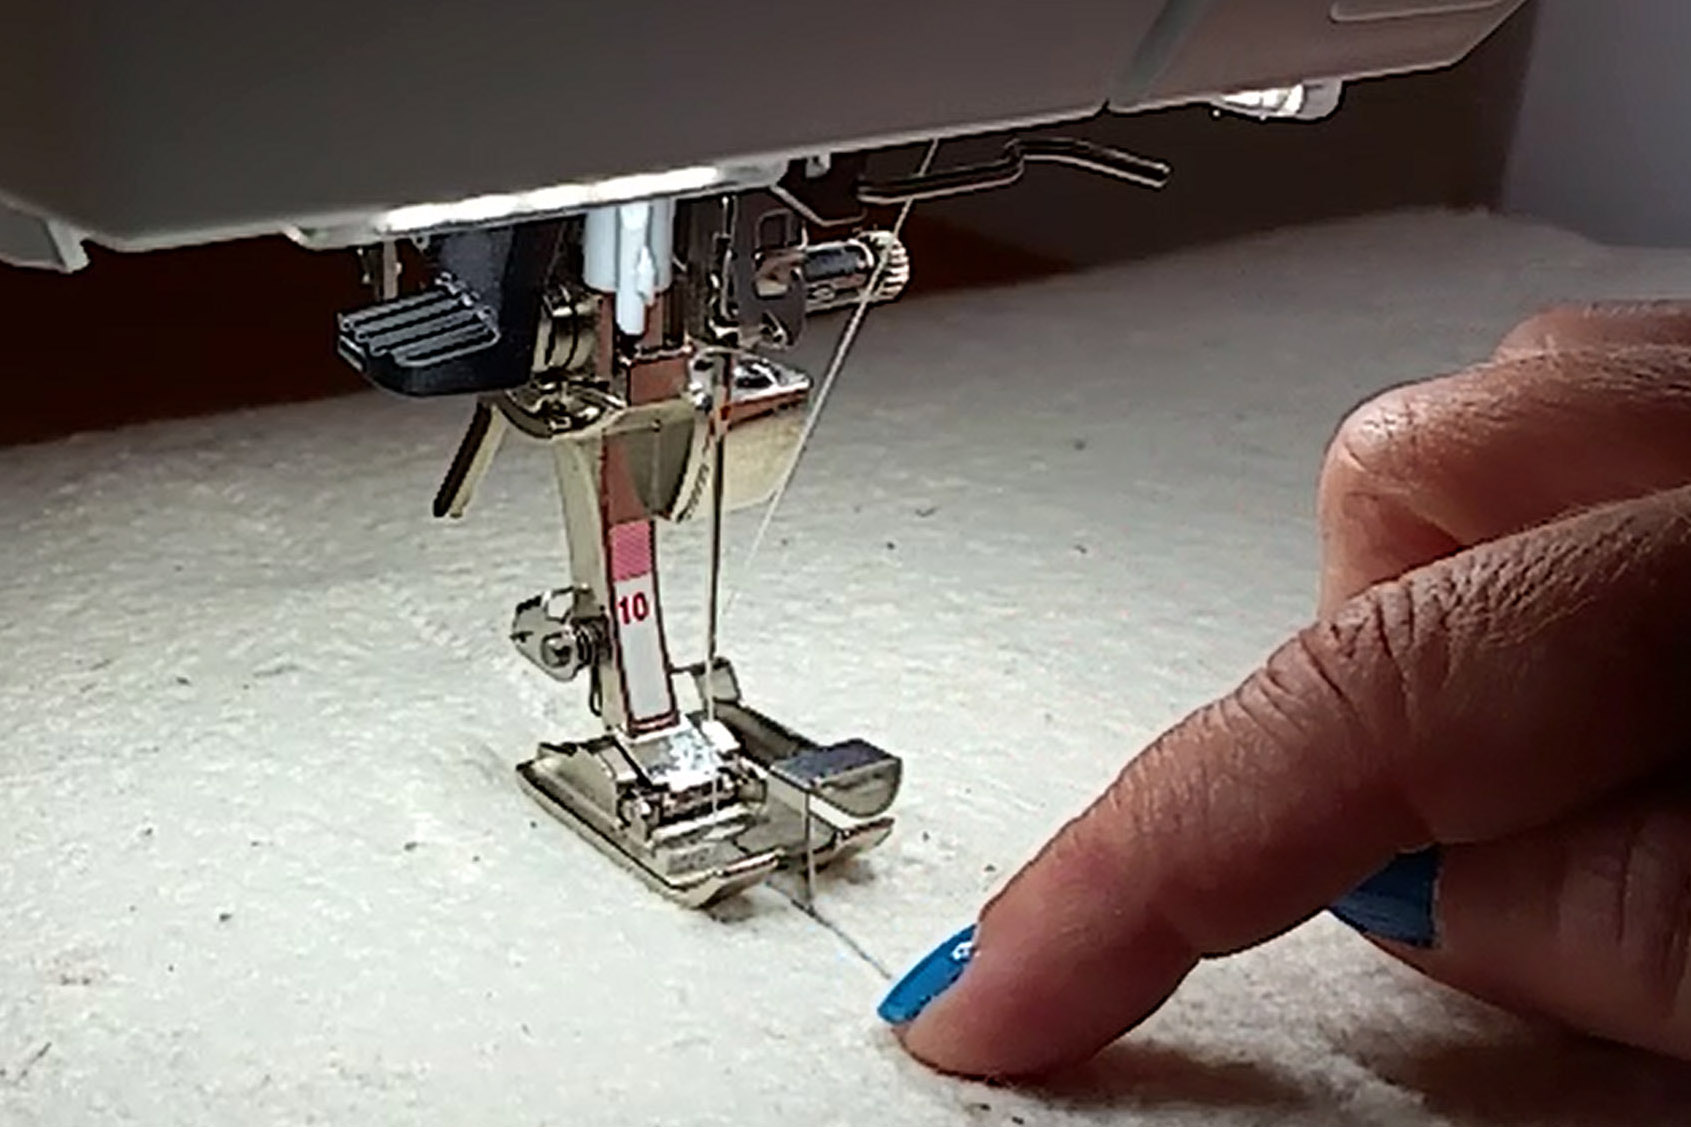
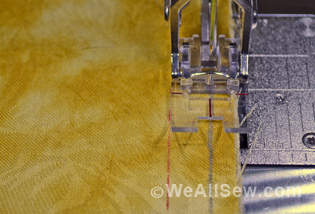
Sharpens and defines almost any finished edge, including necklines, armholes, and waistbands. Place the guide of the foot next to the finished edges and then adjust the needle to stitch on the fabric ⅛” or less. Use thread that matches the color of the fabric for an inconspicuous look.

Understitching
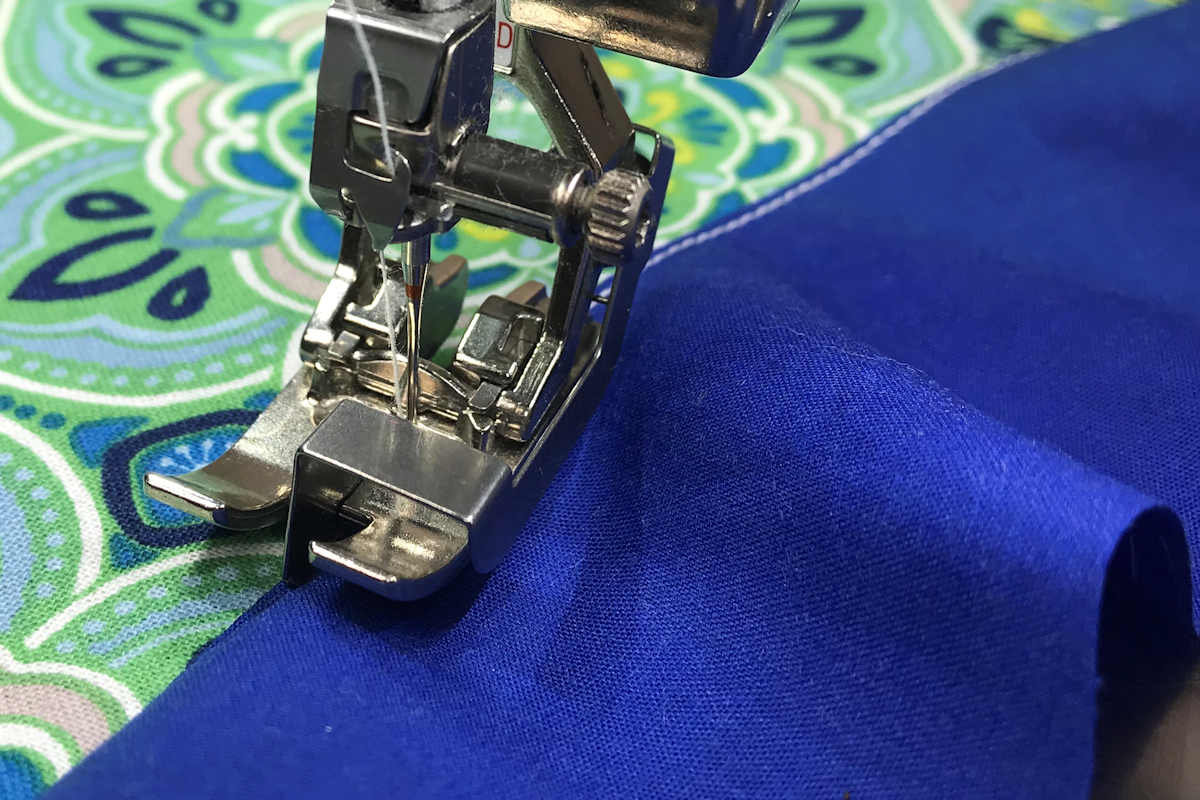
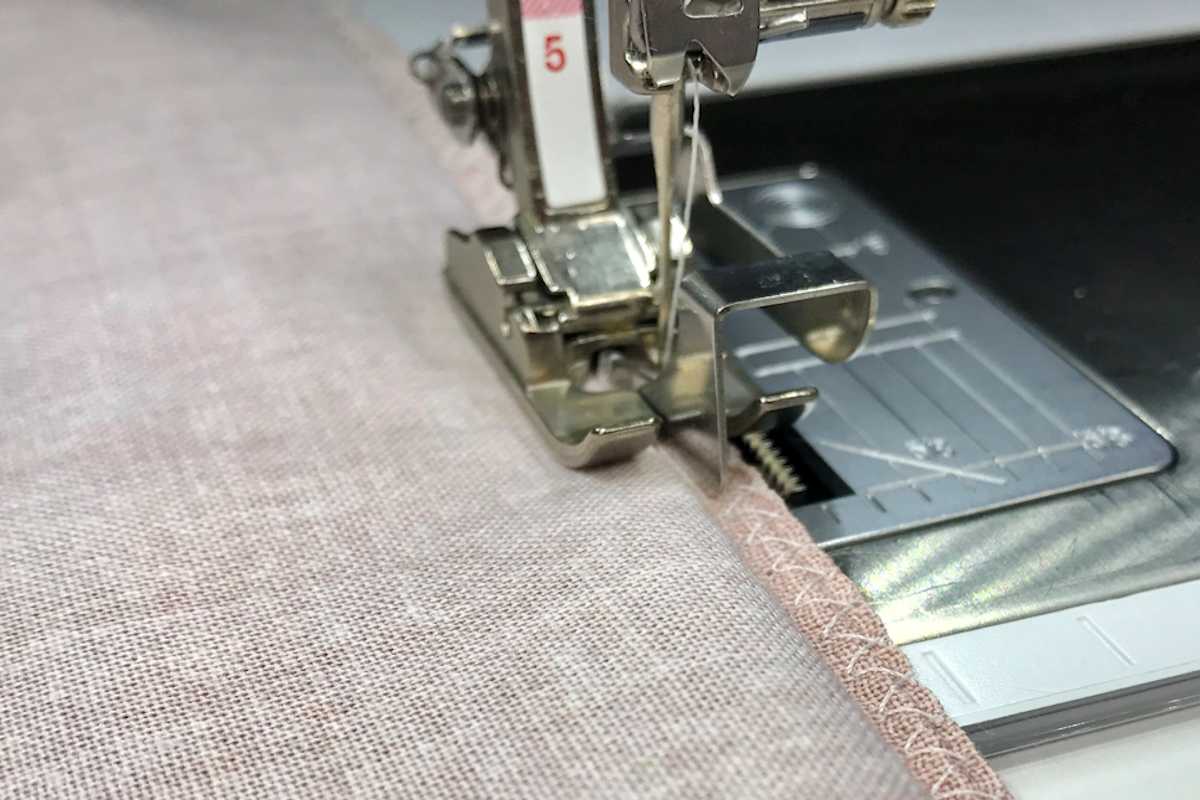
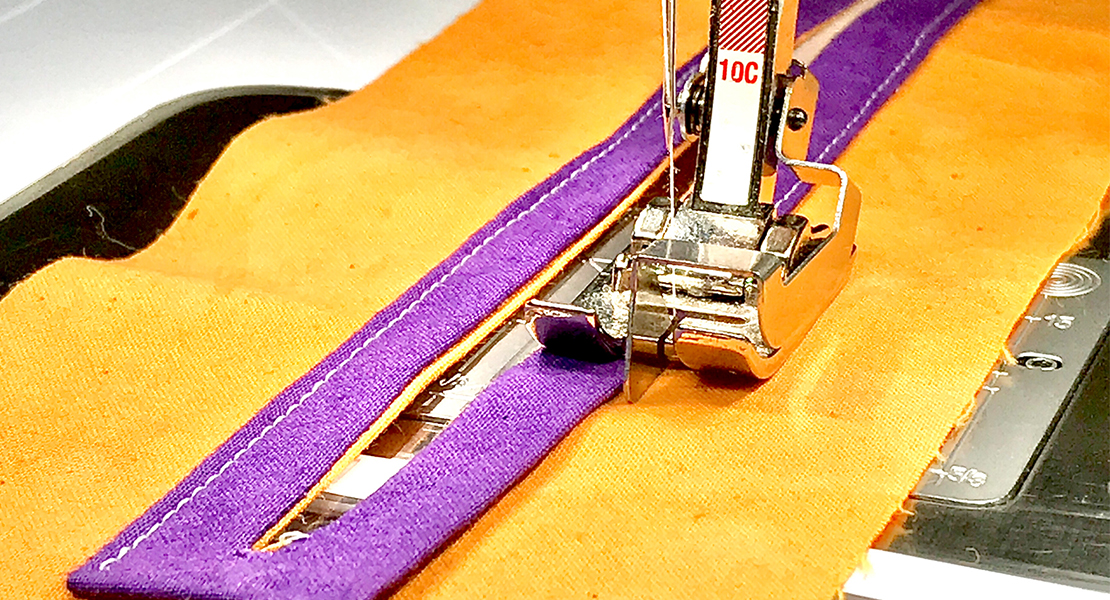
An often-overlooked step, this technique is designed to keep facings and linings from rolling to the outside of a garment. The first step is to place the project and the facing, right sides together with the upper edge of the facing aligned to the edge you are finishing. If the seam is curved, such as on a neckline or armhole, clip the curved areas so the fabric will turn smoothly and evenly. In the photos below, the project is the print fabric and the facing is the blue solid fabric.

After the facing or lining is sewn to the garment, press all seam allowances toward the facing/lining. Position the guide of the foot on the seam line and adjust the needle position 1 or 2 positions to sew on the facing through all layers, which attaches the seam allowances to the facing/lining. This gives the facing/lining more weight than the outer fabric, causing the outer fabric to roll slightly to the inside.
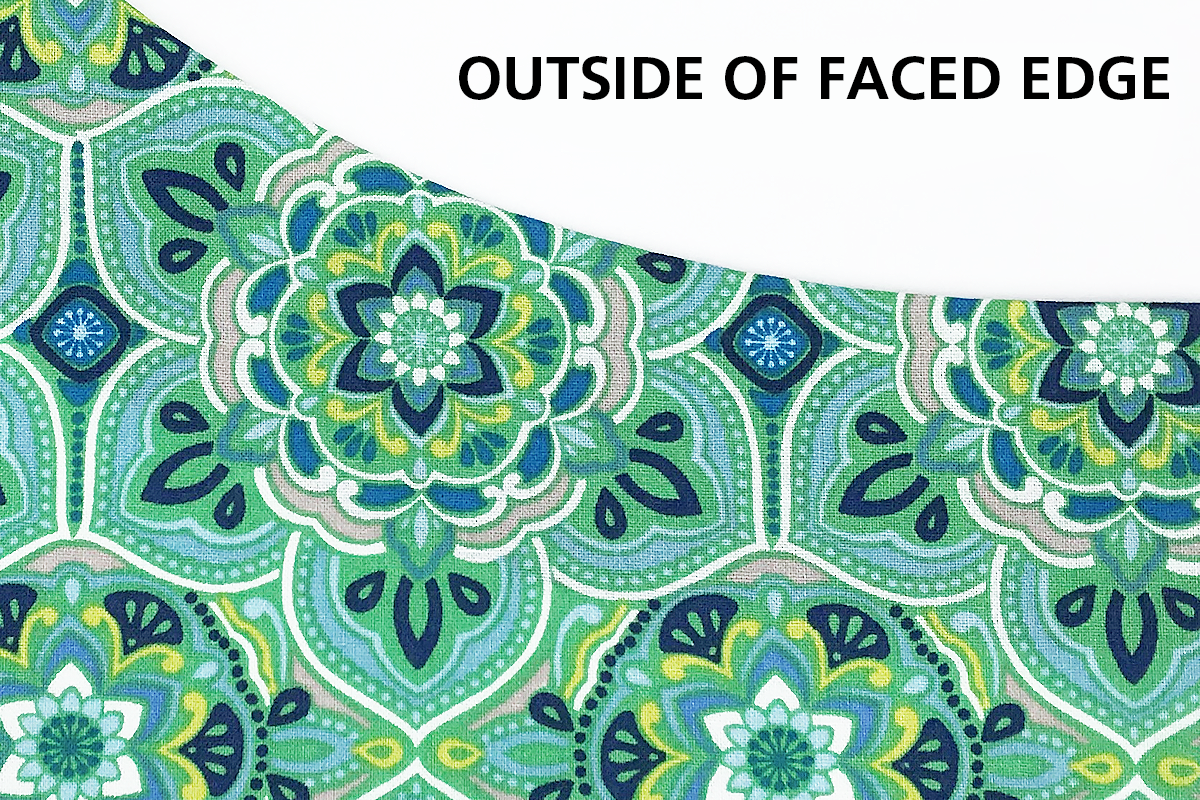
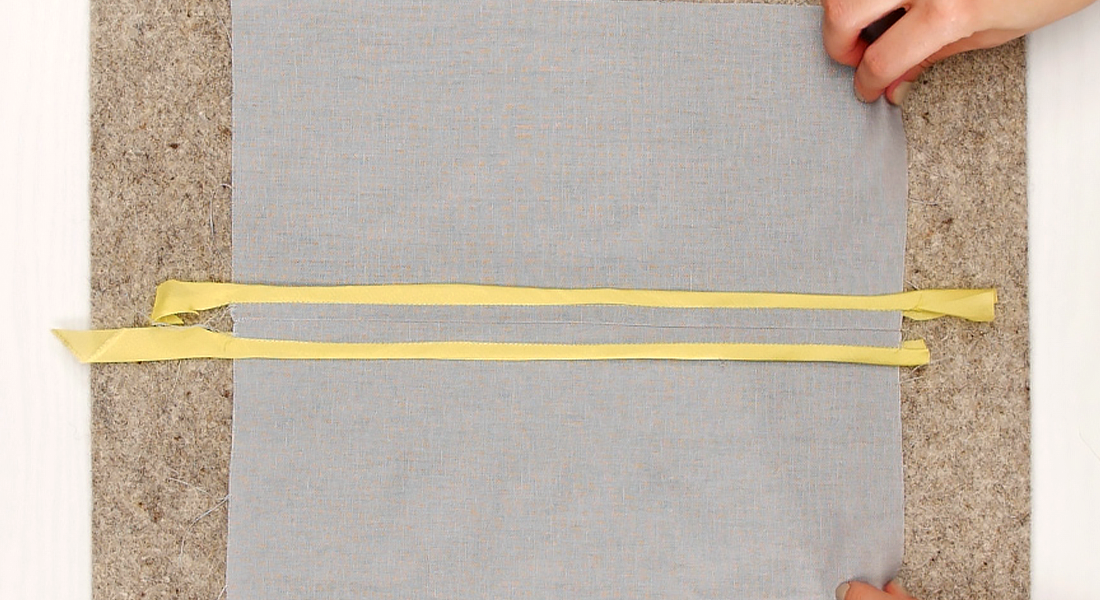
From the outside of the project, the faced edge should be smooth, with no apparent evidence of the facing.
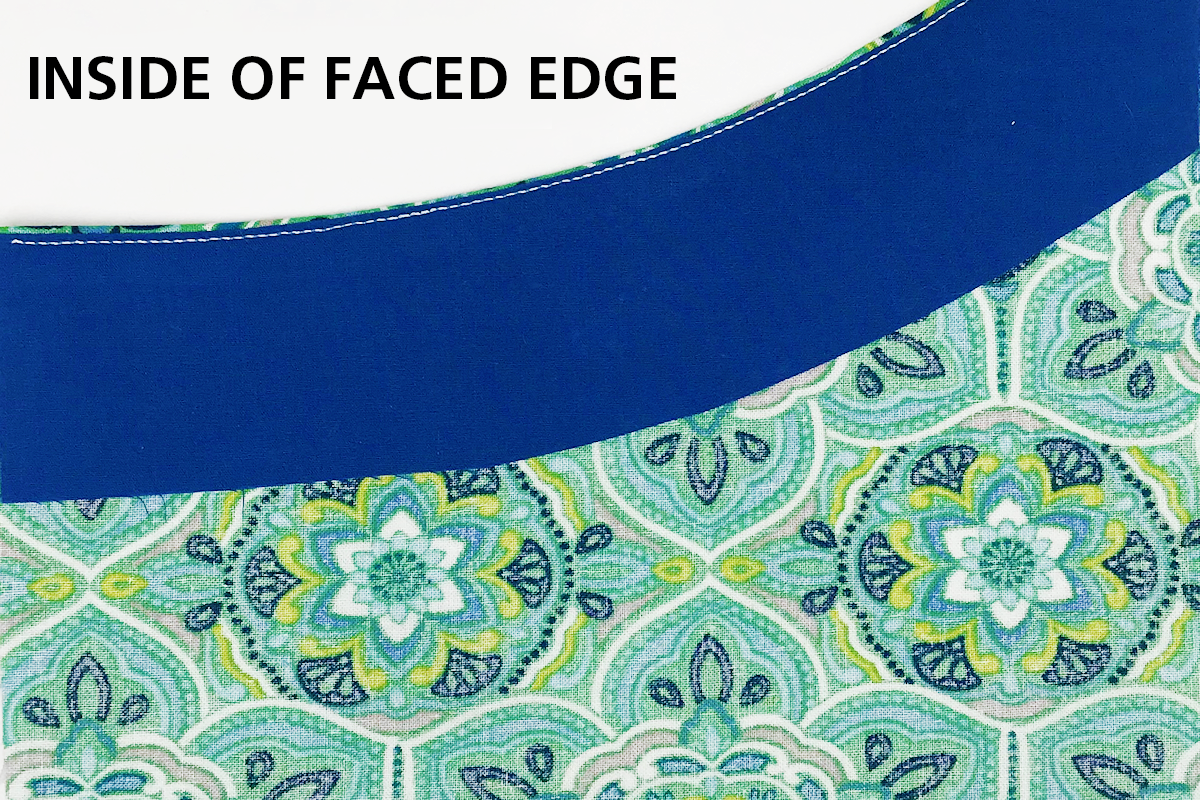
From the inside, the facing and understitching should be slightly below the upper edge of the project, which shows about 1/16″-1/8″ above the facing.
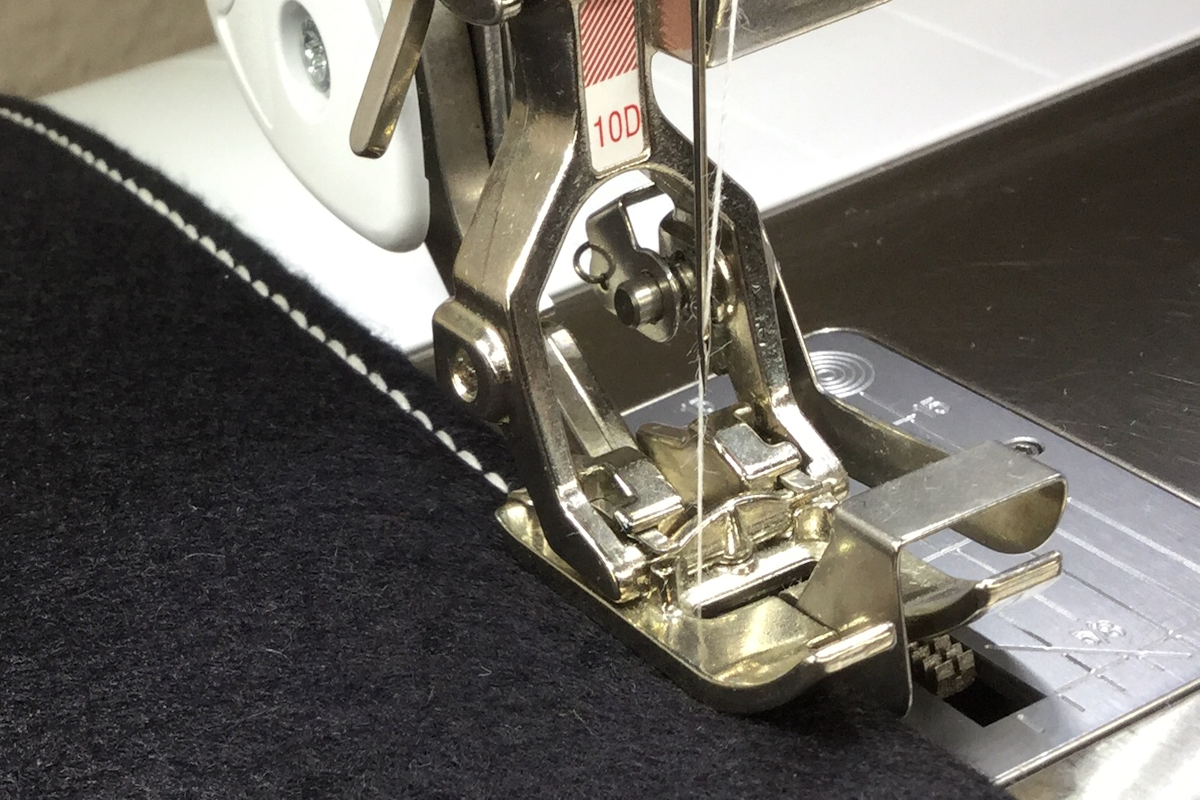
Topstitching
Usually the final step in the creation of a garment, topstitching can detract from the polished look if it is not sewn well. It is stitched in the same manner as edgestitching with one exception. The needle is adjusted to sew farther from the edge, usually around ¼”. Because it is sewn near to the finished edge, it is important to make sure it is consistently parallel, or it will look sloppily sewn. The edgestitch foot makes that possible.
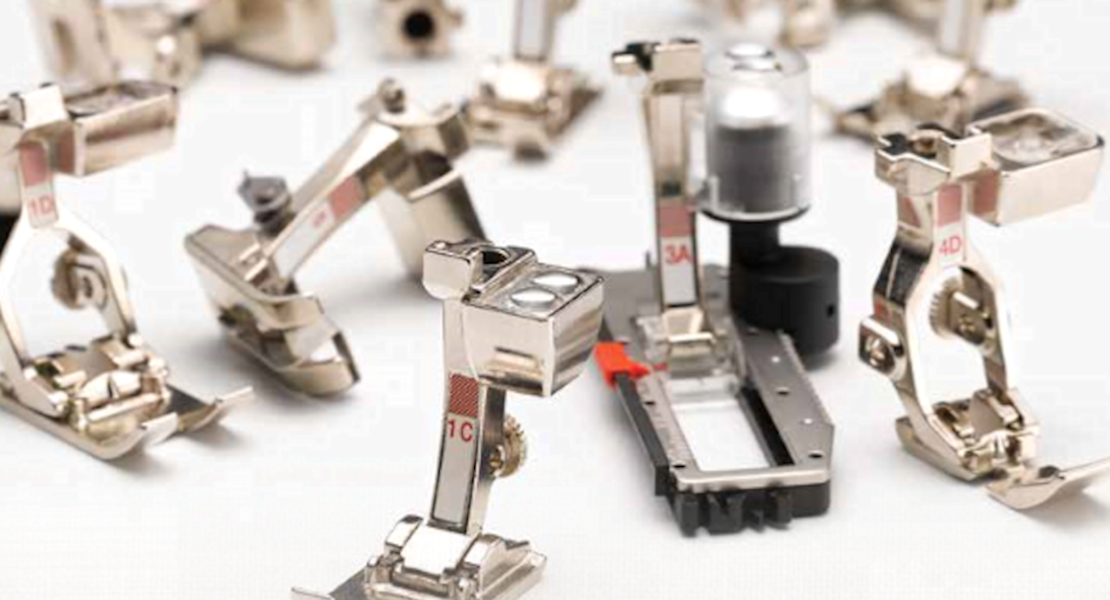
Even though Edgestitch Foot #10/10C/10D is a must for garment making, it is useful for almost all types of projects. For more techniques using Edgestitch Foot #10/10C/10D, click here.
For more information on all BERNINA presser feet and accessories, see The Big Book of Feet at your local BERNINA store.
Used Products


What you might also like


2 comments on “Garment Sewing with BERNINA Edgestitch Foot #10/10C/10D”
-
-
Hi, my book says that the “C” on the foot stands for “coded” presser foot, and refers to the sensor that specifies the stitch width to the sewing machine. Hope that helps!
-
Leave a Reply
You must be logged in to post a comment.

Hi newbie here. I’m in the process of collecting more feet for my brand new Tula Pink 570QE. I’m not 100% sure what the significances are between a foot with just a number and/or followed by a C or a D. If I’m not mistaken a D means dual feed can be used right?
Also, is the dual feed comparable to the walking foot? I see the walking foot comes with an edge stitch sole foot. Would I be OK just buying the #10D or should I save up and buy the walking foot?