Edgestitch Foot #10/10C/10D: Tips & Tricks
The BERNINA Edgestitch Feet #10, #10C, and #10D can be used for so many techniques. When I talk with other sewists, the Edgestitch Foot is often mistaken as a foot that is only good for edgestitching. Let it be known that it can serve many different purposes and be useful for several techniques!
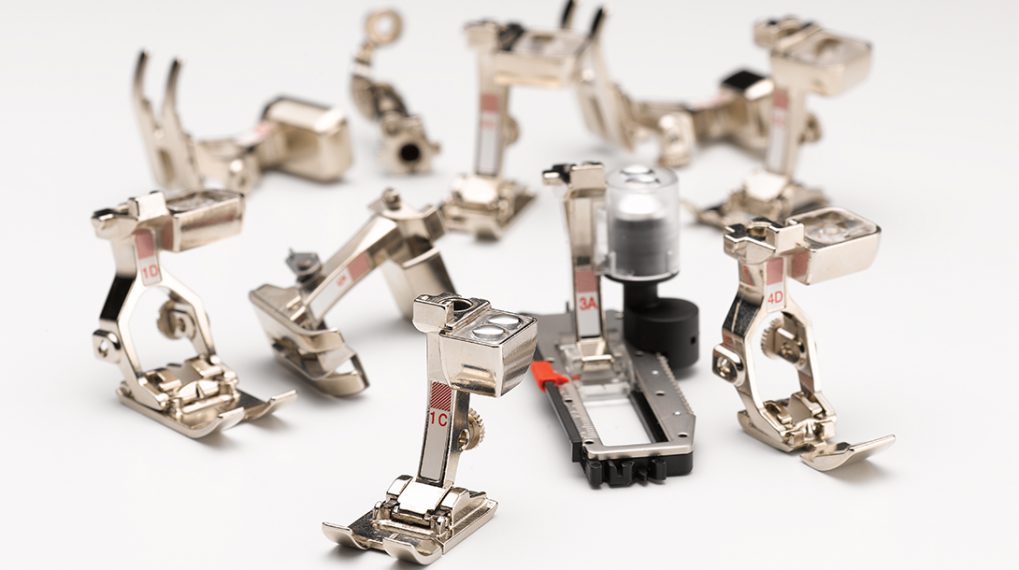
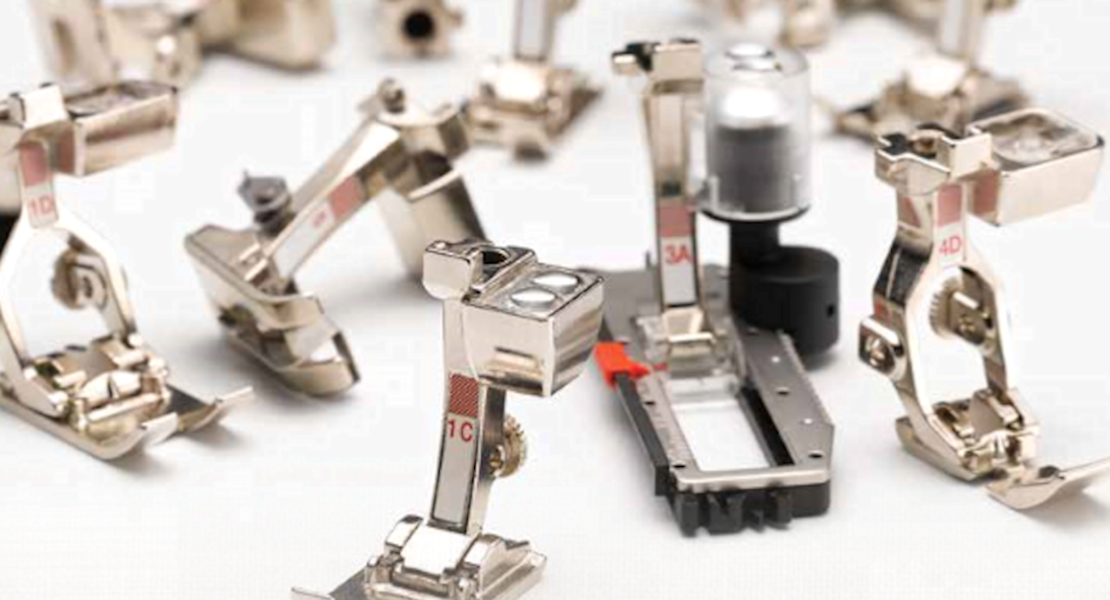
There are three different edgestitch feet. Edgestitch foot #10 is compatible with 5.5 mm and 9.0 mm machines. Edgestitch foot #10C is compatible with 9.0 mm machines and stitches. And Edgestitch foot #10D is compatible with BERNINA Dual Feed. Let’s take a look at three different techniques that can all be done using these feet.
Supplies to Practice Edgestitch Foot #10/10C/10D Techniques
- BERNINA 570 QE E
- Edgestitch Foot #10
- Edgestitch Foot #10C
- Edgestitch foot #10D
- Cotton fabric
- Isacord thread
- OESD Ultra Clean and Tear stabilizer
- Schmetz Microtex needle, size 80/12
- Thread snips
- LAURASTAR iron
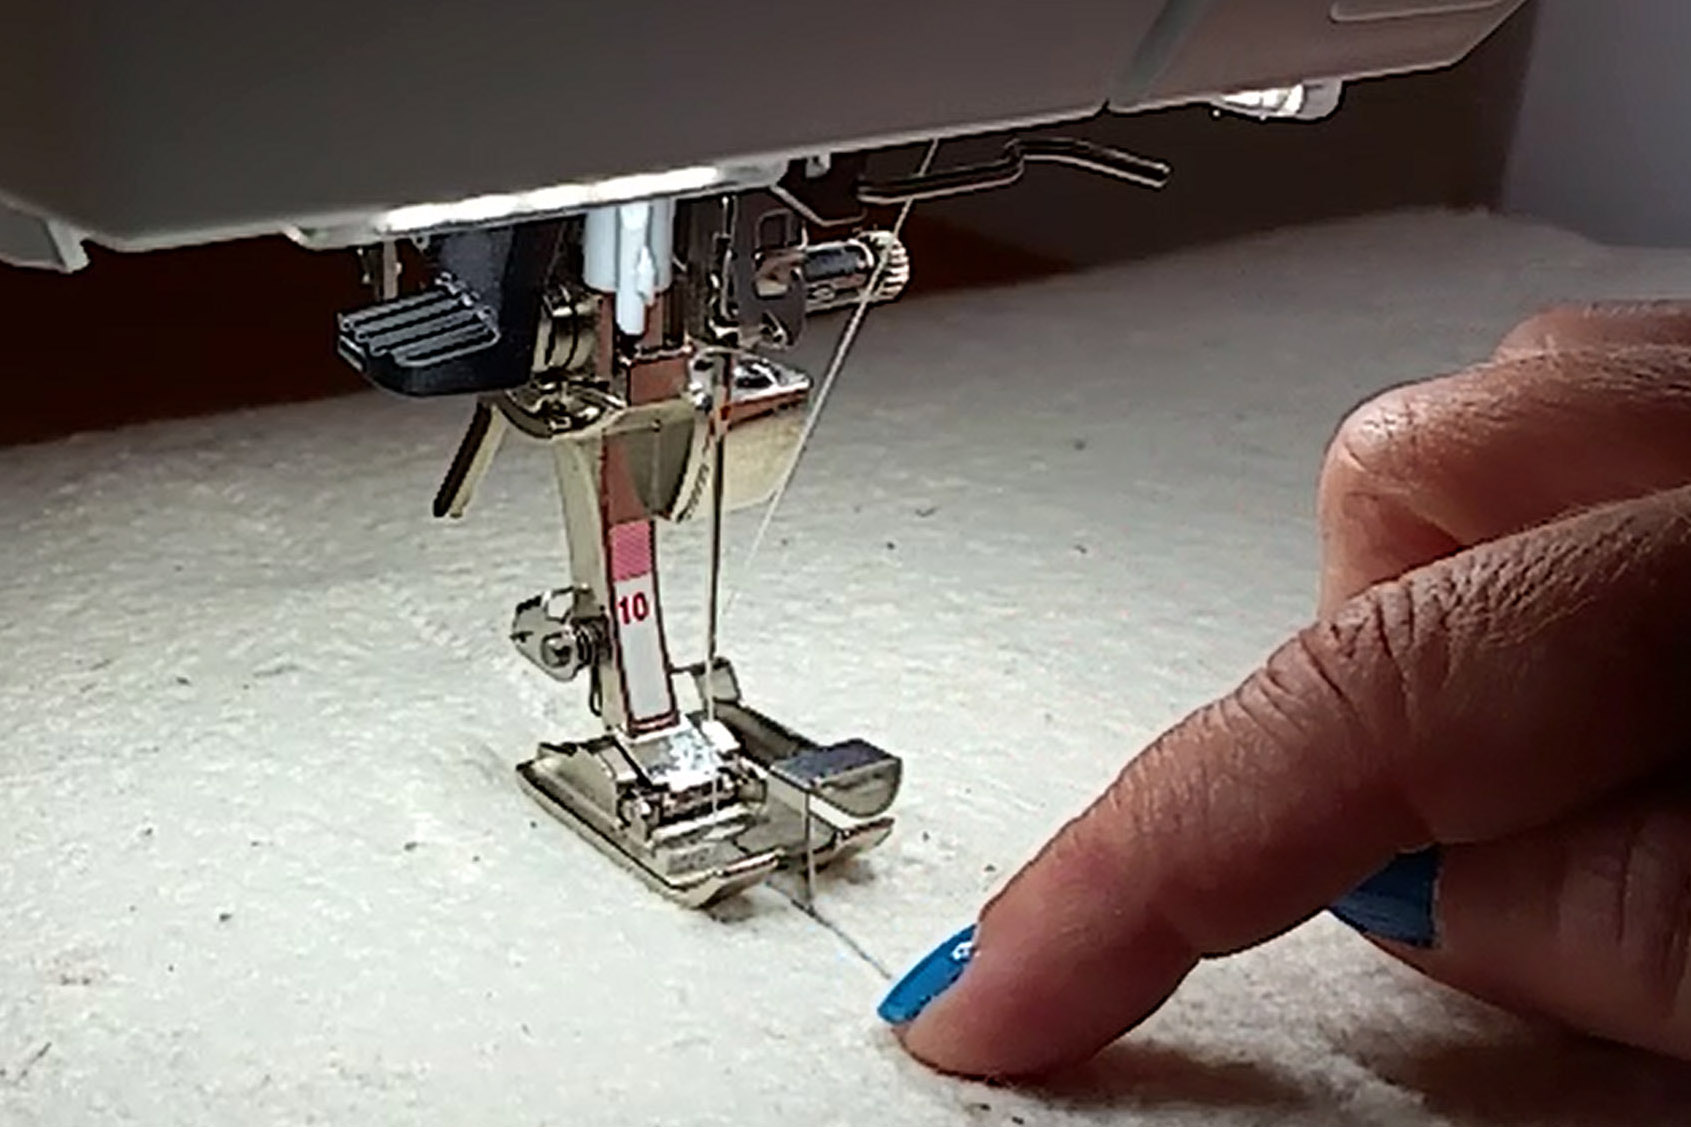
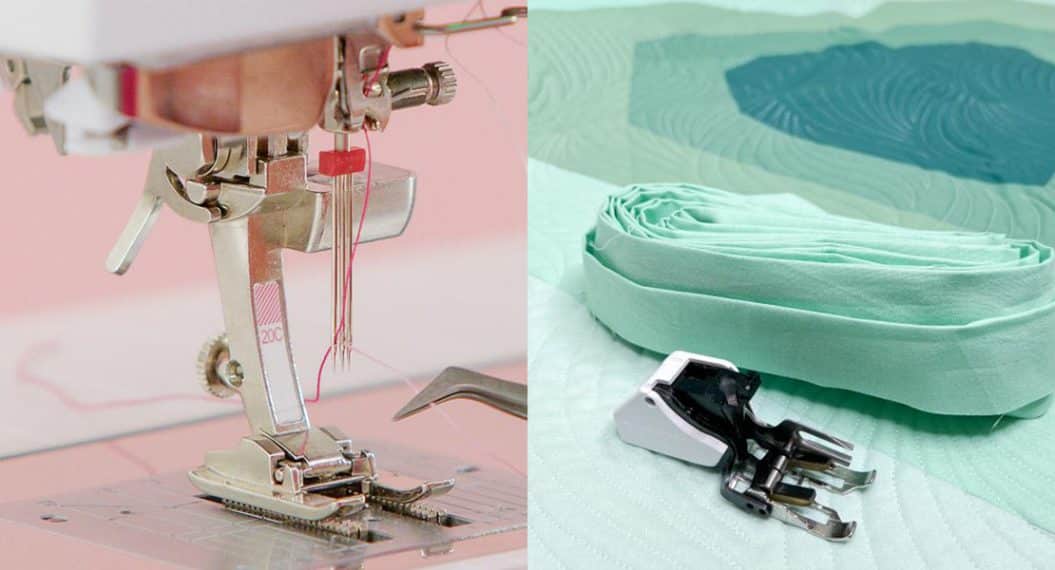
Technique #1: Edgestitching with Edgestitch Foot #10

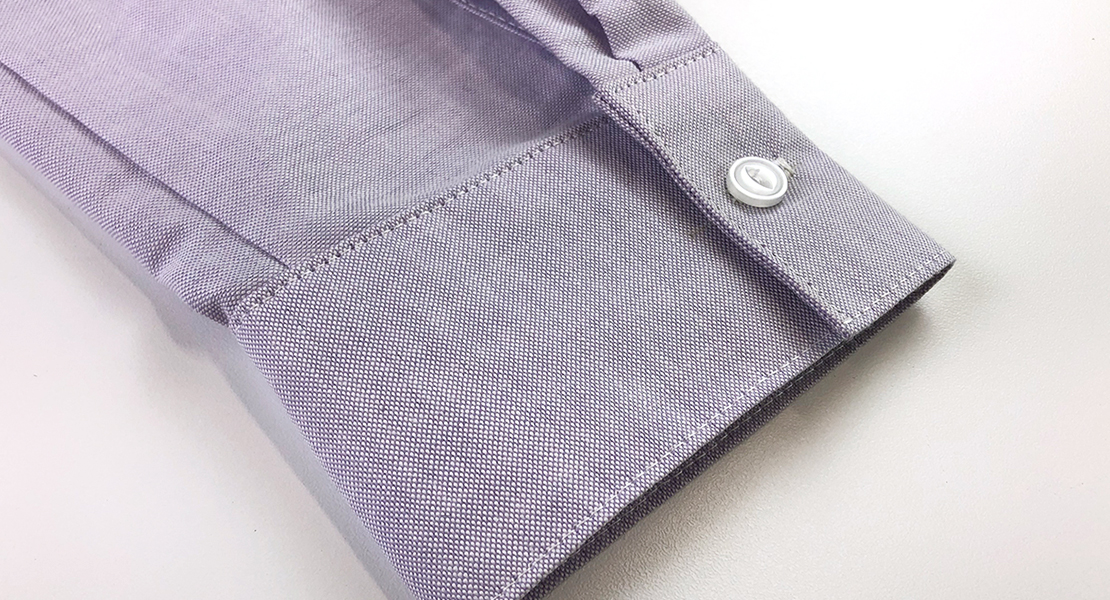
Commonly used for garment sewing, edgestitching adds a professional finish to seam allowances and construction details. One example of when this technique is used is understitching to prevent the seam from rolling to the front of the project. It is also great for stitching elements in place, such as quilt bindings. Edgestitching can even be a form of topstitching for a seam finish. I use this technique on cuffs, collars, and pockets. When edgestitching, the finished line of stitching is less than ¼” away from the seam or edge of the fabric.
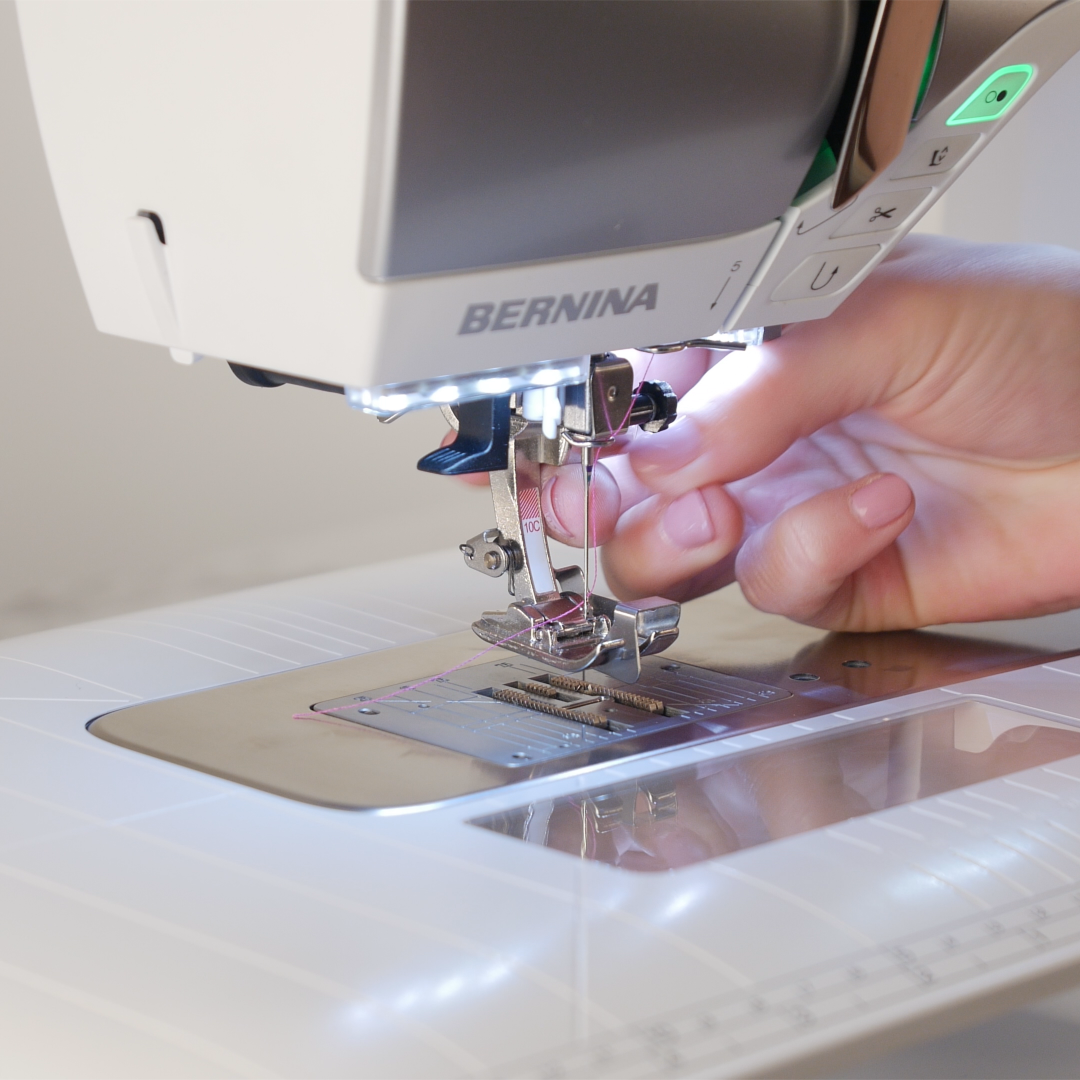
Edgestitch foot #10 is meant for stitches that are 5.5 mm wide or less. This means that there is room to move the needle to the left or right of the center. To set up for this stitch, move the needle three positions to either side of the center.
Since the stitching tends to appear on the right side of the project, an increased stitch length is preferred. This provides a professional look. With these setting changes in place, test sew to confirm that the stitch is suitable for the project.

Once you like the look of the test stitch, you are ready to put it into play on the project. Be sure that the seam is pressed well before stitching. All you have to do is keep the metal guide on the foot centered in the seam allowance.

There are multiple ways to customize the edgestitching, beyond the needle position and stitch length. Try using a contrasting thread color. When you are comfortable with a single line of stitching, go a step further with a triple stitch. This will make the stitching stand out more.

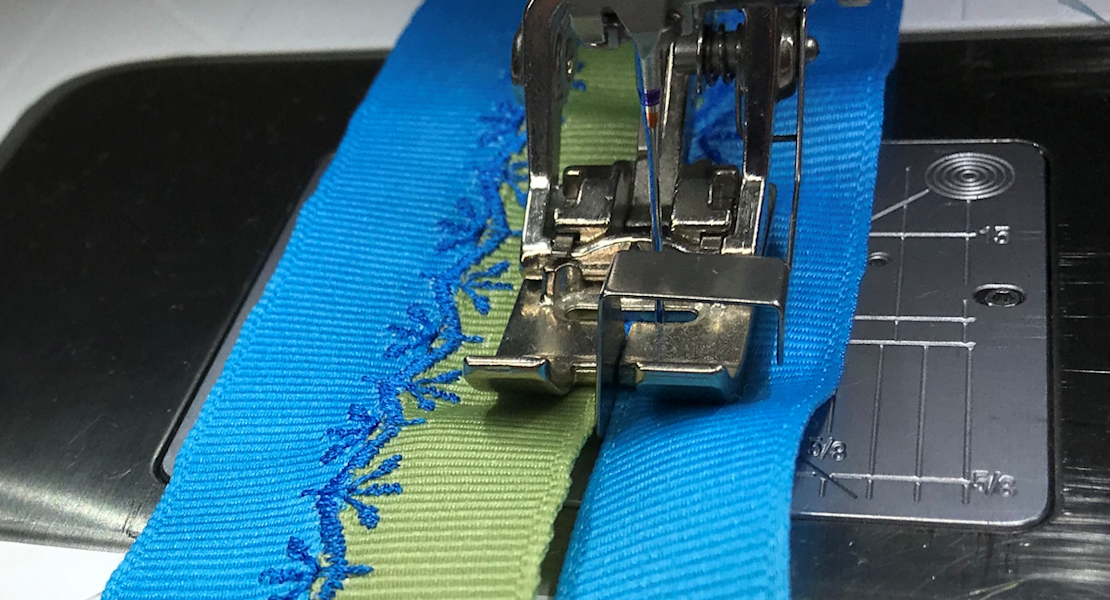
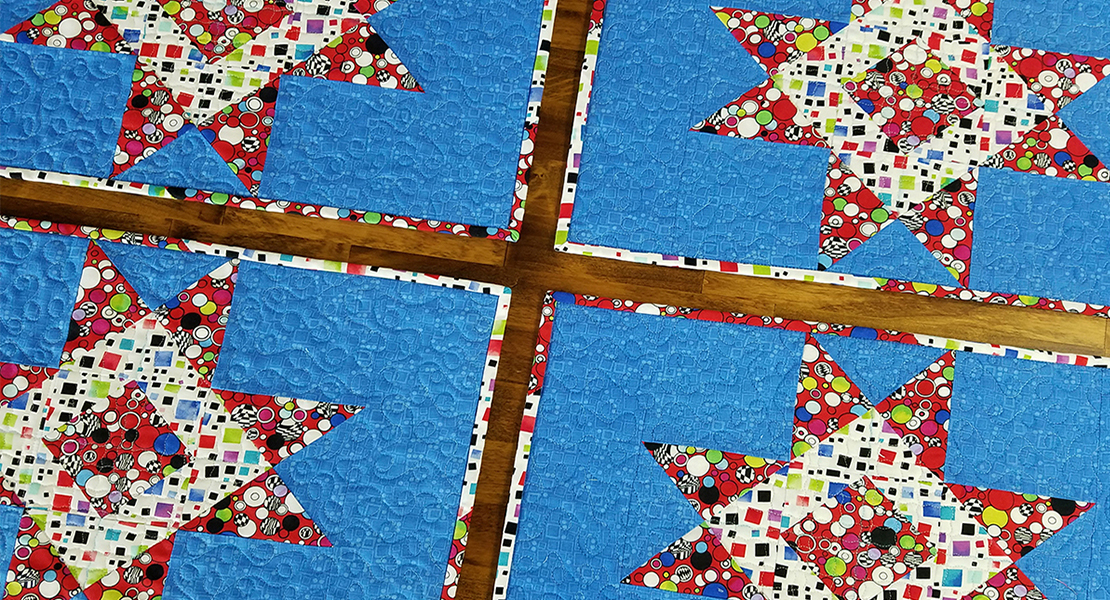
Technique #2: Decorative Stitching with Edgestitch Foot #10C
This technique is one that is often forgotten about. Decorative stitches can be used for quilting a quilt top, adding flare to home dec projects, and putting a finishing touch on apparel. Edgestitch Foot #10C is perfect because it can accommodate 9.0 mm stitches, allowing for a variety of decorative stitch options.
One thing to remember when stitching decorative stitches is to add stabilizer to the backside of the project. This gives the fabric extra support for the density of the stitches, maintaining the stitch integrity. A tear-away stabilizer, such as OESD Ultra Clean and Tear, is perfect for stitching like this because it can be removed completely.
Depending on how dense the decorative stitch is, a fusible interfacing could also be added to the project to give more body to the fabric. If you are using decorative stitches on a quilt, the batting and backing will add stability, without additional stabilizer. Just like with edgestitching, make sure that the seam allowances are pressed well.
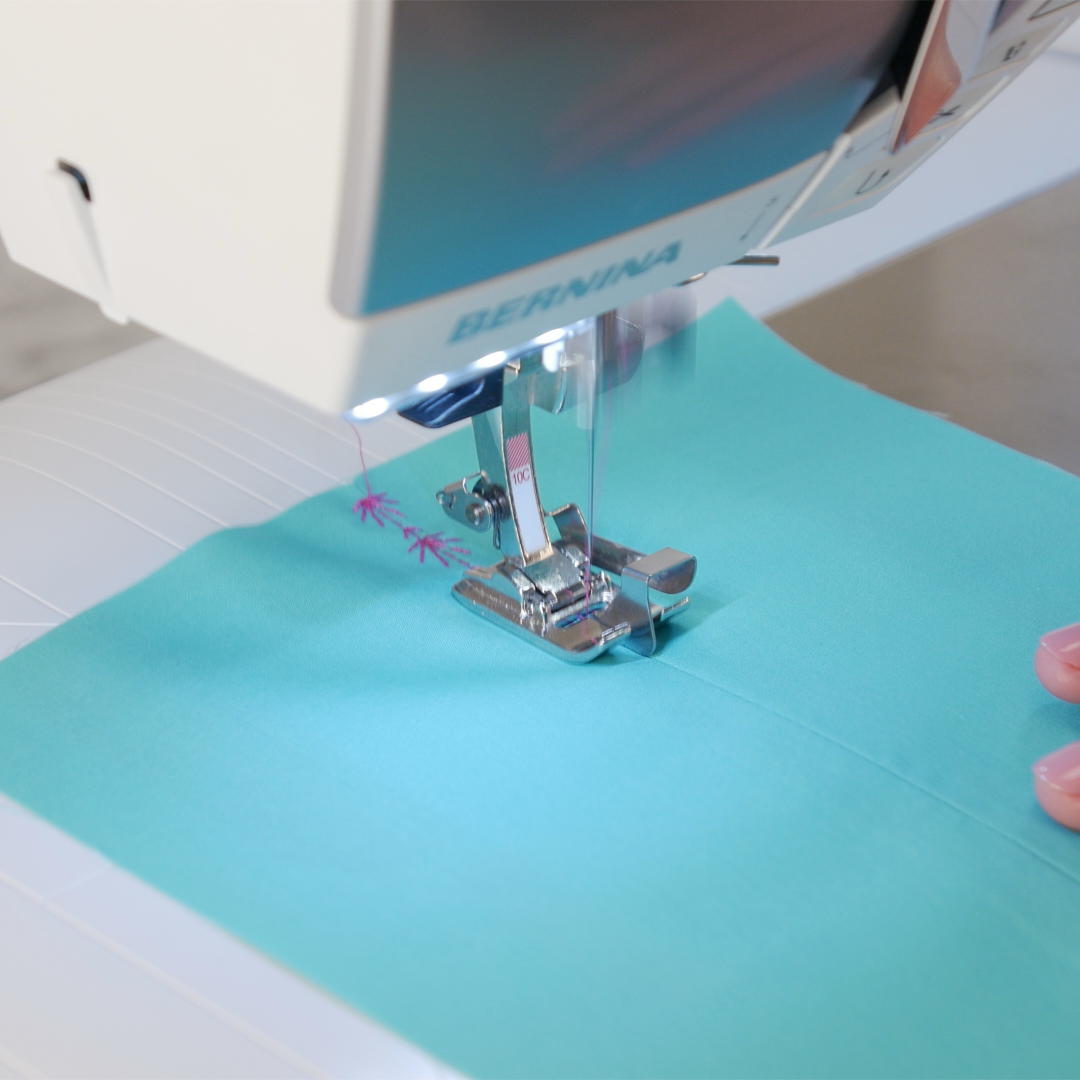
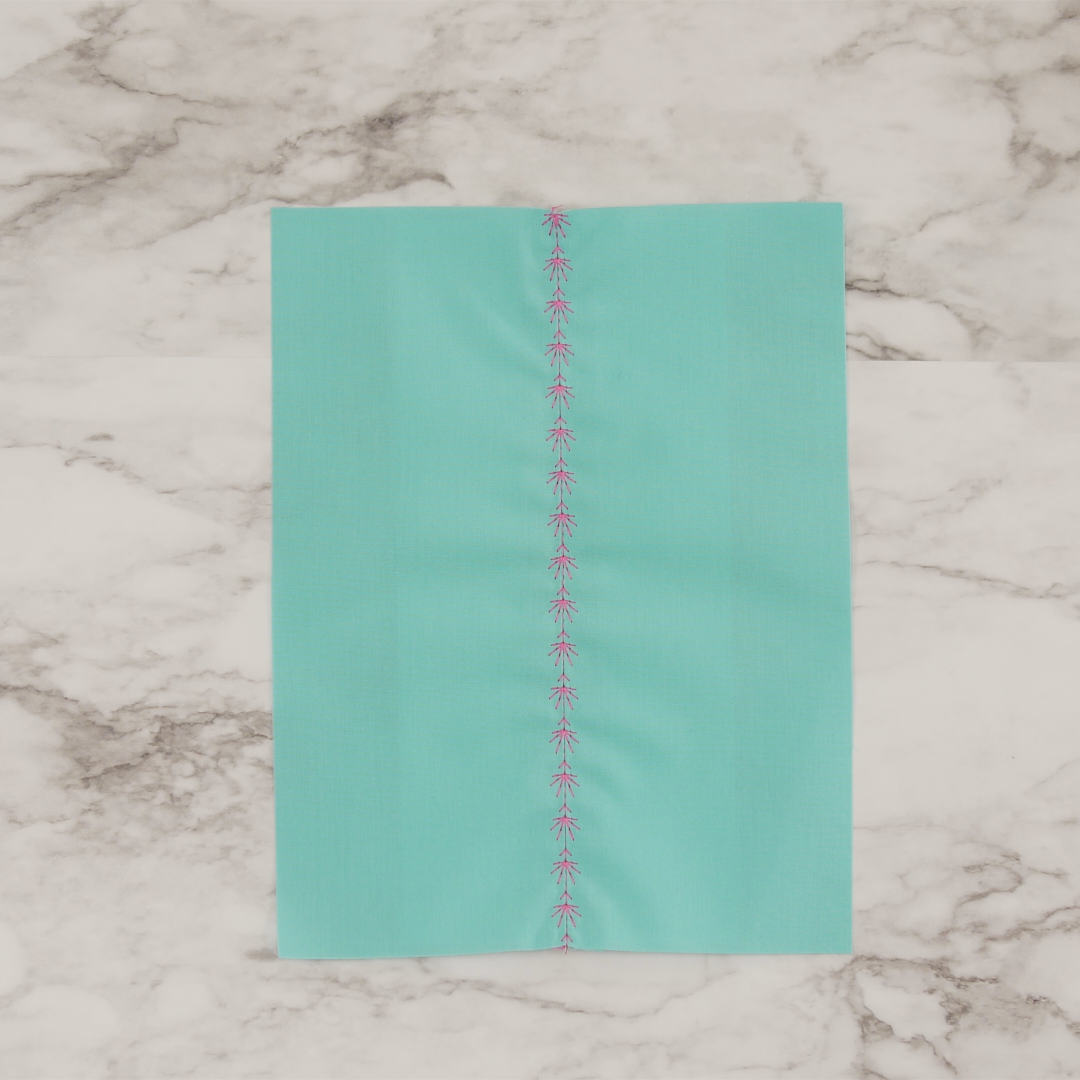
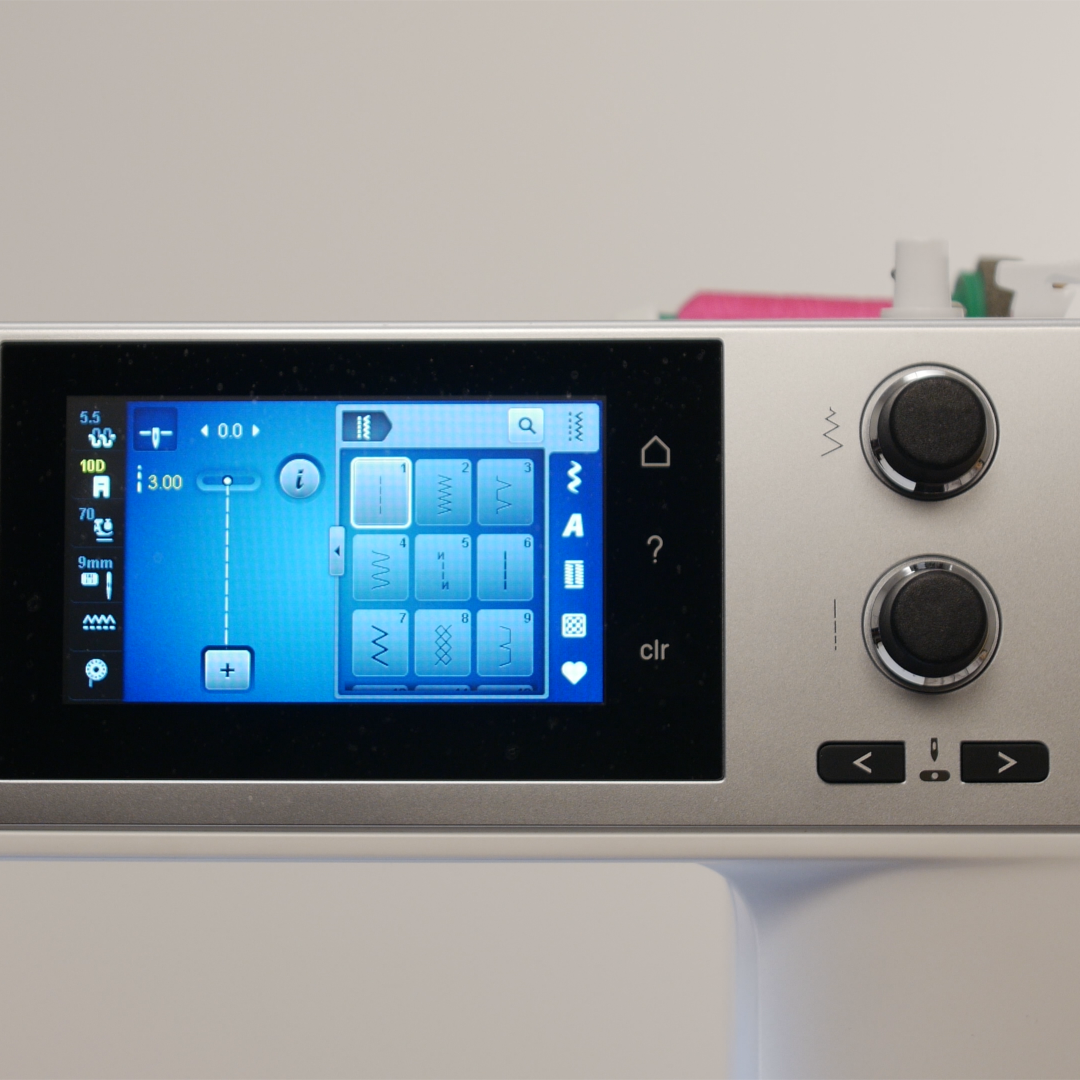
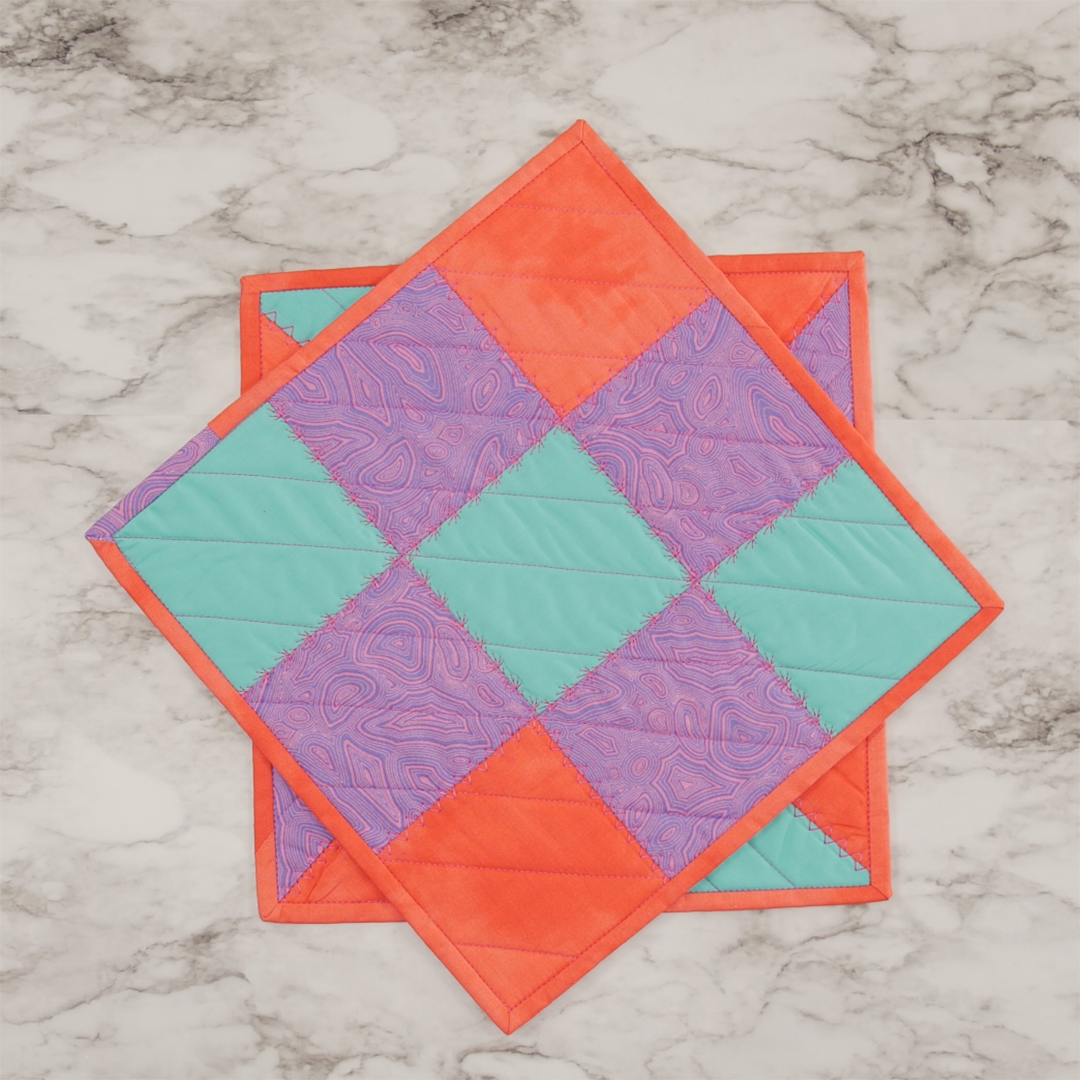
When using a decorative stitch to quilt, select a stitch from the Quilting menu. I chose stitch #1345 on the BERNINA 570 QE E for a creative touch on my mug rug. This stitch moves forward and backward, which is best done with foot #10C because the foot will not get caught. Always test sew to make sure you are getting a stitch that you love.

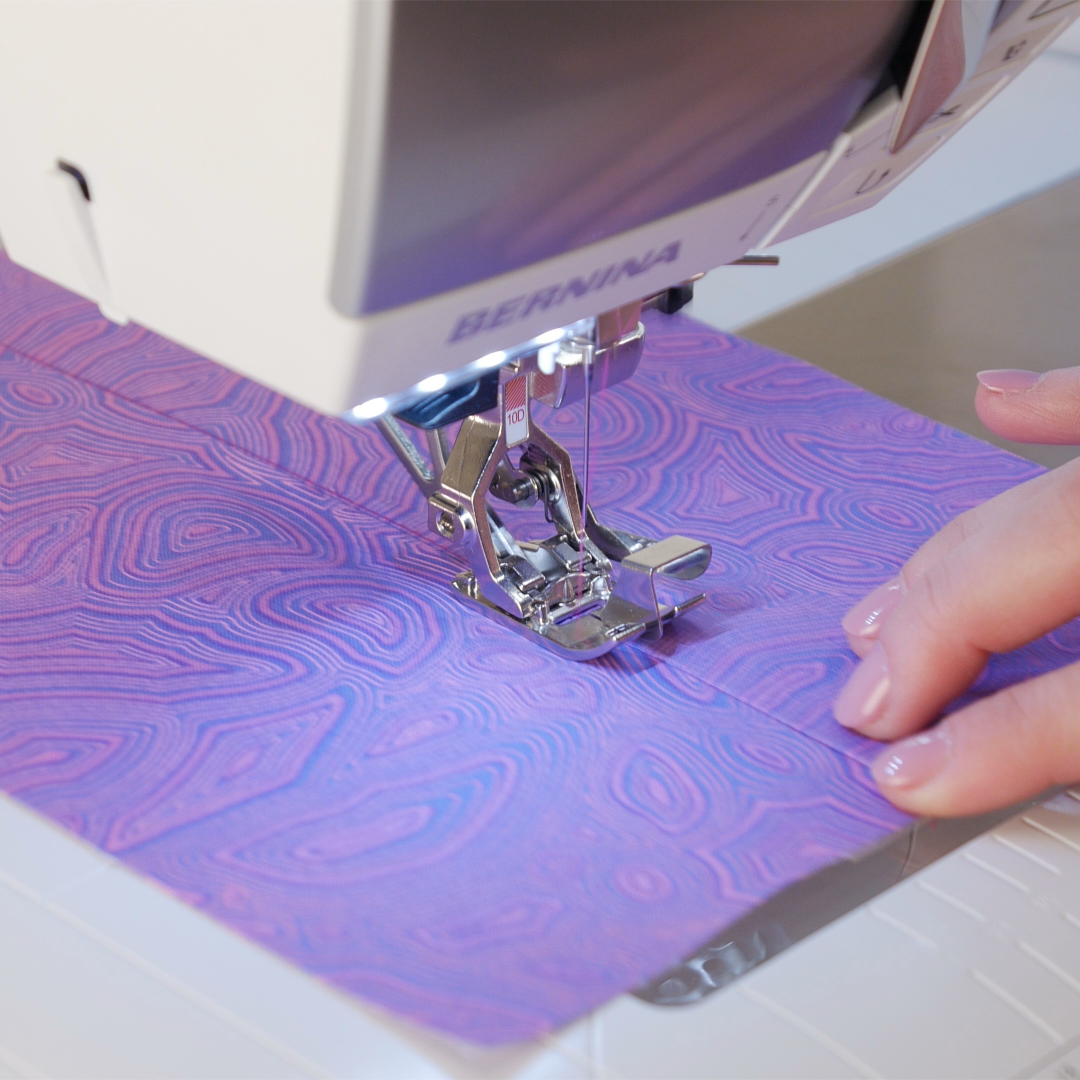
Keep the metal guide in the middle of the seam allowance, and let the sewing machine do the rest of the work for you. Gently guide the fabric through the machine, keeping the guide centered. Remove the stabilizer once stitching is complete.
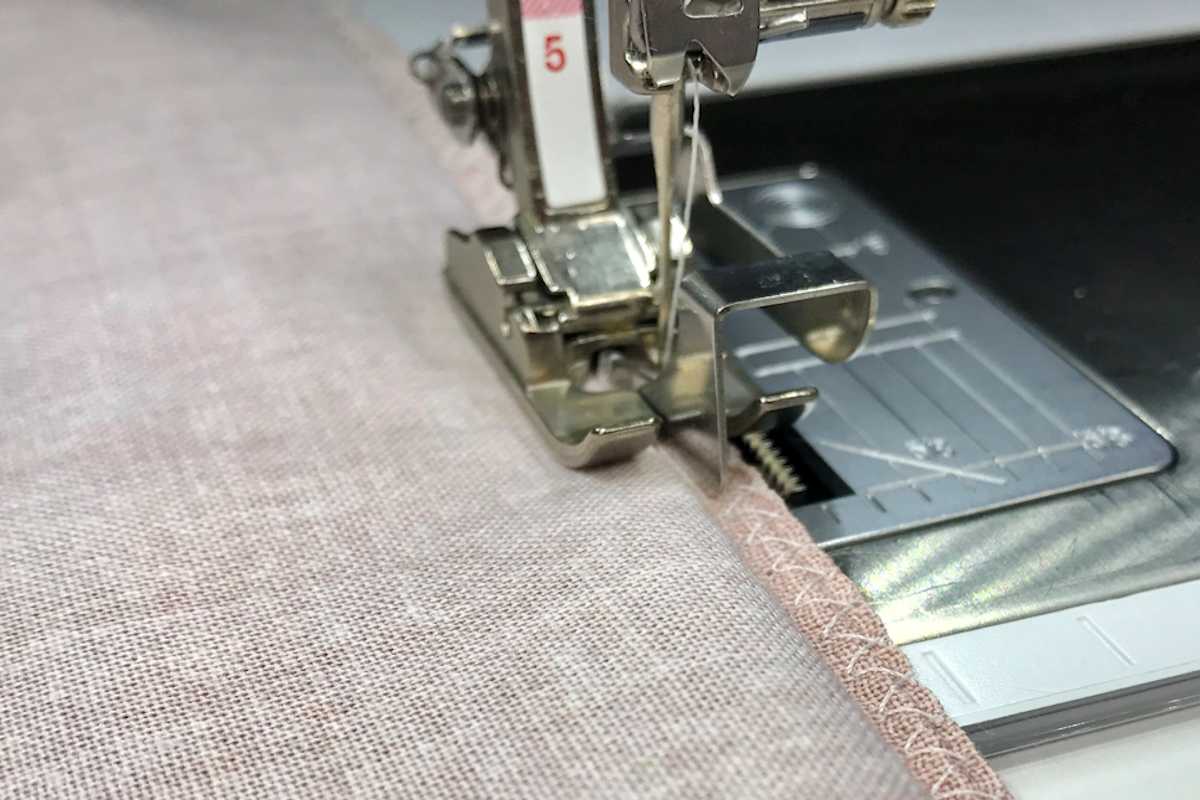
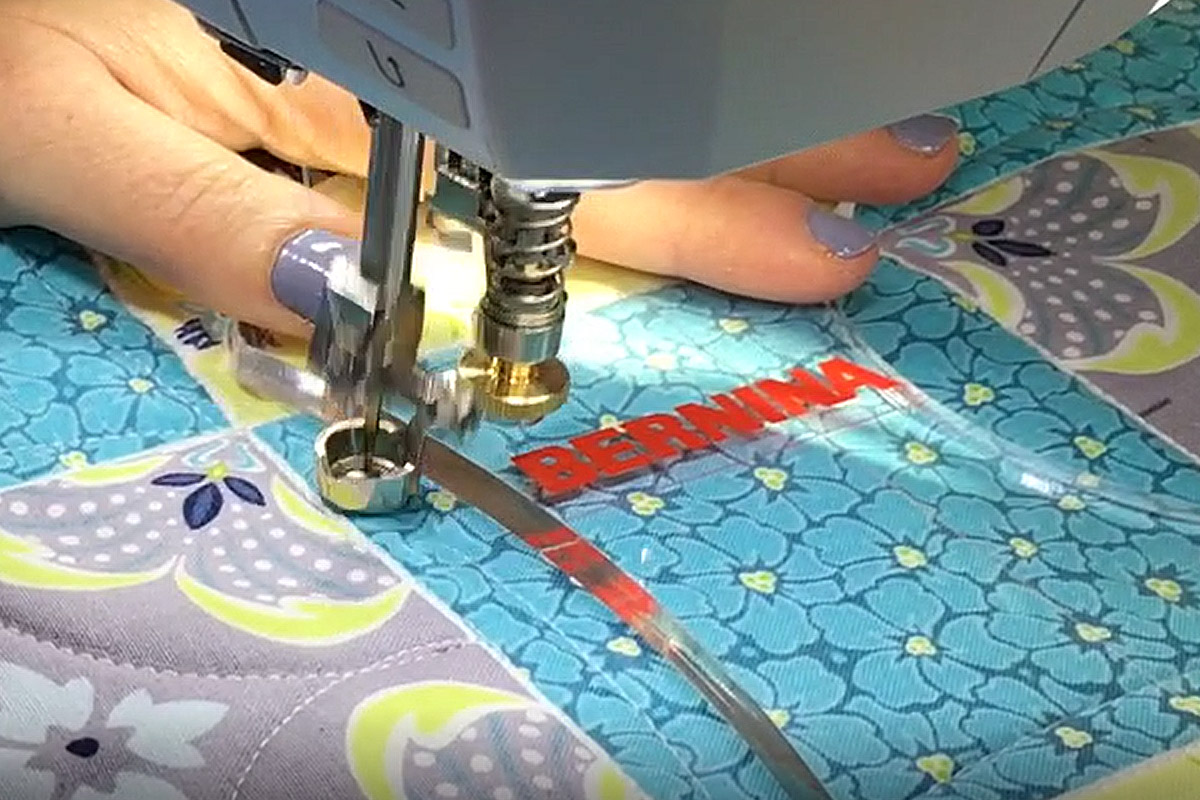
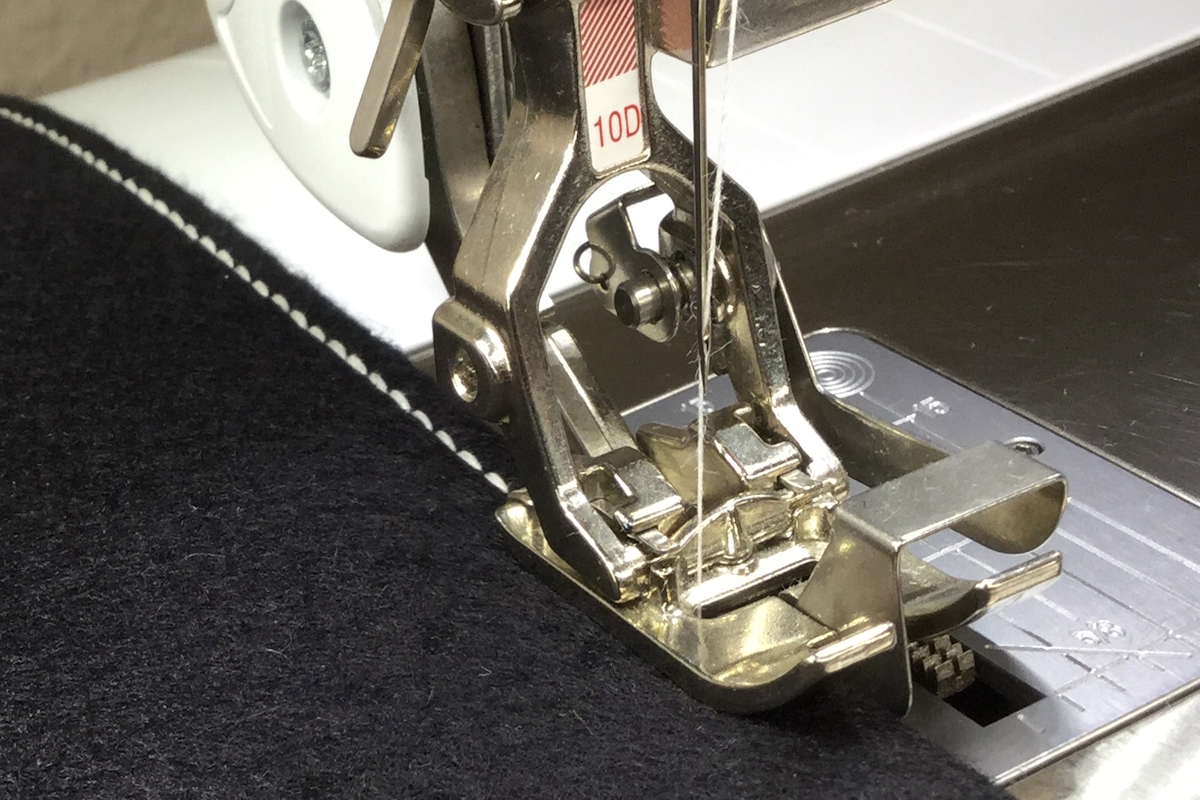
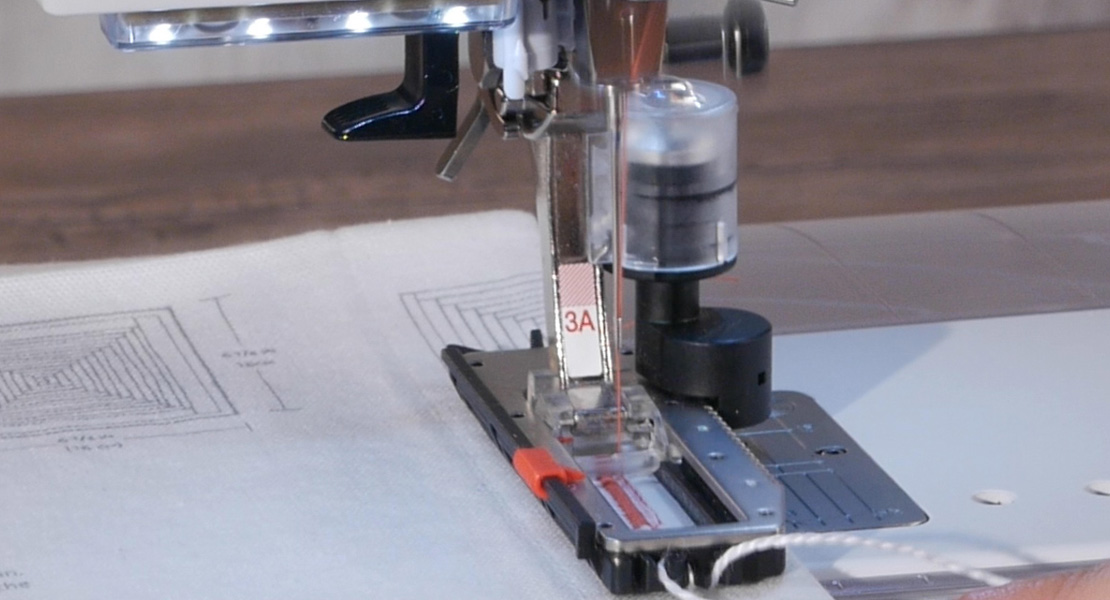
Technique #3: Stitch-in-the-Ditch with Edgestitch Foot #10D
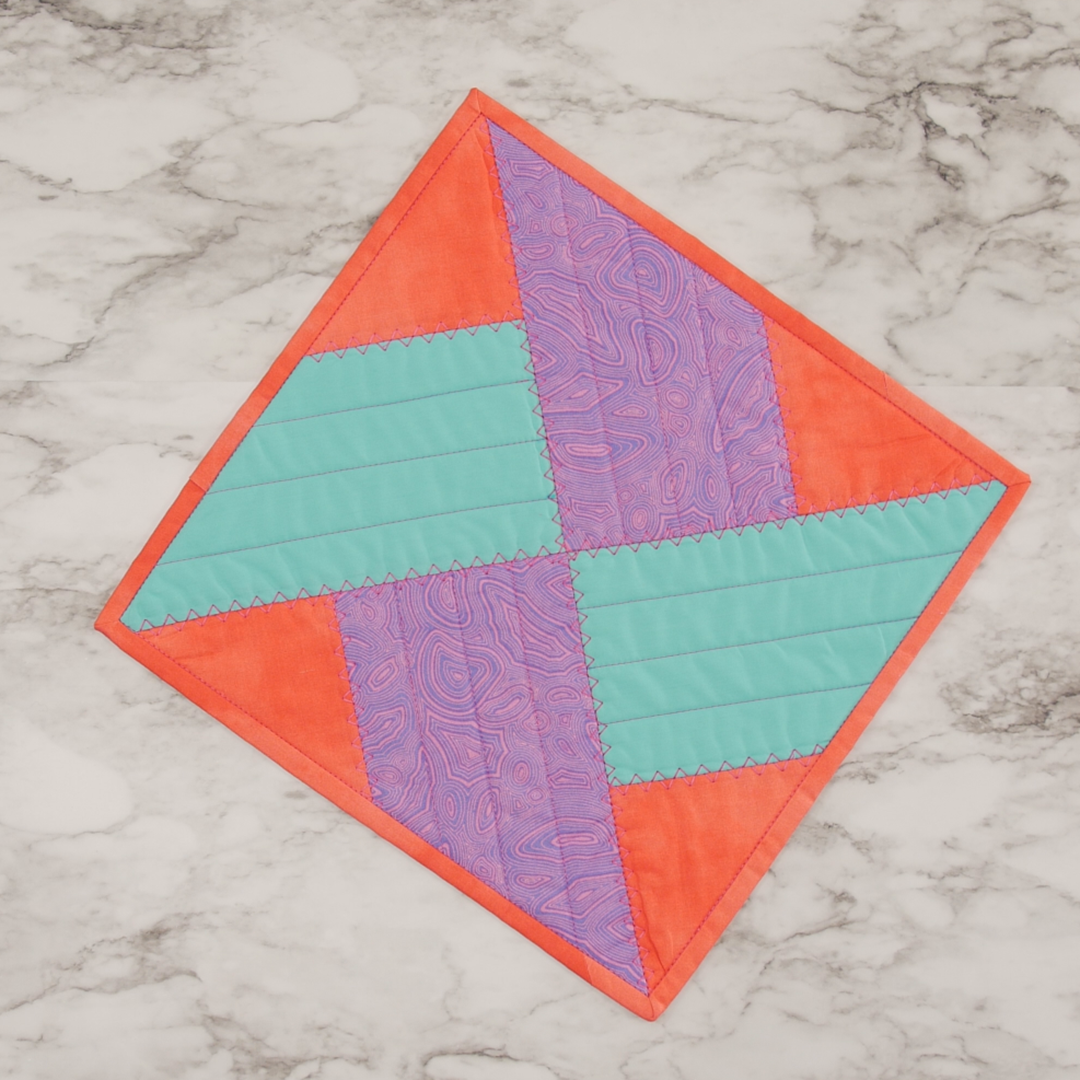
The hidden stitch – perfect for quilting and attaching binding. It adds strength to seams (which are considered the ‘ditch’ in this term) and keeps seam allowances open. In the image below, it does not look like anything and is barely visible.
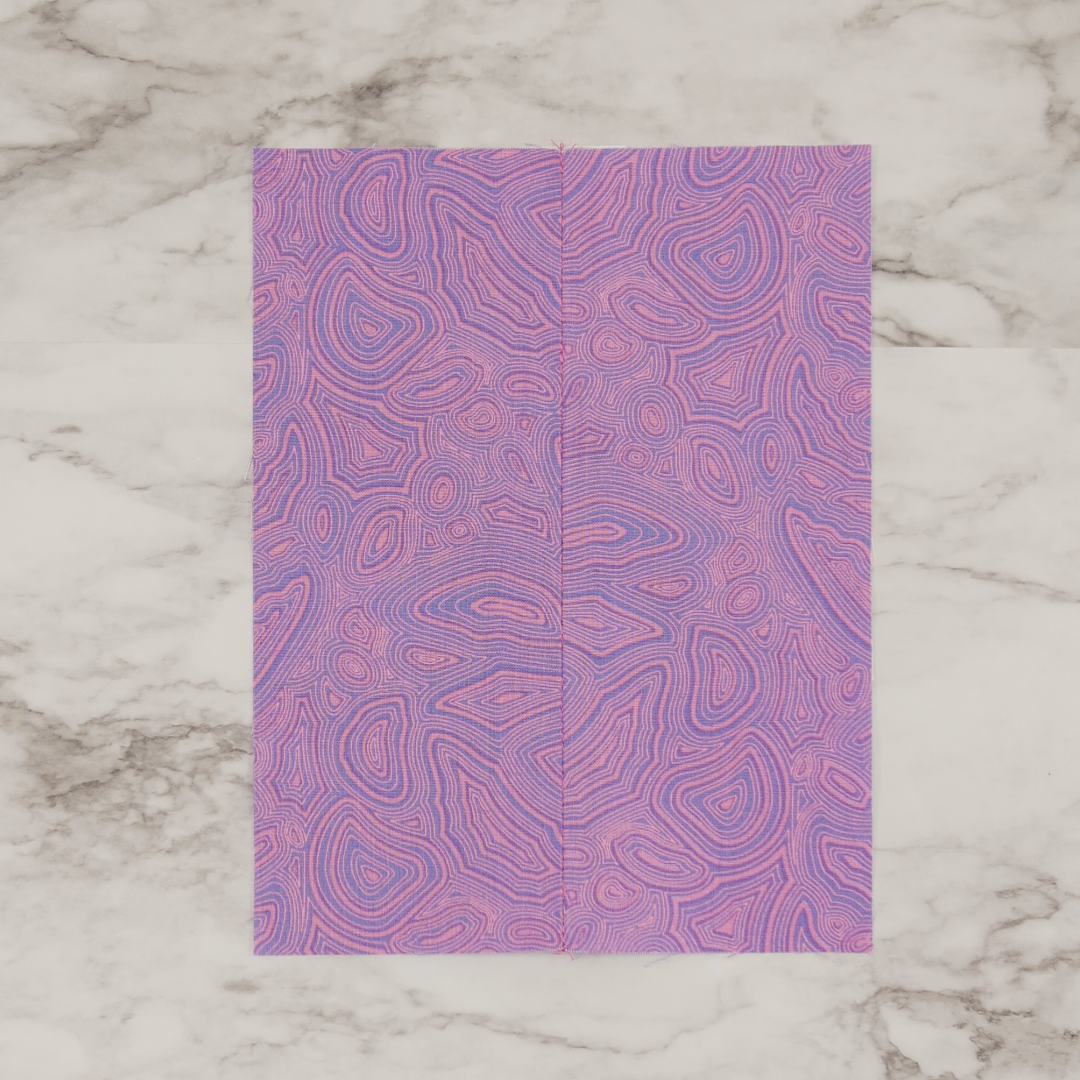
But when the project is flipped over, it reveals a line of stitching directly in the middle of the seam allowance.

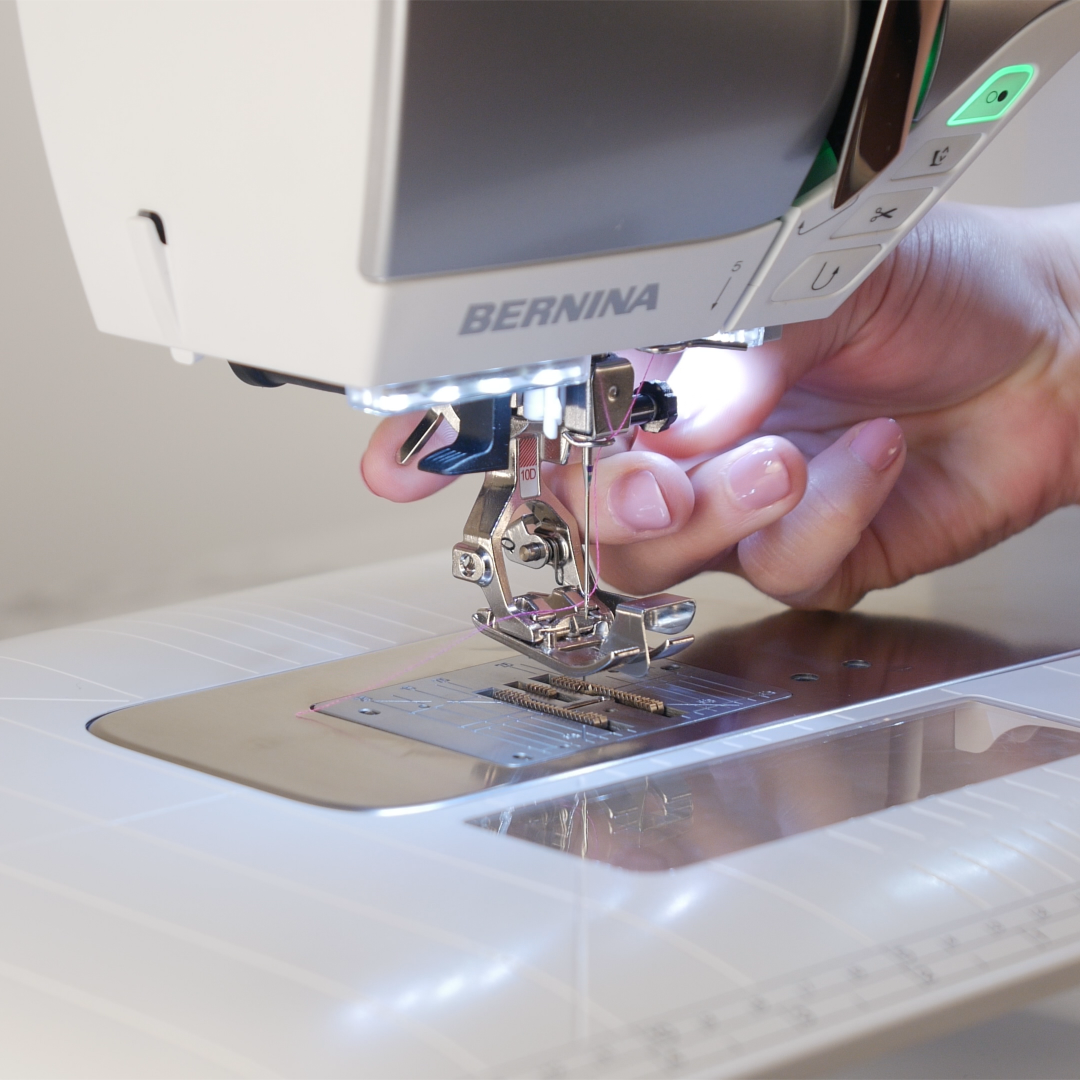
The Dual Feed mechanism on the B 570 QEE is compatible with Edgestitch Foot #10D, and will keep the layers of the project together evenly as you are sewing. Always be sure to engage the Dual Feed when a Dual Feed Foot is attached.
For this technique, switch back to the straight stitch. The B 570 has temporary altered stitch memory, so the stitch length and needle position will be the same as it was set for edgestitching. The only change needed is to put the needle position back to center.
Once again, the seam allowance should be pressed open. Having the seam ironed like this will ensure that the metal guide has a clear path down the center. With this technique, always be looking ahead. Having the guide in the front of the foot leads to perfect stitching in the middle of the seam.
Try out these techniques using Edgestitch Foot #10, #10C, and #10D on your next project!
Additional WeAllSew Blogs Featuring Edgestitch Foot #10/10C/10D
Used Products

What you might also like


4 comments on “Edgestitch Foot #10/10C/10D: Tips & Tricks”
-
-
Absolutely! Since the Aurora 440 QE has a 5.5 mm stitch width, you will be able to use Edgestitch foot #10, but not #10C or #10D. You can still adjust the needle position for edgestitching and the stitch length for stitch-in-the-ditch. For the decorative stitching, simply use a different decorative stitch that you prefer!
-
-
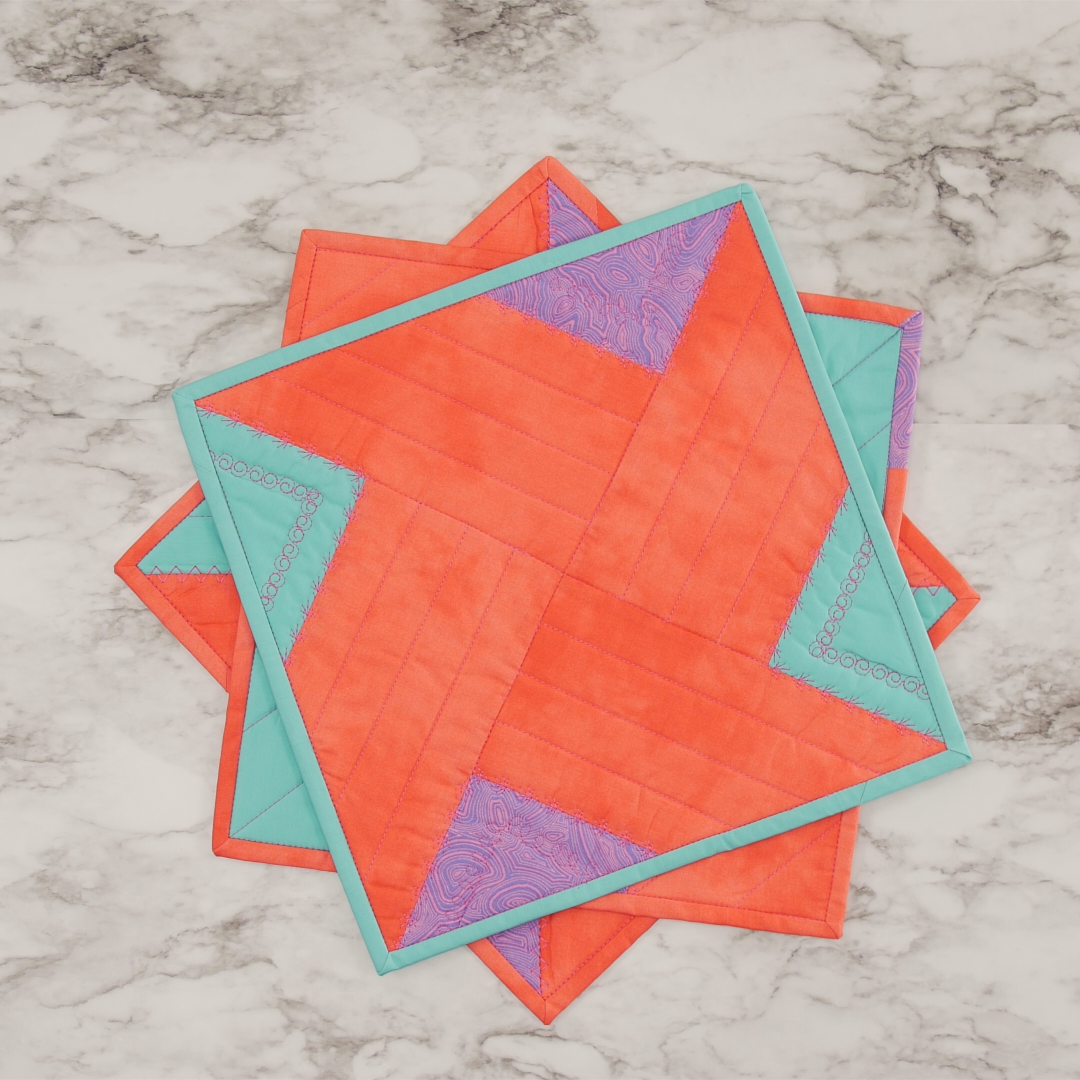
Megann, what is the pattern for the diagonal hot pad?
-
I followed this tutorial to create those: https://fabric406.com/blogs/fabric406-blog/free-pattern-whirlwind-quilt-block
-
Leave a Reply
You must be logged in to post a comment.

Can any of this be done with my Aurora 440 QE ??? thank you