Create a One-piece Facing for Any Slit Opening
While translating one of our crochet garment patterns into woven fabric we came upon an issue where we needed to create a one-piece facing to reinforce and finish a slit-armhole. In crochet the edges are reinforced because of the nature of crochet stitches. In cut-and-sew patterns this type of armhole – which is a slit cut in the fabric to create a hole for your arm – leaves a raw edge that is vulnerable to wear and tearing at the top and bottom of the slit.
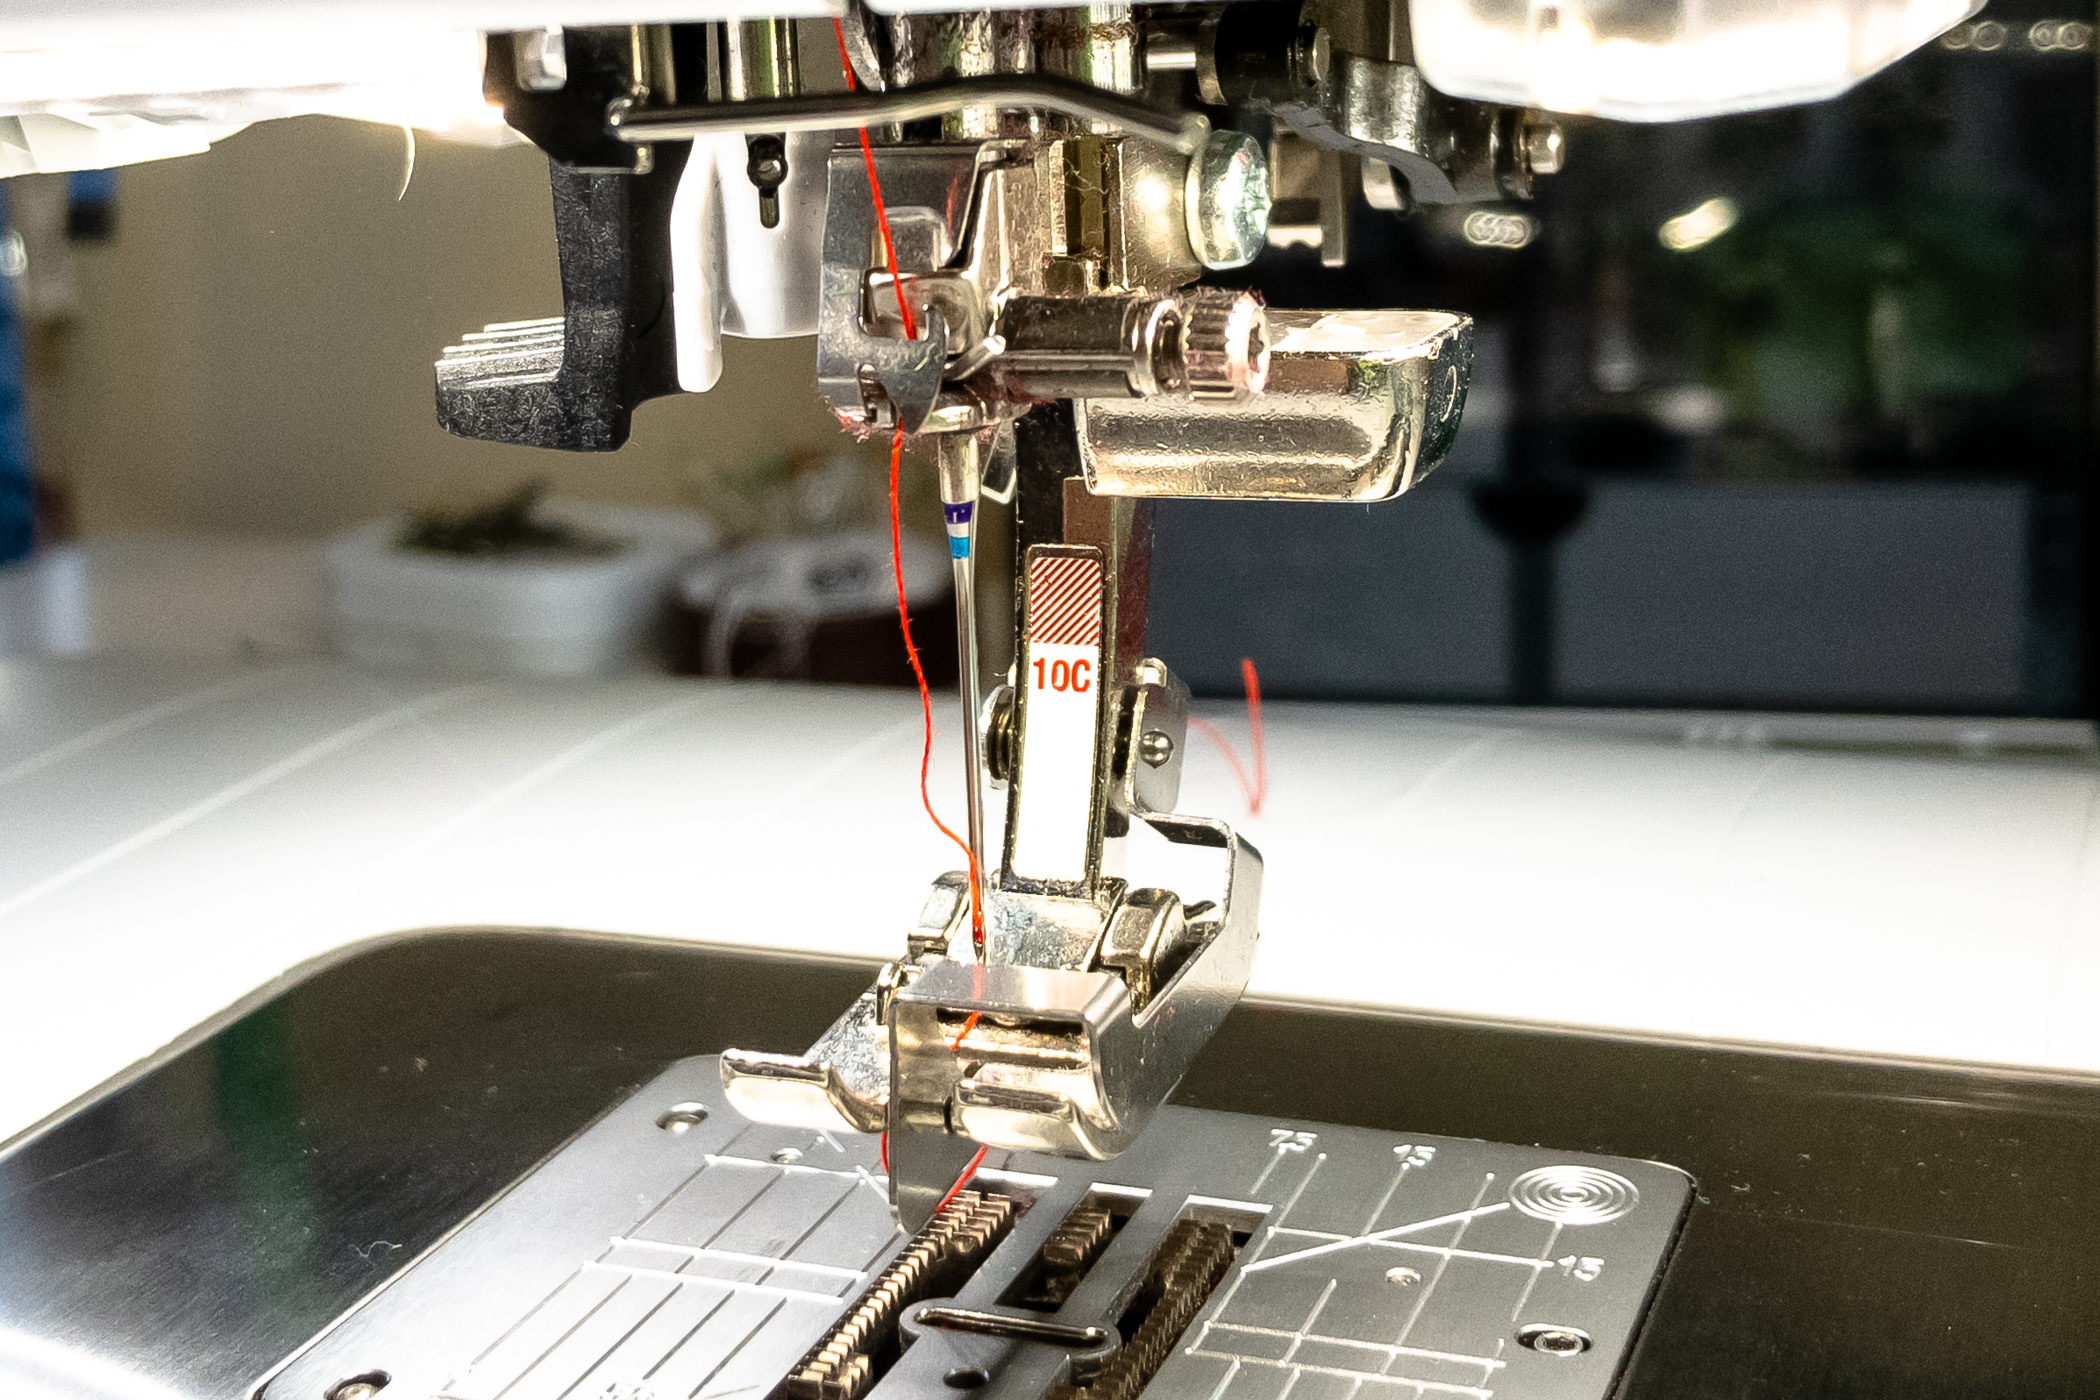
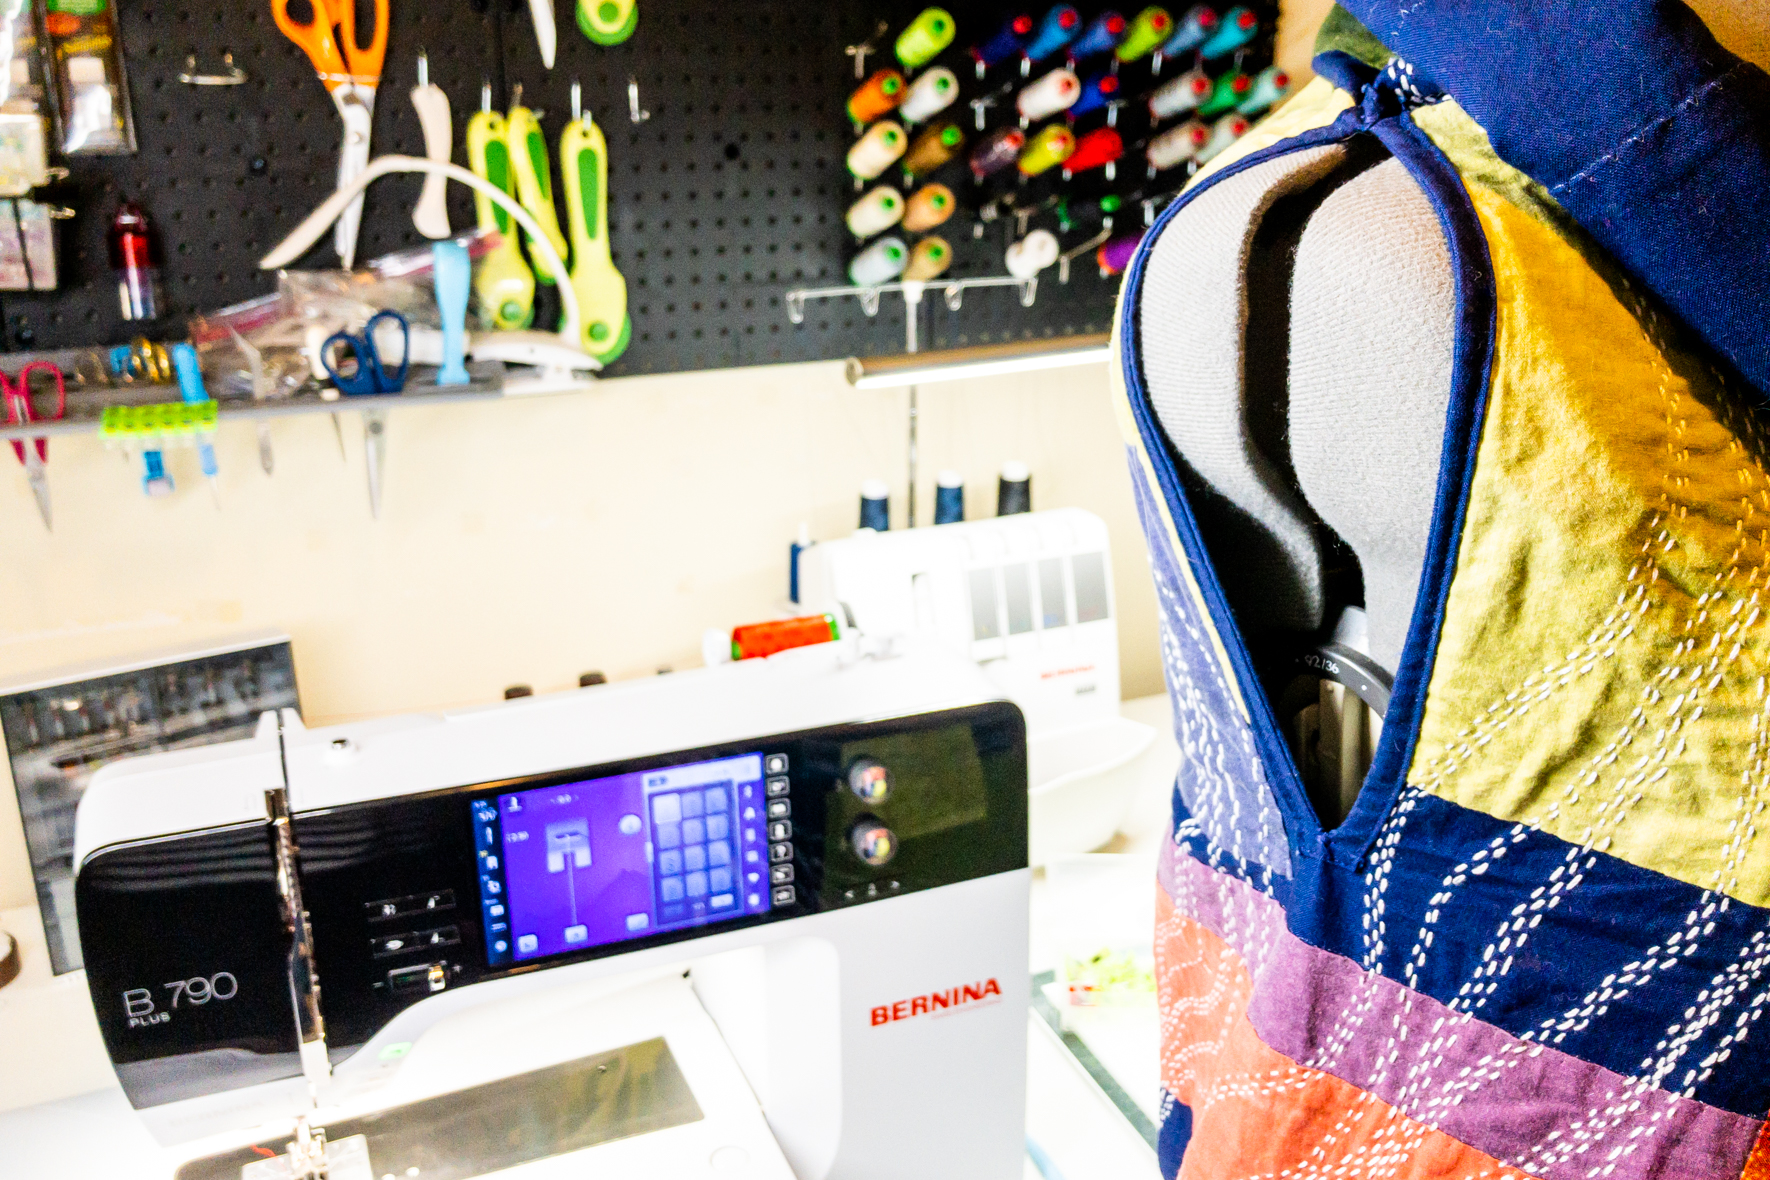
Inspired by the facing we used to set a zipper into the top of a tote, our solution was to create a one-piece facing for the armhole. For this project we used our BERNINA 790 PLUS and the Edgestitch foot #10C.
The Problem
Creating a one-piece facing for a slit armhole opening on a reversible garment.
Note
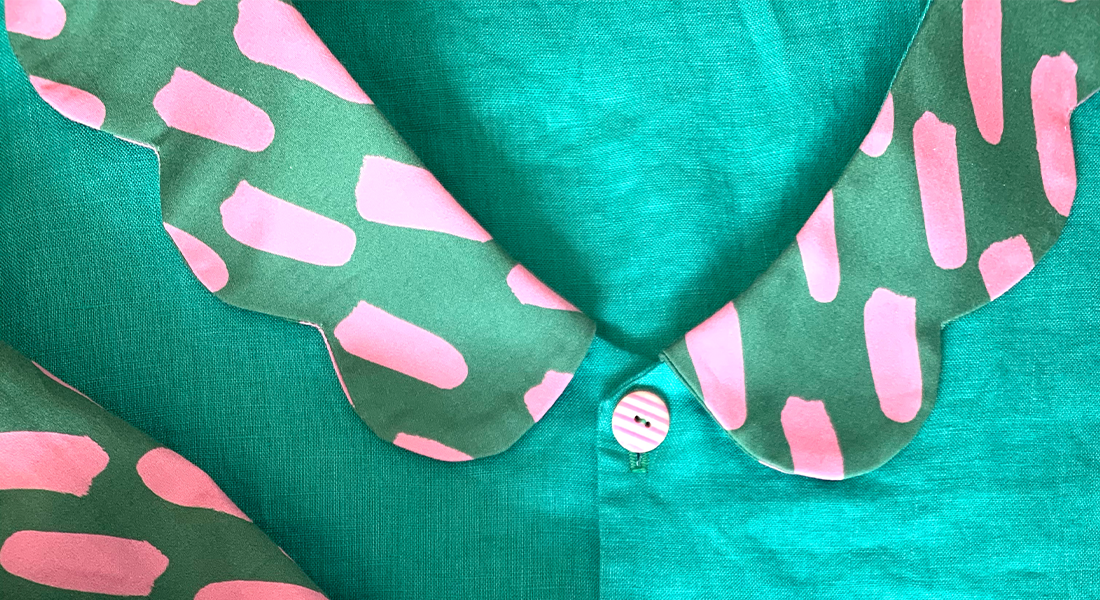
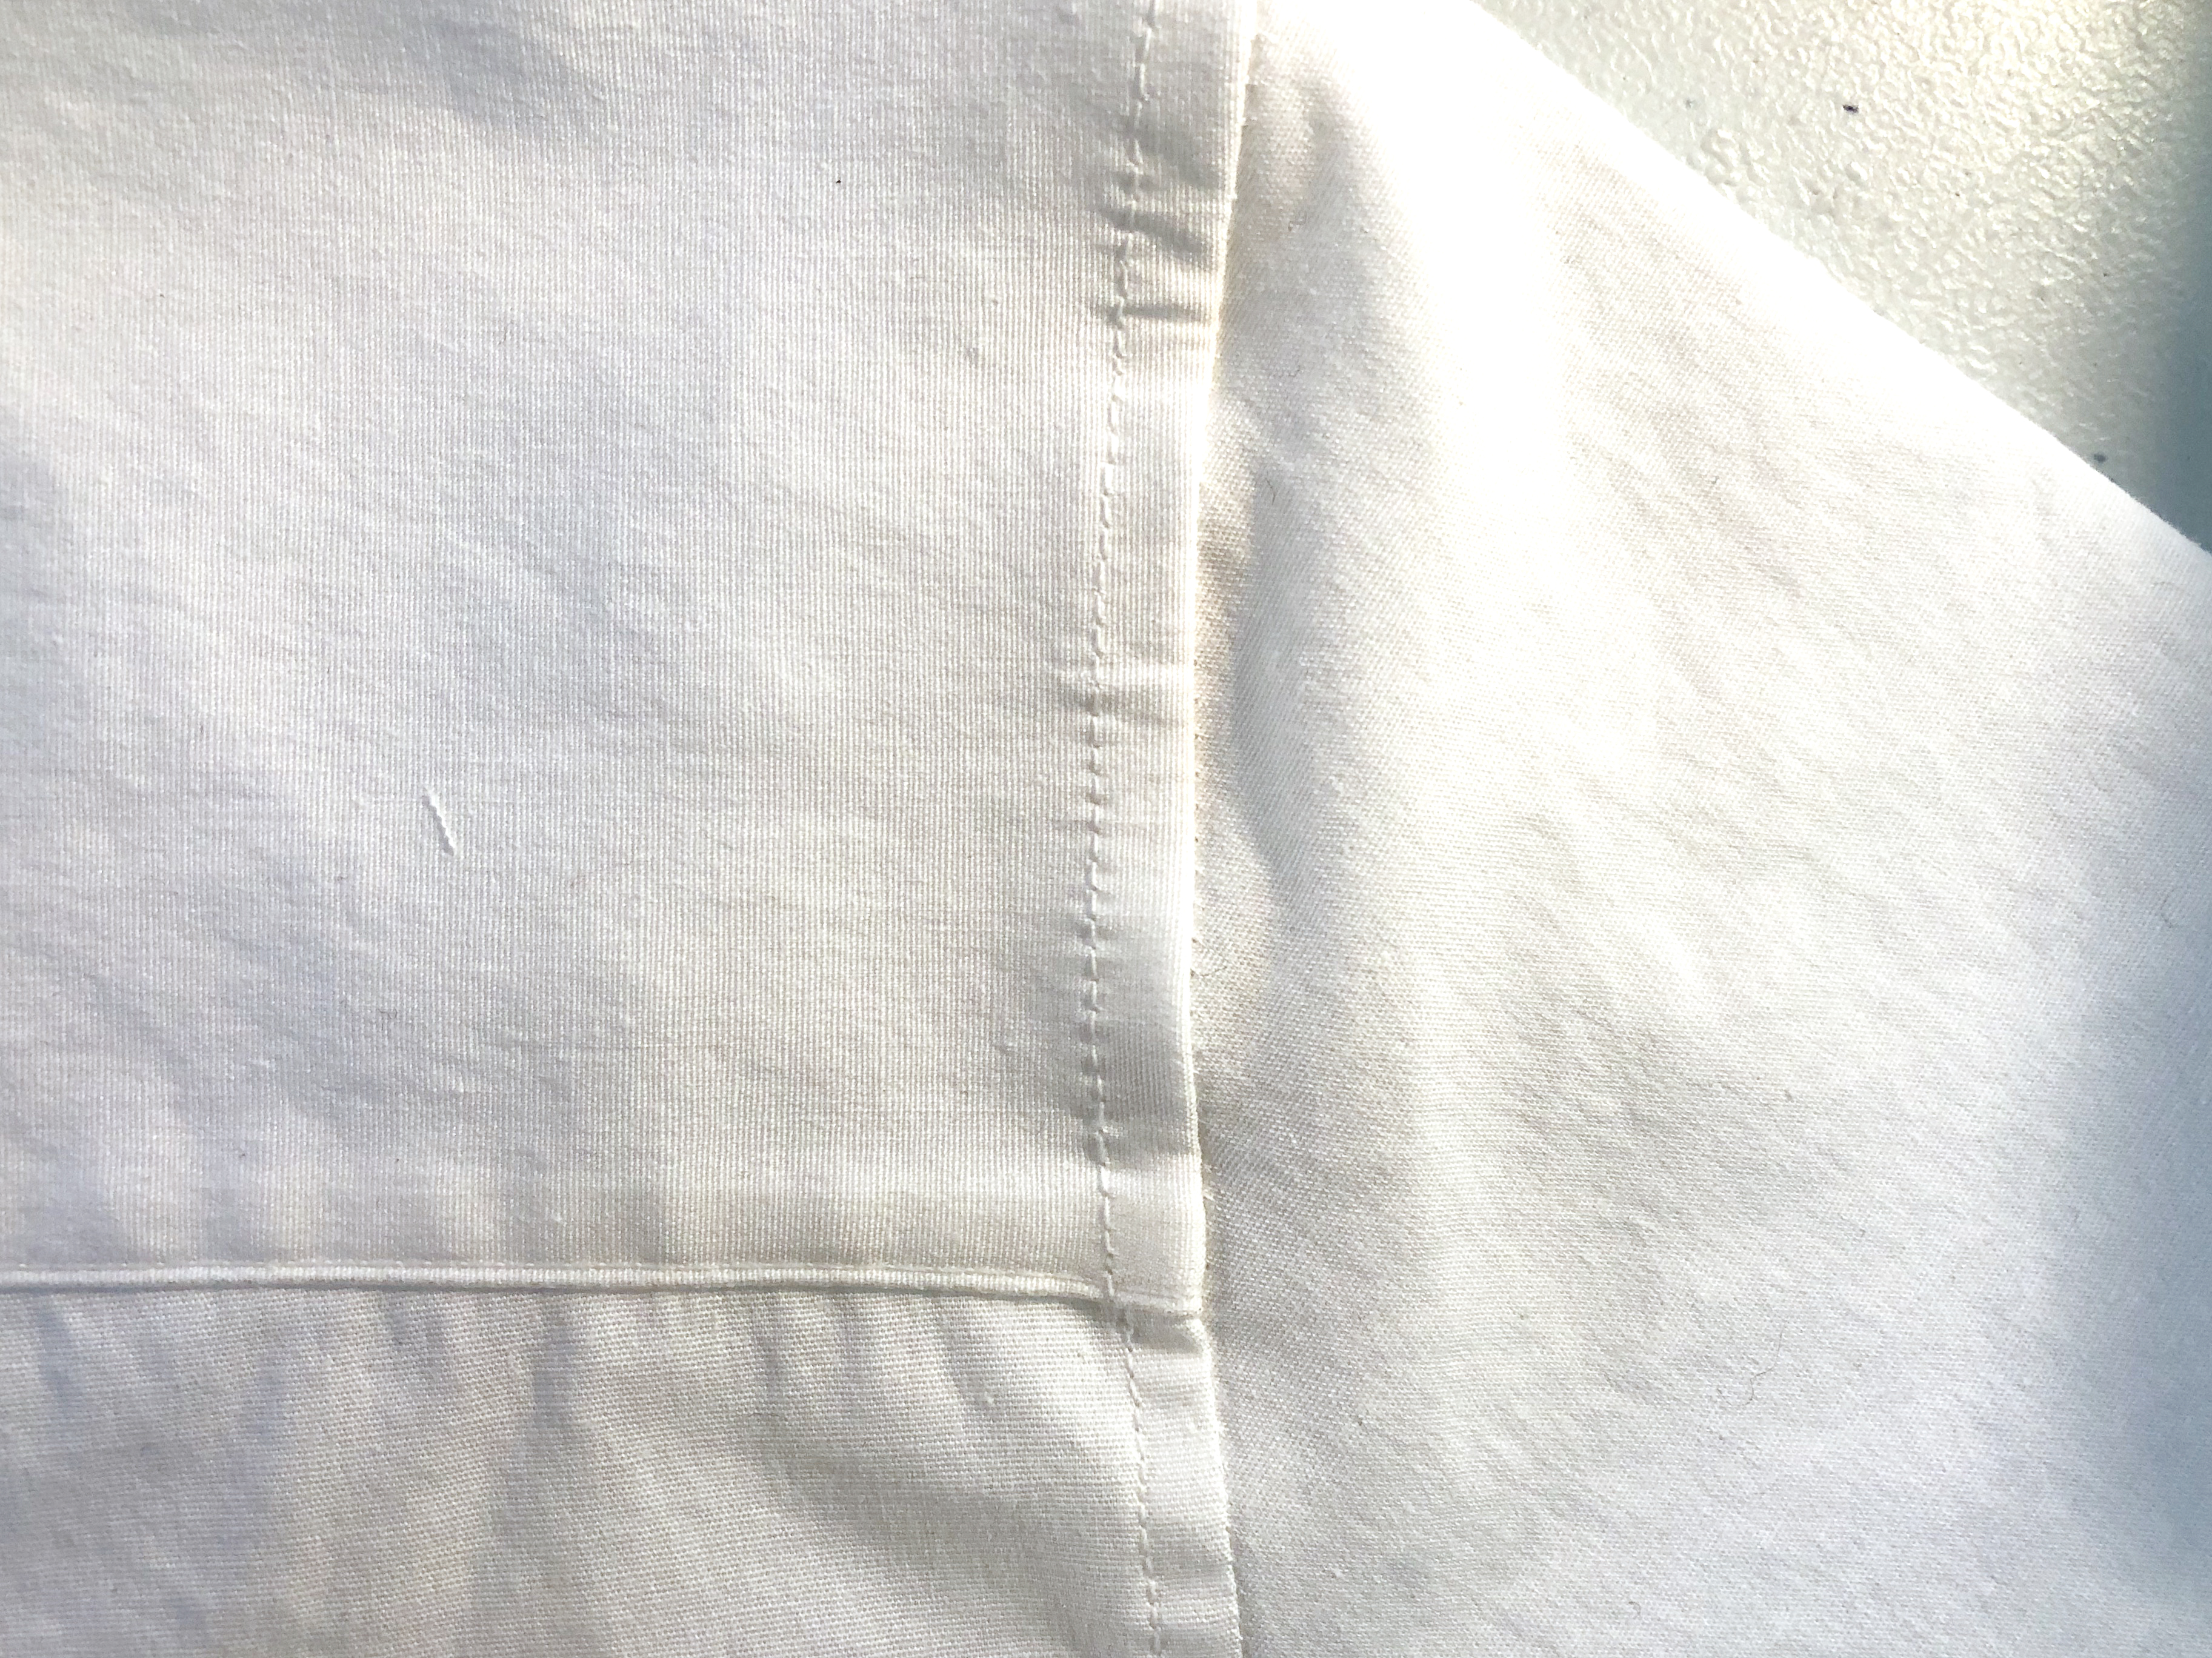
For this tutorial, the lighter colored fabric is the “garment” and the darker colored fabric is the “facing”. We are also using white thread so you can see the stitching more easily.
Our Solution
Step 1 Draw Your Opening

Measure armhole depth. On the garment, draw a line to mark where your armhole/opening will be. For this piece, we have an armhole depth of 8.5”. Do NOT cut armhole opening yet! Your patience will be rewarded.
Step 2 Cut The Facing
Cut a rectangle of fabric that is 1.25″ wide and the length of the armhole plus 1 inch long (for this piece, 1.25″ x 9.5″). This allows for 1/2″ fold over at the top and bottom and both sides of the finished facing as well as approximately 1/8″ on the sides for the inside edge seam allowance.
Step 3 Draw Another Line
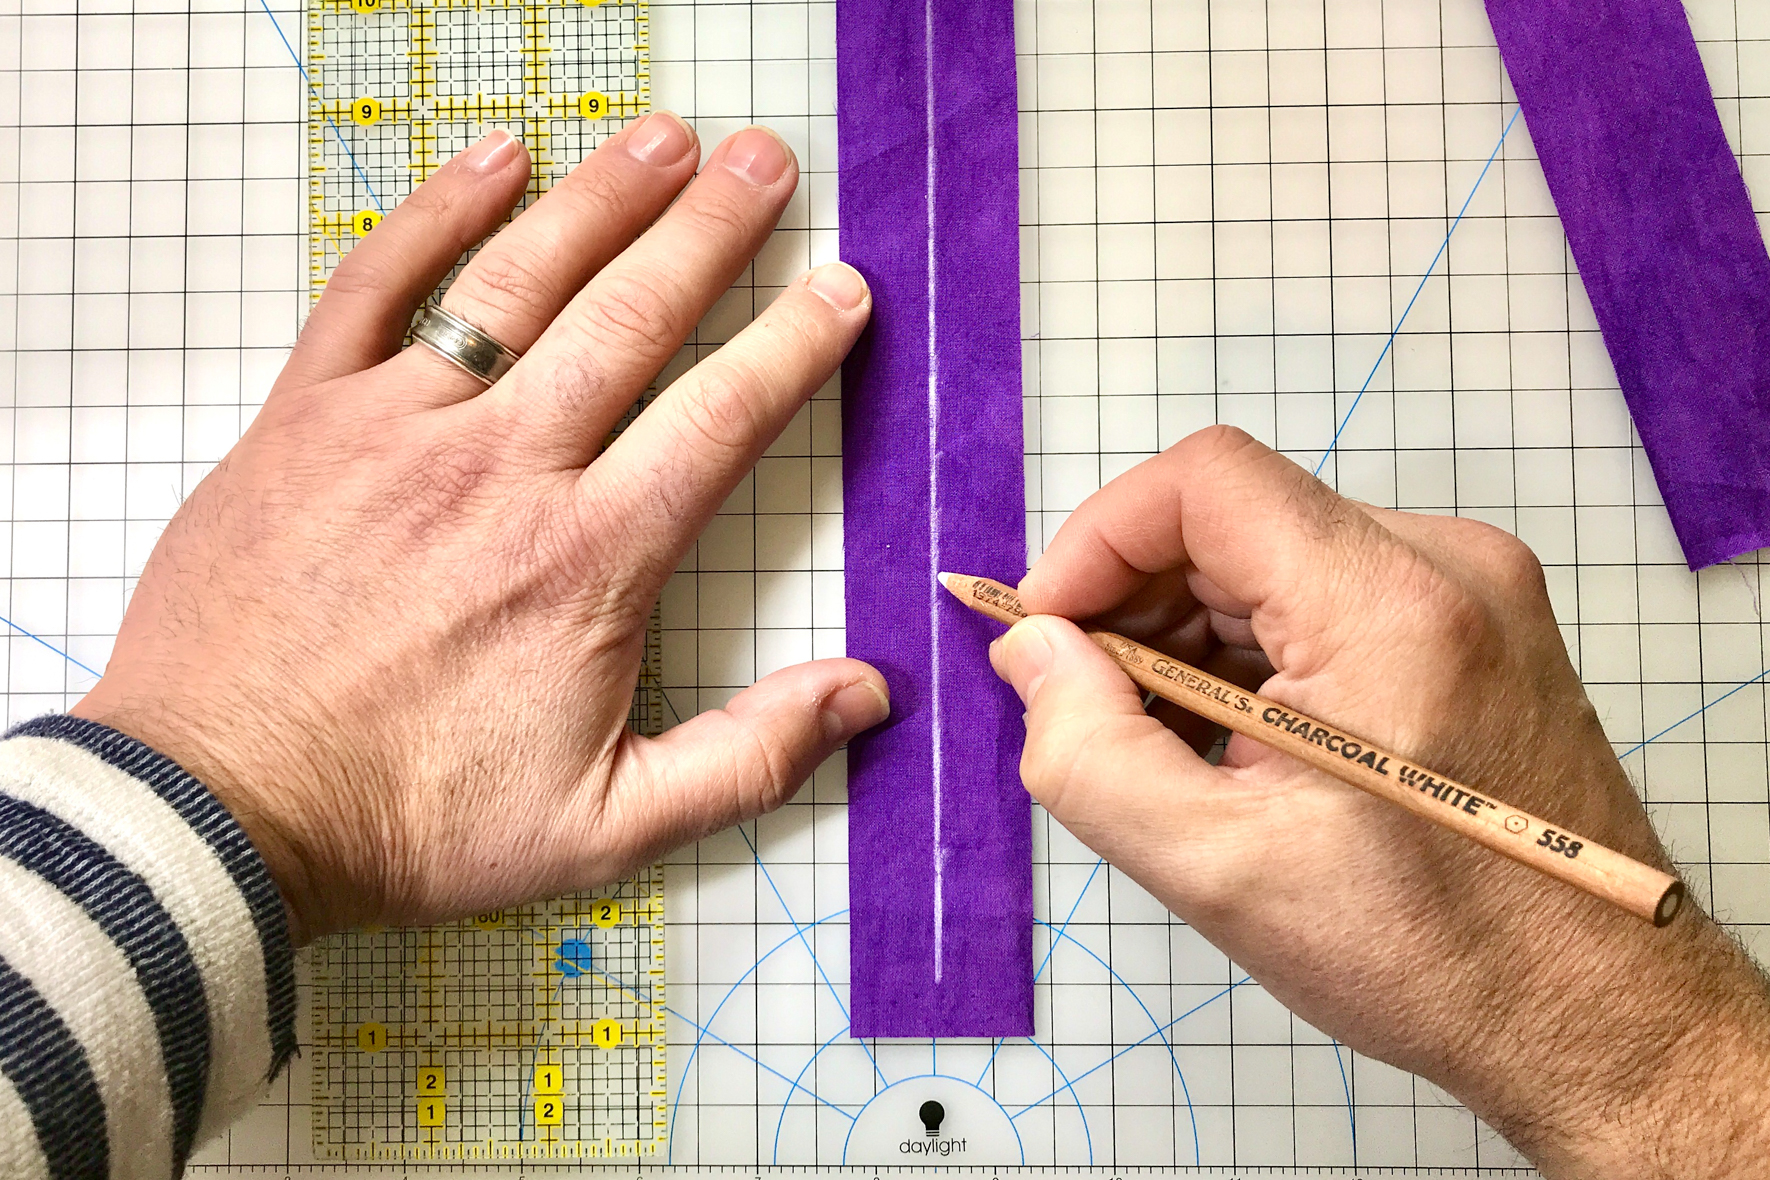
Draw a line matching the armhole depth on the facing fabric. Make sure this line is centered on the fabric or your finished facing will come out lopsided. (And that just ain’t cute.)
Step 4 Line Up The Lines
Lay right side of facing on the wrong side of the garment opening. Use pins to line up the top and bottom of the armhole on the garment and the Facing.
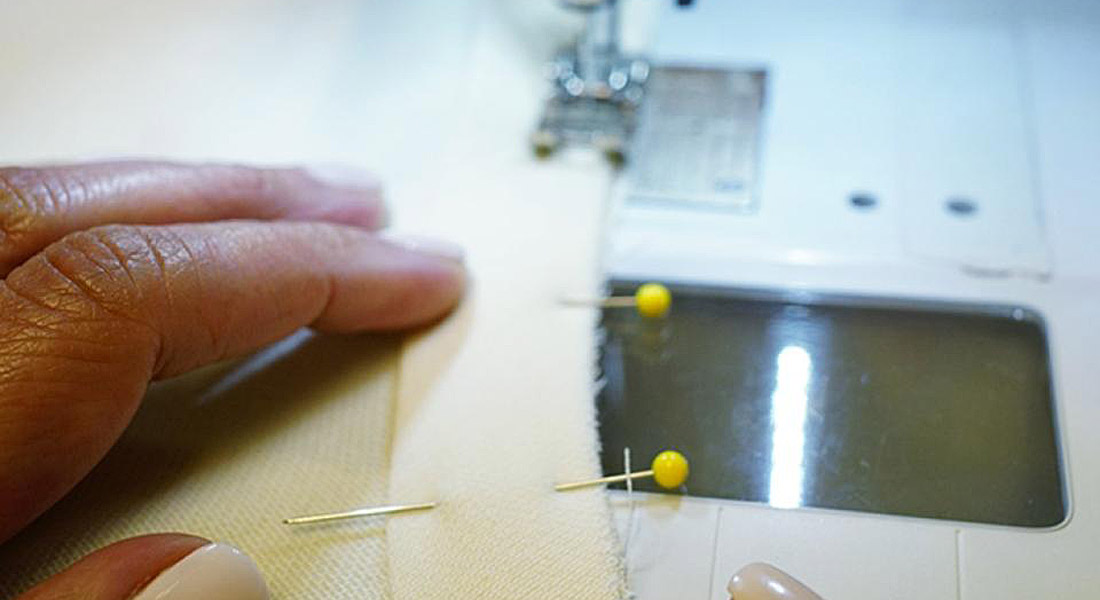
Step 5 Pin Away
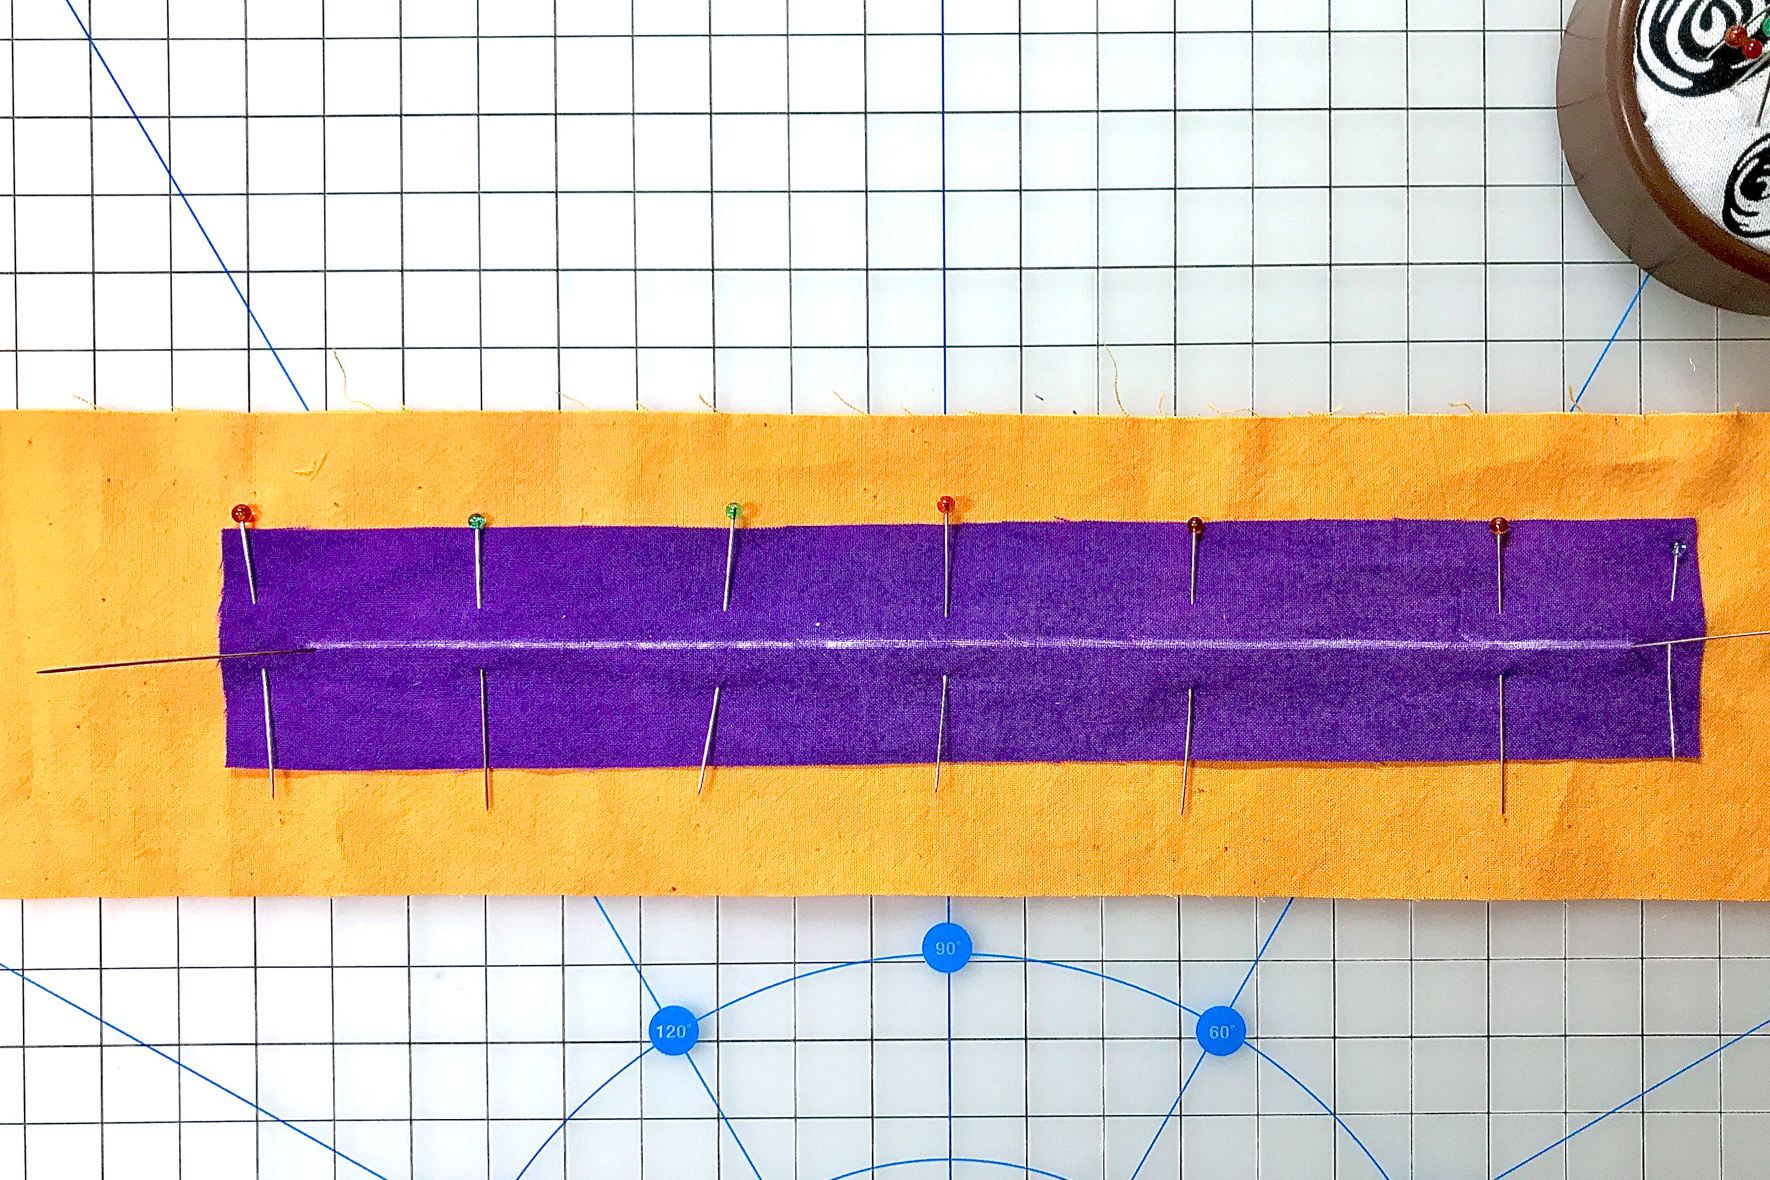
Pin facing into place to prepare for sewing.
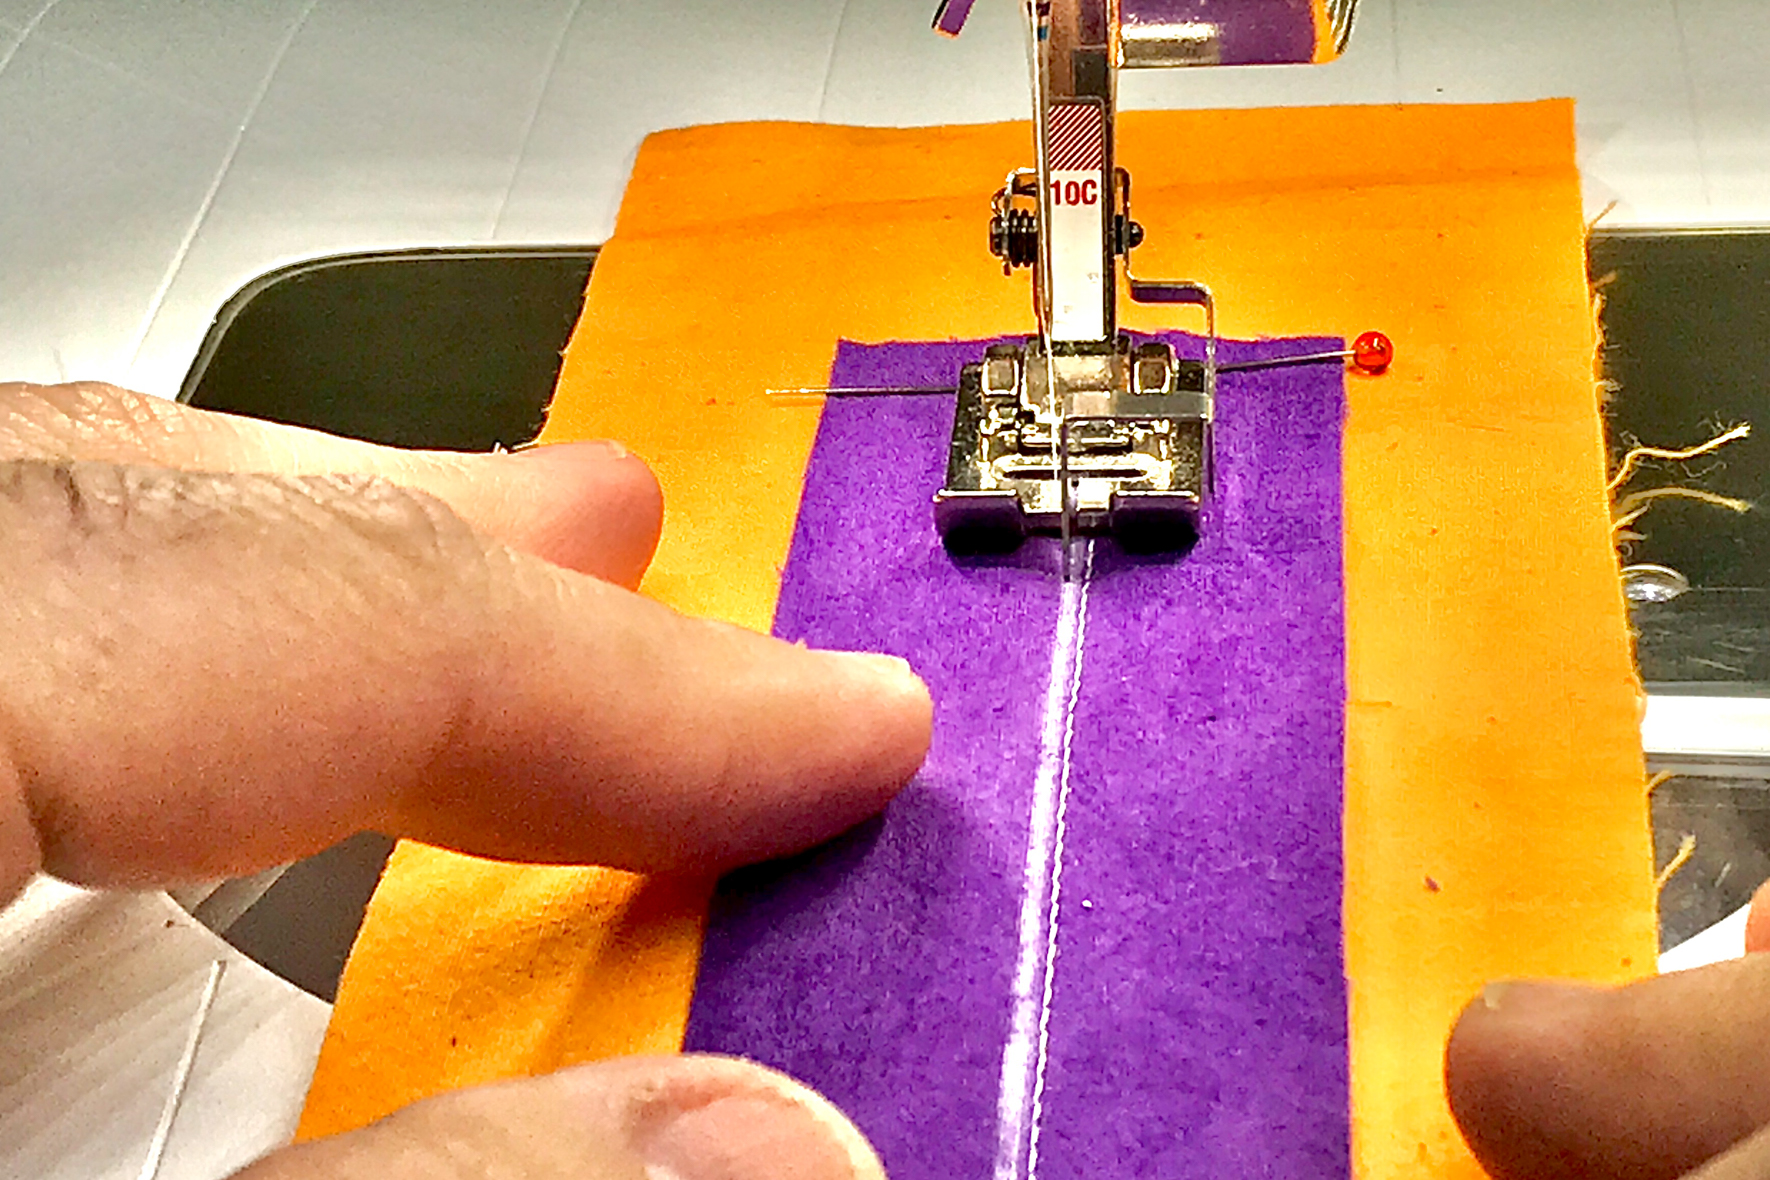
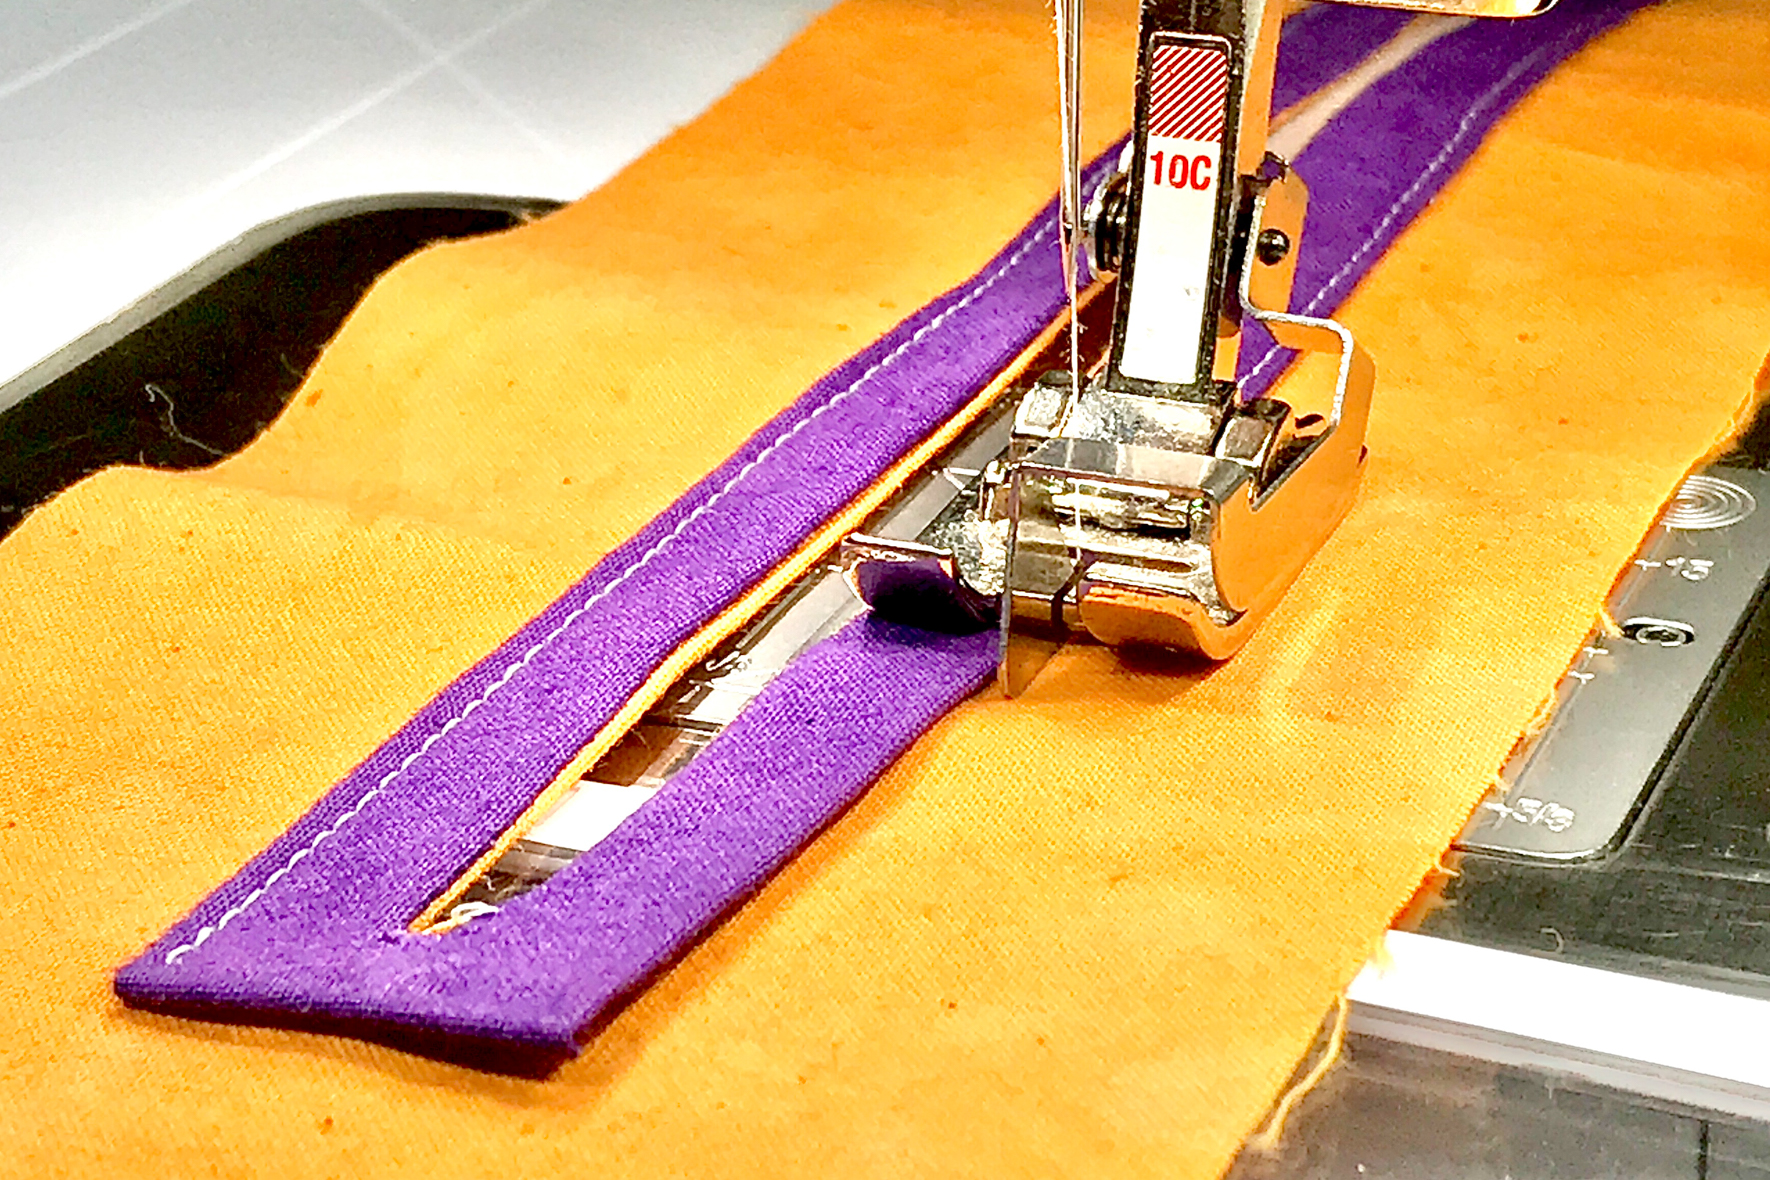
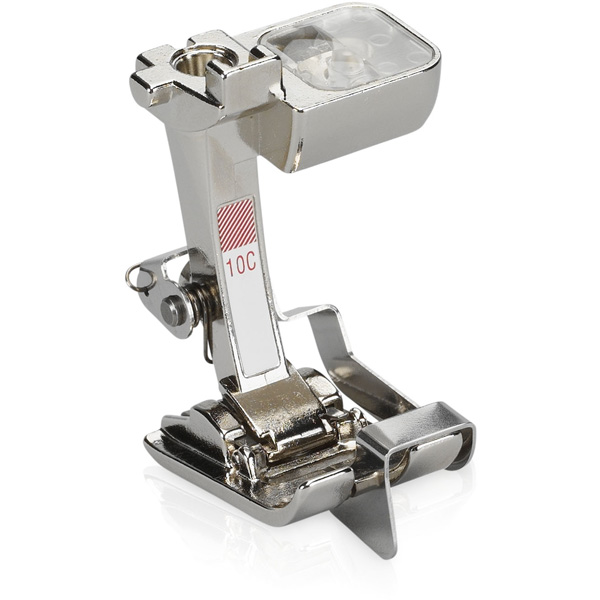
Step 6 Change Feet and Settings
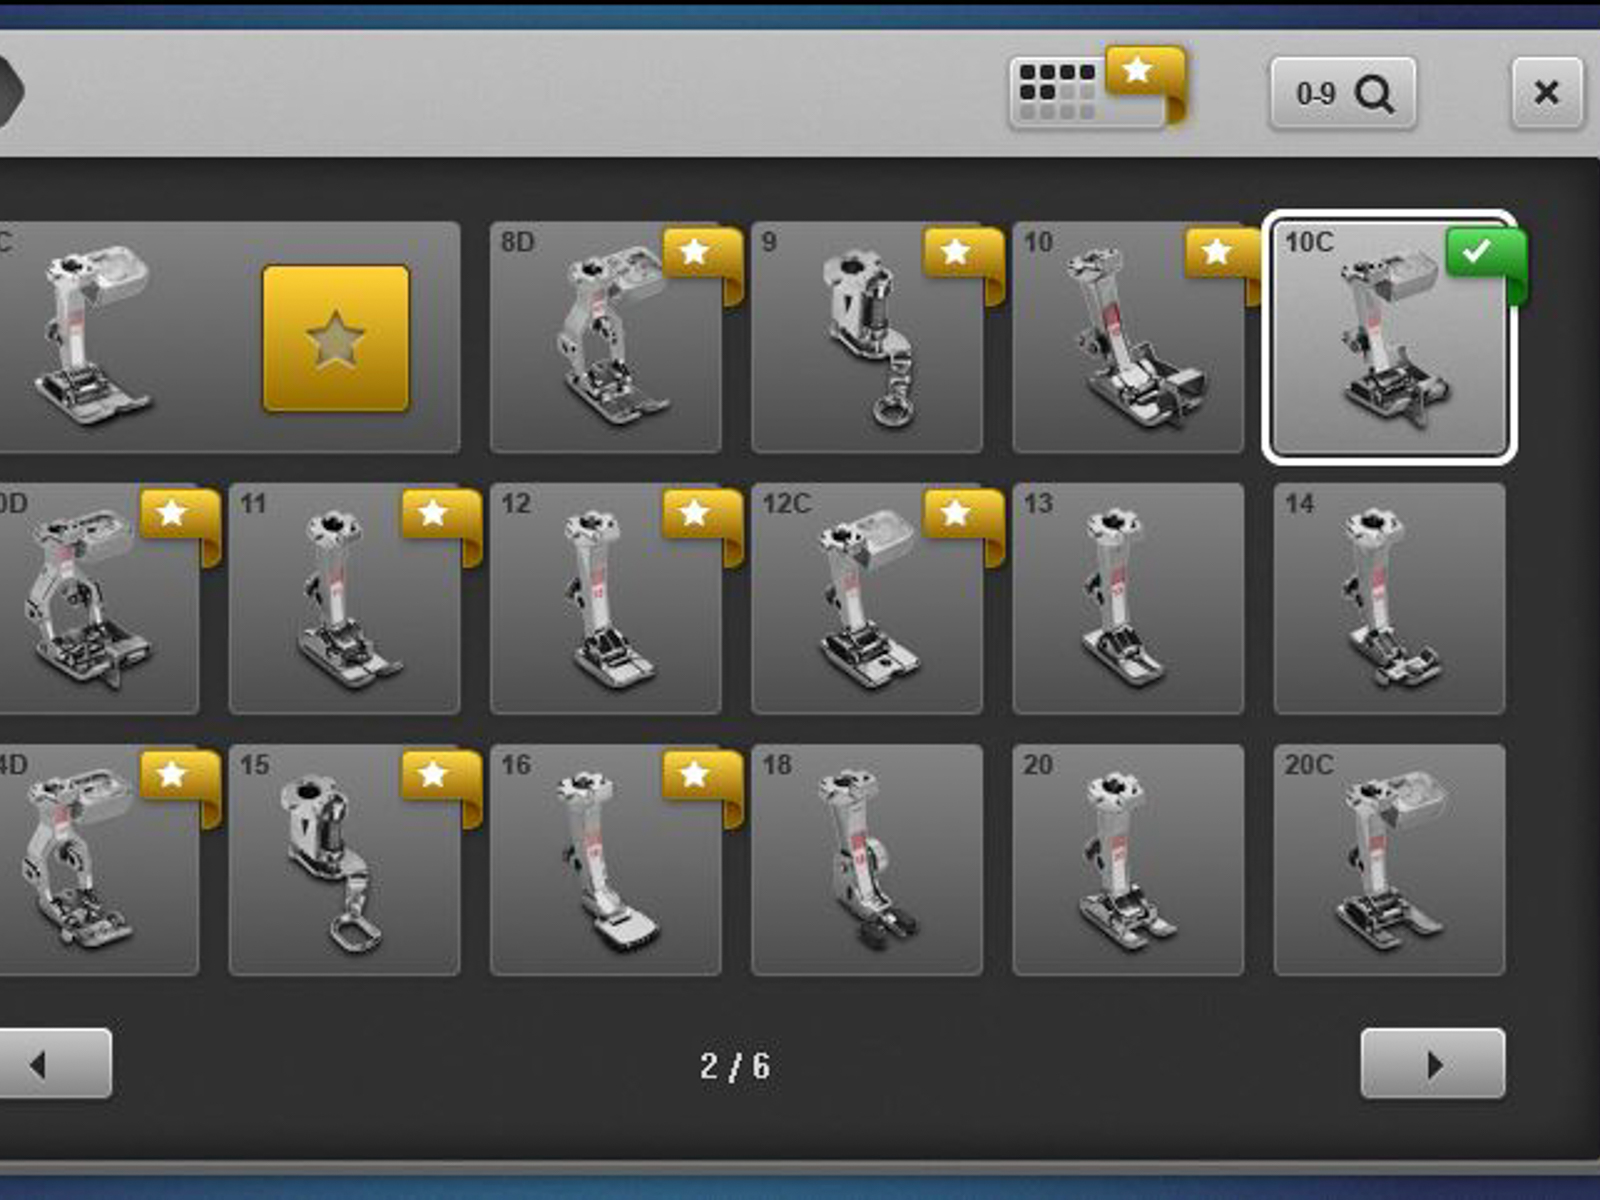
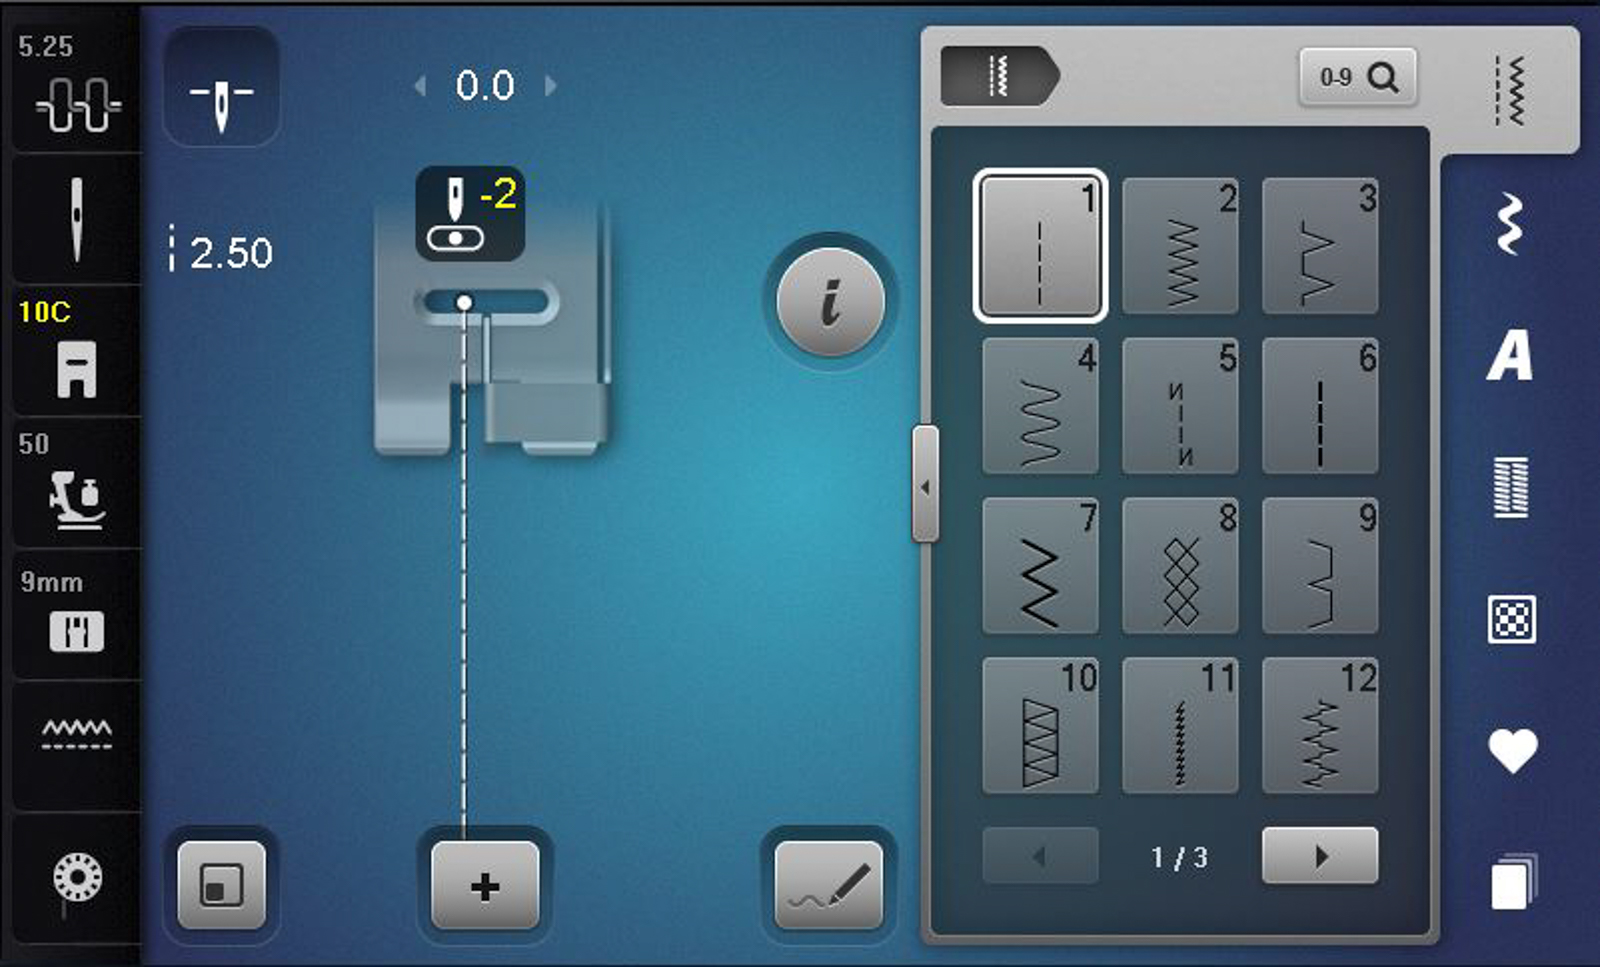
Using the BERNINA #10C Edge Stitch Foot, (10D if your BERNINA has the Dual Feed option), move the needle position to – 2 so you are sewing as close to the left edge of the marked opening as possible. This is where the magic comes in: all you have to do is set the needle position to -2 and follow your marked line with the foot guide (that’s coming in the next step).
Step 7 Sew By The Line
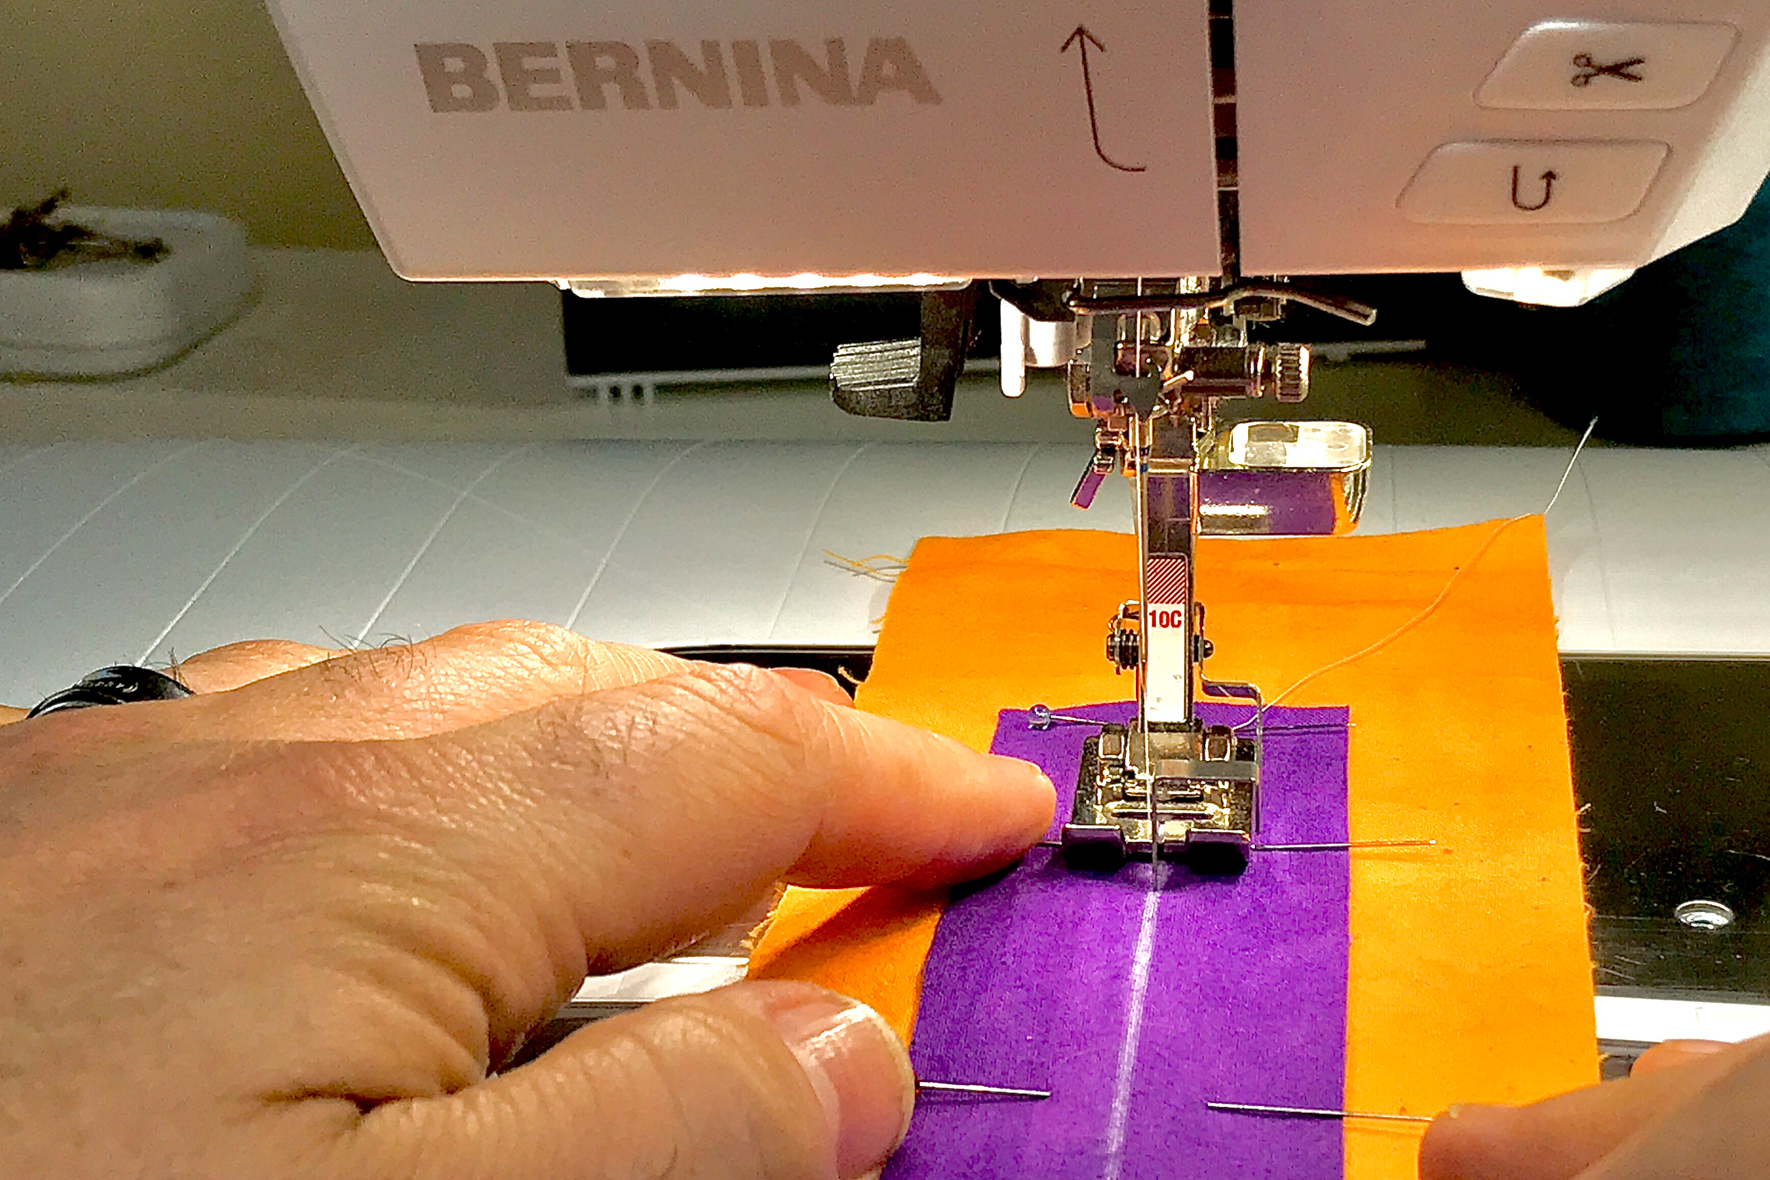
Sew along one side of the marked line using a straight stitch. Allow the guide in the center of the foot to move down the middle of the marked line. Alakazam! No guesswork and you’ll have a perfectly stitched edge every time. WOOHOO!
Step 8 Turn and Come On Back
Lift the foot without cutting the thread. Turn the work to sew down the opposite side of the marked line. Just like you did on the other side, sew along the marked line using a straight stitch. Allow the guide in the center of the foot to move down the middle of the marked line
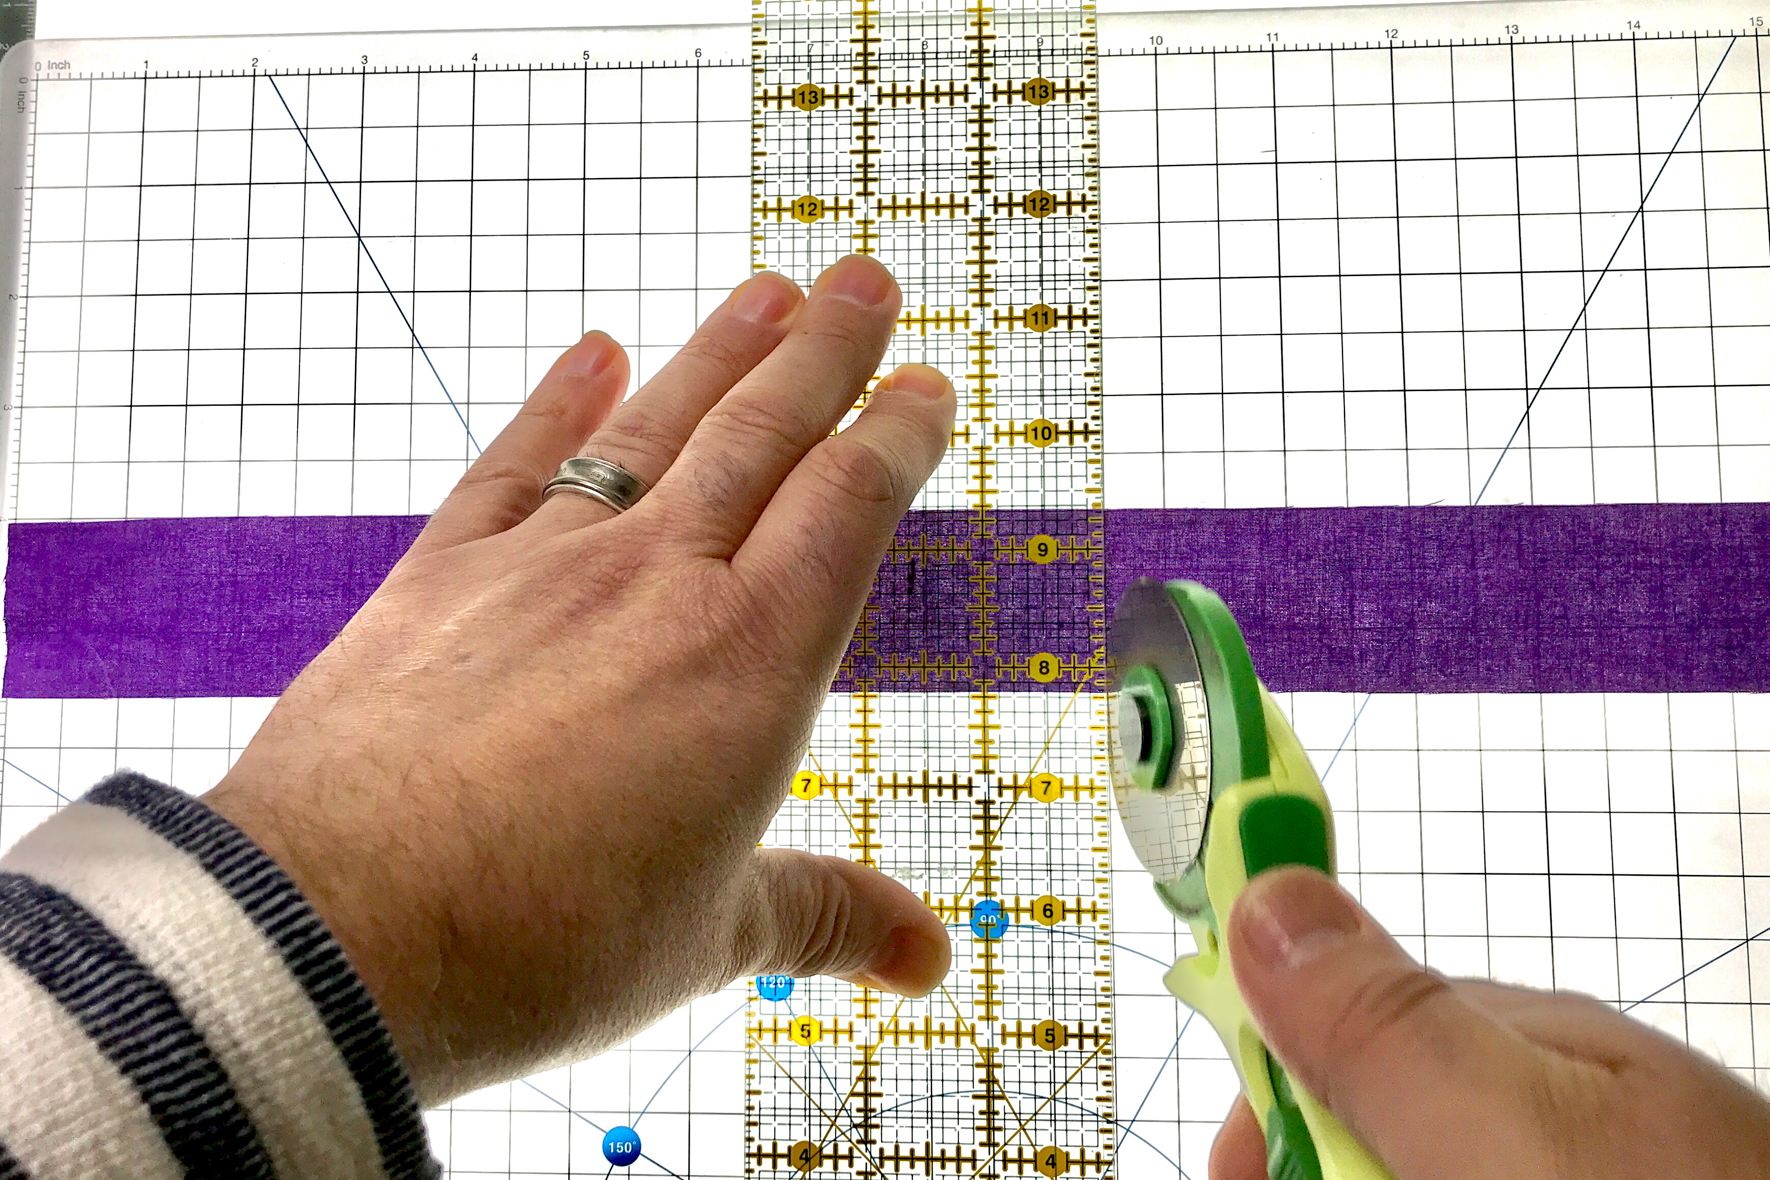
Step 9 Make The Cut
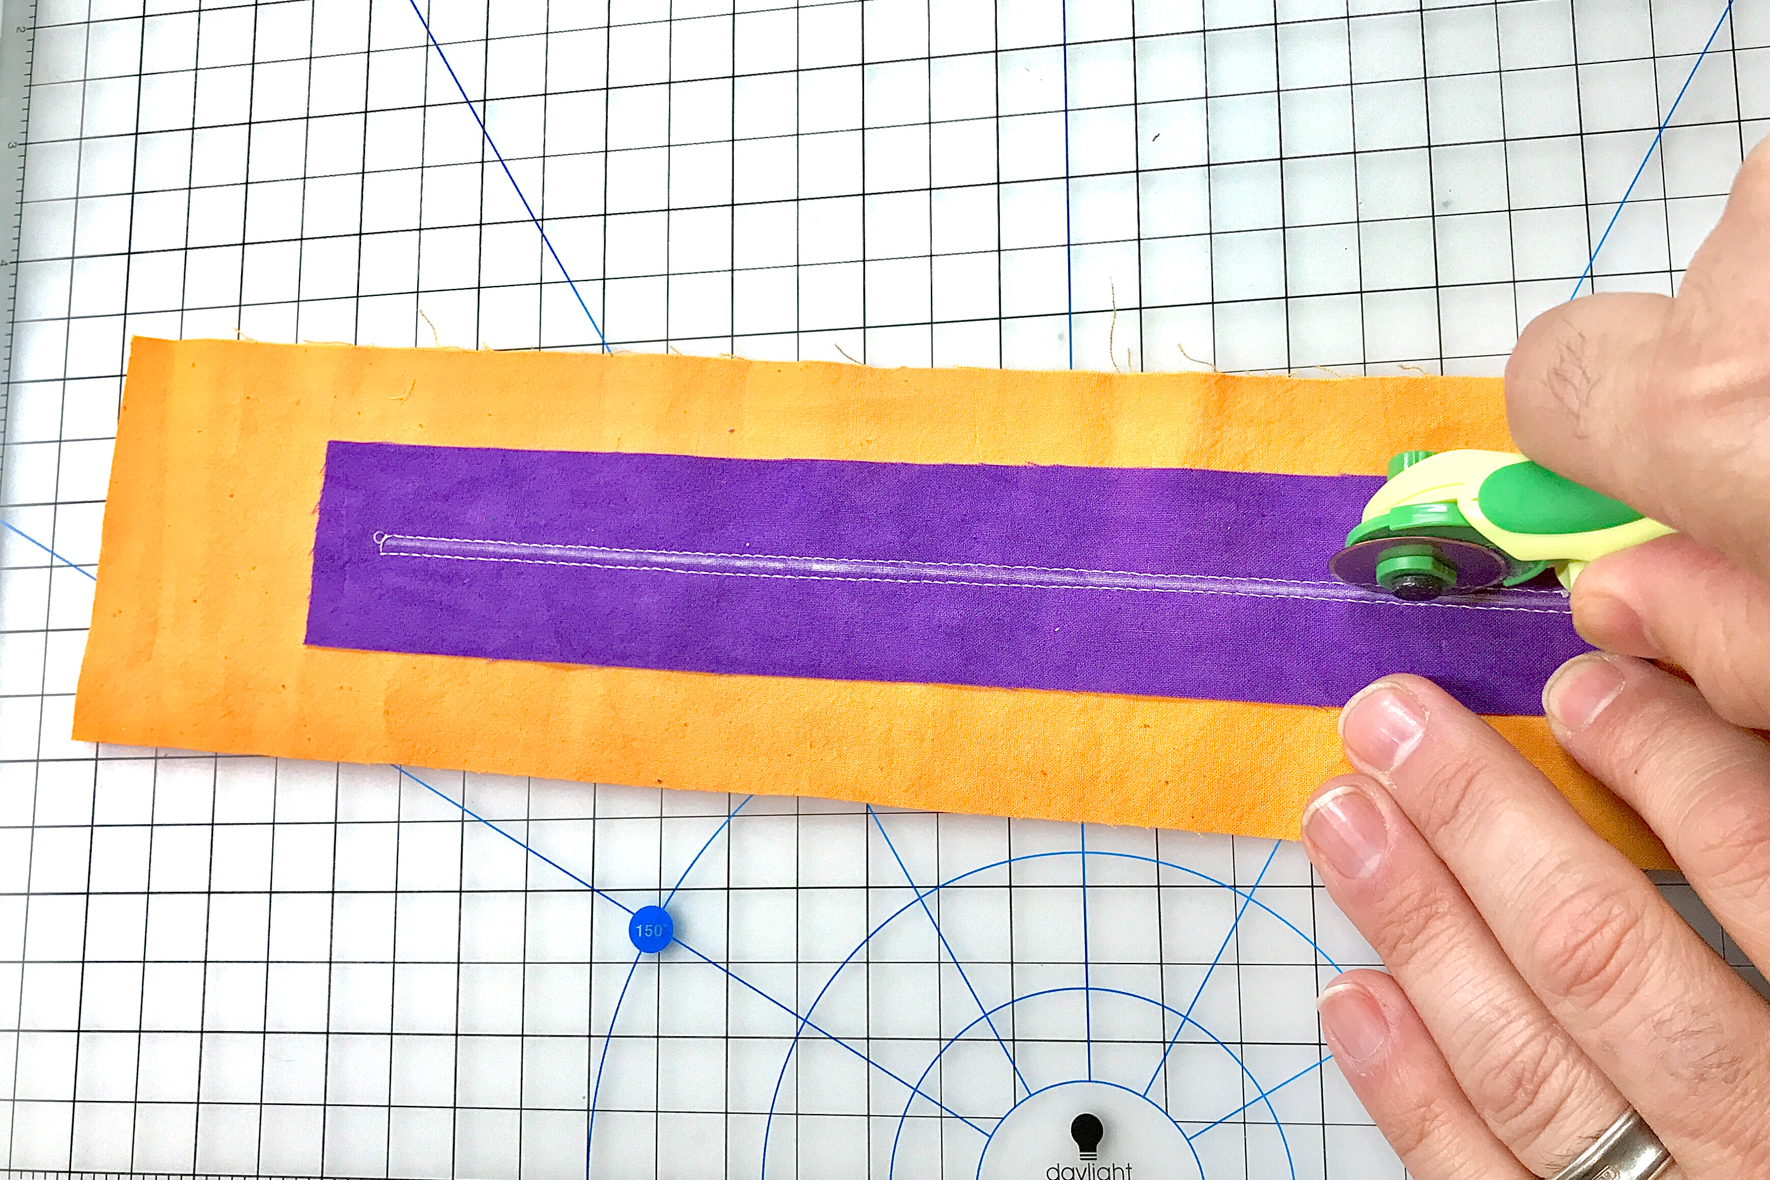
Cut armhole opening through both garment and facing.
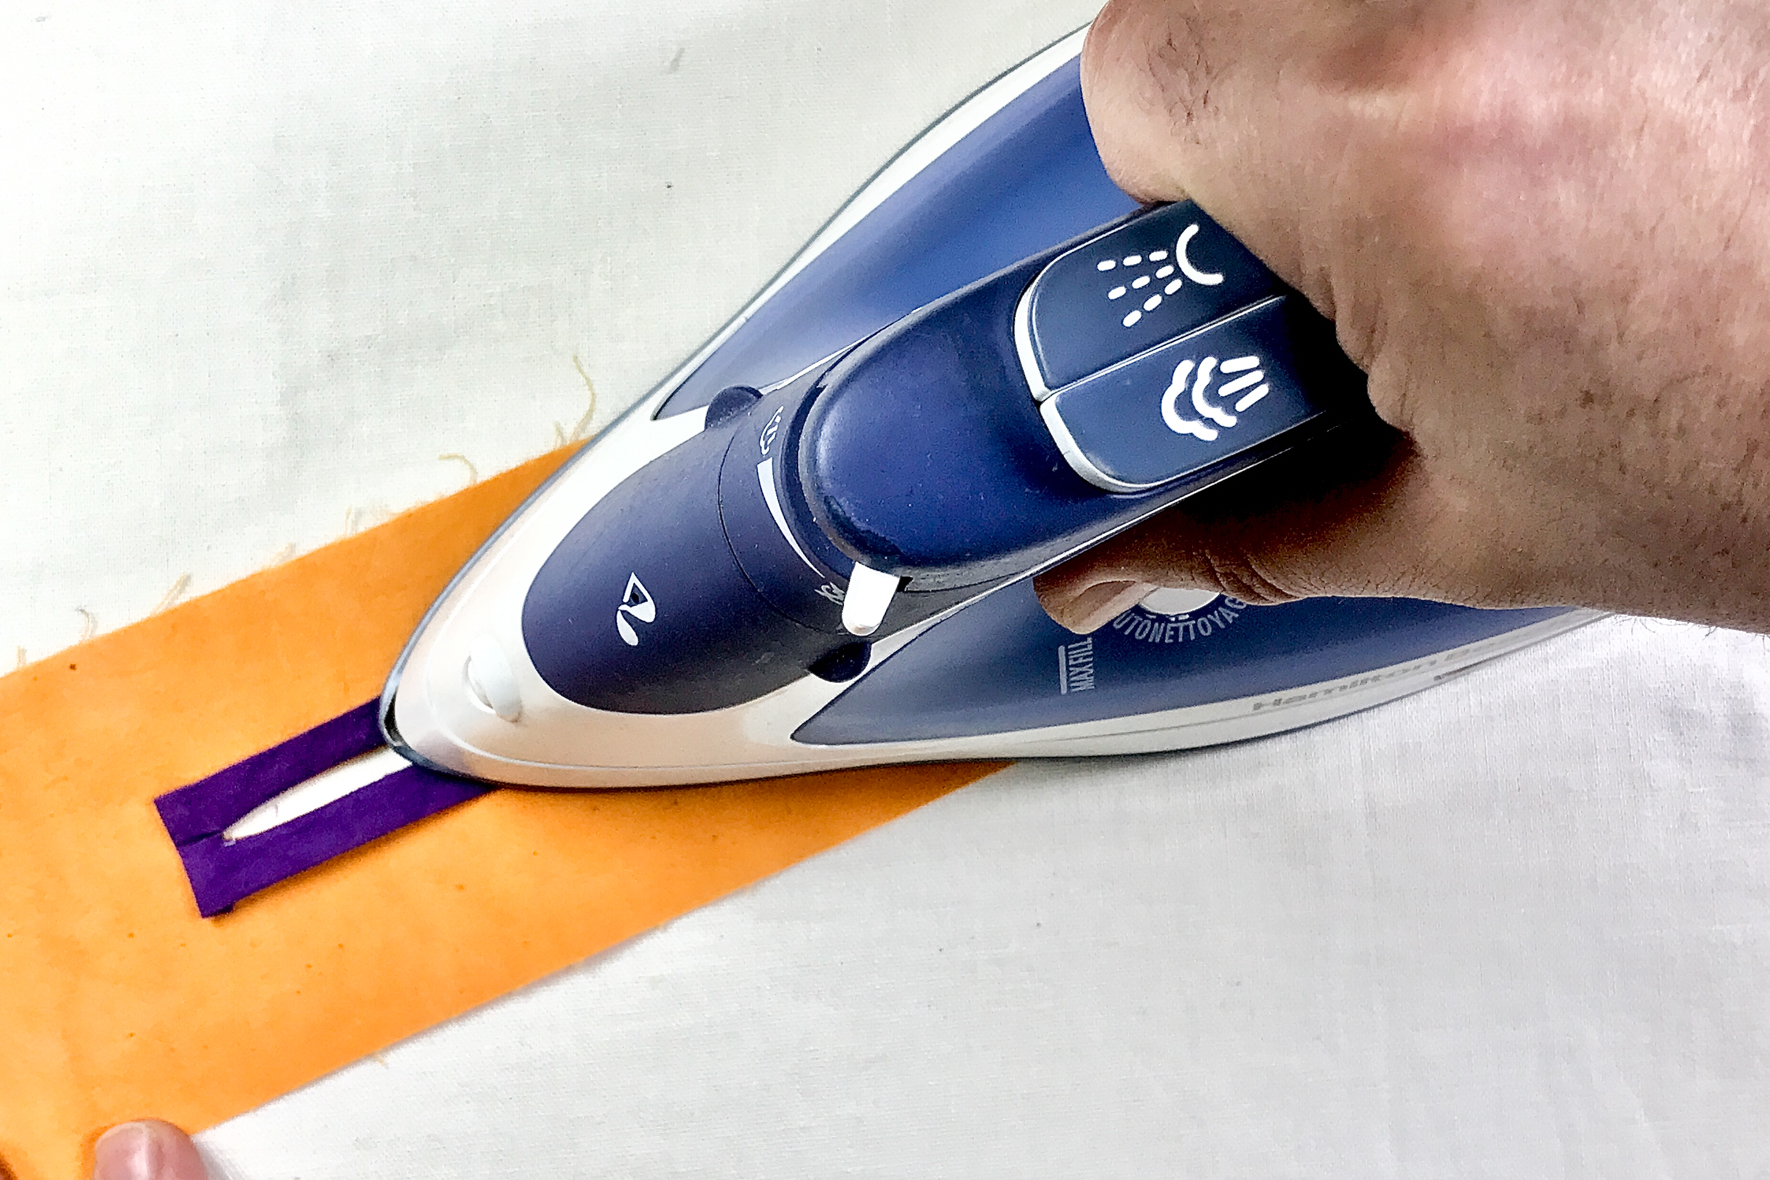
Step 10 Fold and Iron


Fold the cut edge of the facing to the sew line (approximately 1/4″) and iron.
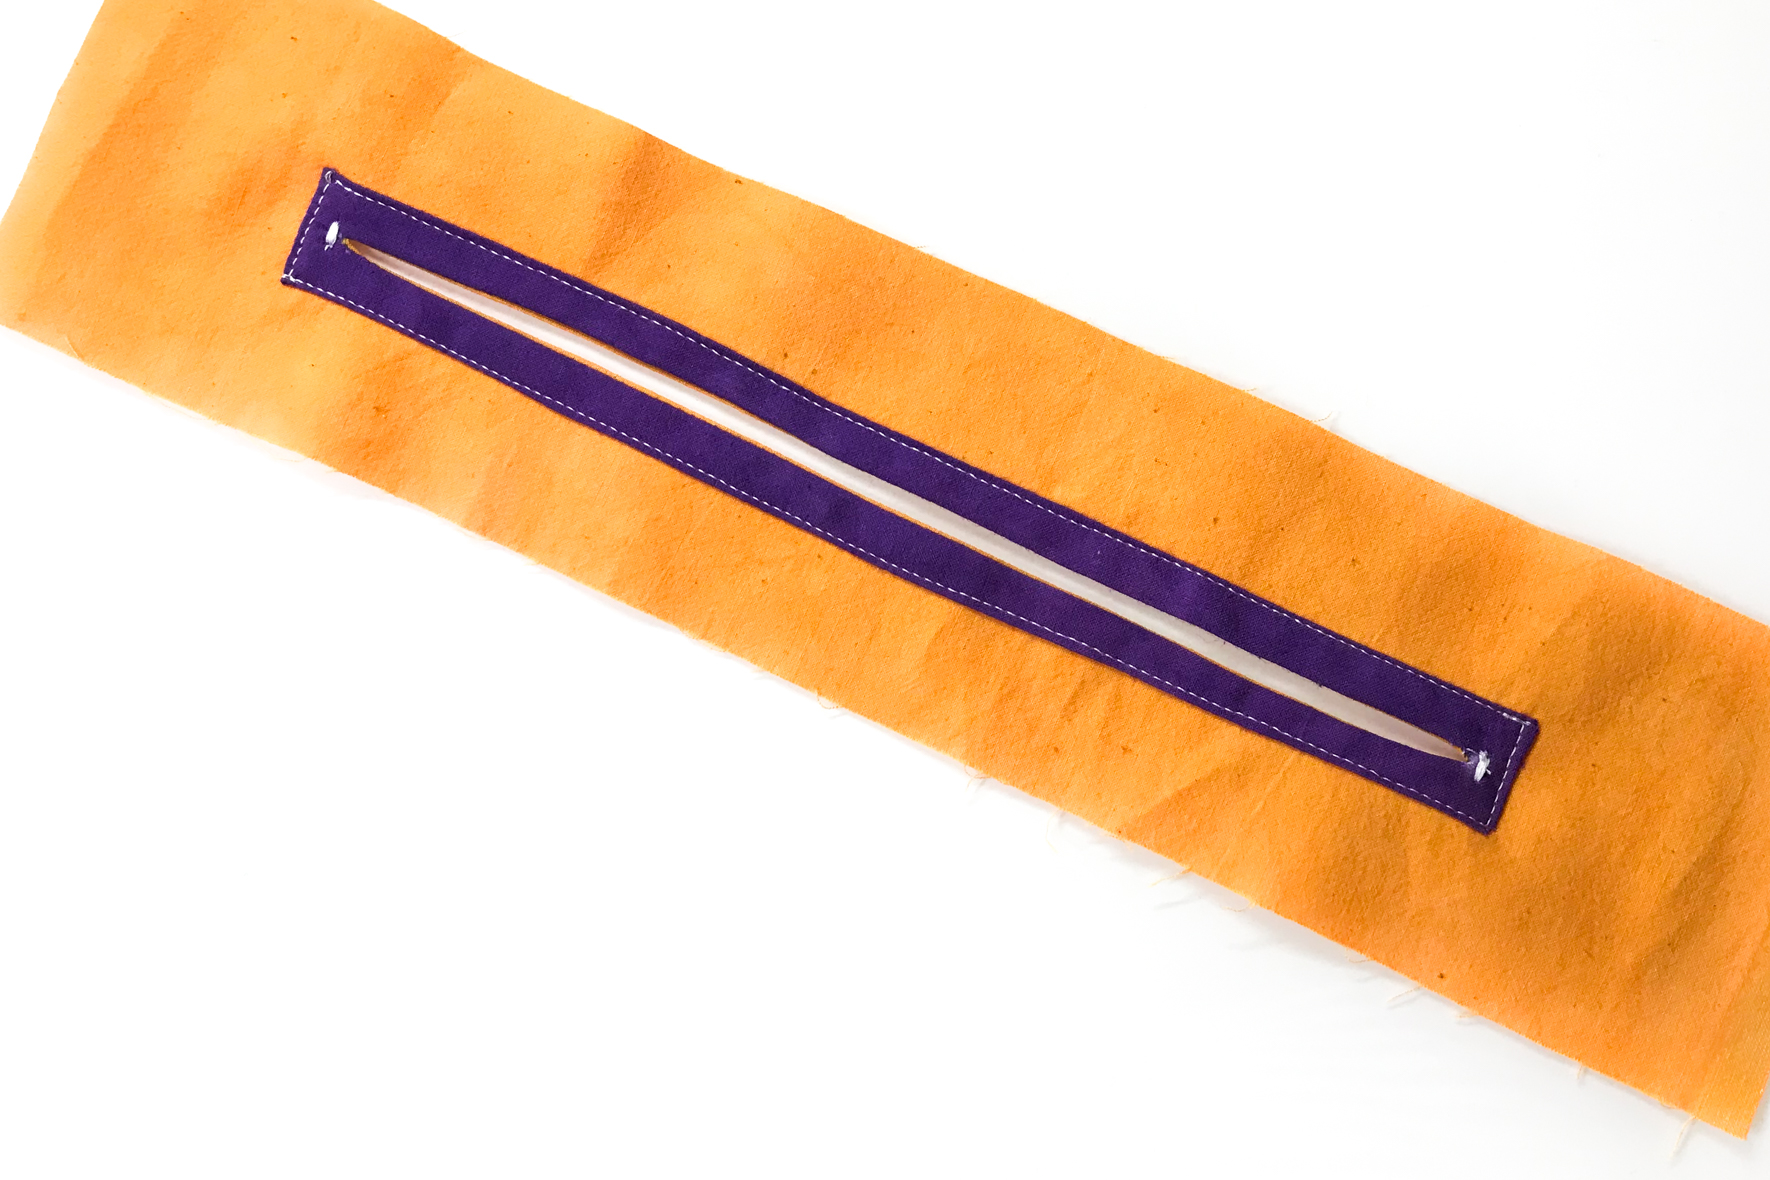
Step 11 Flip The Facing
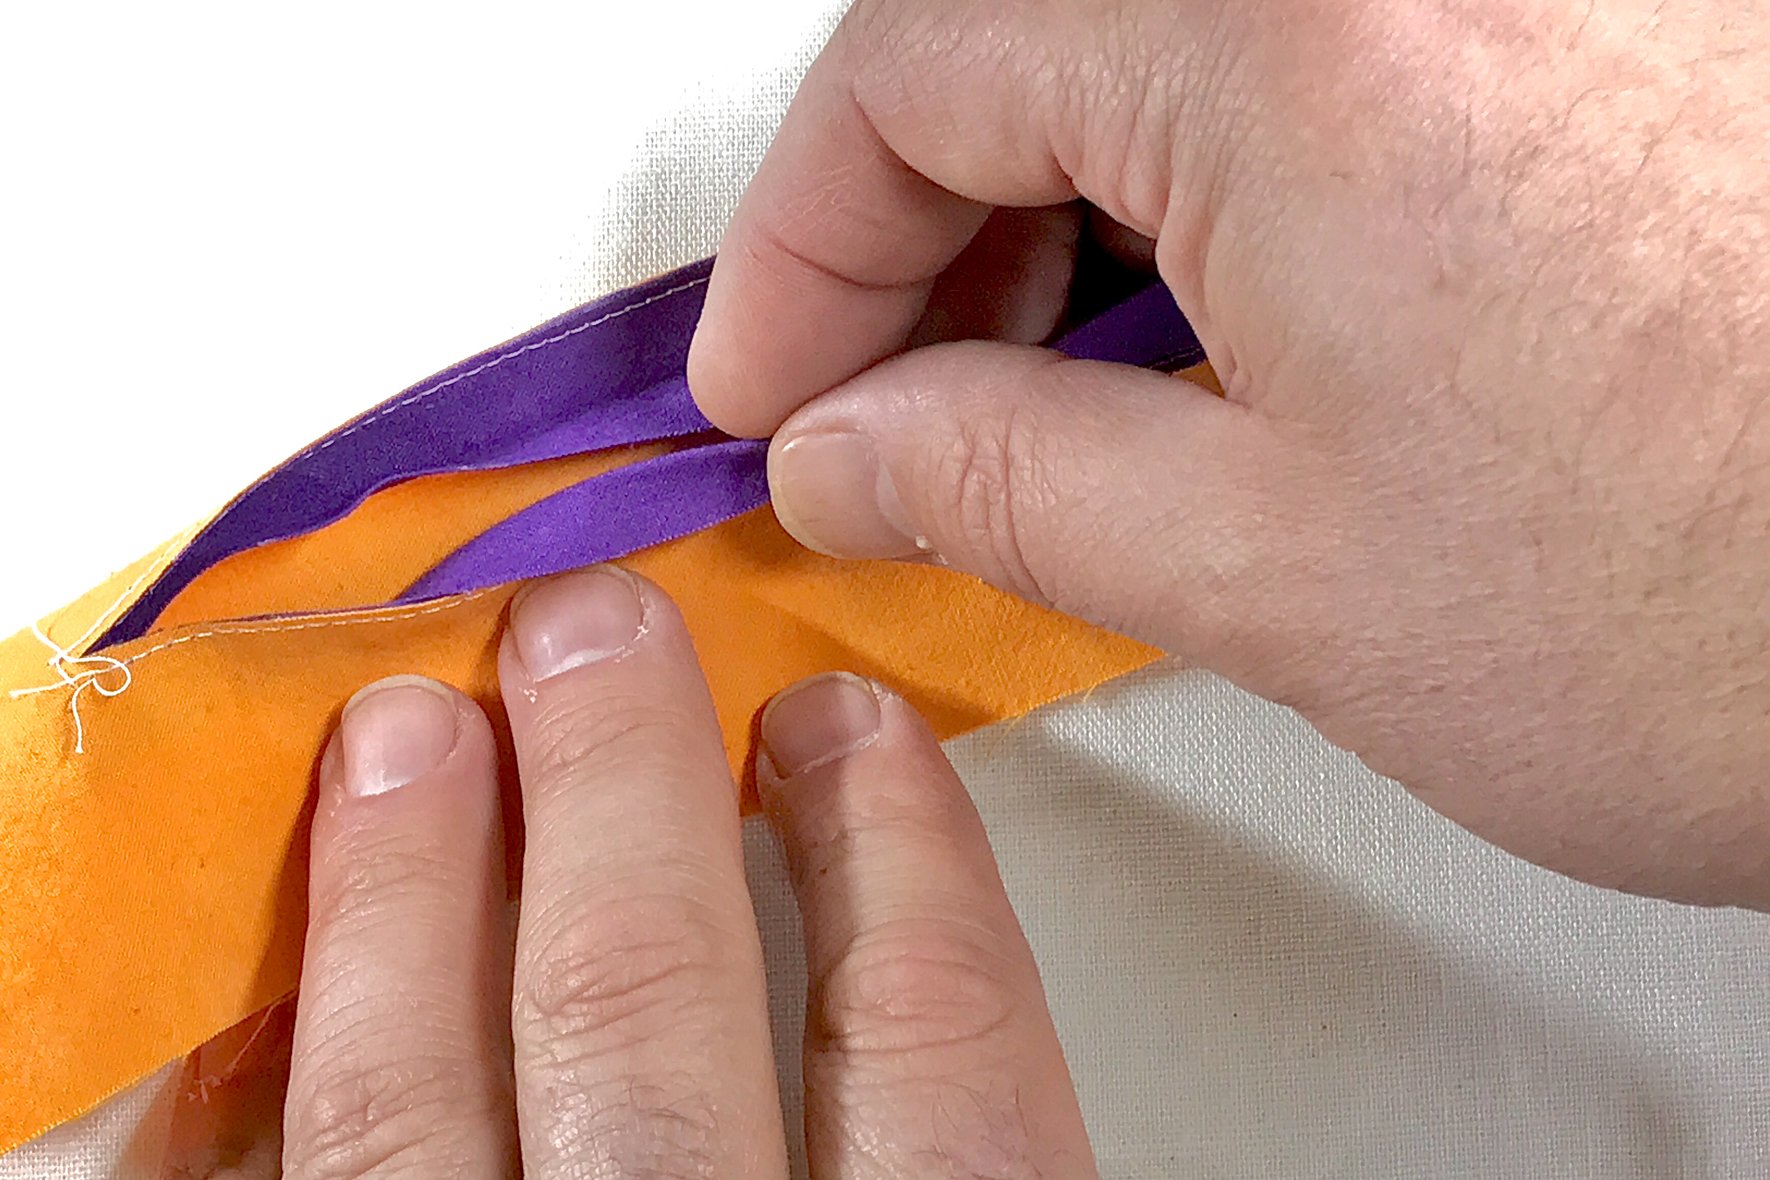

Push the facing fabric through the opening to the Right Side of the garment fabric. Iron the long edges of the facing as you turn it to make the turn easier. Pin as needed in preparation for sewing.
Step 12 Sew The Outside Edge of the Facing

Again, using the 10C foot, snug the outside edge of the facing against the guide of the foot and sew with a -2 needle setting. Sew around outside edge of facing.
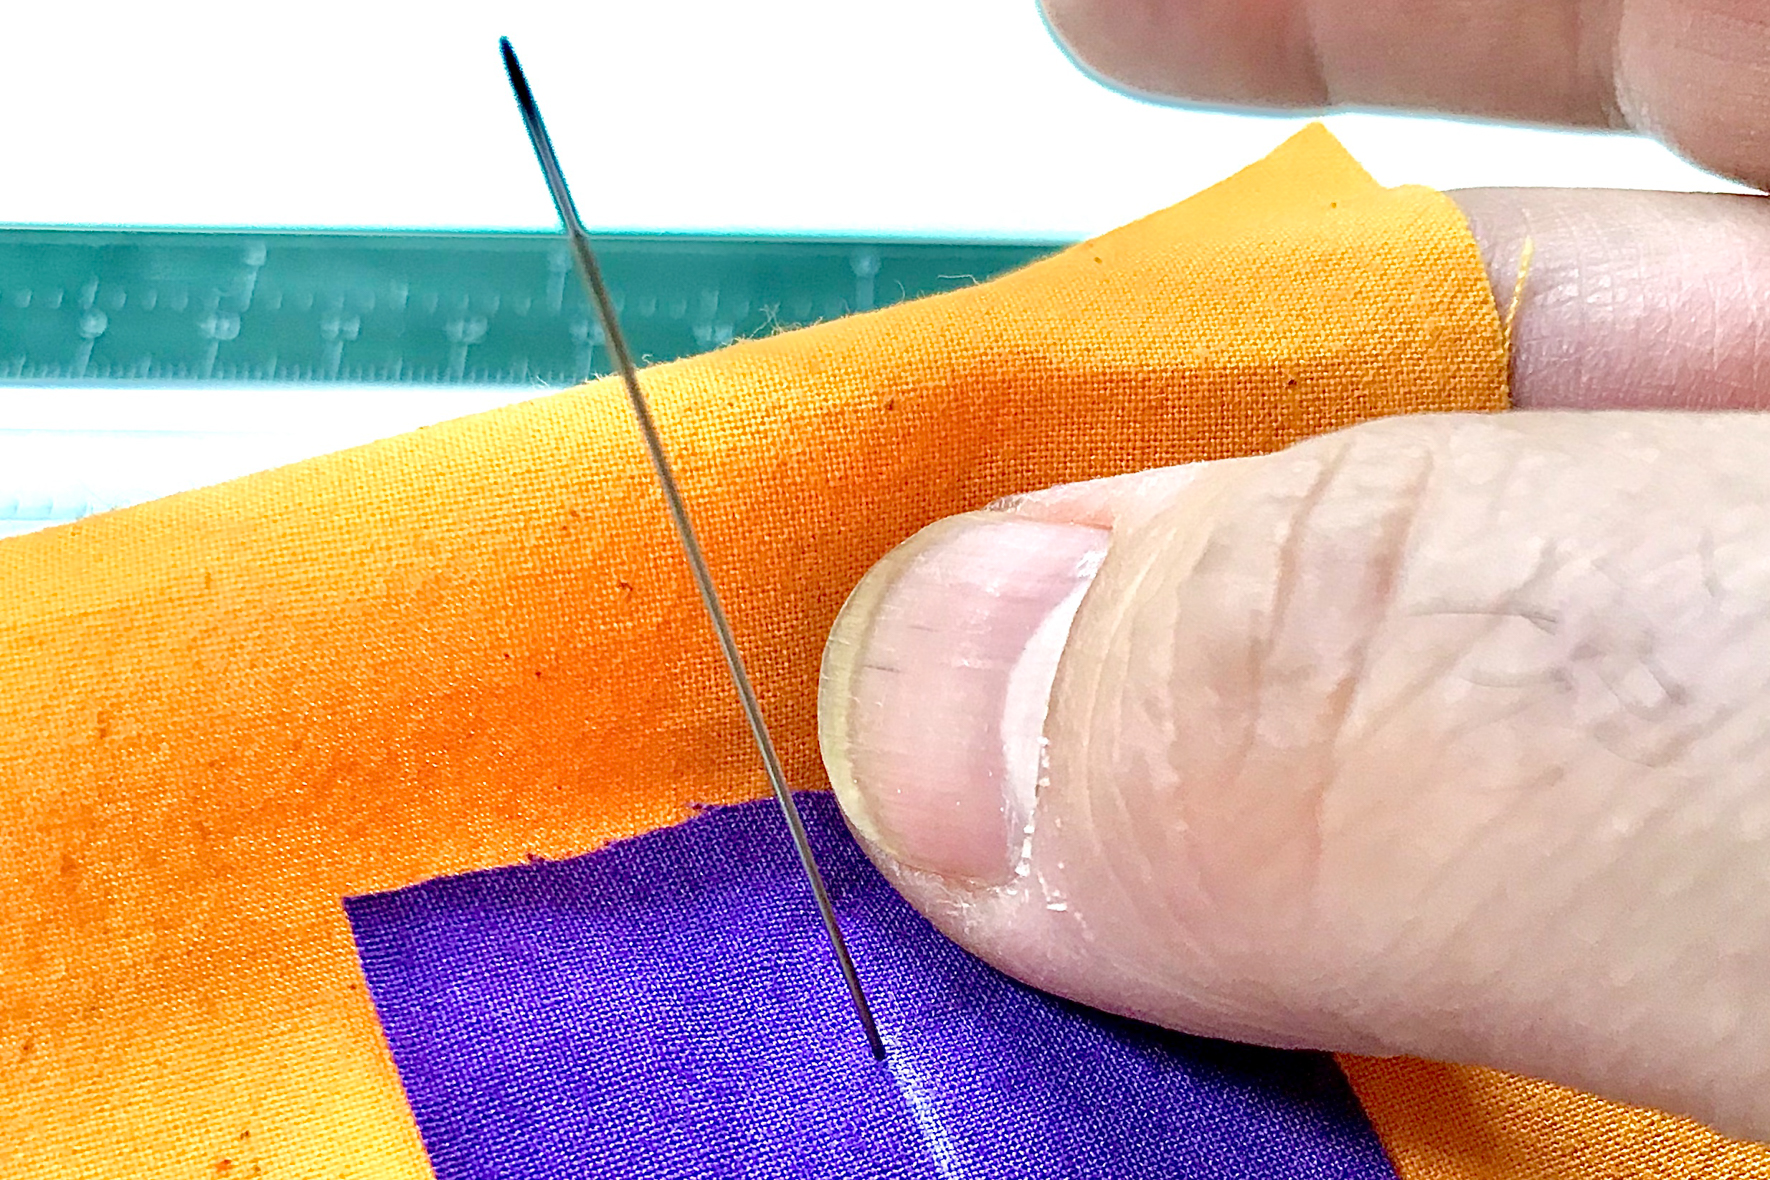
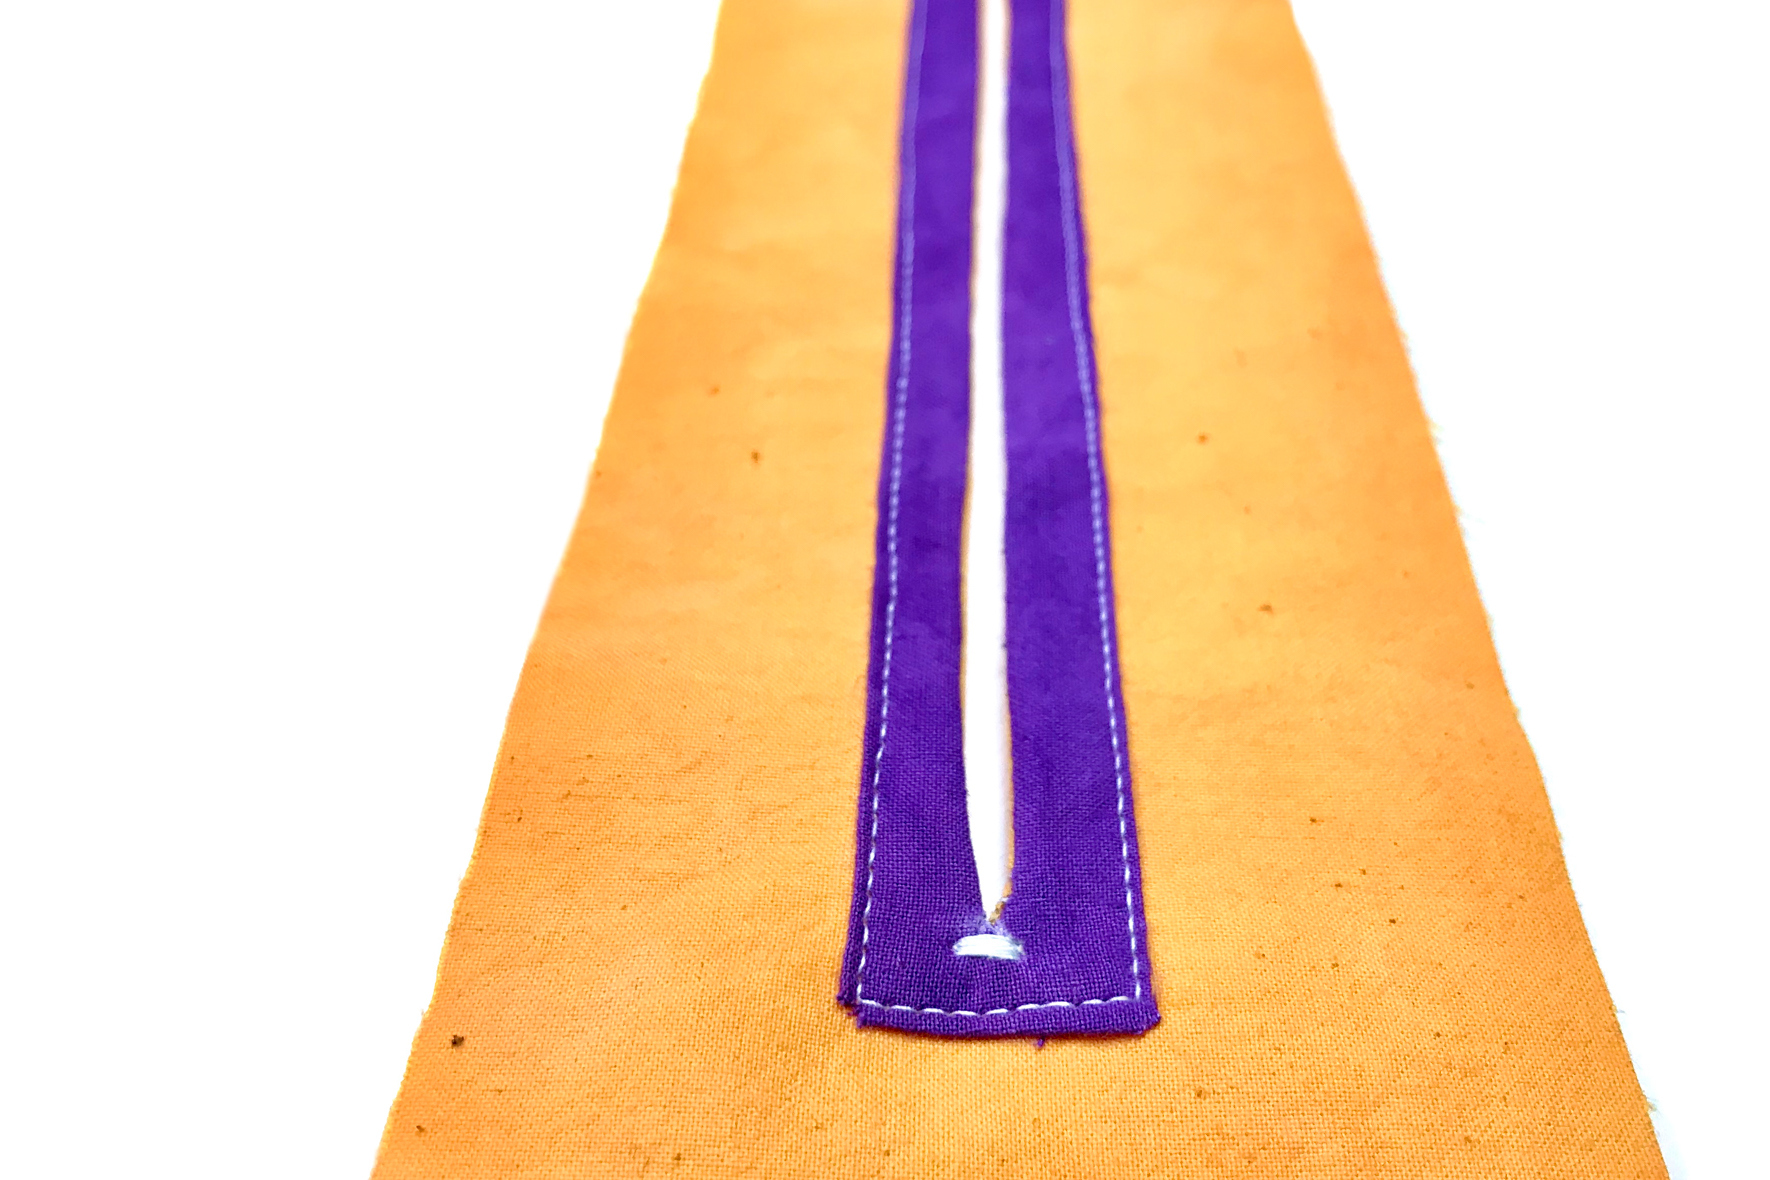
Step 13 Bar Tack for Strength
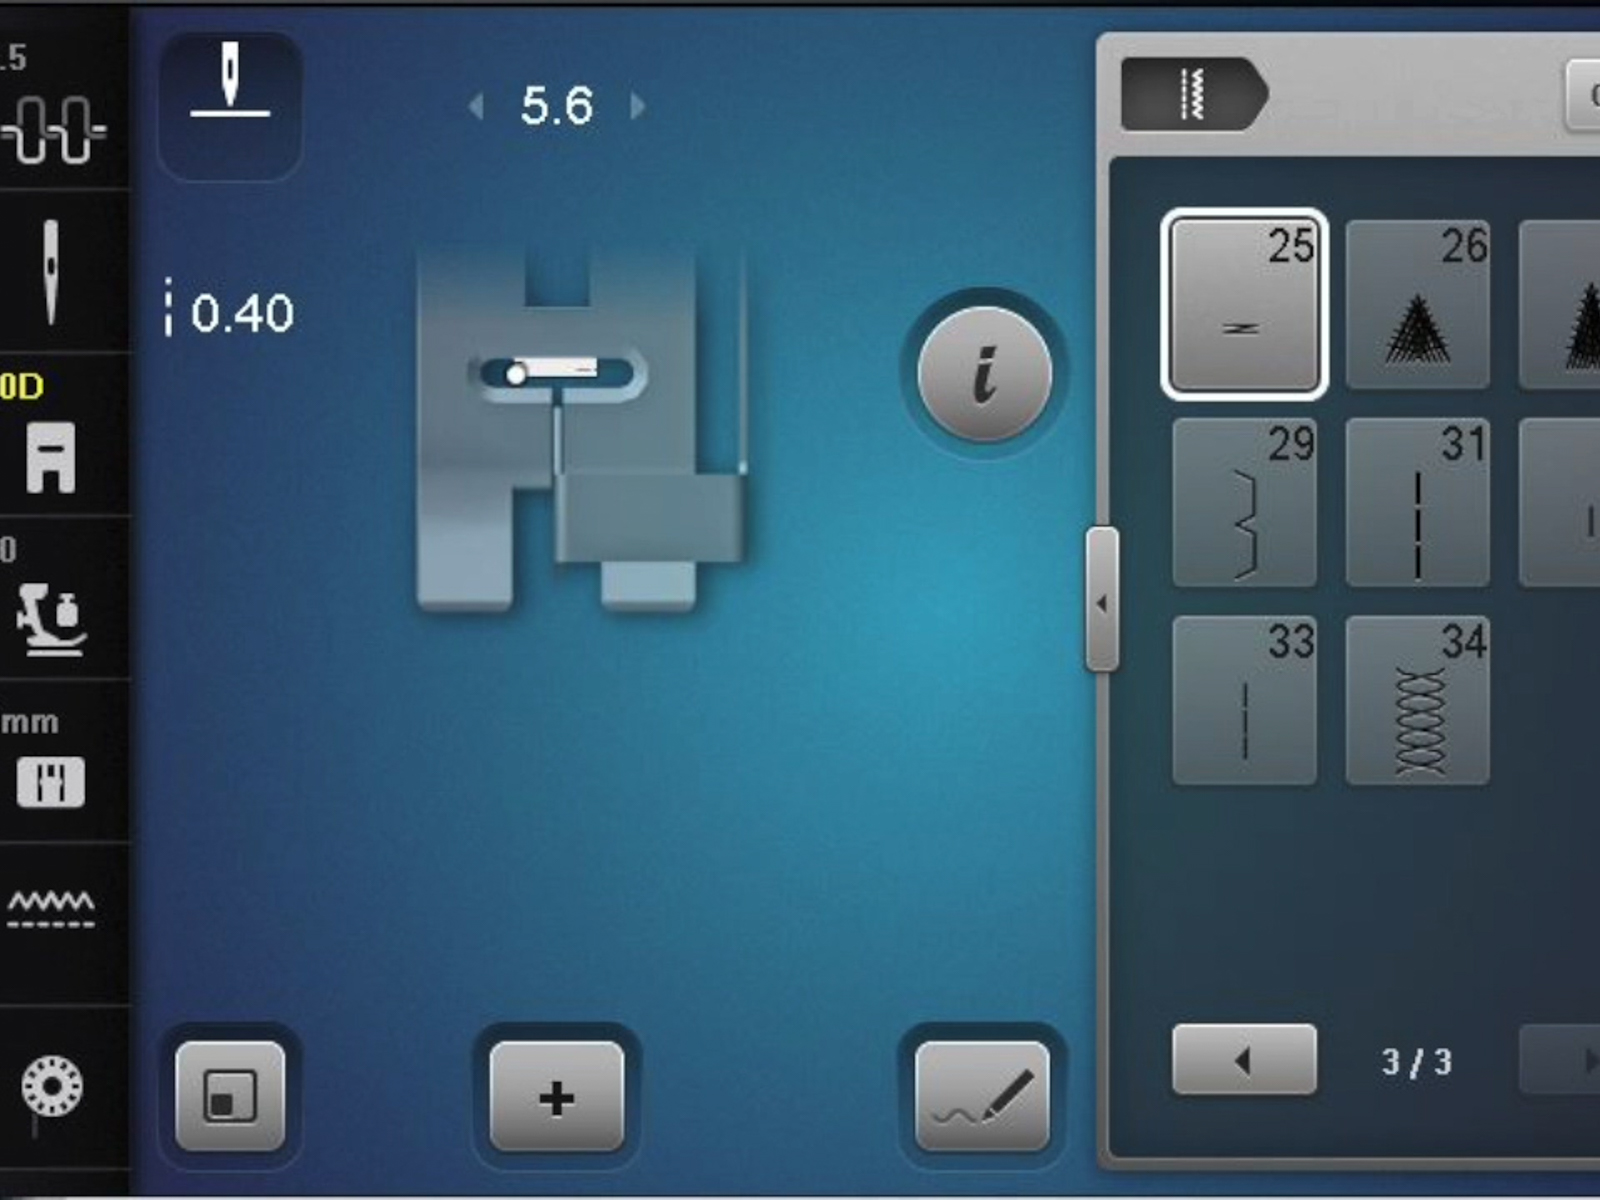

Mark top and bottom of the opening to make it easier to see where you will place the bar tack stitching. Sew bar tack (stitch #25) at both ends of opening.
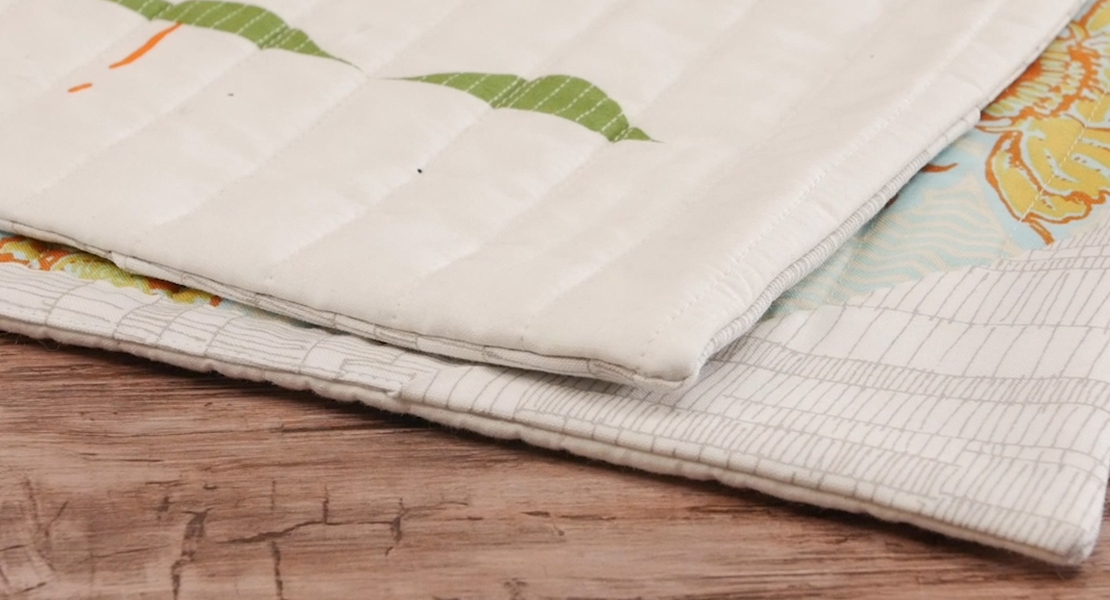
Step 14 One-Piece Facing Done!
Trim threads and iron. TAADAA!!
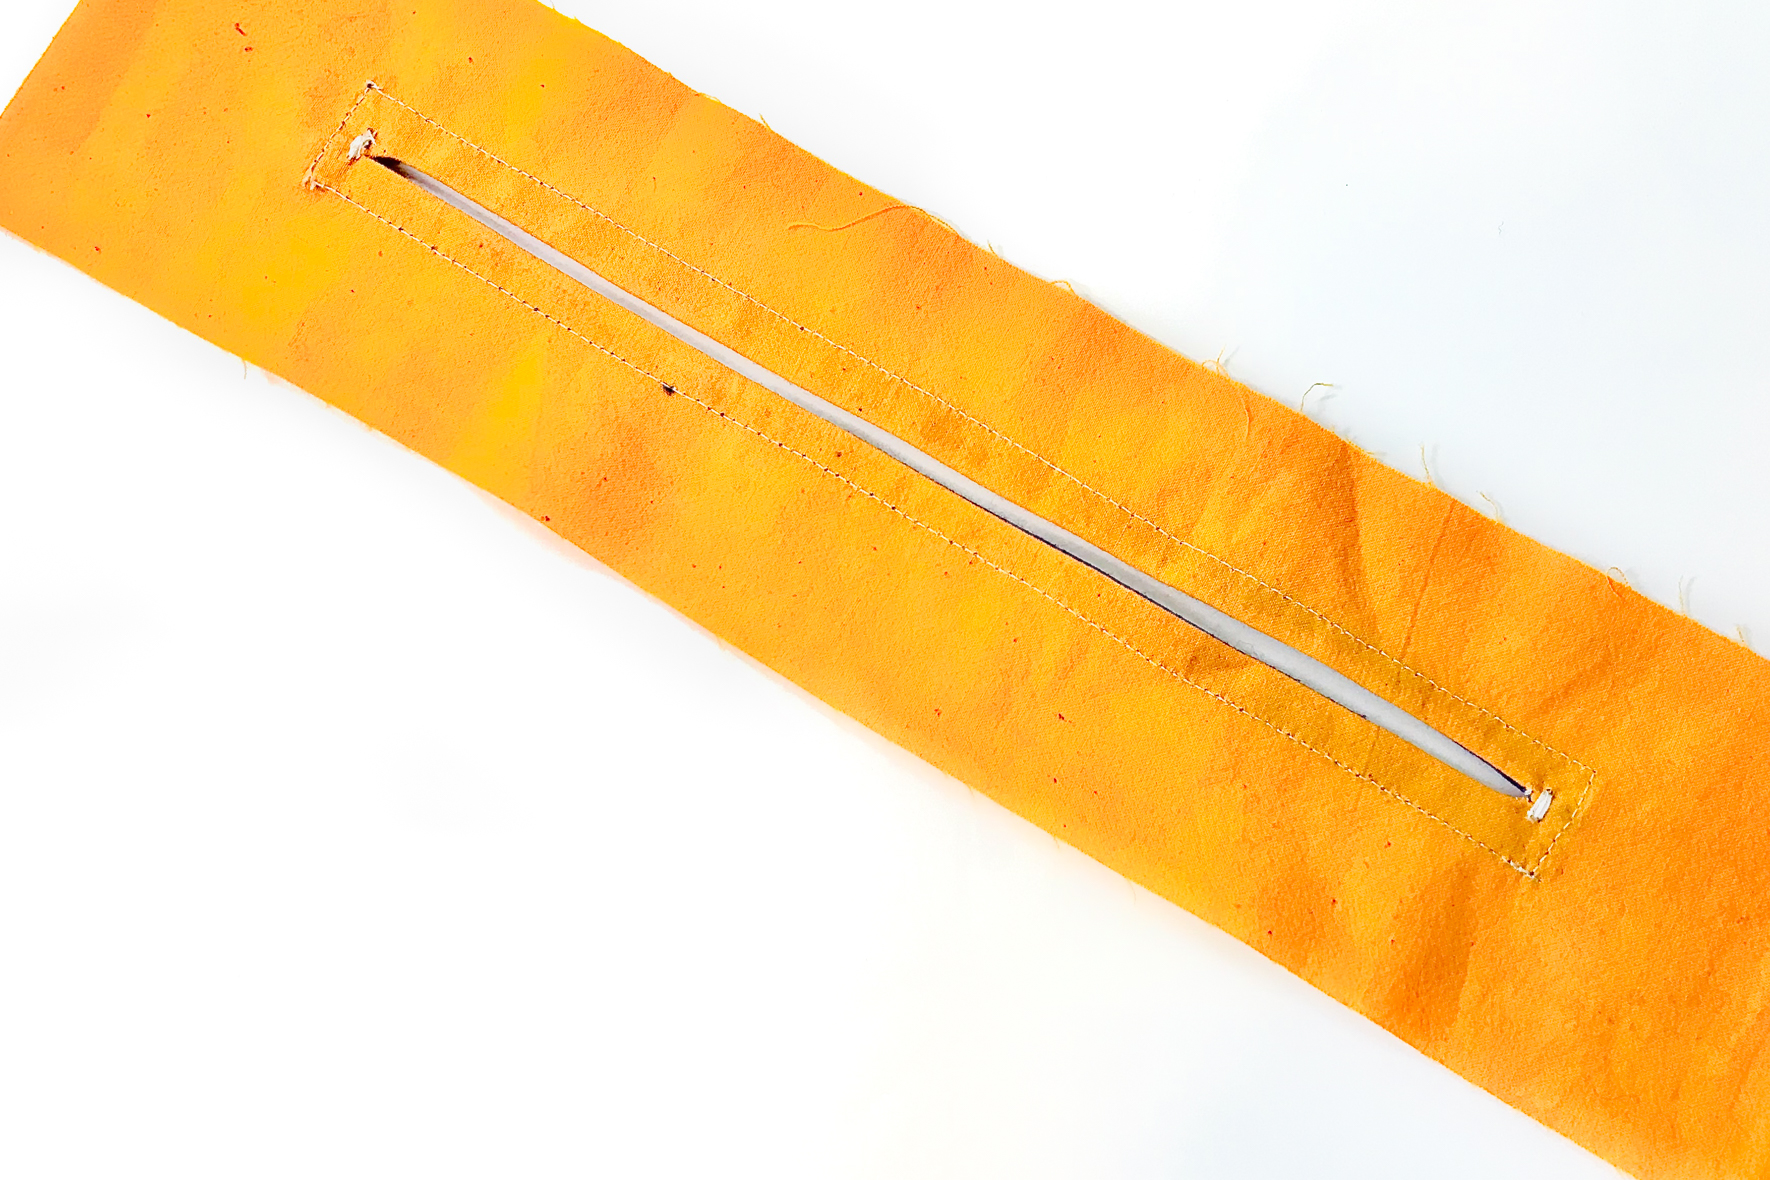
Use this technique to add a facing around any slit opening on garments, bags, or wherever you need one.
Used Products


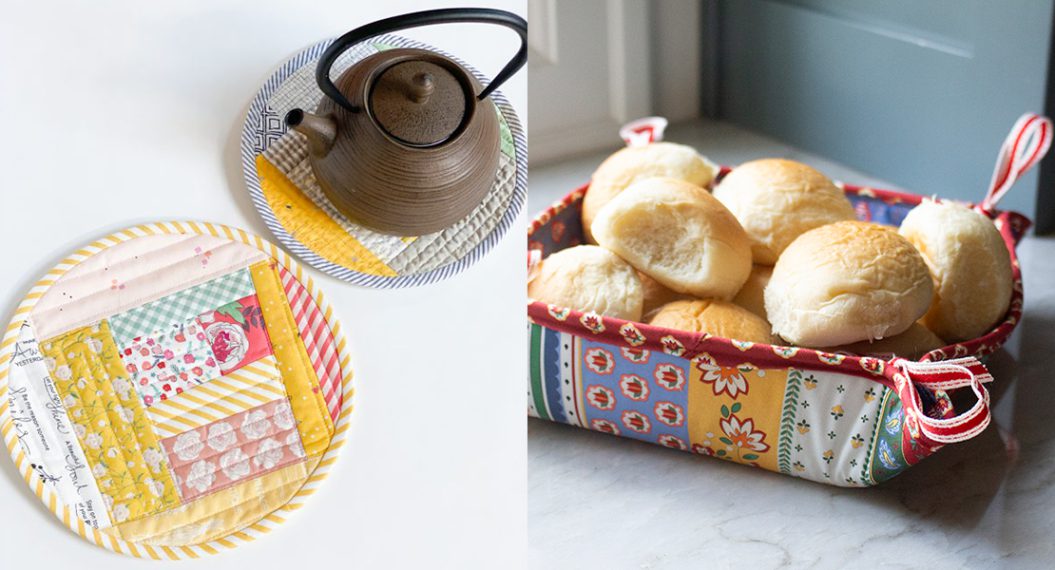
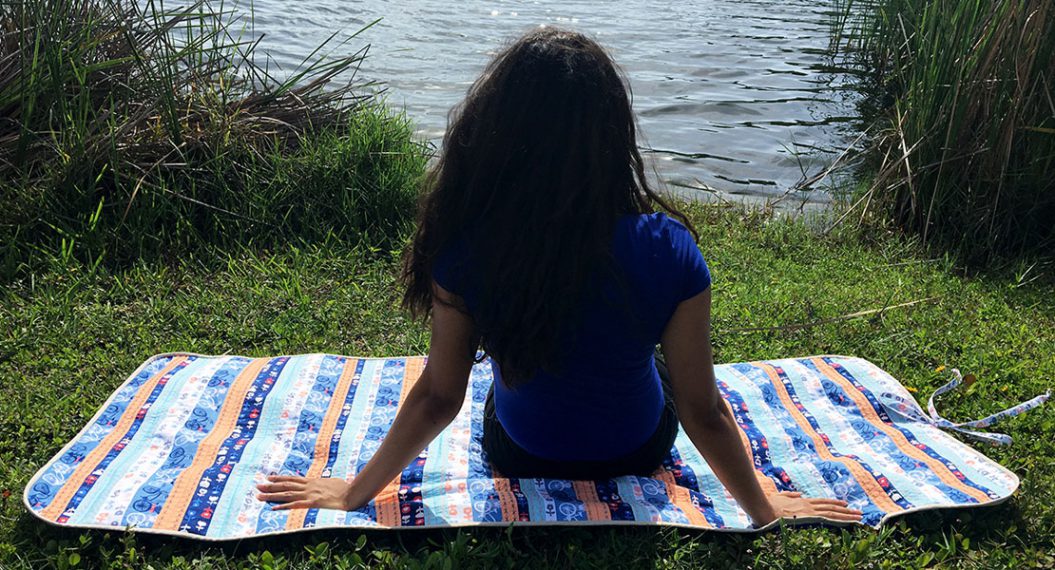
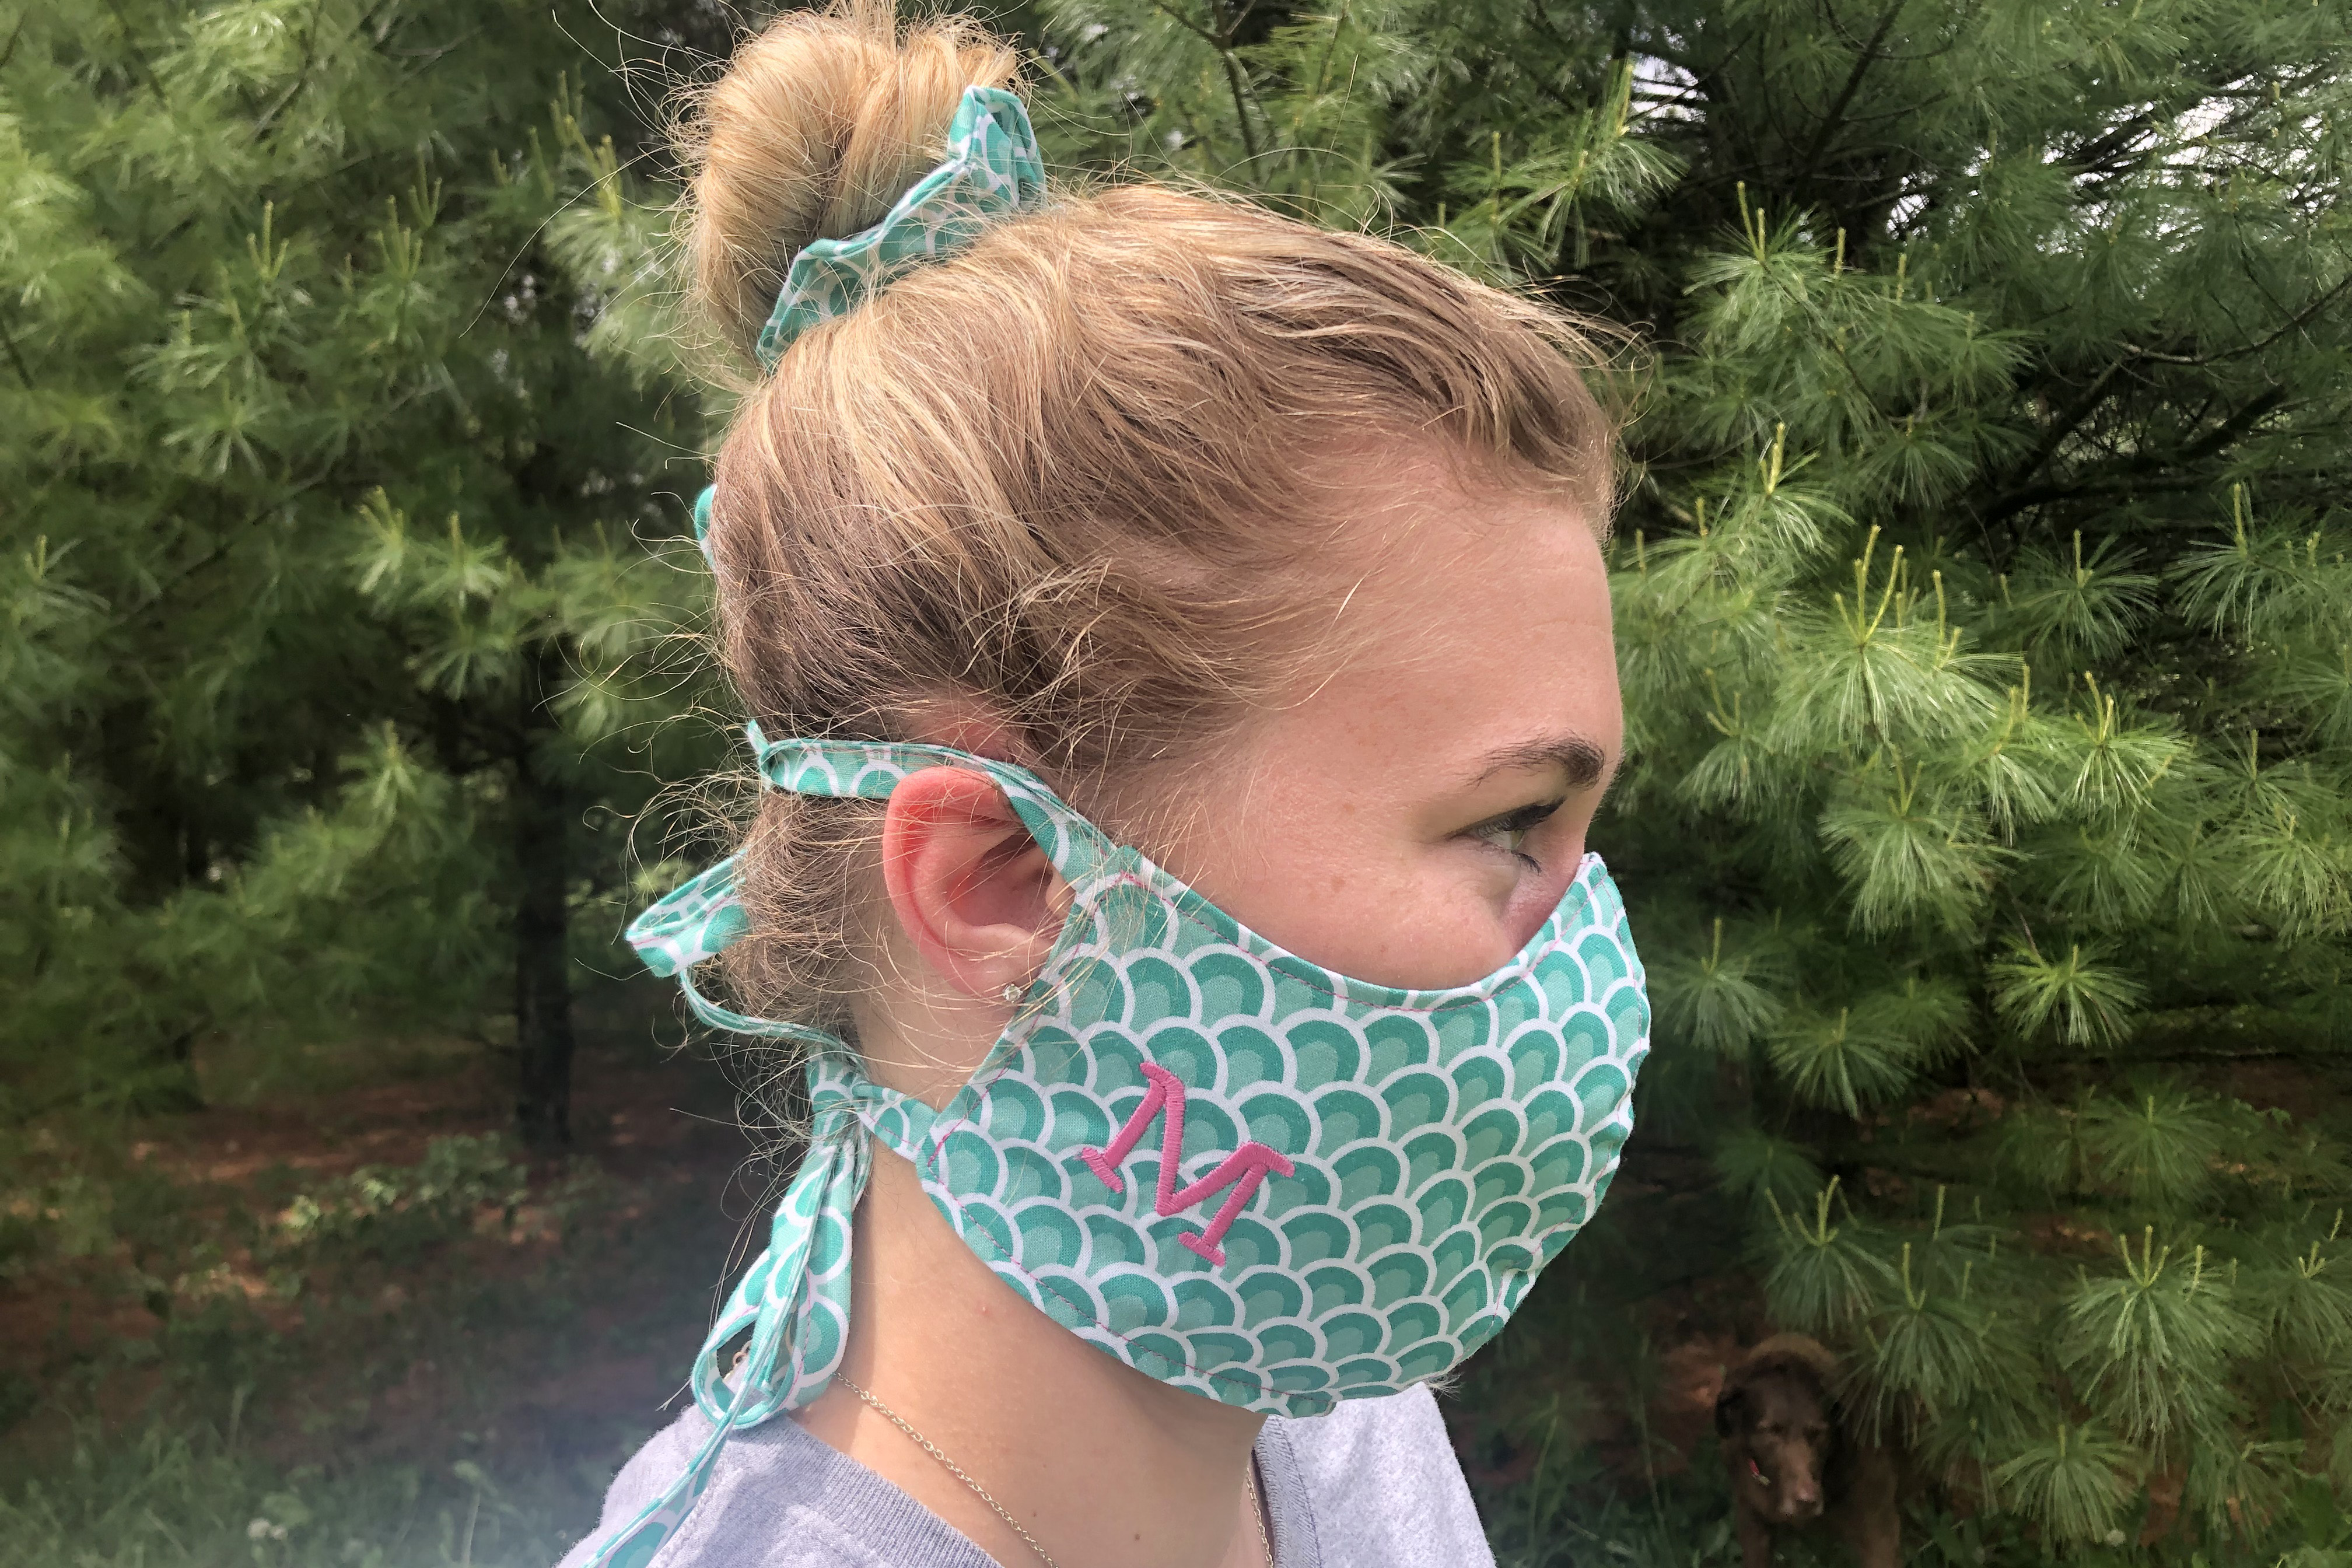
What you might also like


One comment on “Create a One-piece Facing for Any Slit Opening”
Leave a Reply
You must be logged in to post a comment.

What a good idea! I made one like this but with zipper and I don’t like to much, I love this 2 colors and this will be on the purse I have at half done. Thank you for the tip.