Add Embroidery to a Pattern Piece
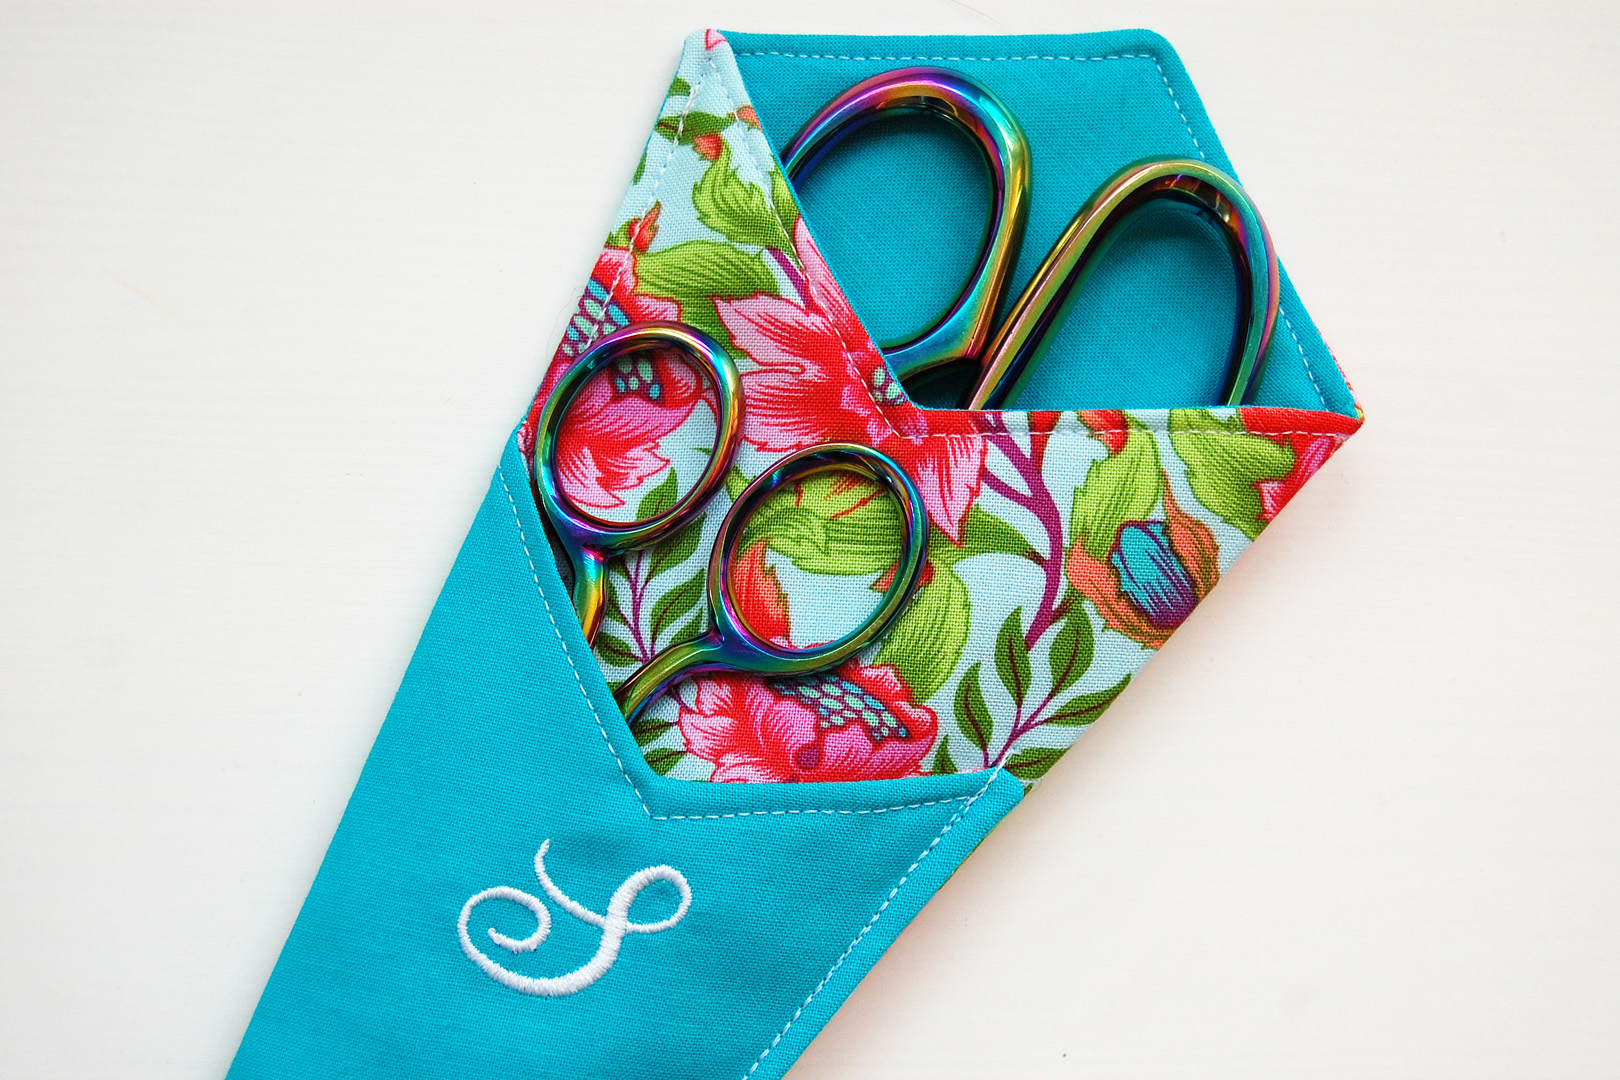
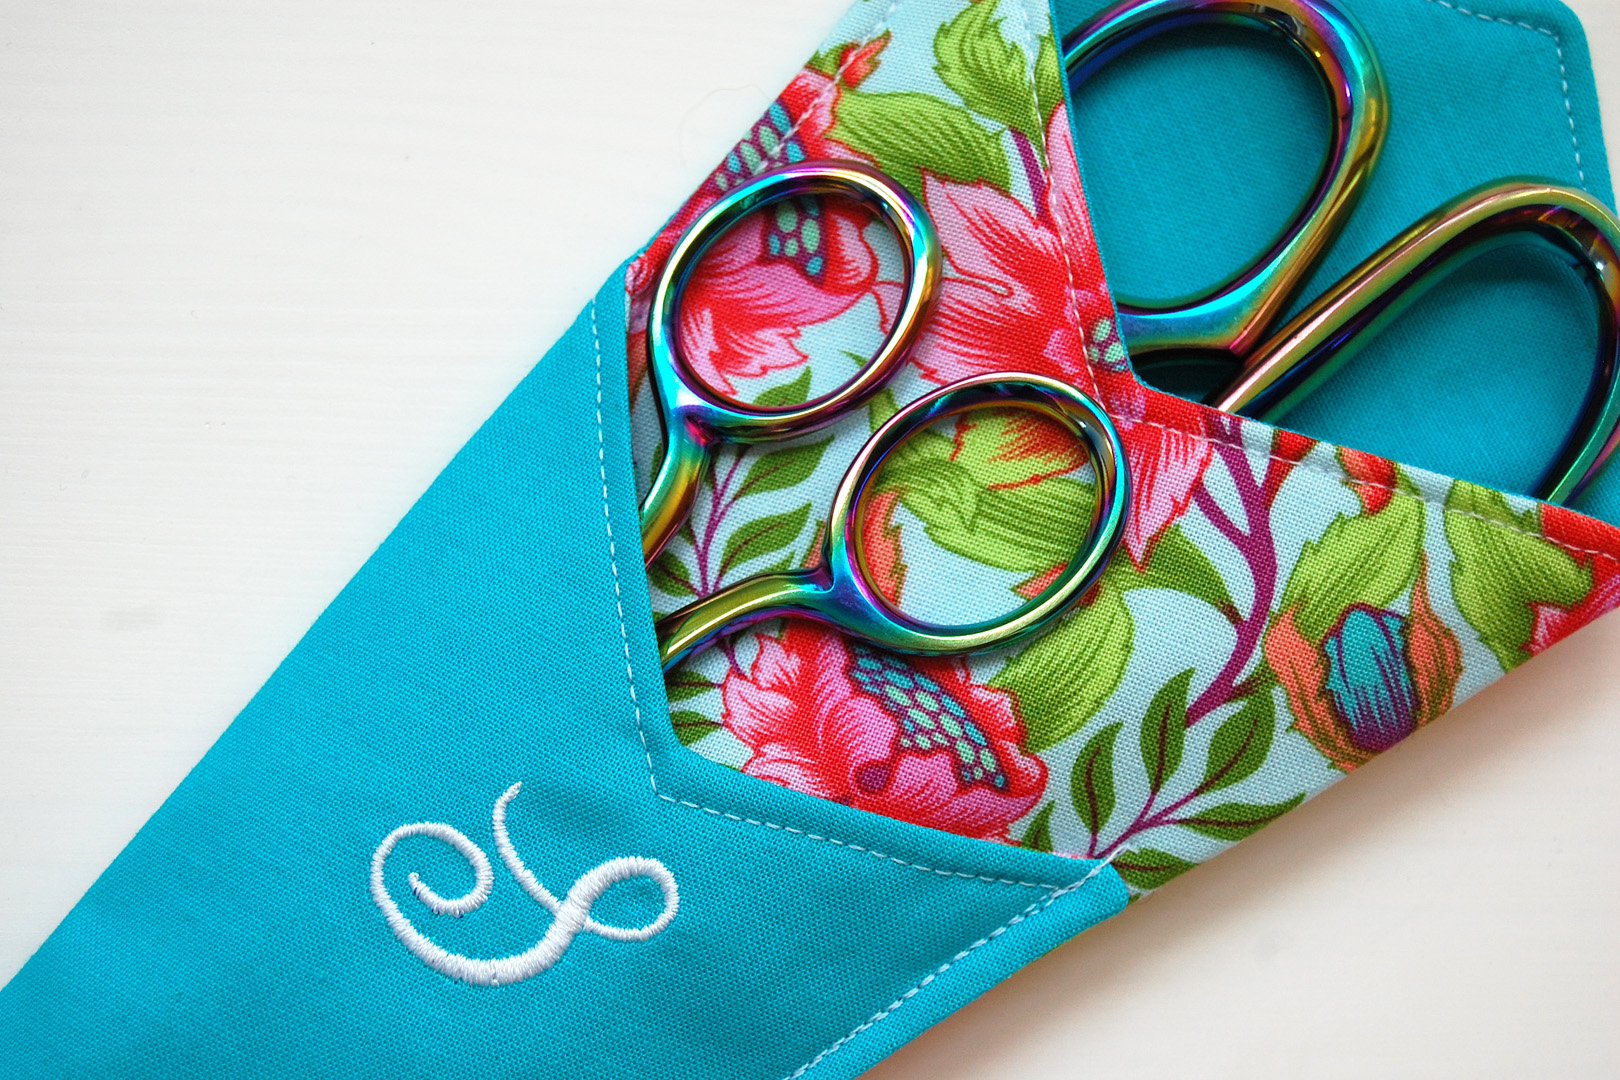
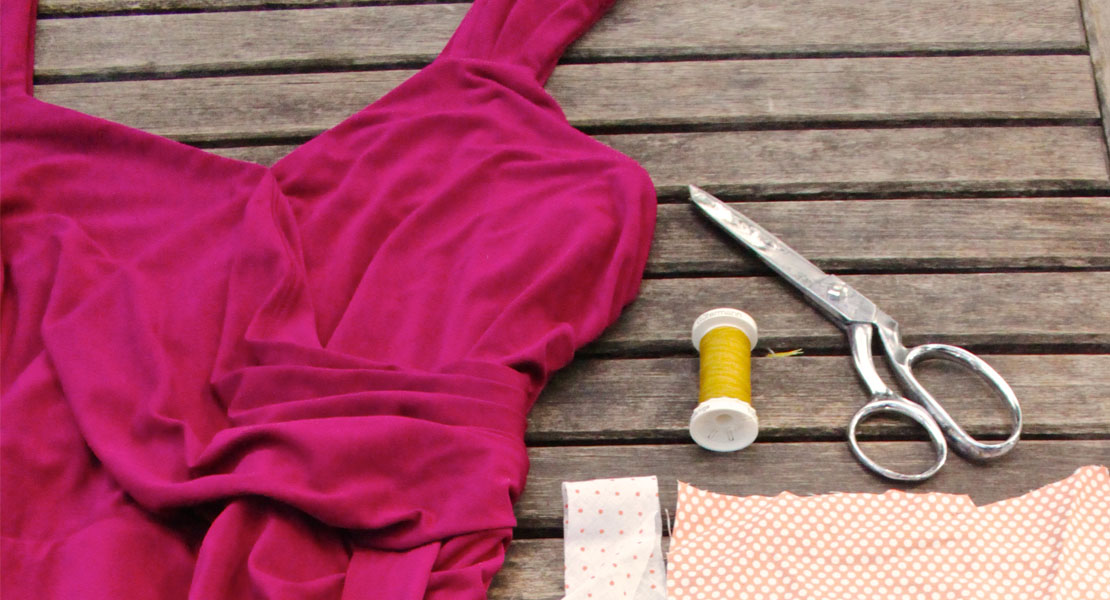
Take any ordinary sewing project and make it special by adding an embroidered letter, design, or special monogram! Learn how to add embroidery to a pattern piece with these easy steps. I’m demonstrating with the Scissors Case project, click the link to find the free downloadable pattern and tutorial to make your very own.
Materials to Add Embroidery to a Pattern Piece
- Pattern (I’m using the free Scissors Case project)
- Fabric
- Fusible Tear Away stabilizer Ultra Clean and tear away fusible
- Sticky Stabilizer (Stabil Stick)
- Embroidery 75/11 needle
- Embroidery thread on top
- 60 wt bobbin thread in bobbin
- Embroidery hoop
- Built in lettering or small design
- Straight pin
Steps to Add Embroidery to a Pattern Piece
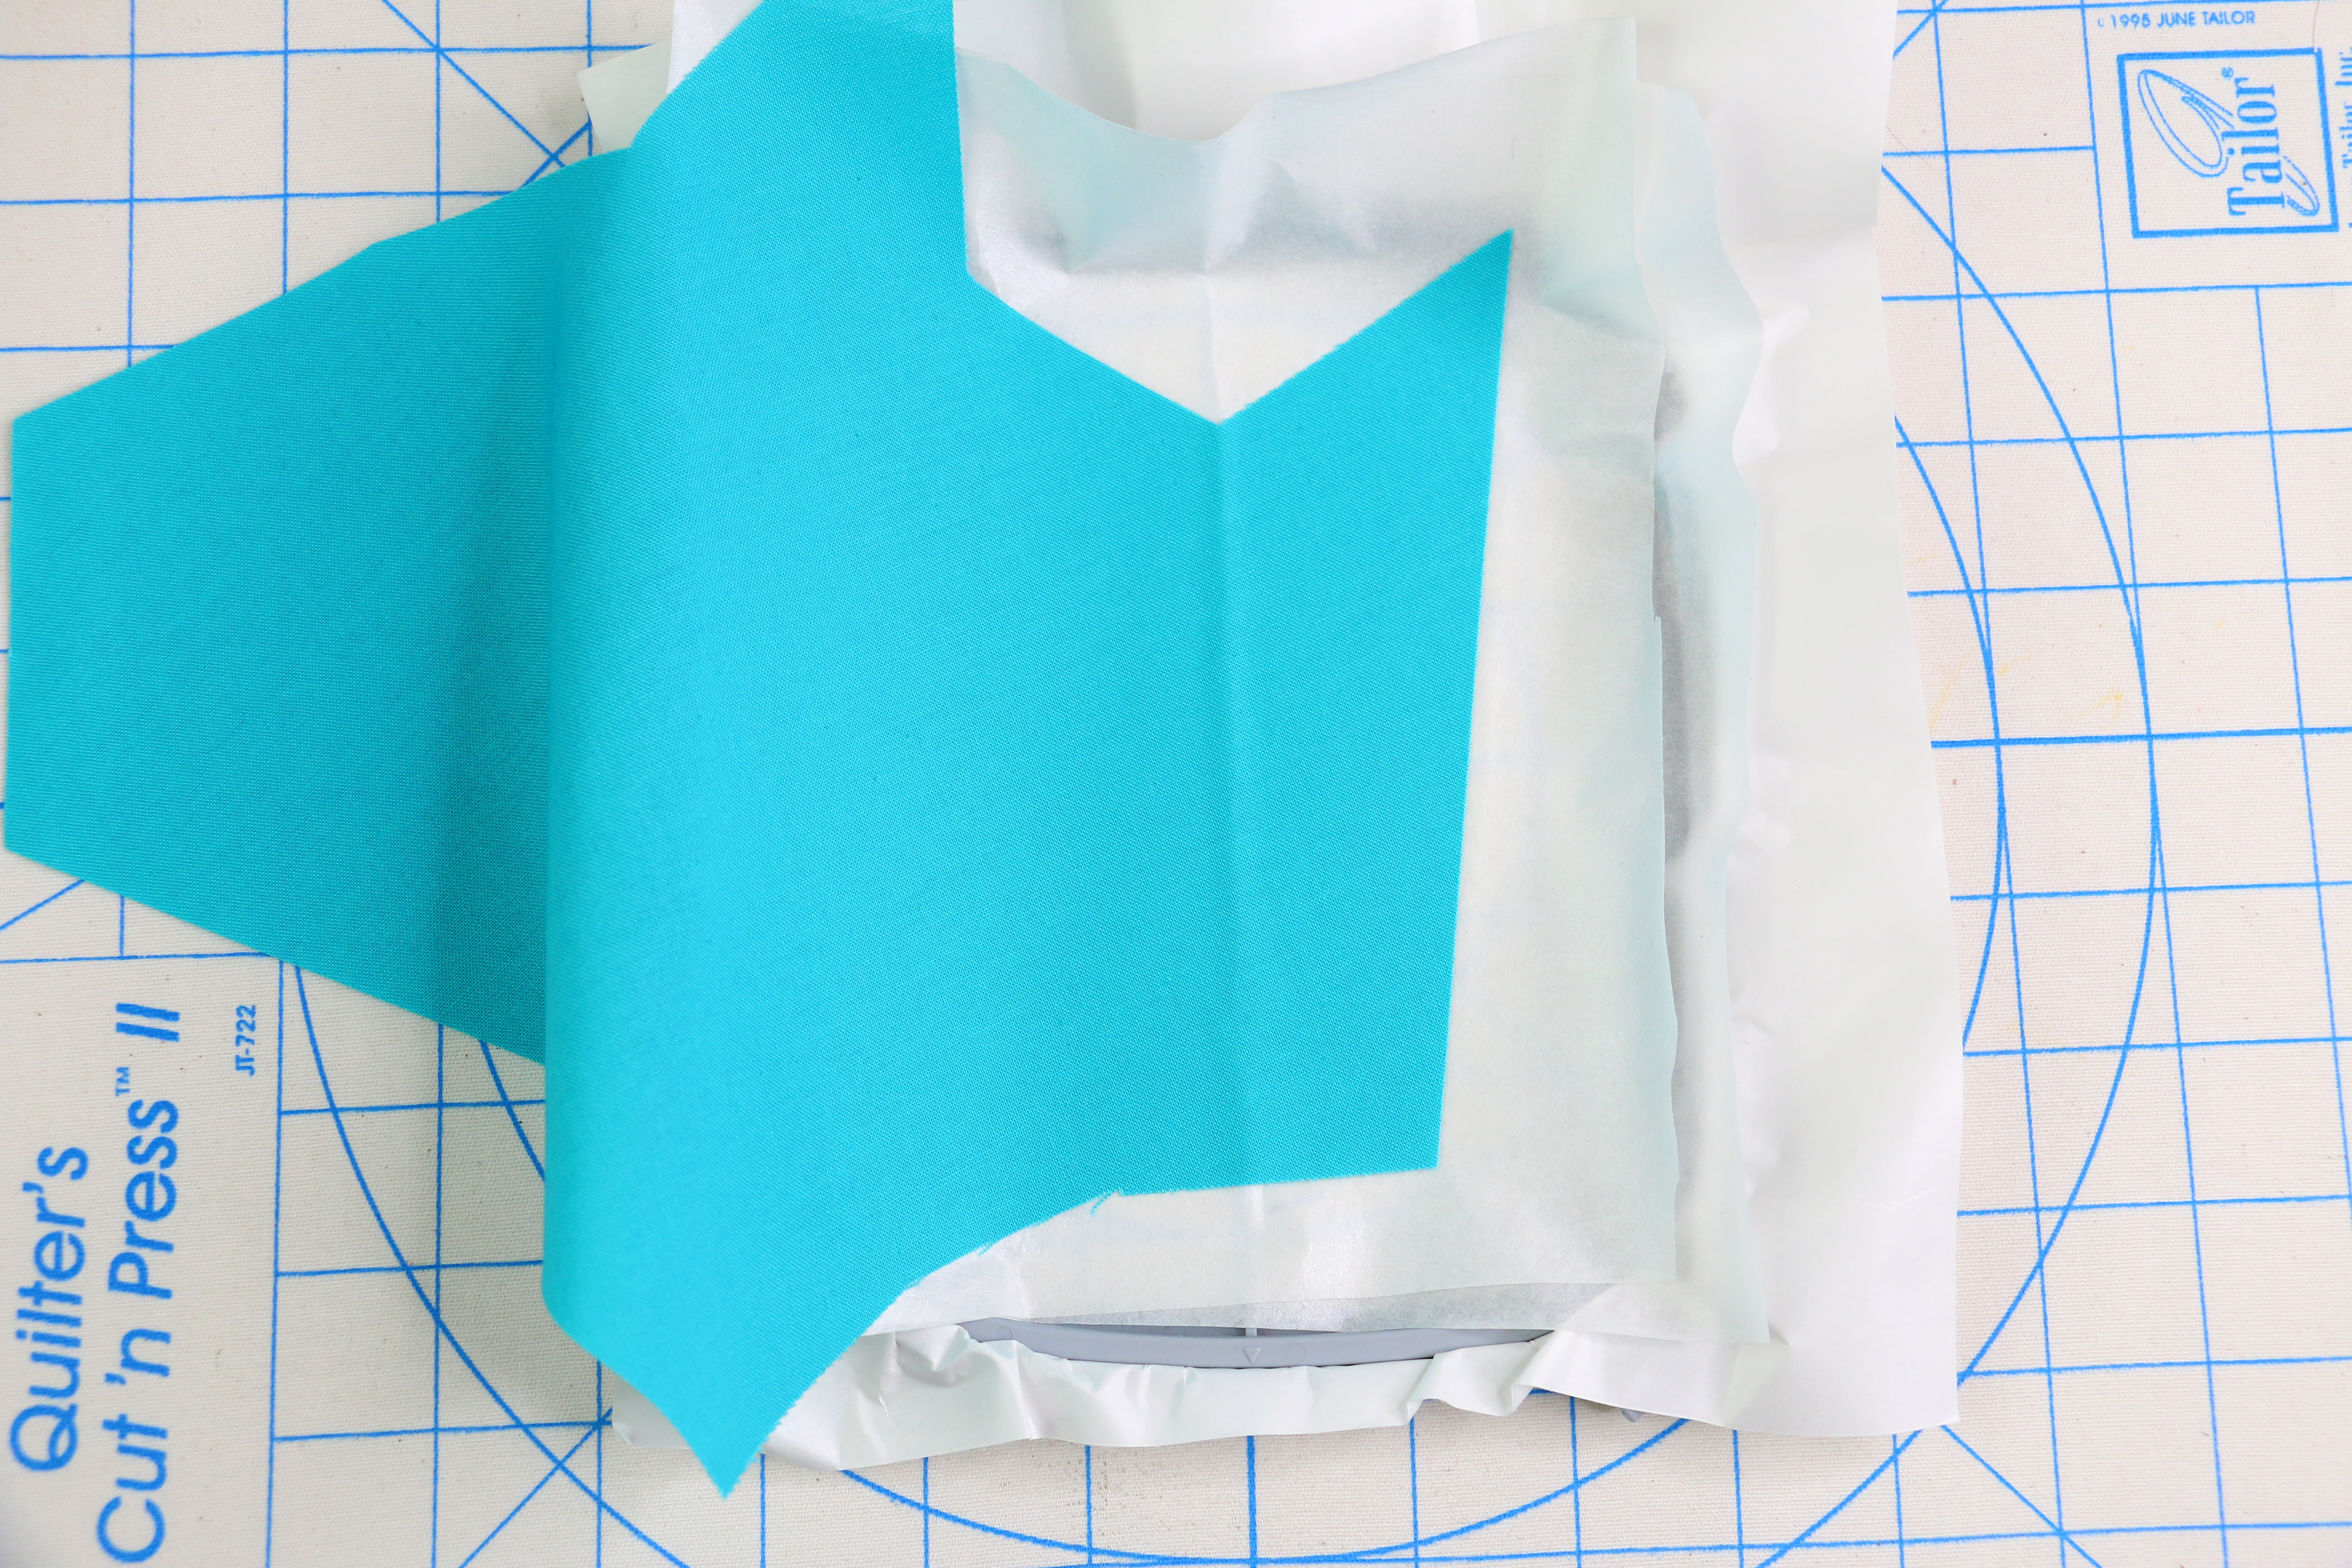
Print pattern piece and cut out fabric following grain, keep in mind embroidery placement when cutting fabric.
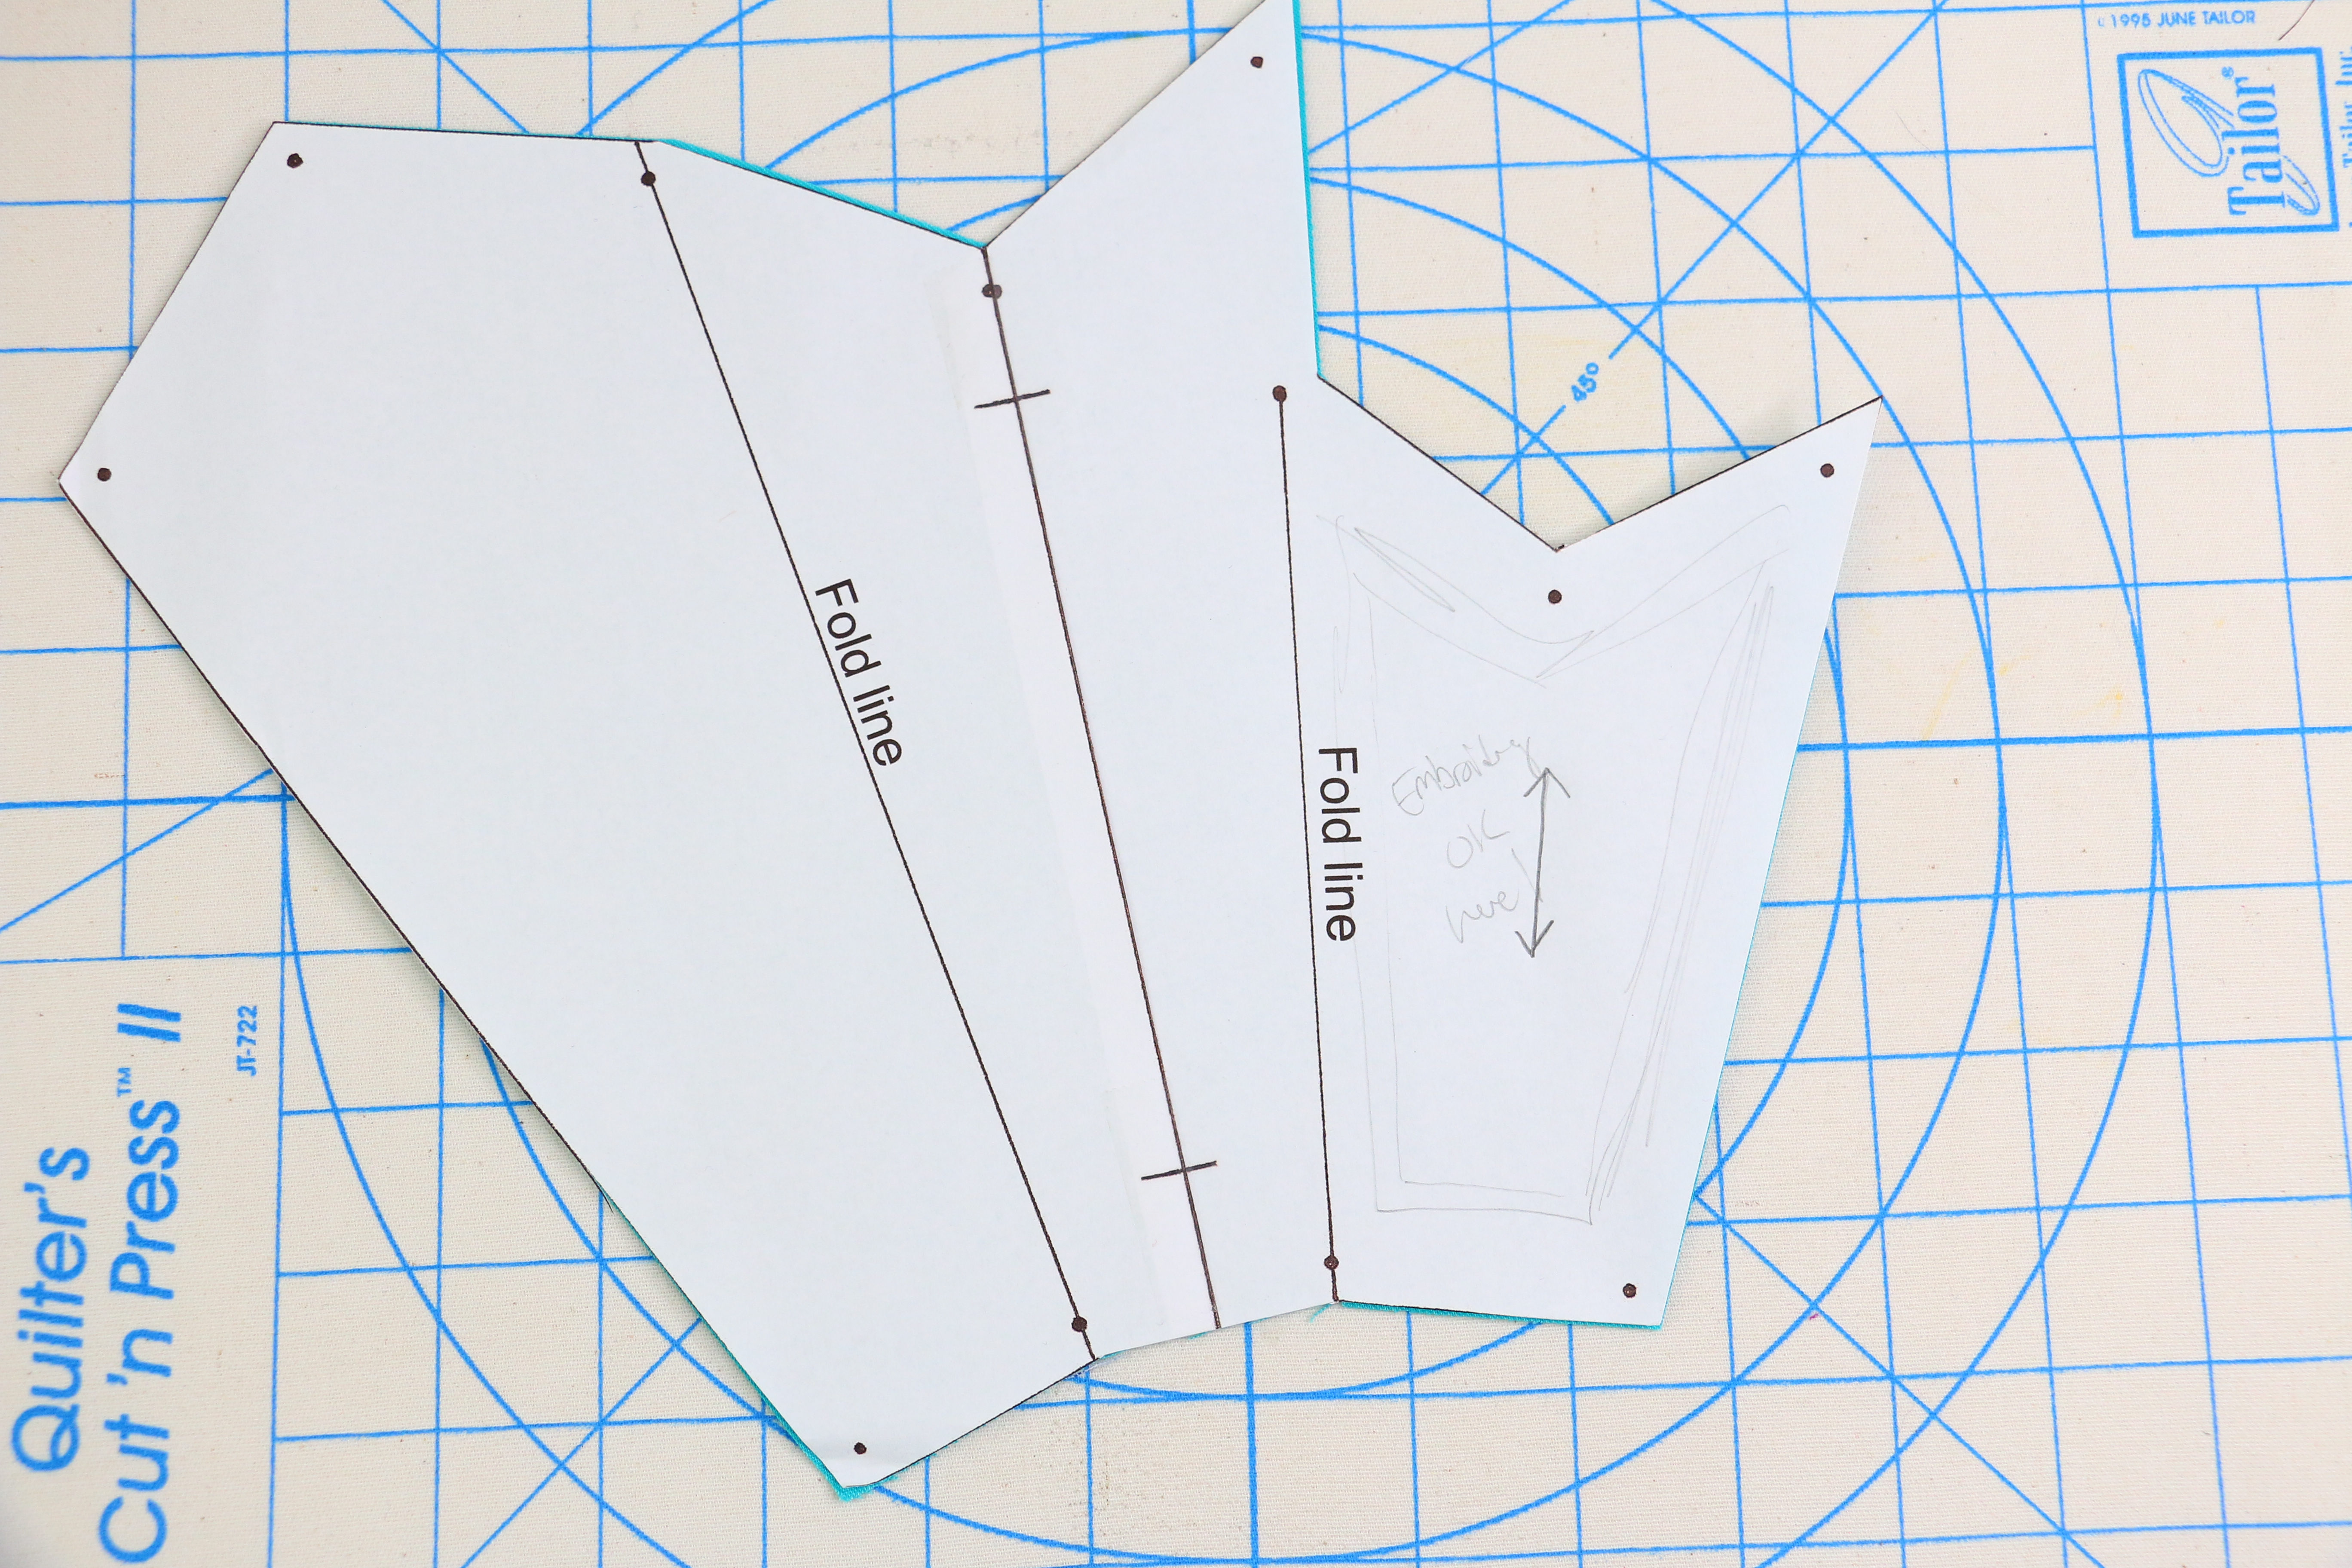
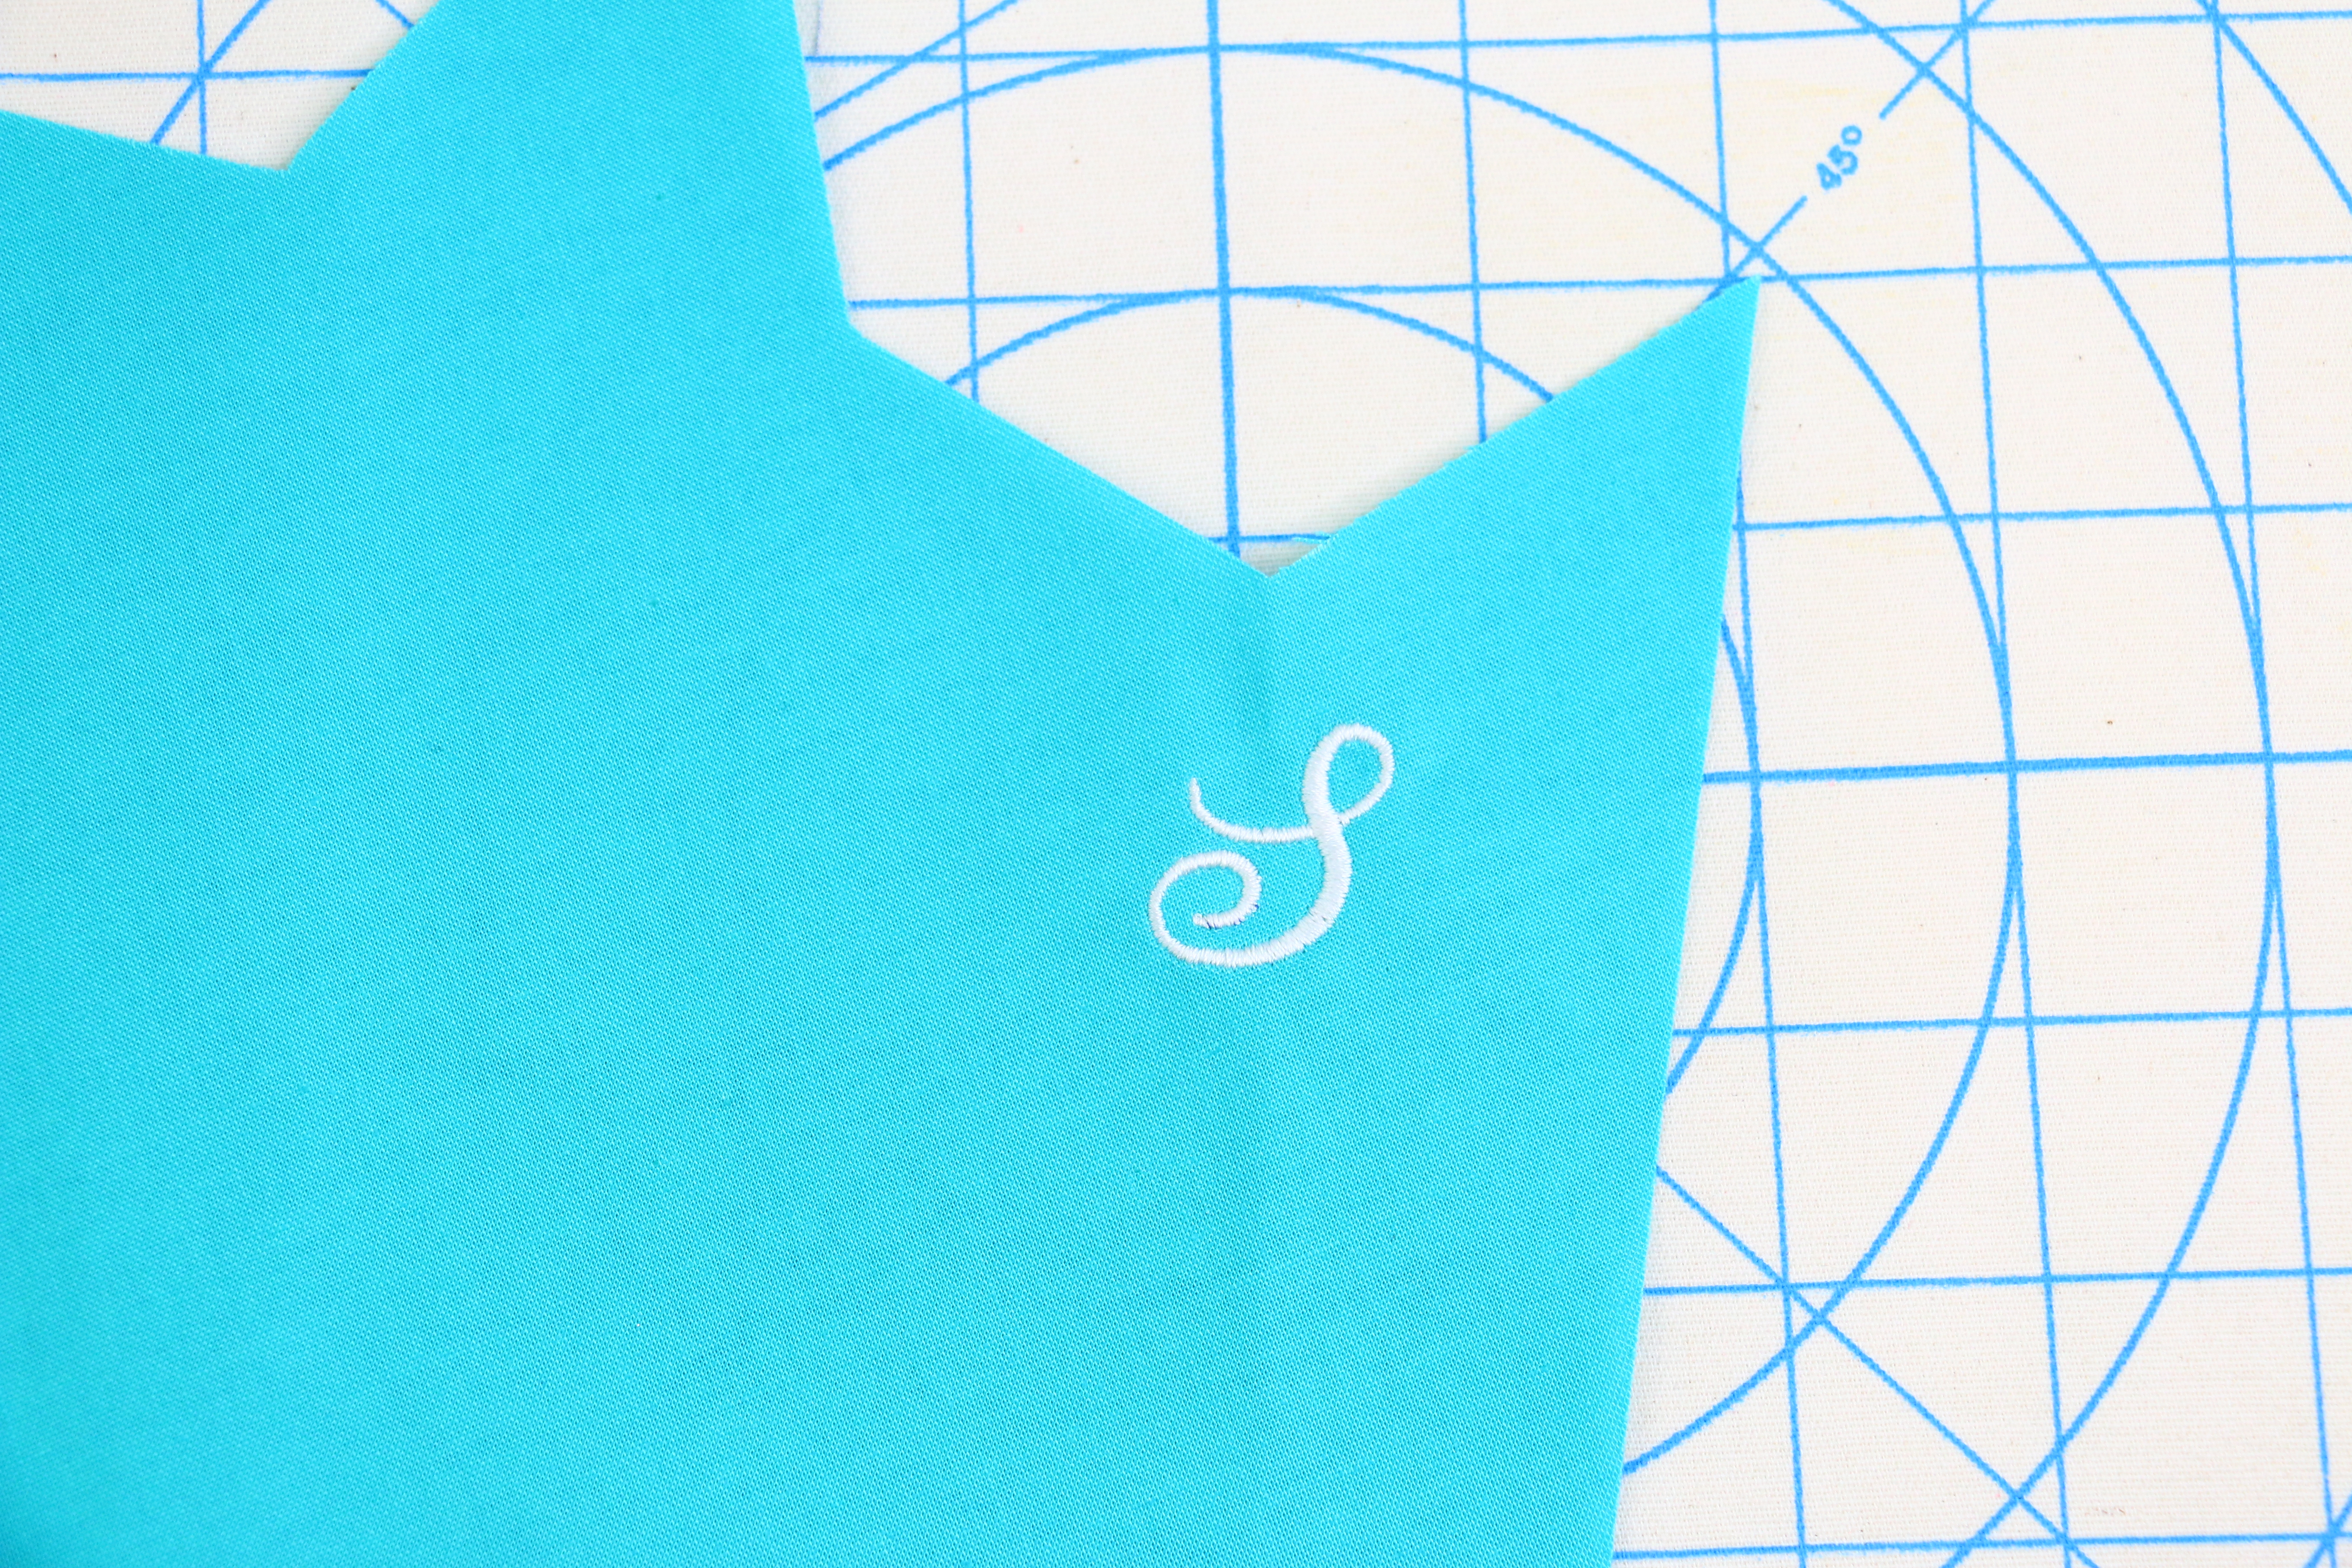
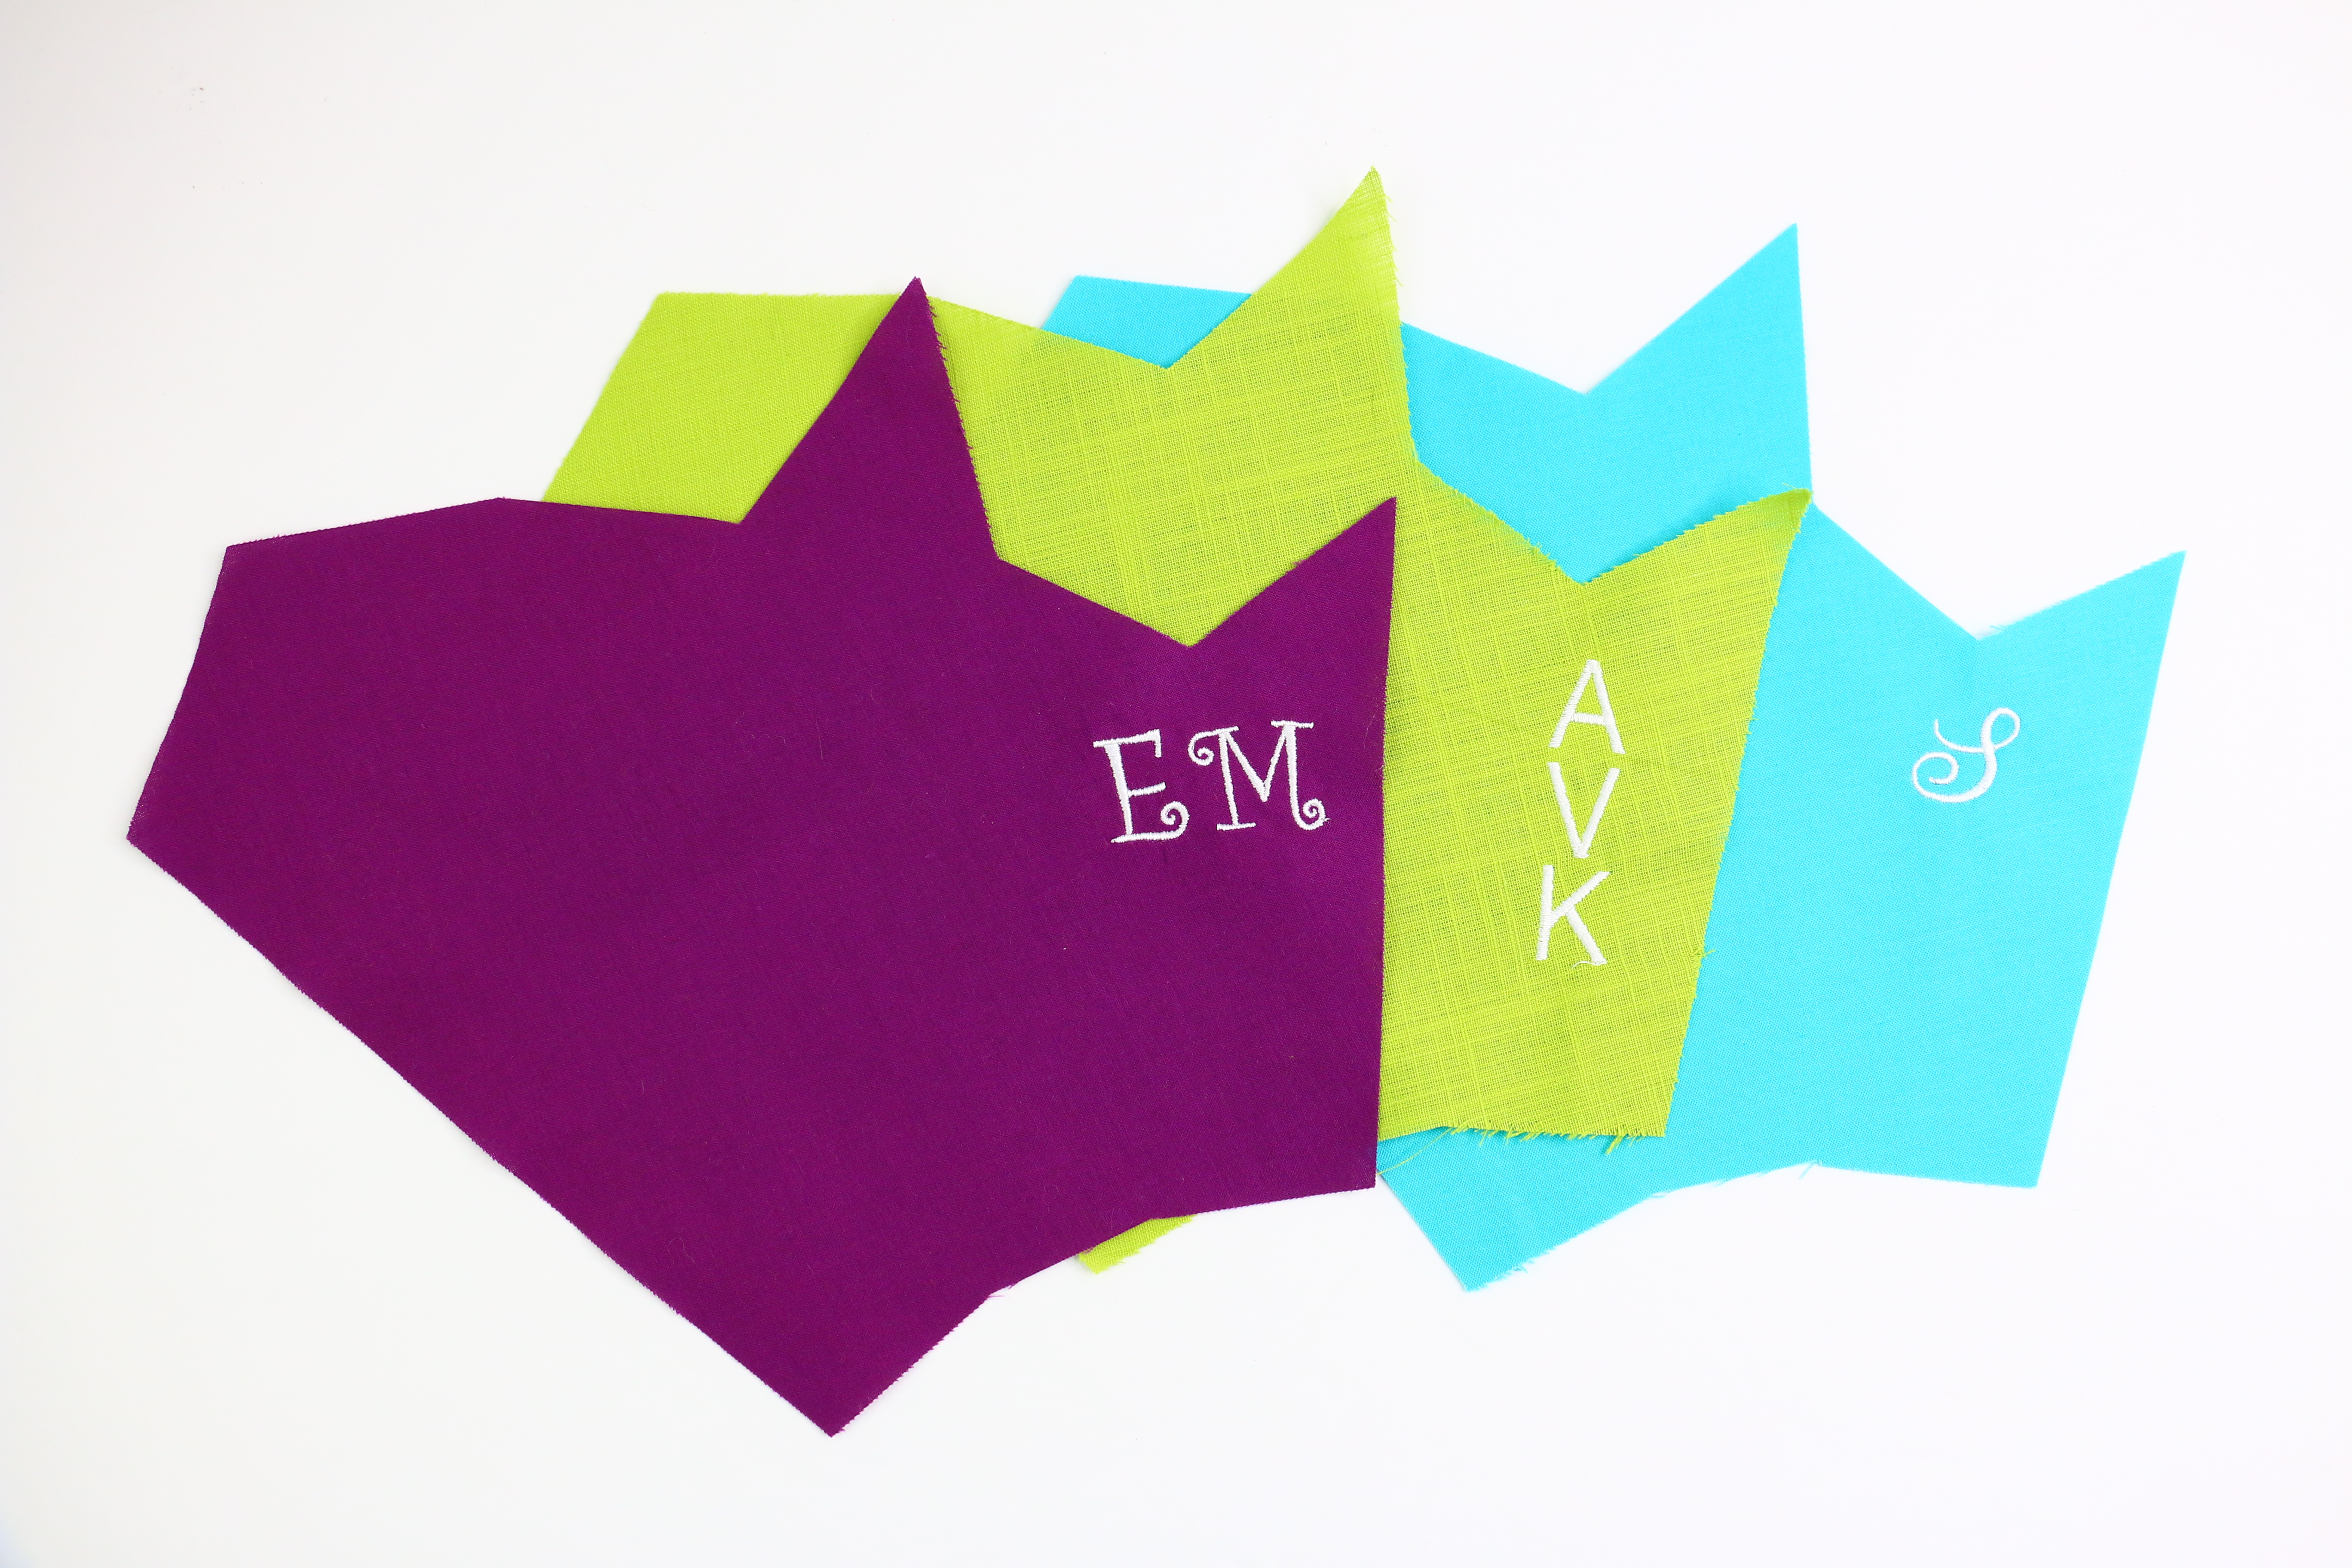
Decide on embroidery size and placement. On this Scissor Case the prime area is center front on this lower far right portion.
Note: Fabric selected is a woven material and is on the bias (stretchy grain). The area will need to be stabilized properly for machine embroidery. Refer to the Embroider-Along Part 6, Woven materials portion for more details.
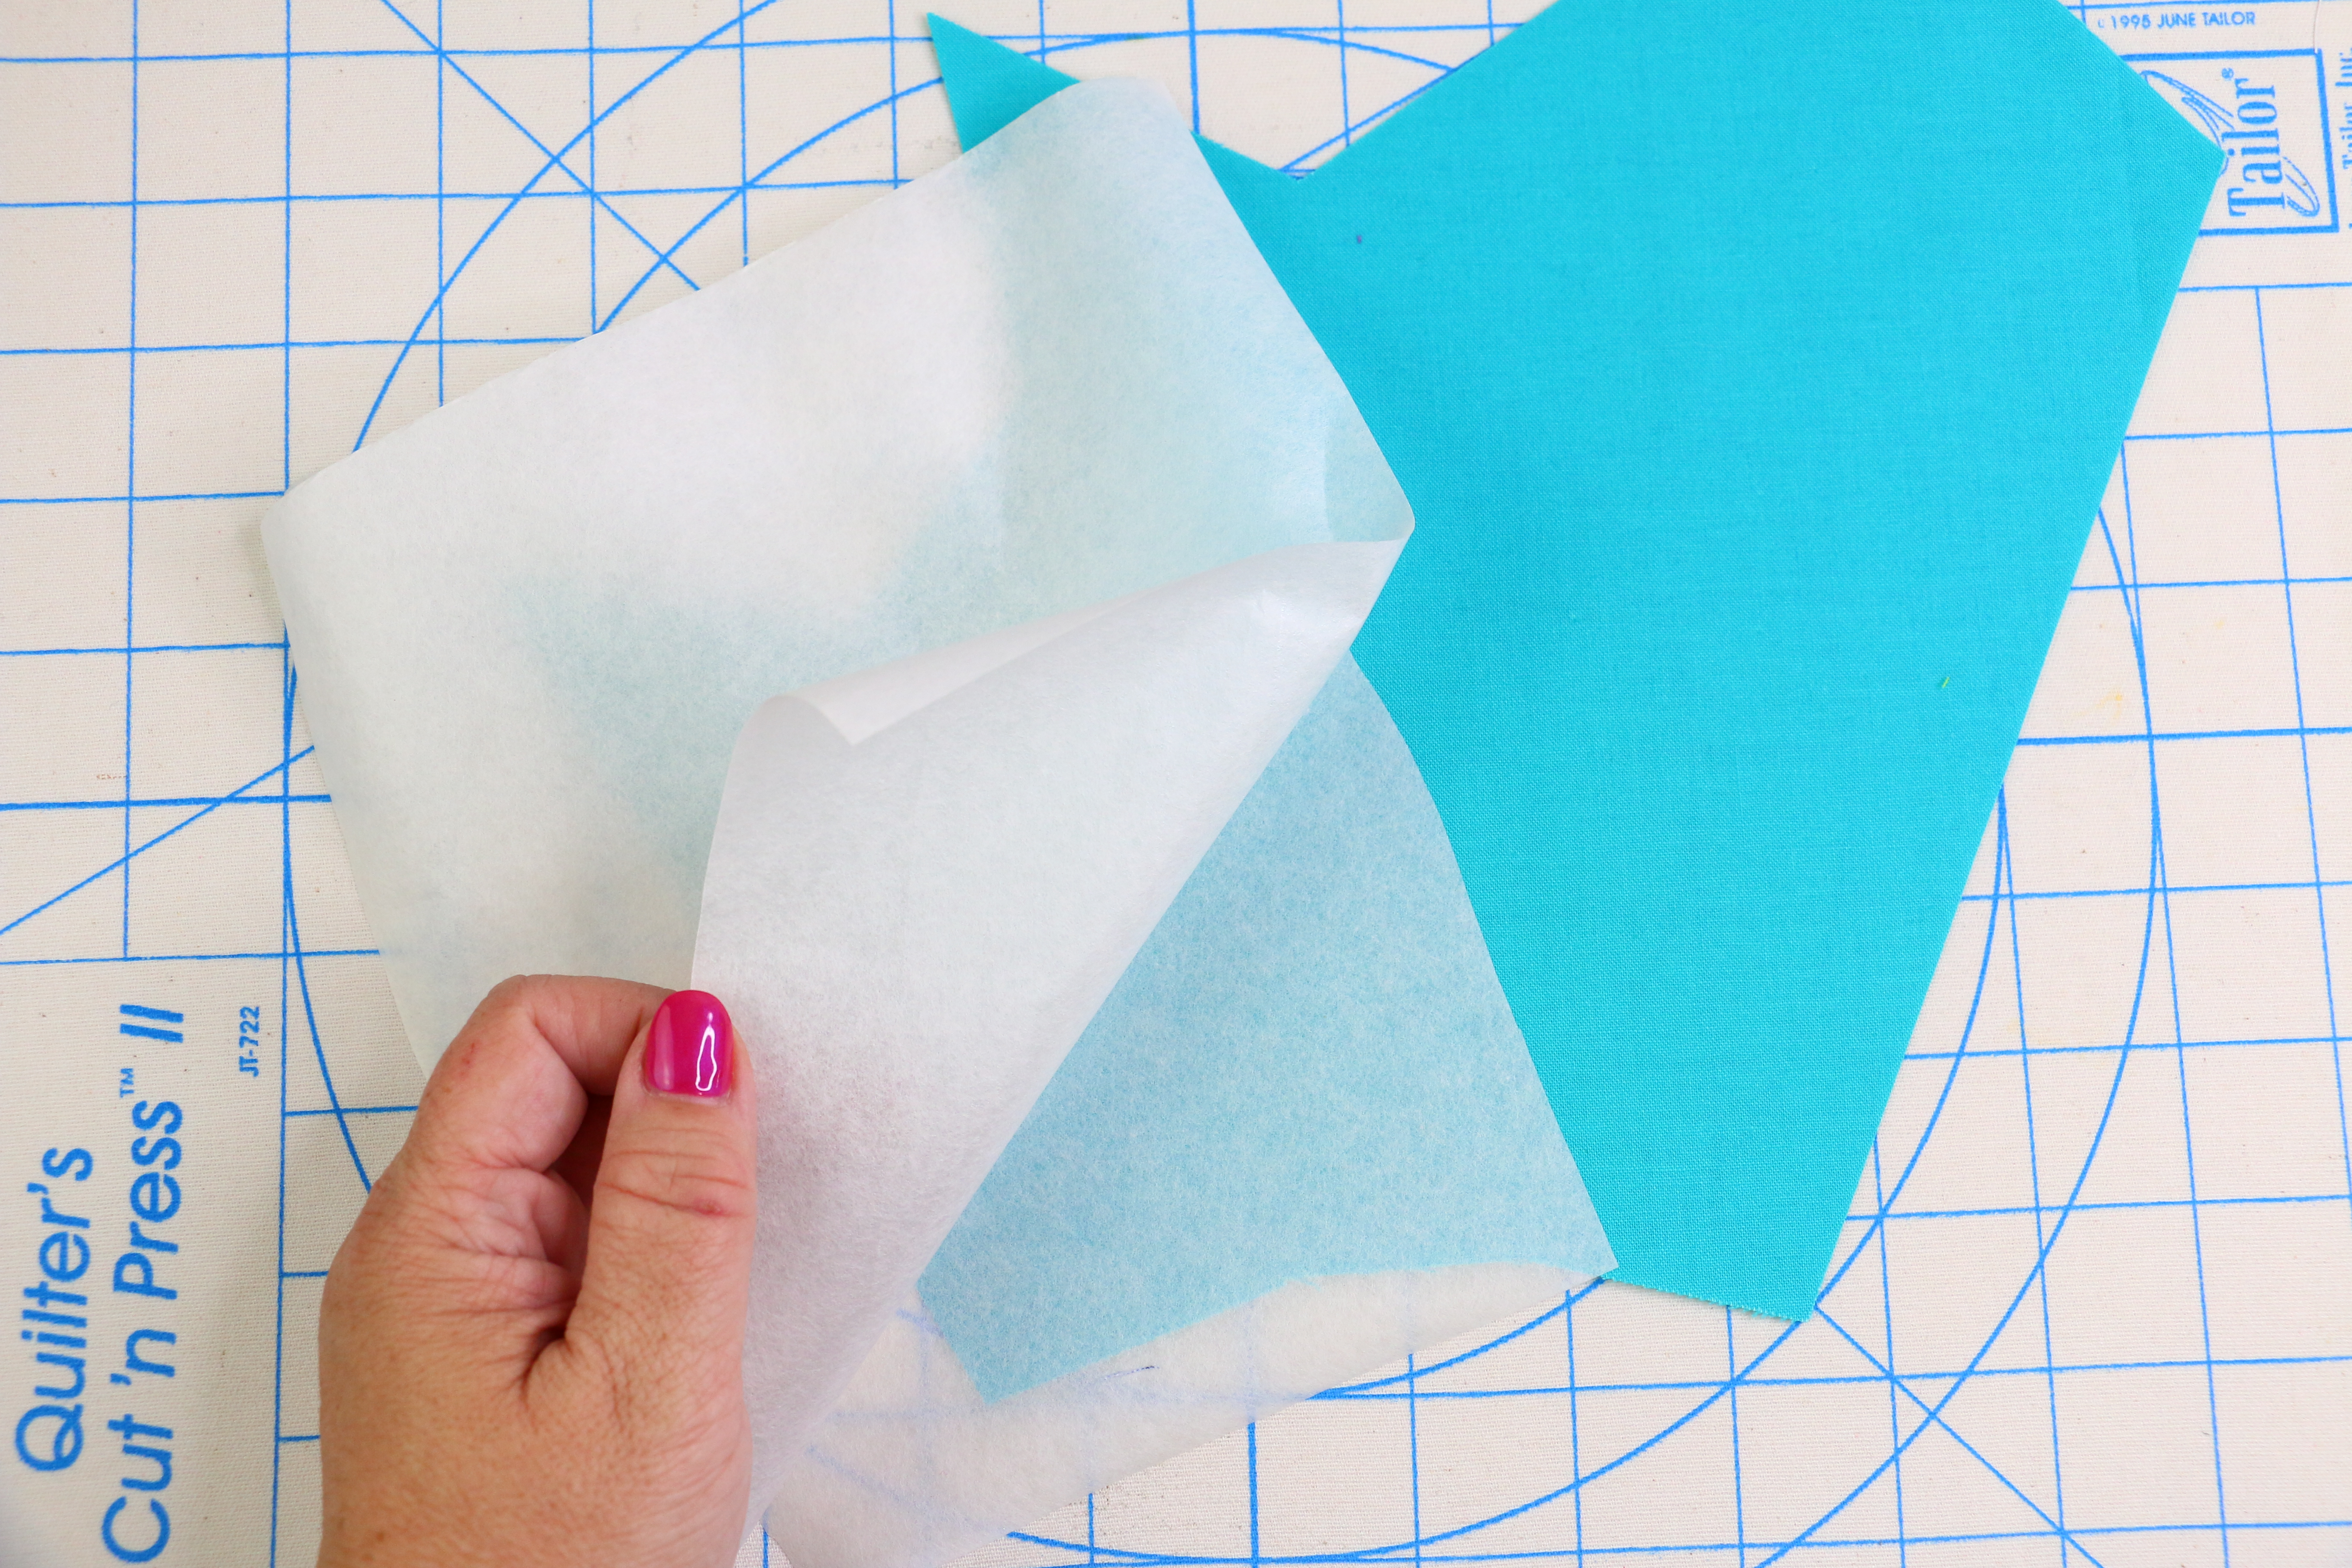
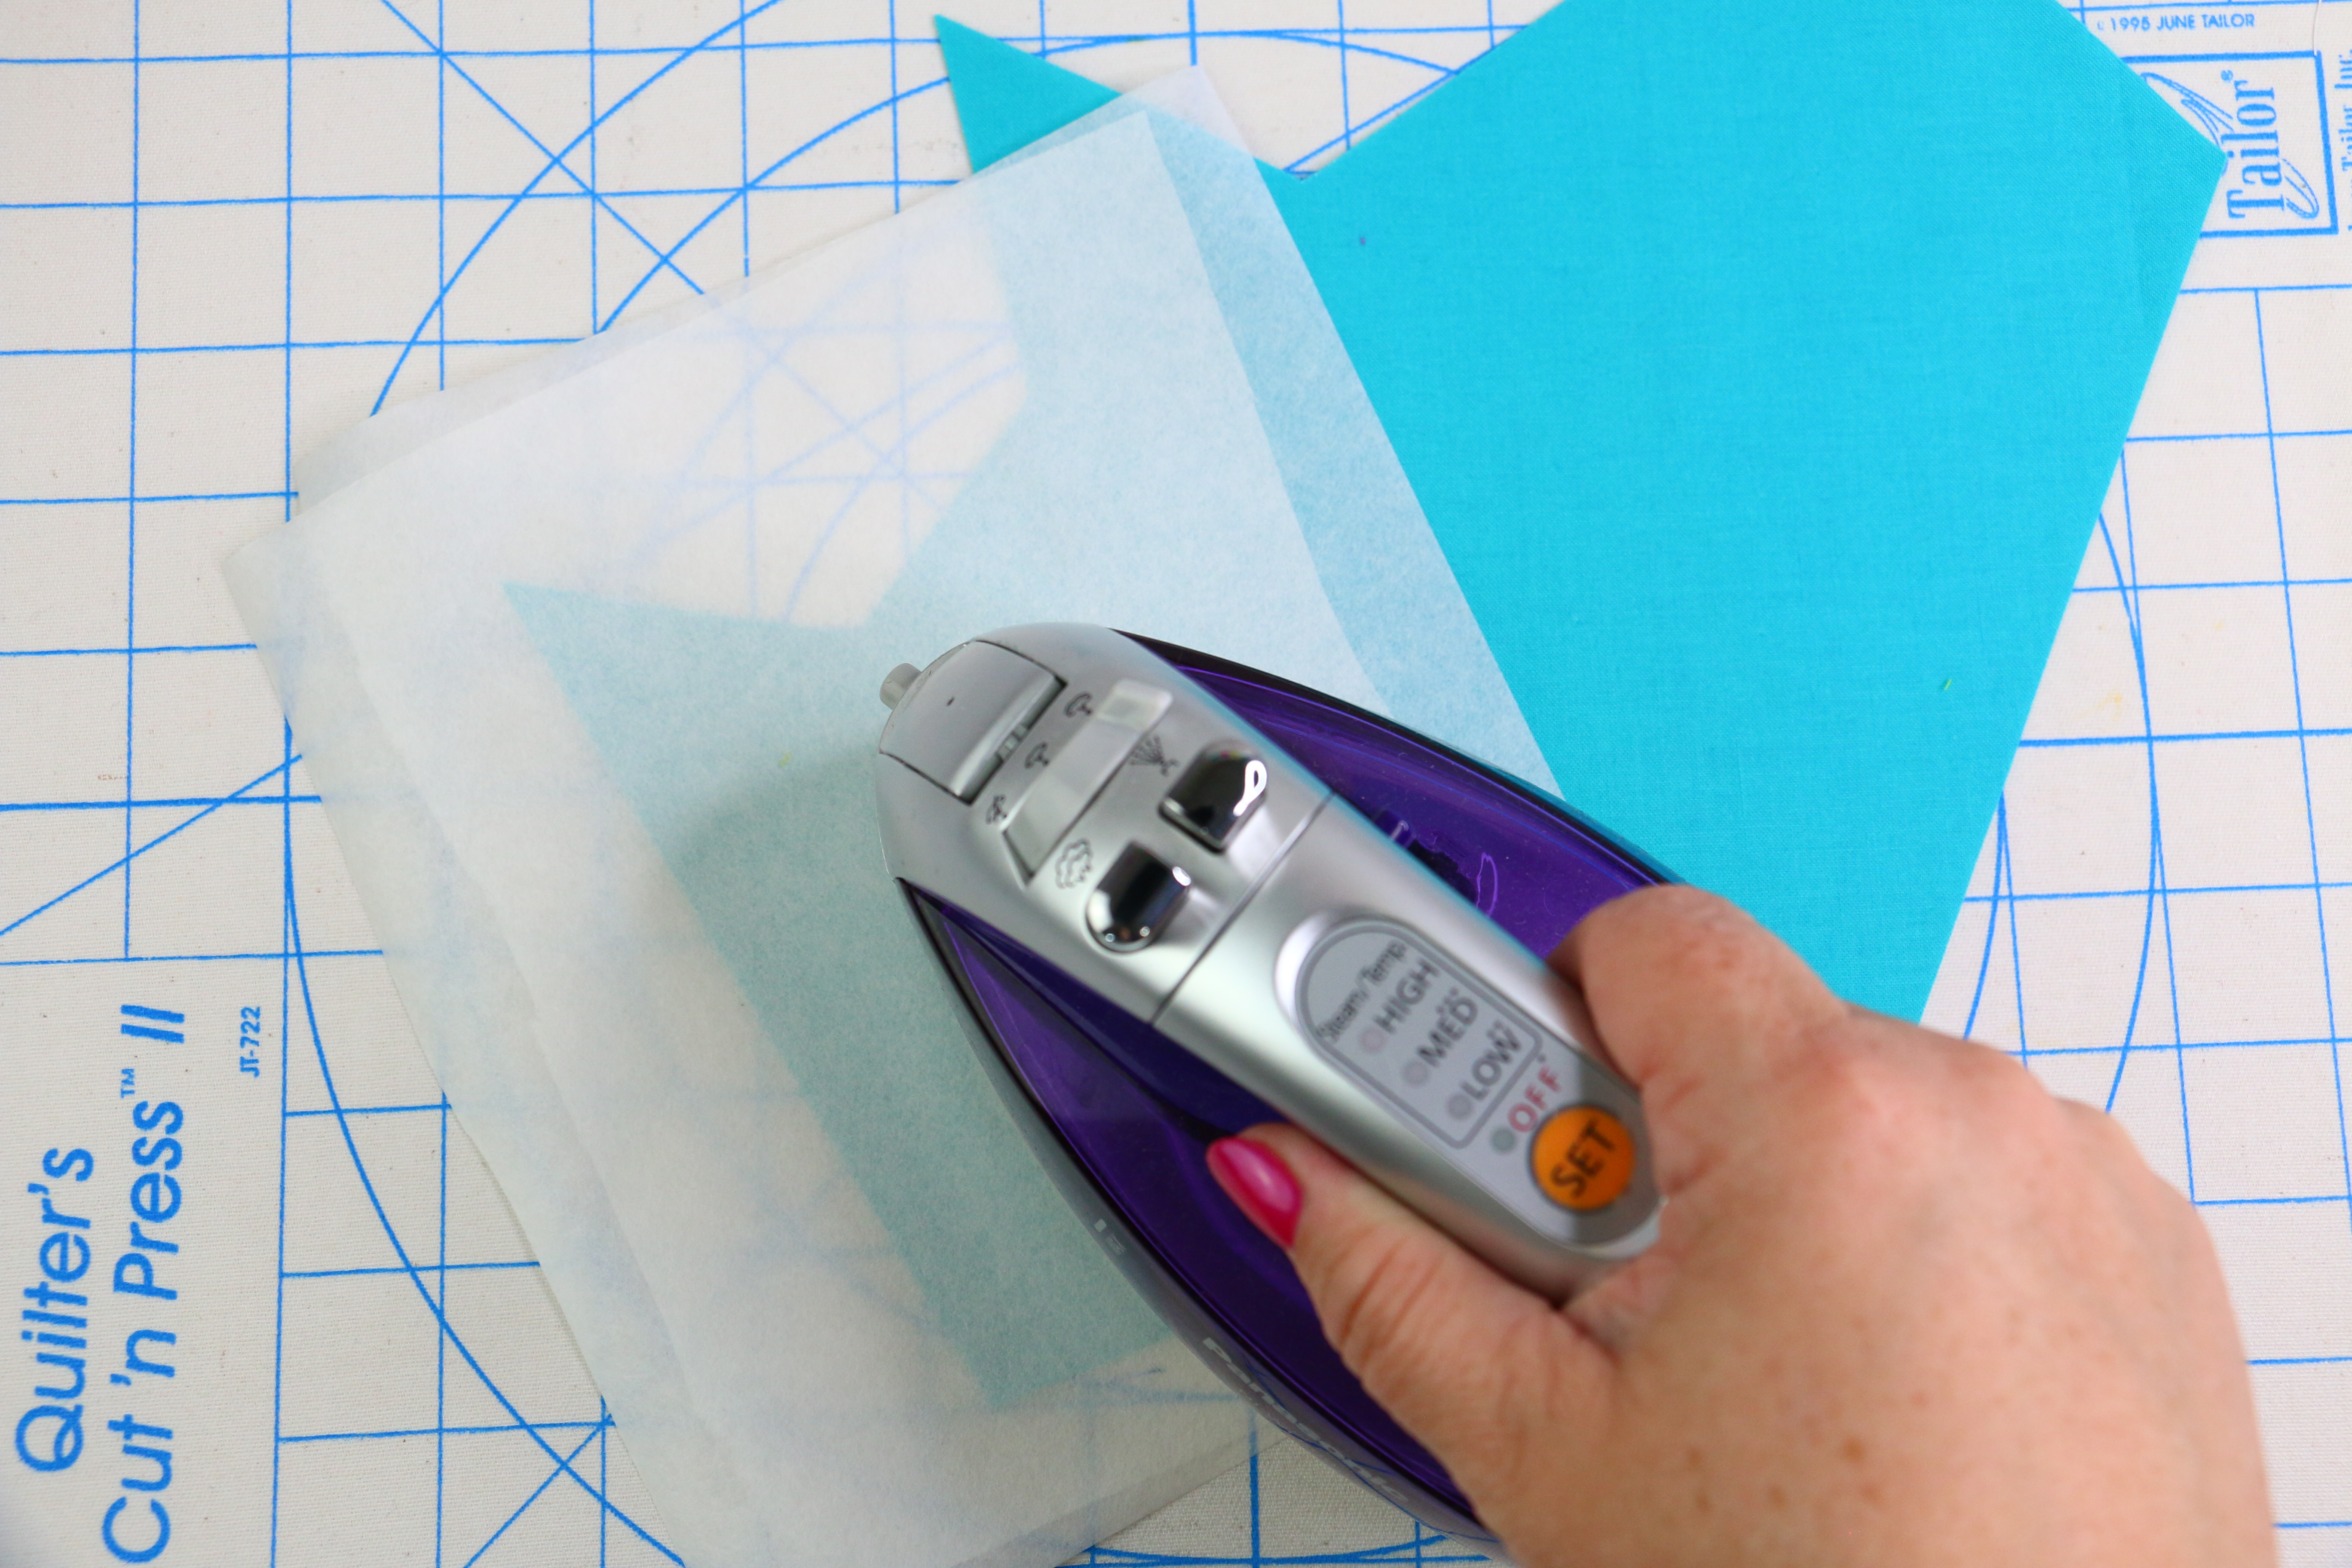
Fuse a piece of fusible tear away stabilizer (I used Ultra Clean & Tear Away Fusible) to the wrong side of the embroidery area. Due to it being so thin, you might want to use two layers of stabilizer.

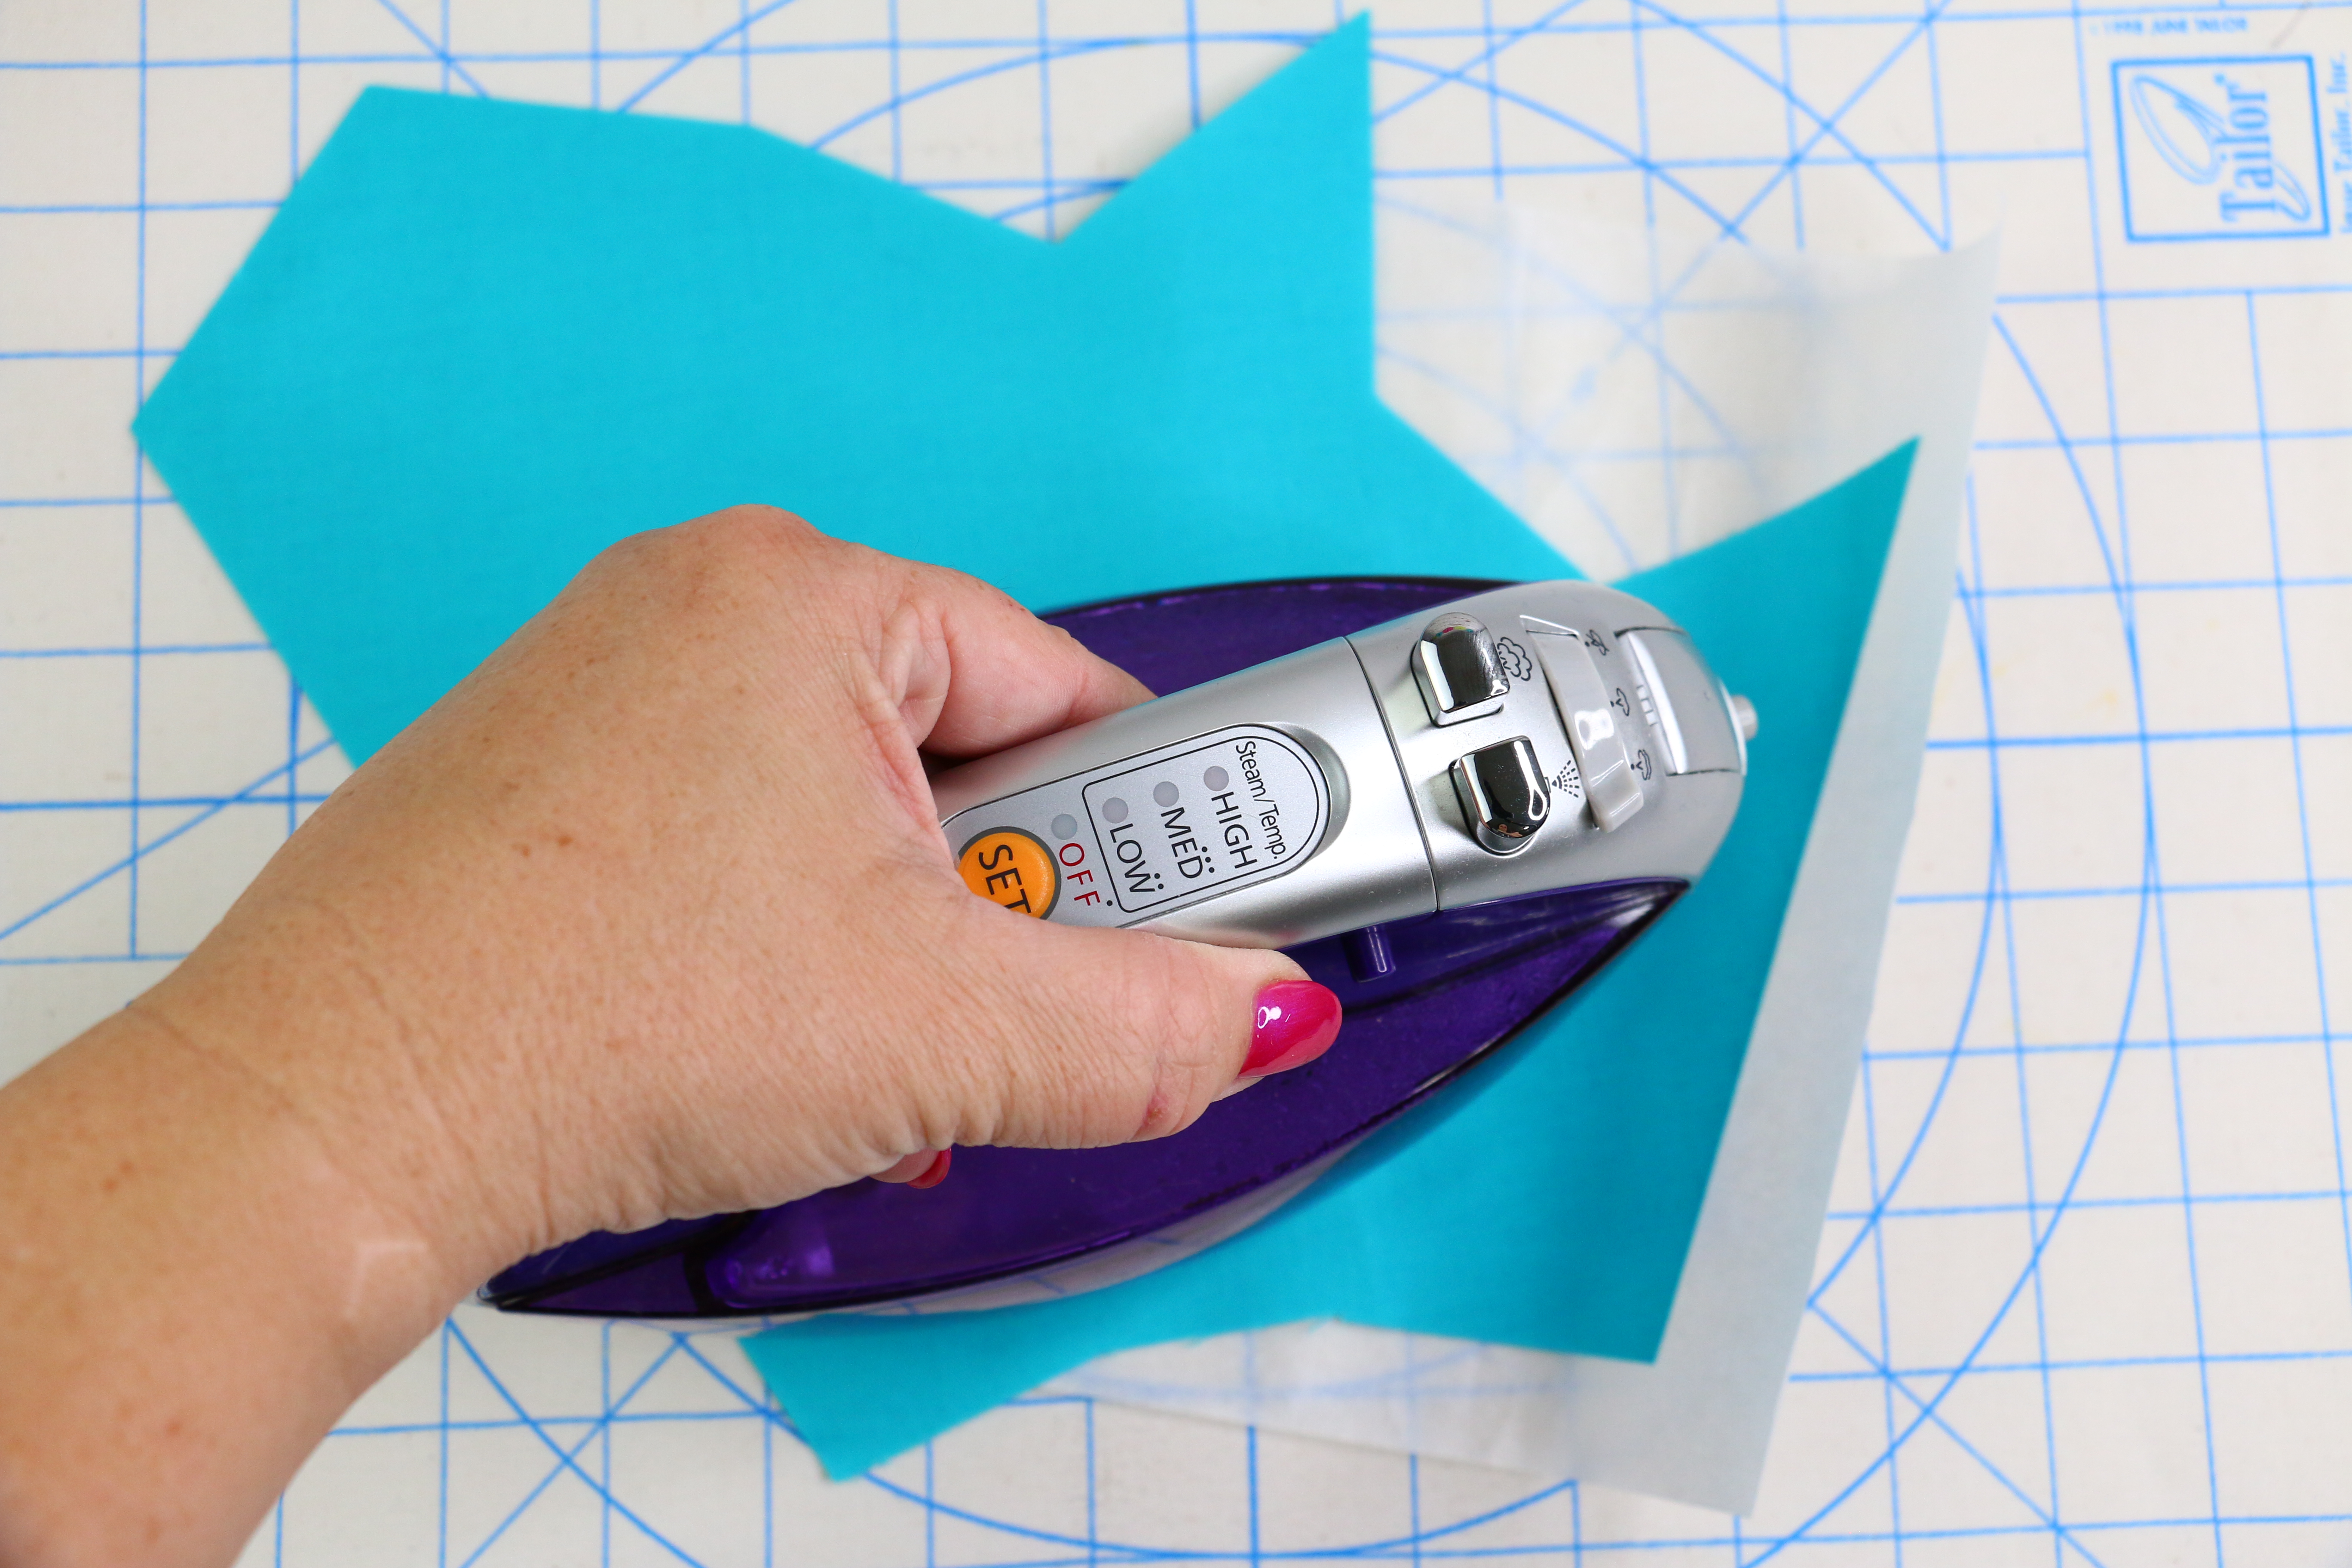
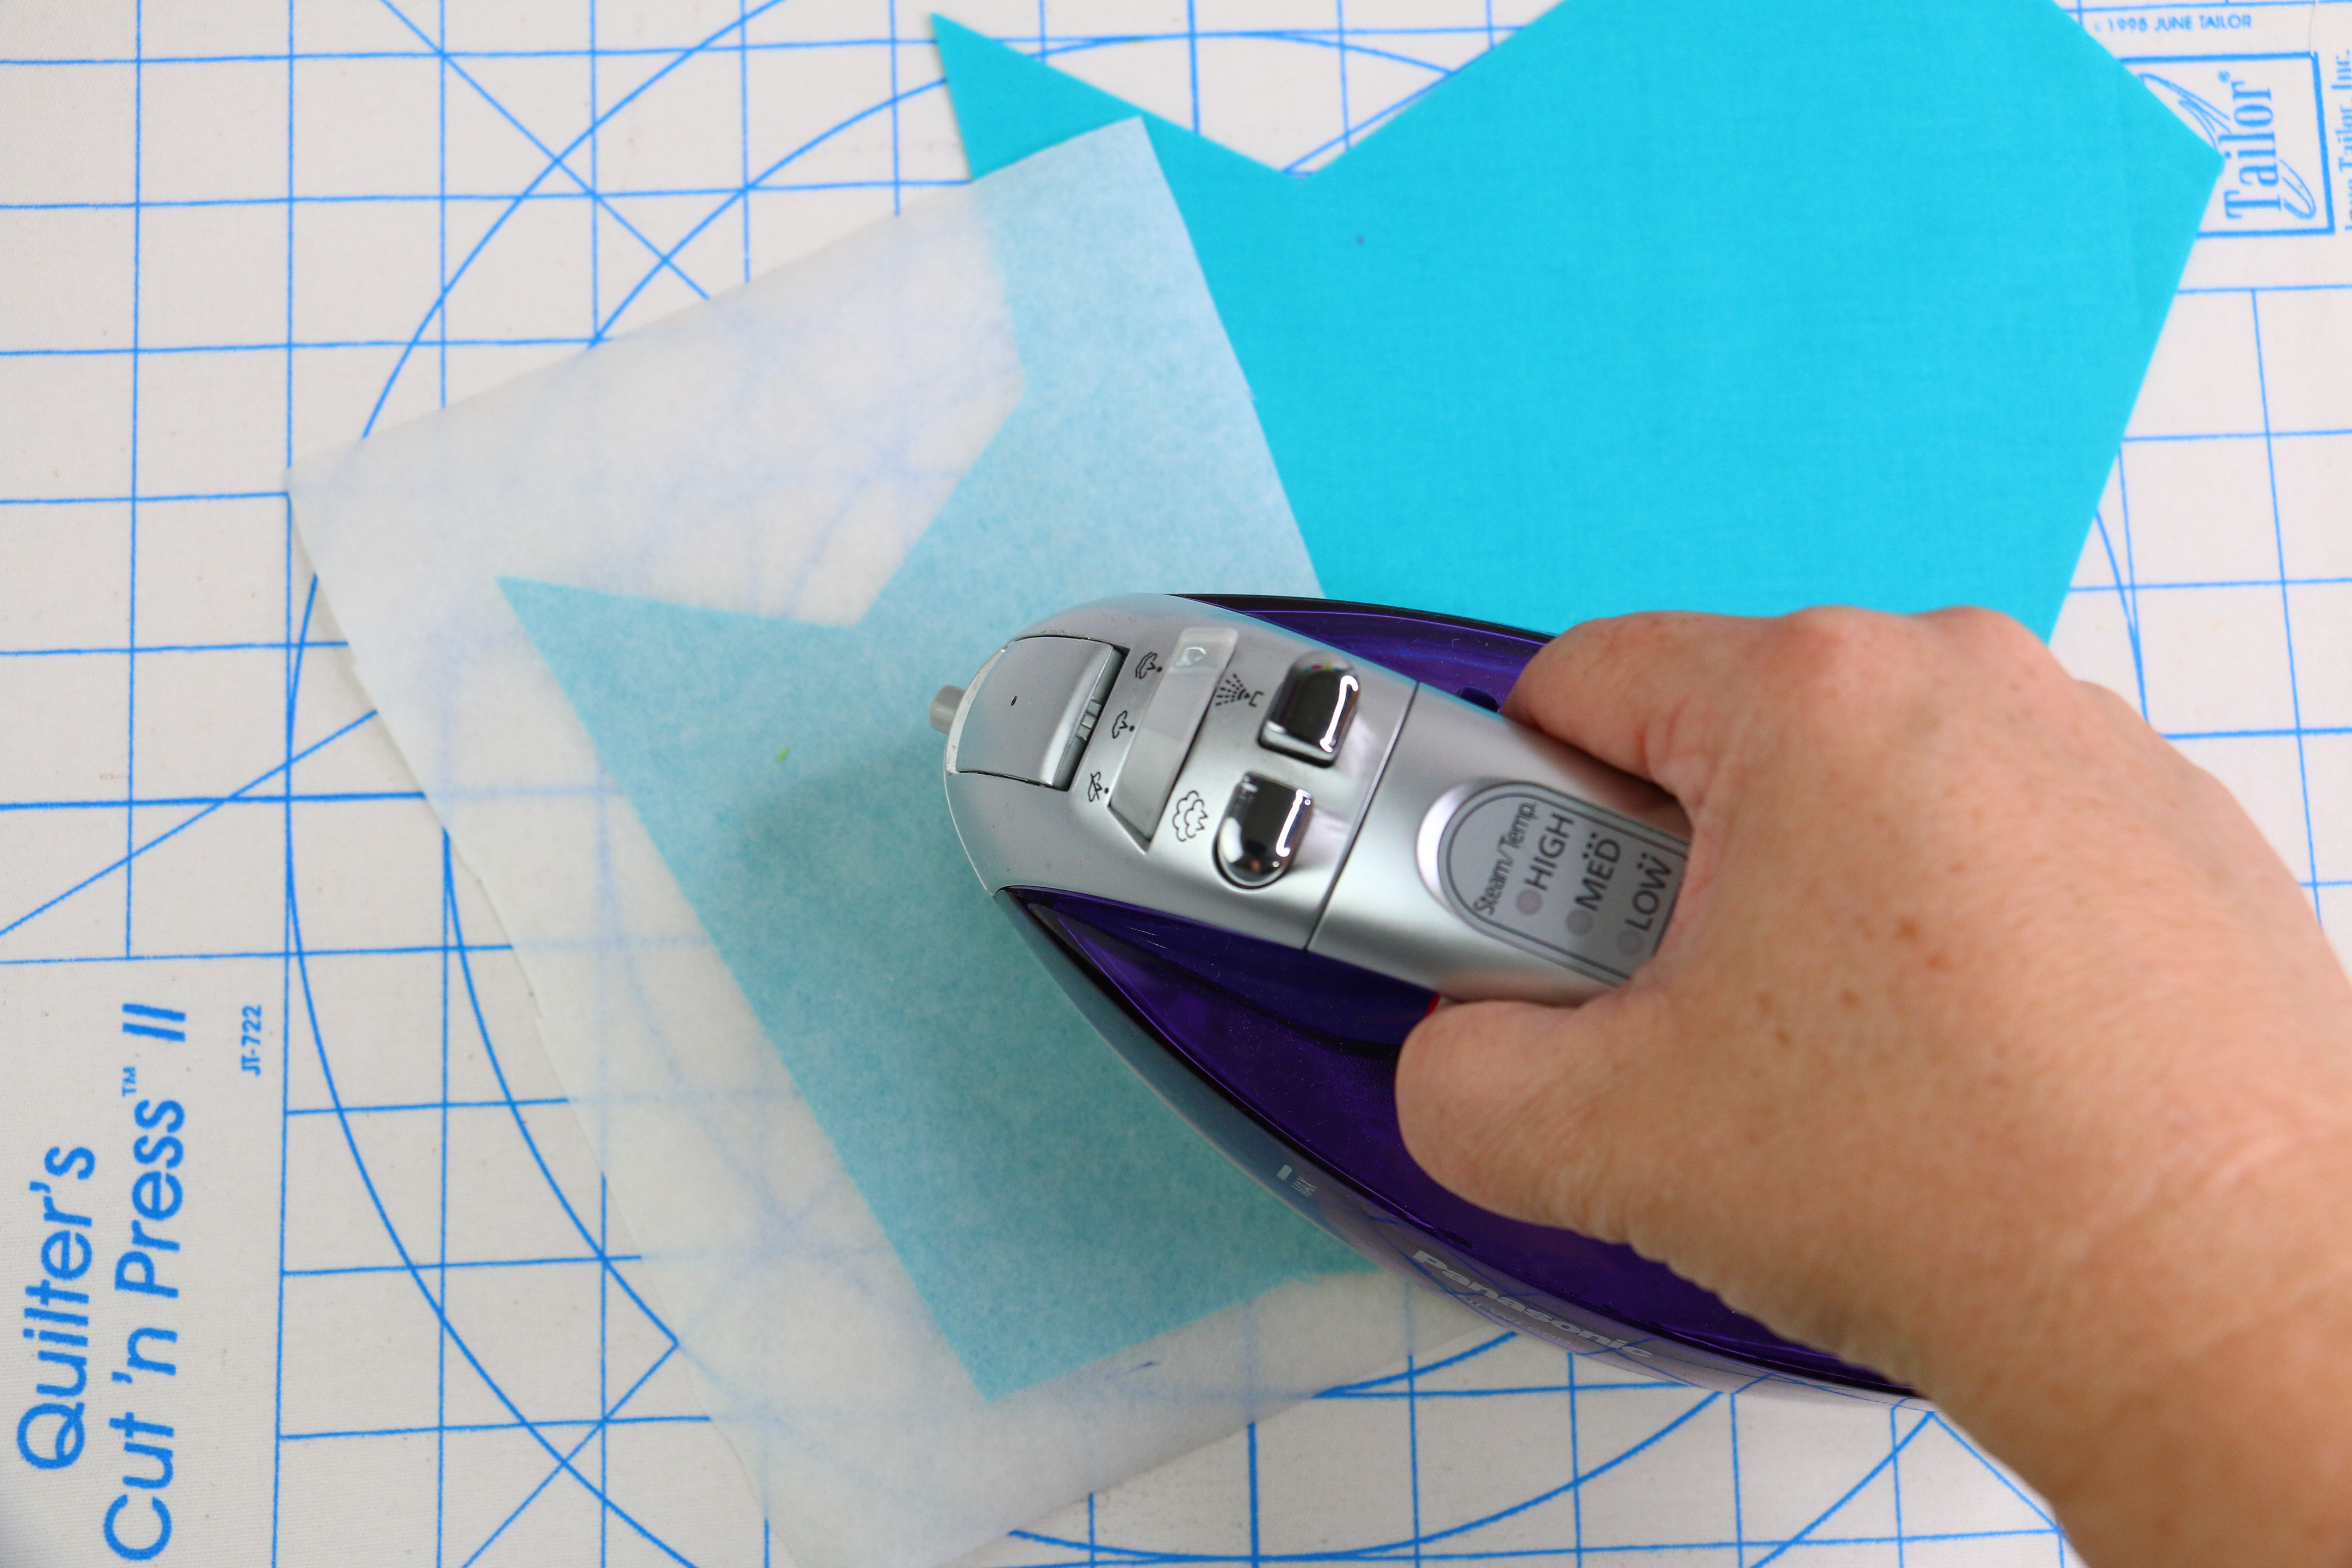
Hoop a sticky stabilizer (I used Stabil Stick)with the paper side up, use a straight pin to score an “X” in the center of the hoop piercing the paper layer only. Remove the paper exposing the sticky stabilizer.

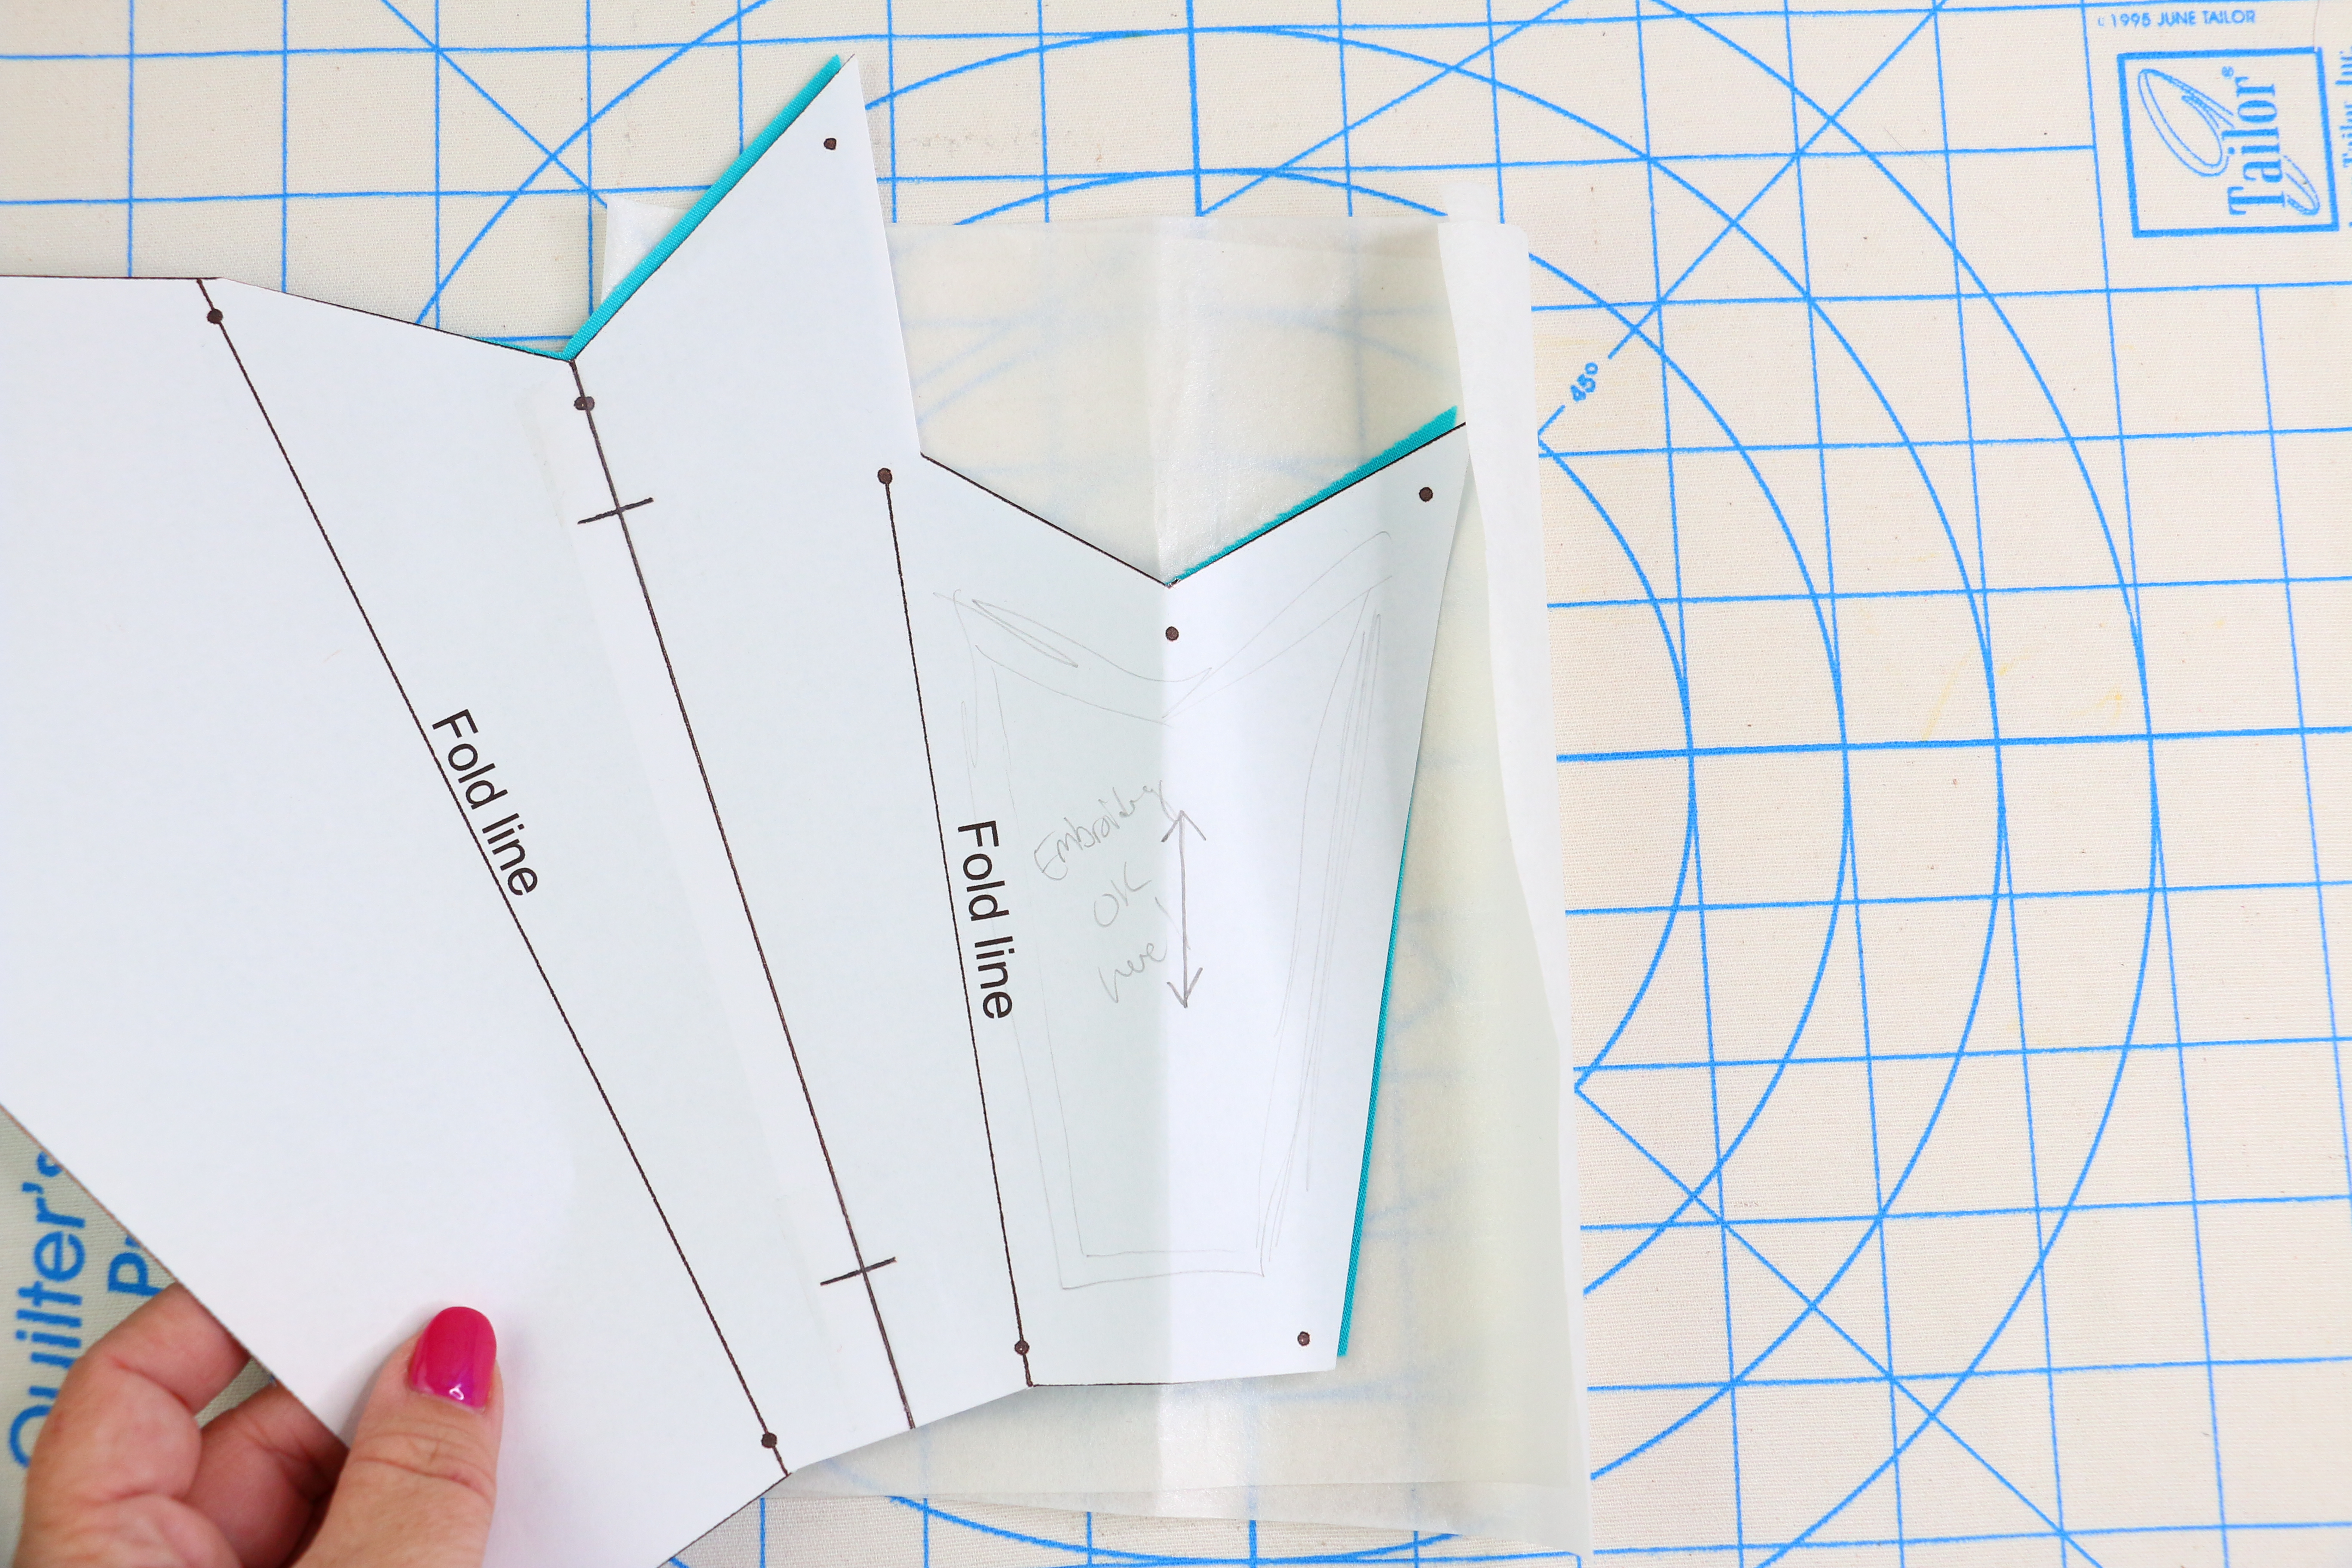
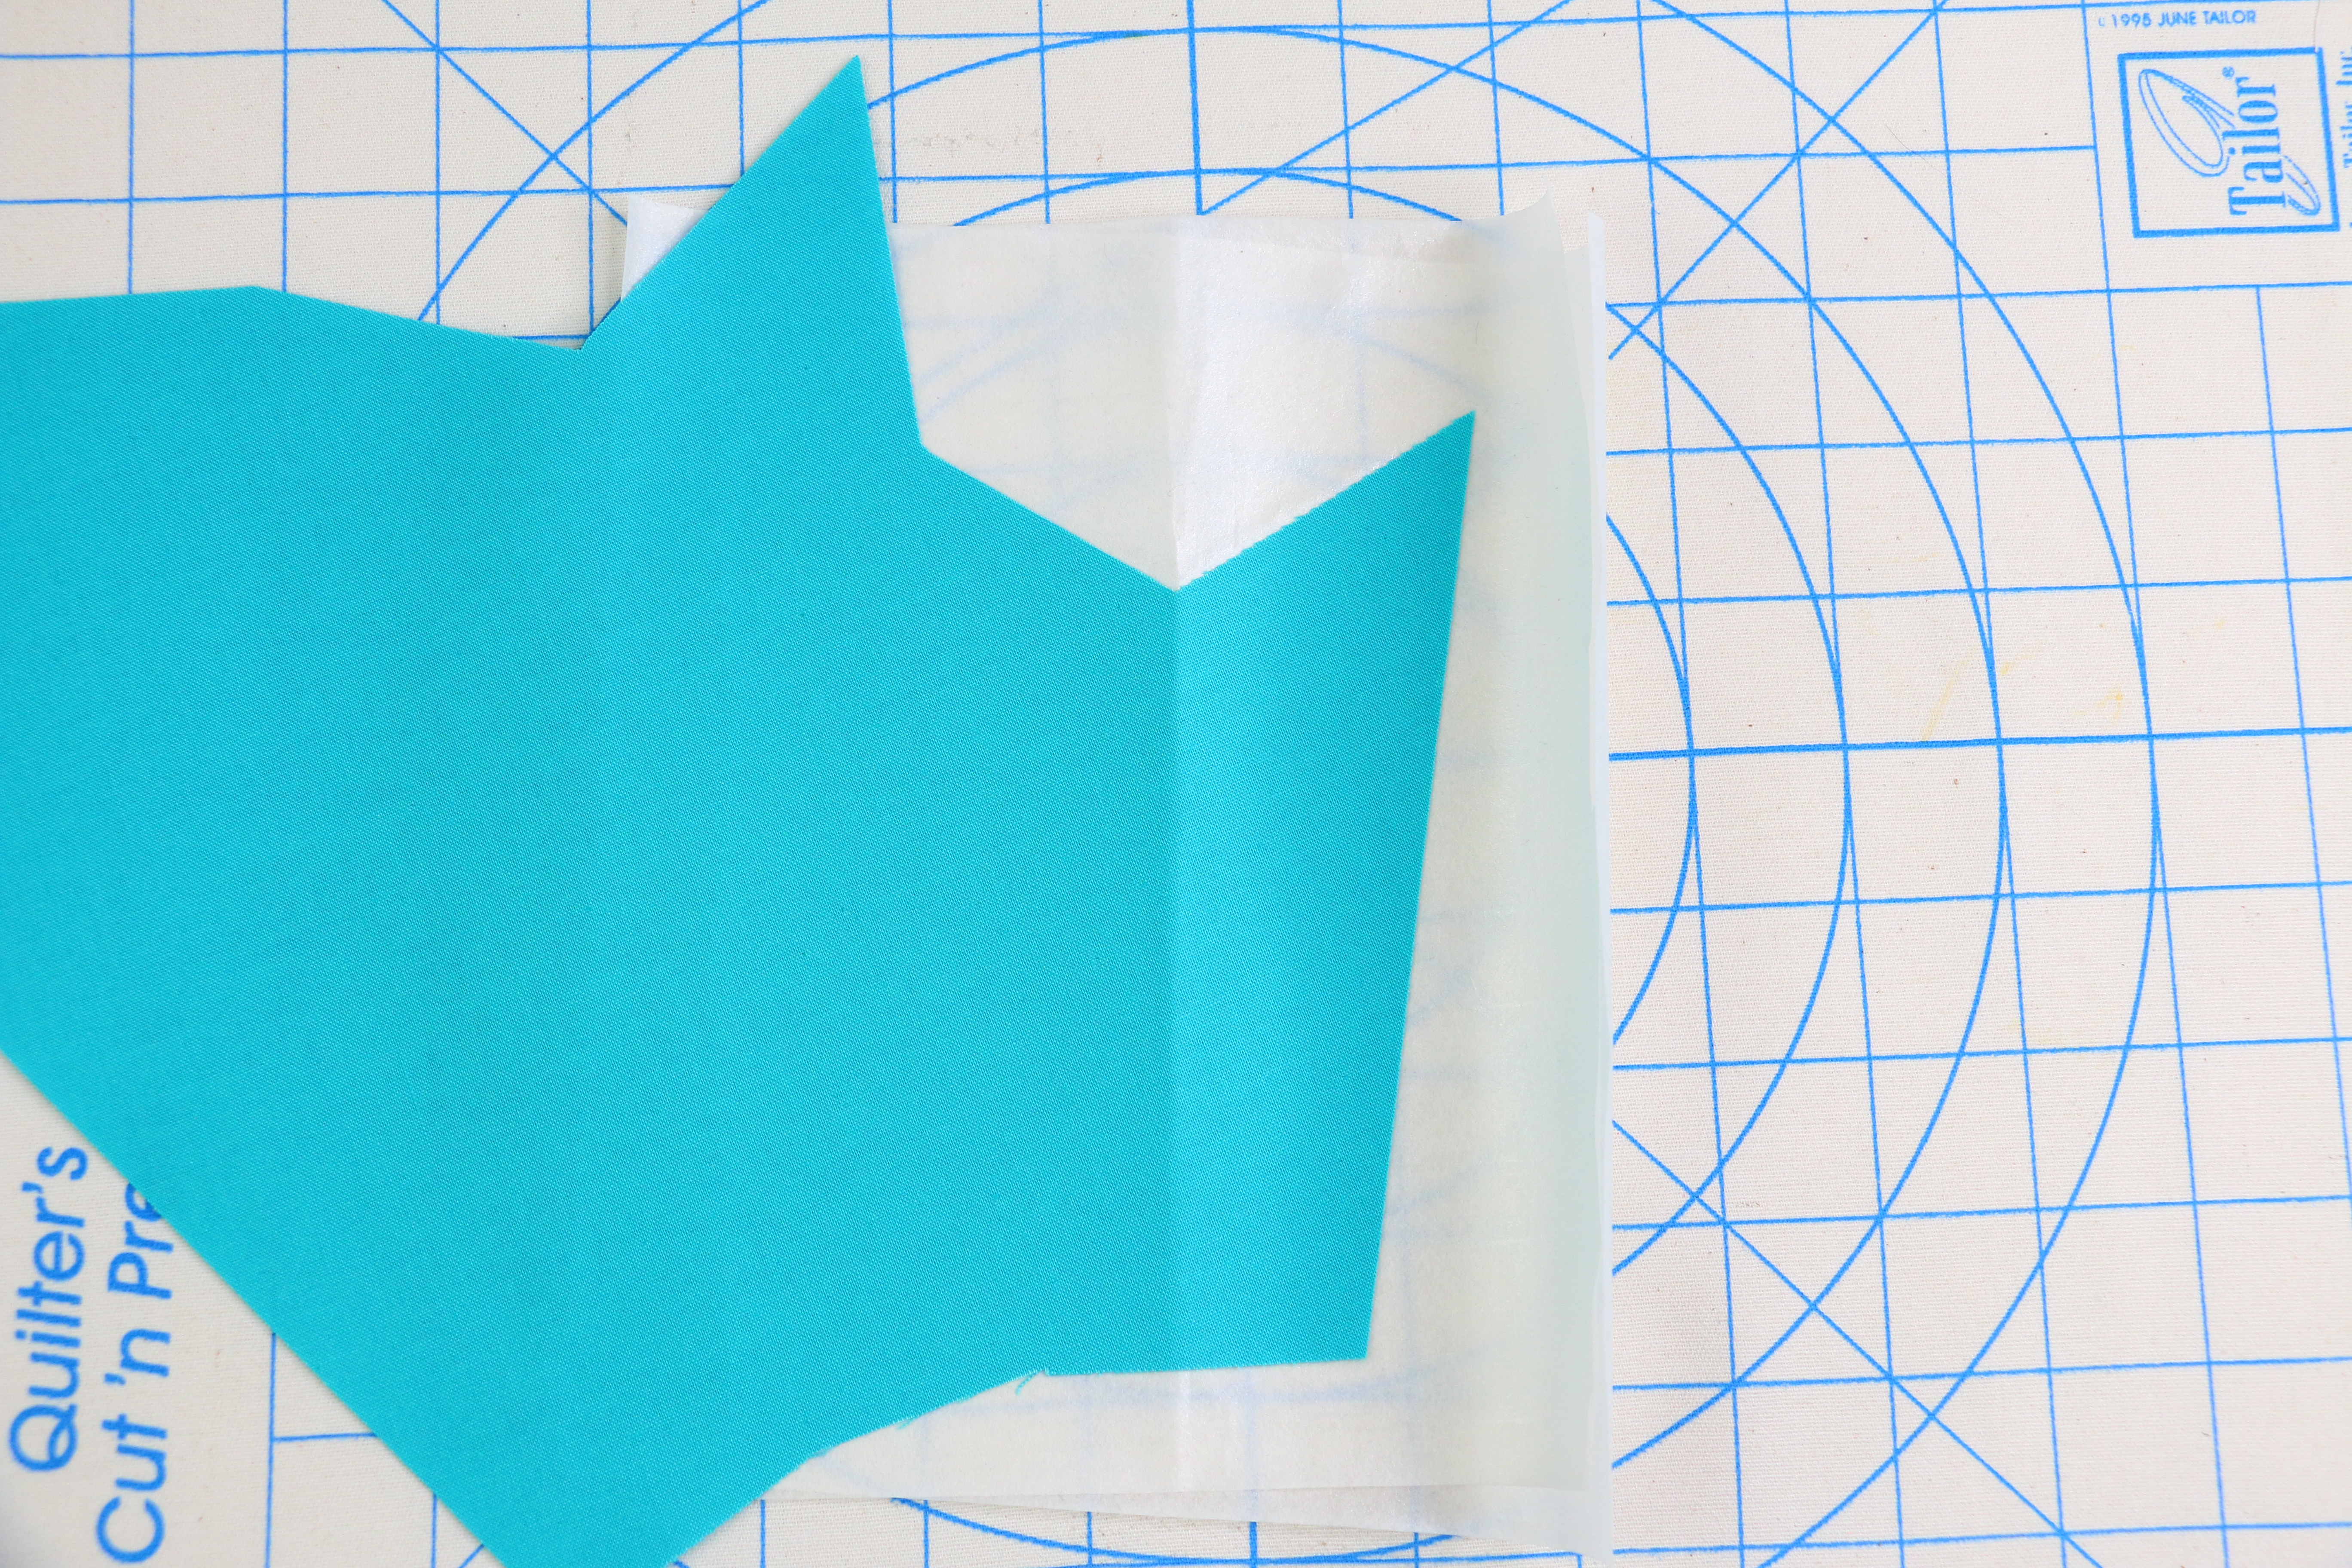
Place the Pattern piece over the fabric/stabilizer combo and find the center my creating a fold.
Note: You can also mark with a pen – see Embroider-Along Part 4 to learn more about placement. Once the center is found place the fabric/stabilizer with fabric side facing up over the adhesive side of the hooped stabilizer. Center the best you can, but you can move and adjust using the editing features of your machine.
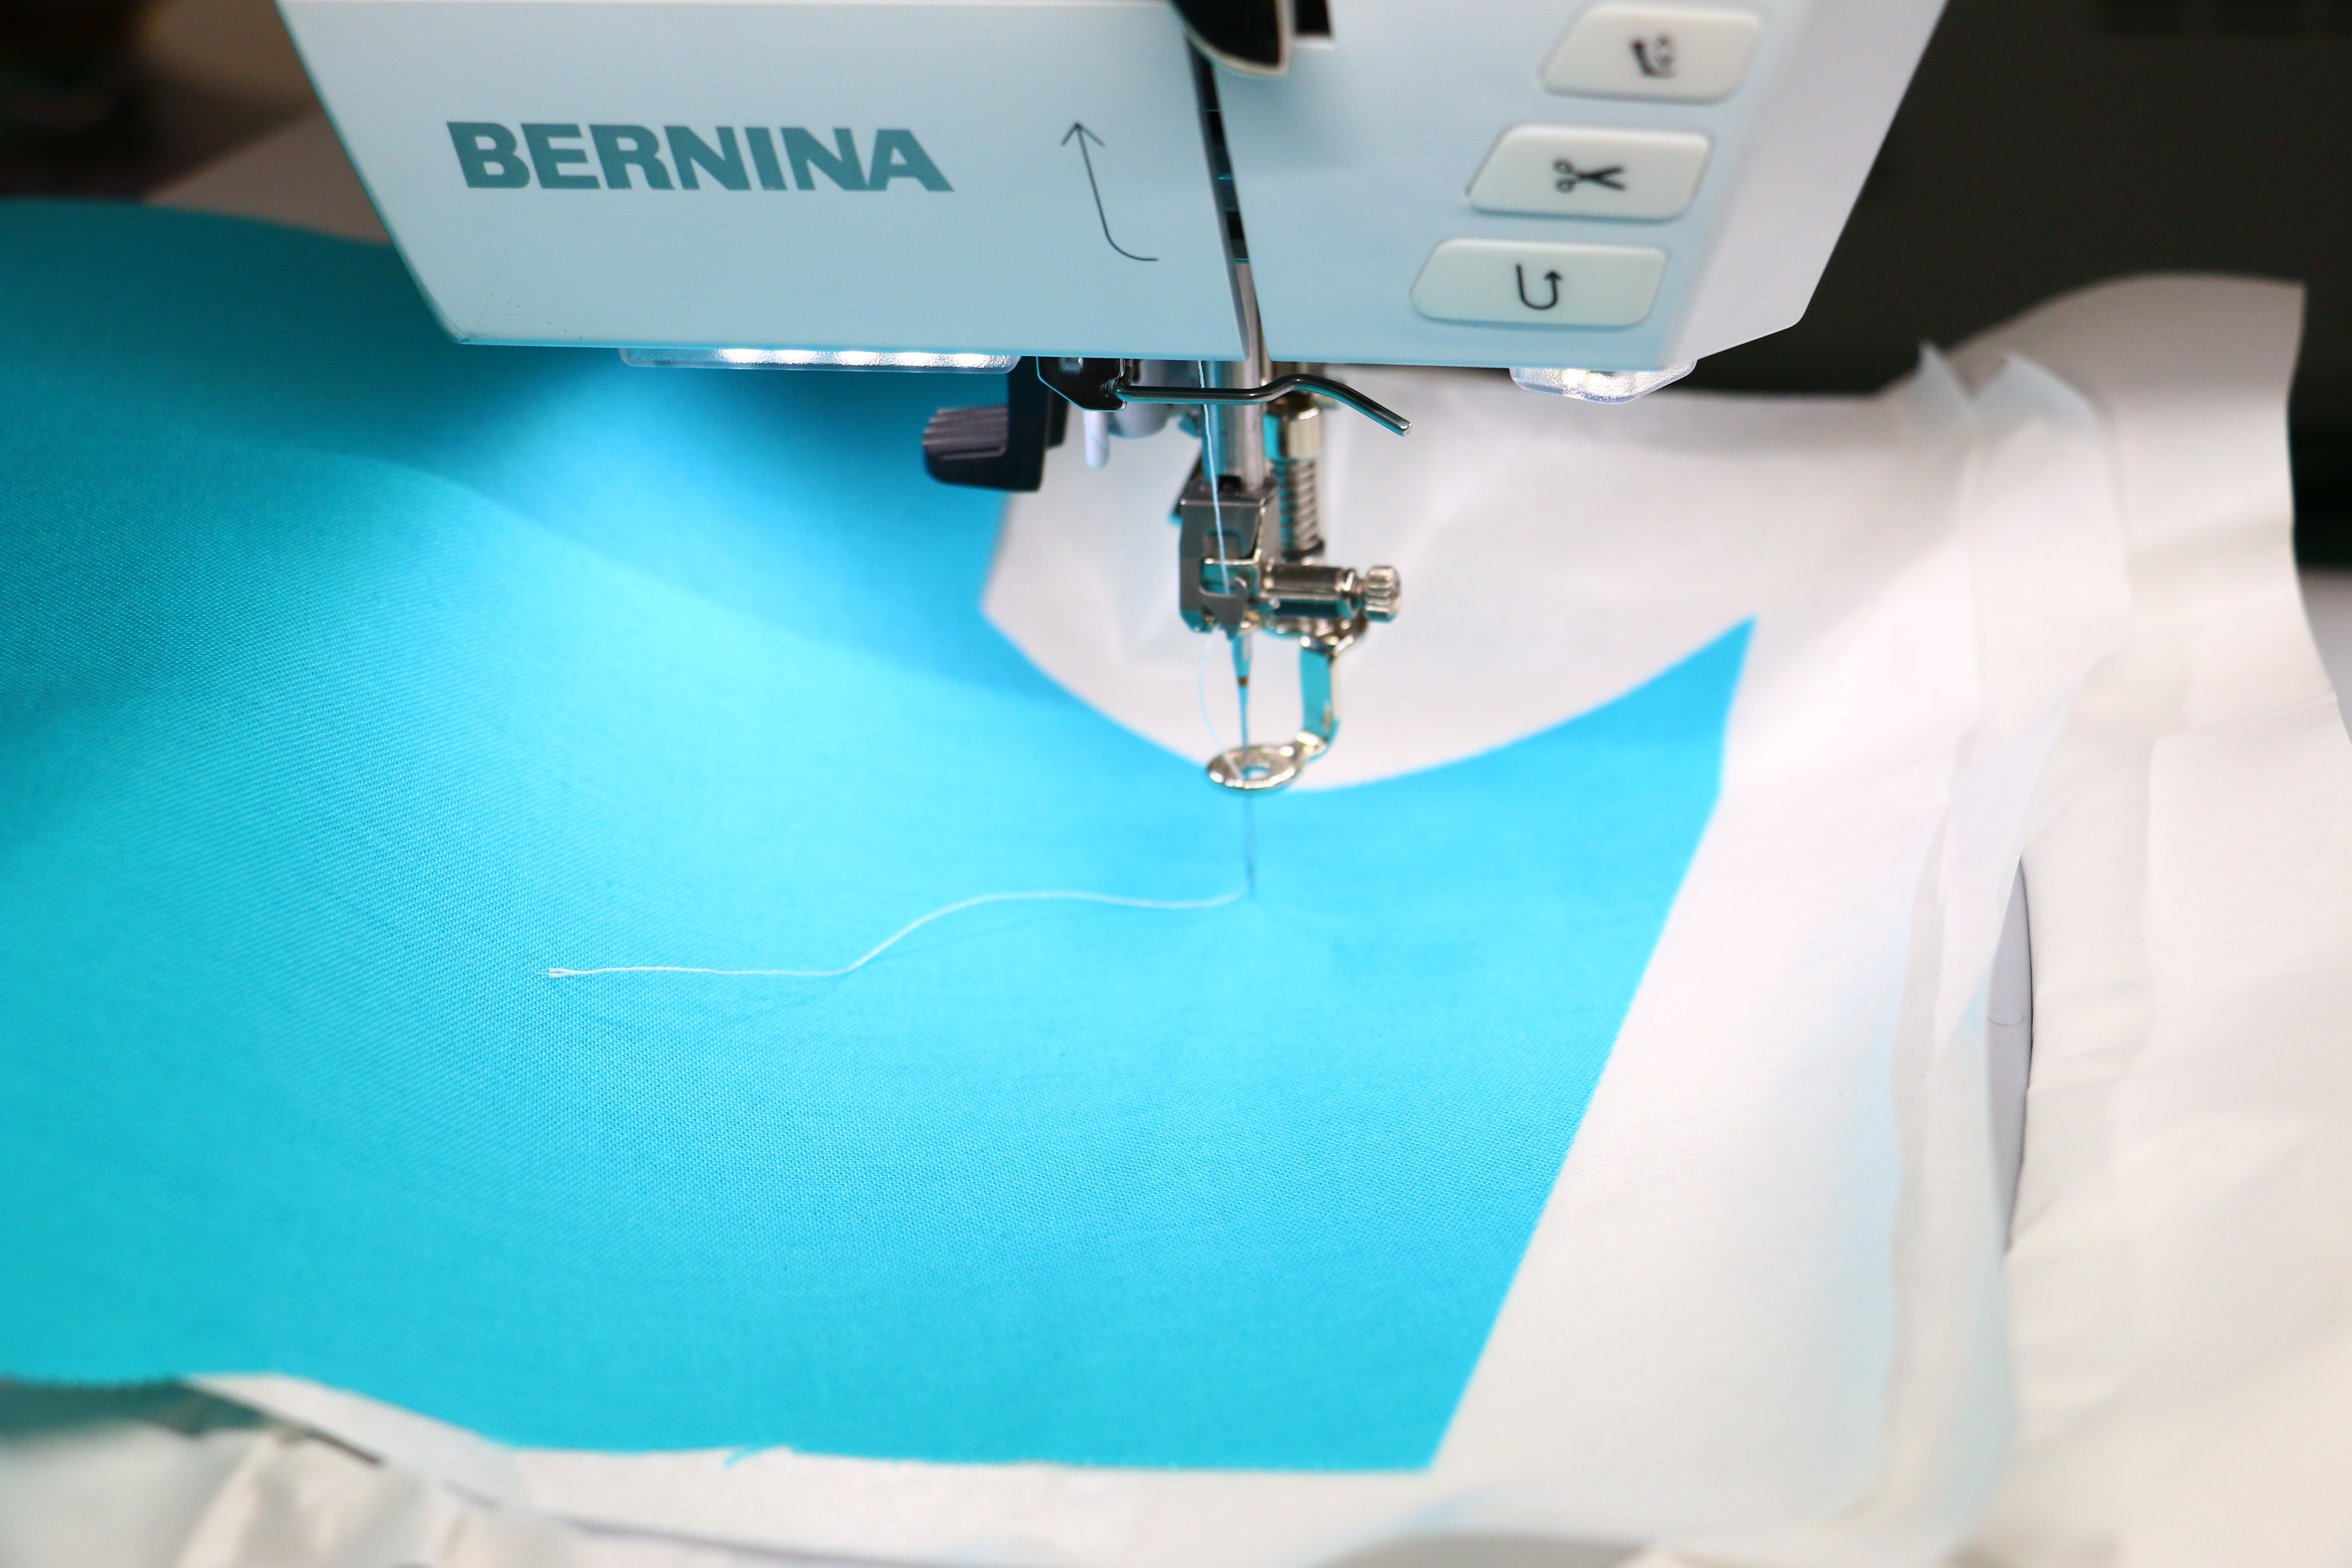
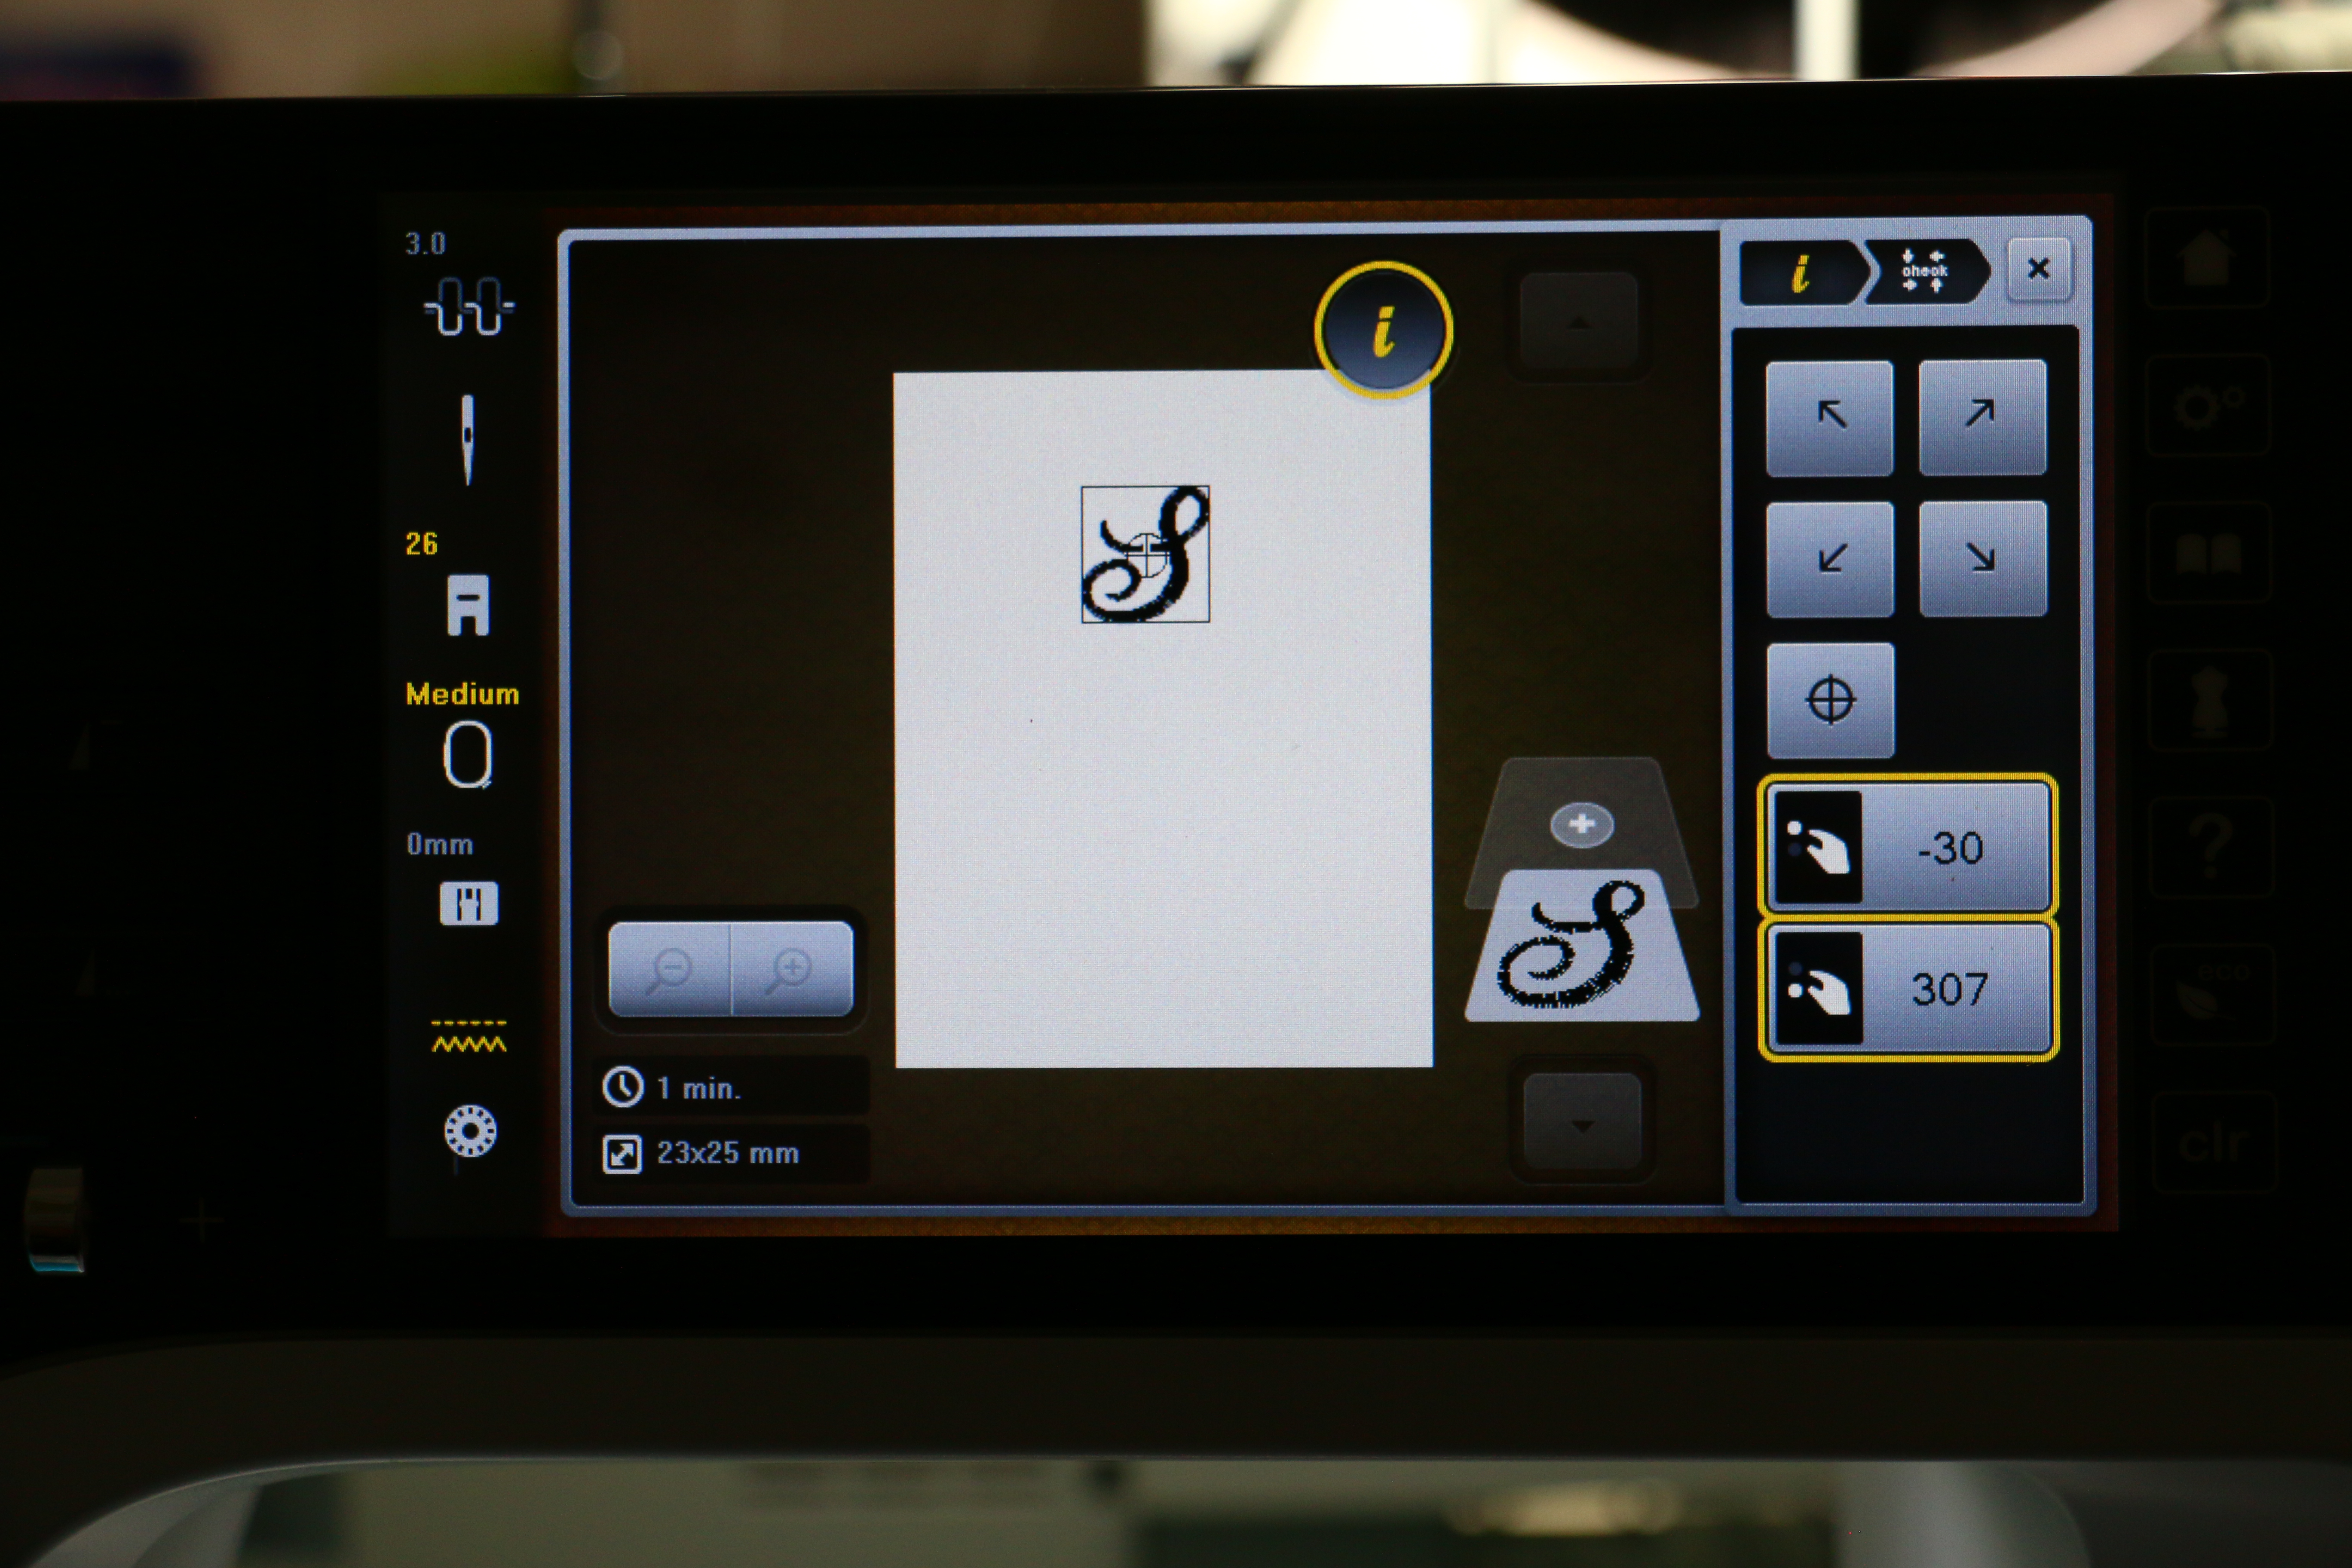
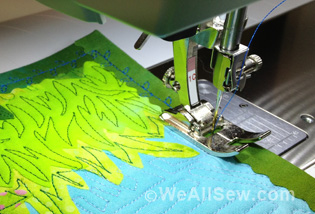
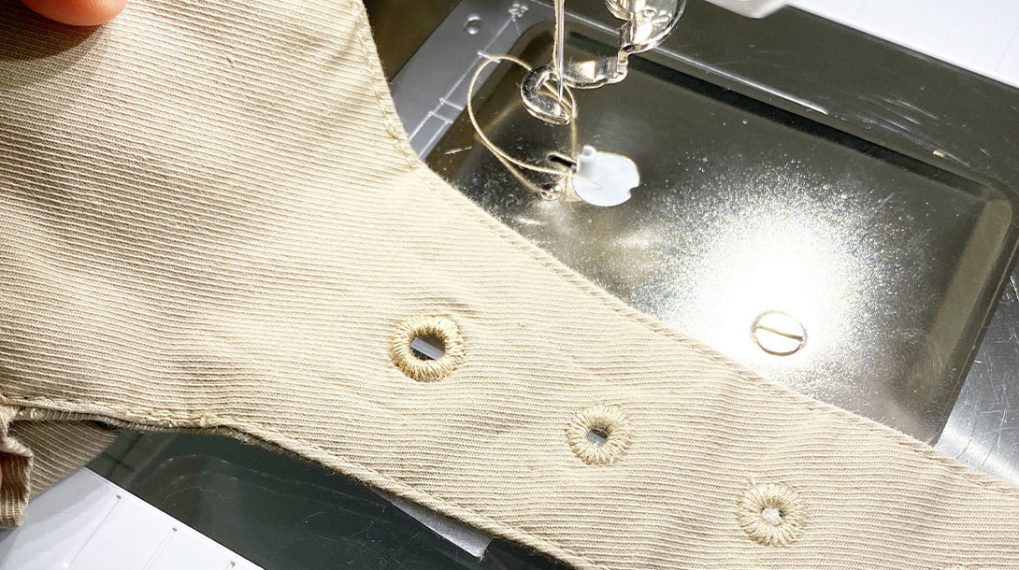
Insert hoop into machine and choose lettering and adjust as needed to get the lettering at desired location, keep in mind seam allowance. Sew design.
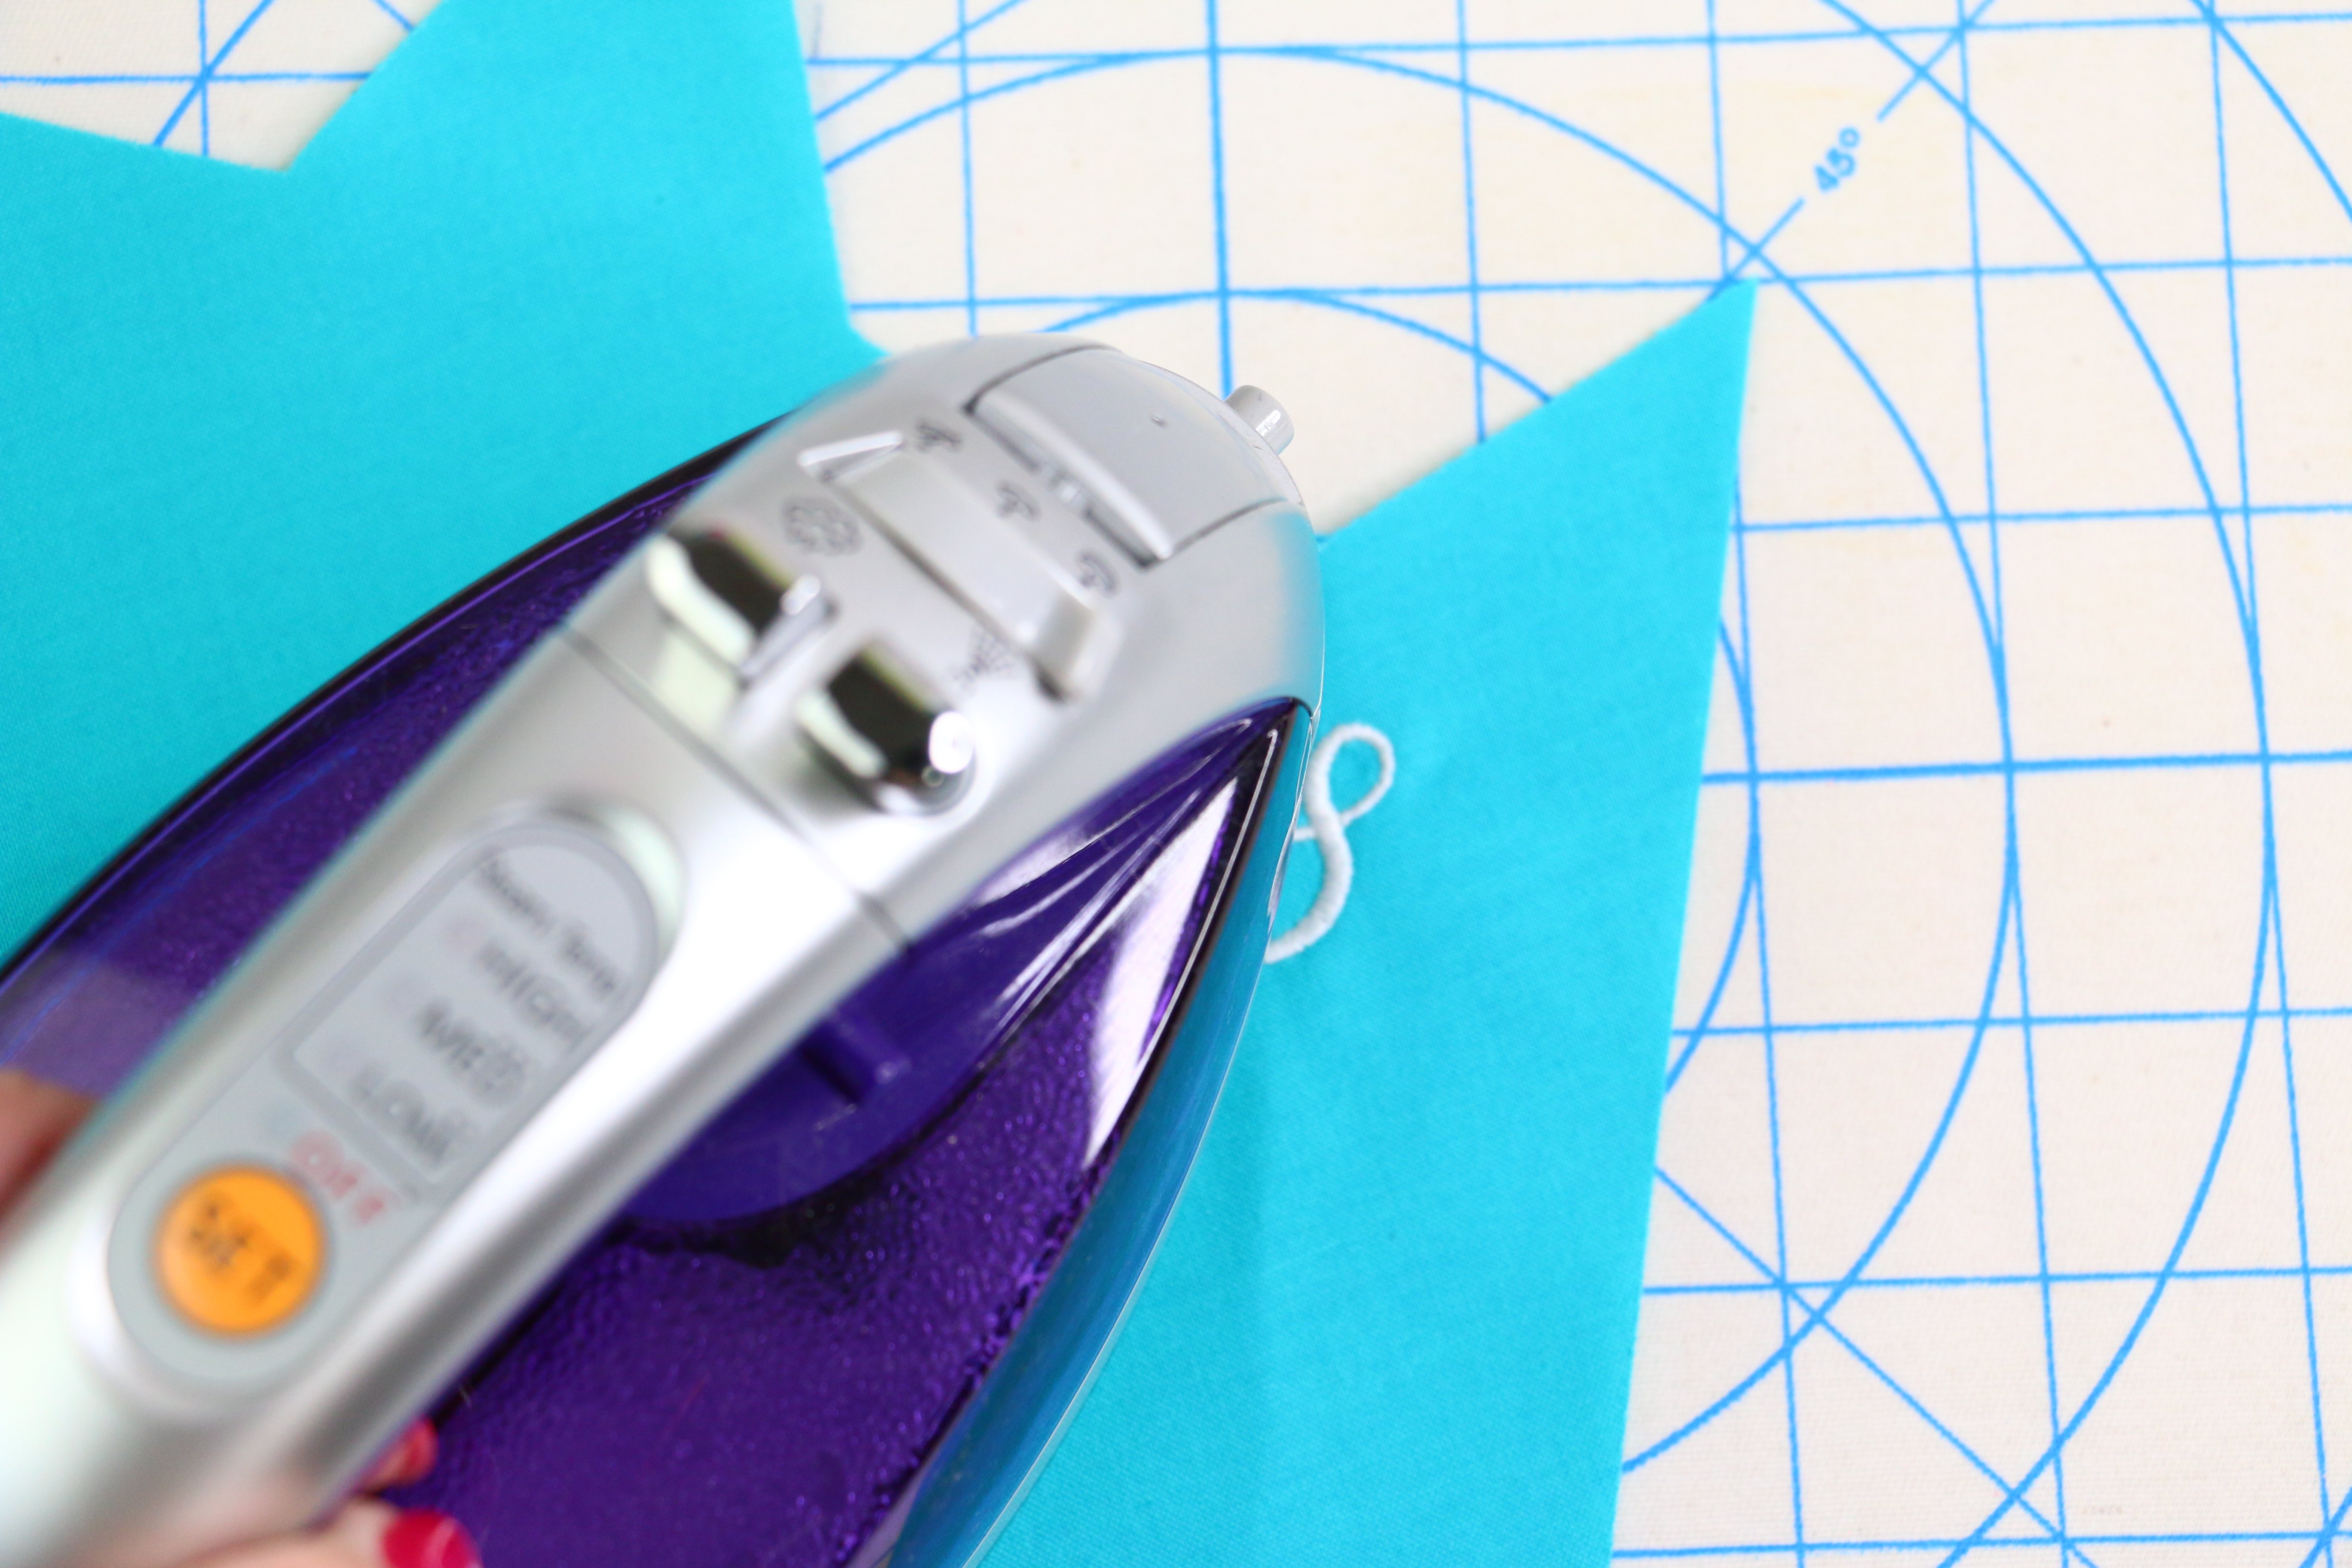
Once stitching is complete remove hoop from machine and materials from hoop. Gently remove fabric/stabilizer combo from the adhesive stabilizer.
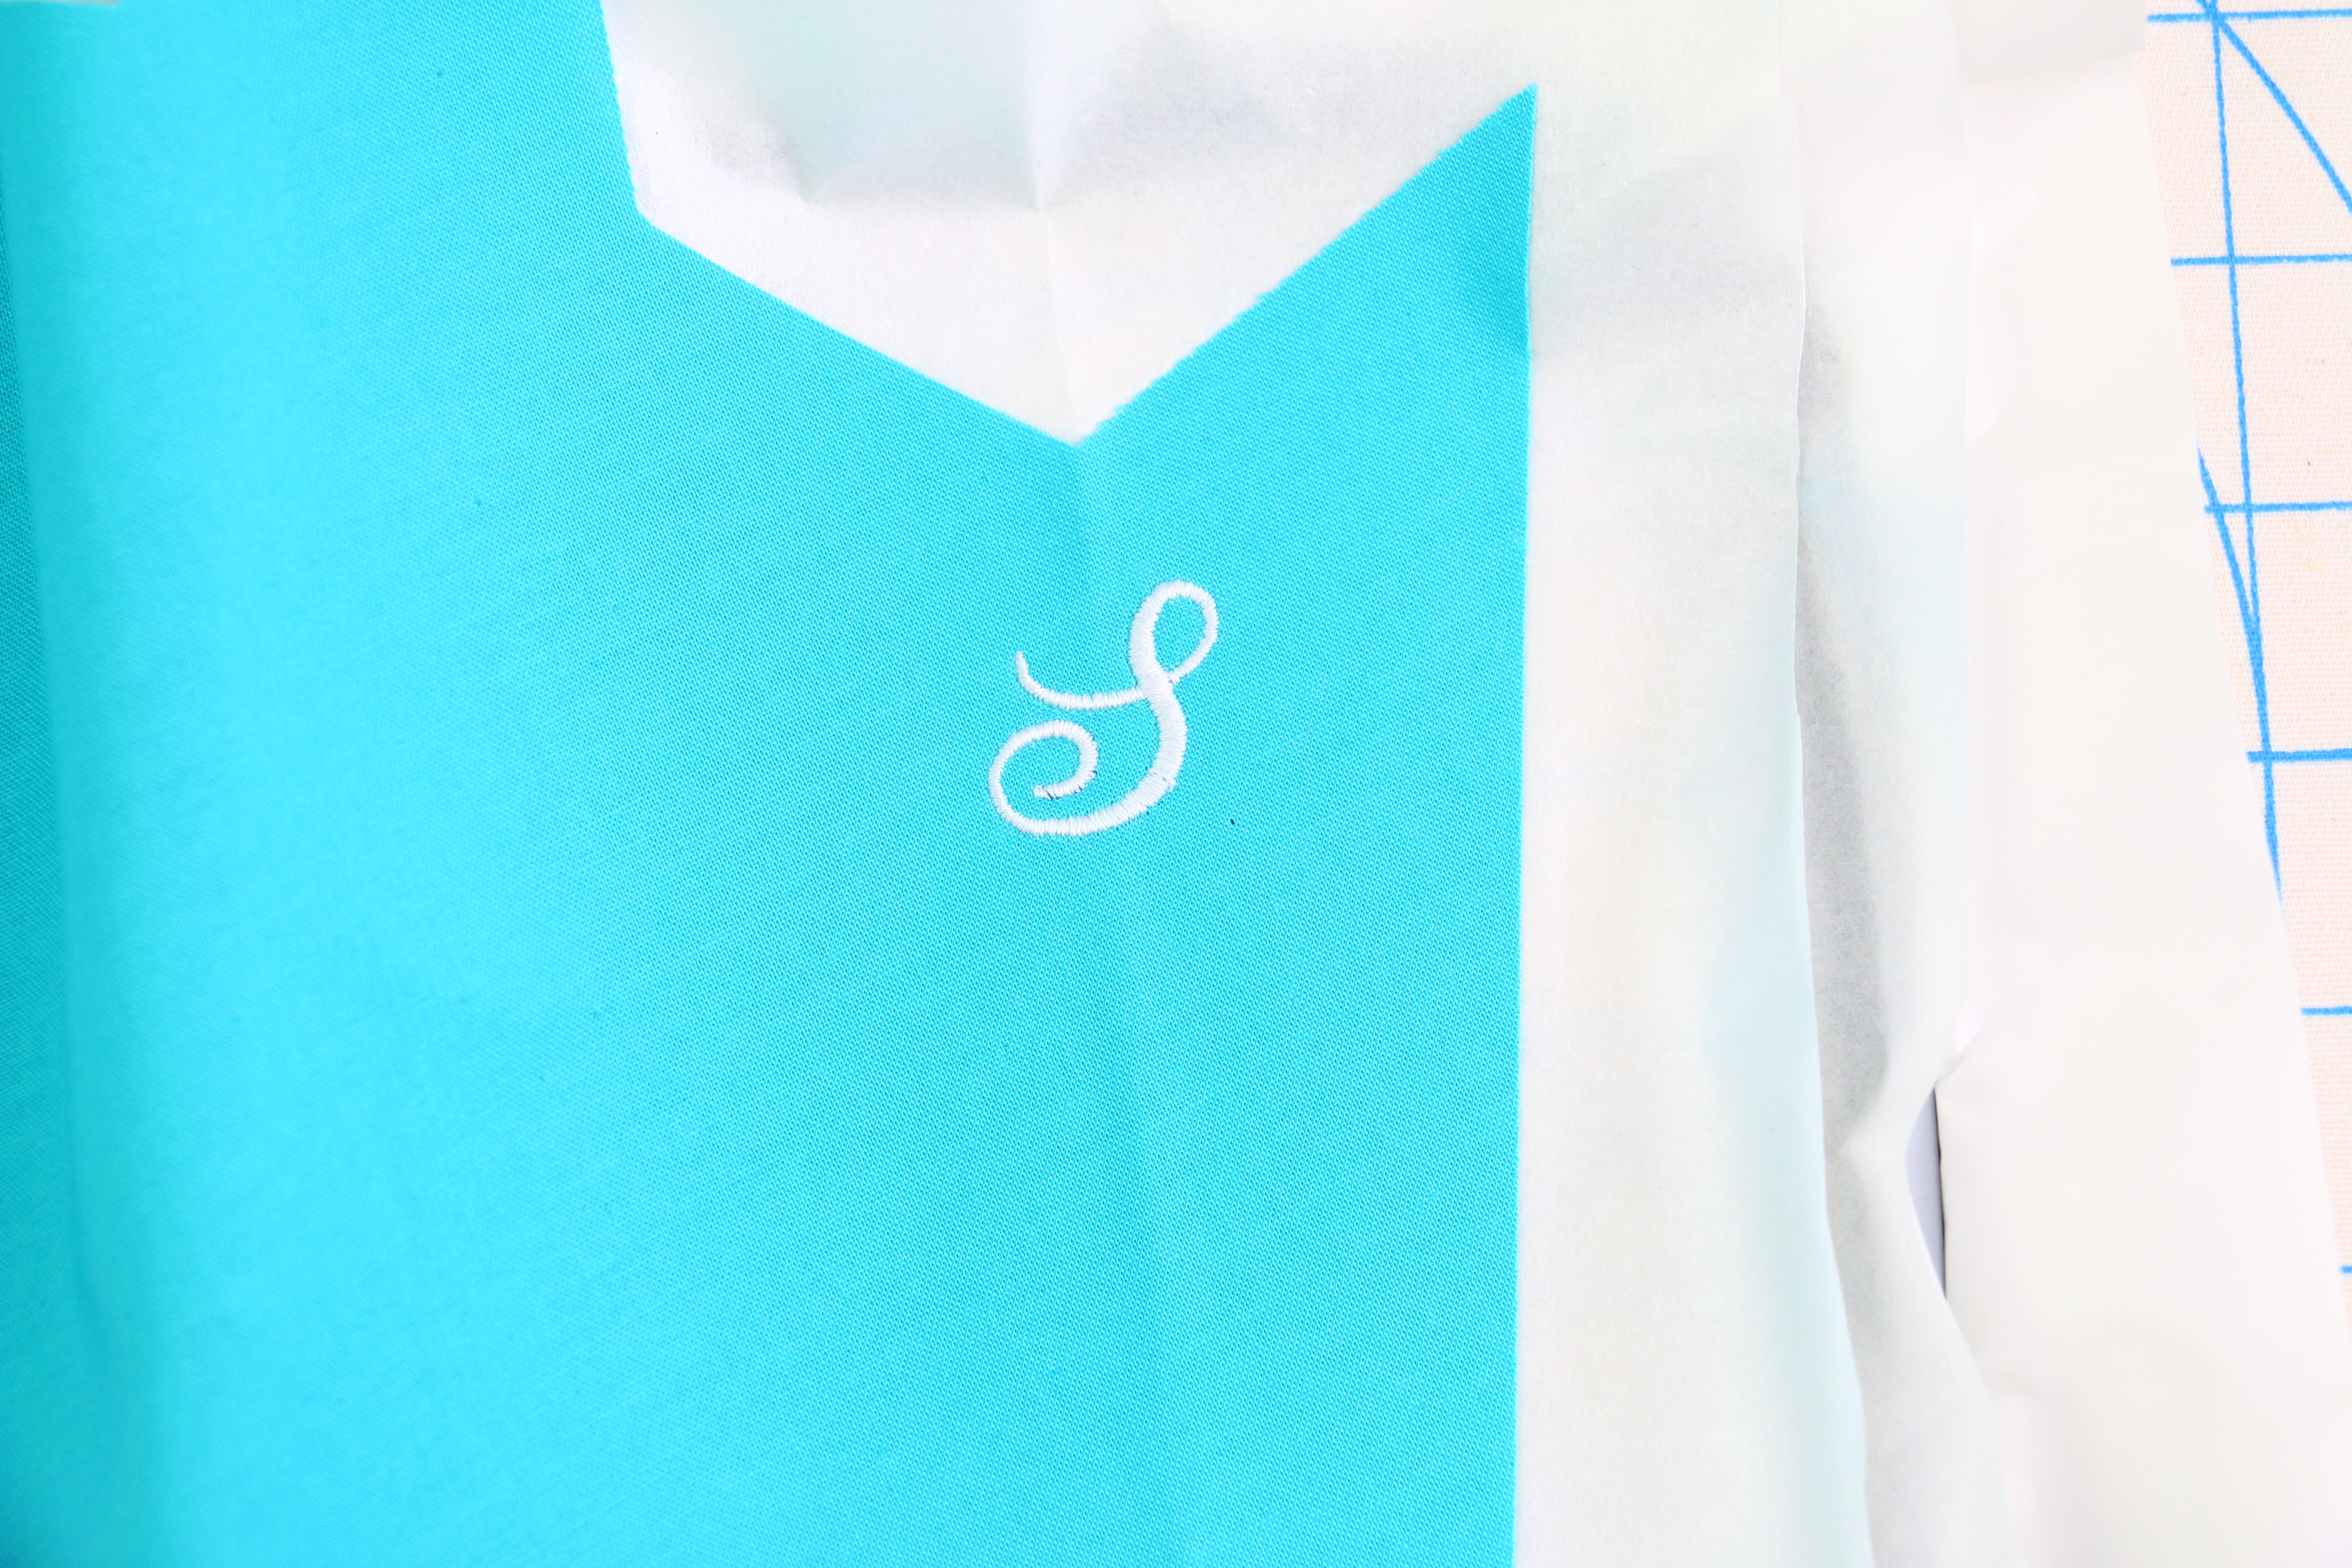

Very carefully remove the tear away stabilizer from the wrong side of the Scissor case. Hold the stitches with your finger while removing. Remove one layer of stabilizer at a time as not to distort the stitches or fabric. Press.

Repeat on other Scissor cases, these make perfect gifts!
Used Products

What you might also like


One comment on “Add Embroidery to a Pattern Piece”
Leave a Reply
You must be logged in to post a comment.

This would be nice for taking scissors to a class, with your name or initials.