Add Volume With Puff Additive
Fiber Artist Barbara Schneider shares a really fun way to add dimension to your fabric projects with Jacquard Puff Additive. Various suppliers carry puff additive—Jacquard Products, Dharma Trading, and Blick Art Supplies among others.
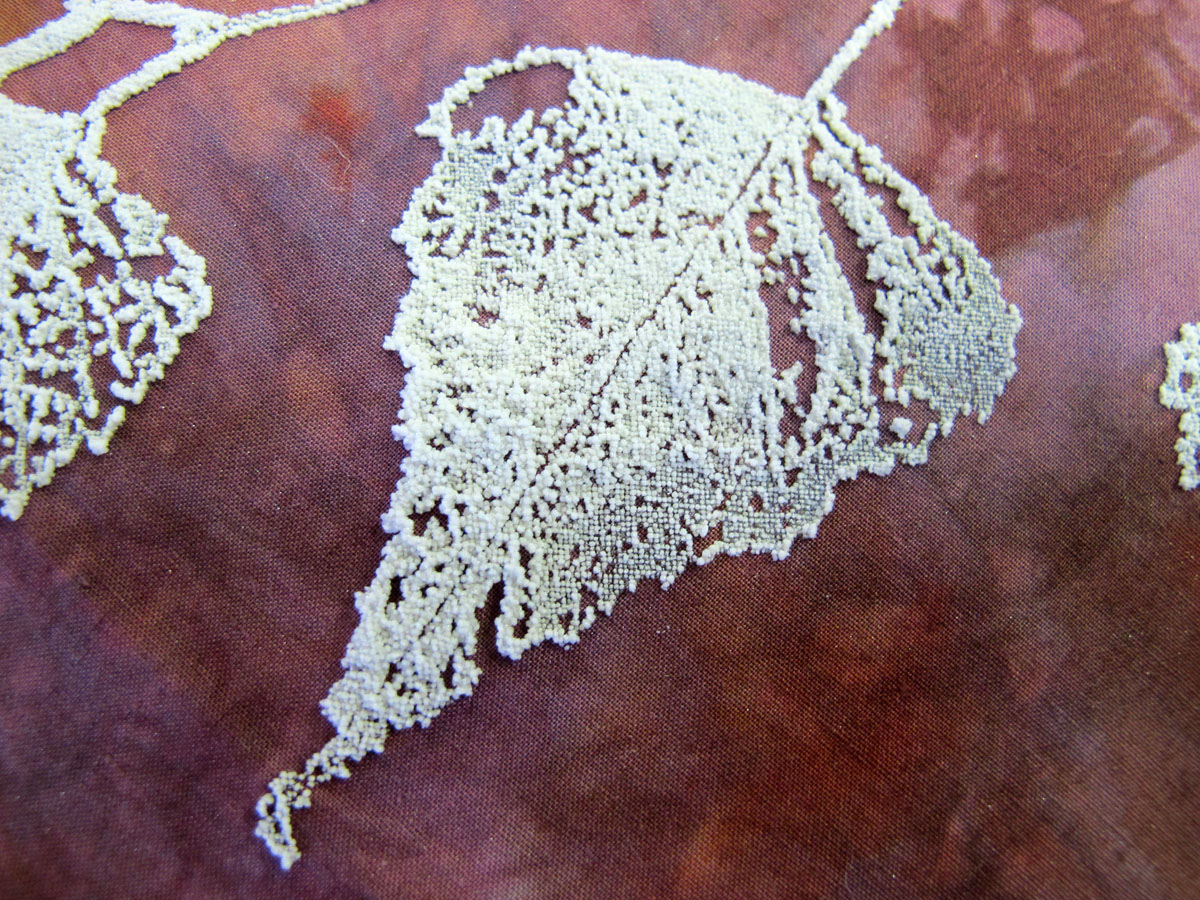
Jacquard Puff Additive is used to increase the relief of prints on paper, fabric and other surfaces. Simply mix a little of the additive into your Jacquard Screen Ink (up to 20%), fabric paint or other mediums and print or stamp. Then apply heat to your print. The microspheres in the Puff Additive expand with heat, giving you a raised print only after heating. Once puffed, the print is washing fast and dry cleanable.
Materials for working with Puff Additive
- Jacquard Puff additive
- Fabric
- Fabric paints or mediums
- Small mixing cups
- Spoon
- Thermofax screen or stencils
- Squeegee
- Heat gun or iron
How to use Puff Additive
I have used puff additive on several projects and have been pleased with the additional dimension that it adds to my work. My usual method is to apply the puff additive/paint combination with a thermofax screen or stencil.
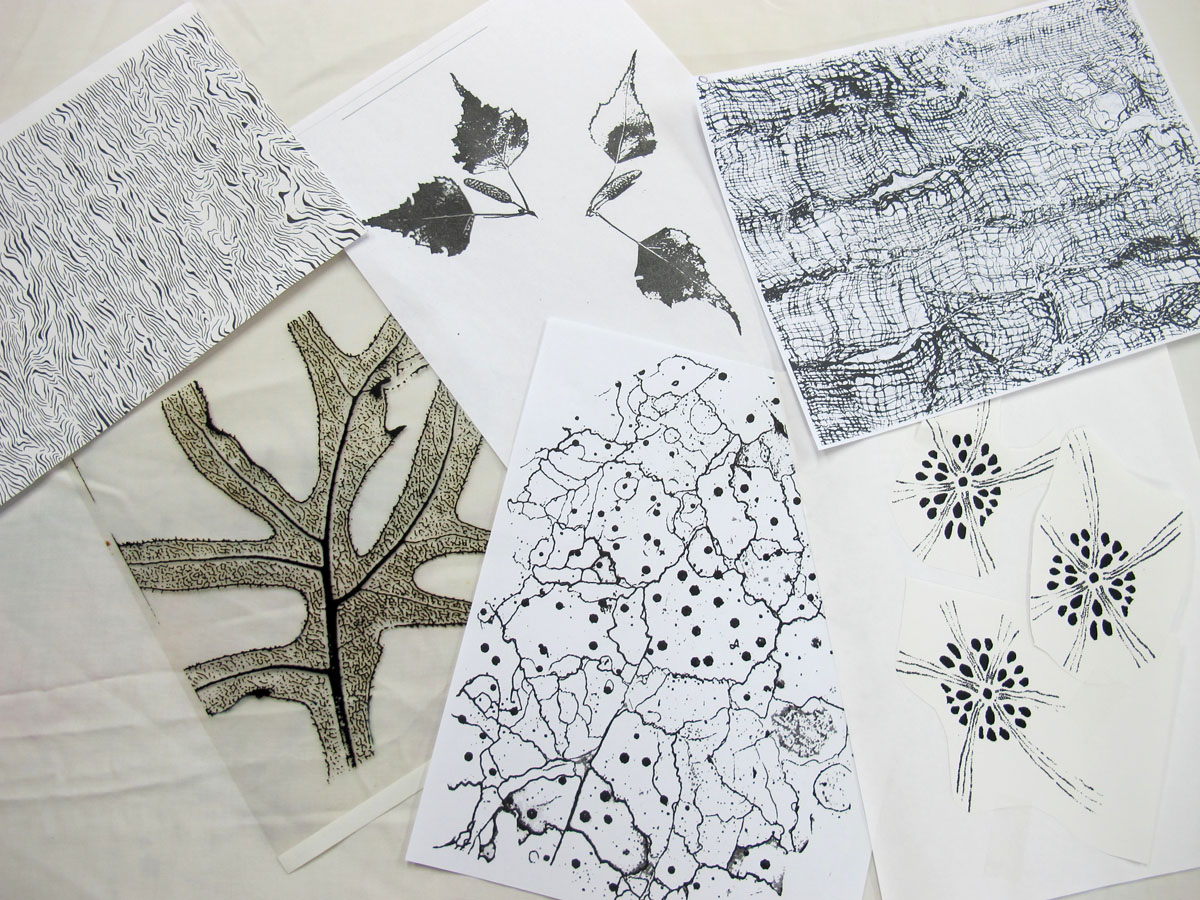
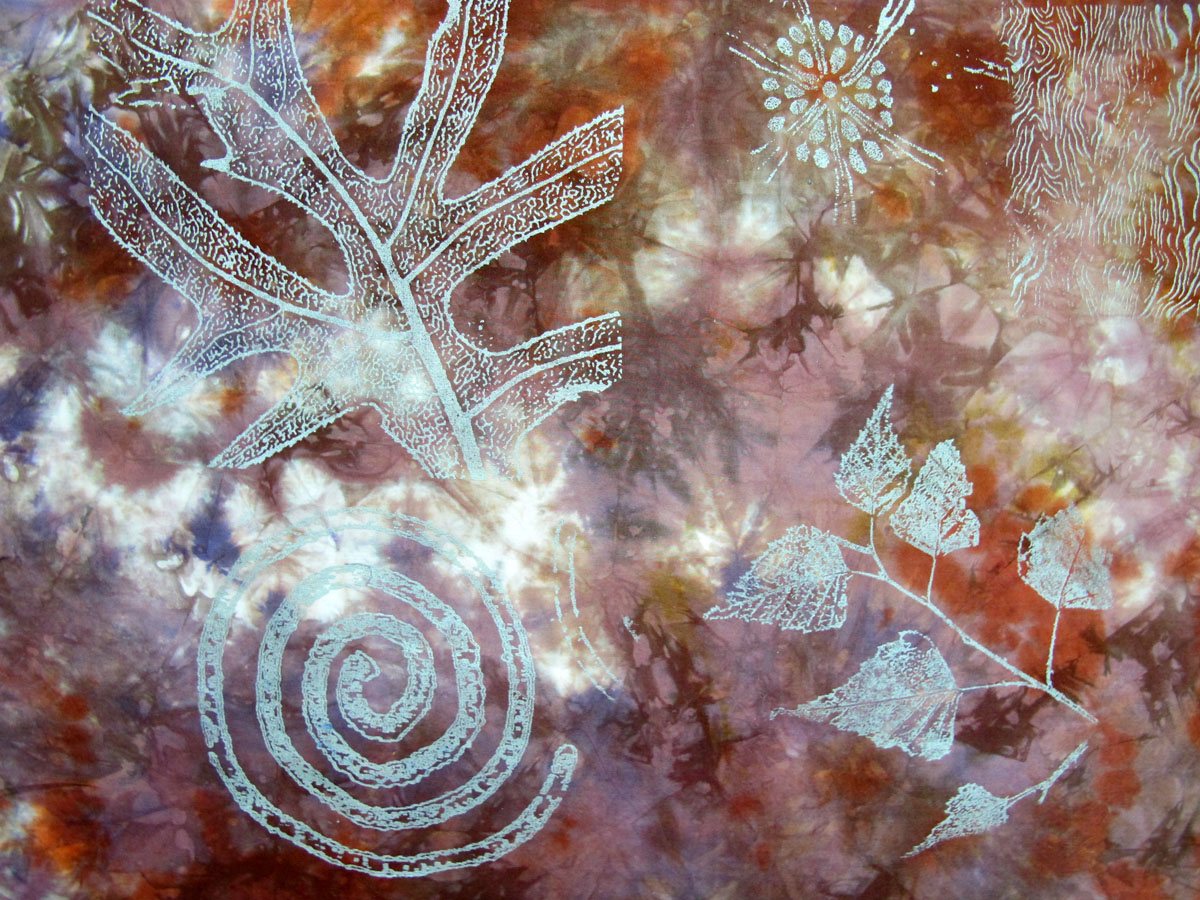
Here are a variety of designs that will work with the puff additive.
This photo shows a thermofax screen that will work well. Puff additive will hold fairly small detail quite well. I will show how a variety of screen designs work on the fabric.

In the photo above you see a variety of paints and mediums that you can mix the puff additive with. A rule of thumb is to use about 80% paint to 20% puff additive. If you use too much additive it will blow up too much and start to flake off of your project. If you don’t use enough then you will not get much dimension.
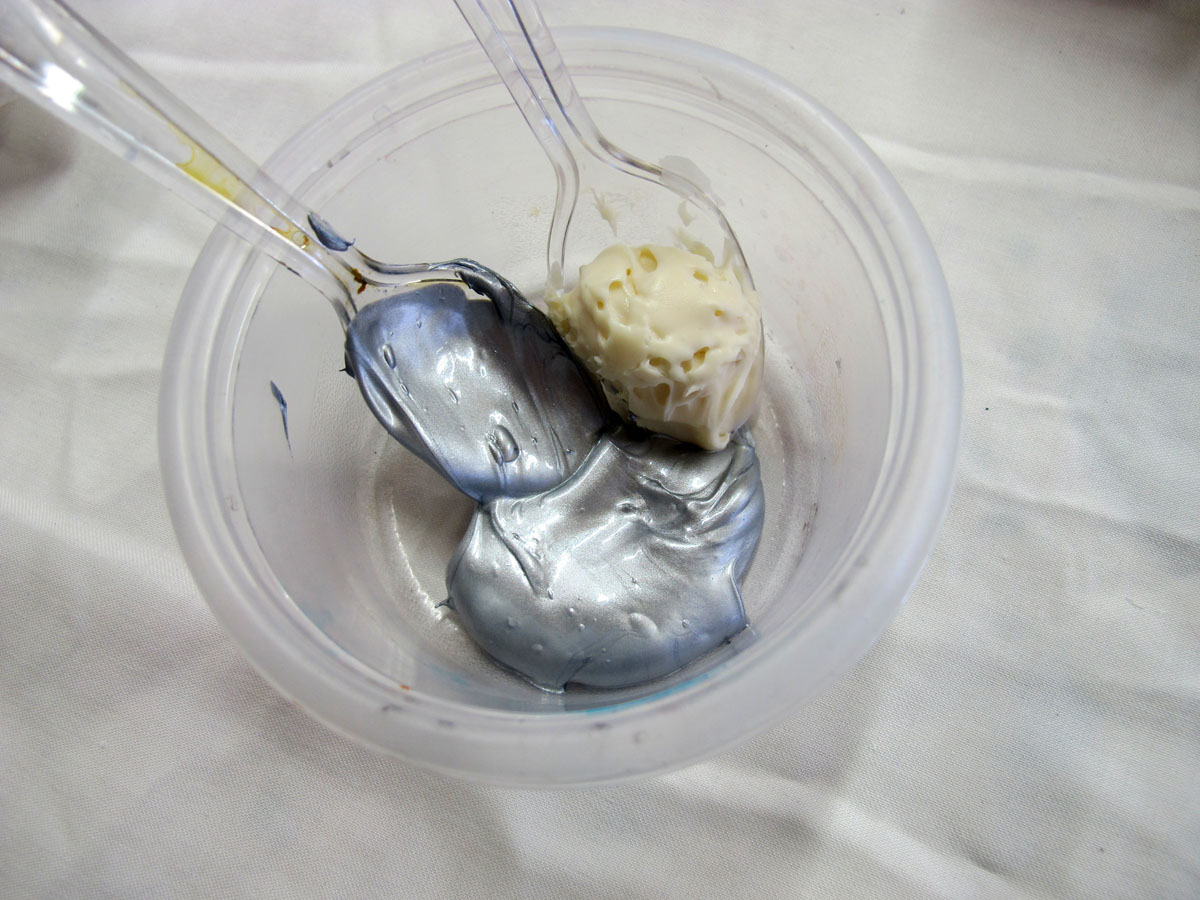
This shows some silver pigment and the puff additive mixed together. Using a small squeegee and your thermofax screen, apply the additive to your fabric. Run a dollop of the additive mix along the edge of the screen and then use the squeegee to pull it down and through to the fabric.
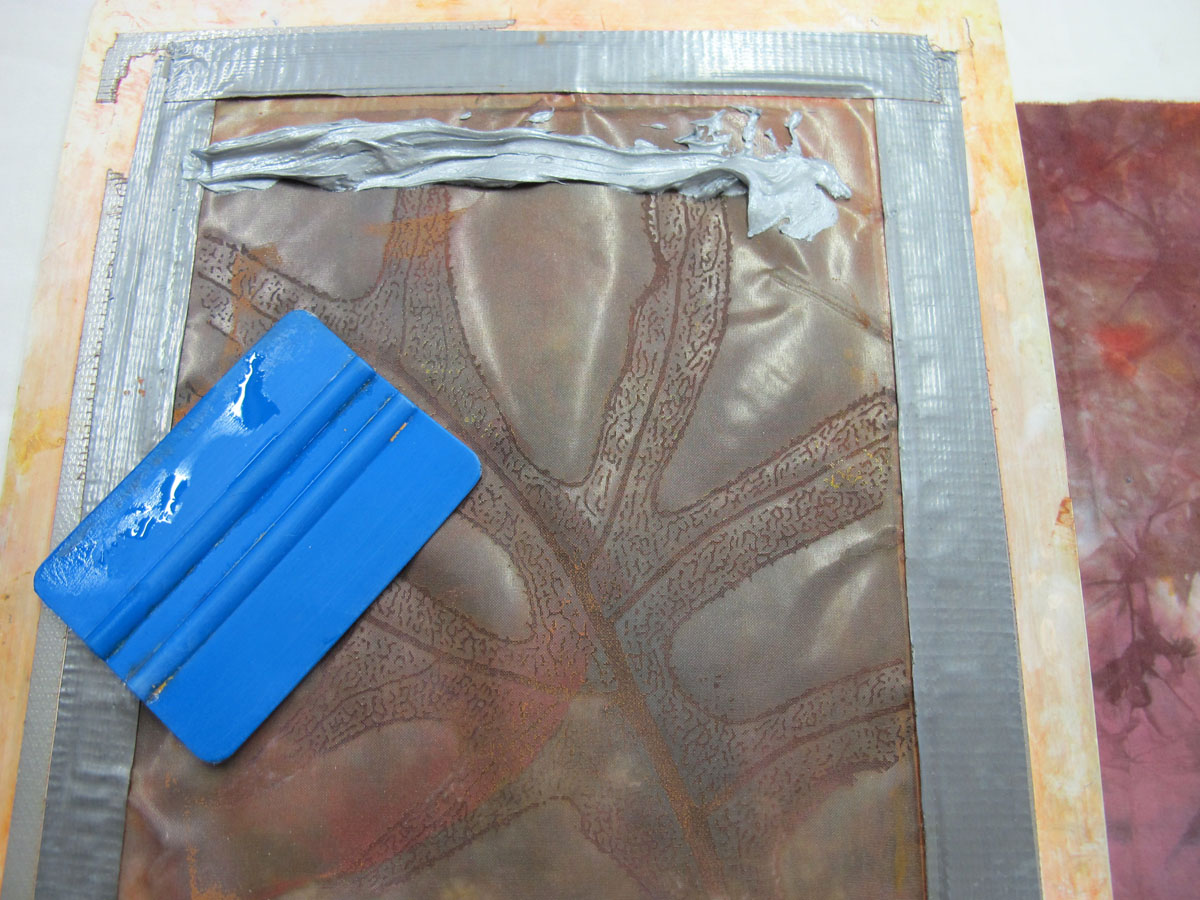
Let the fabric dry for about 10 minutes. (Don’t forget to clean your screen out before the mixture drys into it!)
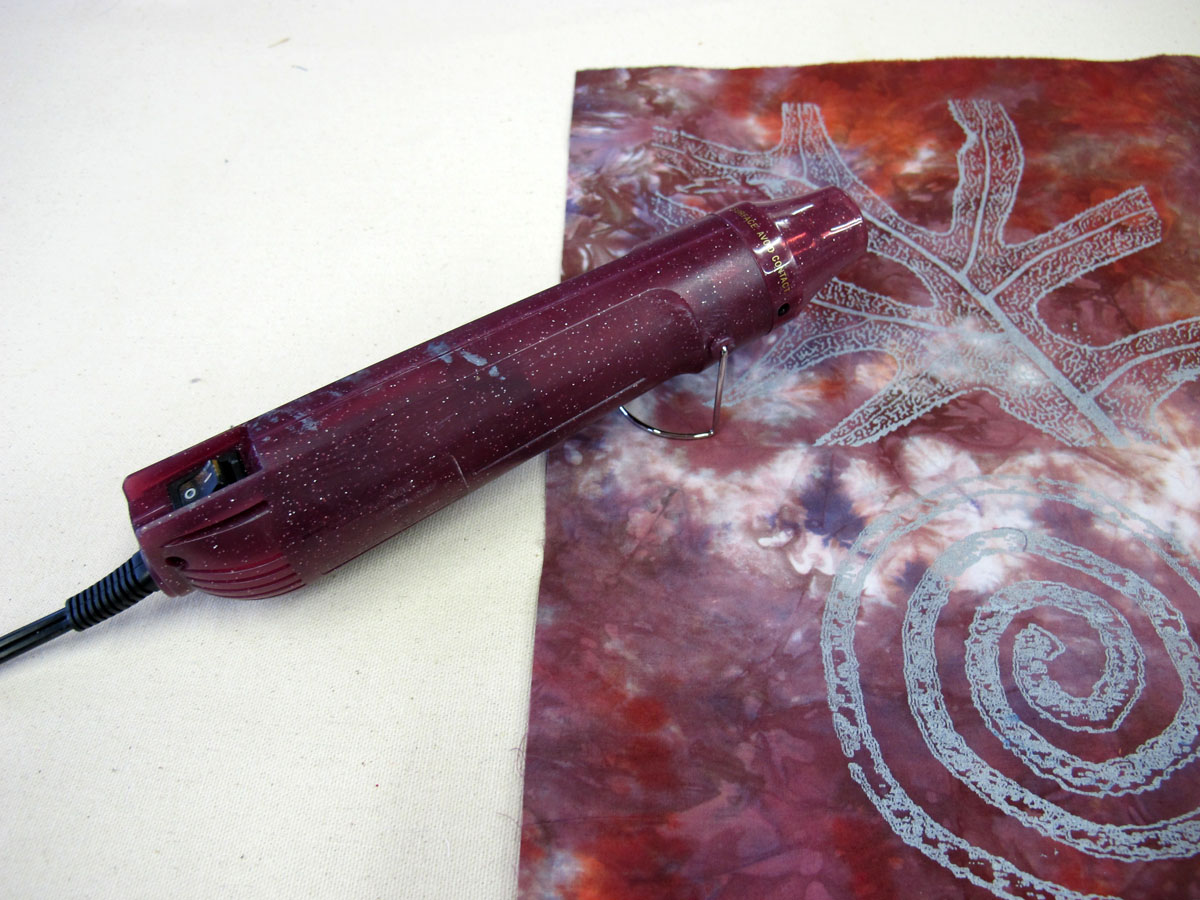
The next step is to use the heat gun to blow hot air over the additive on your fabric. I blow at an angle so I can see and control what is happening. As you heat it the additive will start to change—the color will lighten and the additive will start to rise off the surface.
Watching it happen is really fun to see! Note: If you do not have a heat gun, you can use an iron—but hold it away from the surface and take your time as you have less control then with a heat gun.
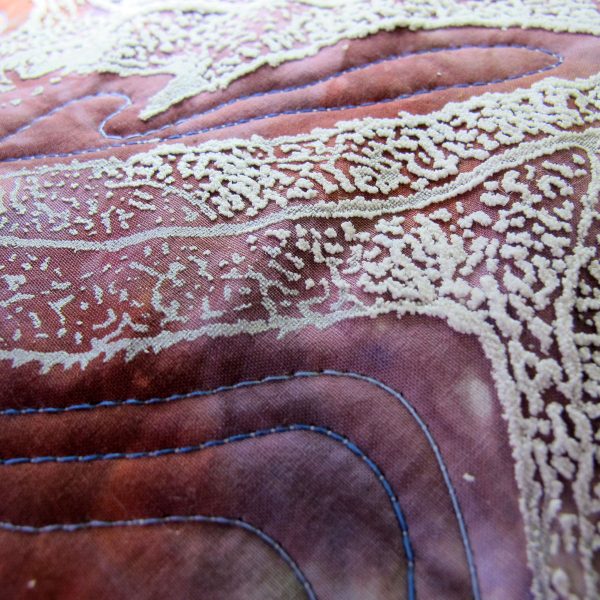
One of the things that I have found in my work is that I like to apply the puff additive, do additional stitching over and around it per my design and then apply the heat. Trying to stitch after it has risen can rub some of it away.

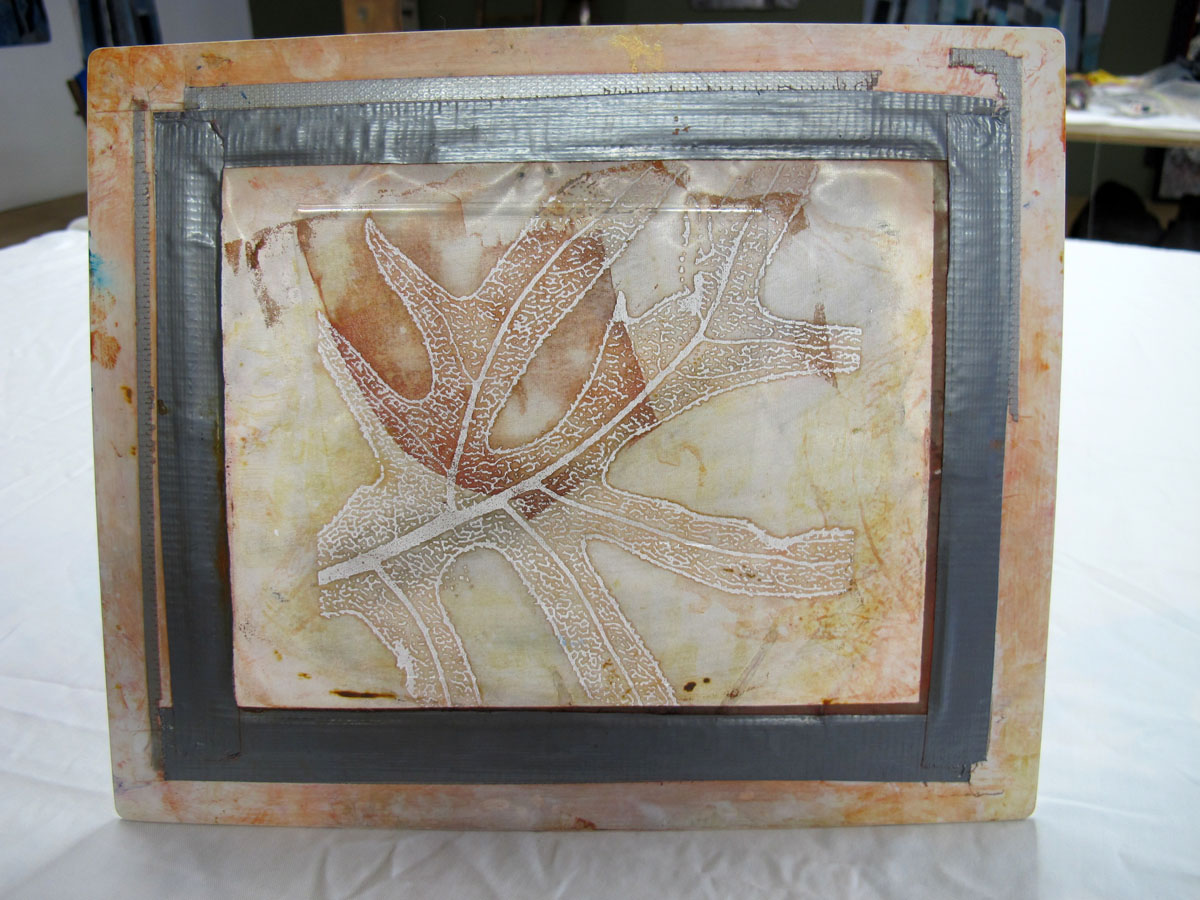
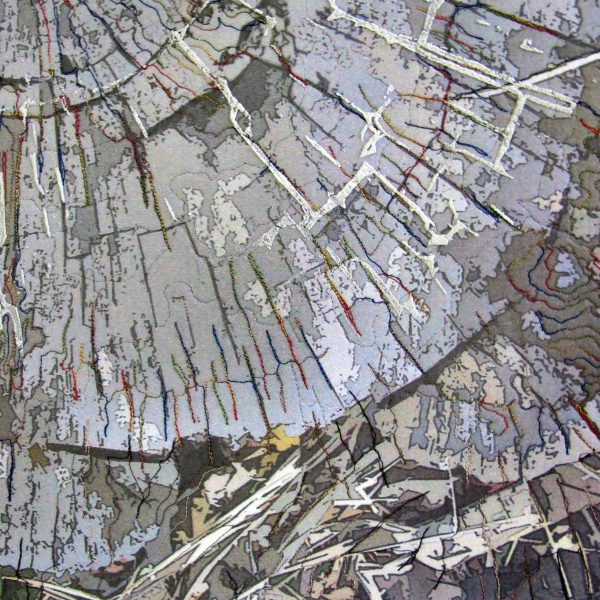
An example of a leaf printed on a background texture made form mono-printing from wood.
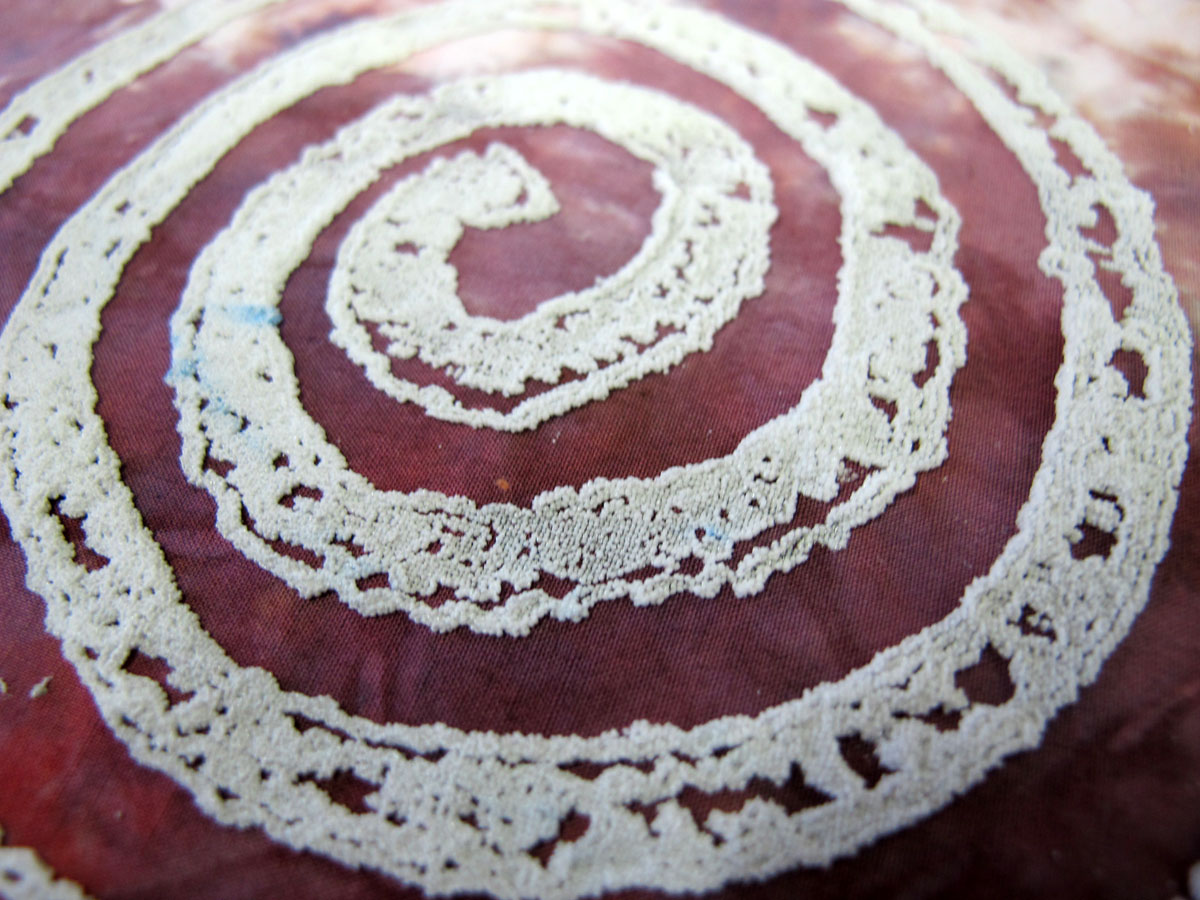
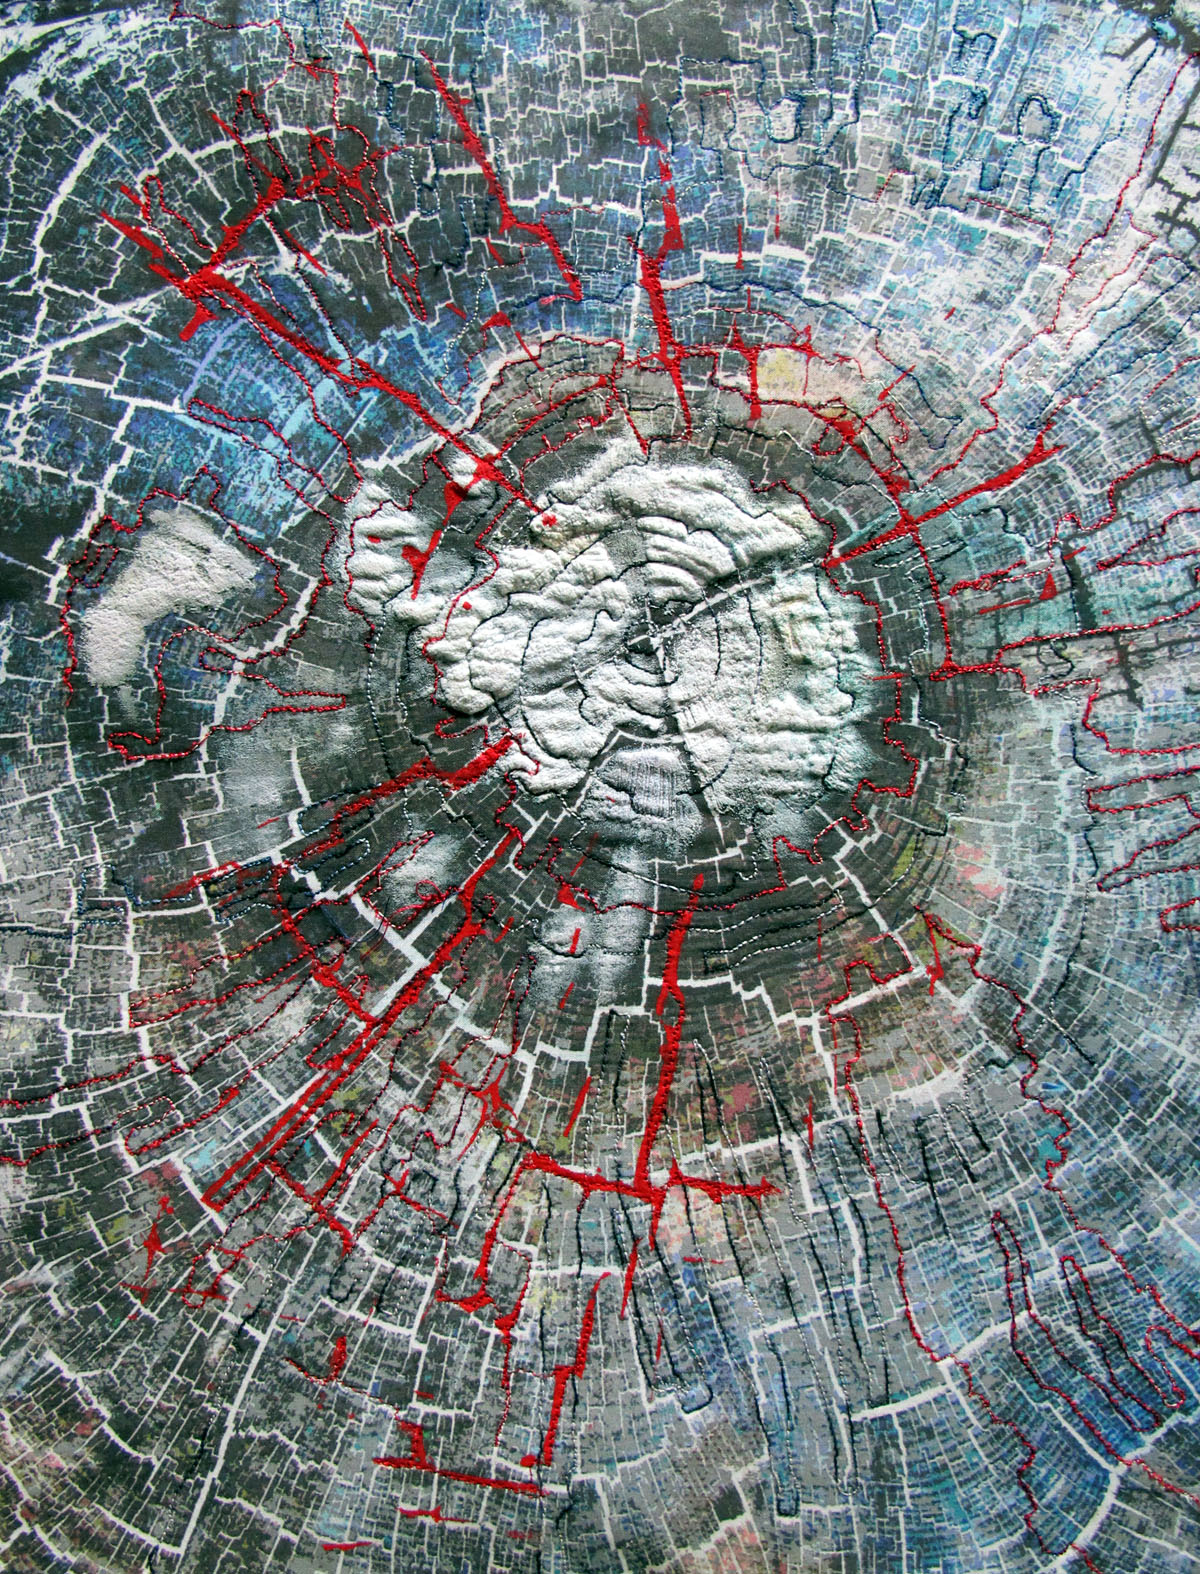
In Line Dance: Woods Ring Pattern, var. 4 above, I used a section of puff additive at the center of the tree ring and also creates the red cracked pattern that overlays the background. I used my BERNINA 750 to do the stitching on my work (including going through the puff additive) and it had no problems at all!
I think you will find that experimenting with Puff Additive is fun, gives you additional texture ad dimension in your artwork, and can have a wide rnage of applications.
Here is some additional information and resources:
There is a short video about how to use puff additive here.
Lynn Krawcyzk wrote a short article about her experiments in August/September 2013 Quilting Arts Magazine issue 64.
Jacquard Puff Additive demo by Lynn Krawczyk.