How to Add an Eyelet to a Ready-made Garment
Hello everyone! Kymona here to show you how to add an eyelet to a ready-made garment. I’m headed on vacation to Turkey in a couple of weeks and purchased a dress that was slightly too big. If I could add two holes to the belt, that would be the perfect adjustment.

That’s where the eyelet attachment with foot #92 came in handy.
Let me show you how to add an eyelet to a ready-made garment.
Material to Add an Eyelet to a Ready-made Garment
- Ready-made garment
- StabilStick Stabilizer
- Fabric Marker
- Coordinating Thread
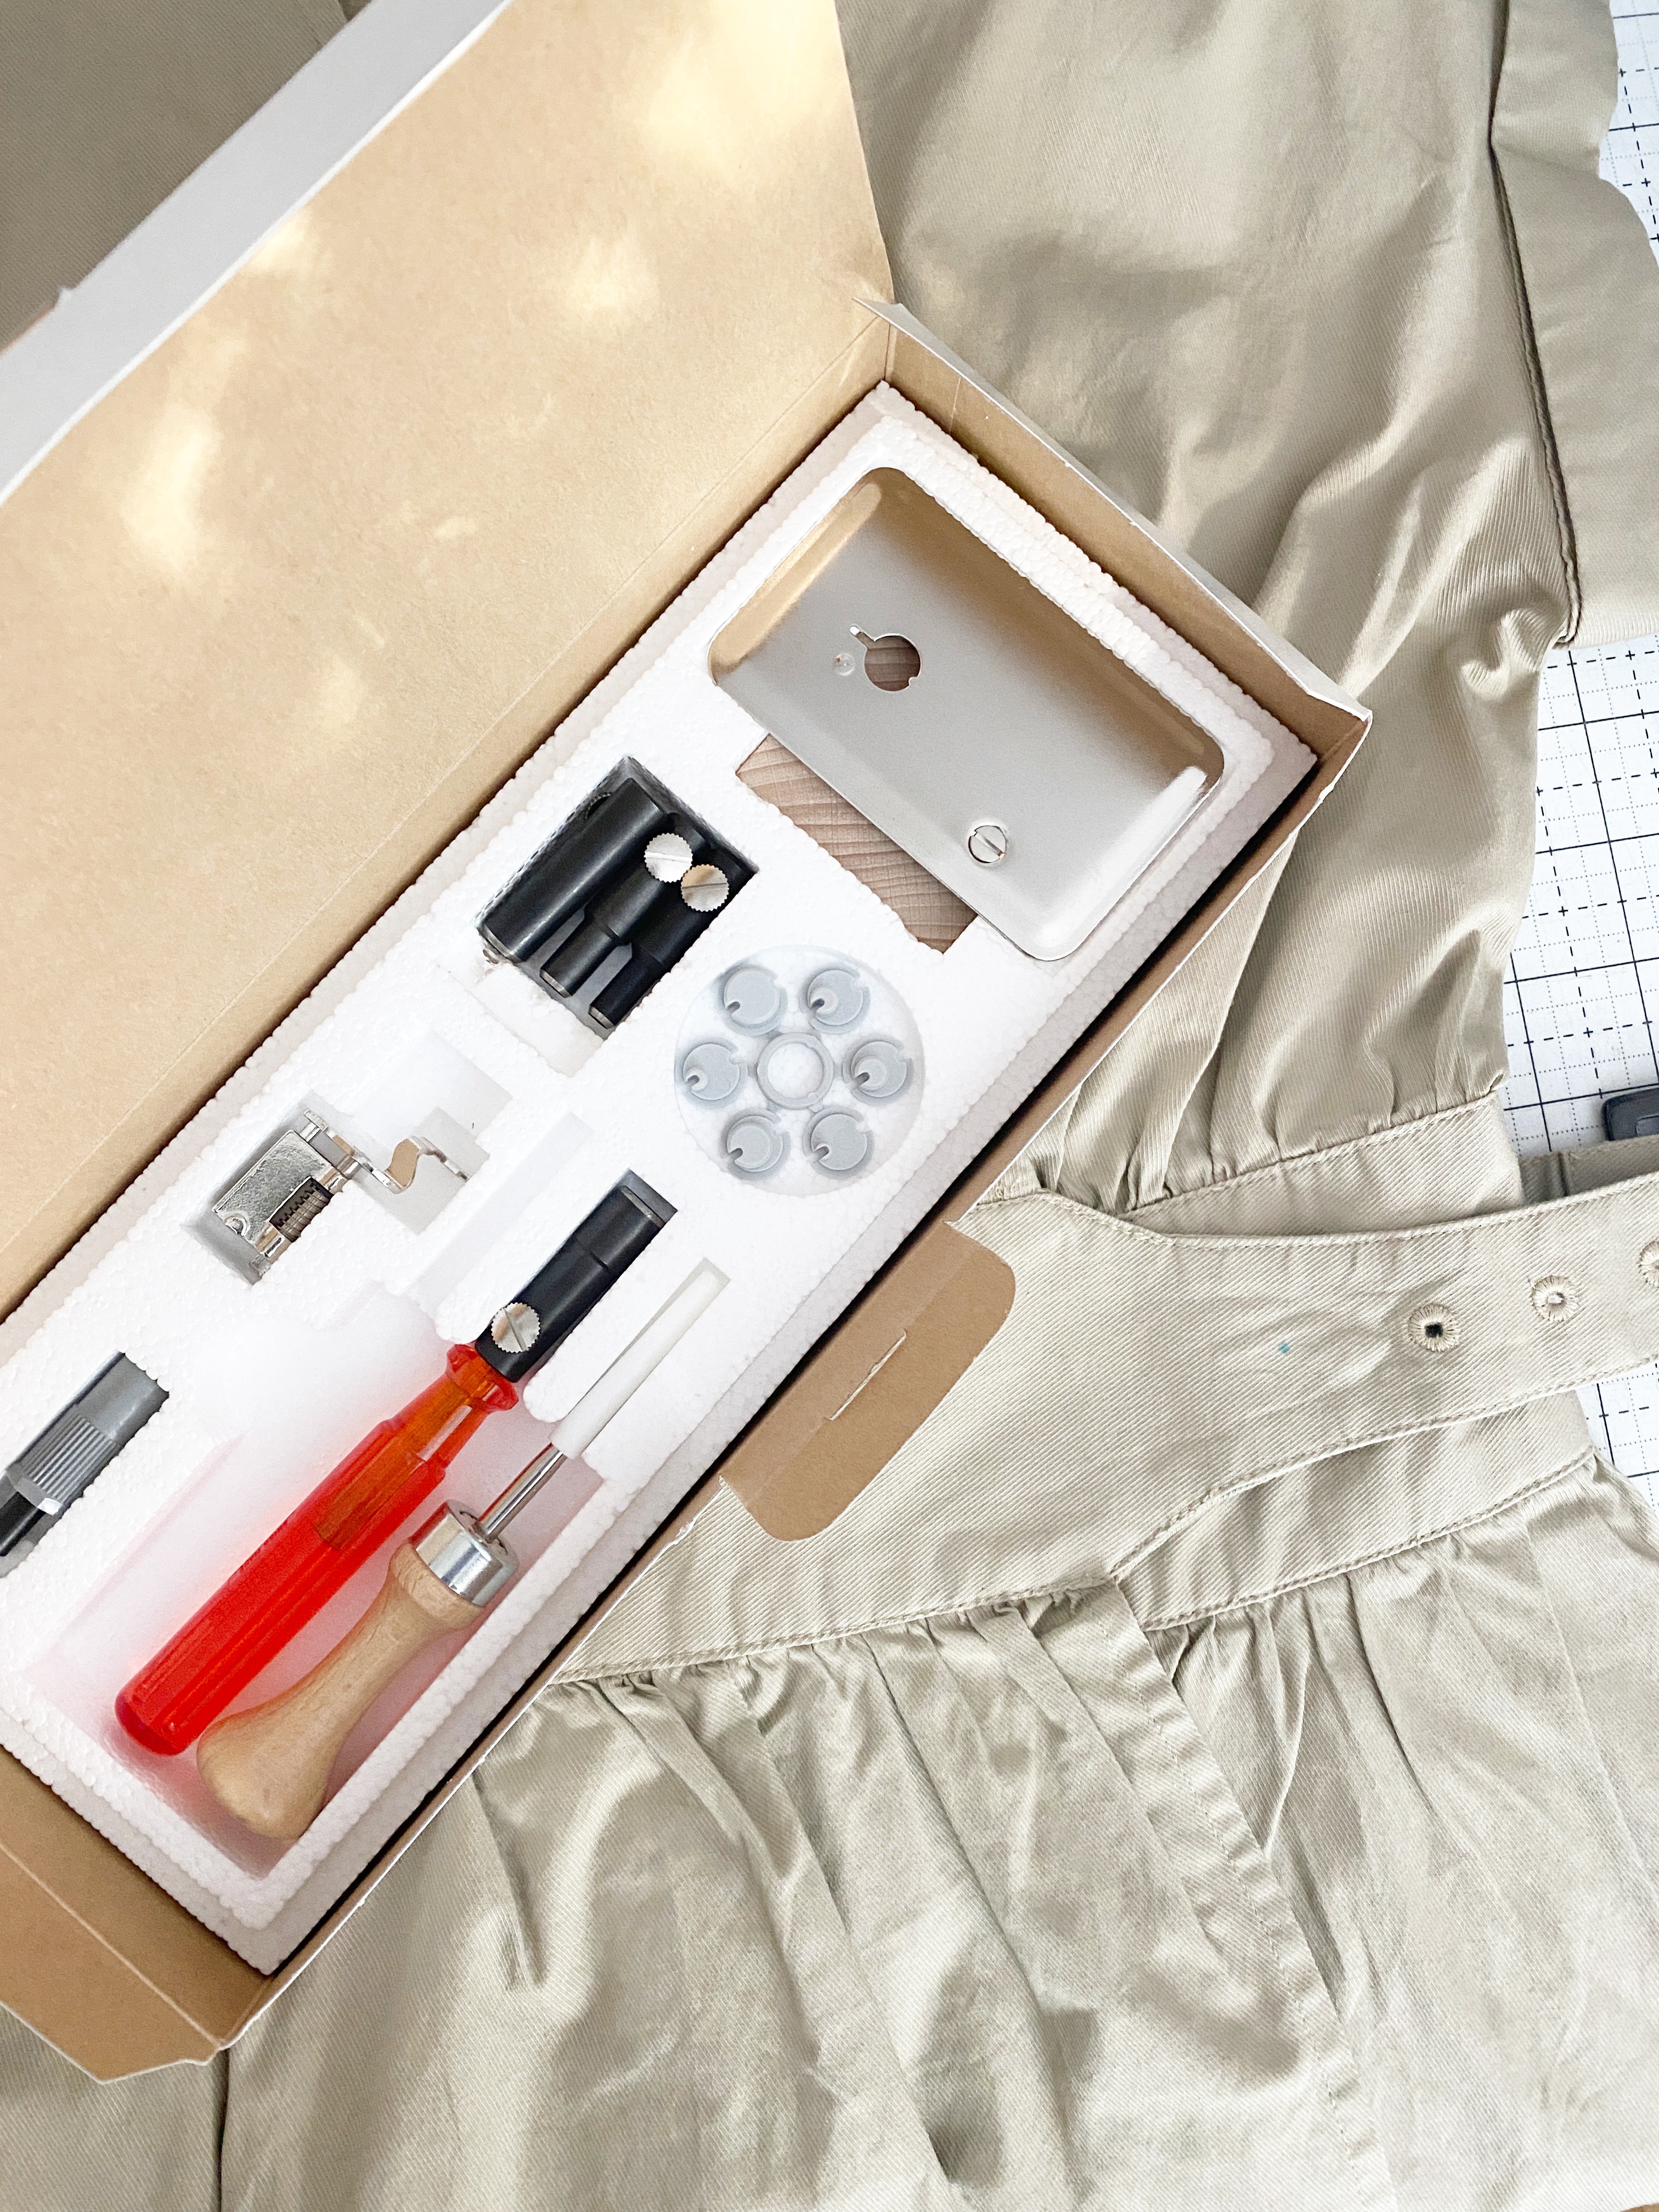
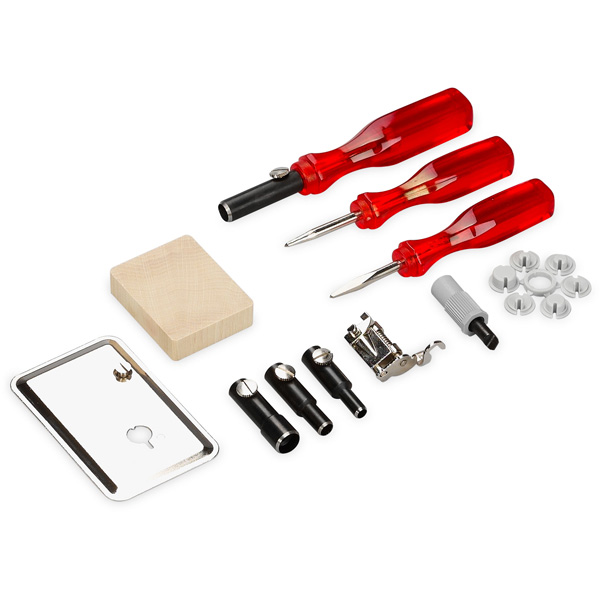
- Eyelet Embroidery Attachment #82 with Foot #92
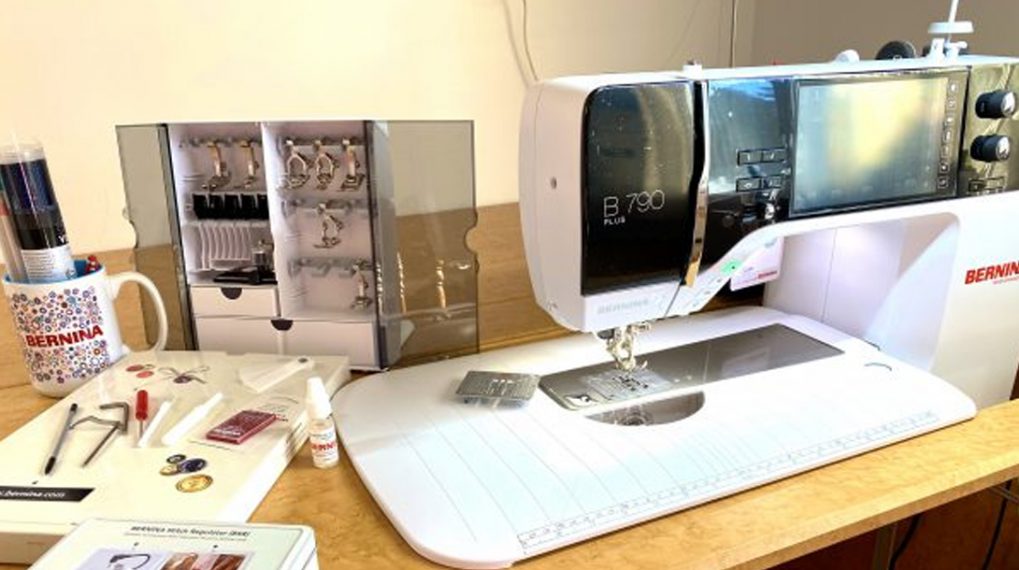
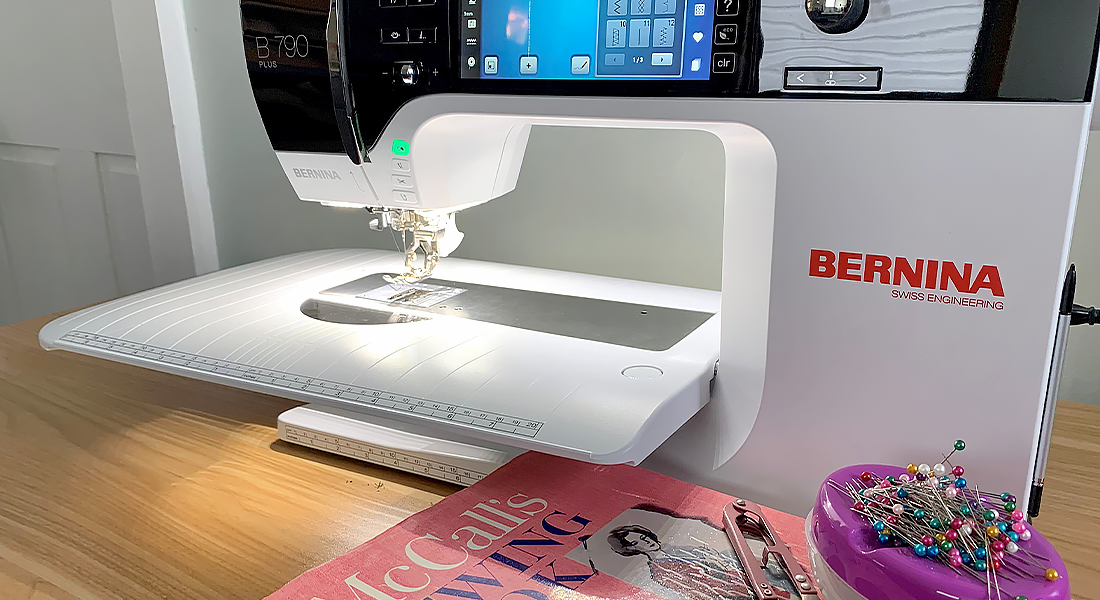
- BERNINA 570 QE
Instructions for Adding an Eyelet to a Ready-made Garment
Step 1: Prepare the Ready-Made Garment
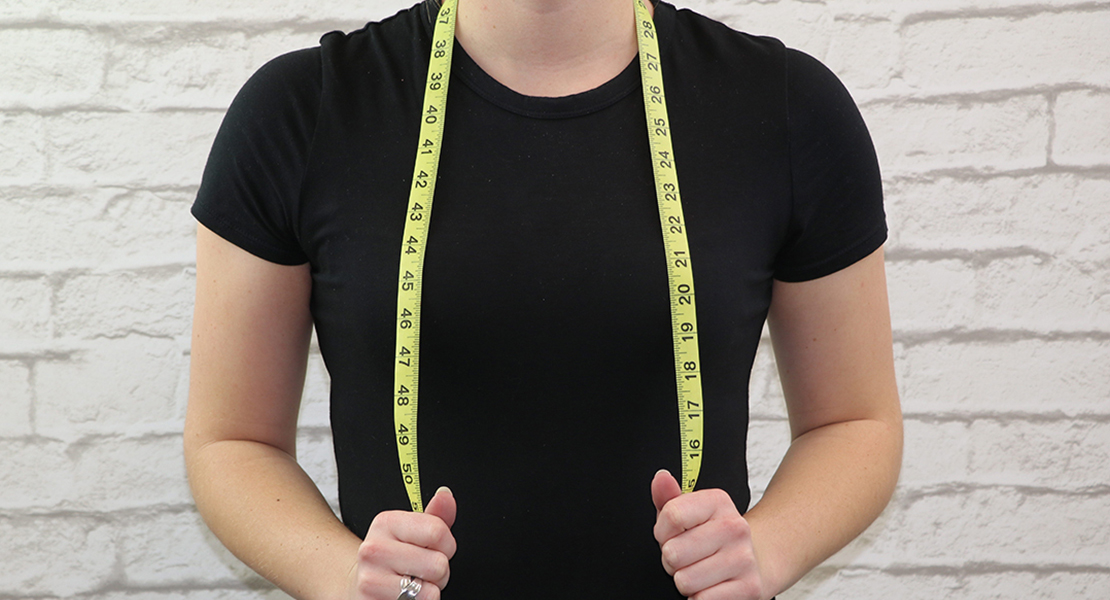
Measure the distance of the exciting eyelets.
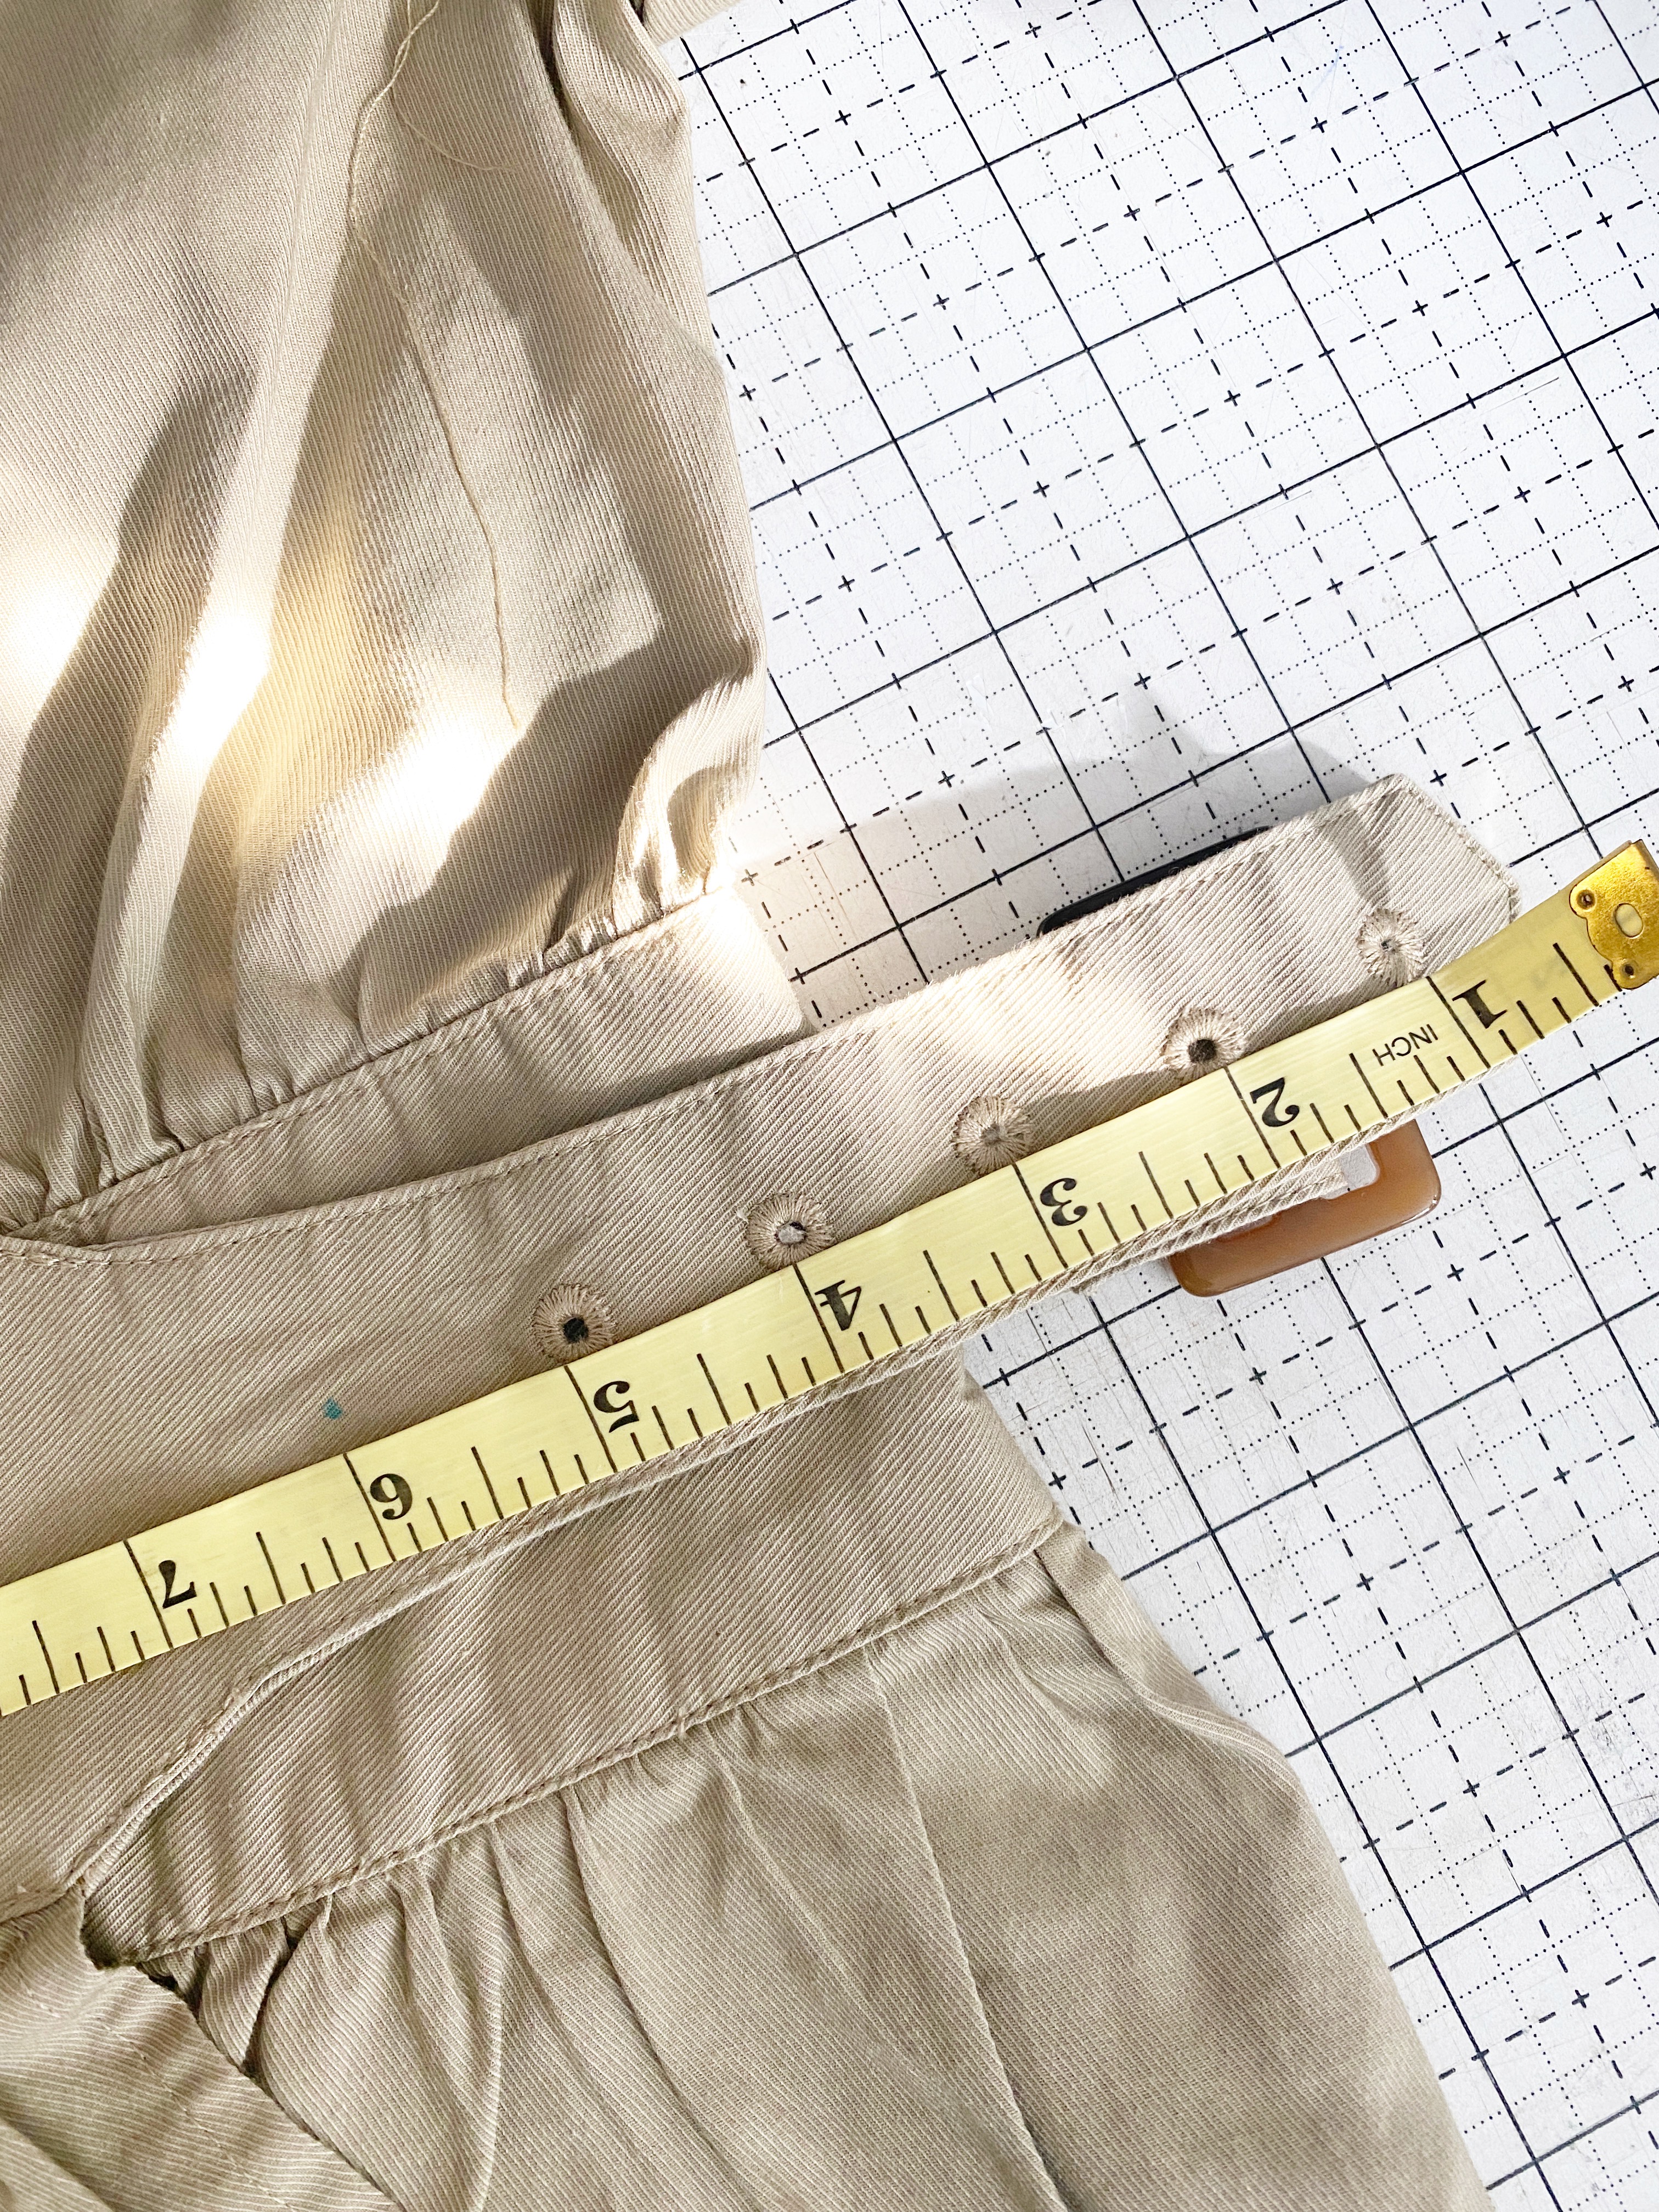
Use a fabric marker and mark where the new eyelet will be.
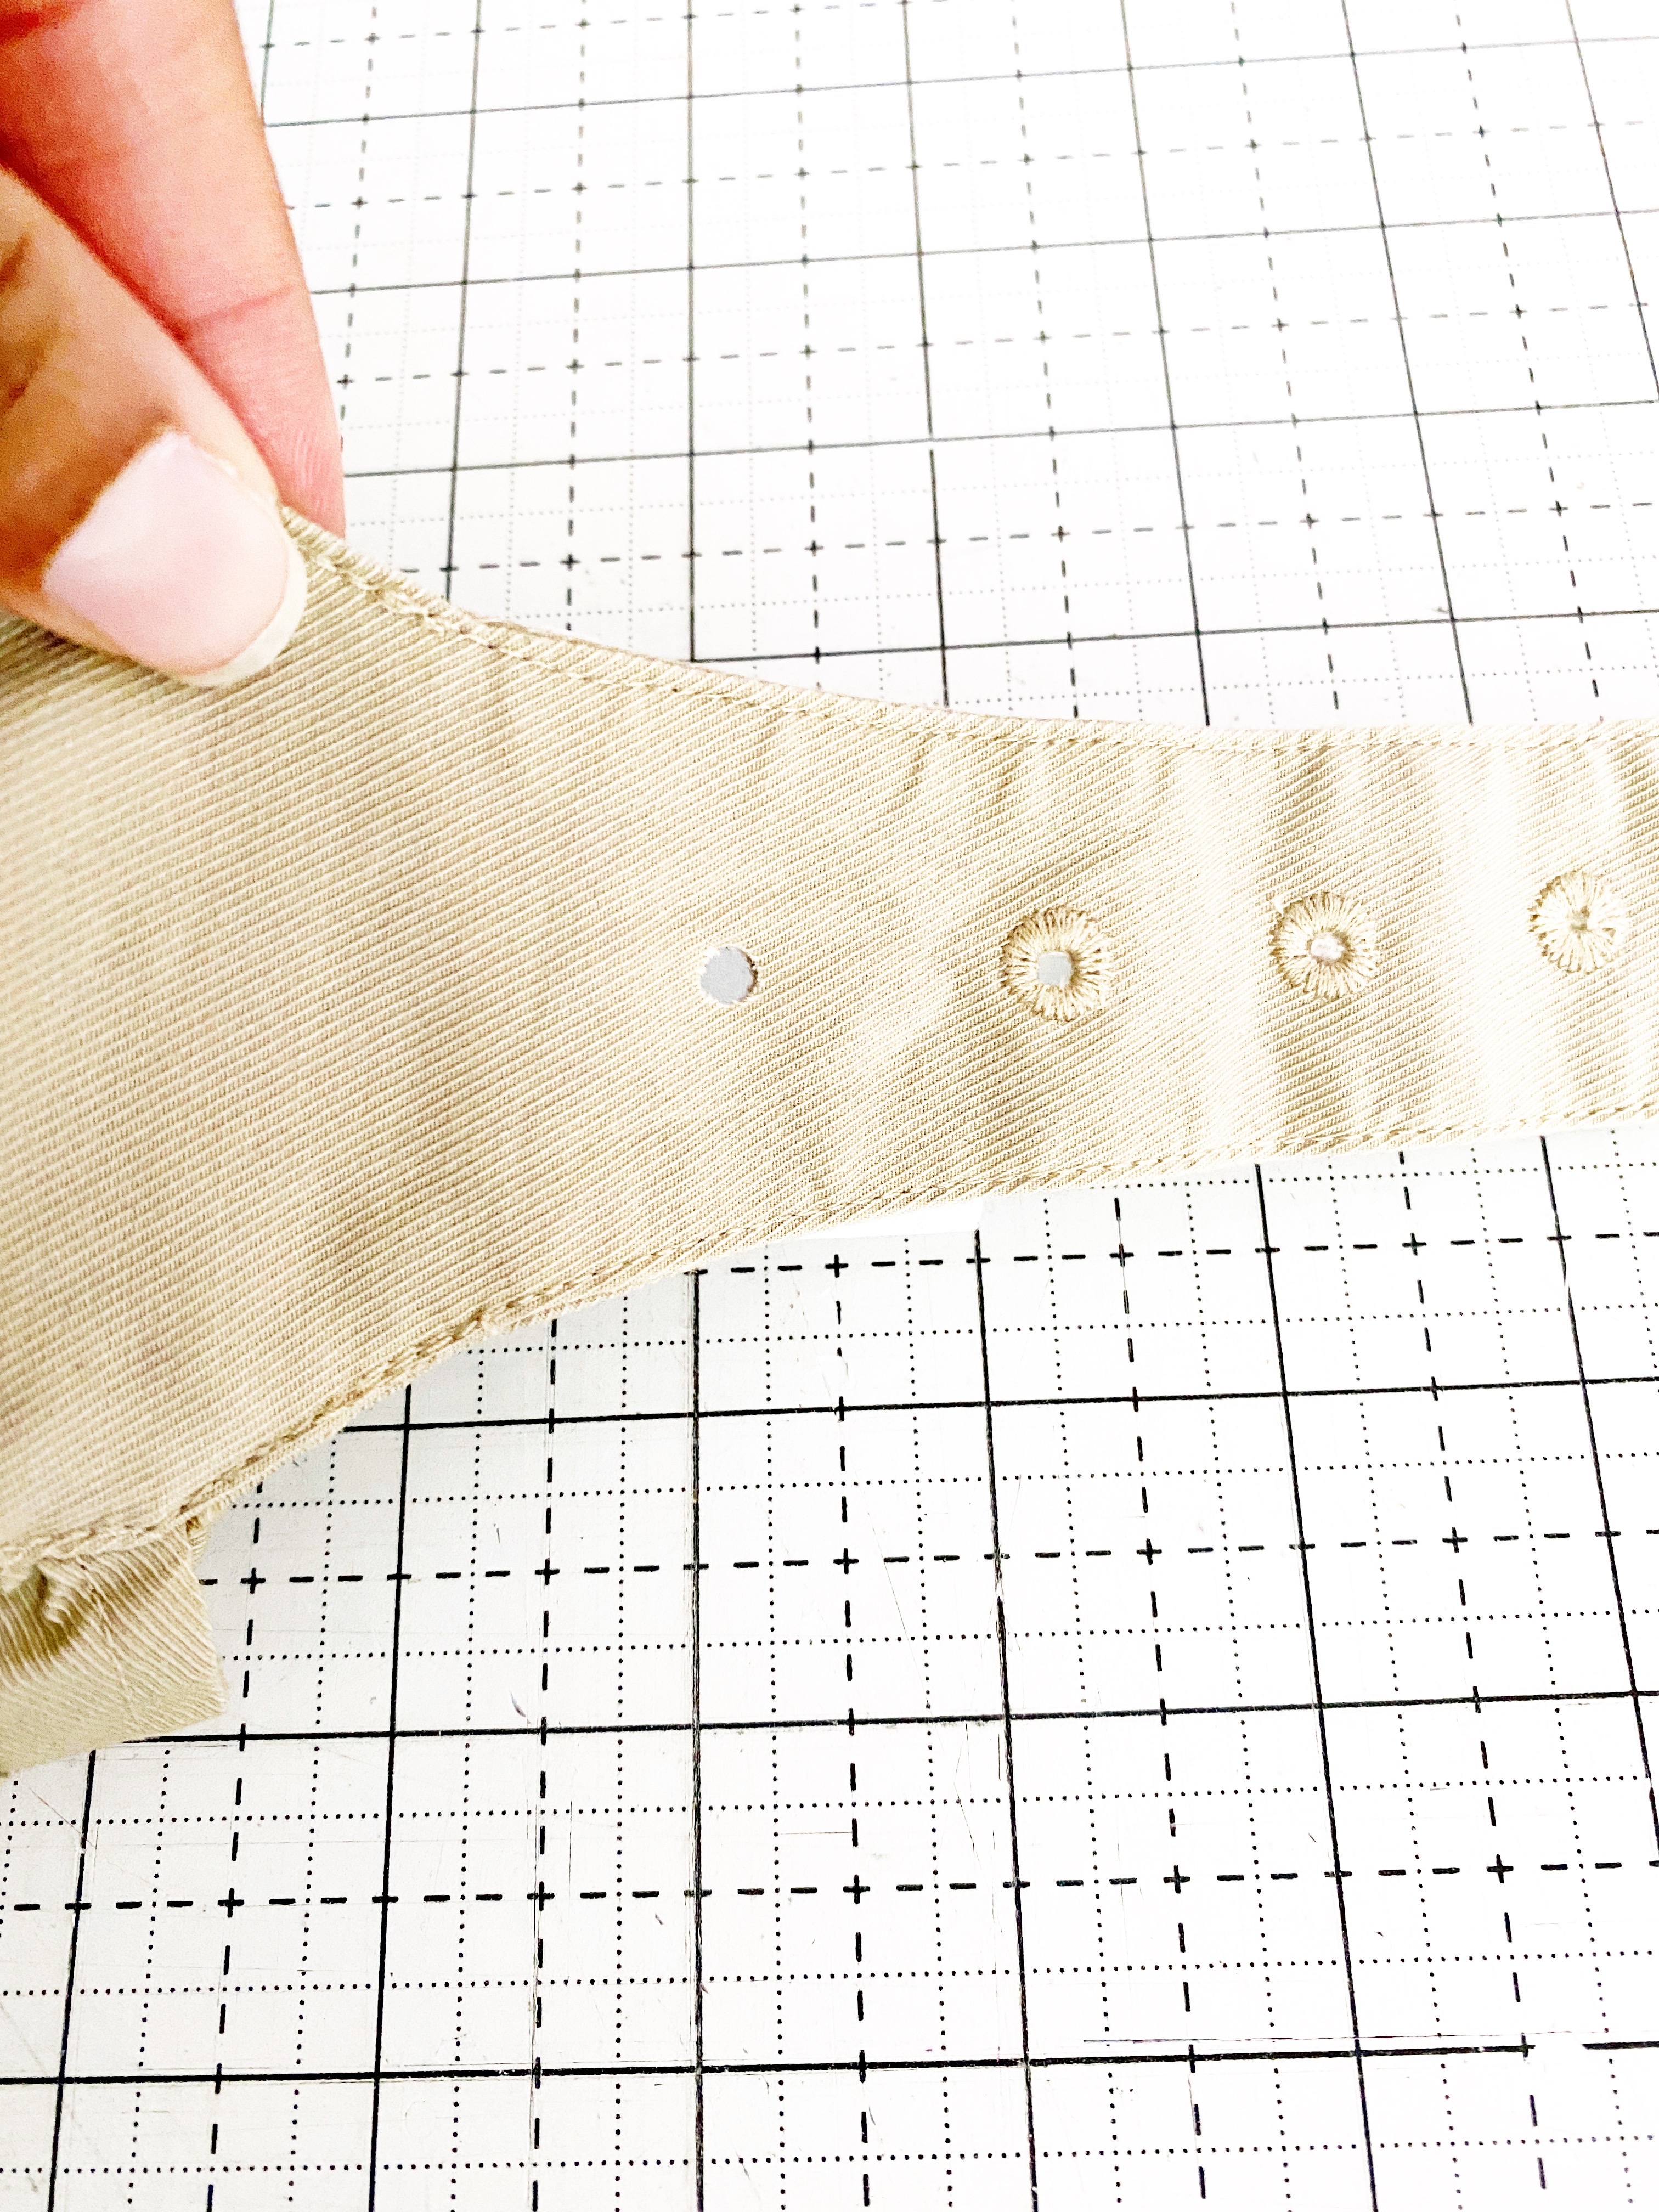
Cut a small piece of StablilStick stabilizer and adhere it to the back of the fabric.
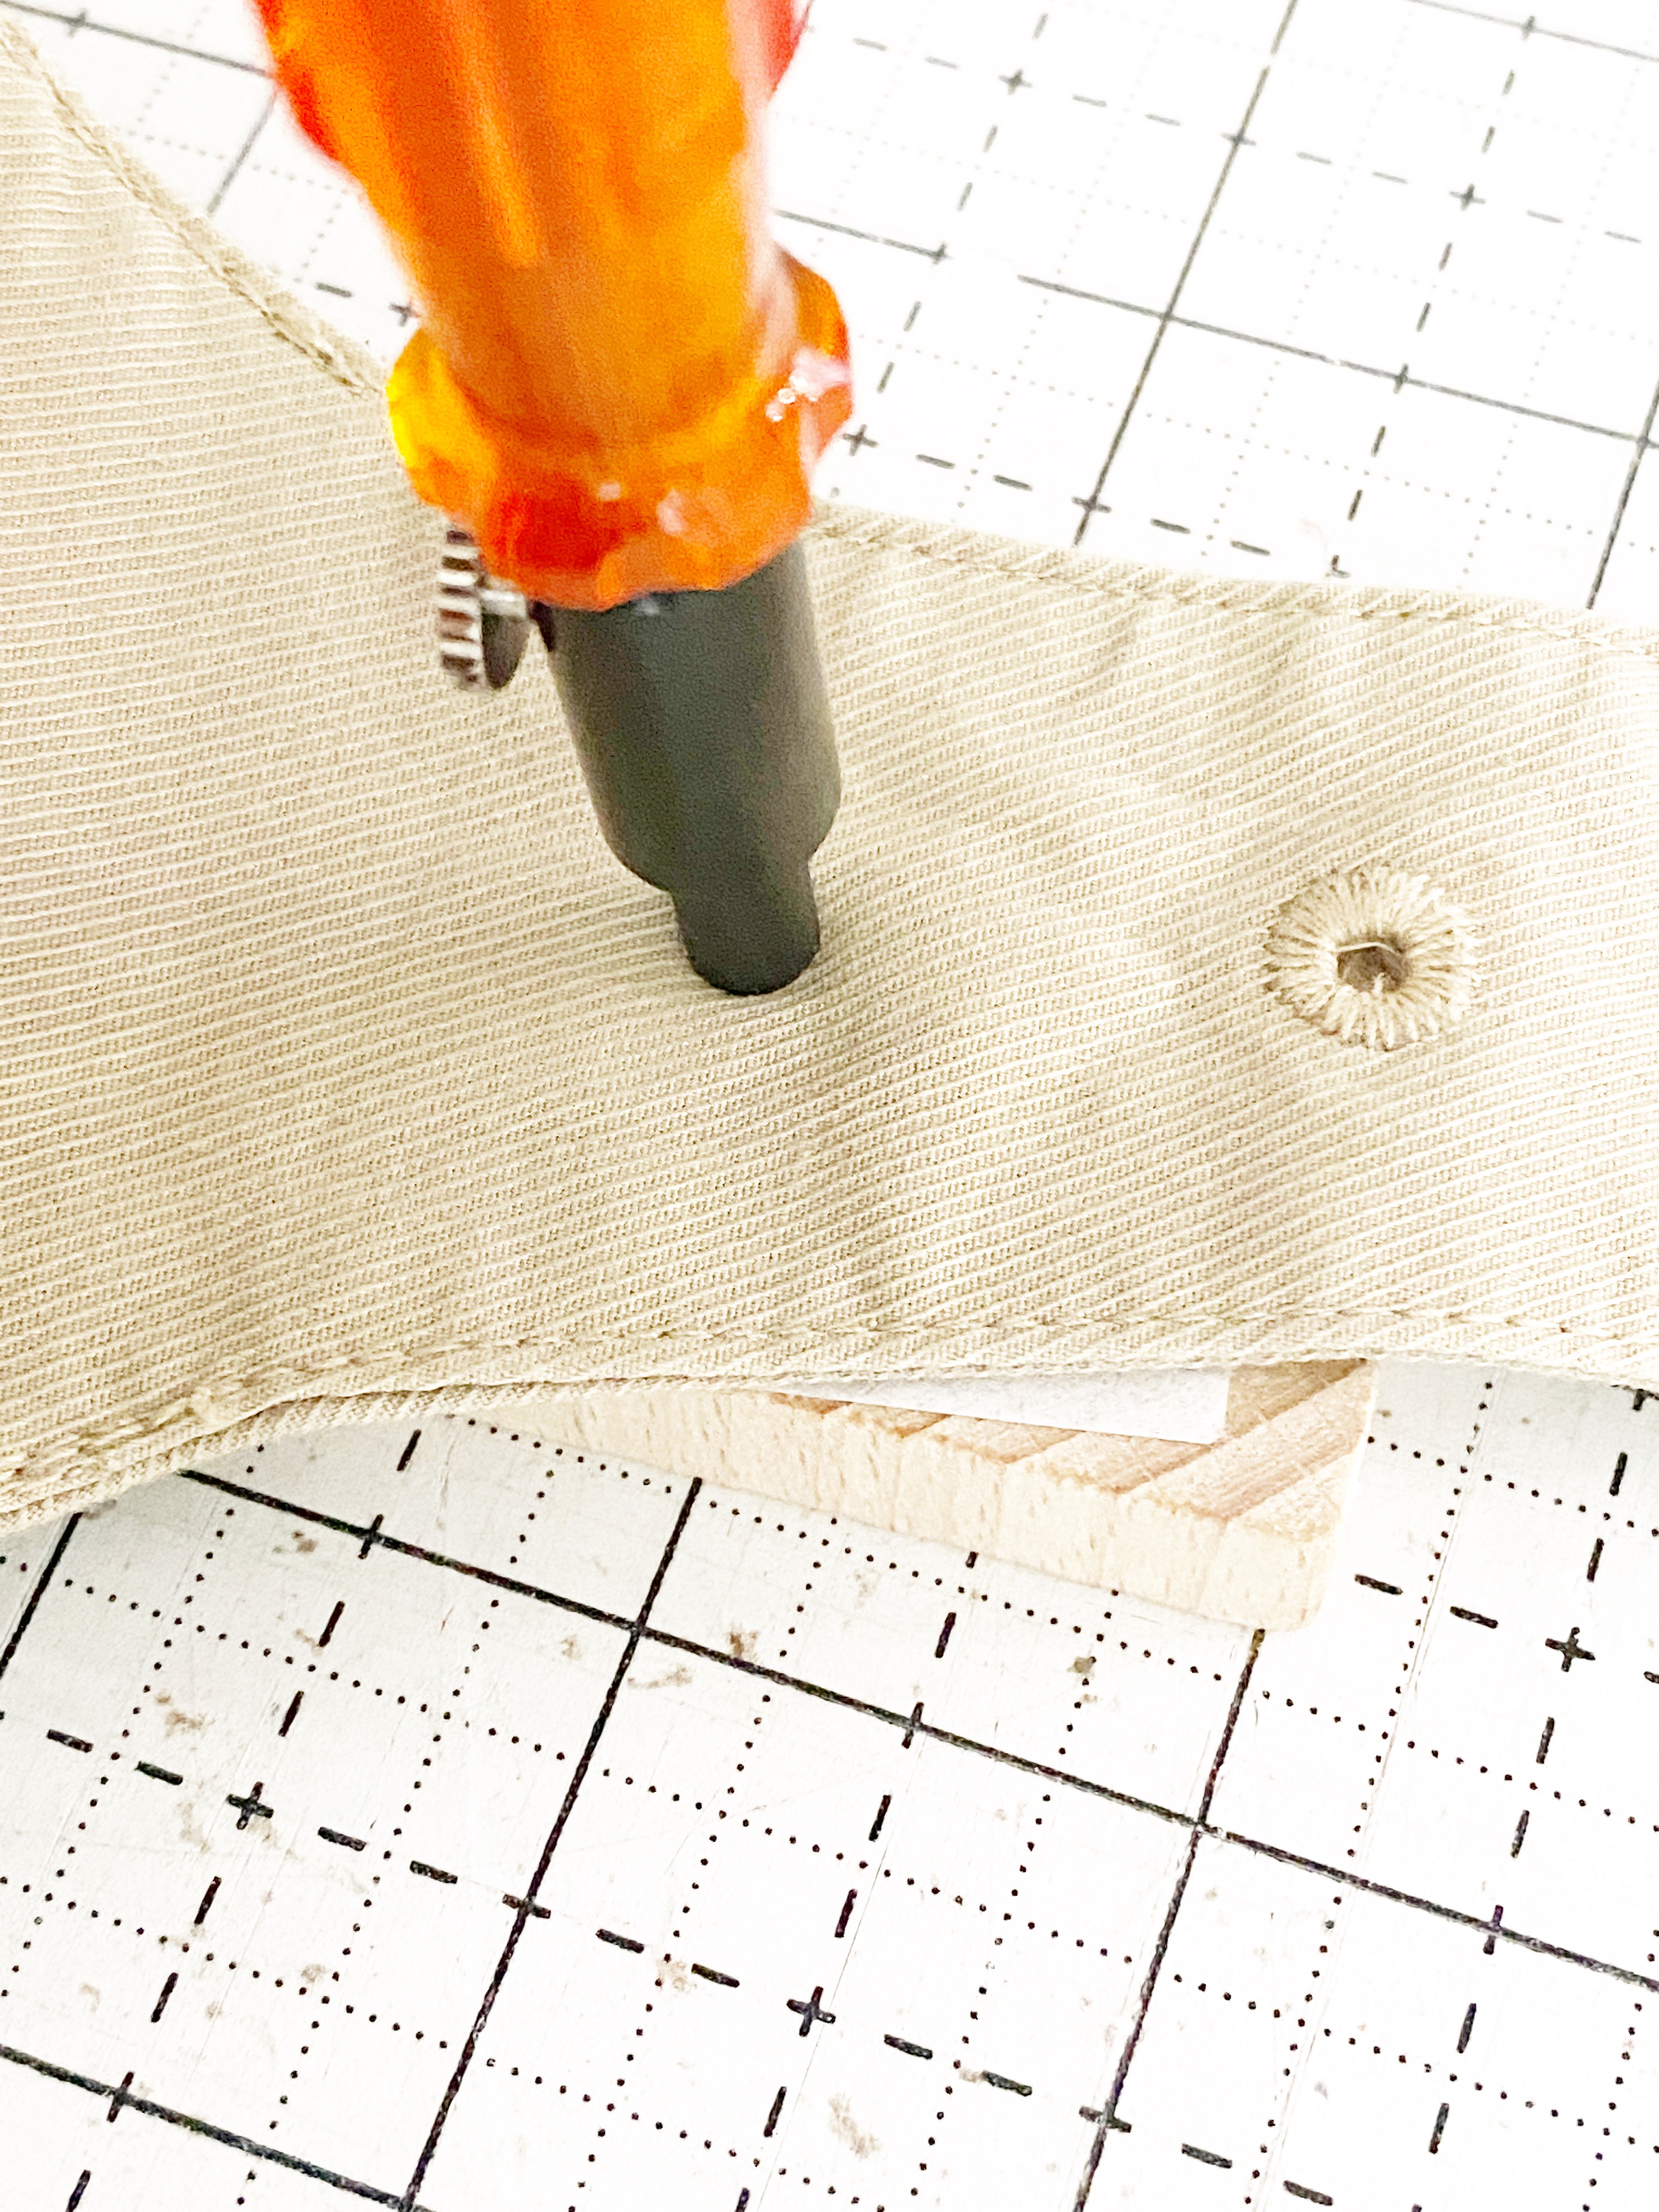
Step 2: Cut Holes in the Garment
Place the garment on the wood block.
Using the hole punch in the kit, make a hole in the fabric.
Step 3: Prepare the Sewing Machine
Lower the feed dogs.
Select the correct size eyelet mandrel insert according to the hole size.
Attach the cover plate. Fit the centering pin of the cover plate into the round hole in front of the stitch hole in the stitch plate. Secure the cover plate with the screw.
Attach the presser foot #92 to the machine, and select in on the machine screen.
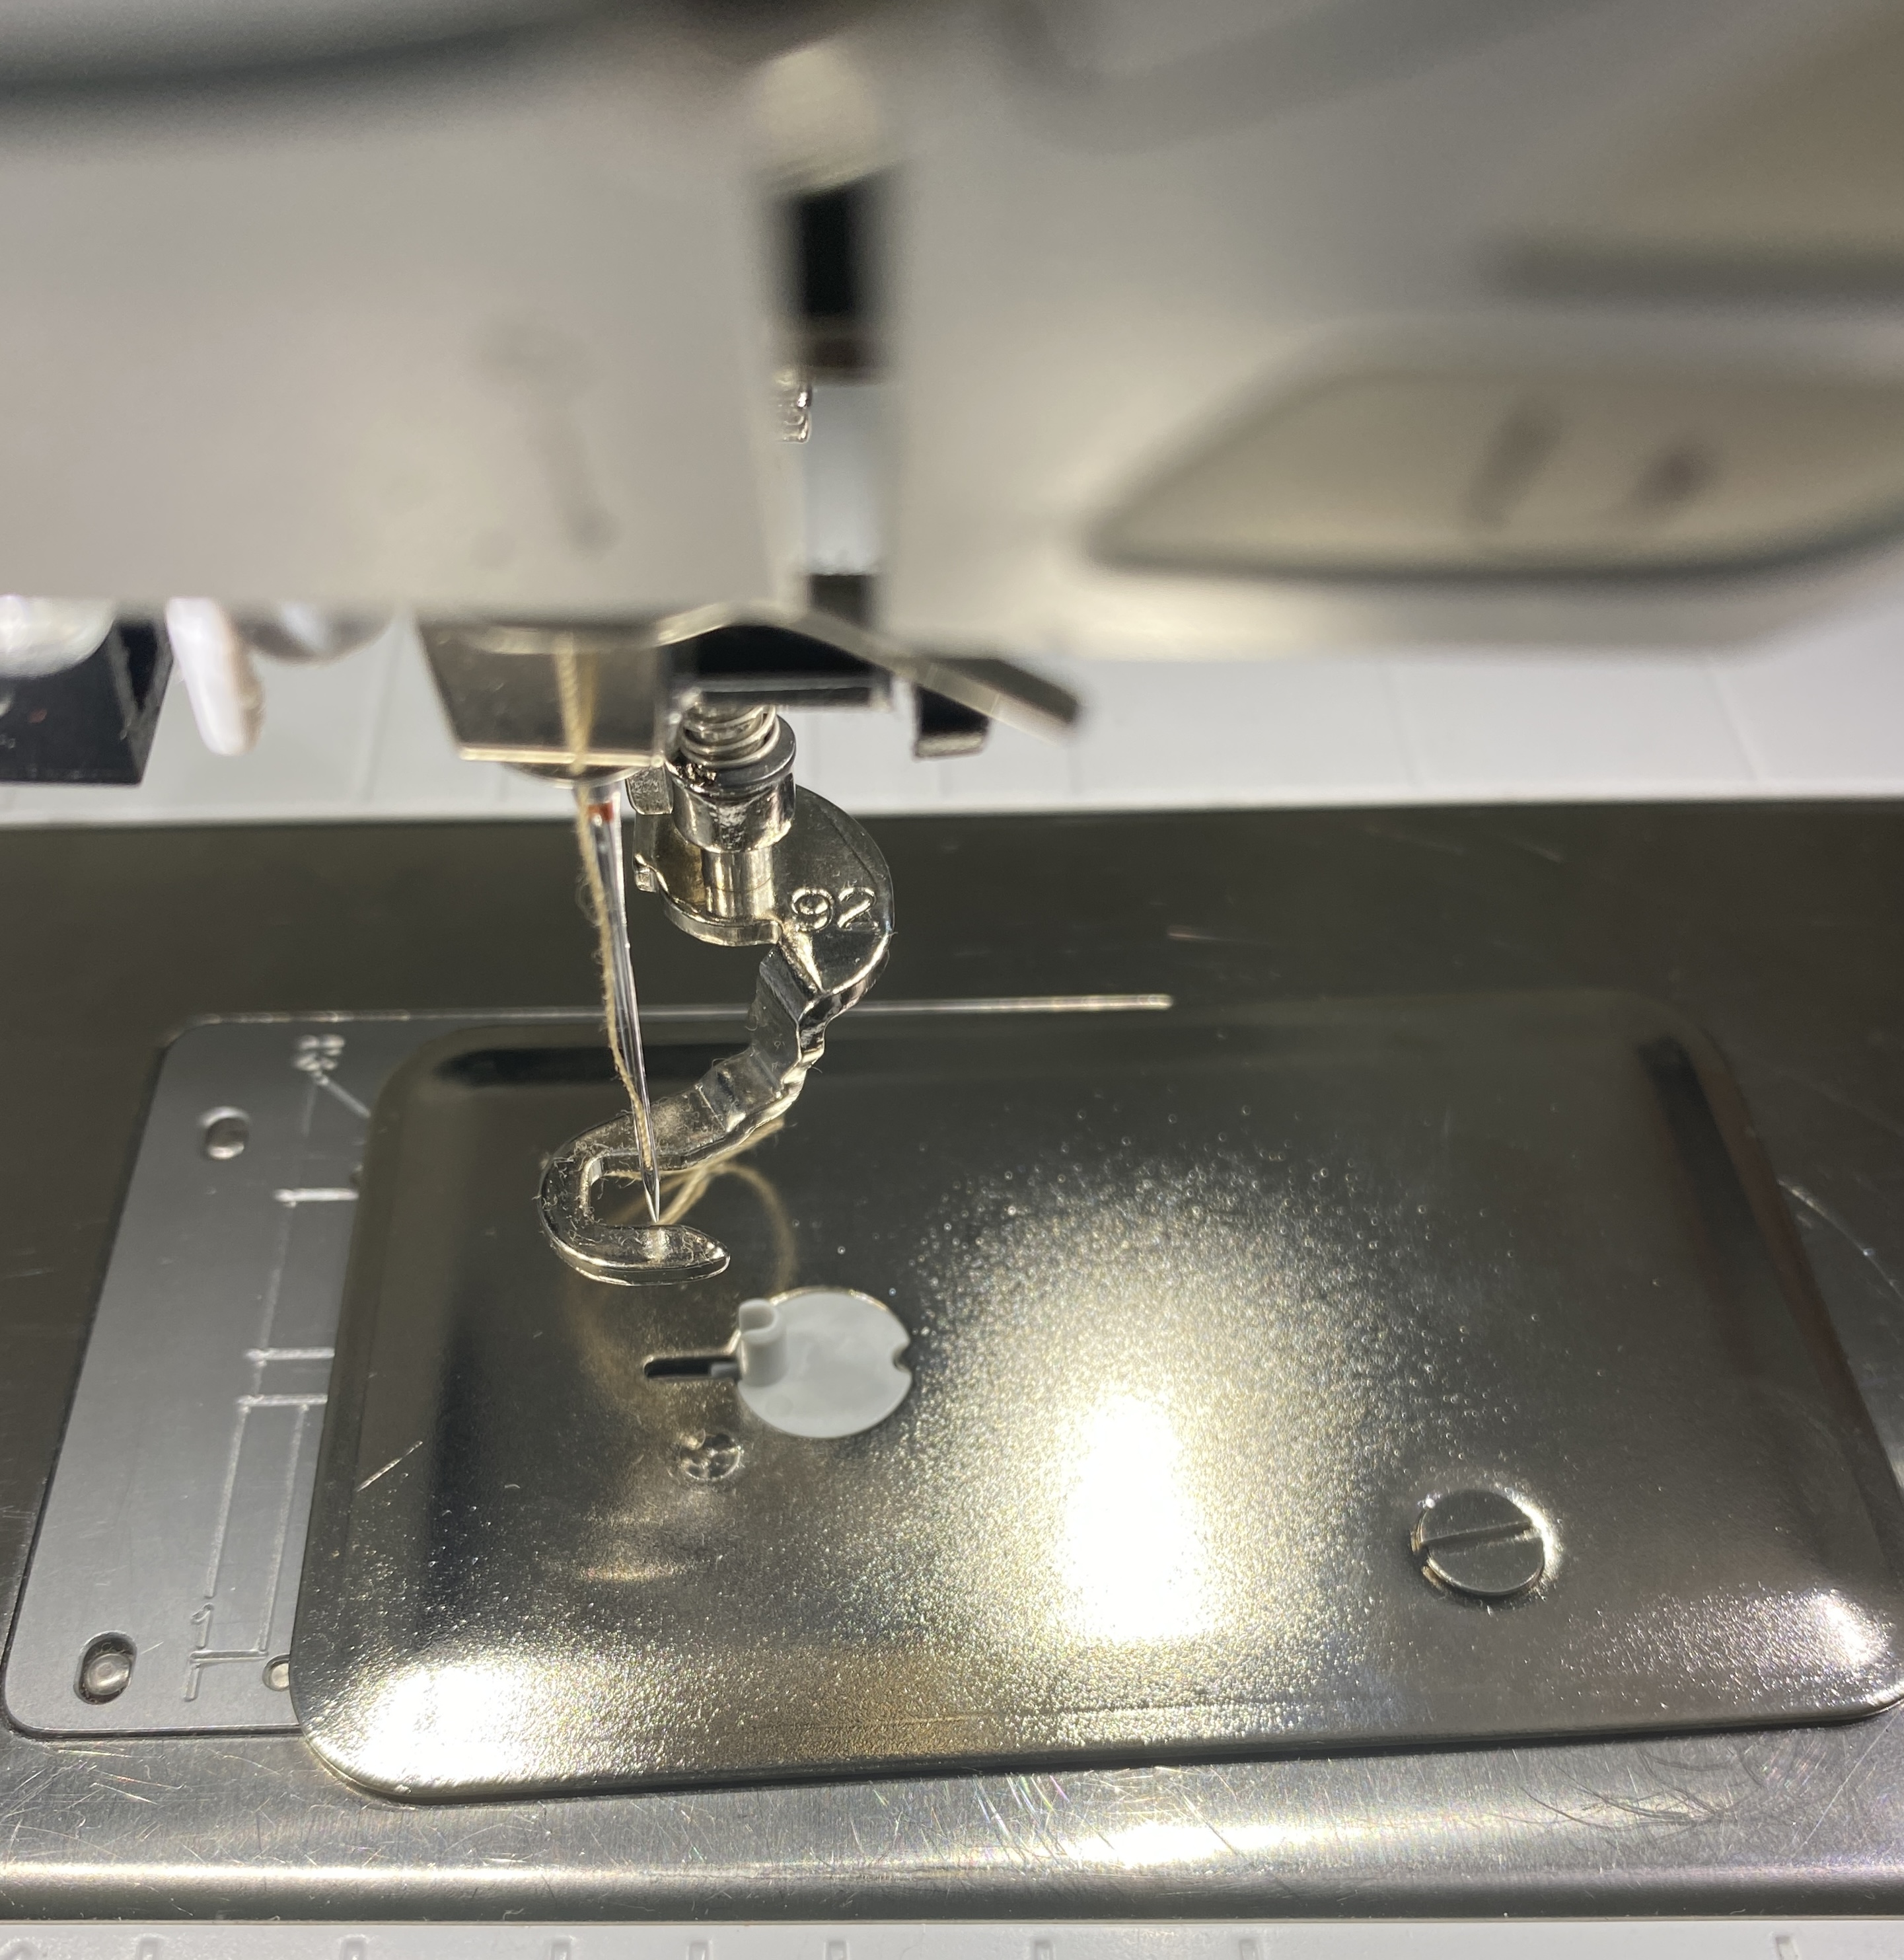
Select the zigzag stitch, 2mm stitch width, 0 mm stitch length, and needle position 3.
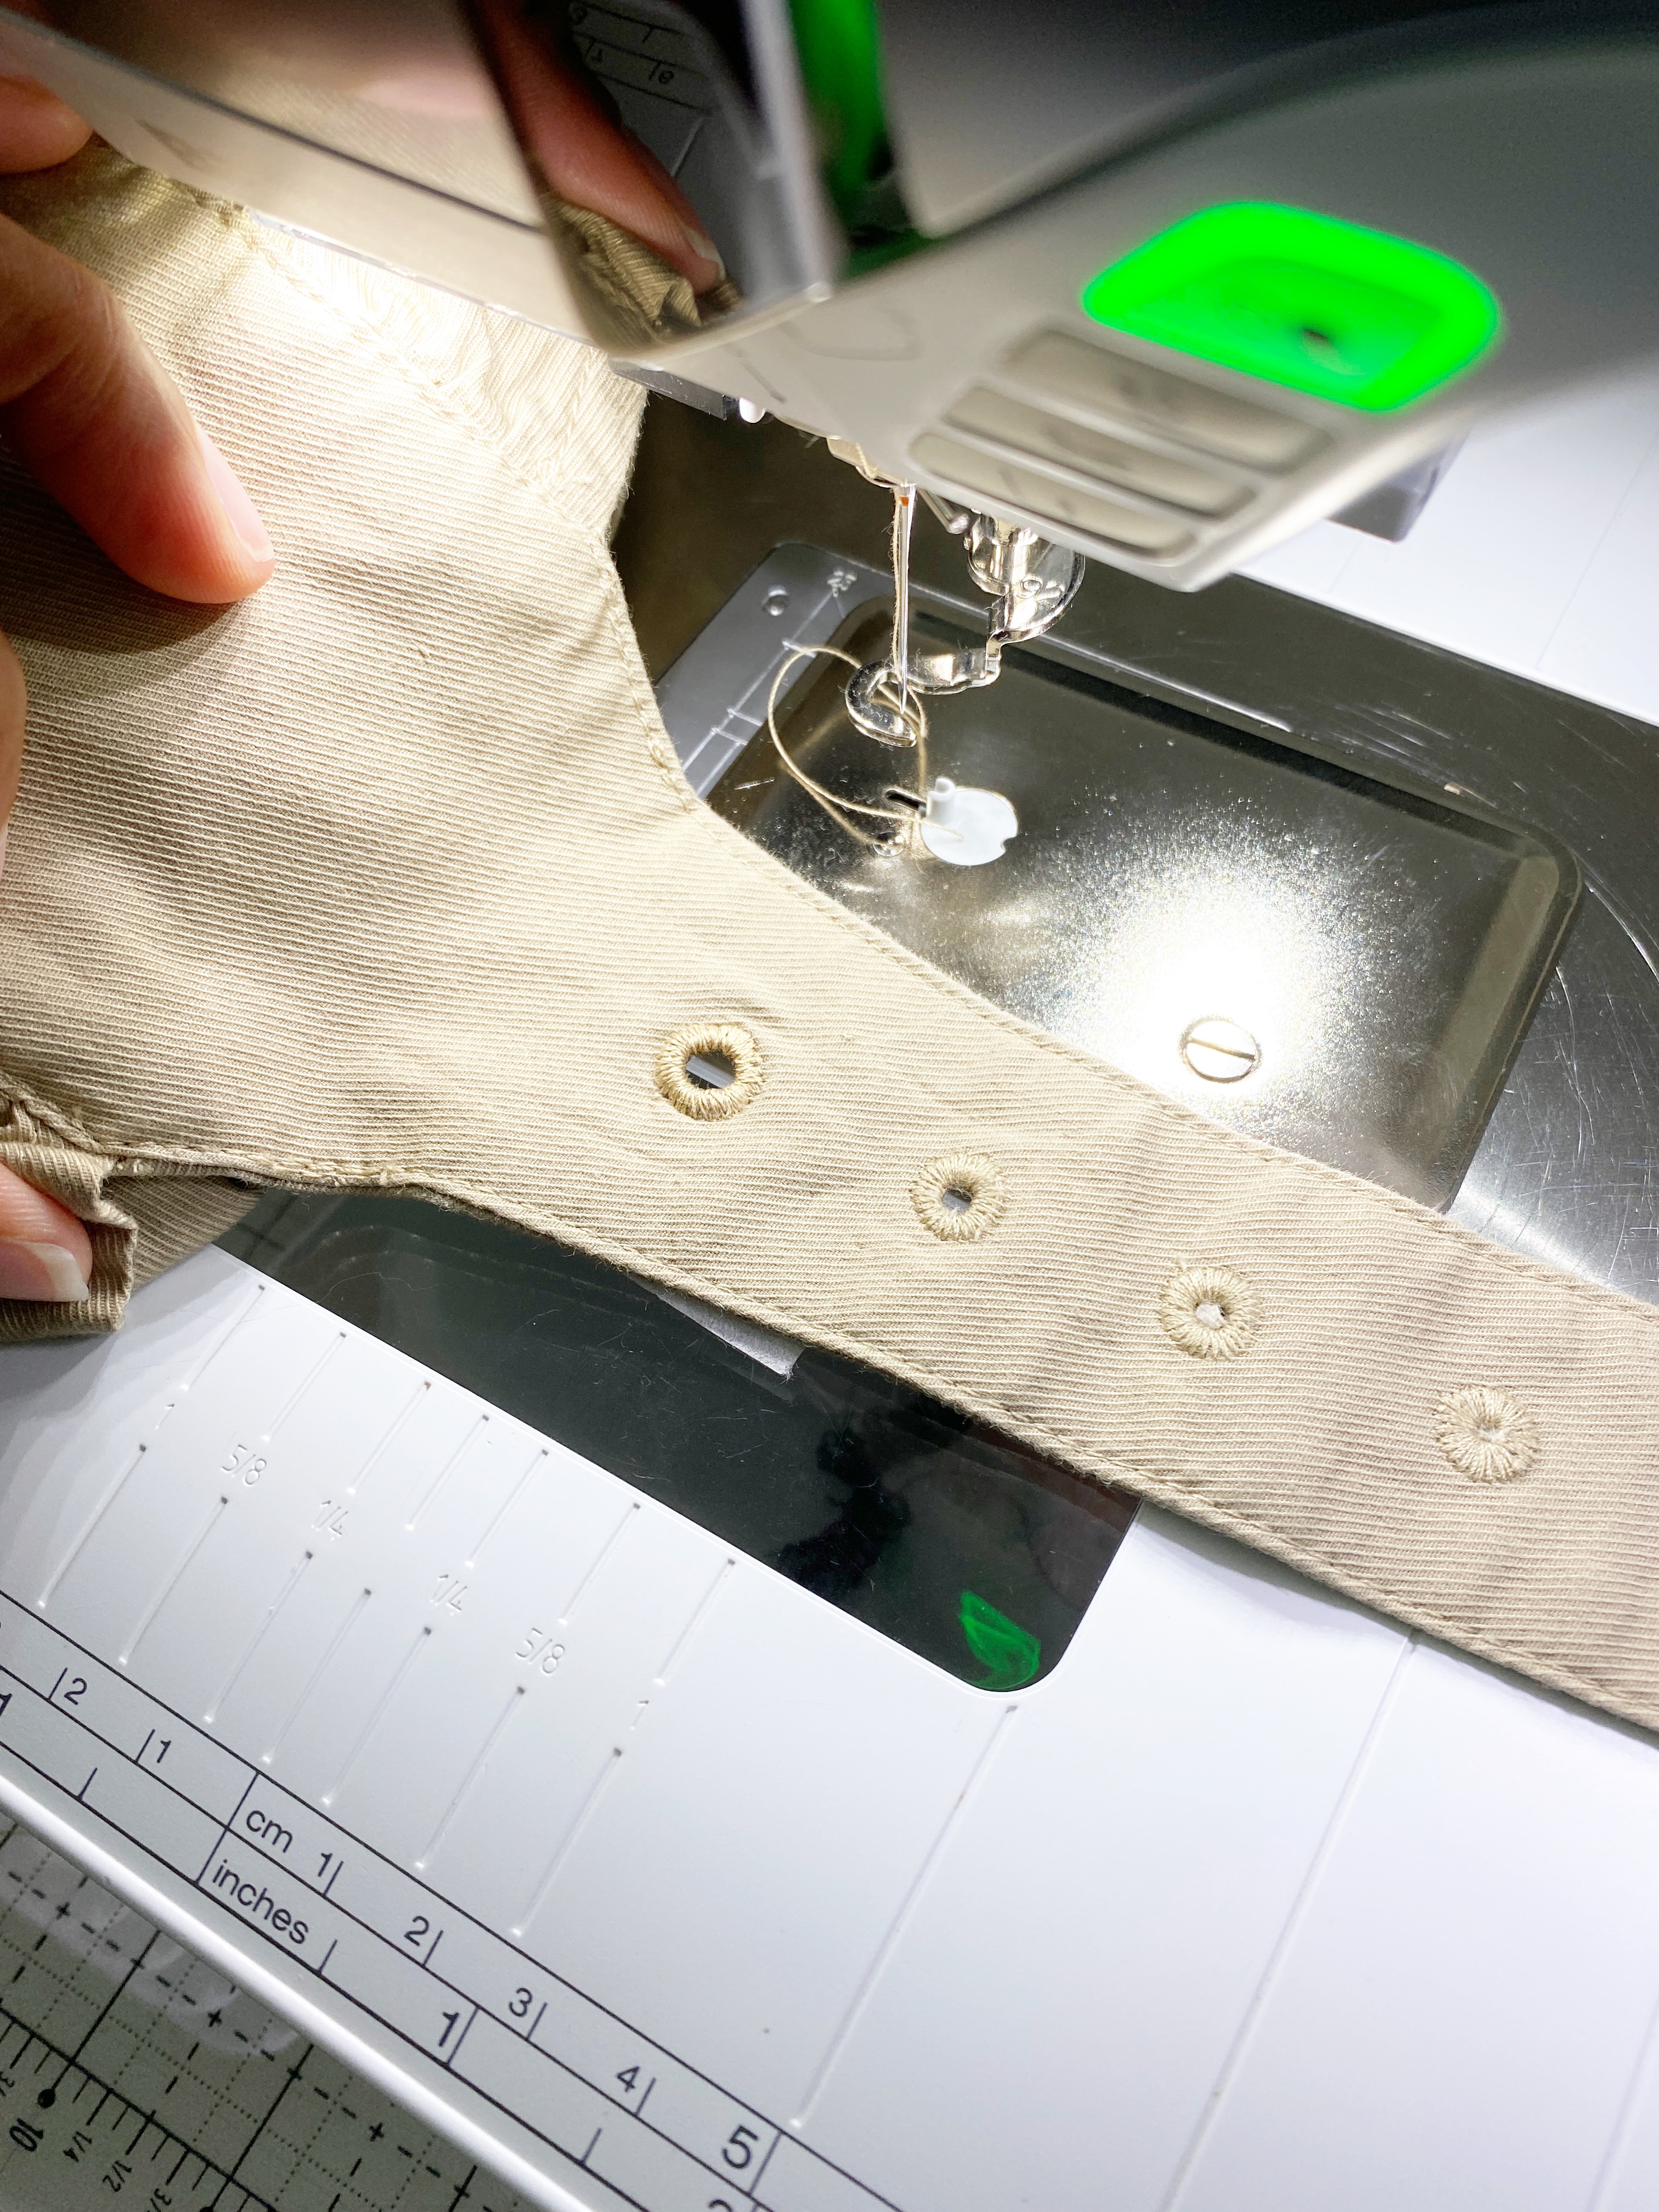
Step 4: Begin Stitching Eyelets
If the fabric is more oversized than the throat space, fold and tie so that it rotates easily around the mandrel.
Place the fabric over the mandrel insert.
Drop the presser foot, and bring up the bobbin thread.
Hold the thread ends and embroider around the hole once at reduced speed.
Rotate the fabric around the mandrel insert clockwise to start creating an eyelet.
Change the stitch width to 3mm.
Embroider around the hole.
Change the stitch width to 0mm and the needle position to -3 on the machine.
Sew a couple of securing stitches.
Beautifully done.
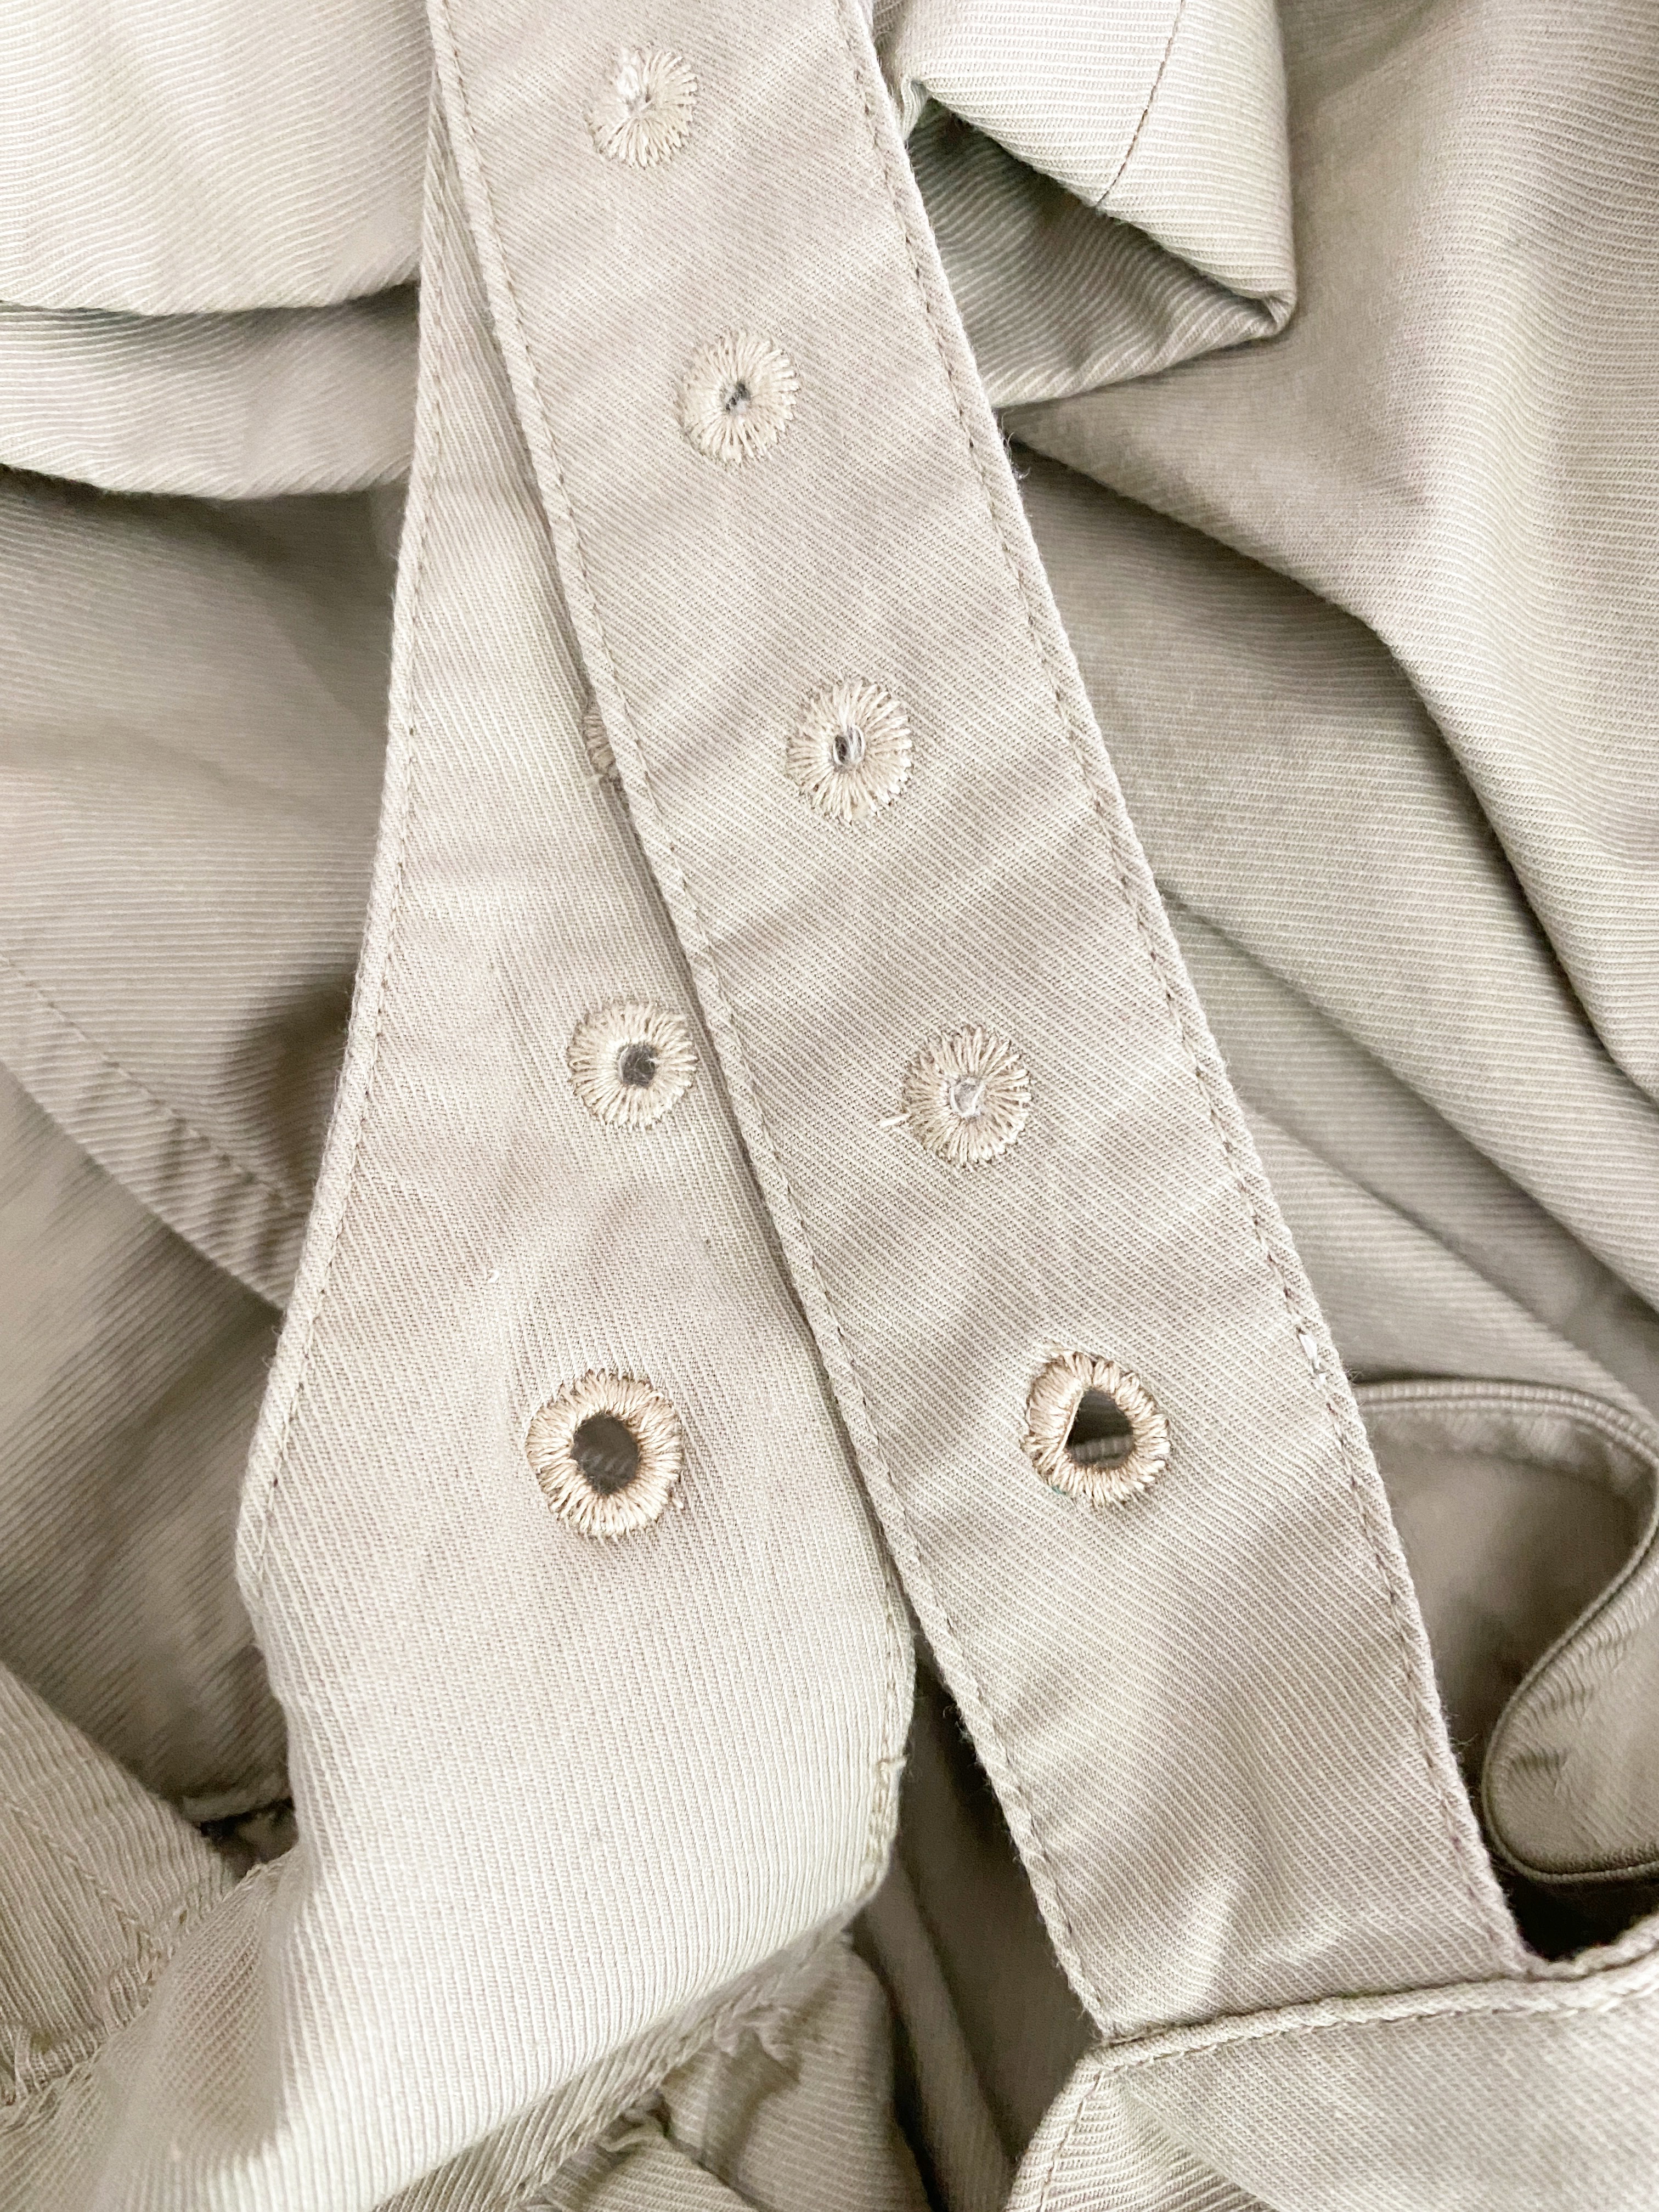
Nice and easy because of the eyelet embroidery attachment #82 and foot #92.
Now, you can create your own eyelets in any garment you have or make.
Used Products

What you might also like


2 comments on “How to Add an Eyelet to a Ready-made Garment”
-
-
Adding an eyelet sounded scary, but you made it look easy. Thanks!
Leave a Reply
You must be logged in to post a comment.

Or, the eyelet stitch under the buttonhole tab. Used it easily and very successful to add more holes to husbands baseball cap. Used on belts also.