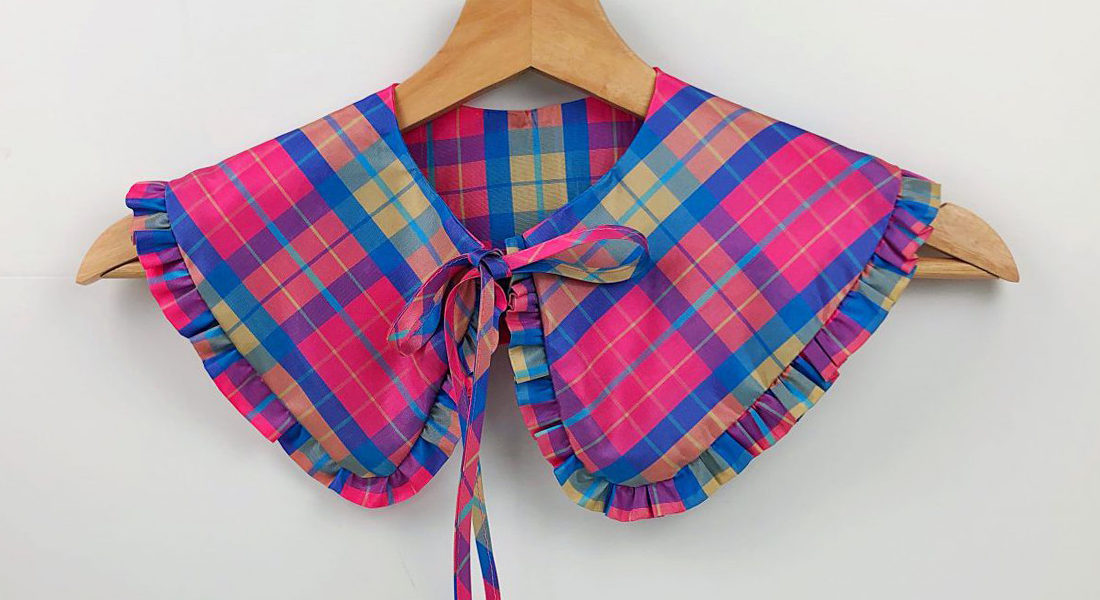
How to Draft a Collar for Any Shirt Pattern
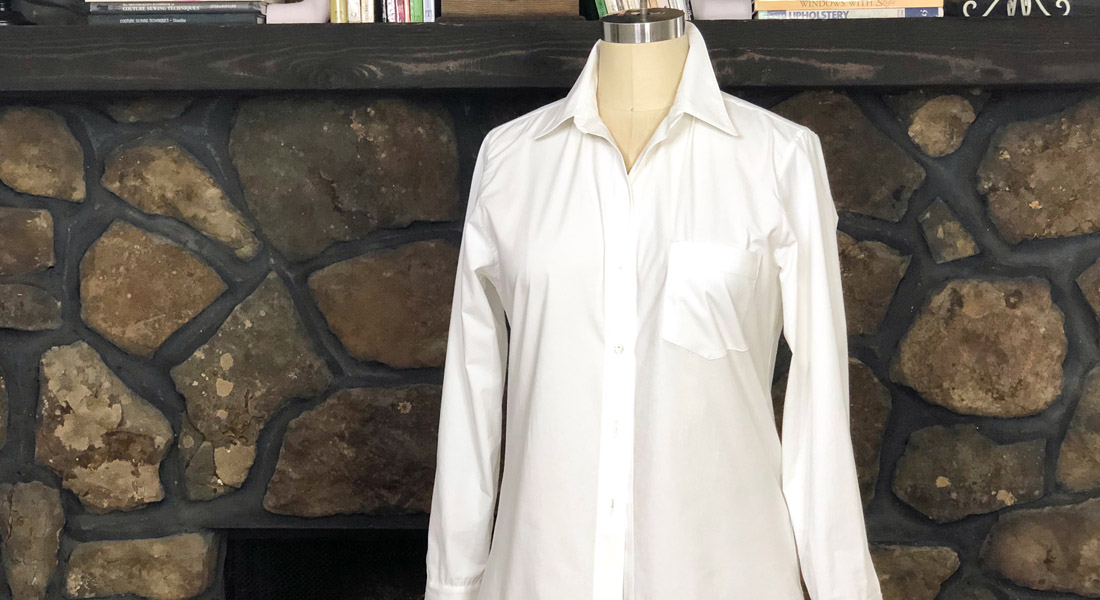
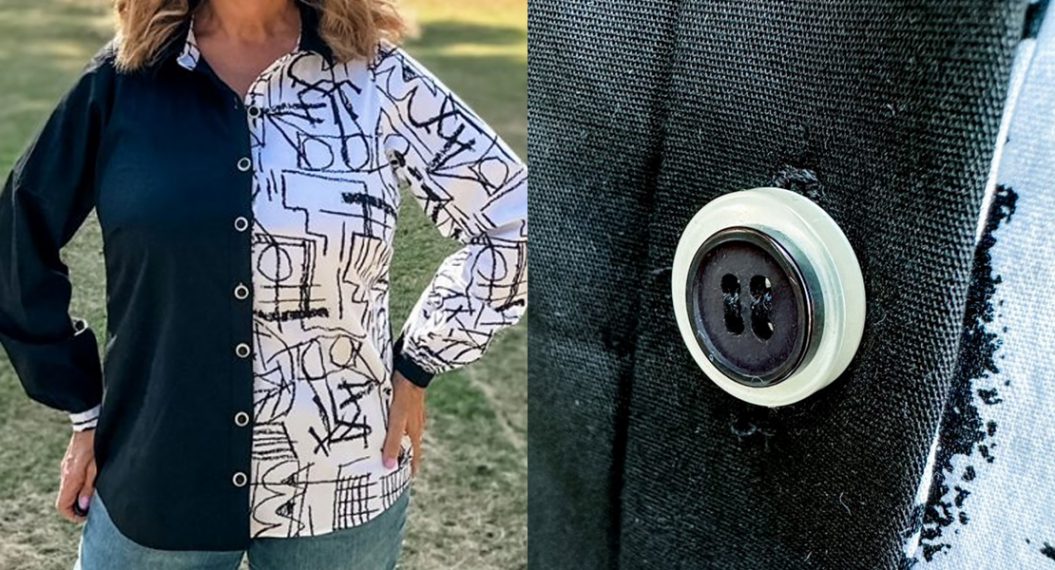
Did you know it is really easy to add a collar to any shirt pattern? No need to buy a special pattern to make a shirt with a flat collar (as opposed to a collar with a stand)! I will show you how I drafted this collar using the facings and the partially assembled garment. I have done this same method with all sorts of necklines and shirts and it’s so easy.
Materials to Draft a Collar for Any Shirt Pattern:
- Fabric
- Interfacing
- Tracing paper
- Pencil/marker
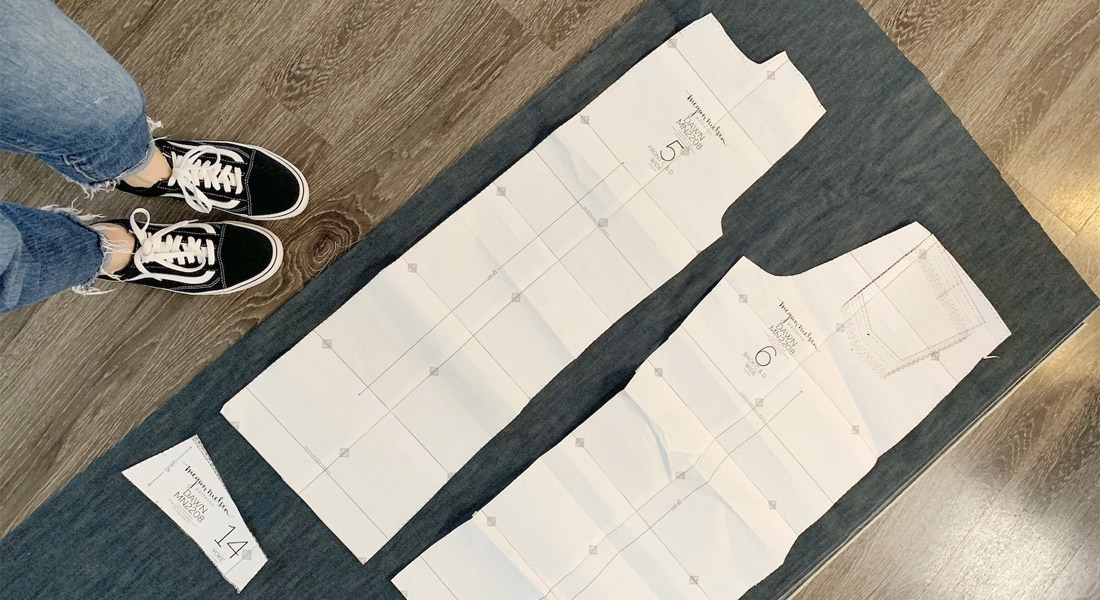
Step 1: Trace the Facings
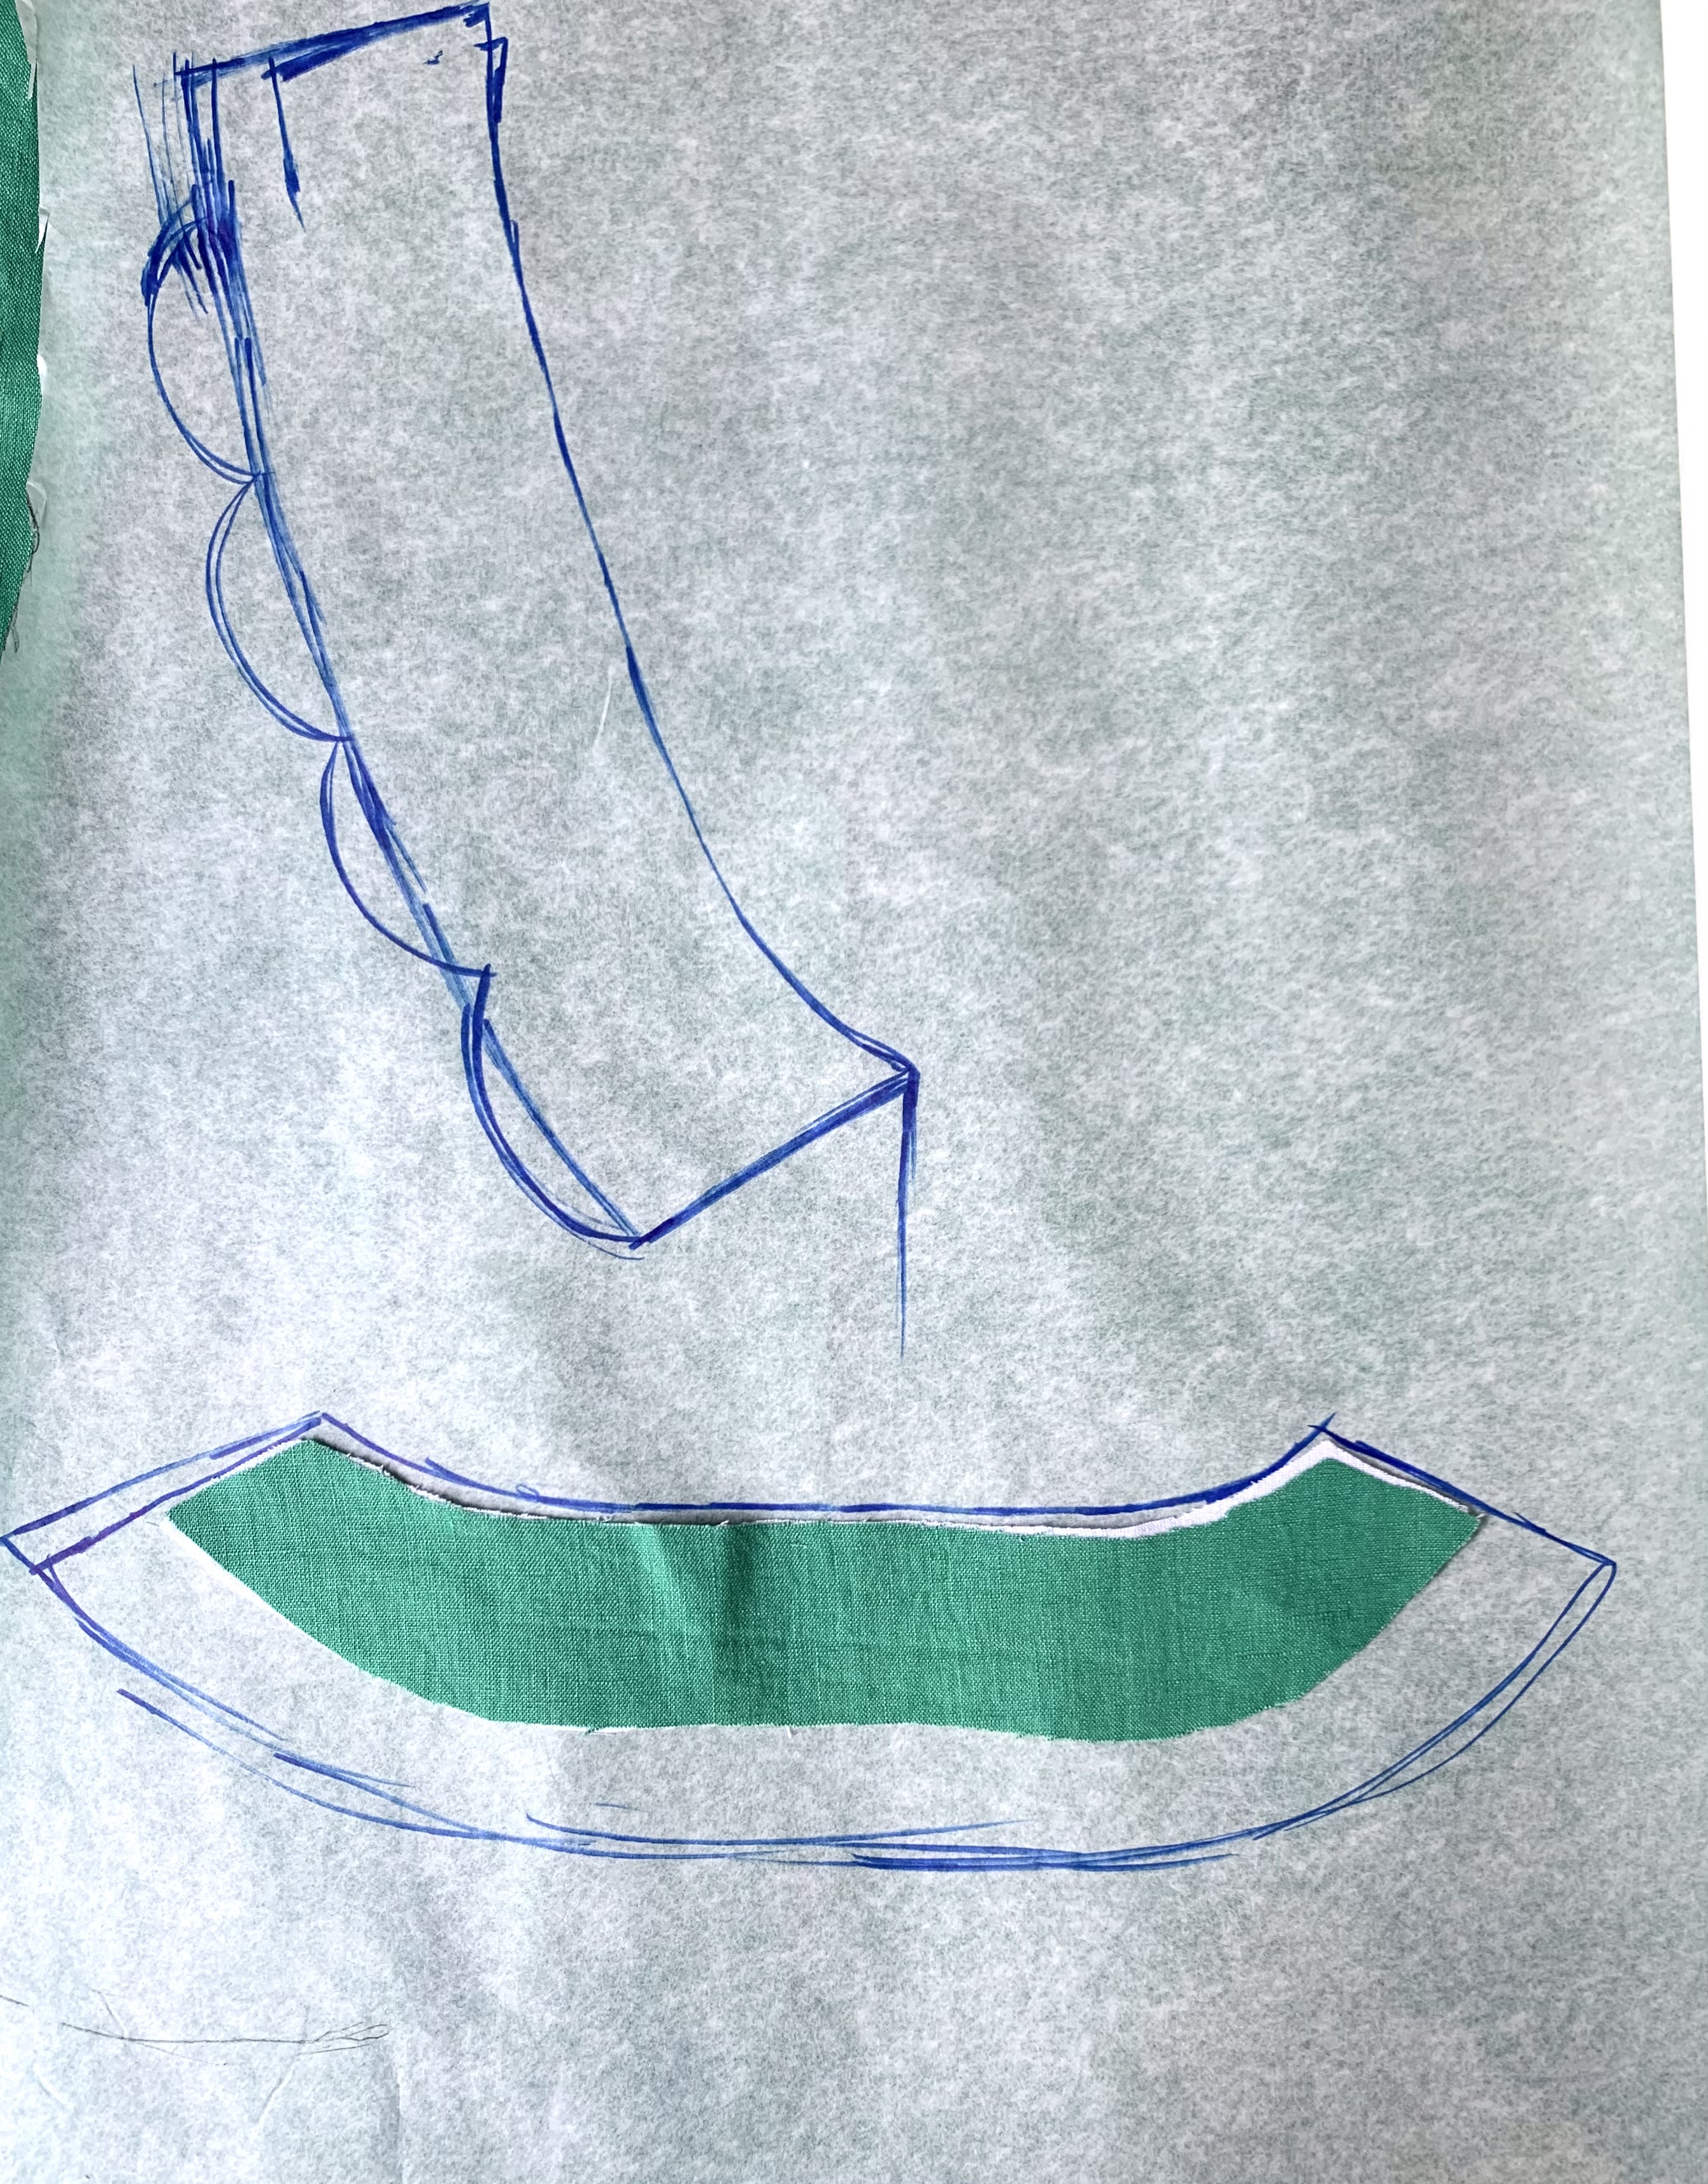
You can see in the photo above that I traced the back and front facings from this shirt pattern and then added width. I wanted the collar to be bigger than these facings would’ve been. I also wanted to add a scalloped edge.
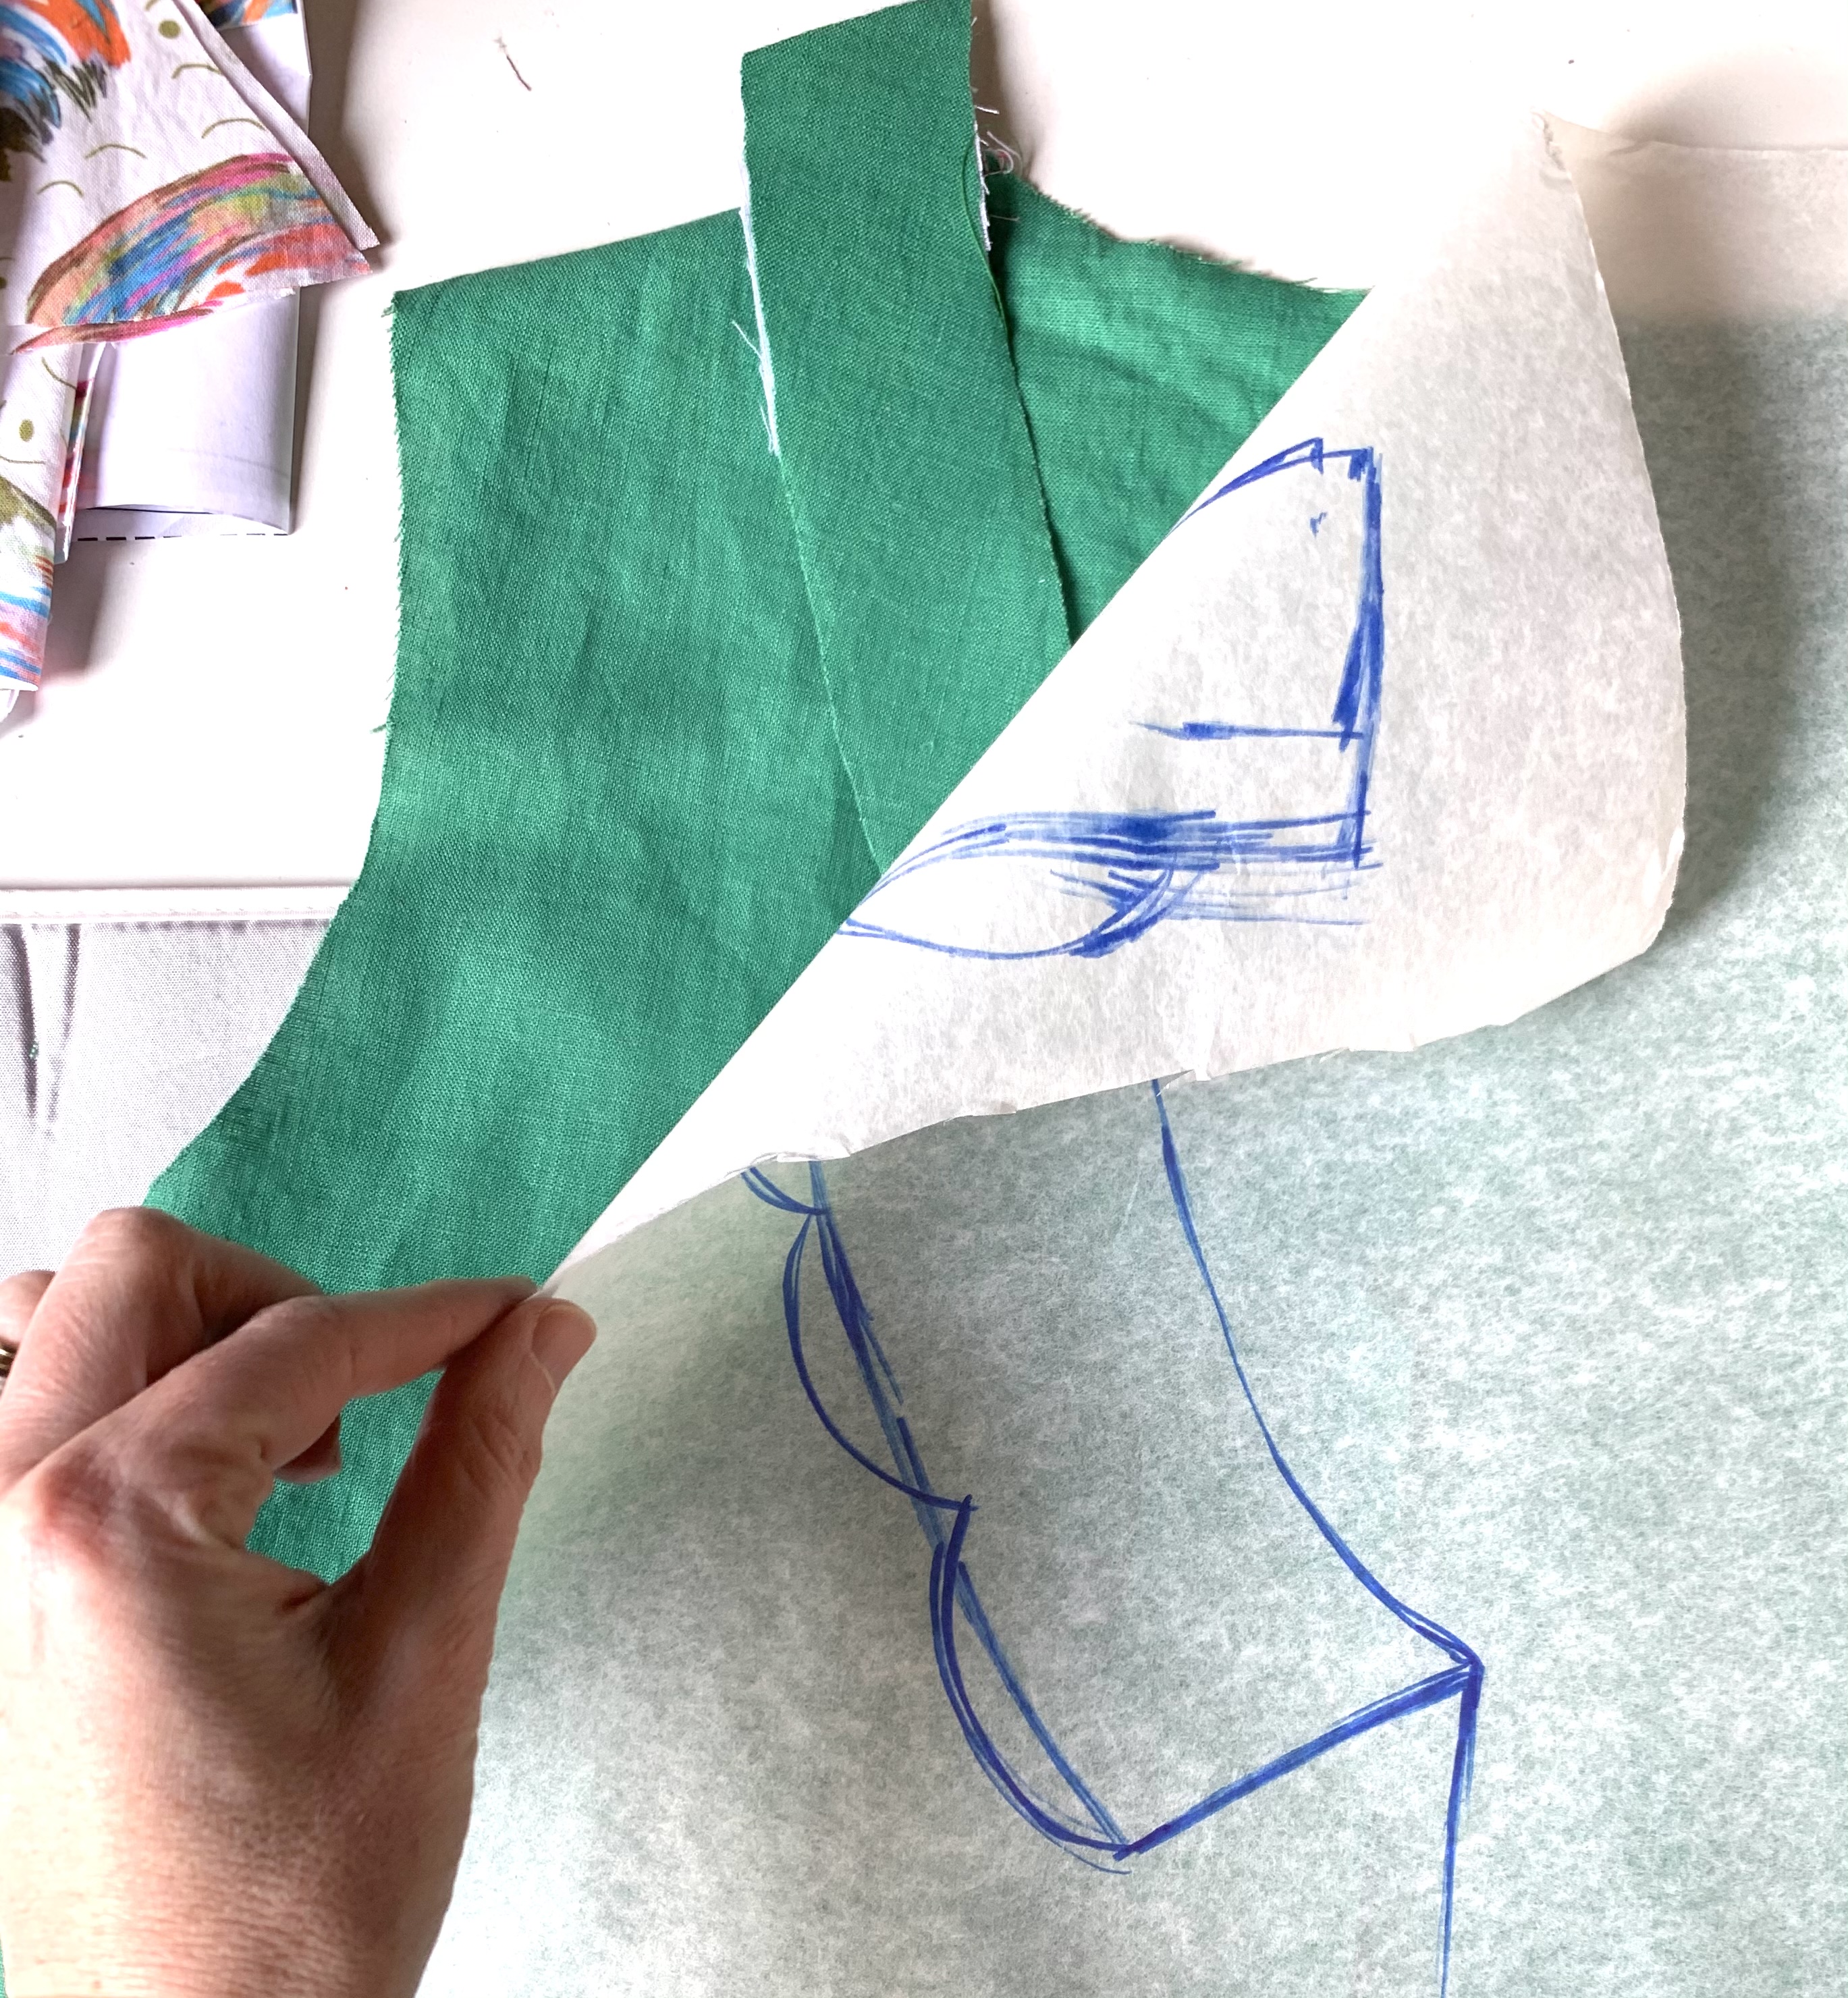
To get the correct shape for the front collar (since the facing on this continued down the front button placket), I laid my tracing paper on top of the shirt. Here I checked it against the pattern’s shape to make sure the new piece lined up correctly and that the angle of the bottom was what I wanted.

Next, I pinned my new pattern pieces together with the seam allowance to check again that it worked when I put it on top of the shirt.
Step 2: Cut Collar Out and Prepare
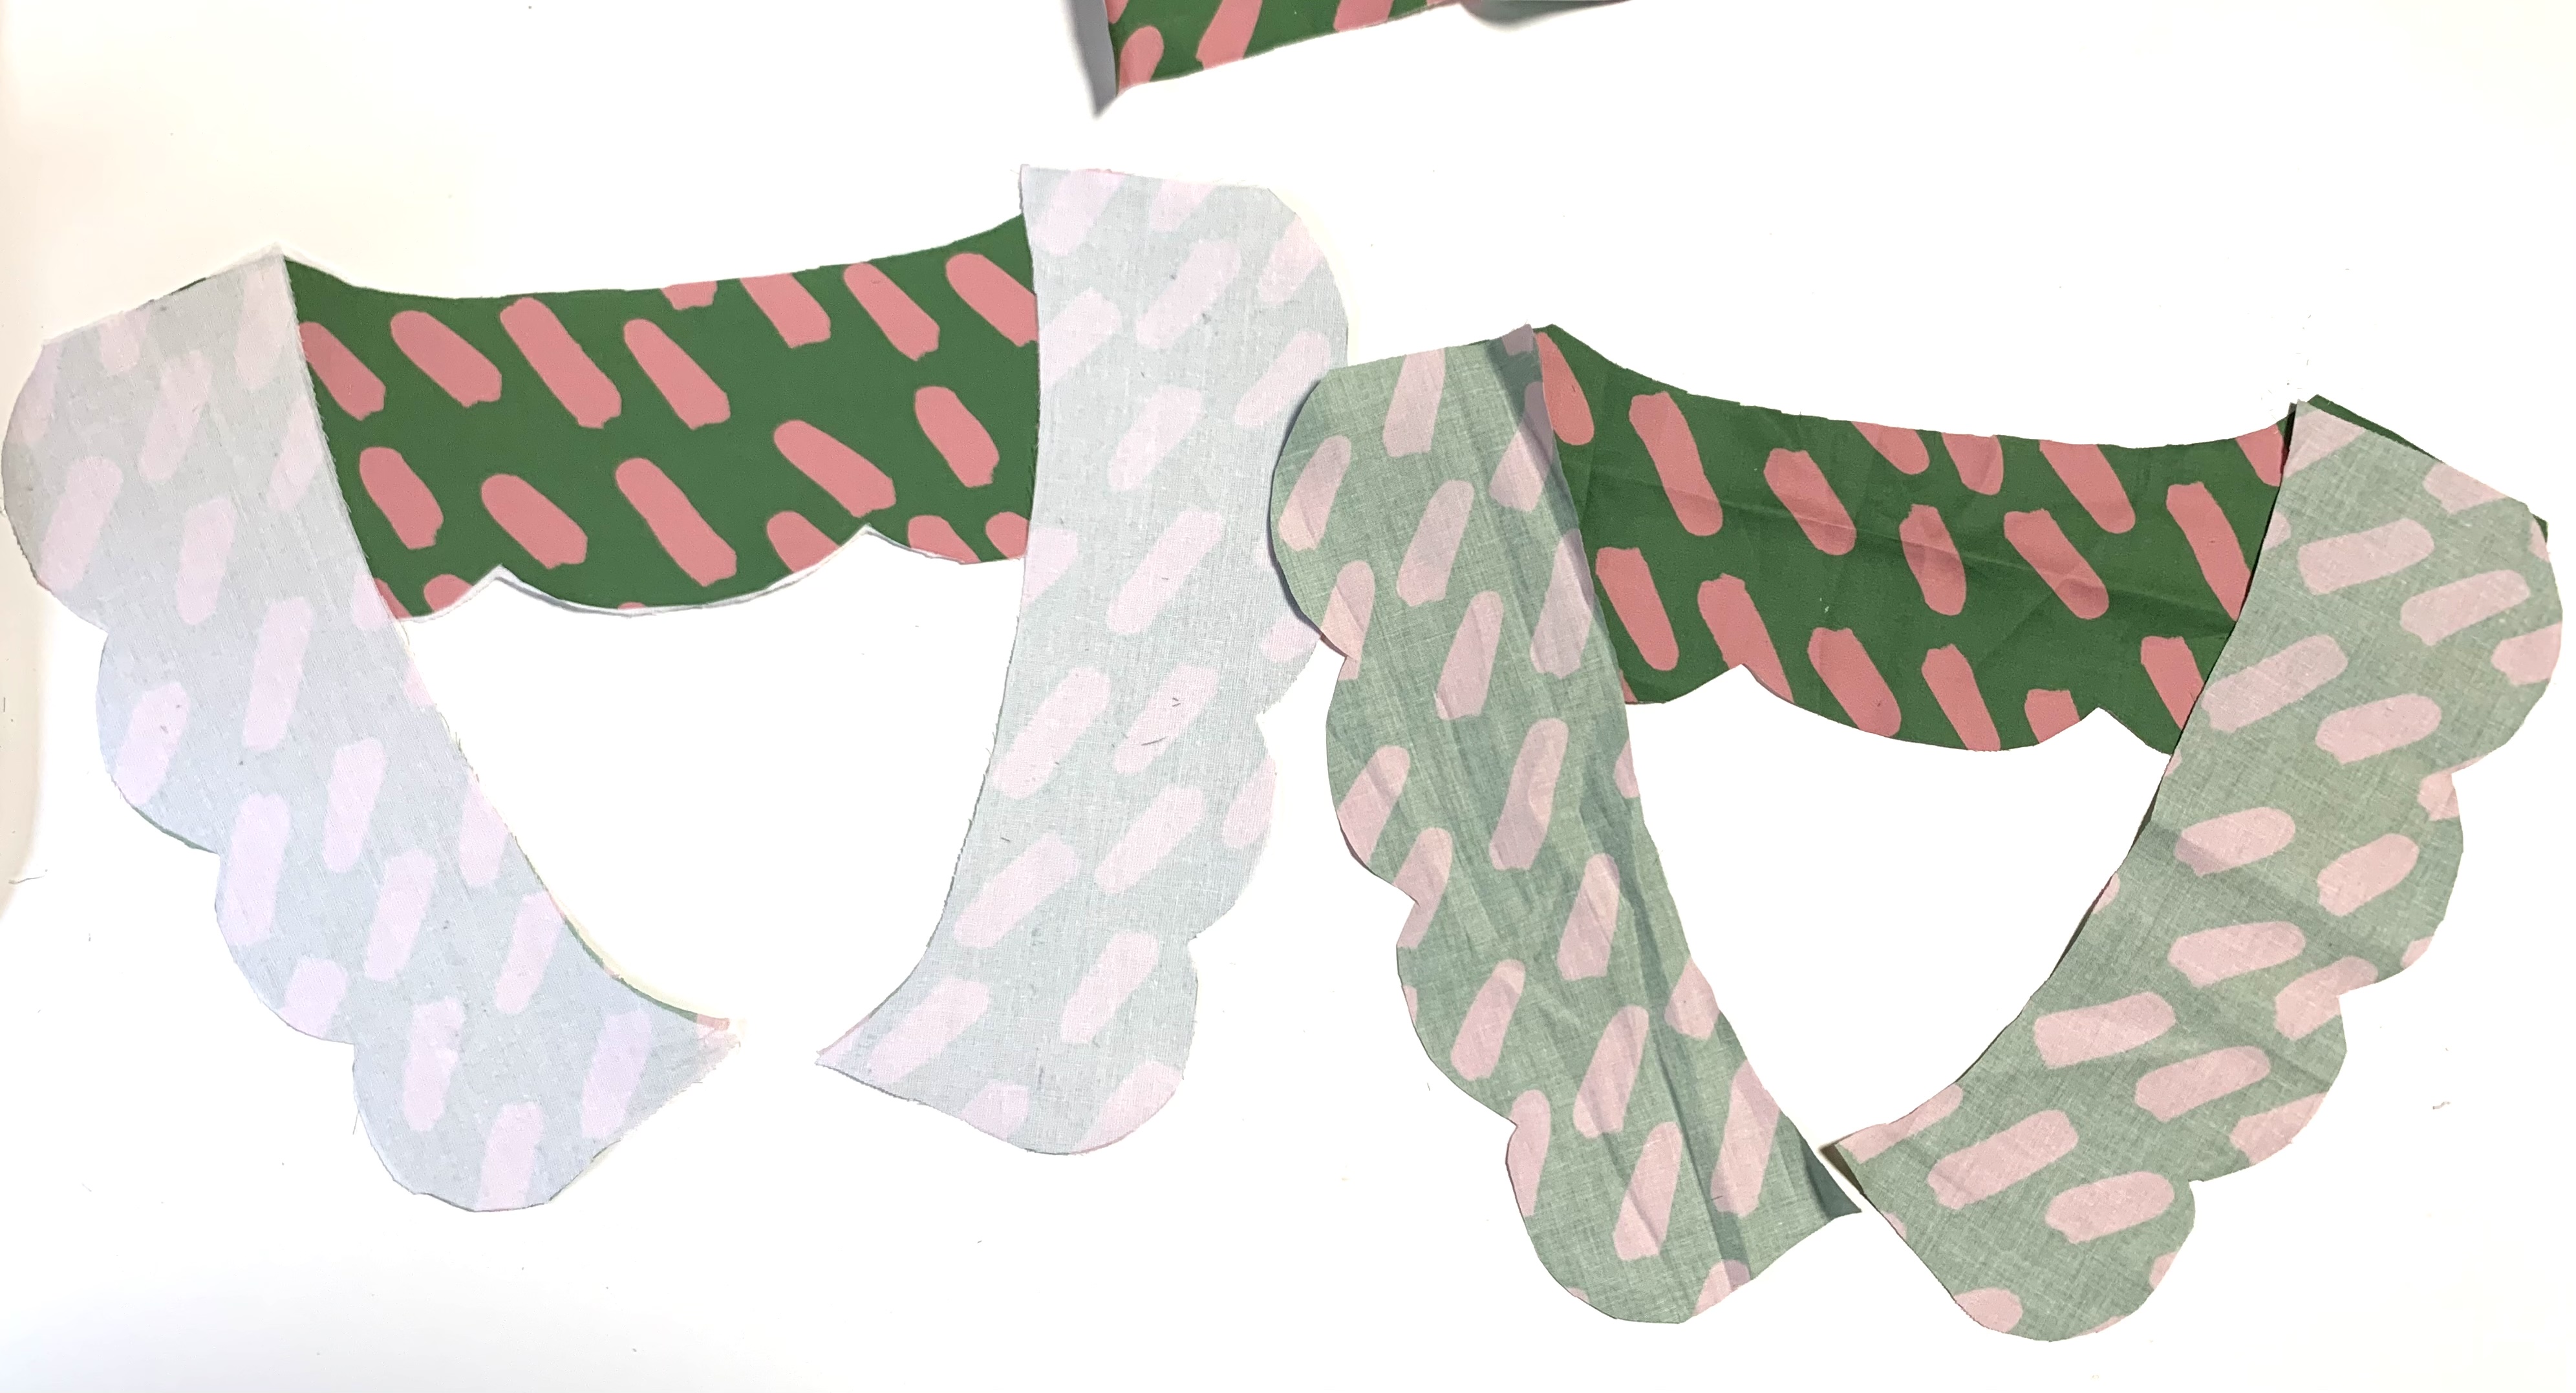
You will need to cut two collars out of your pattern (one is the lining). The one that you want to be on top when folded outward, will need to be interfaced to keep it nice and flat.
Next, sew the collar pieces together for the main and the lining.
Step 3: Construct the Collar

Now you sew the top and bottom collars together, right sides facing (RST).
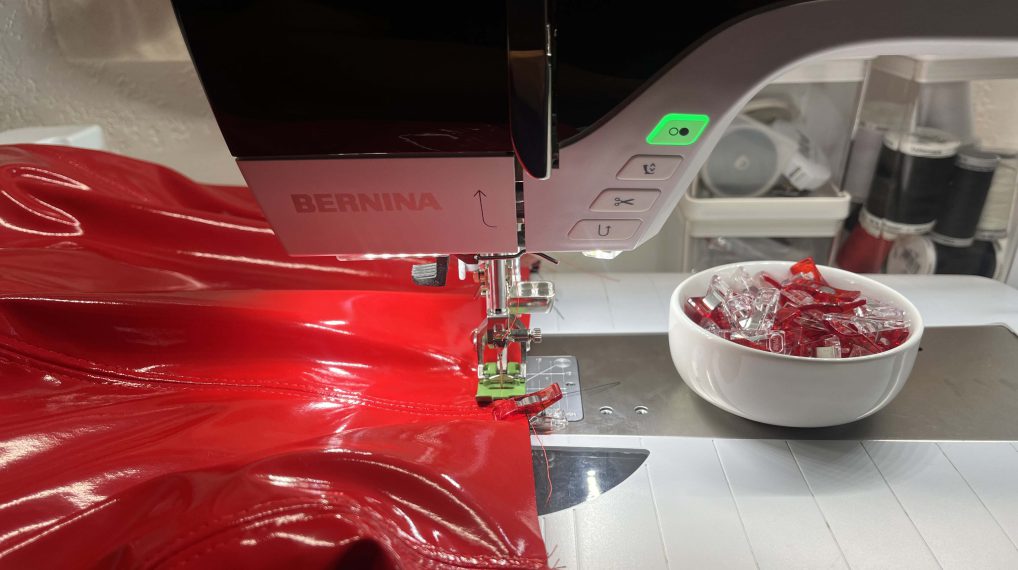
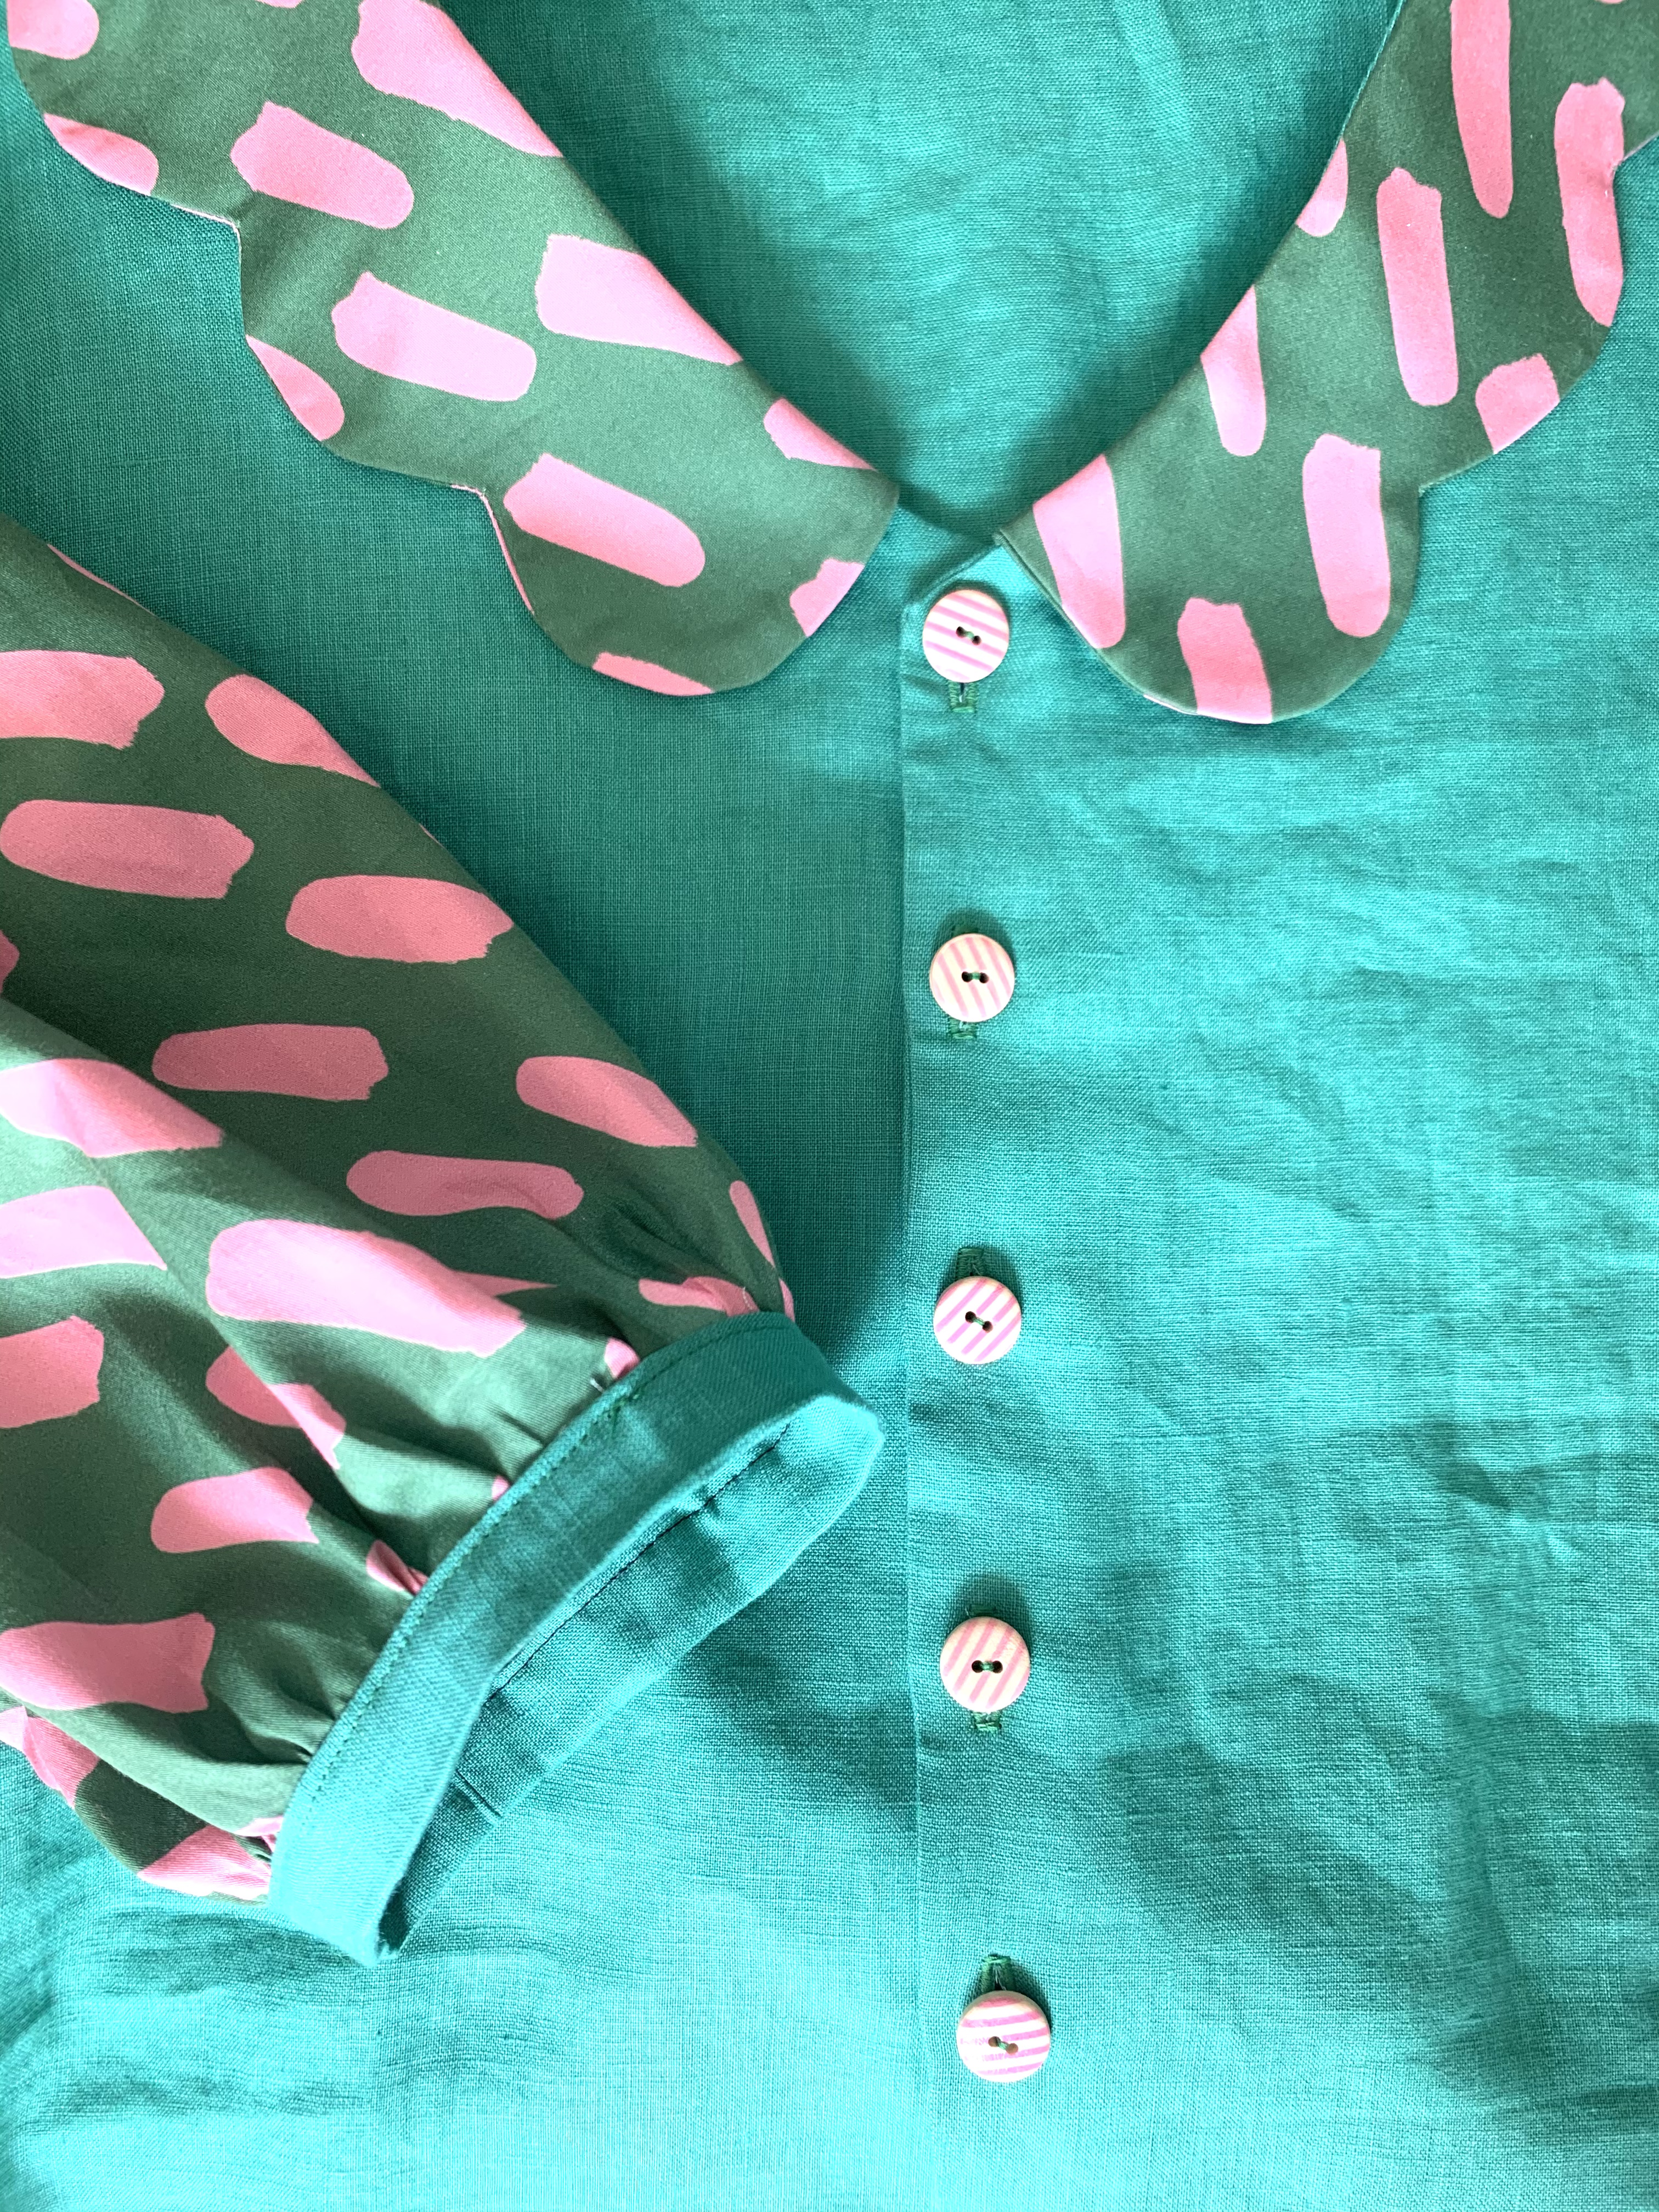
If you choose to do a scallop, carefully go around each hump, and make sure you create a point in between. To create a nice point, you stop at that point, lift the presser foot, and turn the collar for the next bump. It can be annoying but it’s worth it!

If you do the scallops, make sure to do a little clip at each point so that it turns nicely!
Now turn your collar Right Side Out and pressssssss it!
Step 4: Attaching the Collar to Your Shirt

Carefully pin the collar to the shirt as you’d wear it and baste it to the shirt.
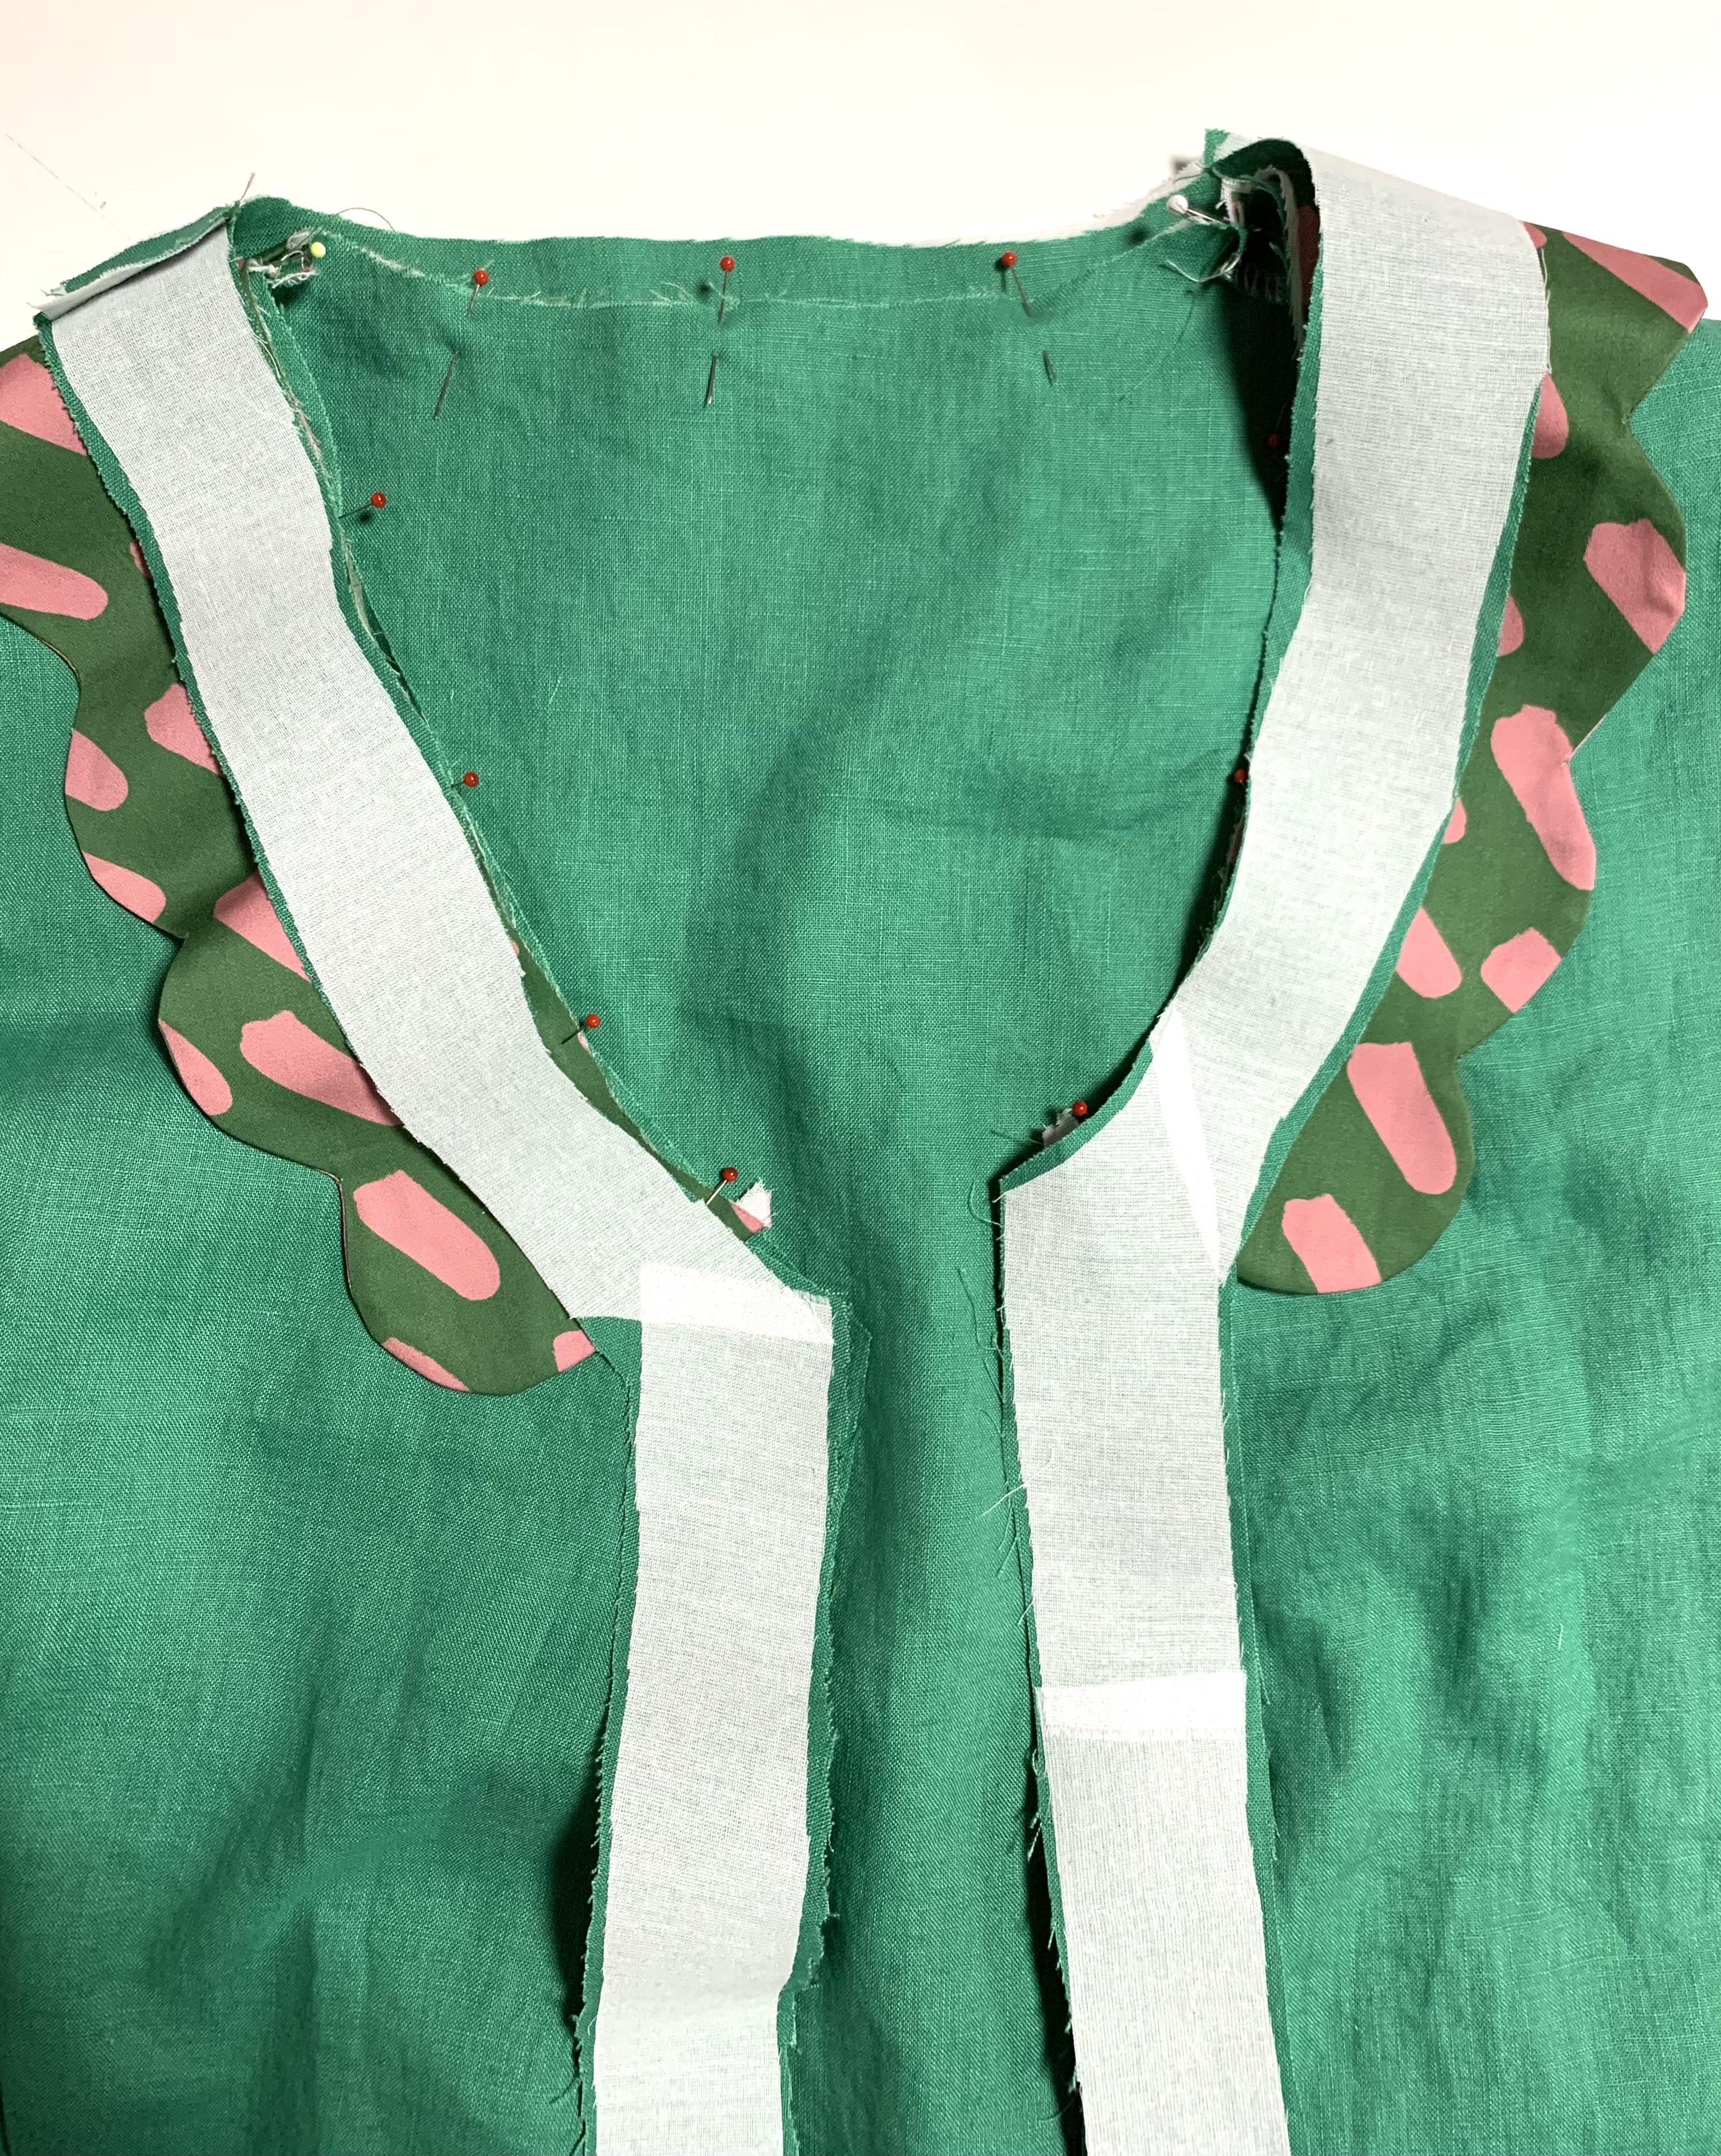
Place the facings (interfaced) on top (RST) and stitch.

Trim the seam allowance that will be closest to the top collar. Press the facing inside and finish your shirt!


Wear your cute new collared shirt with pride!
Shirt Pattern used: Fibre Mood Norma