How to Sew a Detachable Statement Collar, Part 1: Rounded Collar
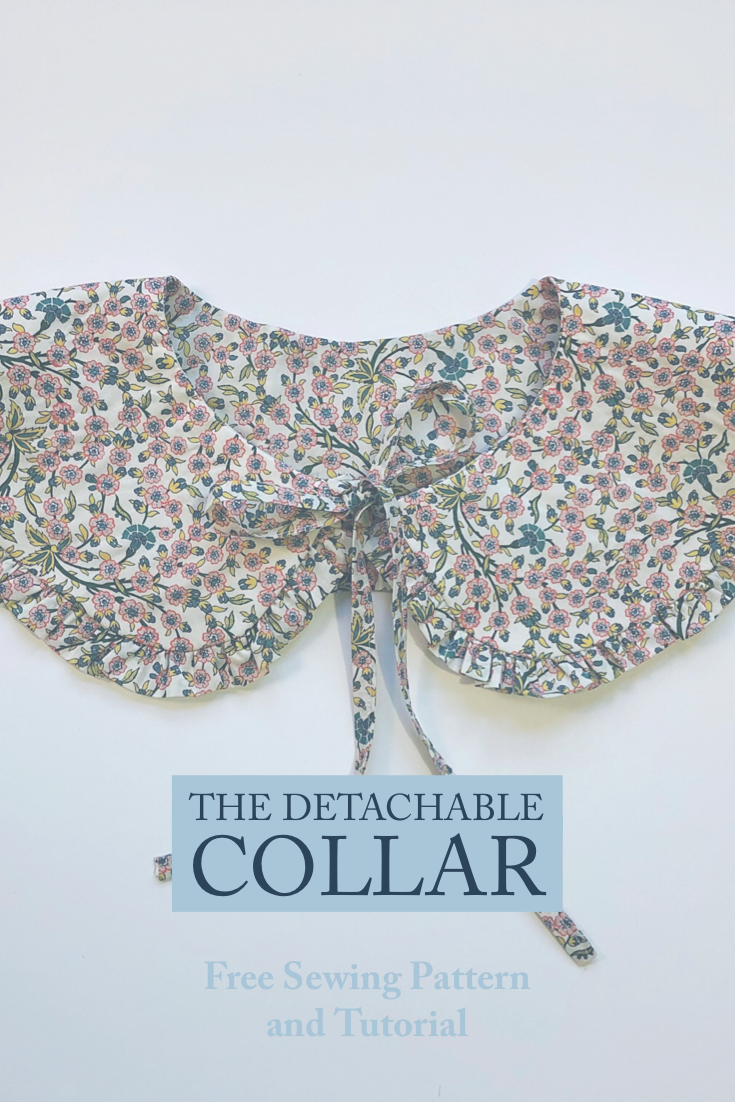
Free Sewing Pattern and Tutorial DIY Detachable Collar
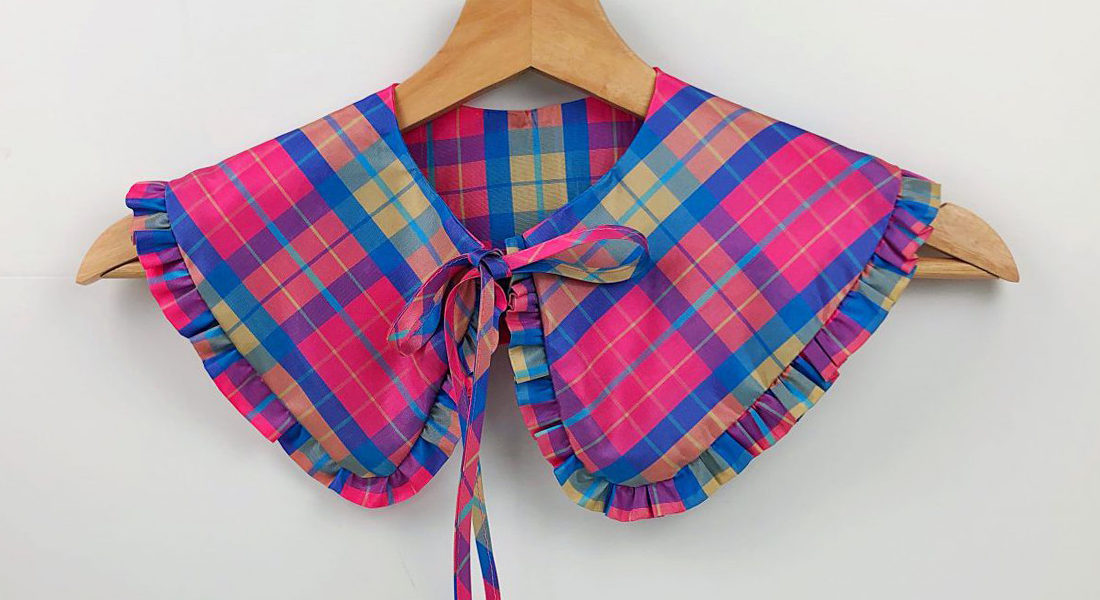
The Detachable Statement Collar
Each season during fashion week, I look forward to the influx of street style images of the editors, models, fashion students, and stylists, just as much as the shows themselves. The creative way that they pull an outfit together, matched with their atypical layering methods, is always so inspiring. This past season was no exception. Perhaps it was a natural evolution of last year’s turtleneck dickey that was all the rage, or maybe a way to help us all look a bit more pulled together and fancy for the Zoom calls. But heads up – the detachable statement collar has returned.
From pristine white collars with lace trim to knitted capelets and quilted denim, there are collars for every occasion and outfit. Beaded collars, fur collars, collars with plumes, collars with lace, collars with piping, and tiers of ruffles. For someone who loves fashion and sewing, these collars offer a sewist a chance to pull out all of the stops and finally try an embellishing technique that perhaps has seemed too daunting for a larger project.
Detachable statement collars are really easy to make (and to give as gifts, too!) They come together rather quickly and don’t require much in the way of specialized equipment. I thought you might enjoy learning all about collars in general and how to make and customize them. To that end, you can think of this as a sort of mini-course.
Detachable Statement Collars Lesson Plan
1. Rounded collar tutorial and construction tips
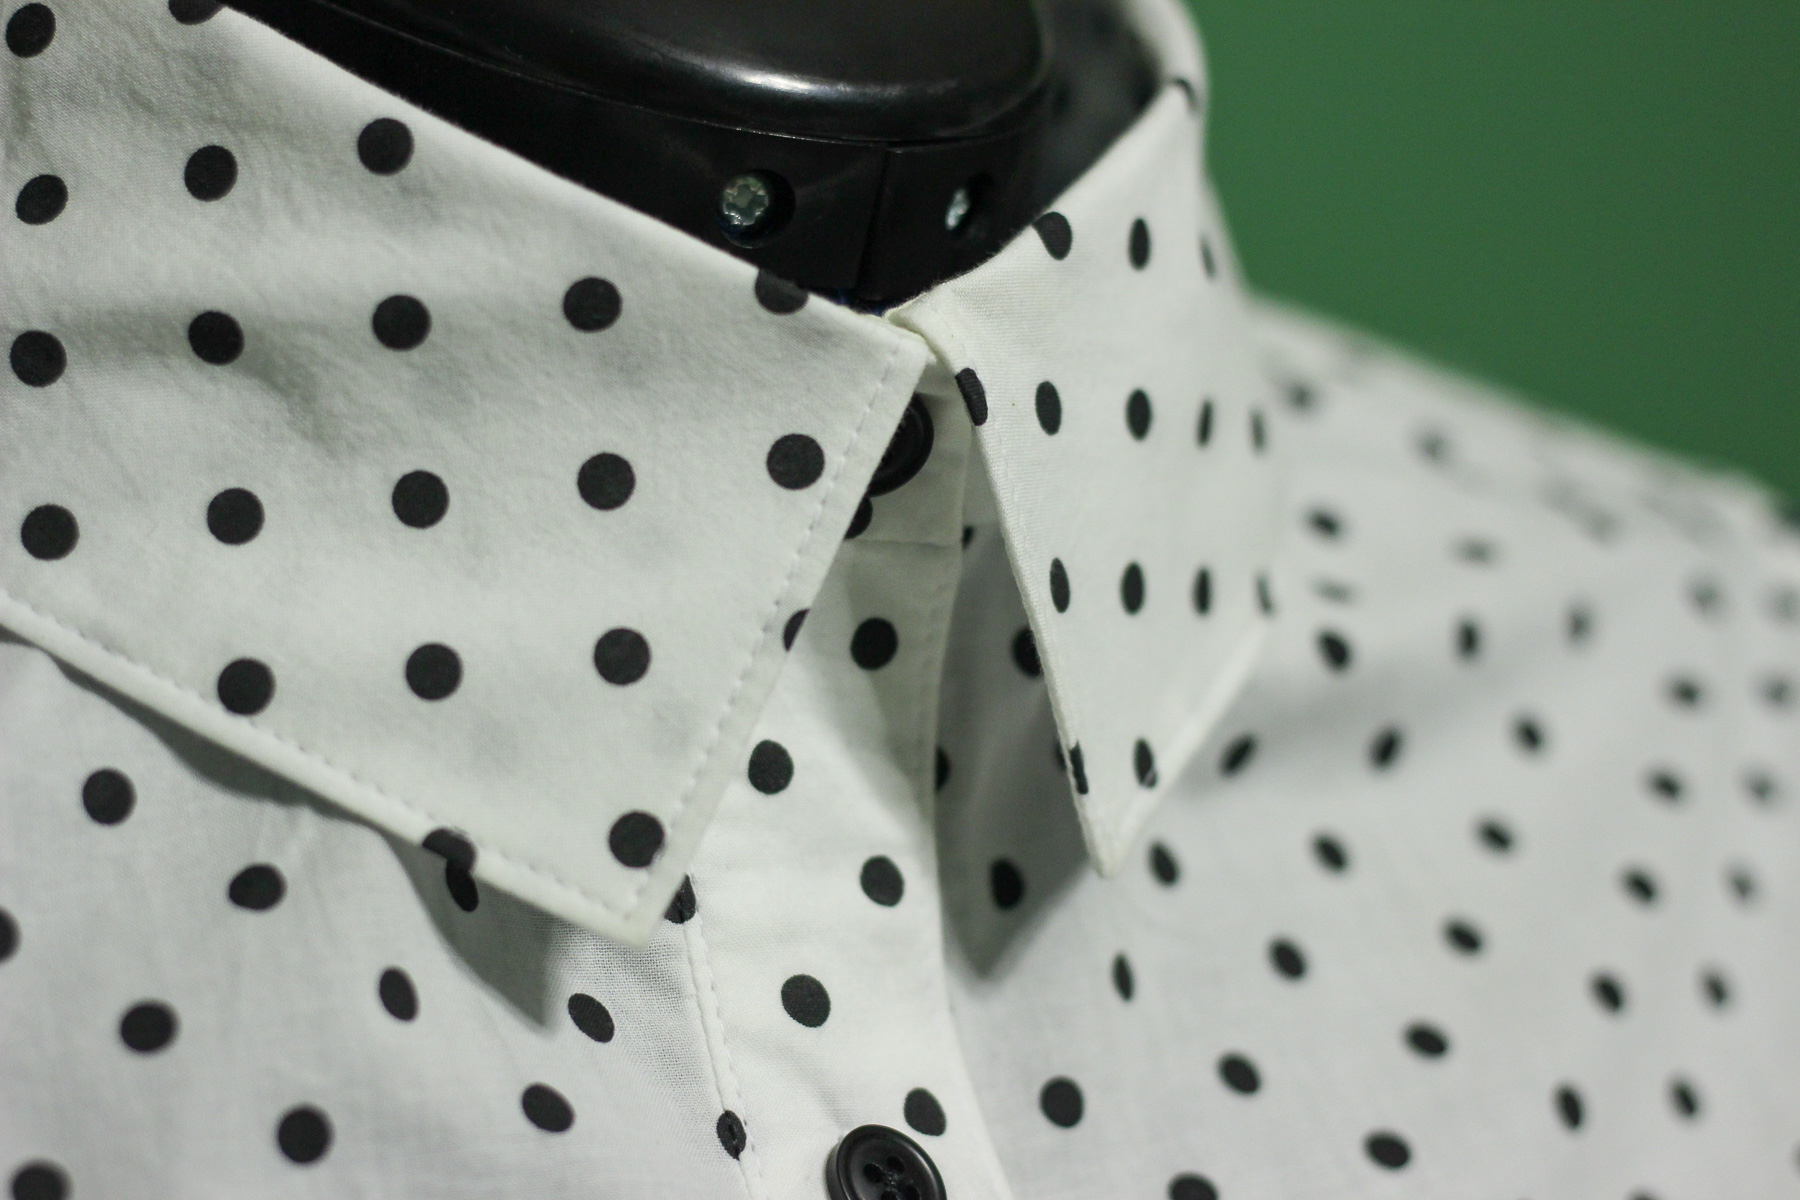
2. Pointed edge collar tutorial and construction tips
3. Ruffled collar tutorial and construction tips
4. Creating and adding edging and ruffles
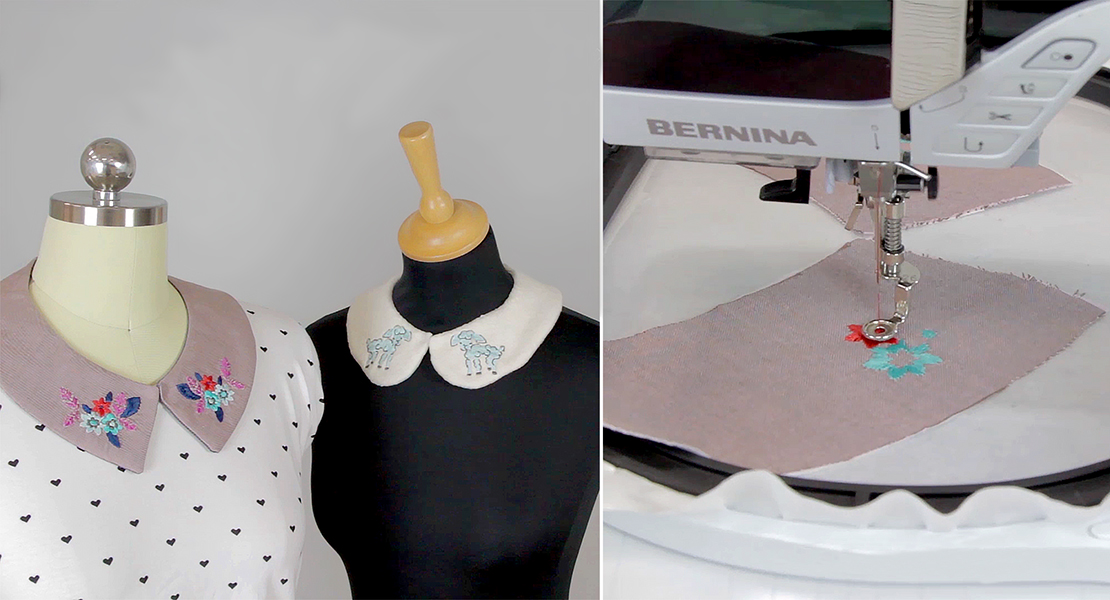
5. Embellishments (BERNINA DesignWorks fun!)
We’ll start this post with some foundational information. Then we will make some simple collars and move on to the exciting parts like embellishing and playing with proportion. Sound fun?
Collars are classified into three types: Standing collars, Flat collars, and Roll collars. Within each of these types, there are many styles, combinations, and variations. The collars for this project series are all Flat collars, as they lie flat on the shoulders.
The Round Collar Patterns
Large Rounded Collar and Small Rounded Collar
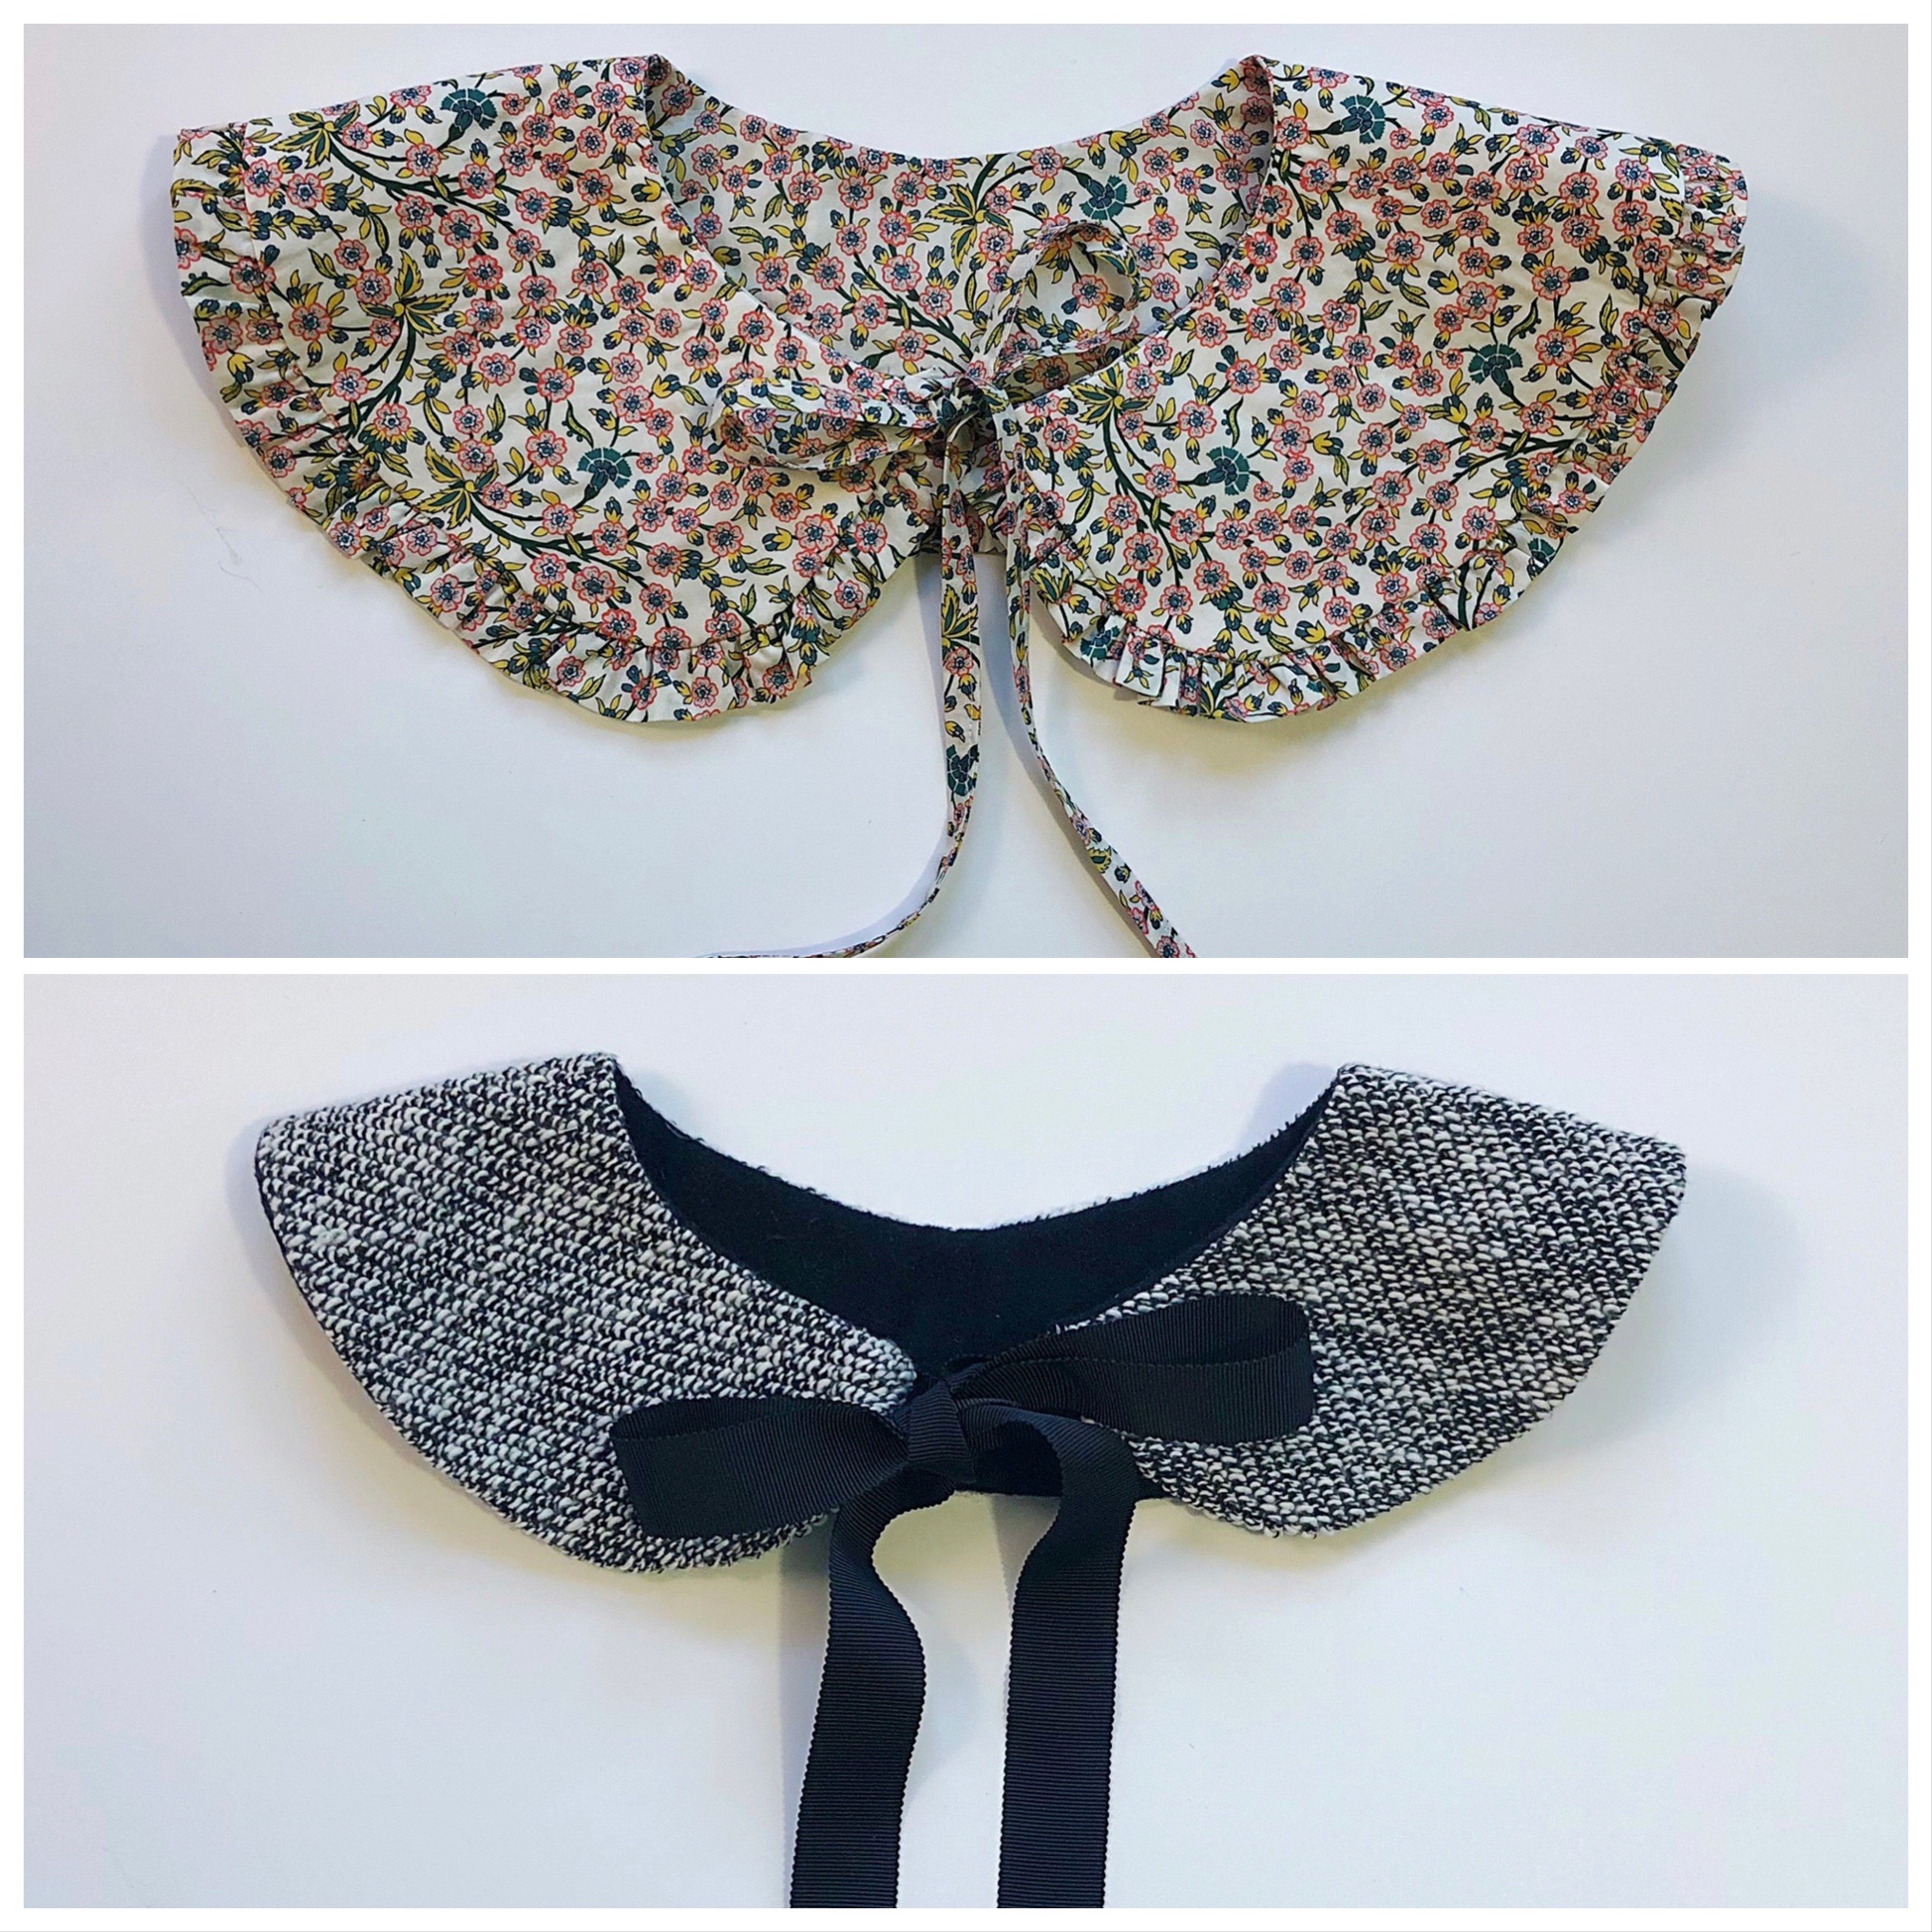
Pattern size variations large and small rounded detachable, removable collar.
This pattern works best with light to medium-weight woven fabrics like cotton lawn, chambray, linen, light-weight corduroy, and poplin.
Optional: One yard of grosgrain or double-faced satin ribbon.
Finished measurements:
Large Rounded Collar (without added ruffle) approximately 4.5″ side collar width
Small Rounded Collar, approximately 3.25″ side collar width
Materials to Sew a Detachable Statement Collar:
- 1/4 Yard of Fabric
- Coordinating thread
- *Interfacing (sew-in or fusible)
- One yard of ribbon (3/8″ to 1″) or make 2 fabric ties that are 1/4″x 18″
- Download, print, and assemble the PDF pattern
Preparation
- Cut 2 collars on the fabric’s fold
- Cut one collar out of *Interfacing. Trim Interfacing so it is about 1/4” smaller than the collar.
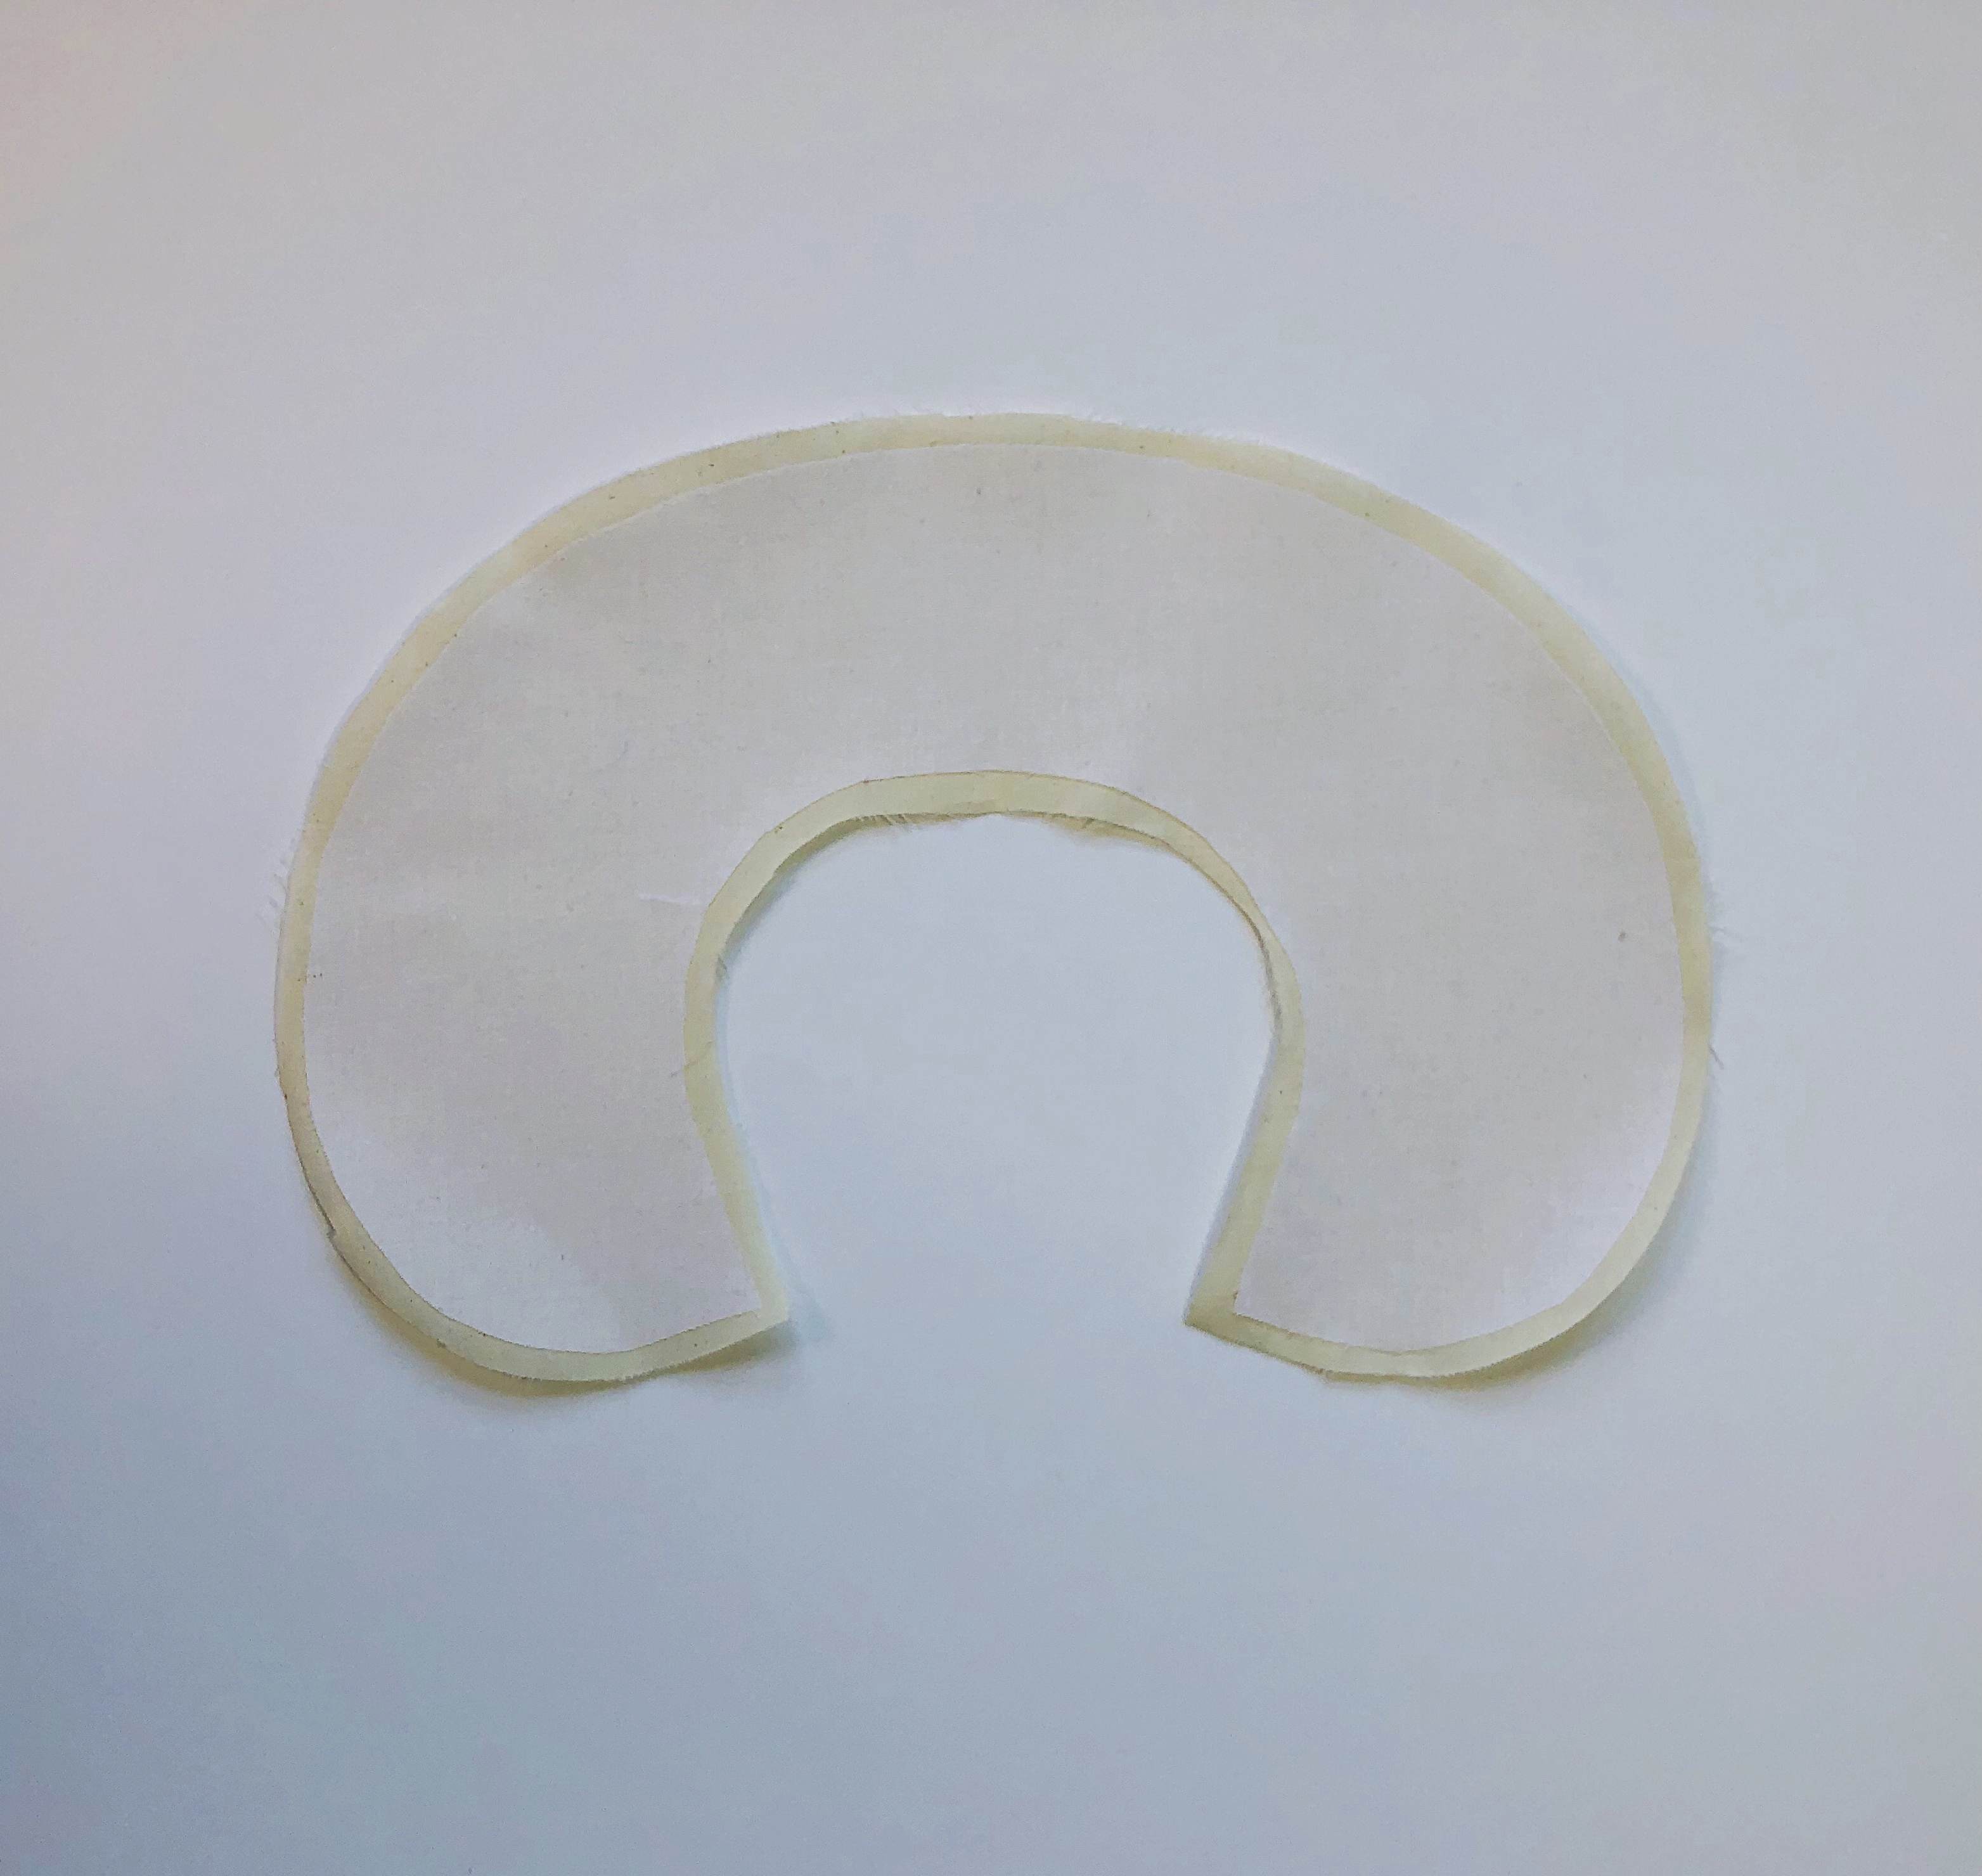
- Press collar fabric flat. If using *fusible interfacing, press to adhere to fabric, keeping the interfacing ‘centered’ on the collar fabric.

- Transfer the pattern marks with tailor’s chalk or water-soluble marker to the wrong side of the fabric.

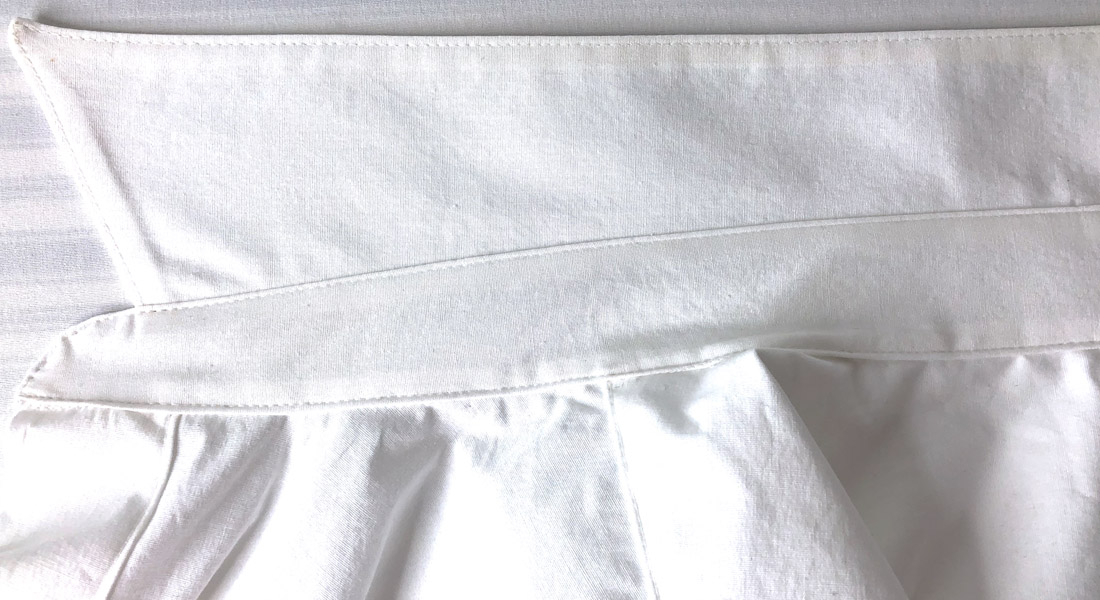
- Place the collars with the right sides facing together. Pin a few pins around the outer curve to keep everything in place.
- Pin the inner curve as shown in the picture, leaving the turning space open.
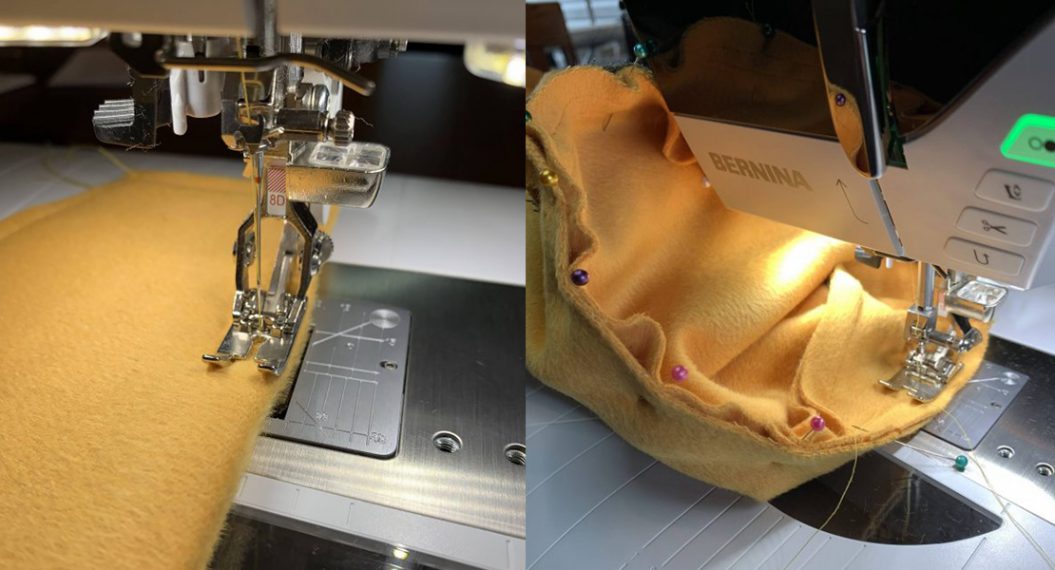
Sewing the Detachable Statement Collar

Directional Sewing helps to keep fabric grain from distortion.
- Beginning at the center opening, stitch toward the collar edge. Repeat for the opposite side. This is called Directional Sewing and will help to keep your collar symmetrical and prevent stretching and distortion. **See Directional Sewing below.

- Pin the ribbons into place at the neckline opening.
- Place more pins along the outer curve, making sure that the top and bottom layers of the fabric are flat and that their edges are aligned.
- Sew the outer curve directionally. Beginning in the center back, stitch toward the collar edge. Be sure to stitch over the ribbon to secure. Repeat for the opposite side.
- Press.
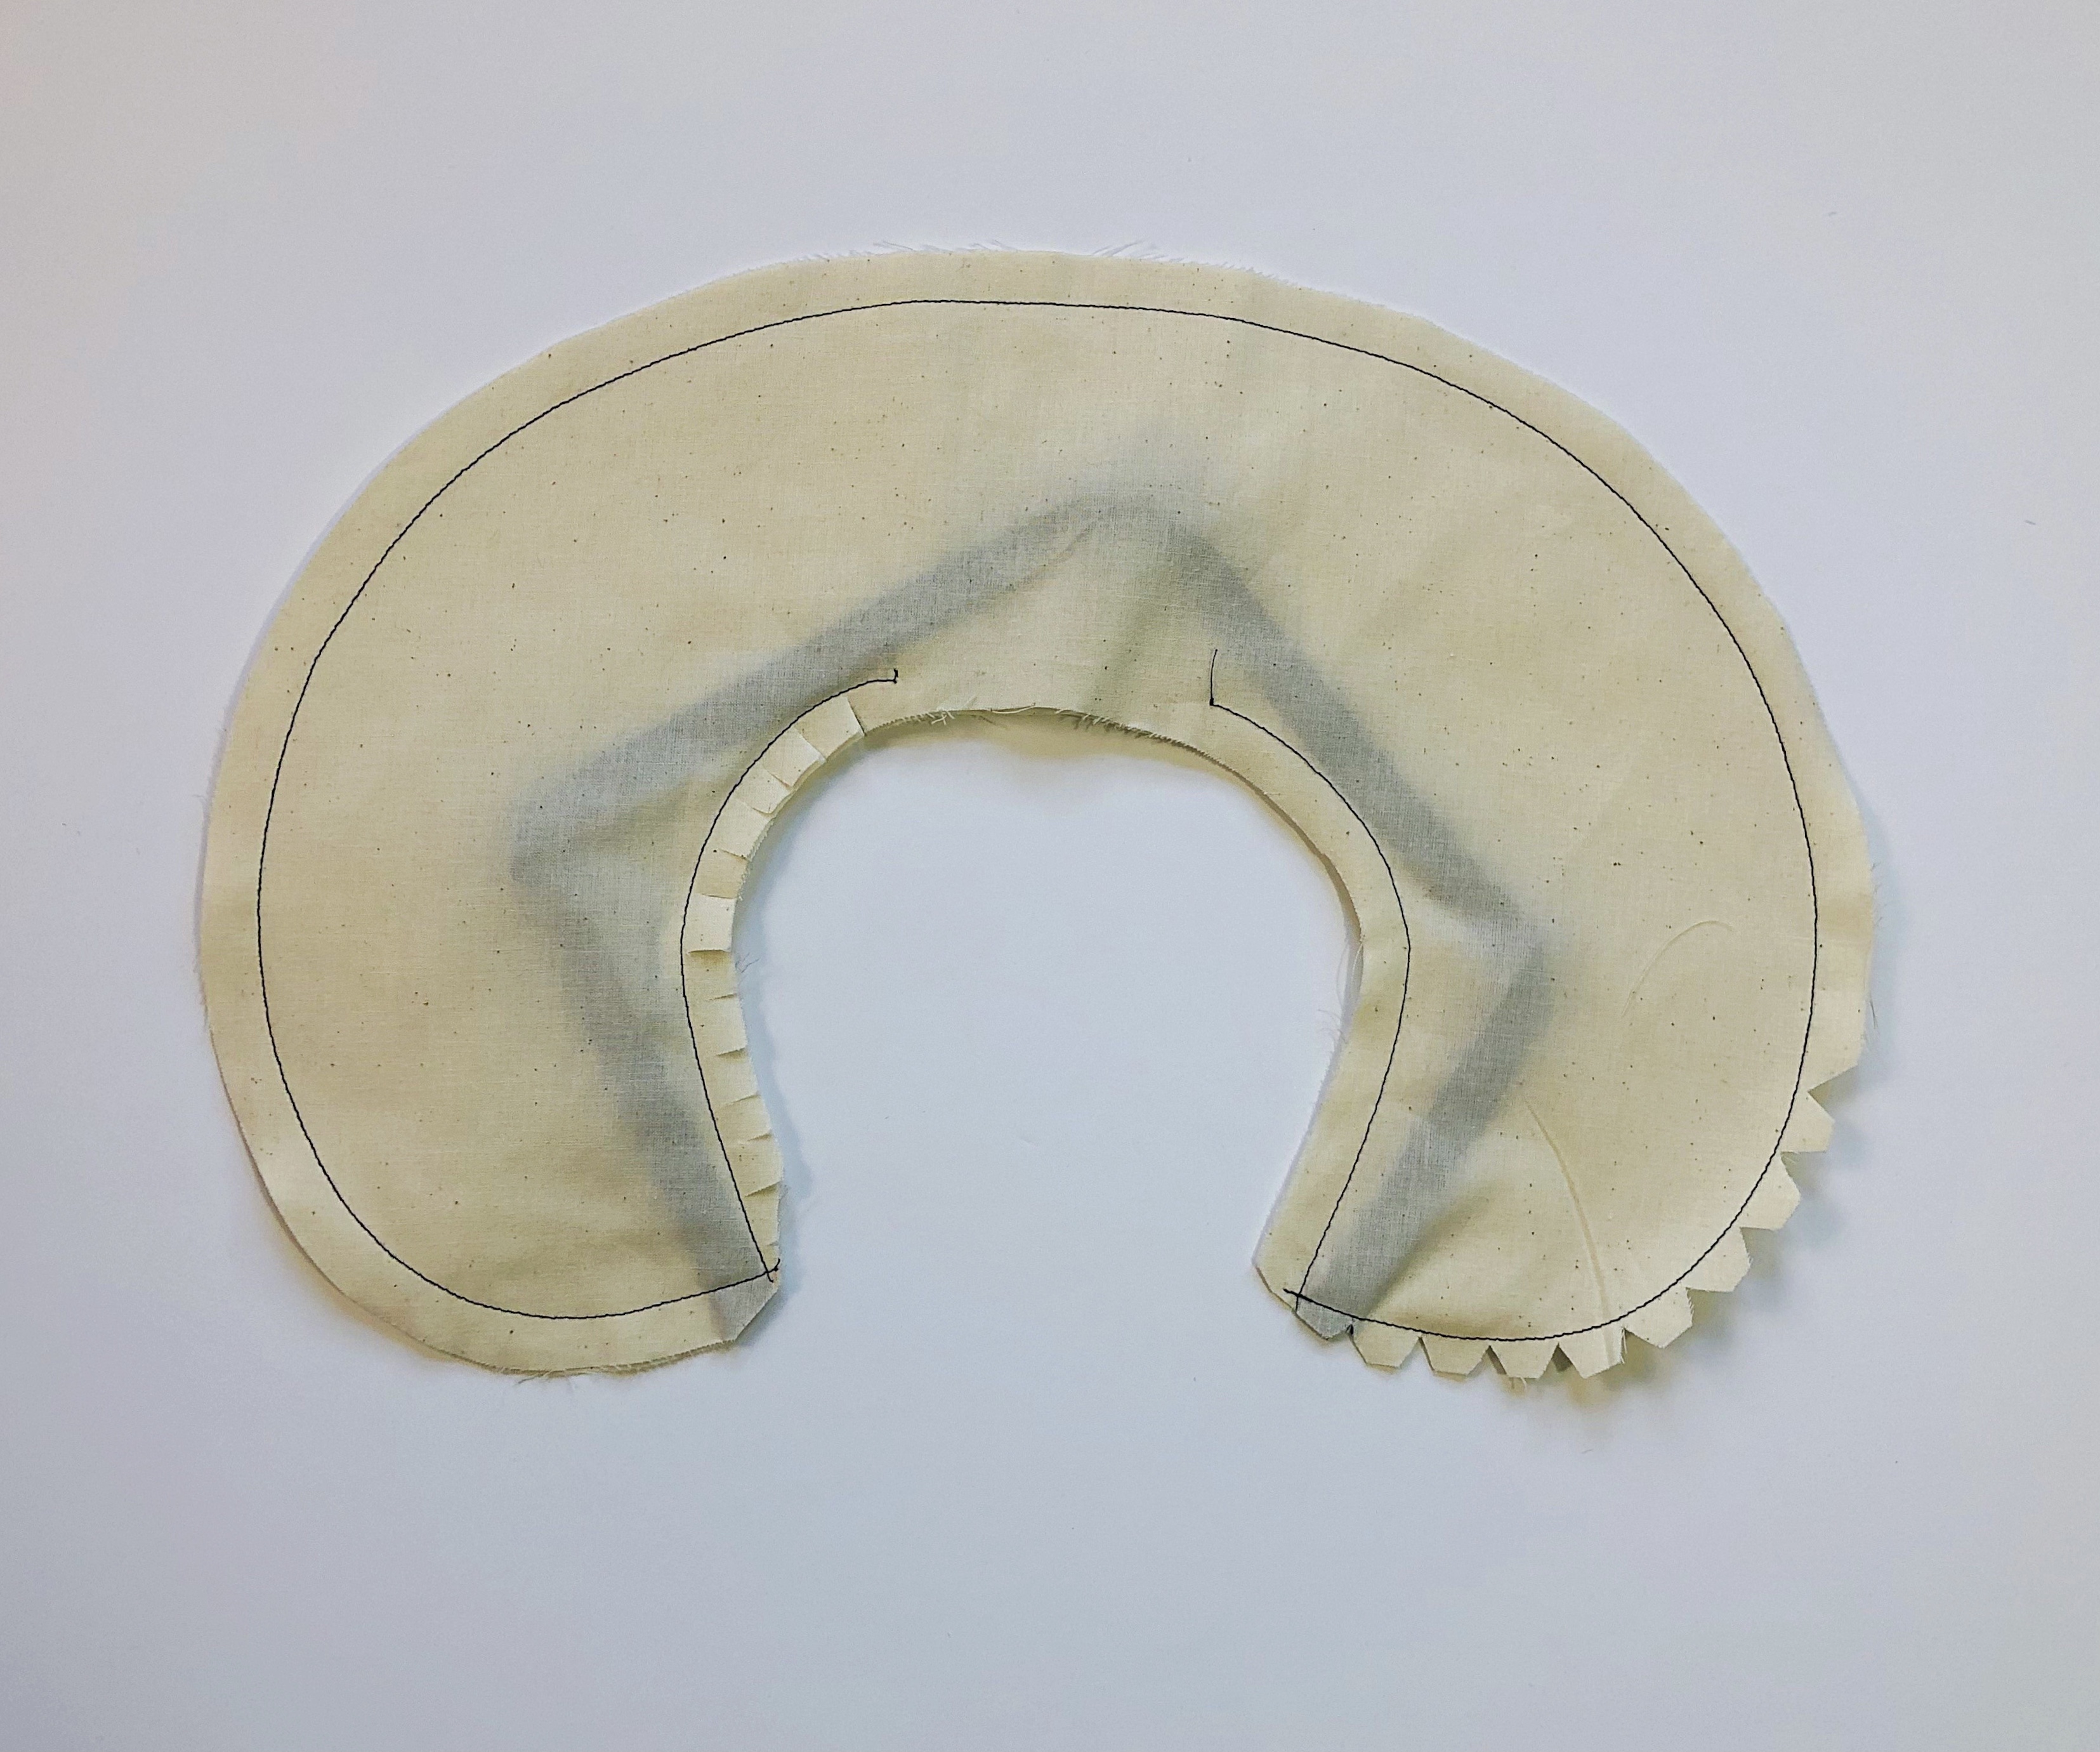
- Clip and trim the curves. For more detail on clipping and trimming, see *Shaping Curves below.
- Turn the collar right side out through the opening.
- Tug on the ribbon to pull collar to shape.
- Before giving a final press, take your finger and trace the inside seam to help encourage the fabric to take the curved shape.
- Press the opening seam allowance closed.
- Pin and slipstitch the opening to complete.
Want to Add Some Fun Design Elements?
There are lots of ways to make these collars special. Ruffles, trim, beads, fur, quilting. I look forward to sharing some tips over the coming lessons.
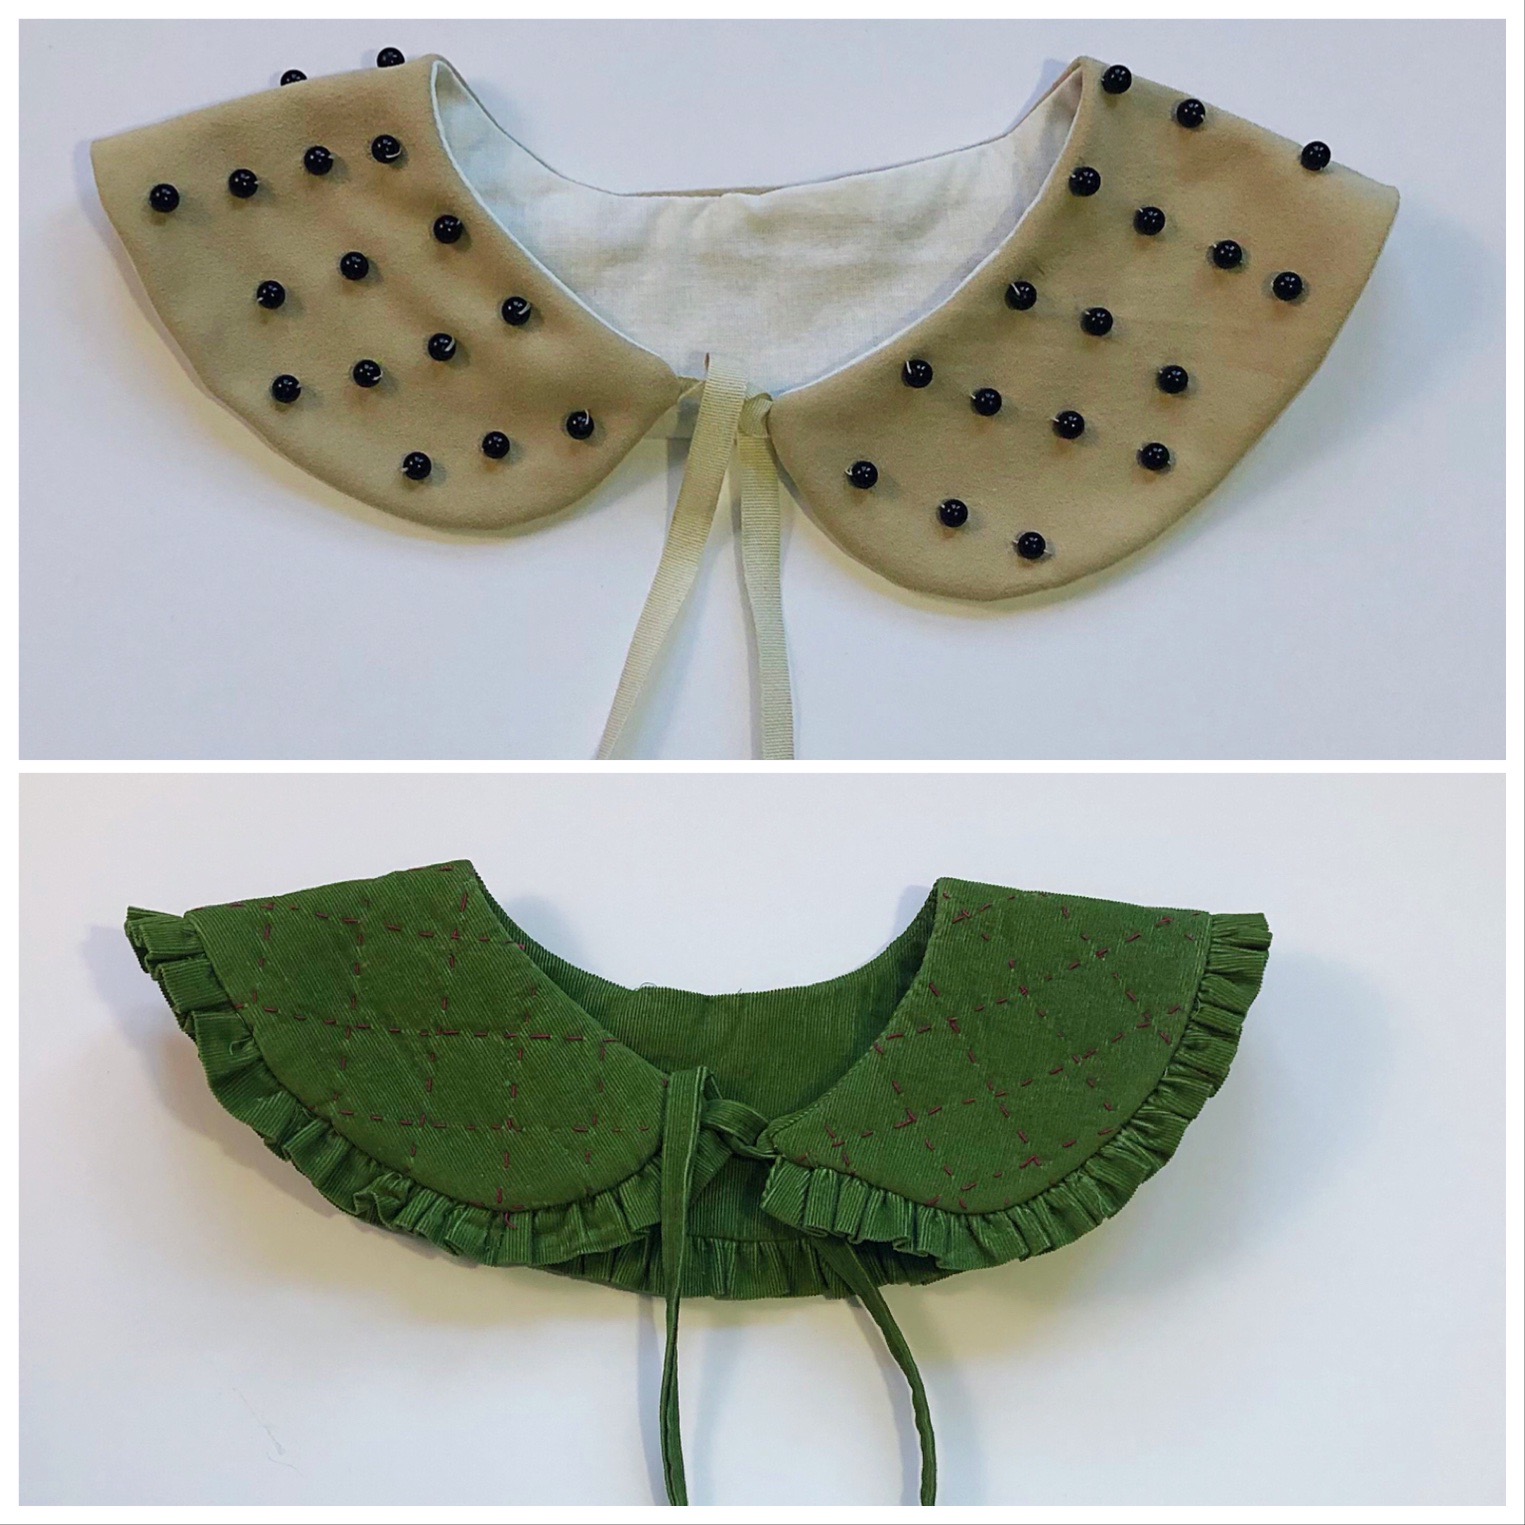
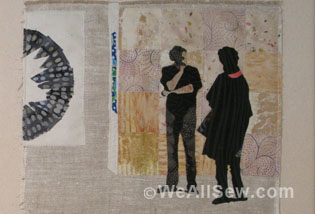
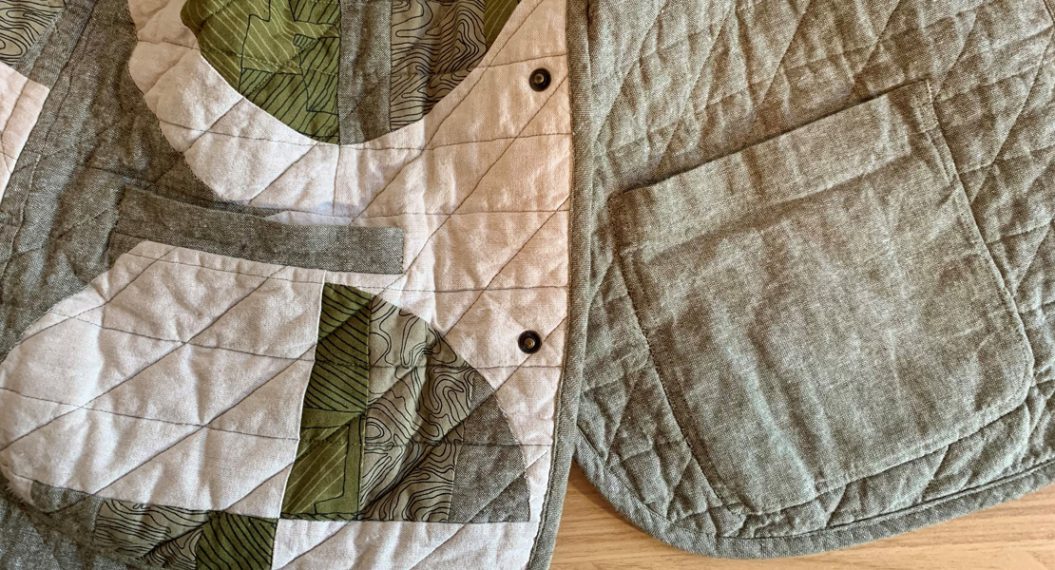
Leather peter pan collar with beading, quilted round collar.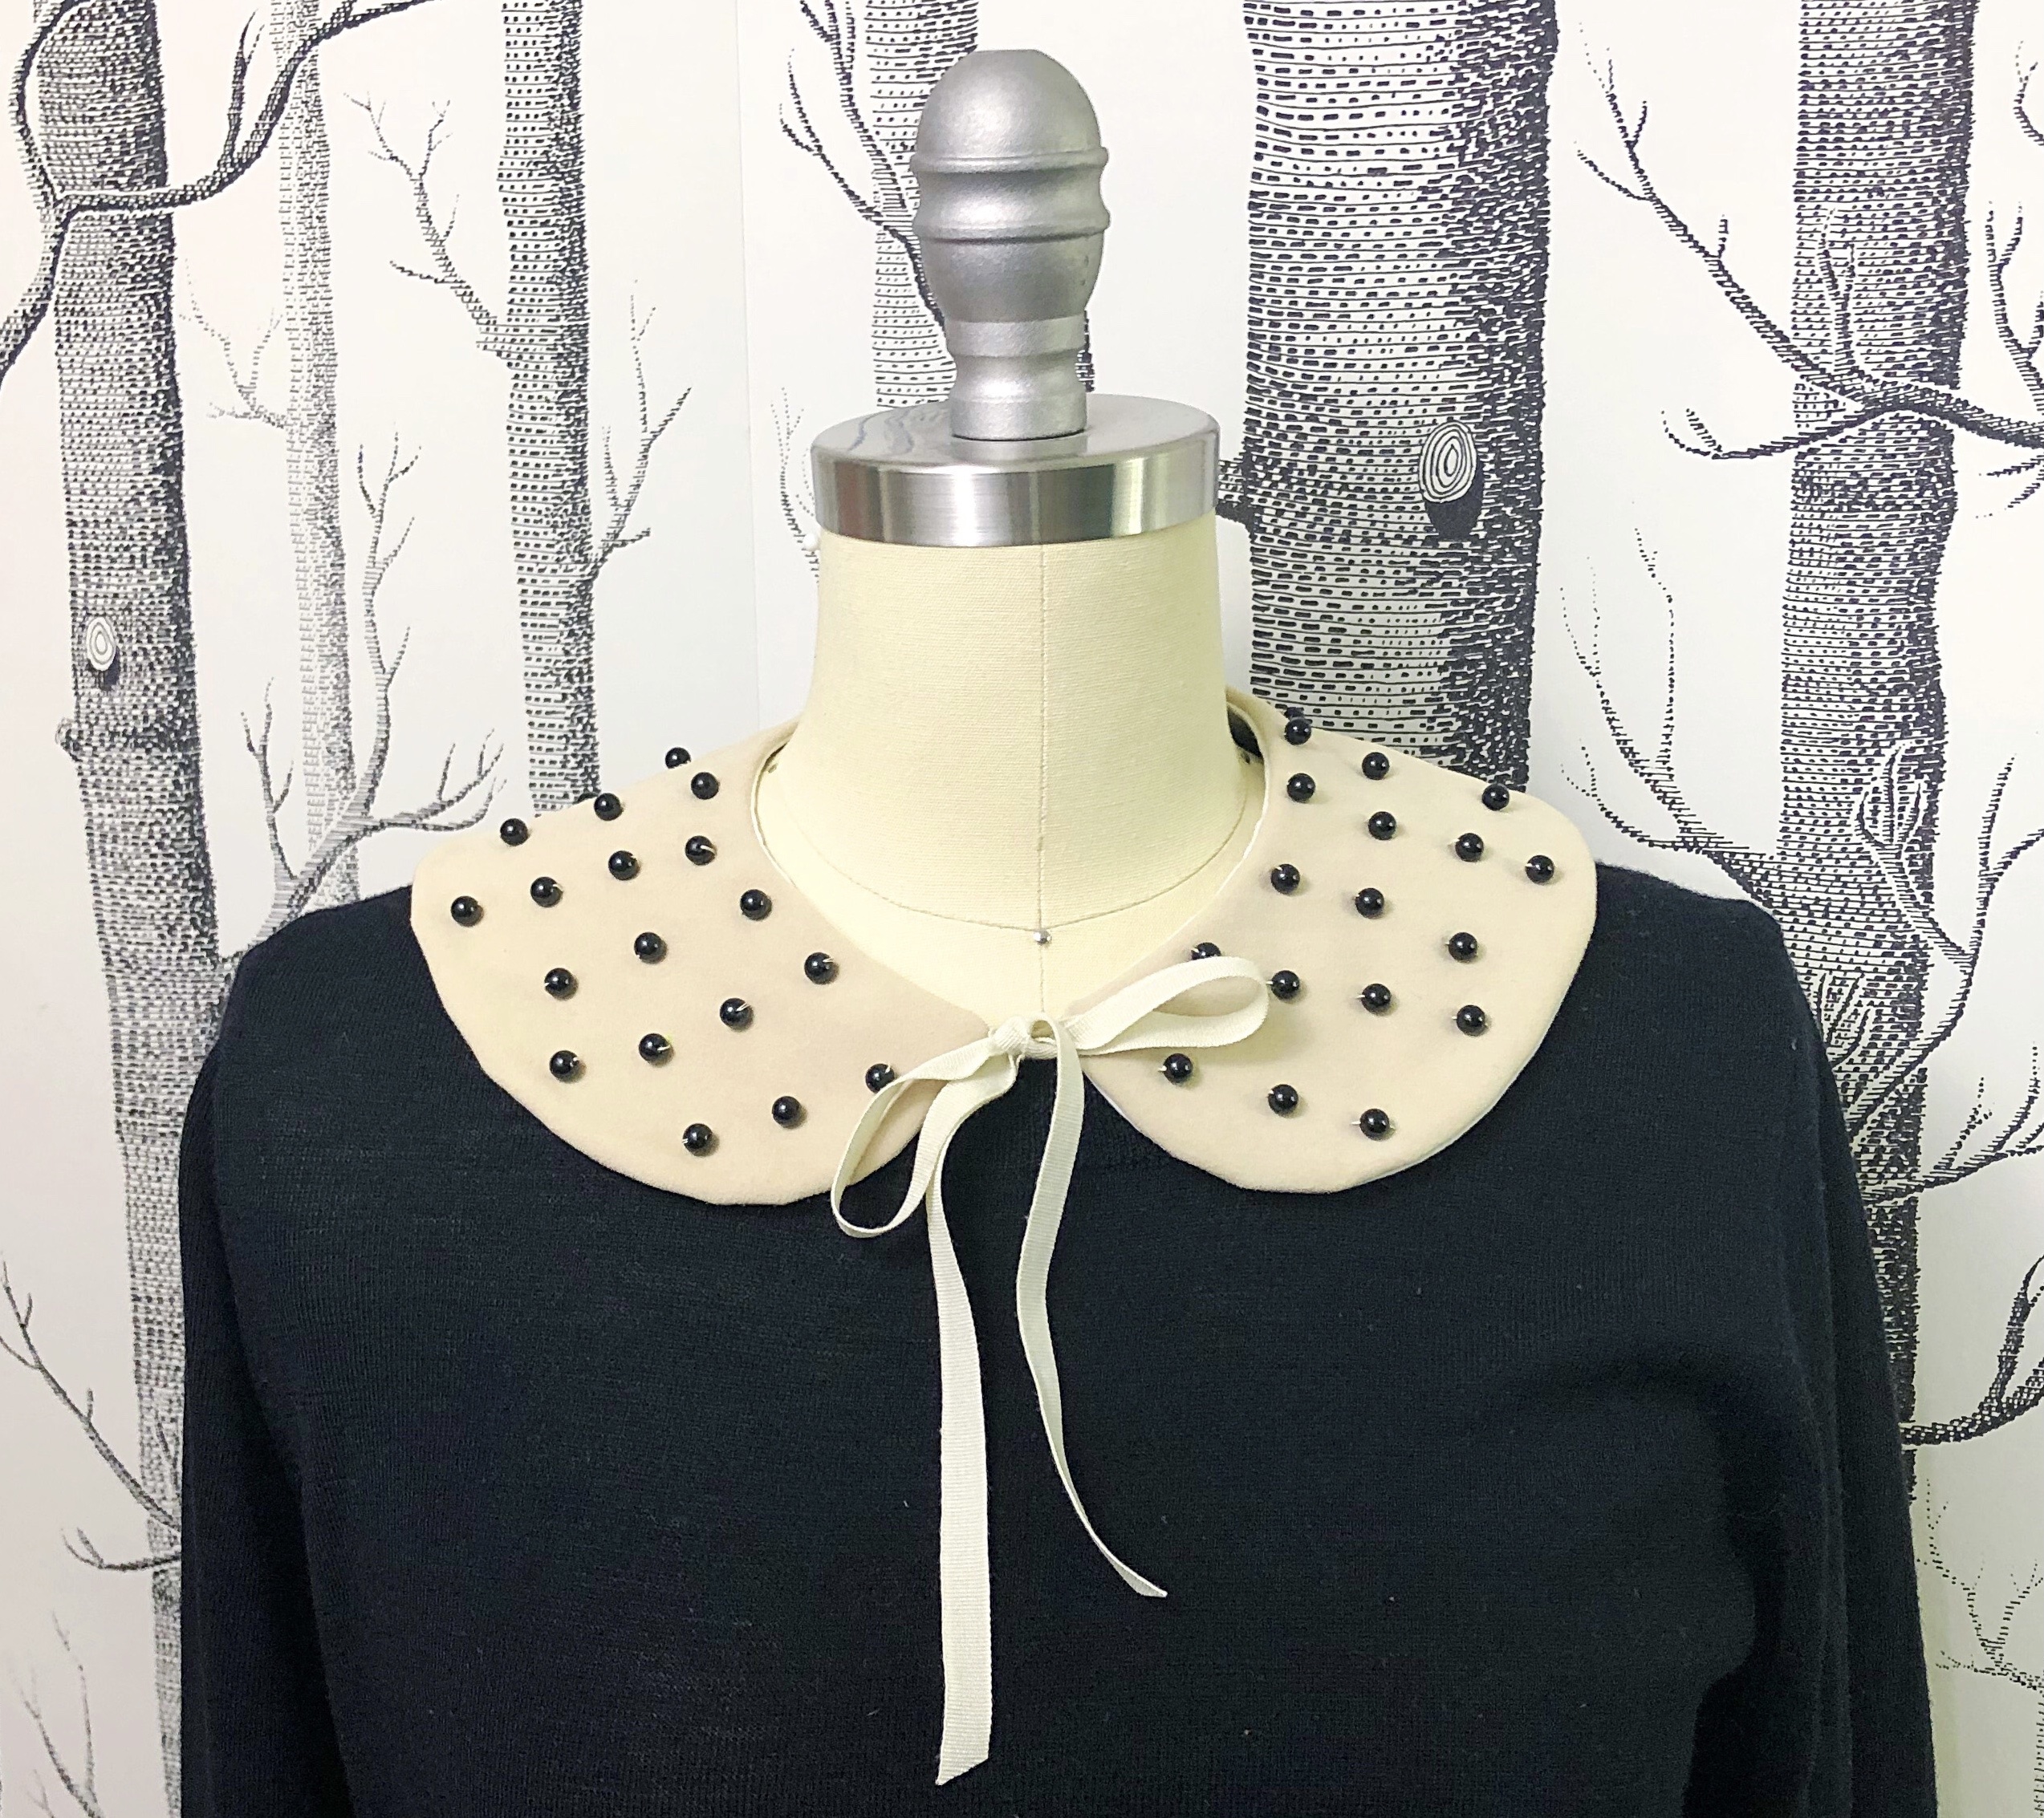
Notes:
*Interfacings
Interfacing, interlining, underlining, and lining help to shape, control stretch, and support a garment.
There two main types of interfacing: fusible (iron-on) and sew-in. They both have their advantages and can be layered if additional structure is needed. I mostly use silk organza for lightweight support in clothing, but I also use Pellon Soft-Flex (SF 101) for pockets, collars, welts, and small ends that need more support.
**Directional Stitching and Why It Matters
Directional sewing is important to symmetry of shape. Stitching directionally means that you will stitch with the grain of the fabric instead of against it, which can cause distortion and puckering.
On a collar, you will begin stitching from center back to neck edge. Then turn the collar over and repeat on the other side.
For other garments:
To keep both sides of the garment the same length throughout construction, you will want to be sure to sew both sides in the same direction. If you sew two pieces of fabric together from the top to the bottom on one side of a project and then from bottom to top on the other side, the fabric often becomes distorted.
As a rule, try to stitch from the highest point to the lowest point or from the widest point to the narrowest point of any seam.
***Shaping Curves
Stitching corners and curves can be a challenge. I encourage you to take your time and practice a bit. Your project will reward you with a beautiful shape!
Outward Curves
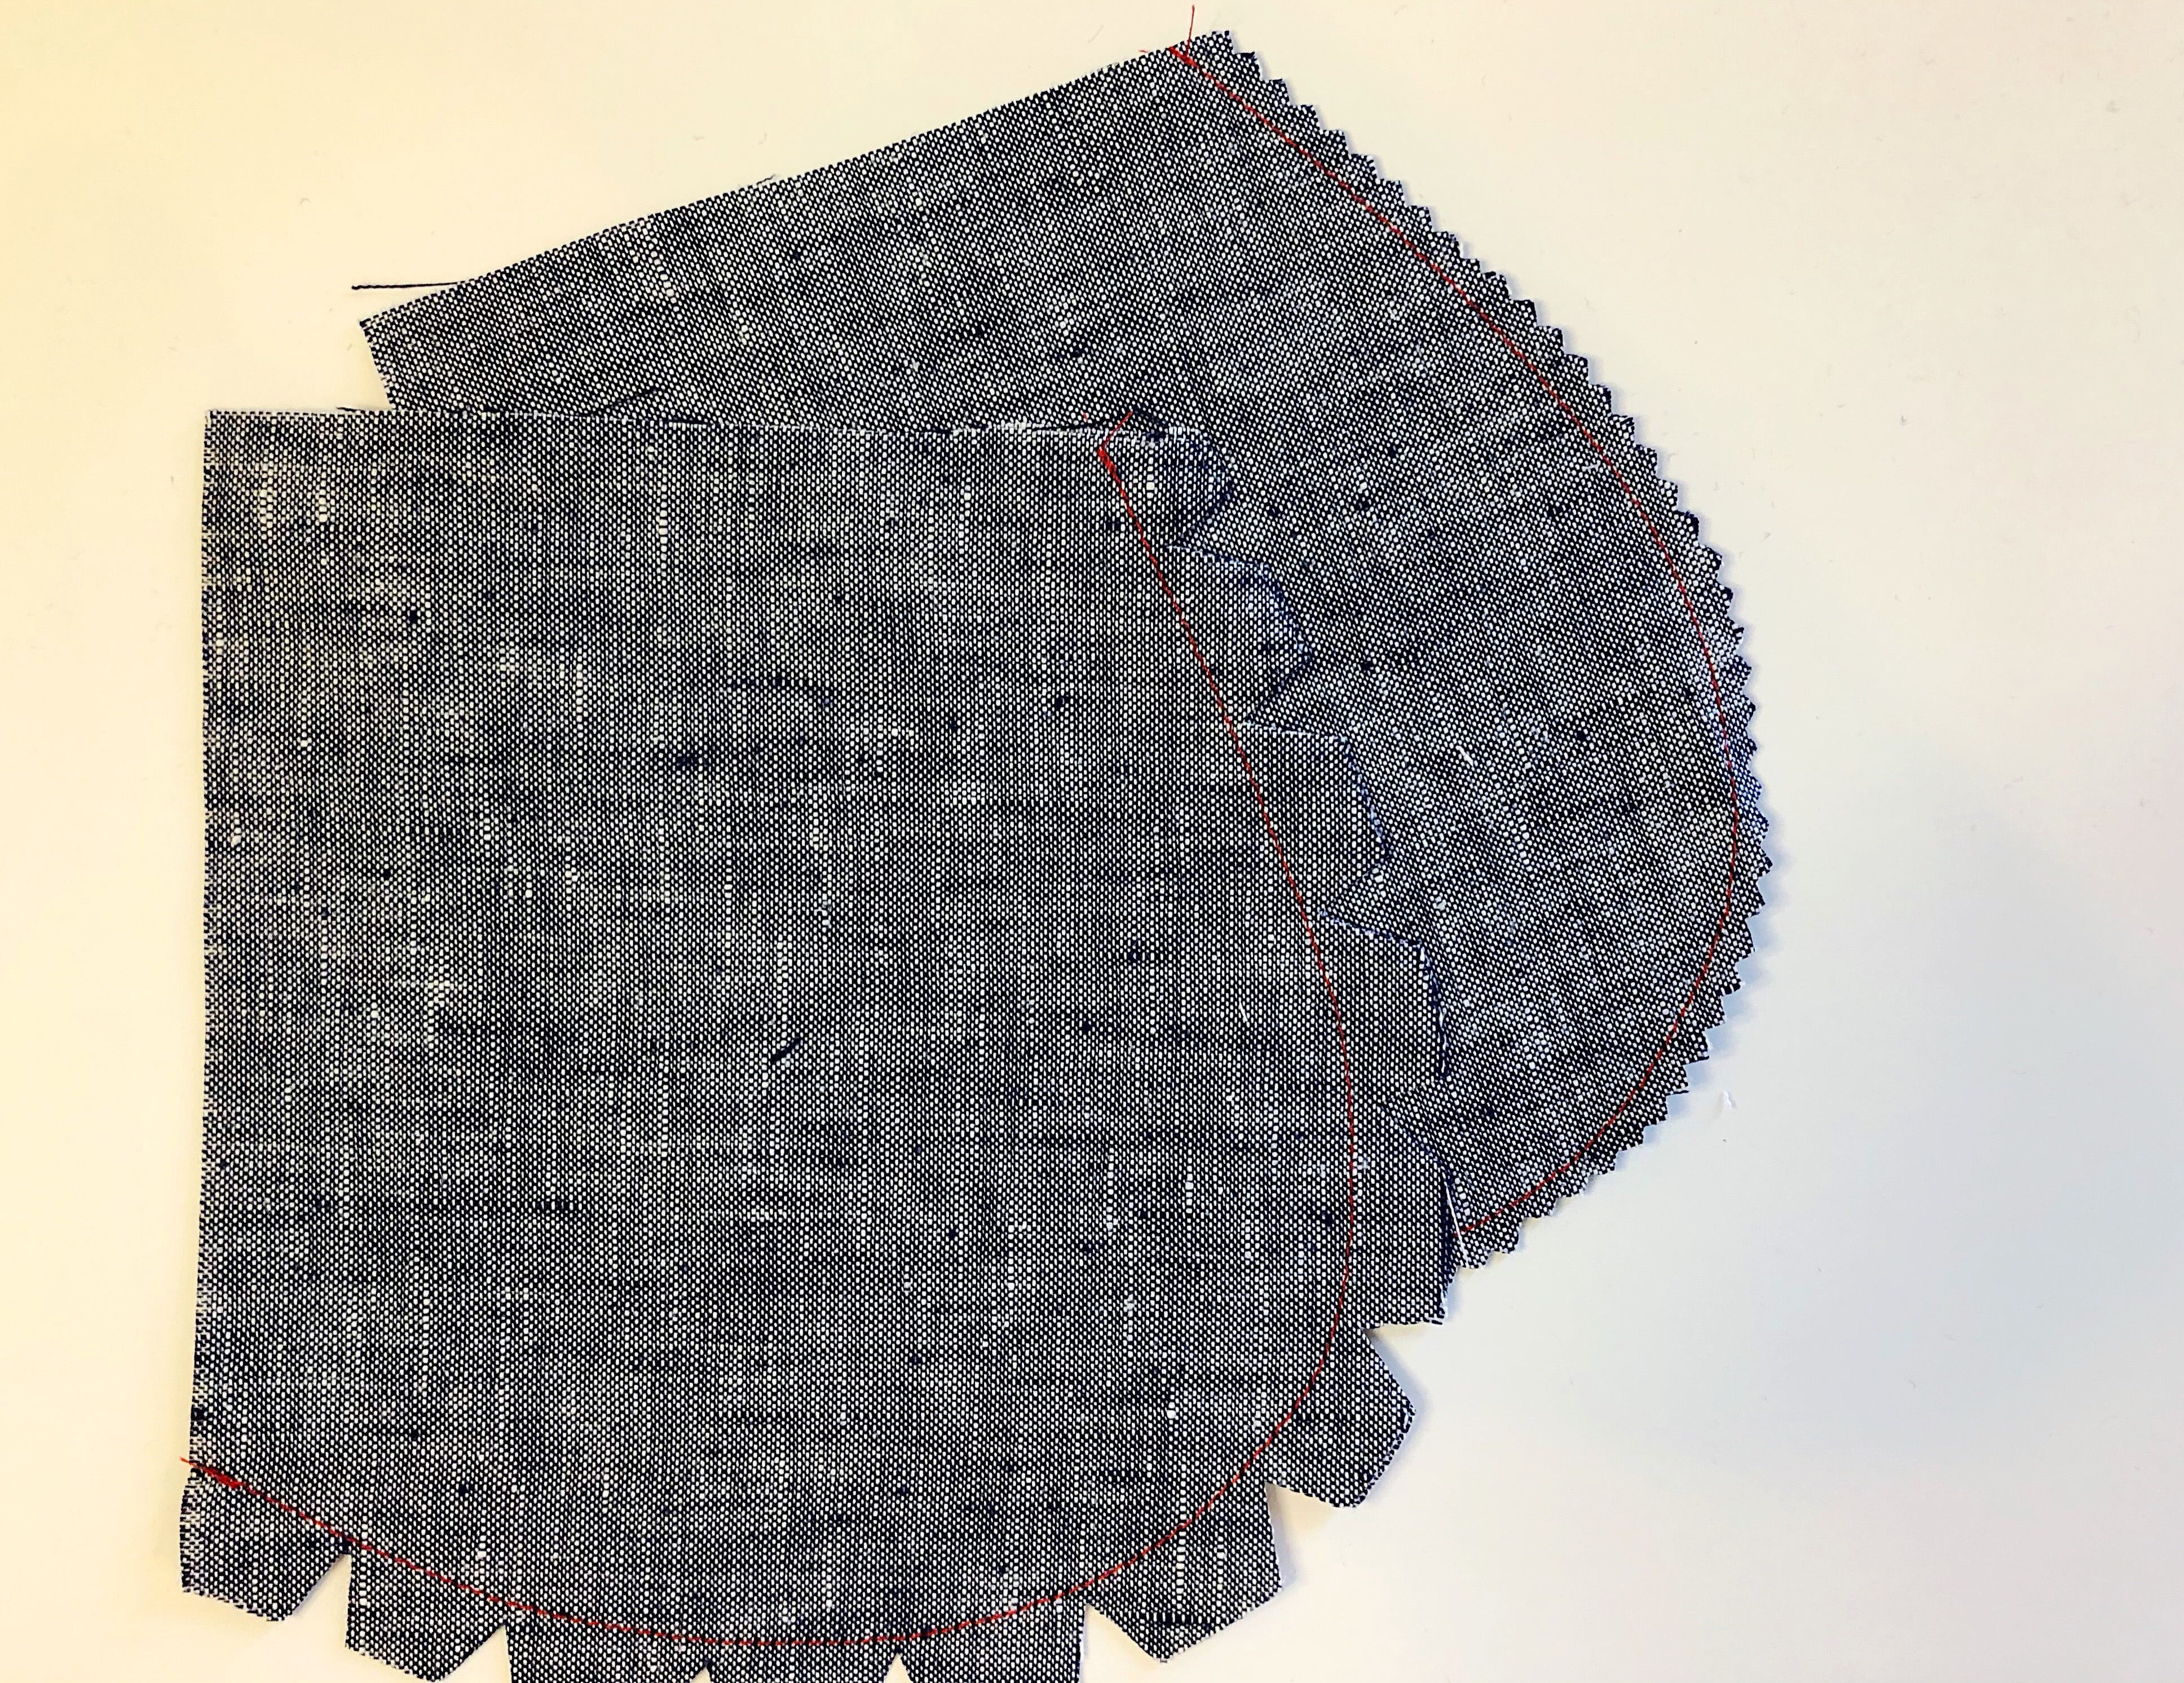
Clipping outward curves in sewing
Outward curves need to be notched to allow the fabric to spread once it is turned right side out and pressed. Cut out small triangles every 1/2’’ or so. Take care not to cut through the seam line.
Inward Curves
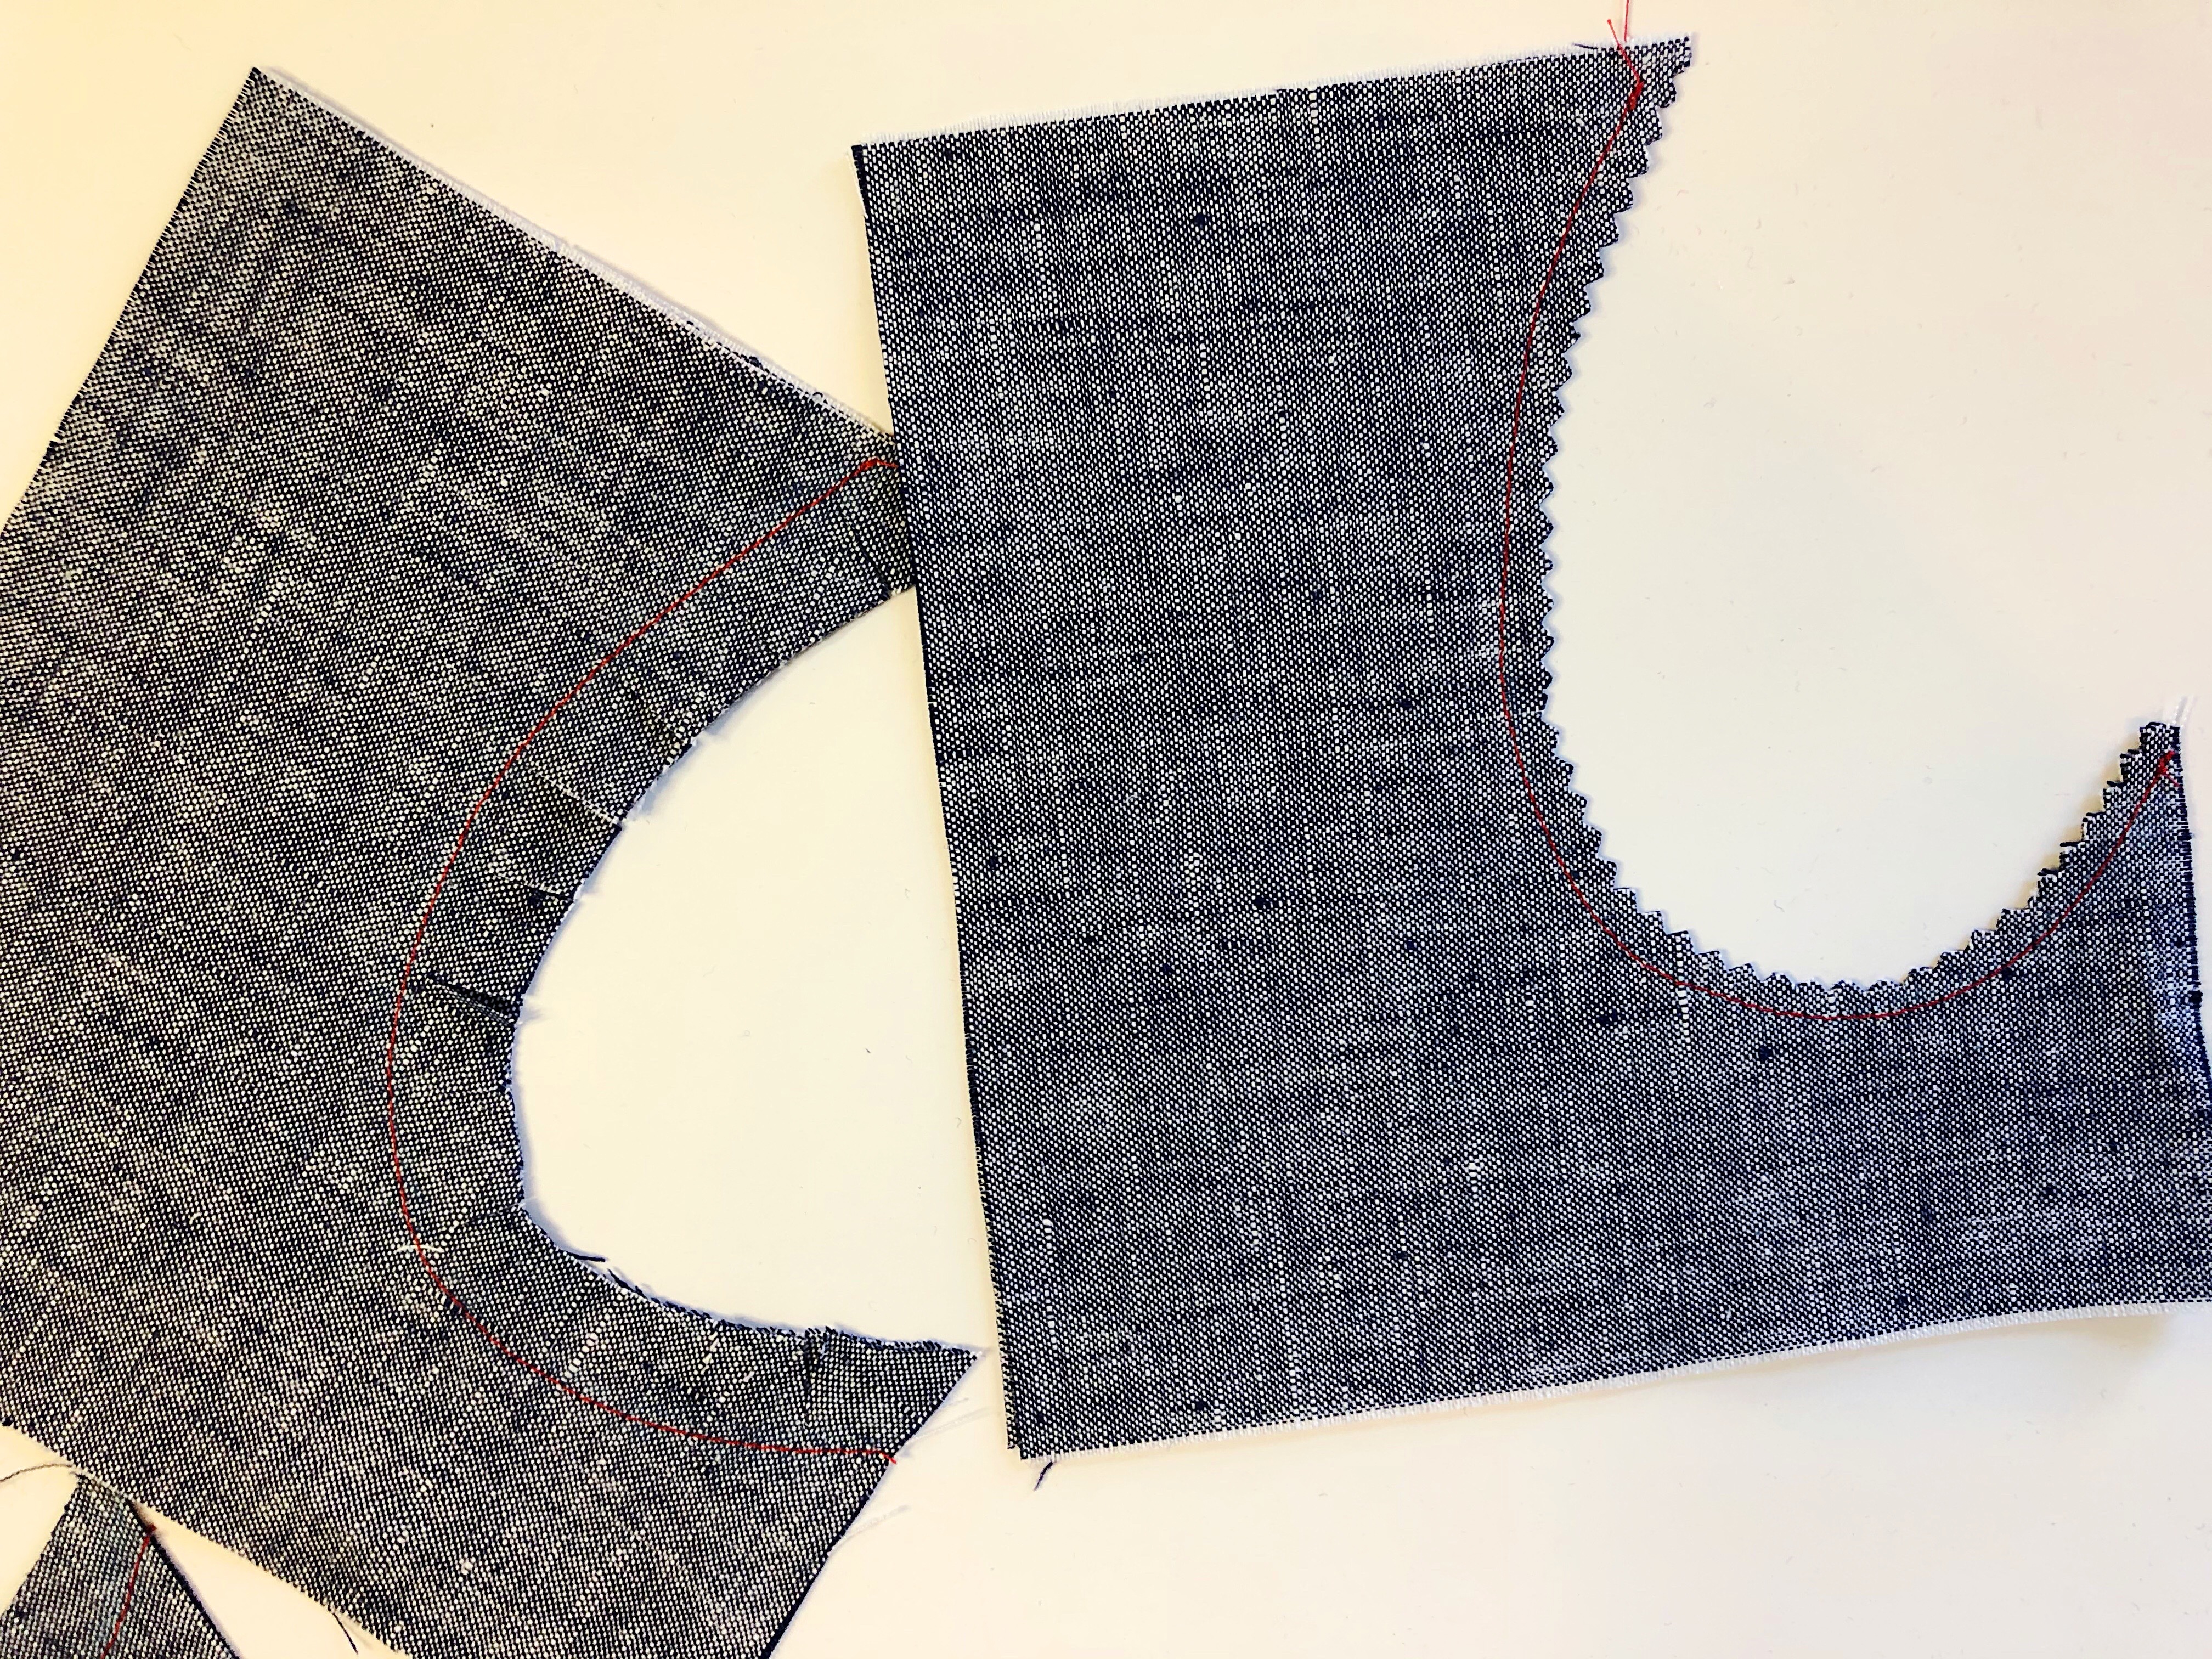
Clipping inward curves in sewing.
Press the seam flat and then clip straight into the seam allowance at close intervals to allow the fabric to spread. If you clip before you press, you may get a bit of a caved inseam.
Customizing the Neckline
If you want to make the collar to match a neckline of an existing garment. The general guideline is to cut the collar to the length of the neck seam line, plus add an inch for turning back the ends and shape the outer edges.