How to Make a Quilted Poncho
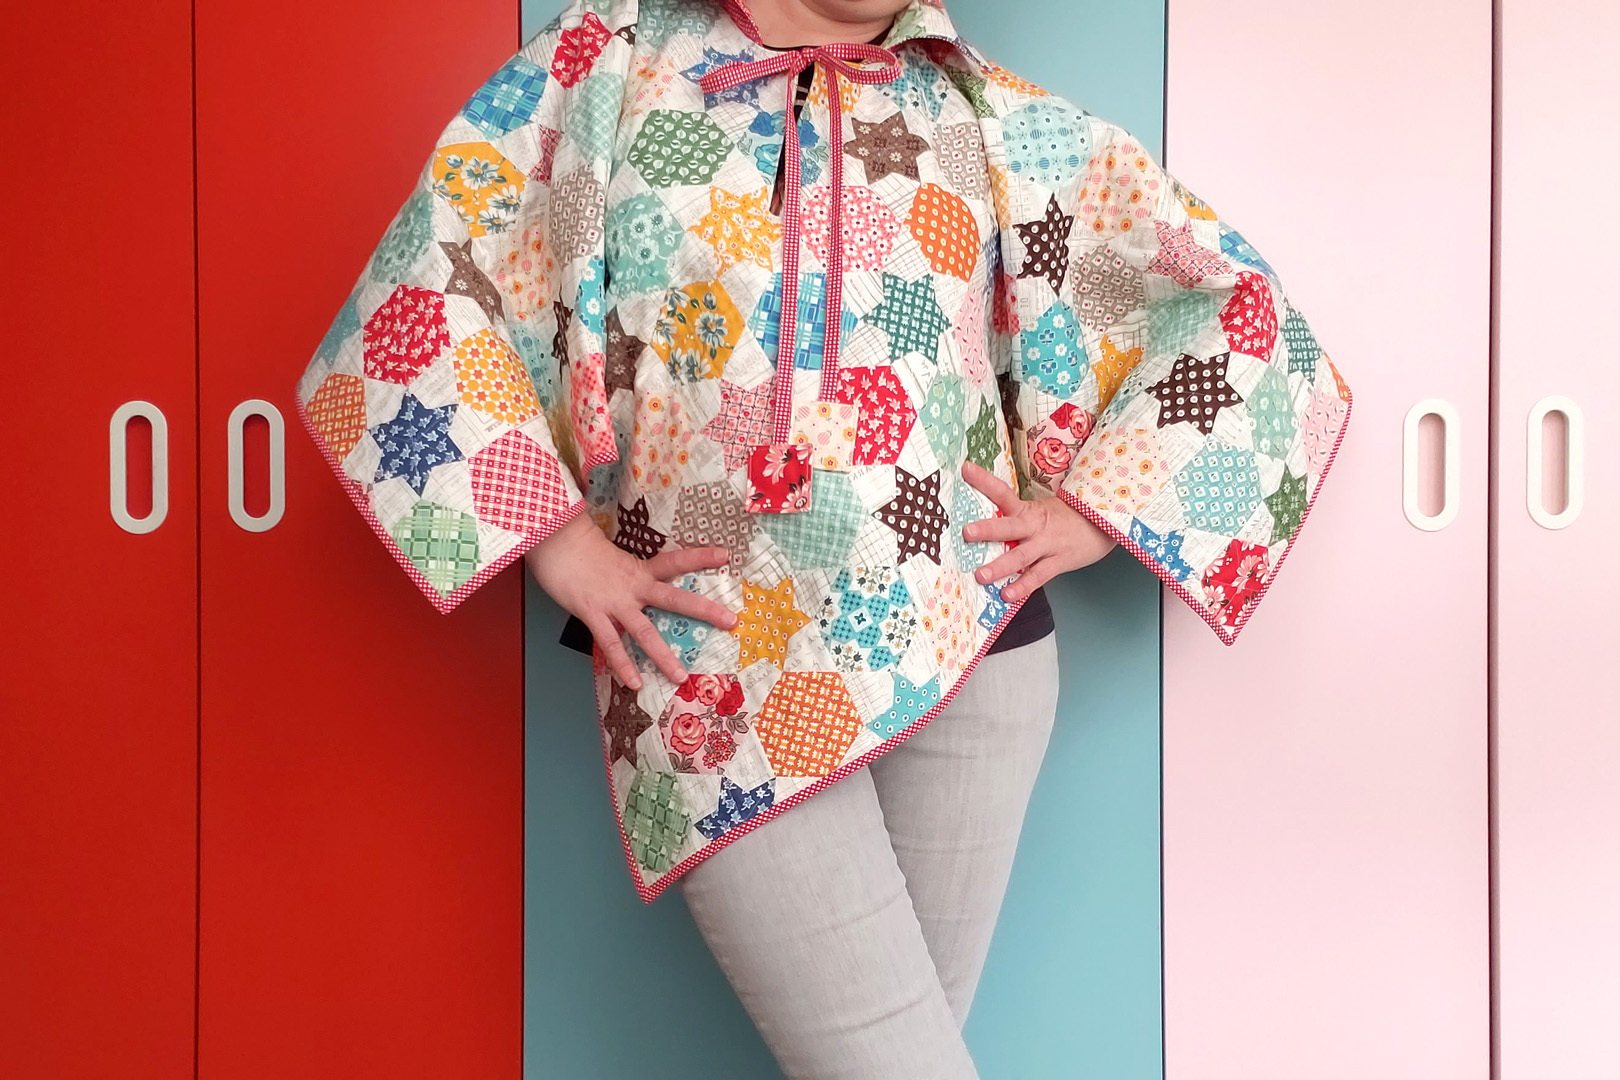
Turn a simple fabric square into a cozy quilted poncho featuring a collar, split opening, and ties. This project merges the basics of making a simple baby quilt with some easy garment sewing techniques. I use a fabric featuring a cheater print (fabric printed to look like a patchwork quilt) for my poncho, but you can use any printed cotton or patchwork blocks you have on hand for this project.
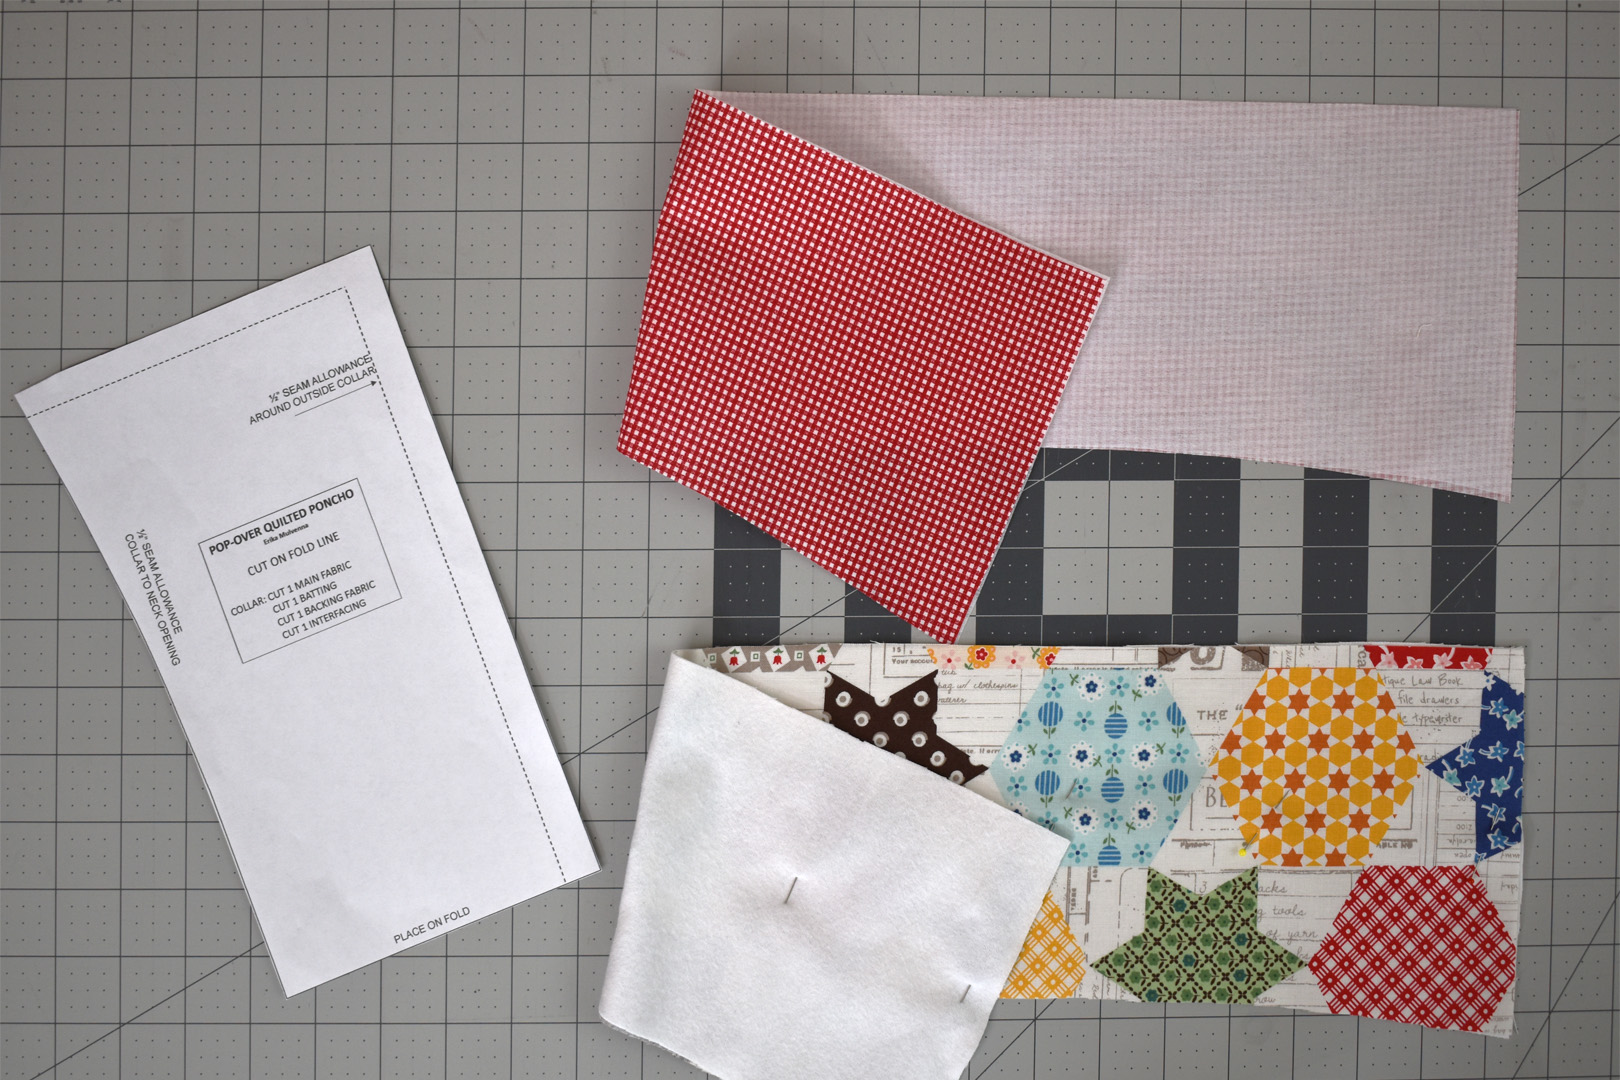
Gather together the materials and print the pattern to get started! Make sure to print the pattern at 100% (do not select shrink to fit) to keep the patterns from distorting when printed.

Materials to Make a Quilted Poncho
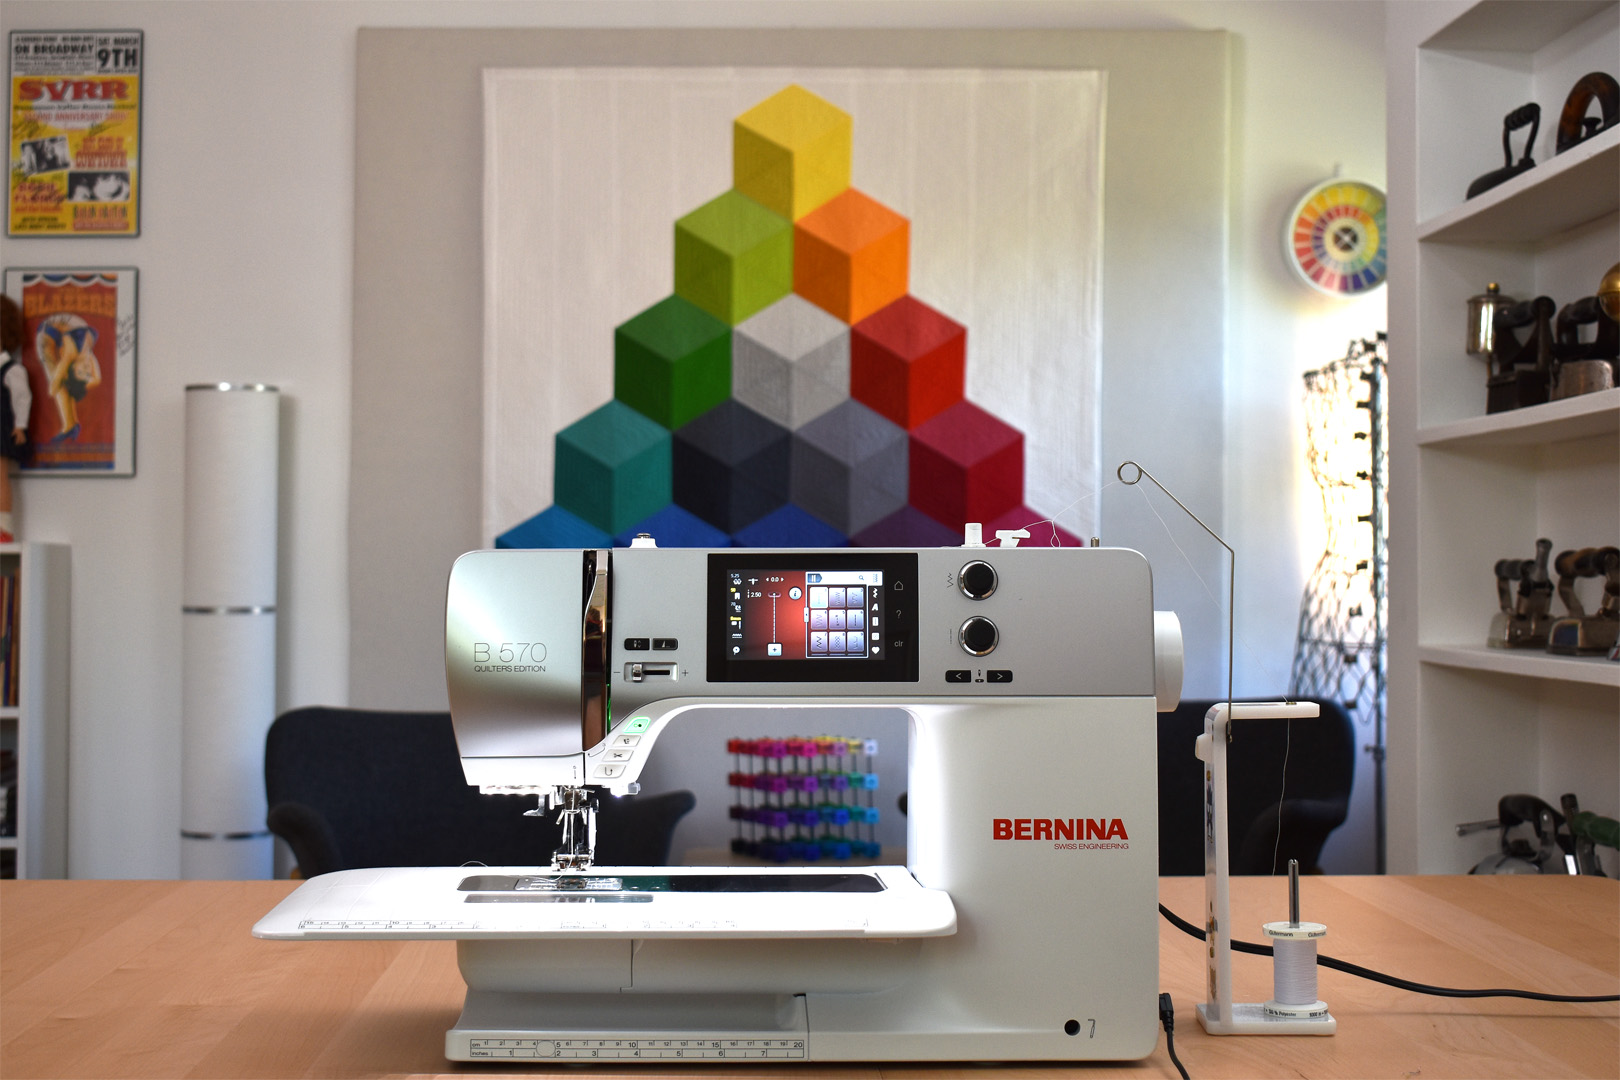
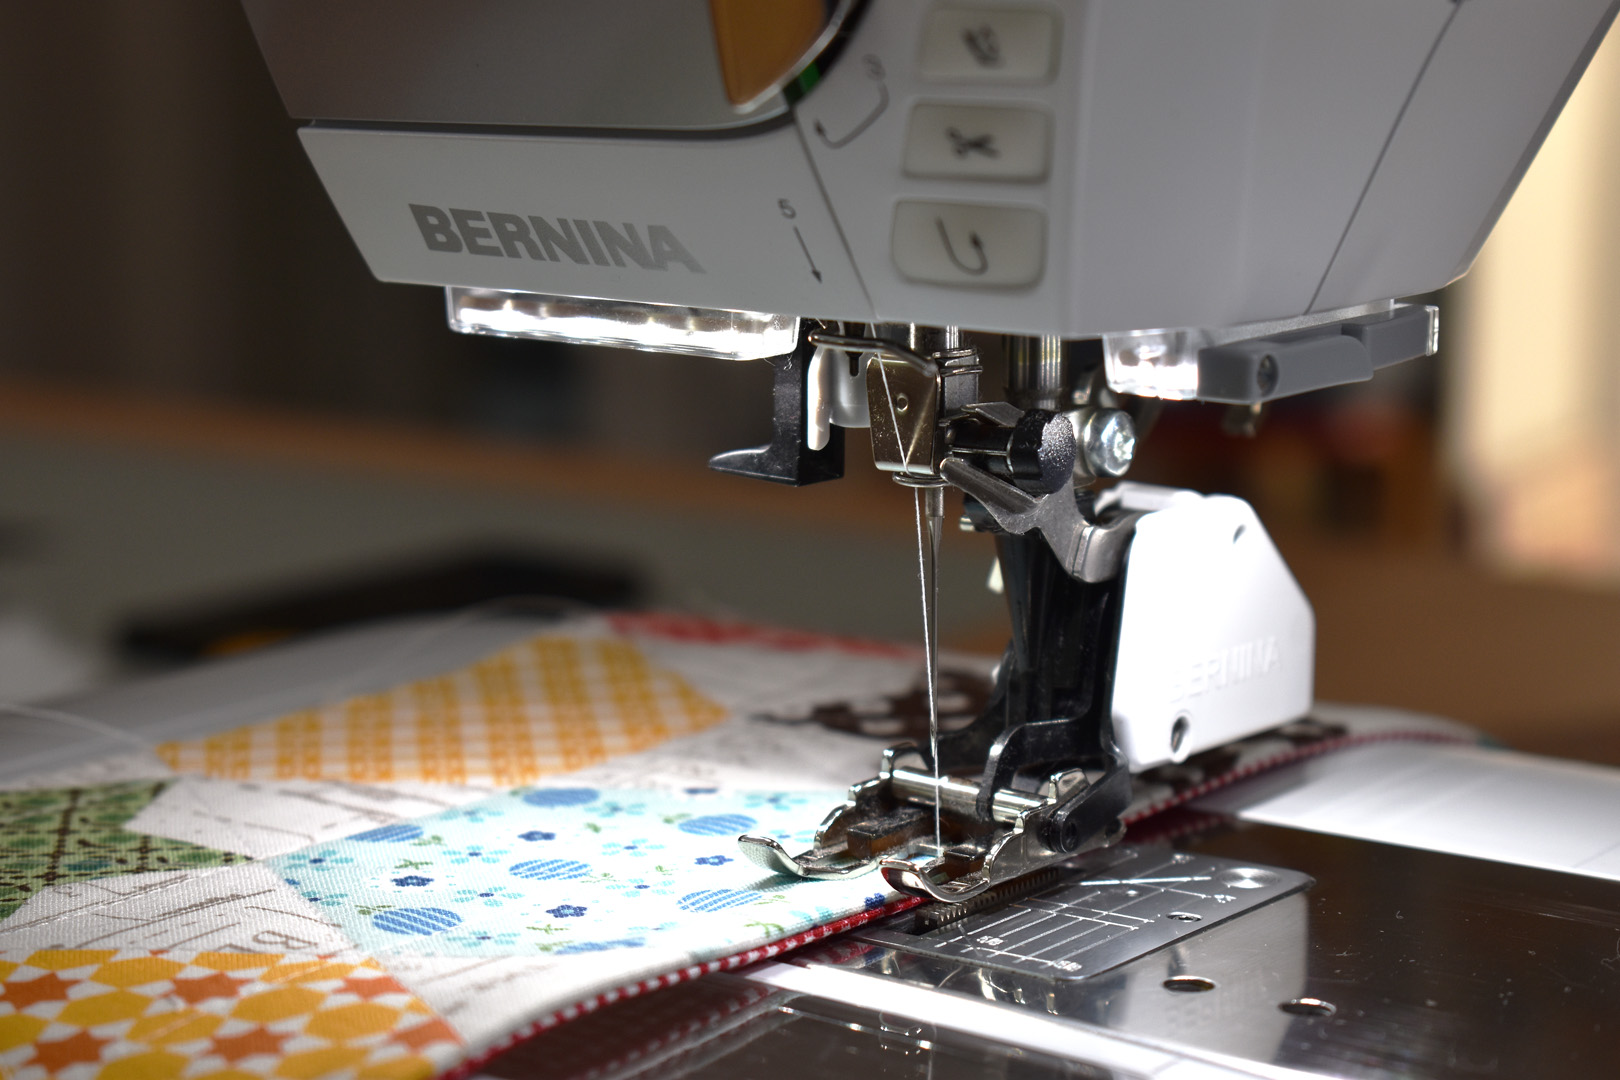
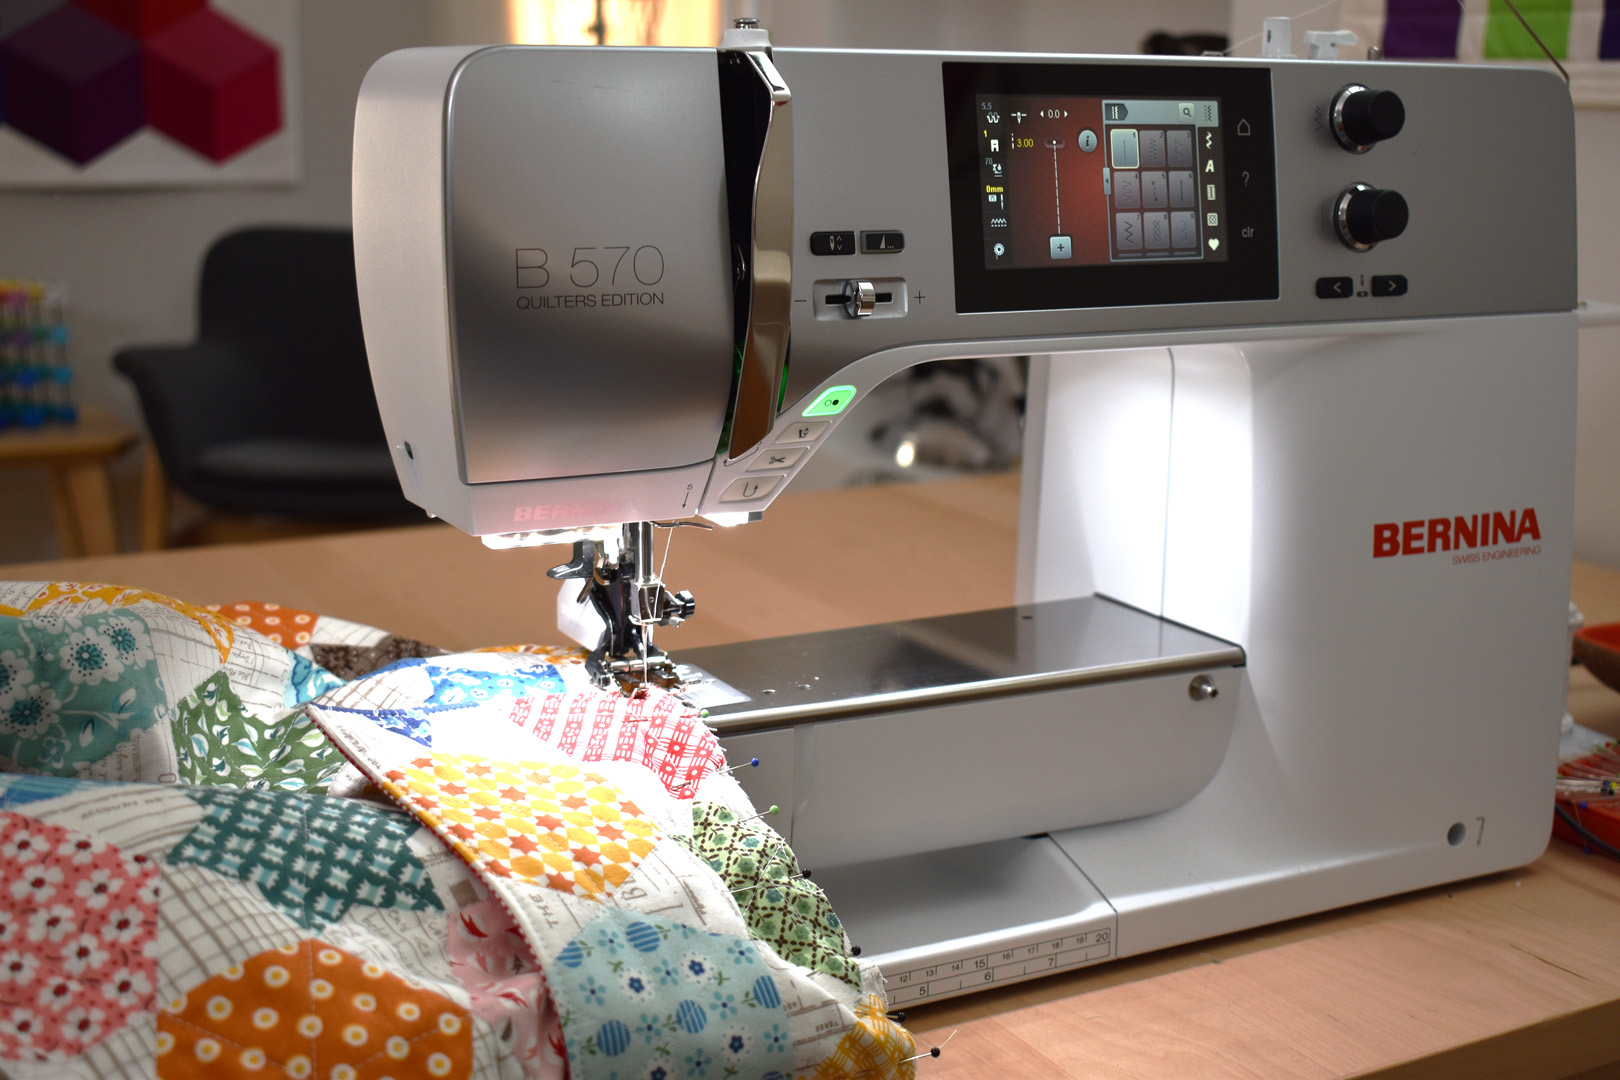
- Sewing machine (I use a BERNINA 570 QE)
- Three-Sole Walking Foot with Seam Guide #50
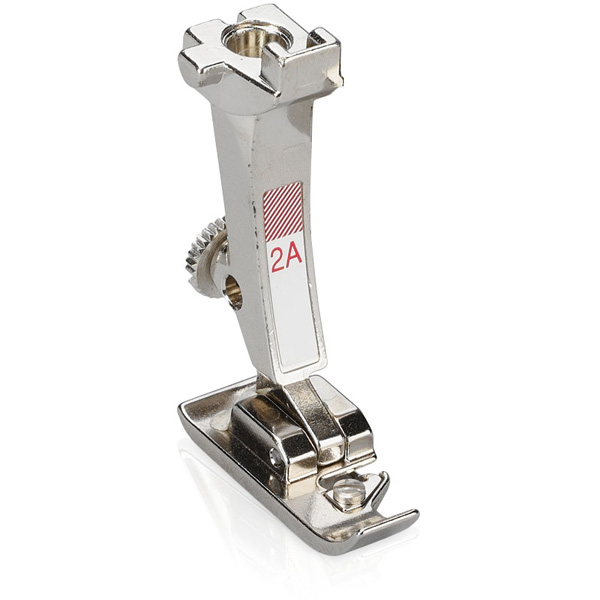
- Overlock Foot #2A (optional)
- Main fabric for outside poncho and top collar: 1 and 2/3 yards 100% cotton 44-45″ wide fabric (I used “Flea Market Multi Cheater Print” fabric from Riley Blake Designs
- Lining fabric for inside poncho: 1 and 1/3 yards 100% cotton 44-45″ wide fabric (I used yardage from my stash)
- Contrasting fabric for bottom collar, ties, and binding: 1 yard 100% cotton 44-45″ wide fabric (I used yardage from my stash)
- Poncho and collar batting: 1 and 2/3 yard 100% cotton 44-45″ wide flannel fabric (I used a quilter’s flannel)
- Interfacing for collar and facing: 1 yard medium weight fusible interfacing
- Coordinating thread of choice (I used Gutermann 100% polyester 40 weight Sew-All thread in white)
- Rotary cutter/cutting mat/rulers
- Basic sewing supplies
- Printed pattern for the Quilted Poncho facing and collar
Tips: Any quilted square cut to 44″ to 45″ will work for the main part of the poncho, so of course you can use actual patchwork (got some orphan blocks to spare?), or use any kind of cotton fabric print you like. You can even cut the main poncho from an old quilt! I’m using a cheater print to get the look of a patchwork quilt in less than half the time. To keep this poncho cozy warm but I used a cotton flannel fabric instead of regular cotton quilt batting; it’s still cozy and warm but has more drape and movement than batting.
Prepare the main part of the poncho. If you’re using patchwork to make your poncho, aim to make the finished patchwork between 45″ and 50″ wide, and cut it square after quilting. If you’re using an old quilt, cut a square 45″ x 45″ from the quilt and skip past the first step of creating the quilted square.
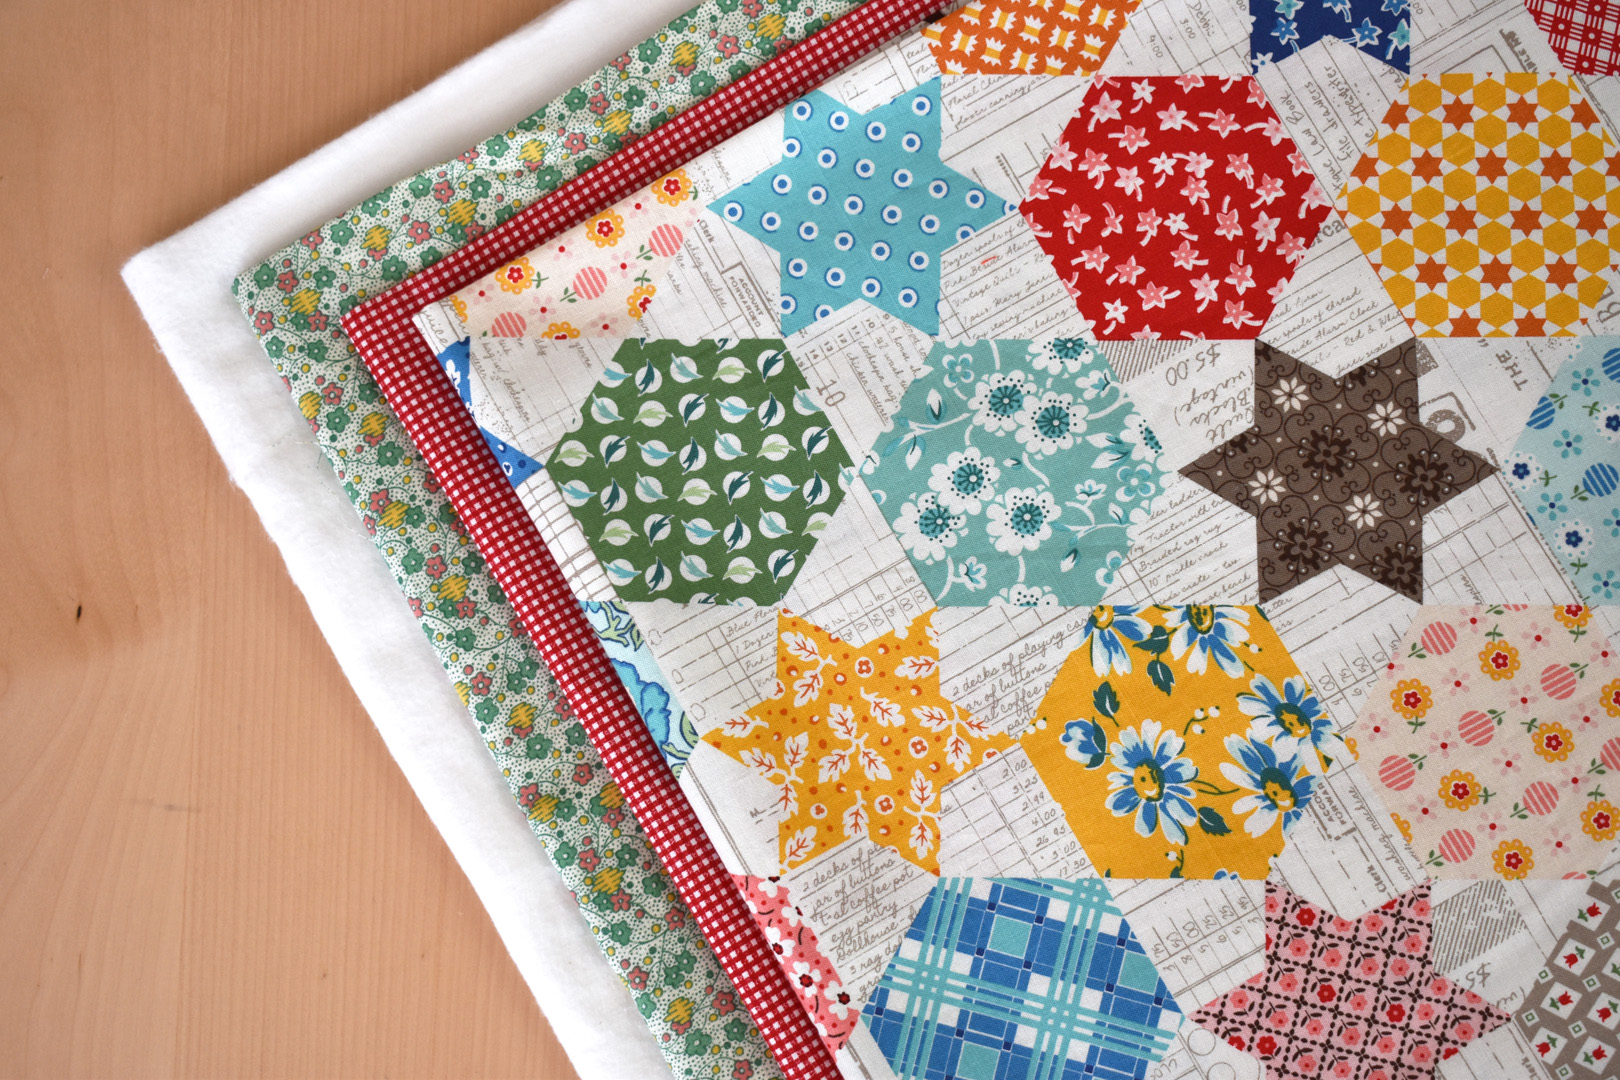
Here’s how to create a quilt from a whole piece of fabric. Cut the 44″ to 45″ wide main fabric, lining, and flannel to about 48″ long. Baste the three layers as you would a quilt. Use a large flat surface and begin by securing the lining layer down with blue painter’s tape so it will not wrinkle or bunch up as you baste the layers.
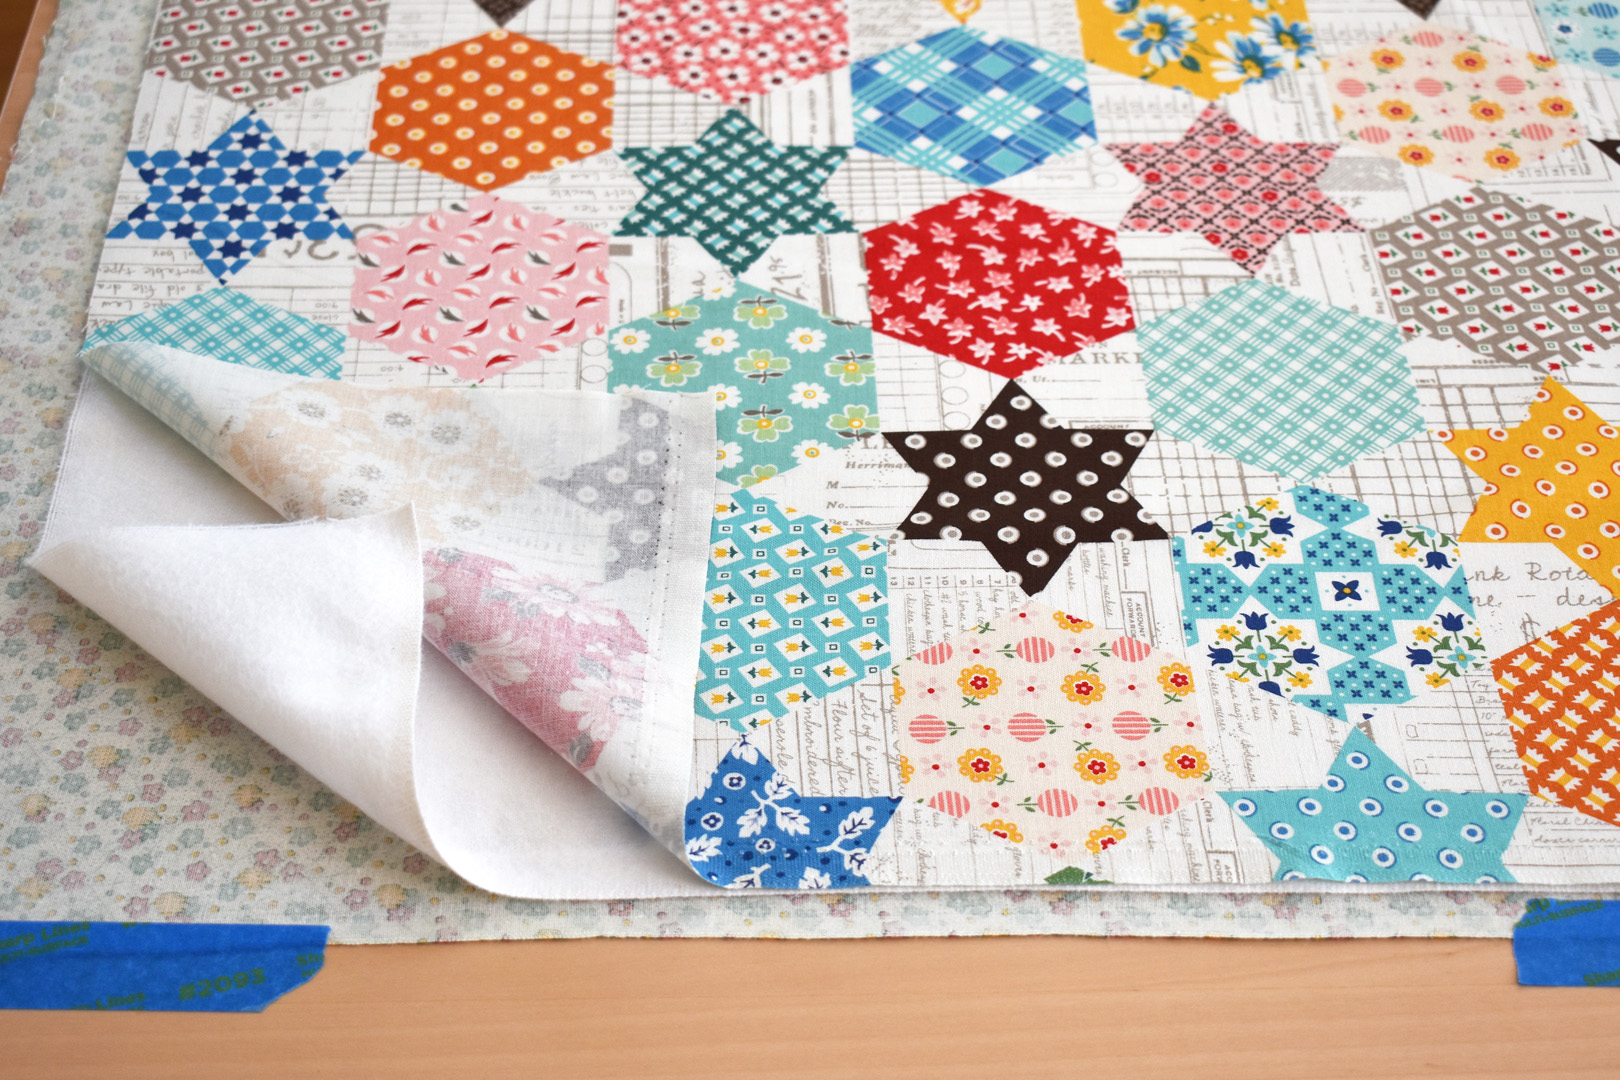
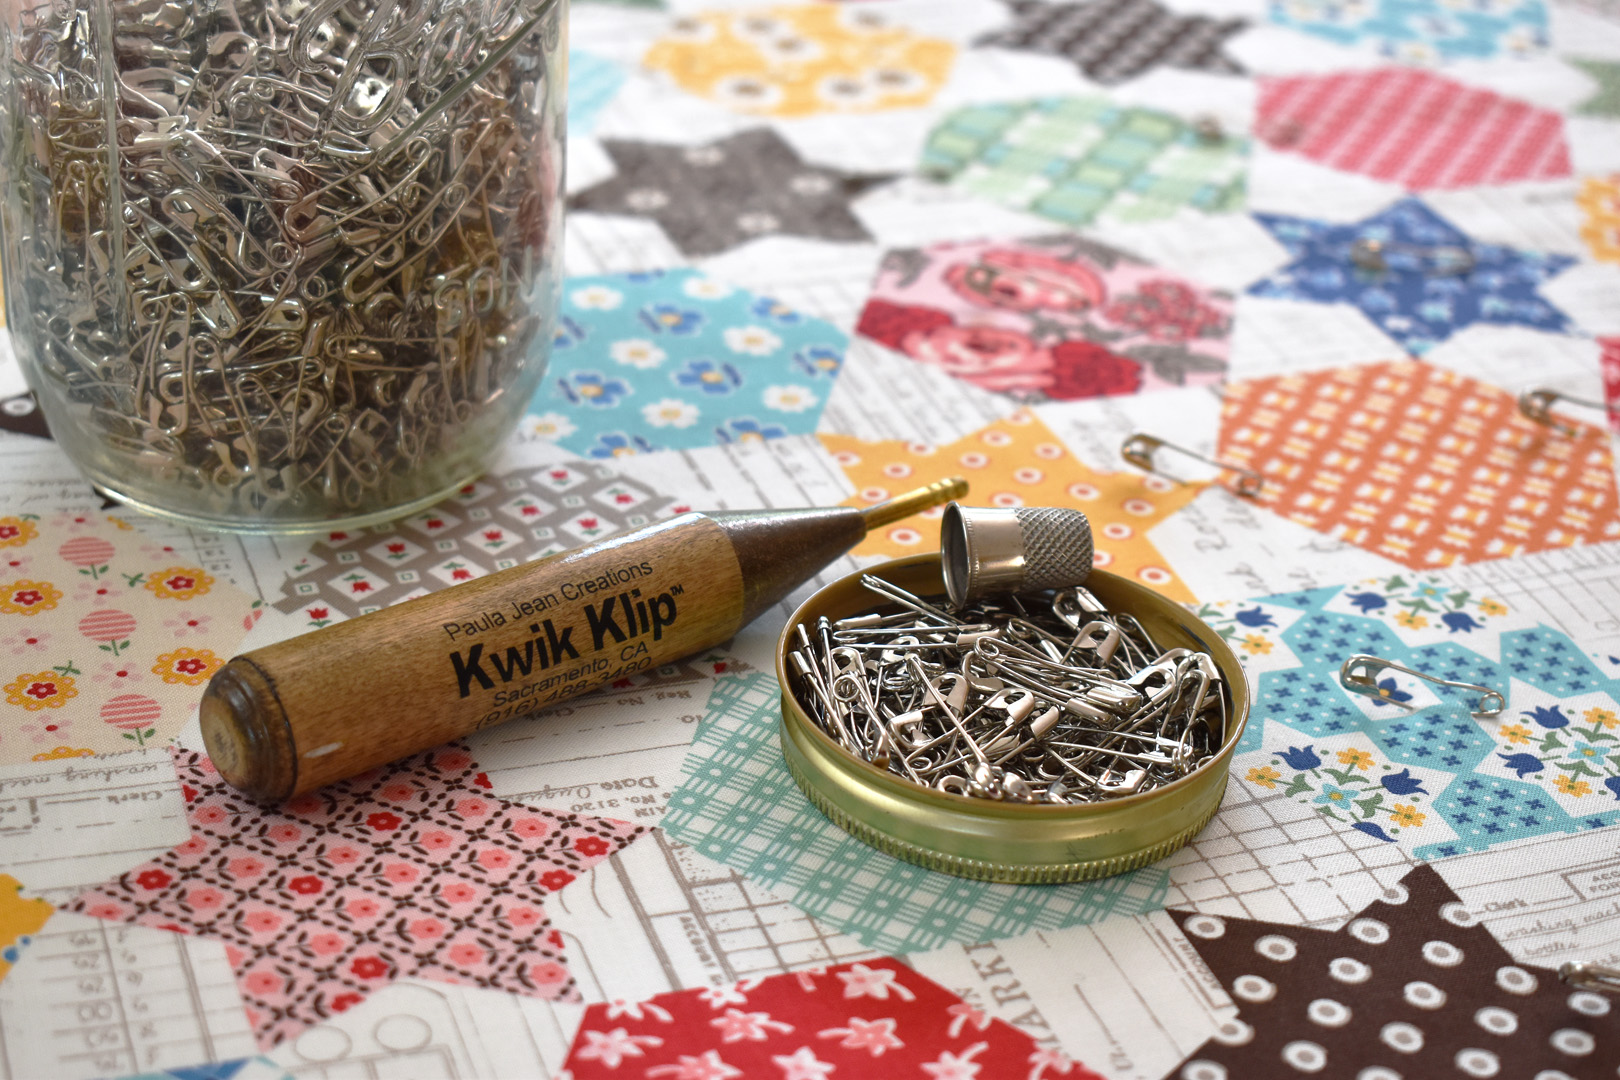
Smooth out the flannel on top of the backing, and then add the main fabric to the stack. Use your hands to smooth out the fabrics from the center out to the edges and then baste the layers together. I prefer pins to basting spray, but if you like using a spray that is a quick way to also baste up these layers.
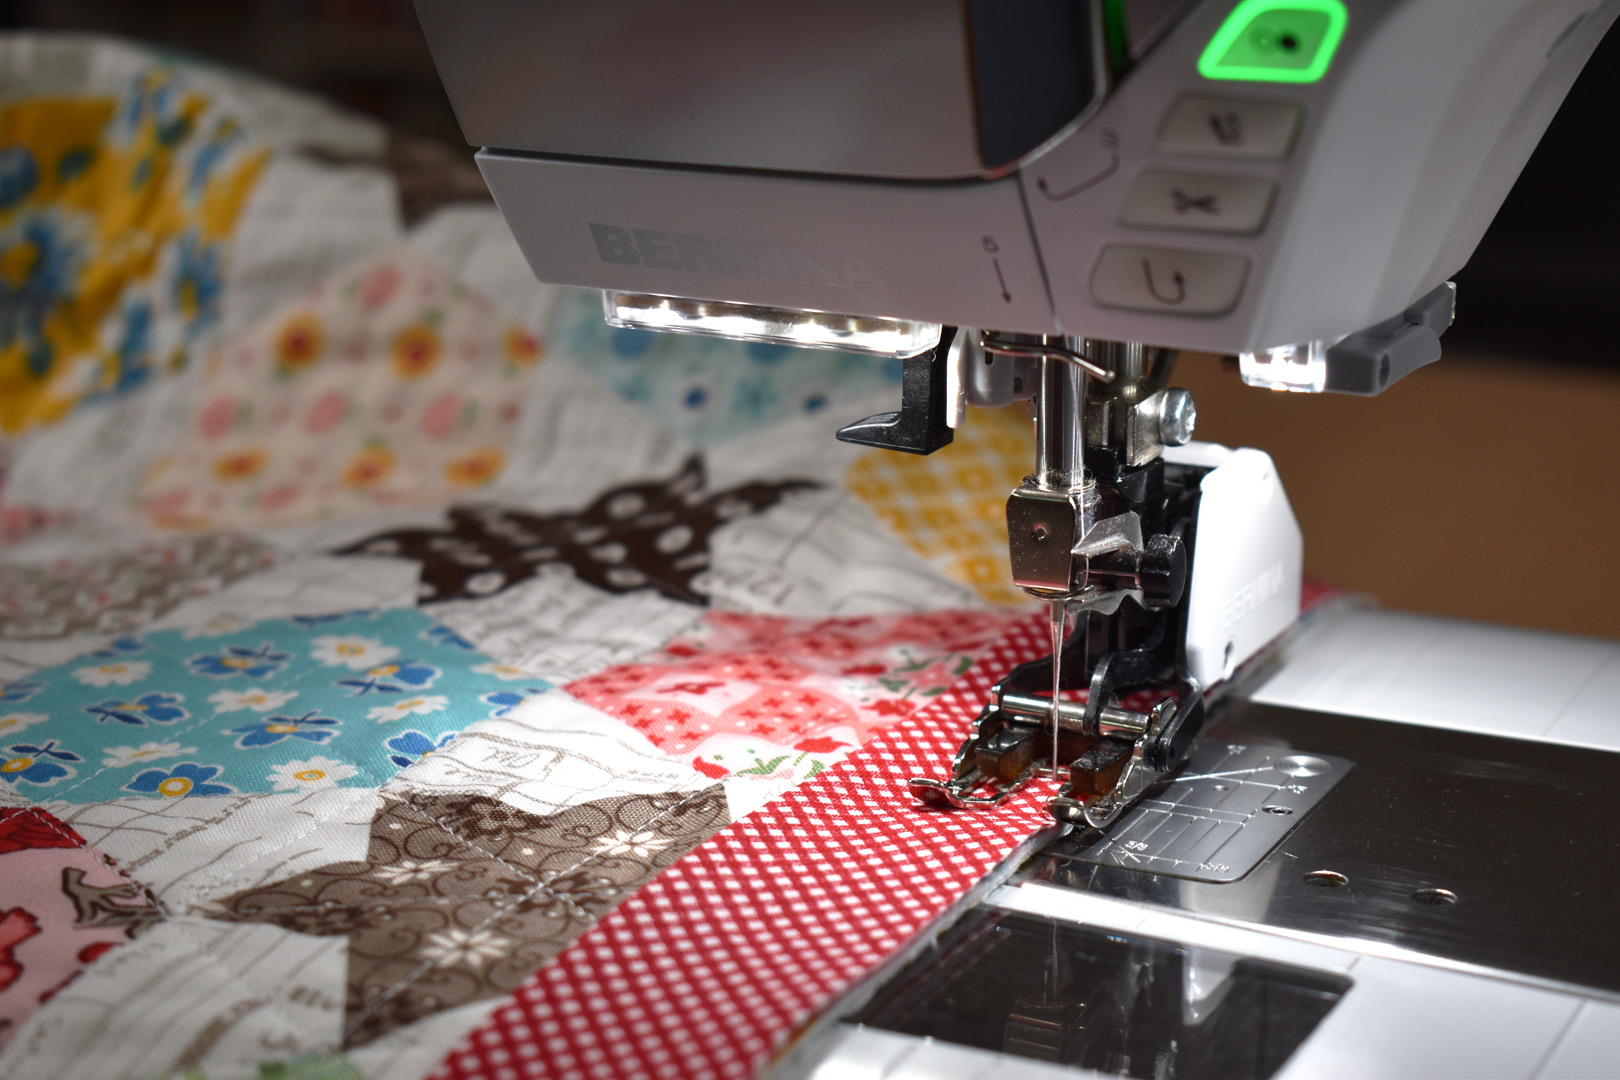
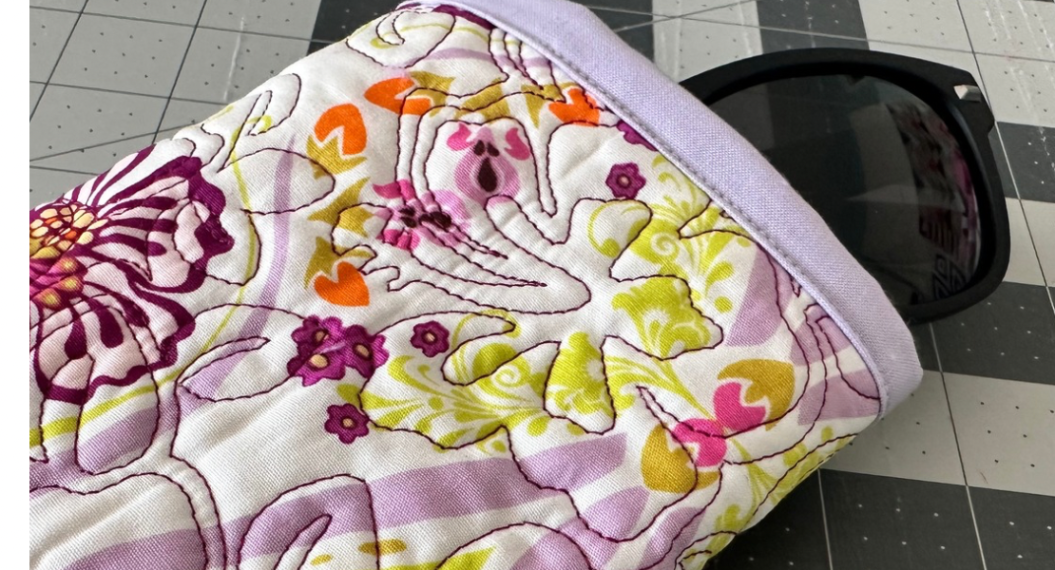
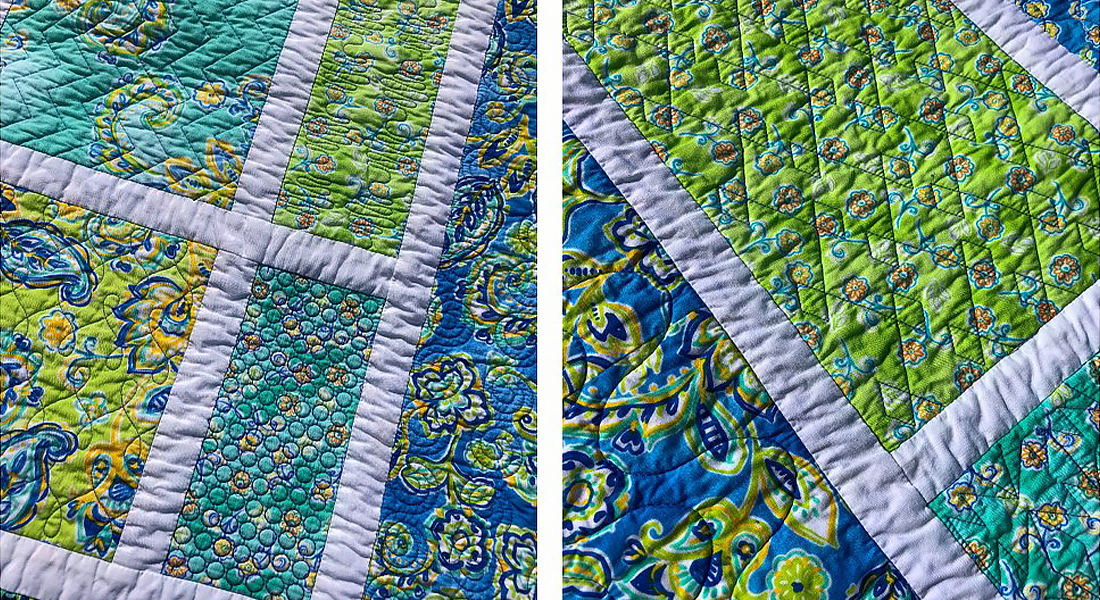
Once basted, quilt your poncho as desired. Since this cheater print has straight lines around the hexagon shapes, I decided to use the Walking Foot and stitch straight lines across the poncho.
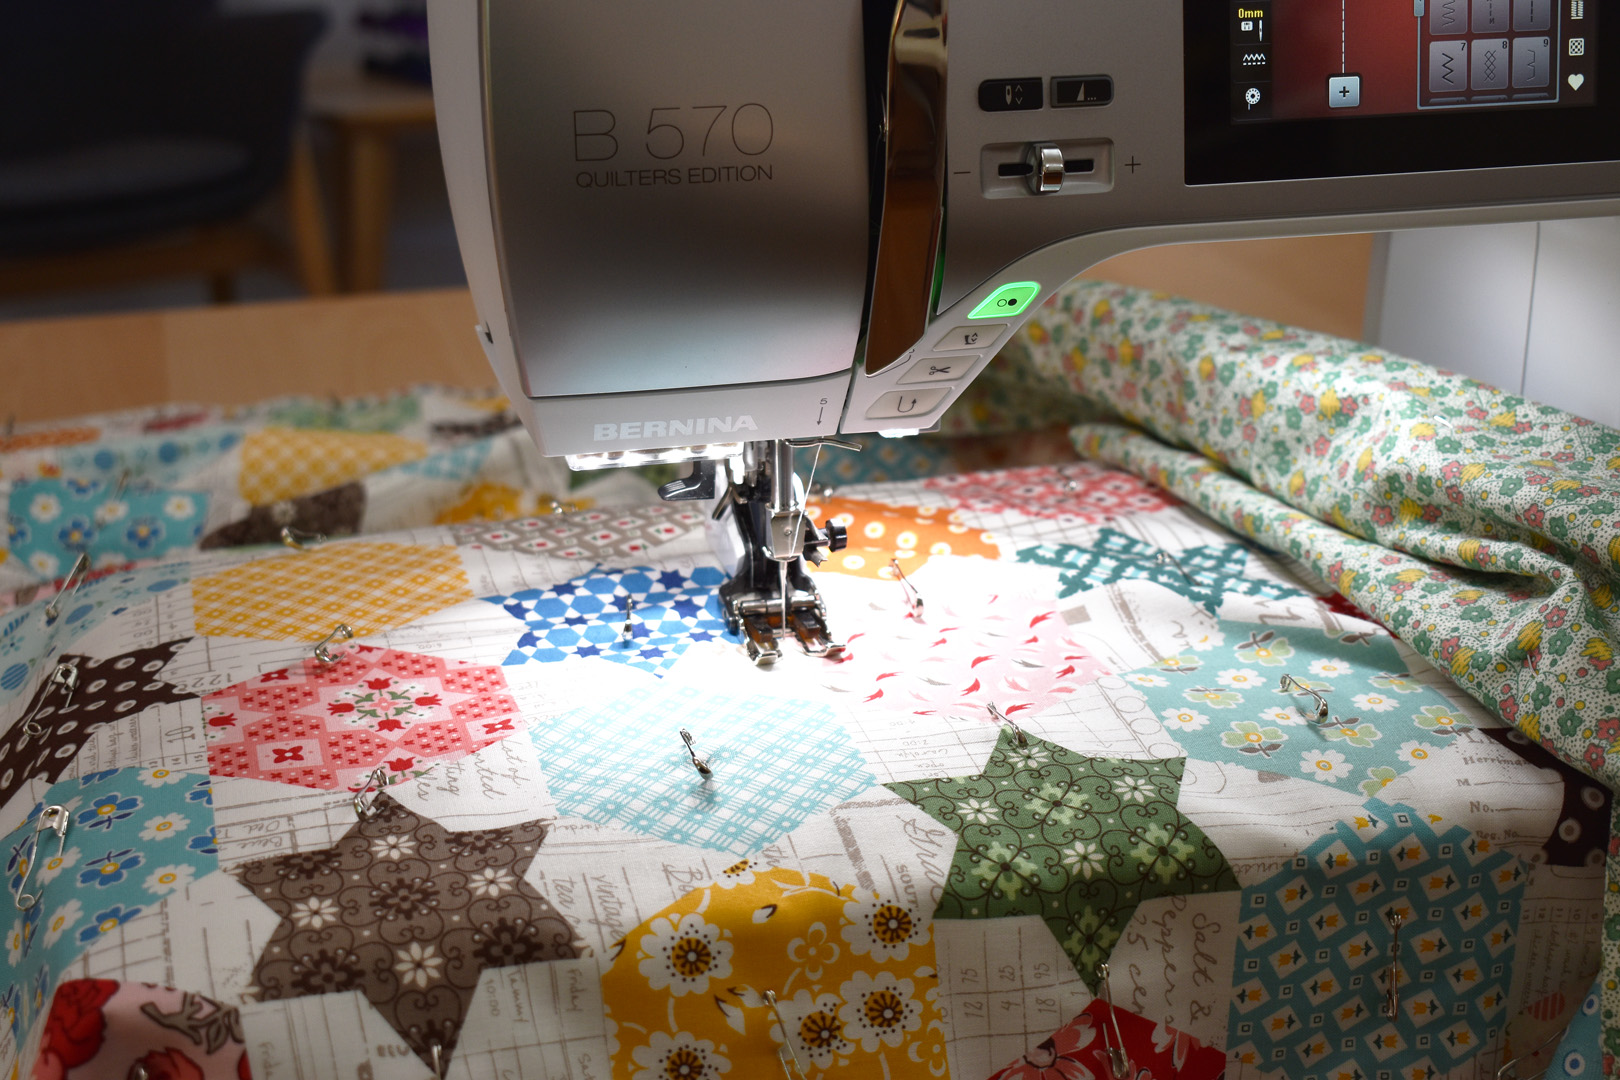
I just followed these lines from one side of the fabric to the other until all were stitched. Once fully quilted, trim up the edges of the poncho so the entire piece is perfectly square.
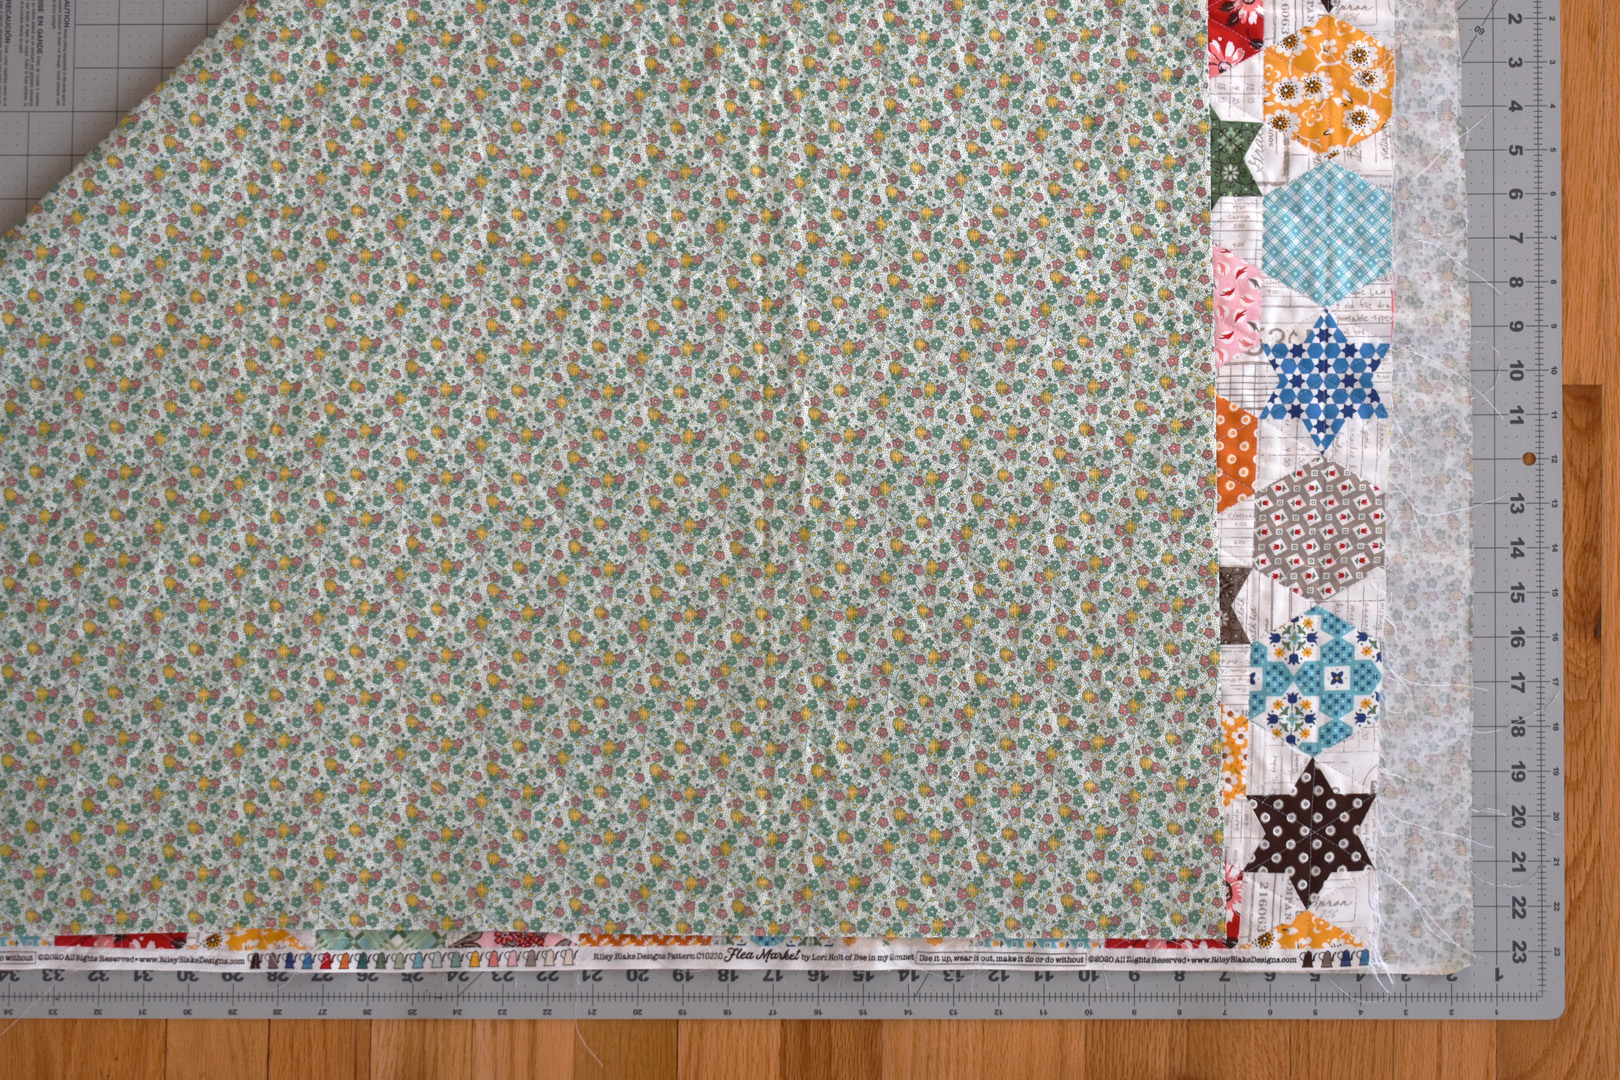
I use a large cutting mat on the floor to square it up. First, I fold one corner over towards the opposite corner, looking at where the two edges meet. You can see the edge folded over to meet the selvage edge (the finished edge of the fabric printed with the manufacturer’s details) is a bit crooked. I cut both of these edges straight at the same time, then do the same with the other side. Once the main part of the poncho is quilted and squared-up, set it aside while you finish the collar, ties, and facing.
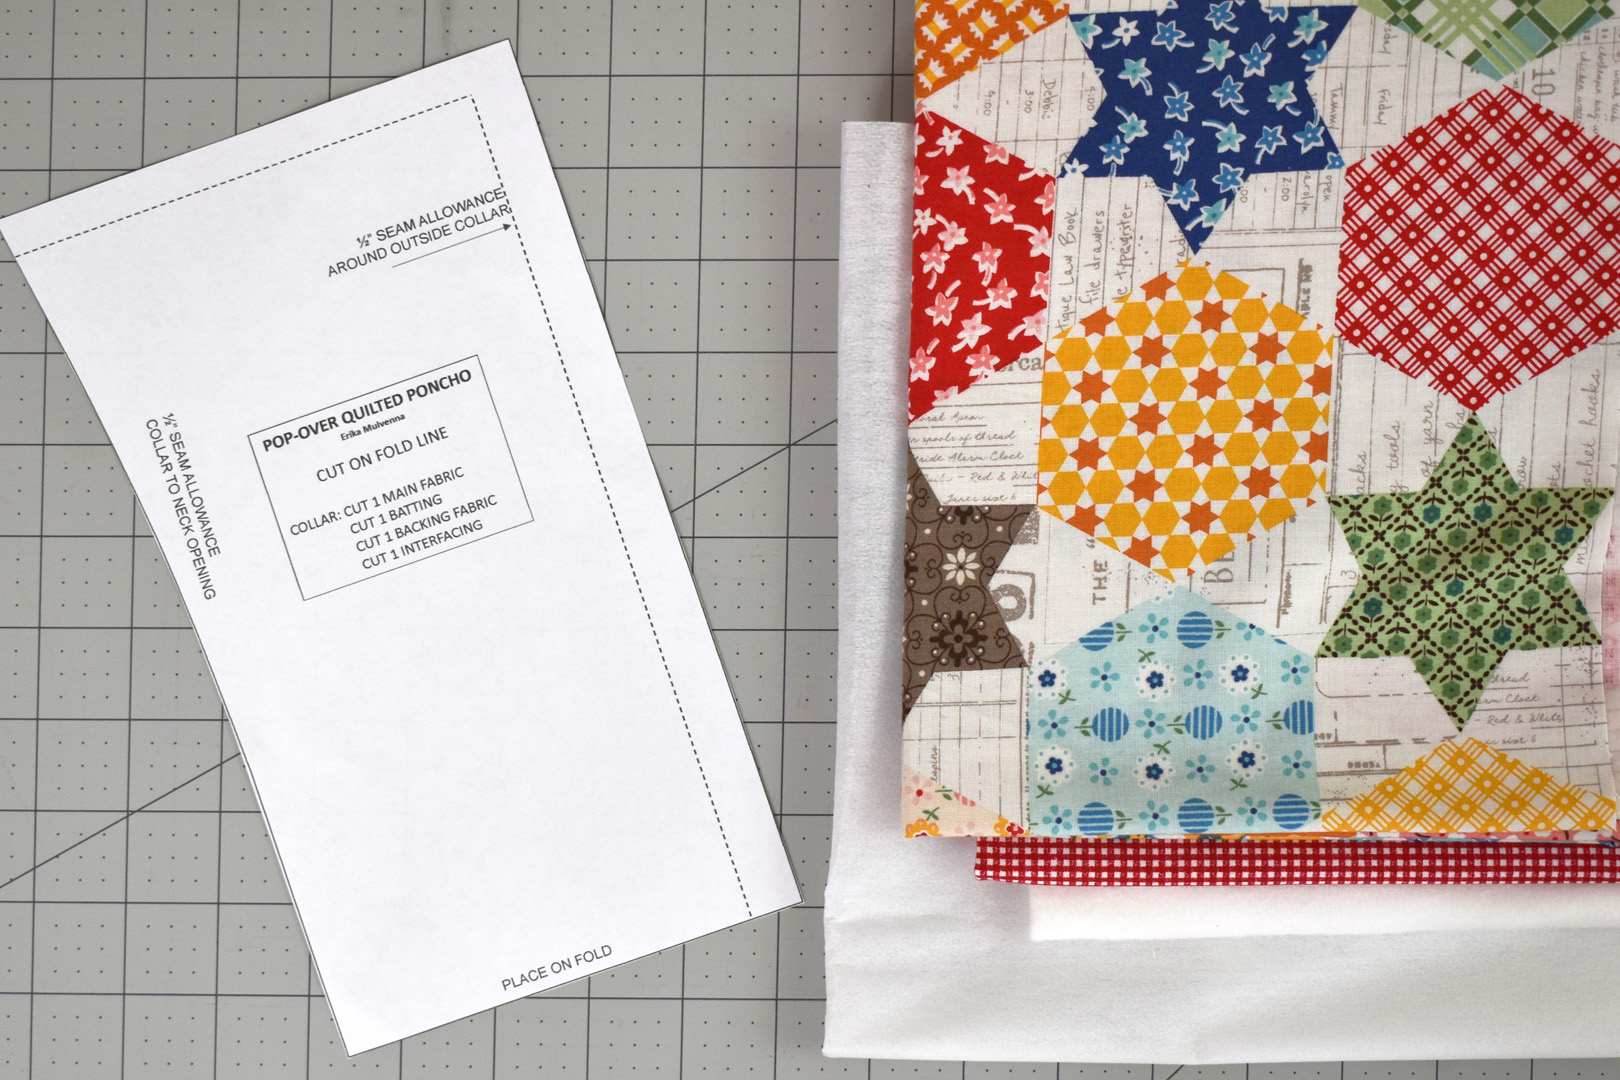
Cut and sew the quilted poncho collar. Using the collar pattern piece, cut one each from the main fabric, the flannel, the medium weight interfacing, and the contrasting fabric (for the ties, under collar, and binding). Make sure to place the straight edge of the pattern noted “PLACE ON FOLD” directly on a folded edge when cutting.
Fuse the iron-on interfacing on the wrong side of the back collar fabric, and pin the flannel to the wrong side of the main collar fabric. Stitch the main collar and flannel layers together with the same pattern of quilting stitches as the main poncho square.
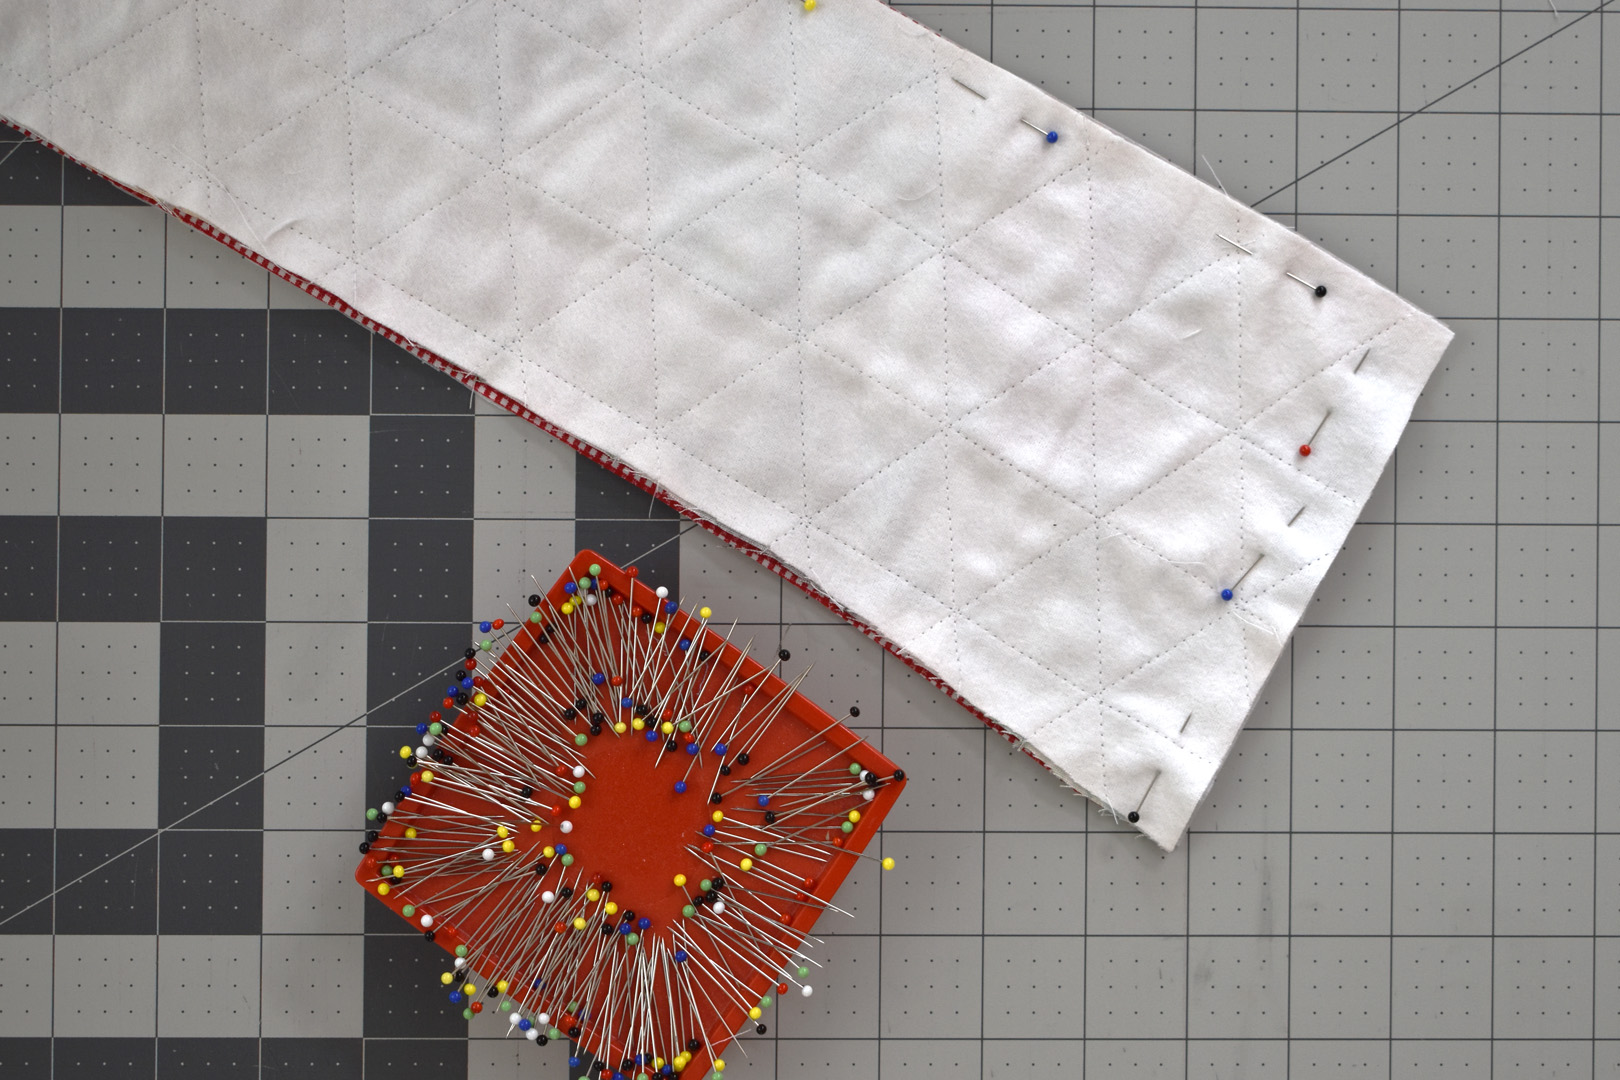
Place the two collar pieces right sides together and pin along the sides and top edge (leave the slightly curved edge unpinned). Sew along the pinned edges with a 1/2″ seam. After sewing, clip the collar corners close to the stitching, turn right side out, and press the collar well.
Top stitch around the collar close to the edges, continuing to stitch around the bottom side of the collar close to the raw edge. Set the finished collar aside while you make the ties.
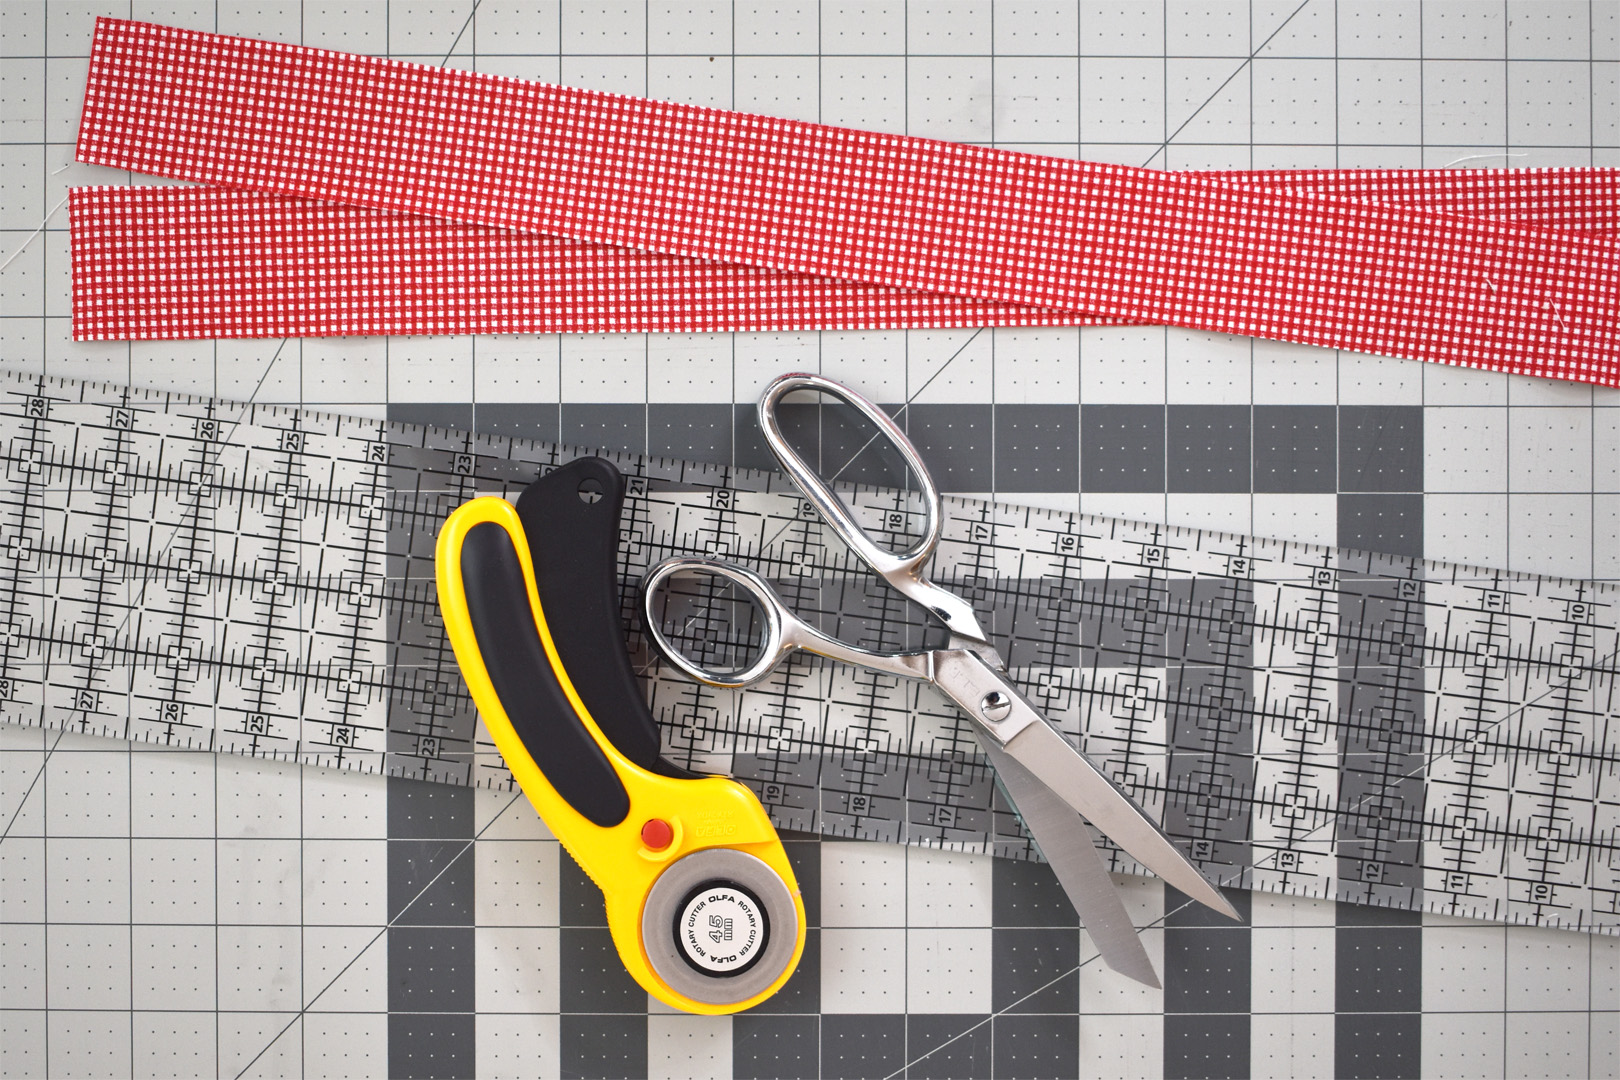
Cut and sew the ties and square mini quilt tie ends. Cut one 1 3/4″ long width-of-fabric strip from the contrasting fabric. Cut this strip in half to make two 1 3/4″ wide by 21″ -22″ long strips for the ties.
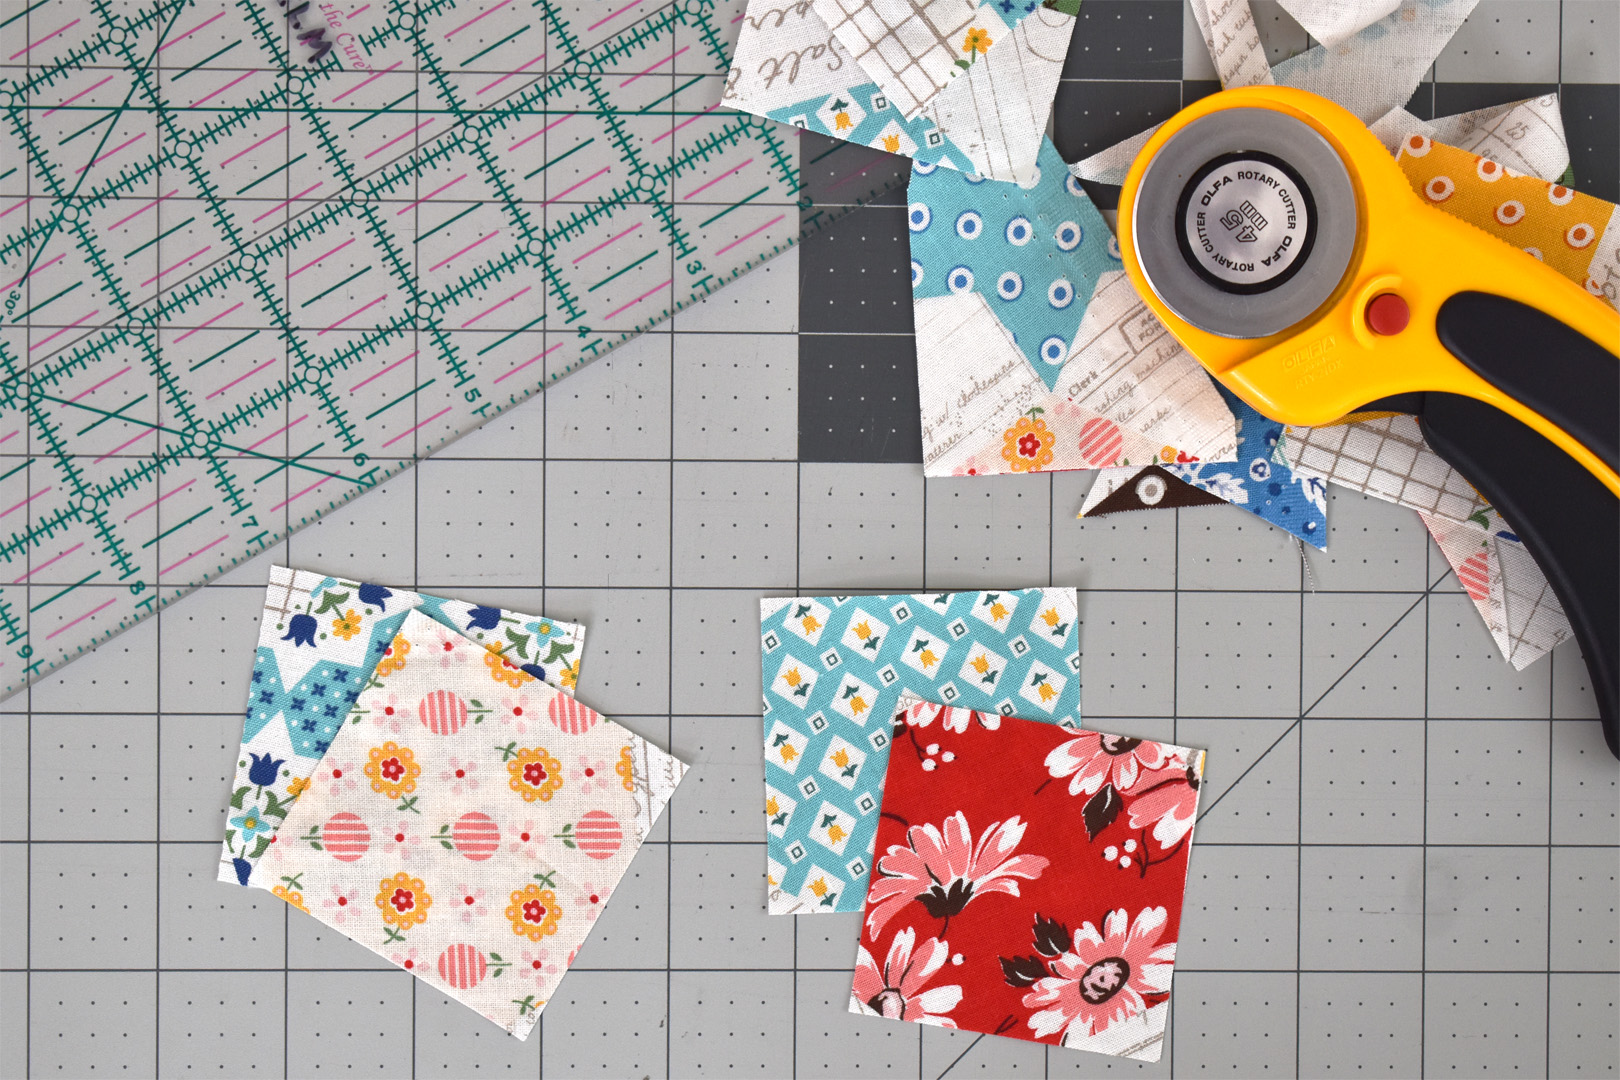
Cut four squares of fabric 2 1/2″ x 2 1/2″ for the tie ends. I fussy-cut these squares from the main fabric. At the same time, cut two squares of flannel 2 1/2″ x 2 1/2″.
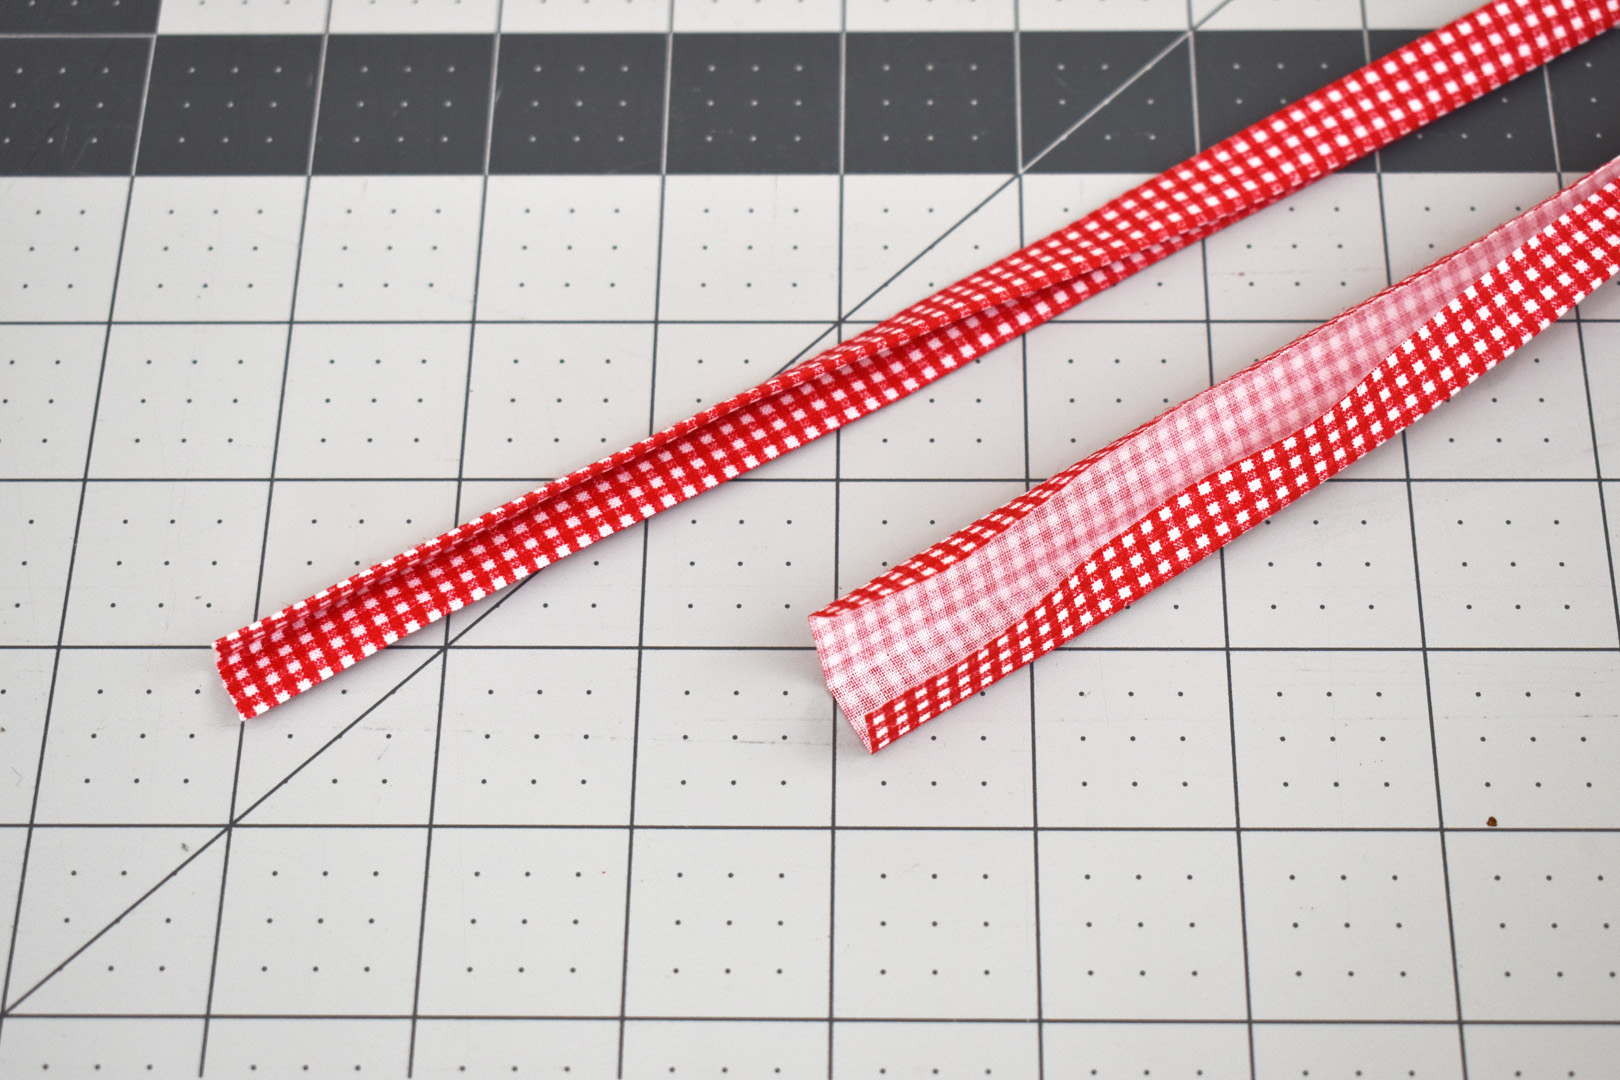
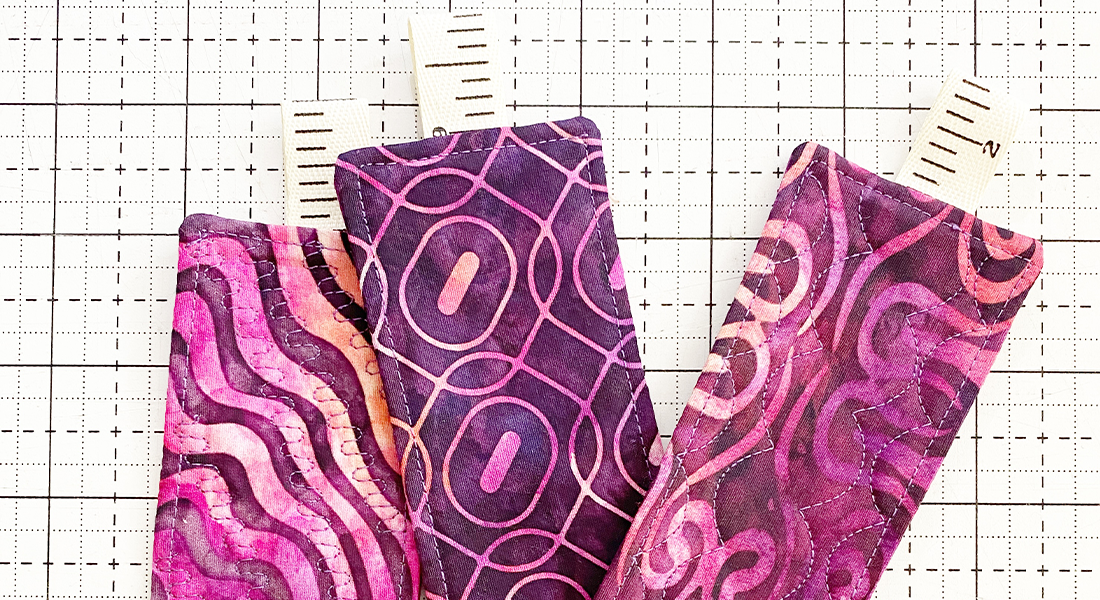
Create finished ties by pressing each strip together lengthwise, wrong sides together, creating a long crease in the center of the strip. Open the fabric and press the two raw edges over to meet the center crease. Finally, fold up the strip and press well (like the top strip in the photo above).
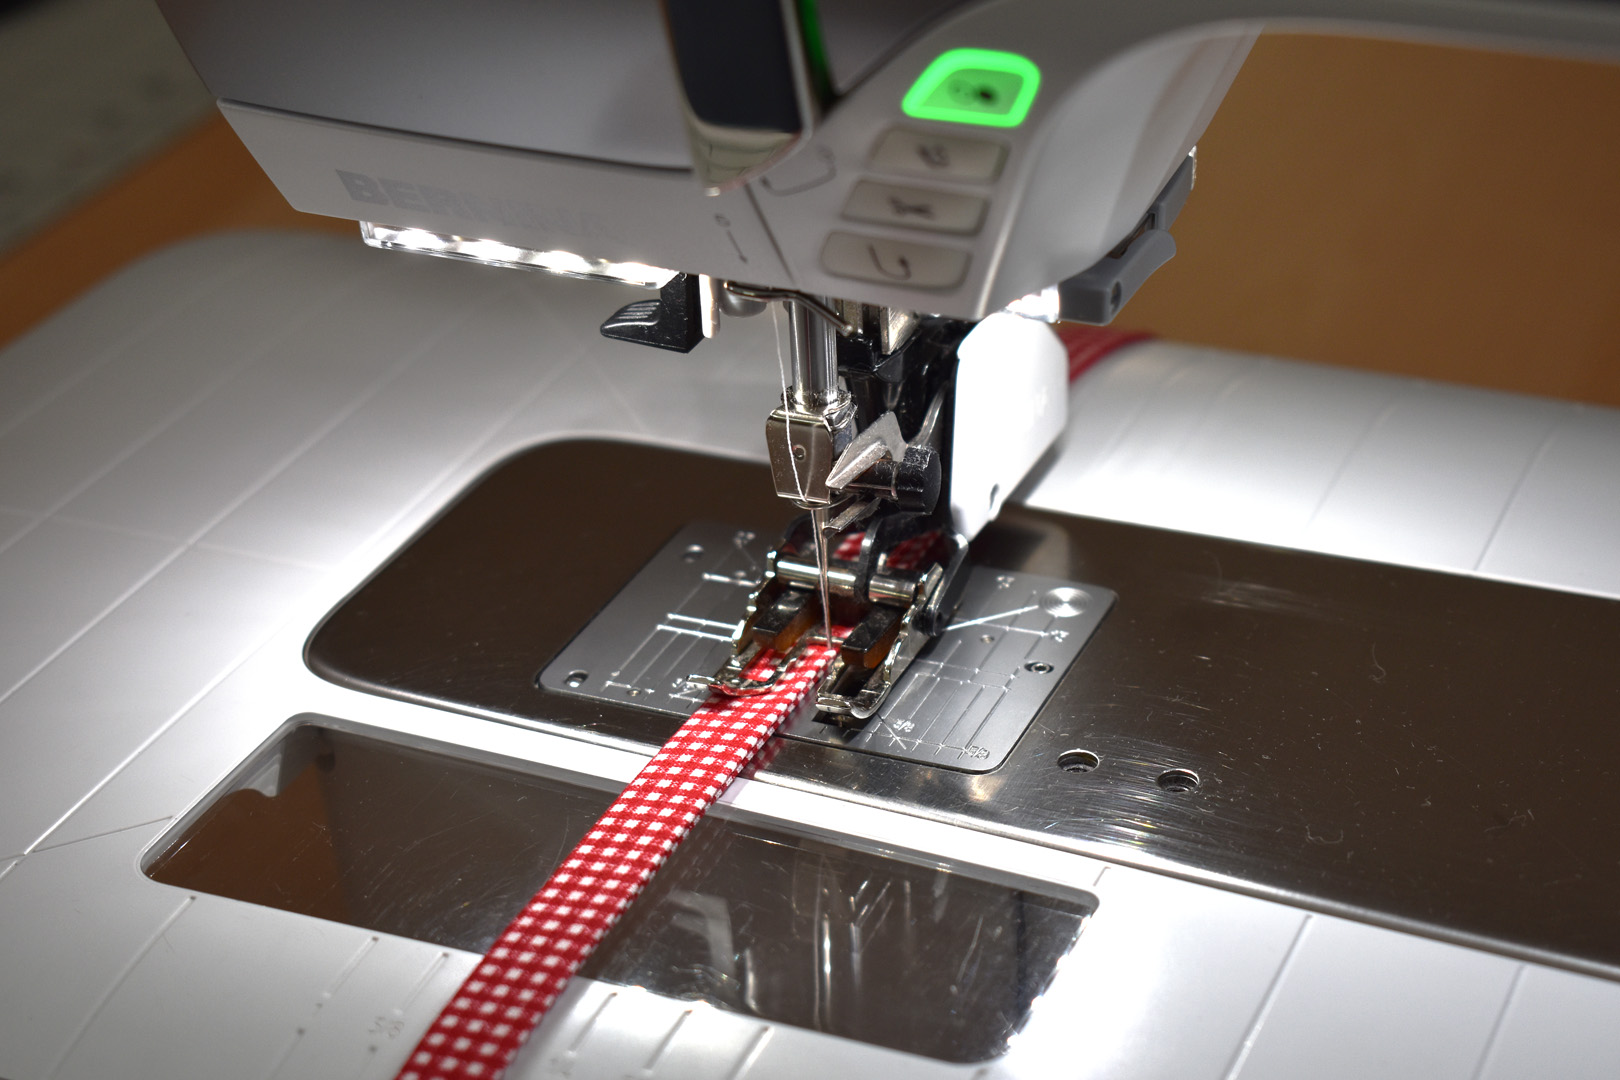
Stitch down the open side of the strip close to the edge to finish the tie strips.
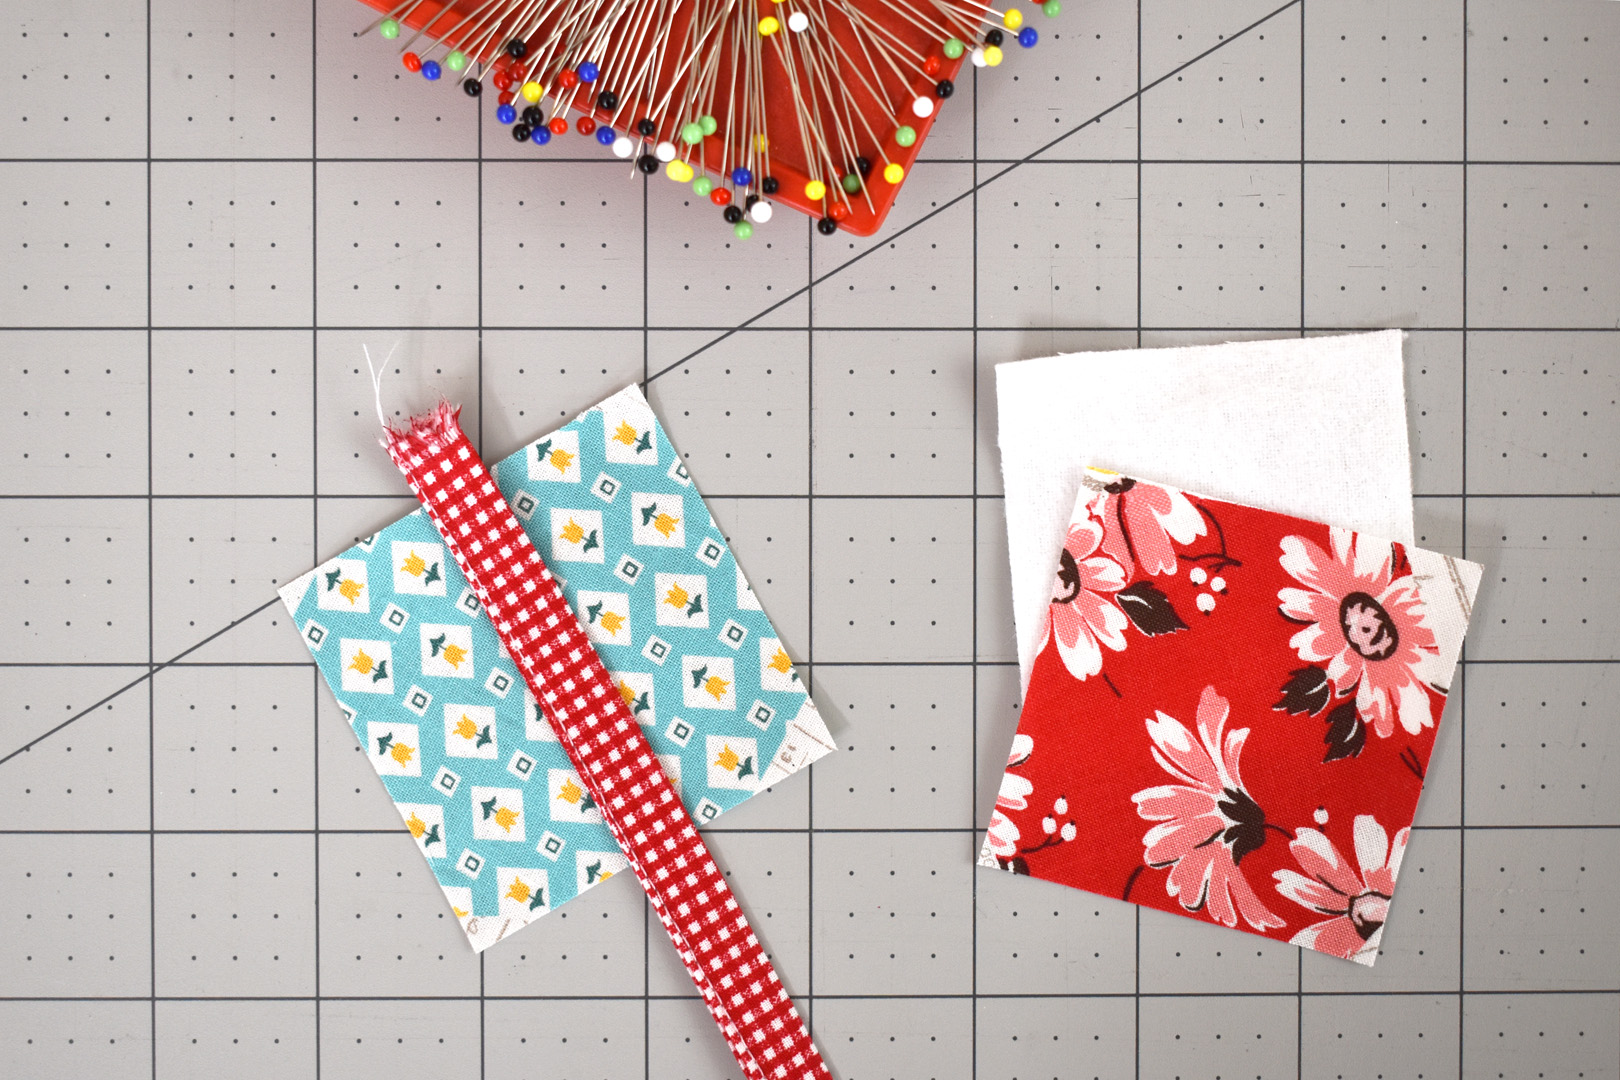
Add the mini quilt squares to the tie ends. Place one end of the finished tie on a square as pictured above, leaving at least 1/4″ sticking out on the top edge, centering the tie on the square.
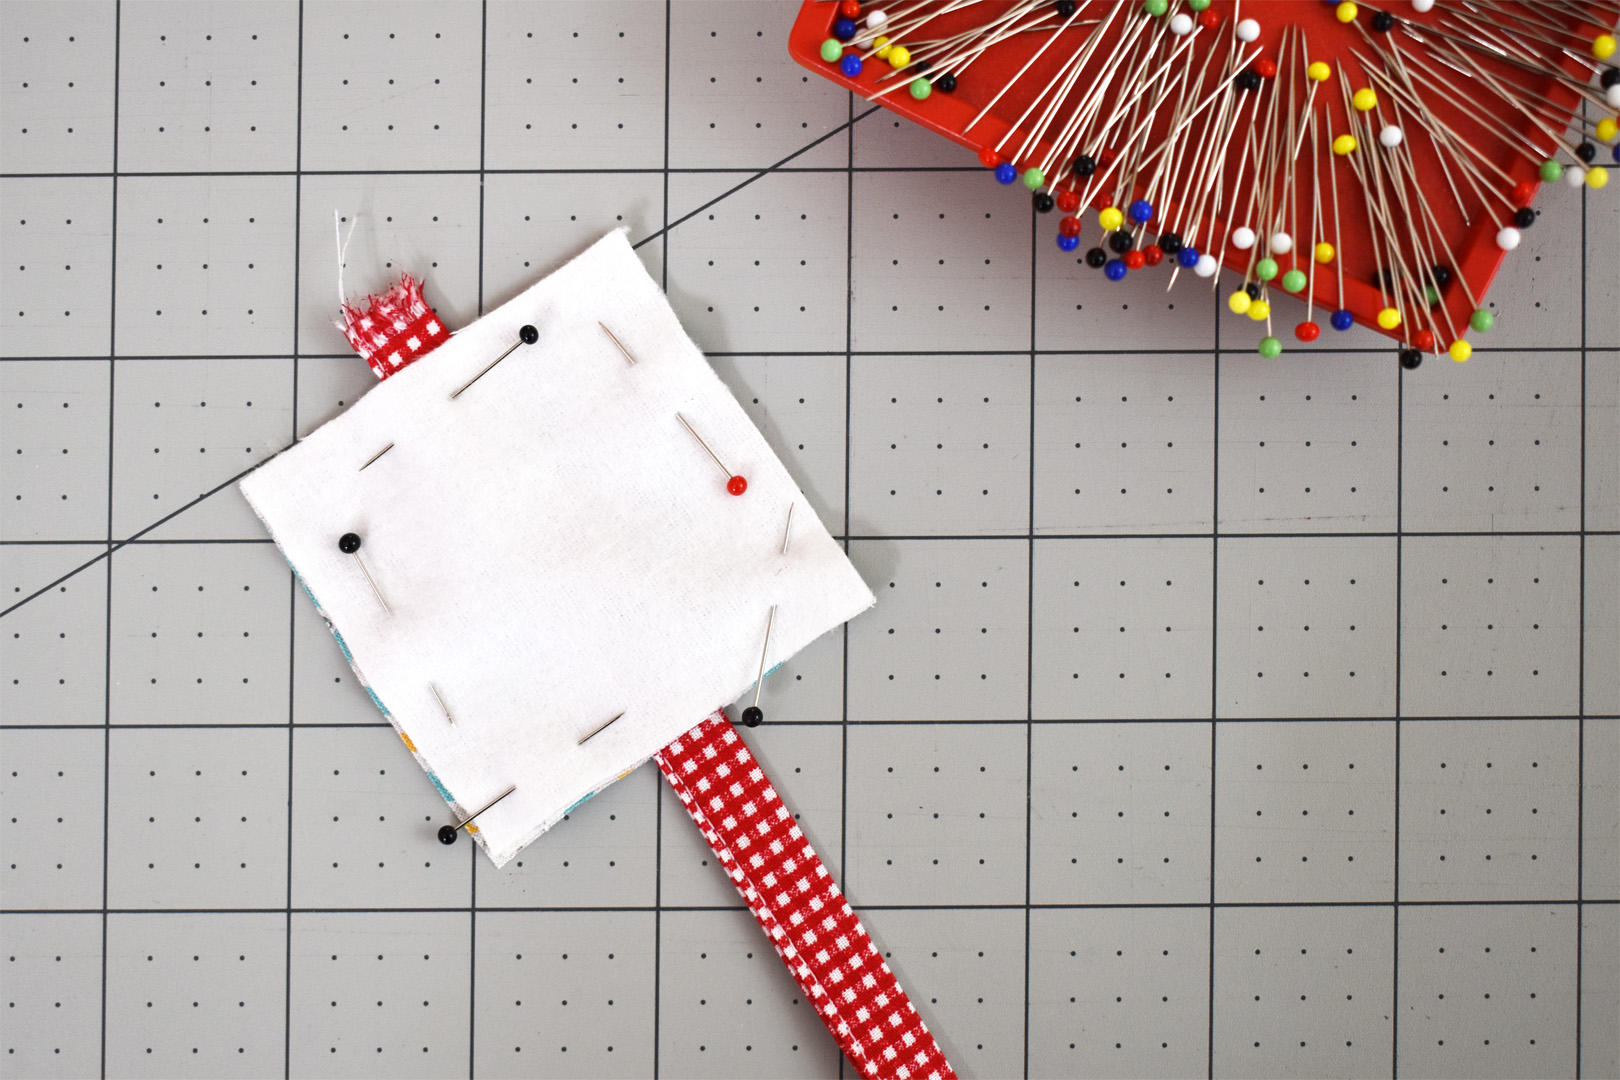
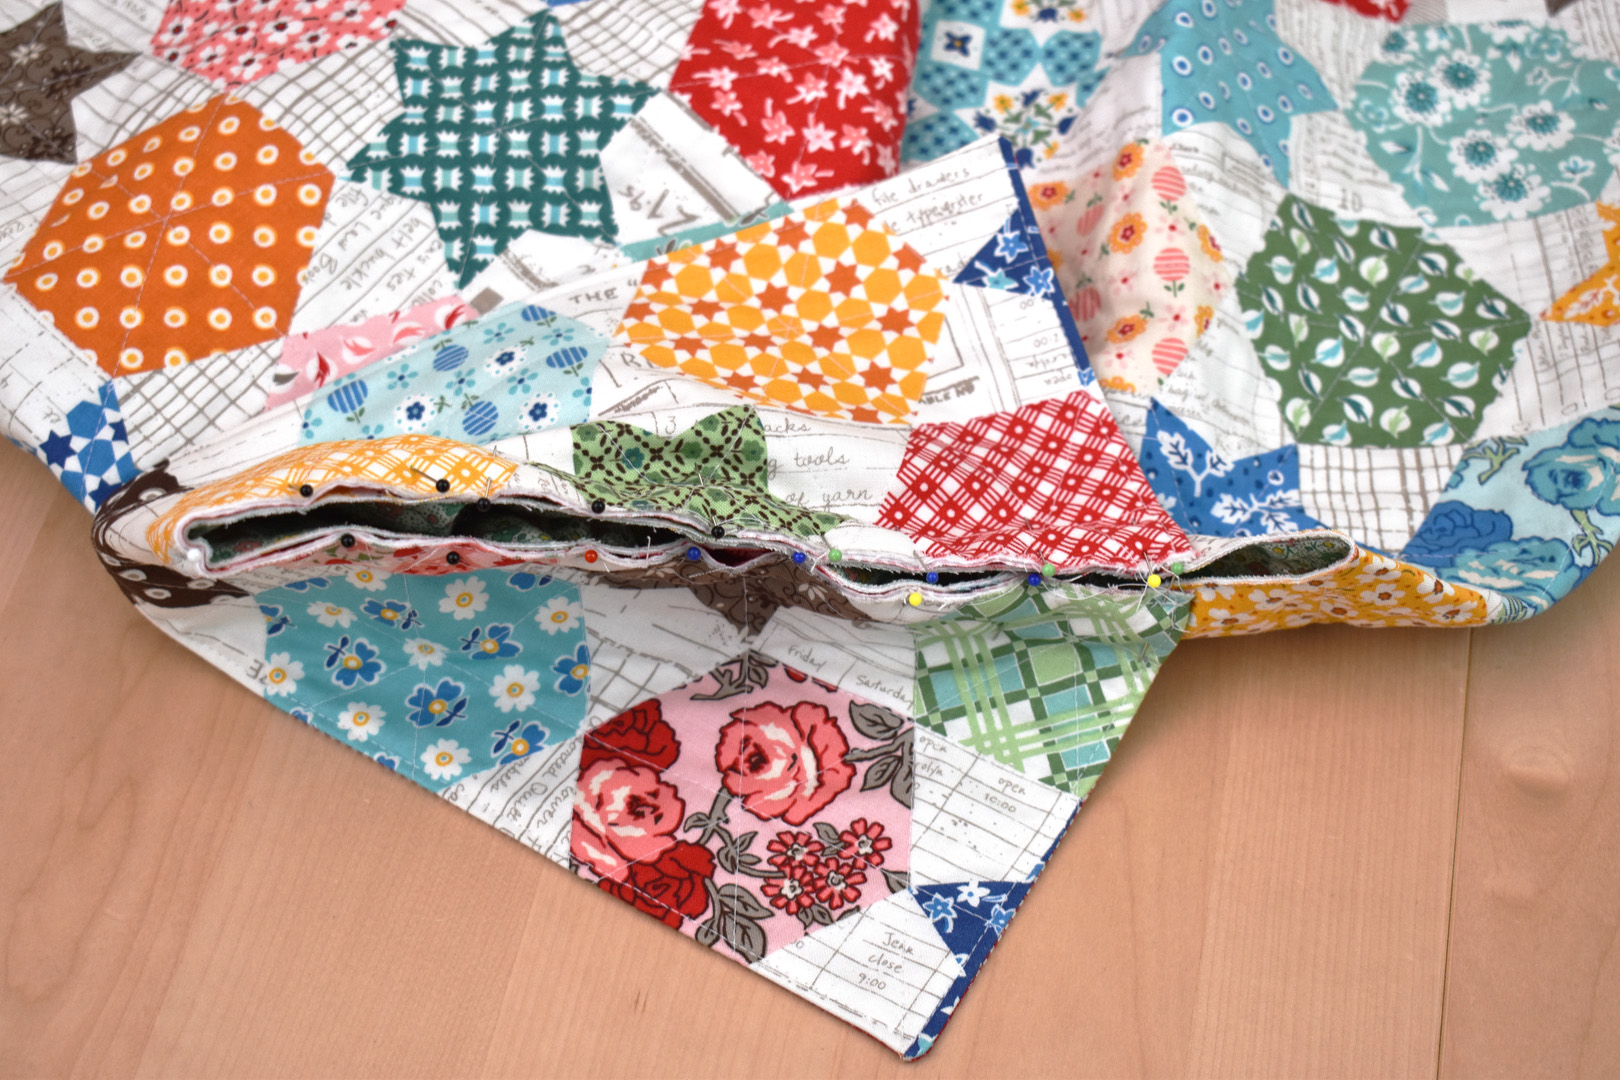
Place another cut square on top, right side down, followed by a square of flannel. Pin all layers together. Leave the bottom edge (the edge with the long part of the tie sticking out) open about 1″ to turn the mini quilt square right side out after stitching.
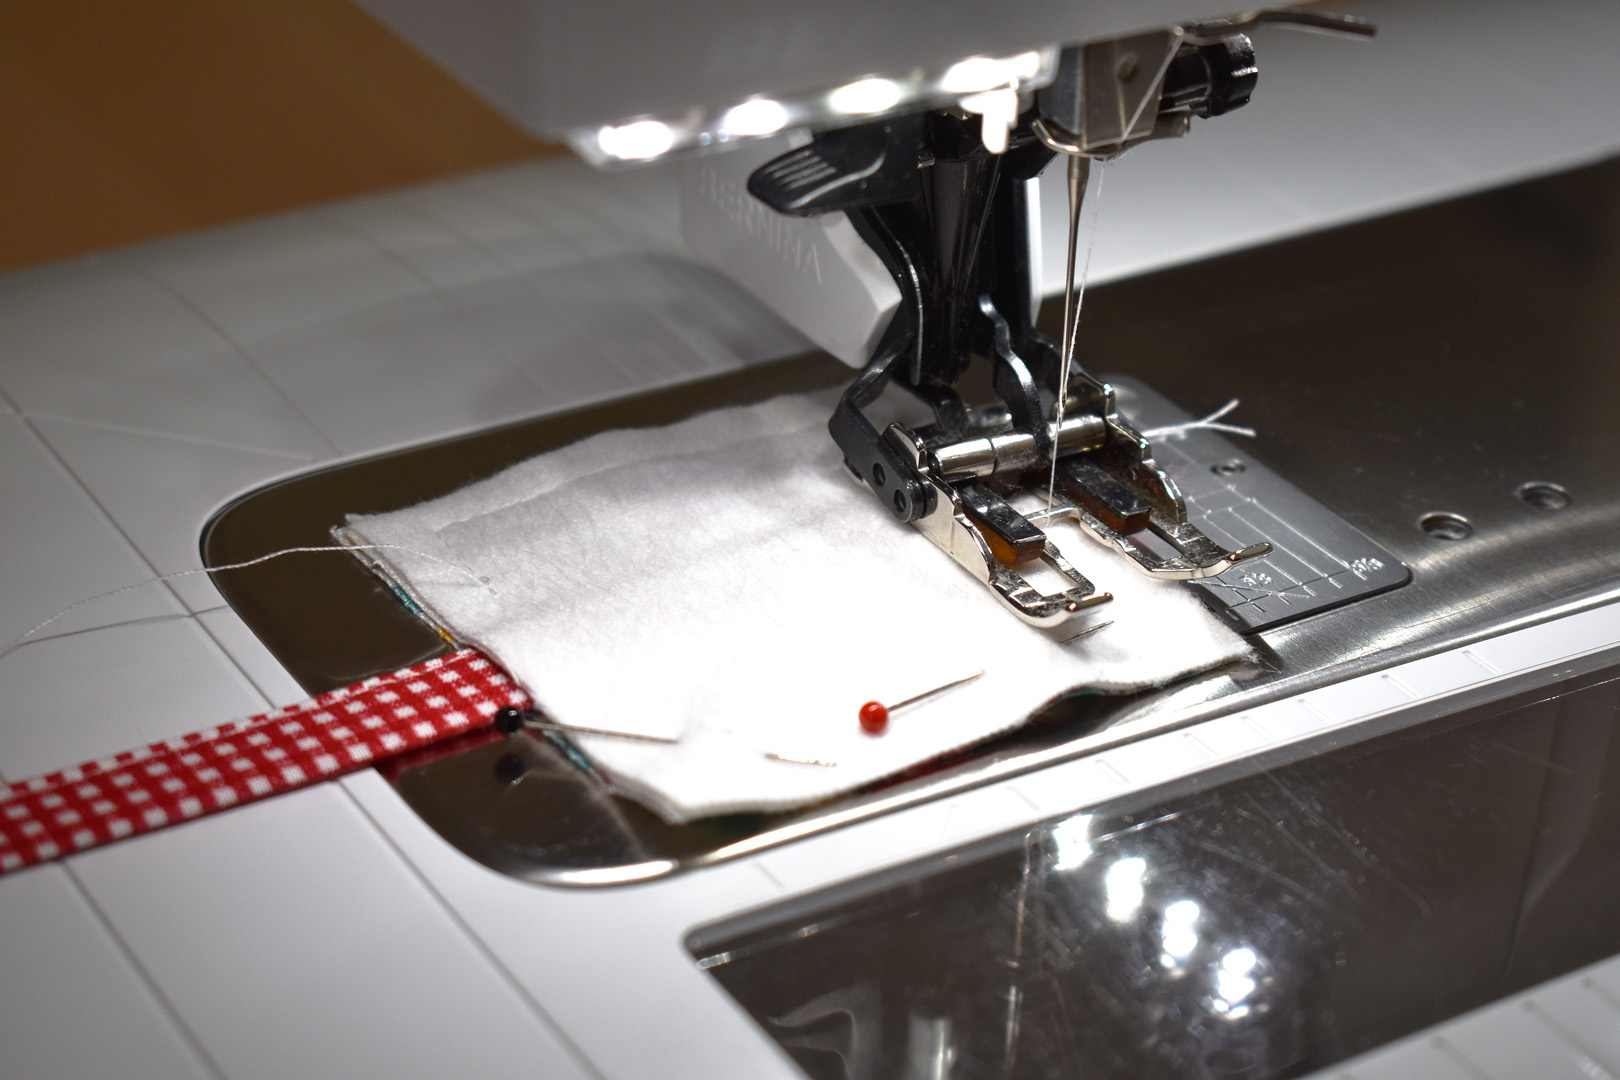
Start and stop sewing on either side of the bottom opening with a 1/4″ seam allowance.
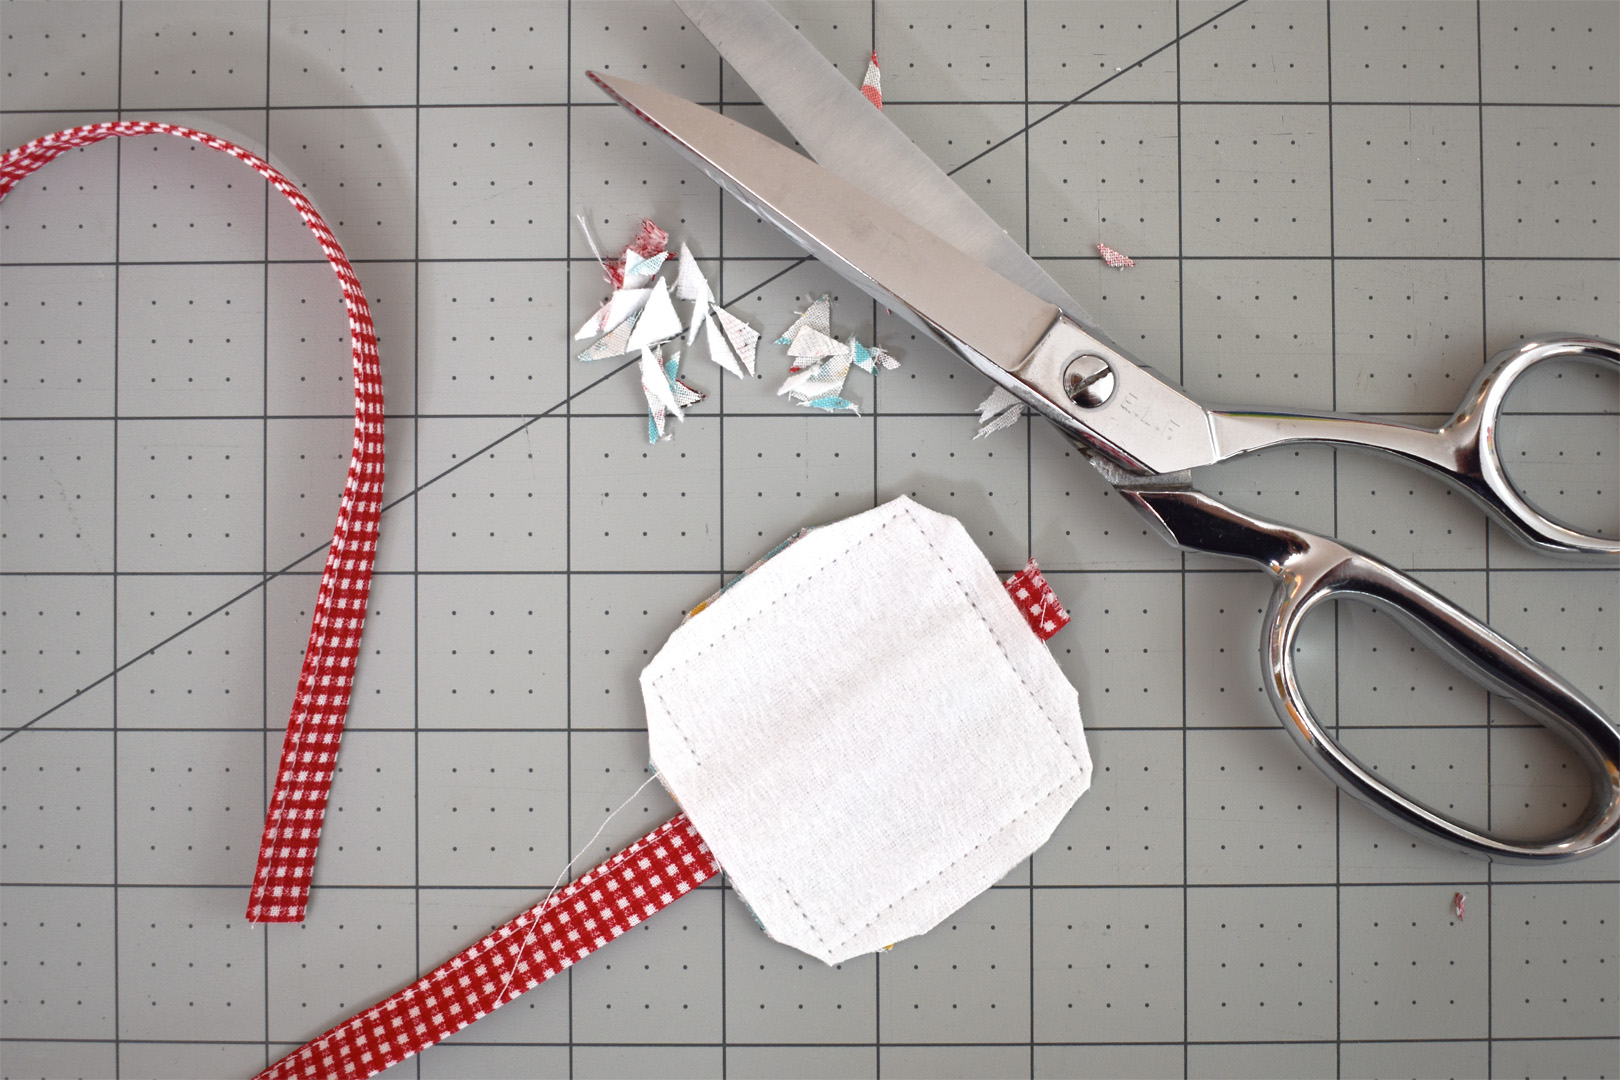
Trim the corners close to the stitching. Gently tug on the long end of the tie to begin turning the mini quilt square right side out. Press well, turning the seam allowance at the opening to the inside of the square. Topstitch all around the outside edge of the square.
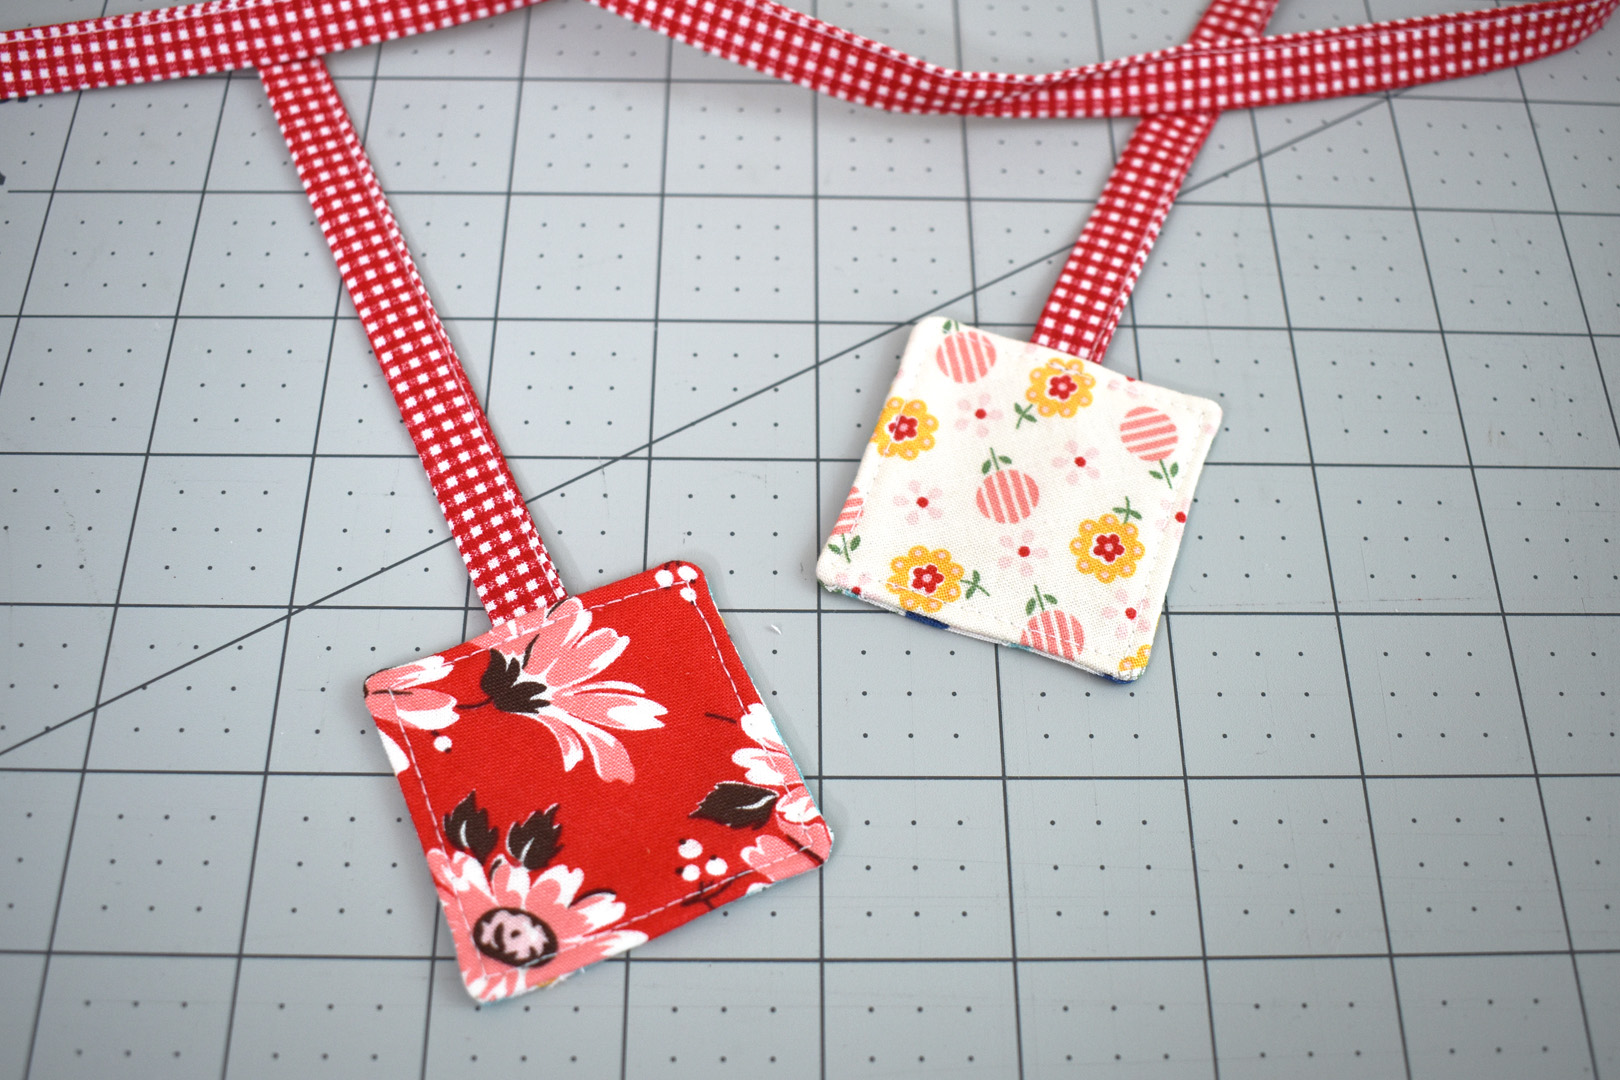
Repeat to complete the other tie. Set both finished ties aside while you prepare the facing for the poncho.
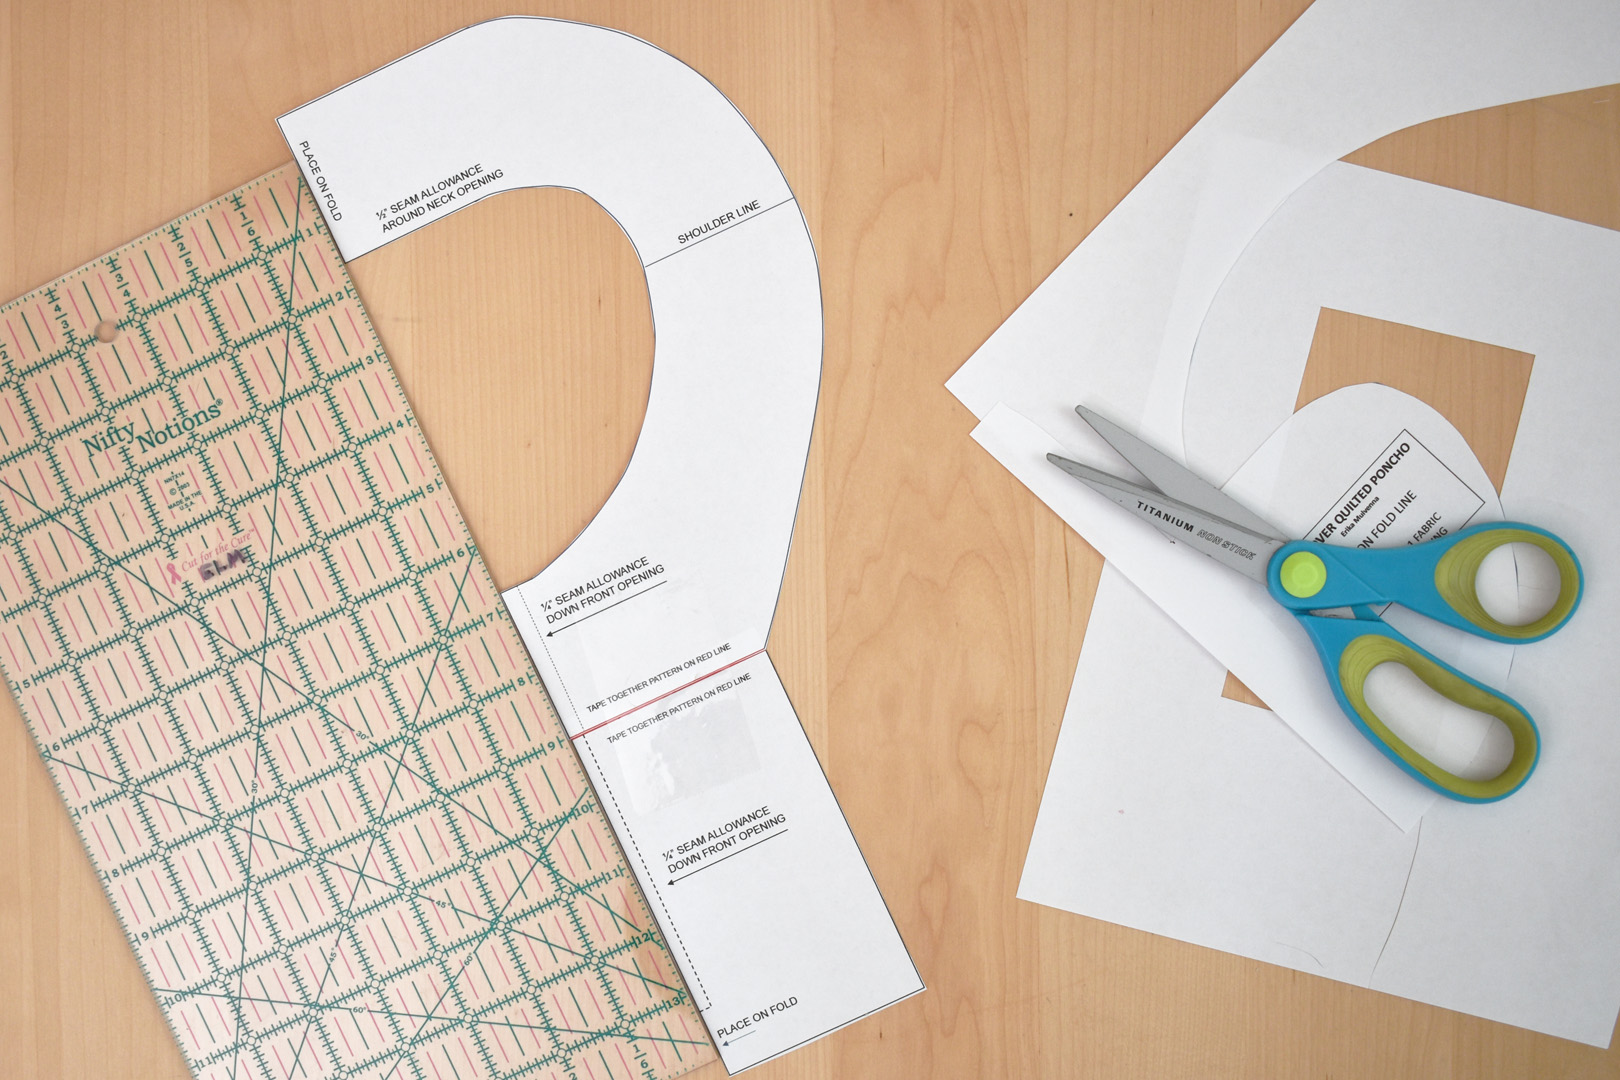
Cut out the two pieces of the facing pattern and tape together at the red line. Use a straight edge or ruler to make sure the edges are lining up before taping. Using the pattern, cut one facing piece from the medium weight interfacing and one from the poncho lining fabric. Make sure to place the edge of the pattern marked “PLACE ON FOLD” along a folded edge when cutting.
Fuse the interfacing on the wrong side of the fabric following the manufacturer’s instructions.

Finish the outside edge of the facing with a zigzag stitch. If you have an Overlock Foot #2A use it to help the stitches lay perfectly flat along the edge.
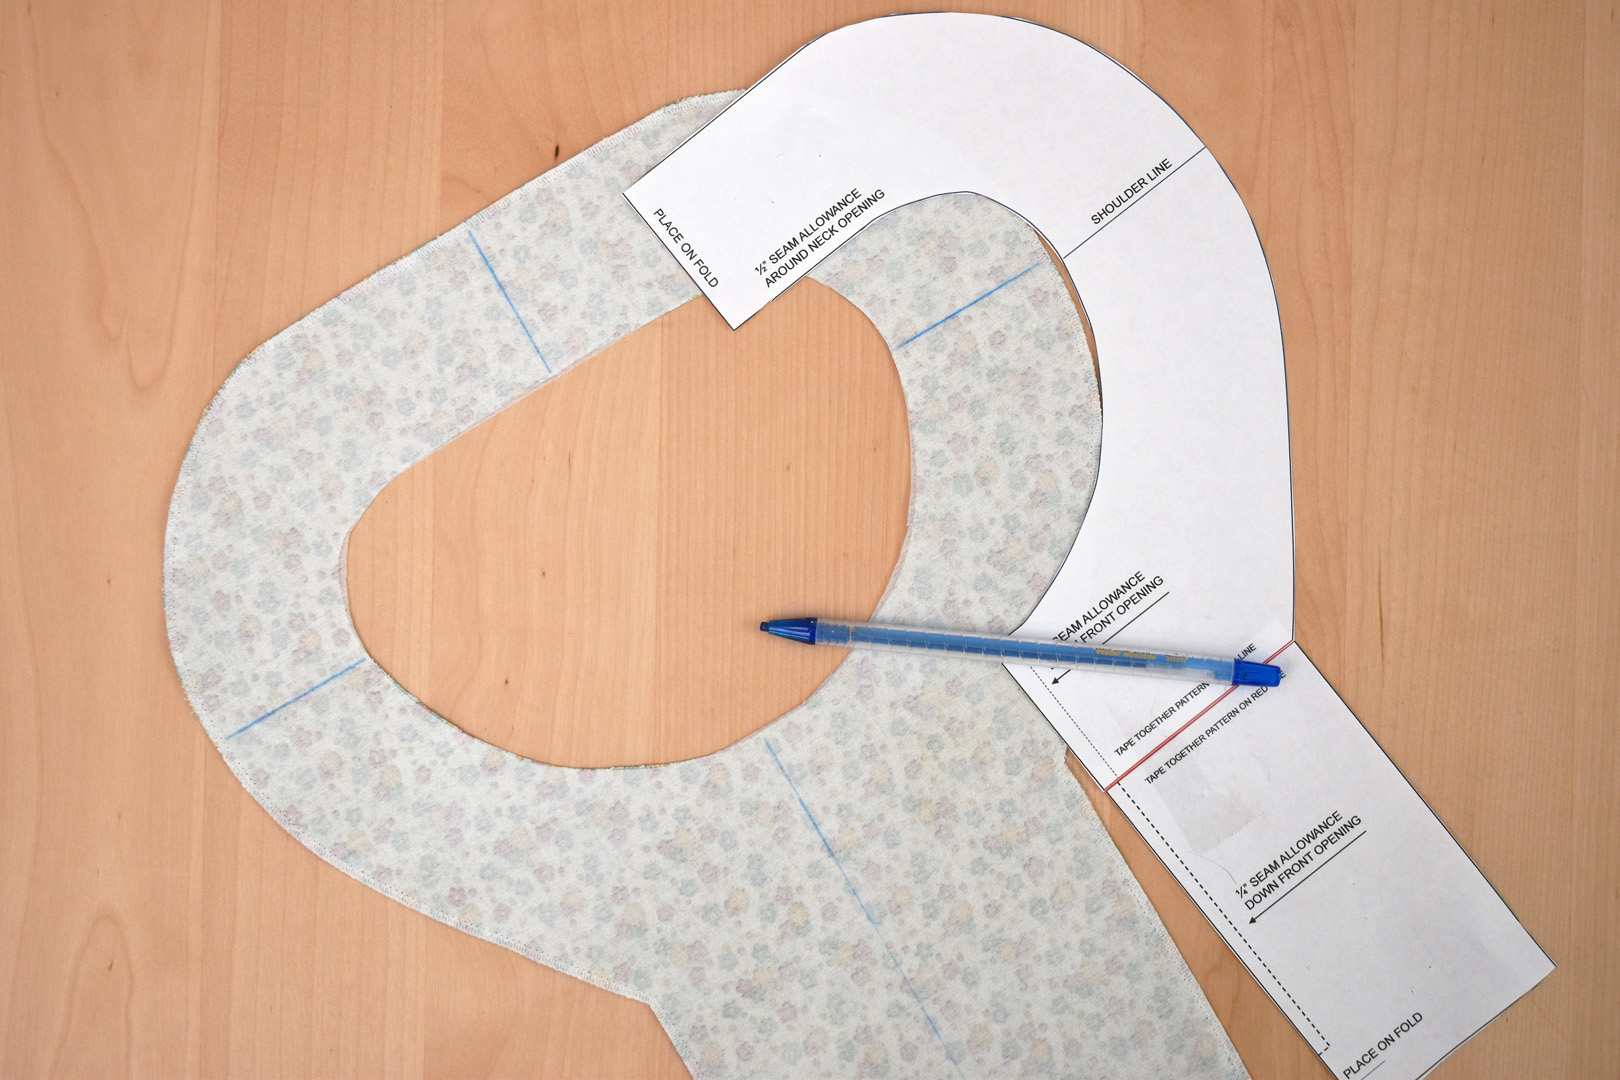
As a final step to prepare the facing, use a fabric marking pen or pencil and mark the back (interfacing) side of the facing with center marks and shoulder marks with the paper pattern. When tracing the FRONT CENTER mark on the tab (the long part that will become the front opening), trace the center line only to the bottom of the little stitch marks and stop.
Prepare to sew the collar, facing, and ties to the main poncho.
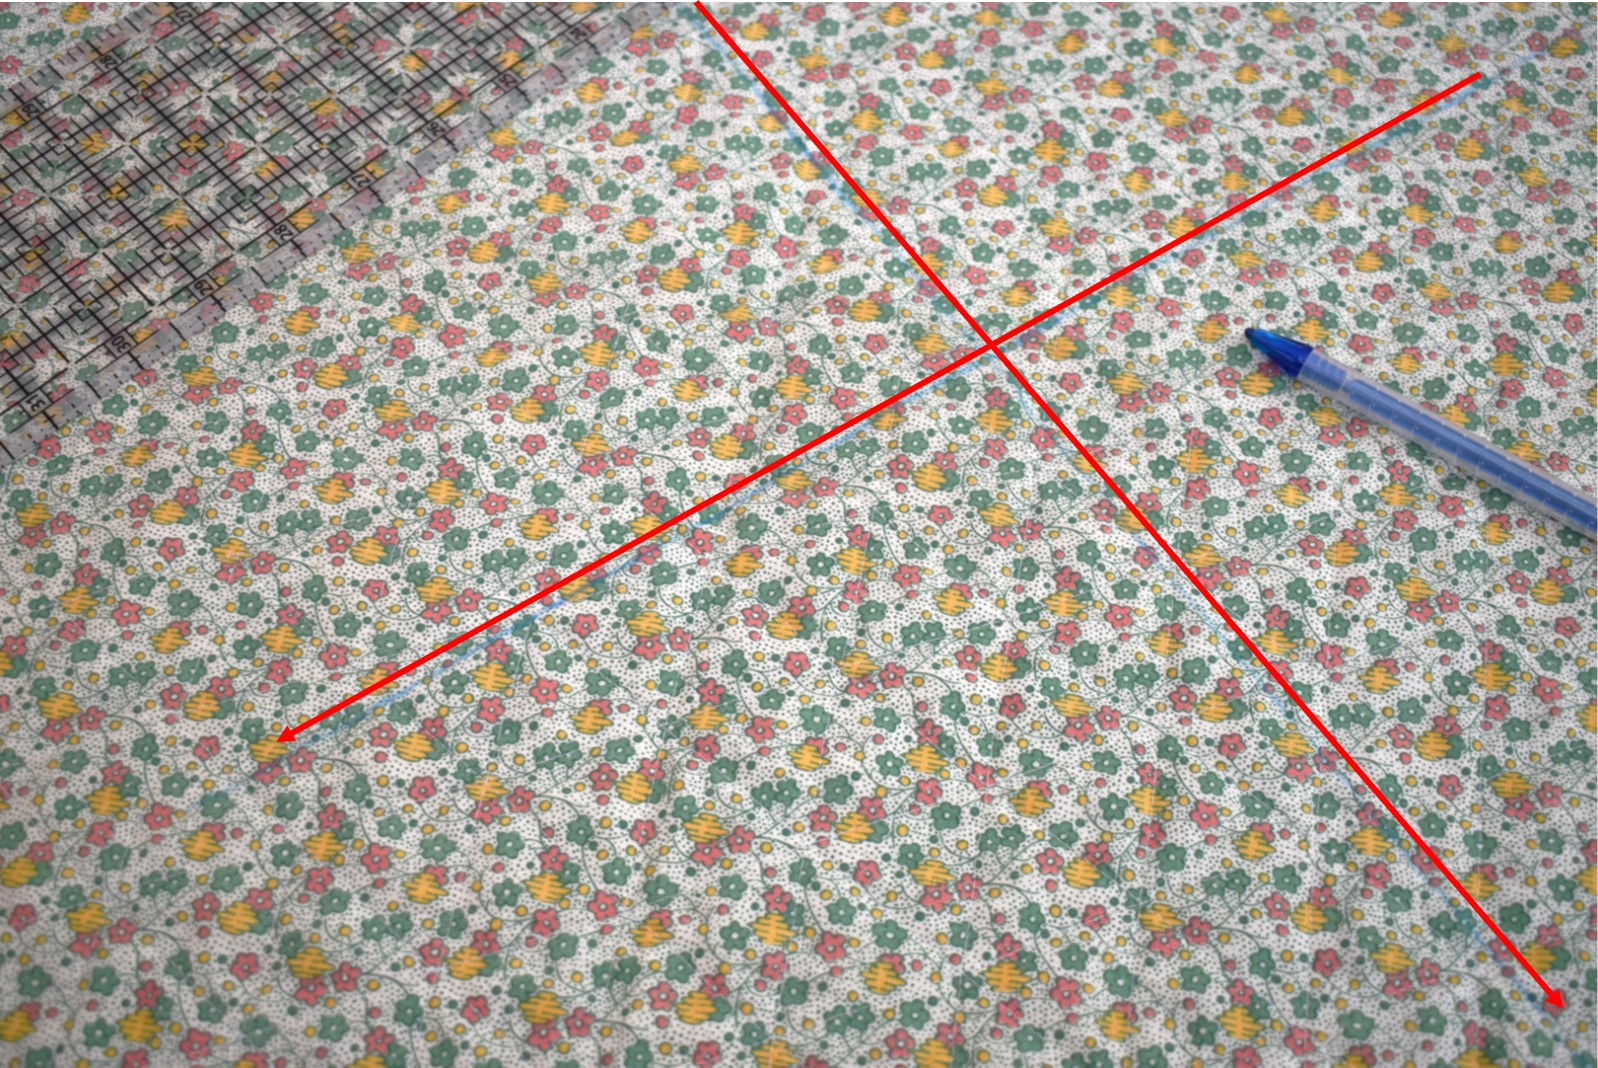
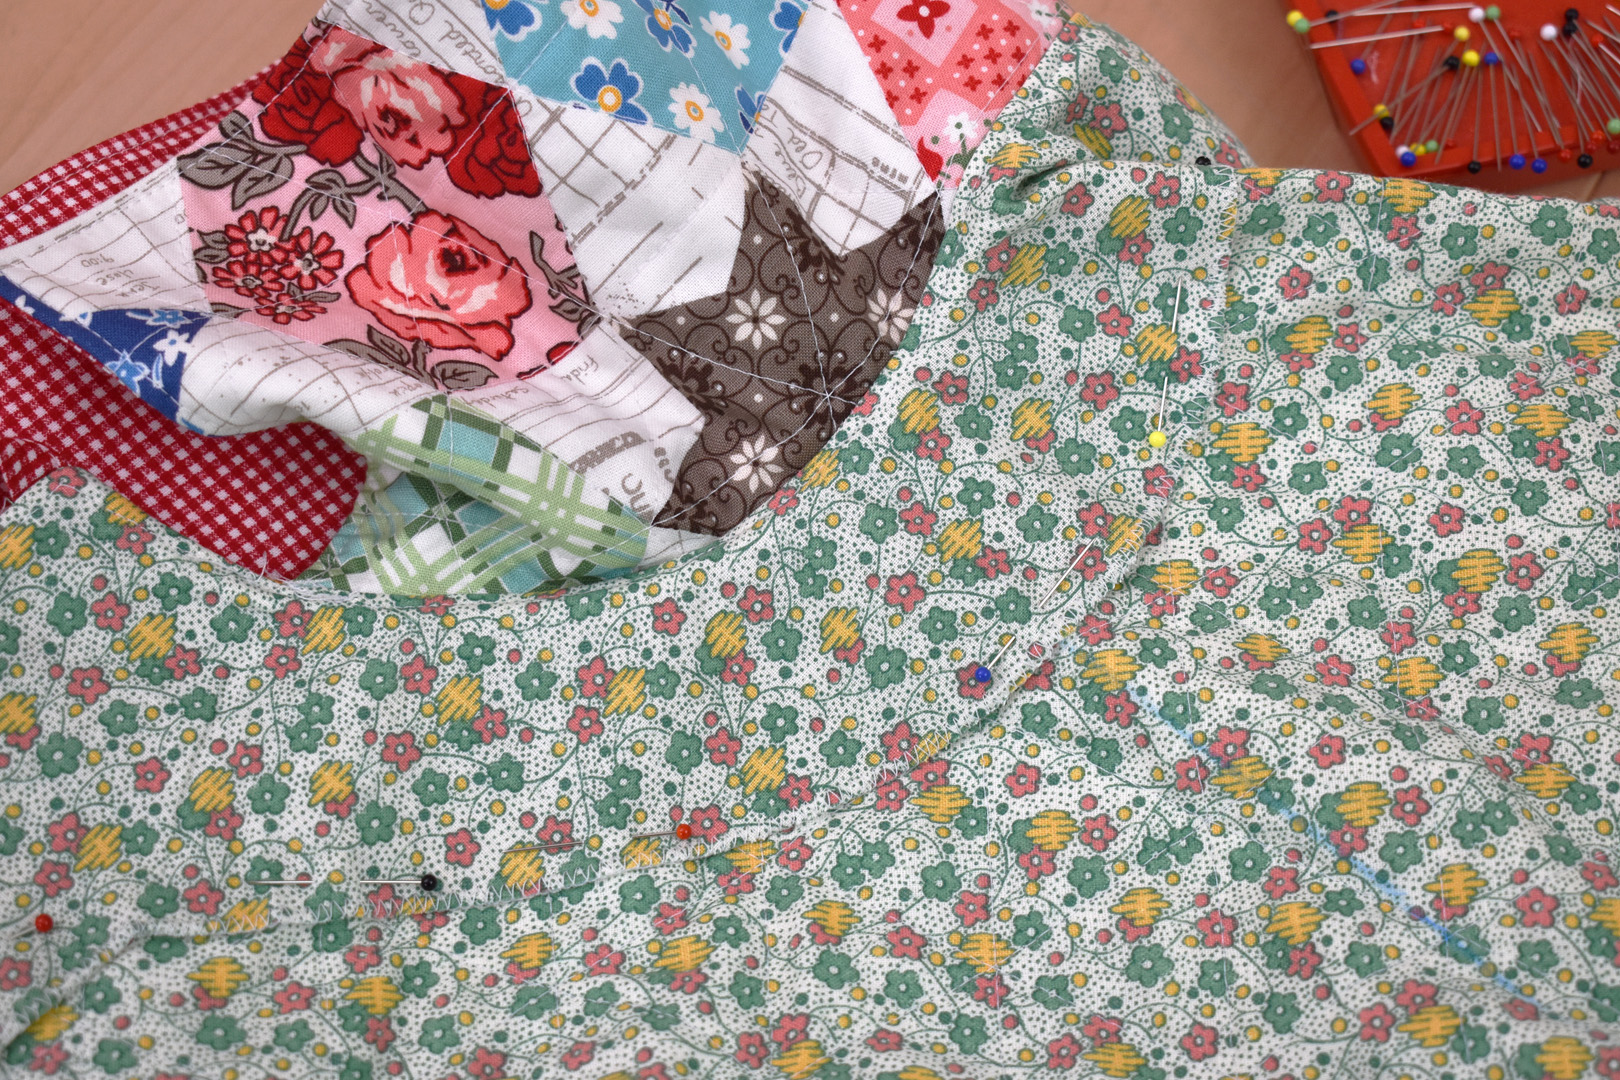
Use a fabric marking pen or pencil and a very long straight edge or ruler to mark the center on the back of the poncho. Lay the main poncho square on a large table or the floor, back side up. Line up the straight edge from one corner to the opposite corner, and use the fabric marking pen or pencil to mark 12″ – 14″ long, right in the center of the square. Repeat with opposite corners. It is hard to see the marks on the fabric in the photo above so there are red lines added to the photo.
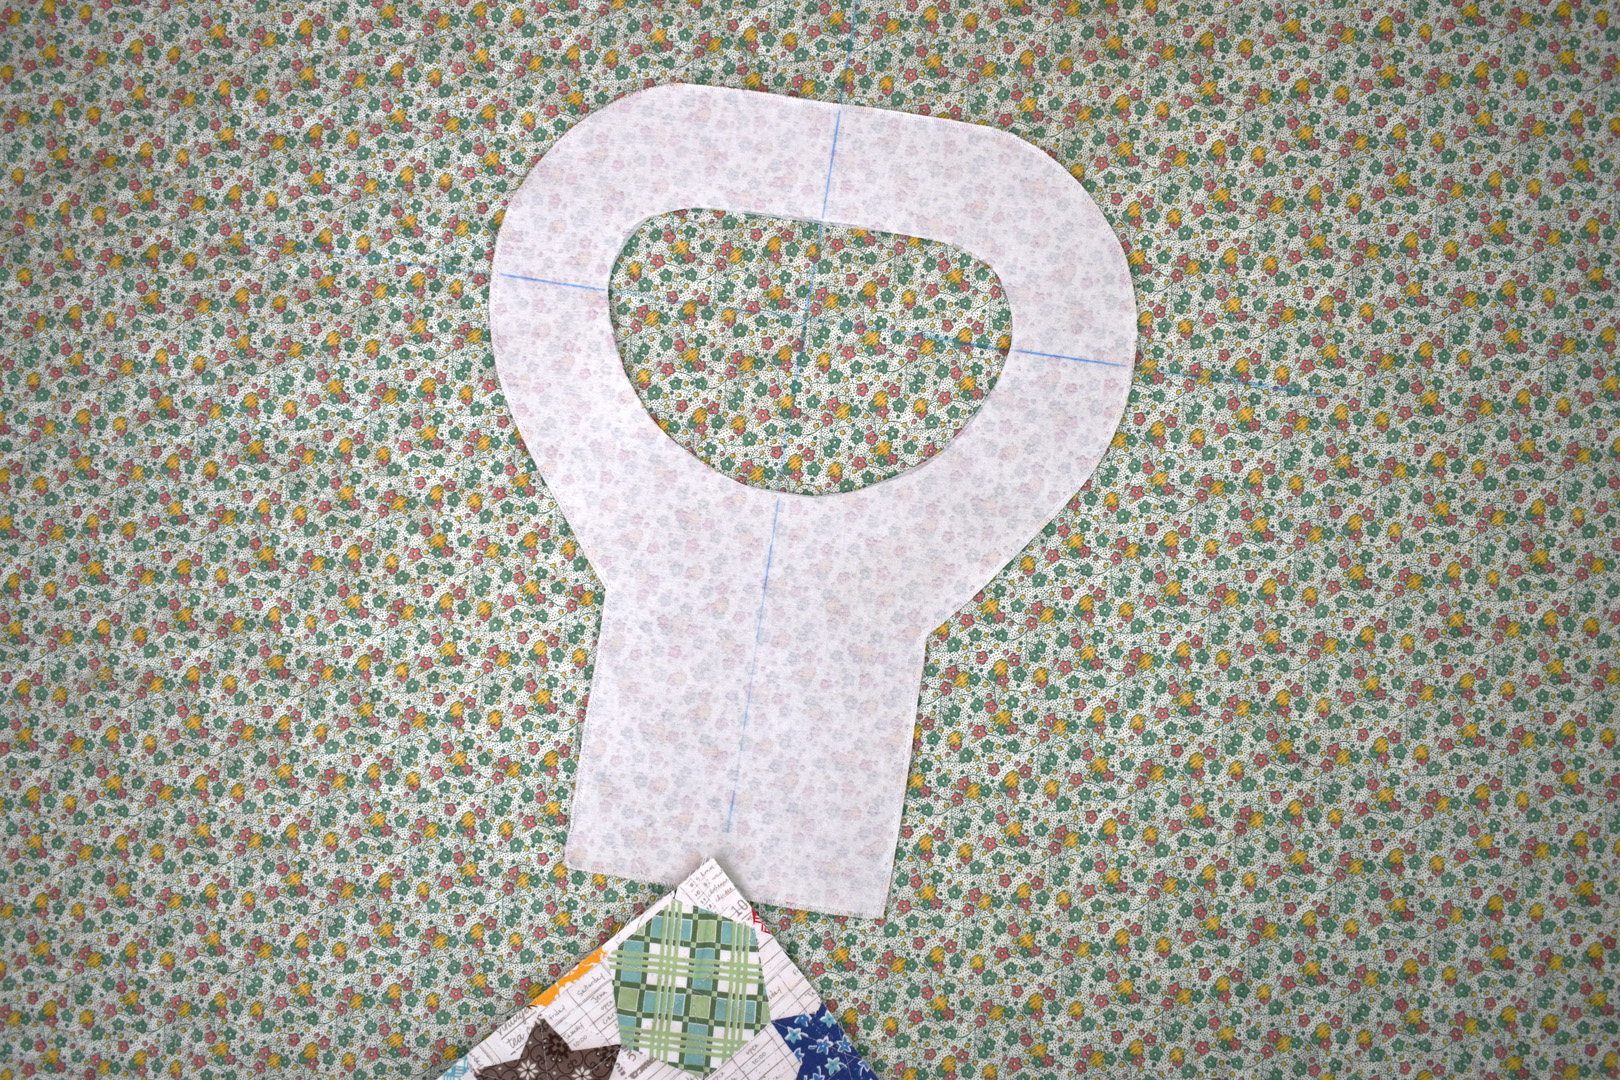
Make sure you know which corner will be the FRONT of the poncho, and fold this corner up to mark the front. The facing looks like a large keyhole. Align the facing with the tab down towards the front, matching the center and shoulder marks on the facing with the center “X” marks on the back of the poncho. Using a different colored fabric marking pen or pencil (so there’s no confusion between the marks that you’re making), trace the inside neck hole of the facing directly on the fabric.
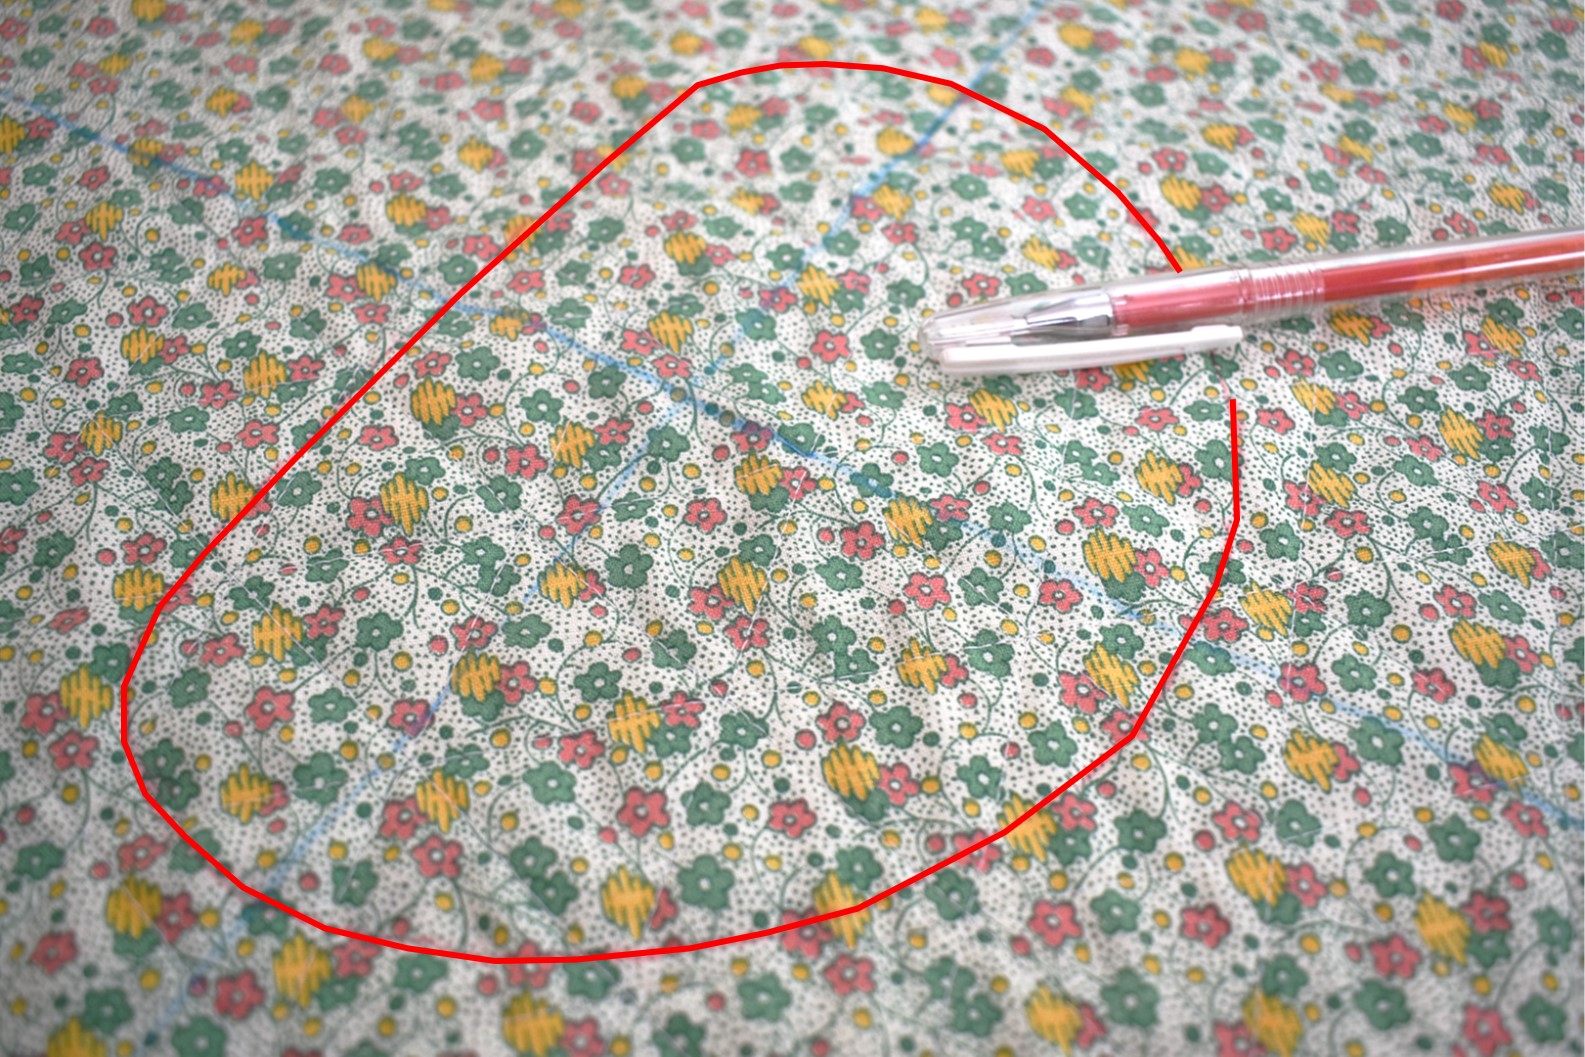
I used a red fabric pen to mark the neck hole opening. Because it was so hard to see, I also added a red line so you can see what this shape should look like.
After tracing the opening, stay stitch with the sewing machine using a short straight stitch, stitching just to the outside of the opening all the way around.
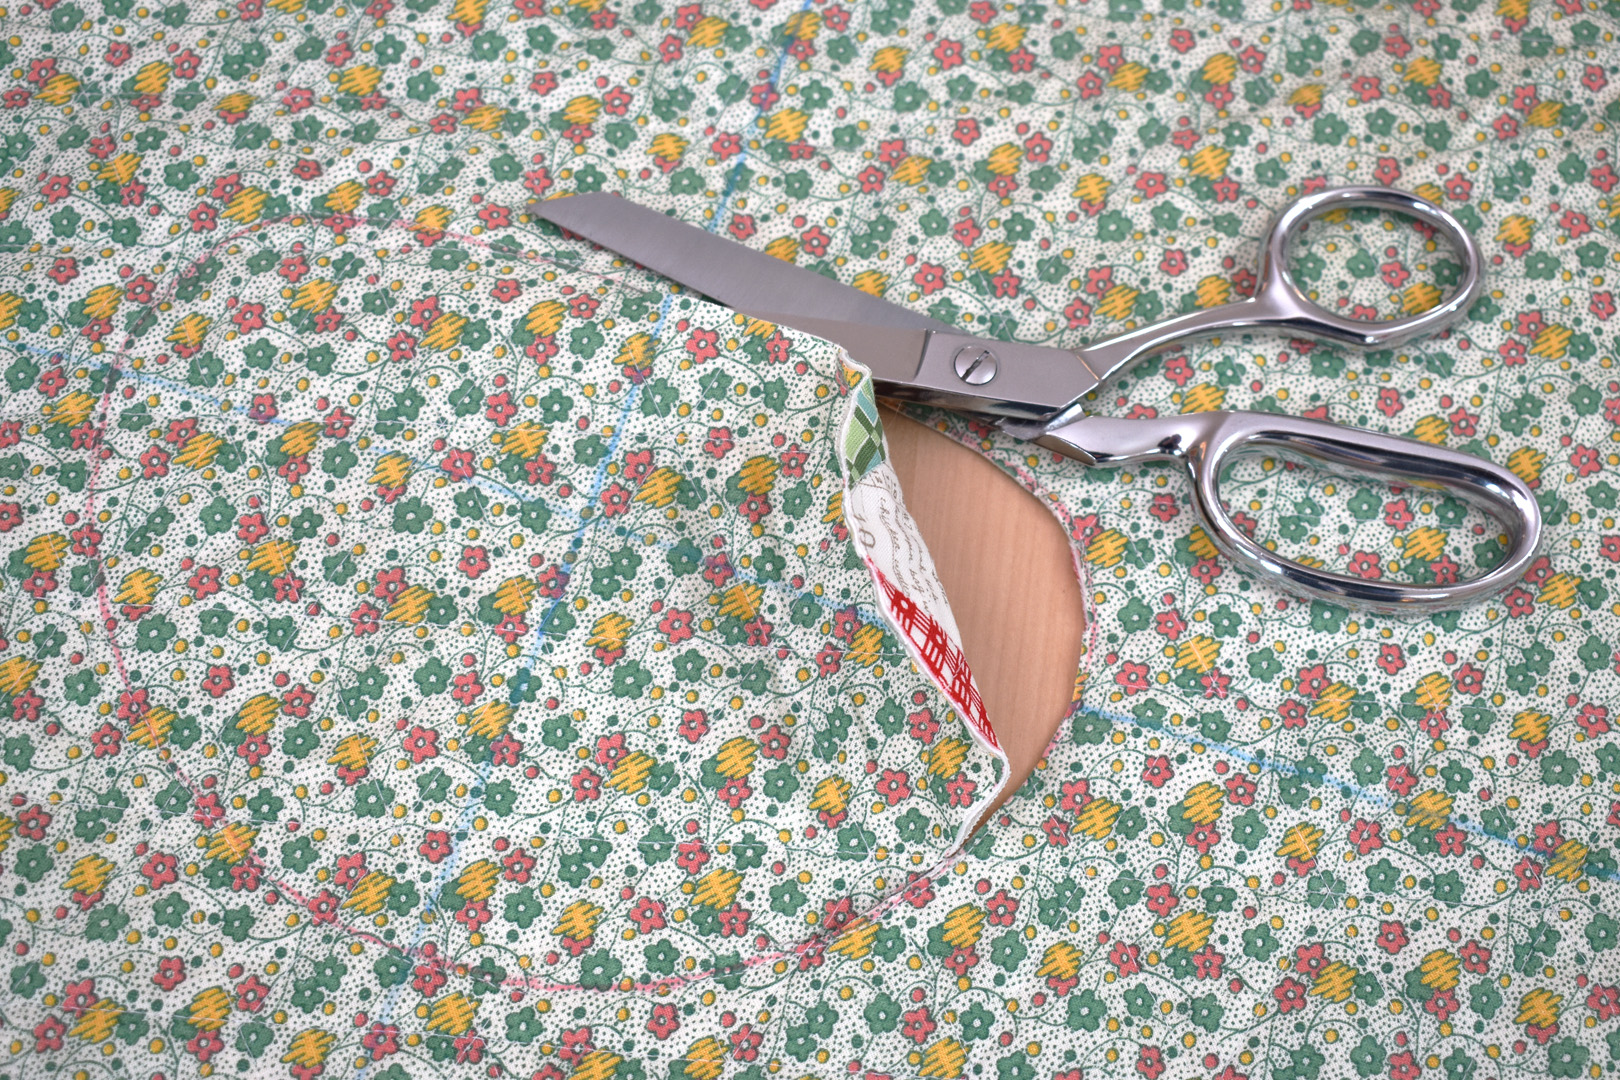
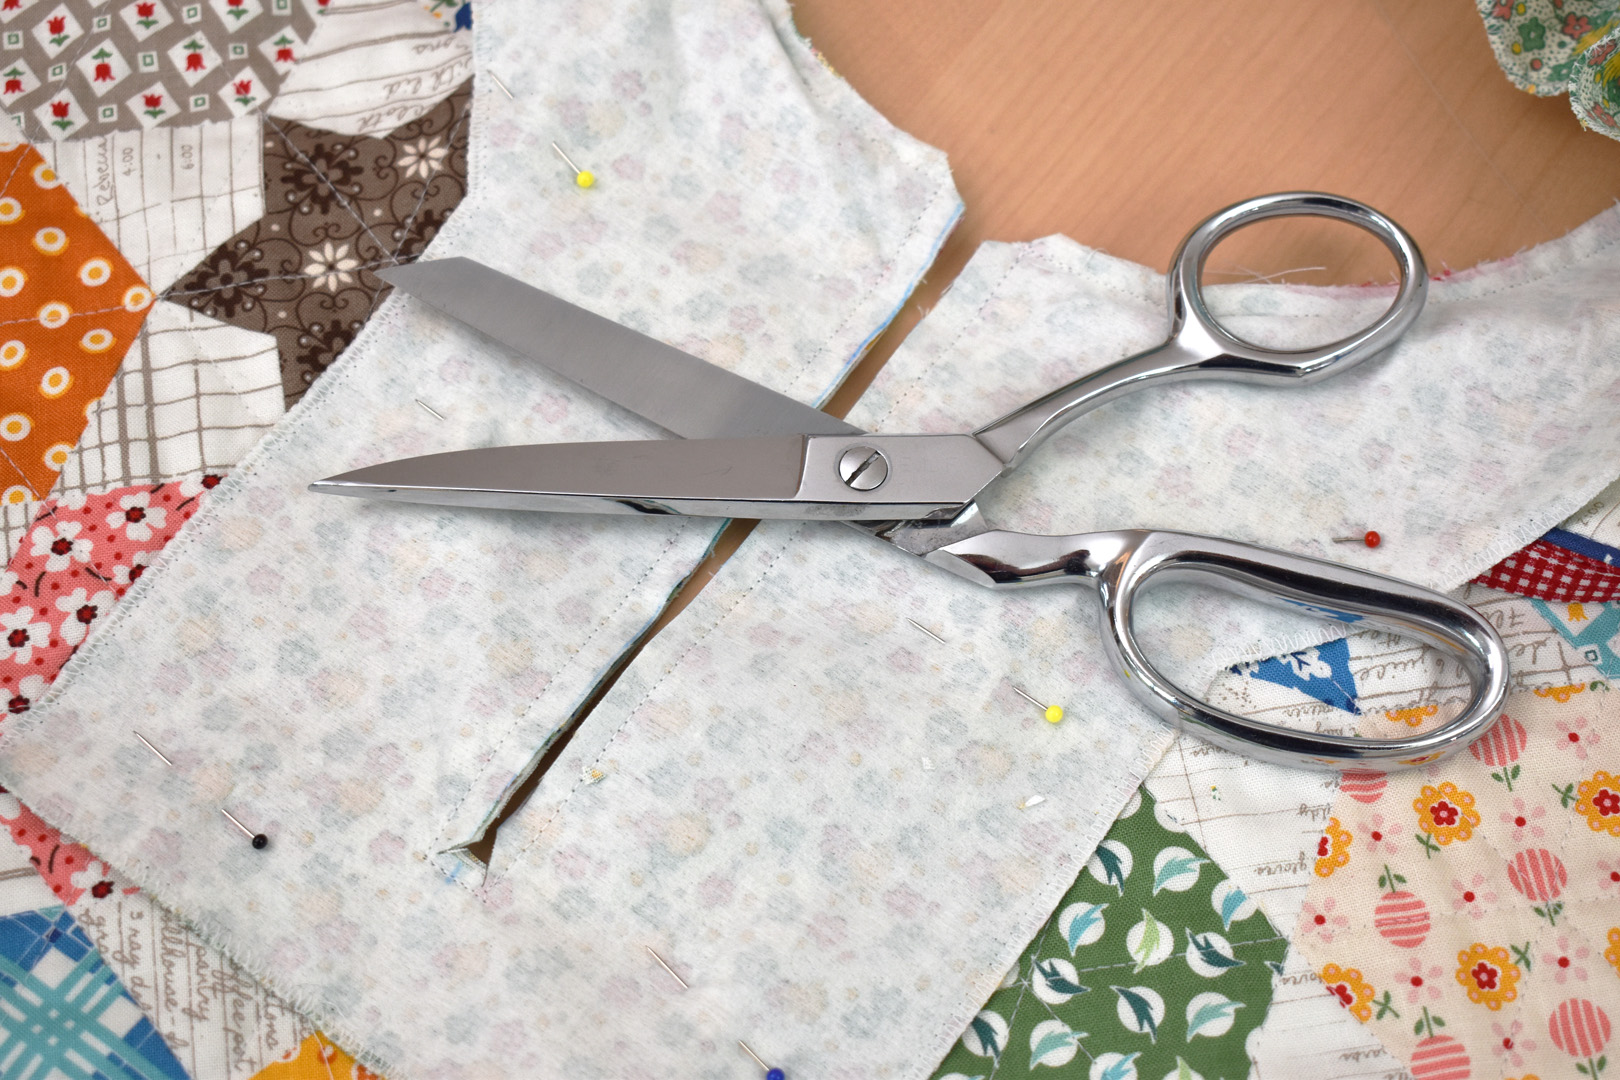
Using sharp fabric shears cut out the neck opening close to the stay stitching. The next step is basting the collar to the poncho before sewing on the facing.
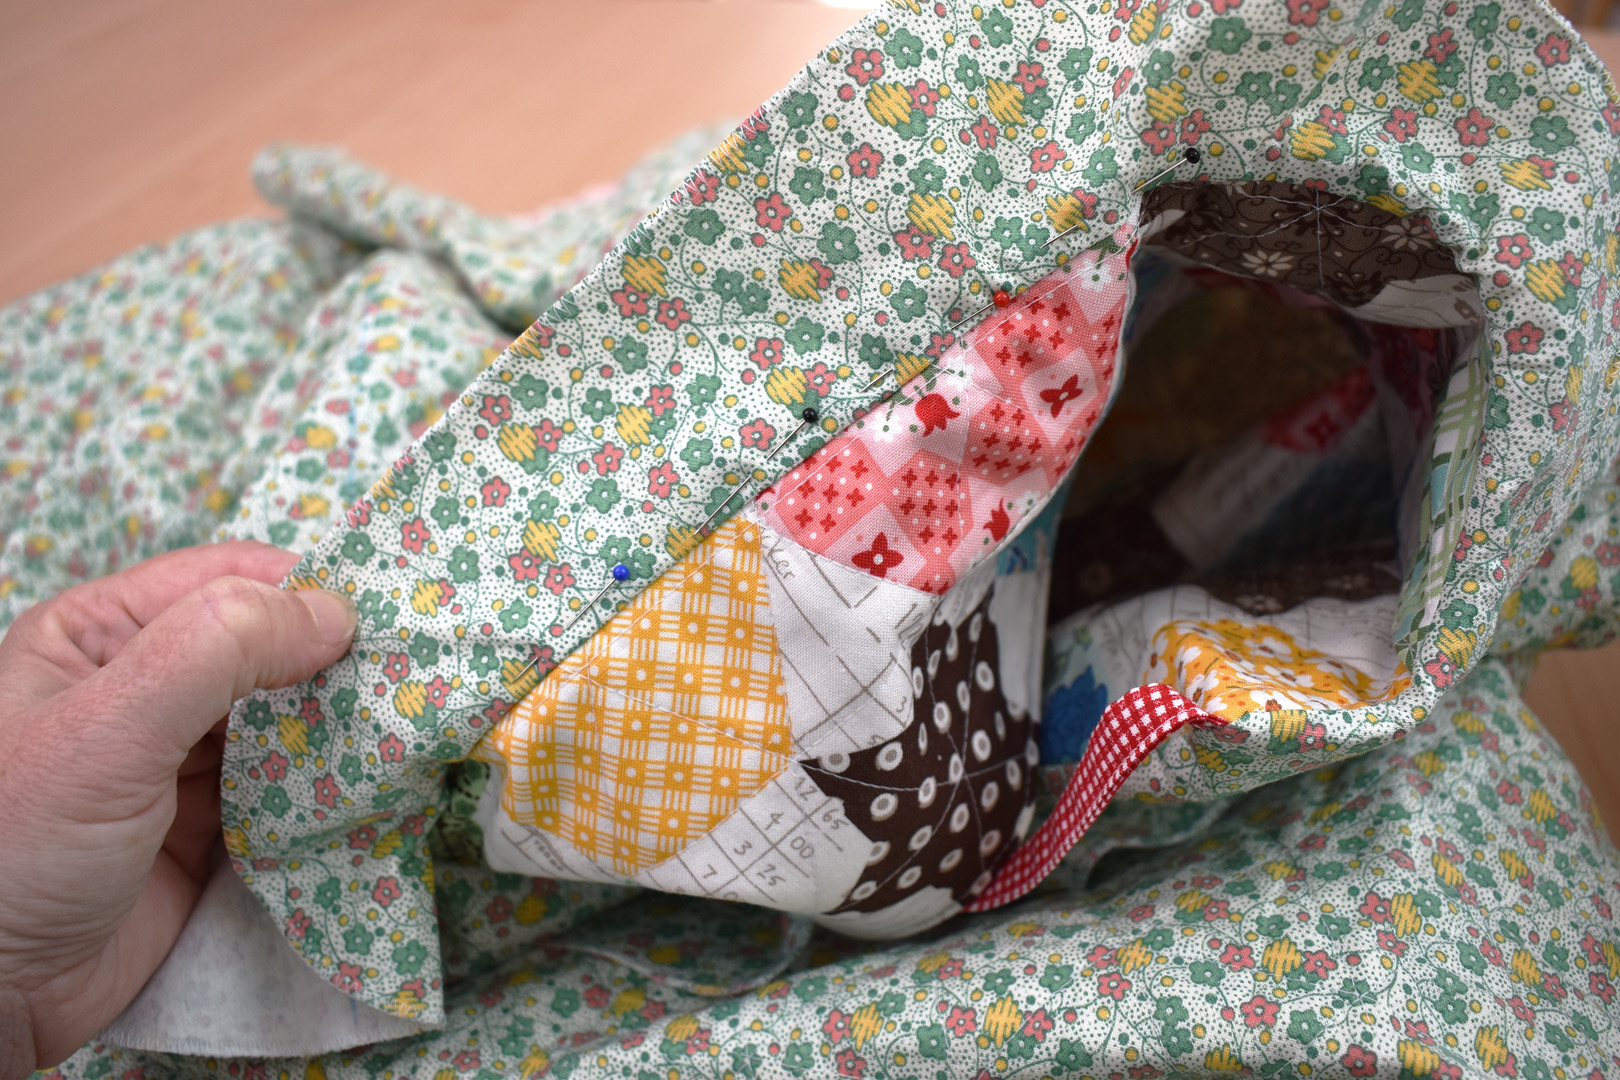
Match the center of the collar to the back center mark made on the underside of the poncho. Start to pin the raw edge of the collar all around the neck opening, pulling up the poncho to help the collar make the turns.
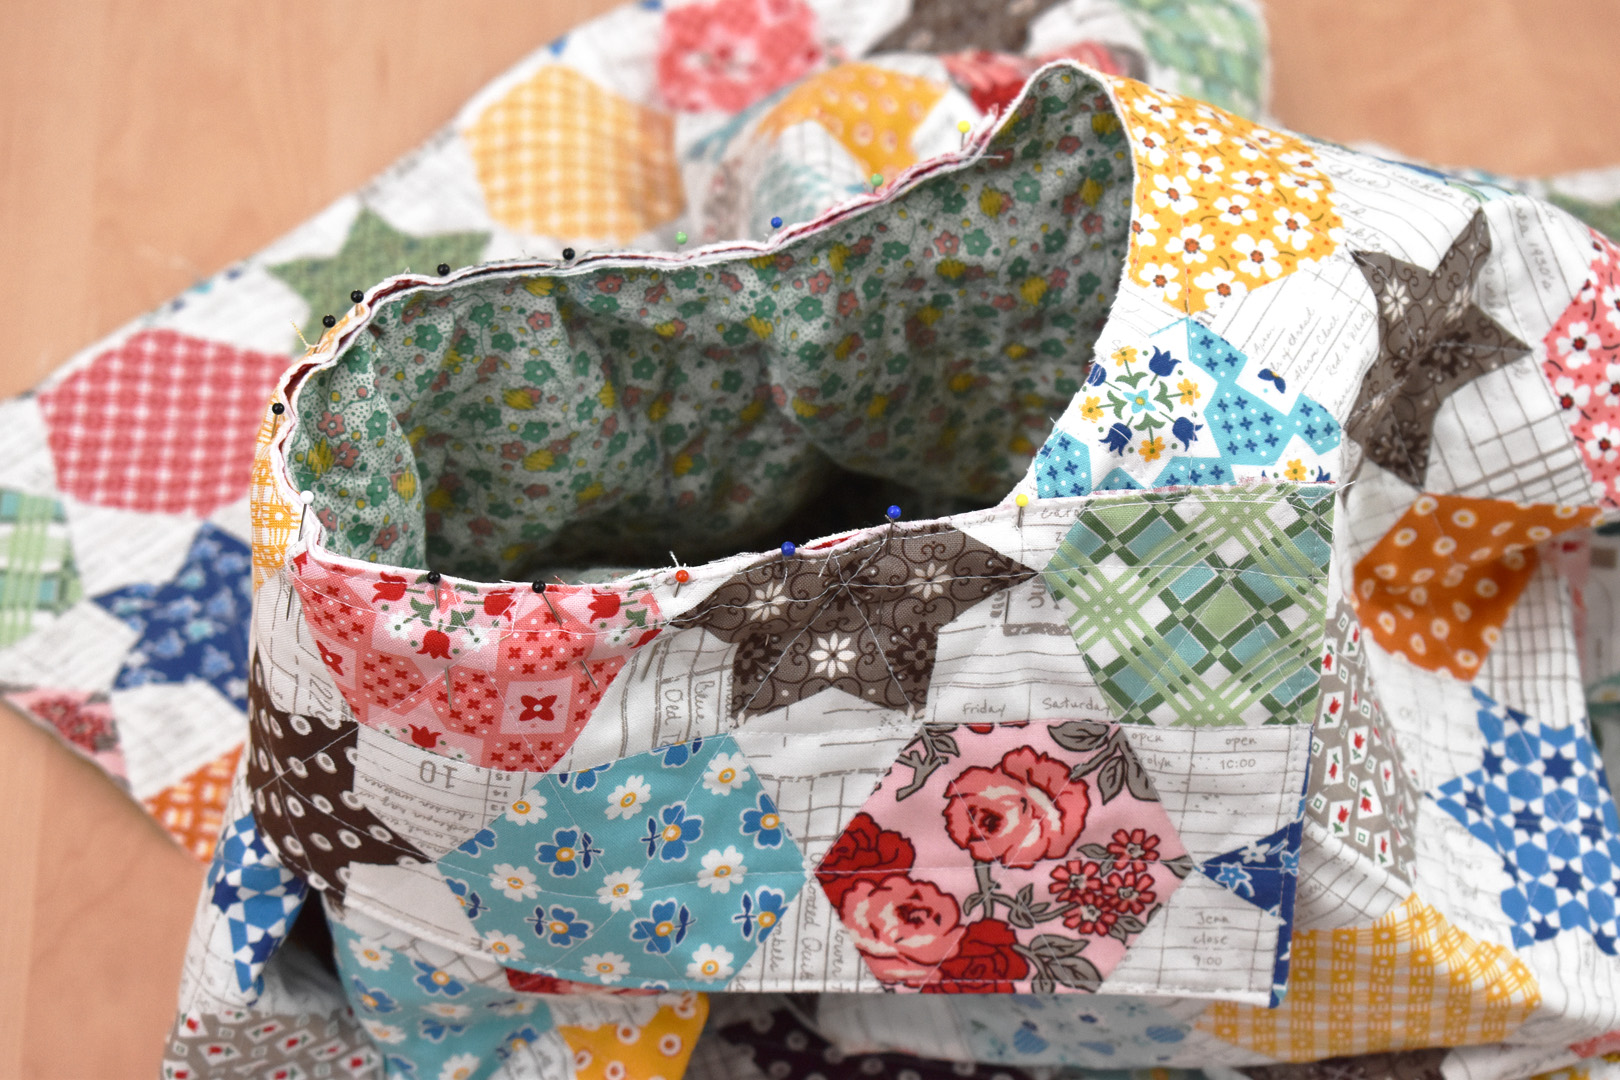
When pinning the ends of the collar, check to see if the collar has been pinned evenly. Peek inside the collar to find the center marks on the underside of the poncho – one for center back and one for center front. Pinch these together so the poncho is folded in half as in the photo below.
If pinned evenly the front edges of the collar with match up. If they don’t meet evenly shift the collar and re-pin so that they do meet.
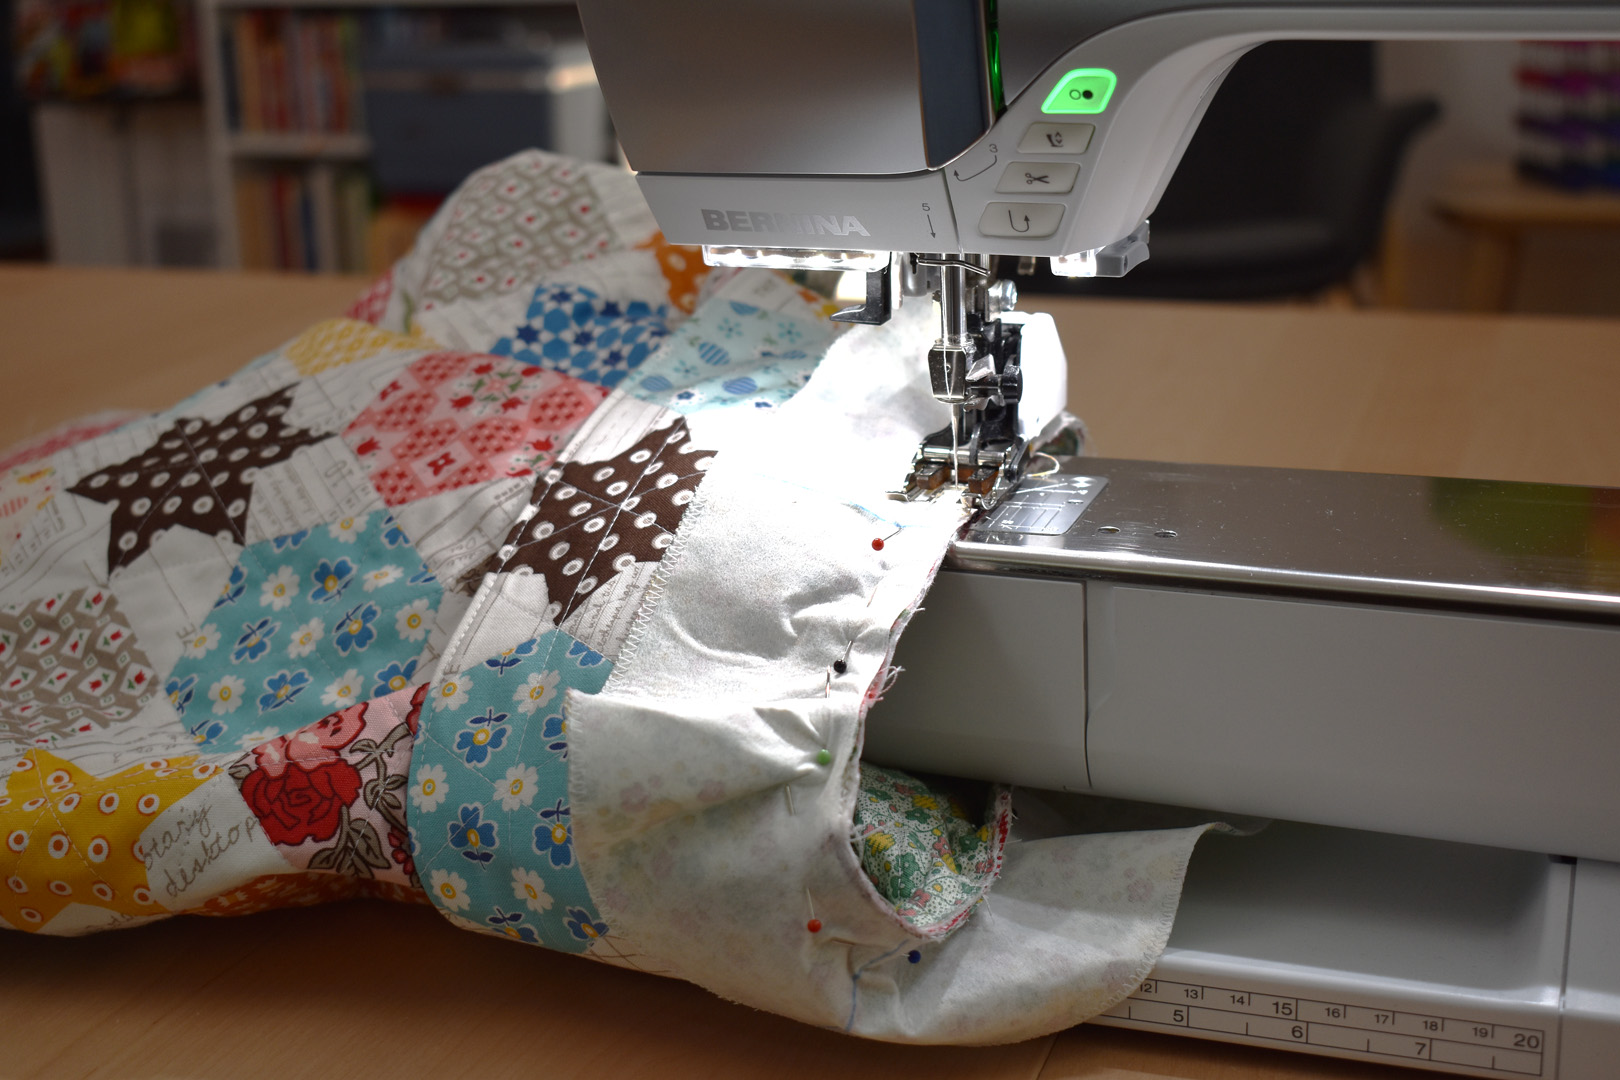
Remove the sewing table from your machine to use the free arm for the next steps.
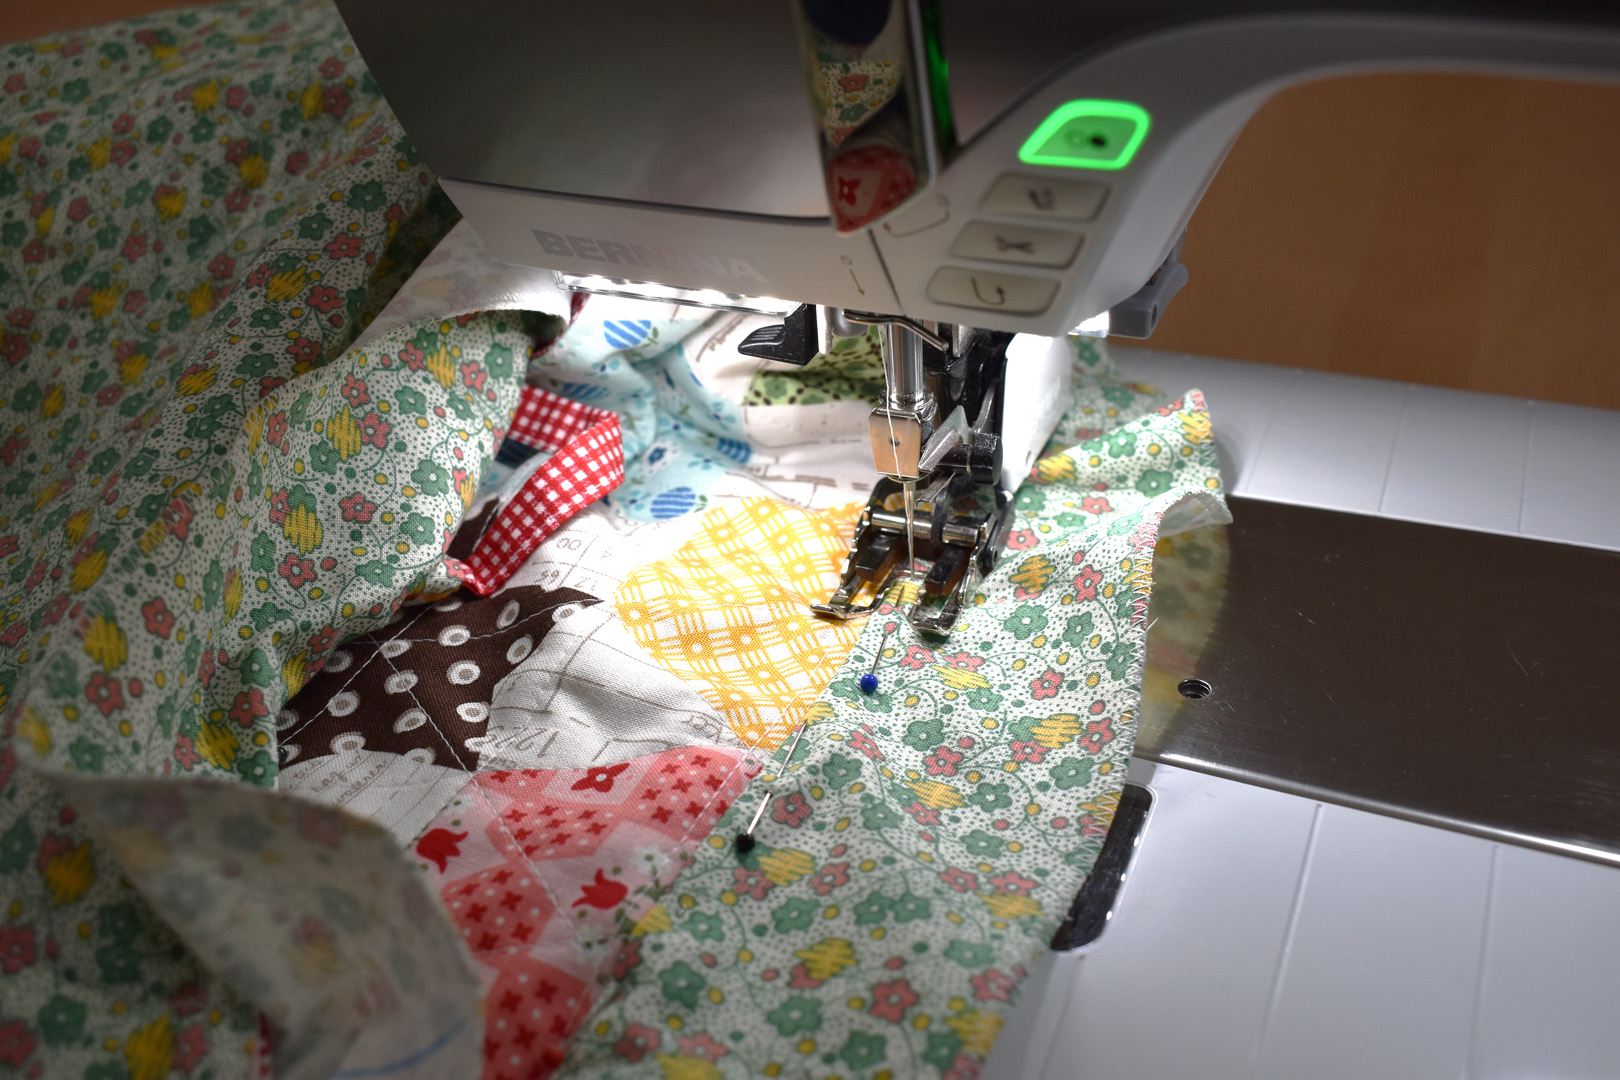
Baste stitch the collar to the neck opening by sewing a longer straight stitch (about 3.0-3.5mm) close to the raw edge of the collar and poncho. Check after sewing to make sure all edges were caught in the basting stitch, and stitch any areas that may have been missed.
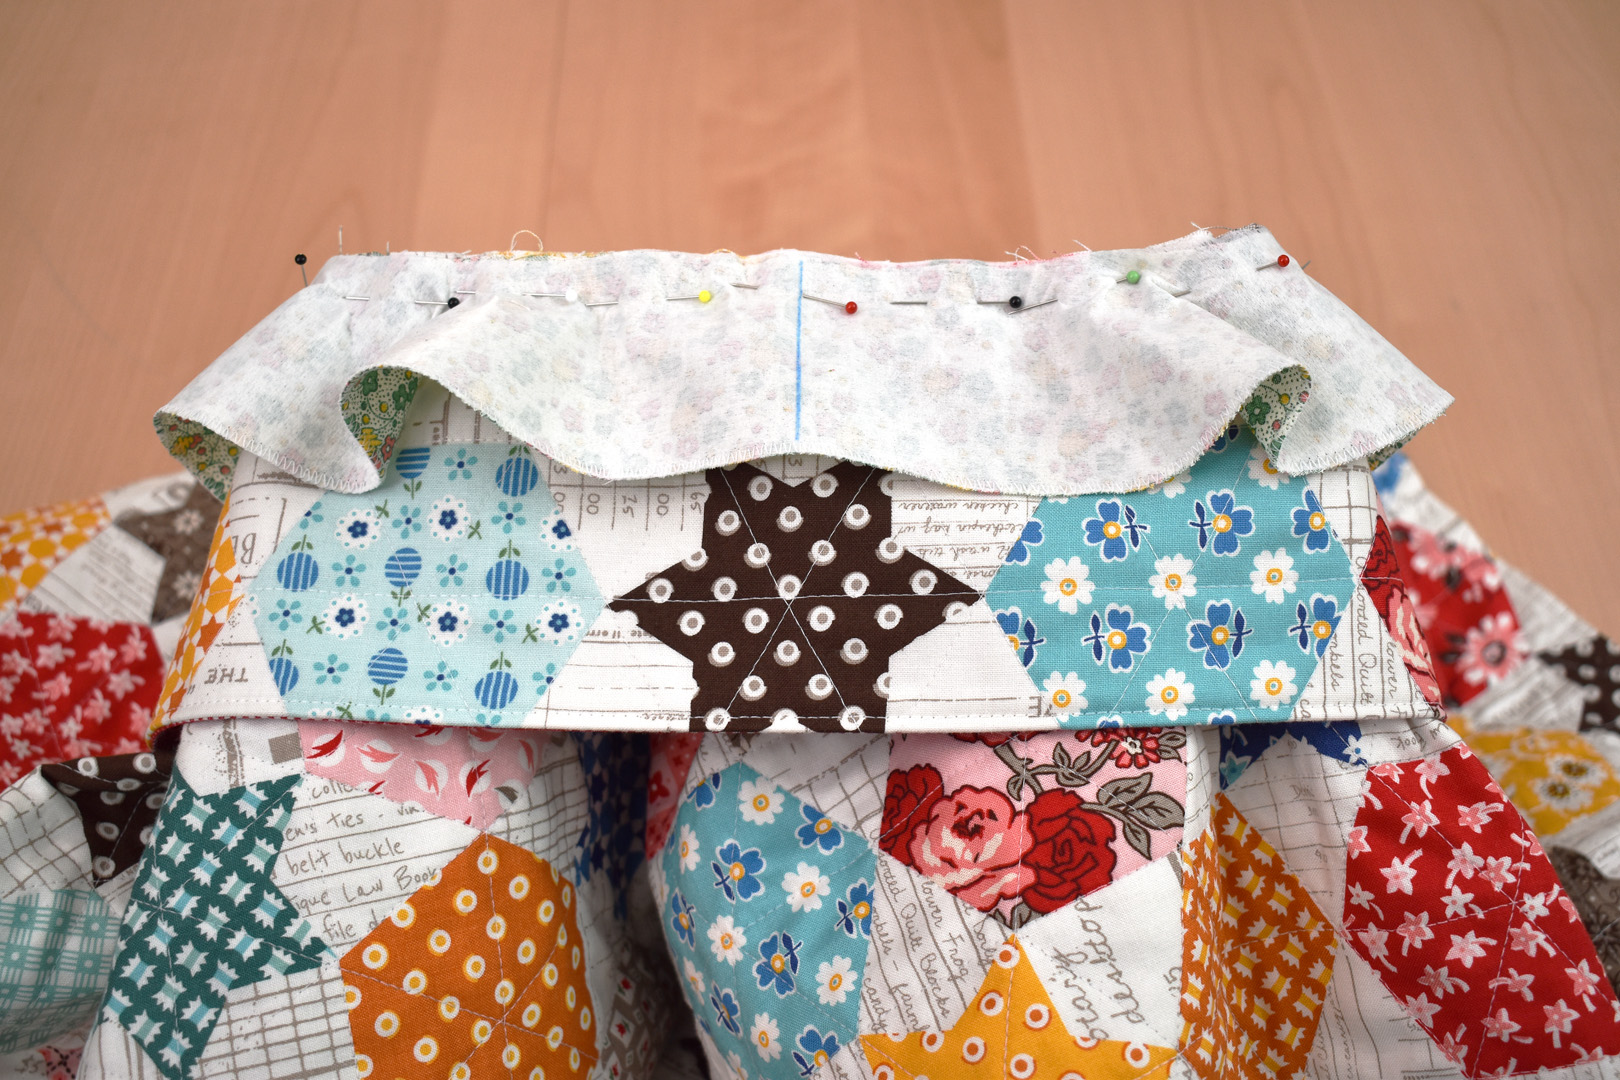
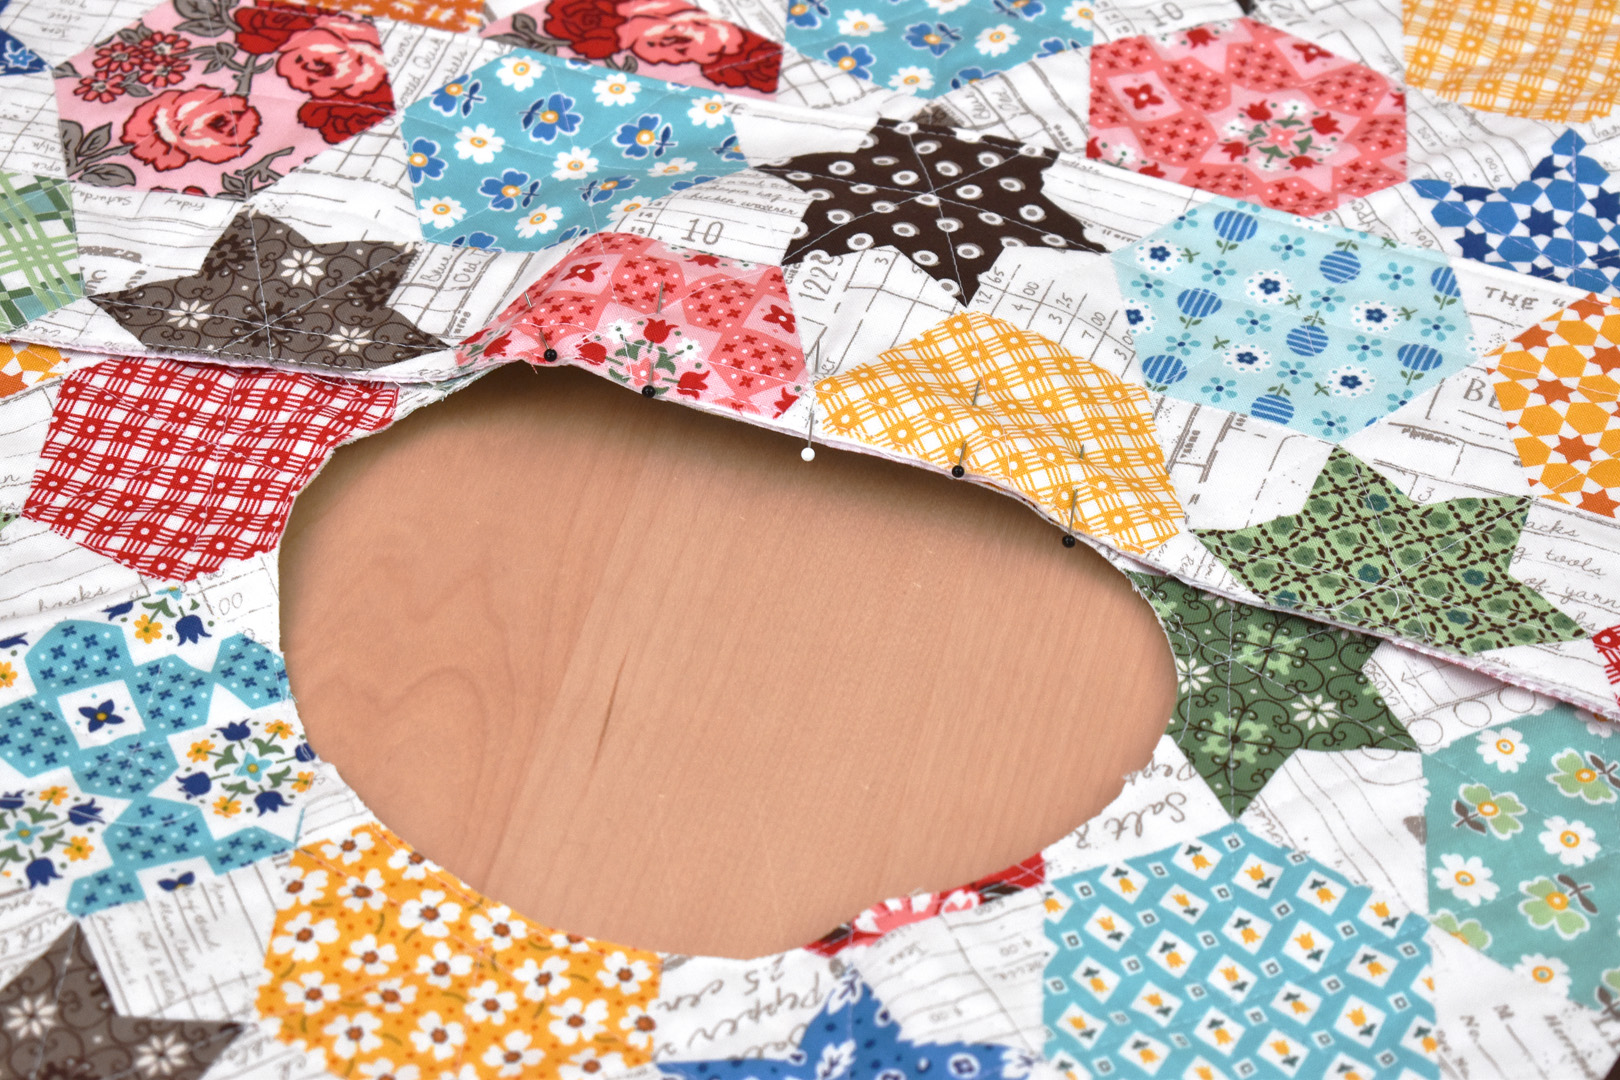
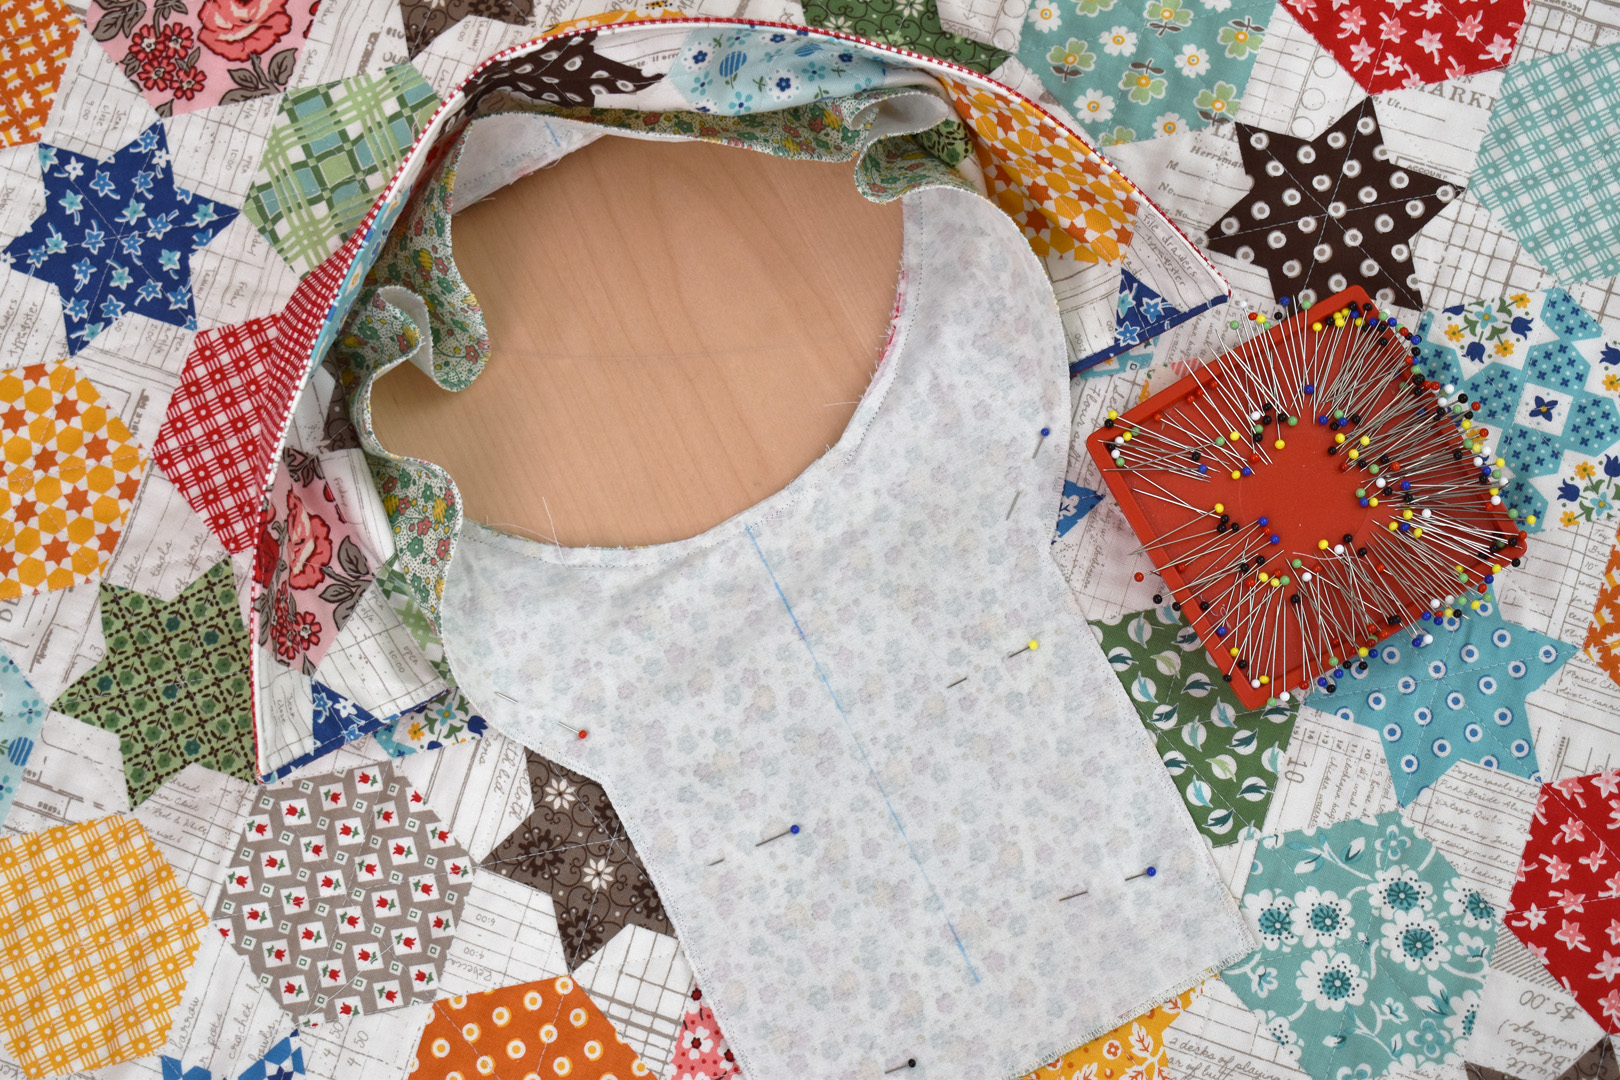
Begin pinning the facing to the neck opening, matching the back center line with the center of the collar. Match each of the lines on the facing with the lines marked on the back of the poncho.
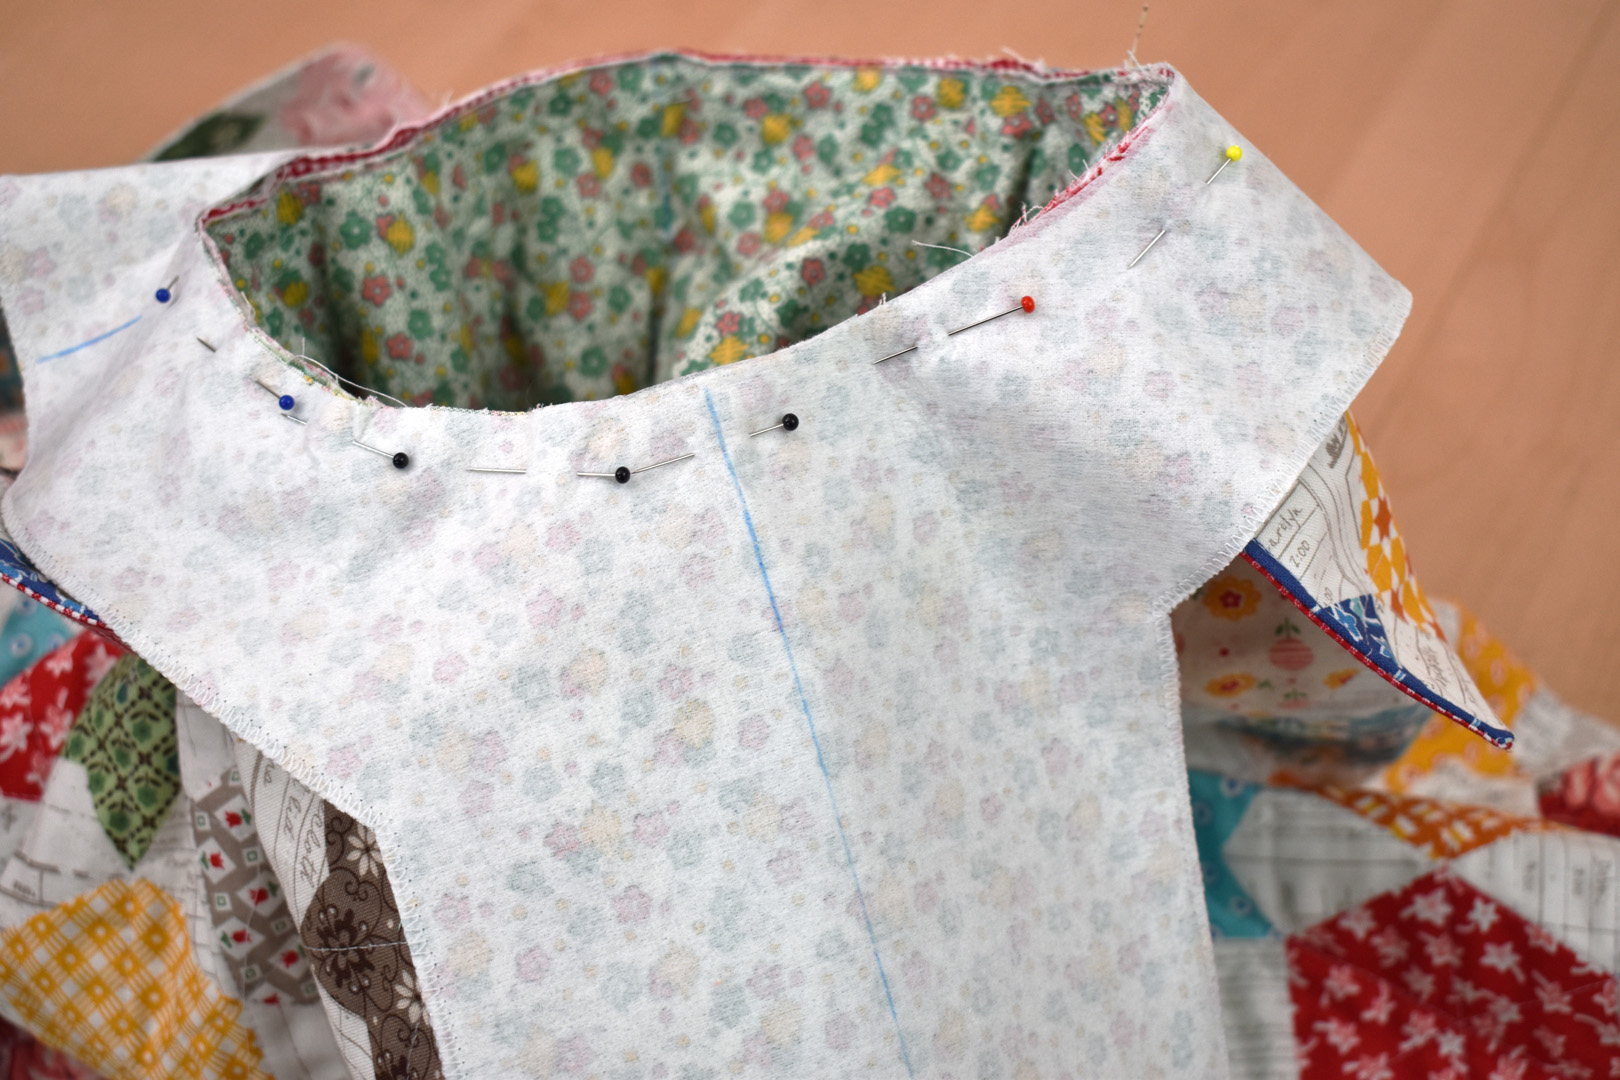
Once the back center, front center, and shoulder marks are pinned, ease around the rest of the layers pinning as you go.
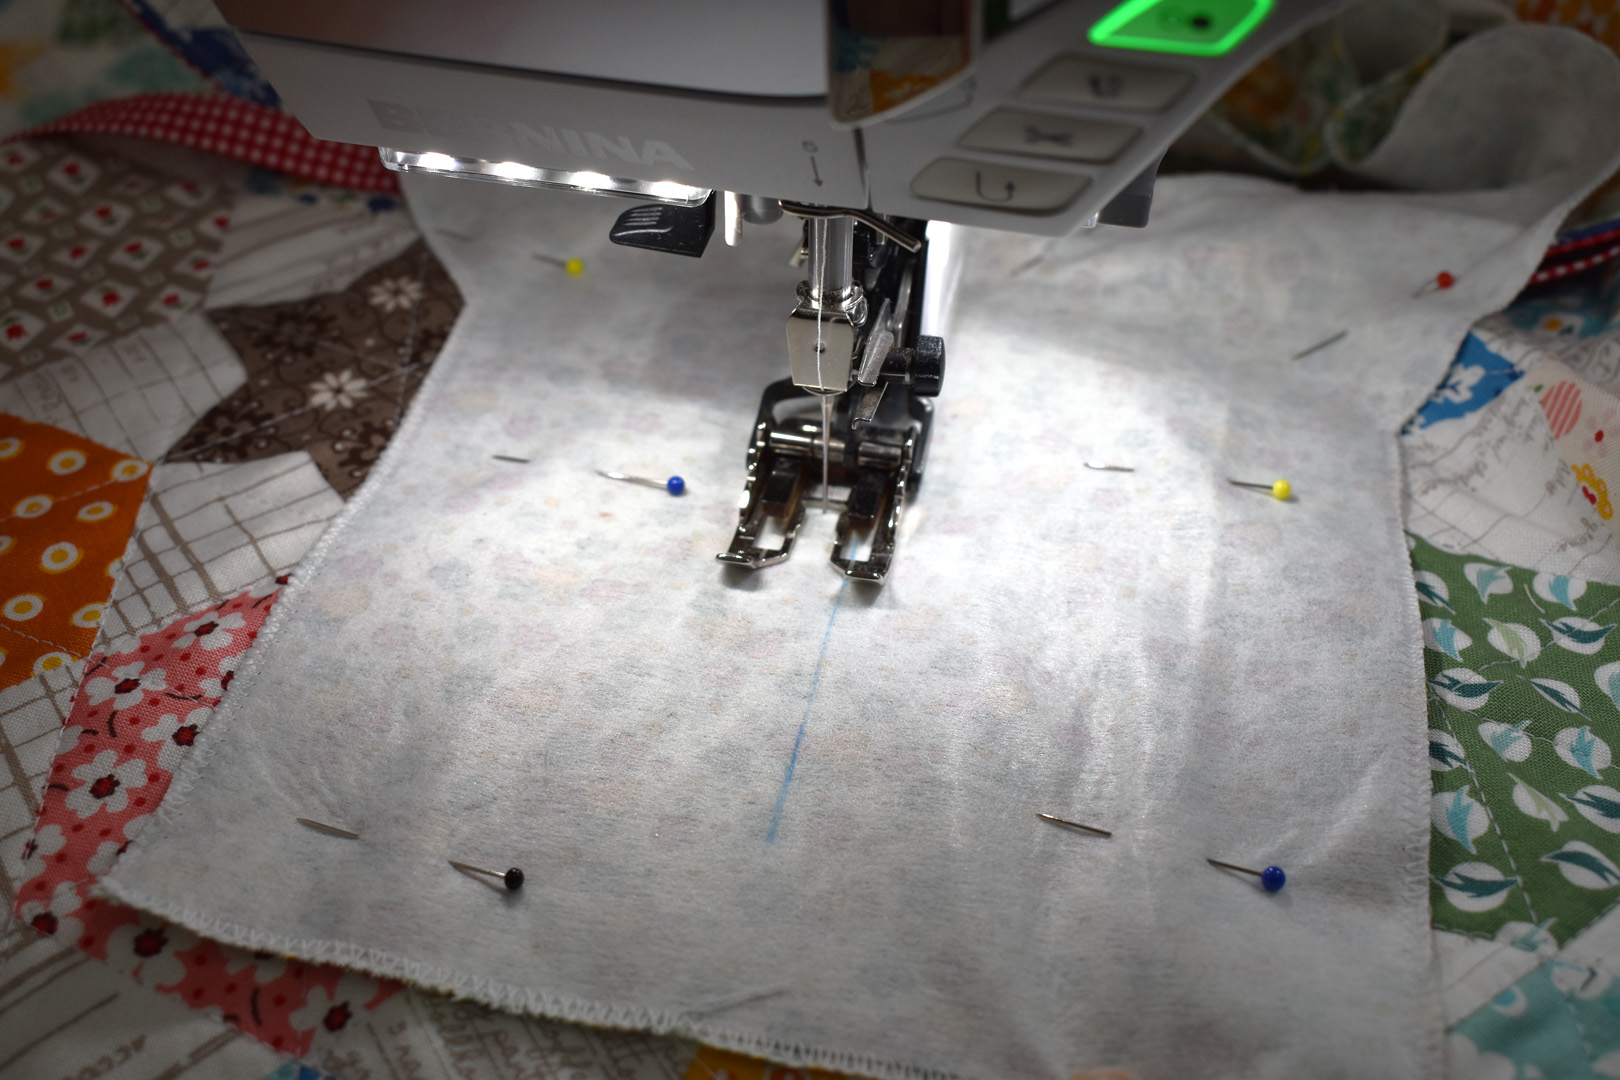
Use the free arm of the sewing machine to help sew a 1/4″ seam with a standard straight stitch (2.0-2.5mm) all around the opening.
Next, sew and cut the front opening while attaching the ties. Lay the poncho on a table with the tab end of the poncho facing you. Smooth it out against the front of the poncho and pin it in place.
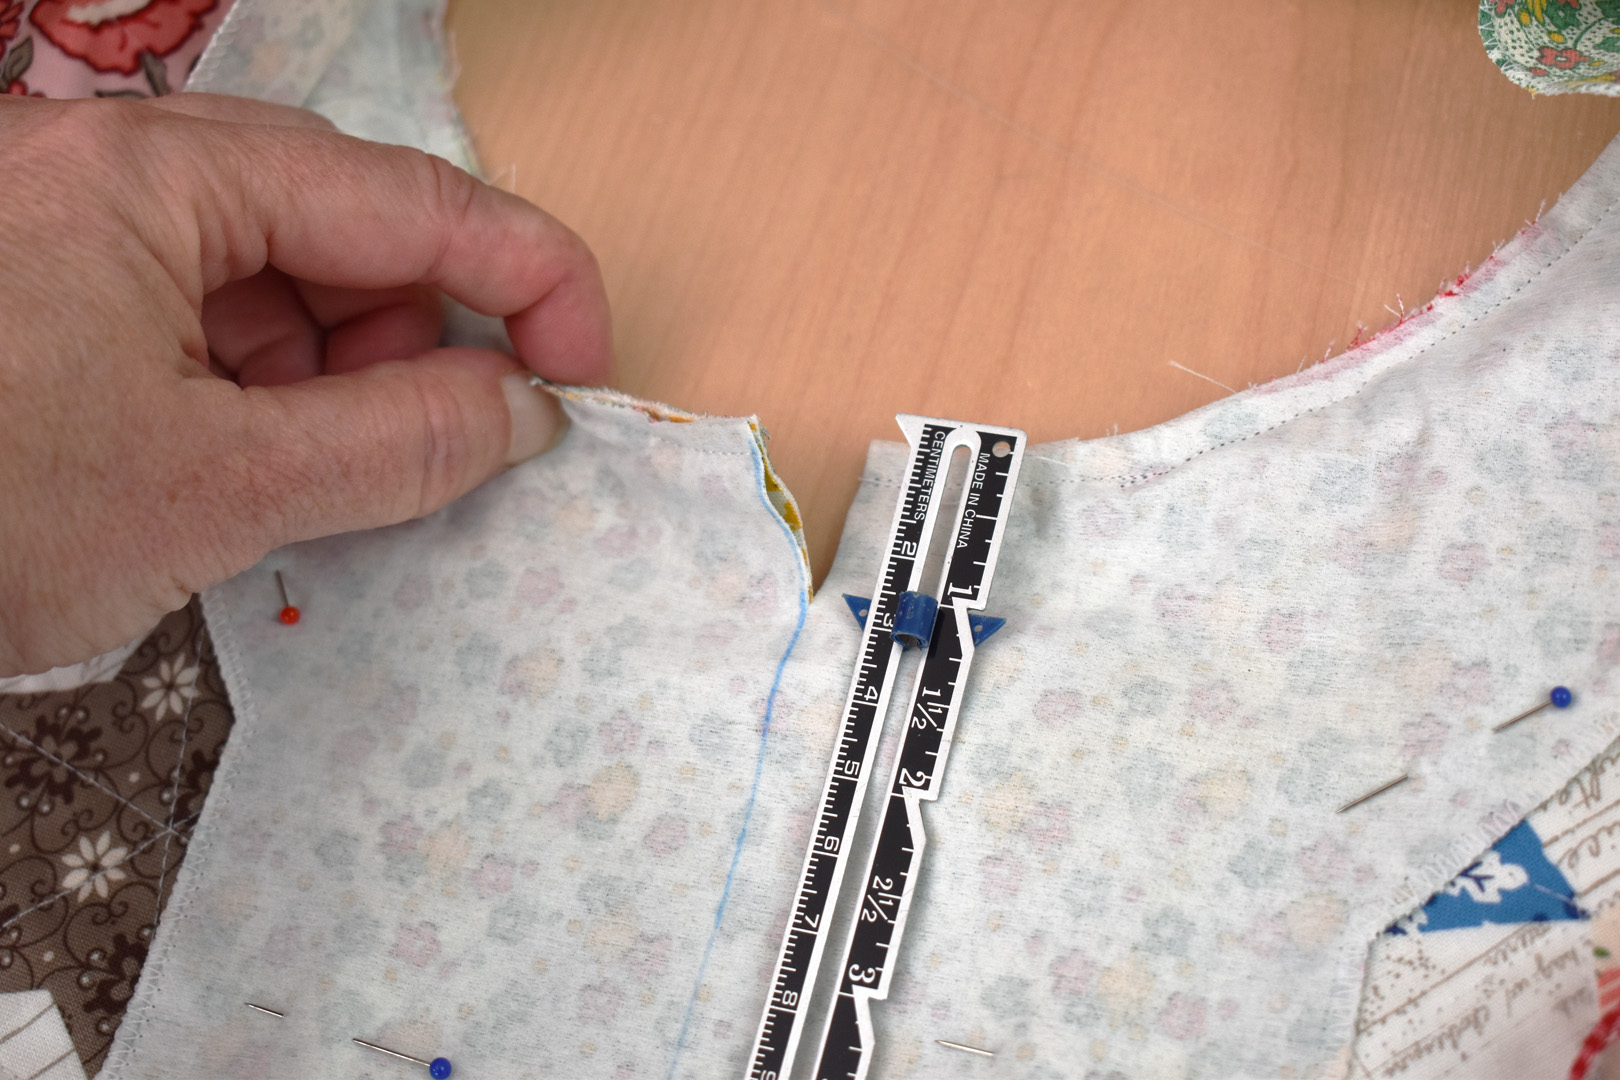
Cut down through the center marked line on the facing, through all layers, exactly one inch from the neck hole opening as shown.
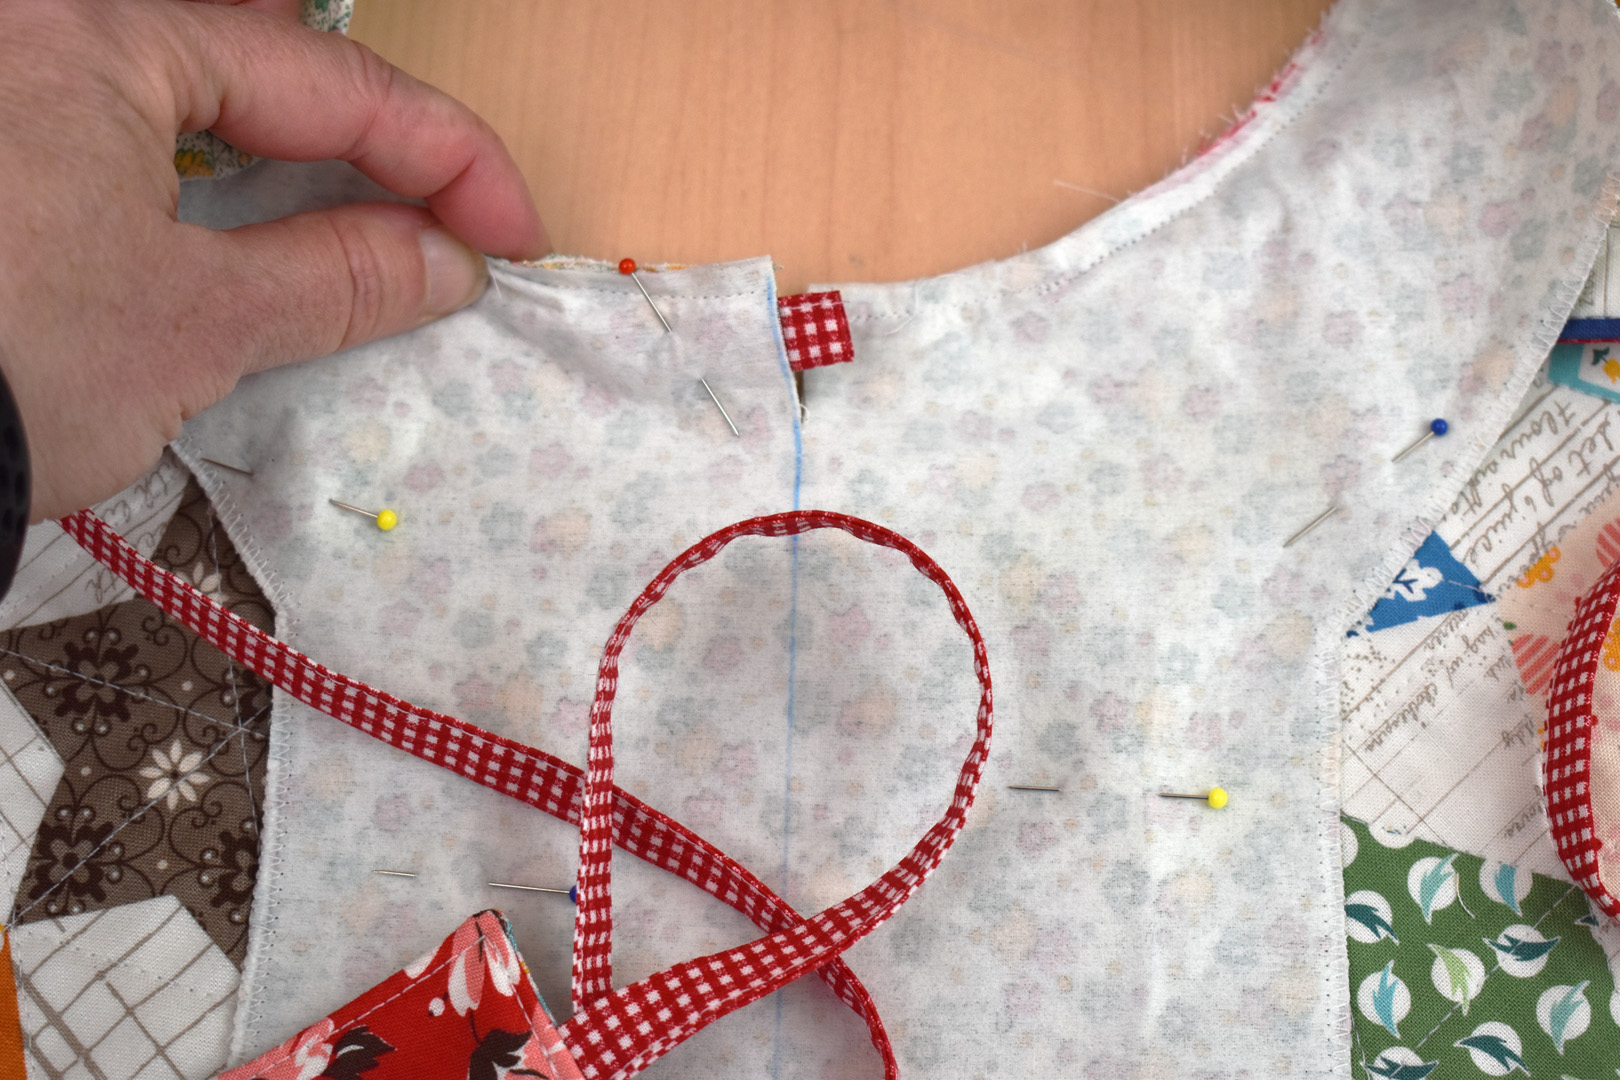
Insert the end of a tie through each opening. Push the tie end so it is snug with the top neck edge, and leave about 1/4″ sticking out. Pin in place, and repeat on the other side.
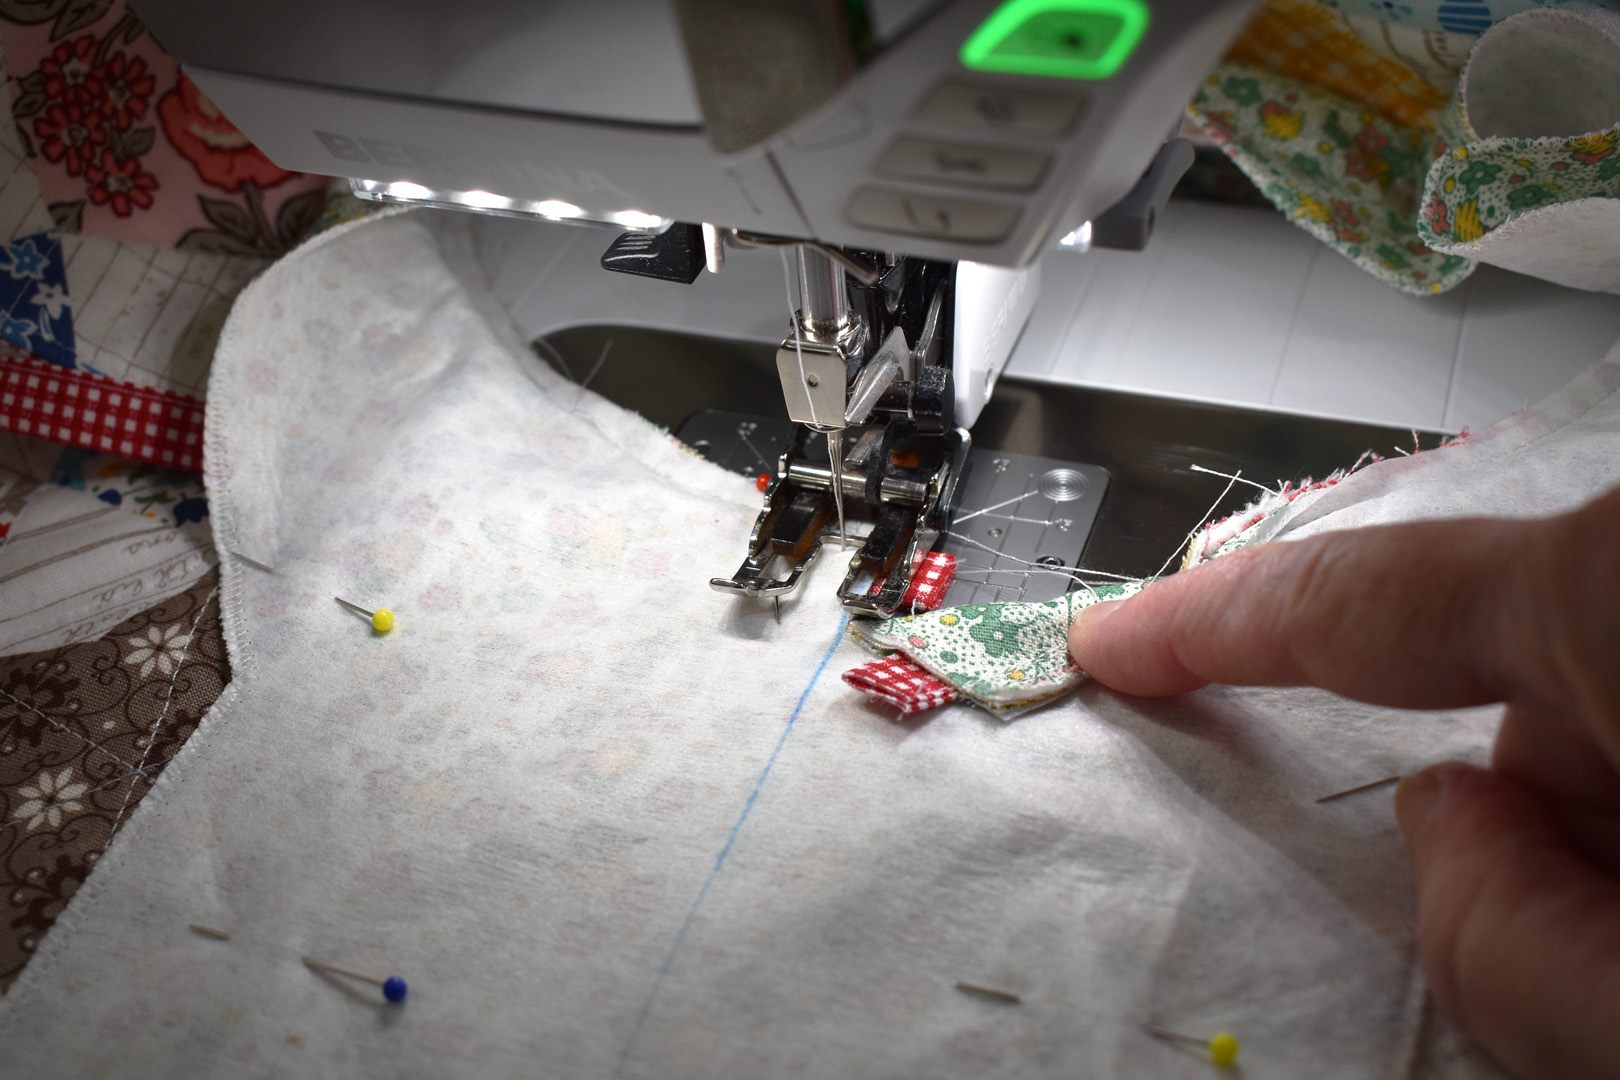
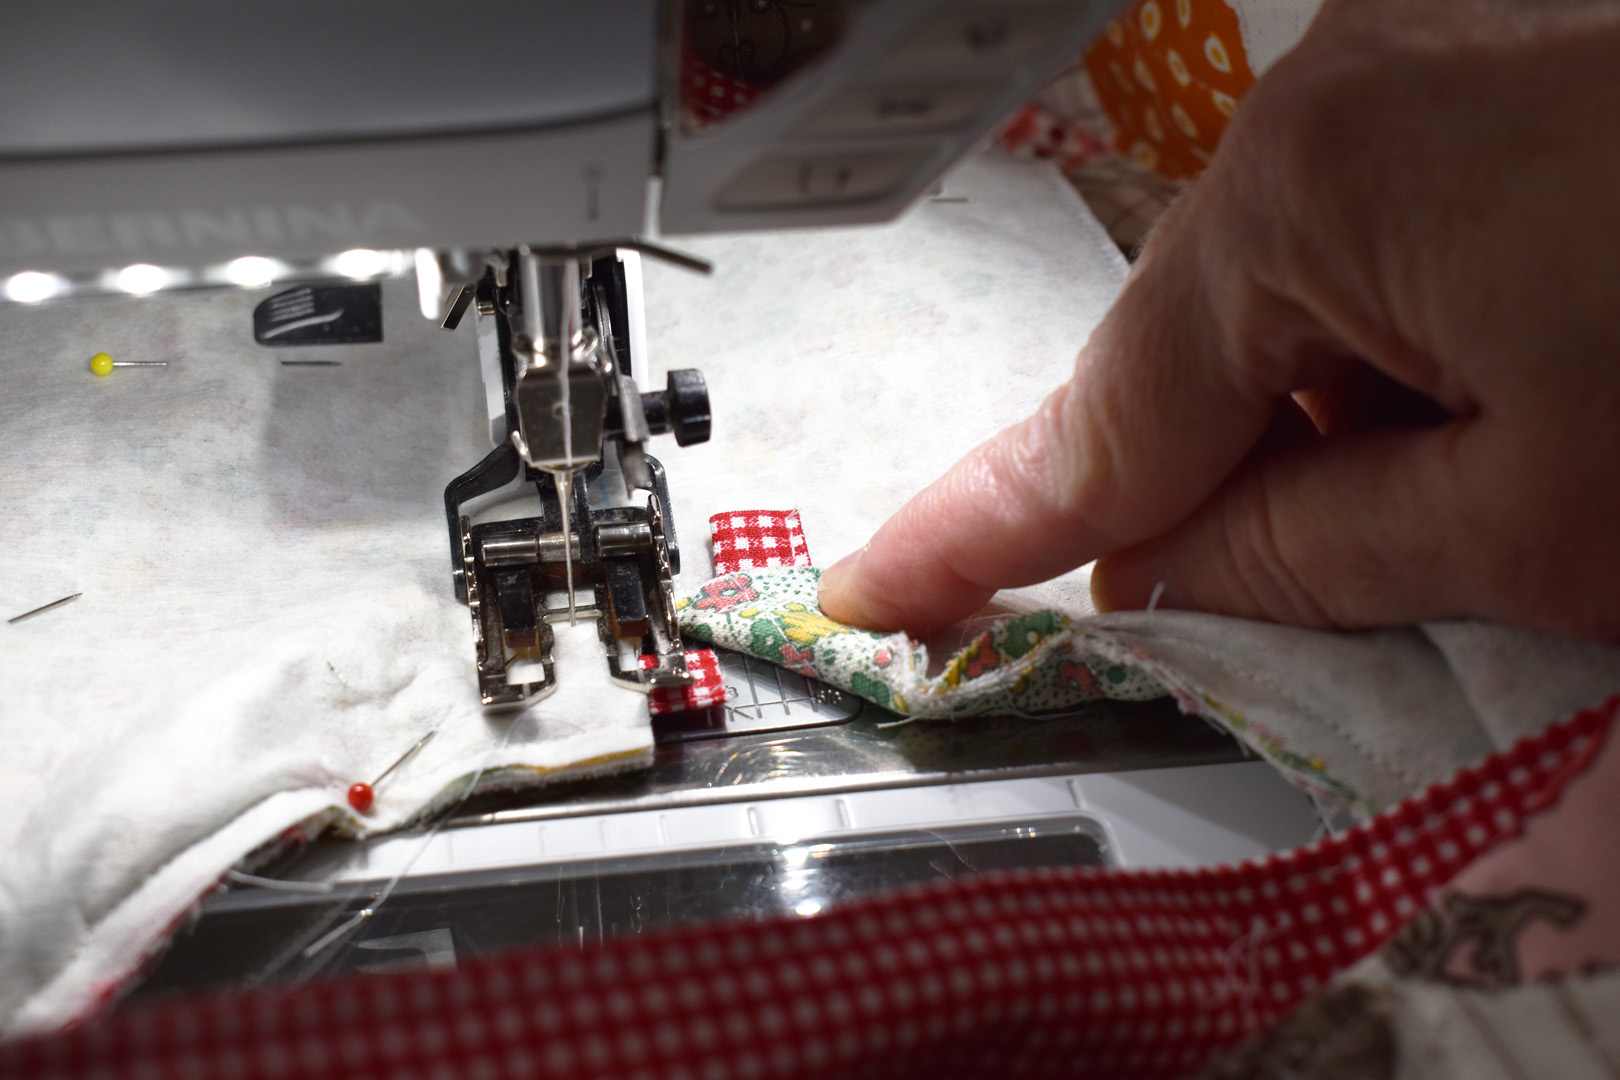
Begin stitching down the opening sewing 1/4″ from the center line cut edge. Move the other side of the opening out of the way when beginning to sew to keep it out of the way.
Sew all the way down the neck opening 1/4″ away from the center mark. At the bottom of the center line mark, pivot and sew across the end of the mark, backstitching to create a strong seam at the base of the opening.

When sewing across the bottom mark, stop about 1/4″ on the other side of the mark and pivot to sew back up the other side of the opening.
At the top of the neck opening, move the other side out of the way to avoid sewing through the tie end sticking out.
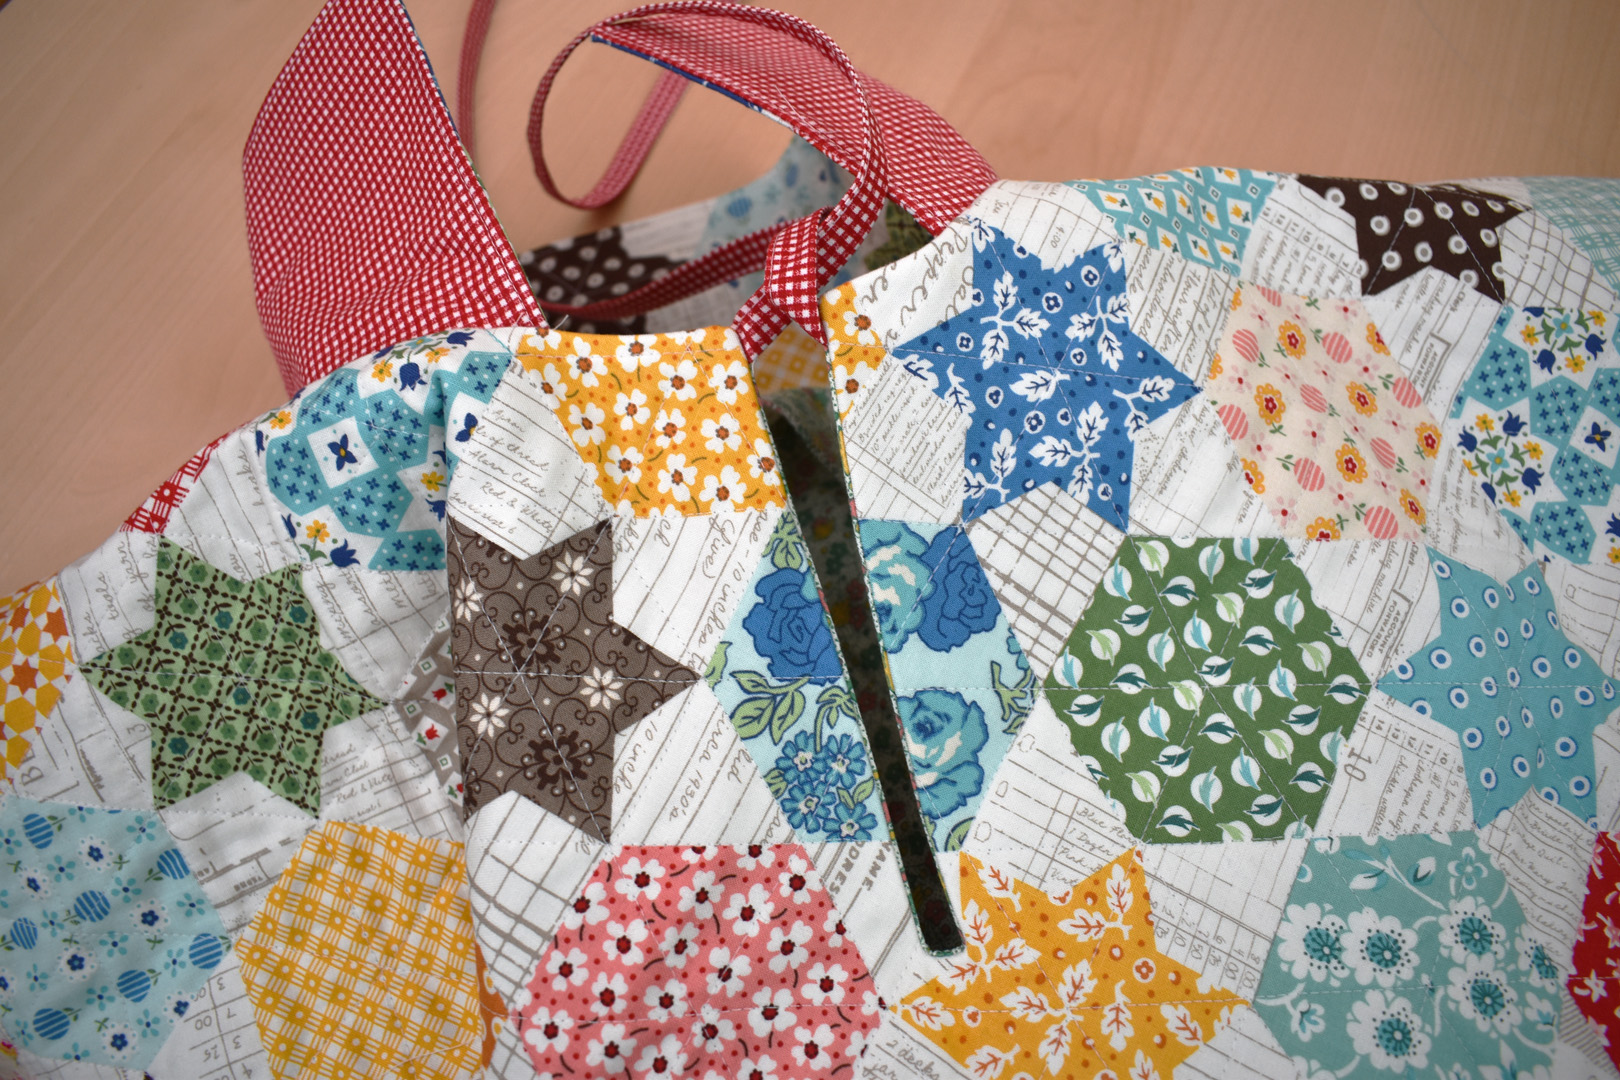
After stitching, cut the little extra from the tie ends off and cut down the center opening, snipping in towards the bottom corners close to the stitching.
Under stitch the facing to the collar seam allowance before turning the facing to the inside of the poncho. Flip the facing over the collar and pin the facing directly to ONLY the seam allowance. Just pin over the collar, from one edge to the other. Do not under stitch past the collar.
Stitch the facing down to the seam allowance close to the seam edge along the collar.
Turn the facing to the inside of the poncho and tug on the ties to pull out the points of the opening. Press the neck opening well all along the neck and front opening.
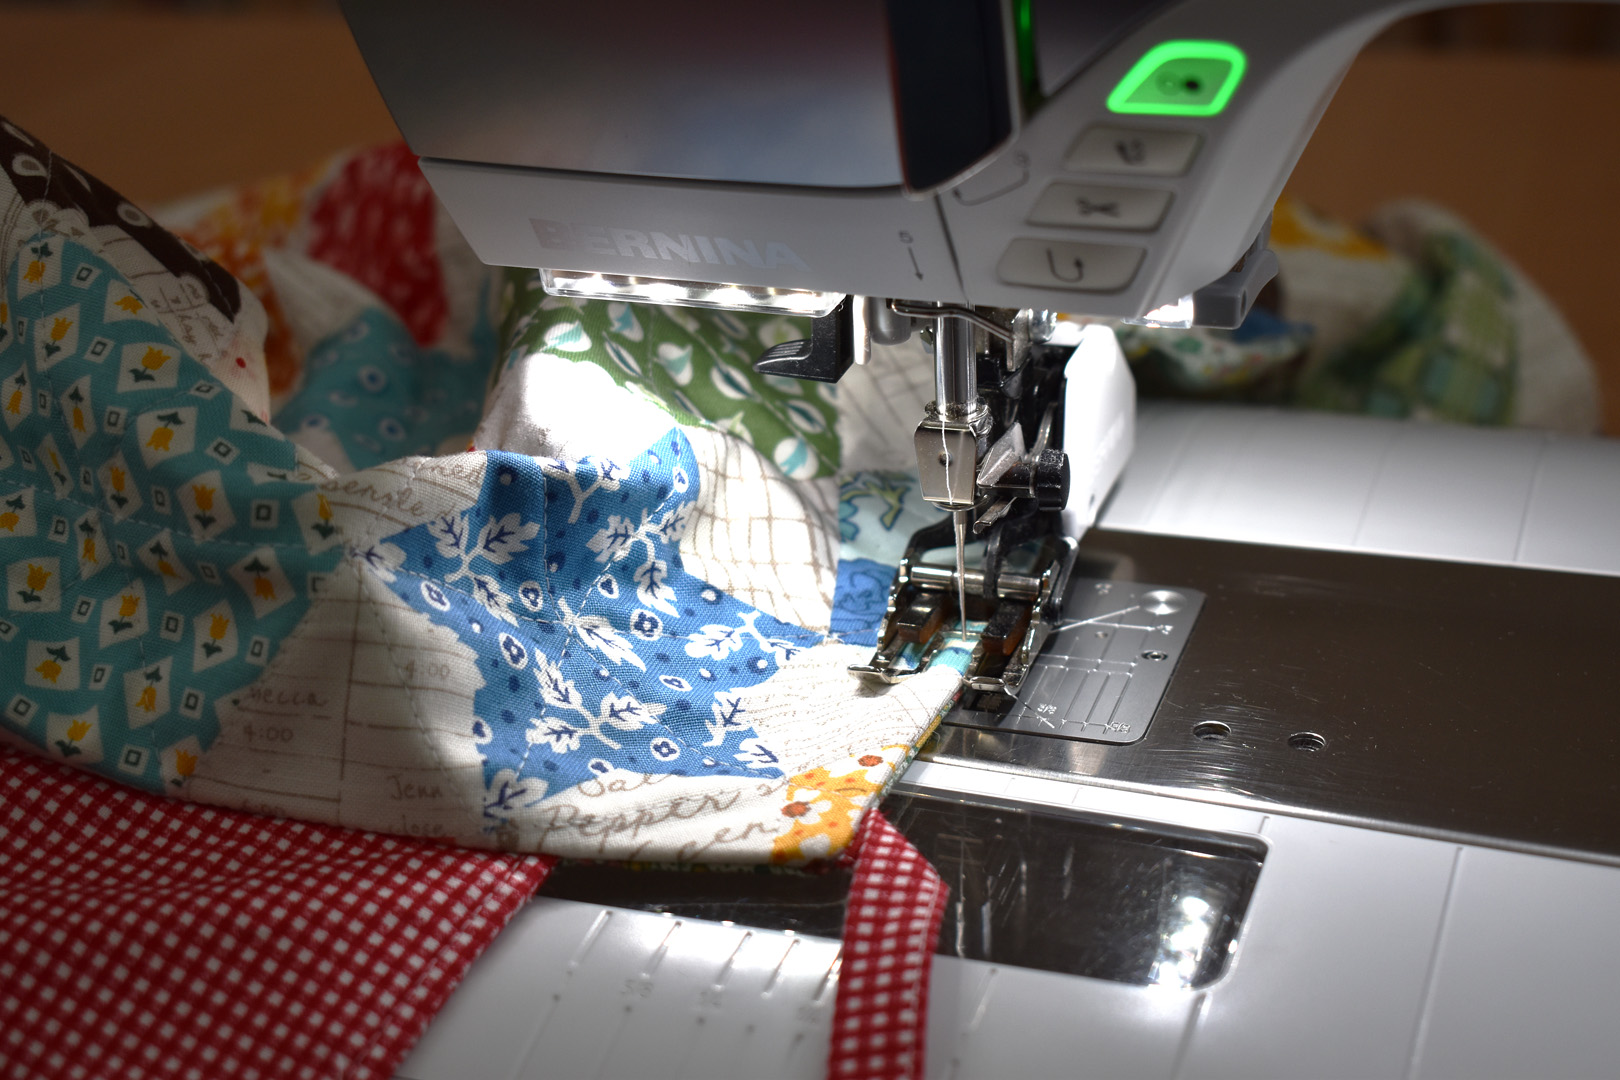
Top stitch all along the corners and opening from one collar edge to the other. Do not edge stitch where collar attaches to poncho.
Turn the poncho over and pin the facing to the back side of the garment. Start with the back, front, and shoulder marks first and then pin between these points. Hand stitch the facing edge to the back side of the poncho, being careful to only pick up the back layer with your needle.
As a final step bind the edges of the poncho as desired. I use this method to create a double fold binding, cutting the binding strips from the remainder of the contrast fabric. I machine sew all around the poncho.
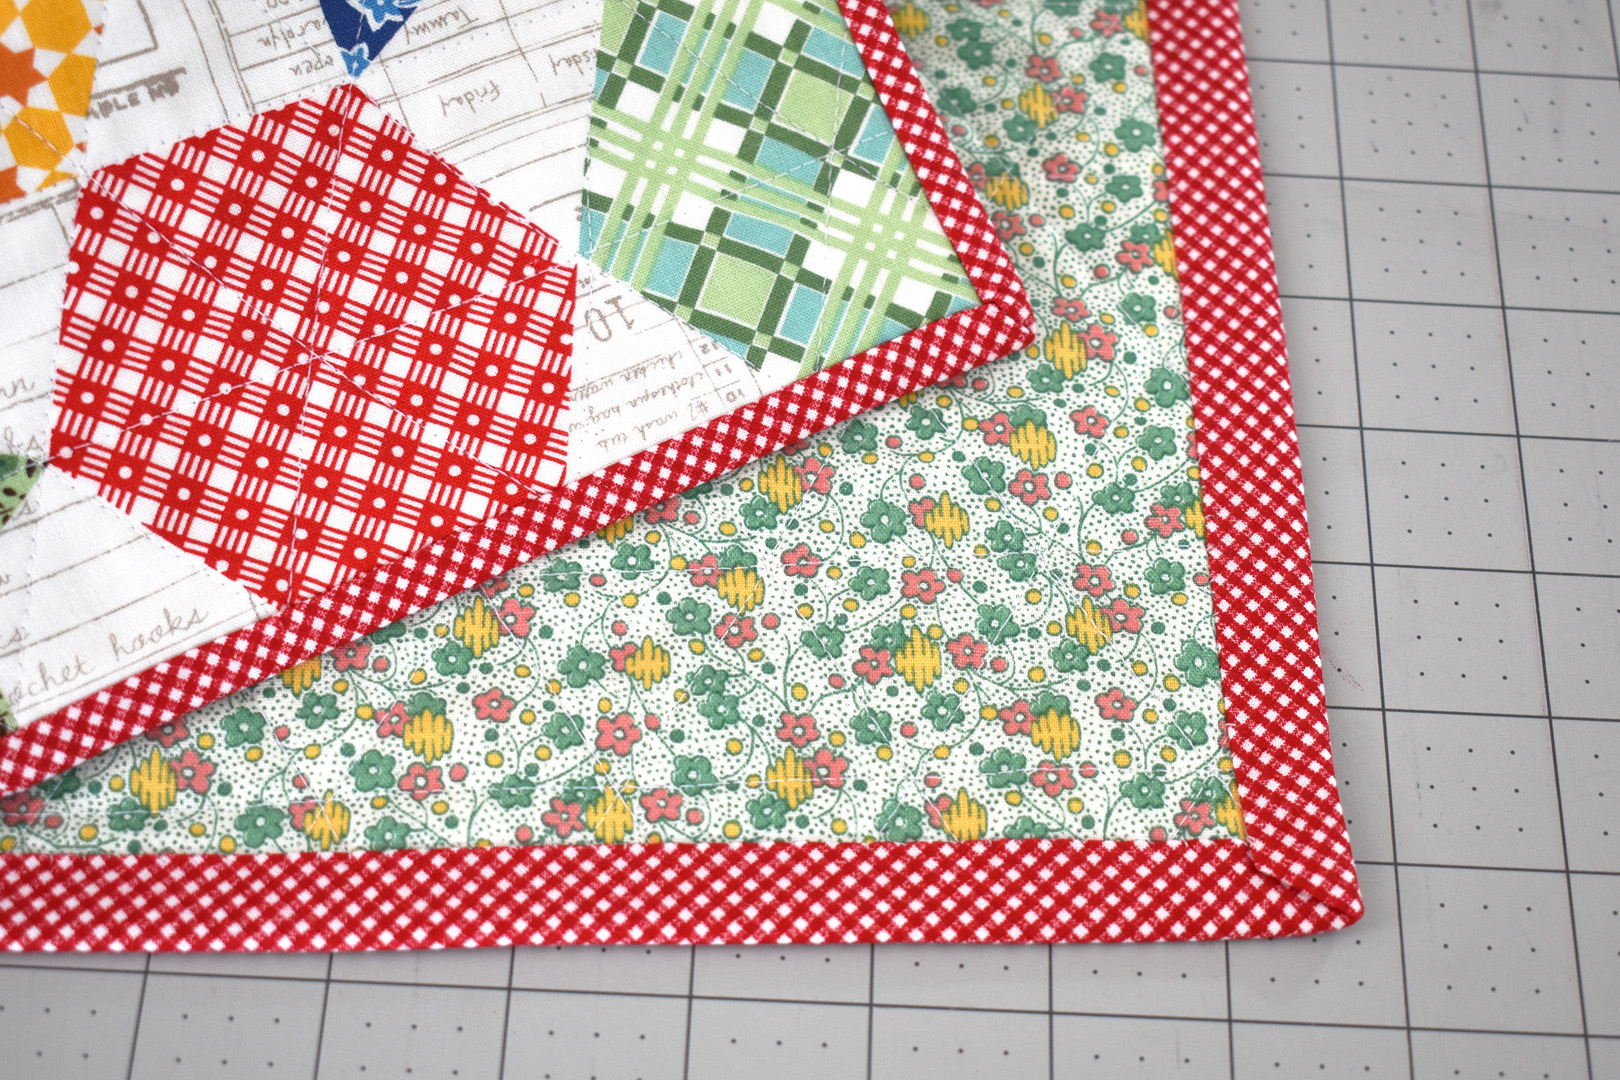
I hand-sew the binding to the back of the quilt to finish the project.
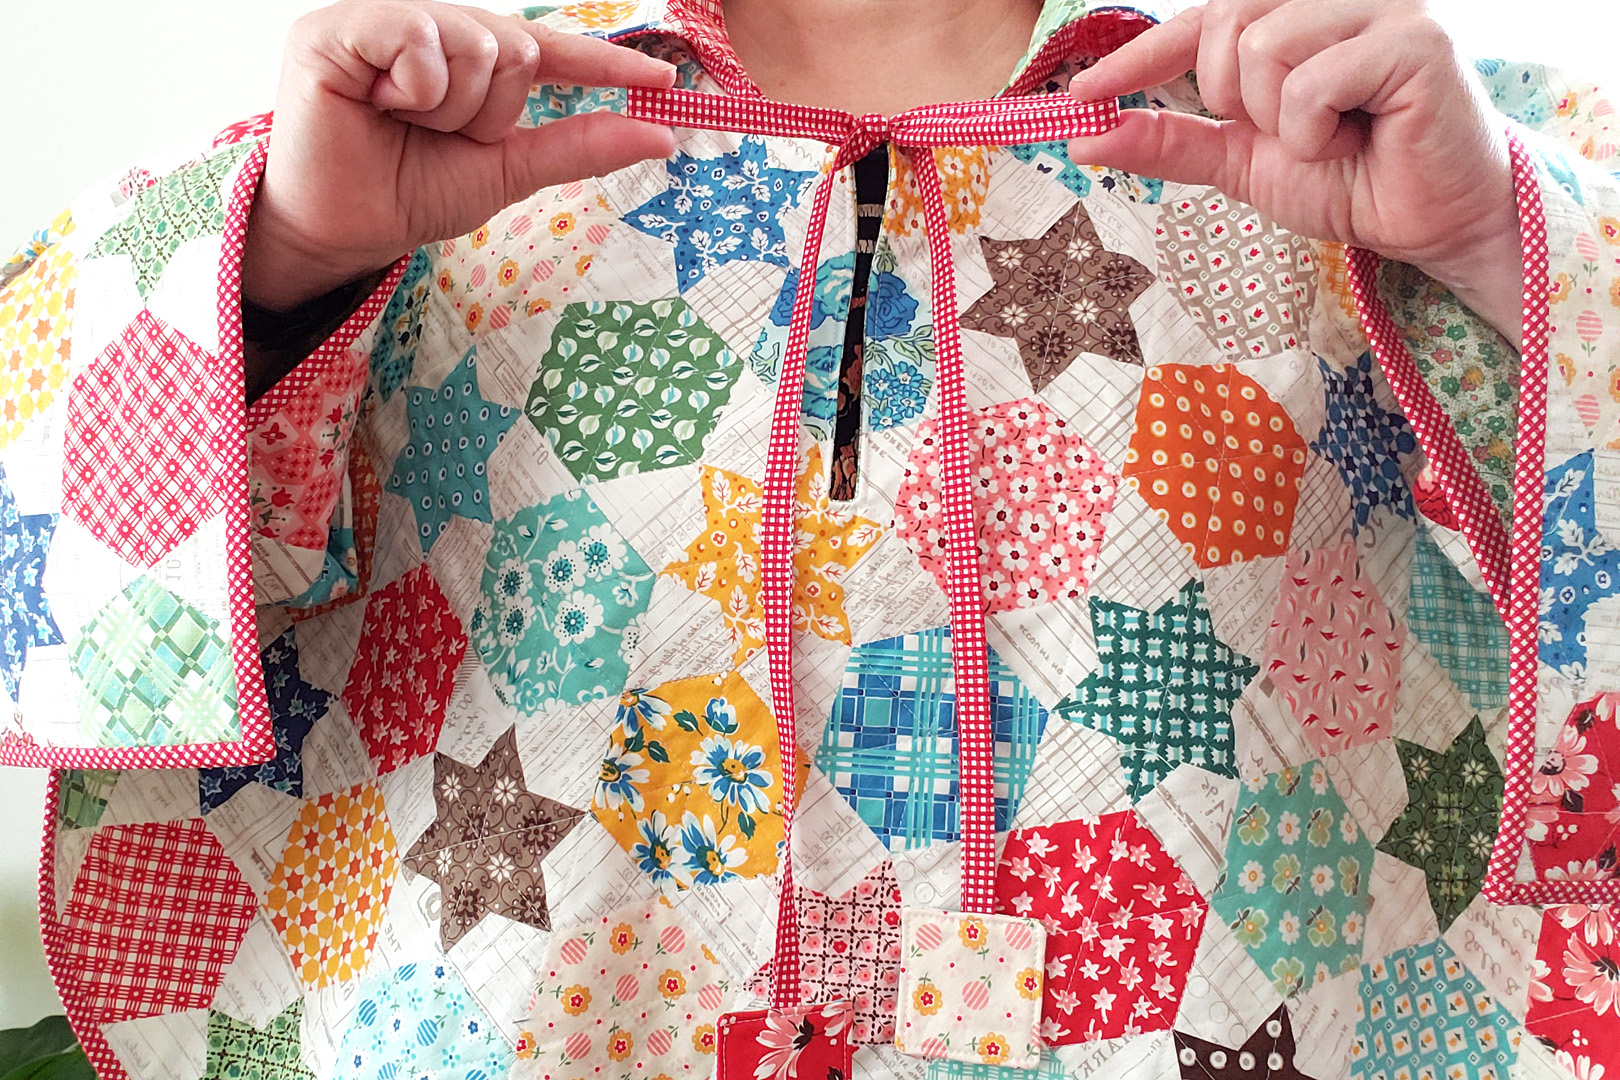
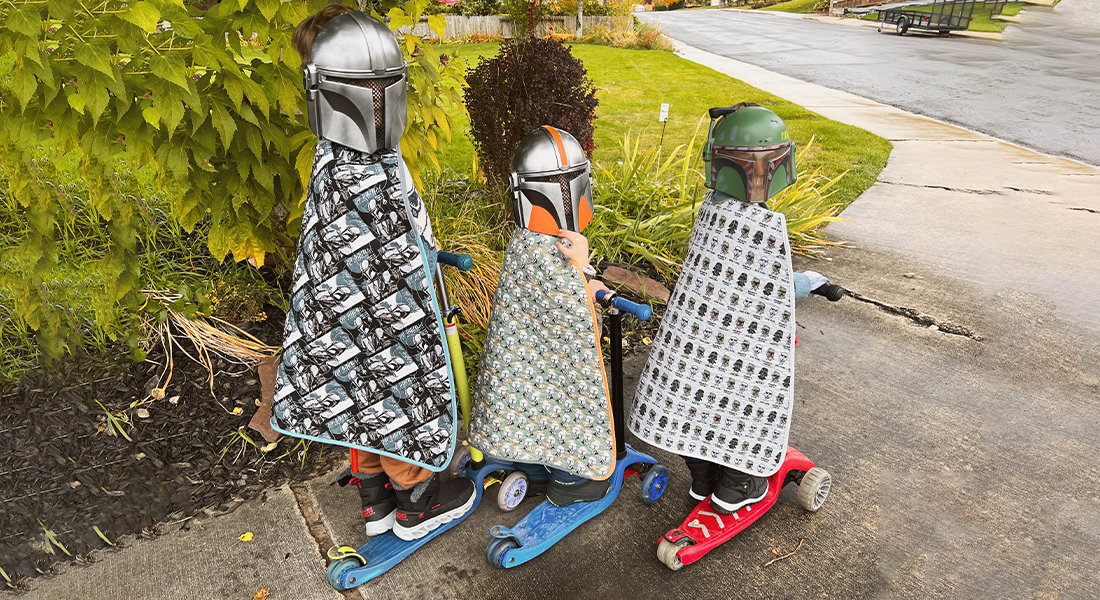
And the poncho is ready to wear – pop it on and tie it up!
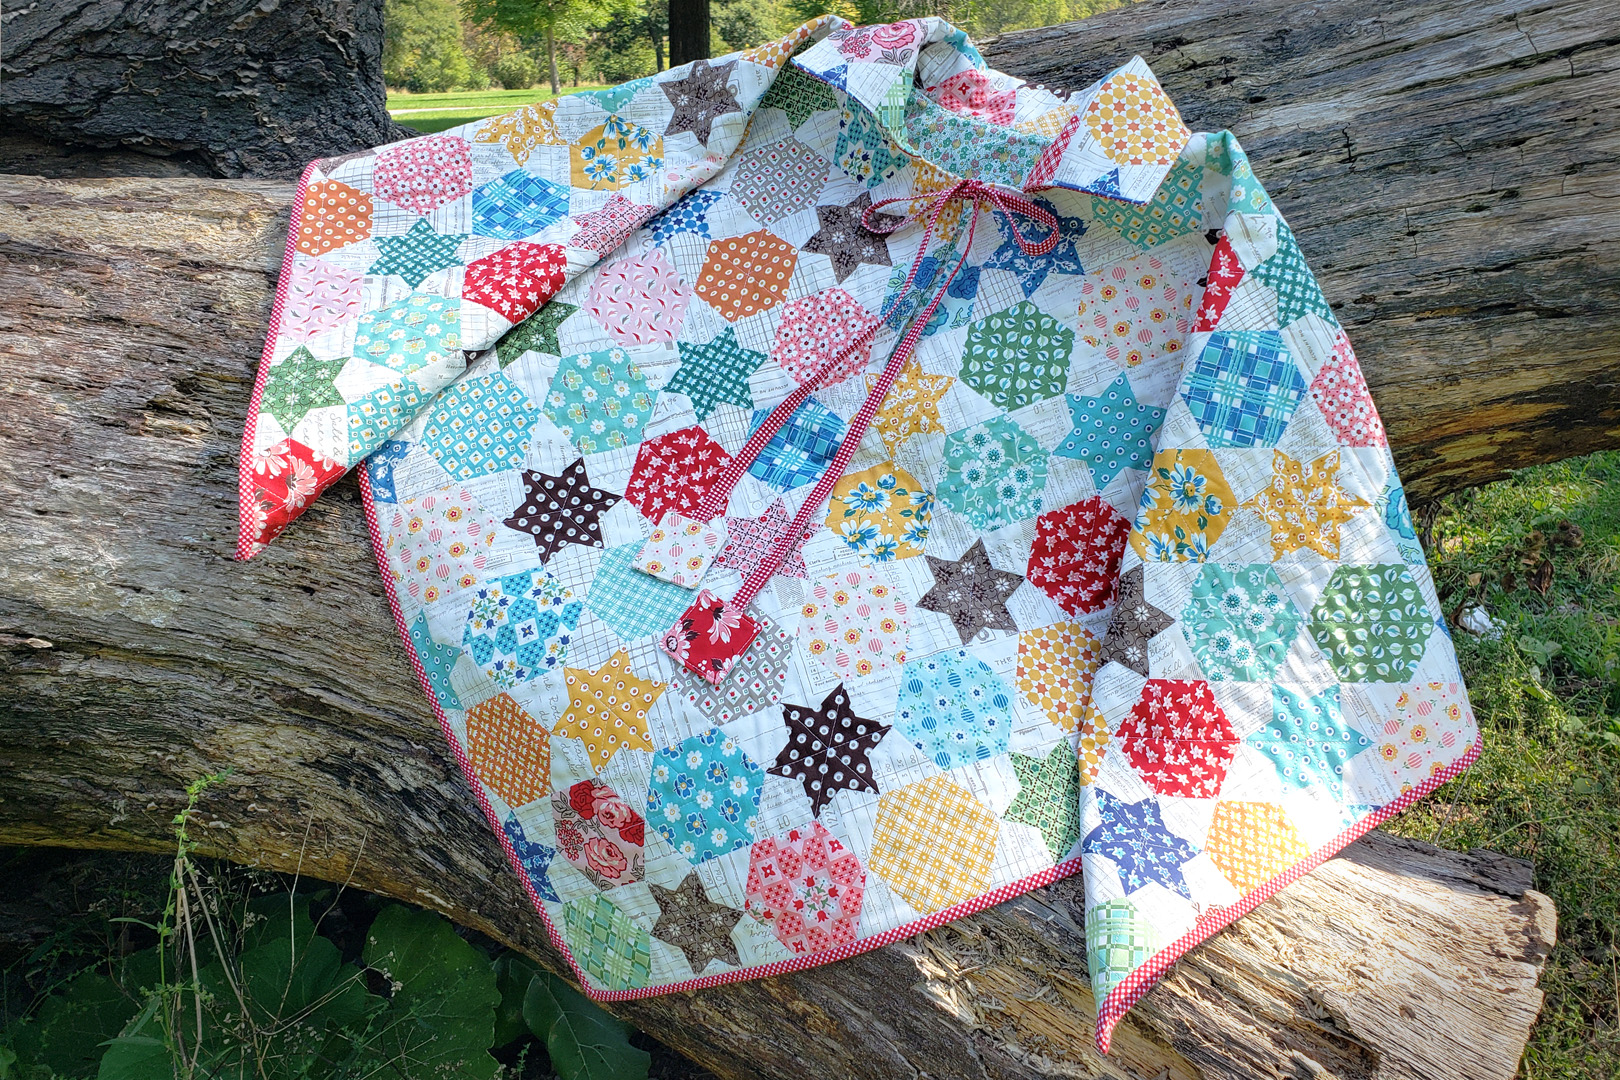
I hope you enjoy this cozy, cold weather project!
Used Products


What you might also like


2 comments on “How to Make a Quilted Poncho”
-
-
I would love to make this for two little granddaughters! Would need to figure out how to go about reducing the overall pattern.
-
Leave a Reply
You must be logged in to post a comment.

You always have the coolest projects! Thank you! I’m adding this one on my priority list!