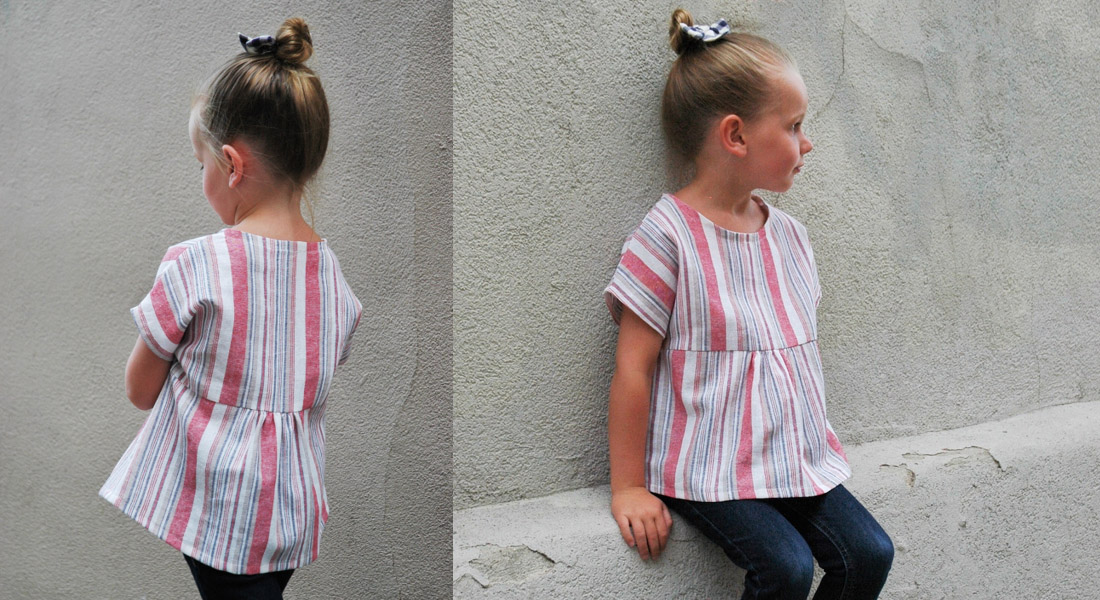
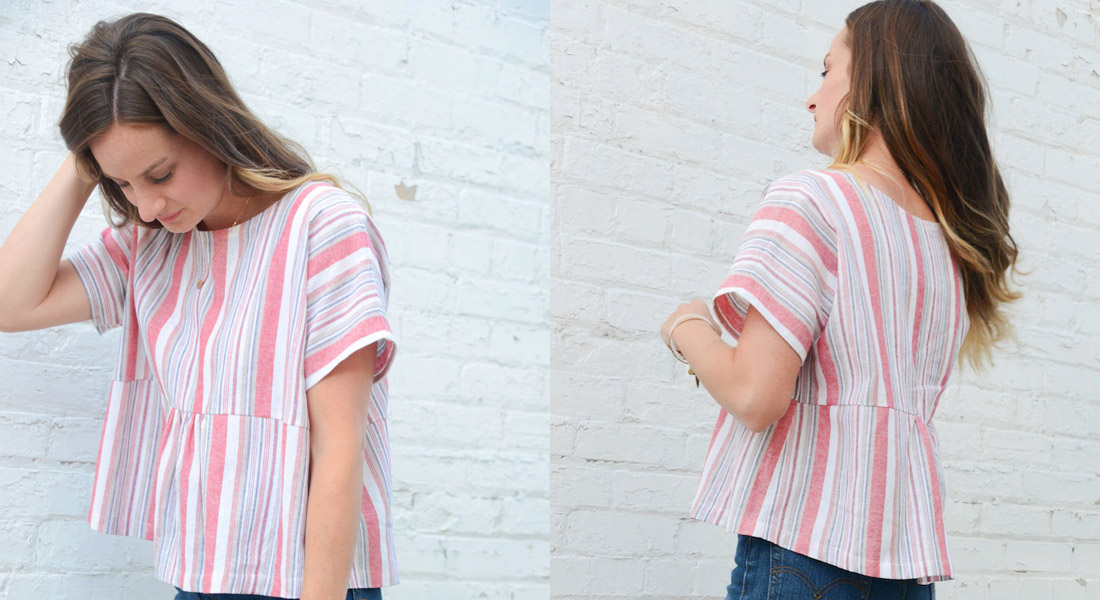
How to Modify a Knit Top Pattern to be Breastfeeding-friendly
As a mother of six, I’m thankful for the skill of being able to sew clothing. It has been great being able to make clothes for my tall and skinny children, but it has been equally awesome to be able to make myself fashionable maternity and nursing clothes!
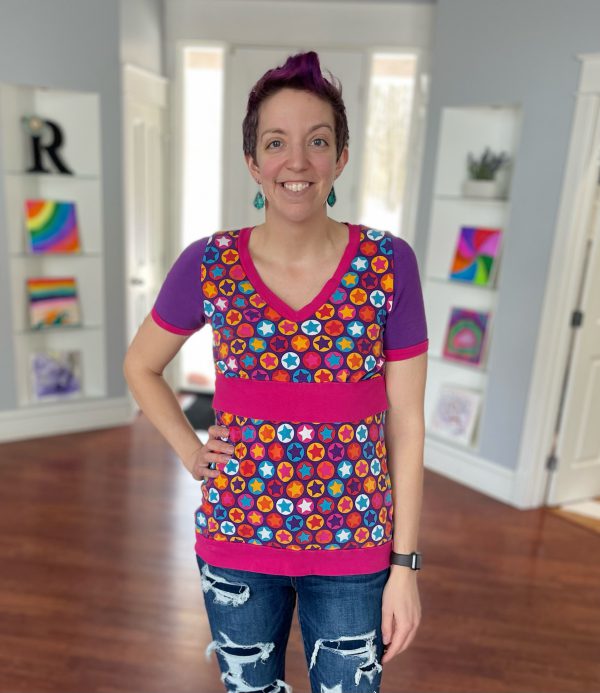
Today I want to share a lift-up style modification that I used the most often when making myself breastfeeding-friendly tops. This easy modification should work with most raglan and inset sleeve shirts/hoodies.
Steps to Modify a Knit Top Pattern to be Breastfeeding-friendly
Step 1: Cut Out the Lift-up Front Panel
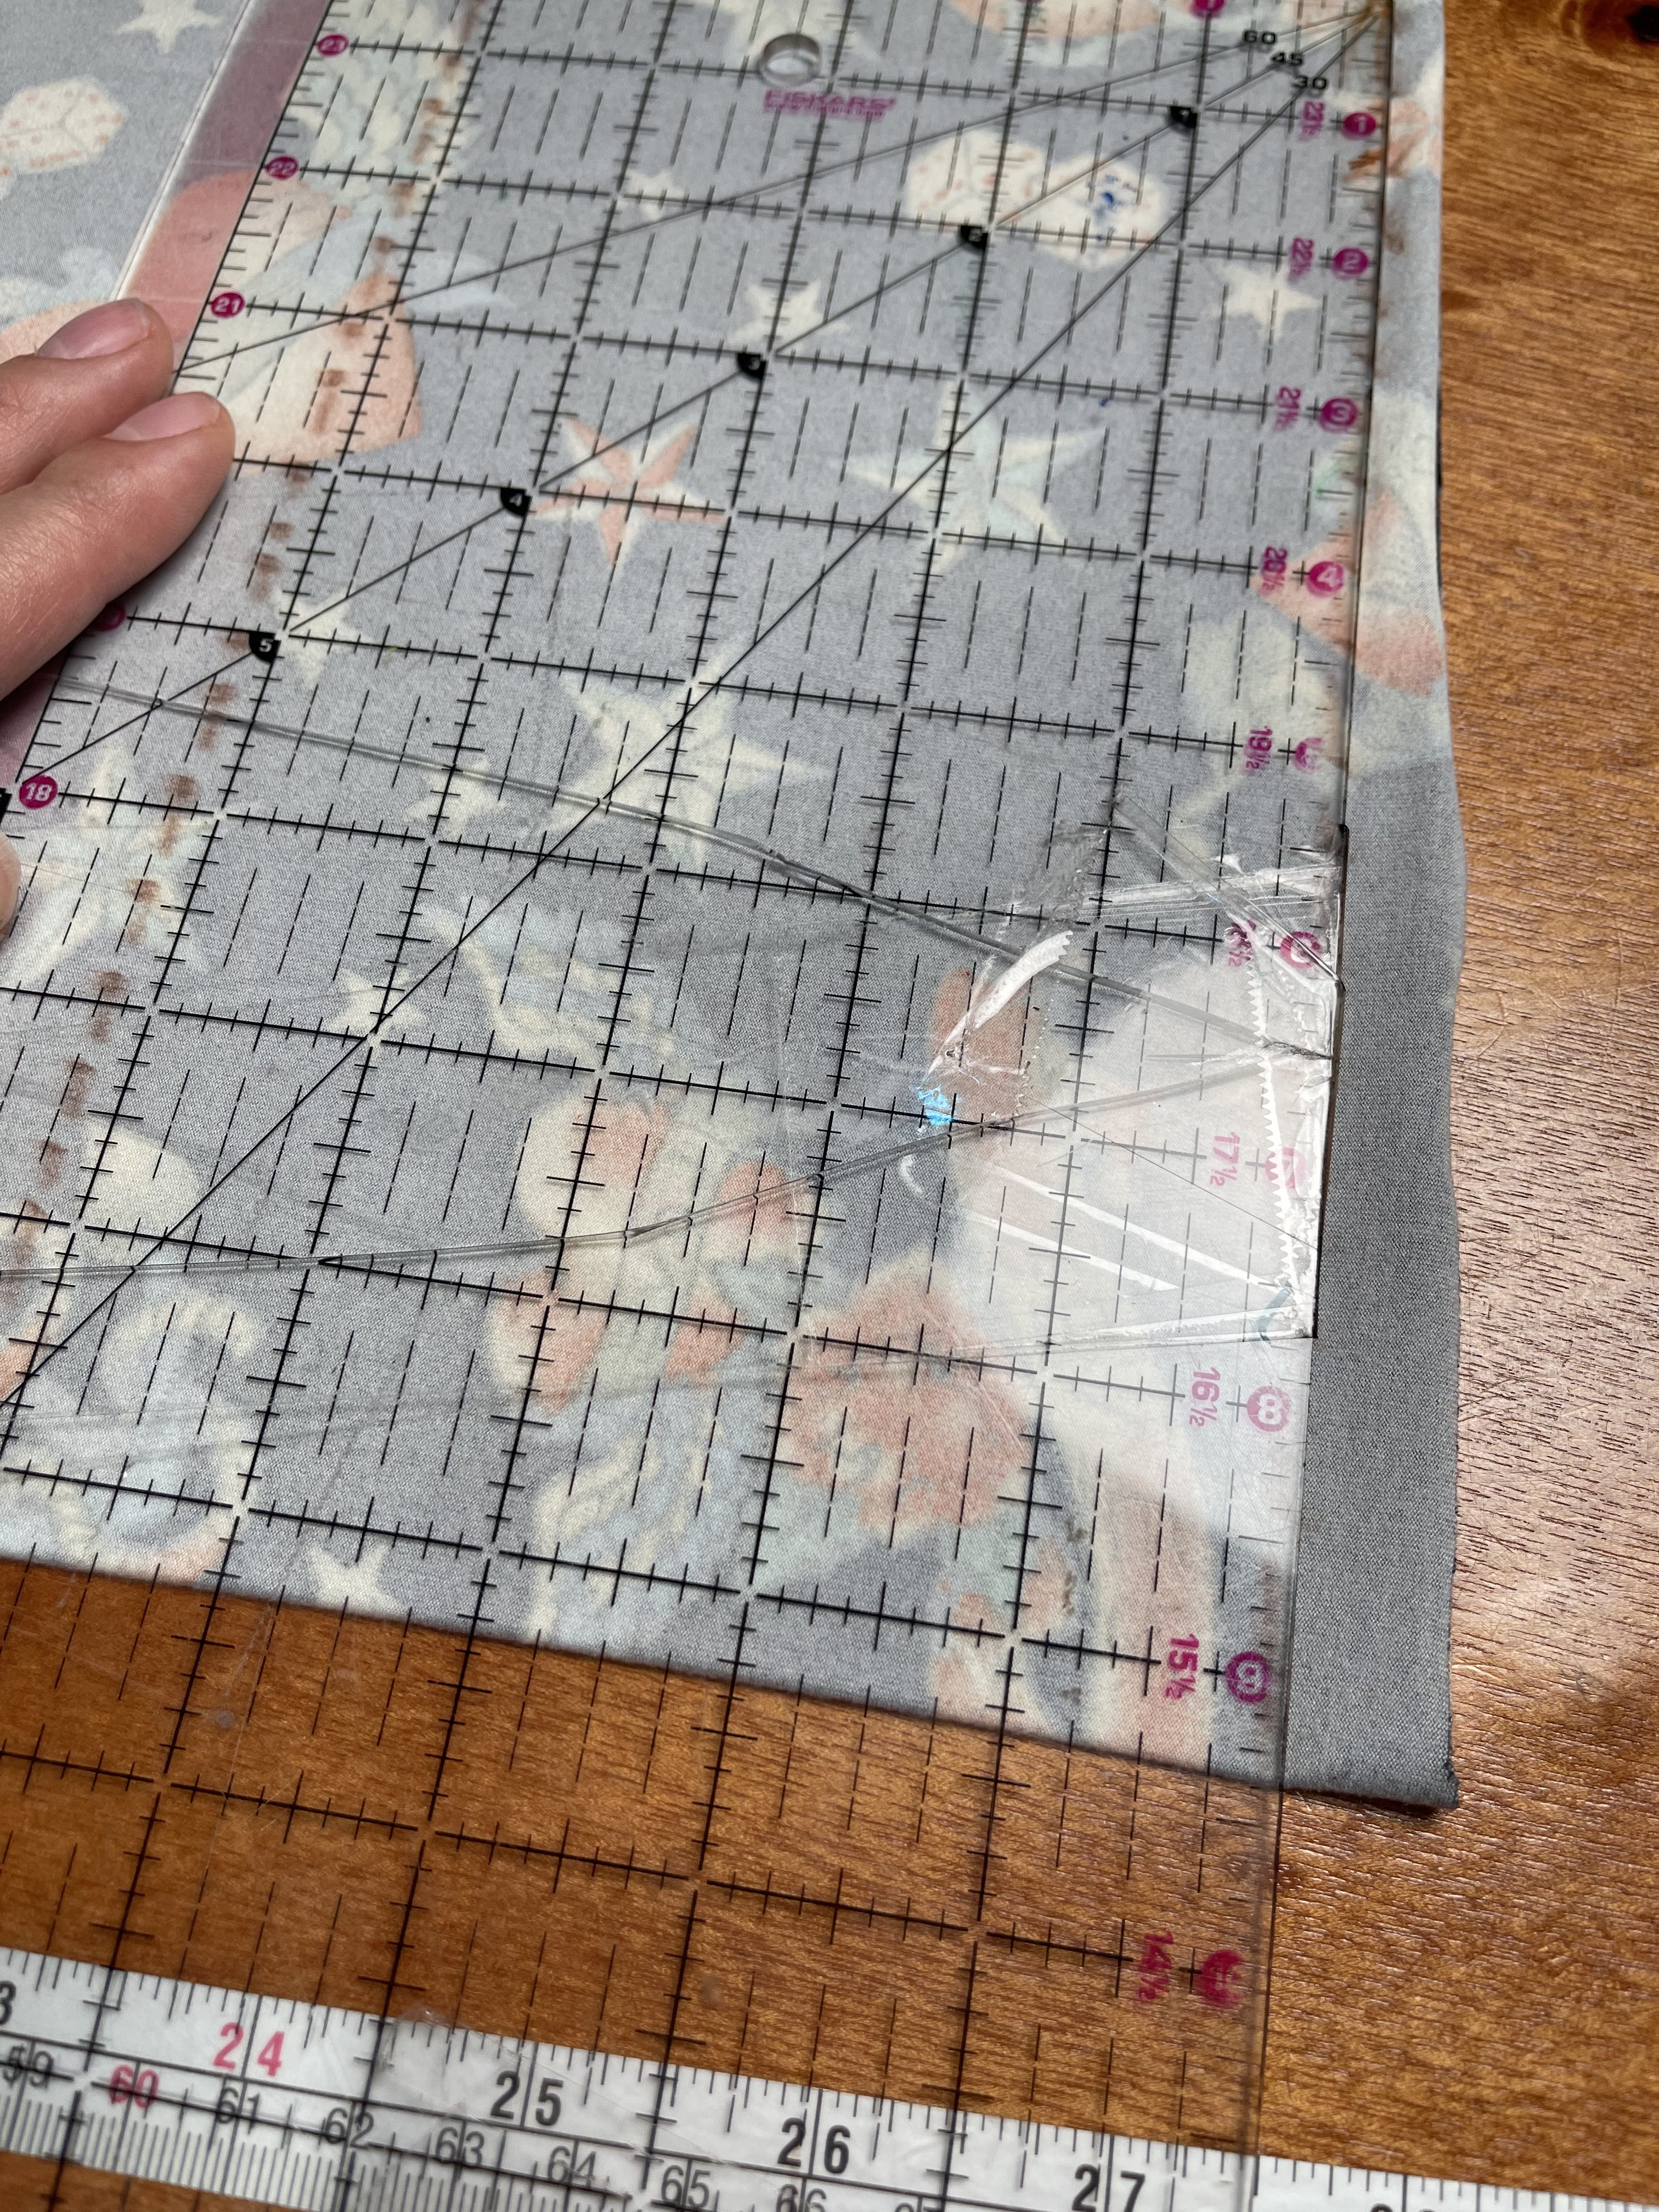
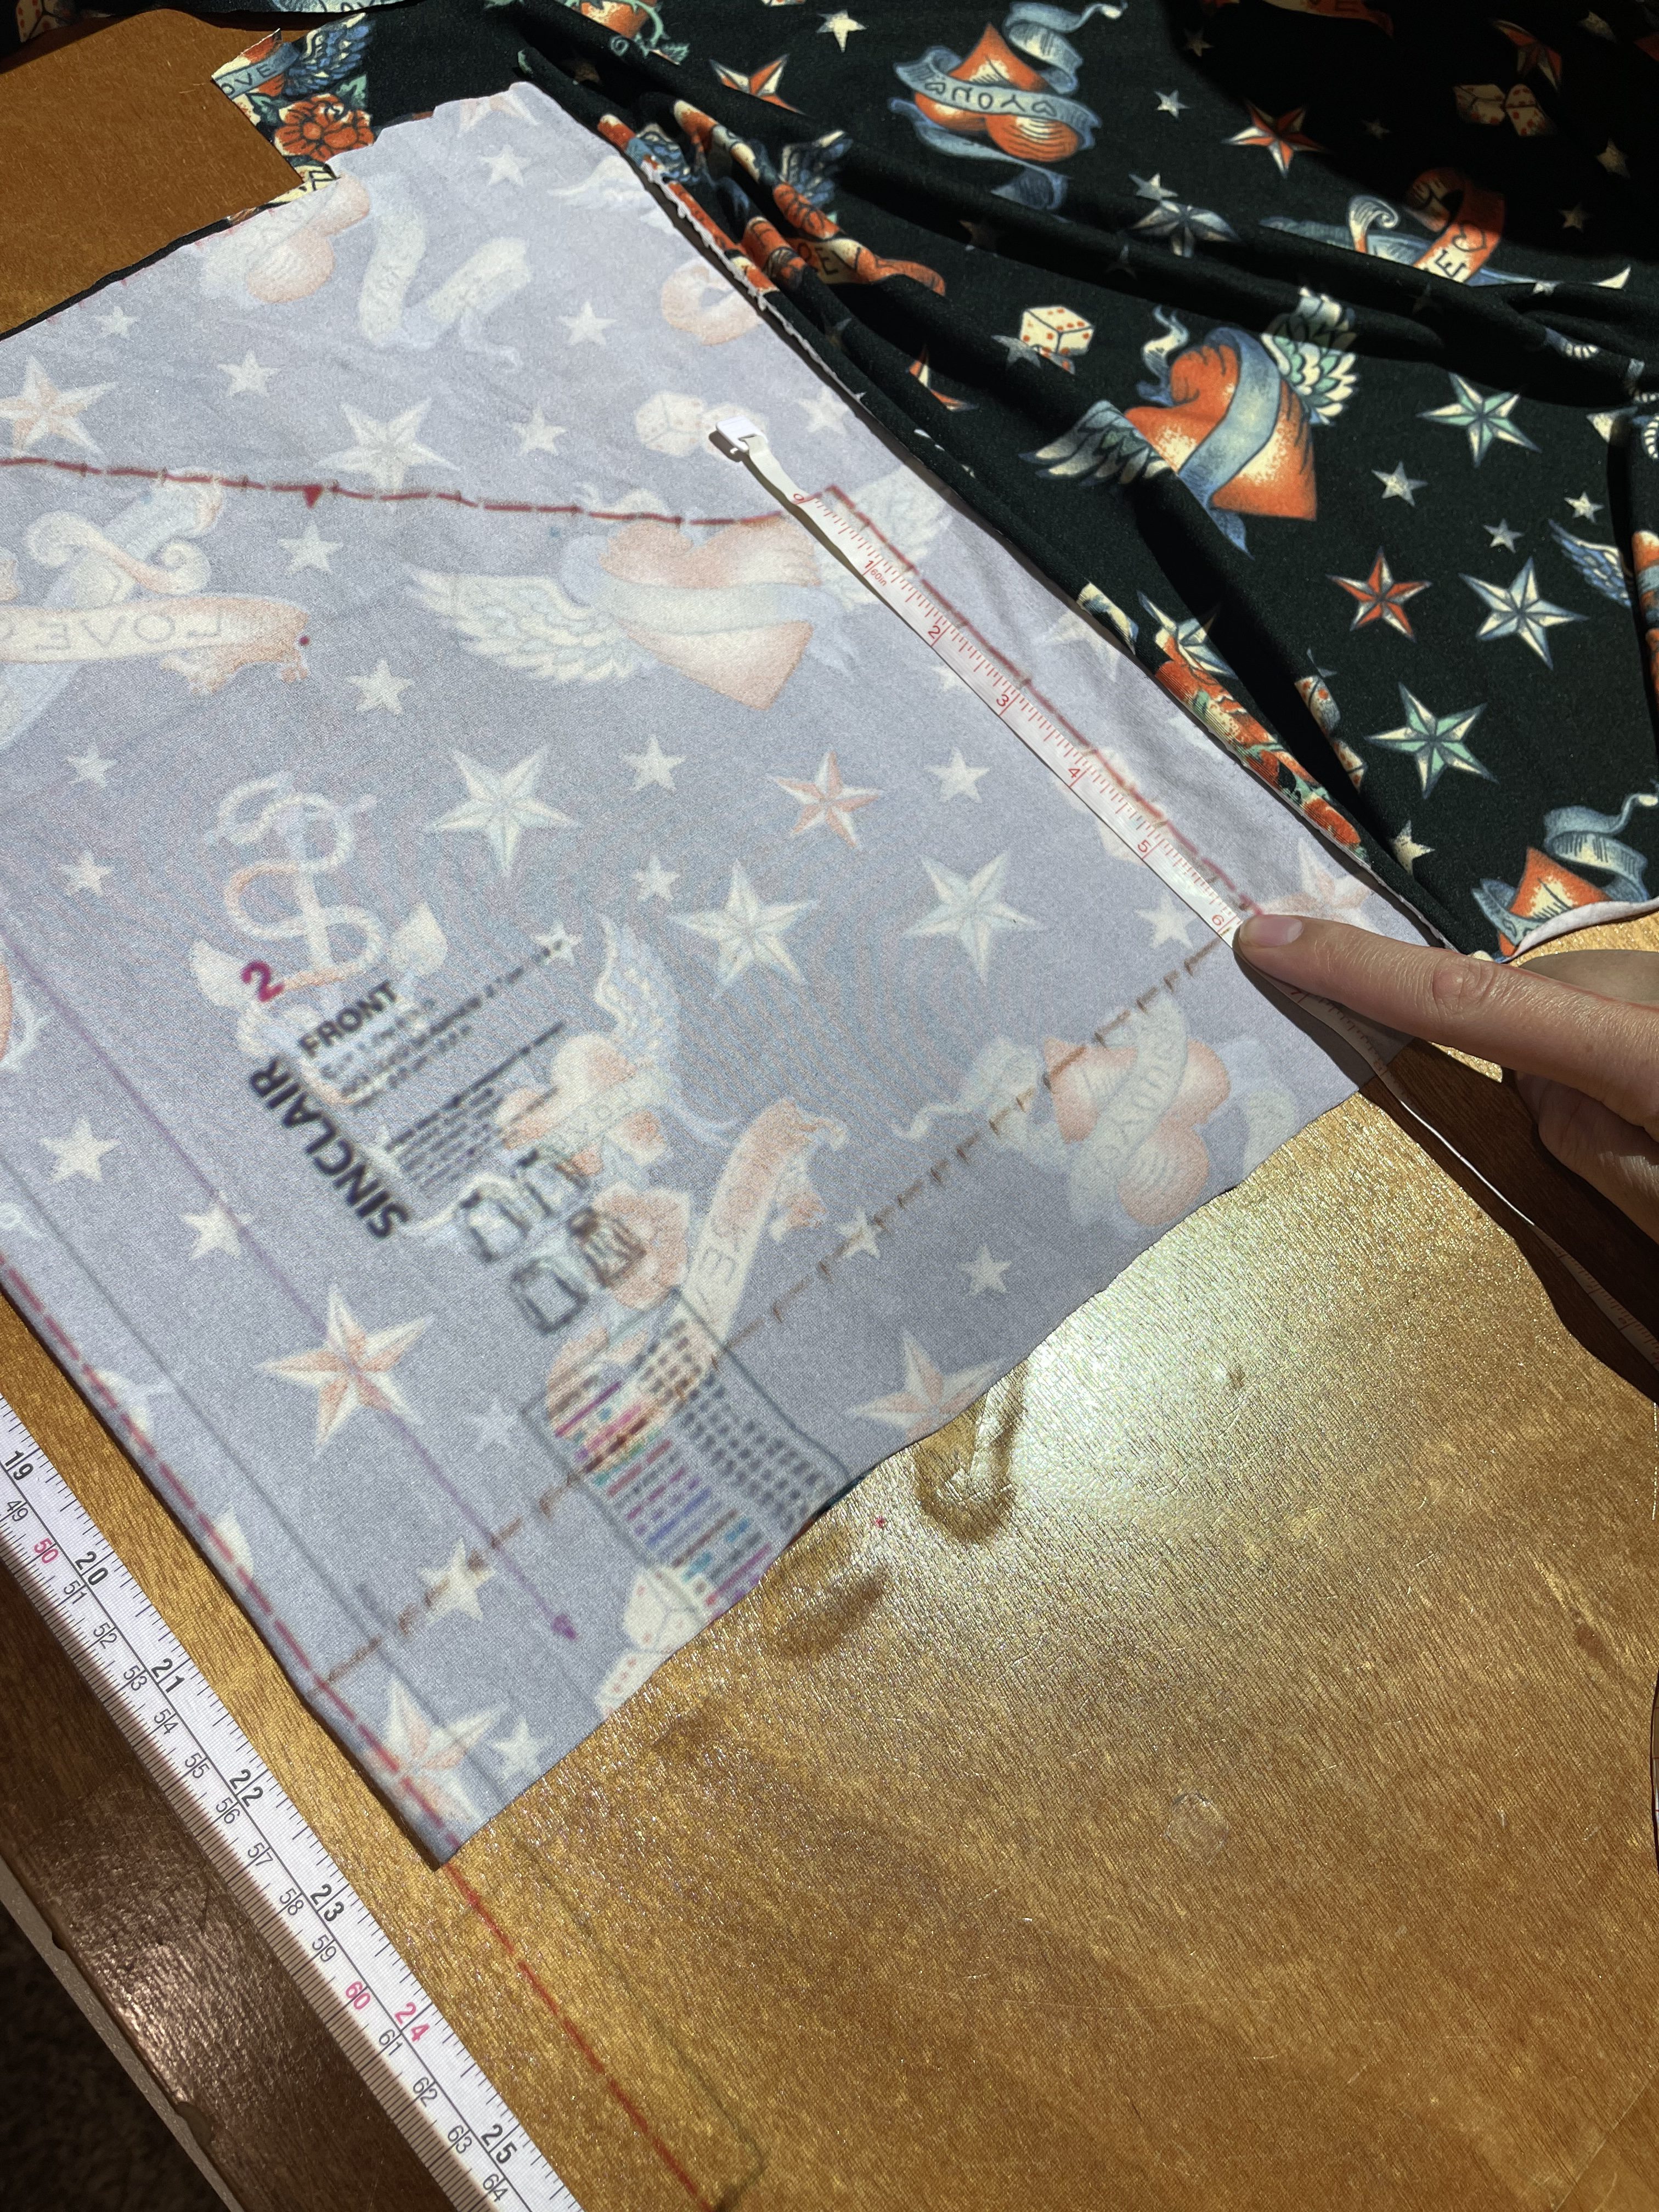
First, we are going to cut out our lift-up panel pieces. I cut a partial front bodice piece to serve as the lift-up panel. I cut it to 6″ past the armscye.
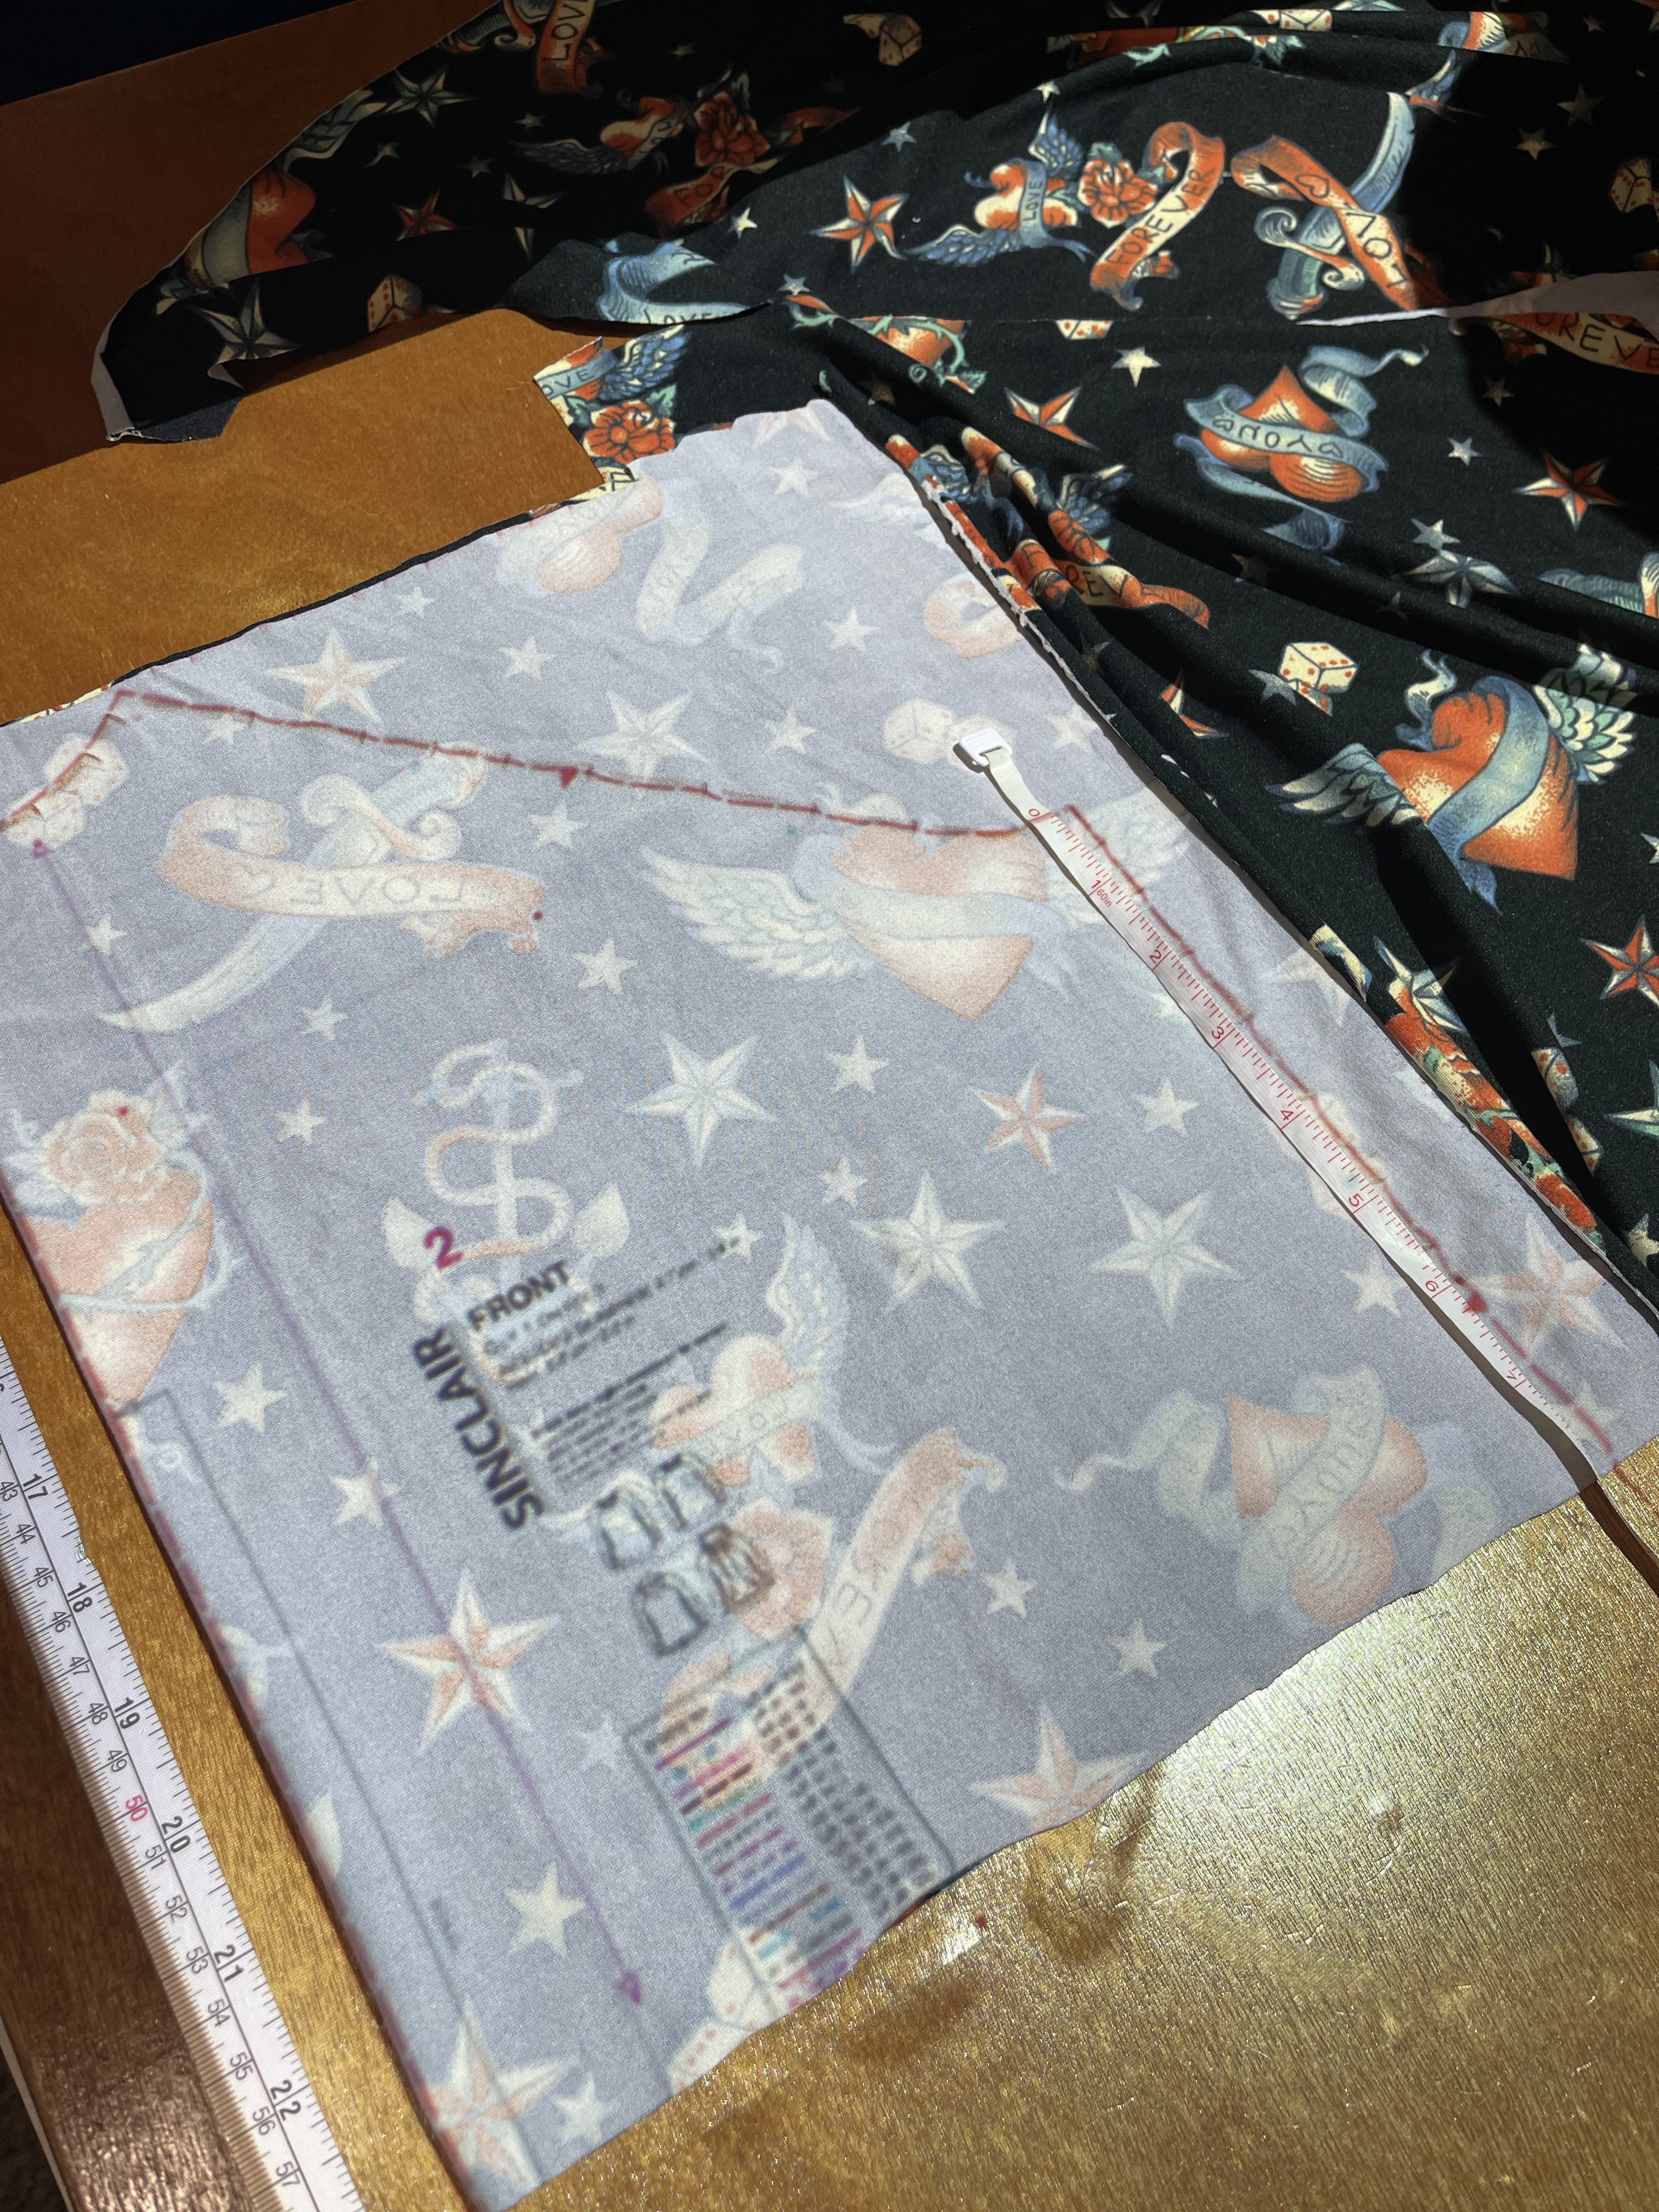
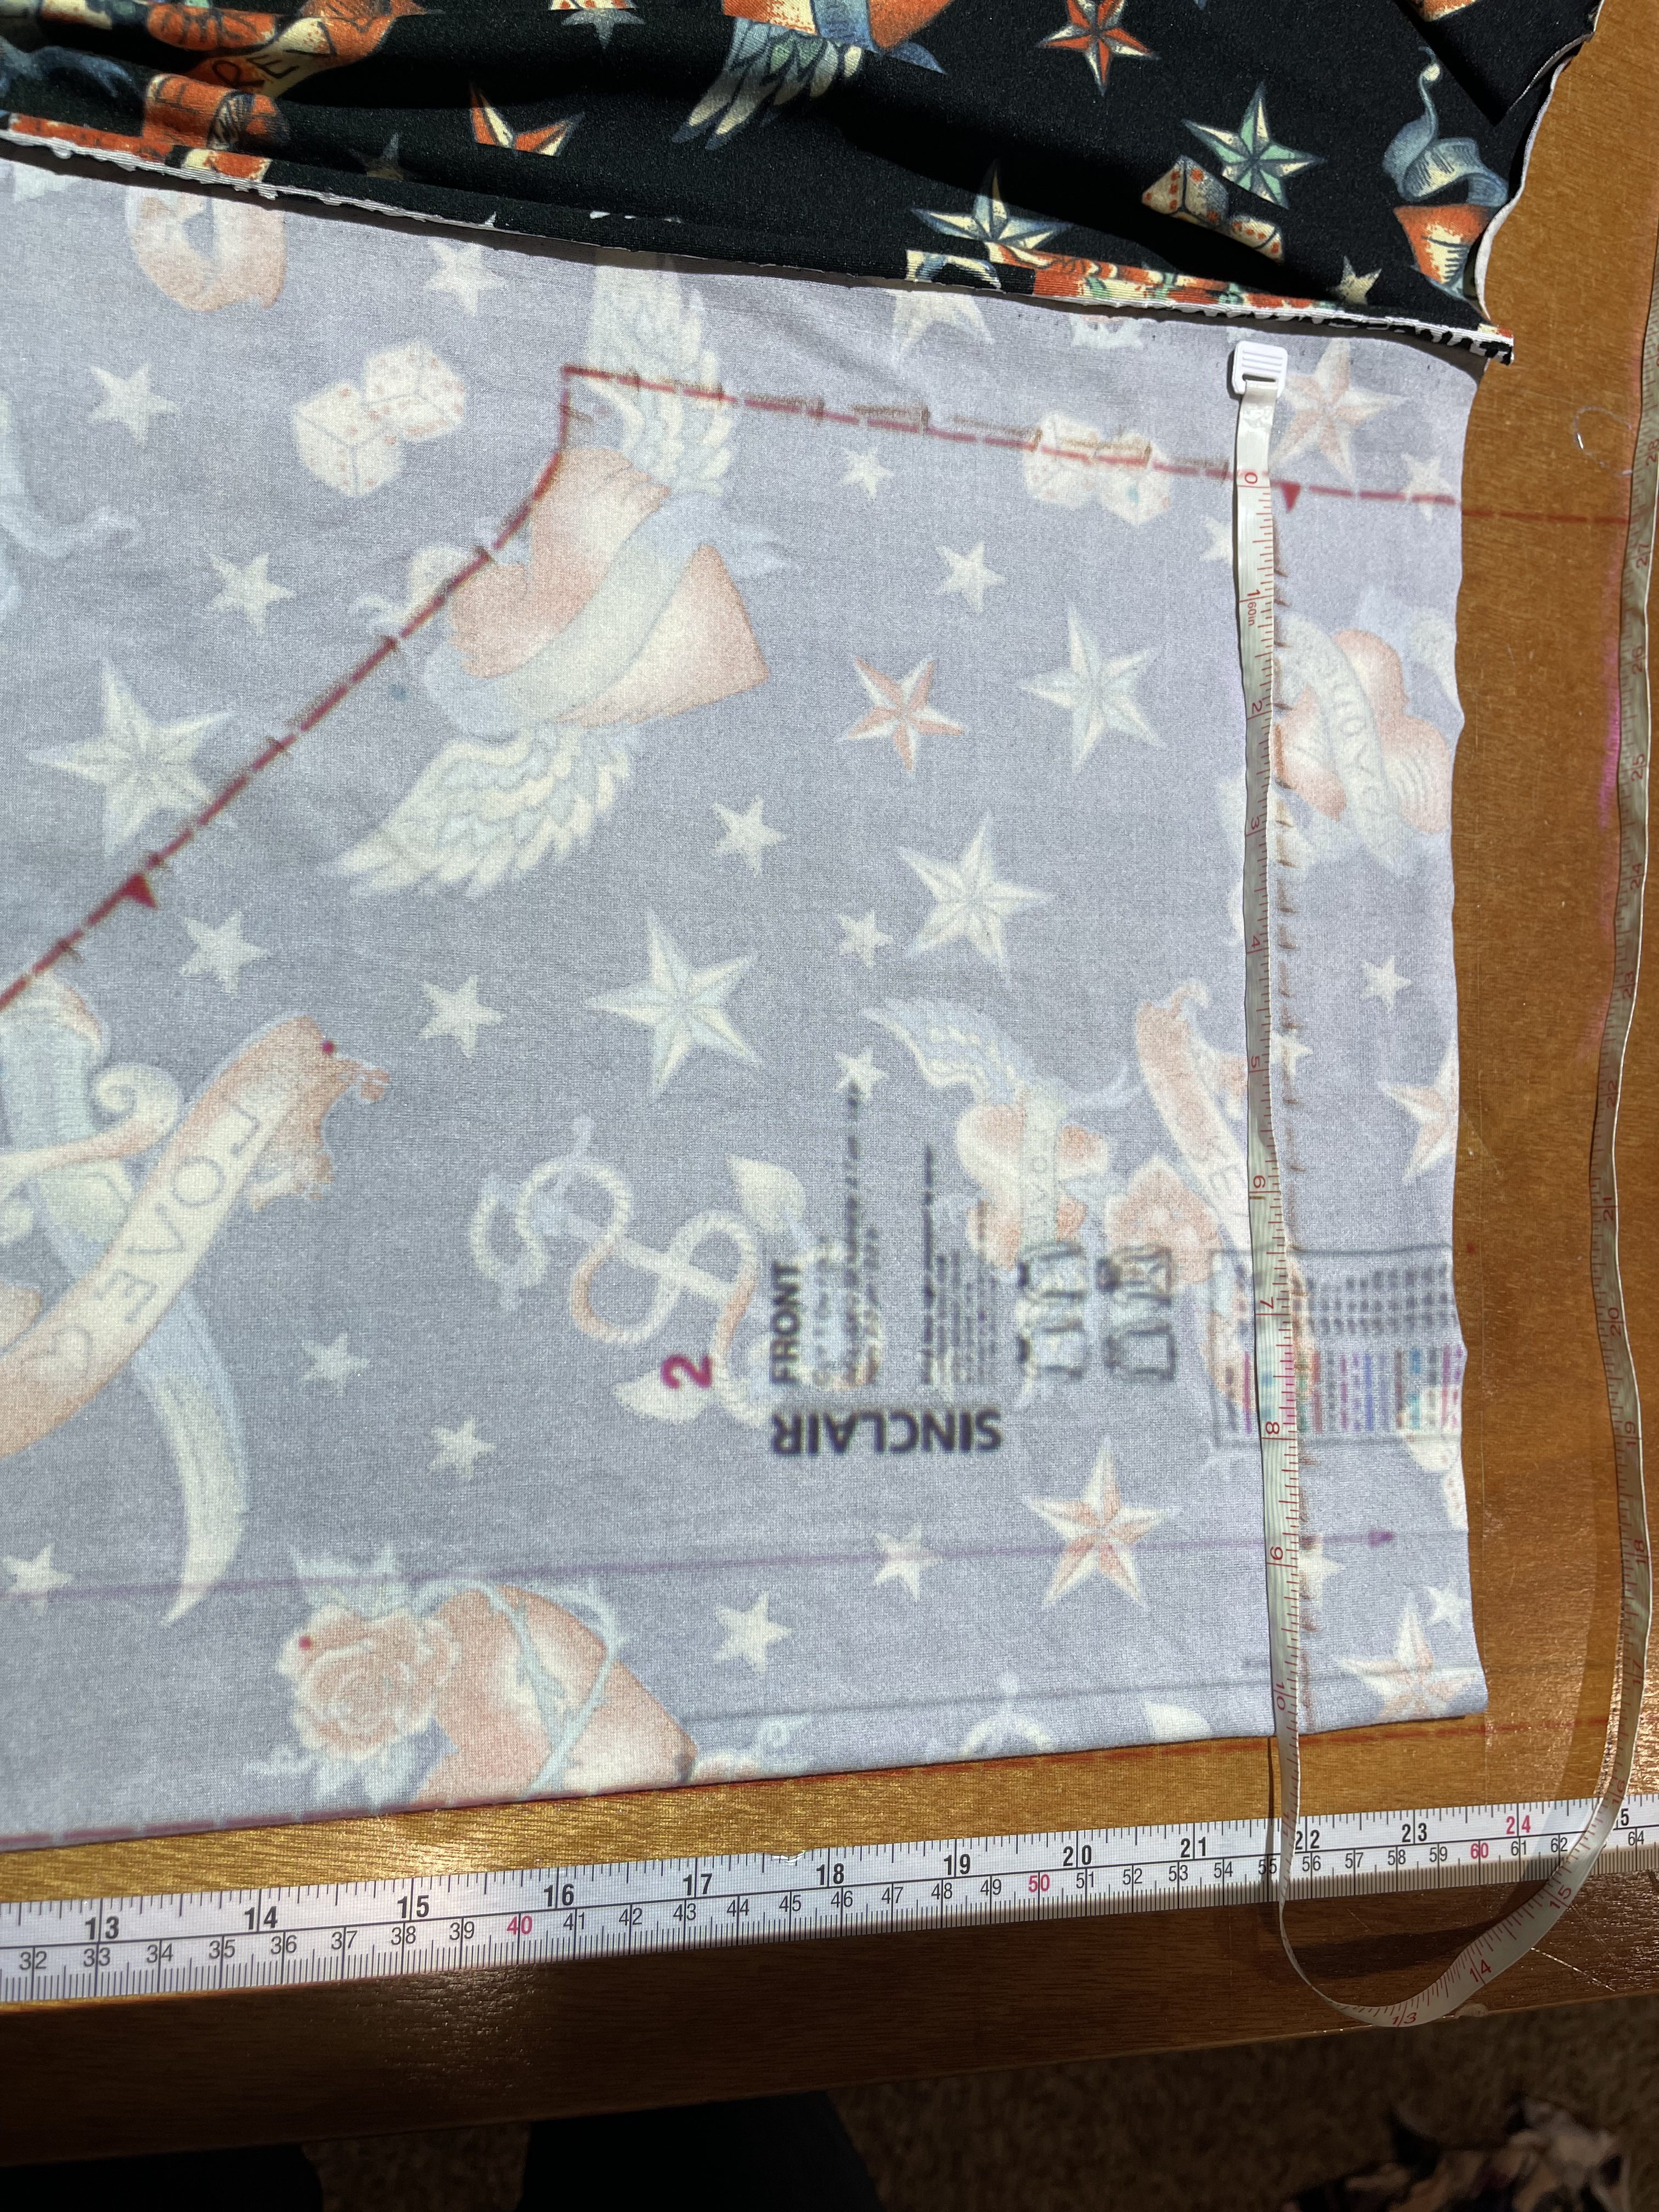
Step 2: Cut Out the Panel Band
I then cut the band for the bottom of the front panel piece. I make that 5″ tall and about 2″ shorter (1″ shorter since we are cutting on the fold) than the bottom of the front panel piece. In this case the width of my bodice on the fold was 10.25″, so I cut my band piece 9.25″ wide on the fold and 5″ tall.

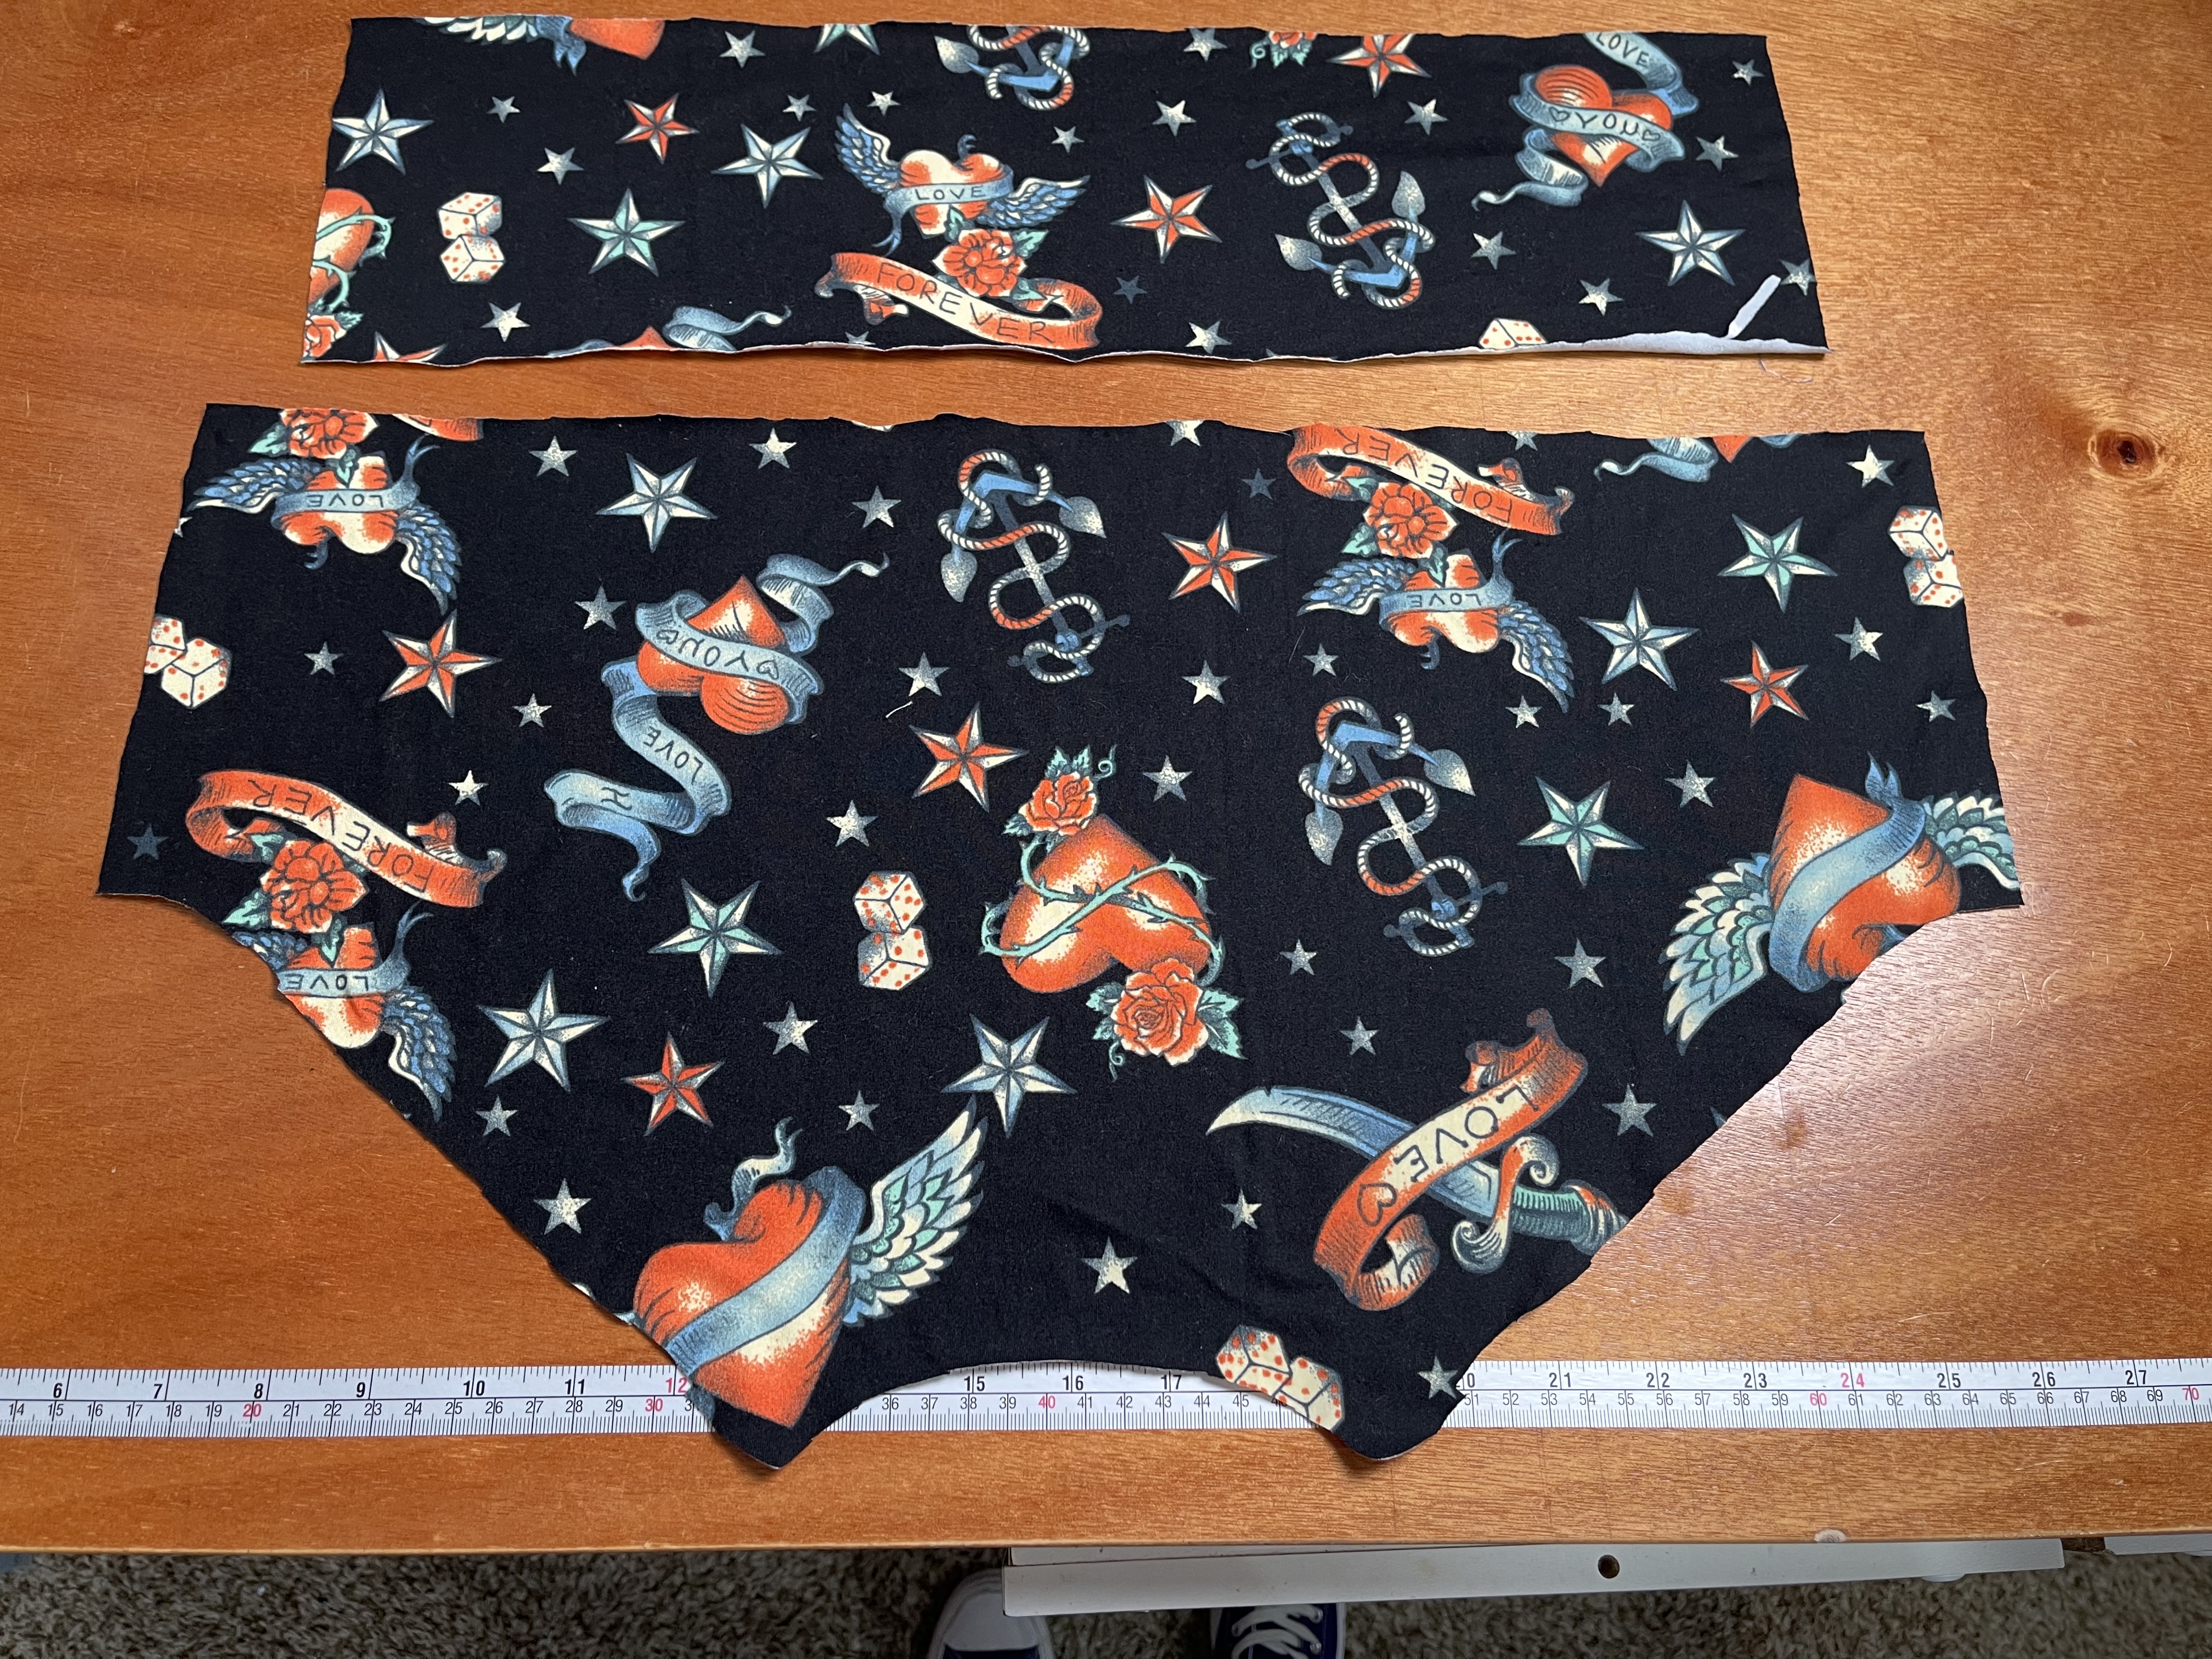
You should now have two pieces that look like these. Cut out the rest of the shirt as directed by the pattern.
Step 3: Assemble the Life-up Front Piece
I then take the bottom band of our lift-up front piece and fold it wrong sides together lengthwise. Line up the raw edges of the band to the right side raw edge of the front panel piece. Stretch to fit. Sew.

From here I lay the front panel piece on top of the full front piece and treat them as one when attaching the sleeves, attaching the neckband, and sewing up the side seams. You can baste the front panel piece to the front along the side seams, arm and neck to keep them from shifting.
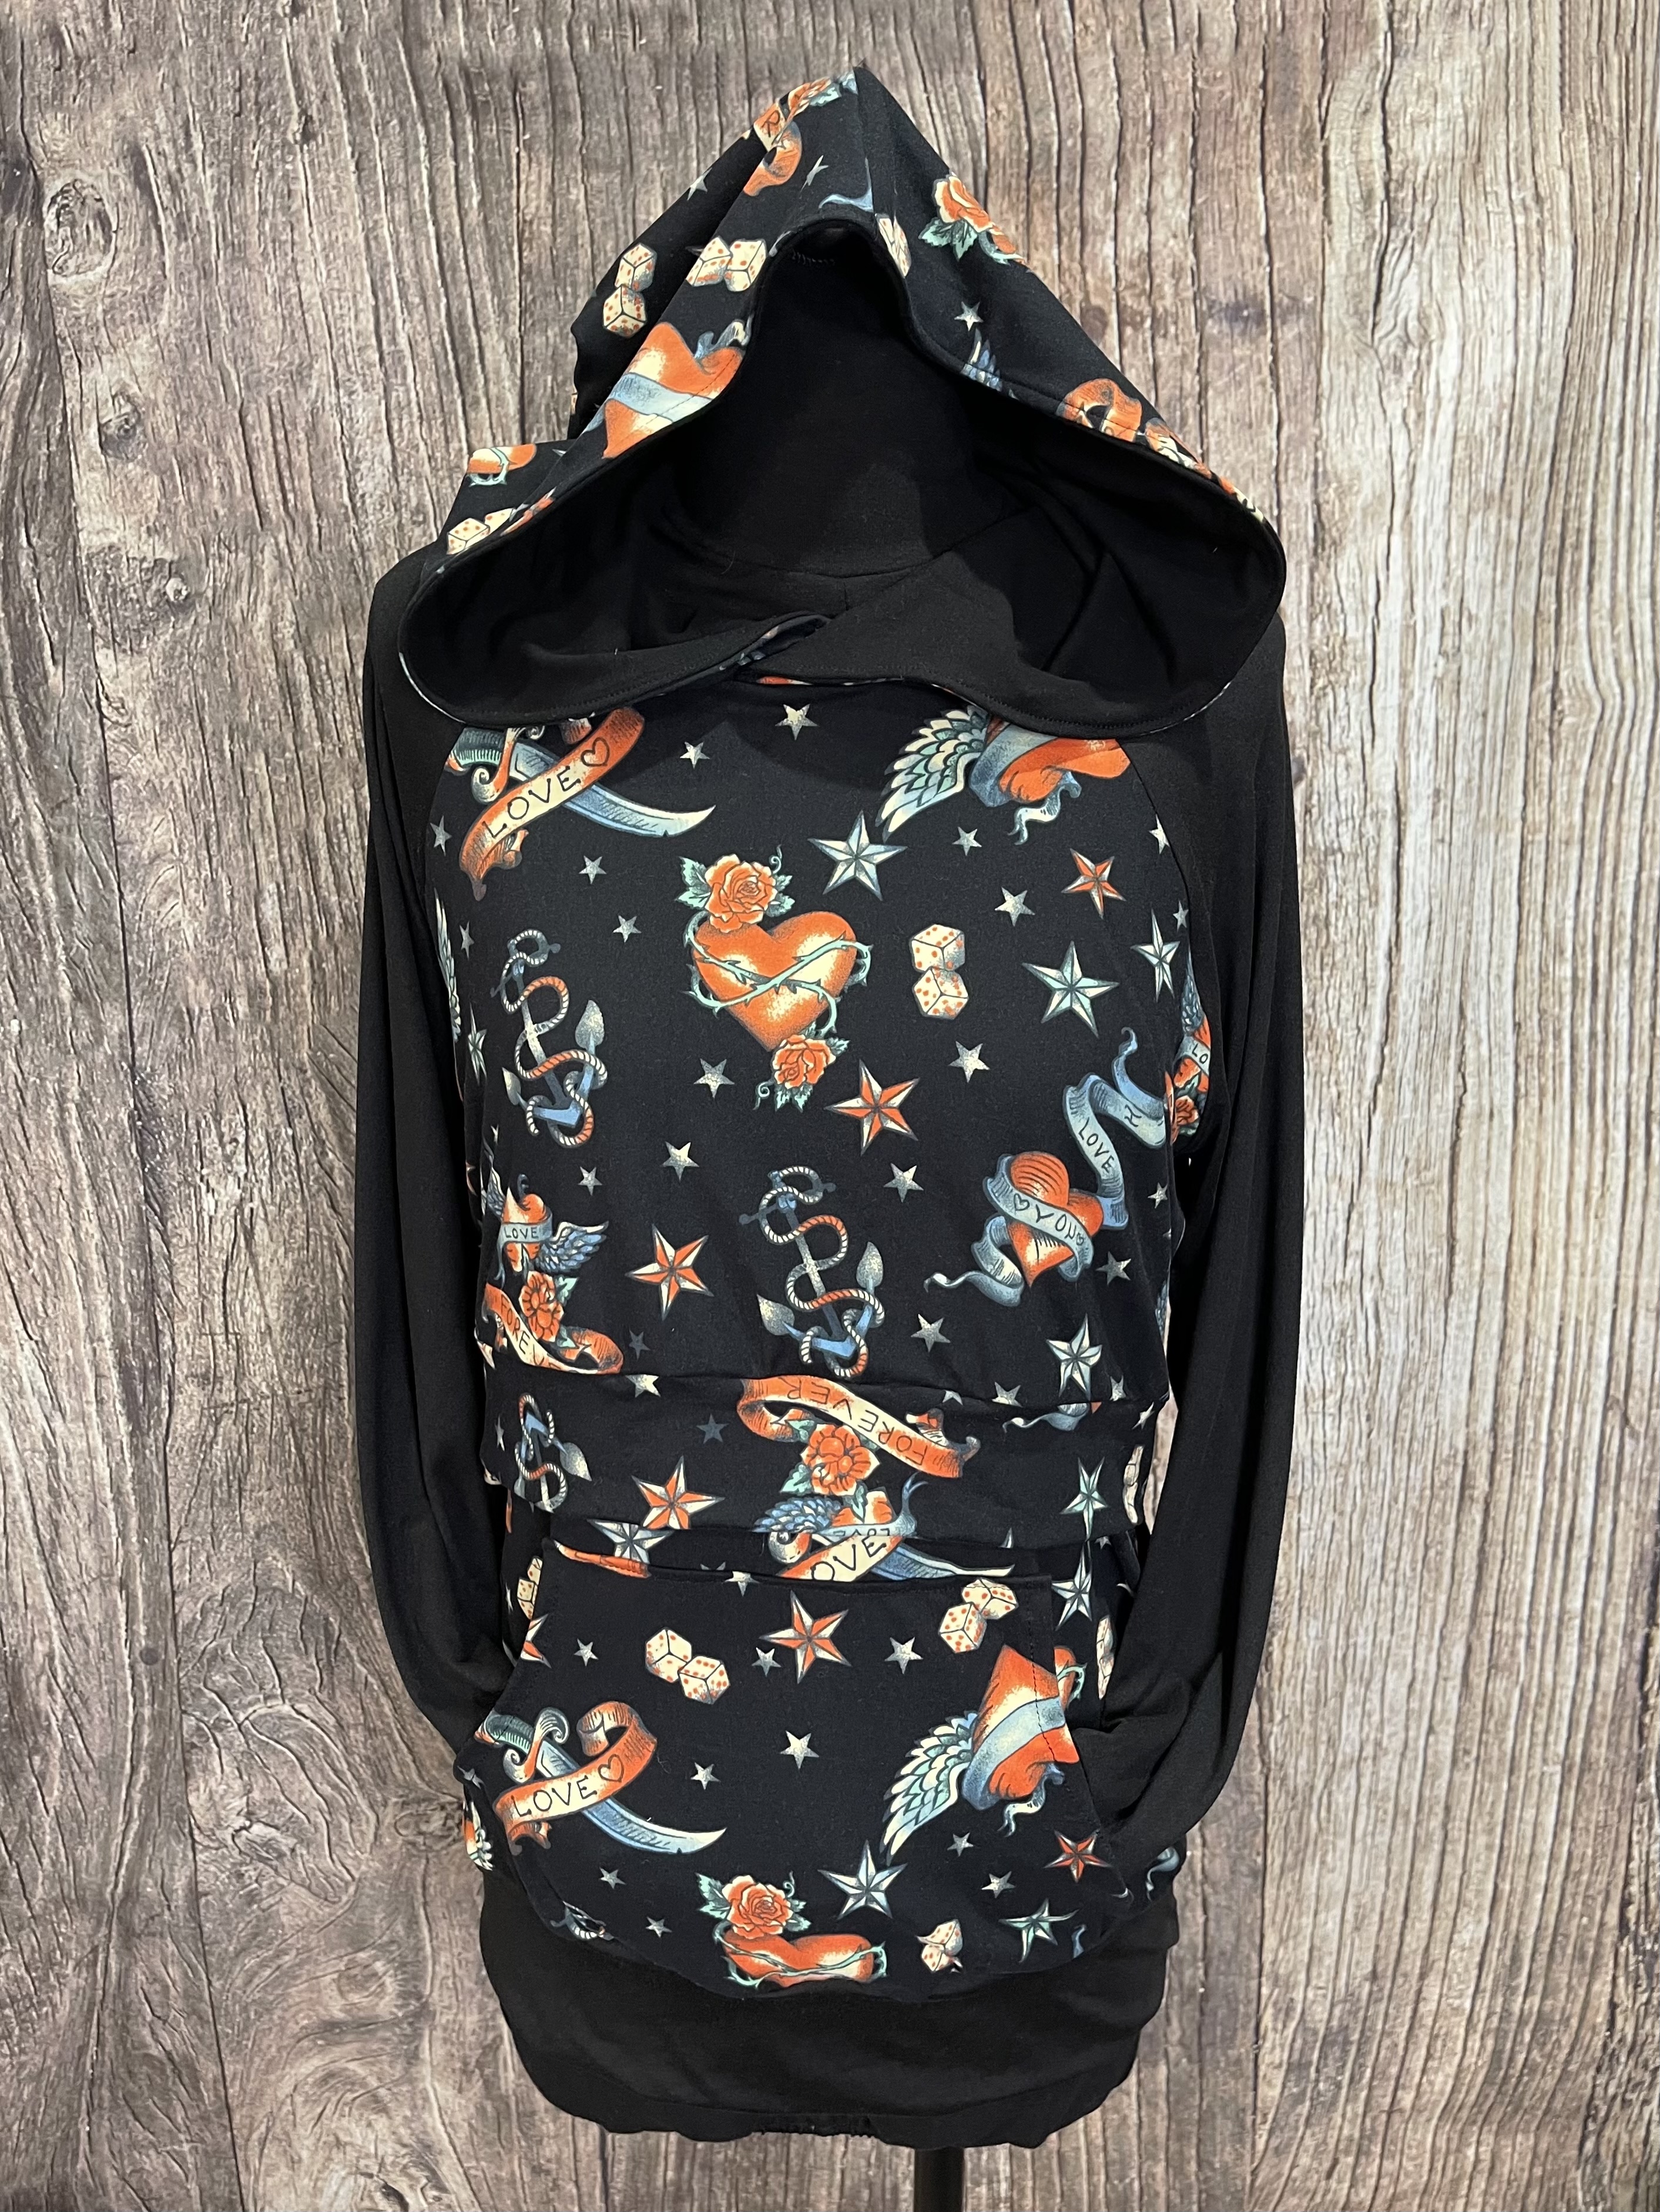
Step 4: Finish the Shirt and Add Breastfeeding Access
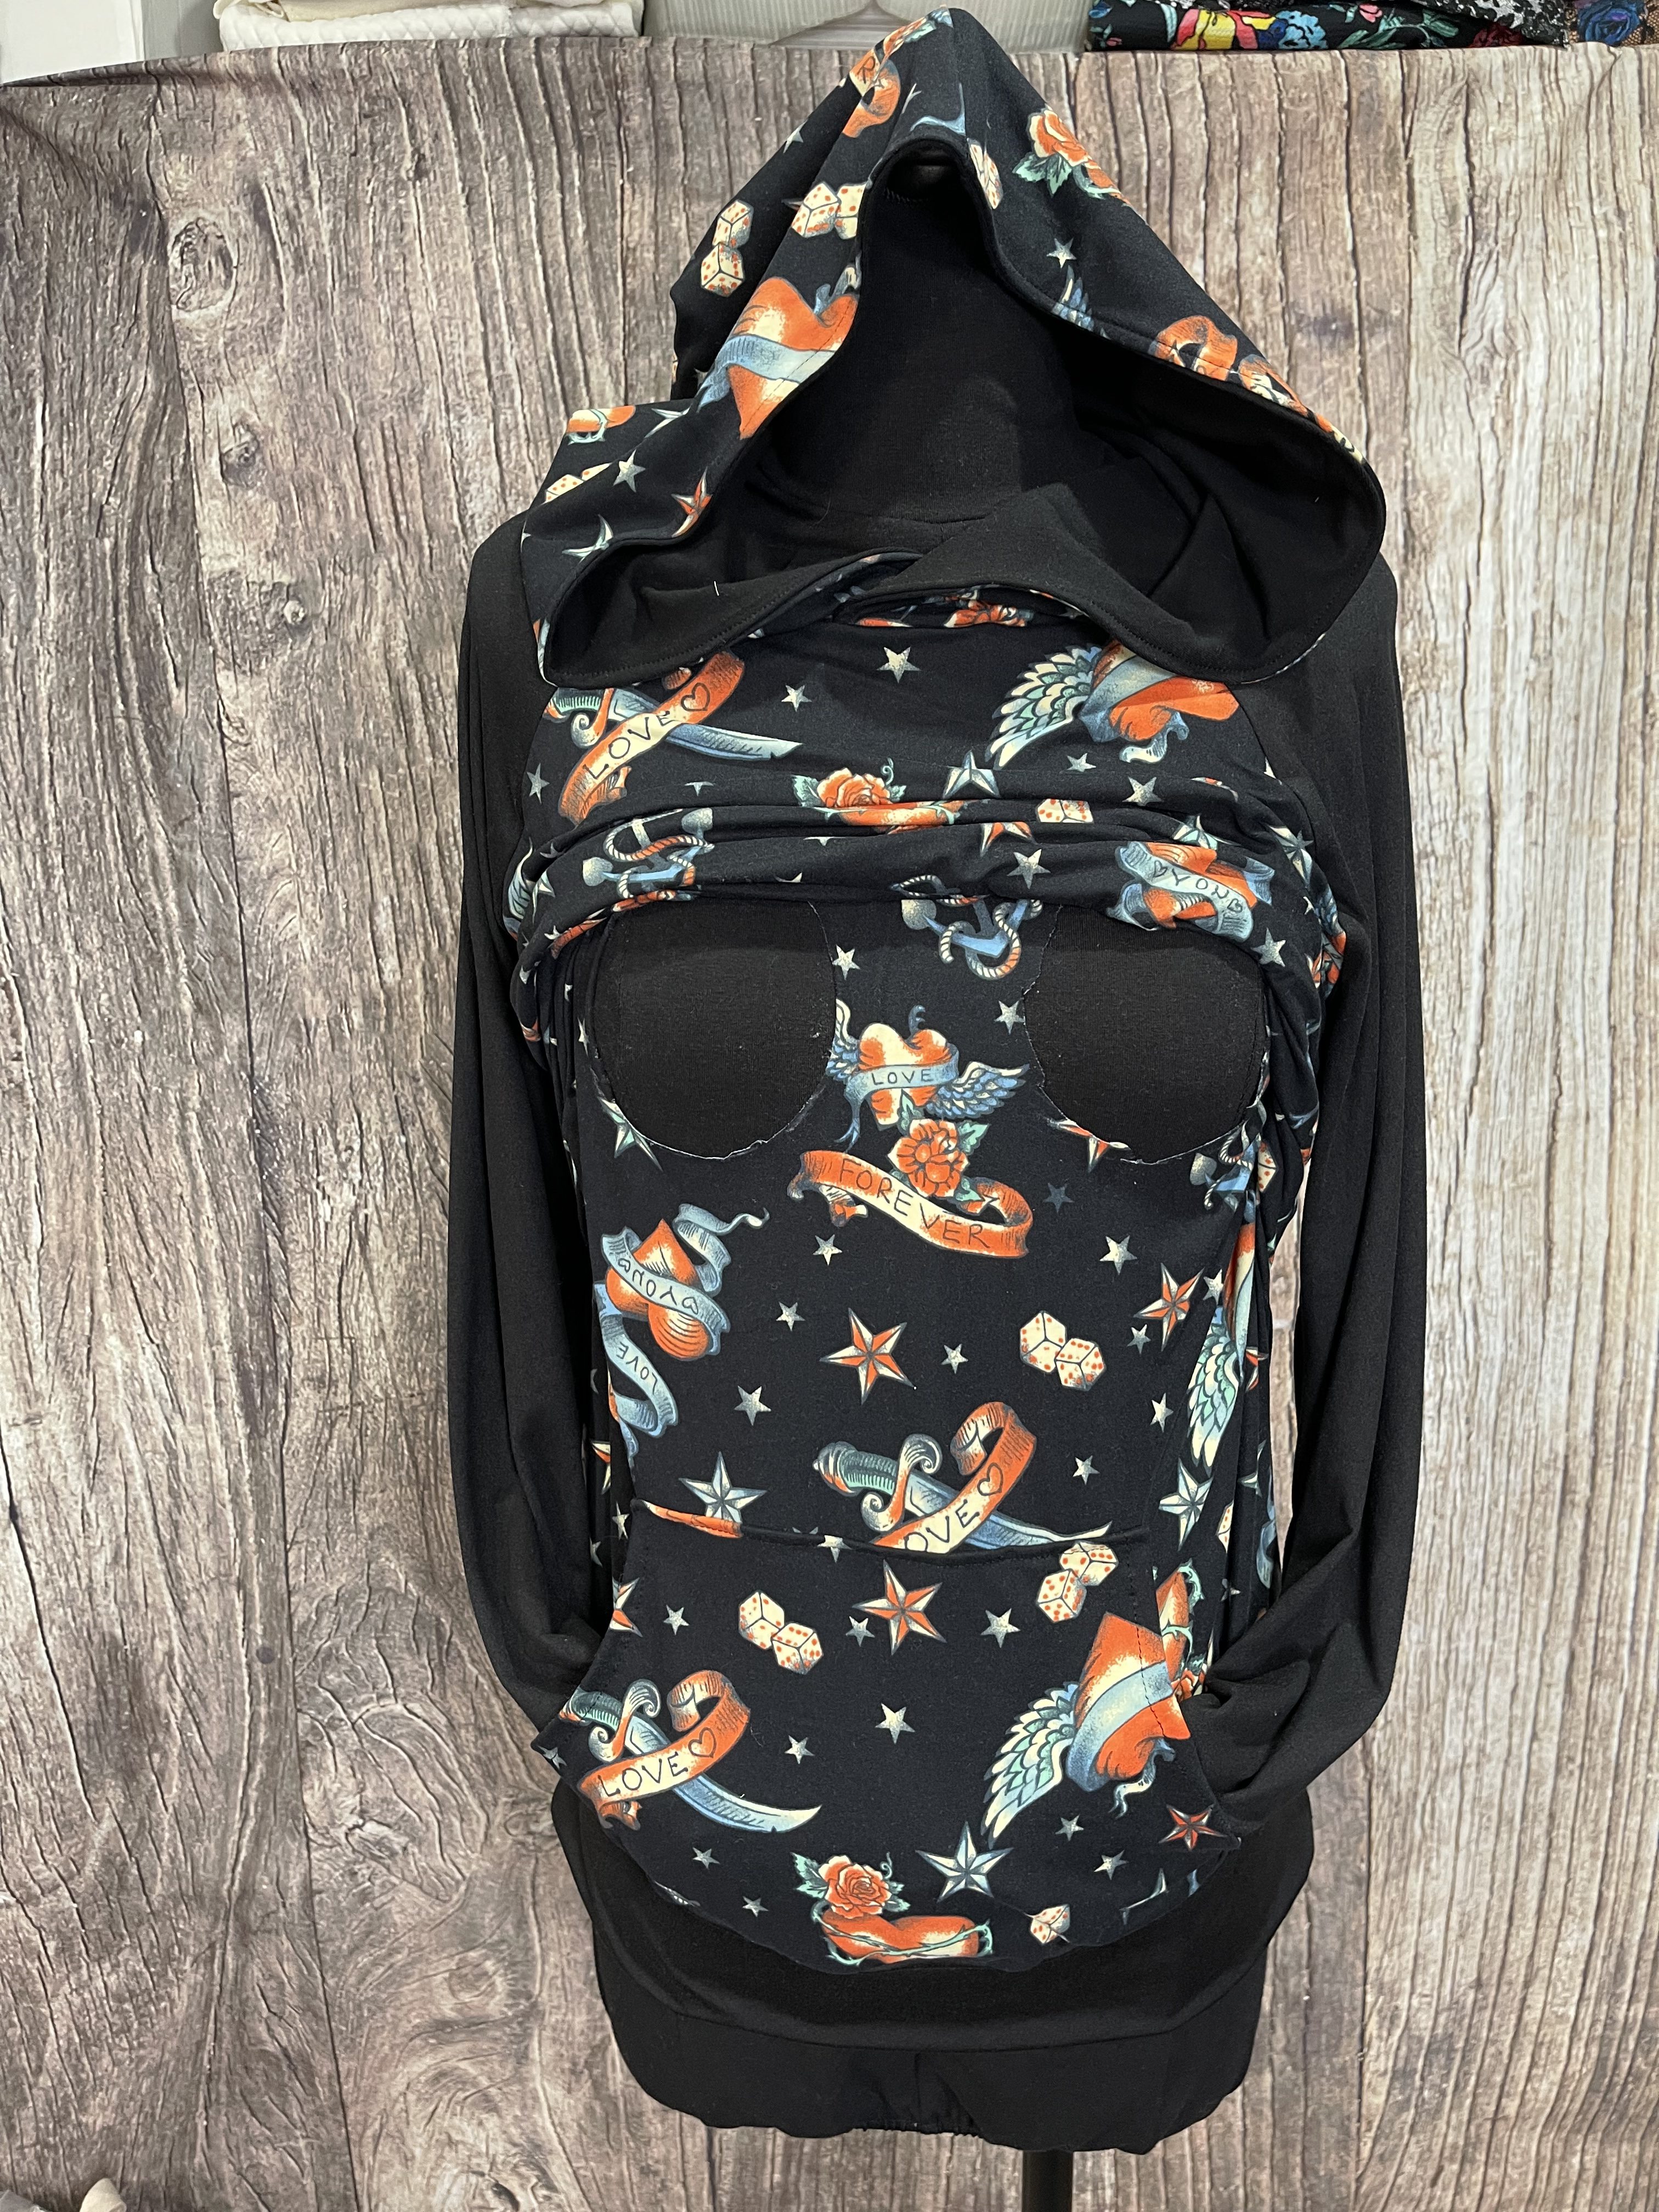
Sew the shirt up as per the pattern instructions, remembering to treat your front panel piece and front piece as one. When the shirt is completely assembled I try it on so that I can mark where I’d like the holes for the bottom layer. I like minimal fuss while nursing so I just cut circles so there is less to move out of the way. You could also cut more modest slits if you’d prefer.
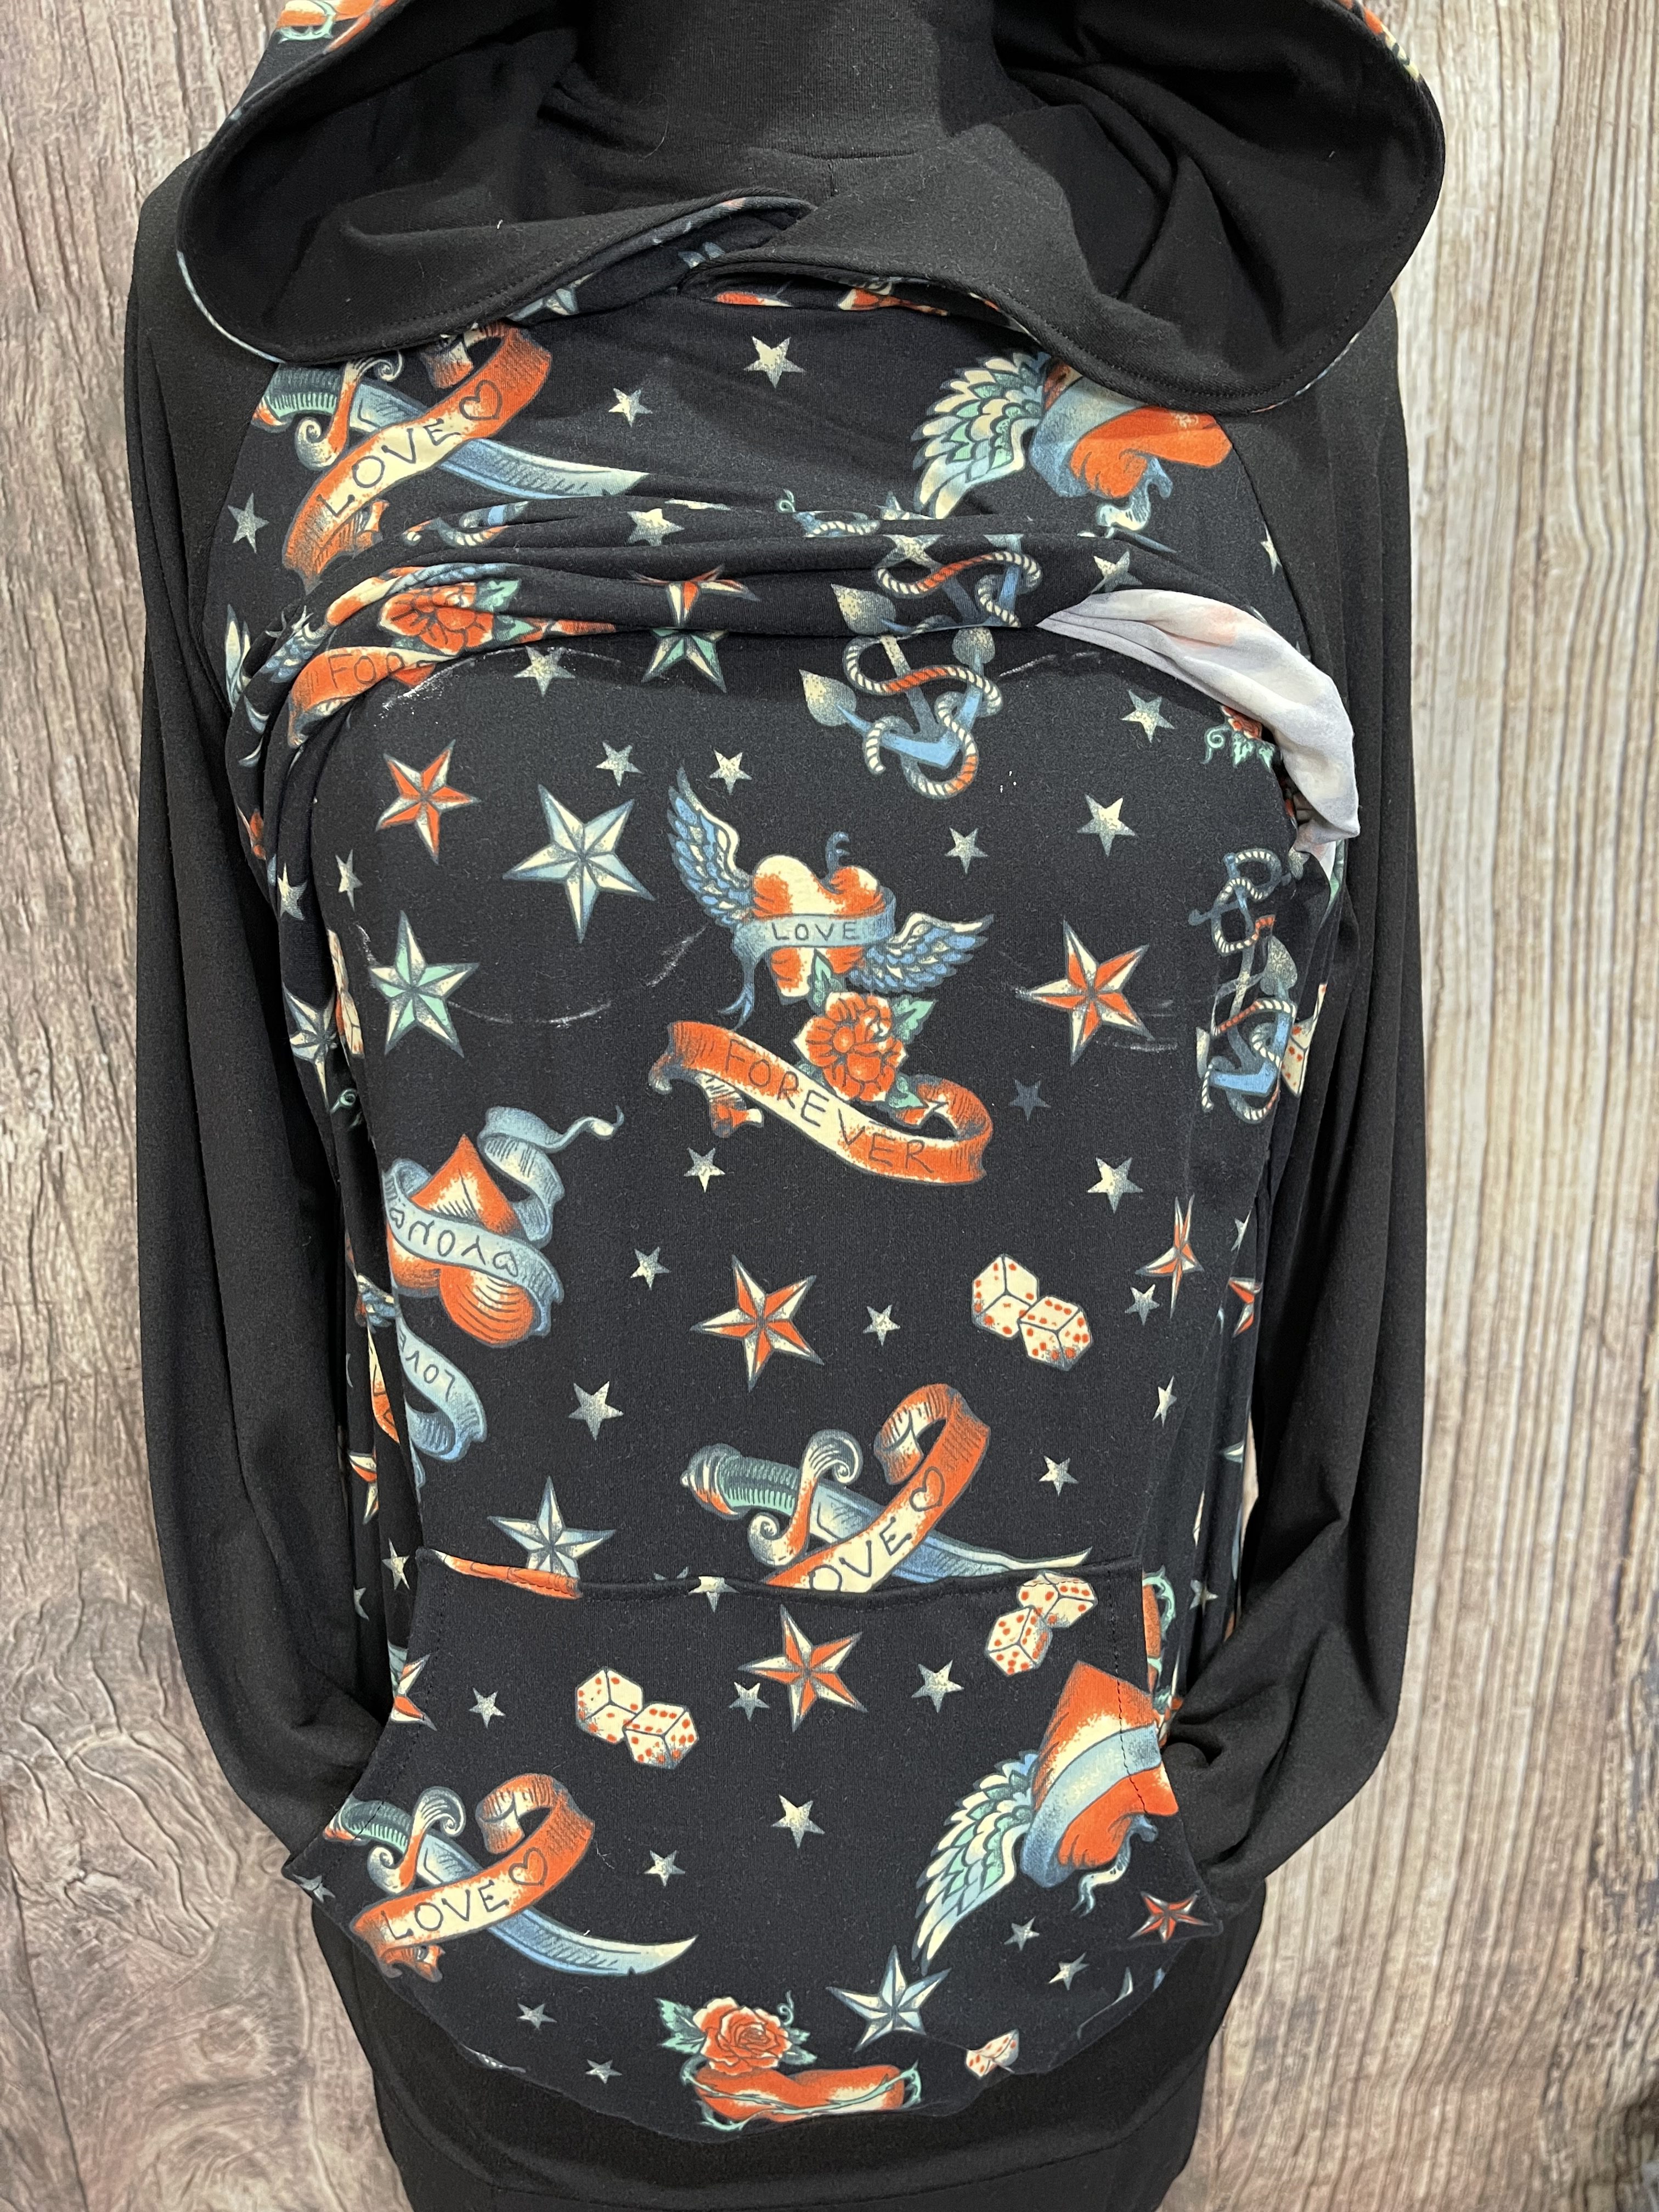
This is what the underlayer will look like once you cut your holes.
And there you have it! A quick way to make a lot of patterns nursing-friendly!
All the fabrics I used are from So Sew English Fabrics.
Used Products
What you might also like


One comment on “How to Modify a Knit Top Pattern to be Breastfeeding-friendly”
Leave a Reply
You must be logged in to post a comment.

What a wonderful idea!!!