Pattern Begin and Pattern End: A BERNINA Feature
Sewing decorative stitches is fun, and the stitches have so many options for embellishment and practical uses. They can be incorporated as decorative options on many types of projects. The stitches can be sewn just as they are, or if you want to take more creative license, changes can be made to their properties right on the machine since they are very easy to manipulate. There are hundreds of built-in decorative patterns (“Decorative Stitches”), and each one has default settings for length, width, orientation, tension and more.
When working with decorative stitches, there are creative functions on the machine that make the process easy and give more time for stitching fun. (Note: functions will vary by model. Check your machine manual to see what features and functions are on your particular machine.)
Two of my go-to functions on the BERNINA machines when stitching decorative stitches are Pattern Begin and Pattern End.
Pattern Begin
The Pattern Begin function eliminates starting a new row of stitching somewhere in the middle of the stitch pattern. When the button is selected, the pattern resets to start right at the beginning of the stitch pattern. This is a great benefit when aligning lines of stitching.
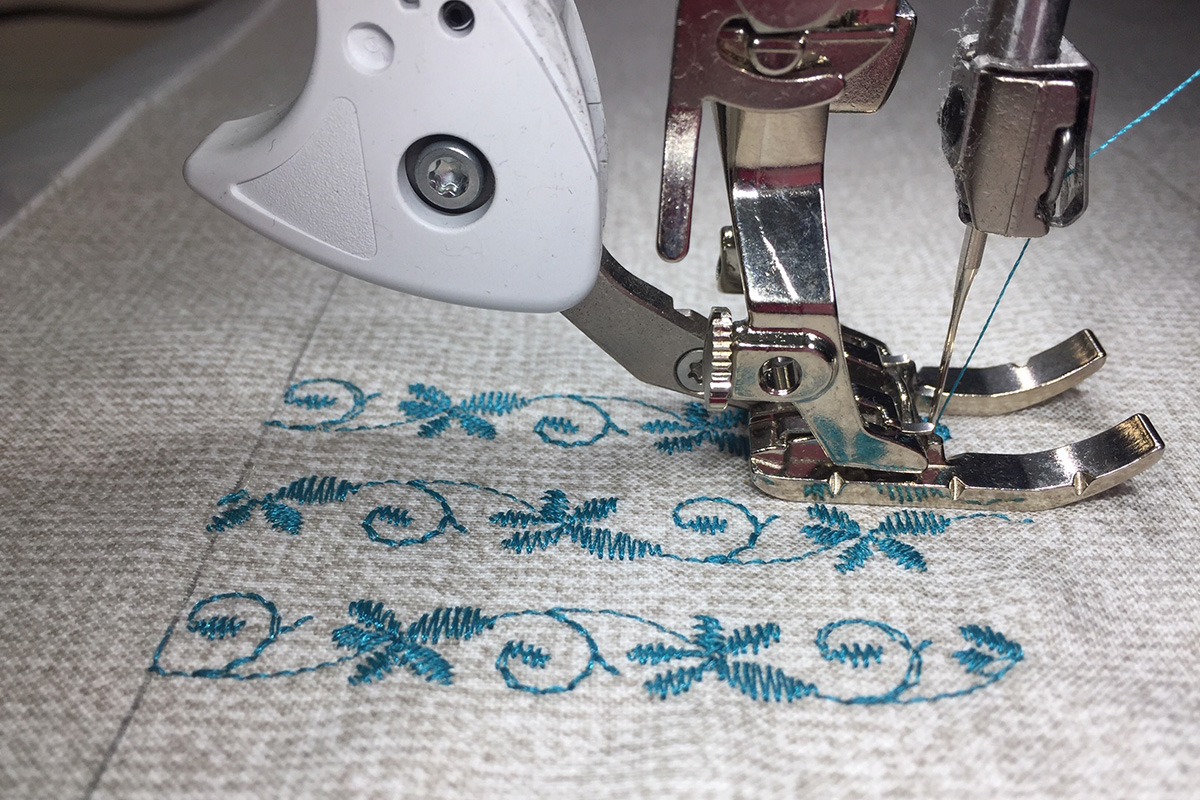
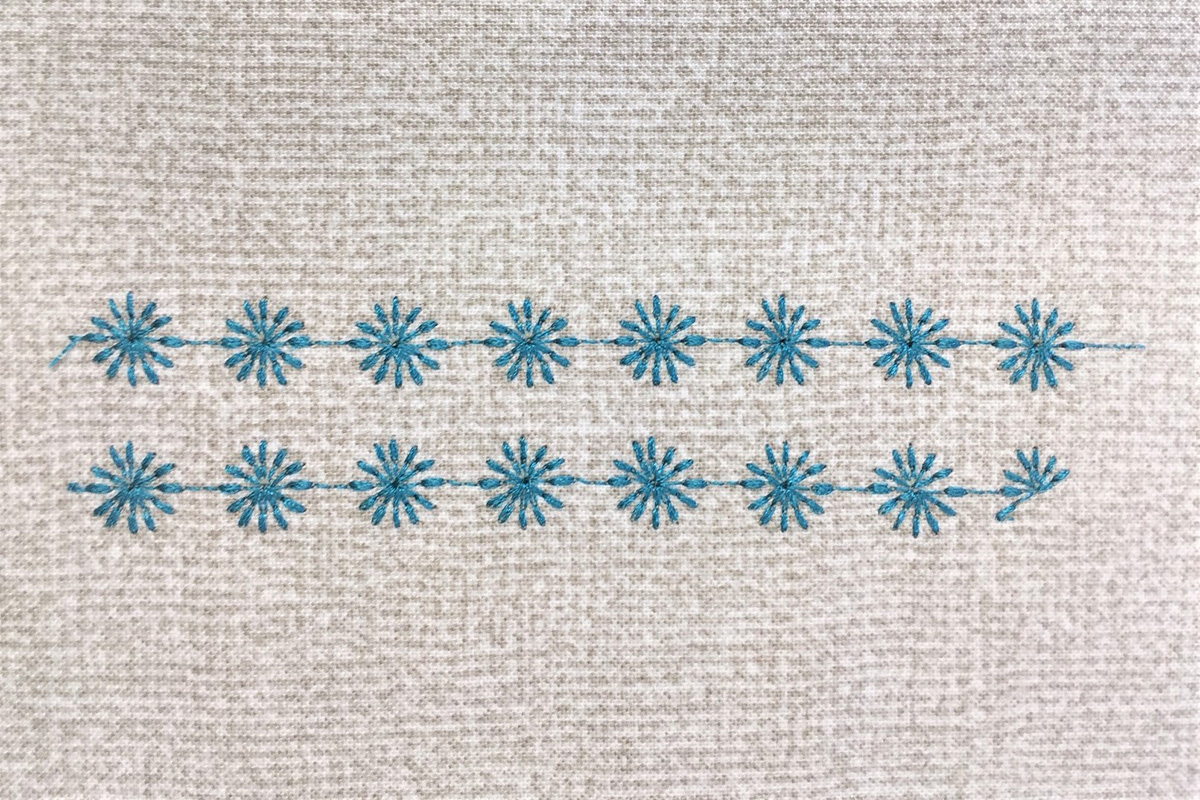
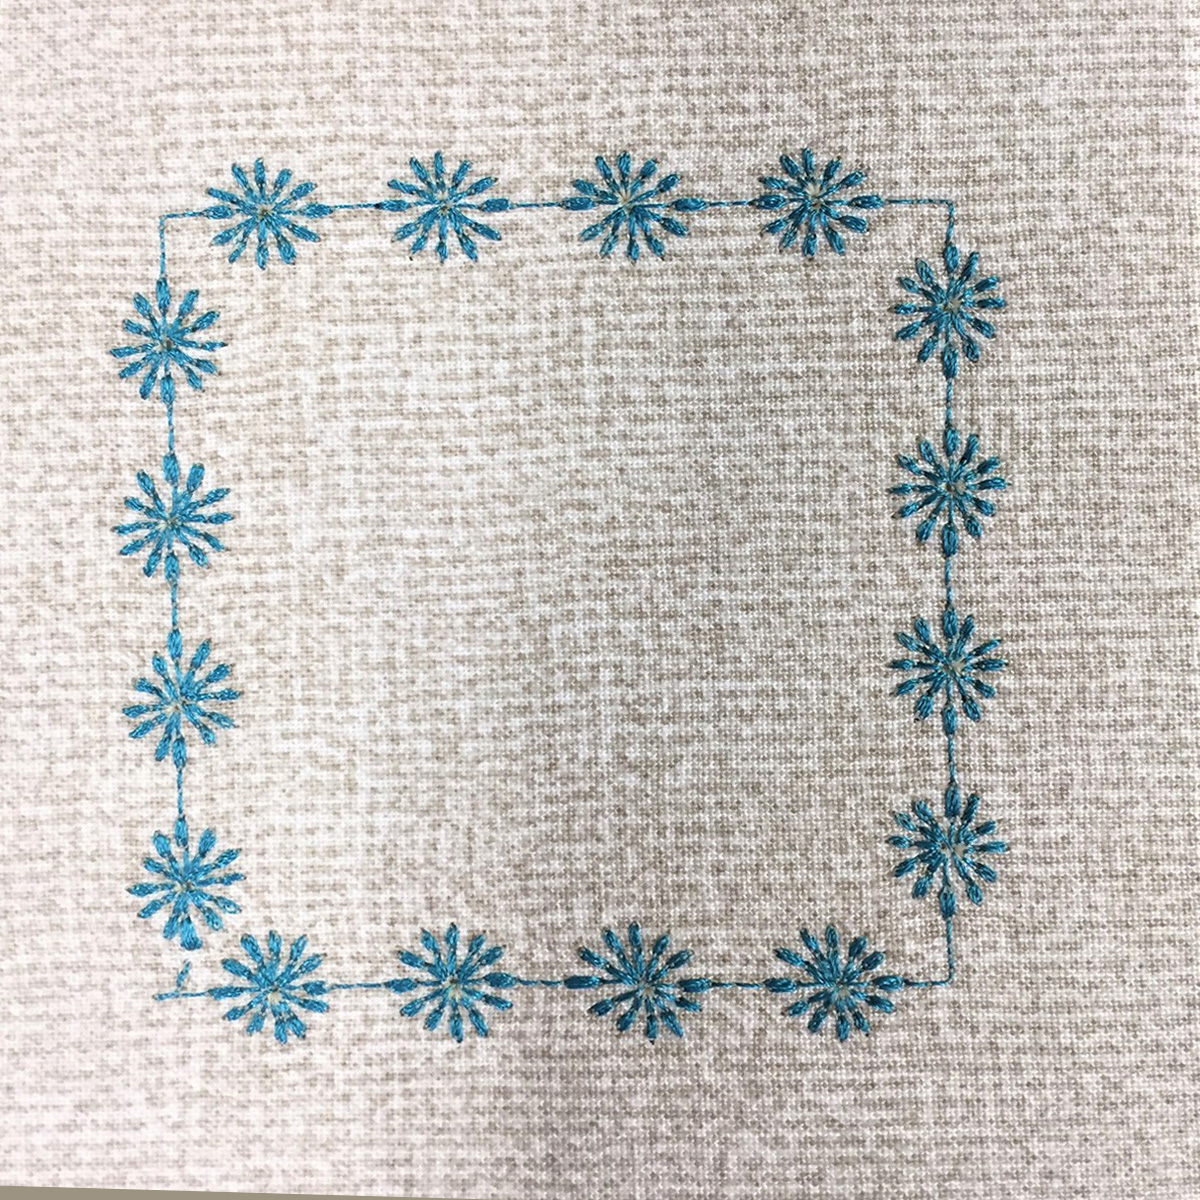
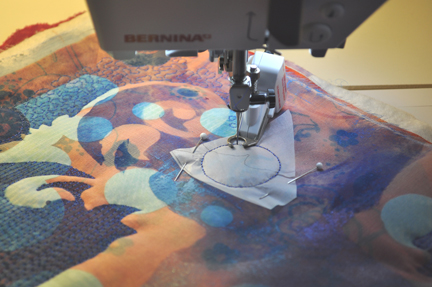
Notice in the top row that the design was was started at the beginning of the design, and then stopped at a marked point (not at the end of the design). When the machine was started on the second row, the stitching starts where the previous row left off. However, this was not at the beginning of the stitch pattern. Before the last row was stitched, Pattern Begin was selected; the pattern started stitching at the first stitch of the pattern.
On the machine screen, when you stop stitching, the Pattern Begin icon appears in the Stitch Altering Area on top of the image of the stitch indicating that the stitch pattern is not completed. On the touch screen, a white dot on the stitch pattern indicates where the needle is in the pattern. When starting a second row of the same stitch, select Pattern Begin.
![]()
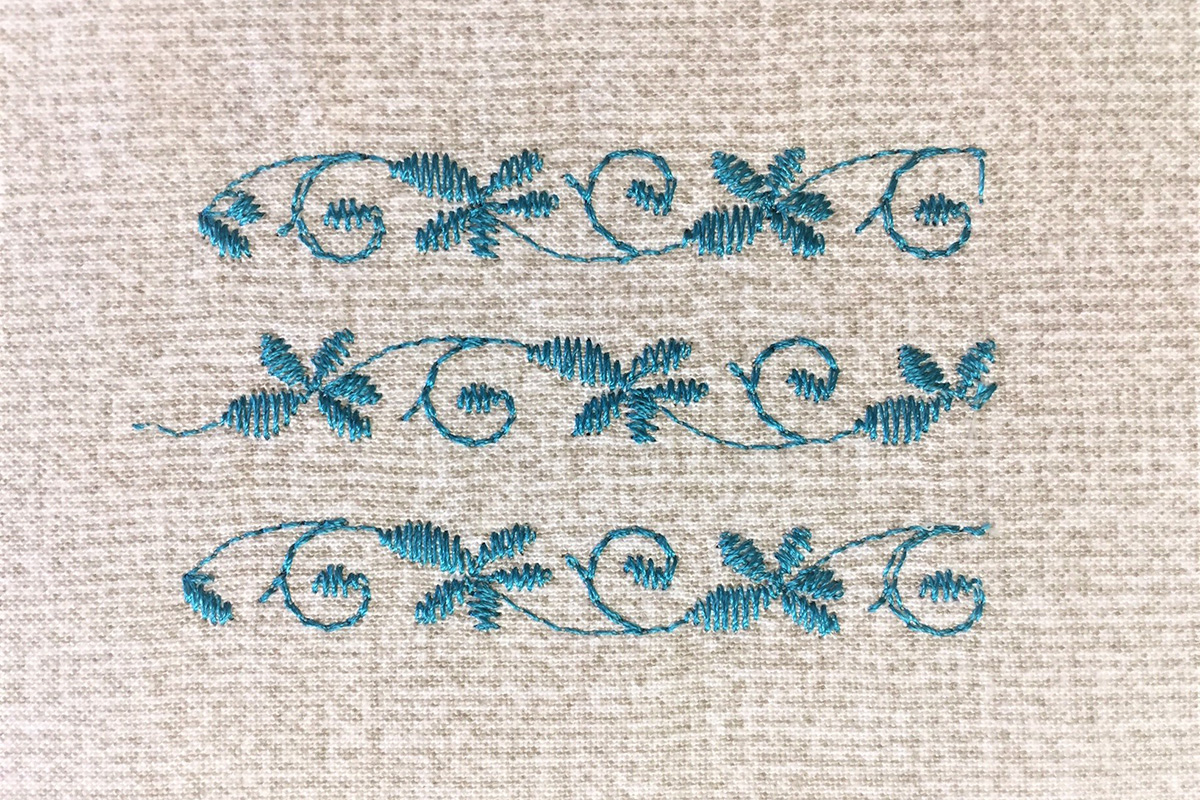
The second row will now start at the beginning of the stitch pattern.
If the machine does not have this option, you would need to reselect the stitch each time you want to go to the start of the stitch pattern.
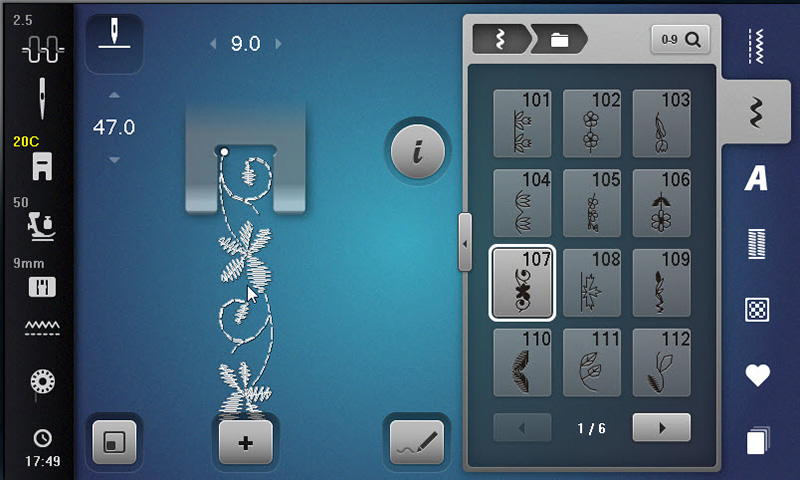
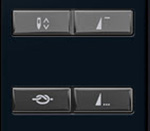
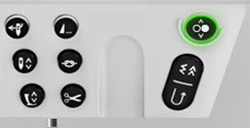
Locating the Pattern Begin function on the BERNINA machines.
![]()
On many of the more recent models of BERNINA machines, the Pattern Begin icon appears on the screen in the stitch altering area only if the pattern is not at the beginning of the pattern.
To get back to the beginning of the pattern, touch the on-screen Pattern Begin icon. If it is not visible, then the needle is at the beginning of the stitch pattern.
On the B 790 PLUS Pattern Begin is located to the left of the screen; it is the top button on the right.
NOTE: If you have trouble locating the Pattern Begin function on your machine, or you are not sure if you have this function, refer to your machine user manual.
Pattern End
The Pattern End function takes the guesswork out of when to stop stitching for the stitch to be complete. No more half-finished stitches.
When the Pattern End button is selected, the machine will stop after the pattern is complete. Pattern End allows you to precisely place the stitch pattern by pattern, and each pattern will be complete.
This is especially helpful when turning corners or pivoting the stitching. Touch the Pattern End button on the machine frame. The machine will finish the pattern and stop.
Pattern End makes turning corners and creating a decorative shape as easy as the push of a button.
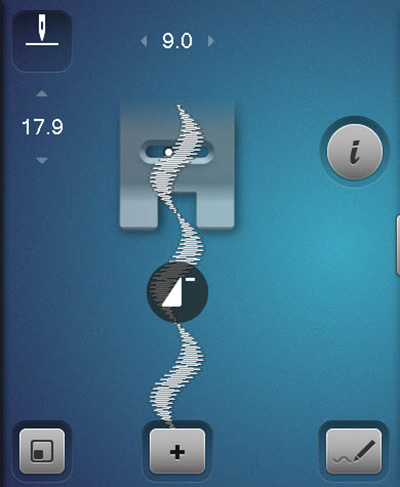
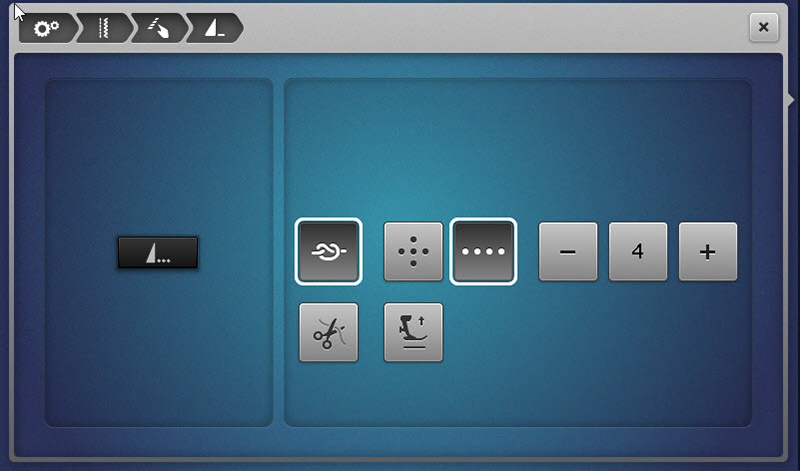
Locating the Pattern End function on the BERNINA machines.
![]()
On many of the more recent models of BERNINA machines, the Pattern End is a button located on the front of the machine on the left of the machine screen.
![]()
On the B 880 machine the location of the Pattern End button is just above the needle on the front of the machine.
NOTE: If you have trouble locating the Pattern End function on your machine or are not sure if you have this function, refer to your machine user manual.
Pattern End can be programmed on some BERNINA machines. This is done in the Setup Program under Sewing Settings; select the Program buttons and select the Pattern End button to program the function.
Program the type of securing stitch and number of tie off stitches sewn, or choose none if desired. Select the upper and lower thread to automatically cut at the end of stitching and also have the presser foot automatically raise at the end of stitching. You can also choose to activate or deactivate the securing function and cutter. The choice is yours!
Using decorative machine stitches is a great way to embellish sewing projects. There are so many applications for decorative stitches: bindings and labels, quilt blocks, napkins, tableclothes, placemats, pillowcases abd sheets, quilting stitches, topstitching, a decorative edge along a zipper, crazy quilt blocks, hem edges, embellish garments, bobbin work, stitching around applique shapes…so many ideas!

If you’ve never used the decorative stitches on your sewing machine or have trouble using them, maybe these tips which will help get you started.
Decorative Stitch Tips
- Use a stabilizer underneath your fabric to provide support for the stitches. If you’re sewing on a single piece of fabric, use a lightweight tear away or iron-on stabilizer. If you’re sewing on a quilted area, the batting or fleece usually provides enough support for most stitches.
- Sew at an even speed—but not too fast. If your machine has a Start/Stop button on the sew head, use this and the slide speed control to regulate the speed for even stitching.
- Use a fine thread (60 weight) or an embroidery bobbin thread in the bobbin to prevent thread nesting in the bobbin area. If the stitches will be visible on both sides, I suggest using a matching embroidery thread with the same weight in the needle and the bobbin.
- Select the right presser foot for the job. Presser feet are designed for specific stitches and purposes. Check to make sure the foot you are using has an indentation on the sole to allow the thick, bulky stitches to pass under the foot so the fabric feeds evenly under the presser foot. An open-toe or clear presser foot will also give visibility of the needle as you are stitching.
- The Open Embroidery Foot #20/20C/20D or Clear Embroidery Foot # 39/39C are perfect choices when sewing decorative stitches. For multi-directional stitches use the Sideways Motion Foot #40C.
- Mark guidelines to keep rows straight and identify start and stop points for stitching. Using the edge of the presser foot as a guide helps to maintain spacing.
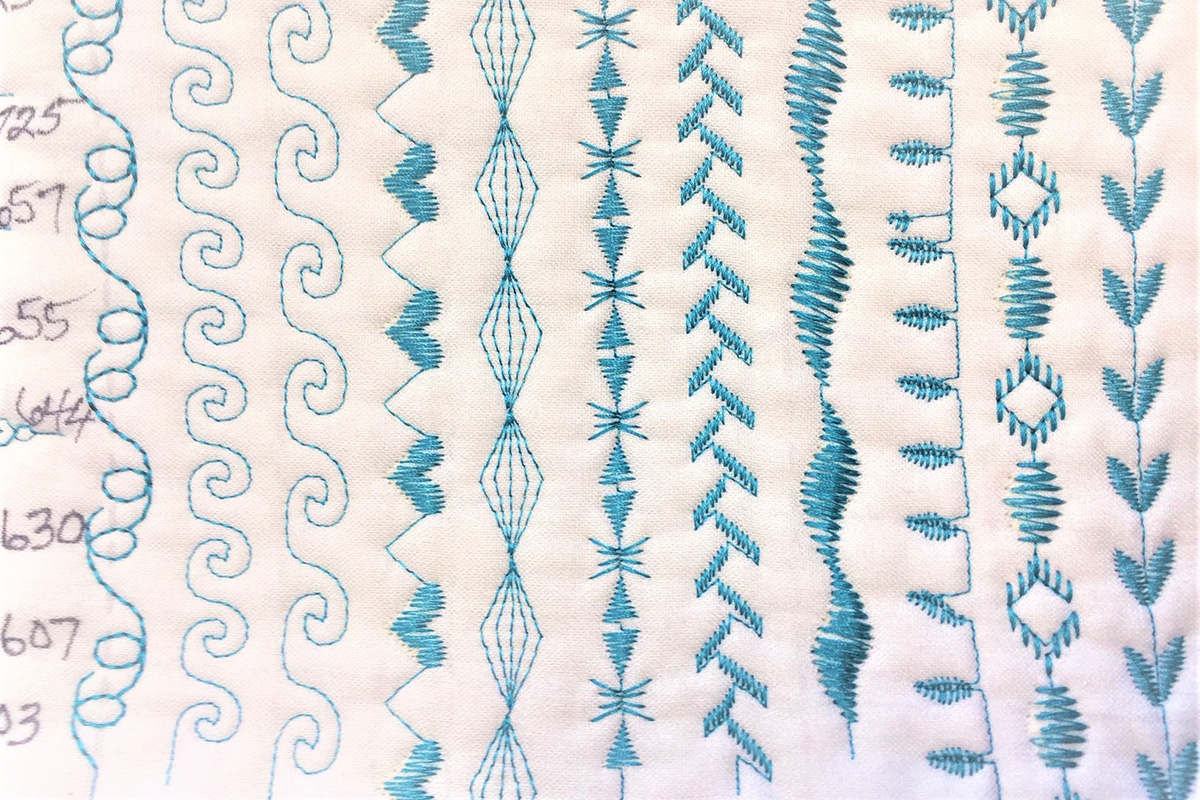
- Stitch a sample of the selected decorative stitches on your chosen fabric to get a real look at what they look like and evaluate the stitch. On your sample, it’s a good idea to use a pen to mark down stitch numbers; it is easy to get confused because there are so many stitches to choose from!


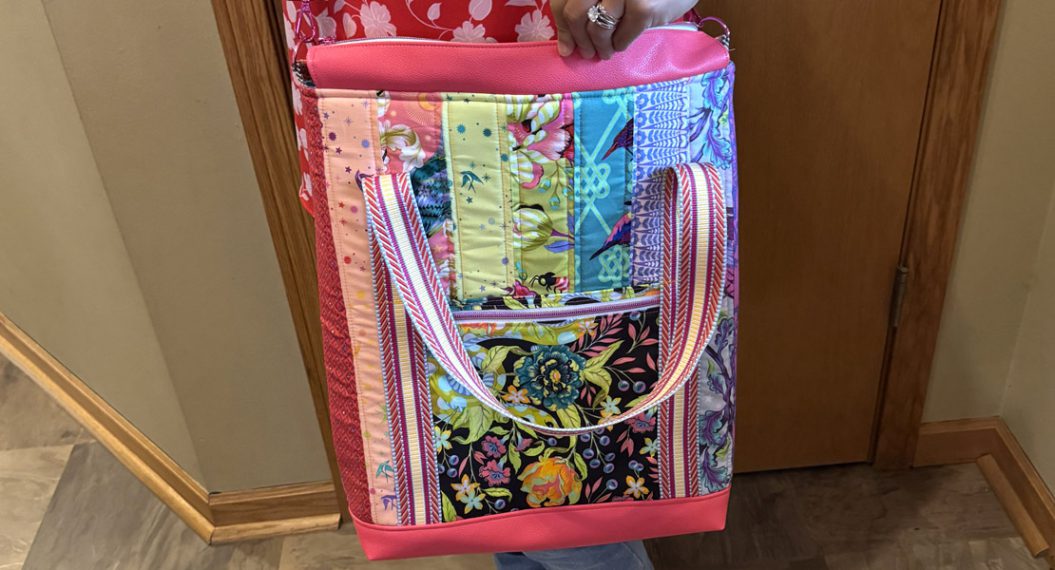
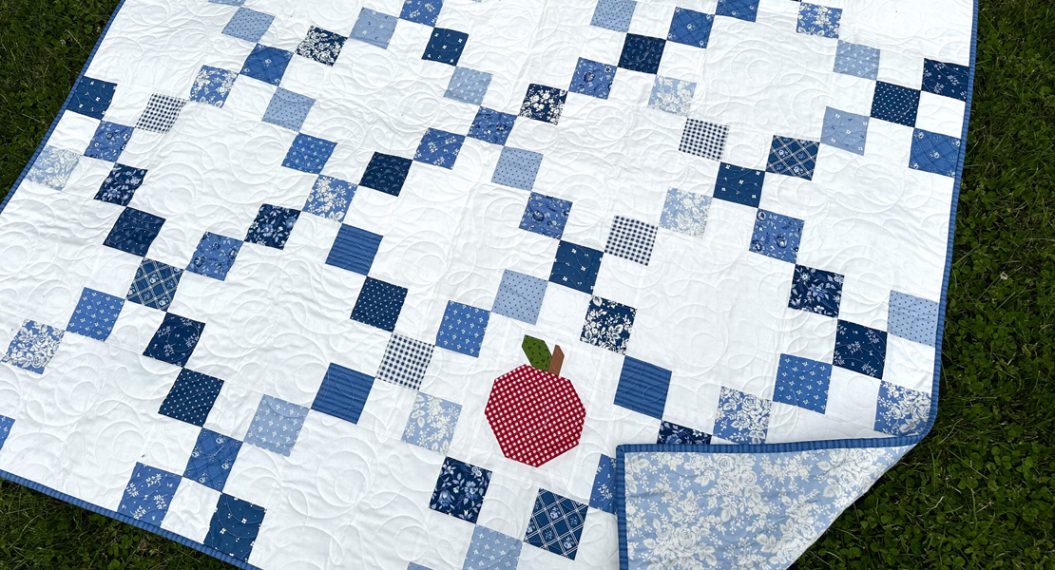
What you might also like


3 comments on “Pattern Begin and Pattern End: A BERNINA Feature”
-
-
This is brilliant information, I have had my 590E for more than a year and didn’t know that I had pattern begin on the screen, as I don’t normally look at the screen while sewing.
-
This is so informative. I spent hours try to figure out how to add lettering to a label. Thanks so much. It’s a game changer.
Leave a Reply
You must be logged in to post a comment.

This is absolutely lifechanging! Thank you. I spent all evening making single motifs as fill in an embroidery project.