DIY Knotted Top


I designed this knotted top to be a versatile piece I could transition from beach/pool cover-up to day and night. It’s an easy-to-wear silhouette that can be worn for many occasions. Follow the simple tutorial below to make your own.
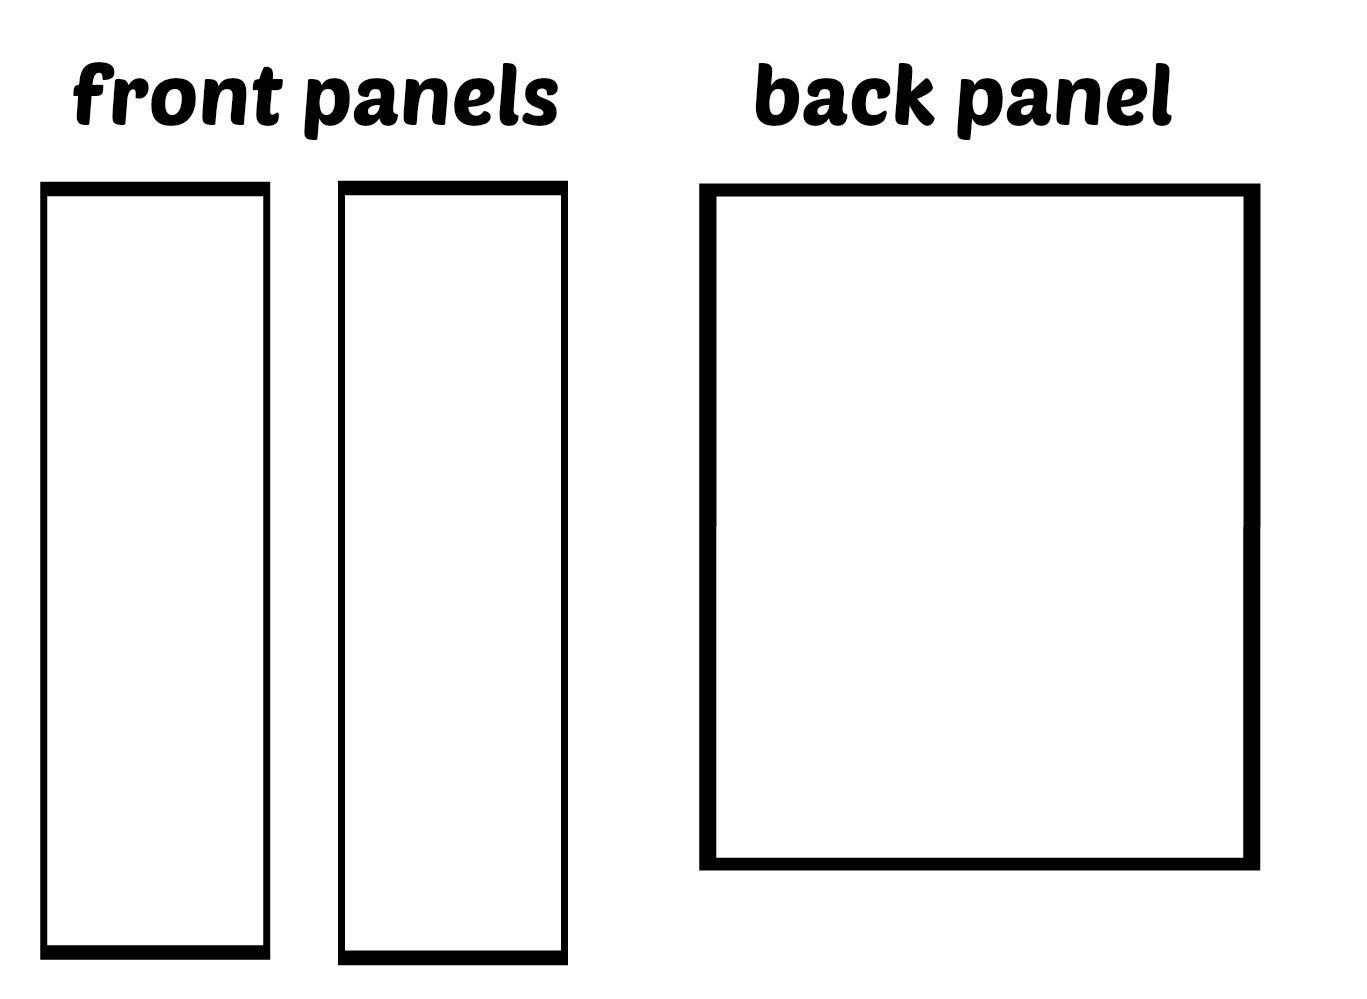
The pattern is just three panels of fabric. Two for the front and one for the back. Mine measure 12.5″ x 45″ for the front panels, and 30″ x 38″ for the back. You will want to base this off of your measurements (check to see how long you want the top to be—that will be how long to make your fabric pieces). You will want the front pieces to be slightly longer than the back.
Fabric: Something that is light, stretchy, and has drape. Perhaps a jersey knit.
Tip: Use the BERNINA Walking foot #50, especially for hemming the knit.
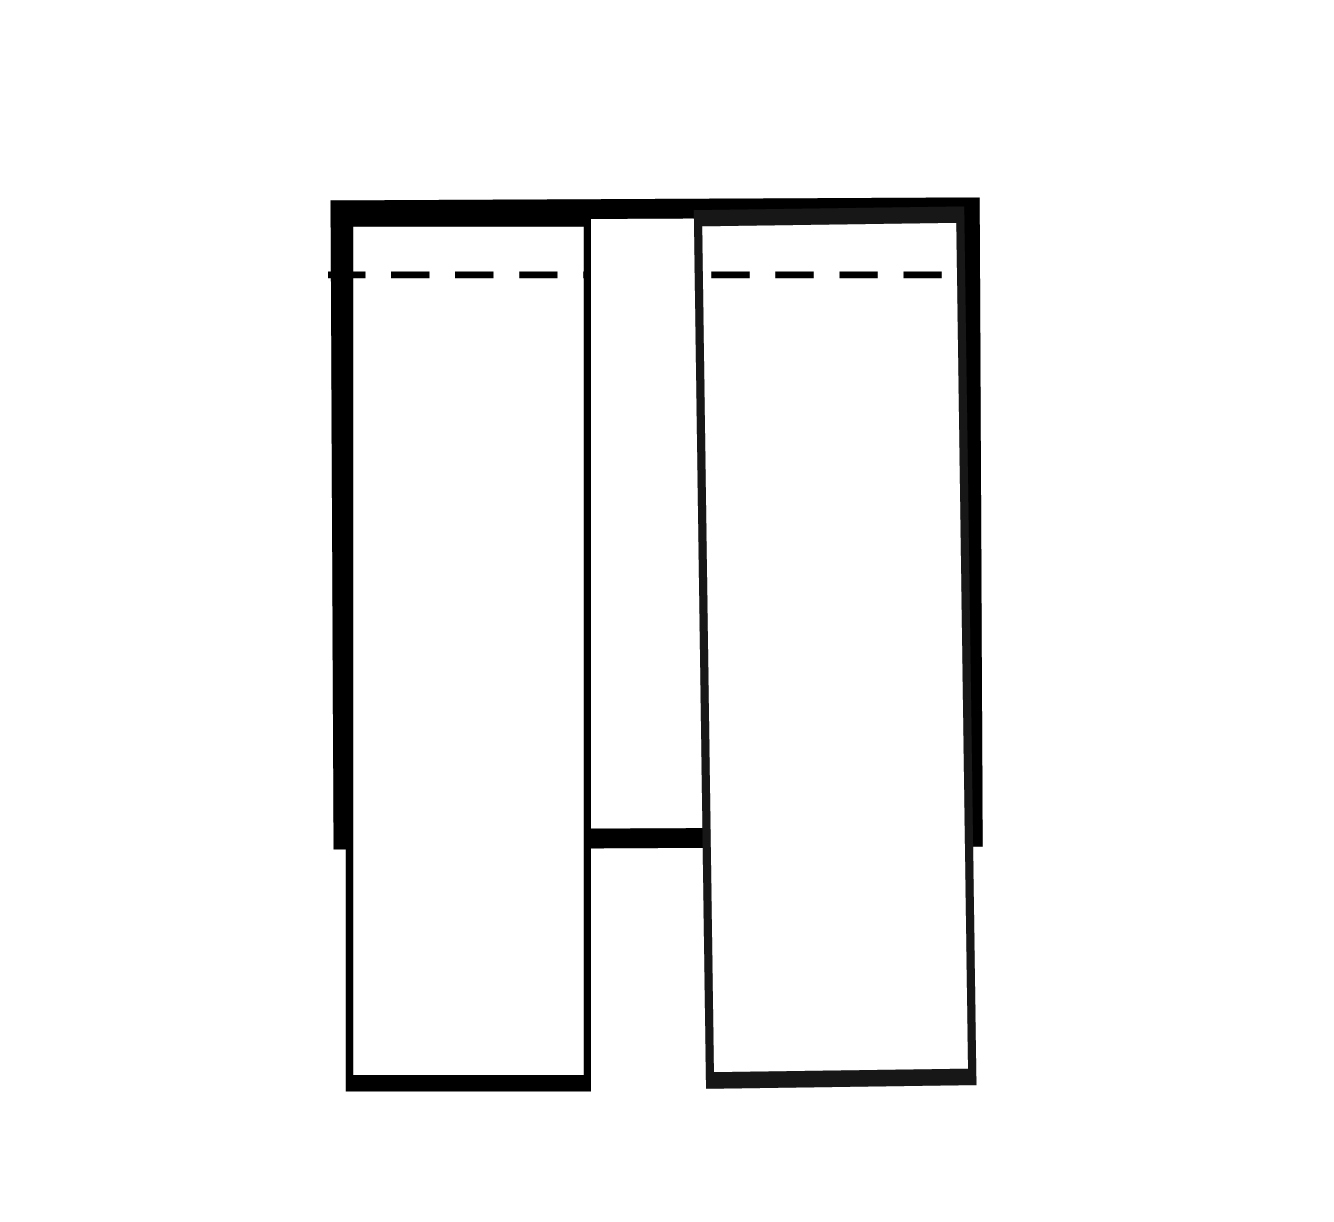
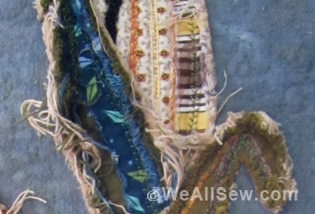
With right sides together sew the front panels to the back panel as shown in the illustration.
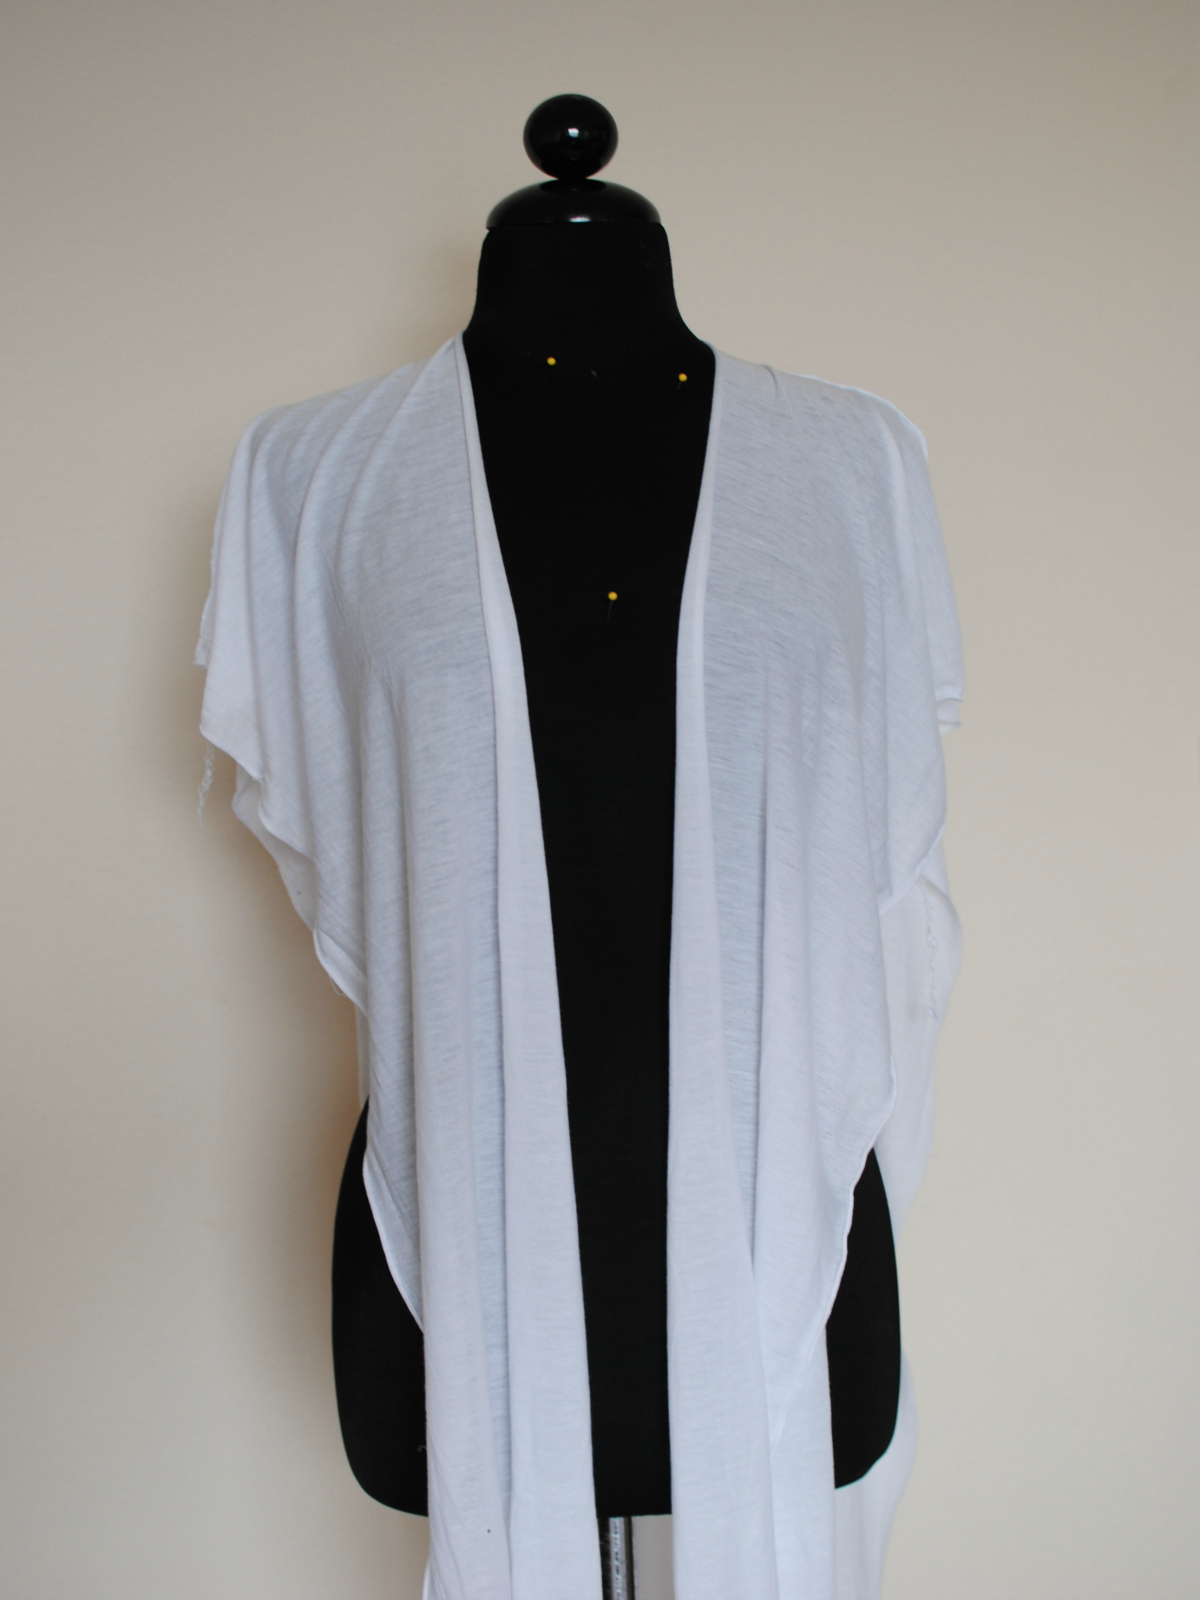
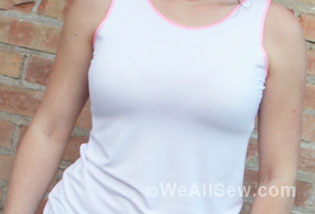
Tip: If you have a dress form use it to simplify the steps. If you did the first part correct, it should look like this. Now let’s knot it…
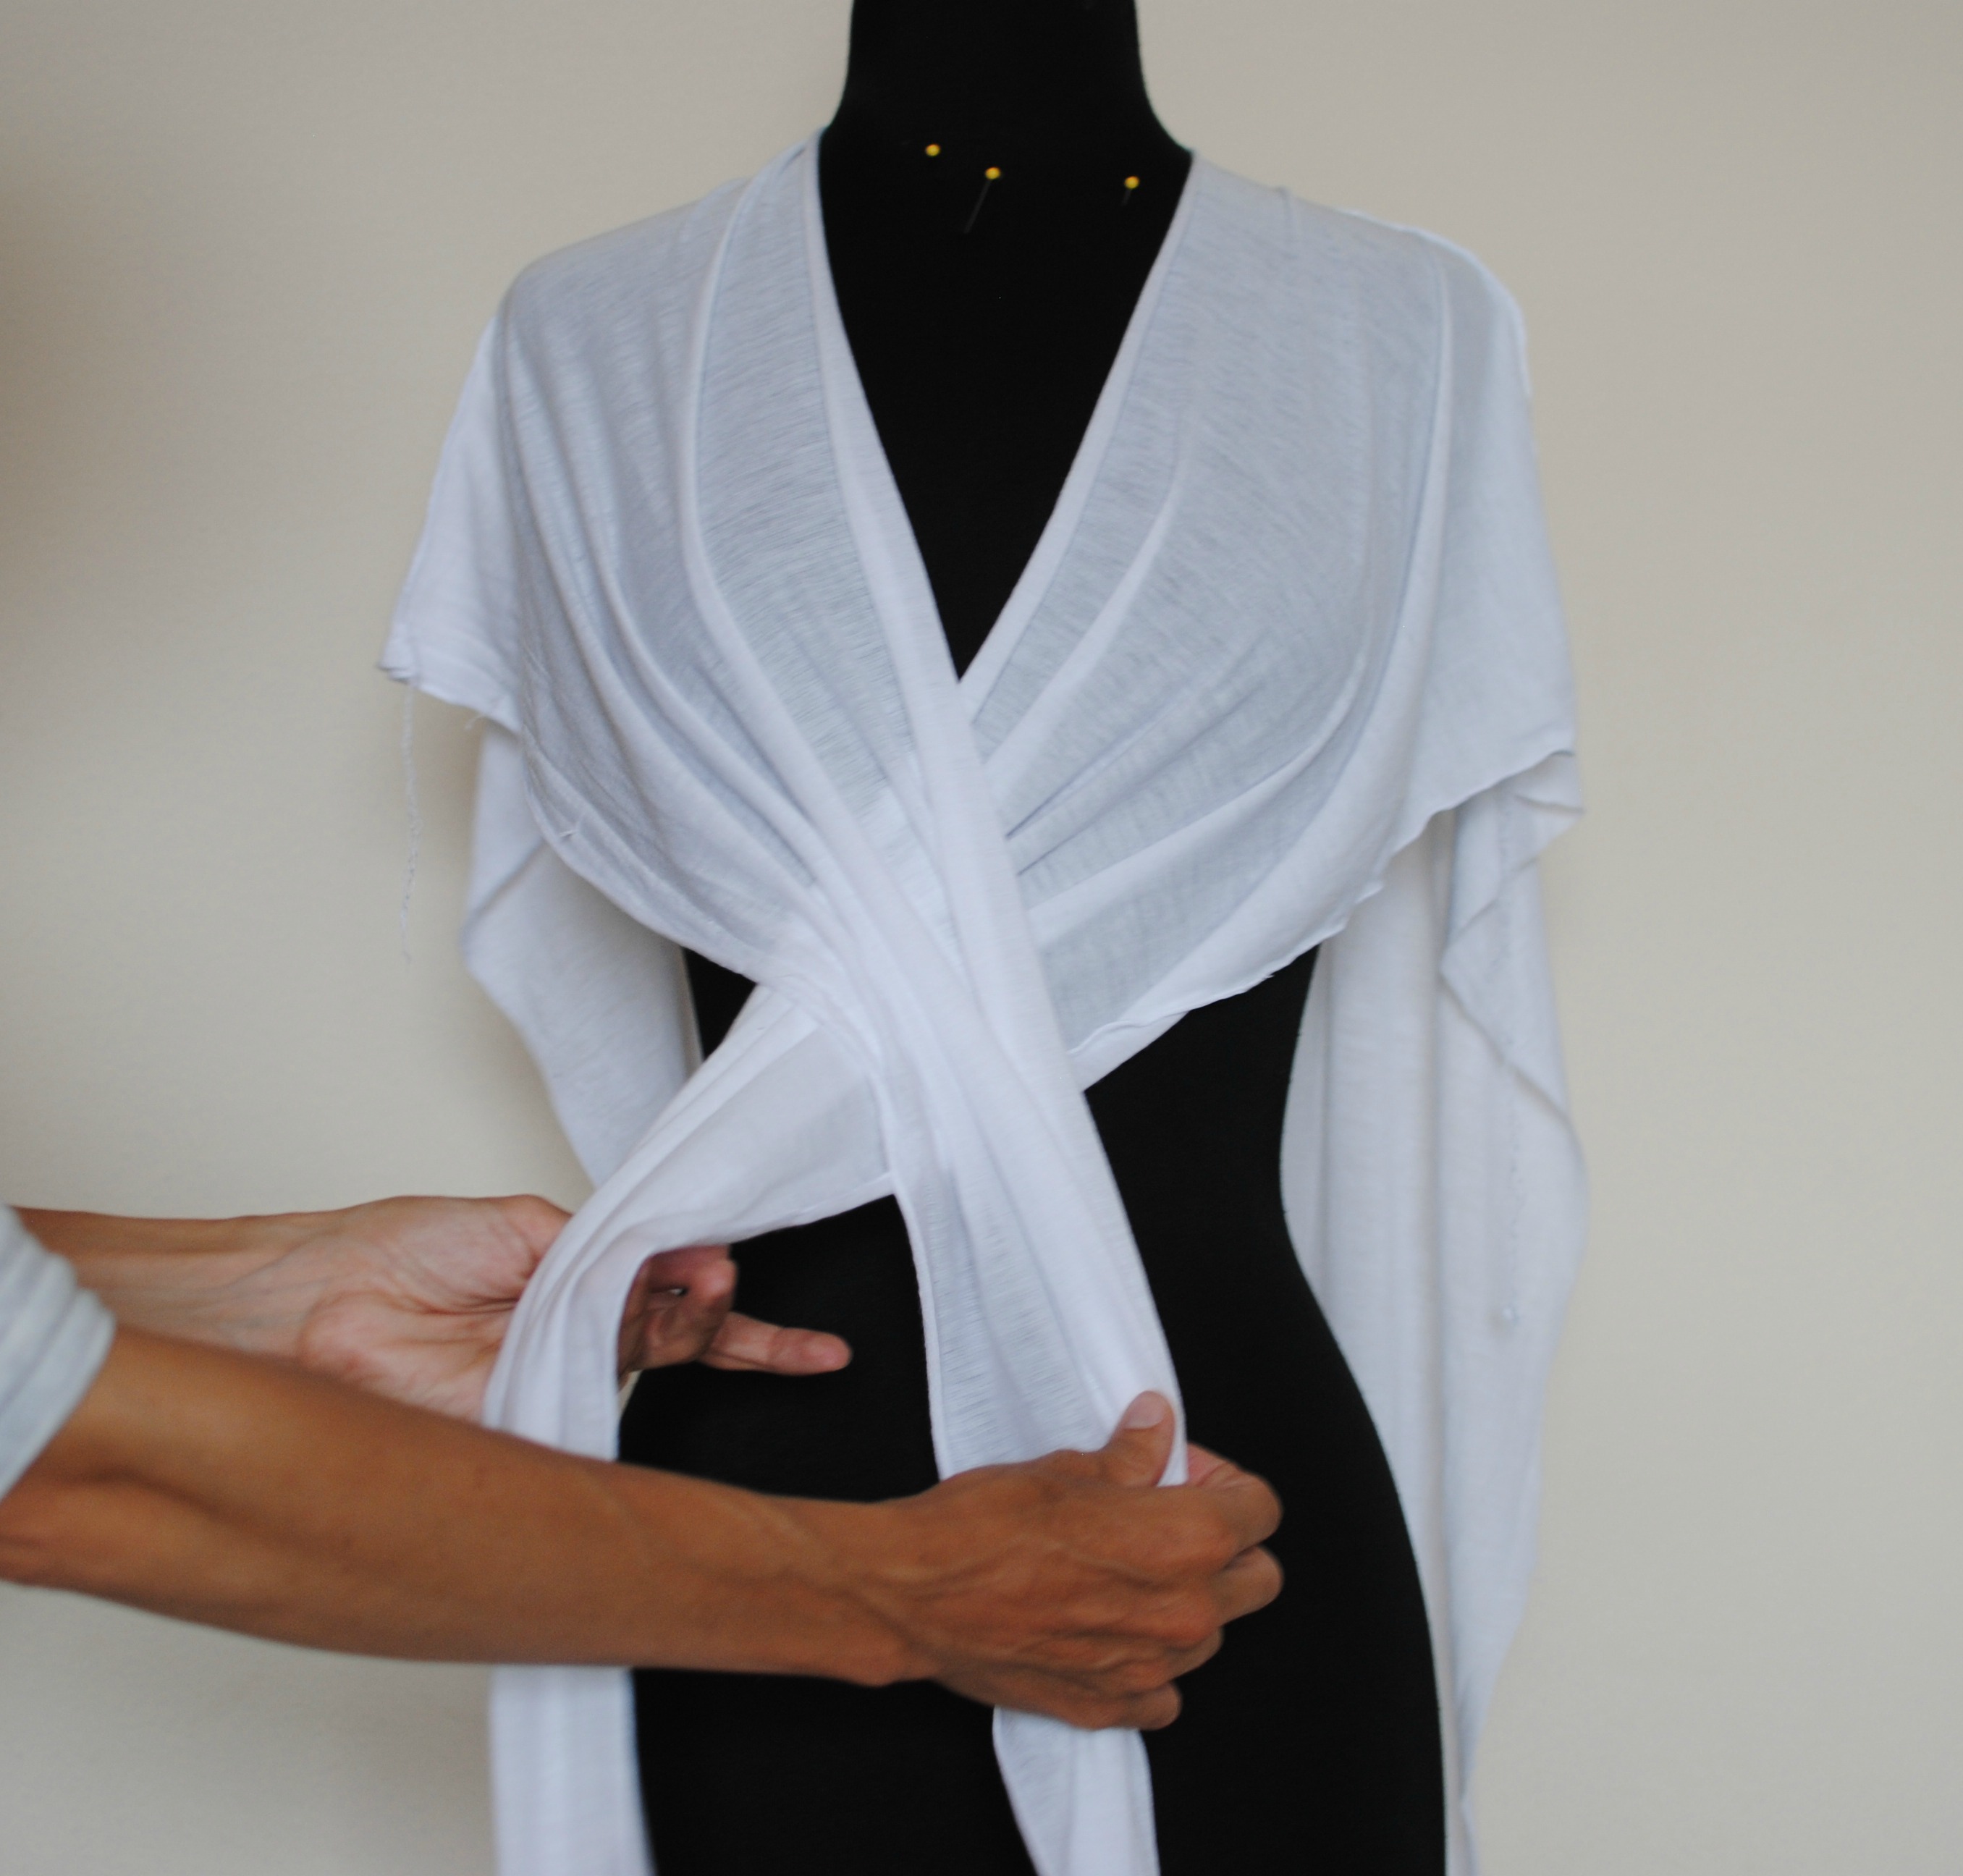
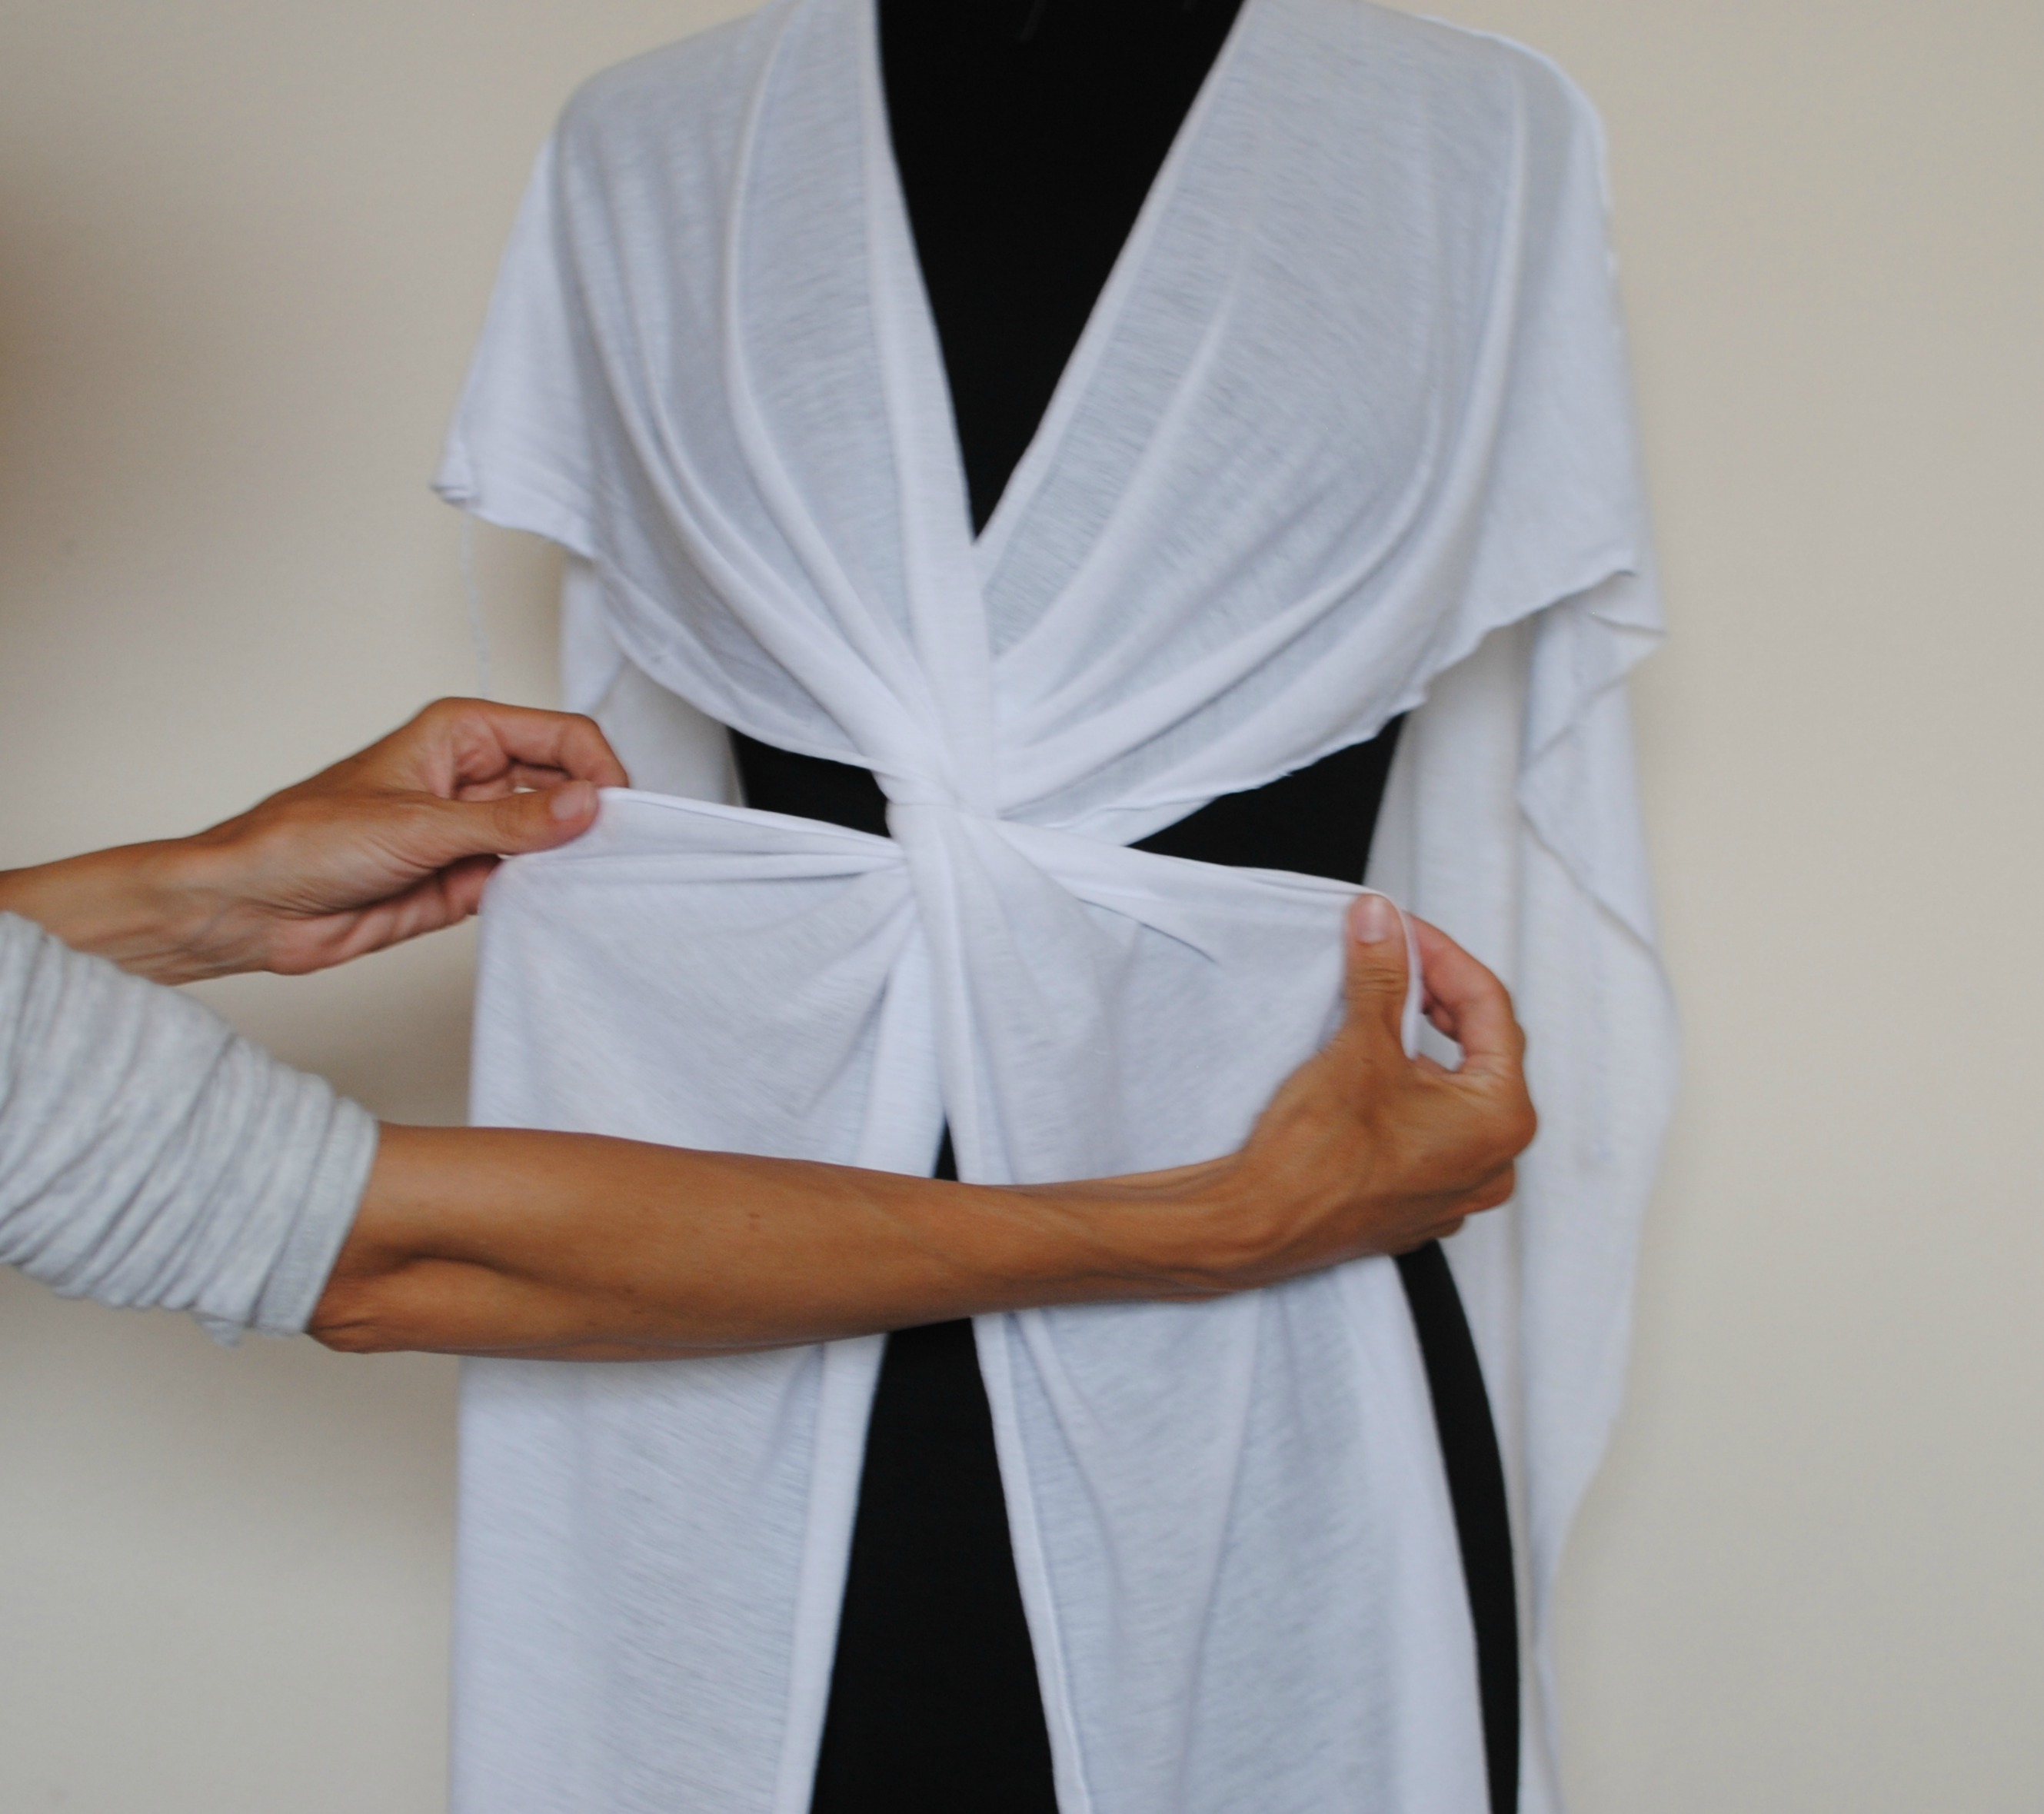
Begin with right sides together and have some pins handy. Twist the two front panels as shown in the photos.

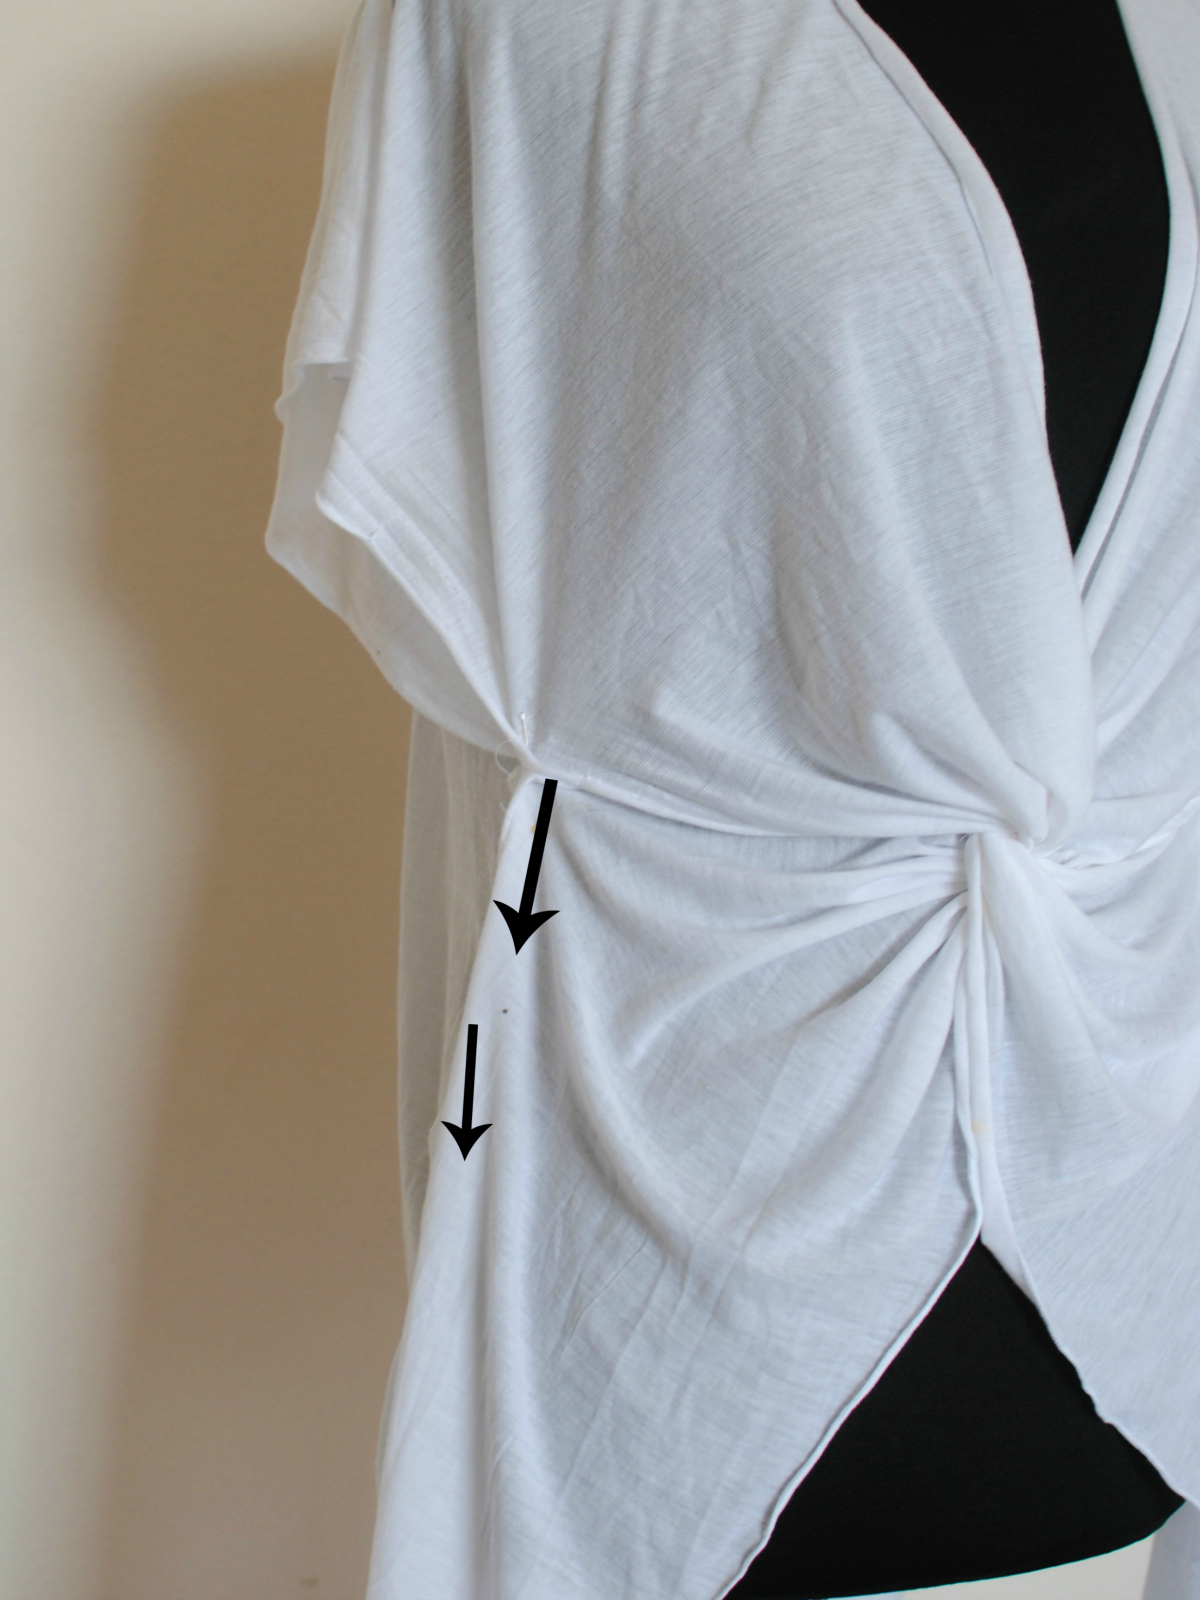
Pin the “knot” together as shown where the arrows are and sew right sides together about 1/4 inch seam allowance.
Now place again on the form or yourself with wrong side out…Pin the side seams where you want the arm opening to start and sew down to the hem on both sides. I wanted a loose feeling to mine so I made my arm holes larger. If the bottom hem doesn’t line up, it’s okay you can adjust that later.

The center should drape on it’s own, but if it opens too much for you then you can also sew this part down a bit. Now you can fix the bottom hem if its off a bit. Finish your edges with the BERNINA Walking foot #50.


3 comments on “DIY Knotted Top”
Do you have to finish any of the edges?
Most knits don’t need a hem, do they? A rolled hem may look nice? What do the experts think? Please let us know!