Embroider-Along Part 6: How to Embroider Wovens
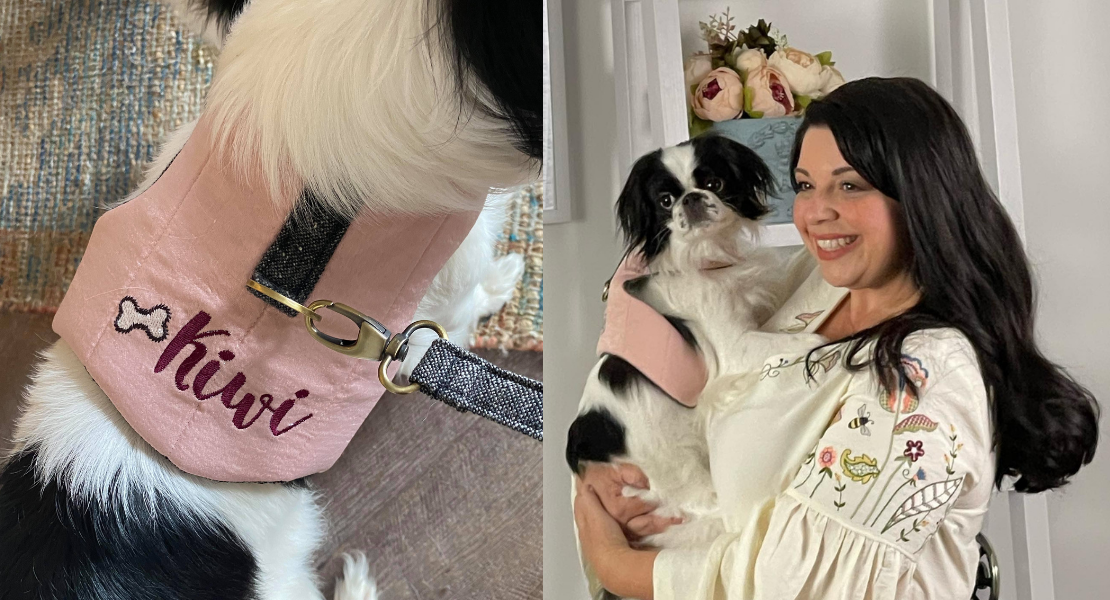
Welcome back to my Embroider-Along: Part 6. Hi, my name is Sue O’Very, BERNINA Ambassador and machine embroidery expert. This series began with a great discussion on the four basics for machine embroidery. Jumping right into stabilizers and materials I discussed embroidering on knits. Today I’m excited to share with you how to embroider on various woven materials and show you how to embroider the perfect last minute hostess gift. 
What is Woven material?
During this Embroider-Along I have been referring to wovens as materials with little to no stretch. Woven materials are considered to be more structured. Consider a kitchen towel, pillow case, and denim. Even though each of these materials is a woven, I will show you how it’s important to use the correct type of stabilizer to get the best results.
Stabilizers for Woven materials
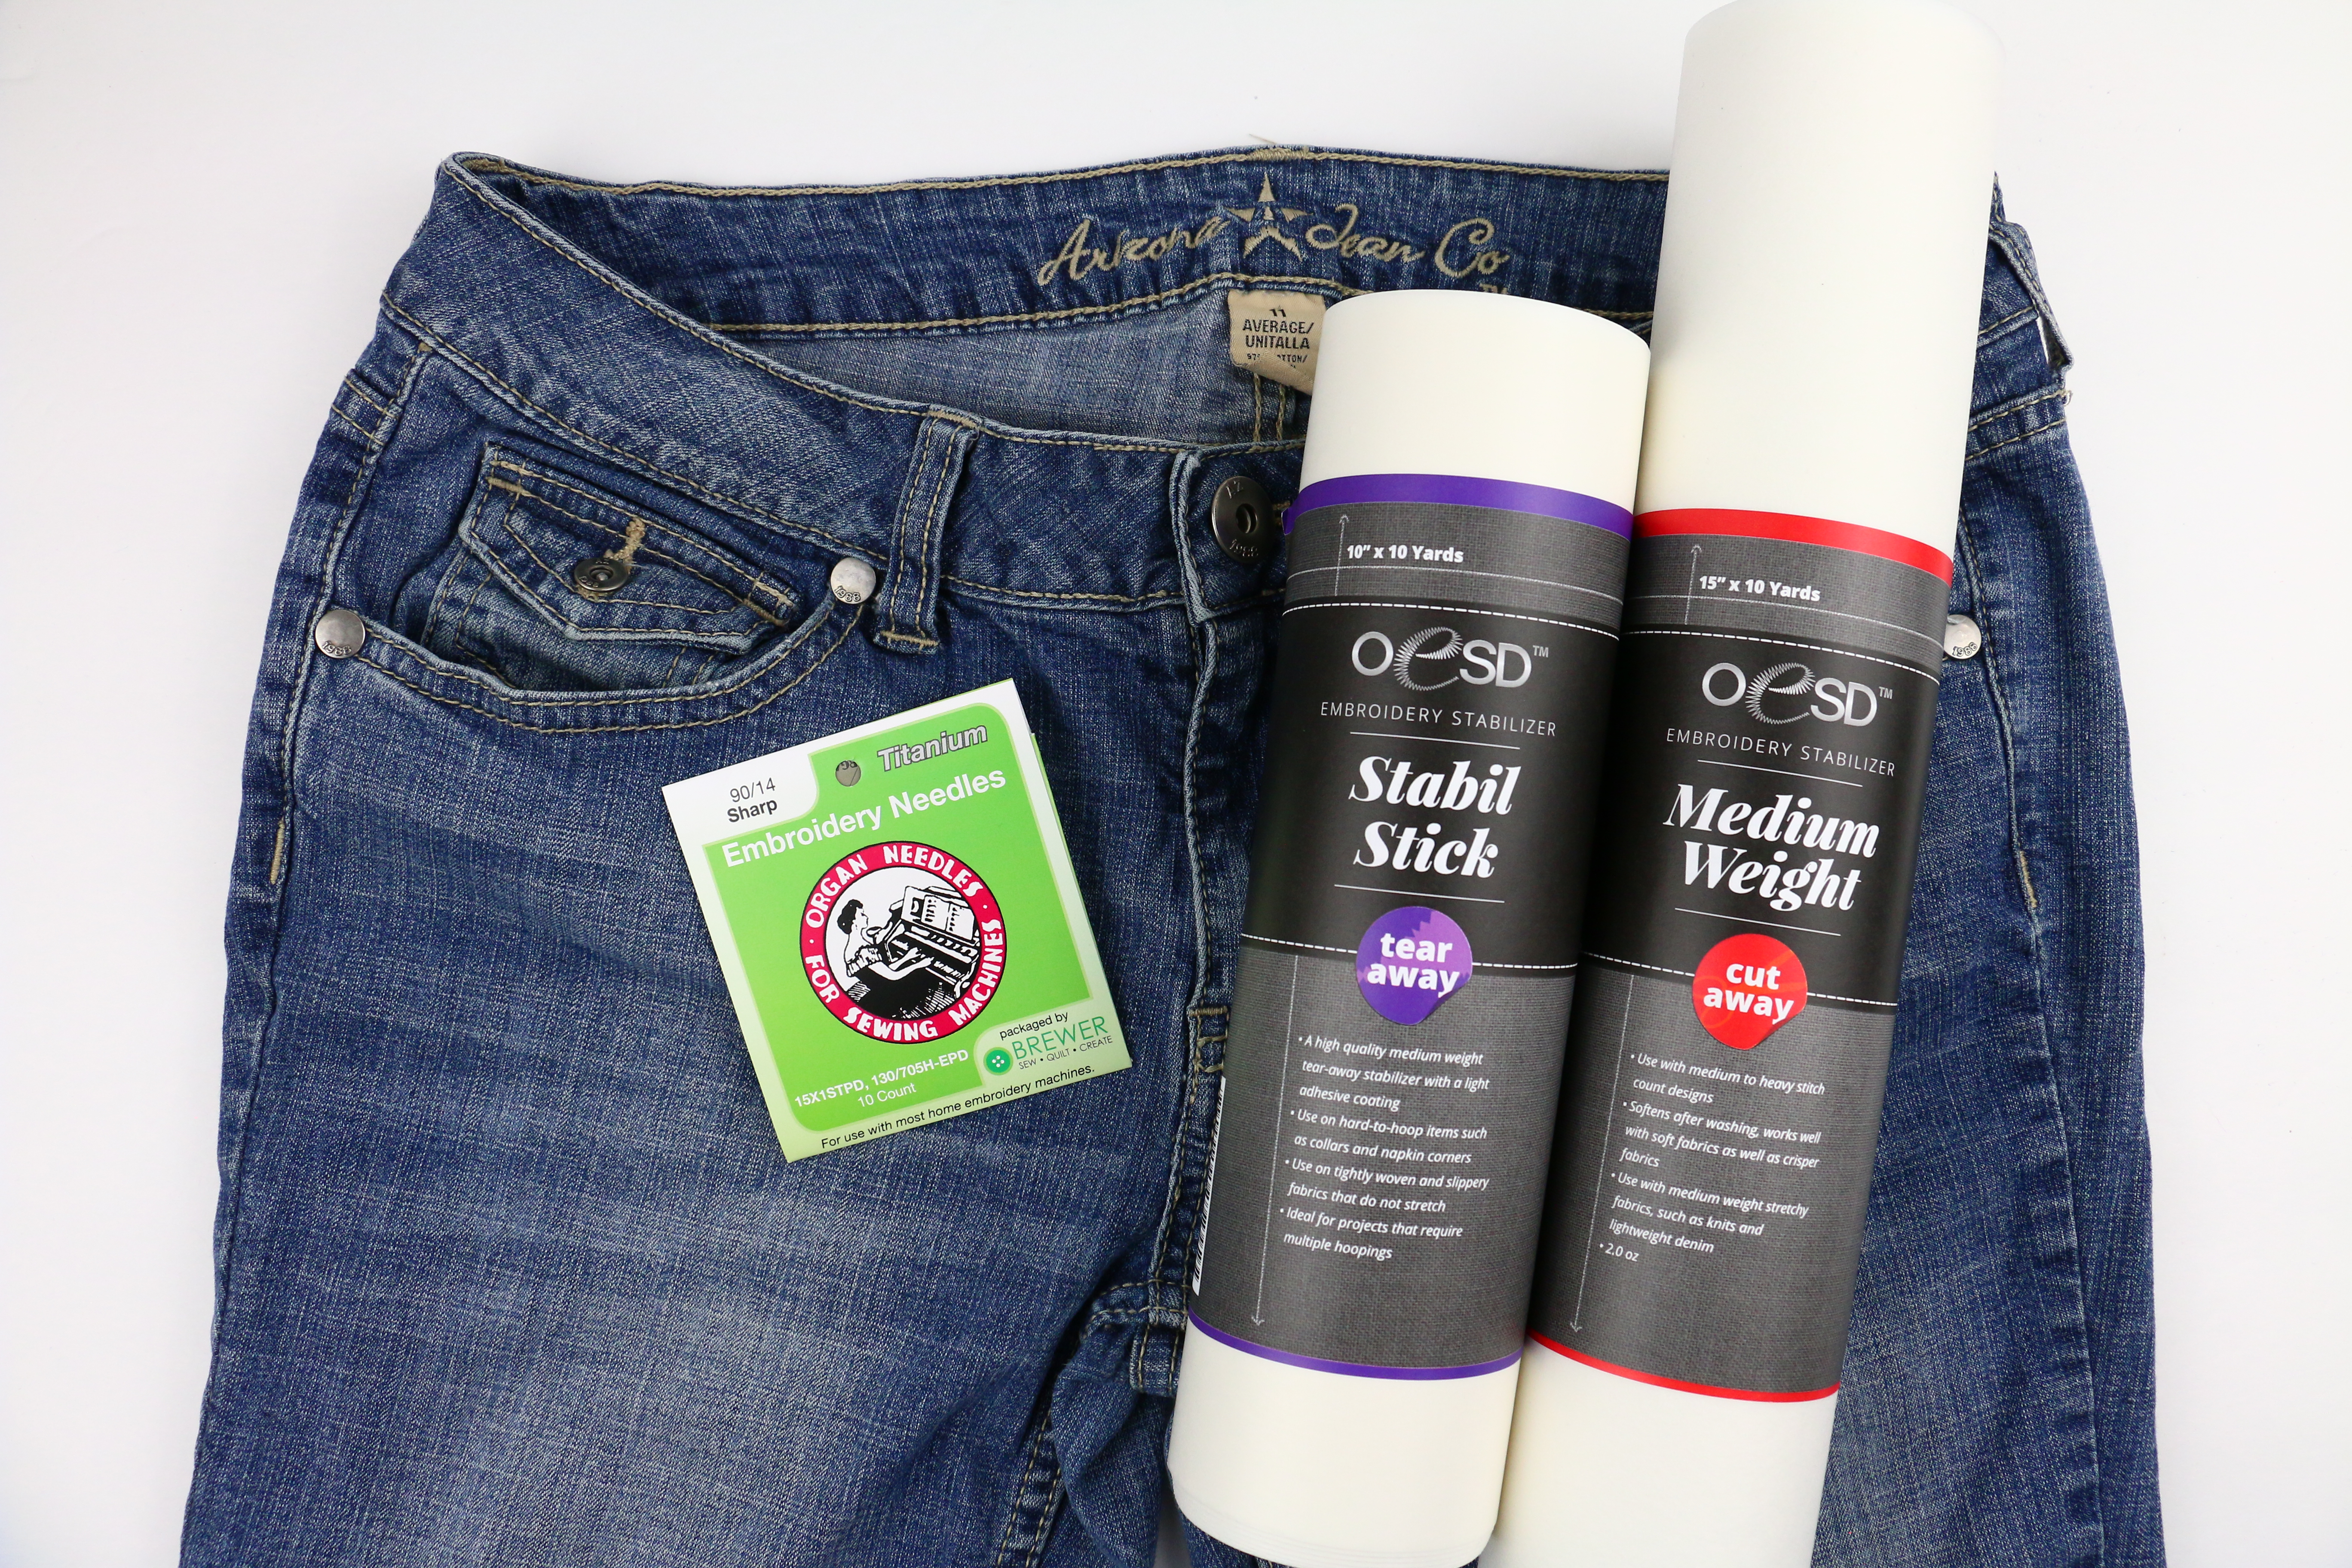
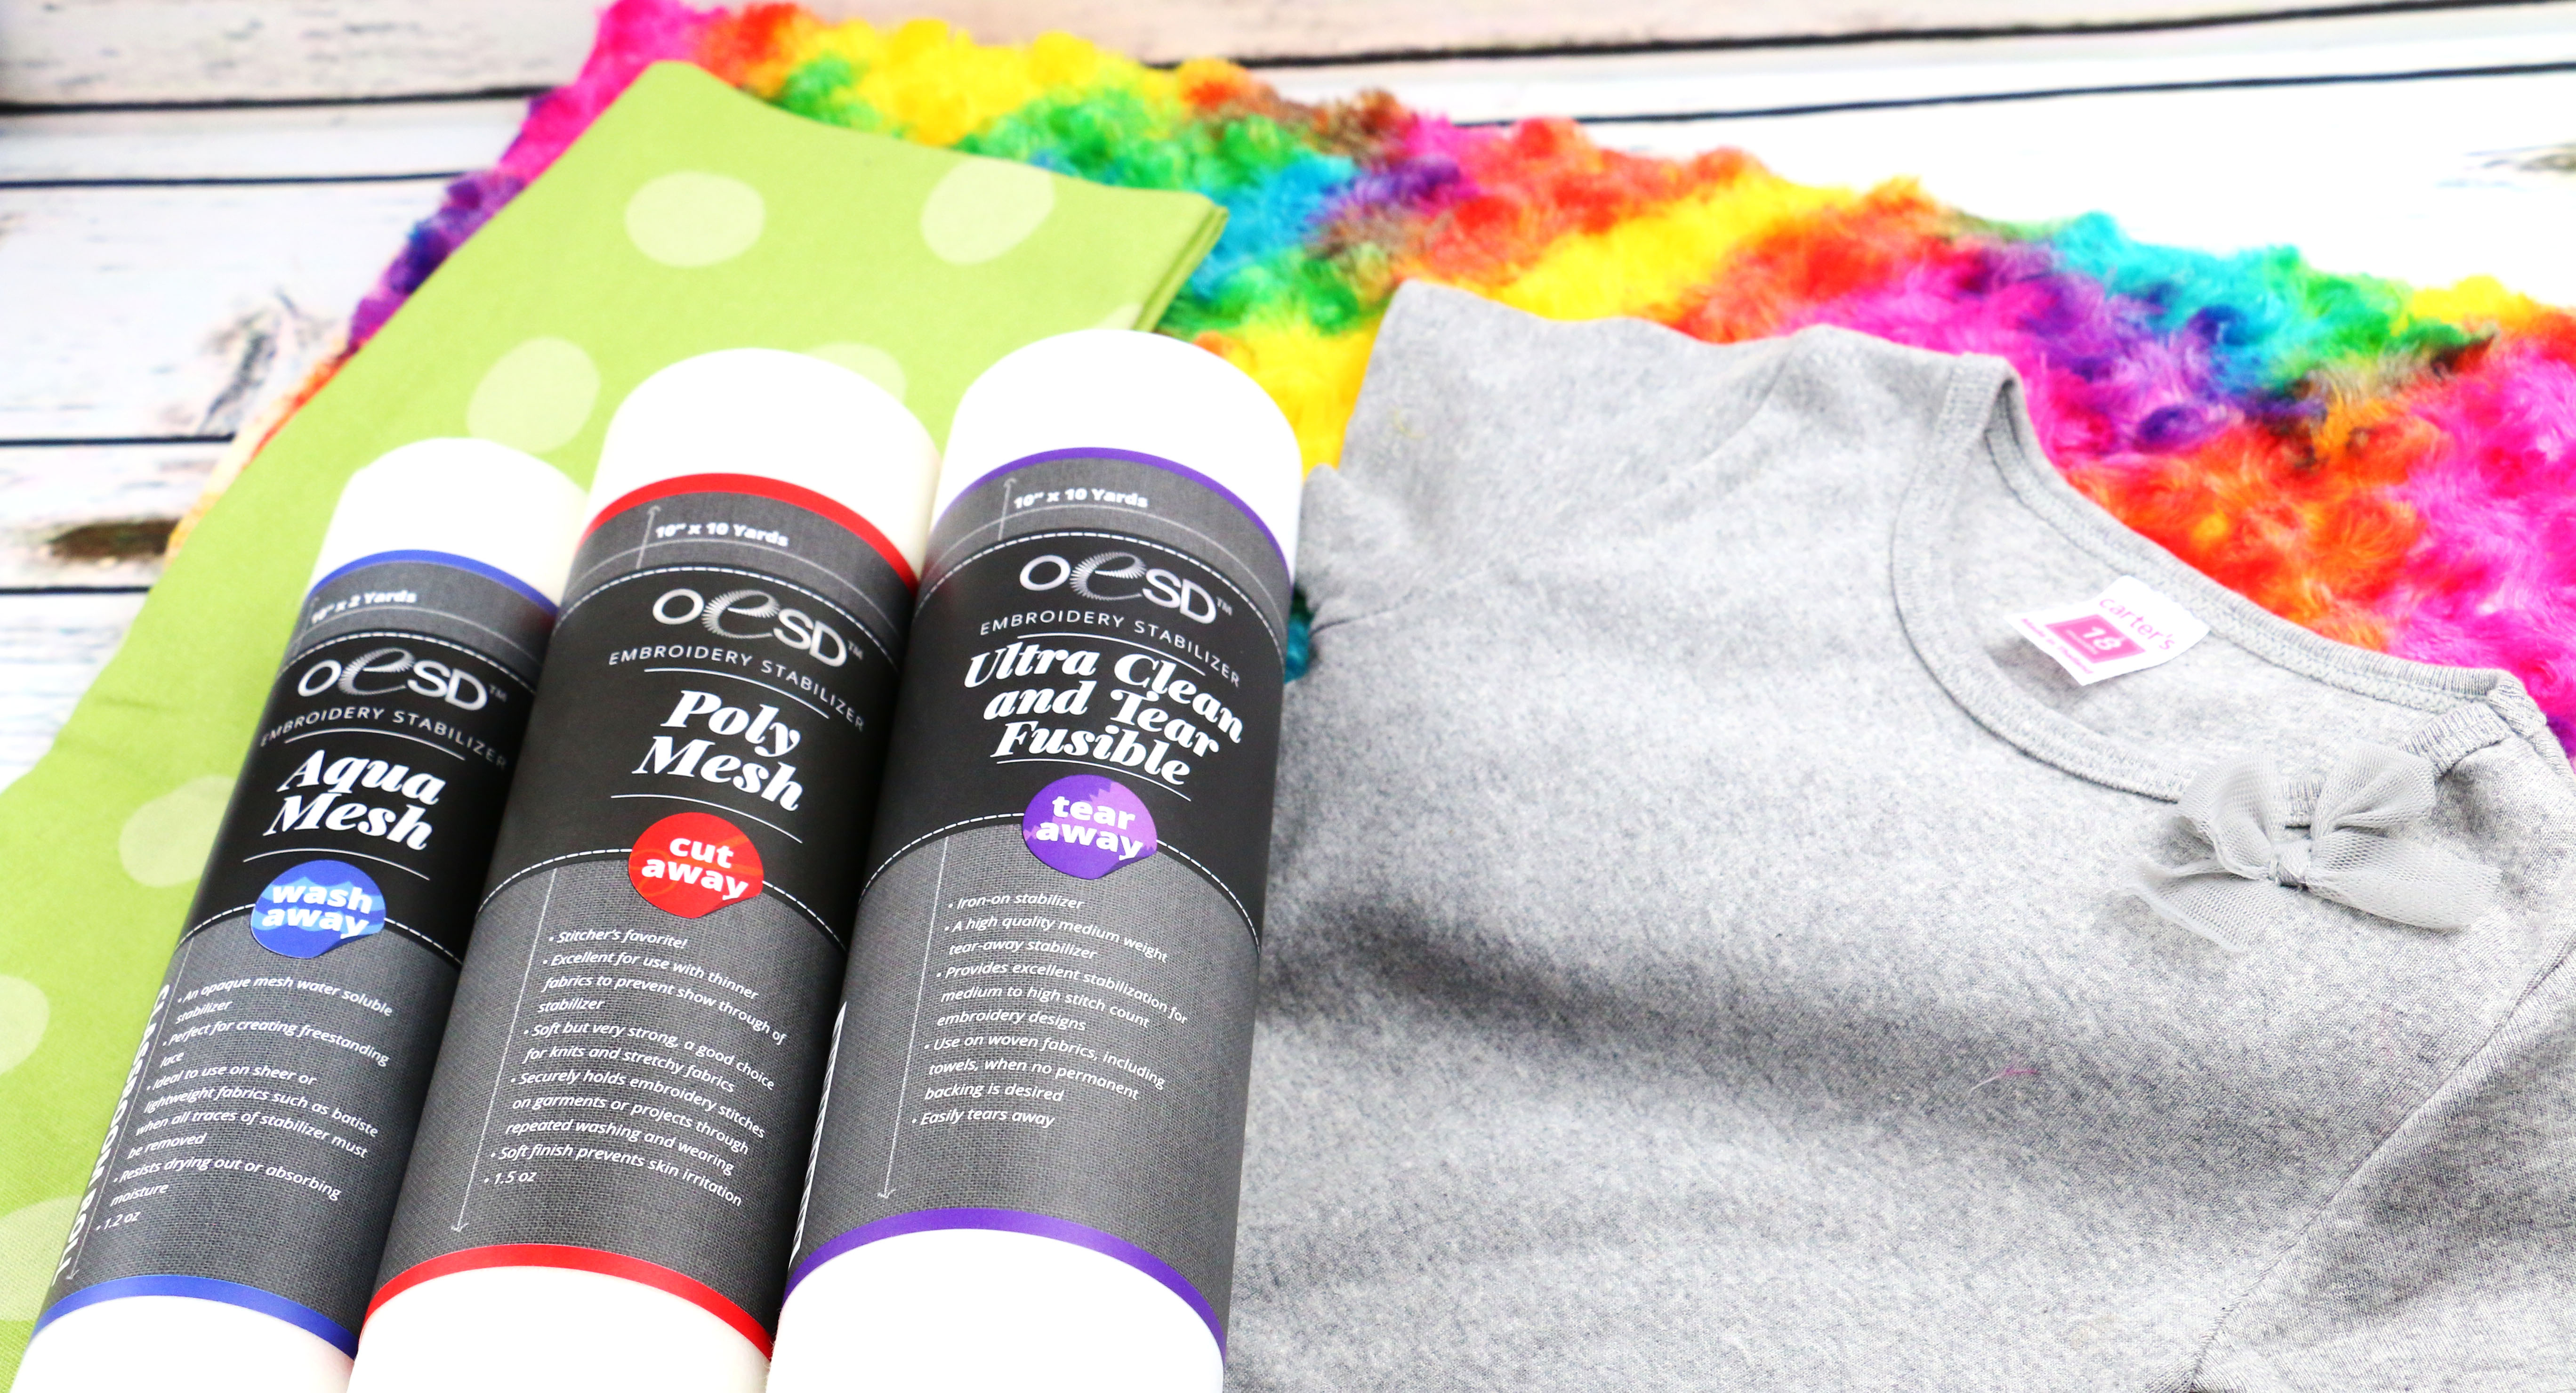
There are two types of stabilizers used for wovens; Cut Away and Tear Away. Each of these types of stabilizer have different weight and backing options. For example: light, medium and heavy, fusible or sticky backings. Some even come in black, white or a light tan.
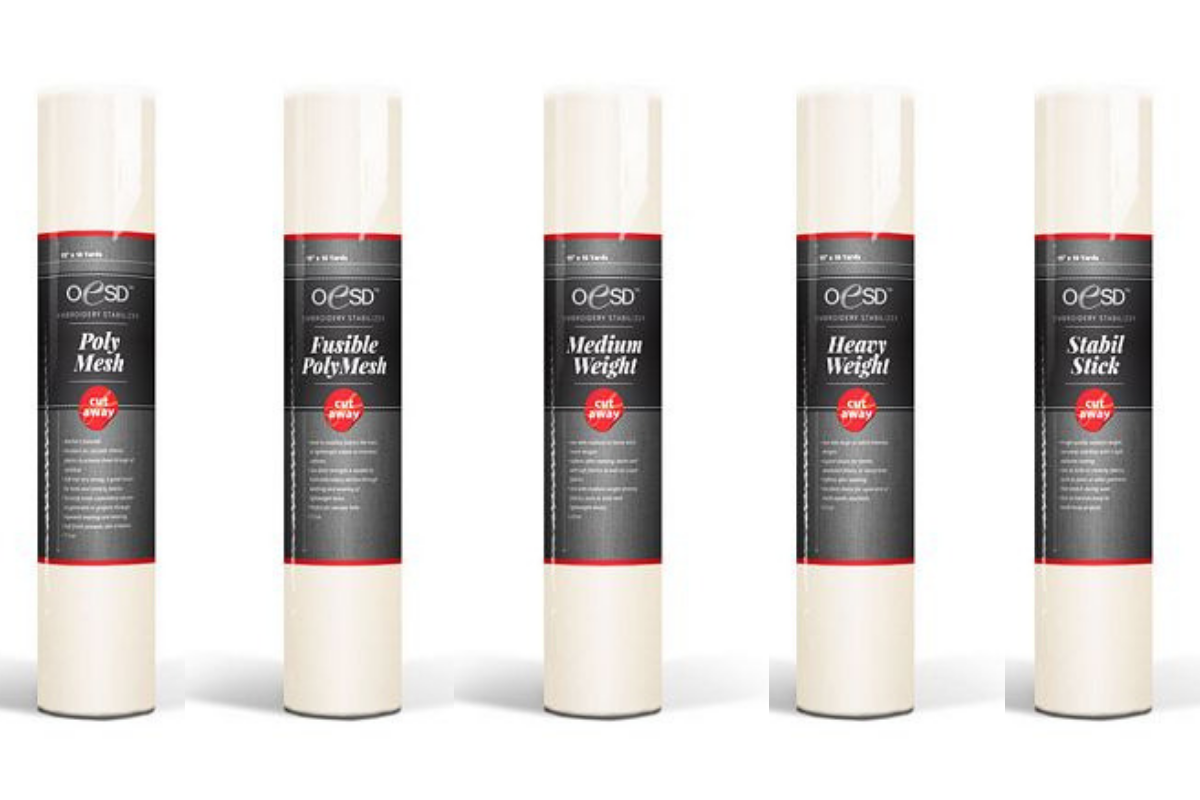
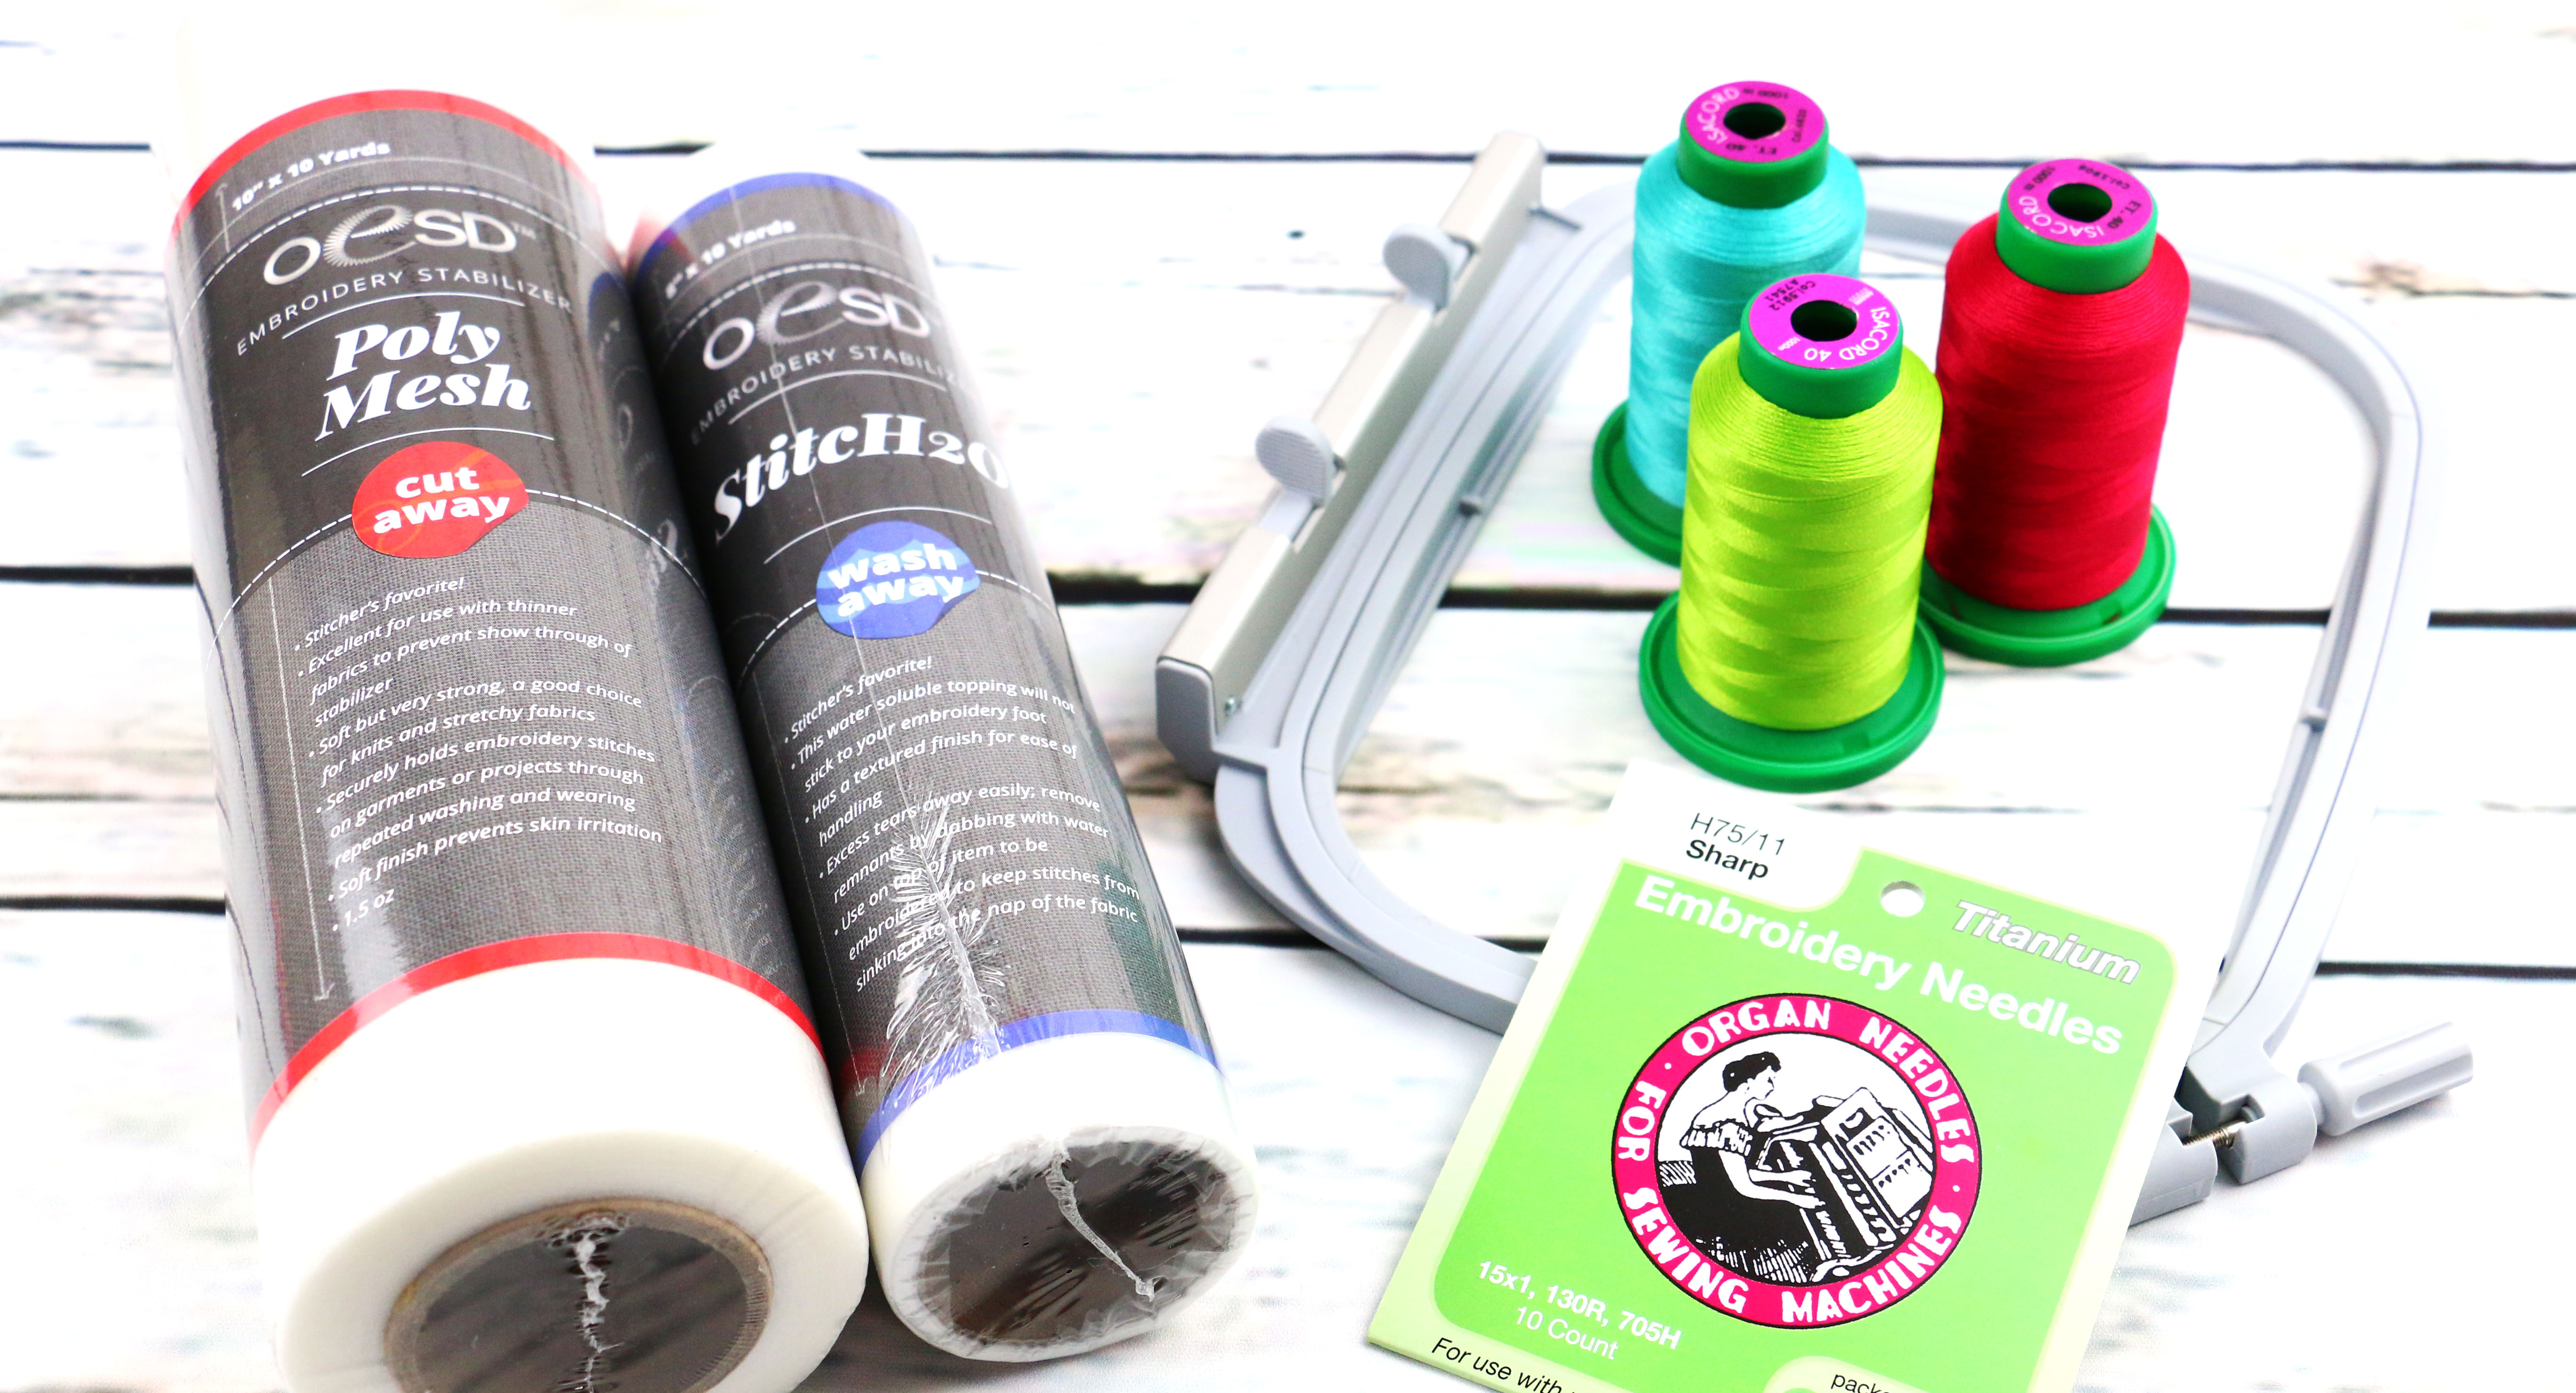
Cut Away
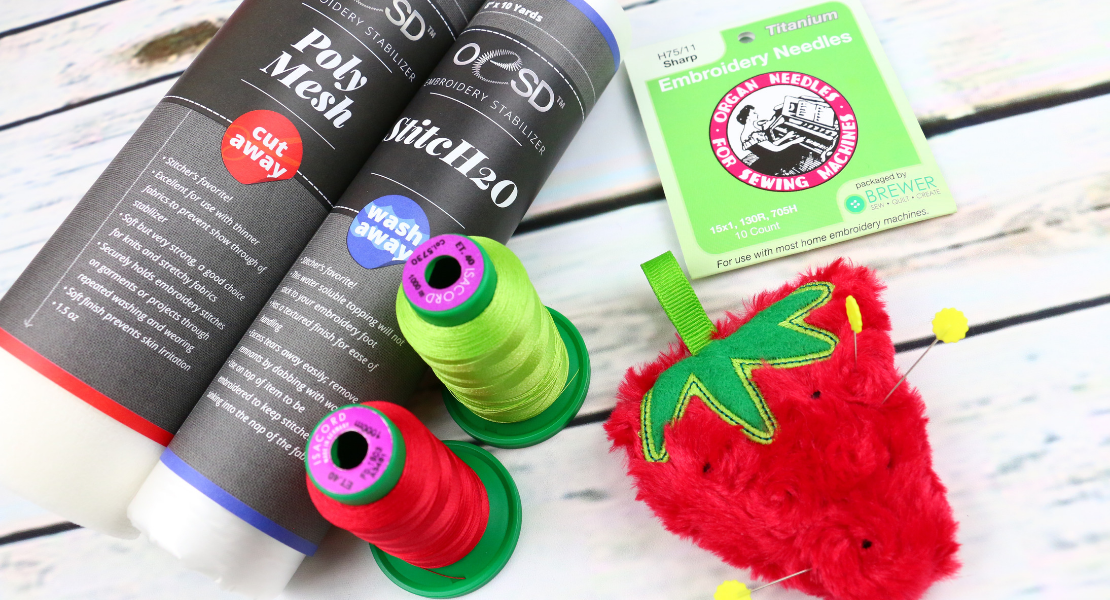
Within the category of “Cut Away” there are lots of different varieties, however the basic two are: Poly Mesh (thin/light) or Medium-Heavy Weight (thick/heavy). Refer to Part 2 of the Embroider-Along for more details on stabilizers. Below are a list of the various types, notice there is fusible and sticky as well.
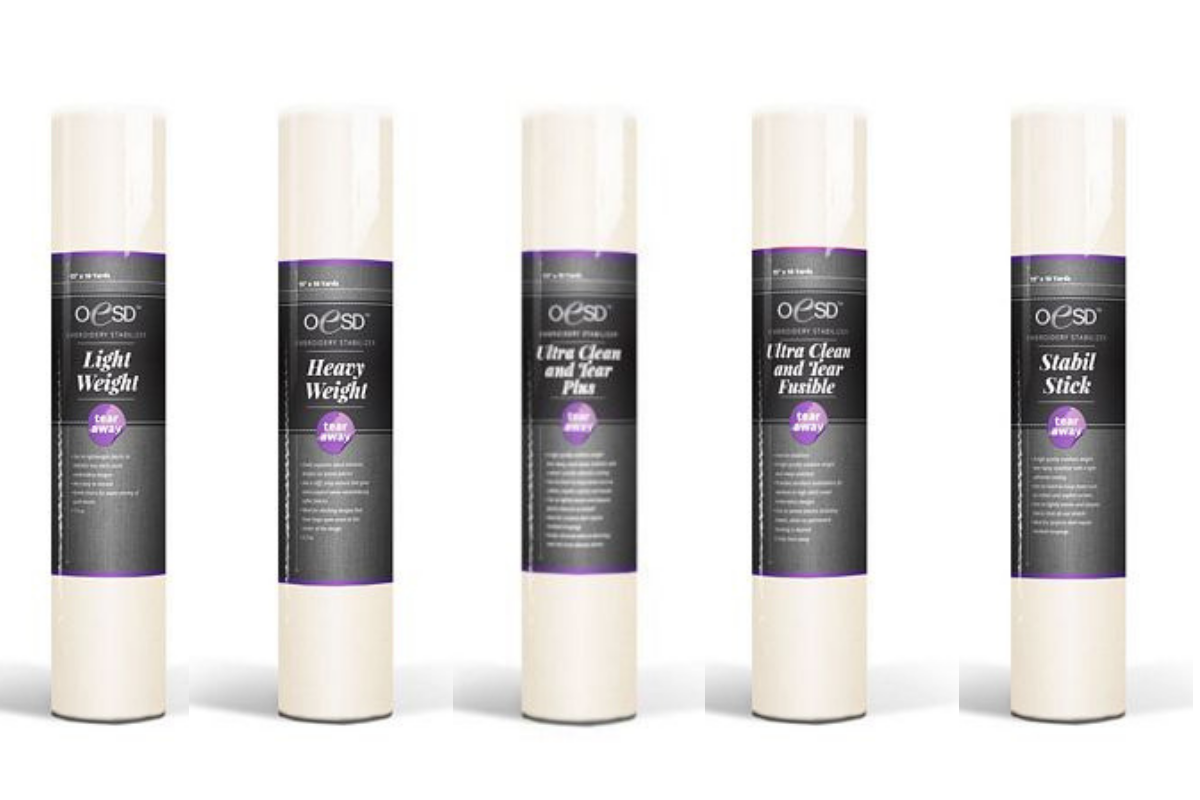
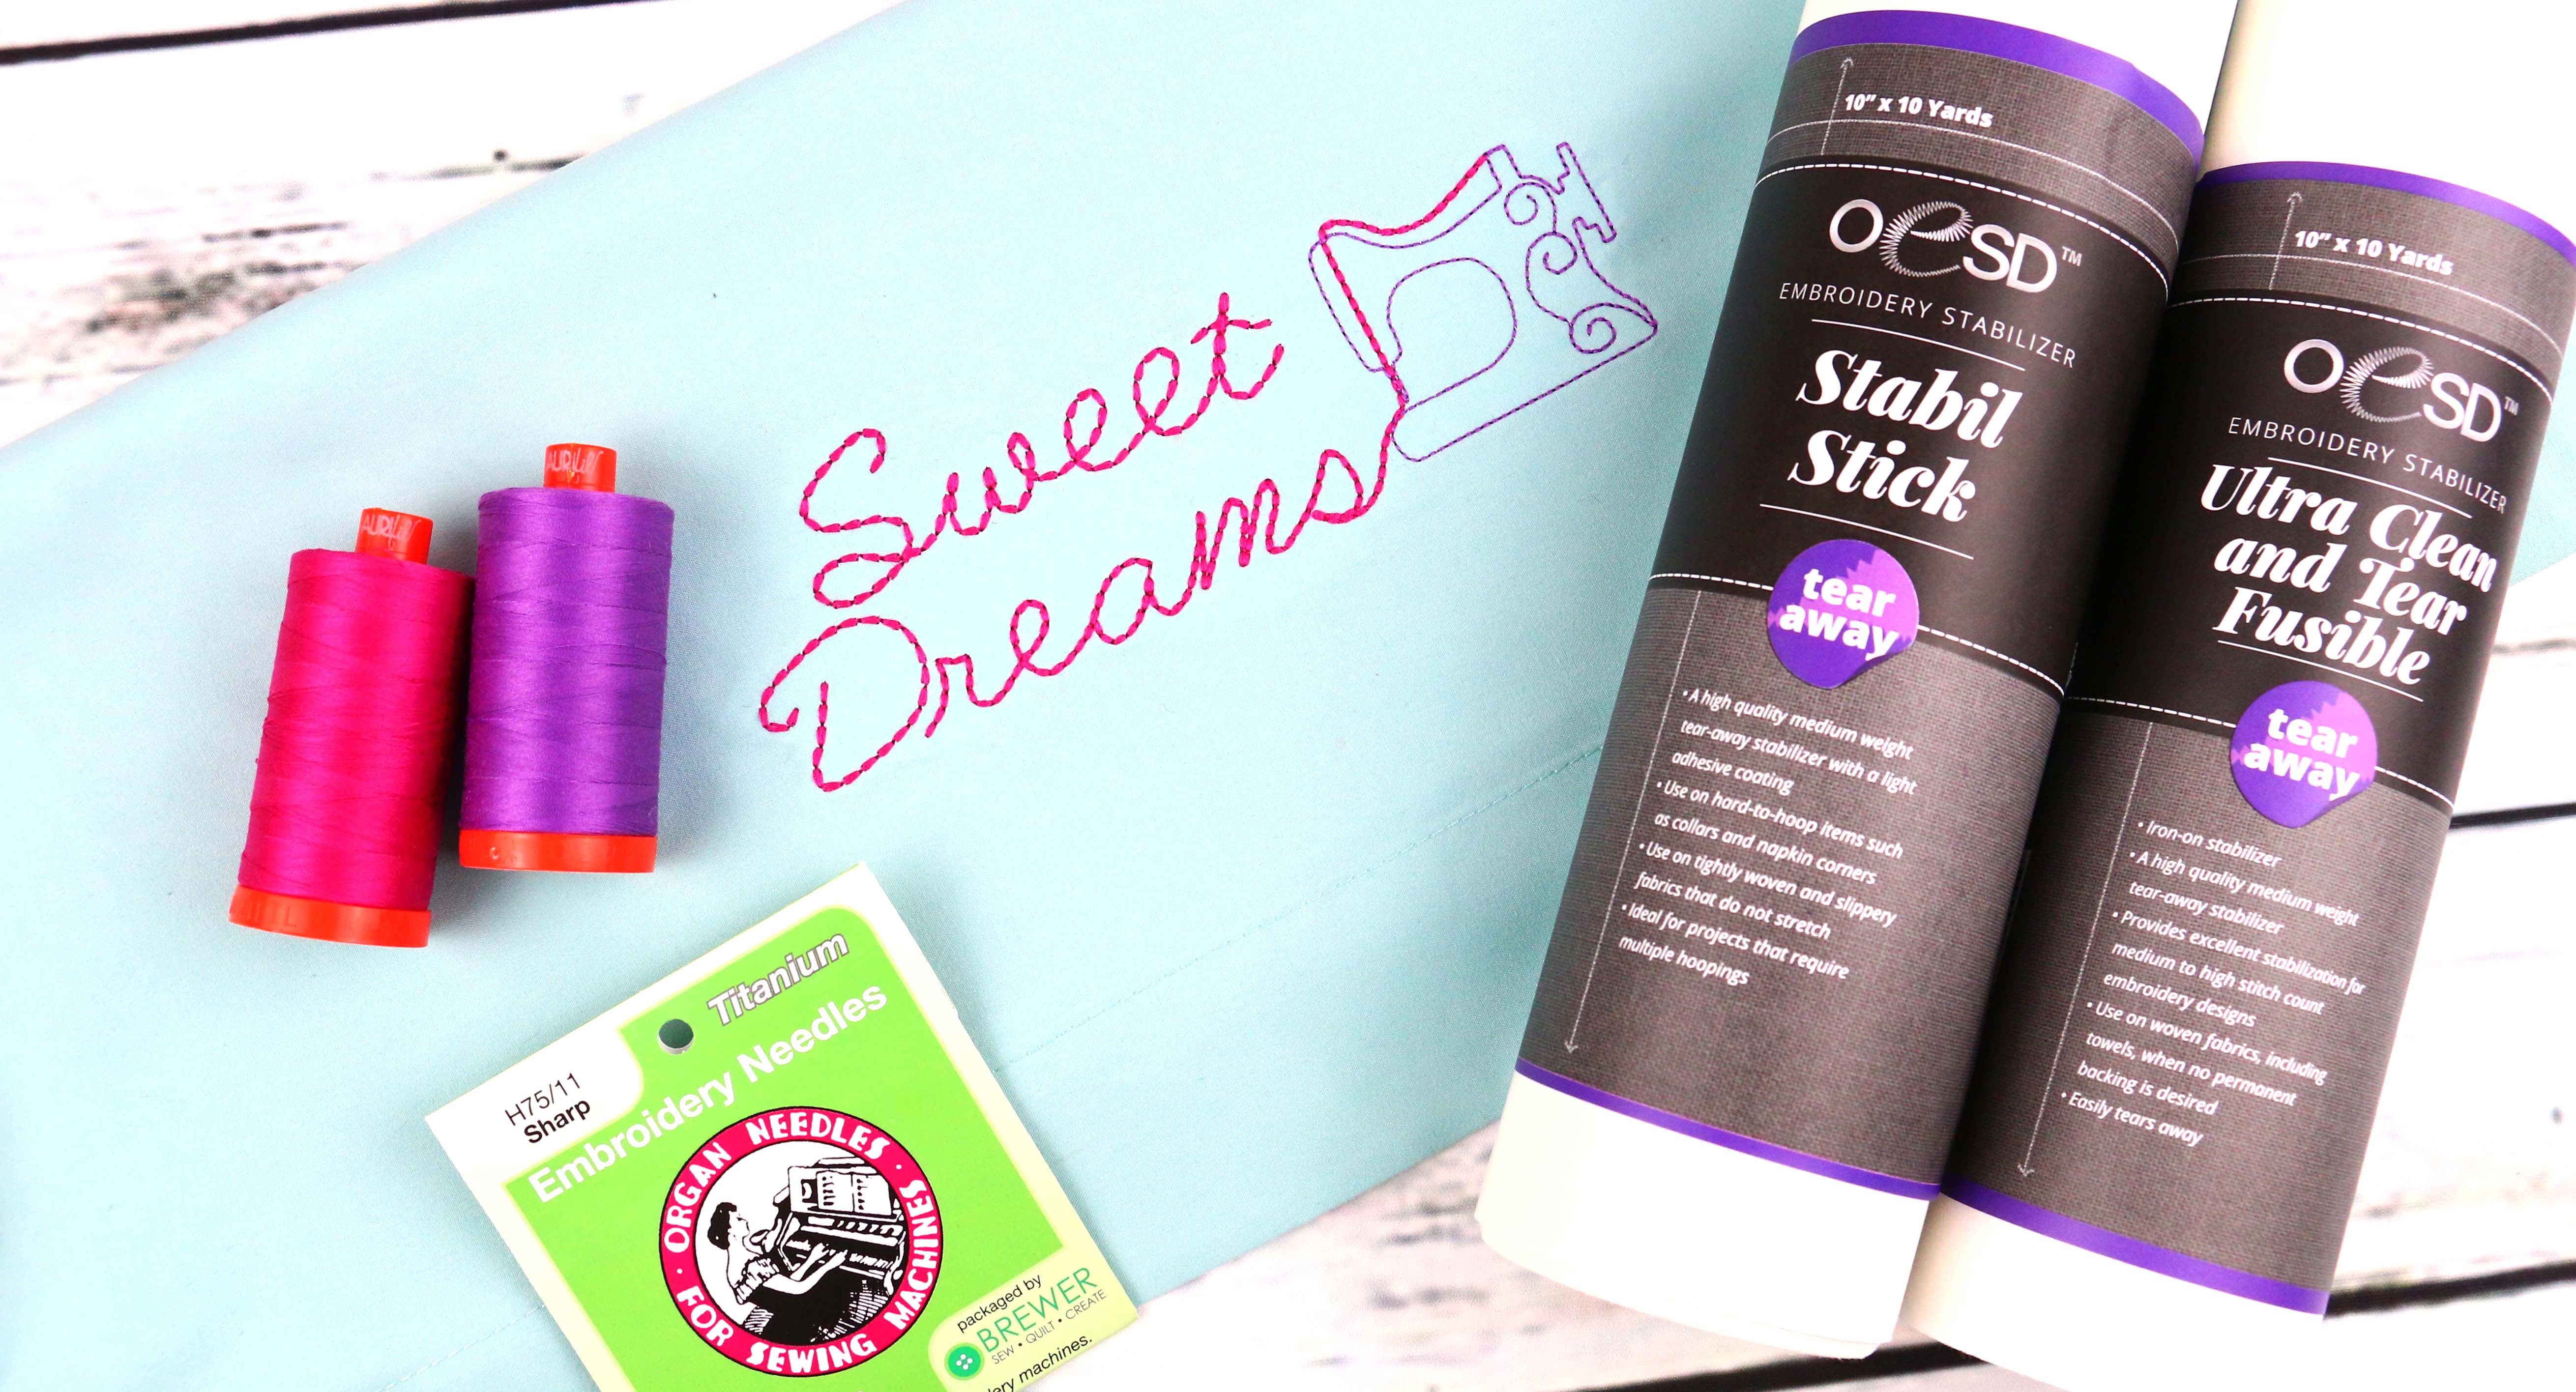
Tear Away
When embroidering on wovens it is desirable to remove as much of the stabilizer as possible, Tear Away is the ideal solution. Just like the Cut Away, there are multiple options on the market today.
- Tear Away Light Weight – Crisp and clean tear
- Tear Away Heavy Weight – Crisp and clean tear
- Ultra Clean and Tear Medium weight – Leaves a bit of fiber under the stitches
- Ultra Clean and Tear Fusible Medium weight – Fuses and tears away leaving a bit of fiber under the stitches
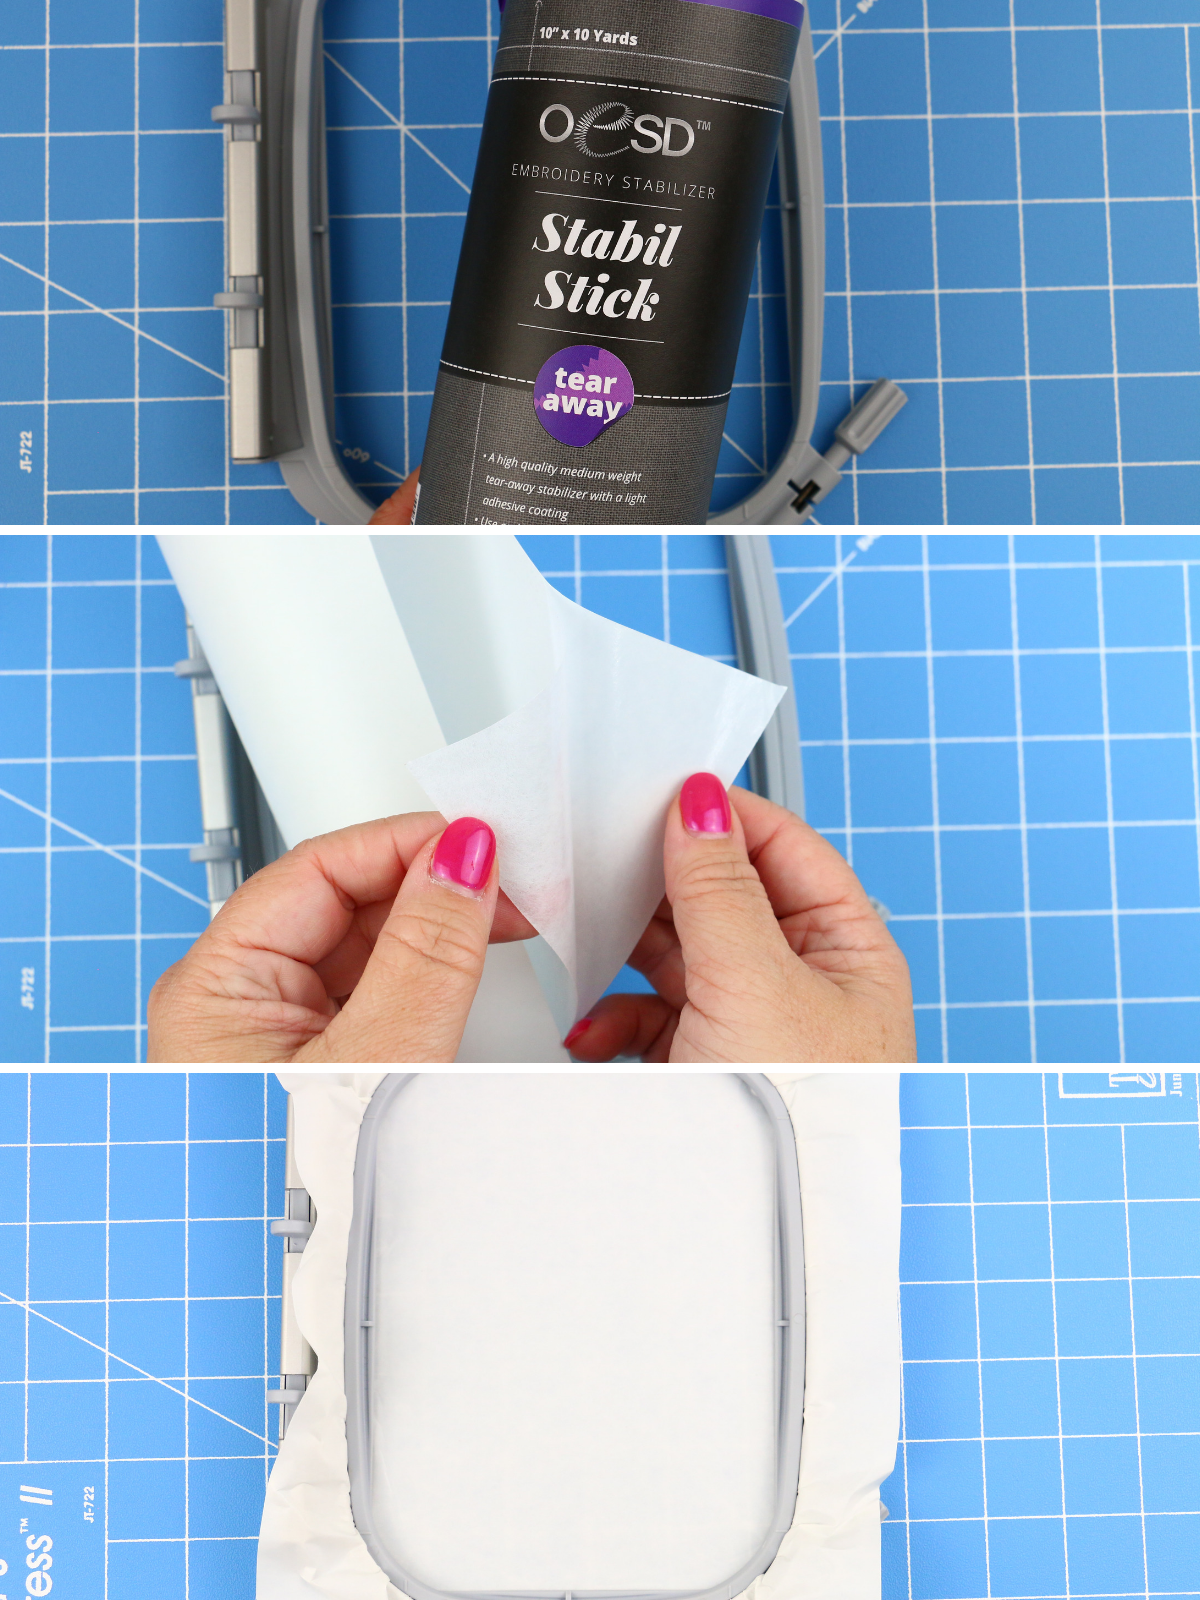
- StabilStick – Sticky and tears away crisp and clean tear
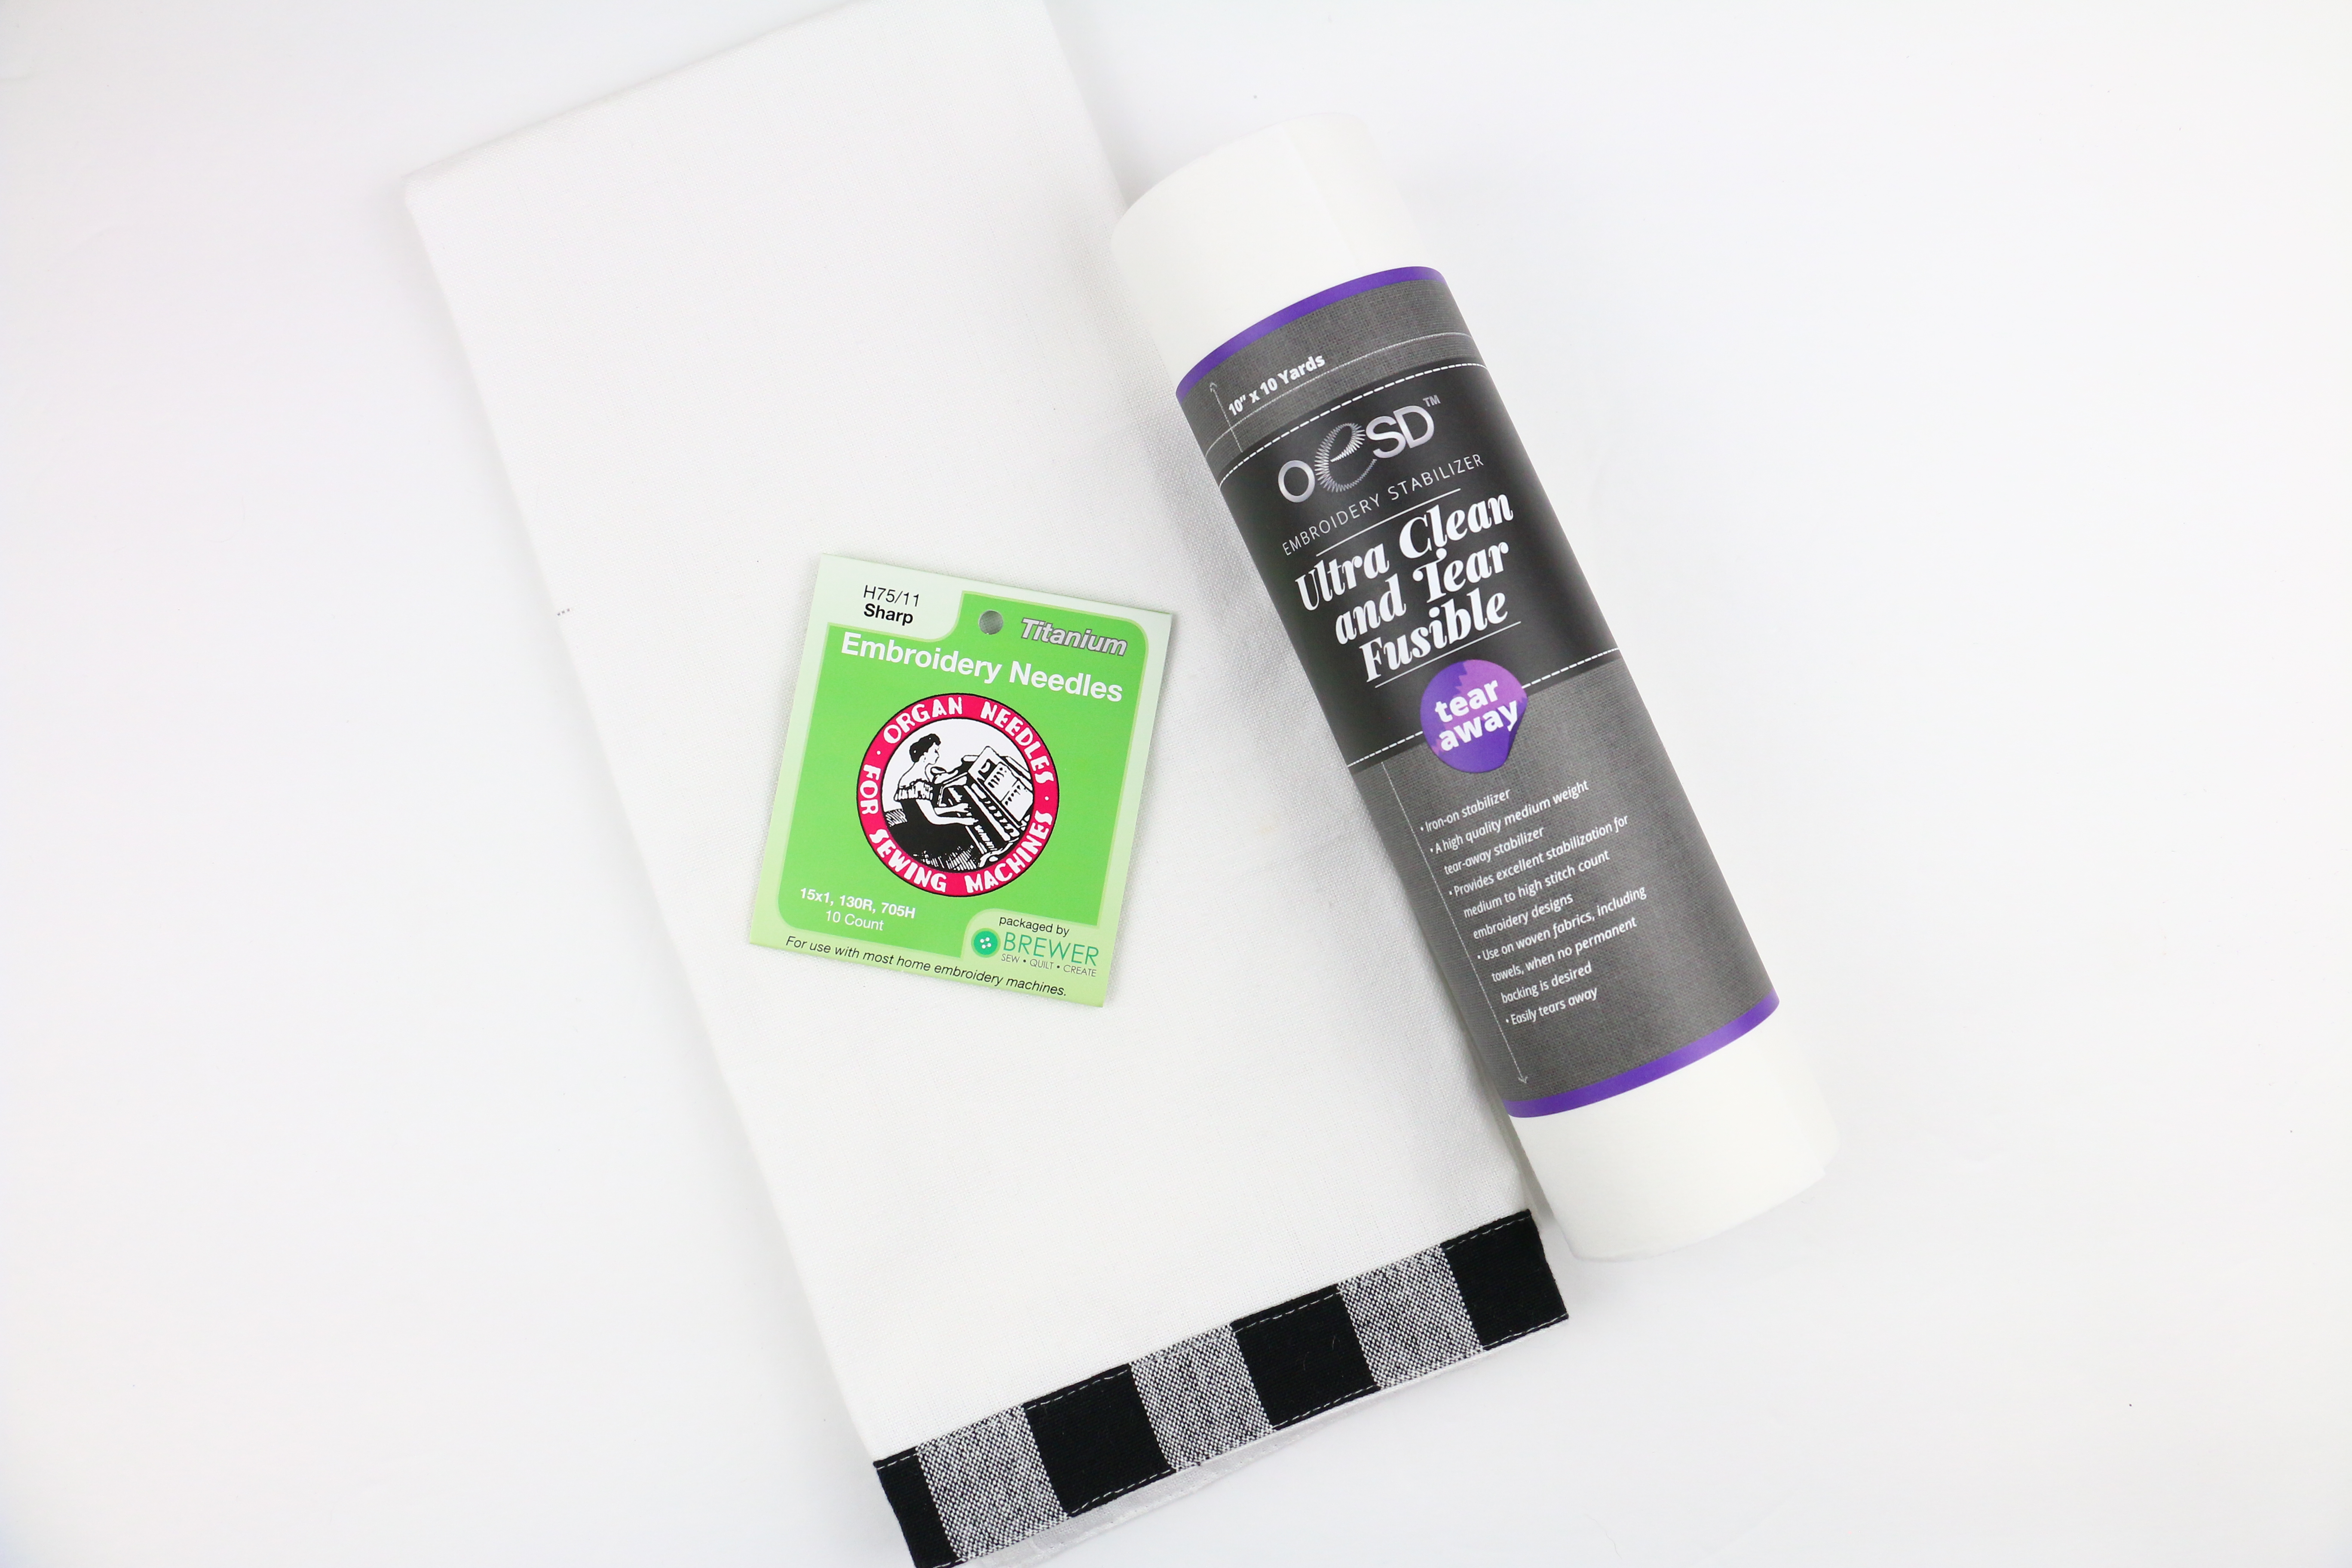
Thread and Needles for Woven materials
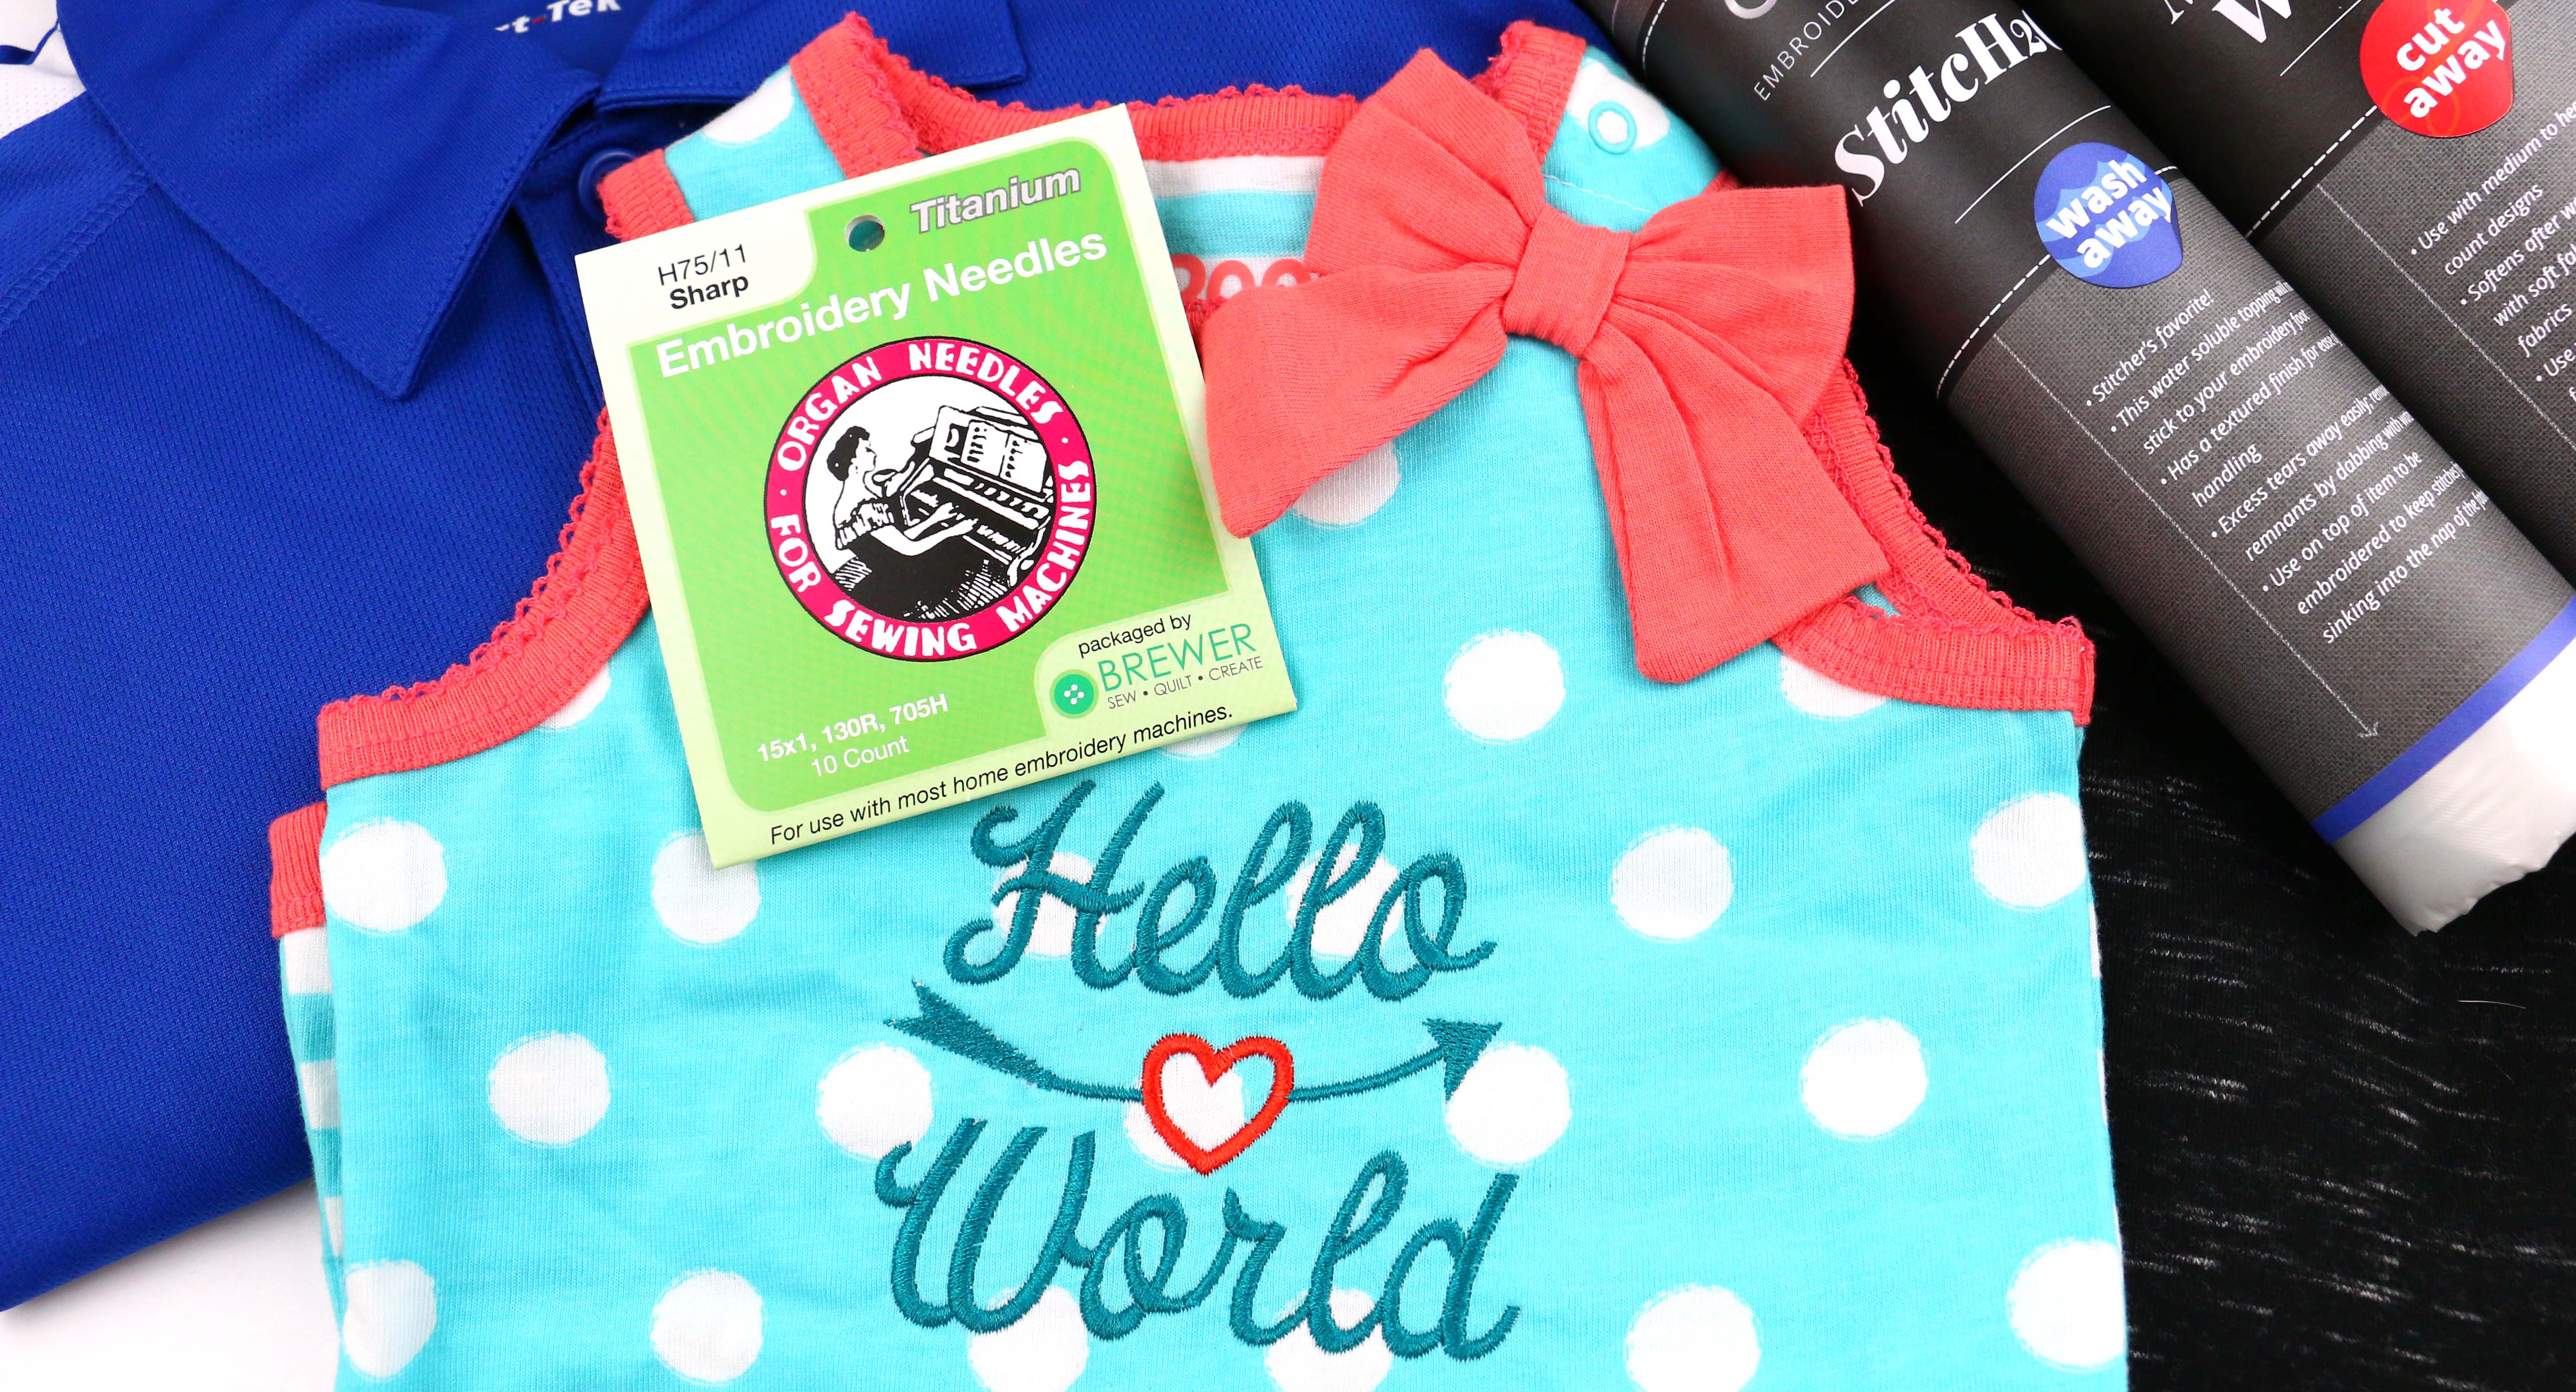
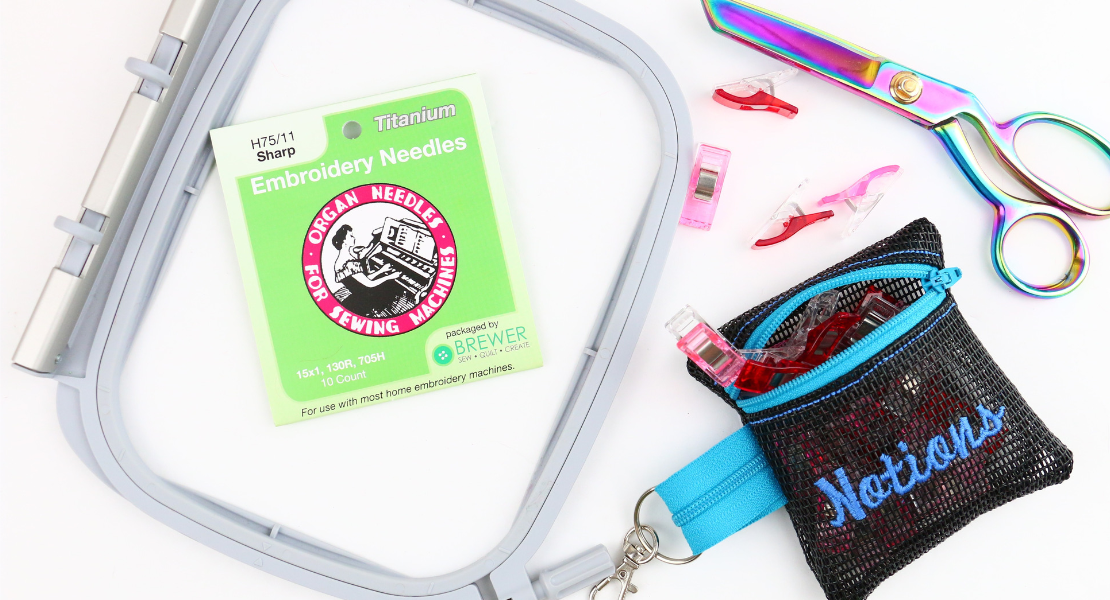
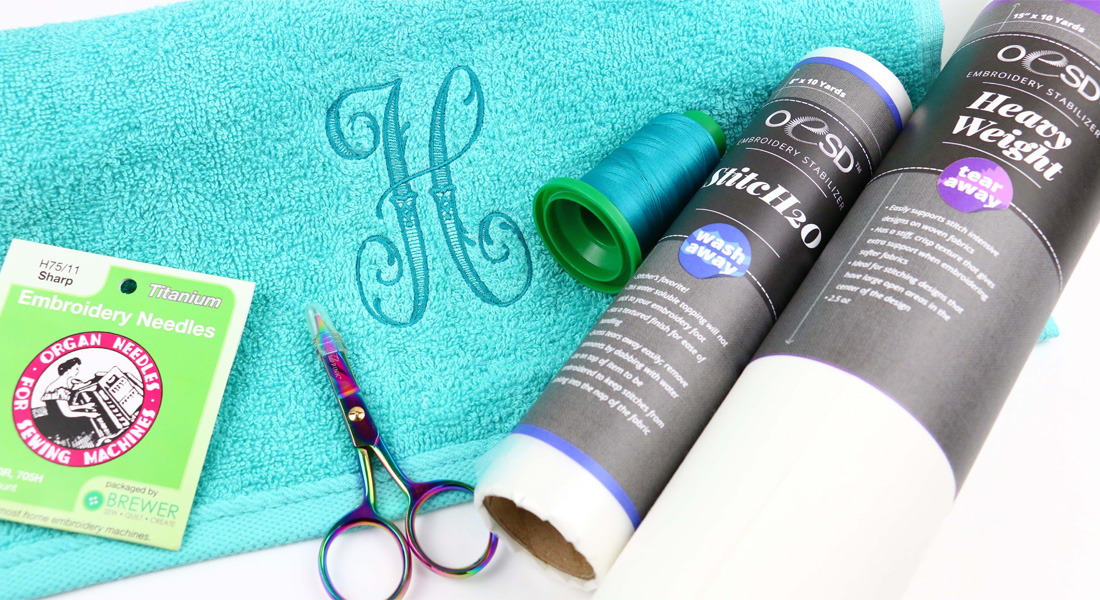
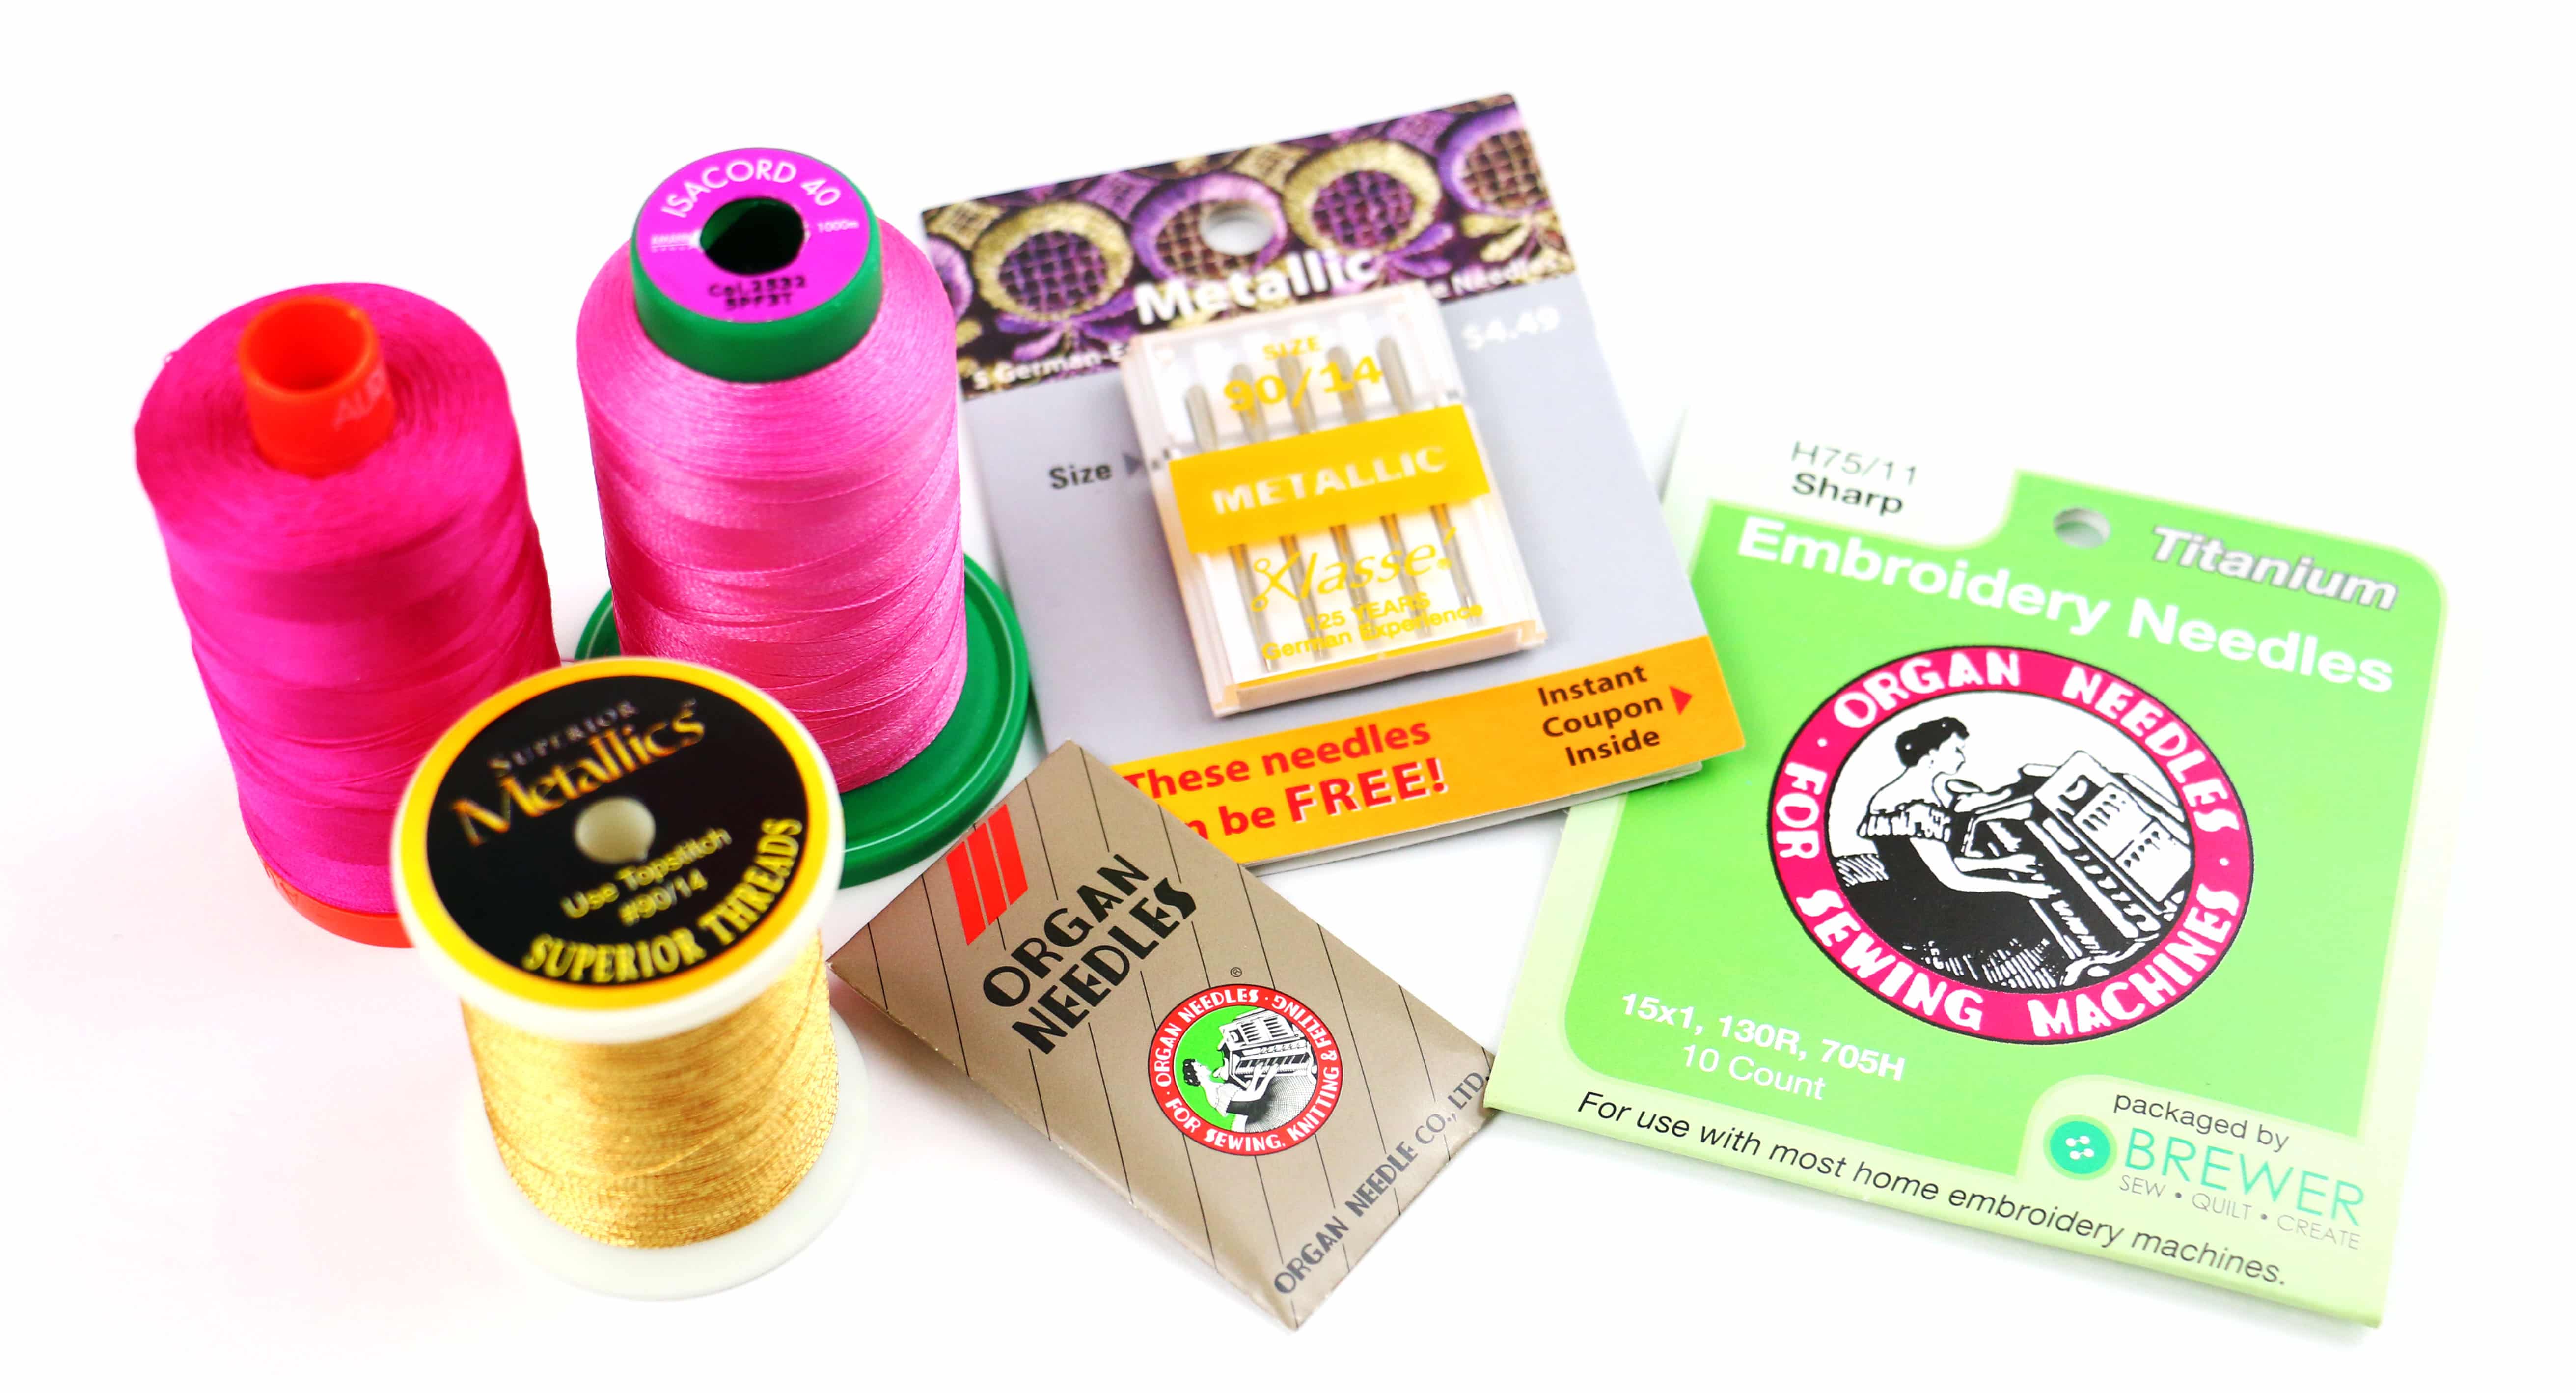
The choice of thread for embroidering on wovens really depends on the design and desired effect. Refer to Part 3 where I talked about different types of threads and needles. As far as needles, use an embroidery size 75/11 for wovens like kitchen towels and pillow cases. Use an embroidery needle 90/14 for heavier wovens like denim and broadcloth.
How to hoop Woven material?
Part 4 on my Embroider-Along was all about hooping! There are two ways of hooping; hoop the material and stabilizer together or hoop the stabilizer and float the material on top. When it comes to embroidering on woven materials, in addition to floating the material on top, you may also find the need to float an extra piece of stabilizer underneath the hoop. This is a great trick when working with small, hard to hoop woven materials. In the step-by-step tutorial below you will see this first hand.
Pro tip: Because the sticky stabilizer is very thin, I consider it more of an adhesive (Part 4) vs a stabilizer. There isn’t enough stabilization most times for the embroidery design itself. That’s why floating a piece of Tear Away underneath the hoop is recommended.
Type of designs for Woven materials
The best types of designs will depend on the thickness of the woven. Consider a pillow case vs denim. With a pillow case I would recommend a light, open airy design or lettering. Denim is thicker and often times stiff by nature allowing a heavier filled design.
Stabilizer Guide for Woven materials
Below is a basic guide for woven materials and the suggested stabilizers:
- Broadcloth or Canvas: Cut Away Heavy
- Corduroy or Denim: Cut Away Medium to Cut Away Heavy and for hard to hoop areas use StabilStick
- Flannel or Quilt cotton: Ultra Clean and Tear Fusible Medium weight on the wrong side and hoop. Float a piece of Ultra Clean and Tear Medium weight underneath the hoop
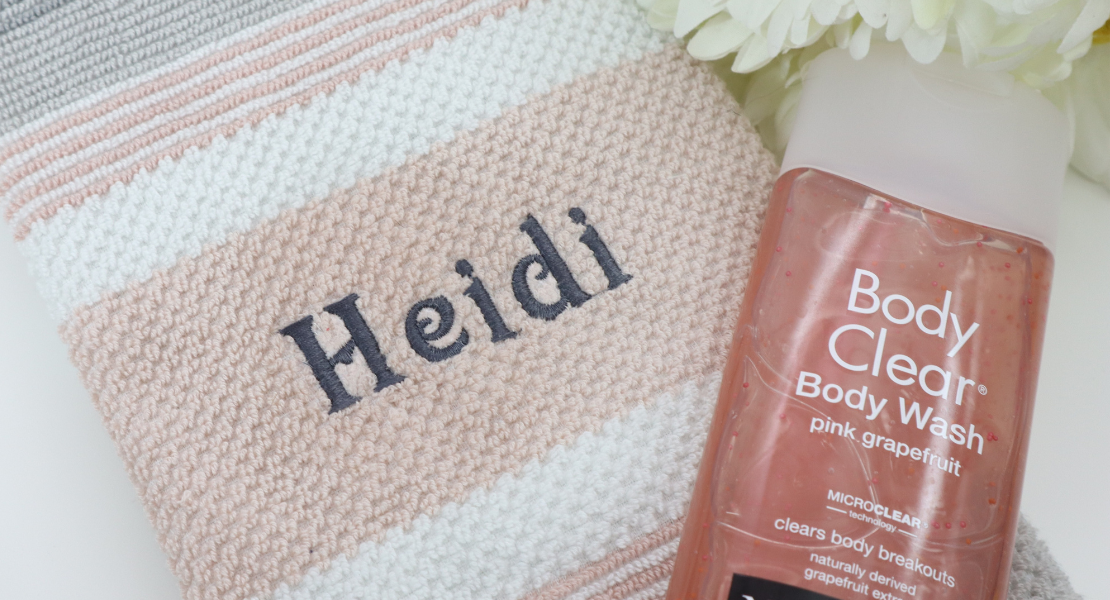
- Kitchen towel: Ultra Clean and Tear Fusible Medium weight on the wrong side and hoop
- Pillow Case: Ultra Clean and Tear Fusible Medium weight on the wrong side – float the pillow case over hooped StabilStick
- Vinyl with woven backing (Chalkboard material): Cut Away Medium for thick designs or Tear Away Heavy Weight for lighter weight or In the Hoop projects
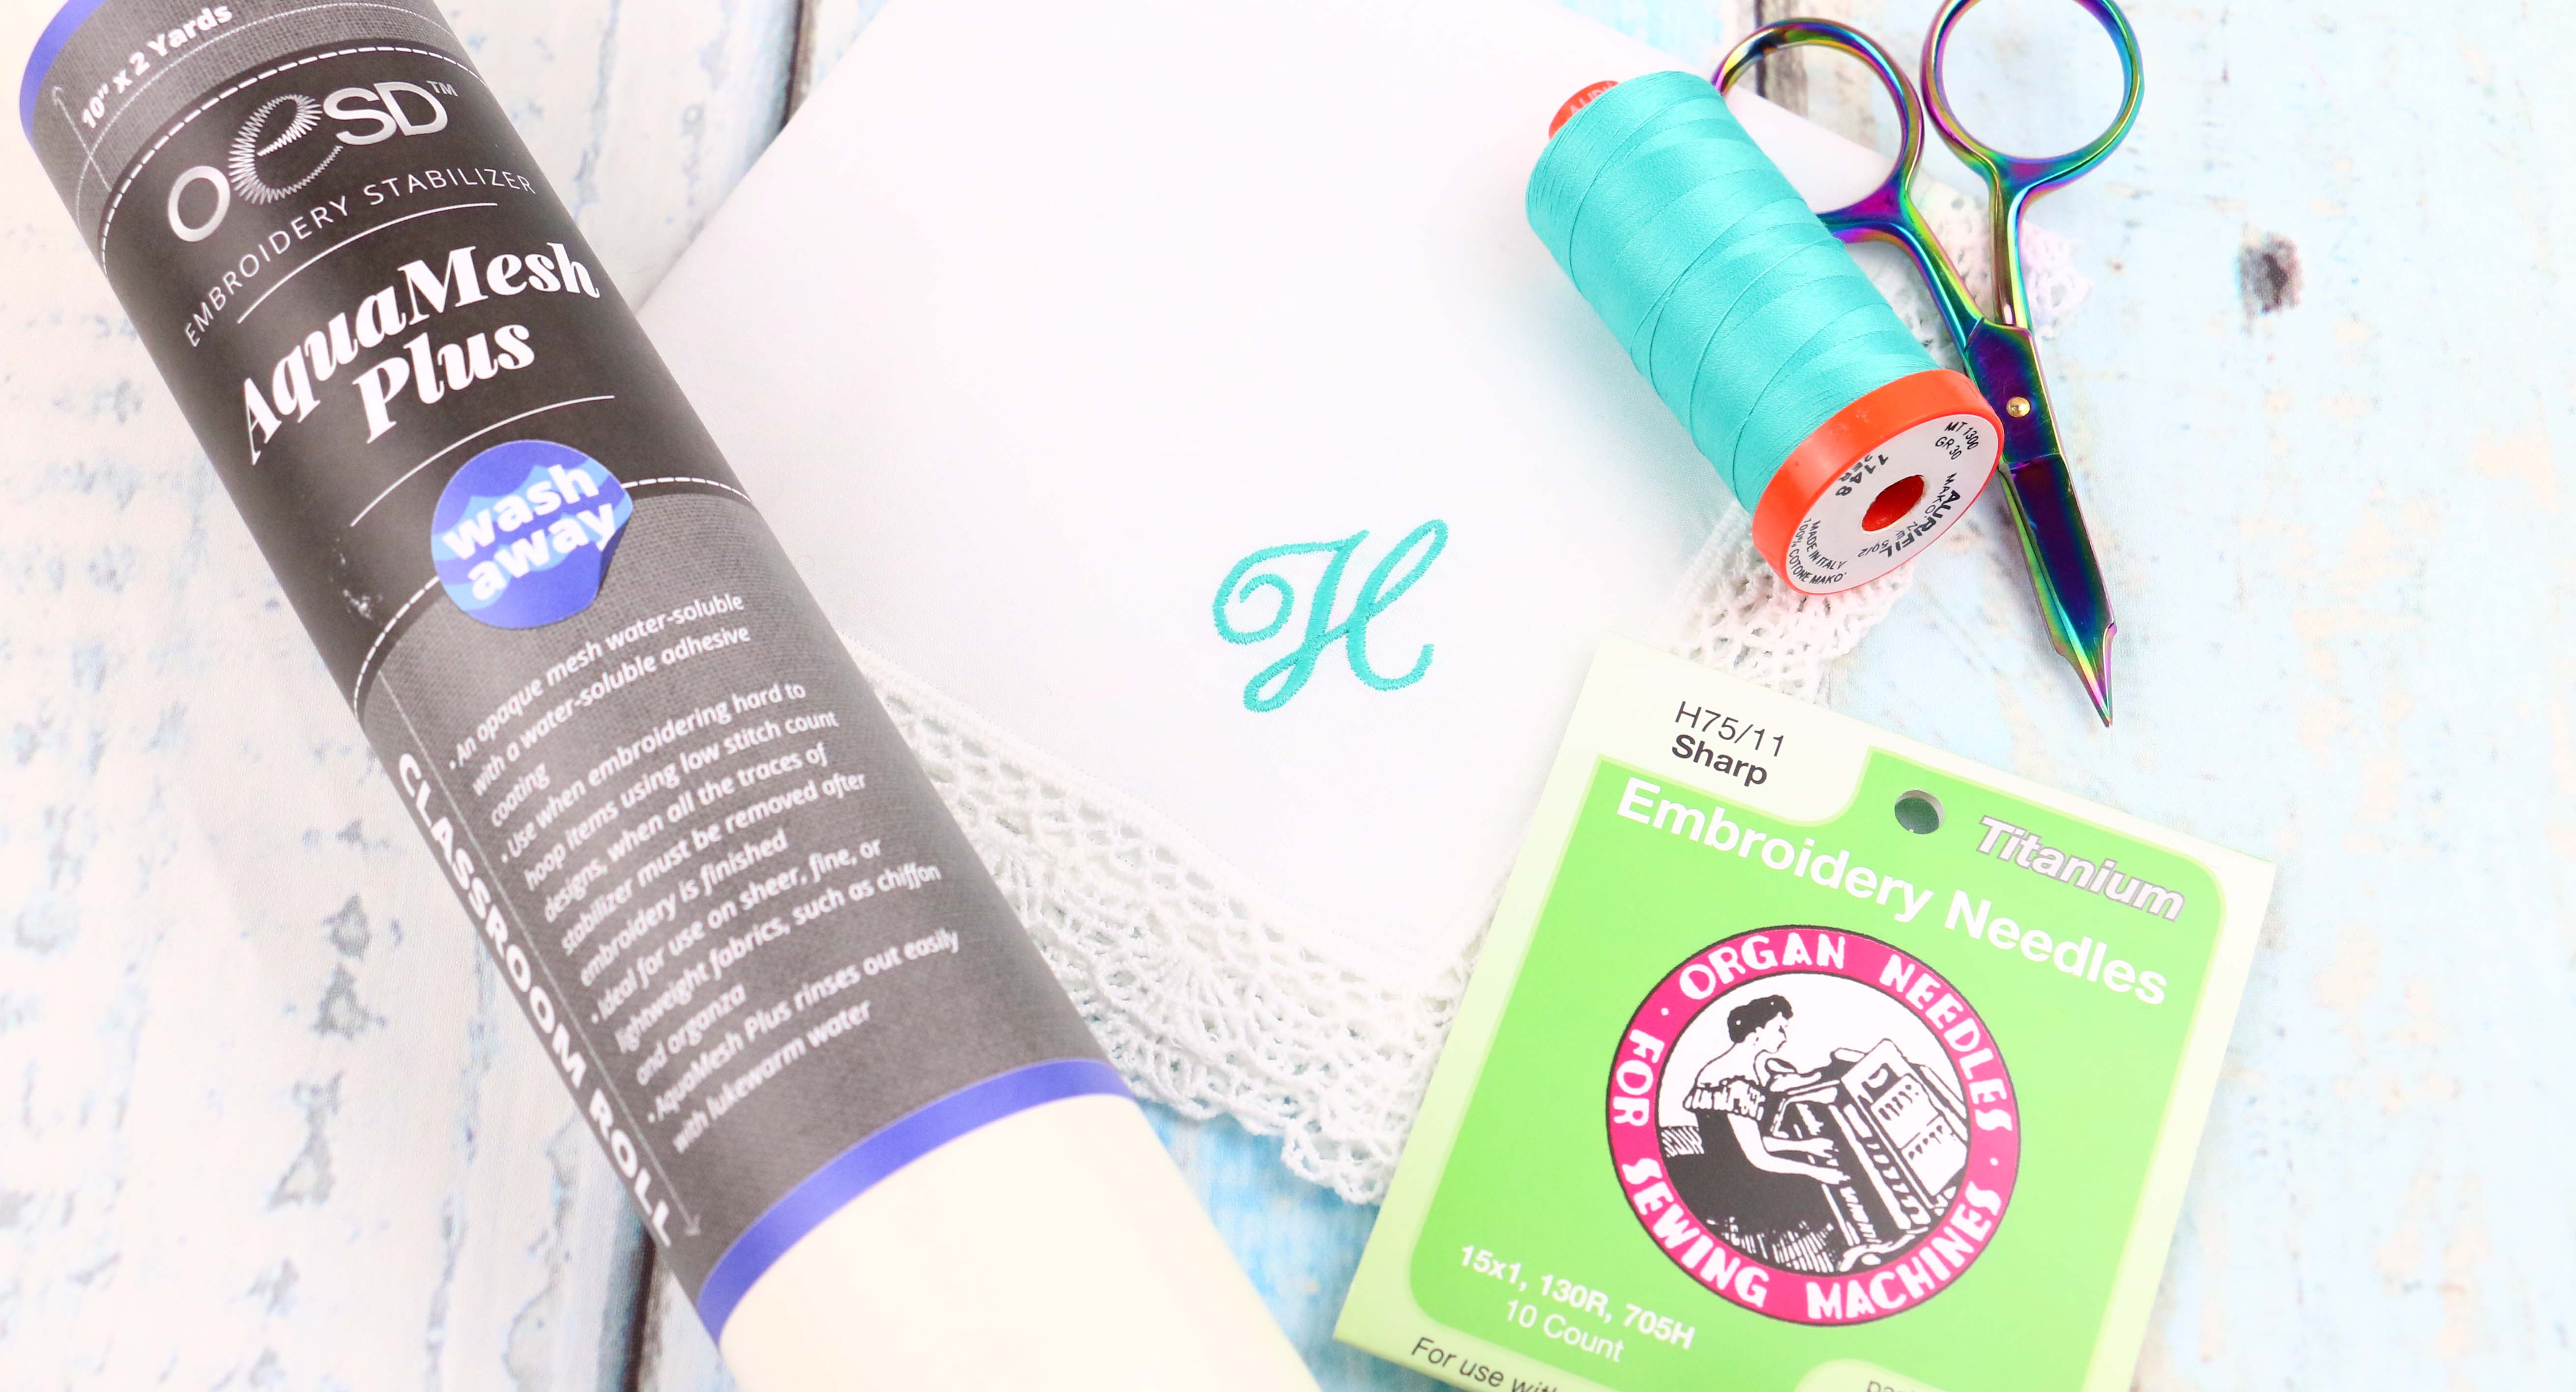
- Napkin Corners: Ultra Clean and Tear Fusible Medium weight on the wrong side and float the over hooped StabilStick
Embroidering on Wine Bottle Apron
The wine bottle apron is a great last minute hostess gift. Add lettering from your embroidery machine to personalize for the recipient. Let’s go over step-by-step how to use a Sticky stabilizer while floating a Tear Away underneath it. This is a great lesson for any tiny woven project.
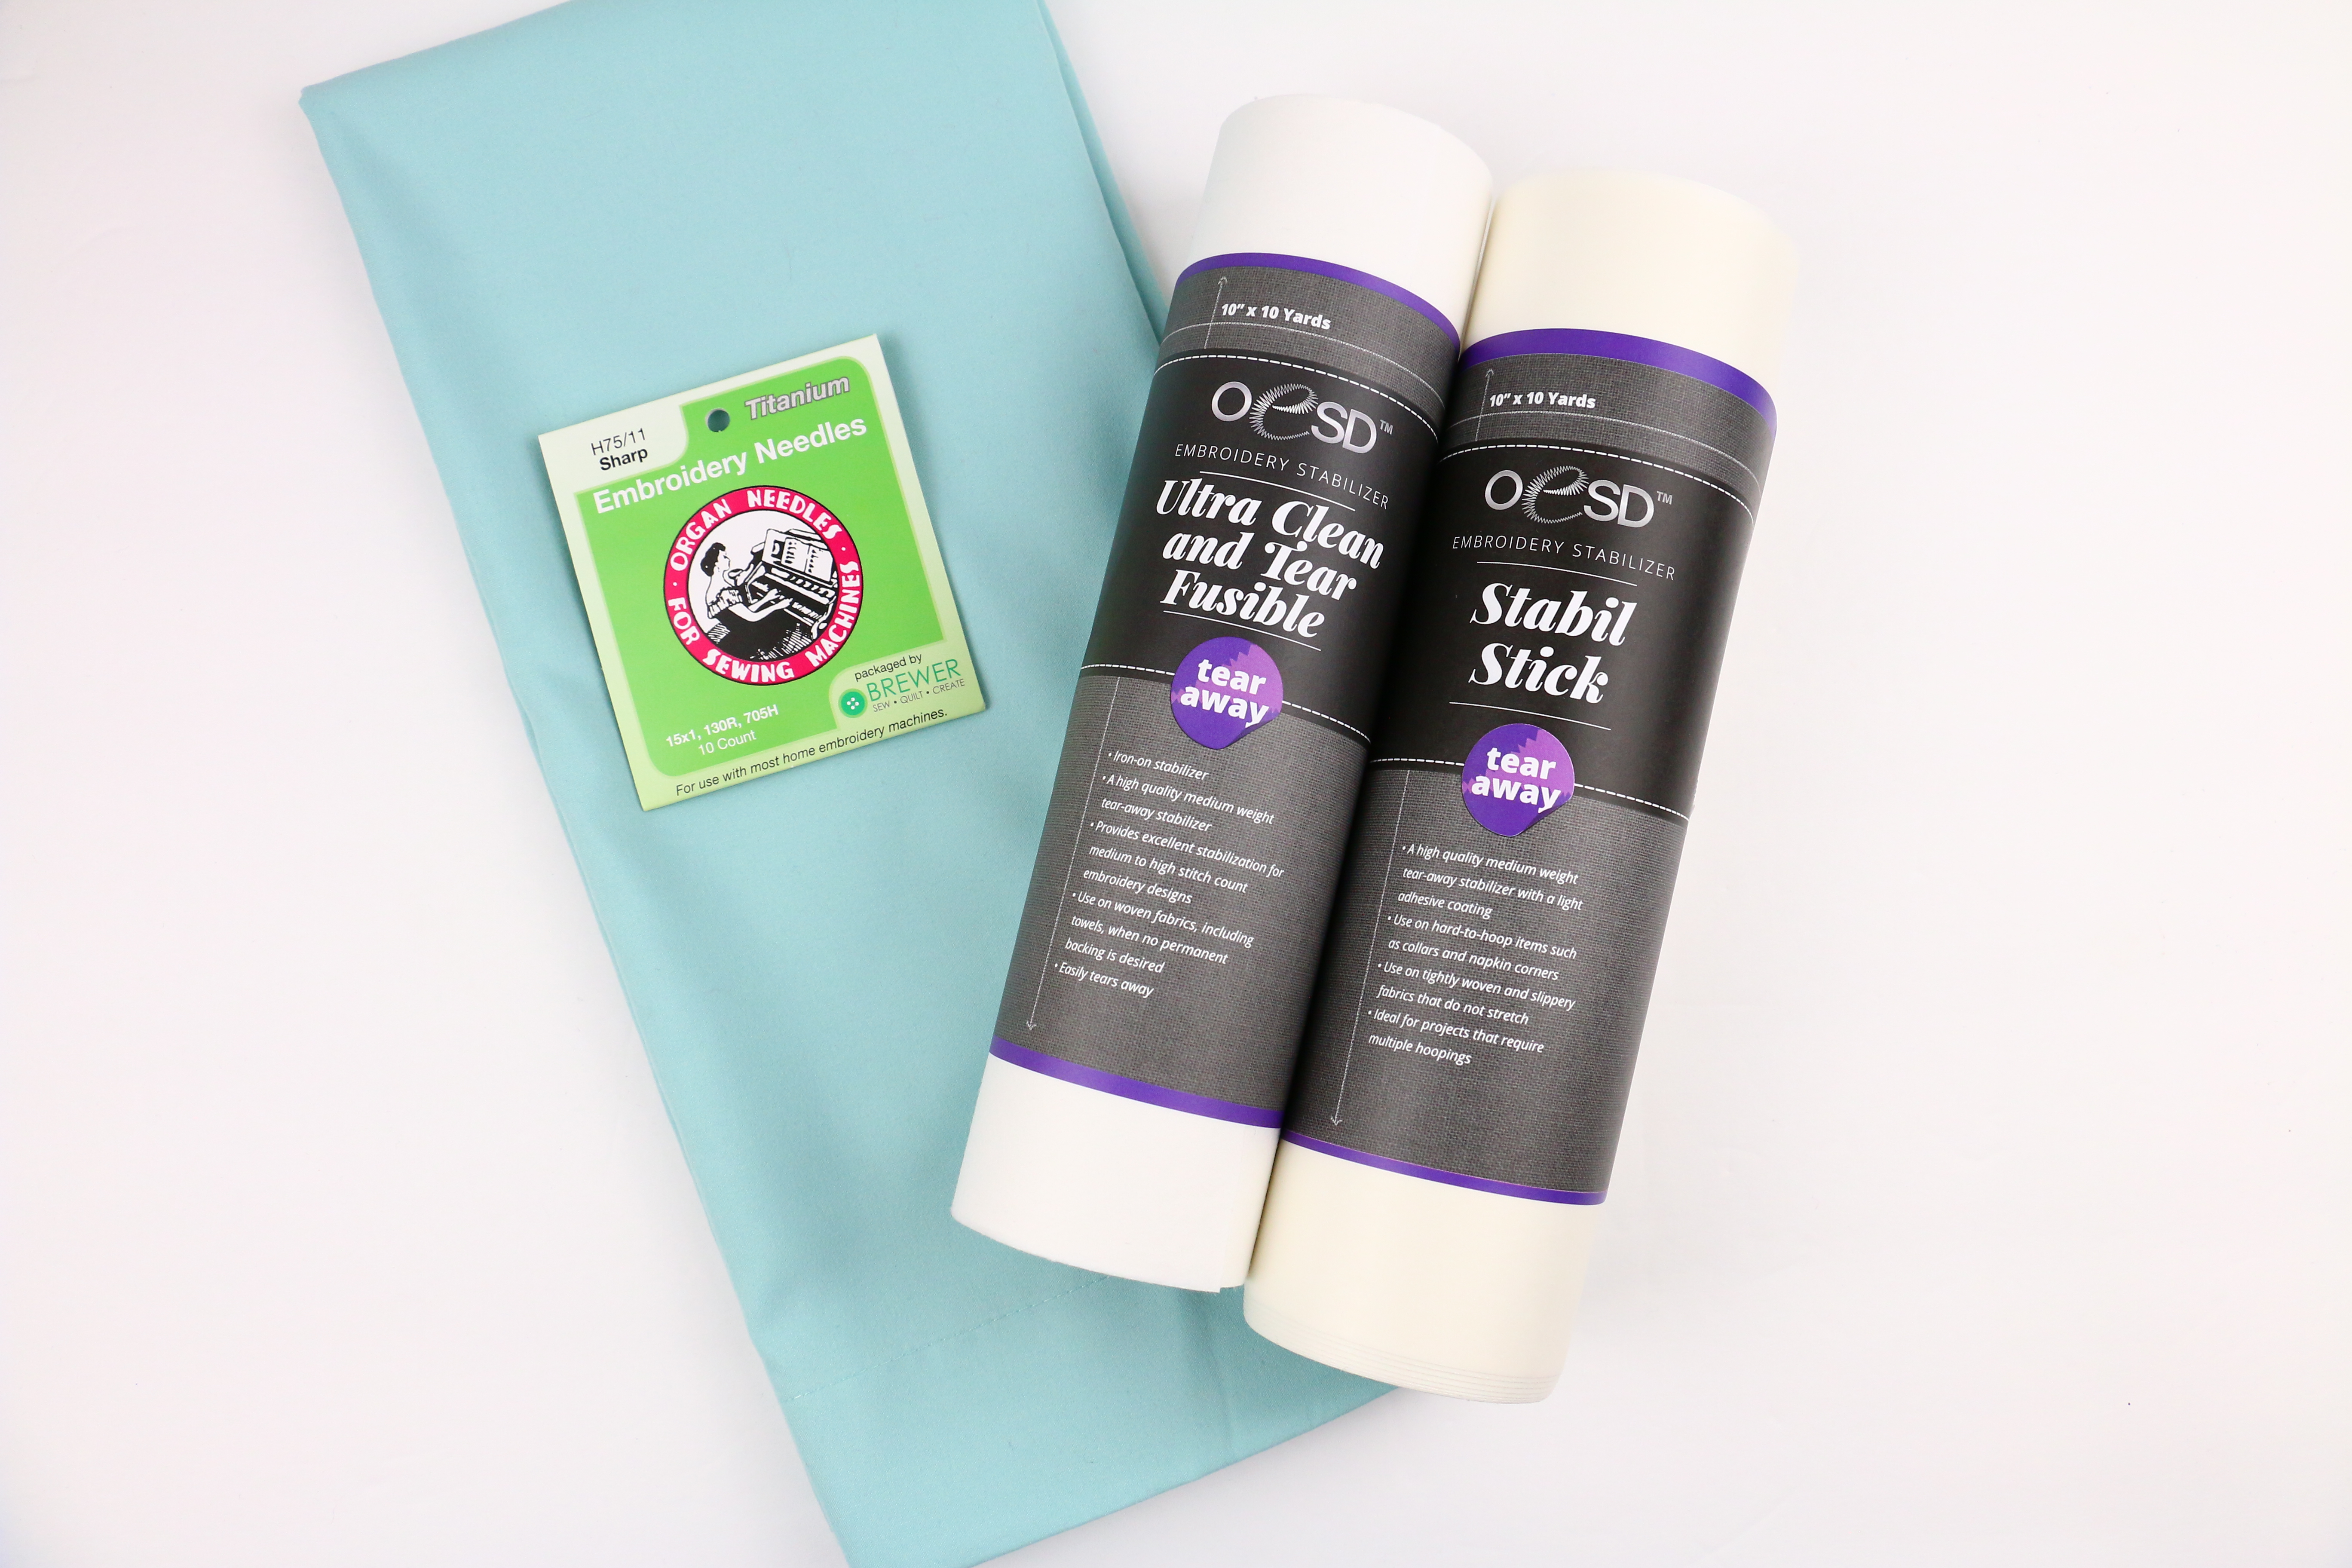
Selecting the stabilizer and hoop to use
Based on my stabilizer guide above I would hoop a Sticky stabilizer and float a Tear Away underneath it. Depending on how light or dense the design is you might find it necessary to add two layers of the Tear Away.

Preparing Wine Bottle Apron
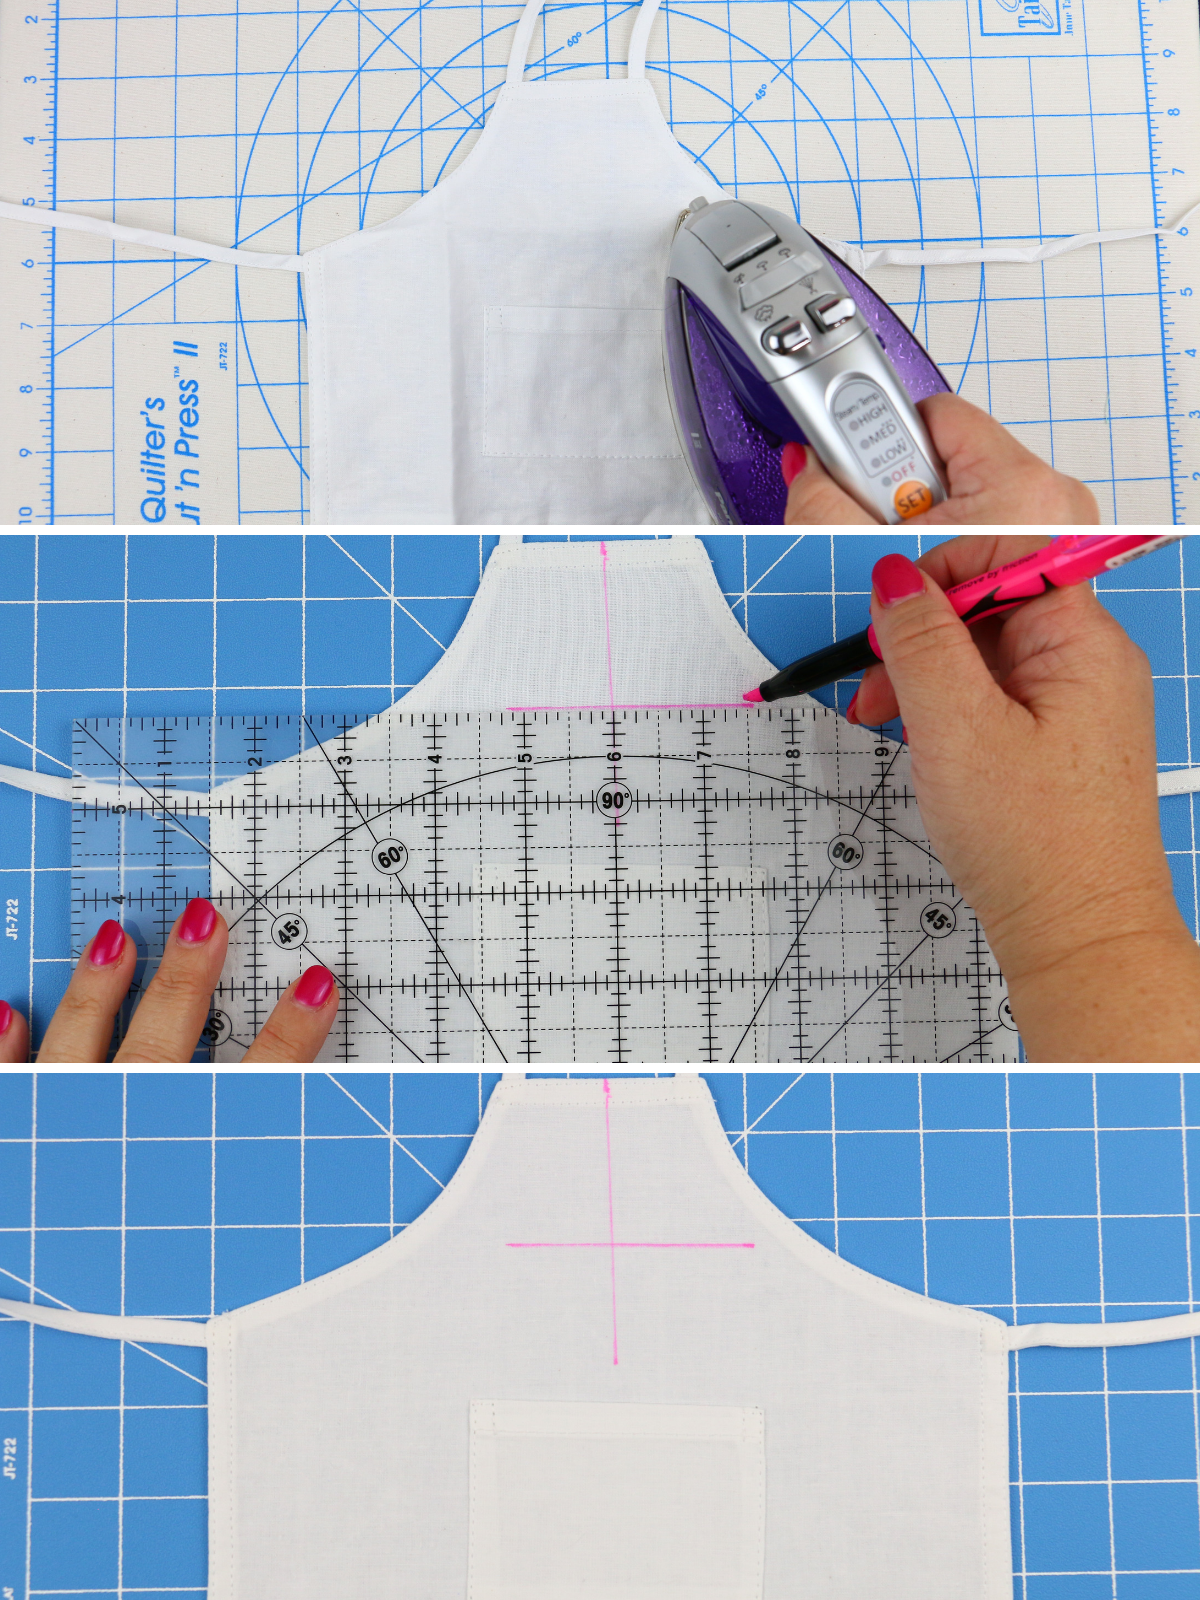
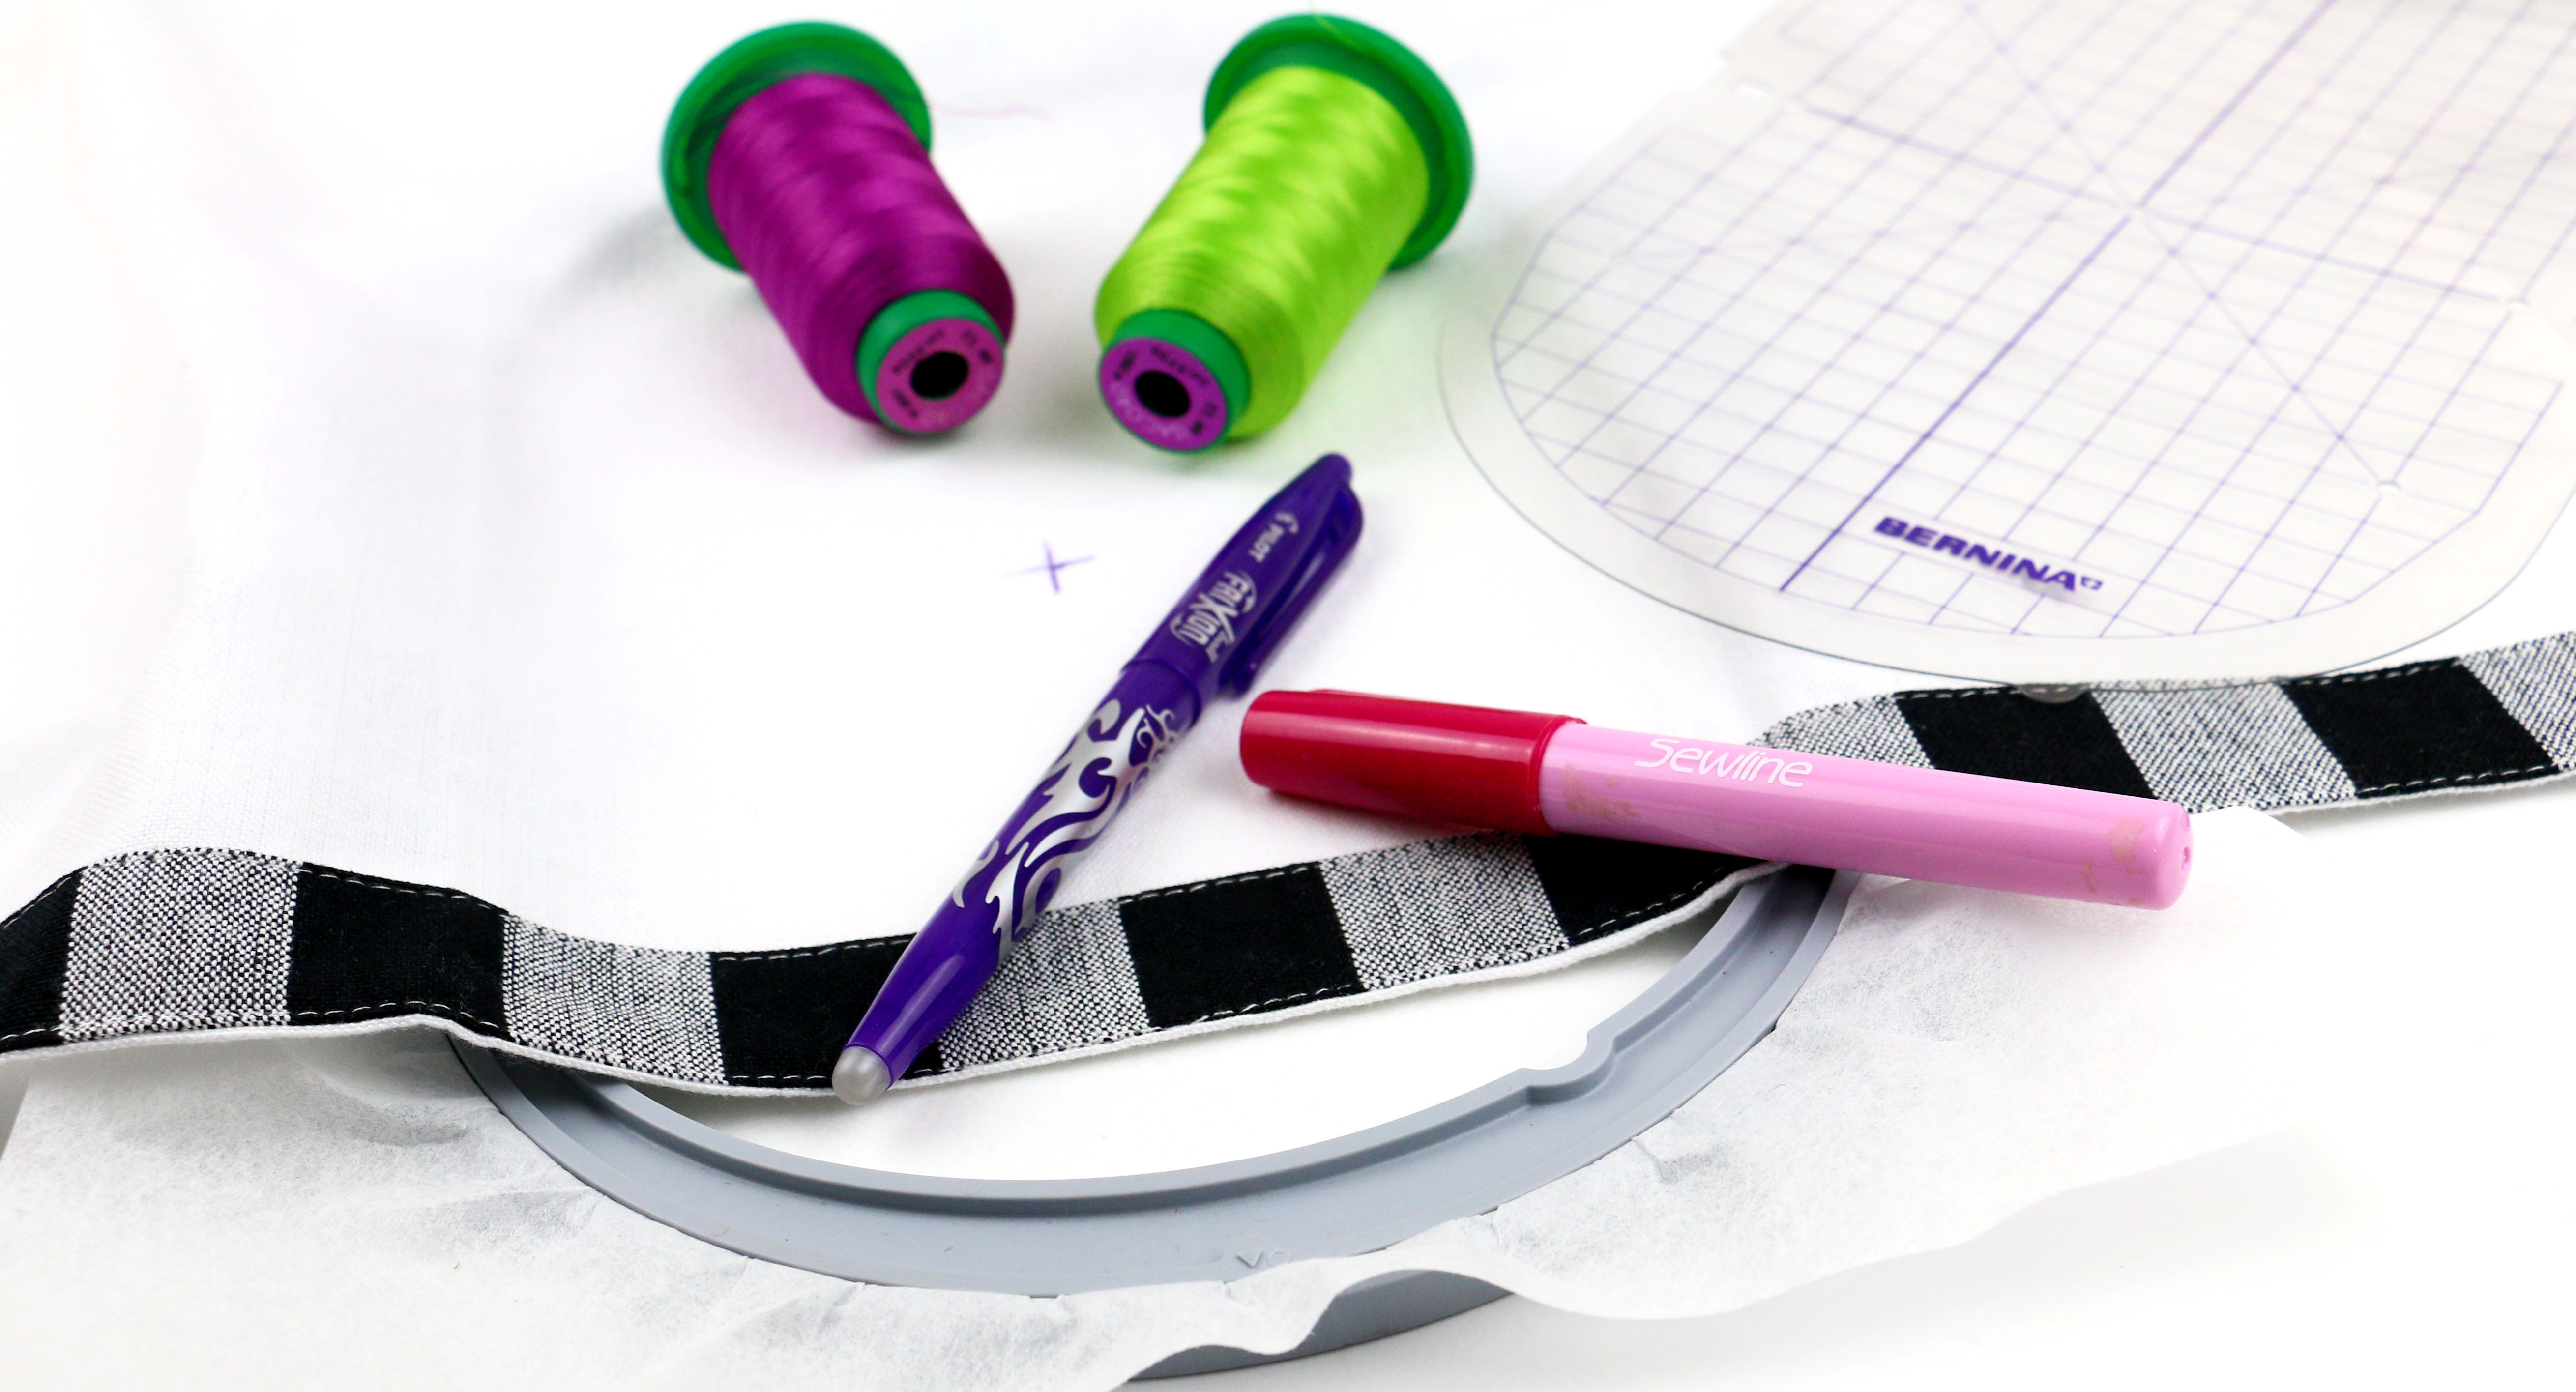
Press wrinkles using Best Press. Using a marking pen, find the center area of where you’d like the design. I used the Frixion highlighters because removing is achieved with an iron and they leave no residue.
Choosing Hoop
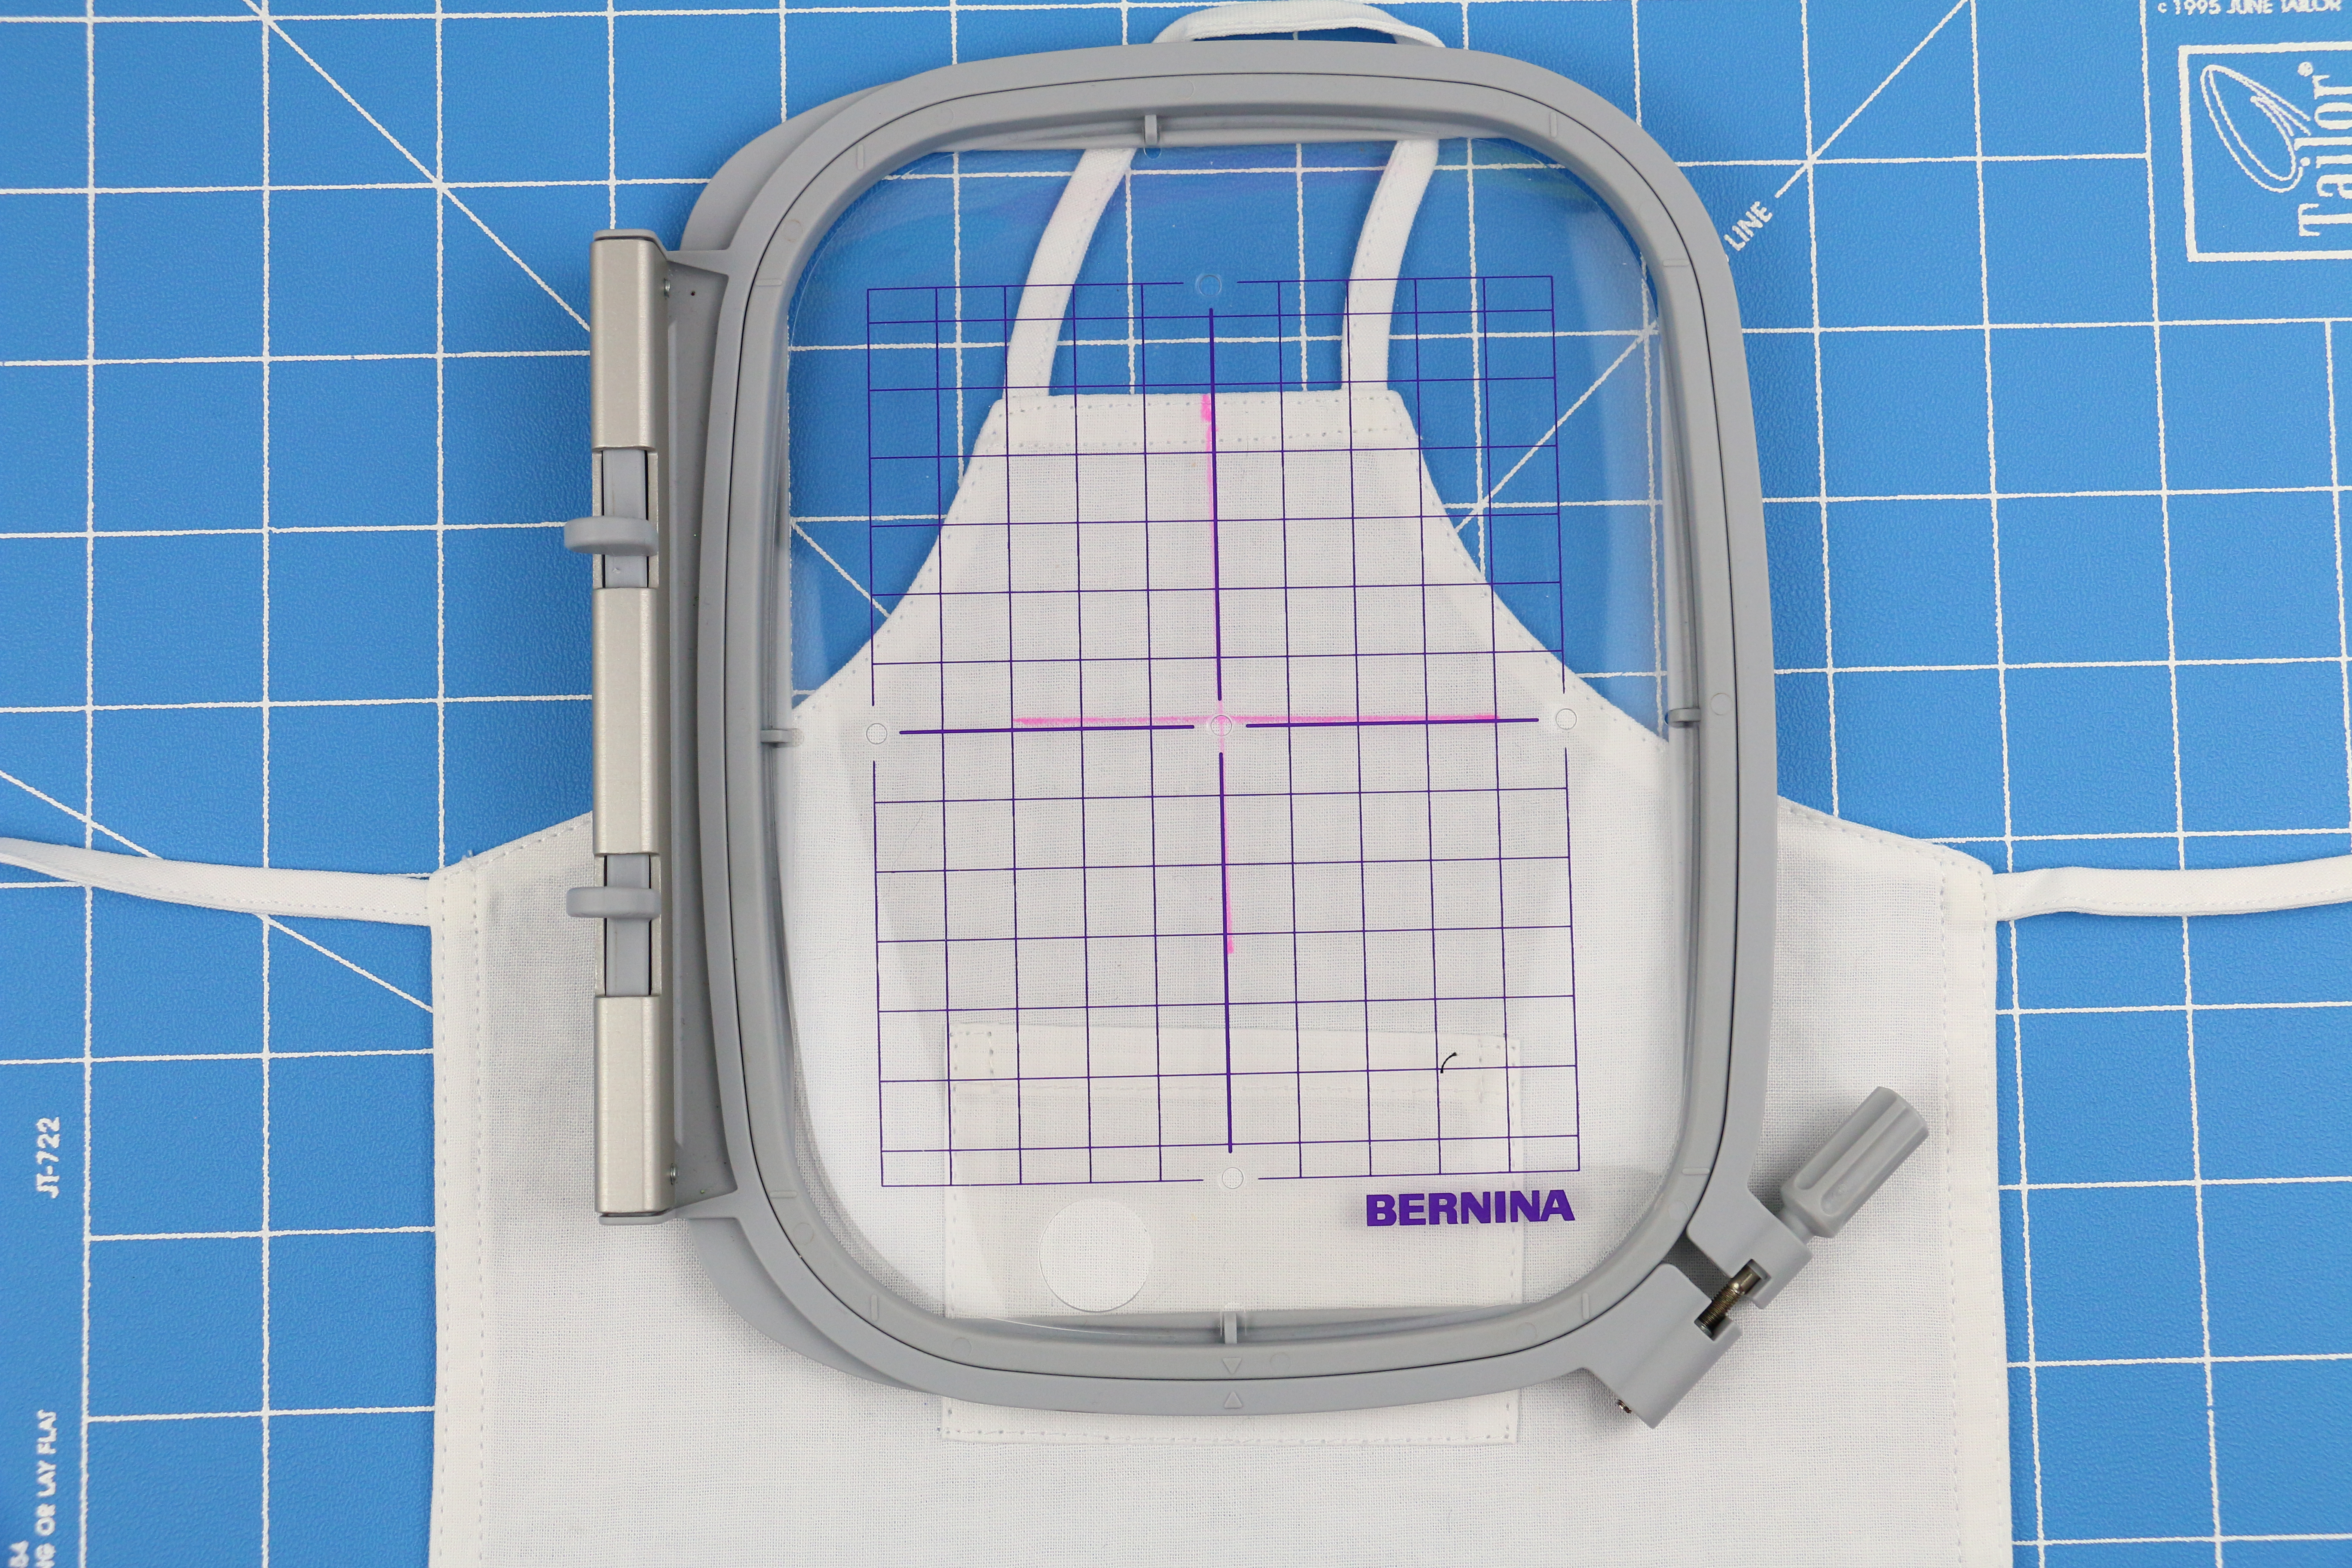
It’s always recommended to choose the smallest hoop for any machine embroidery project. Doing so saves stabilizer and ensure the hoop to tightest around the stitching. However when the item is so small it still doesn’t fit within the hoop, move up to the next size. Let’s take a look at the smallest two hoops for my BERNINA 790 PLUS.
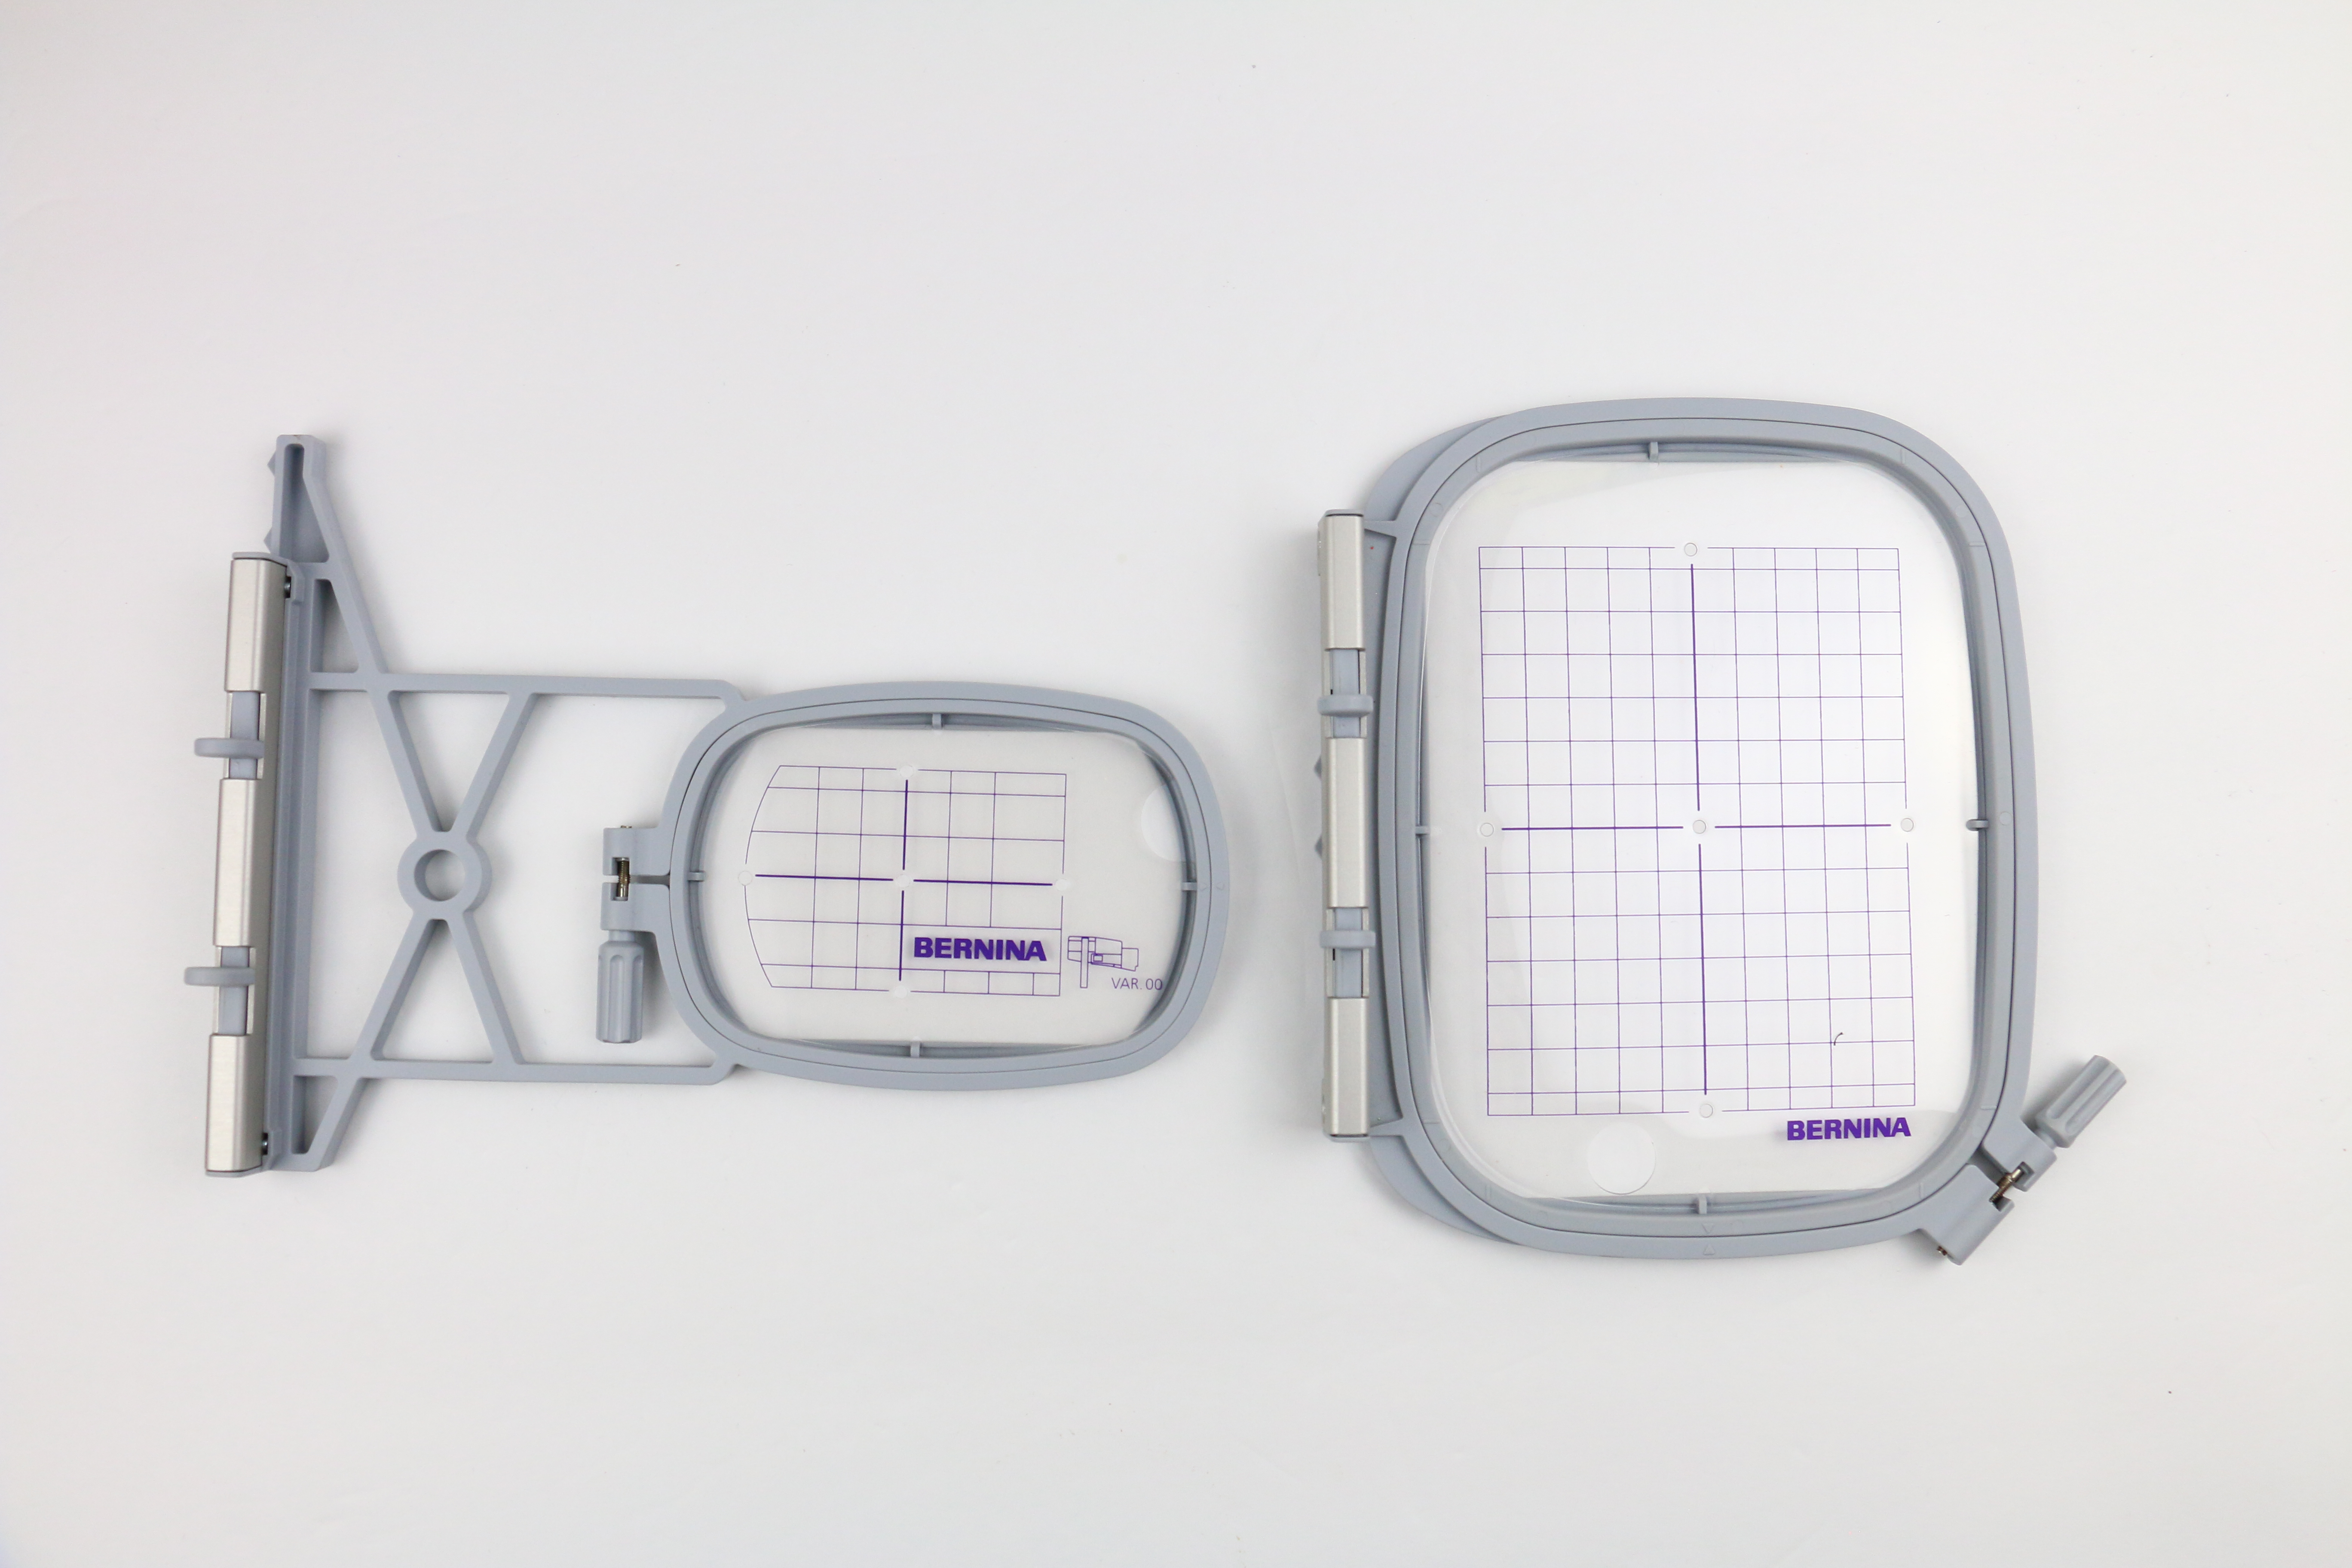
Small hoop: Notice how the wine bottle apron will not fit into the hoop.
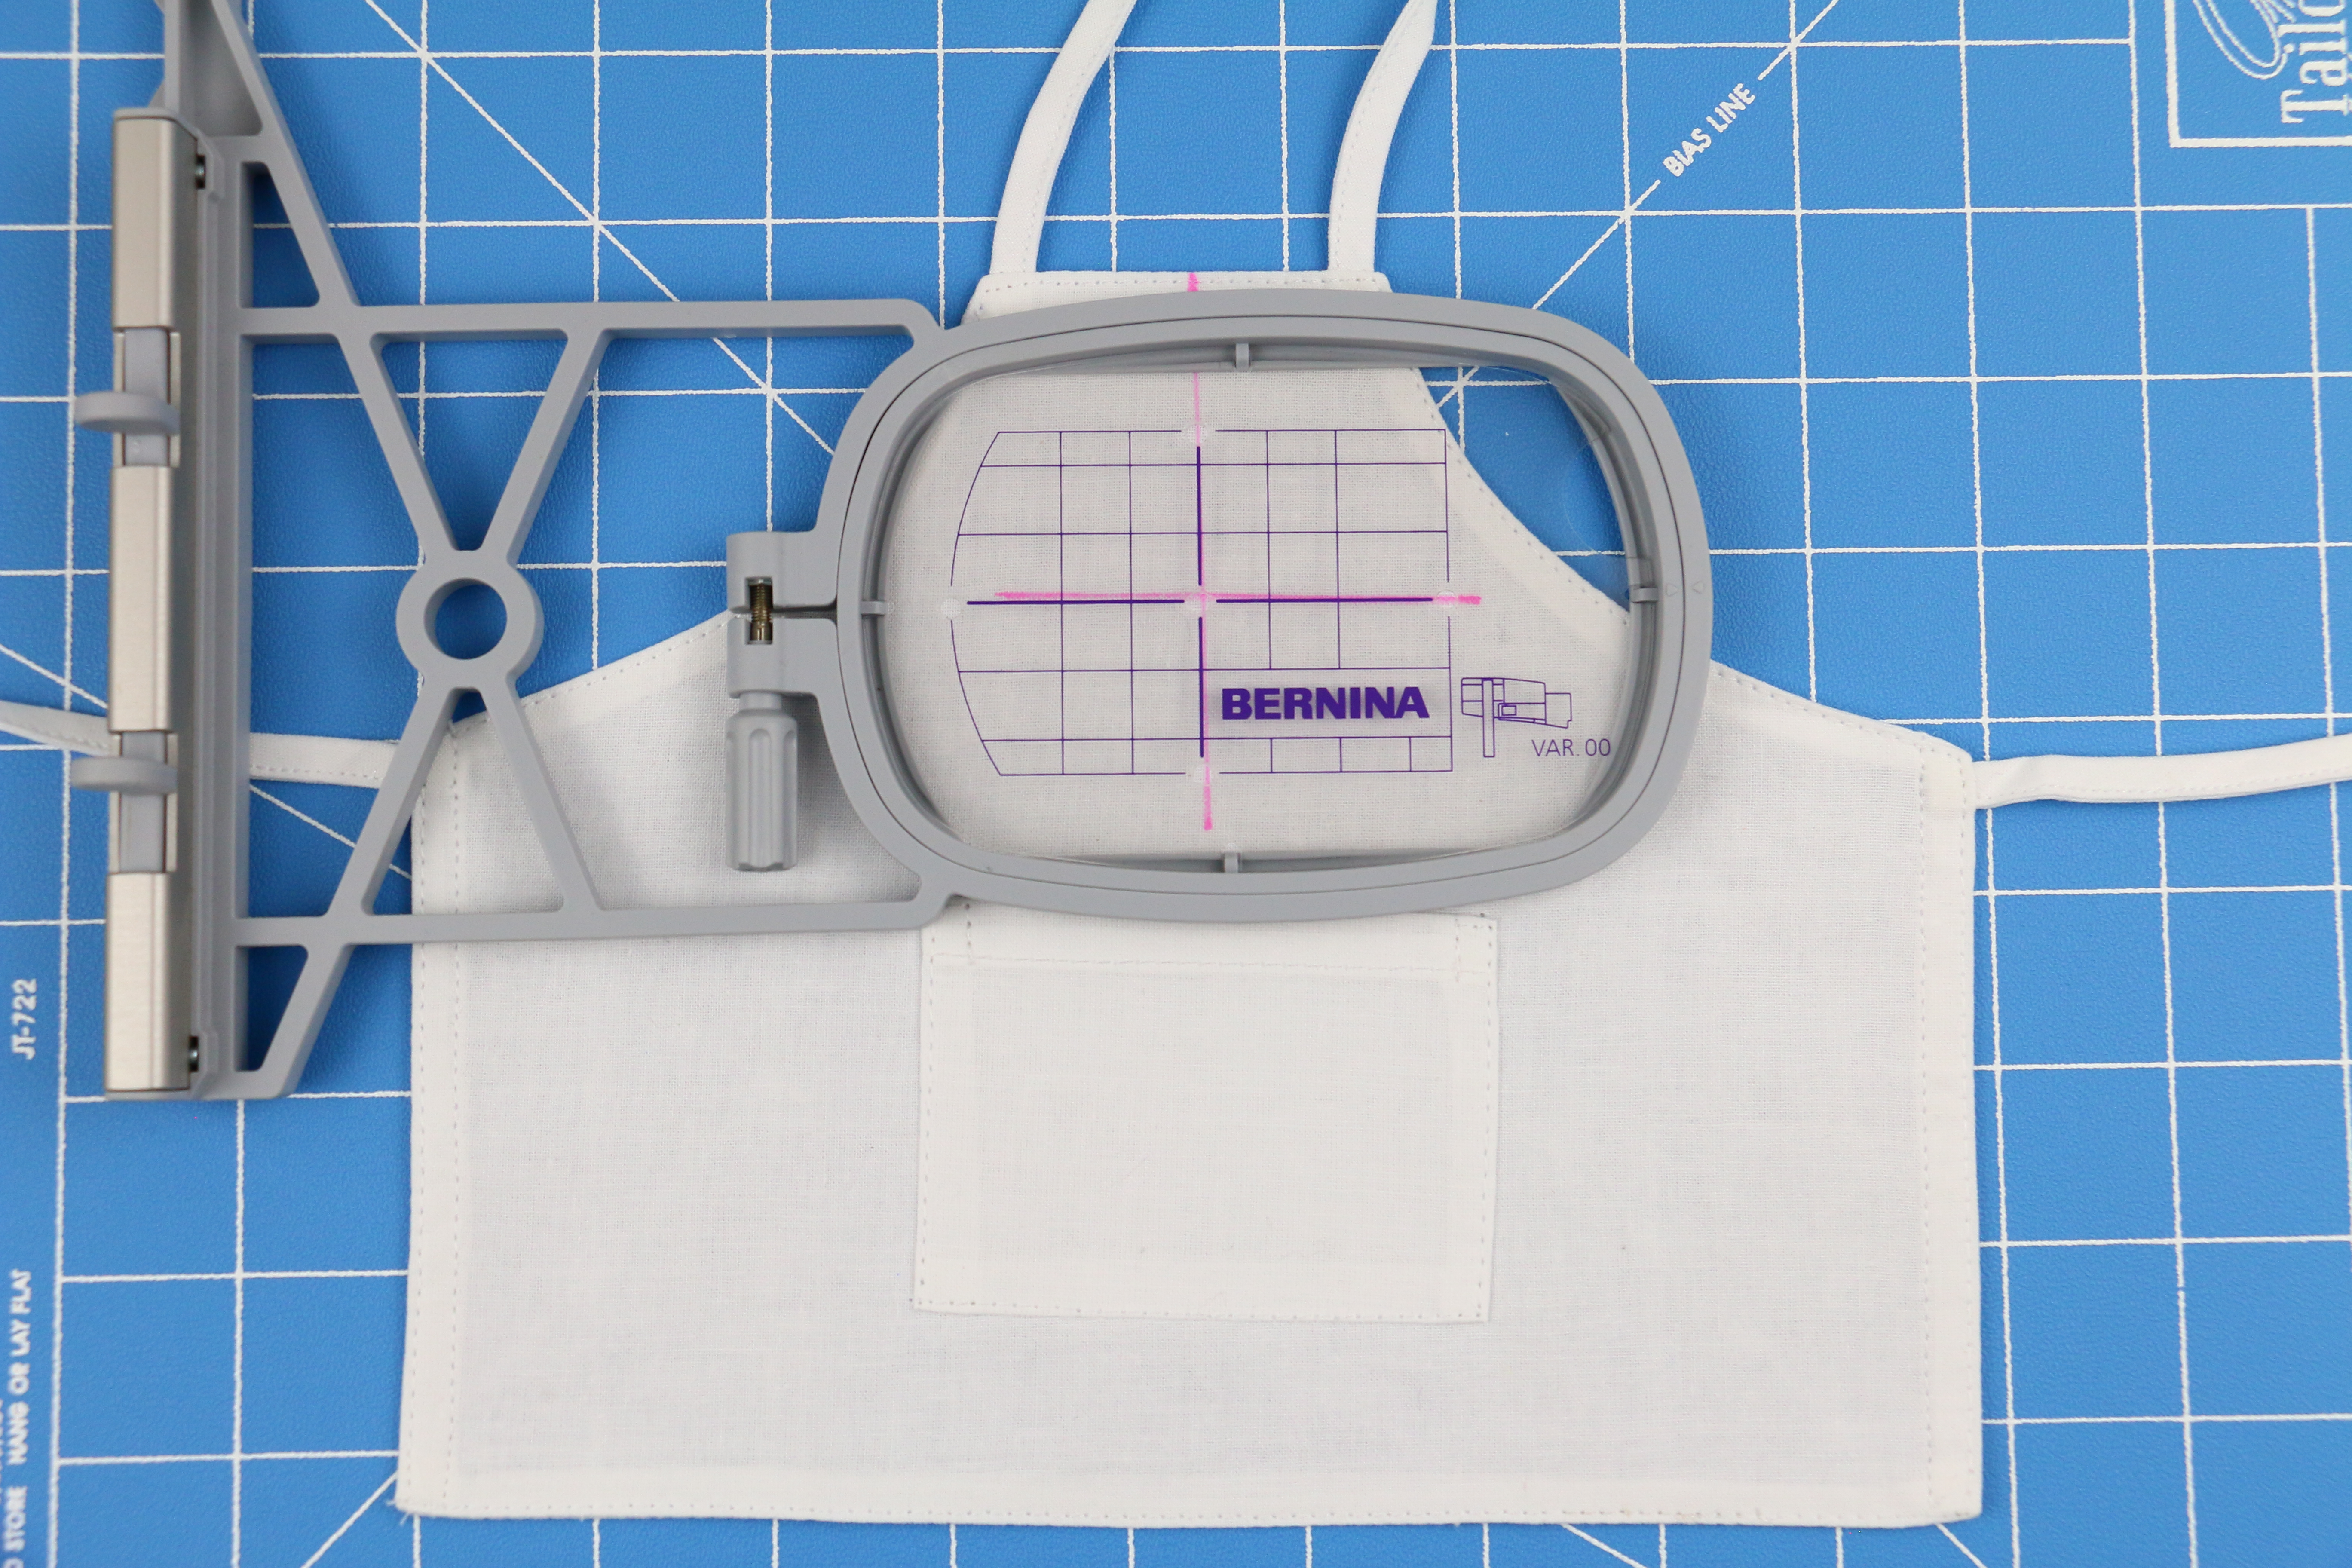
Medium hoop: The apron definitely will not fit in with traditional “hooping”. This is where the Sticky stabilizer really comes into play. Since we are going to hoop the Sticky , it would be more logical to use the medium size hoop allowing more of the adhesive to hold the apron in place. Stabilizing and hooping method for this type of project will be to hoop the StabilStick and float the Ultra Clean and Tear Medium weight underneath the hoop.
Placement
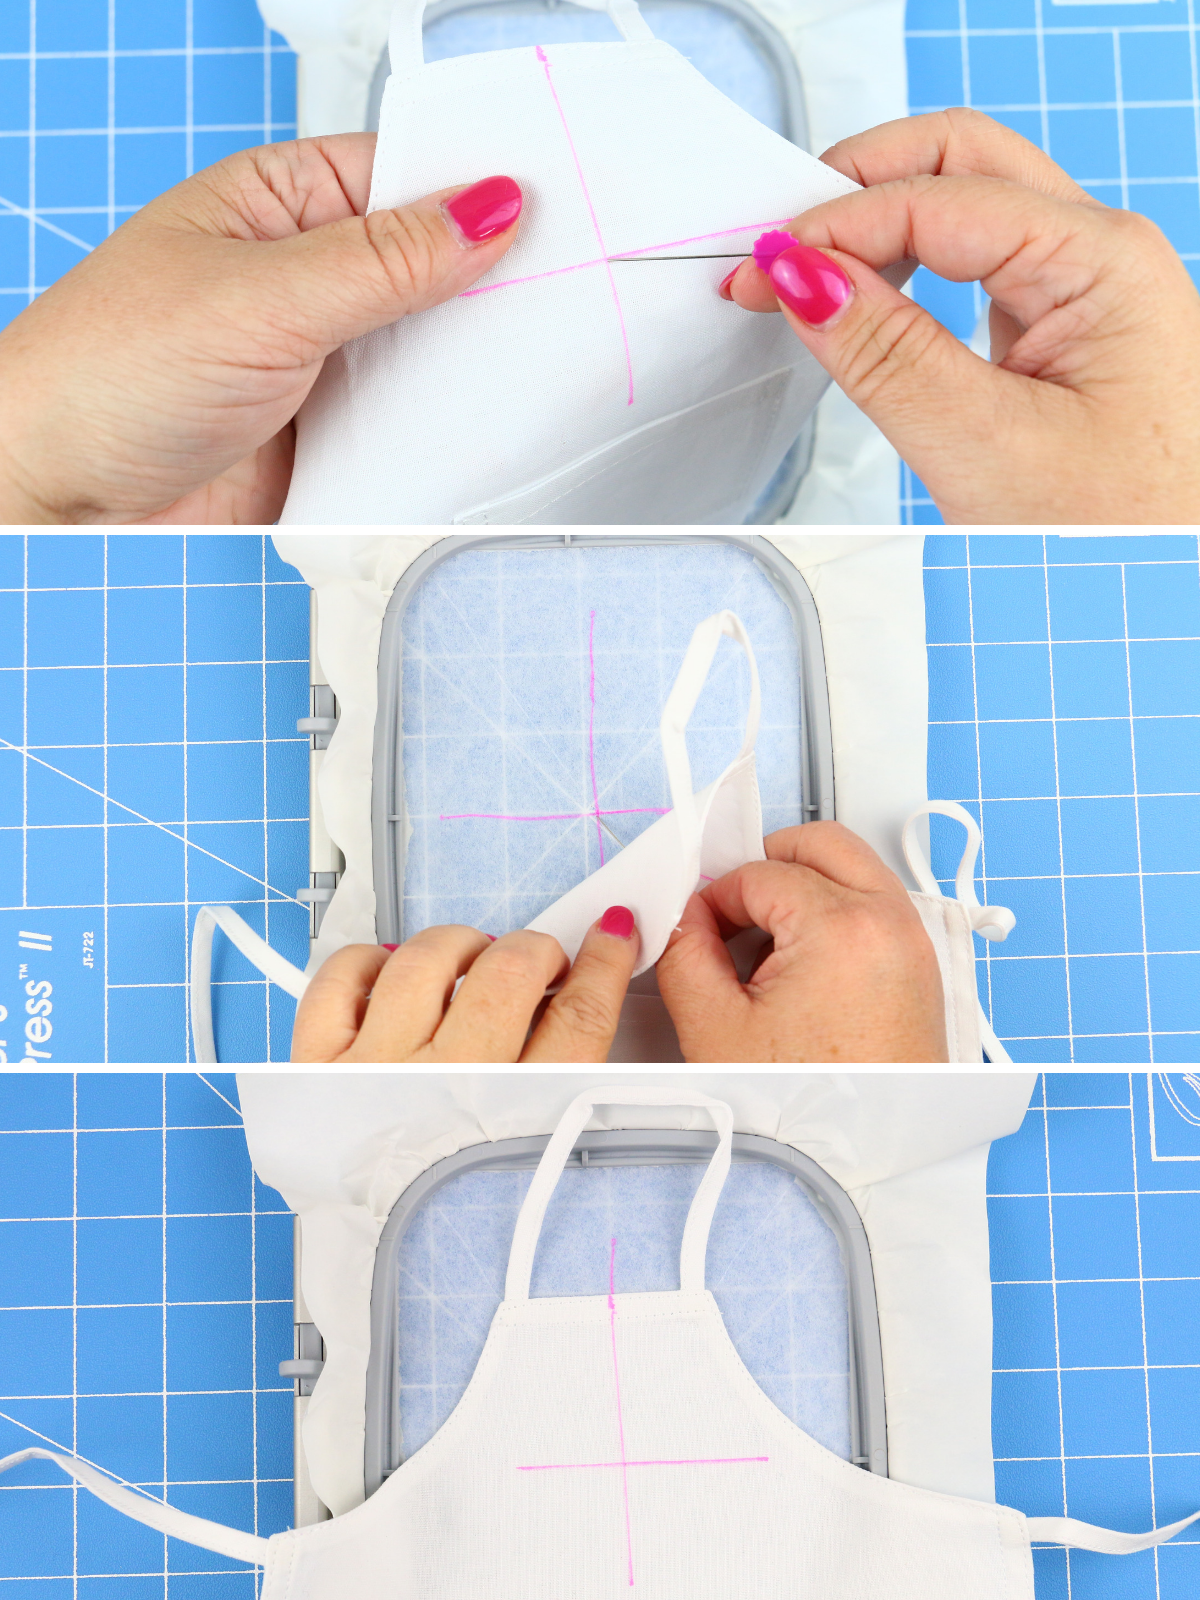
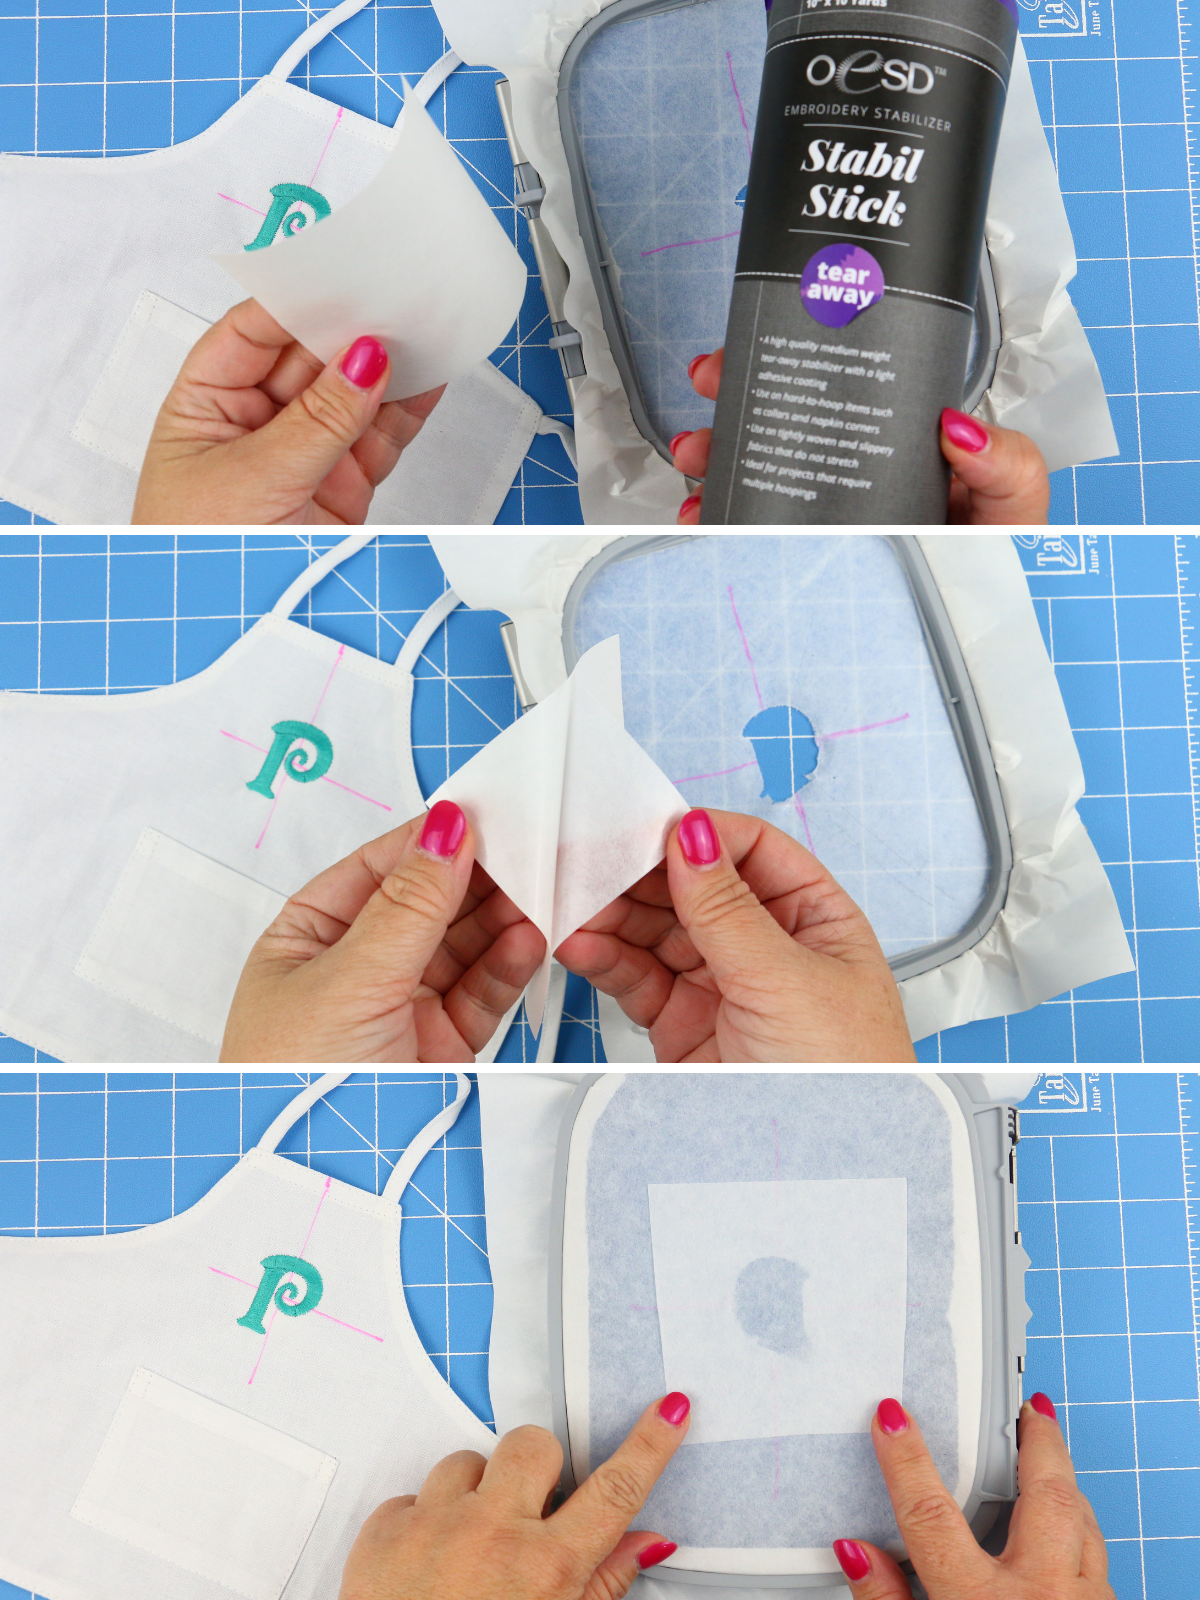
This is the fun part! Begin by hooping the StabilStick. You will notice that is has two layers. The sticky side and paper side. Hoop a large piece covering at least 1″ outside the hoop with the paper side up.
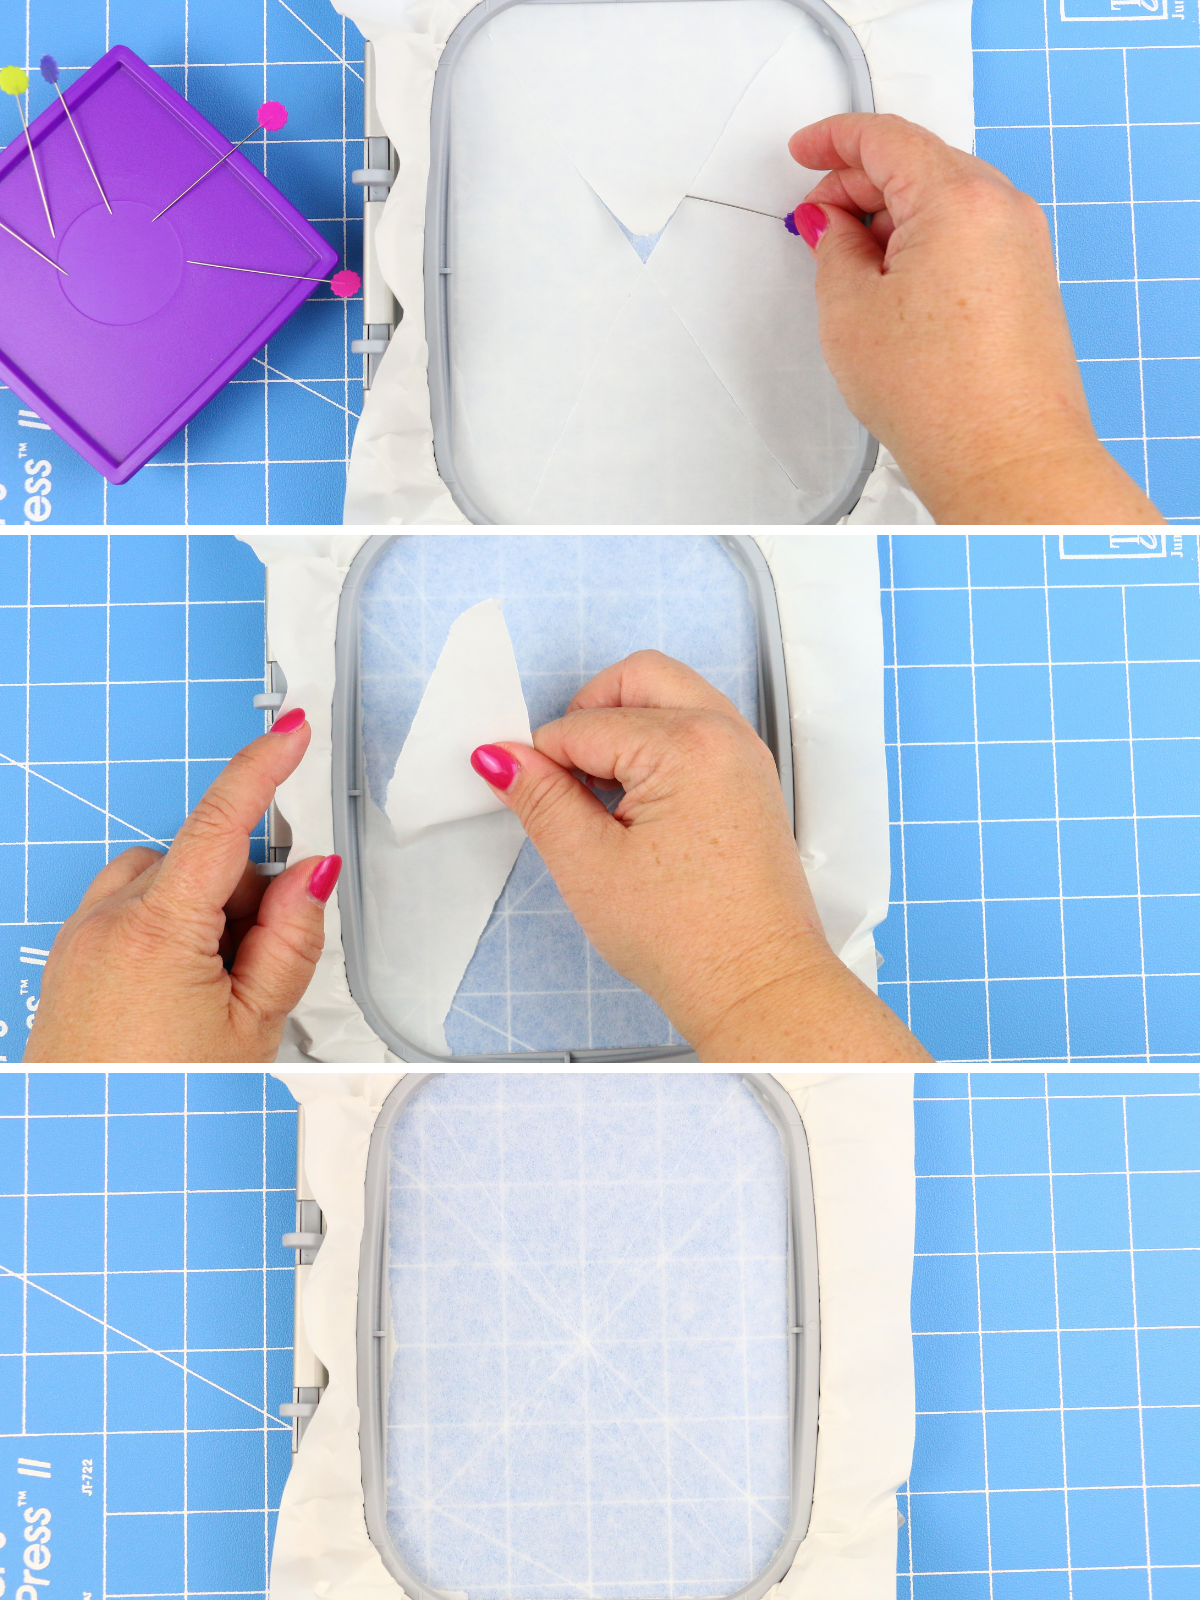
 Use a pin to score the paper side of the sticky without going through to the sticky side. Notice I marked an “X”. Use the pin to pull away the paper revealing the Sticky stabilizer below.
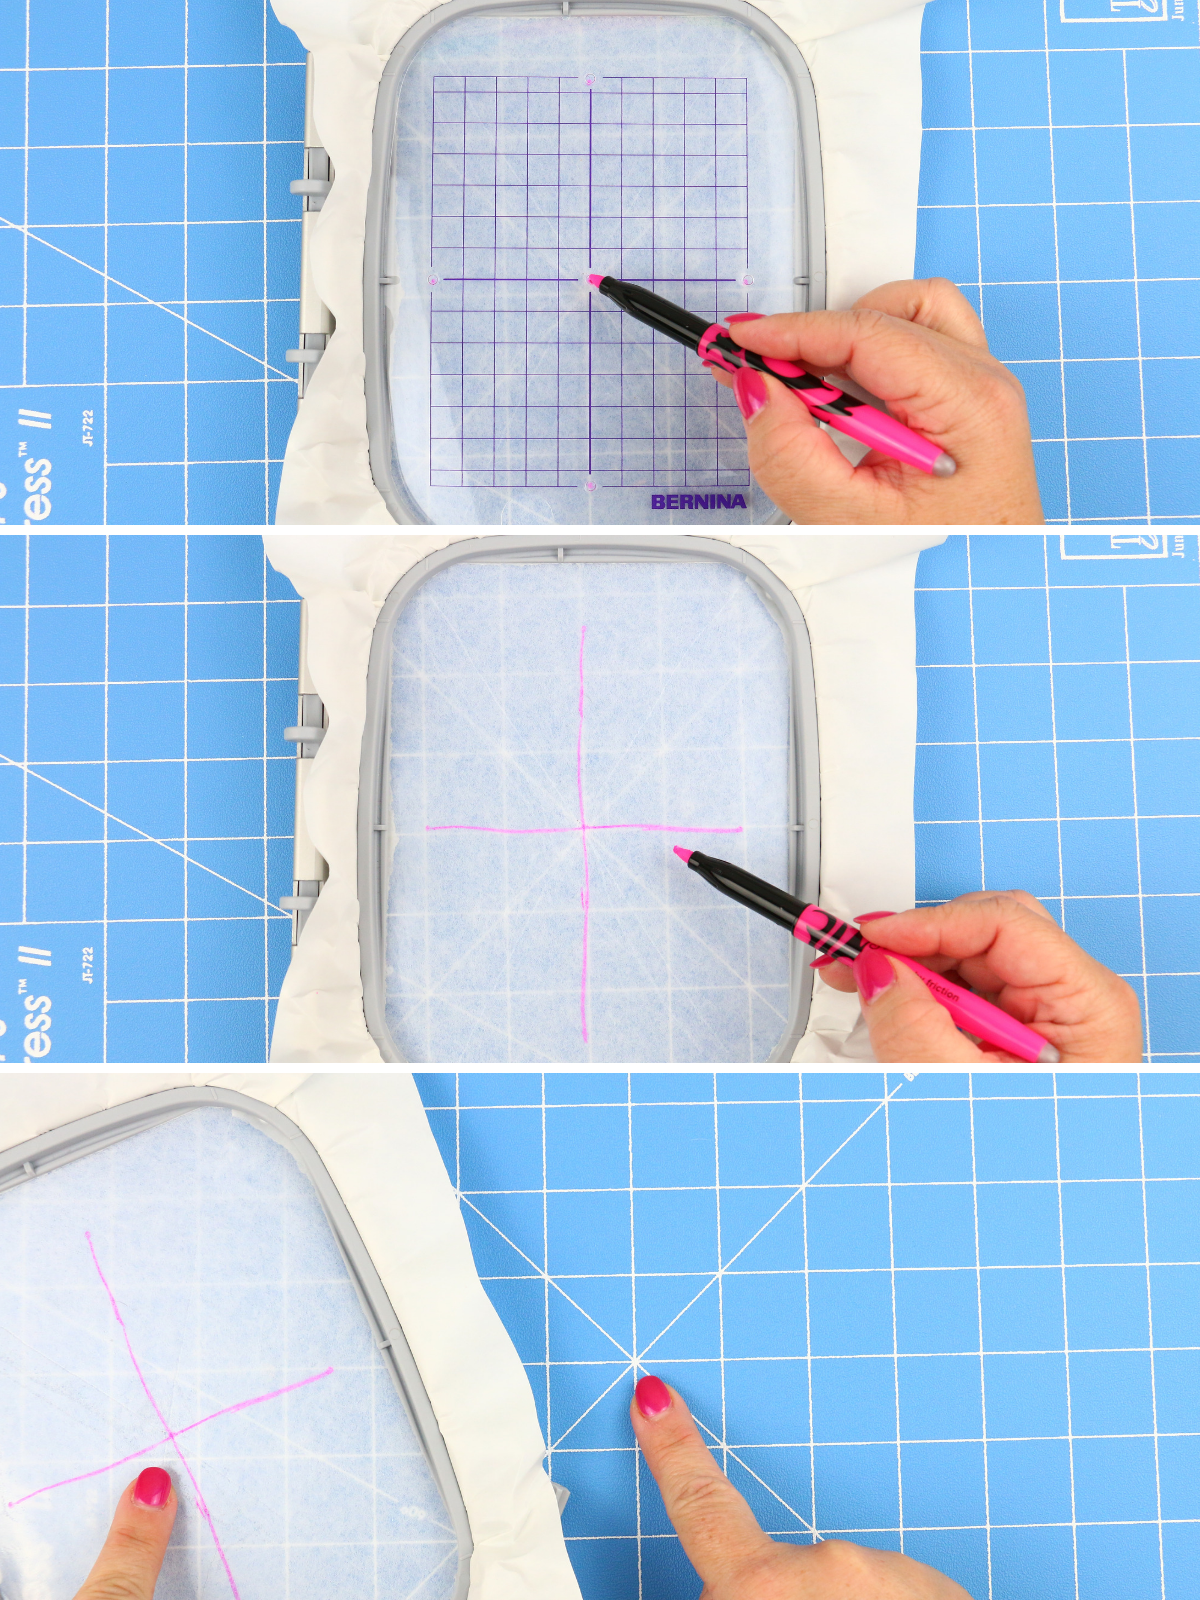
Use the hoops grid and marking pen. Mark directly onto the Sticky stabilizer. Connect marks to make a cross hair line. Keep the center mark on the Sticky stabilizer over the center mark on the cutting mat, this will help align the wine bottle apron.
Pro Tip: Use a rotary mat, Quilters Cut ‘n Press shown, to lay the hoop/stabilizer over. Use the lines from the rotary mat to help you connect your dots to form the cross hair line.
Place a pin through the center of the mark on the wine bottle apron. Align mark on sticky stabilizer and press apron firmly to sticky stabilizer.
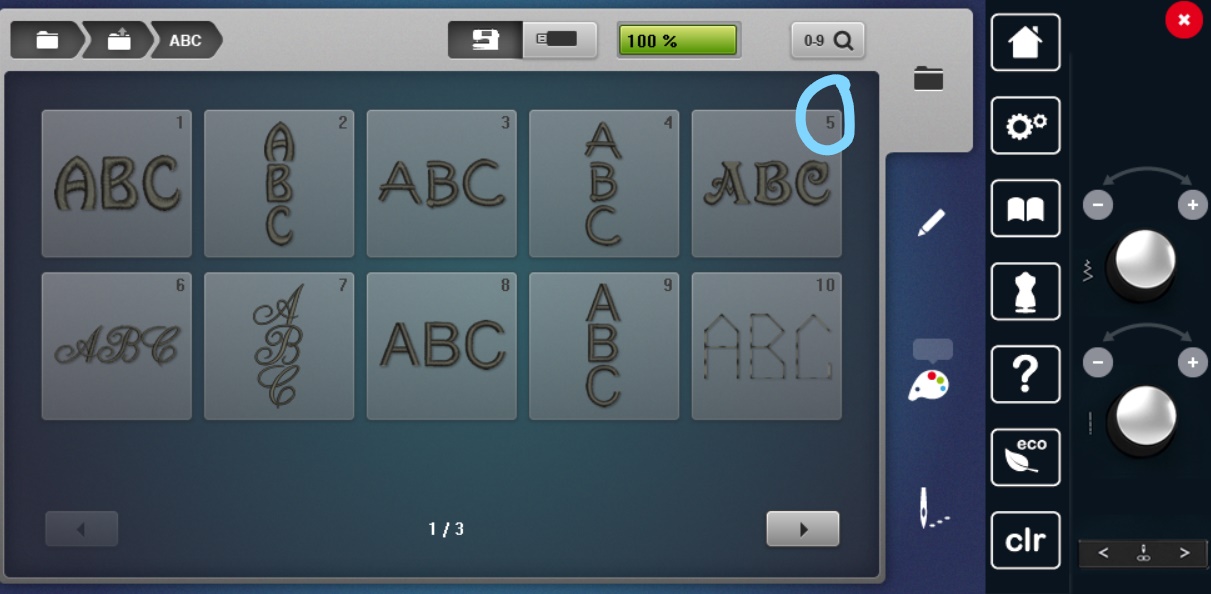
Choose design or font. I used a really pretty font on my BERNINA 790 PLUS. Select the size and message as desired. I chose font 5 and used the letter “P”.
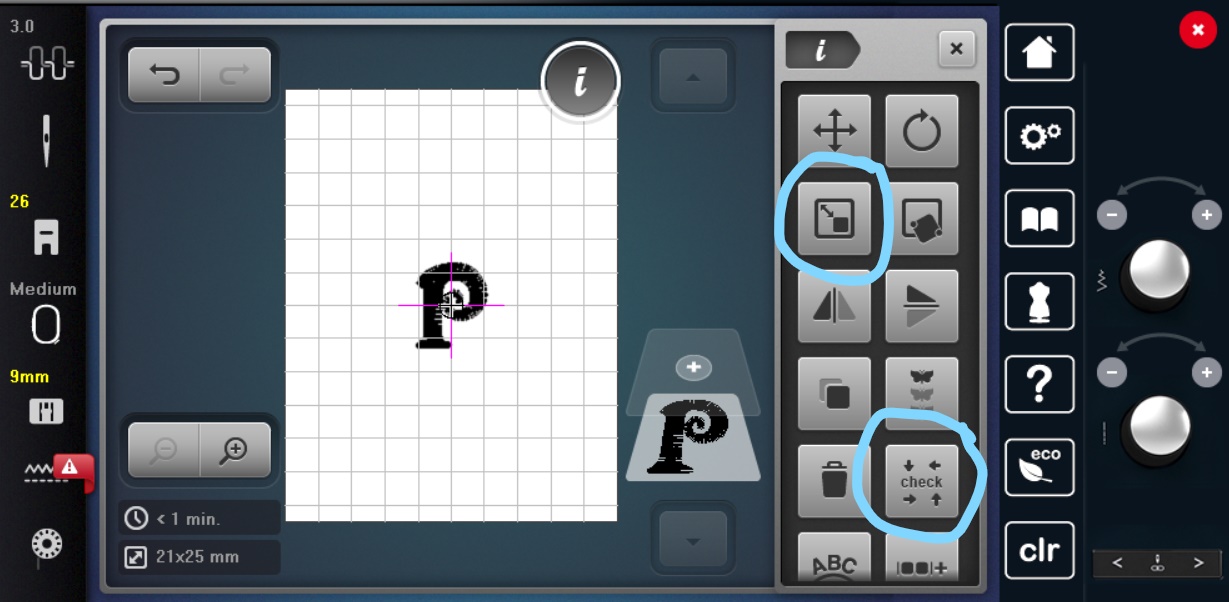
Change the hoop size on the screen. Since we are visual creatures it is also nice to add the motif center and turn the grid lines on.

Adjust the size and edit as needed. Check the placement on the wine bottle apron using the check option.
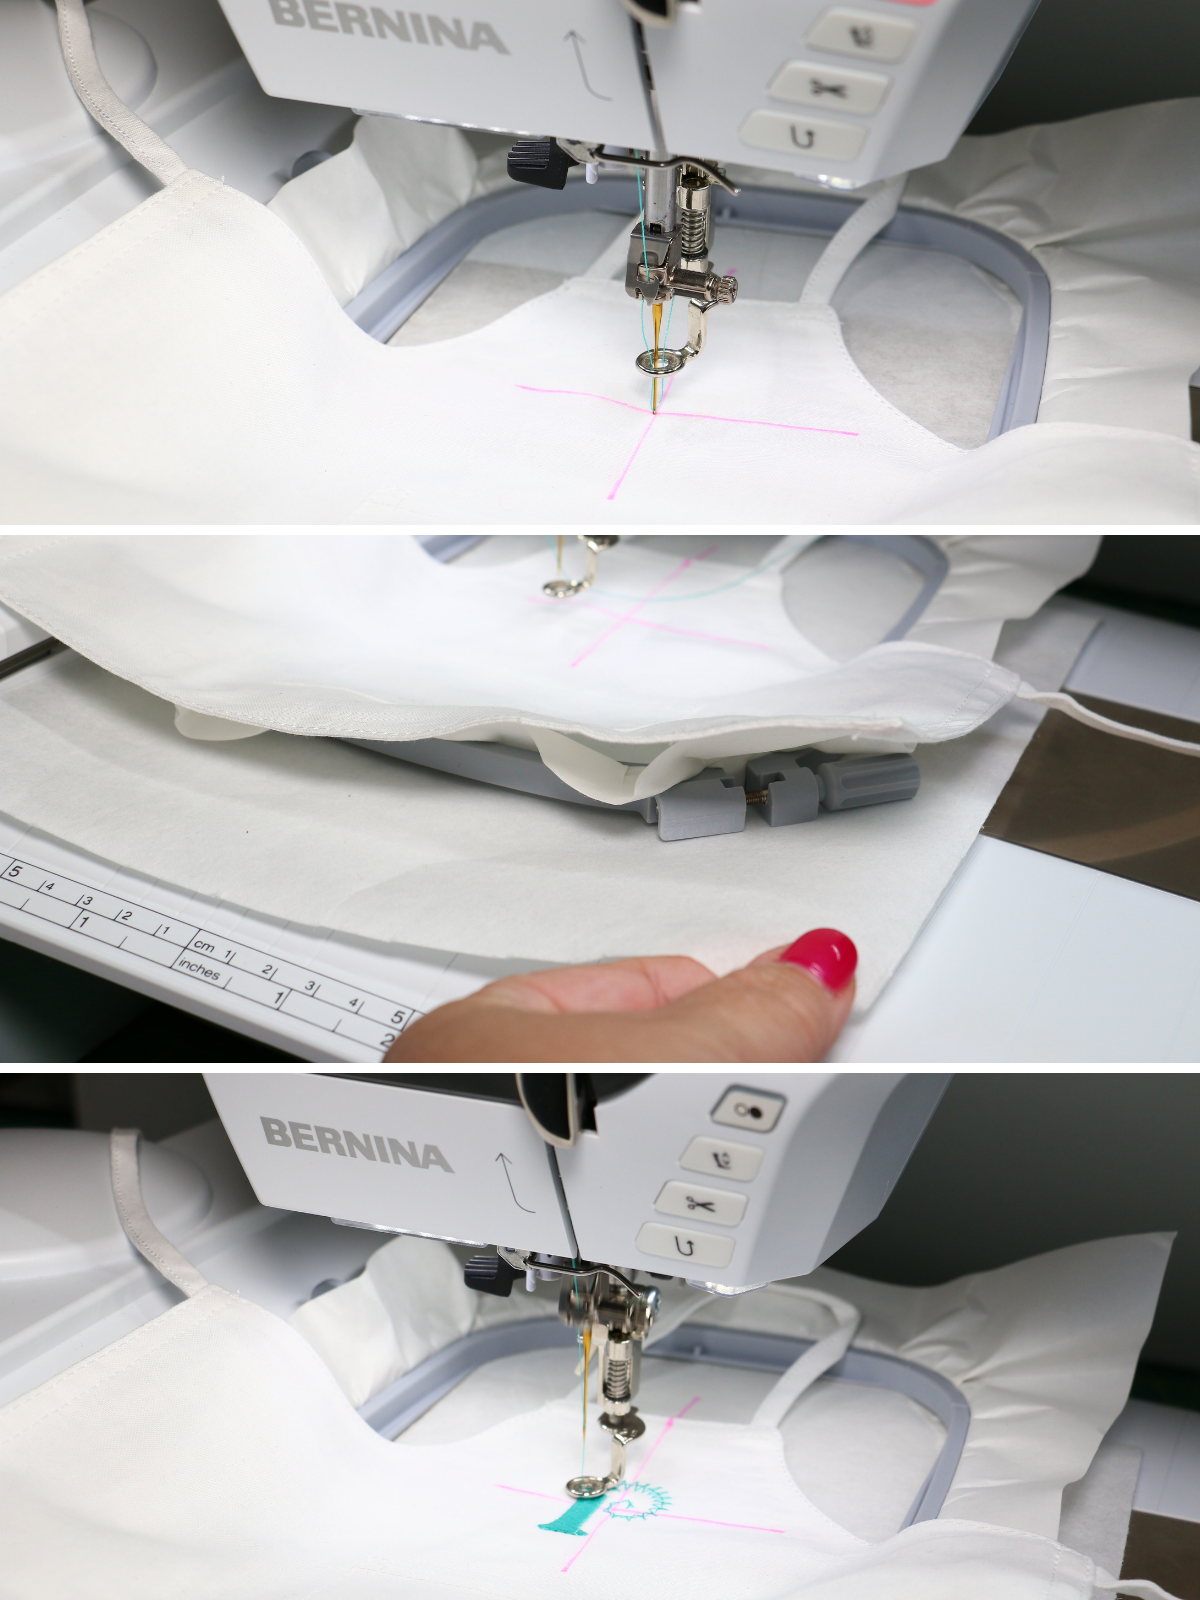
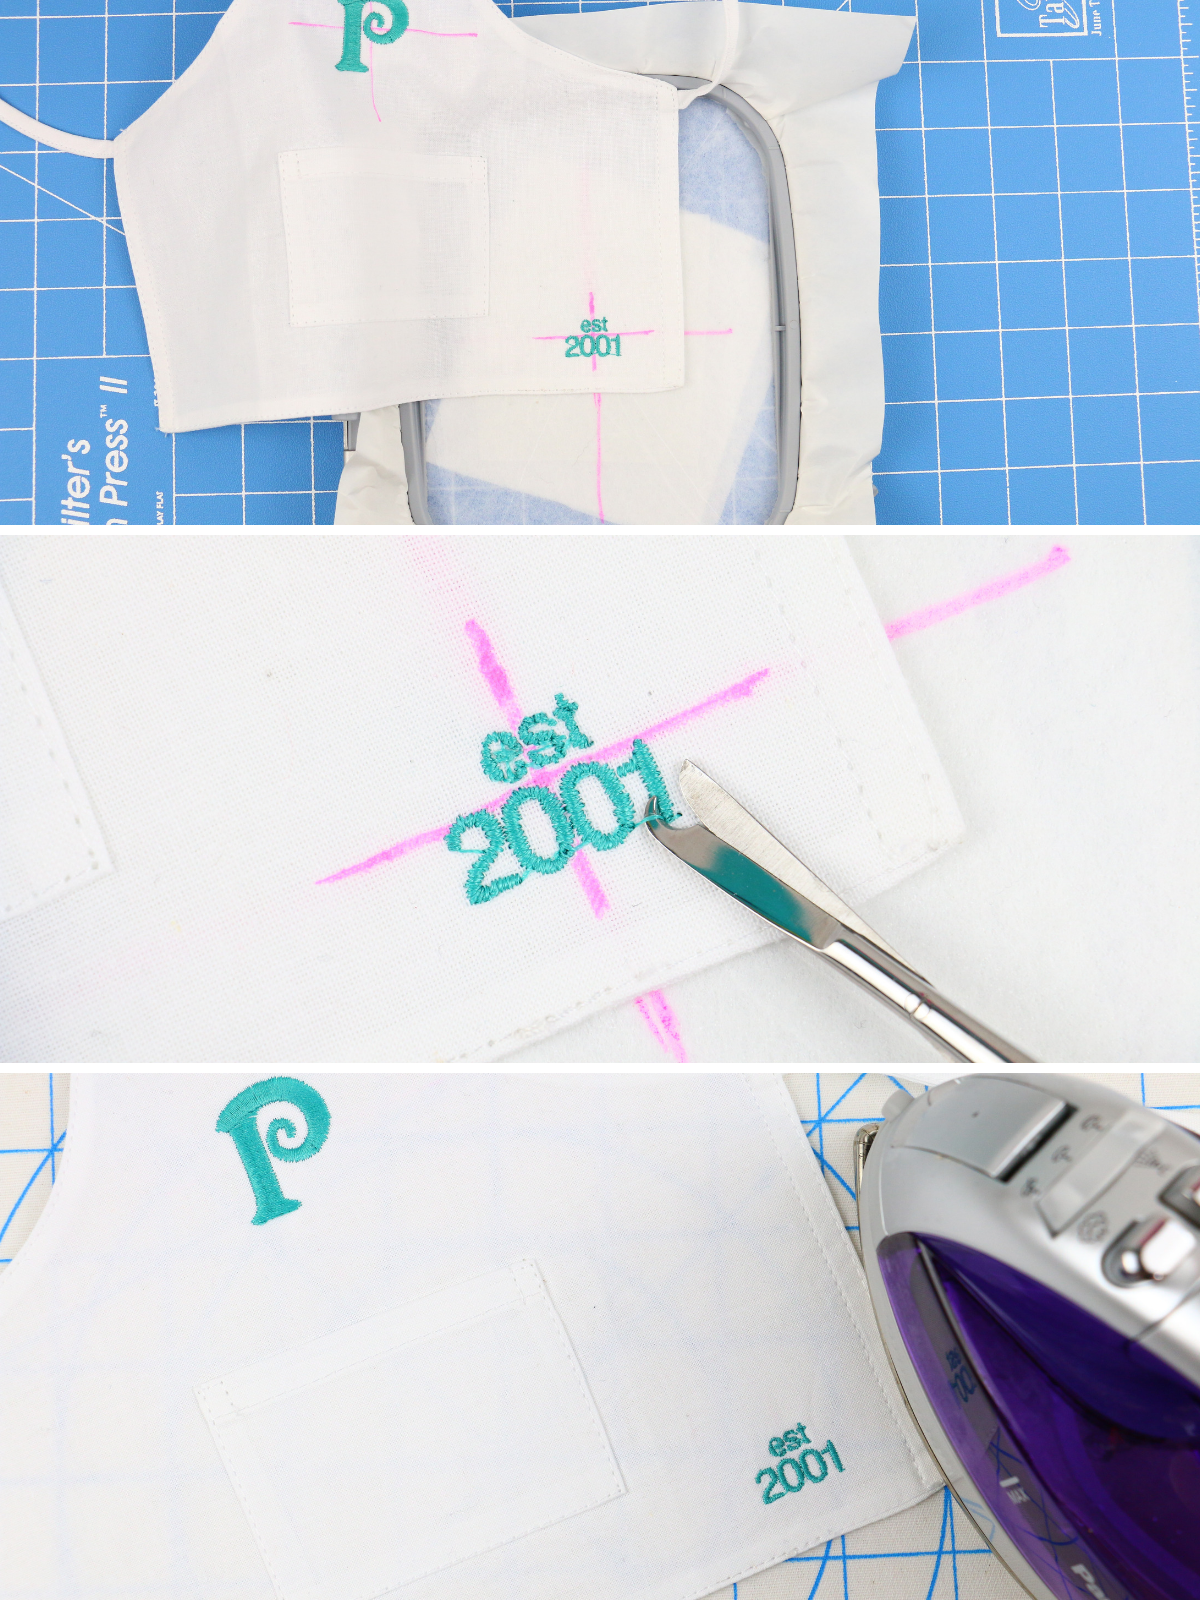
Before you stitch, slide a piece of tear away (or two layers depending how dense the design is) under the hoop. This is called Floating. Embroider the design.
Once stitching is complete, remove hoop from machine and gently remove the tear away on the wrong side of the hoop holding the stitches with one hand and removing the stabilizer with the other. Using a pair of short sharp scissors carefully perforate the wine bottle apron from the sticky stabilizer. The goal is to leave as small of a hole on the stabilizer without tearing the stabilizer.

The best part of Sticky stabilizer is it can be patched. In fact, you can patch between 2-4 times before the original sticky wears off. Simply cut a piece 1″ larger than the hole. Remove paper. Place the adhesive side onto the wrong side of the hoop allowing the sticking side to peek through the front of the hoop. Now your hoop is ready for use again. Follow the same steps as before to continue embroidery.
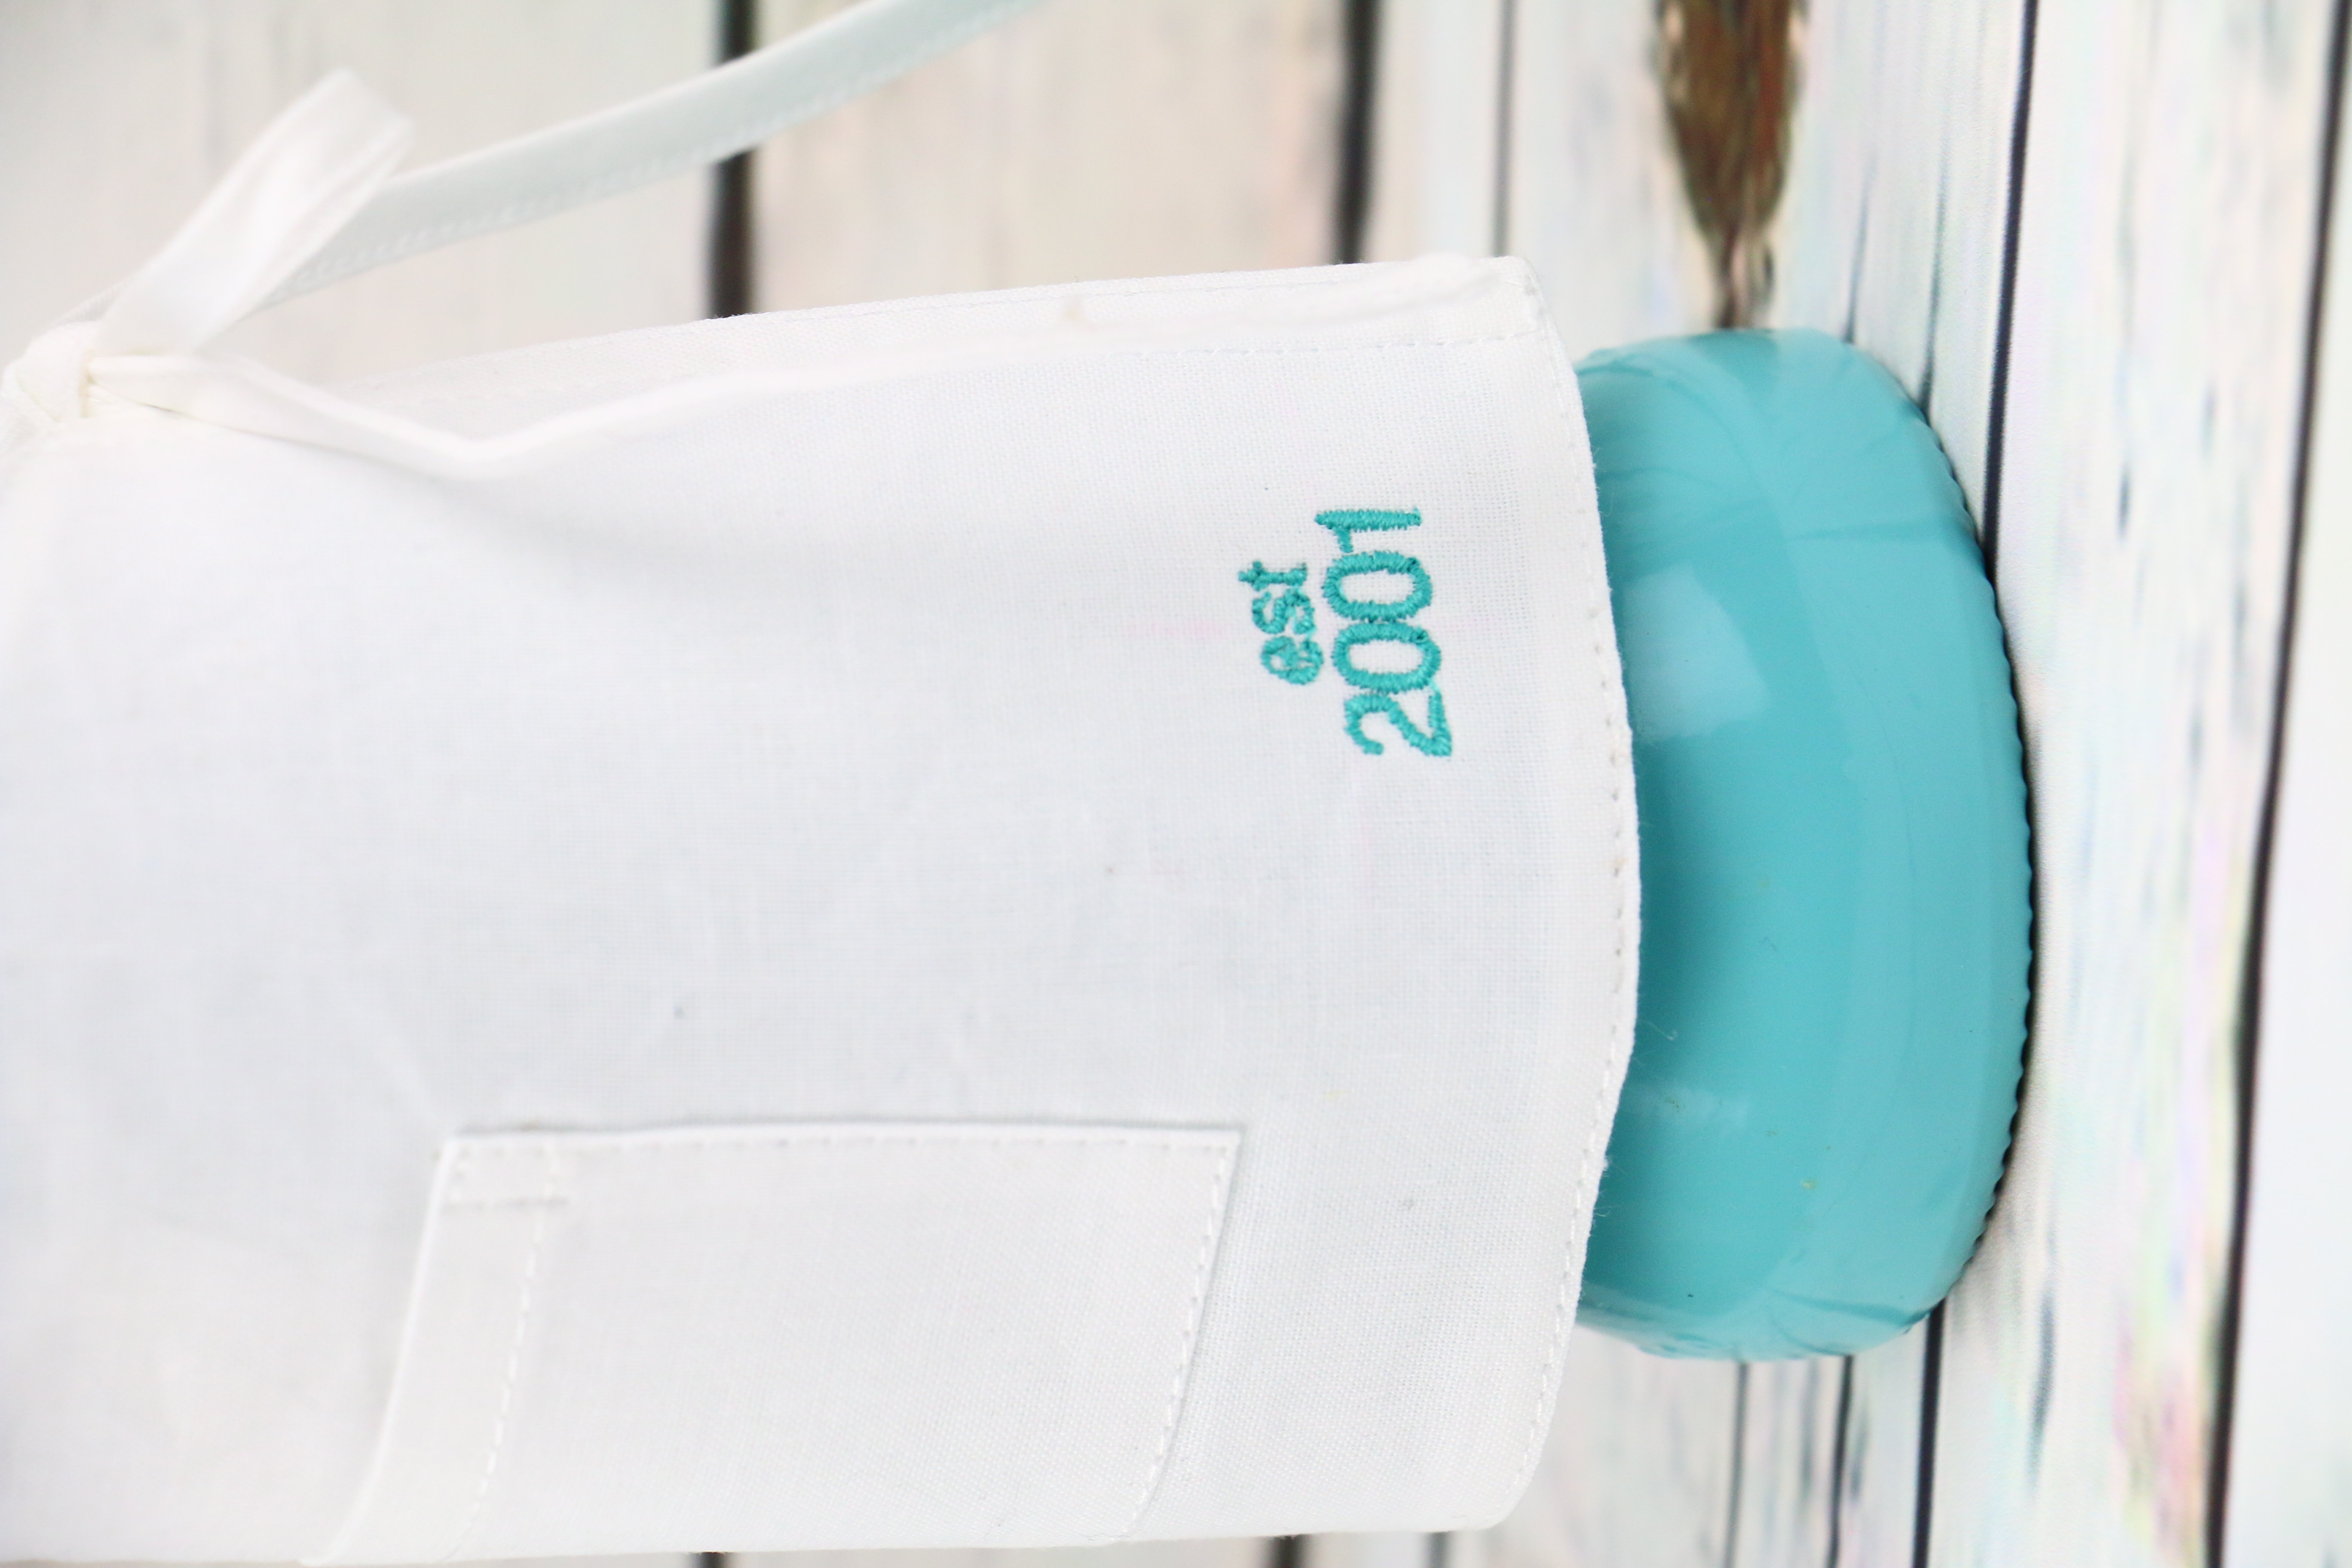
This wine bottle apron is a hostess gift for friends who were married in 2001. I simply used built in lettering on my BERNINA 790 PLUS and added, “est 2001”. Use thread snips to get into those tiny threads the machine didn’t clip. Using your steam iron press the marking pen away.
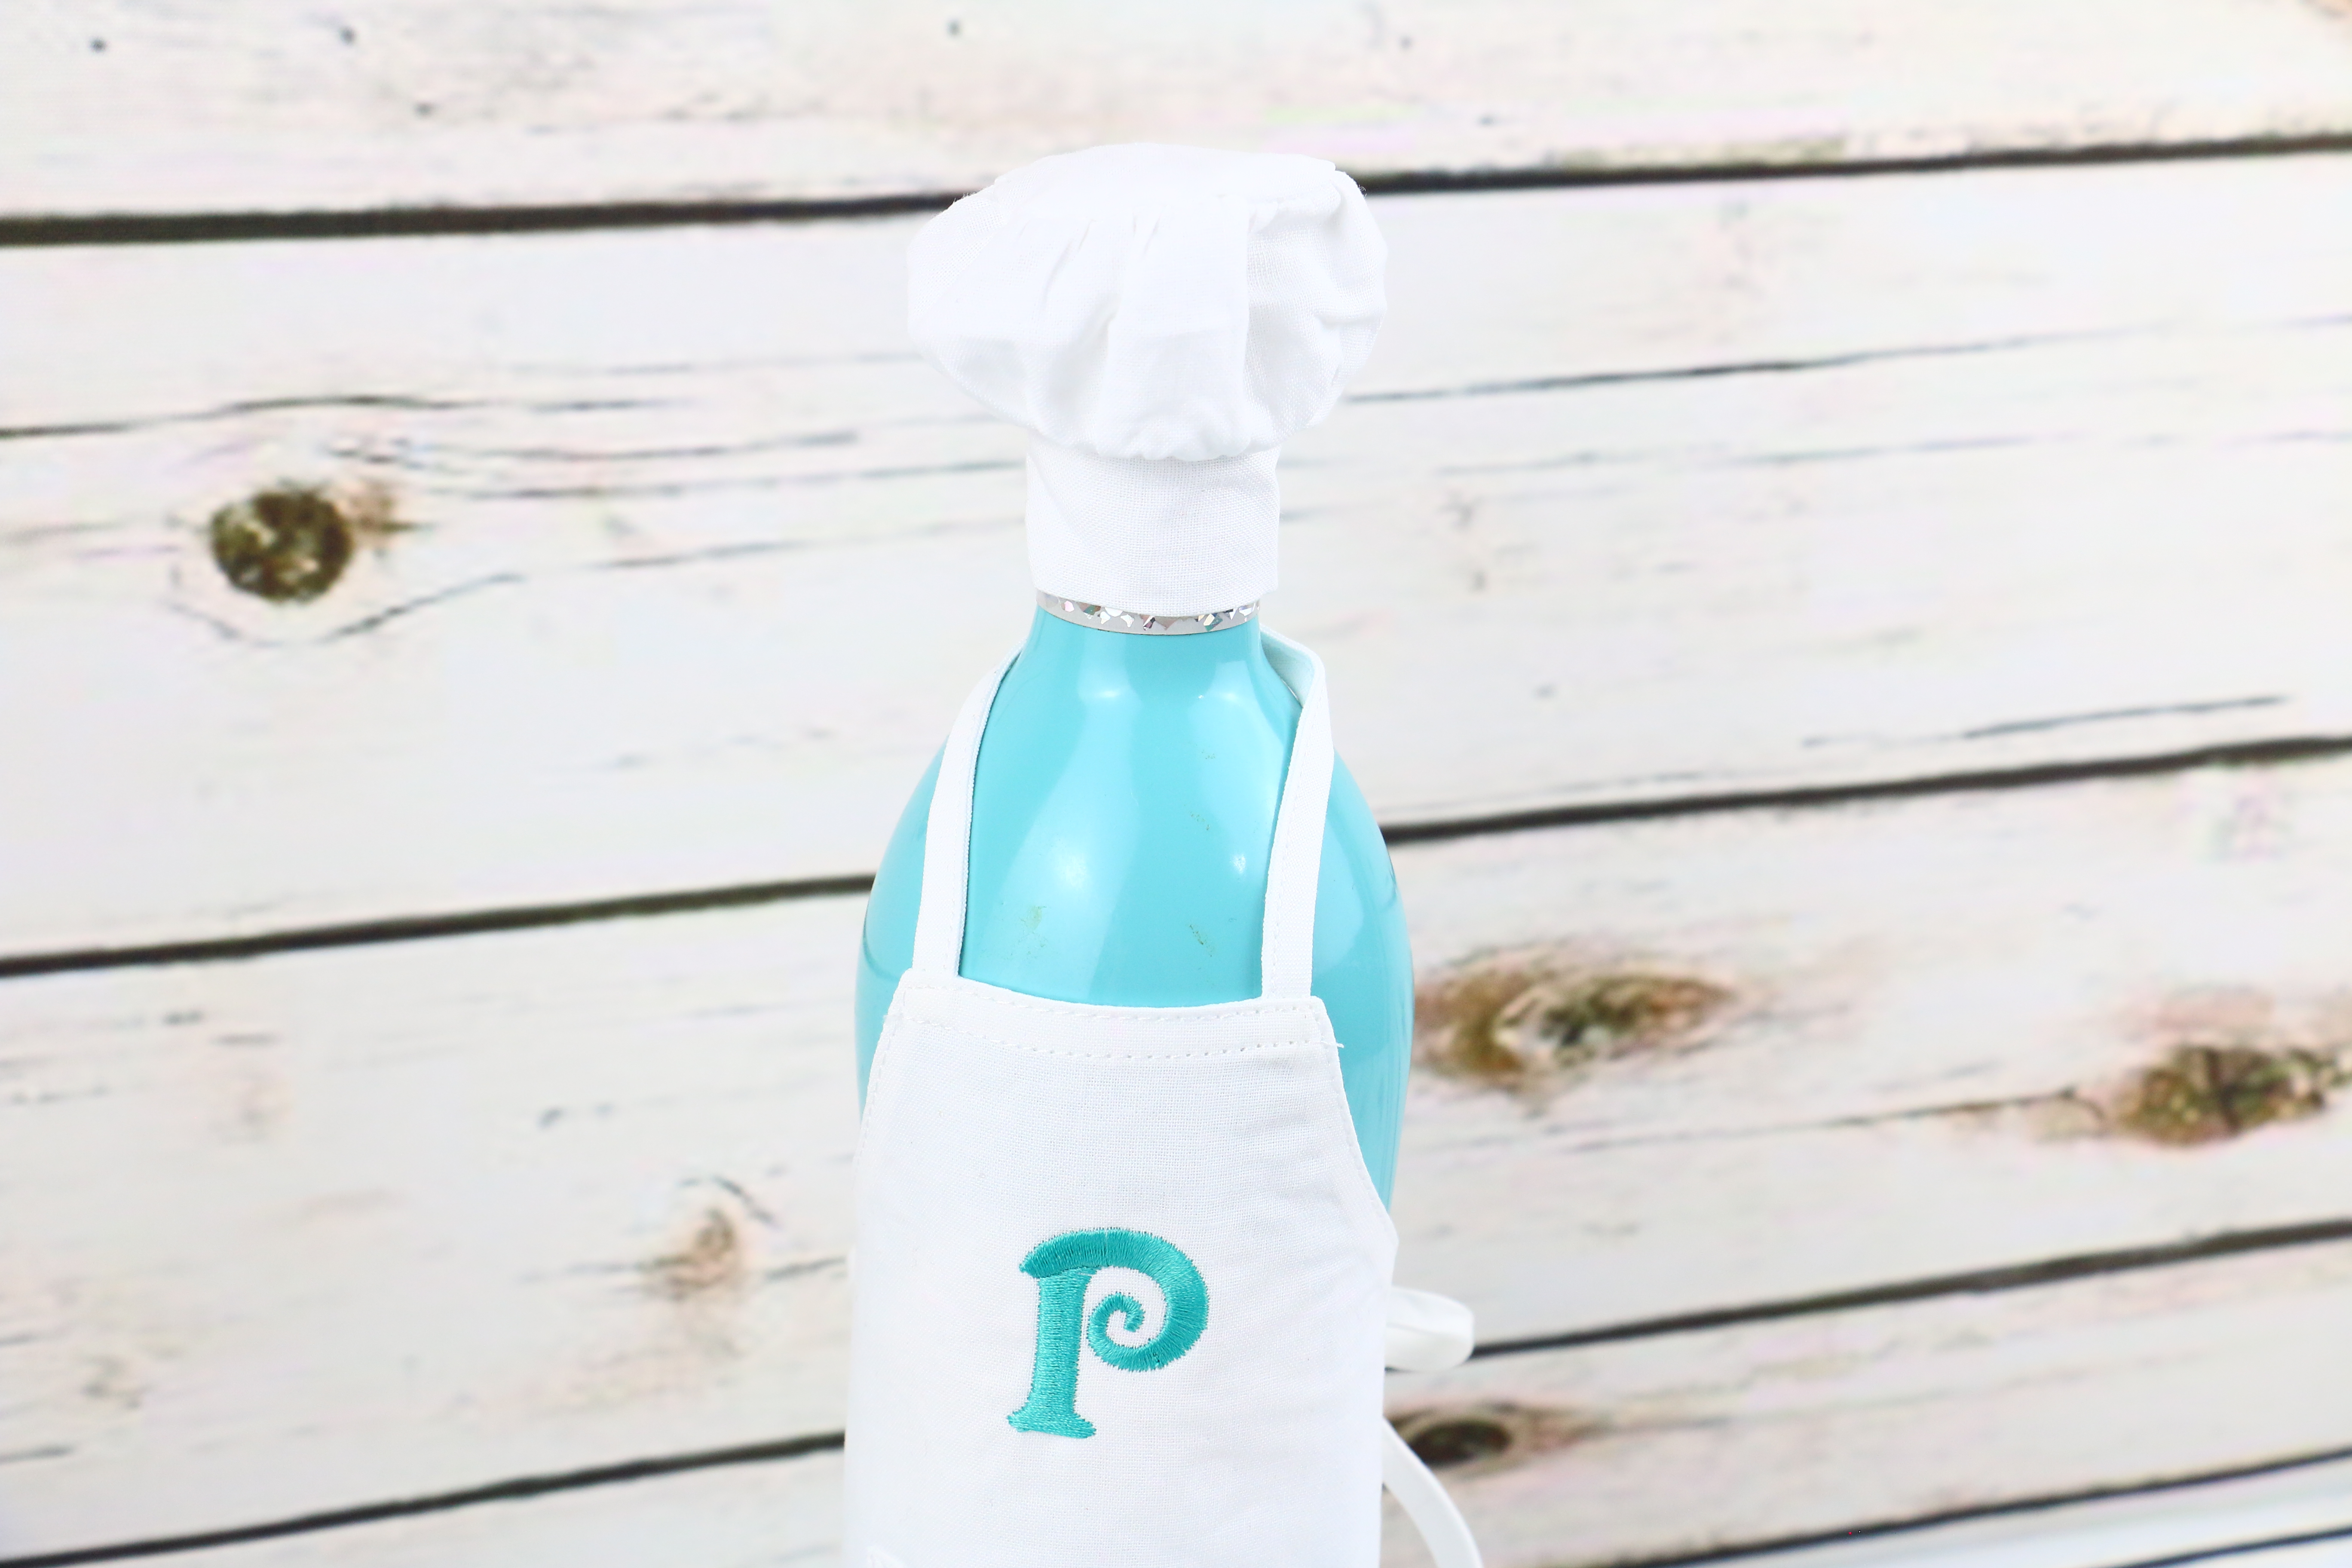
Buy your favorite bottle of wine or sparkling cider, add the little hat on top and tie the wine bottle apron around the bottle. You could even add some bling with crystals or add some decorative stitching. Your hostess will talk about your gift for years to come!

What is next?
The next two parts of my Embroider-Along continue with the “How to” for napped and sheer materials. In each part I’ll show you the proper stabilizers for that a variety of materials in that category and how to embroider on one of them.
What is your go-to handmade hostess gift? Let me know in the comments below and please ask any questions you might have about napped materials for next week’s post. Be sure to keep following along here, you can also follow BERNINA on Instagram and Facebook to see the latest post!
Here is the Embroider-along schedule:
- Embroider-Along Part 1: Intro four most popular materials for machine embroidery
- Embroider-Along Part 2: Stabilizer and Materials
- Embroider-Along Part 3: Needles and Thread
- Embroider-Along Part 4: Placement and Hooping for Machine Embroidery
- Embroider-Along Part 5: How to Embroider on Knits
- Embroider-Along Part 6: How to Embroider on Woven Materials
- Embroider-Along Part 7: How to Embroider on Napped Fabrics
- Embroider-Along Part 8: How to Embroider on Sheer Materials
- Embroider-Along Part 9: How to Embroider on a Ladies T-shirt
- Embroider-Along Part 10: How to Embroider on a Pillow Case
- Embroider-Along Part 11: How to Embroider on Luxe Cuddle® Rose
- Embroider-Along Part 12: How to Embroider on a Pet Screen
Until next time I hope you have a creative day, bye-bye!
Sue
Used Products

What you might also like


14 comments on “Embroider-Along Part 6: How to Embroider Wovens”
-
-
What a great gift idea!! Thanks for following along on my Embroider-Along ~ Sue
-
-
What are the thread snips you used to snip the small threads when design was complete?
-
The thread snips are amazing!! Here are two different ones you can check out. Ask your local dealer to order the ones you like.
Tula Pink: https://www.brewersewing.com/p-1045892-tula-pink-ez-snip-with-hook-45-in.aspx
Silver: https://www.brewersewing.com/p-263378-snipastitch-squeeze-scissors.aspxThanks for following along on my Embroider-Along ~ Sue
-
-
Part 6 was excellent — so full of helpful info! Thank you! One question about the recommendation for heavy cut-away on broadcloth. If I am doing a dense design on broadcloth and softness is a consideration, what is the solution apart from changing to a more open design?
-
If the design is really dense maybe try two layers of medium weight. The two layers will most likely still be thinner but you will have the tightness of the Heavy stabilizer but thinner. Hope that makes sense. Thanks for following along on my Embroider-Along ~ Sue
-
-
Sue
That was a wonderful blog write-up. THANK YOU. I have been telling the newbie shoppers in our store to start following this blog.
-
Thank you so much!!! There are lots of make and take or class ideas here too!! Thanks for following along on my Embroider-Along ~ Sue
-
-
That’s the first time I’ve seen ‘floating’ under the hoop. Thank you for yet another new idea.
-
Awesome!! Love when I learn something new too!! Share it with all your friends. Thanks for following along on my Embroider-Along ~ Sue
-
-
The apron is cute but only can be purchased by a retailer. Where else can they be purchased?
-
As your local shop to order them for you. I got mine from my local shop.
-
-
I’m not sure, Sue if you are still checking comments/replies. I was intrigued by your tip to float stabilizer under the hoop. Is it possible that you could say more about this? does the stabilizer get held to the back of the hoop or does it get caught up when the stitching begins. Thanks.
-
Hi. Thanks for asking 🙂 and Yes, I do check in as often as I can.
The floating method is nice as for “additional” stabilizer. You slip a piece of whatever it is you need under the hoop prior to embroidering. I tend to slip Tear-Away more than anything, because it gives it just a little extra stabilization without being too heavy. You could also slip a piece of Cut-Away under if the material was appropriate. Ask your local dealer for my book called, Pocket Guide to Stabilizer https://www.brewersewing.com/p-1061430-pocket-guide-to-stabilizers.aspx.
-
Leave a Reply
You must be logged in to post a comment.
I love to have cloth napkins with embroidered corners on them. OESD has beautiful corner designs. I pick up plain napkins when they are on sale.Thank you so much for sharing your wealth of knowledge.