How to Embroider Tulle
Why, hello there, again! This is Brittany from Sew Very Lovely bringing you another “how to.” This time we’ll be diving into a topic that can be used for nearly any skill level or project that you have in mind: how to machine embroider on tulle. I know – this sounds scary! But, I promise that it’s a lot easier than it seems with the right tools and knowledge on how to get started. So without further ado, let’s dive right in!

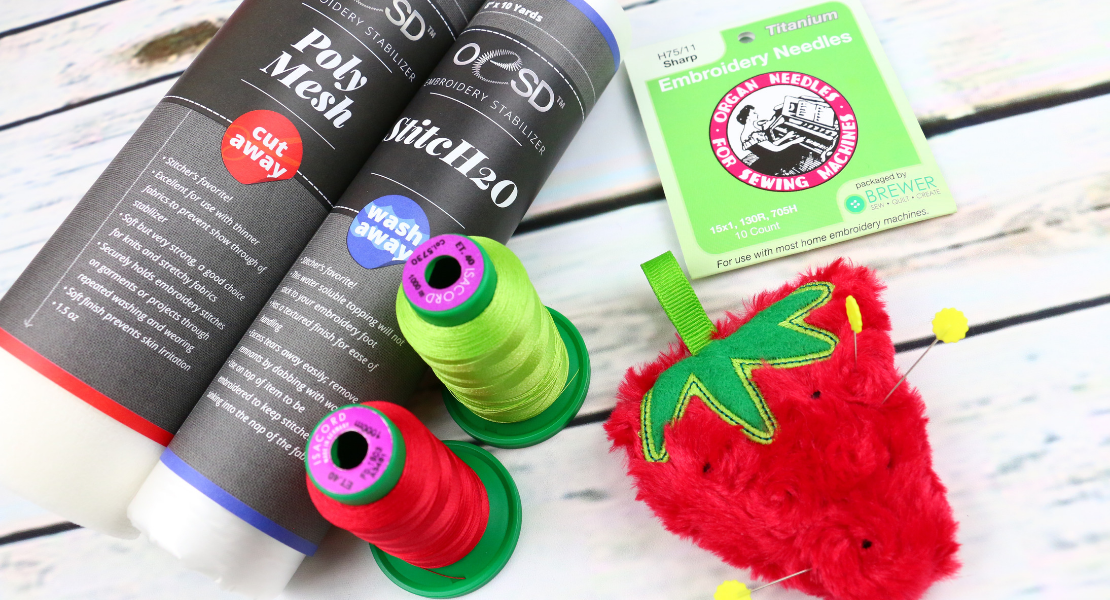
Materials to Embroider Tulle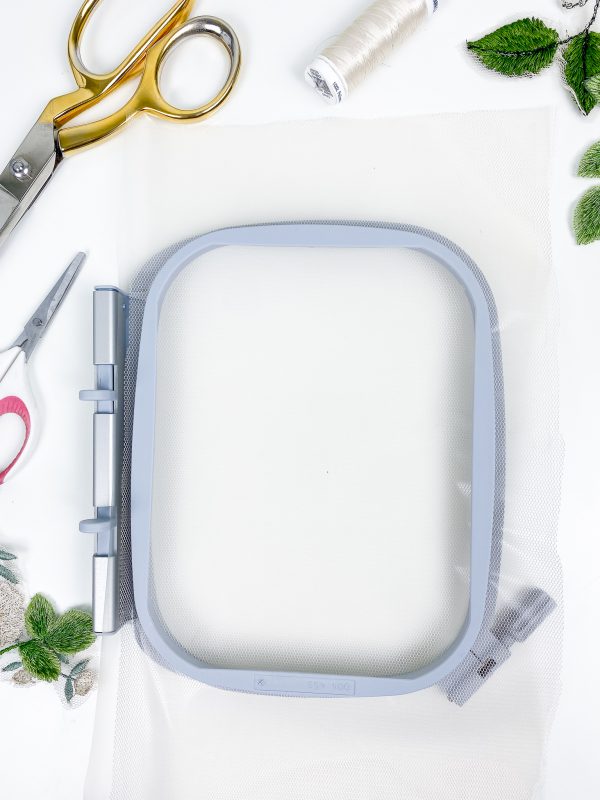

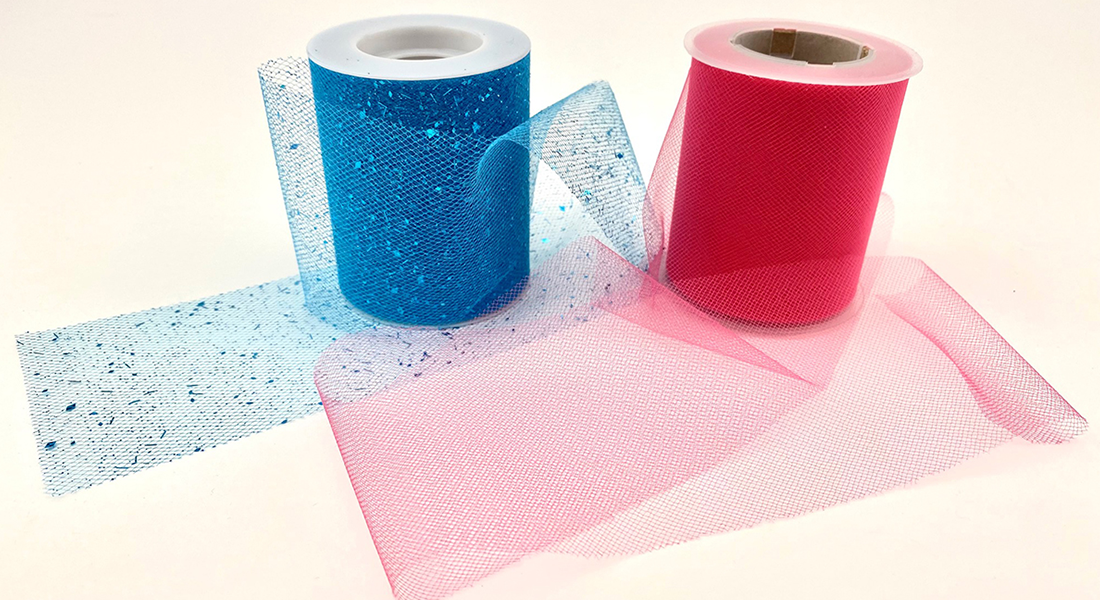
- Tulle
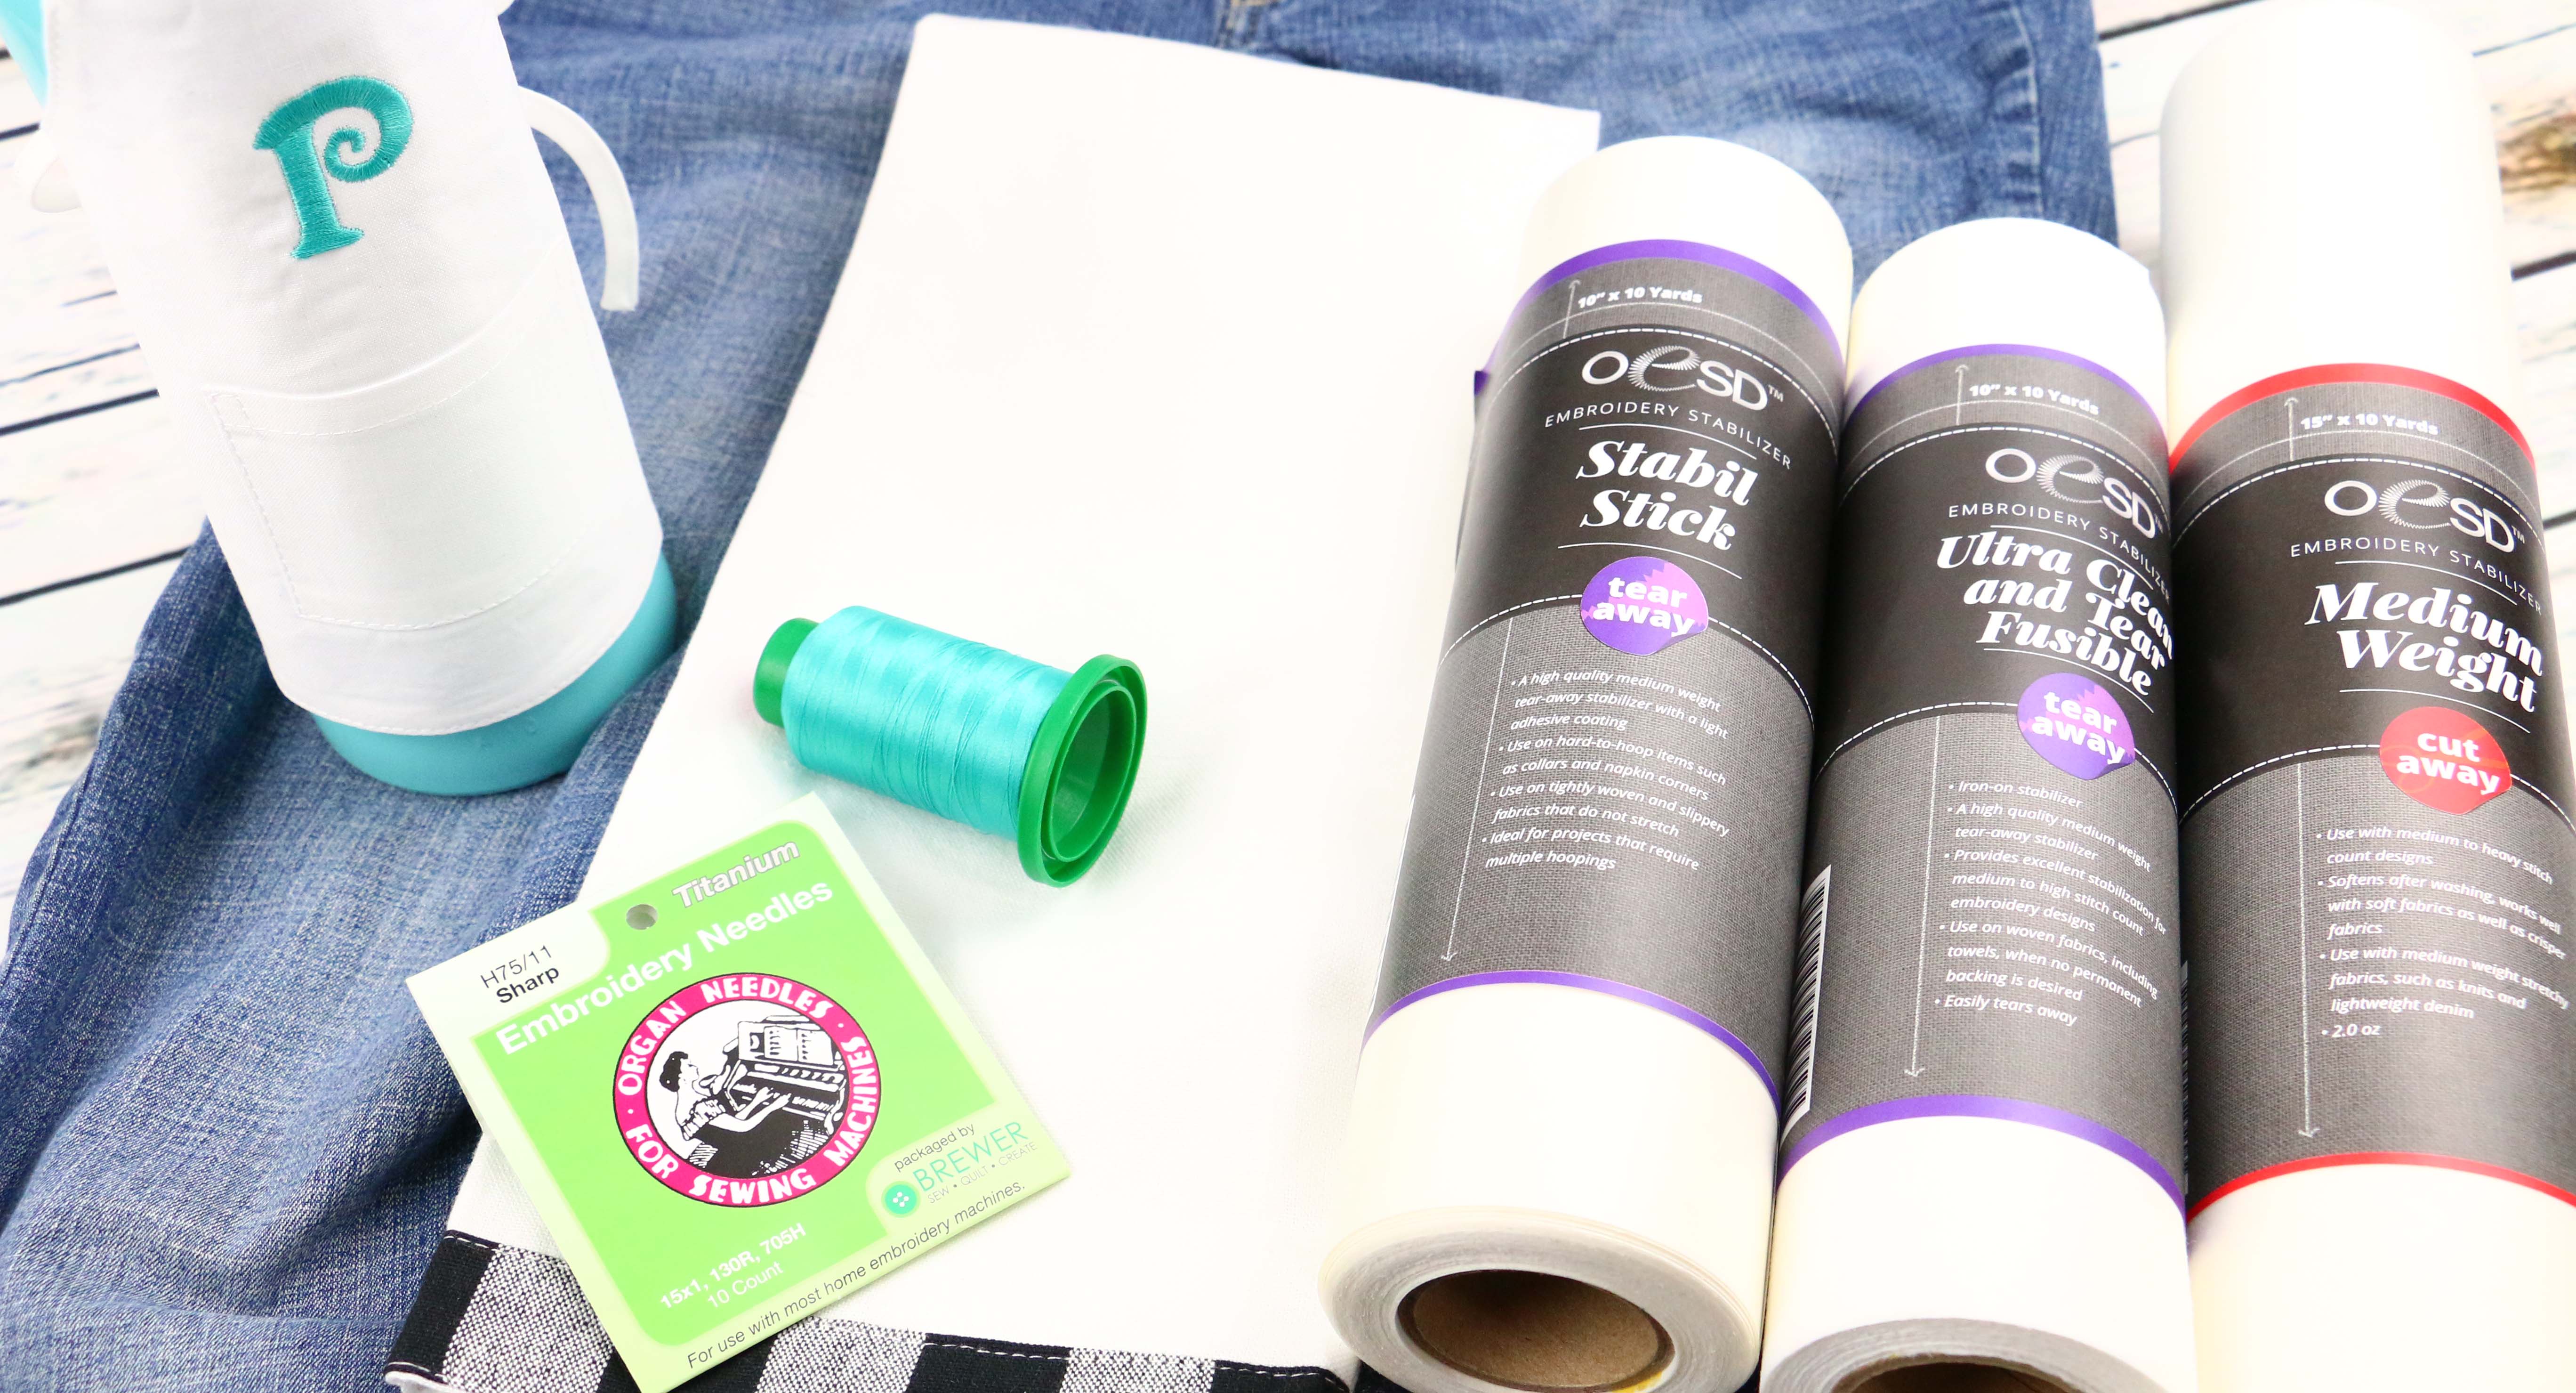
- Mettler Polysheen embroidery thread
- OESD water-soluble stabilizer
- Bobbin thread (that matches the color of your tulle)
- Scissors
- Bowl of water
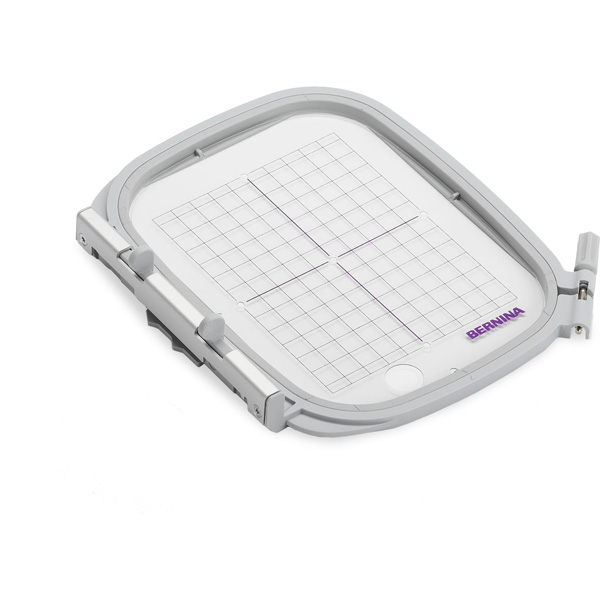
- BERNINA 590 E
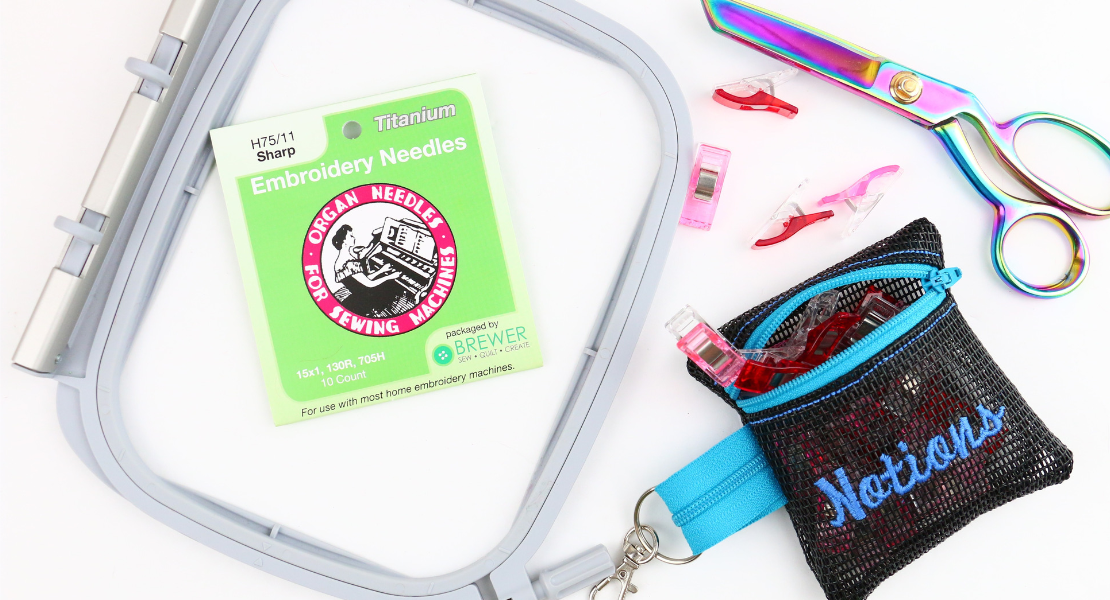
- Embroidery needle
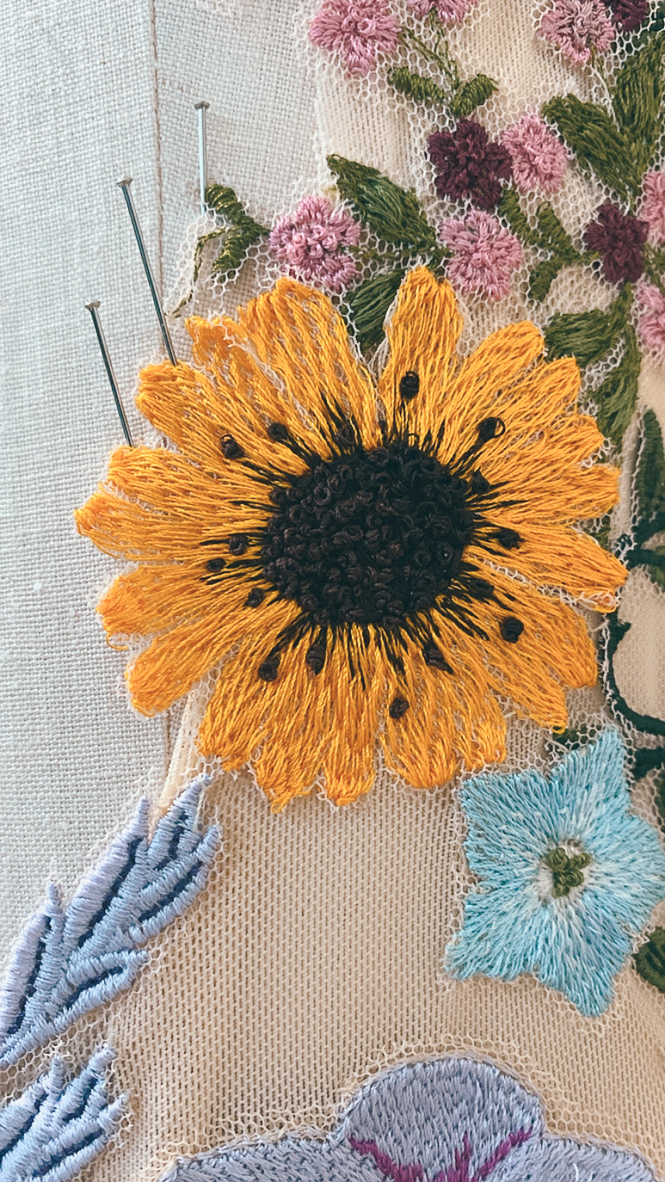
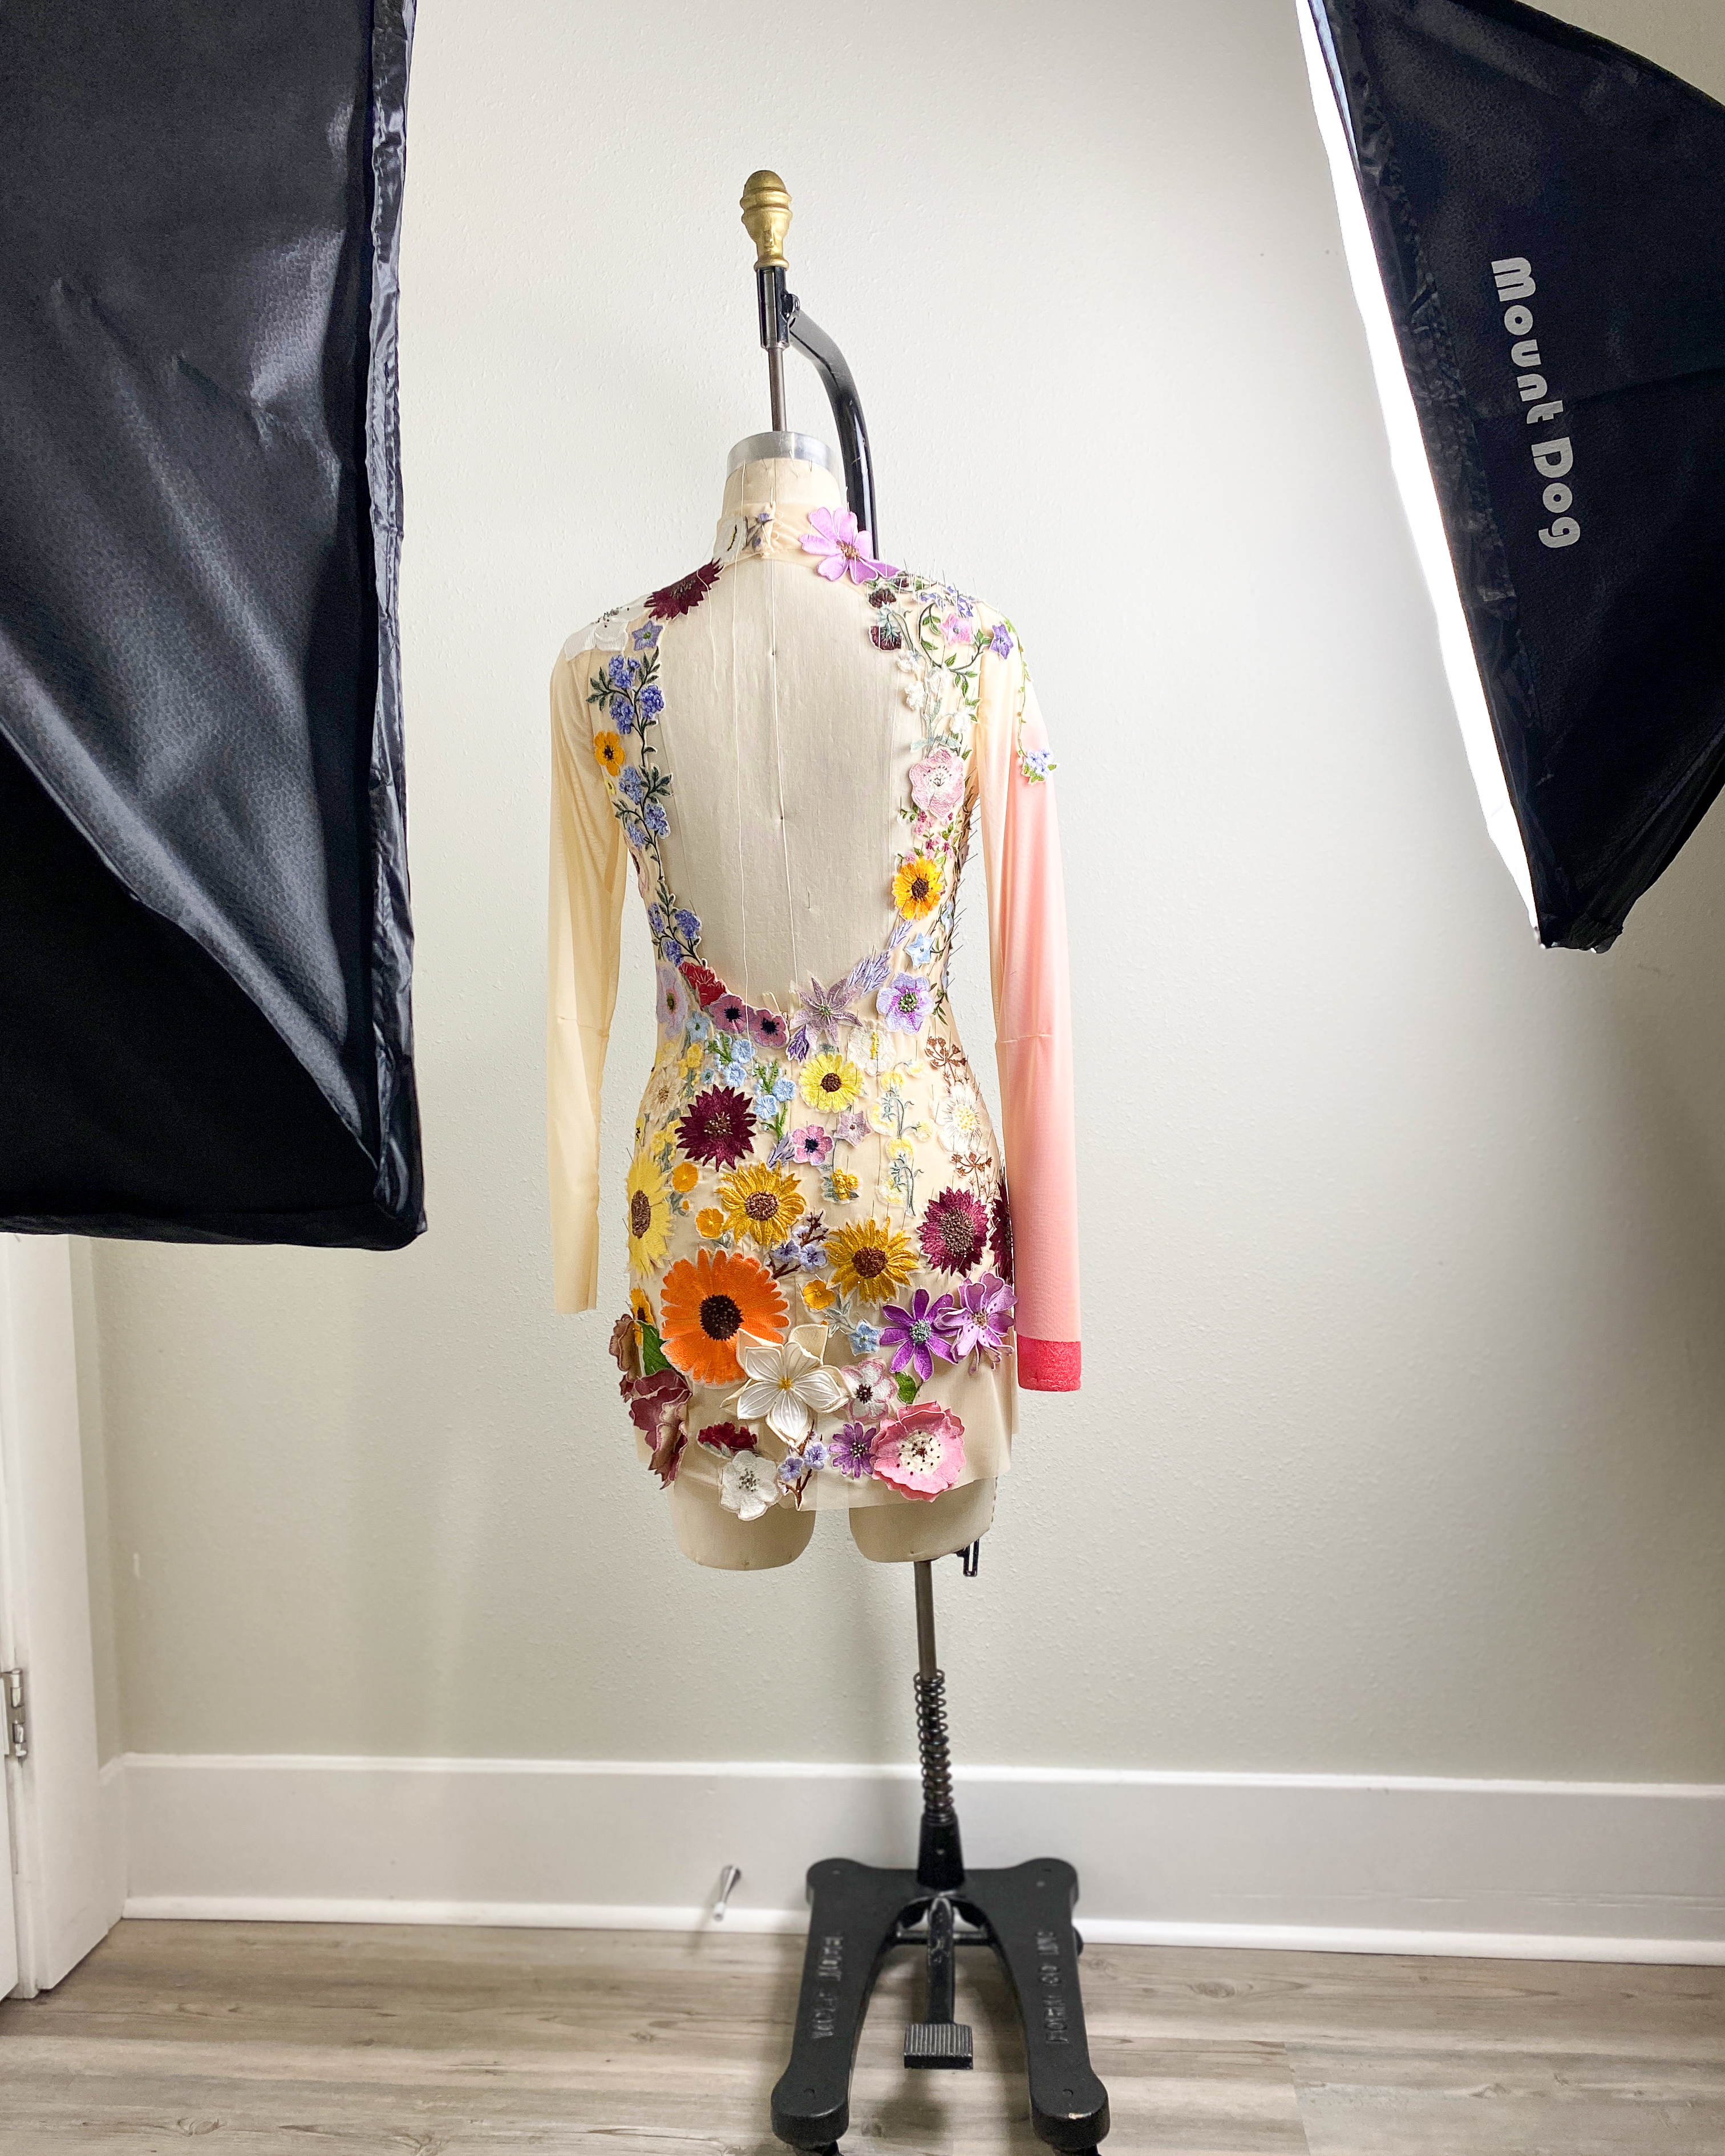
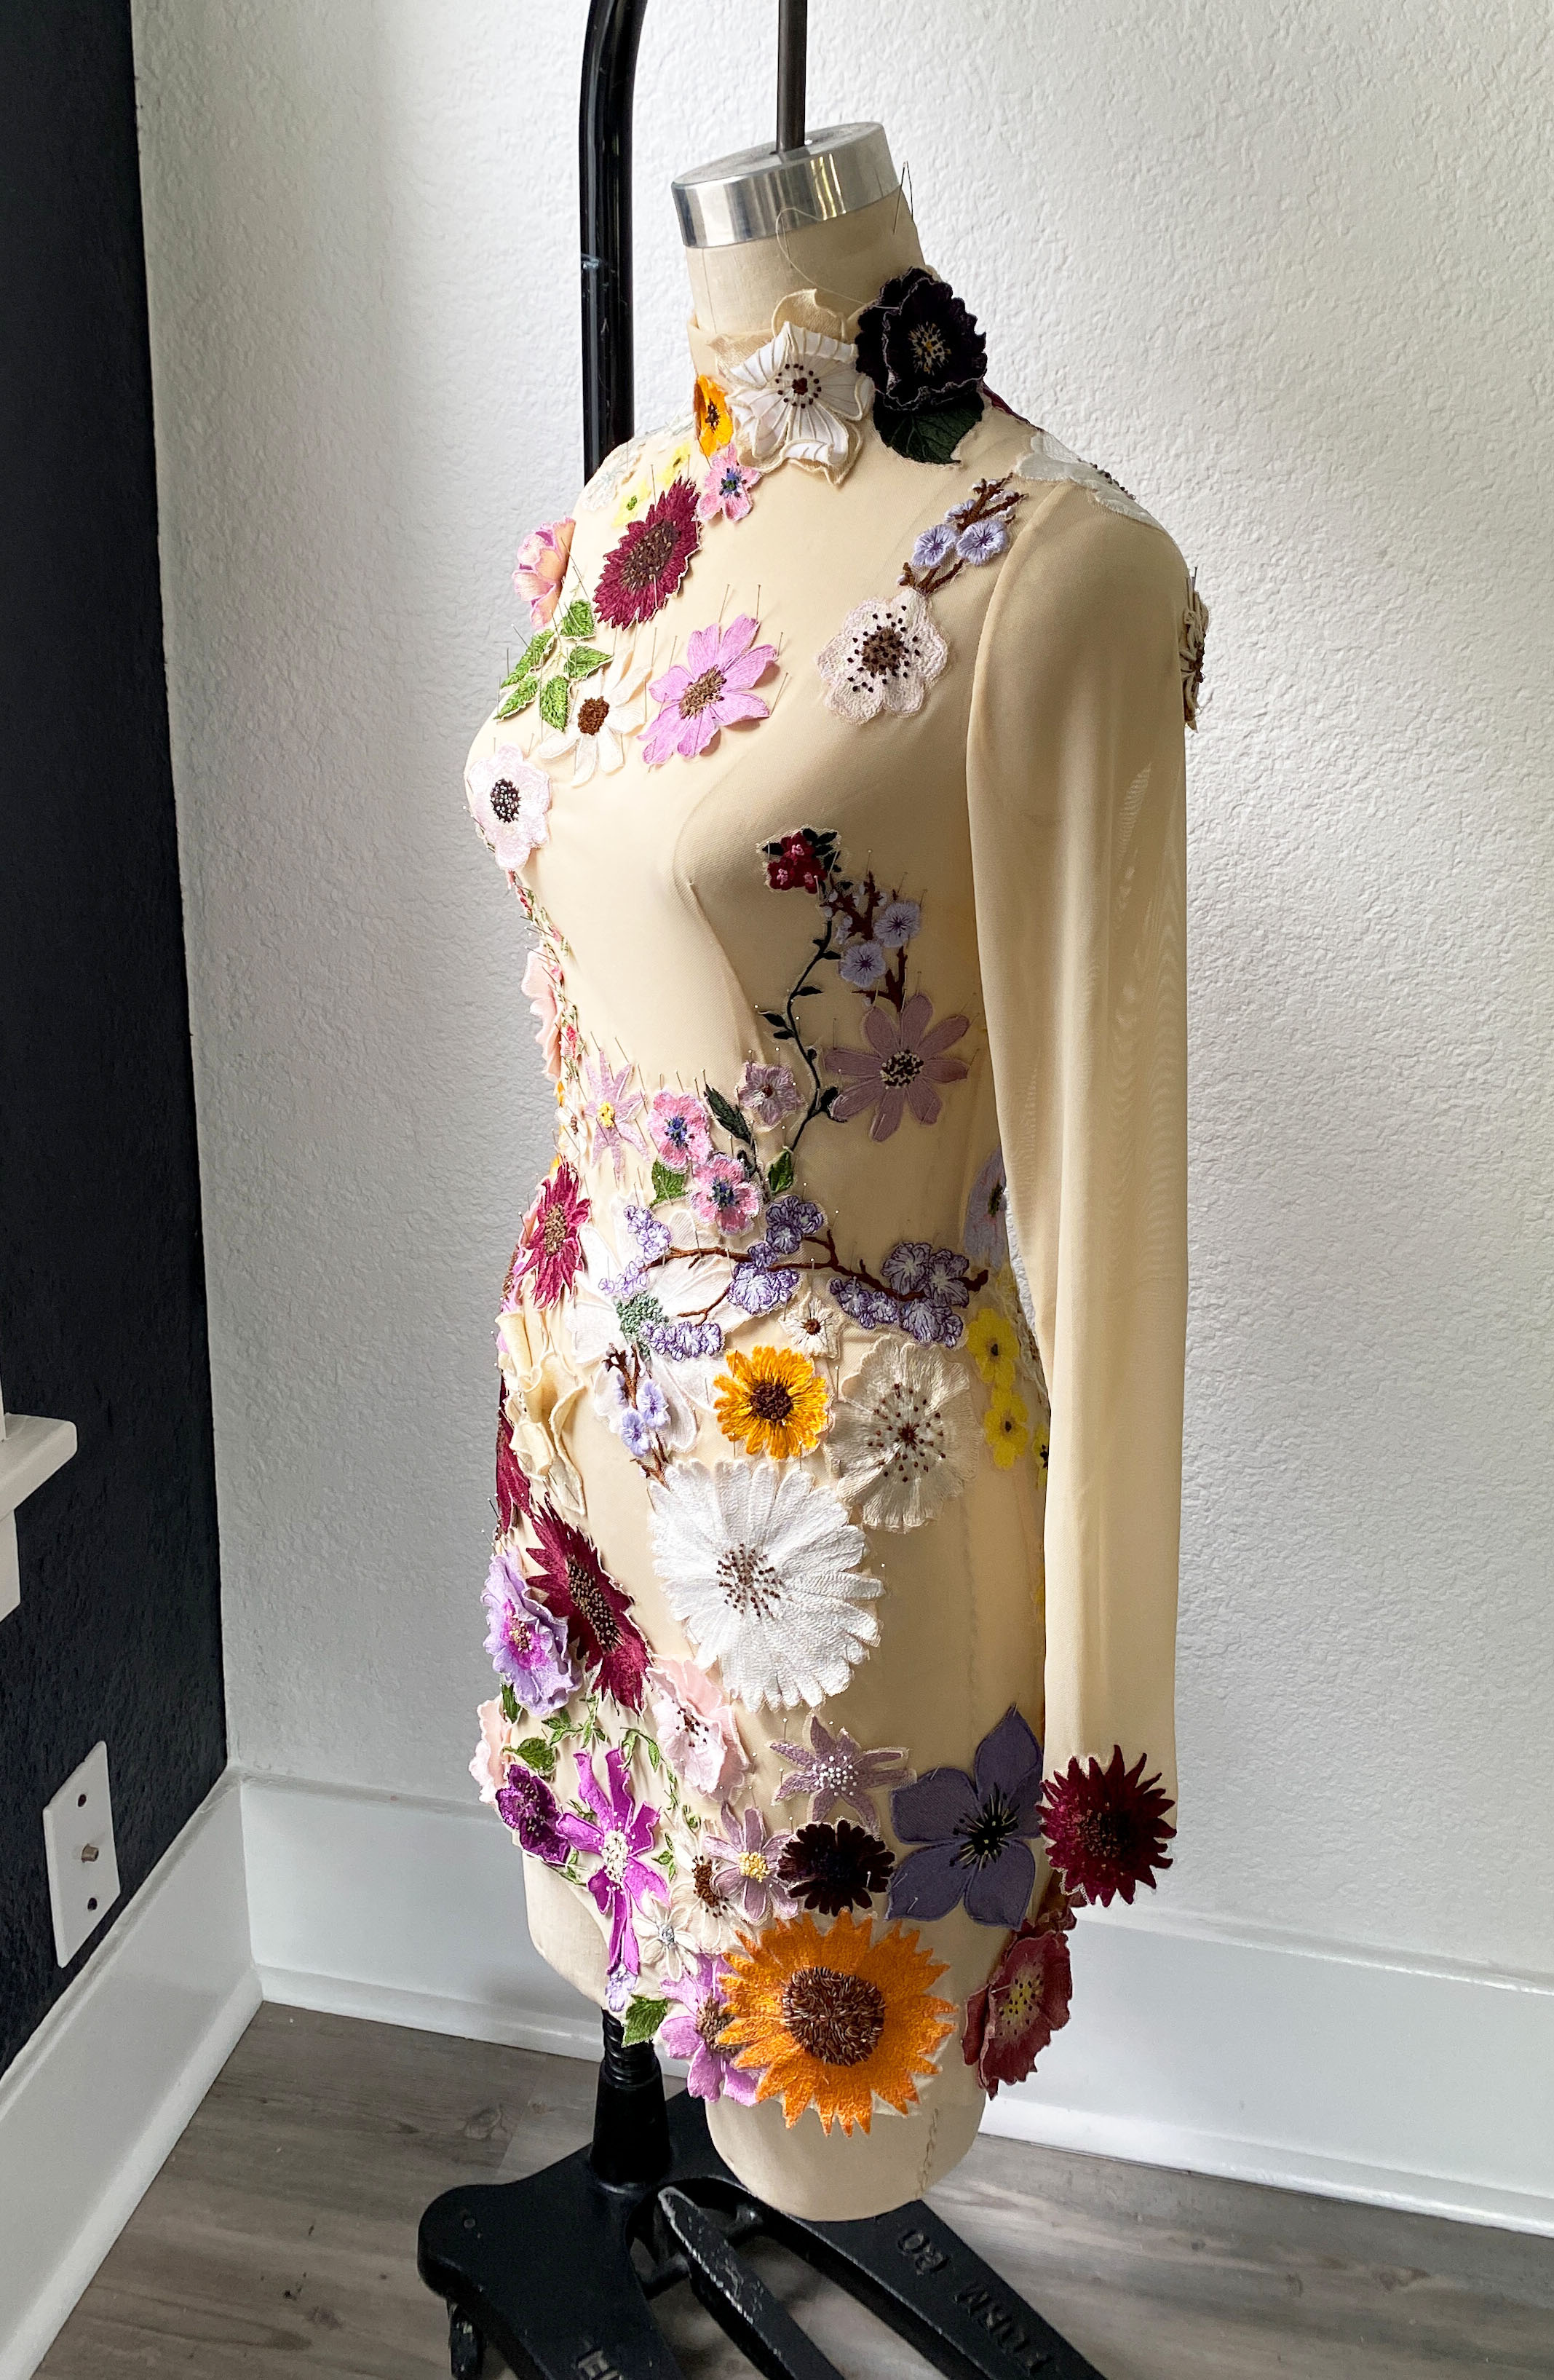
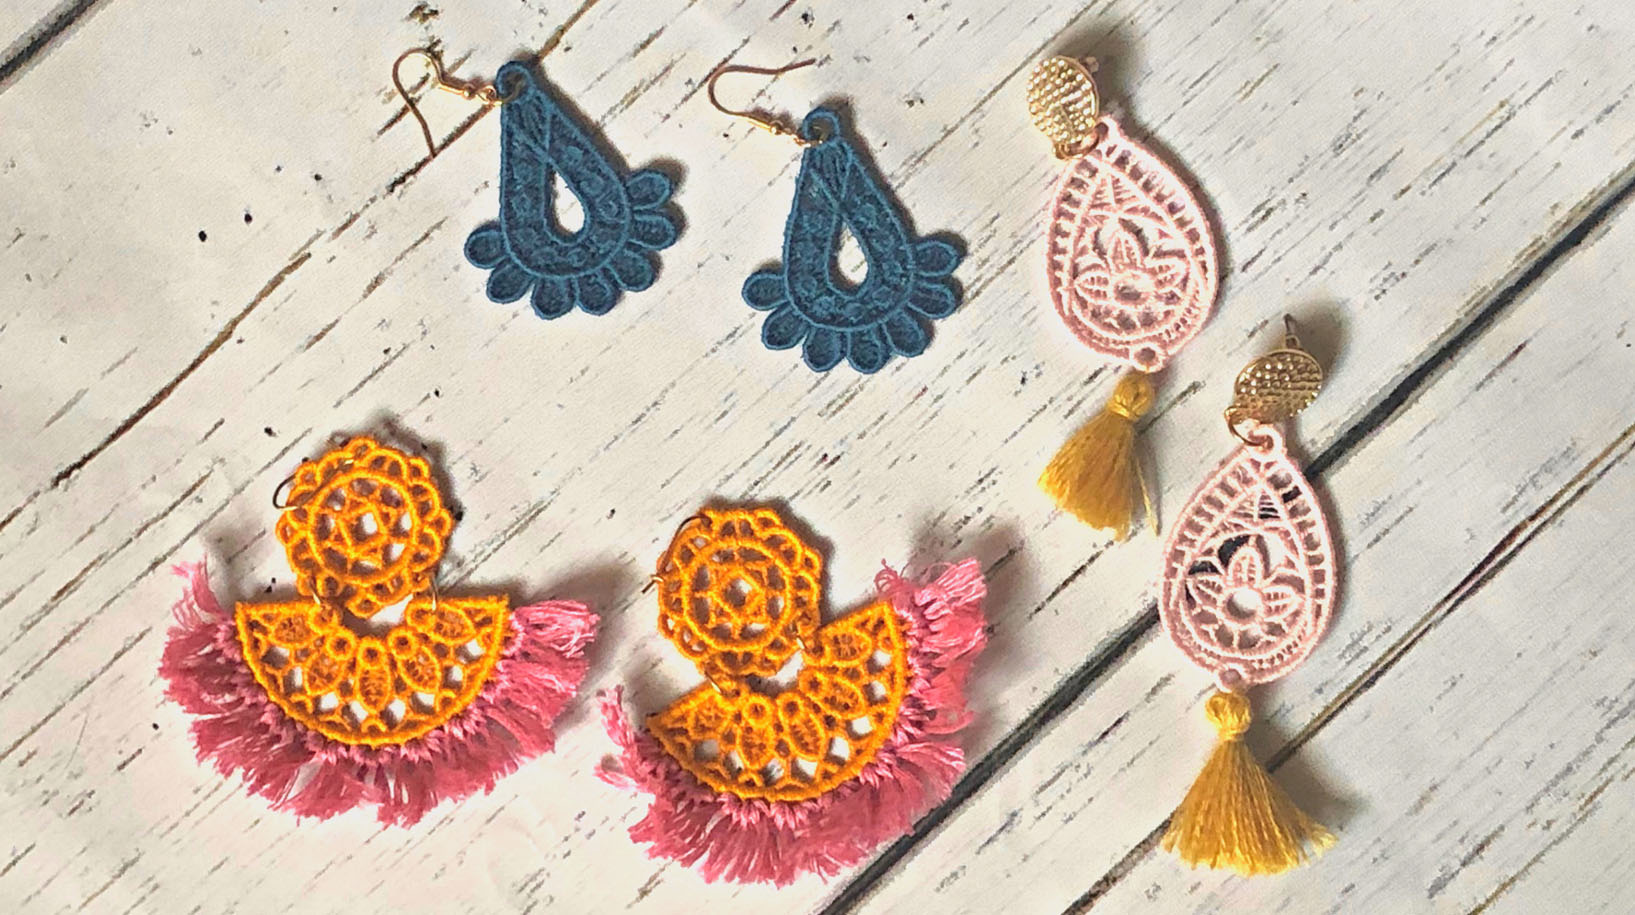
Note: For these step-by-step instructions, I will be creating floral appliqué to be sewn onto a dress. My tulle is a medium weight.
Steps to Embroider Tulle
Step 1: Machine Prep
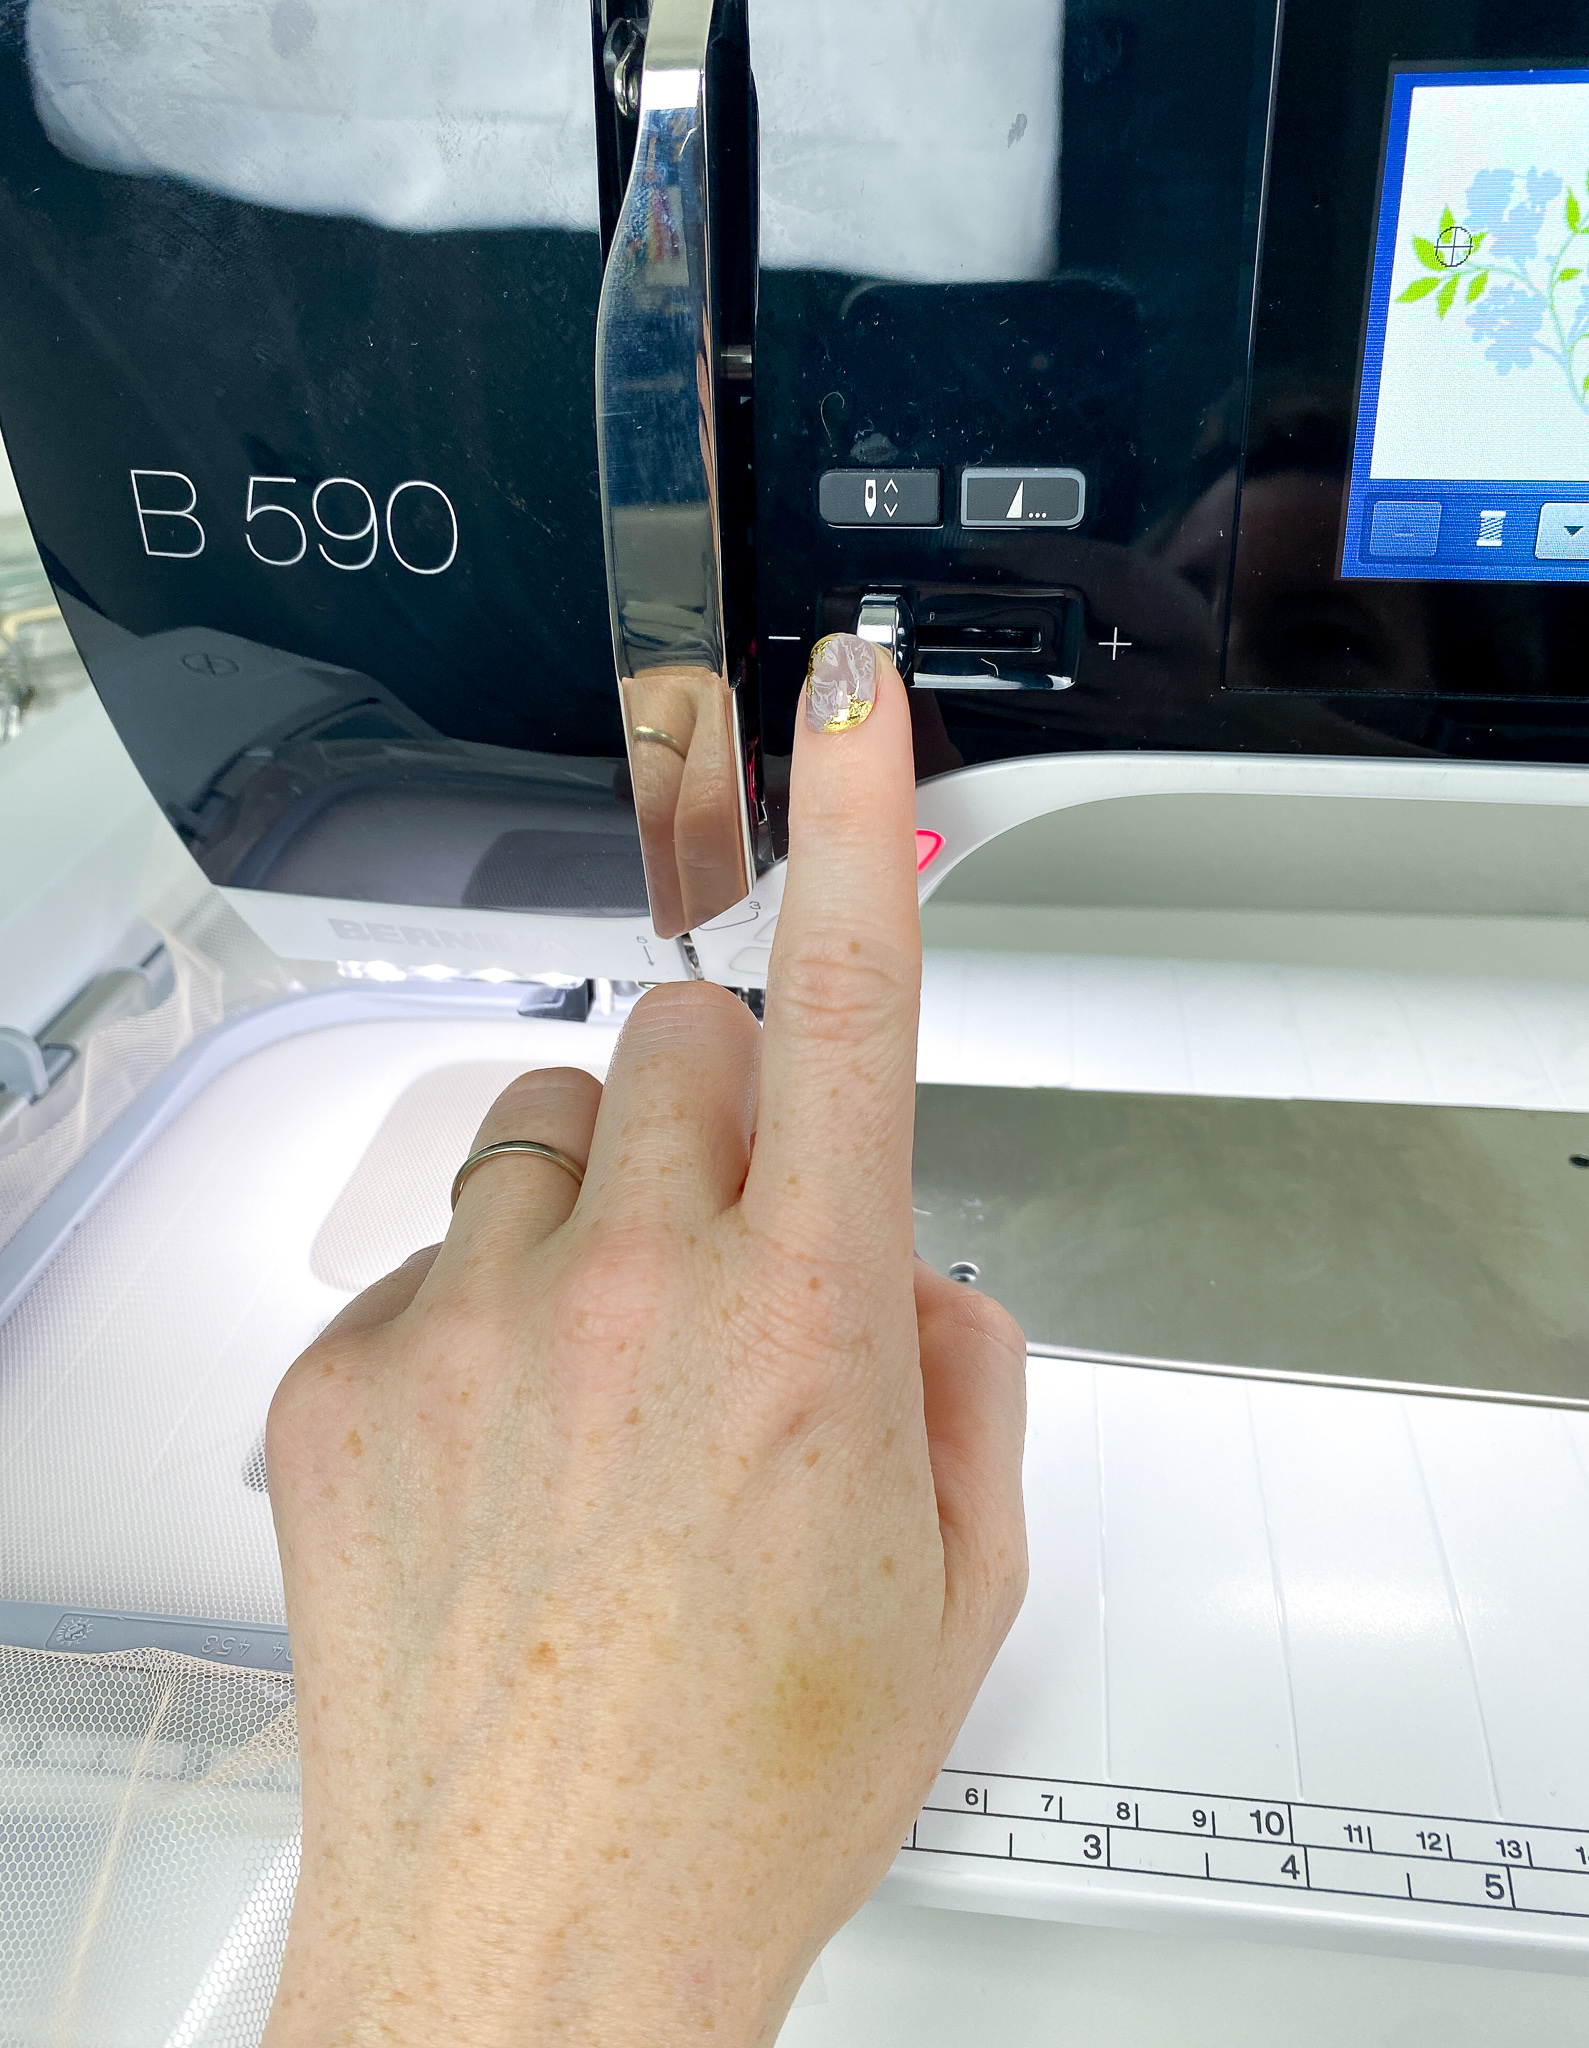
Begin with preparing your machine for embroidery. Be sure to change your needle before beginning and to oil your machine! Pick your embroidery design and set your machine on the slowest setting. Dense designs can tear the tulle but there are workarounds if you’re settled on a certain design.
Step 2: Test Design
Test your preferred embroidery design on a small piece of your tulle and OESD water-soluble fabric.

With the slow speed and light needle, you shouldn’t experience any tearing while stitching out your design. If you do, due to a denser design, try adding an additional layer to the tulle and test again. Additional layering should do the trick. You can also play with the density of the stitches in the information section on the BERNINA 590.
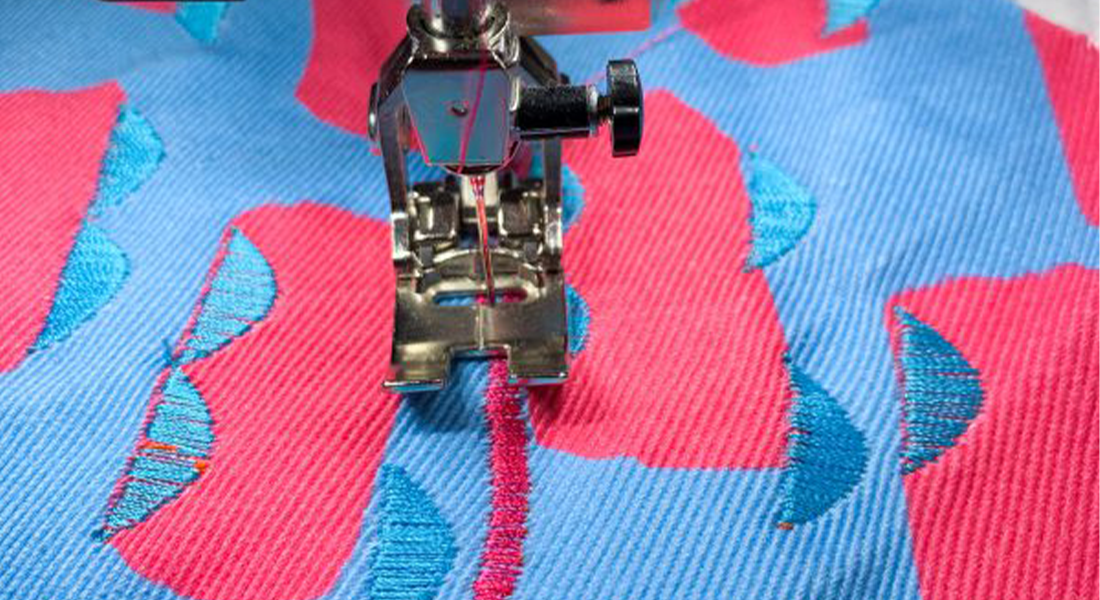
Step 3: Embroider
Once you’ve determined the right amount of stabilizer for your project it’s time to start embroidering on your main project piece(s)! Don’t forget to use the feature that clips your run stitches as you stitch out your design. Not only will this save you time but you’ll also save yourself the worry of accidentally clipping your tulle while trimming run stitches.

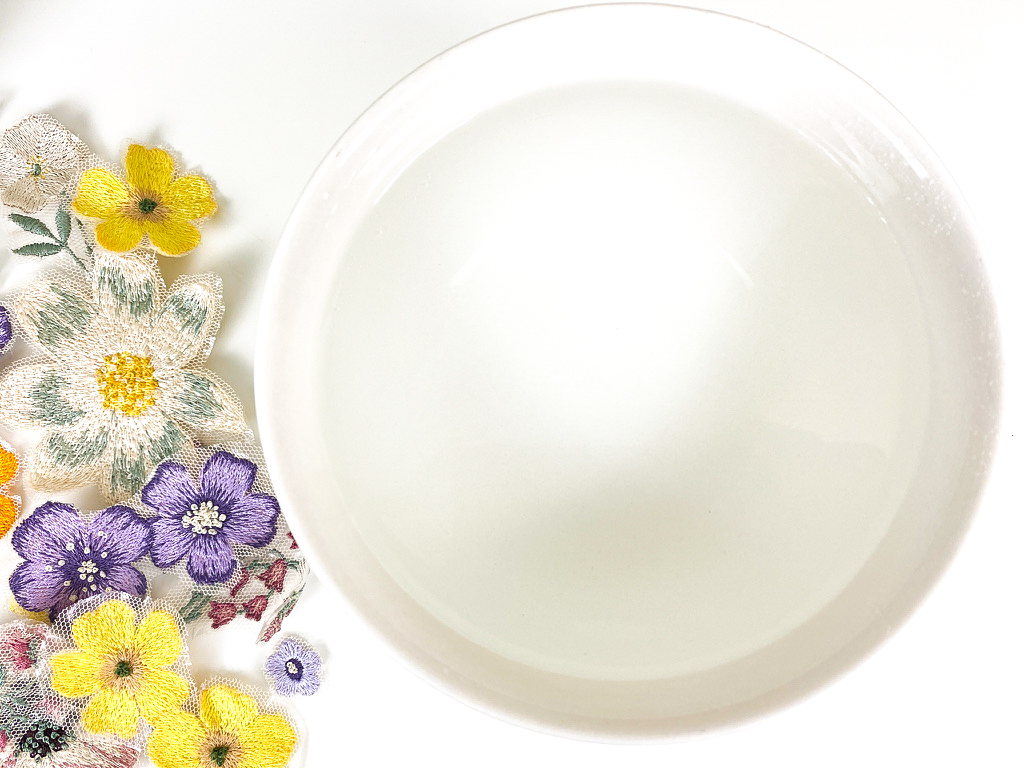
Step 4: Remove Stabilizer
Now it’s time to remove the water-soluble stabilizer. If you’re doing appliqué, now is a good time to trim the tulle closer to your design. Just be mindful that you don’t clip too close to the embroidery design as the thread could unravel after the stabilizer is removed.
To remove the stabilizer, soak your project in water. I like to give mine a good soak and will leave them in a bowl overnight. If you prefer that your embroidery has a stiffer quality to it then you’ll want to remove your project from the water pretty quickly. If you prefer a supple design to work with then let it soak until you know that all the stabilizer has been removed.
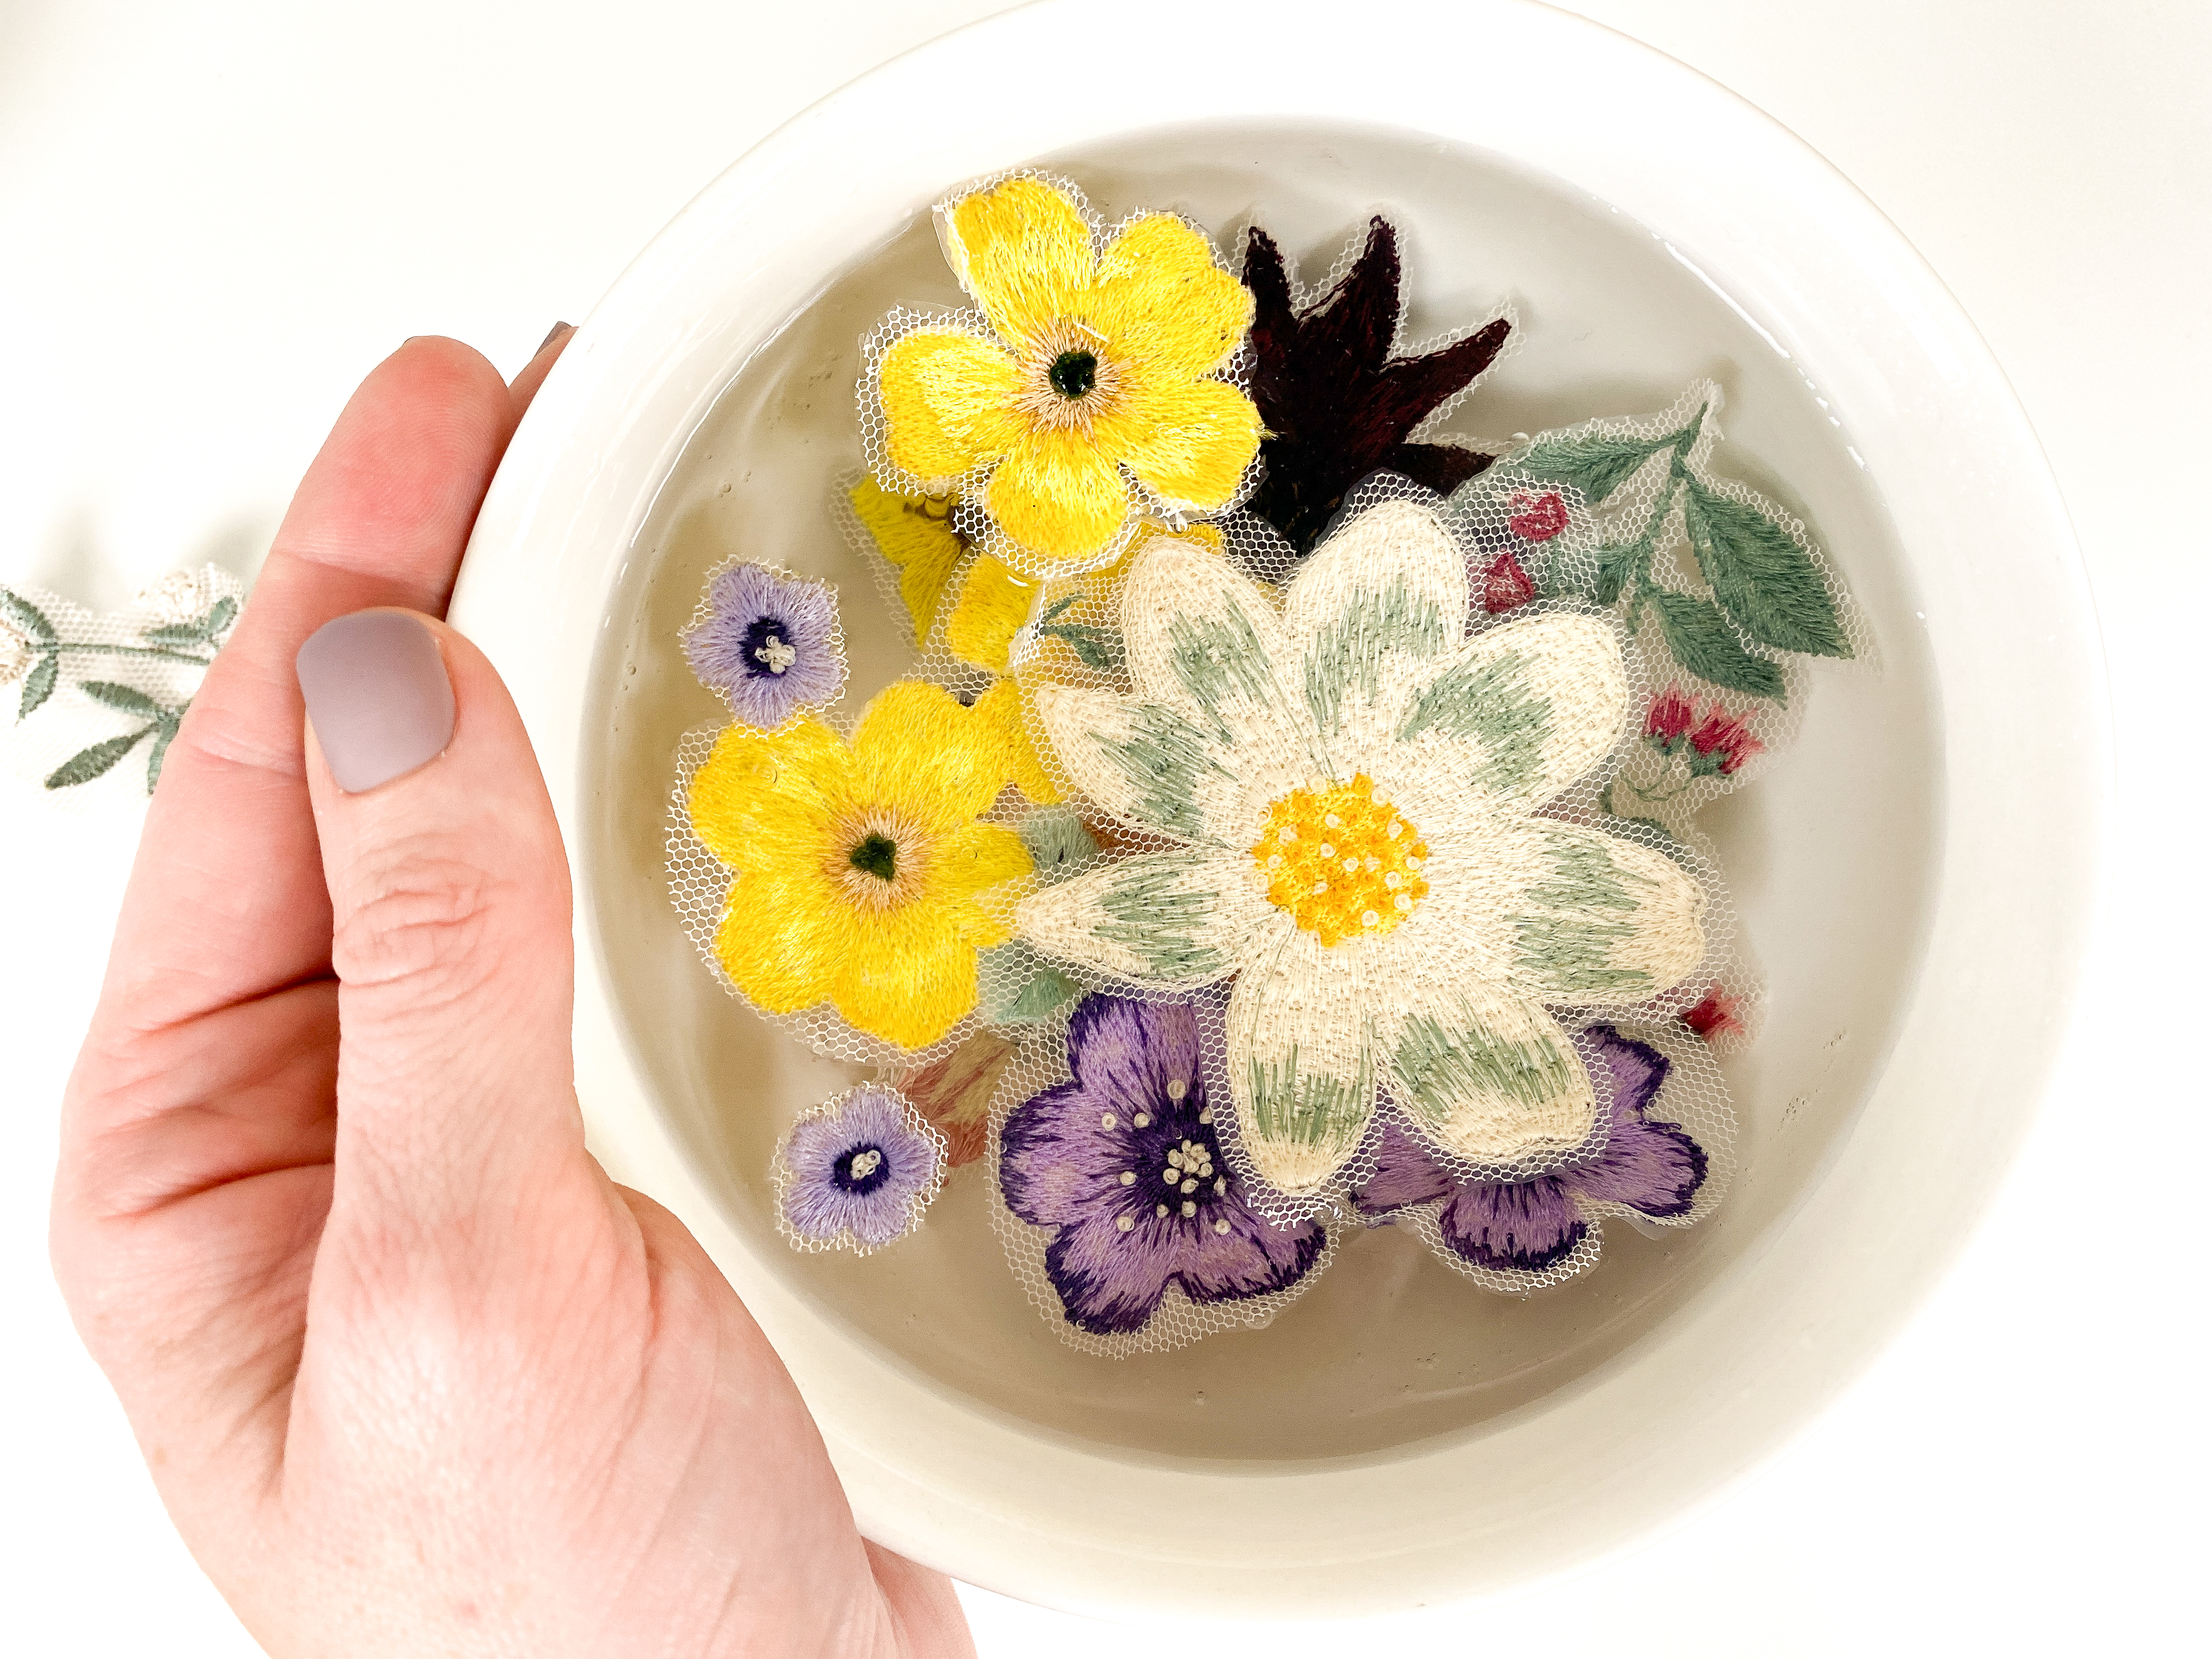
Rinse off your project after letting it soak and air dry.
Step 5: Iron
If your project has lost its shape or looks wrinkly after rinsing the stabilizer, it’s perfectly okay to iron! Sandwich your project between a scrap piece of cotton fabric to protect the tulle and threads on the ironing board. Start with the lowest heat setting and use lots of steam. Your project will be wrinkle-free in no time!
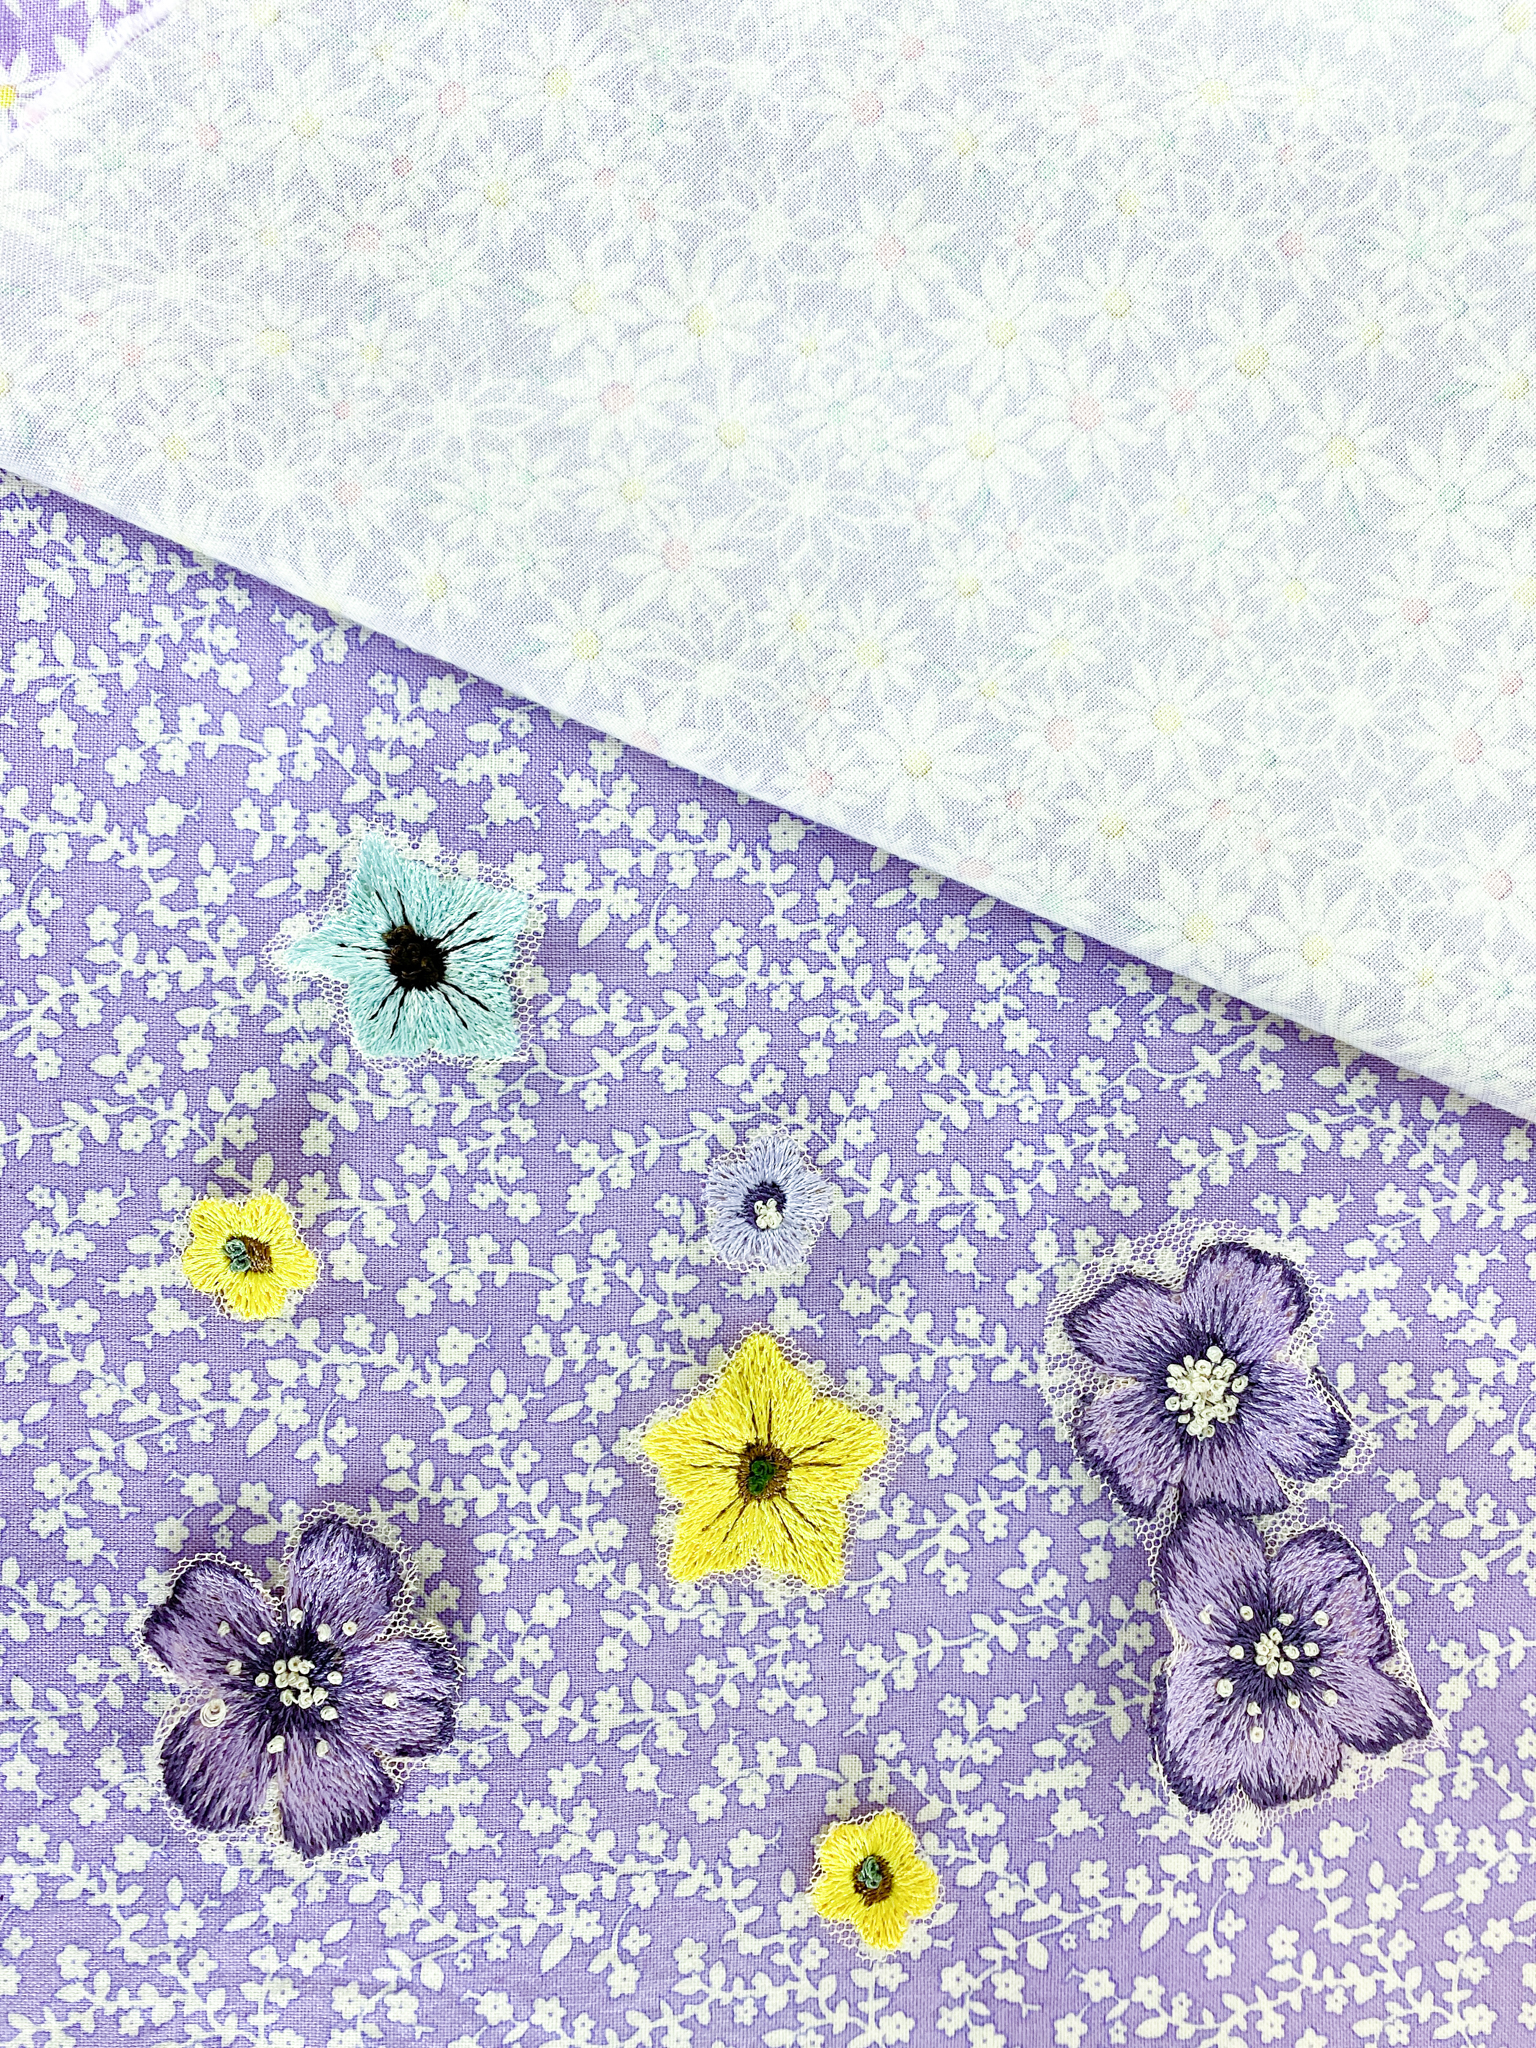
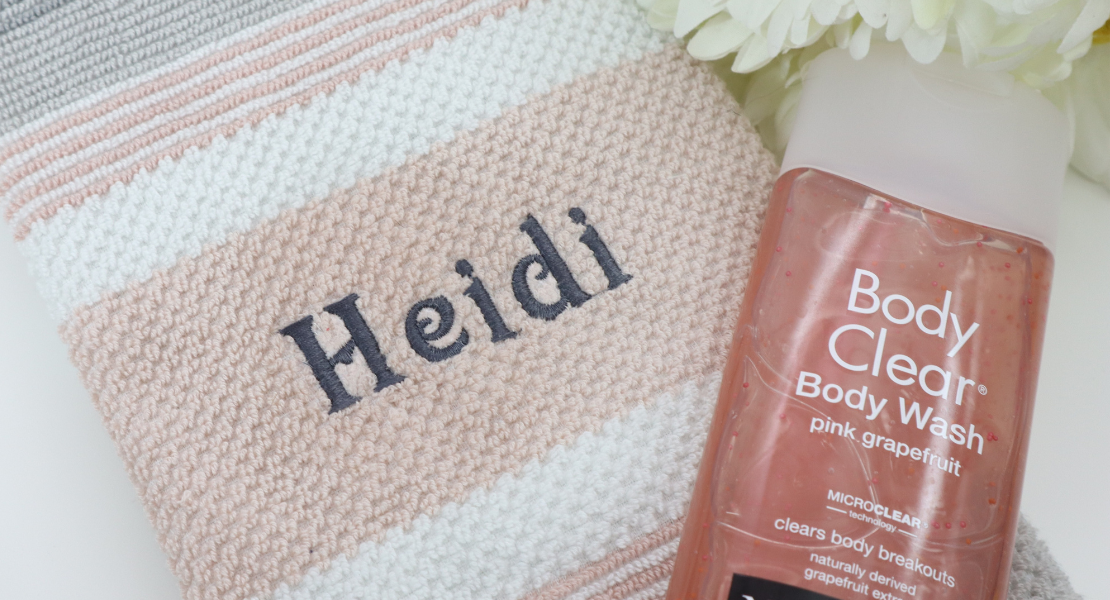
Once you’ve ironed – your project is ready to be sewn or used however you’d like! Since I made appliqués, these are being pinned to a dress I’m making inspired by Oscar De La Renta’s Fall 2021 collection and then hand-stitched to the main fabric.


I really hope that this how-to has inspired you to get started with your own tulle embroidery projects! The possibilities are truly endless, and we would love to see your creations too! Don’t forget to use the hashtag #weallsew on Instagram so we can see all of your lovely makes.
Until next time!
Used Products


What you might also like


10 comments on “How to Embroider Tulle”
-
-
Hi there! These are great questions.
– How do you choose embroidery designs for this?
I selected designs based on a dress that I wanted to recreate and tried to match them as closely the original as possible (Oscar De La Renta, Fall 2021). You can use any design you’d like as long as it isn’t terribly dense. You can layer tulle to help with denser designs but, ultimately, I recommend avoiding dense designs as it requires a lot of troubleshooting or the tulle will tear.
– Where did these designs come from?
These are a combination of designs sourced from OESD, Etsy, and some were custom made for me after reaching out to an embroidery artist. I purchased over 100+ designs for the dress I wanted to recreate.
– What are some tips on choosing designs with the correct density and how can you adjust that?
You can adjust the stitch density under the information button on the right hand corner of your display screen after you’ve selected your design.
– What size/type/fiber content of thread was used in this project and what needle size?
I used Mettler Polysheen embroidery thread, as listed in the supplies, and a 70 needle.
– Are those French knots made by hand or machine?
The French knots are by hand and specific to the garment I was making.
– Can you embroider right onto a tulle garment piece or do you have to embroider onto tulle and then sew it onto the garment once it is sewn together?
You can embroider on the tulle garment piece or as an appliqué. My inspired garment required appliqué.
– What are some sources for the tulle used? And what is medium weight tulle? Isn’t tulle just tulle???
Tulle comes in a variety of different fibers: cotton, silk, and polyester. Their weight and drape can vary based on the tulle that you purchase. I purchased this tulle from the Etsy shop: Sojofabrics. It’s 100% polyester.
– Do you hoop the tulle?
As you can see in the photos, mine is hooped but it’s not required. You can also lay the tulle on top after basting the tulle onto the stabilizer or spraying an adhesive.
-
-
I have many of the same questions as the person who already left comments.. I am especially interested in how to design on a design. What criteria do you use?
-
My designs are layered by hand. The dress I was inspired by was couture and I wanted to approach my dress with the same level of craftsmanship. If you’d like to add hand embroidery to your pieces be sure to do your needle work before removing the water soluble stabilizer.
-
-
Great design idea, but would love to know what collection the designs are from. Also, I see you are using 2 layers of tulle? Would that be the norm or would the density of the designs determine how many layers you would need to use?
I have done some other items on tulle, but was able to get away with only one layer. Would love to see a follow-up post for this technique with a little more detail.-
Hi Gabero – I’m using a single layer of tulle, as well! For denser designs, I would recommend adding more water soluble stabilizer instead of tulle. The designs are appliqués and being sewn onto a mesh.
My designs were sourced from OESD, Etsy, and custom designed by an embroidery artist to find the closest match to my inspo dress.
-
-
Same here…where are the designs located? How are they chosen?
-
My designs were sourced from OESD, Etsy, and custom designed by an embroidery artist to find the closest match to my inspo dress.
-
-
Hello!
I have also been noodling on how to make a project like this, and similar to the folks who commented above, I was wondering where these designs were sourced from? thanks!
-
Hi there! My designs were sourced from OESD, Etsy, and custom designed by an embroidery artist to find the closest match to my inspo dress.
Leave a Reply
You must be logged in to post a comment.

This is lovely and I would like to try it. But the article has left me with a lot of questions.
– How do you choose embroidery designs for this?
– Where did these designs come from?
– What are some tips on choosing designs with the correct density and how can you adjust that?
– What size/type/fiber content of thread was used in this project and what needle size?
– Are those French knots made by hand or machine?
– Can you embroider right onto a tulle garment piece or do you have to embroider onto tulle and then sew it onto the garment once it is sewn together?
– What are some sources for the tulle used? And what is medium weight tulle? Isn’t tulle just tulle???
– Do you hoop the tulle?
This is more of an inspirational idea rather than a tutorial or a guide to getting started. Why tell us what we need to do this when the information is far from complete? Anyone with the skills to accomplish this already knows that they need a hoop, an embroidery foot, and an embroidery needle. Help us get started!