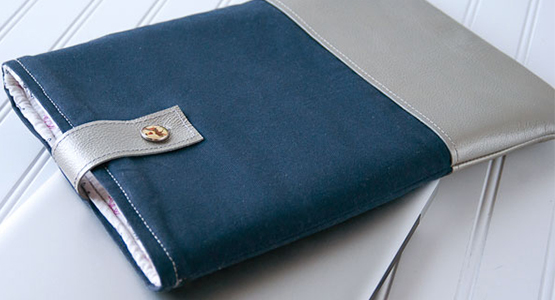
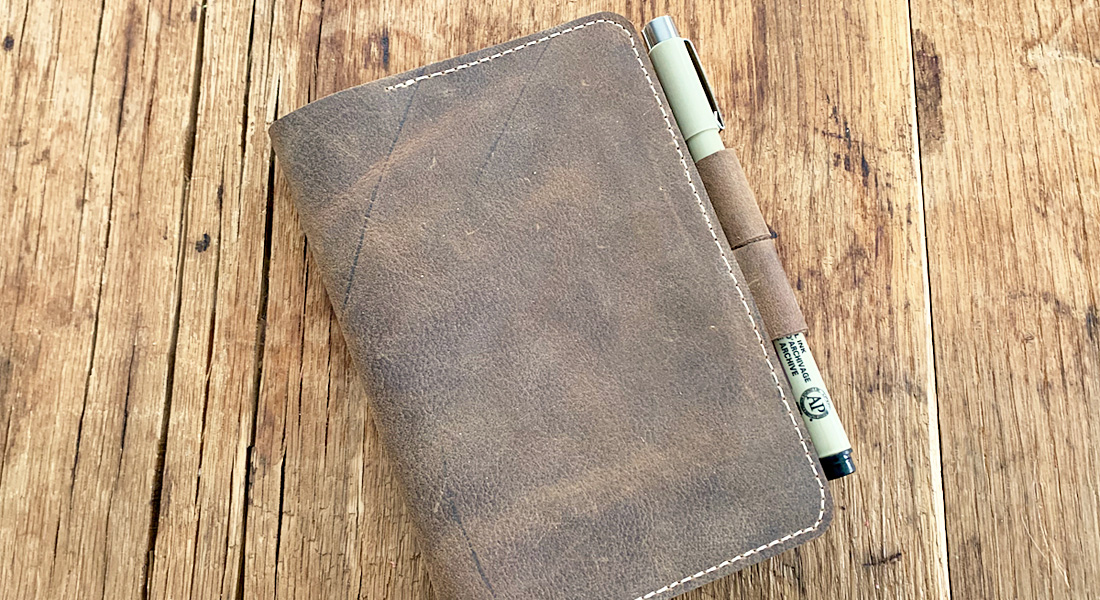
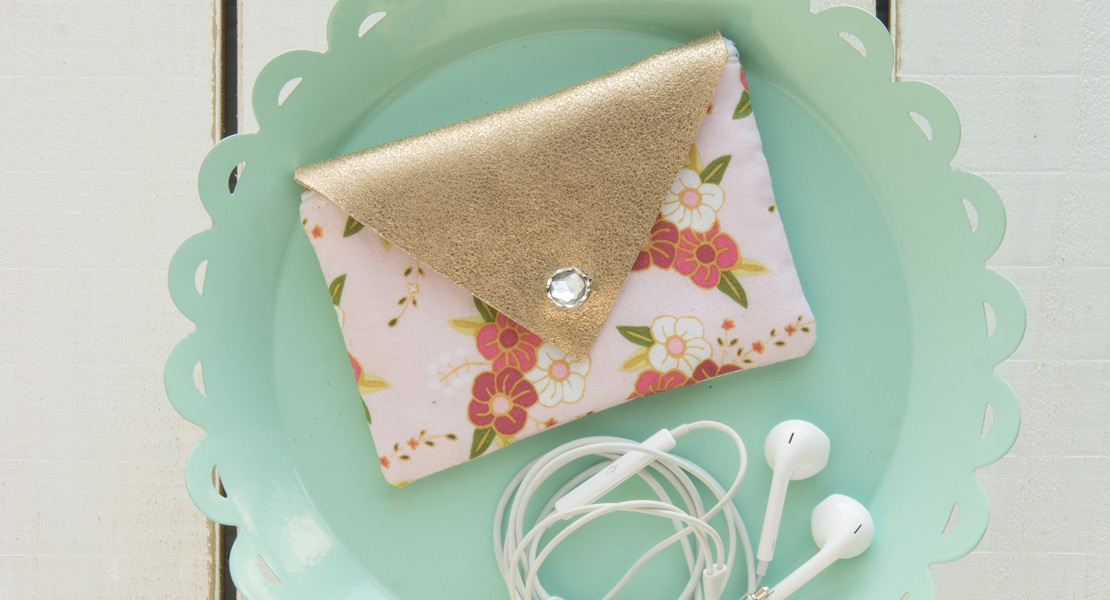
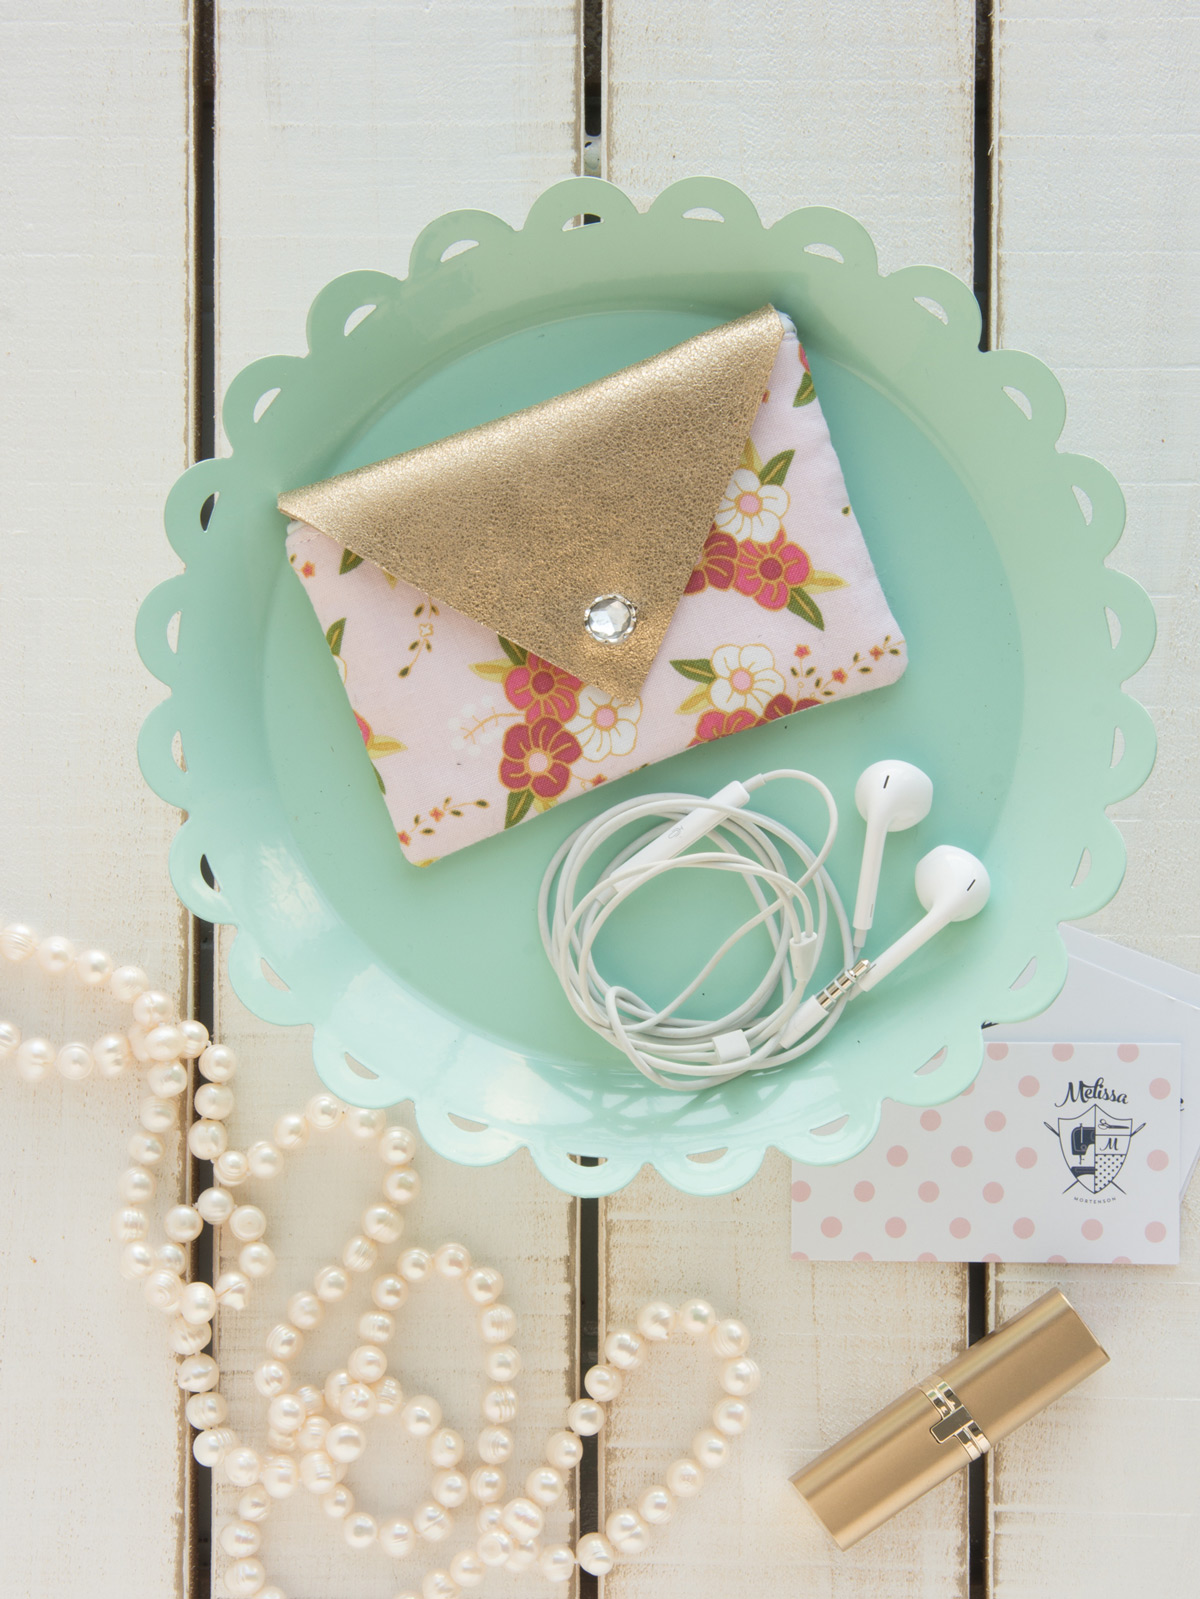
Leather Mini Card Case
Hi there WeAllSew fans! My name is Melissa Mortenson and I’m delighted to be sharing a simple sewing tutorial with you today. I’ve been a BERNINA Ambassador for many years and am the owner of the Polka Dot Chair Blog. I also design fabric for Riley Blake Designs.
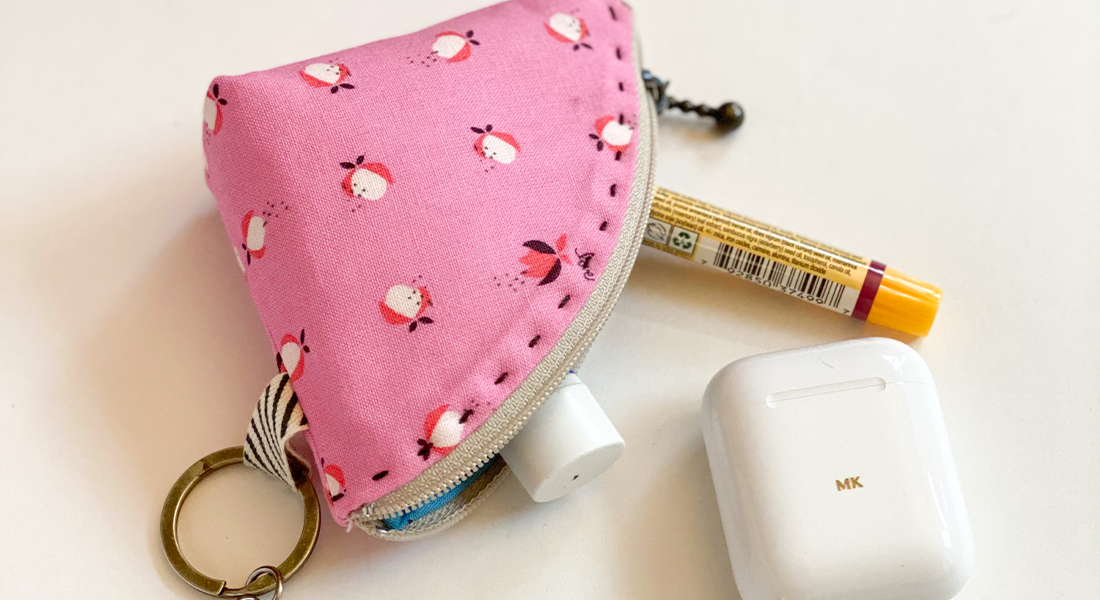
Today I’m going to show you how to make a fun mini card case. It features a leather flap and can be made from fabric scraps! It’s just the right size to hold a business card or a set of earbuds.
Instructions on How to Create a Leather Mini Card Case
Materials to Create a Leather Mini Card Case
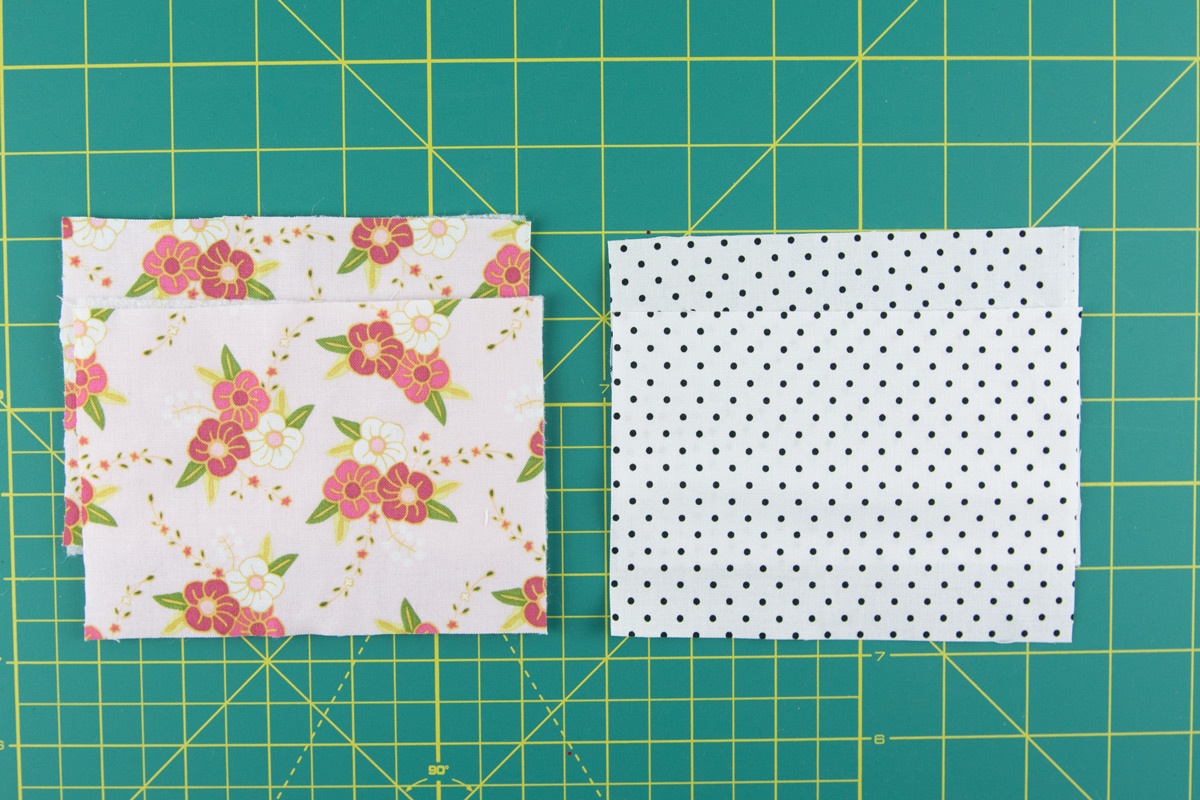
- 2 pieces of fabric for the case front and back each 4″ x 5 1/2″
- 2 pieces of fabric for case lining each 4″ x 5 1/2″
- 1 piece of leather 4 1/2″ x 3 1/2″- the leather I used is 4oz leather. That is the thickest that I would recommend. You can use thinner leather.
- 2 pieces fusible fleece each 4″ x 5 1/2″
- 2 pieces medium weight interfacing each 4″ x 5 1/2″
- Rotary cutter for leather (same as a regular rotary cutter, but since the leather dulls the blade I keep one cutter just for leather)
- Leather Needle for Sewing Machine
- Exacto Knife
- Small Button
All seam allowances are 1/4″
Begin by pressing the fusible fleece onto the wrong side of the case outside pieces. Press the medium weight interfacing onto the wrong side of the lining pieces.
Next, sew the case front and back pieces together right sides facing leaving the top open. Clip corners and turn right side out. Sew the lining piece the same way but do not turn right side out.

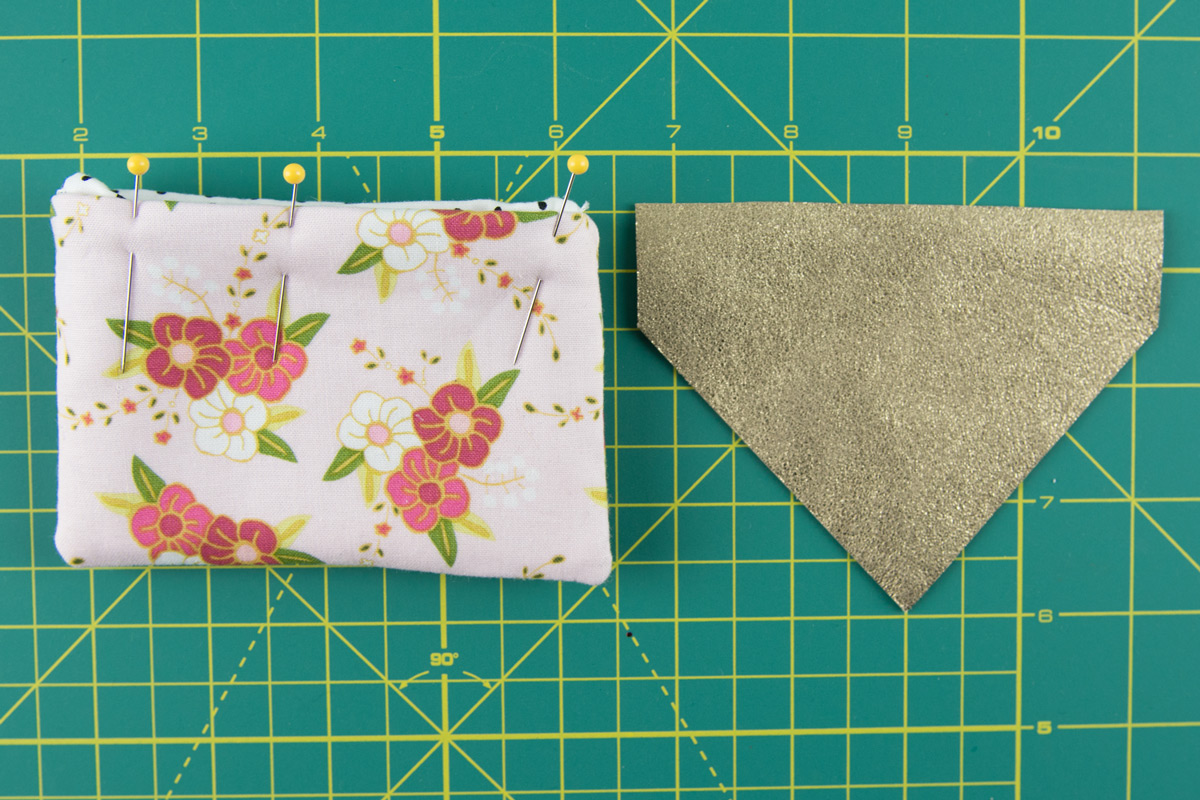
Cut the leather piece to a point at the end as shown in the photo. Measure down 1″ on each side of the top of the piece, then cut from the 1″ mark on the right to the bottom center mark. Repeat for the other side.
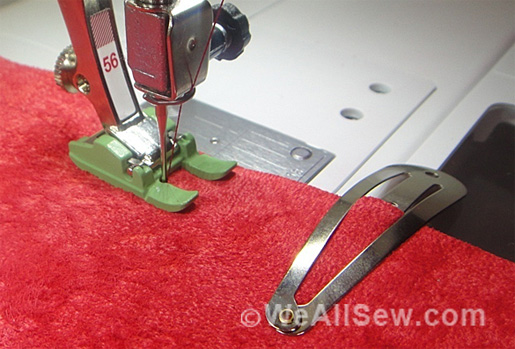
Here’s a tip for cutting leather. Just use a rotary blade. Label it so that you always use it JUST for leather. It will cut it smoothly and you can just use your cutting mat and quilt ruler to cut it.
Turn the case right side out and press. Pin the opening close and press. Remove the pins. You are pressing the piece to create a crease for sewing later. You don’t need the pins to hold the pieces together.
Place the leather piece so that the bottom of the piece is overlapping the top of the back of the sewn piece. The wrong side of the leather will be facing the right side of the sewn fabric piece. Pin in place, you can also use binding clips. If it helps to visualize it, you are pinning the leather to the sewn piece exactly the way it will be when it is assembled. You are just stitching it to the top edge of the case.
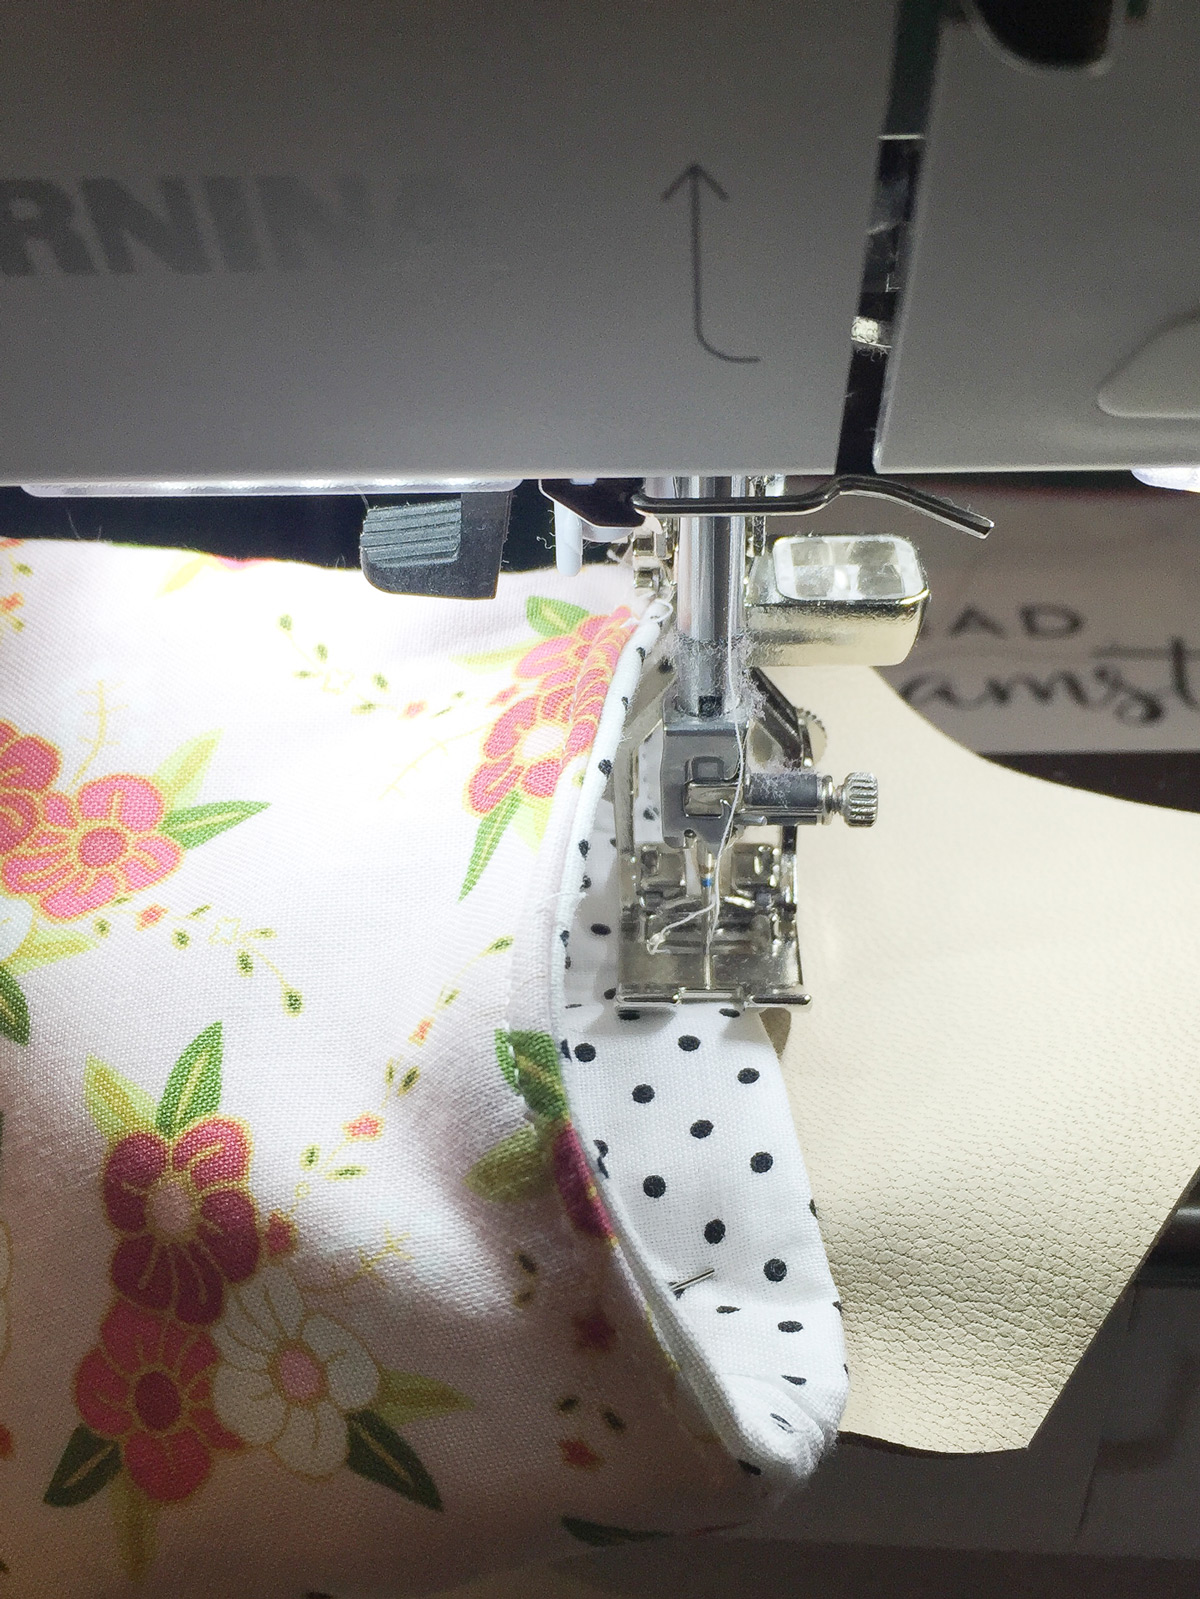
Put the leather needle on your sewing machine.
Stitch the leather flap in place by stitching around the entire perimeter of the case. Go slow at first to make sure your machine can handle the bulk. The stitching on the back will attach the flap and the stitching on the front will serve as topstitching.
Remove the leather needle from your machine.
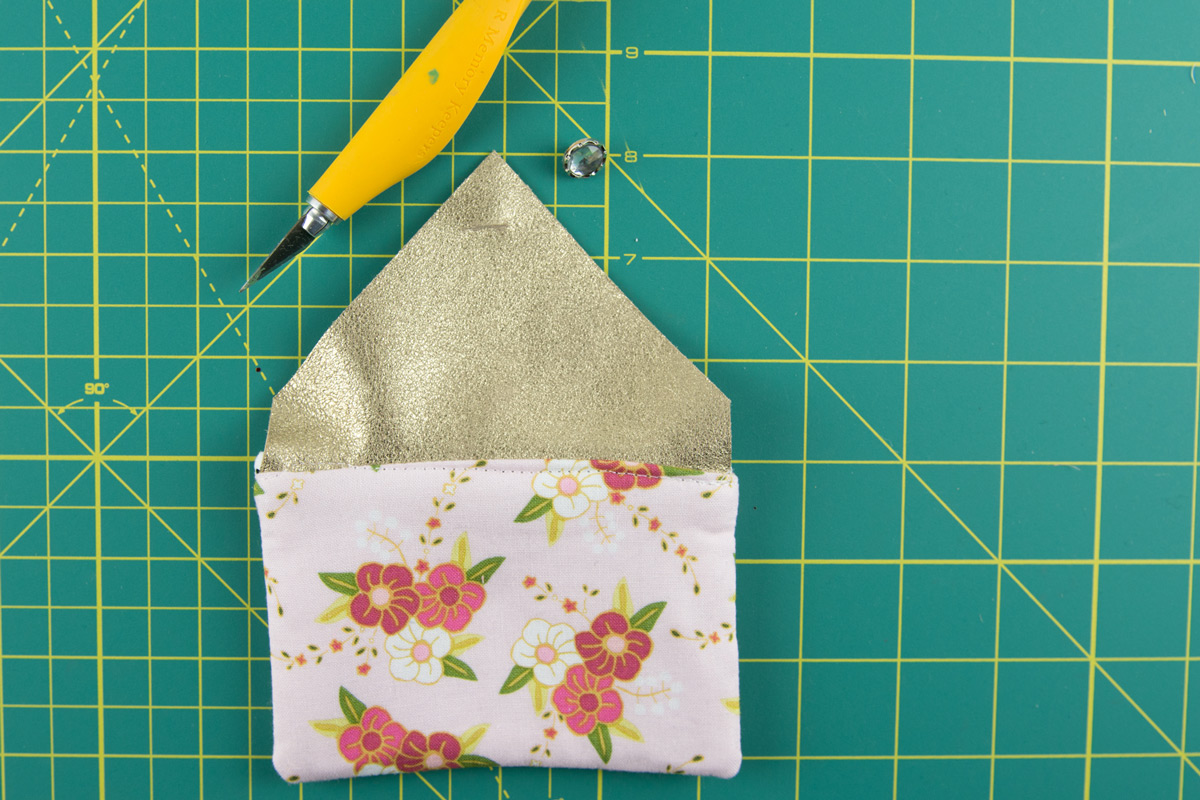
Fold the flap over and mark where you’d like the button to go. Cut a slit in the leather with an exacto knife the same width as the button. Stitch the button to the case.
That’s it! Now just fill it up and enjoy!