How to Make a Cuddle® Throw Blanket
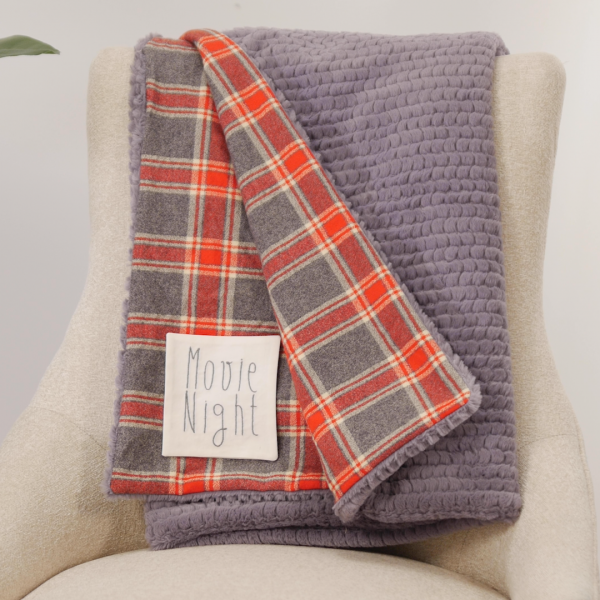
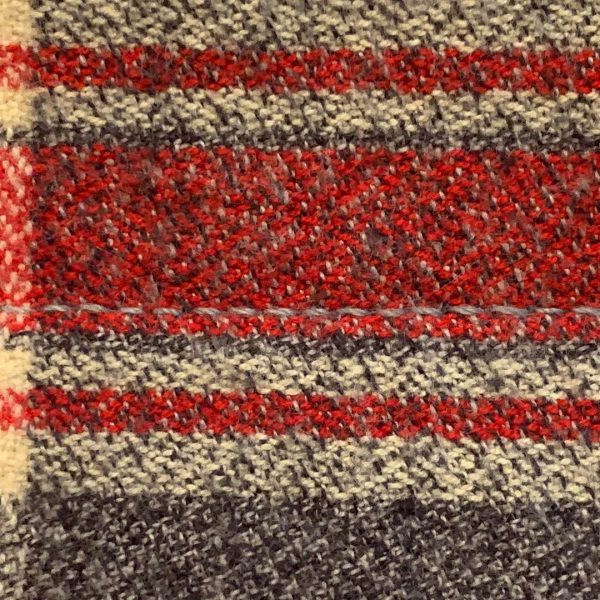
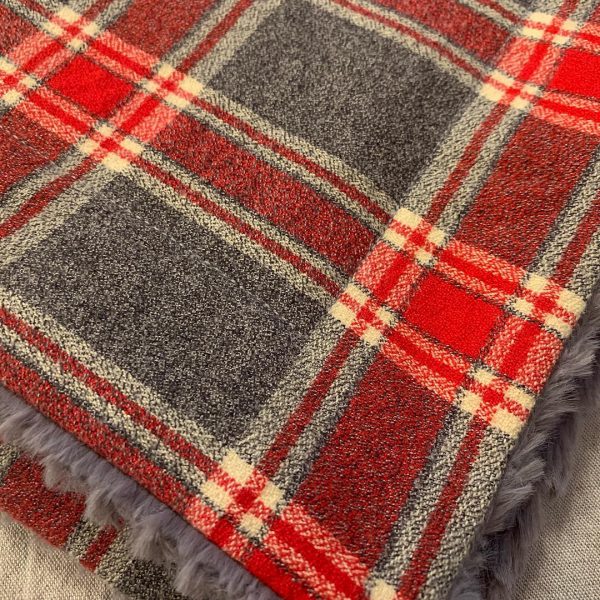
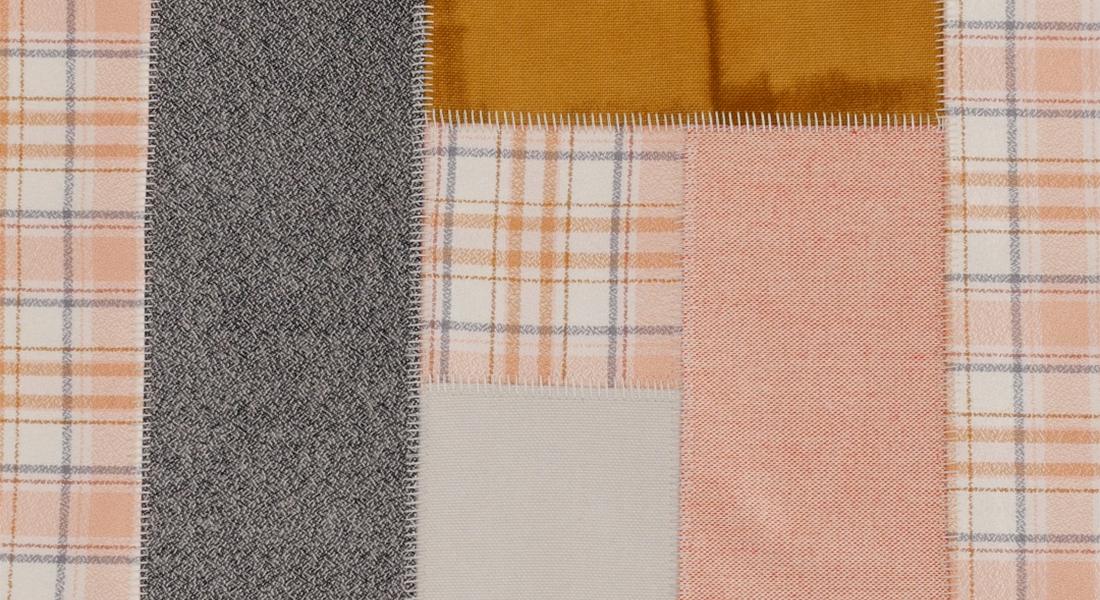
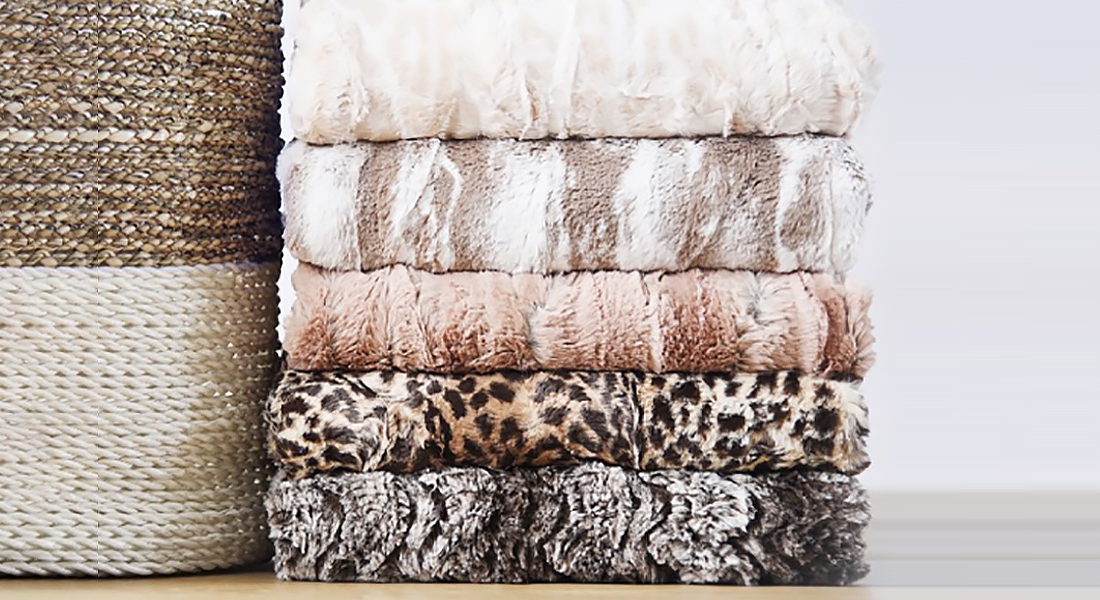
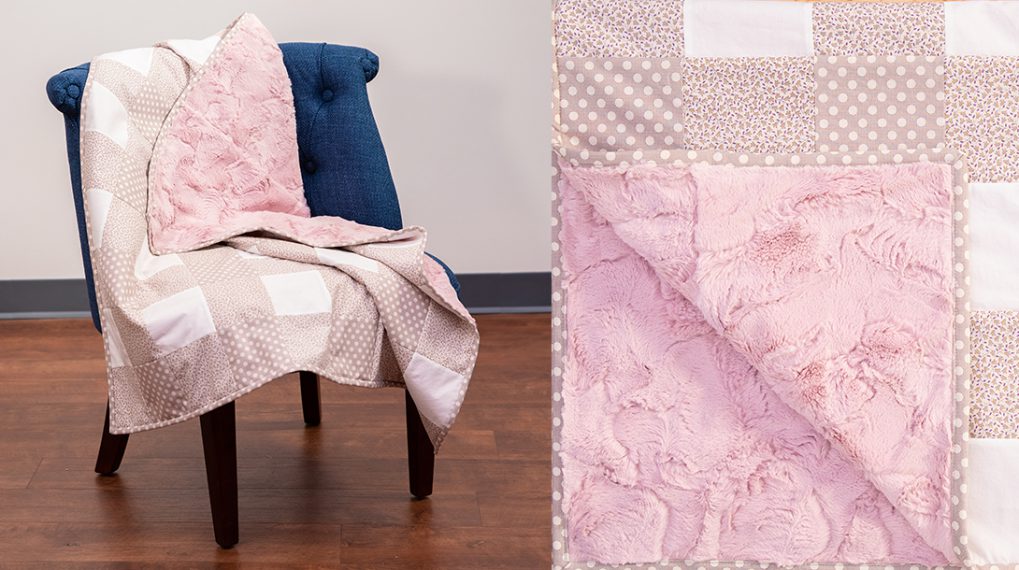
Who doesn’t want a soft blanket on a rainy night while watching a movie or on a cold night with a book by the fire? It’s a great gift to give anyone at any age or to give yourself. When making a blanket, the main factors are color and fabric. Color depends on the recipient and fabric is easy if you know where to look. Shannon Fabrics’ motto is “Making the World a Softer Place” and they certainly do! Their selection of micro-fiber plush includes Cuddle, one of the softest fabrics in the world. In addition, they have Luxe Cuddle which they call “bunny-soft” and has a higher pile than Cuddle. There are three varieties of Luxe Cuddle – solids, embossed and prints. I decided to try Luxe Cuddle Brooklyn which is an embossed variety. I wanted a plaid flannel on the other side so I did a little research and found one by Robert Kaufman called Mammoth Flannel. It’s 100% cotton and a 2-ply flannel that’s a bit stronger and loftier. There are 89 plaid prints in this collection—it’s hard to choose just one!
In this tutorial, I focus on the best and easiest way to sew with cuddle fabric. Also, I show a couple of ways to add special touches. Let’s get started!
Machine Set-up
Materials to Make a Cuddle Throw Blanket
- 1 1/2 yards Luxe Cuddle Brooklyn by Shannon Fabrics
- 1 3/4 yards Mammoth Flannel by Robert Kaufman
- Mettler METROSENE Polyester Thread
- Sulky 12 wt Cotton or Mettler Cordonnet 30 wt
- Schmetz Stretch Needle 90/14
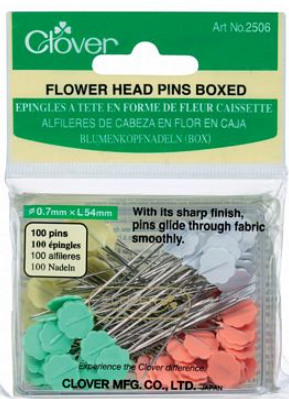
- Clover Flower Head Pins
- Clover Wonder Clips
- Olfa Light Duty Cutter or Rotary Cutter
- Scissors
- Stiletto, such as OESD Point & Press Tool
- Sharpie pen
- Measuring tape
- Hand sewing needle
Steps to Make a Cuddle Throw Blanket
I am working with Luxe Cuddle Brooklyn in Graphite which has a ribbed surface that can be followed for cutting straight lines. Measure your desired length and cut along the closest path. I cut close to 44” in length with my Olfa craft knife. No marking necessary! You can use a rotary cutter also instead of a craft knife.
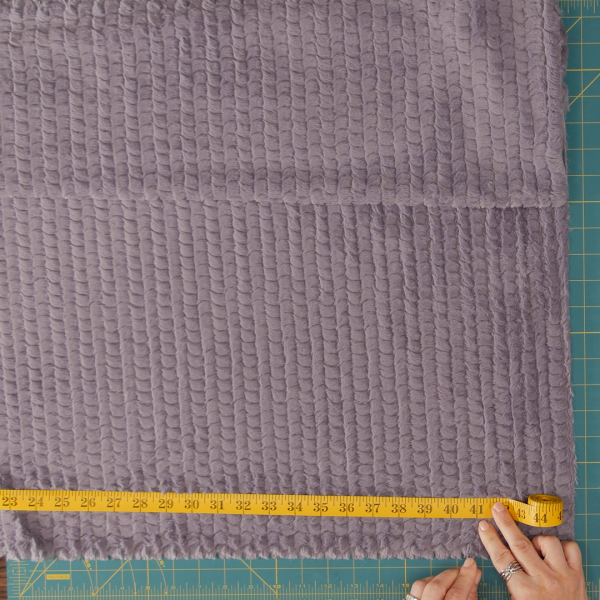
Cuddle fabric comes 60” wide which is the width I want my throw blanket. If you would like a different size, you will need to mark the desired width first. The ribbed surface only runs lengthwise, not widthwise. On the wrong side of the fabric, draw a line with a sharpie at your desired width.
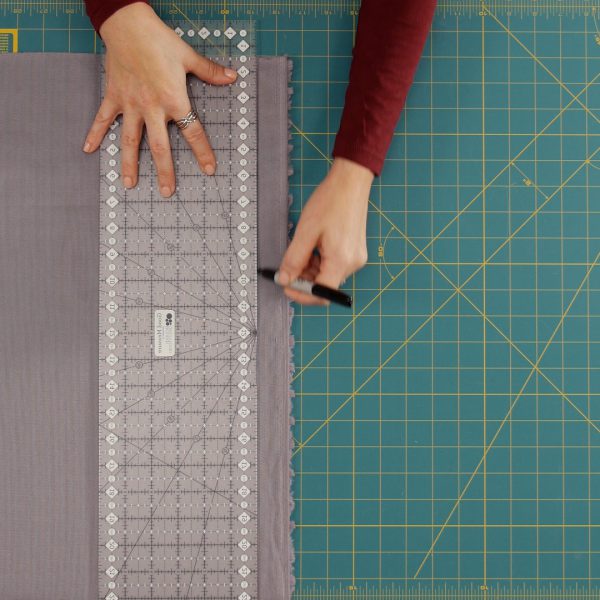
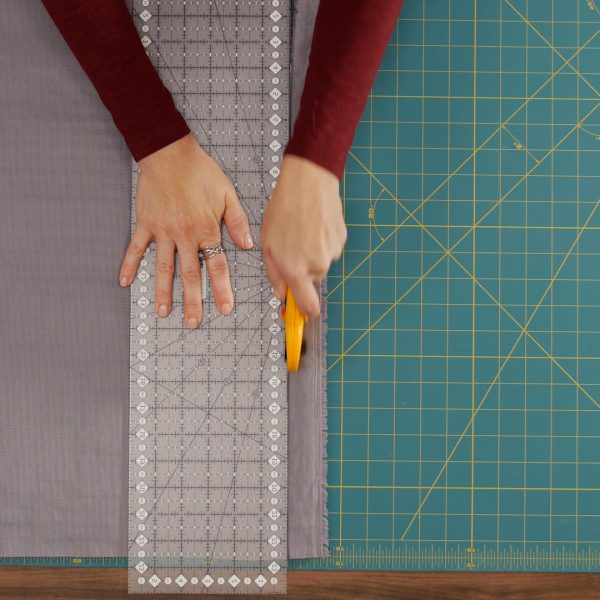
Again, cut with a craft knife or rotary cutter following the marked line. At this point, you have fluff everywhere.
Tip: Use a damp washcloth to wipe down the cutting mat. Throw washcloth in the dryer and tumble on low or no heat. Fluff will catch in the lint trap.
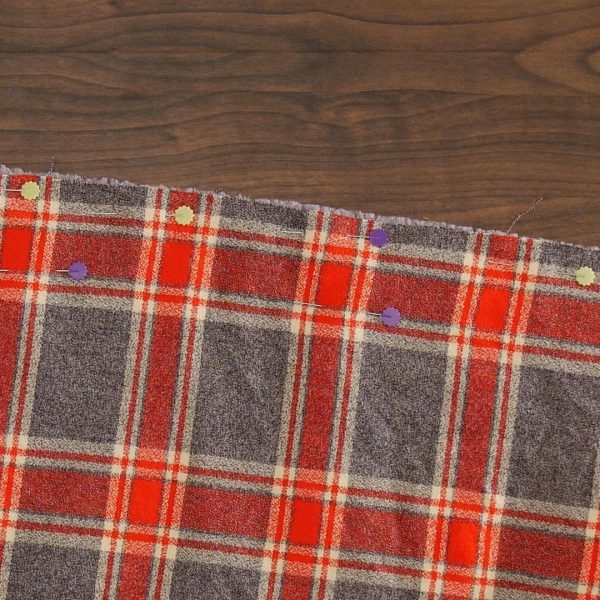
Next, cut Mammoth Flannel the same size. Then, place them right sides together with Cuddle fabric on top. Since both pieces of fabric are thick, it’s important to use long pins, such as Clover Flower Head Pins. Not only will long pins help secure the fabric while sewing, but the flat flower heads are also very visible so you don’t accidentally sew over them.
Pick one side of the blanket and place a pin in the center along that side. Then, place a pin at each end. Now place pins in between every 4”. Place pins horizontal to fabric, not perpendicular. Do the same for the other three sides.
Tip: I like to place a vertical pin at my starting point and another pin 8”- 9” from this point to indicate the stopping point.

Place the second row of pins 2” away from the first row of pins. This row is to help keep the 2 large pieces secure while sewing. You will not remove these pins until stitching is complete and the blanket is ready to be turned inside out.
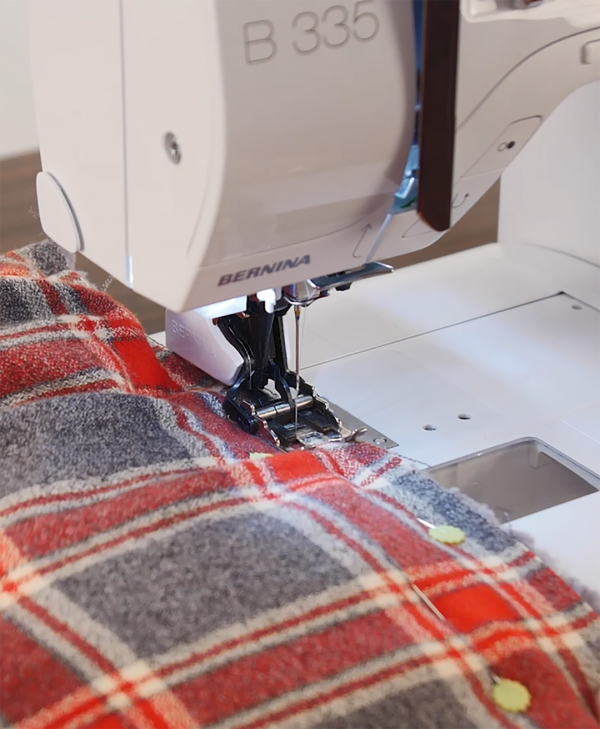
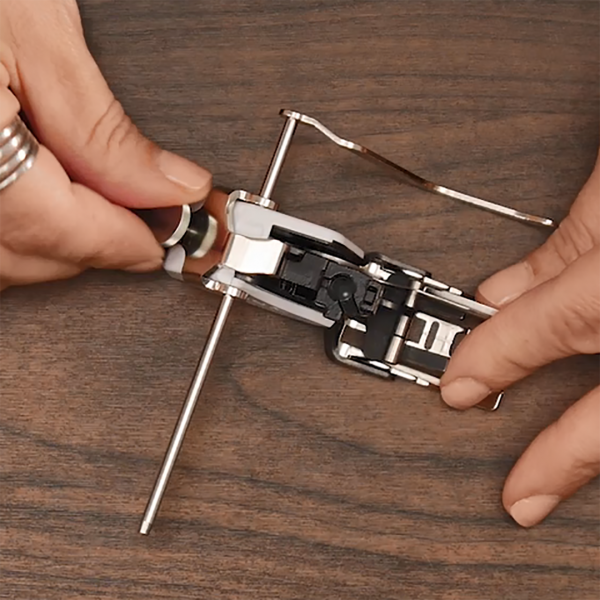
Attach the Three-Sole Walking Foot with Guide #50 and the Straight Stitch Plate to the machine.
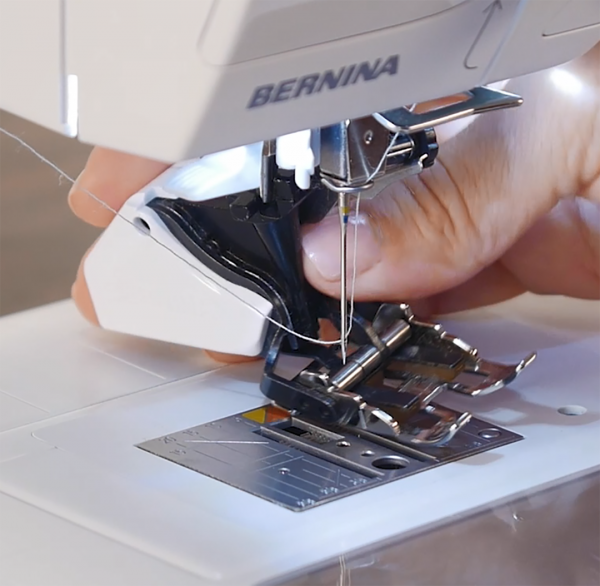
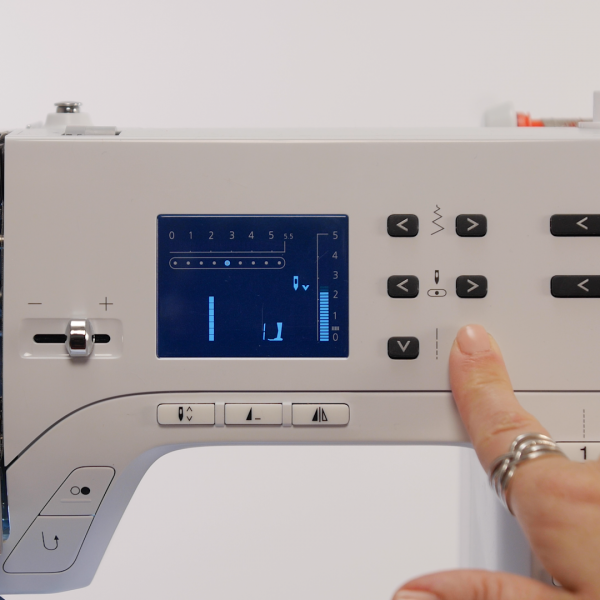
Thread the machine with Mettler Metrosene thread and insert a Schmetz Stretch Needle Sz 90. Select Straight Stitch #1 and increase Stitch Length to about 3.5 mm. Tap the Needle Up/Down Button so the needle stops in the down position.
Find your starting point on the blanket. Place it under the Walking Foot #50 with cuddle side on top. Line up the edge of the fabric with the edge of the walking foot. Backstitch to secure stitches. Sew down the side removing pins (from the first row of pins only) until 1/2” from the corner.
When you are 1/2” from the first corner, stop with the needle in the down position. Using your Free Hand System, pivot quilt 90 degrees and start sewing down the next side. Here is a tip to prevent dimples that sometimes form when turning out corners. Instead of turning the quilt 90 degrees, turn the quilt 45 degrees. Sew 2-3 stitches and pivot again 45 degrees. Pivoting 45 degrees twice helps prevent those pesky dimples.
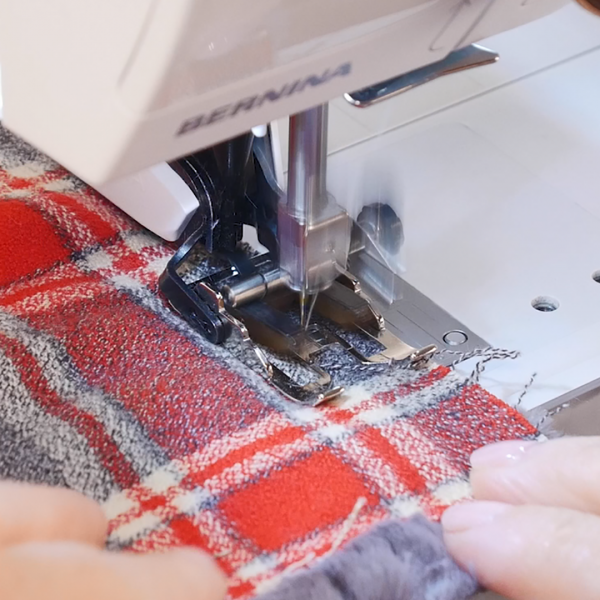
Continue until you are 8”- 9” from starting point. Backstitch to secure stitches and cut threads.
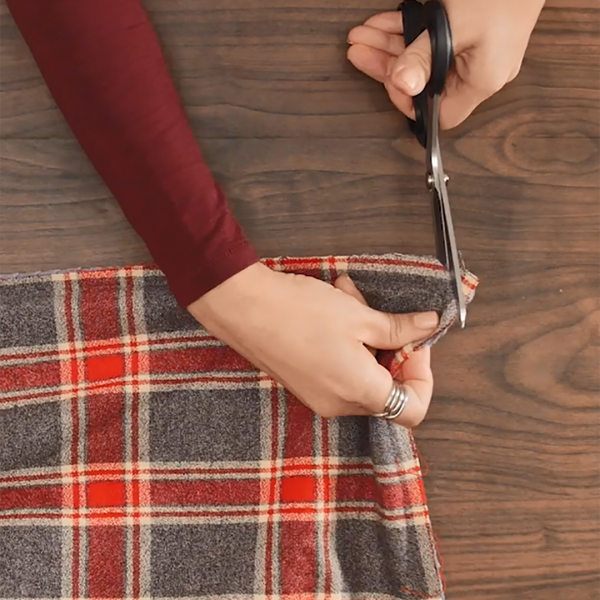
Remove the second row of pins and cut excess bulk at corners.
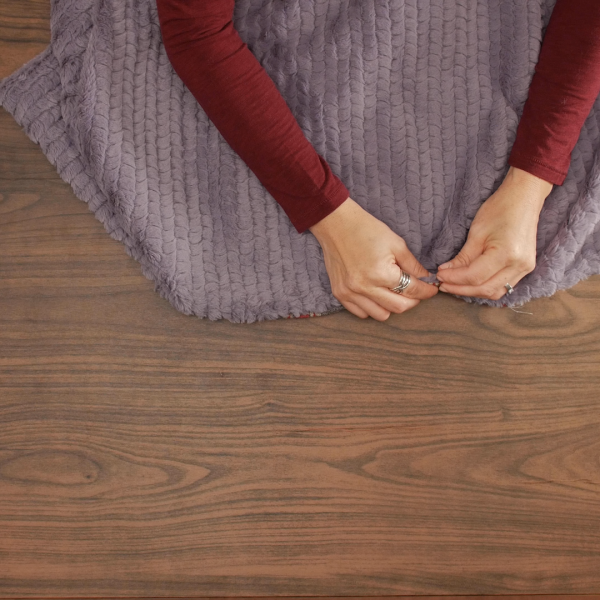
Turn right side out. Using a pointer, such as OESD Point and Press Tool, push out corners. To close the opening, whipstitch with a hand sewing needle or straight stitch by machine.
Topstitching
Cuddle throw blankets do not need to be quilted, but I like to sew a topstitch 3” from the finished edge. It helps keep the blanket edges flat and the corners sharp. I am using Sulky 12wt Cotton in grey. If you want to use a contrasting thread, try red. Mettler Cordonnet 30 wt is a nice thick thread also.
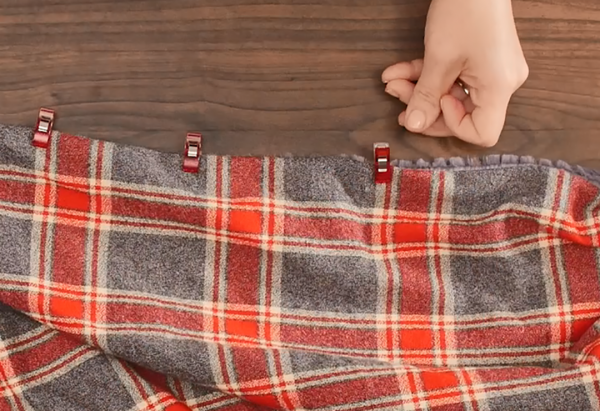
Add Wonder Clips every 3” – 4” along the finished edges. This helps keep the edges flat while sewing.
Remove the walking foot from the machine and insert the right seam guide.
Reattach the walking foot and align the seam guide with the 3” mark on the sliding table. Place the blanket under the walking foot with a finished edge against the right seam guide. Keep Straight Stitch #1 at 3.5 mm and stitch down the side stopping 3” from the corner.
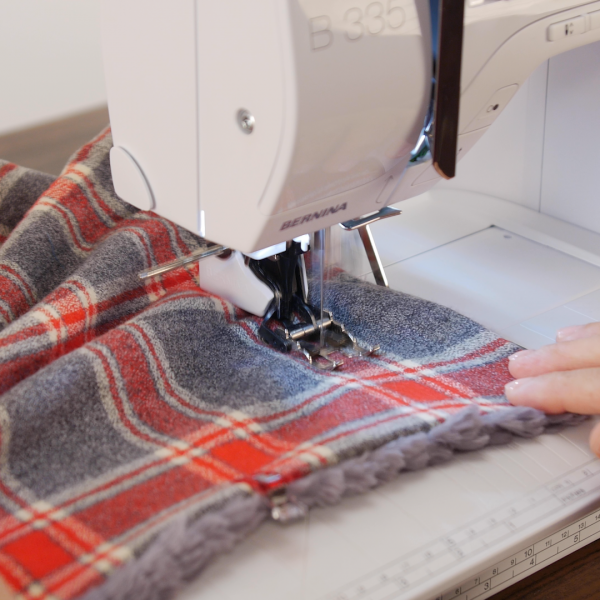
With the needle down, pivot blanket 90 degrees and sew down the next side. Continue until you are back at the starting point. Backstitch to secure and cut threads. Remove Wonder Clips.
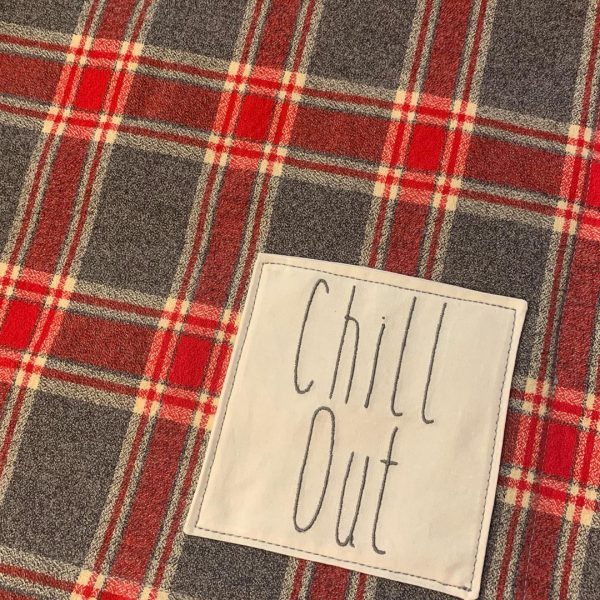
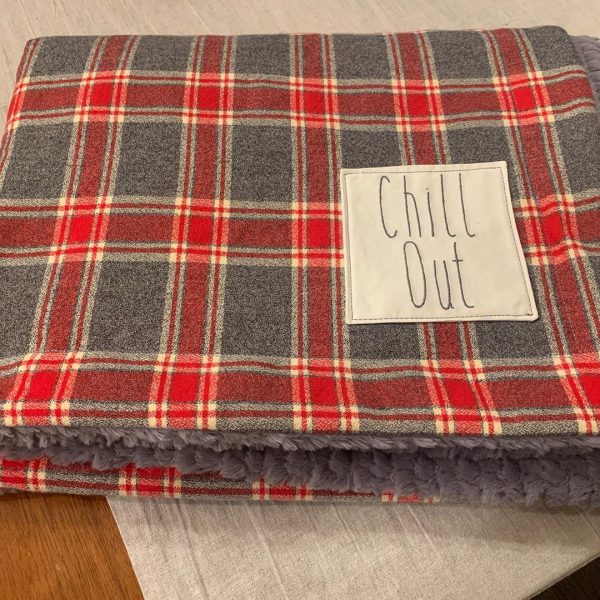
Fun Label
A fun option to customize your blanket is to create a label. The label can include the recipient’s name, a funny saying or an embroidery design. I created my labels with BERNINA Embroidery Software 8.2 using a font called Why So Skinny downloaded from dafont.com. The labels are 5” x 5” and say Movie Night, Chill Out and Let’s Cuddle. After I machine embroidered the words, I trimmed the label and pressed the raw edges under 1/2”. Then, I secured the label with temporary glue and topstitched it around the perimeter. This might be a fun place to use your built-in decorative stitches.
I am so thrilled with how these Luxe Cuddle throw blankets turned out! They are very easy and fun to stitch together and the results are so soft and cozy. I would love one for each season with labels of my favorite expressions, like “There’s snow place like home.” I hope you enjoyed this tutorial and learned a few new tricks and tips to take to your sewing room. Stay warm and chill out!
Used Products

What you might also like


5 comments on “How to Make a Cuddle® Throw Blanket”
-
-
Thank you for letting us know! The link has been updated.
-
-
What is the final size of this throw? The Cuddle fabric is 58″ wide and the flannel 42″ wide. It sounds like it ends up quite small, and not 58″ wide. Thank you.
-
Hello. The Robert Kaufman Mammoth flannel is 44″ wide so I was able to make the throw 43″ wide x 60″ without having to piece. I was going for a lap throw. You could piece the flannel and make your throw much bigger. The process would be the same. Have fun!
-
-
The instructions say to sew the two pieces together with cuddle on top, but the photos all have the flannel on top. Which is correct?
Leave a Reply
You must be logged in to post a comment.

The link is wrong for Luxe Cuddle Brooklyn by Shannon Fabrics; it takes the reader to the Robert Kaufman flannels page, rather than https://www.shannonfabrics.com/luxe-cuddle.