Blindstitch with a Serger and Sewing Machine
Making a blindhem is an essential sewing skill, but did you know you can do it on a serger or a sewing machine? I remember the first time I did this technique successfully on my sewing machine—wow, was I impressed! Imagine my delight when I would discover that you can also do this on a serger!
Let’s take a look side by side.
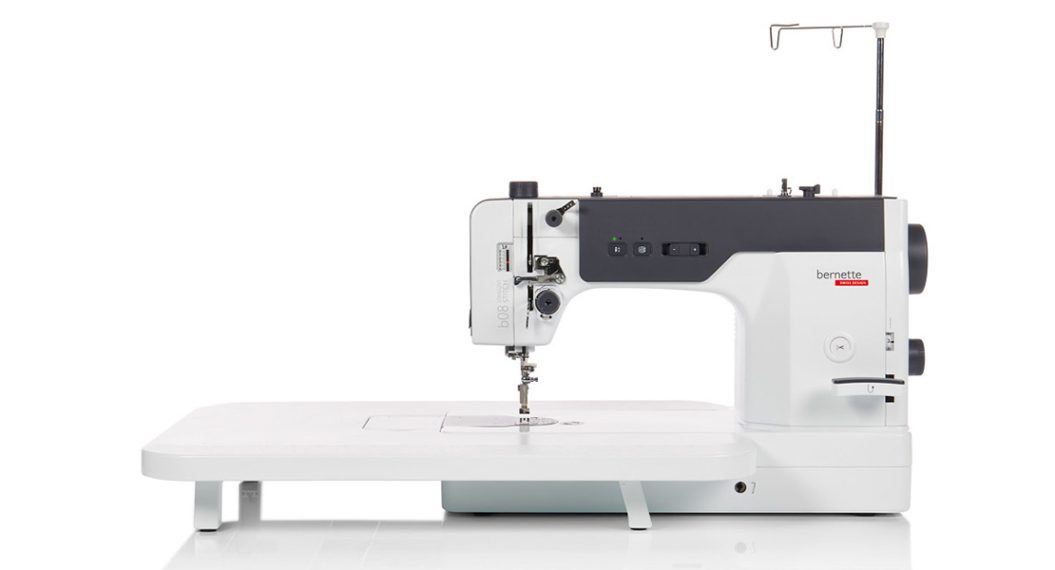
Machines Featured
First Things First: Feet
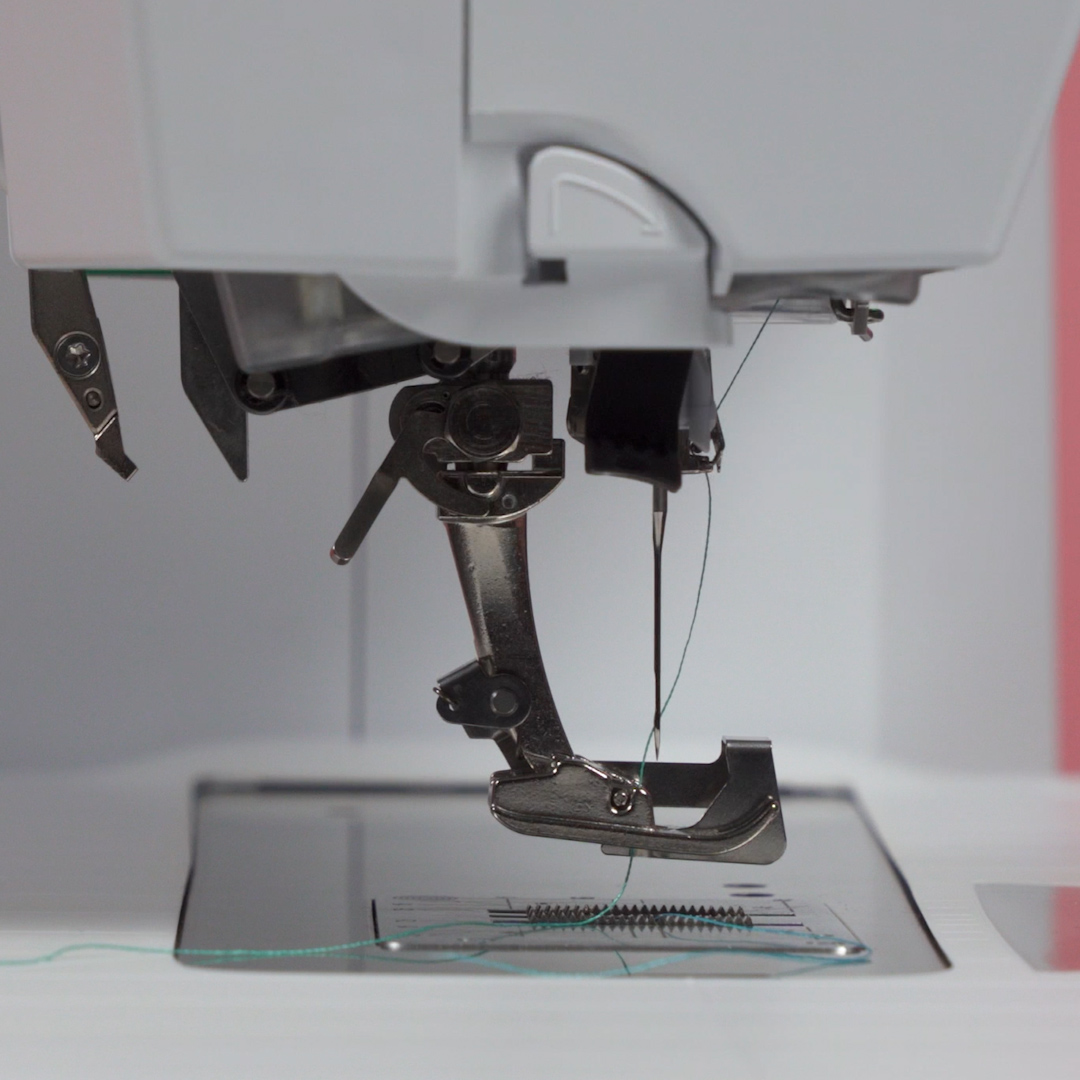
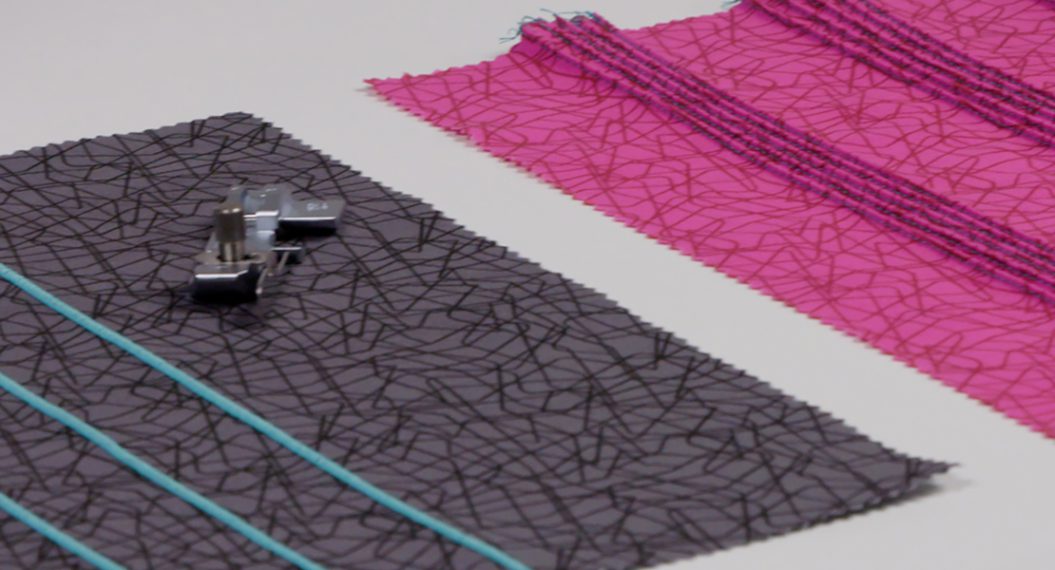
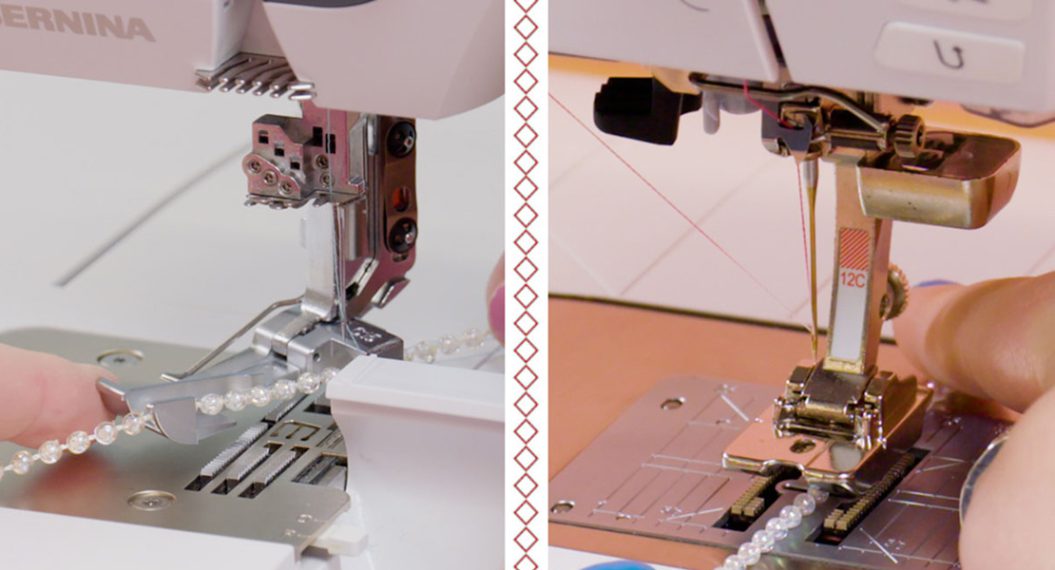
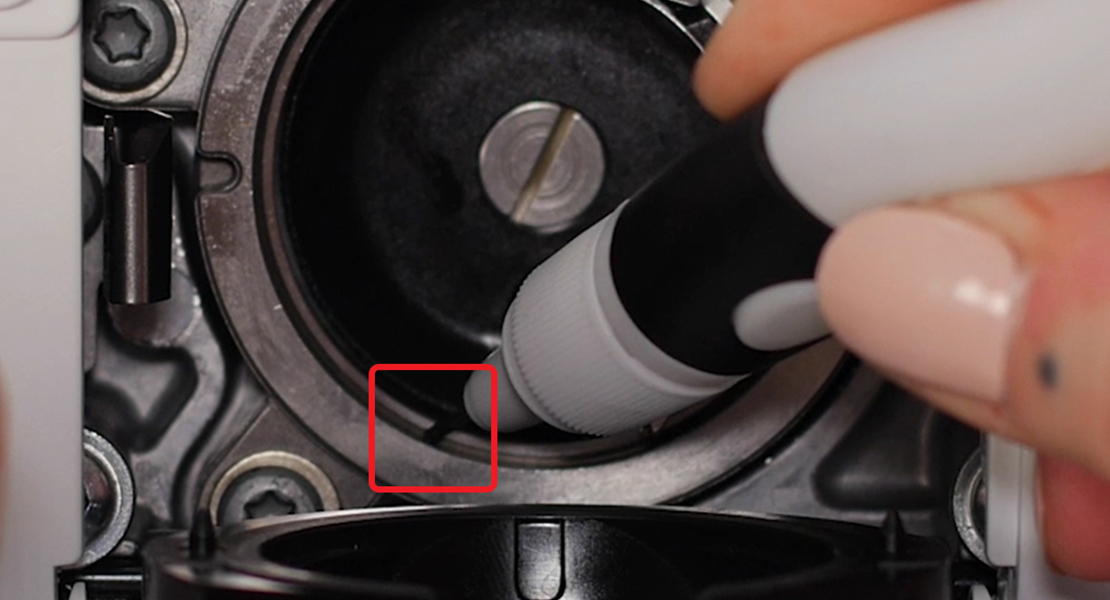
Serger- Blindstitch Foot #C19
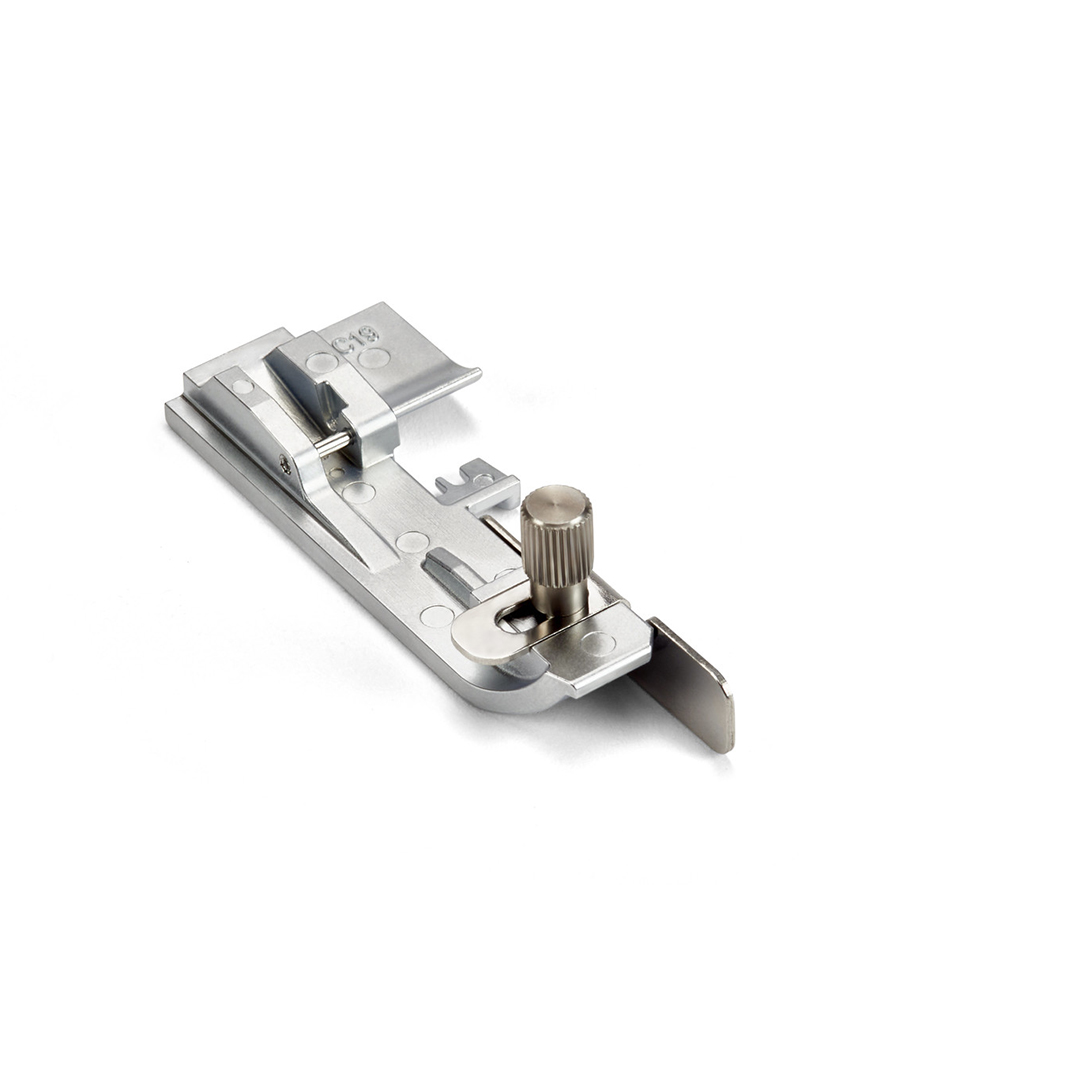
The blindstitch foot on the serger has an adjustable guide to place the folded edge of a blind hem against. This is simple to adjust by simply twisting the screw at the toe of the foot then moving the guide to the proper placement. Depending on which needle and stitch you are selecting, you can create the perfect looking of hem for your needs. It is always best practice to test on scrap fabric when making these adjustments before you start on your finished project.
TIP: The L 890 uses the overlocker presser feet that begin with the letter “C”. This distinguishes this machine from the other L 8 Overlockers that are not a Combo Machine.
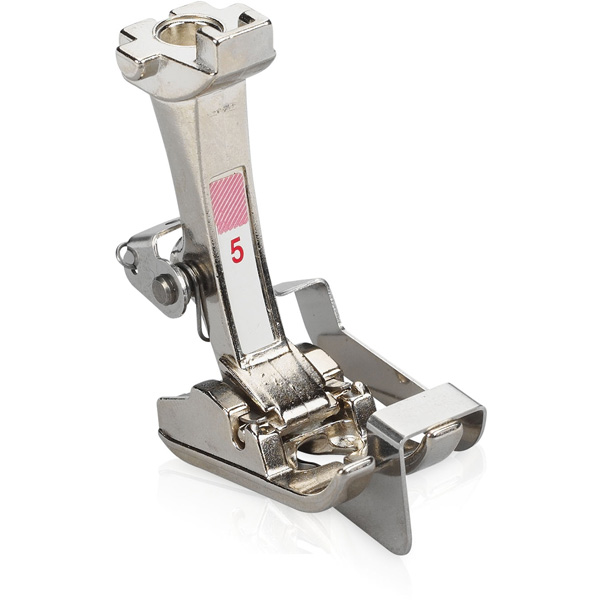
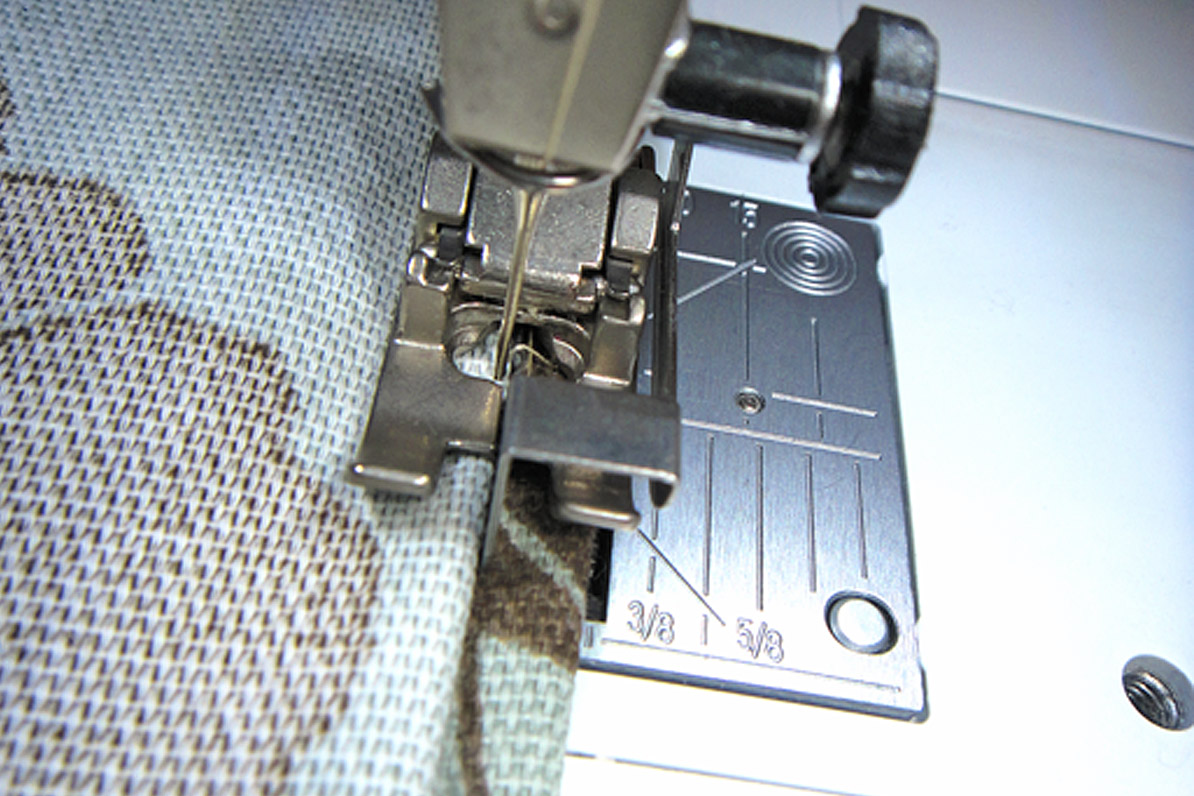
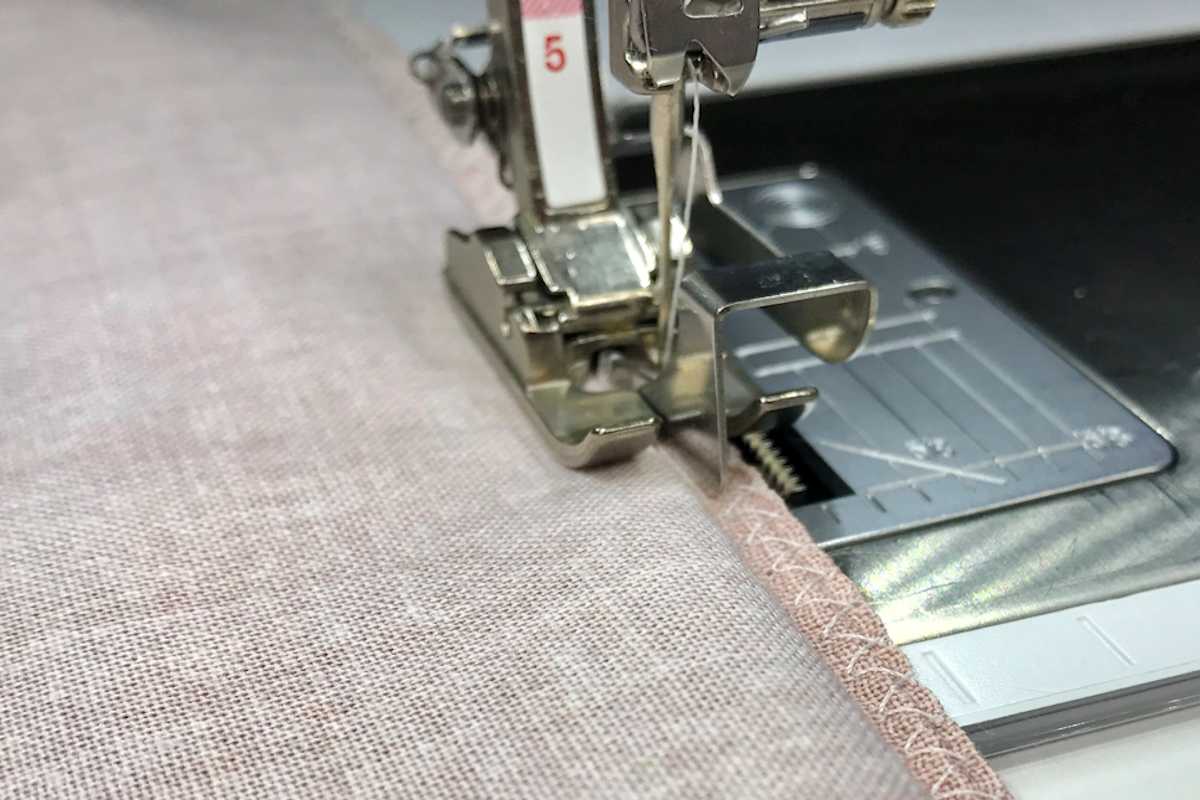
Sewing Machine- Blindstitch Foot #5
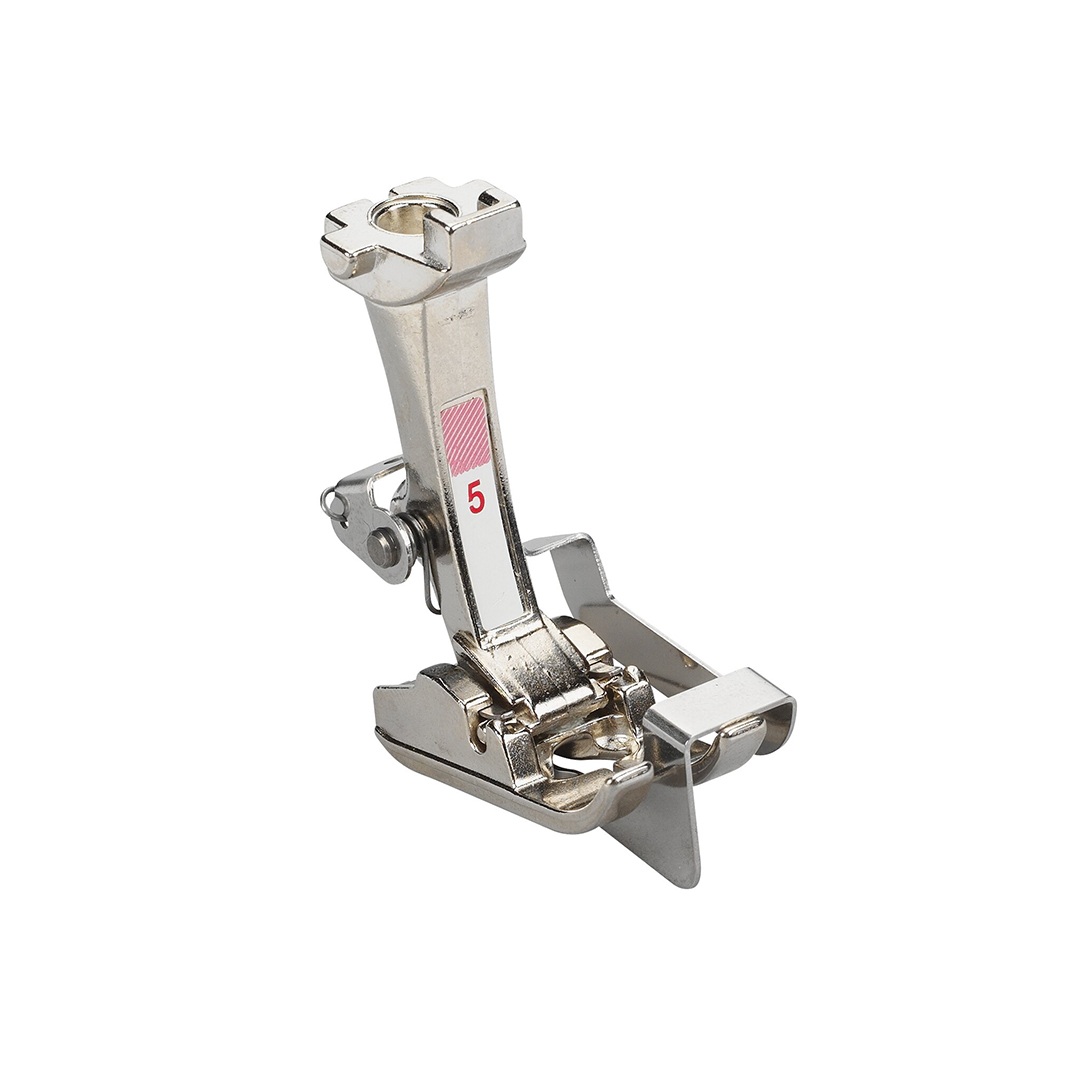
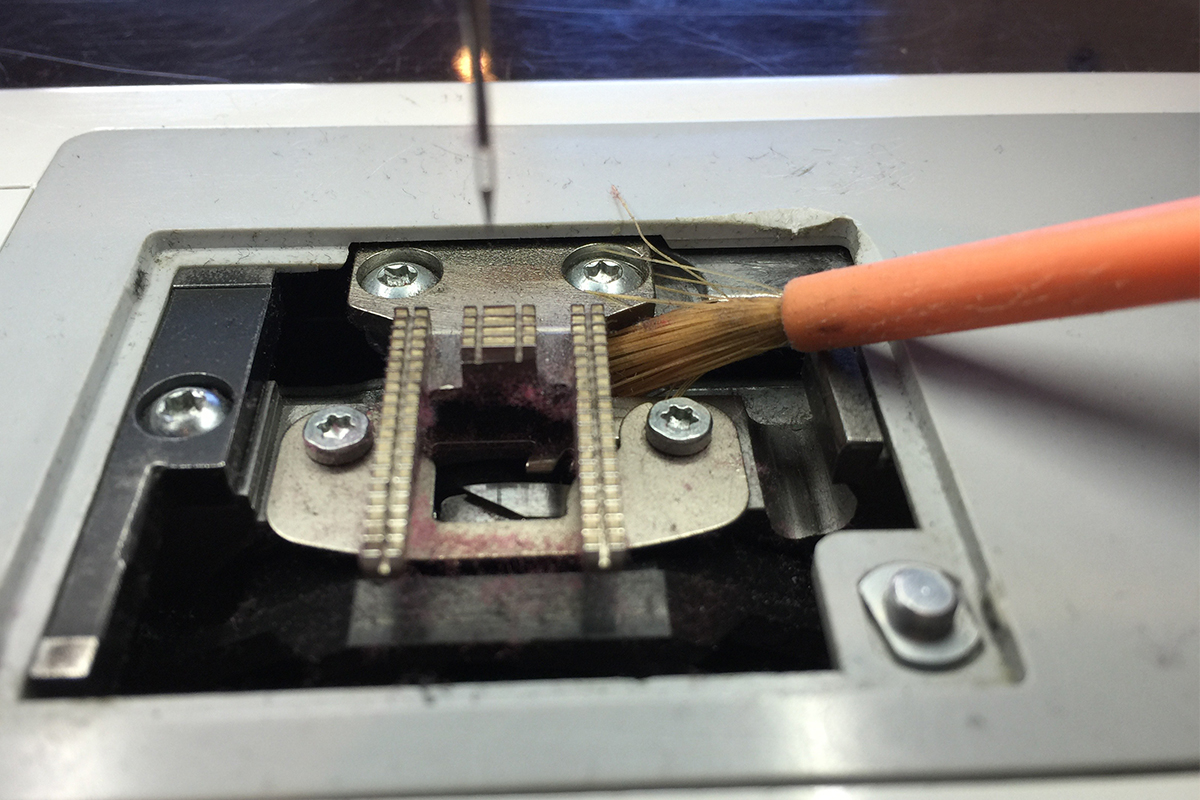
There is also a guide on the blindstitch foot for the sewing machine; however, this one is not adjustable. The guide extends down the middle of the foot between the central opening in the foot. You will notice a slight indentation in the guide at the needle area to allow the needle to move smoothly into the fabric. This guide is spring loaded and engineered to work perfectly with the blindhem stitch on your BERNINA machine.
Set Up for Success: Machine Settings
Serger
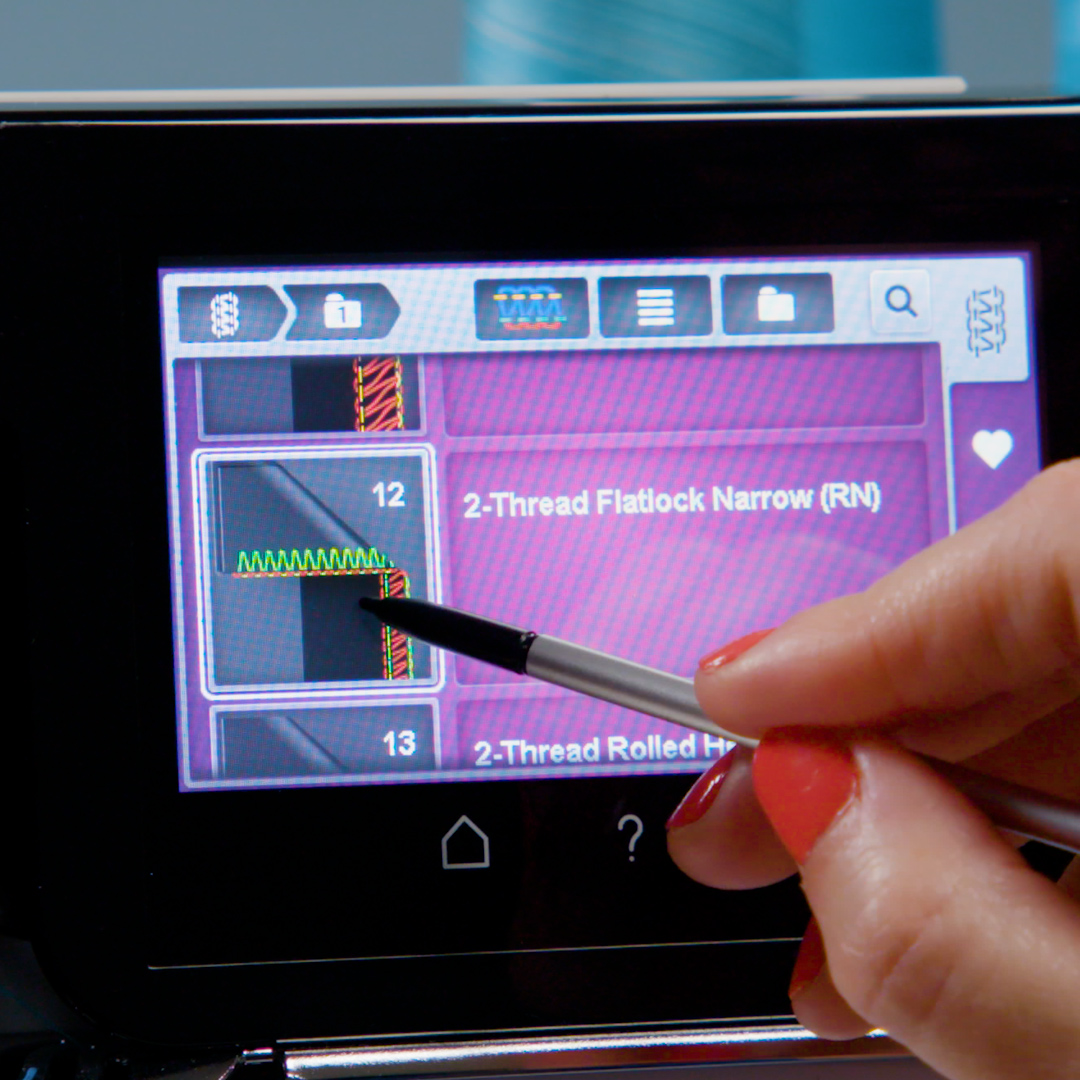
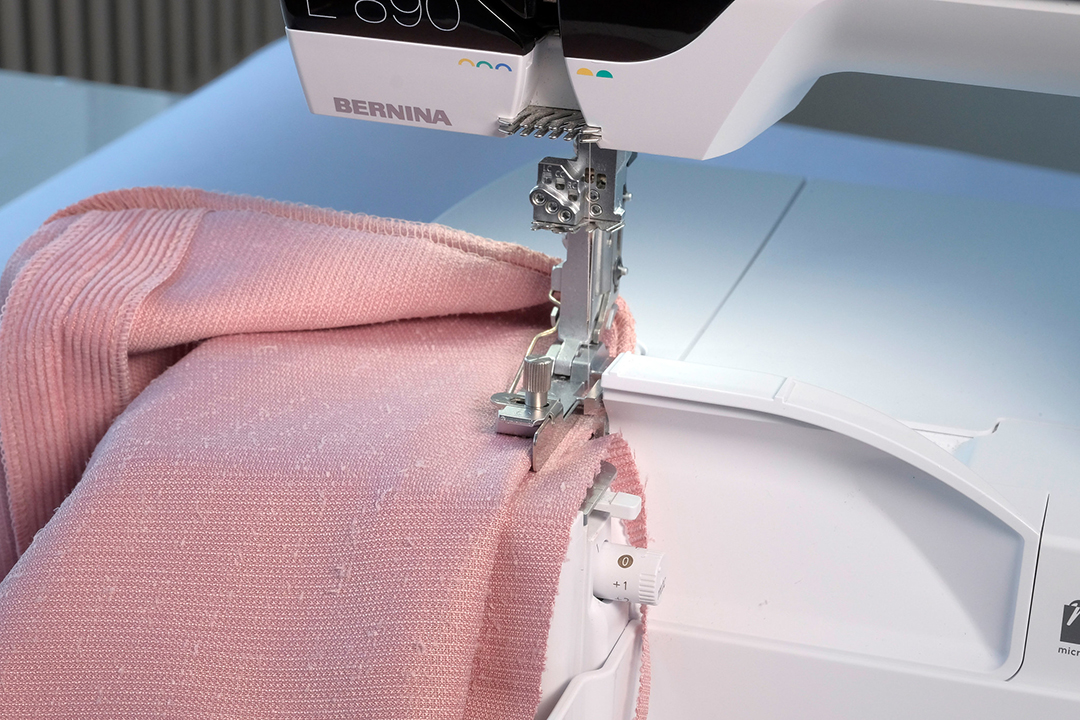
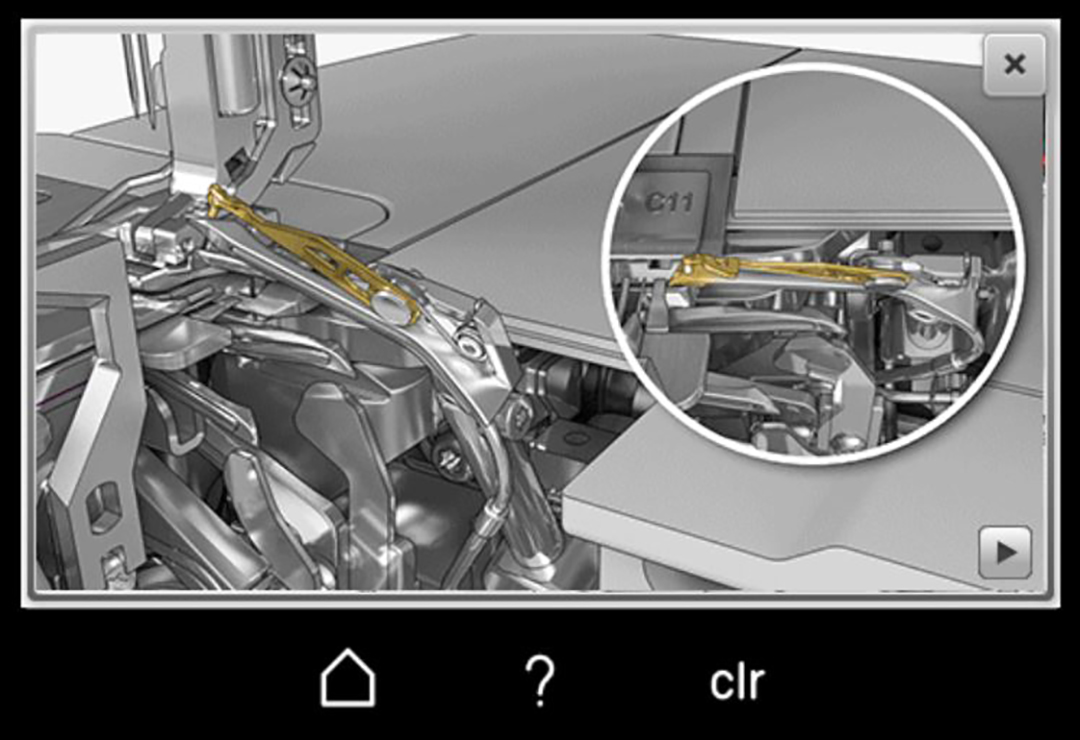
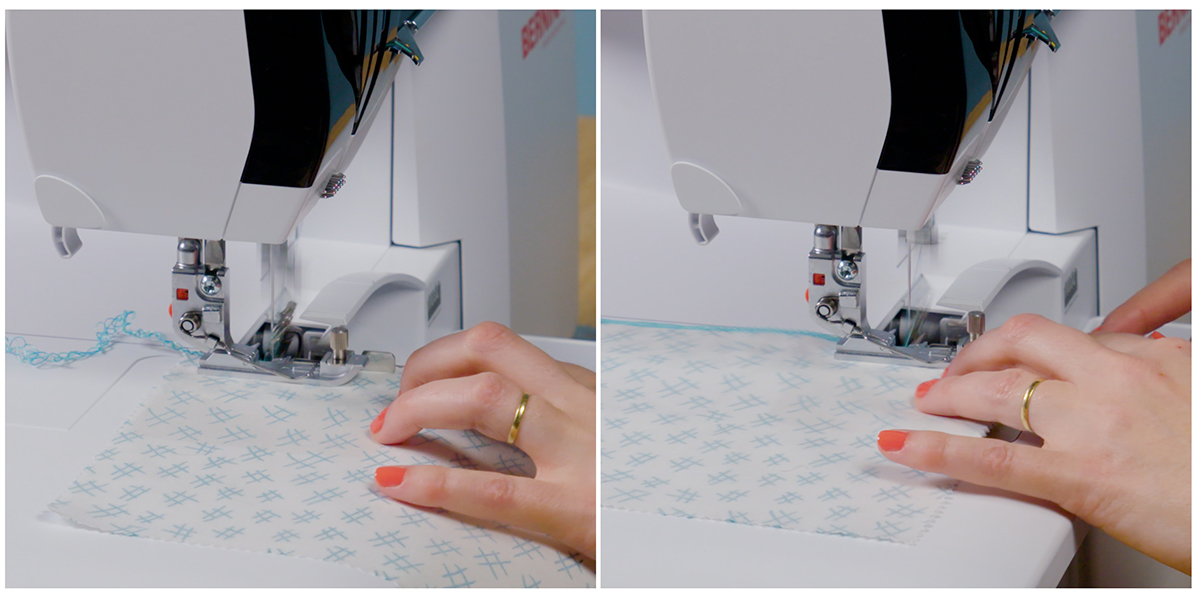
You can do a blindhem stitch with either an Overlock or Flatlock stitch on your serger. For this example, we selected a 2-thread Flatlock Narrow (stitch #12 on the L 890). I prefer the 2-thread stitches to the 3-thread as there is less thread to navigate when opening the hem flat. When doing a 2-thread Flatlock, you will use the lower looper and one needle, so you will need to engage the upper looper converter attached to the upper looper. It’s easy to find, but if you need a reminder check out the video tutorial found in the machine manual settings screen.
You can also adjust the stitch length to find a setting that works for your fabric. I really wanted this to look more invisible like a true blind hem, so I increased the stitch length to 3 to increase the spacing between stitches. Another setting that you might prefer to adjust is your cutting width. I will sometimes make this just a little wider than the standard setting, something like 7-8 to give myself a bit more fabric in the hem allowance.
As you can assume from the name, a Flatlock stitch is one that appears flat when finished and it makes a nice blind hem alternative on the serger. I have also also used this same stitch, but purposefully left more fabric in at the needle when setting my guide. I do this so that I can see the ladder stitches more prominently on the hem—a favorite hem finish for t-shirts.
Sewing Machine
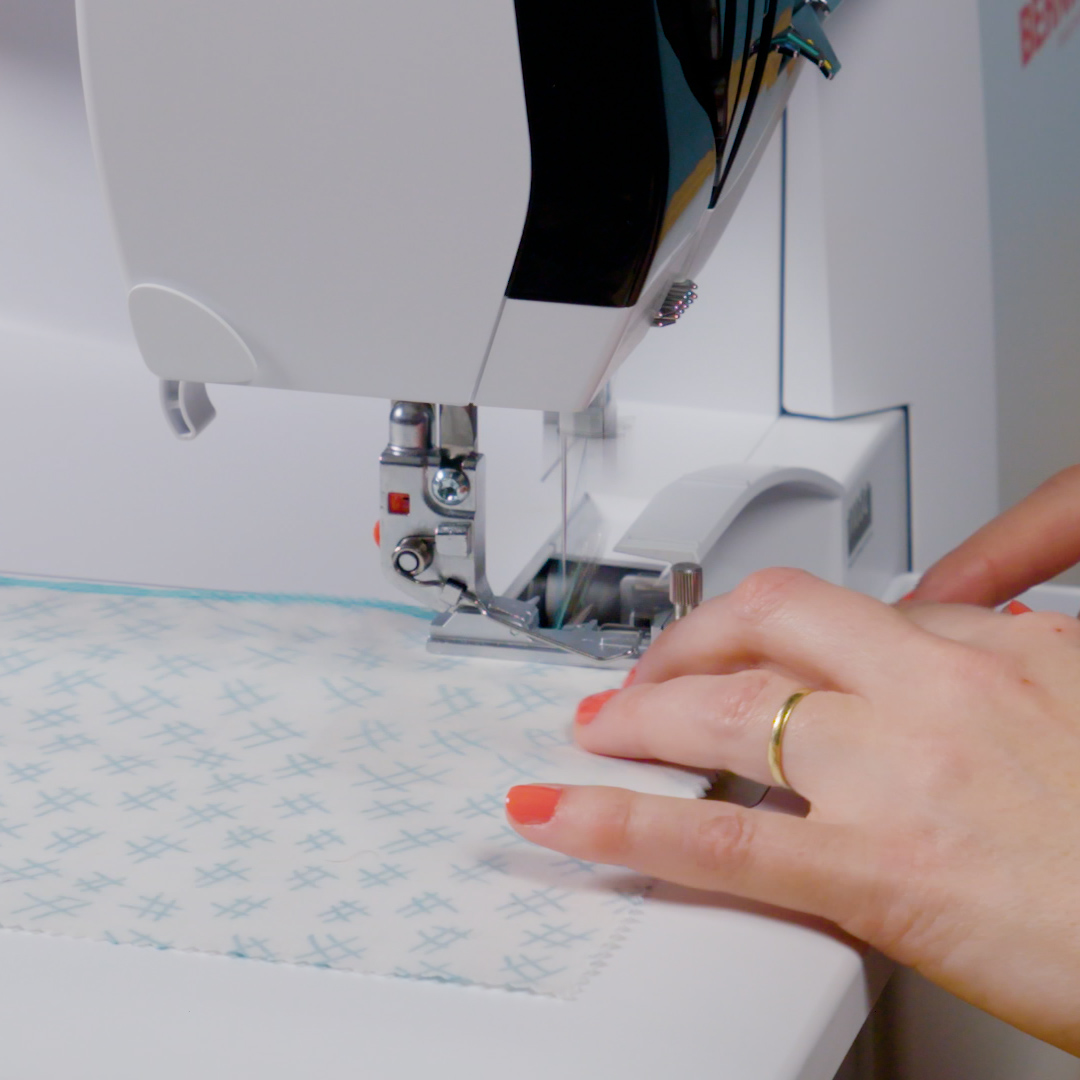
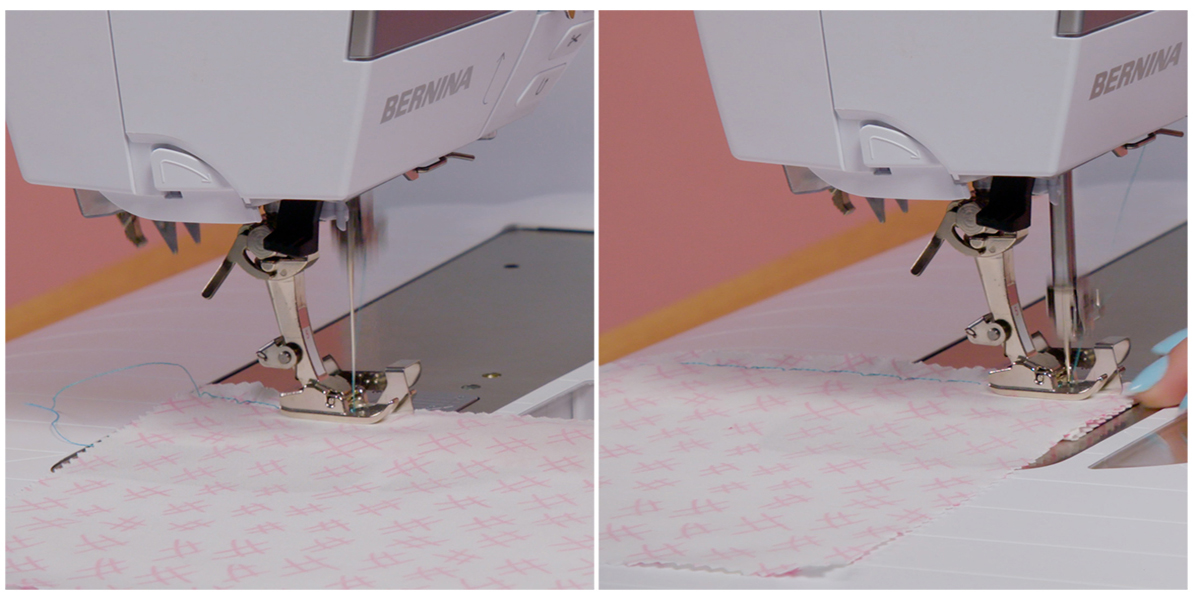
Setting up a blindhem on your sewing machine is as simple as selecting the proper stitch. To view the image of the foot on your screen, select the foot from the foot selection menu. This is a nice way to preview the stitch. The blindhem stitch is found on BERNINA machines old and new—however, the stitch number could vary based on the model. On the B 770 QE PLUS the stitch is number 9. It should look like this once selected.
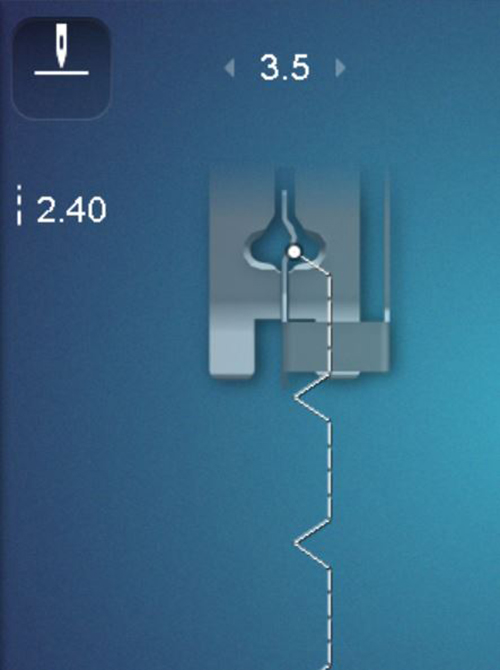
You can see that the machine will stitch four stitches along the hem, then swing over the guide and pick into the fold of the fabric the fifth stitch. This makes a strong and invisible looking hem. Depending on your fabric, you may need to adjust the stitch width and needle position to make this a perfectly invisible hem.
Tried and True: Technique
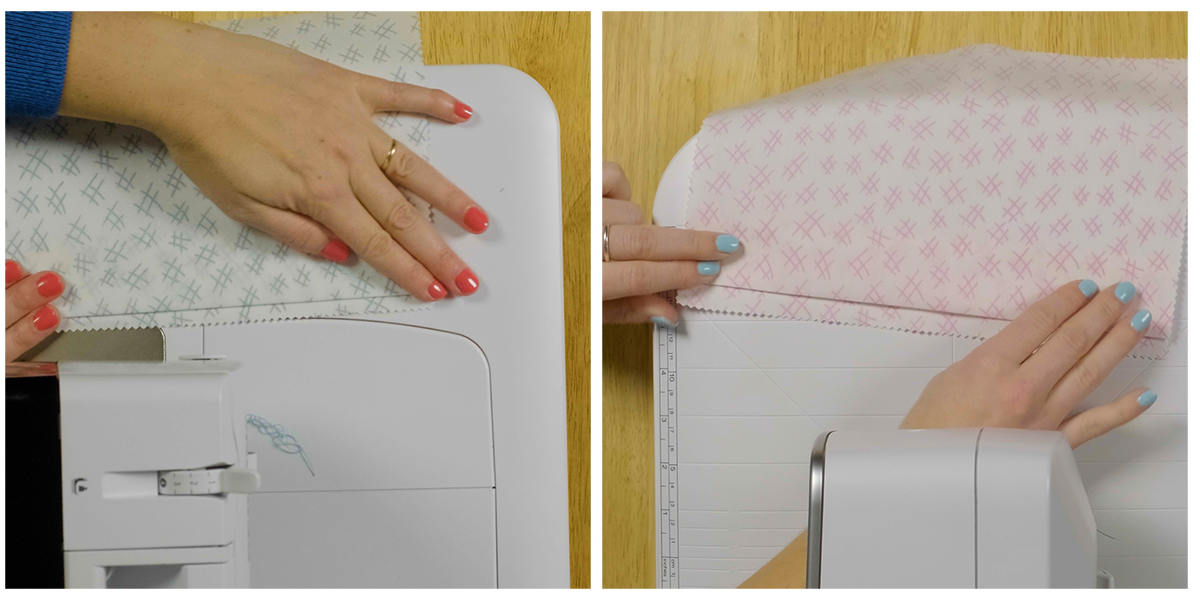
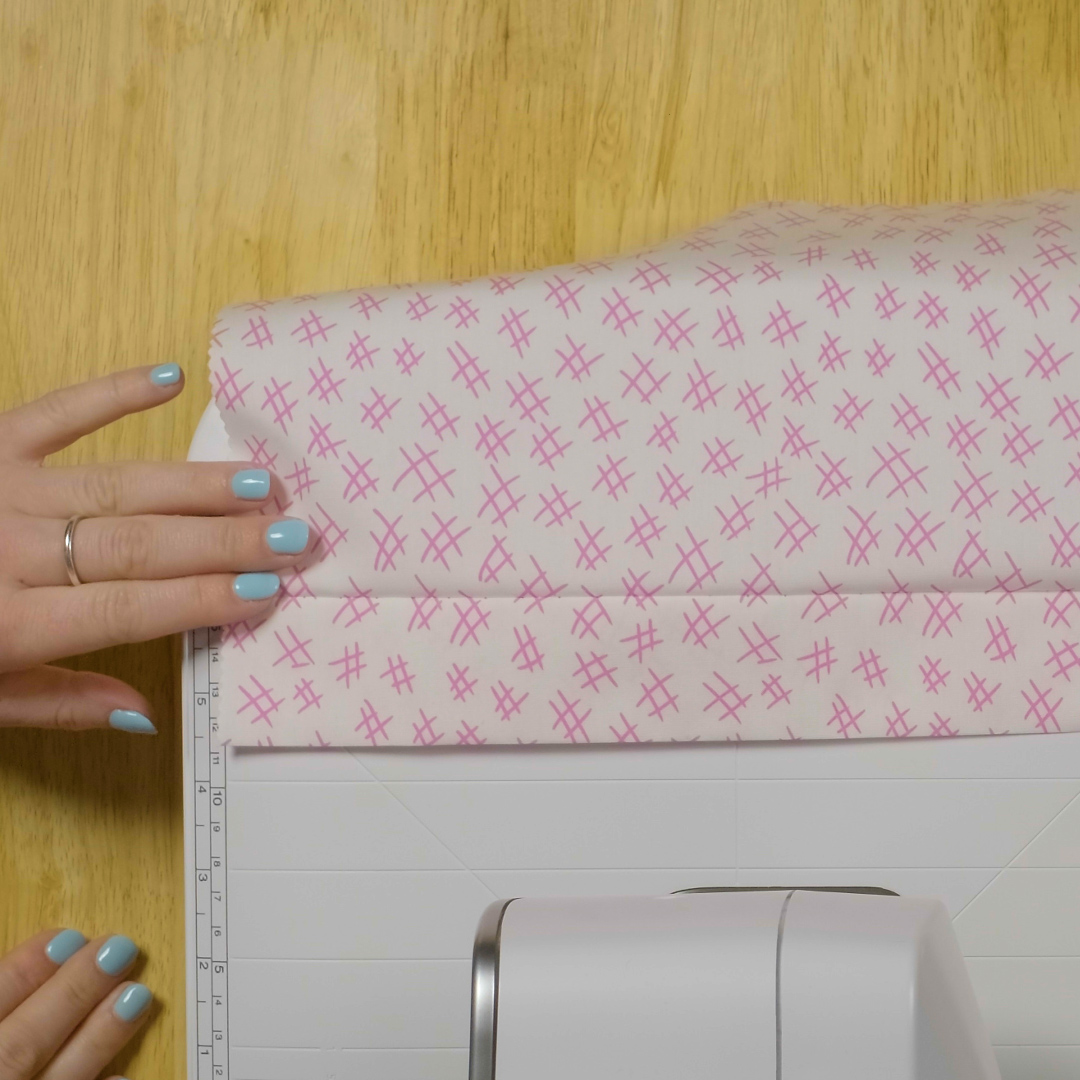
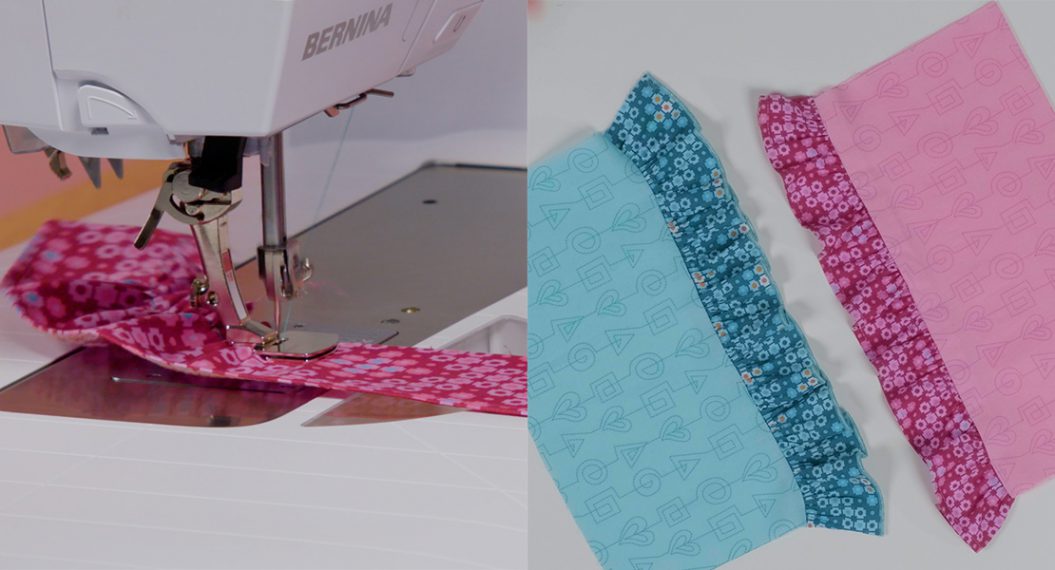
The method is the same for both the Serger and the Sewing Machine. You will begin by carefully folding your hem allowance, then fold it back to reveal about 1cm of the inside hem. I will admit that it took me several projects and multiple times looking at this illustration until I was able to remember exactly how to do this fold.
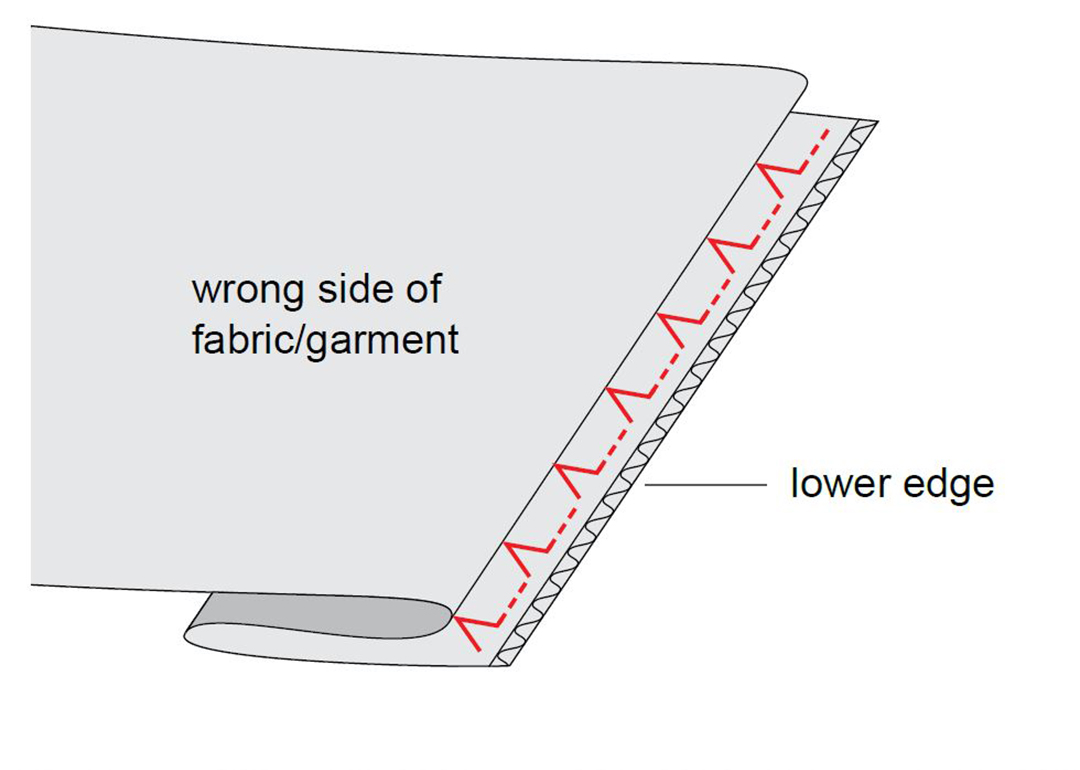
Place the folded edge along the left side of the guide on the presser foot. Remember that your serger will also be trimming your hem allowance as you go. This is why I like to adjust my cutting width a little wider than standard.
With the sewing machine, the stitch pattern will stitch along the hem allowance and then take one stitch into the fold every fifth stitch. If you are using thick fabric you may decide to increase your stitch width and possibly adjust your needle position. On very fine fabrics, you may need to make your stitch width narrower.
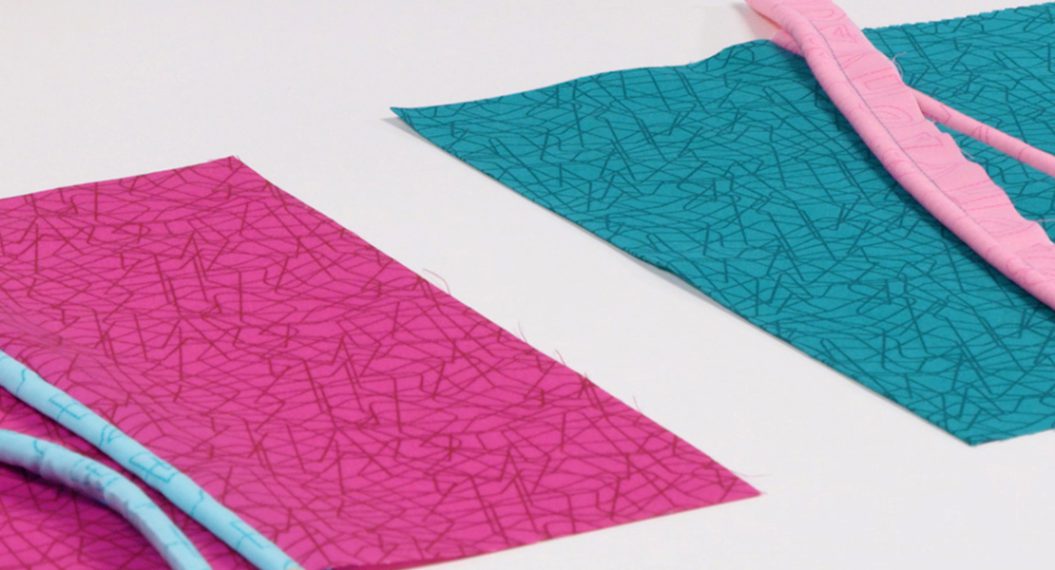
Sum of it All: Results
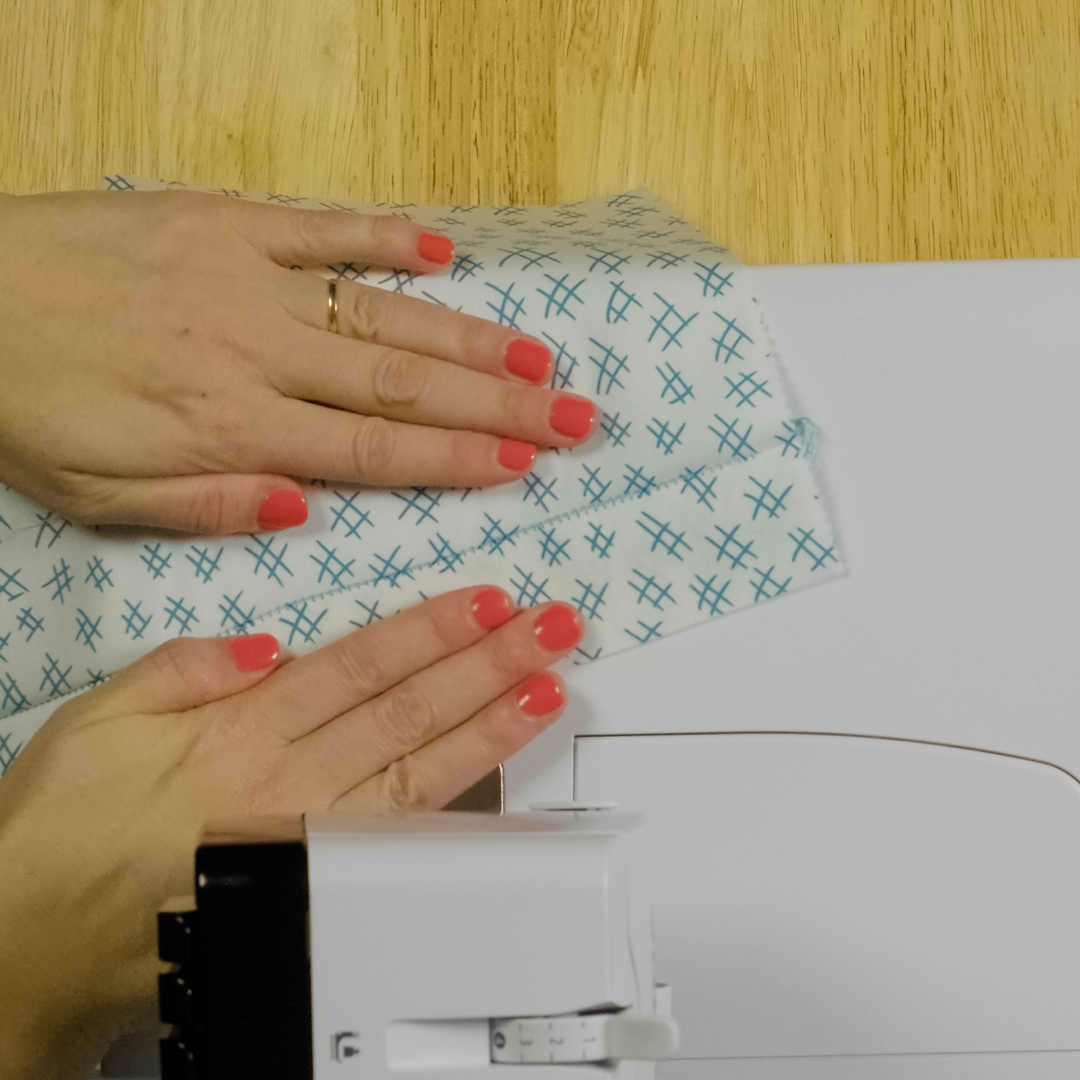
When you finish with your stitching, it is time to fold down the hem. Give it a good press with your iron and review your results.
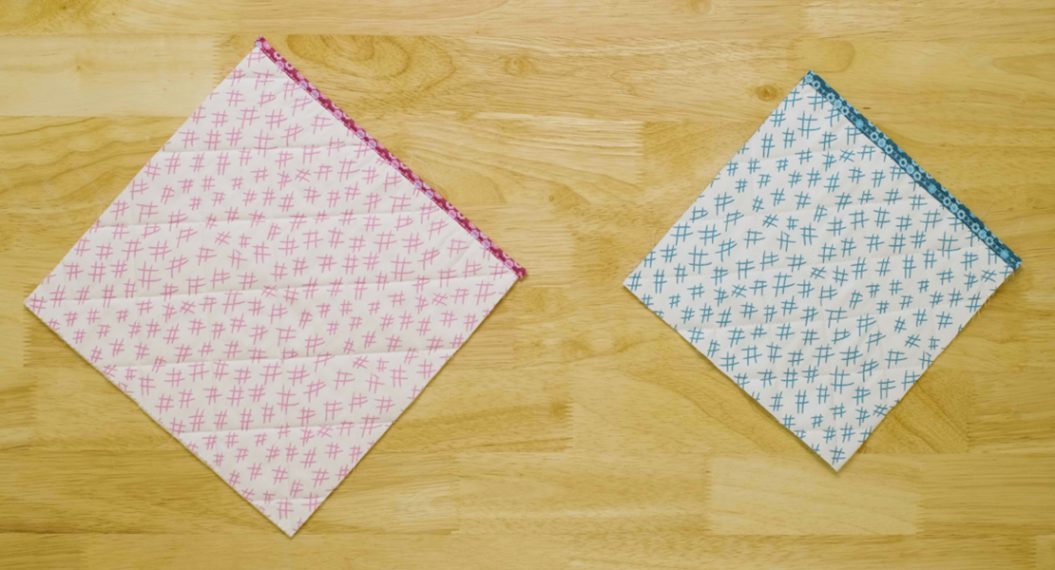
Serger
Notice that with the flatlock stitch on the serger, I will almost always see a little bit of the stitch on the outside of the hem. To minimize this- use a matching color or monofilament thread. Or an alternative: maximize the width so that you really see the ladder stitches, no longer a “blind” or invisible looking seam.
Sewing Machine
With the sewing machine, you can barely see any of the stitching because it is catching in a minimal stitch pattern. Using matching thread is generally all you need to do to achieve this look, but if you are working with something that is showing the threads you can also use the monofilament in your machine needle for this stitch.
I hope that you will consider using a blindstitch foot on either your serger or sewing machine with the next dress, pants or curtain project in need of a blindhem seam.
Used Products


What you might also like


2 comments on “Blindstitch with a Serger and Sewing Machine”
-
-
Yes! I first learned how to do blind hem because I needed to mend so many pairs of RTW dress pants. I really think that for those, the sewing machine is the better option and you can truly use a thread color that matches close in value and you will never notice the hem. Monofilament thread can be a bit stretchy sometime and putting it on a bobbin can be a bit fussy. I don’t think you need it. You will really need the Blindstitch Foot #5 though- because it swings the needle over a bar in the center the holds the needle thread above the seam just precisely where it is needed to capture just the smallest bite into the folded hem, make it so invisible on the right side of the pant leg. If your machine didn’t come with this foot, check with your local dealer to see if they have any used presser feet for sale, some do.
-
Leave a Reply
You must be logged in to post a comment.

Great topic. I have two pairs of RTW dress pants that already have failed hems. I want to fix them. If I use the monfilament thread, then do I also put it in the bobbin? Can I use the 1C foot with the center mark with the blind stitch until I can save up for the blind stitch presser foot?