Piping with a Serger and Sewing Machine
Do you have a sewing technique that you just love and could craft with all the time? For me, it’s piping. Making piping on my BERNINA sewing machine is so easy, it has become second nature. Imagine how excited I was when I realized I could also make piping on my BERNINA L 890. With the right presser feet and stitches, beautiful piping can be created and inserted on both the sewing machine and serger.
Let’s take a look side by side.
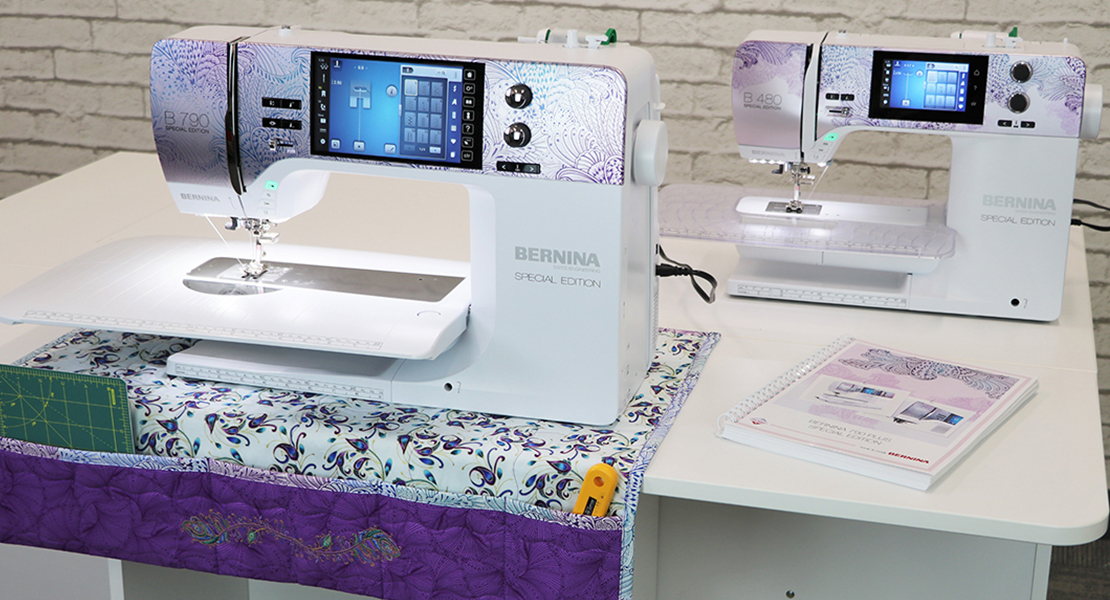
Machines Featured
First Things First: Feet
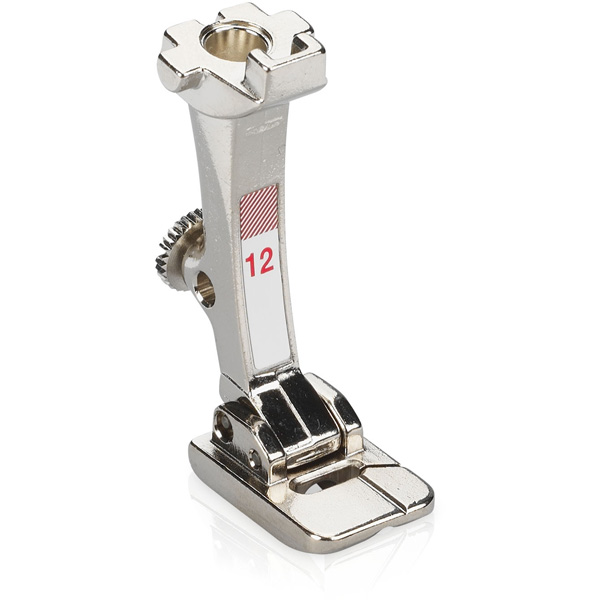
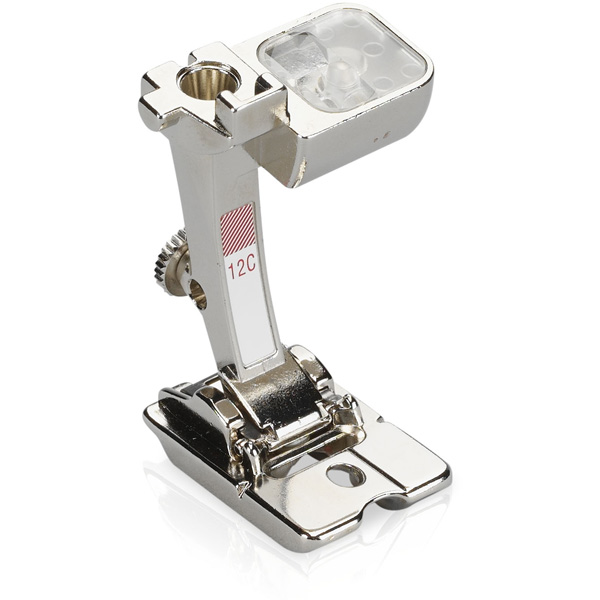
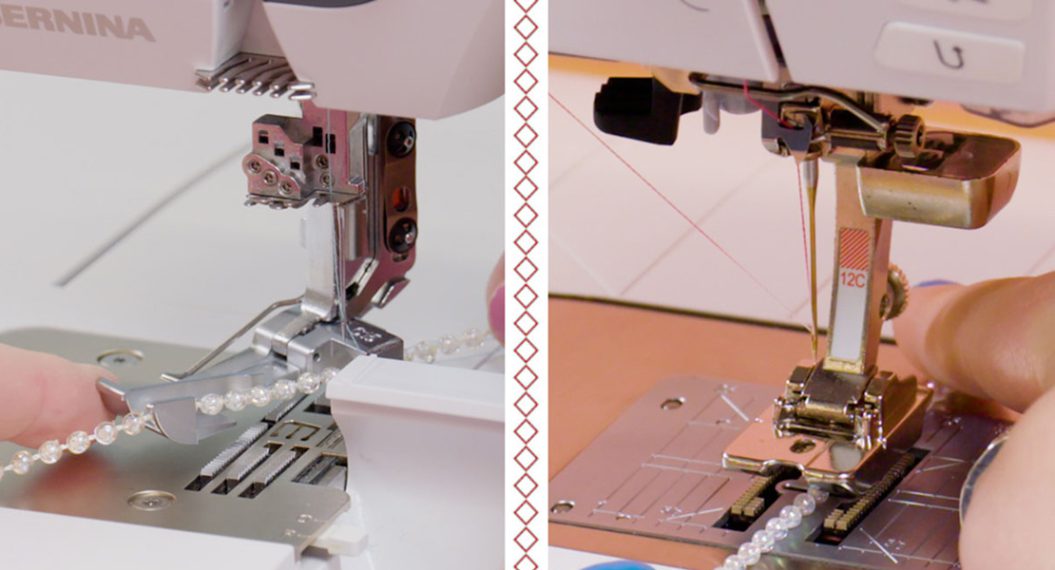
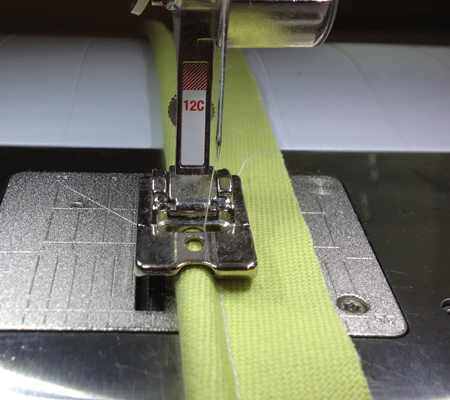
Sewing Machine – Bulky Overlock Foot #12/12C
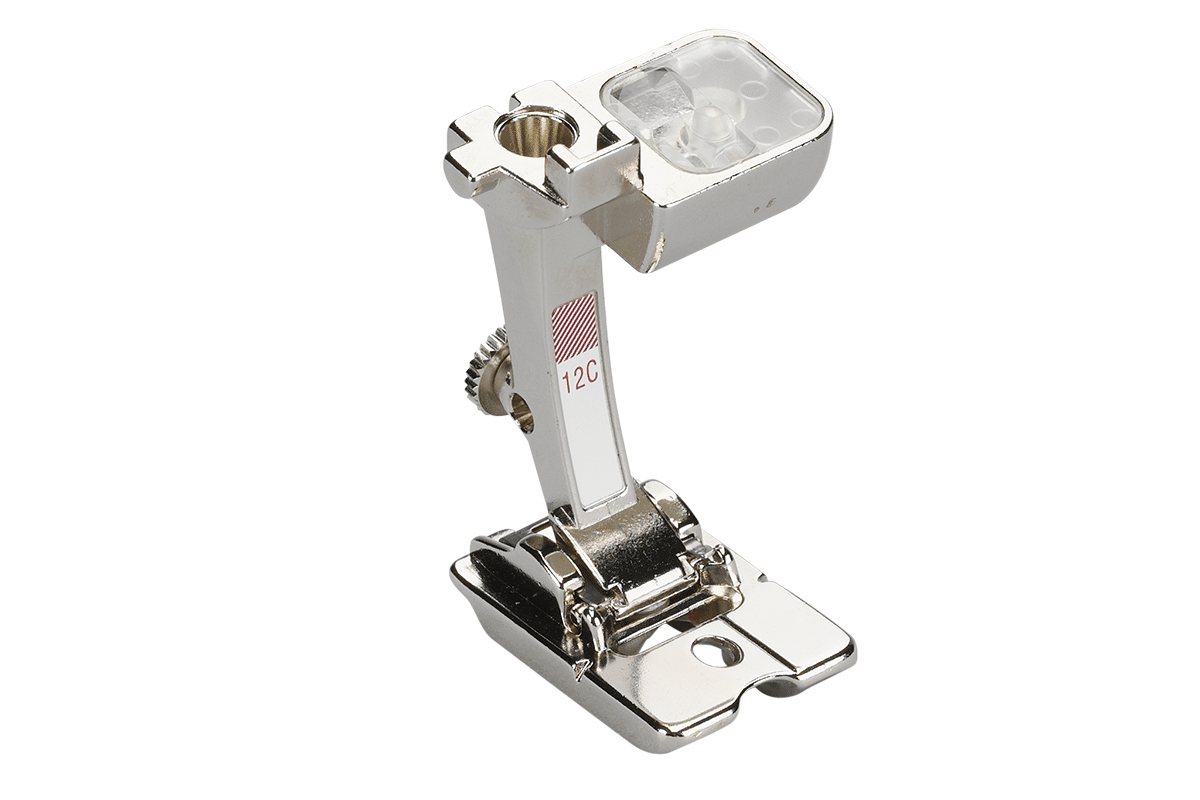
Bulky Overlock Foot #12/12C was originally designed for stitching heavy sweater knits. The overcast stitch needed to seam this fabric does not feed smoothly under a regular presser foot. This foot has a groove in the sole to allow the bulk to feed easily underneath.
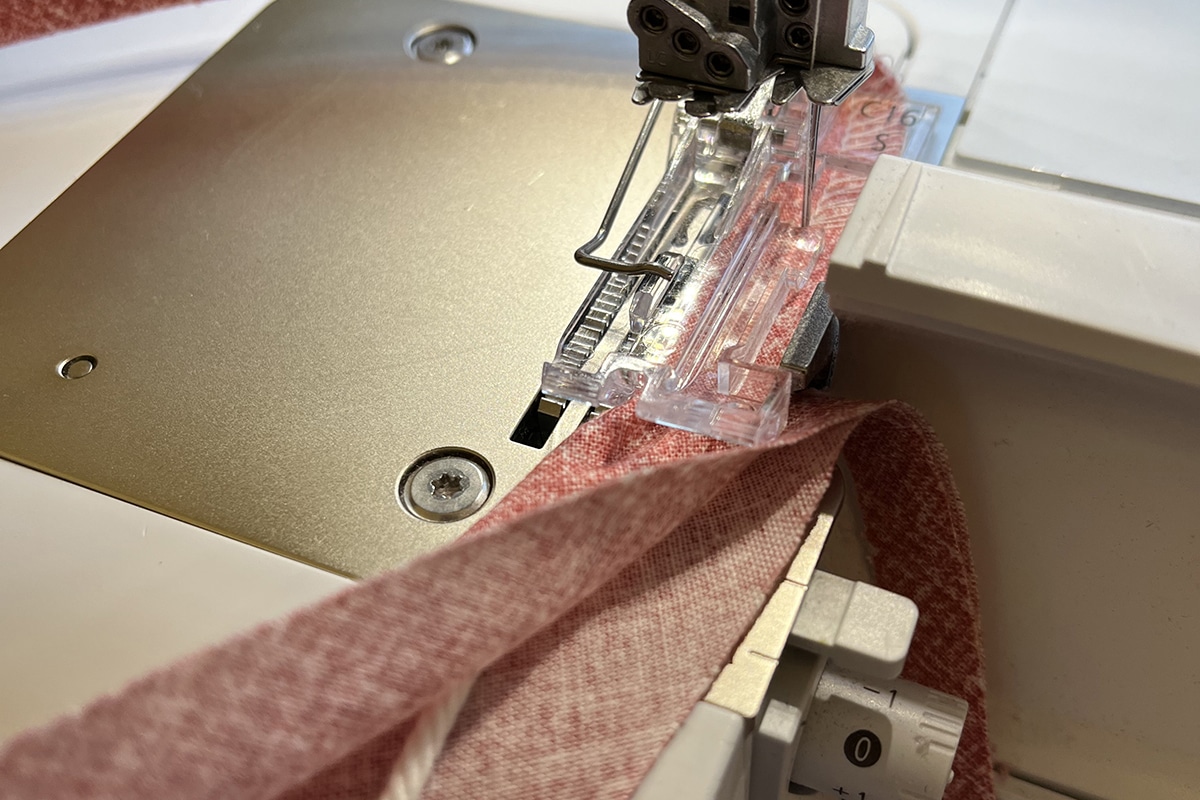
Now, this foot is more commonly used to create custom piping to accent seams and edges of garments, pillows, purses, and much more. The channel in the foot’s sole accommodates wrapped cording and allows the needle to stitch close to the cord. You can also layer the piping between fabrics to insert it into a seam.
Filler cord or yarn up to approximately 1/4” (depending on cord density) can easily be covered using this foot. It can also help create a corded edge or attach a strand of beads. Bulky Overlock Foot #12 is for 5.5mm machines and Bulky Overlock Foot #12C is for 9.0mm machines. For more uses for this foot, check out this blog post.
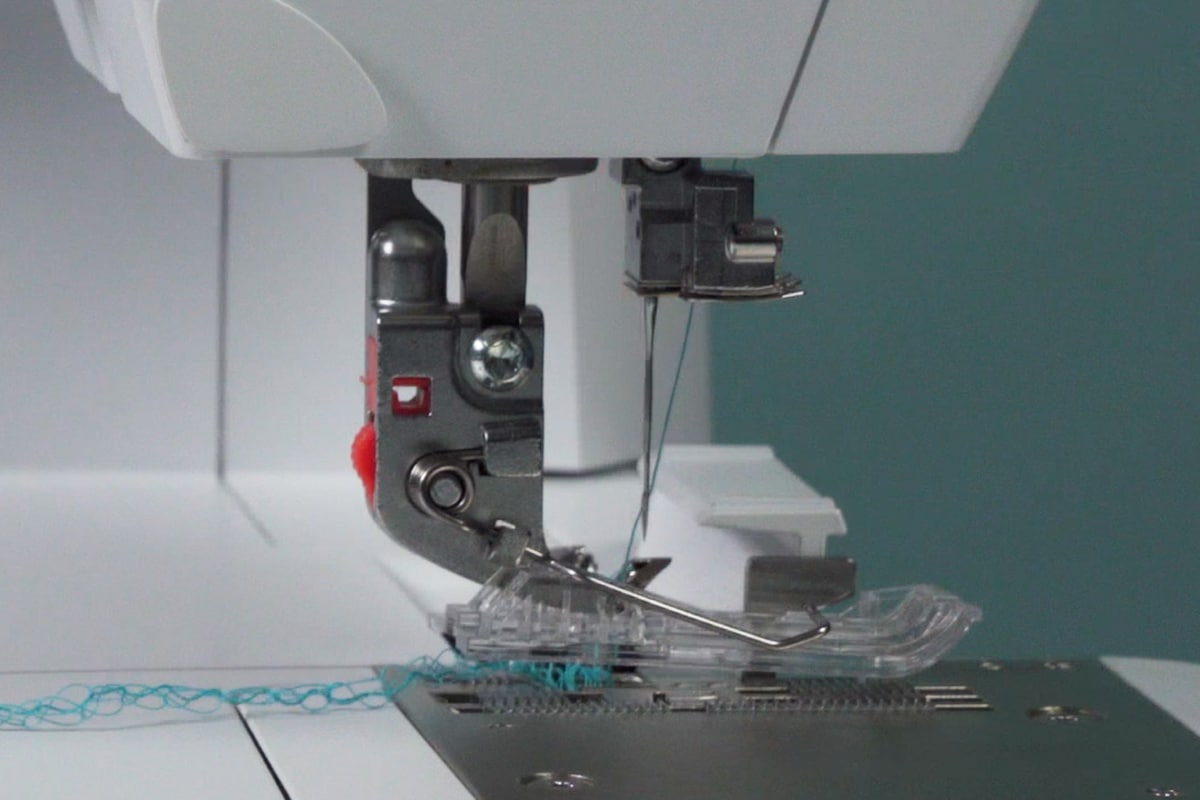
Serger – Piping Foot #C16L
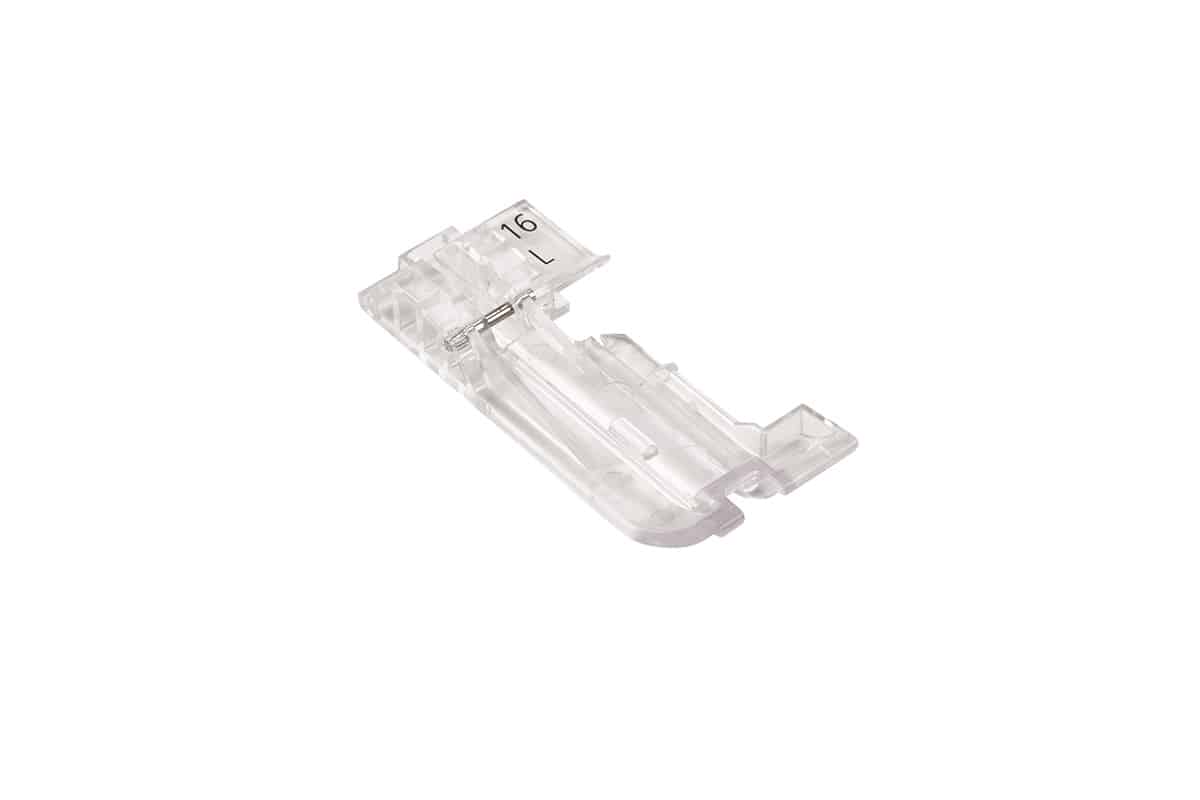
As the name implies, the Piping Foot #C16L was designed to accommodate cord when making piping or welting. This foot is very similar to Bulky Overlock Foot #12/12C, it has a groove on the sole that cradles the cord. This allows the wrapped cord to travel easily underneath.
Another bonus of Piping Foot #C16L is that it is clear. This gives you the ability to see everything that is going on beneath the foot, such as checking that there are no puckers or tucks and that the fabric edges are together.
Serger piping feet come in two different sizes. Piping Foot #C16L works with piping up to 5mm. Piping Foot #C16S can accommodate cording up to 3mm in circumference. For more information about piping on an overlocker, check out this blog post.
TIP: The L 890 uses the overlocker presser feet that begin with the letter “C”. This distinguishes this machine from the other L 8 Overlockers that are not a Combo Machine.
Set Up For Success: Machine Settings
Sewing Machine
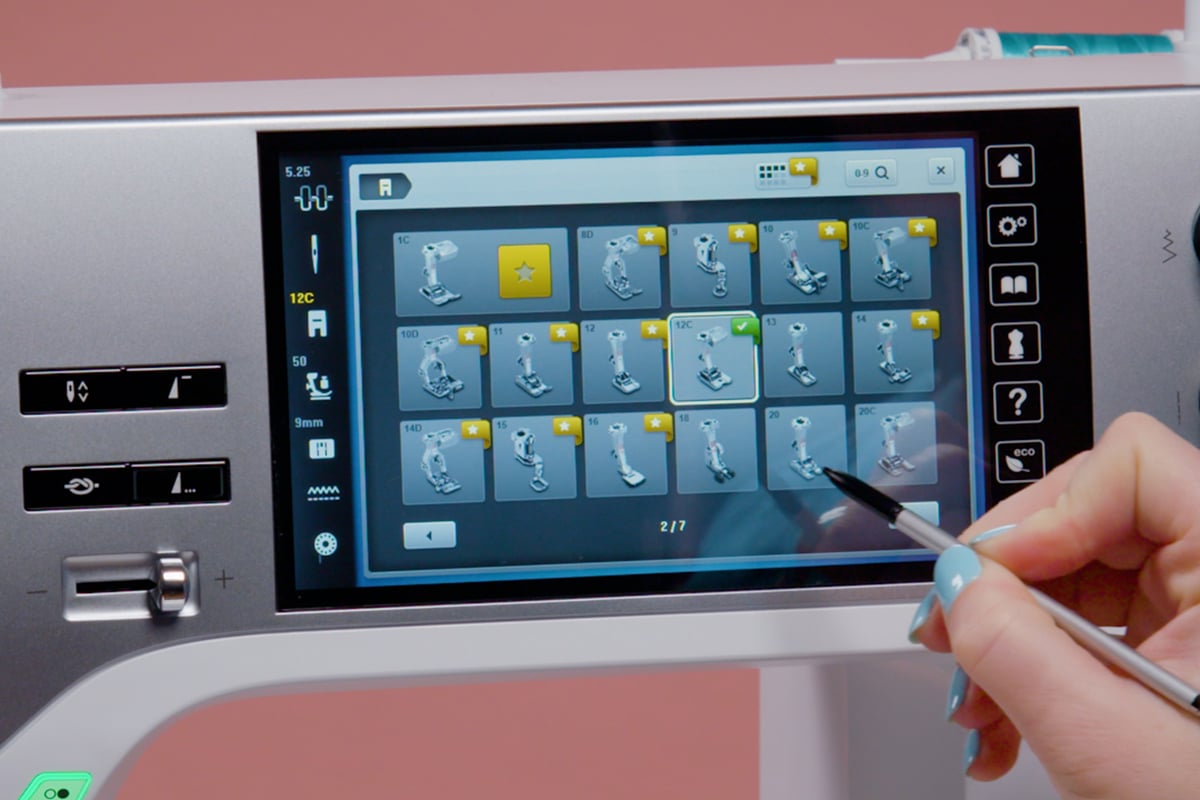
First things first, tell the machine that the piping foot has been attached in Presser Foot Selection.
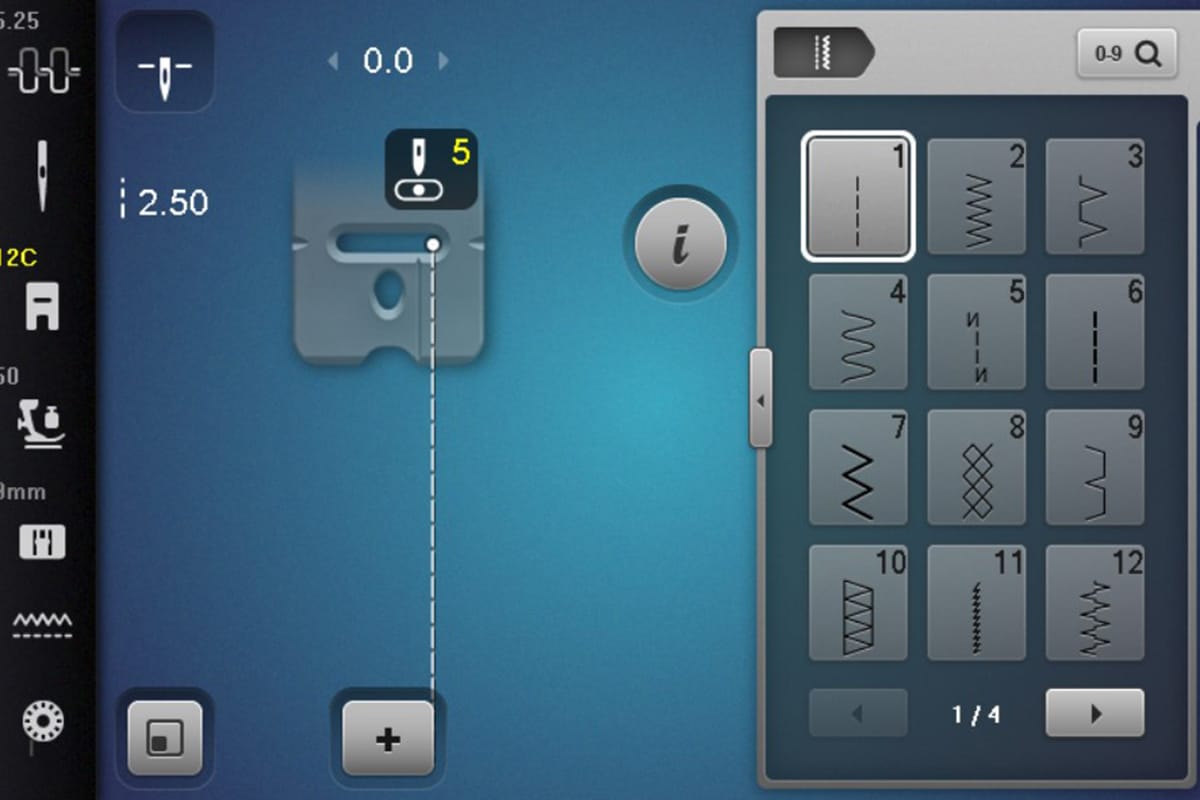
When making piping on a sewing machine, a straight stitch is the way to go. However, what would happen if the needle was in the center position? The stitching would go right through the middle of the cording. The BERNINA 770 QE PLUS could easily handle this thickness, but it would not make the best looking piping for the project. Instead, move the needle all the way to the right using the button on the front of the screen. This change will be reflected on the machine screen, showing that the needle is in position 5.
Serger
First things first, attach Piping Foot #C16L to the machine.
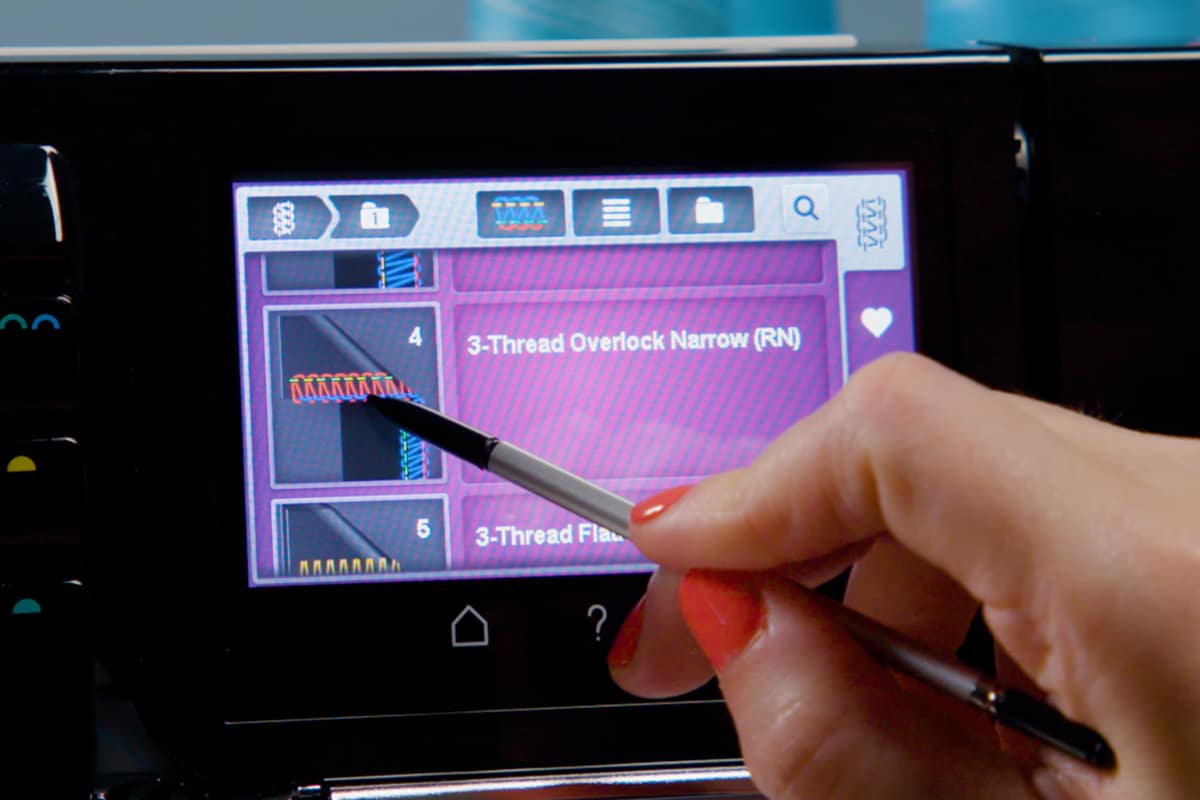
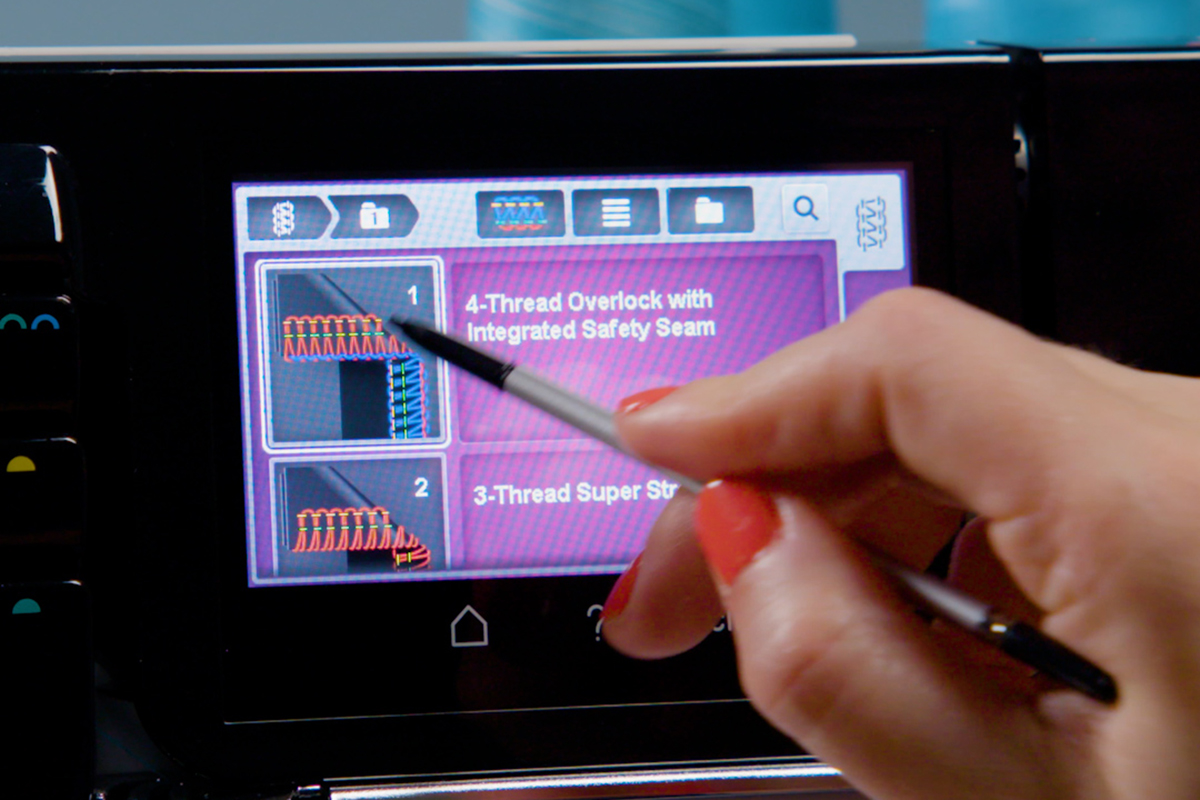
Two serger stitches will be used for the piping process. In the next section, you will see there are two steps for piping: creating it and then inserting it. For the first step, set up for the 3-thread Overlock Narrow (RN) #4 stitch. The cutting width can remain at 6.0 with the cutting knife up and ready to cut. Thread all threading paths with standard serger thread.
Be prepared for the second step in the process by having another serger needle ready to go. In this tutorial, we will switch to the 4-thread Overlock with Integrated Safety Seam #1 stitch.
Tried and True: Techniques
The piping process can be split into two steps. The first step is to create the piping by covering a piece of cording with fabric. The second step is inserting the piping into a seam or between layers of fabric. The steps are the same between the sewing machine and the serger, but the machine setup between the steps varies.
Sewing machine
Step 1: Create the piping
Start by cutting bias fabric strips to wrap around the cord. An easy way to measure how wide of a strip to cut is to take the circumference of the cord plus 1 1/4” to allow for up to 5/8” seam allowance. Cutting strips on the bias will allow the fabric to smoothly wrap around the cord.
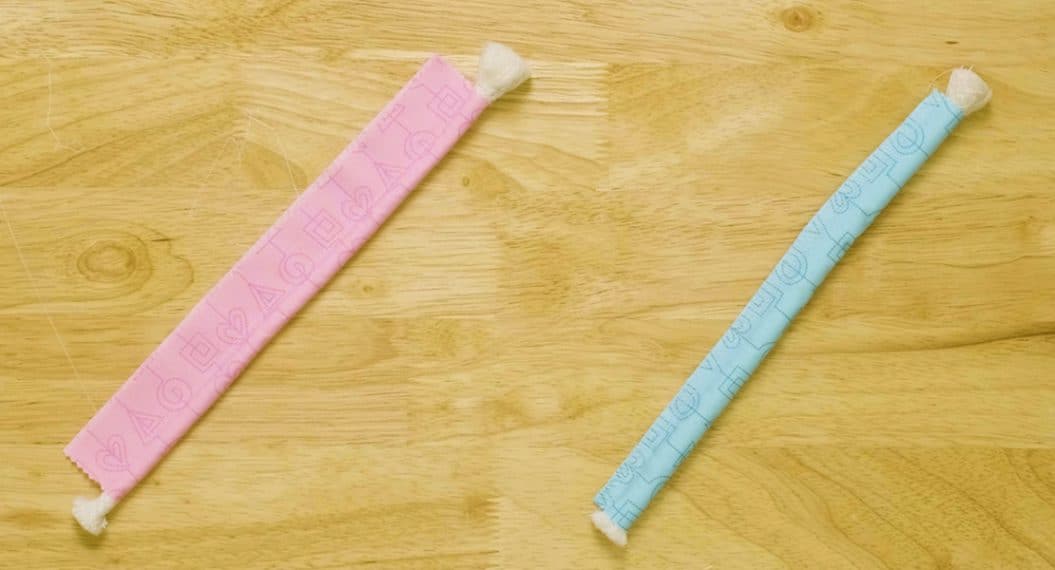
Wrap the fabric strip around the cord, wrong sides together. Leave 1” of cording exposed on each end to hold on to when sewing. Hold the fabric in place with Wonder Clips.
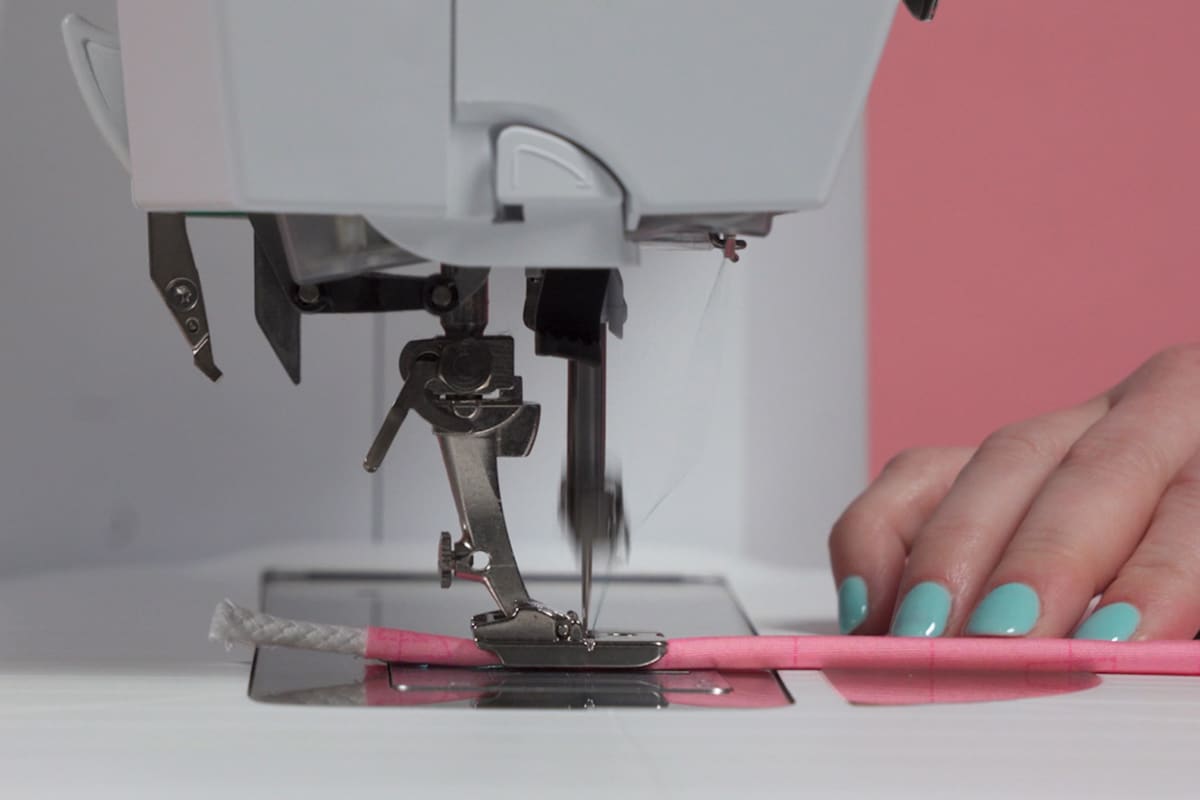
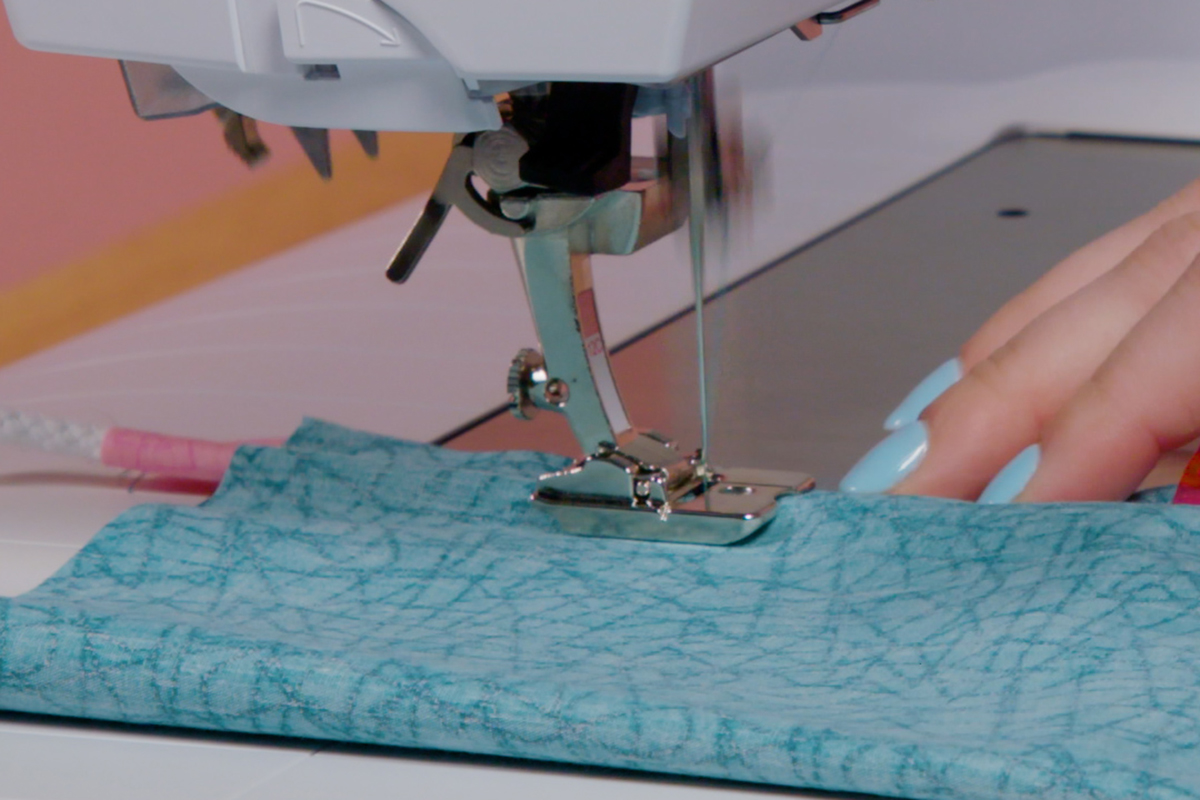
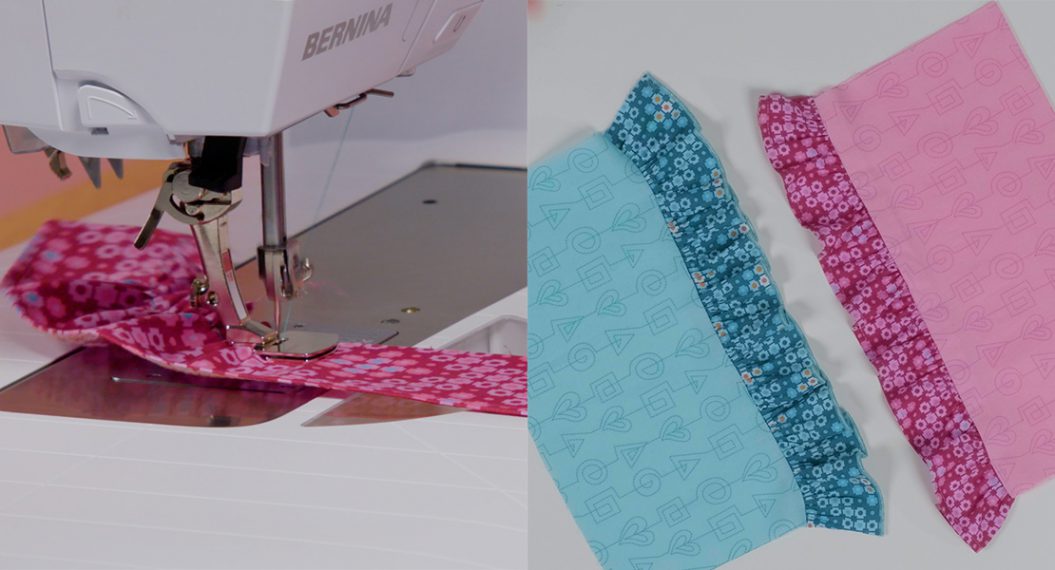
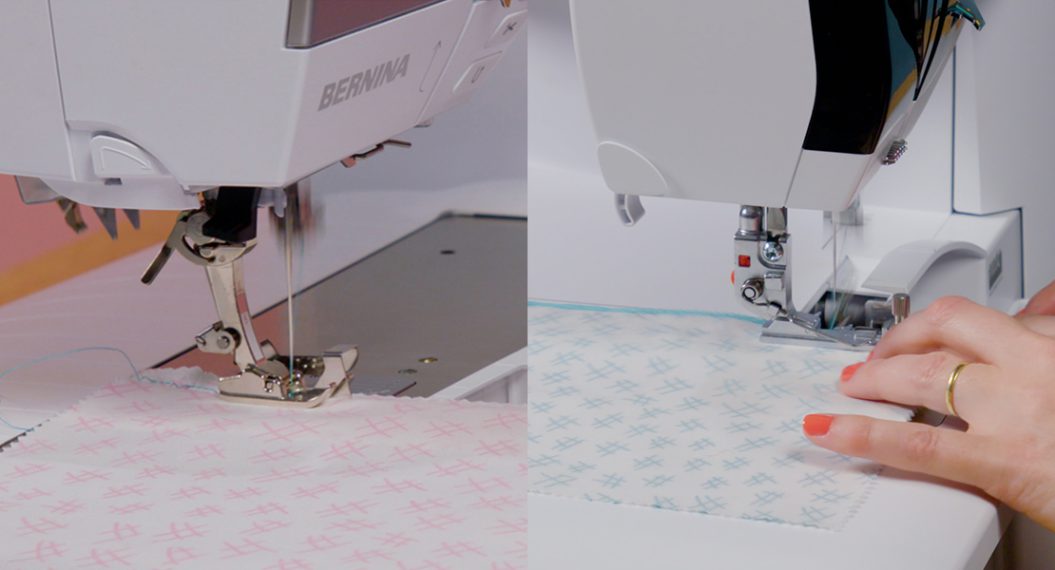
Position the wrapped cord underneath the presser foot, with the raw edges of the fabric to the right. The cord should fit into the groove on the bottom of the foot. Make sure to begin stitching on fabric, then stitch the length of the piece. Secure the seam as desired, then cut the threads. The piping is now created and ready to be inserted.
Step 2: Insert the piping
Grab two pieces of fabric to insert the piping between. In this tutorial, I used a folded piece of fabric. Lay the fabric pieces right sides together. Insert the piping between the layers, matching all the raw edges. Hold in place with Wonder Clips.
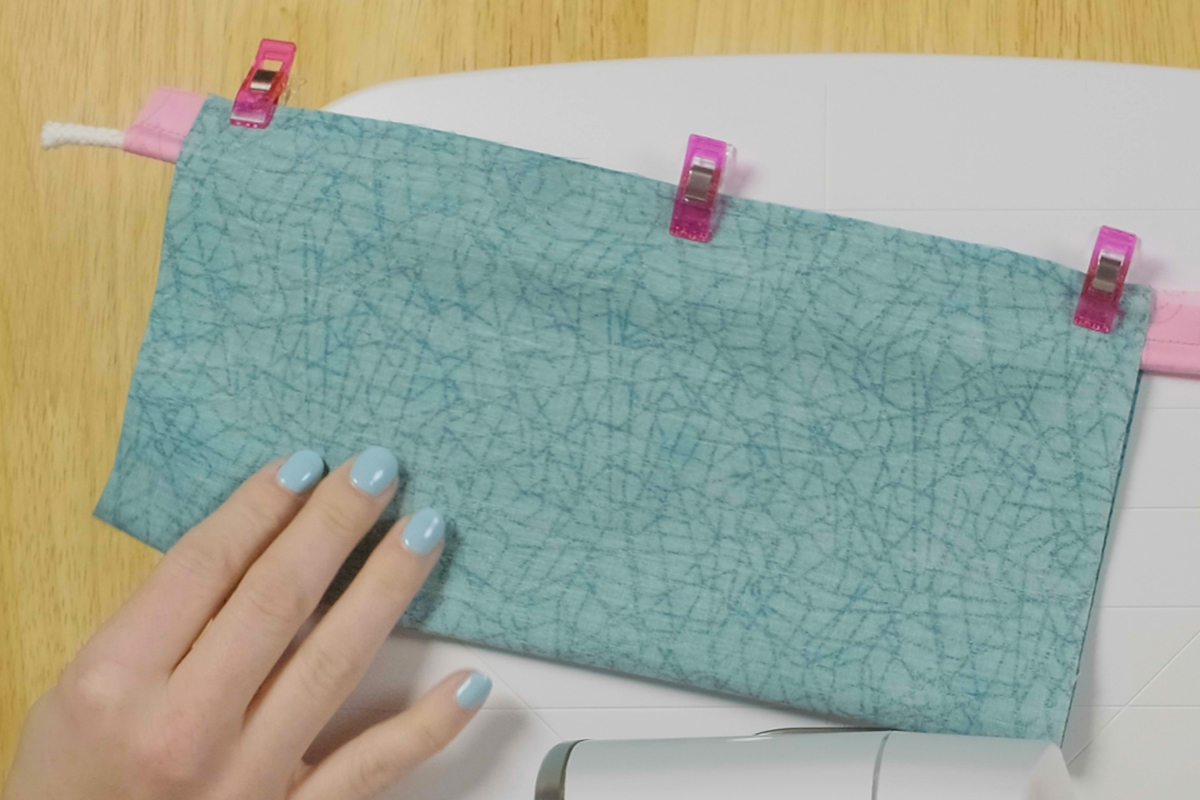
At the machine, move the needle position inward one position to 4. By moving the needle inward, the stitch will be closer to the piping and will hide the previous stitching.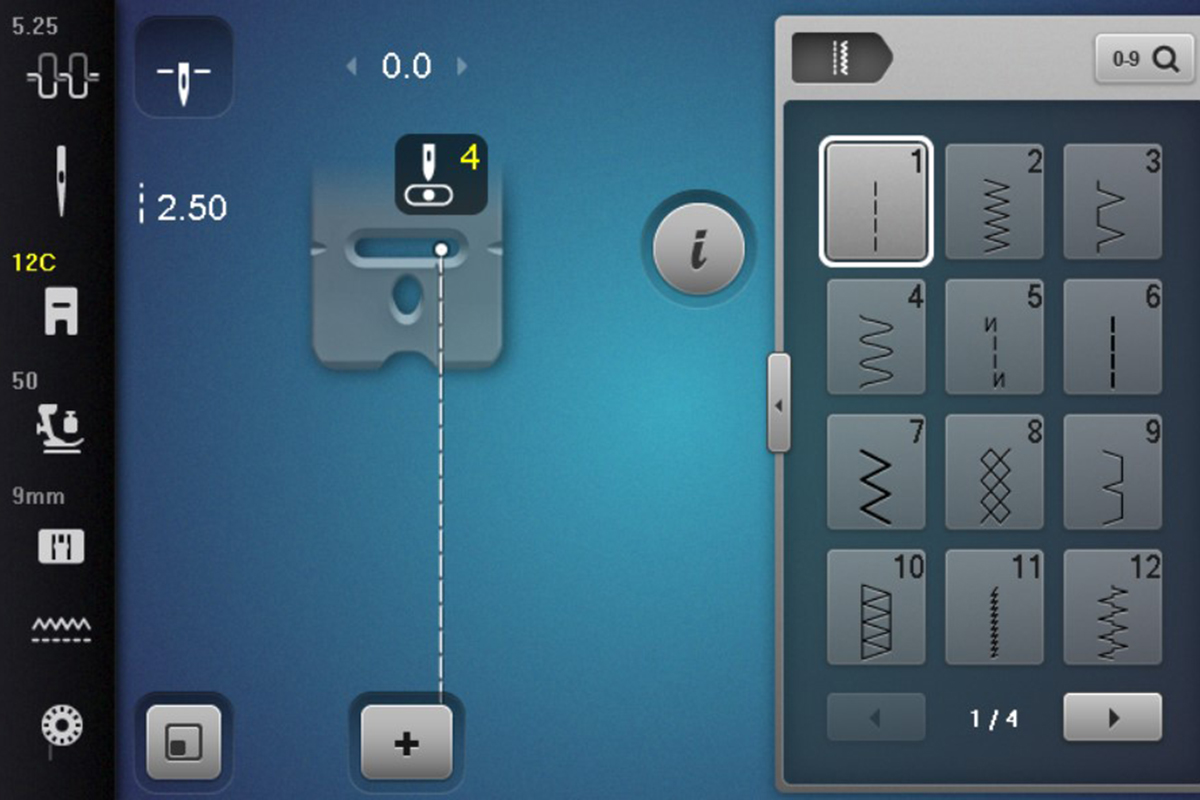
Position the fabric underneath the presser foot, aligning the piping in the channel on the bottom of the foot again. The raw edges should be on the right. Stitch the length of the fabric and secure the seam as desired. If the fabric is folded, turn it right side out to reveal the piping.
Serger
Step 1: Create the piping
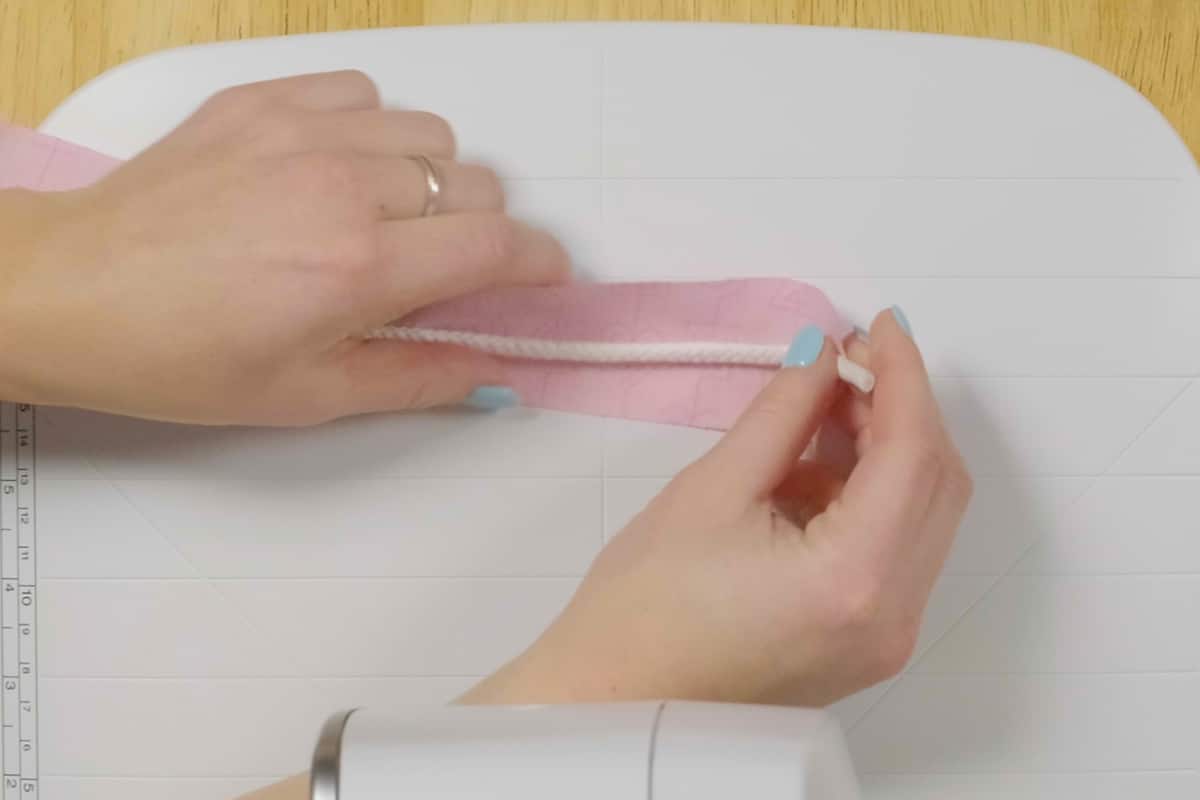
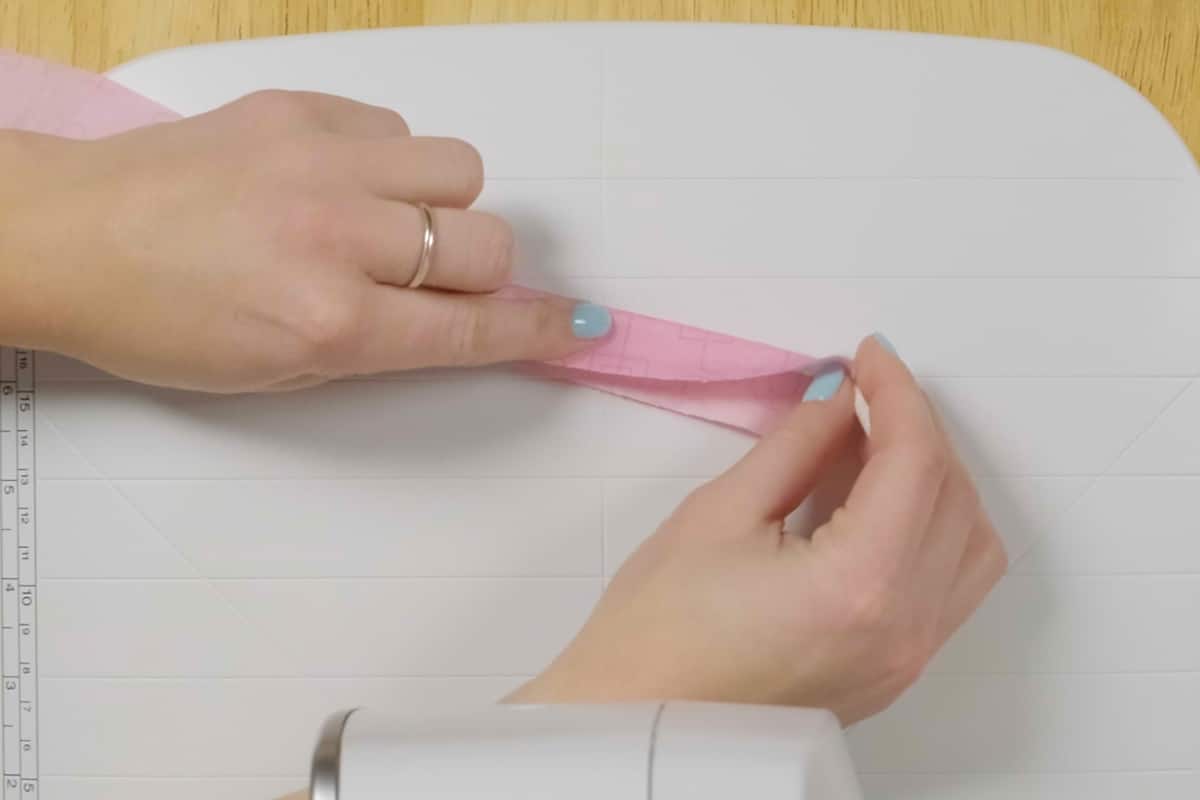
The steps for creating piping on the serger are pretty much the same as the sewing machine. Start by wrapping the fabric strip around the cord, wrong sides together. If possible, leave 2-3” of cording exposed on each end to hold on to when stitching. The piping foot for the serger is longer than that of the sewing machine, so the more cording, the better. Hold the fabric in place with Wonder Clips.

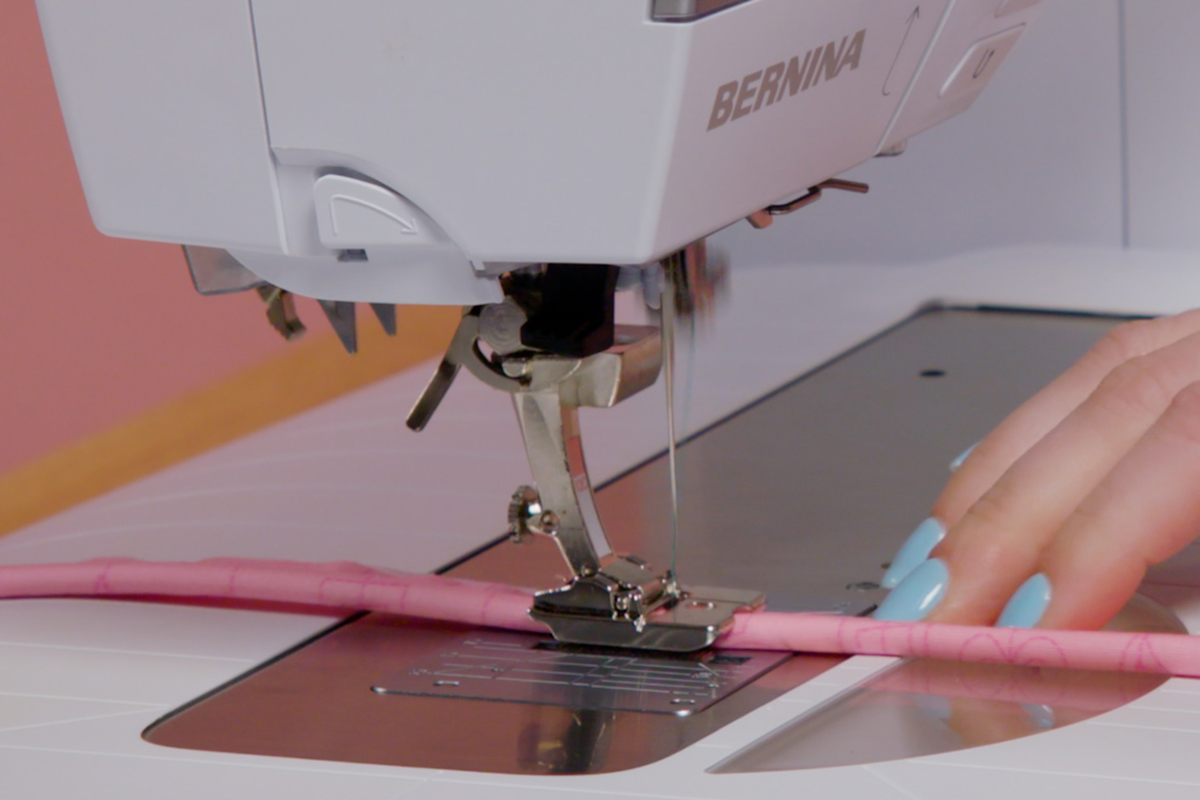
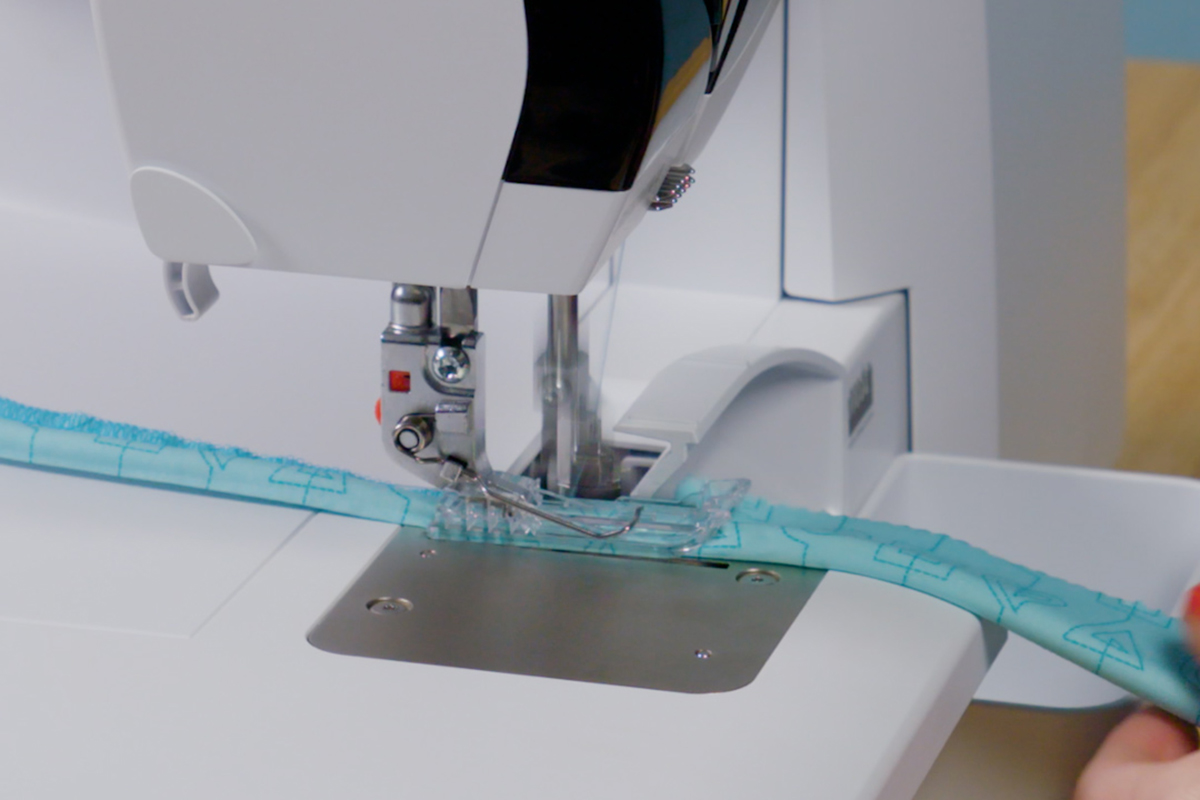
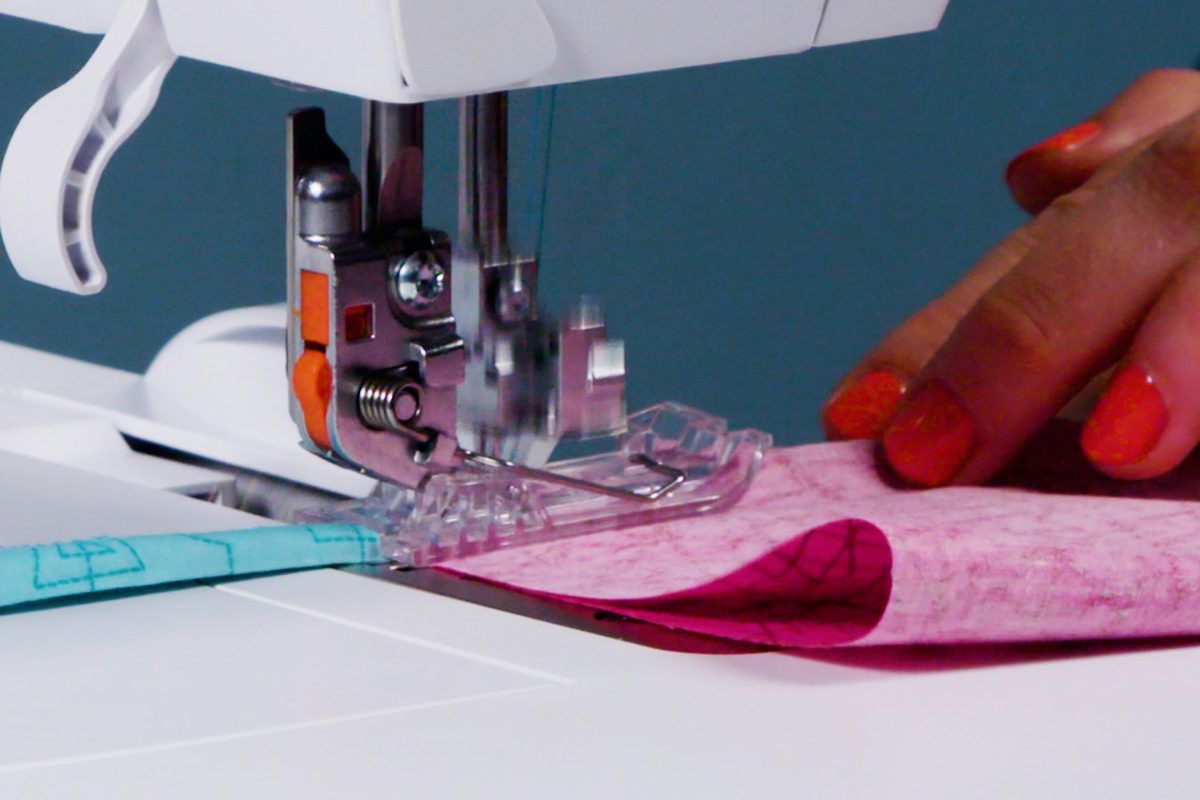
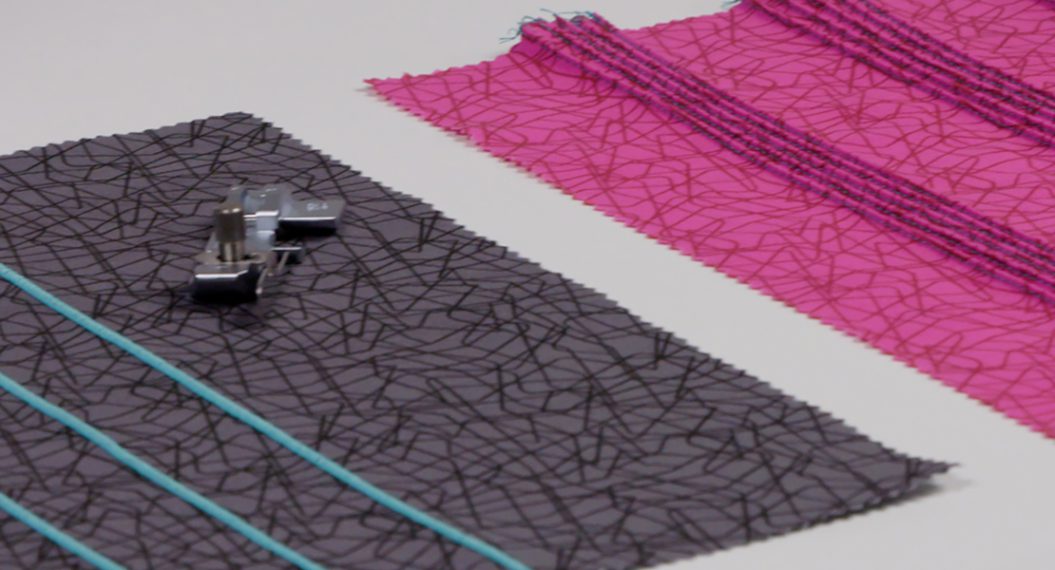
Position the wrapped cord underneath the presser foot, with the raw edges of the fabric to the right. The cord should fit into the groove on the bottom of the foot. Stitch the length of the piece, trimming away the excess raw edges as you serge. Cut the threads at the end of the seam. The piping is now created and ready to be inserted.
Step 2: Insert the piping
Grab two pieces of fabric or a piece large enough to fold to insert the piping between. Lay the fabric pieces right sides together. Insert the piping between the layers, matching all the raw edges with the serged edge of the piping. Hold in place with Wonder Clips.
Set up the BERNINA L 890 for the 4-thread Overlock with Integrated Safety Seam #1 stitch. By adding the left needle, you are imitating the action of moving the needle inward a position like on the sewing machine. The stitching will be closer to the piping this time around. All other settings can remain the same.
Position the fabric underneath the presser foot, aligning the piping in the channel on the bottom of the foot again. Stitch the length of the fabric, only trimming away threads hanging off the raw edges. Secure the seam as desired. Open the fabric to reveal the piping.
Sum of it All: Results
Sewing machine
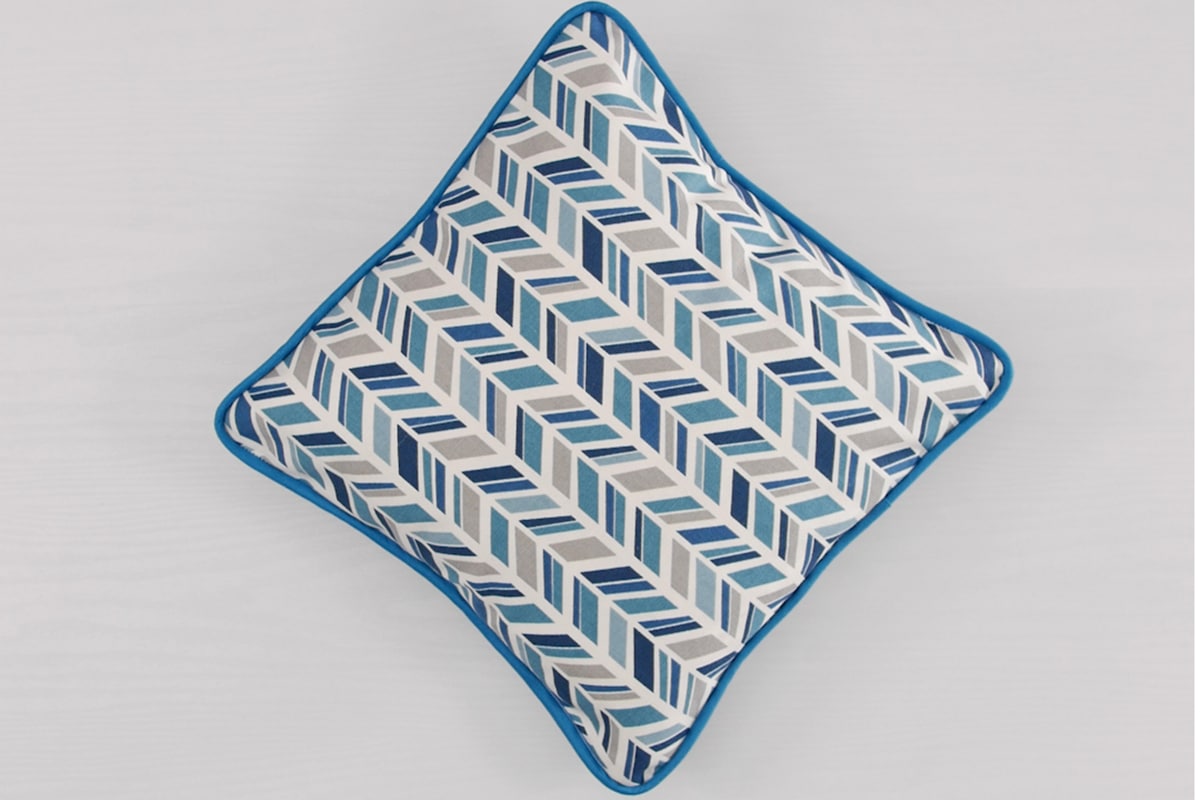
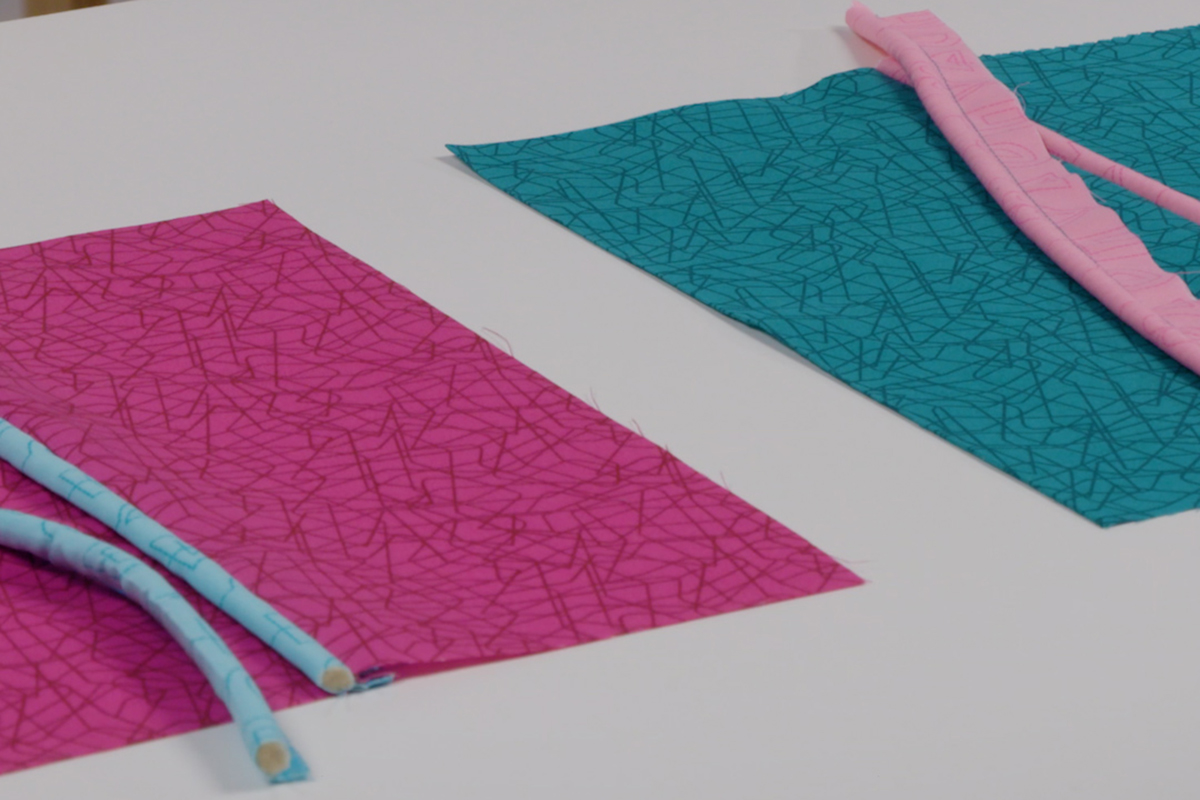
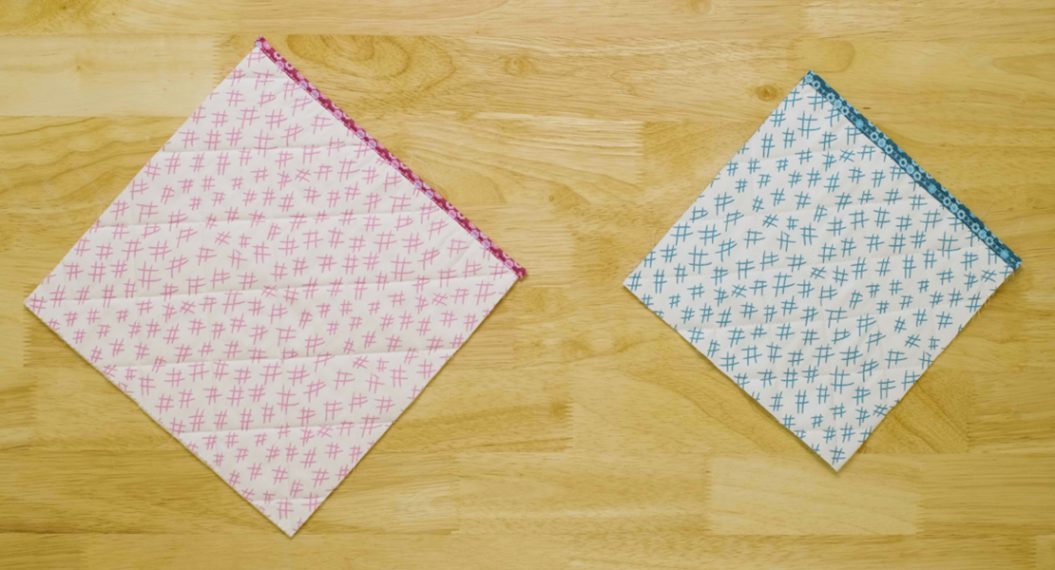
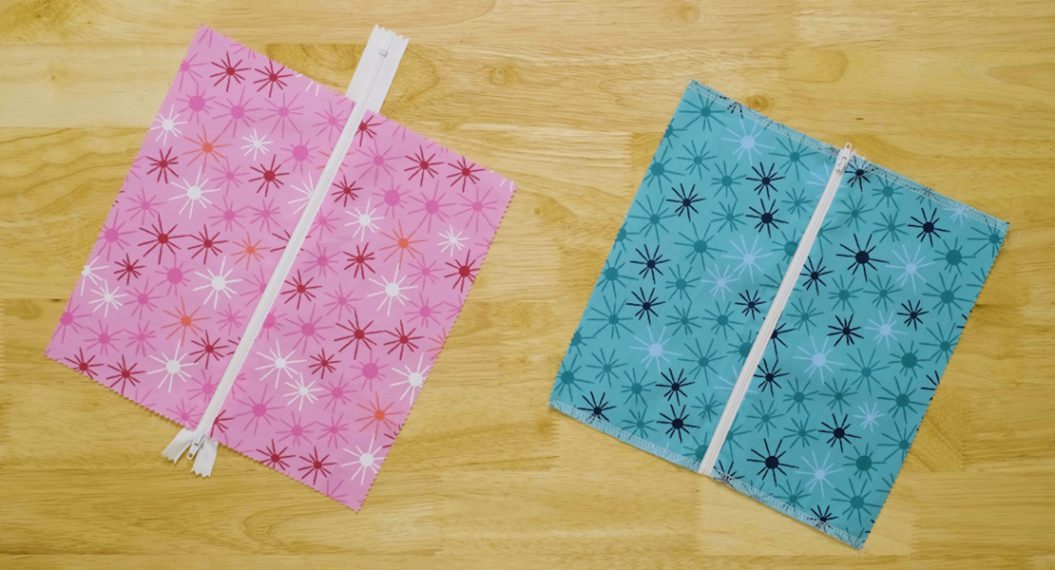
The piping is perfectly encased in the contrasting fabric, and fitted seamlessly between the layers of the fabric. Moving the needle inward one position prevented any stitching from appearing where it should not.
Serger
The seam on the serger piping is finished beautifully with the overlock stitch. All raw edges are encased, and the piping is snug in the seam. The seam allowance can now be pressed in either direction.
What do you think? Are you ready to try this technique on both machines?


What you might also like


4 comments on “Piping with a Serger and Sewing Machine”
-
-
Love piping on sewing machine and serger. Piping gives a truly finished professional look to many projects, pillows, quilts, placemats and many more.
-
I live about 100 miles from the closest Bernina dealer. Is there an authorized website where I could order special feet online for my machines?
-
Hi there! Yes, you can find these online at https://shop.berninausa.com/bernina-domestic-presser-feet
-
Leave a Reply
You must be logged in to post a comment.

I really liked this post about Piping with a Serger and Sewing Machine because I make a lot of pillows to go with my quilts and I love piping to add a little something extra.