Piping: How to Make and Insert Covered Cord
Piped edges add a professional finish to pillows, slipcovers, and other home décor projects. And it’s easy to make and insert covered cord once you learn how it’s done. Follow these step-by-step instructions for beautiful corded edges every time.
Supplies
- 4/32″ filler cord
- Fabric to cover the cord
- Matching thread
- 1/4″ foot, such as BERNINA Patchwork Foot #37/37D or Patchwork Foot with Guide #57/57D
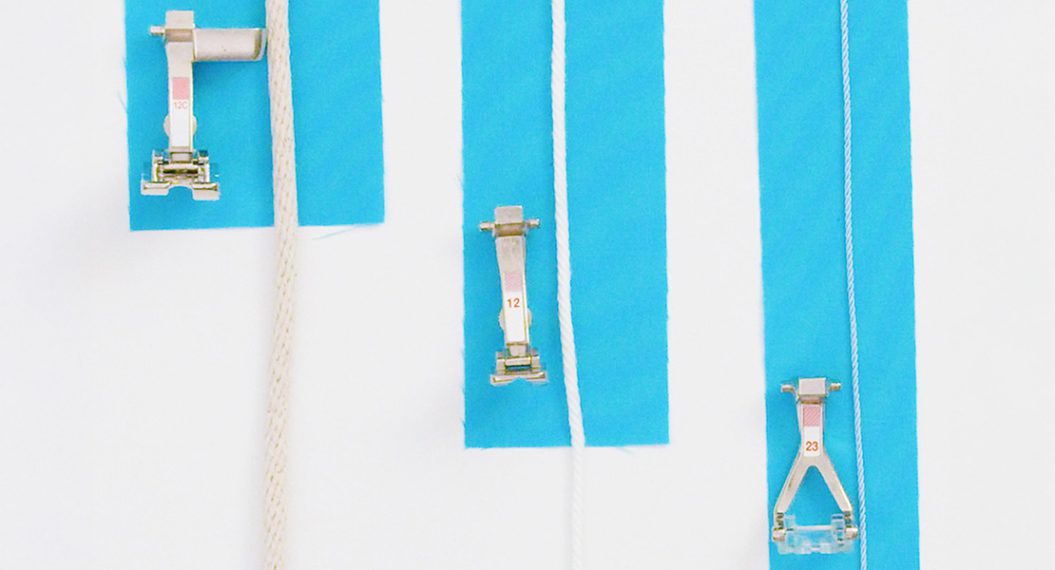
- Piping or cording foot (a foot with a “tunnel” in the sole, such as BERNINA Bulky Overlock Foot #12/12C, 4-6 mm Double Cord Foot #59/59C or 7-8 mm Double Cord Foot #60/60C)
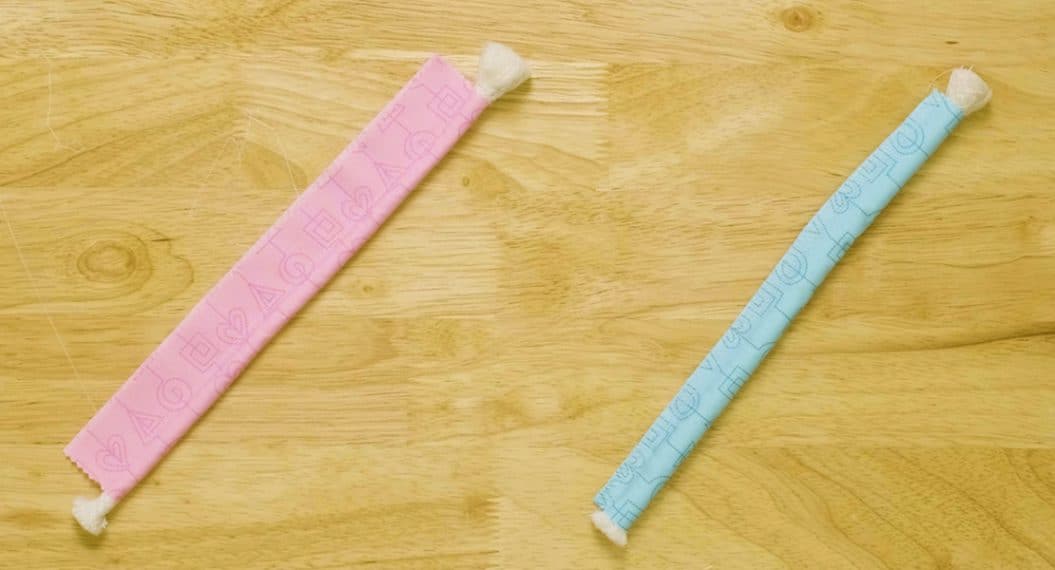
First, cover the cord.
1. Cut the fabric into 2 1/2″-wide strip, cutting on the bias (diagonally rather than along the lengthwise or crosswise grain).
2. Pin the ends together as shown. Stitch them together using a 1/4″ foot.

3. Press the seam allowances open and trim the points.

4. Wrap the bias strip around the filler cord.
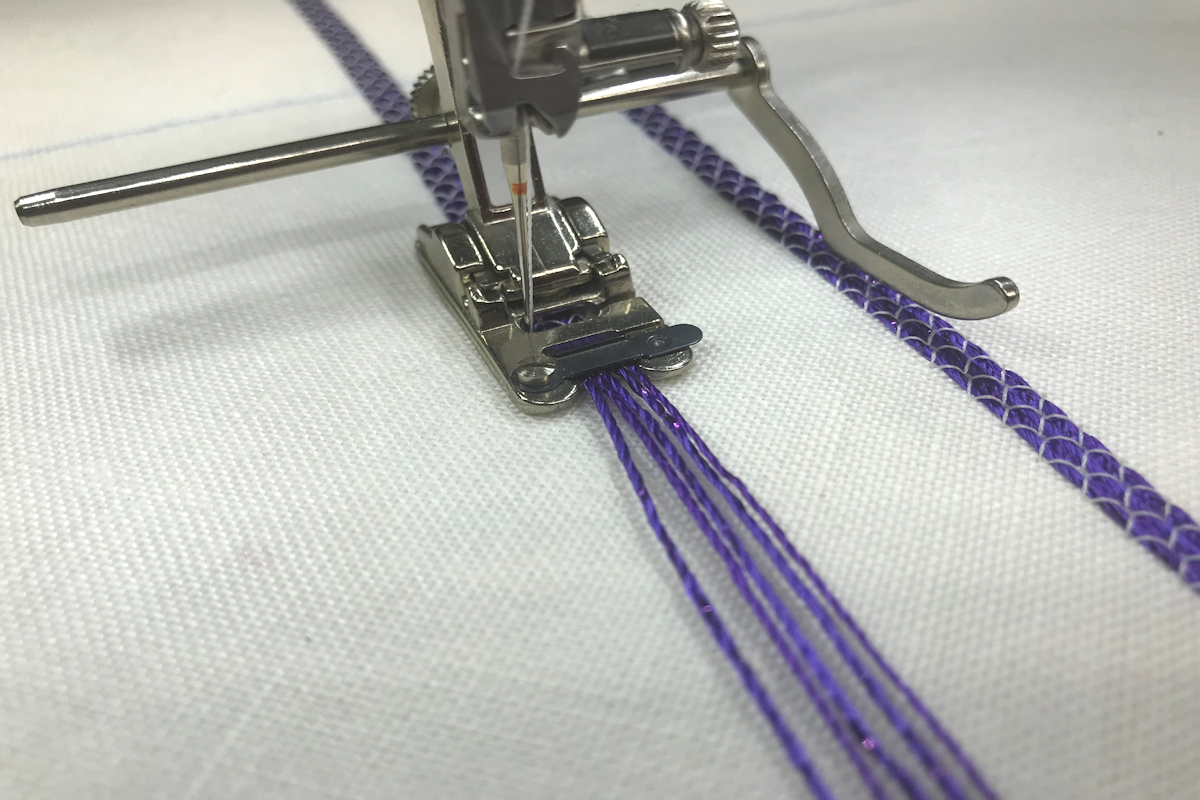
5. Attach the cording foot to the machine and select straight stitch.
6. Position the wrapped cord under the groove in the sole of the foot, with the raw edges to the right. Move the needle position all the way to the far right.

7. Stitch, keeping the cord evenly wrapped with fabric as it moves under the foot. (The wrapping might be a little loose; that’s okay. It’ll be snug after the piping is attached to the project.)

8. Trim the seam allowances 1/2″ from the stitching.
Easy, right? Now it’s time to insert it into a seam. We’ll use a pillow cover as an example, with instructions for turning corners and overlapping the ends at the start/finish.
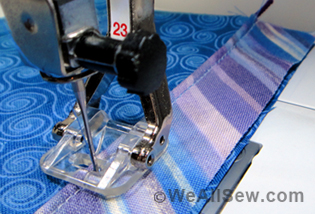
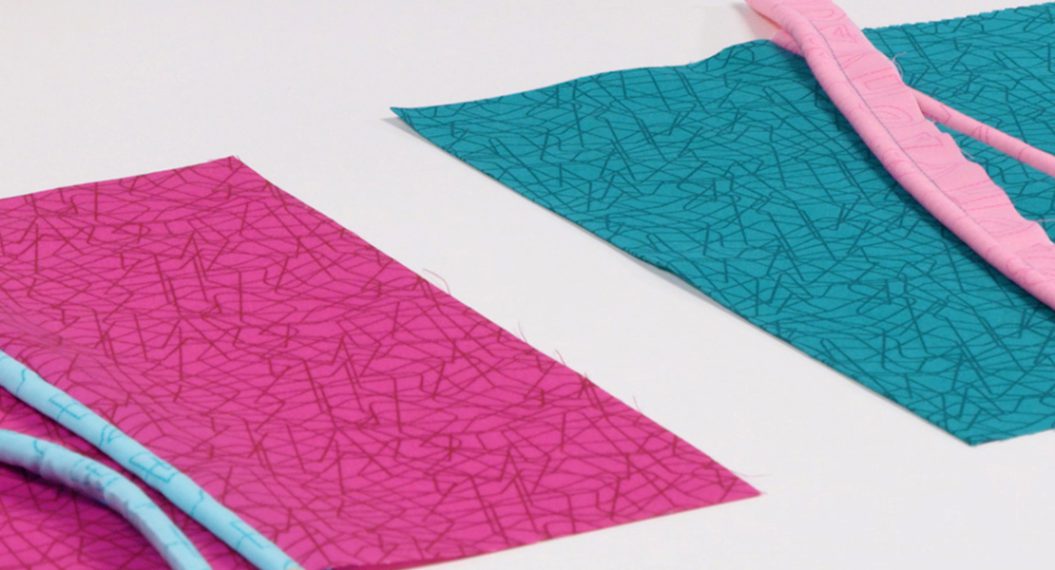
1. Place the piping on the right side of the pillow front, raw edges even.
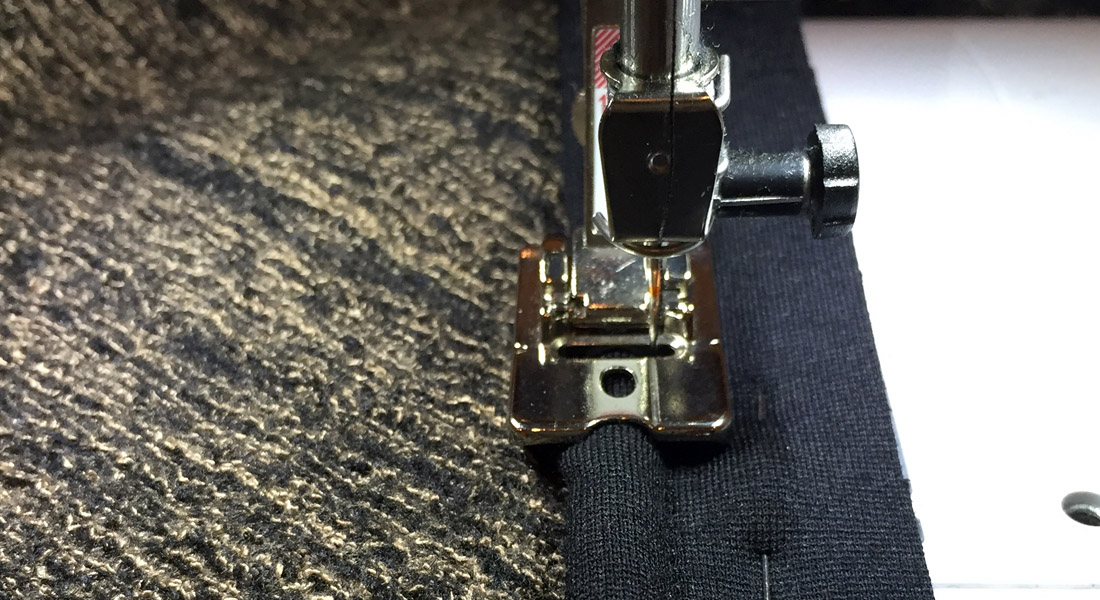
2. Place the edge of the pillow under the presser foot, with the covered cord in the groove.
3. Move the needle position one step to the left of far right. Notice that this is just inside the previous stitching and will pull the “wrapper” more closely around the filler cord.

4. Begin stitching about in the middle of one side, leaving about 3″ of piping free. You’ll use this “tail” later, when joining the ends of the piping.
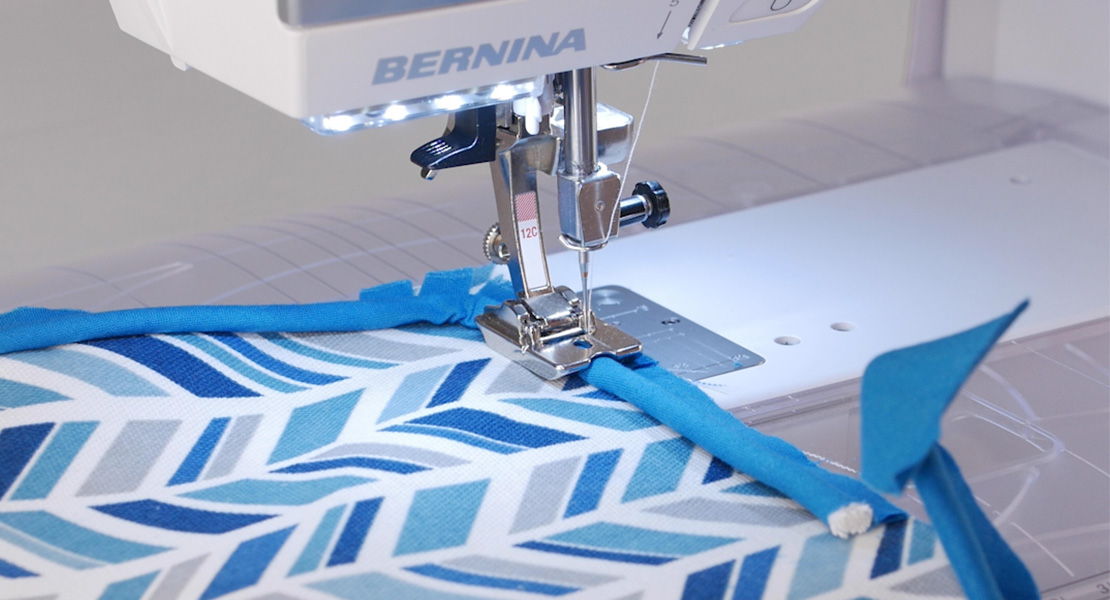
5. Stitch. Clip the piping as needed to maneuver around corners and curves.

6. Stop stitching about 3″ from the end.

7. Undo about 2″ of stitching at both ends of the piping, exposing the filler cord.

8. Trim away about 2″ of filler cord – but not the fabric wrapper – at one end of the piping.
9. Turn under 1/2″ of fabric at this end of the piping.

10. Place the finished end of the piping over the opposite end. Trim the end of the filler cord to meet the end of the trimmed cord in the turned-under end.
11. Open the finished end of the piping and wrap it around the unfinished end.

12. Complete the stitching to join the piping ends to the pillow edge.

All that’s left is to attach the back of the pillow.
1. Place the pillow back right sides together with the front, matching the edges.
2. With the pillow front on top, place the edge of the pillow under the presser foot. This edge is probably rather bulky by now, so raise the presser foot a little more if you can. (If you have a BERNINA model with a Freehand System, use the knee-lever to raise the presser foot, and you can use both hands to position your pillow under the presser foot.)
3. Move the needle position one more step to the left. Notice that the needle will be just inside the previous stitching, closer to the piping.
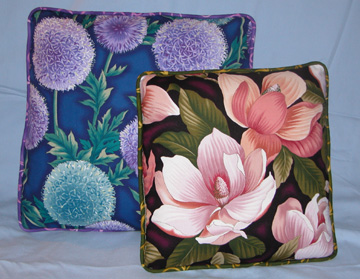
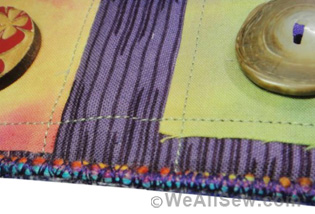
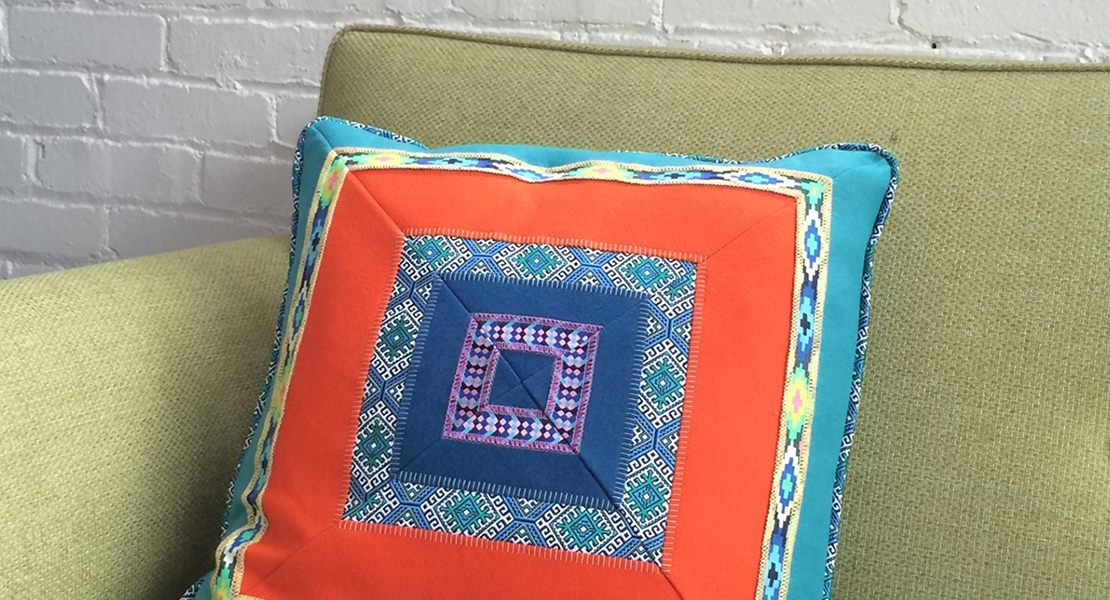
This technique for making and inserting piping (covered cord) is used for the edges of “Dori’s 3C Garden Pillow,” found in the July 2013 Through the Needle ONLINE, Issue #18.


What you might also like


One comment on “Piping: How to Make and Insert Covered Cord”
Leave a Reply
You must be logged in to post a comment.

Excellent tutorial! had a thought to add… at step 9 – if you can allow enough fabric to make this fold on the bias, the join will appear, well… “seamless” : D