Piping on a Pillow with Bulky Overlock Foot #12C
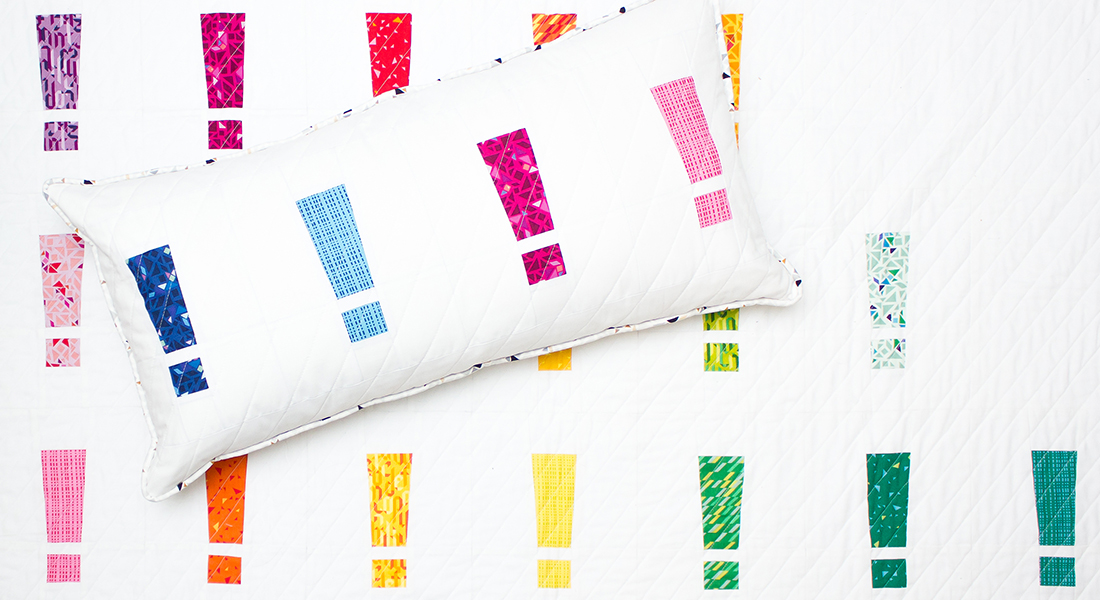
I am all about making my own decorations for my apartment. I can never find exactly what I am looking for in the store, so instead I go searching for fabric (which is much easier for me to find). I probably have enough material in my secret stash, but there’s always a reason to buy more fabric, right? On my most recent search, I went hunting for new pillows and kept running into a common feature: piping. As something that has been used as a decorative feature and accent on home décor accessories for quite some time now, piping can be found all around our homes on pillows, chairs, curtains, and even on our clothes and handbags. I decided something this timeless and easy to make would be great to have in my apartment.
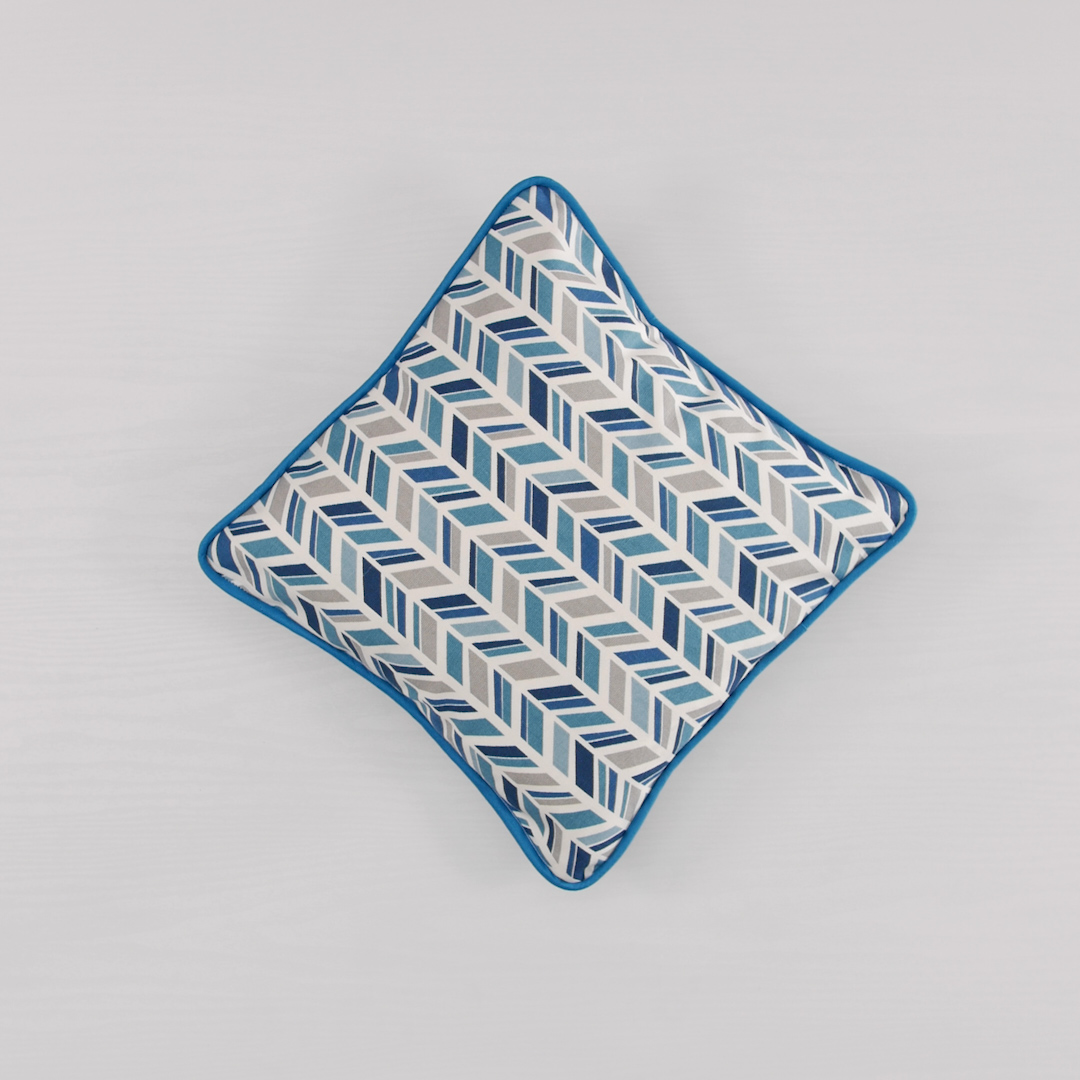
There are several different forms of piping: mini piping, jumbo piping, decorative piping, you name it! This tutorial demonstrates how to create a pillow with ¼” piping using the BERNINA 480 with the BERNINA Bulky Overlock Foot #12C.
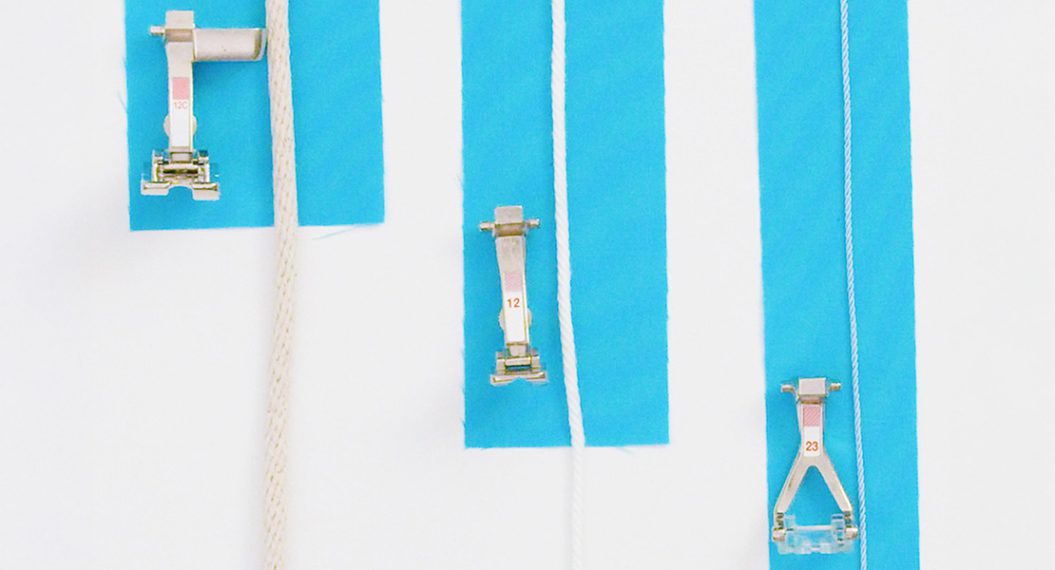
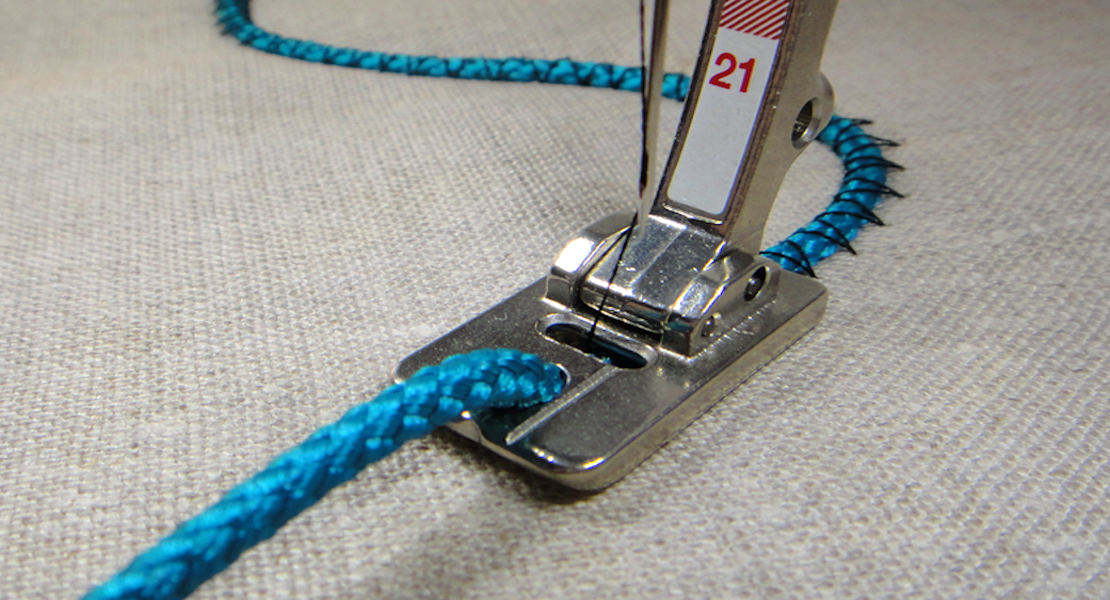
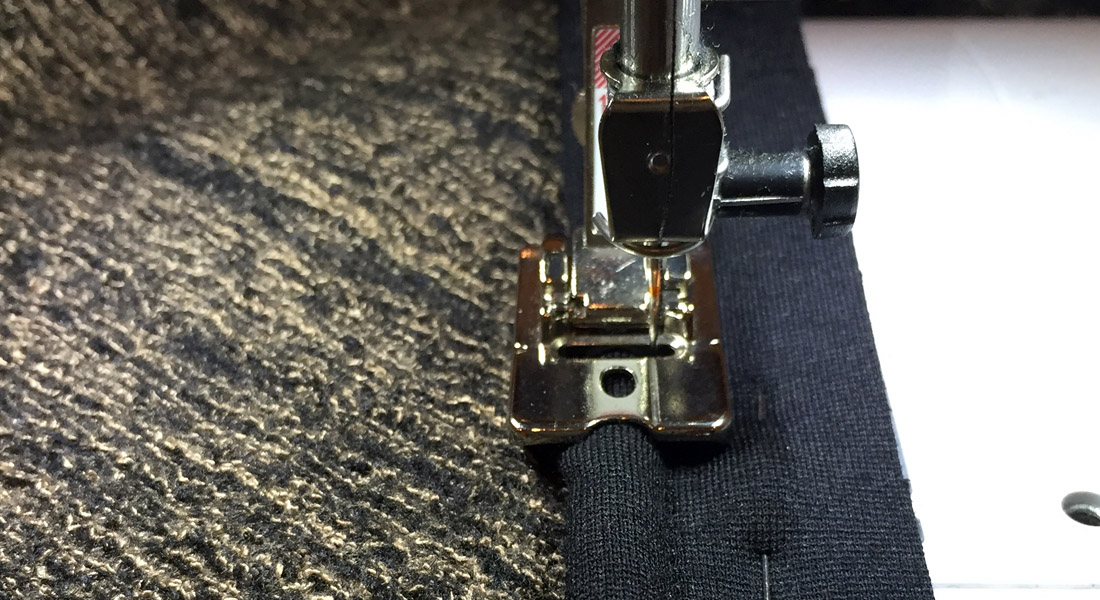
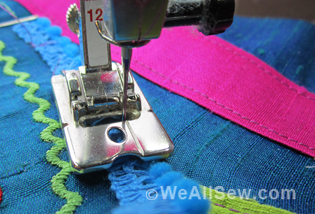
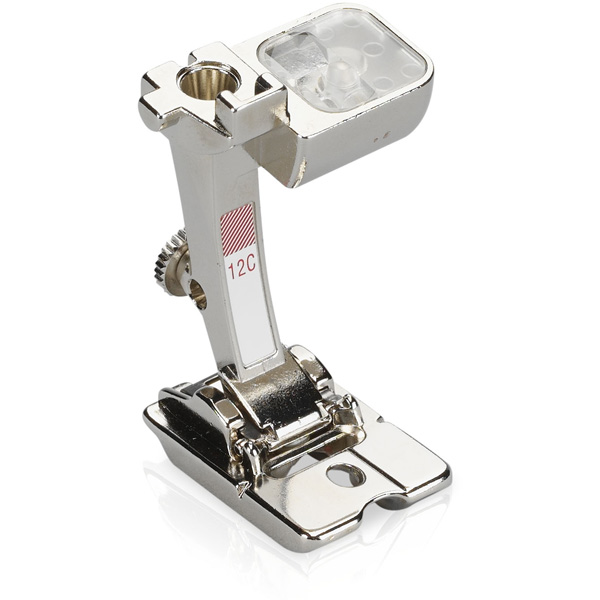
This presser foot has a wide groove carved out in the bottom of the sole that allows cording to glide through smoothly and evenly, without skipping stitches. Bulky Overlock Foot #12 is for cording up to 1/4” in diameter, and Bulky Overlock Foot #12C can handle cording with a diameter up to 3/8”. Test and see that you are using the proper presser foot. The trick is to lay the cording in the groove on the bottom of the foot and pull it through. If there is a lot of space on either side of the cording, consider using a presser foot with a smaller groove. If the cording does not fit in the groove or does not glide through smoothly, try a foot with a larger groove. Other piping presser feet are discussed in the Tips and Tricks section.
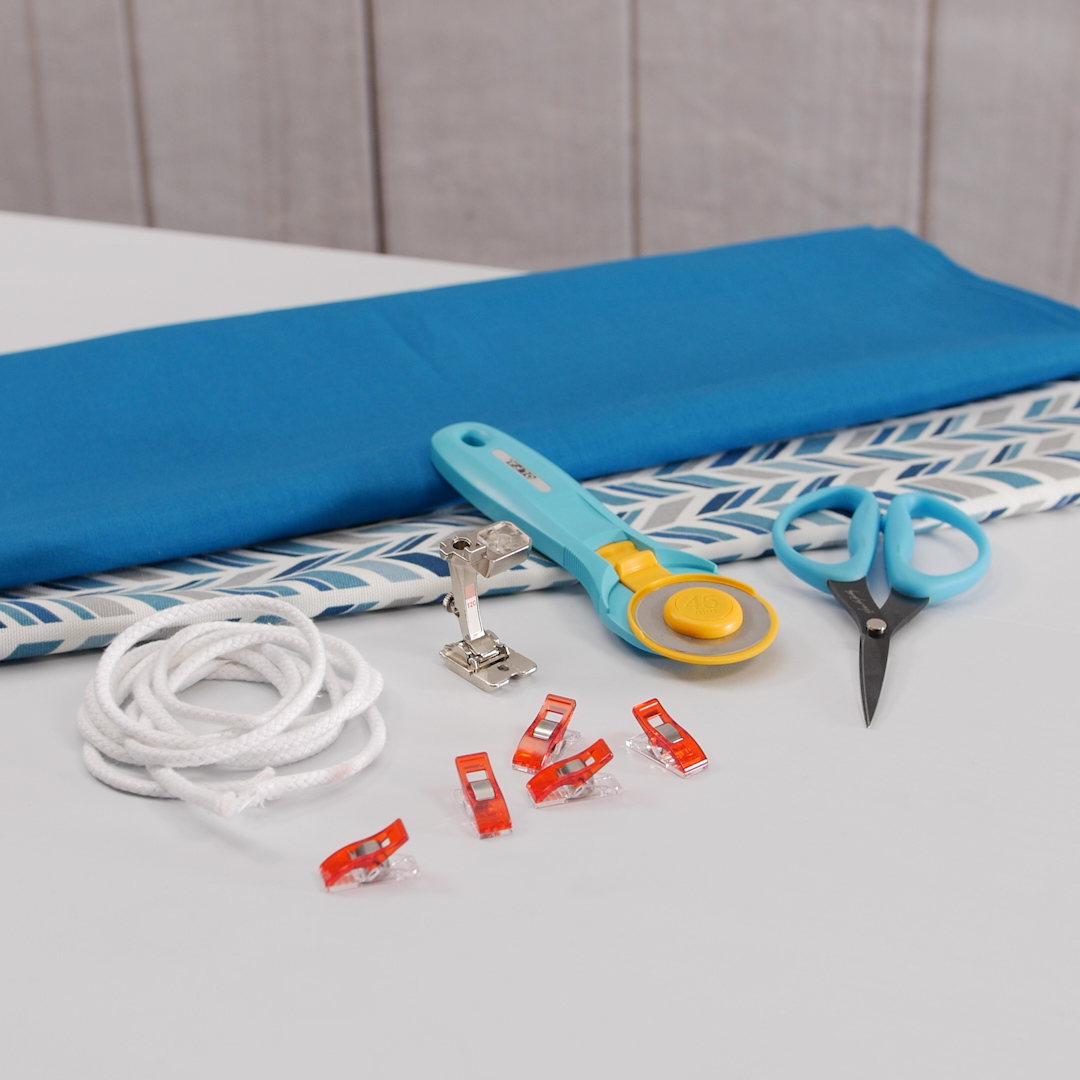
Supply List to Add Piping to a Pillow
• BERNINA 480
• BERNINA Free Hand System
• Bulky Overlock Foot #12/12C
• Cording of desired size (diameter 3/8” or less)
• Two coordinating fabrics
• Wonder Clips
• Snips or small shears (I am loving Karen Kay Buckley’s 4” Perfect Scissors)
• Rotary cutter
• Scissors
• Ruler
• Cutting mat (The Tula Pink cutting mat is my favorite)
• Pillow form
Let’s walk through this project step-by-step!
1. Prepping the Fabric
First, start by cutting out the pillow top and back pieces. My finished pillow is 12” x 12” and has an envelope back. Allowing for ½” seam allowances, my top piece was cut as a 13” x 13” square.
Cut two separate rectangles for the envelope back. Cut one 13” x 10 1/4″ and one 13” x 8 ¼”.
Hem the two back pieces by folding one of the long raw edges up ¼” and press. Fold that new edge up 1”, press again, and stitch close to the first folded edge.
For the fabric that will encase the cording, it is best to cut the strips on the bias grain of the fabric, or the 45 angle off the selvage. Cutting on the bias grain allows the fabric to stretch as much as it possibly can. This is helpful when rotating around the corners of the pillow top. Most rulers have the 45 angle marked on them. The tricky part is making sure to have enough fabric to cut several bias strips.
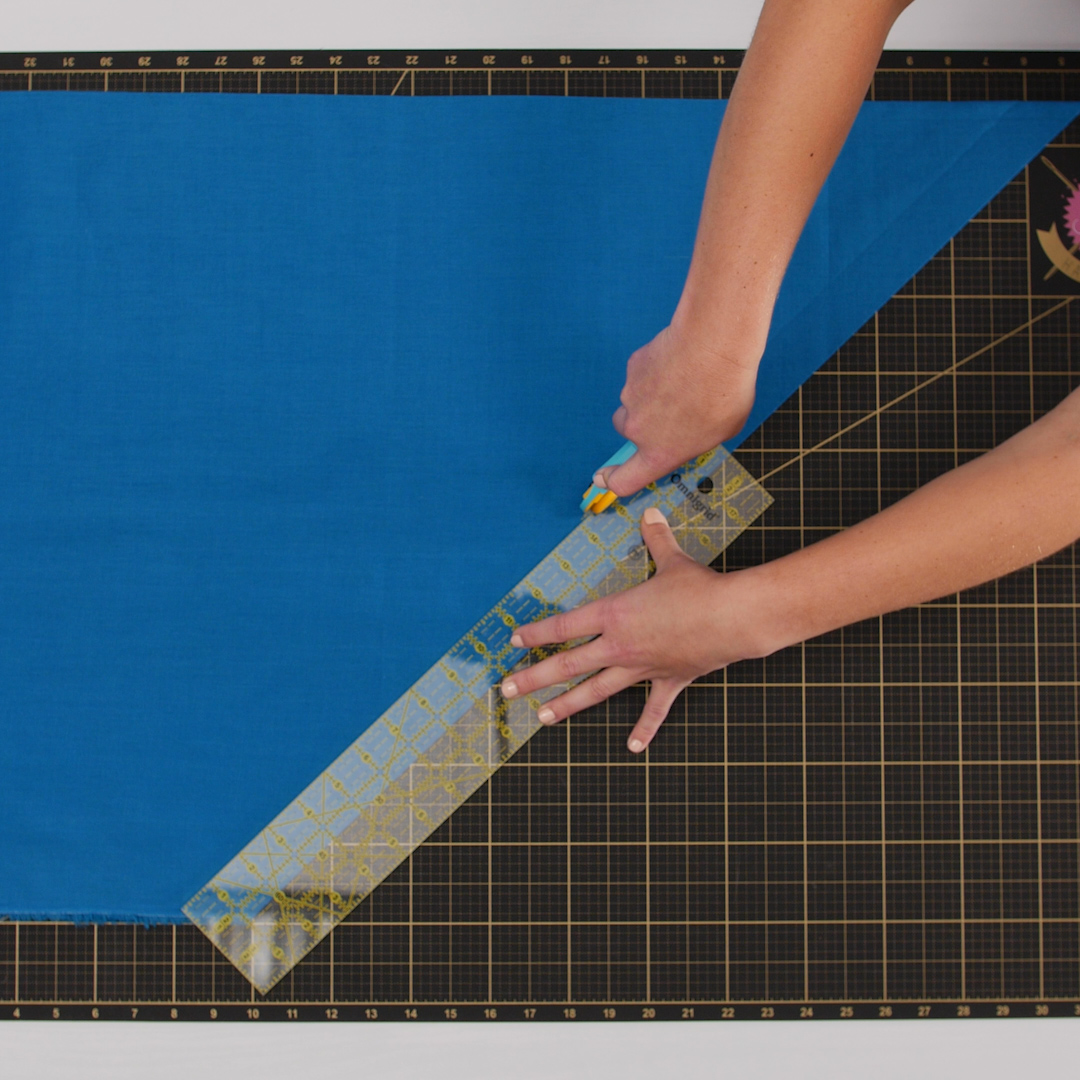
How wide should the strips be cut? To determine the width needed for your cording, use this simple equation:
Diameter of cording + 2 seam allowances
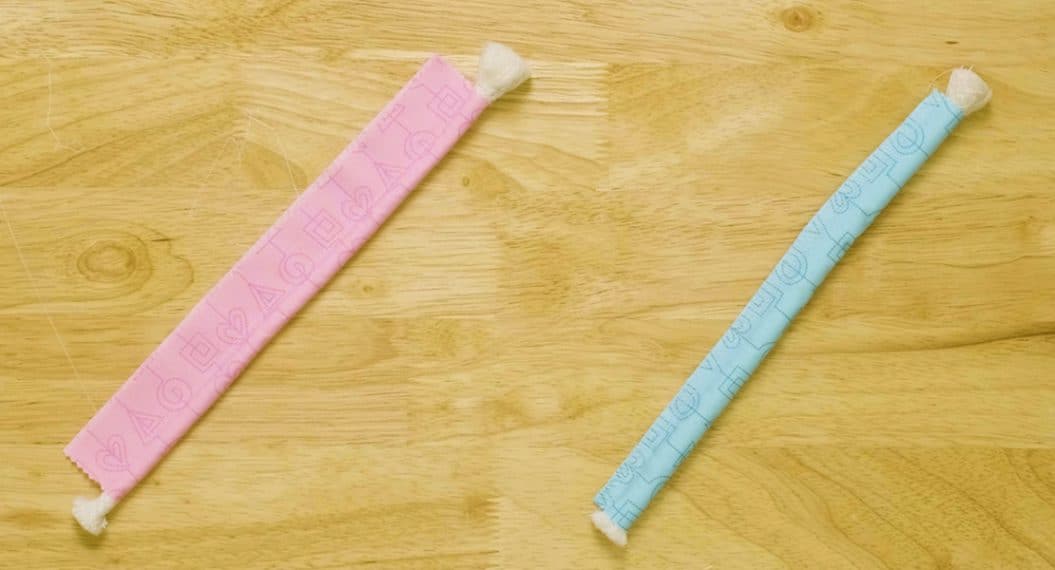
My cording had a diameter of ¼” and all my seam allowances were ½”, therefore my strips were 1 1/4″ wide. Like a quilt binding, you need one complete strip; so cut several bias strips and sew them together at an angle to get the length needed. To complete the pillow, you should have a long enough piece of fabric to go around each edge, plus about ten extra inches (for a 12” x 12” pillow, about 58” total). Cut the cording to be the same length. Before cutting, however, wrap the cording with a piece tape where it will be cut. This will keep it from unraveling.
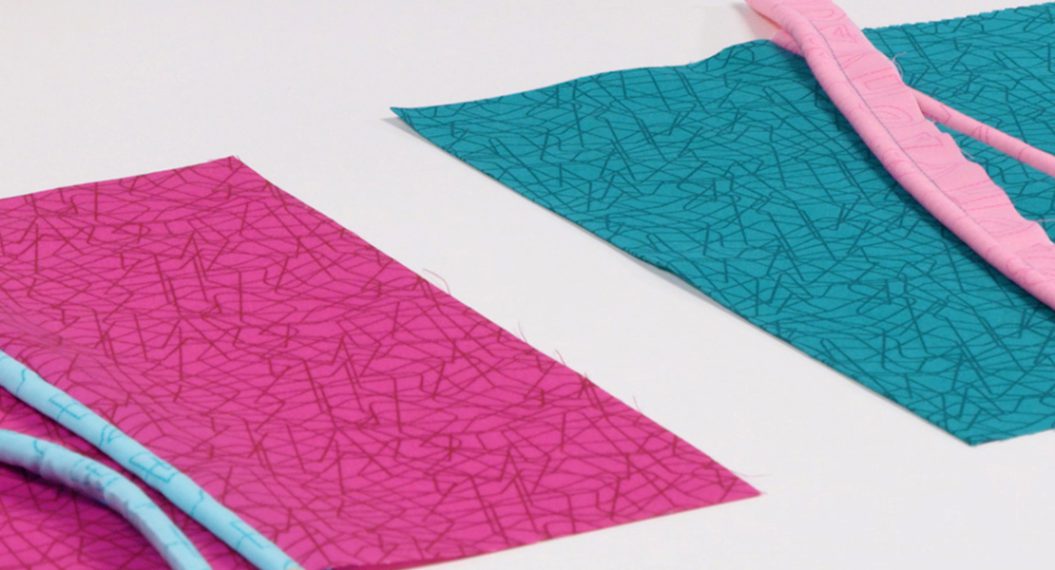
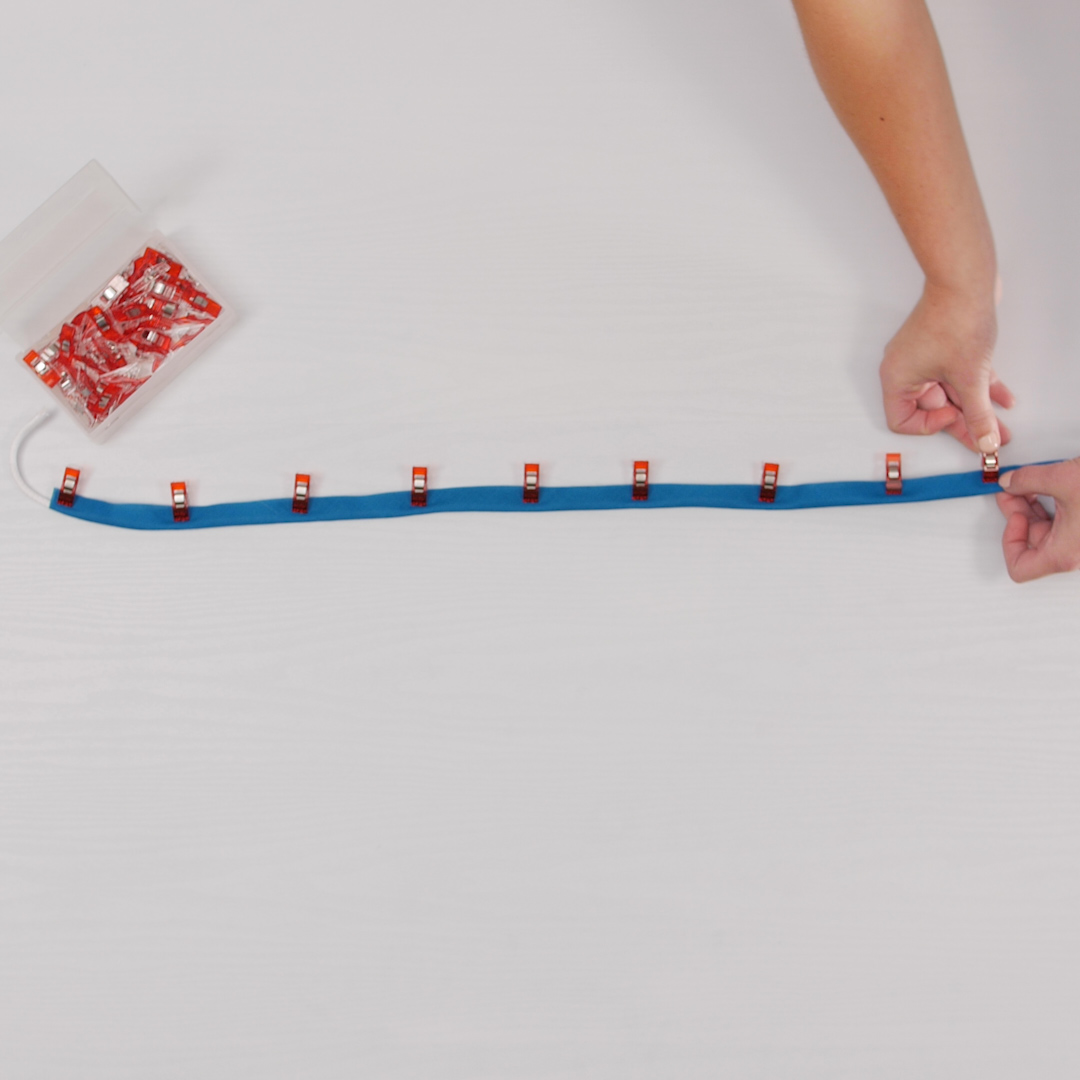
Wrap the fabric strip around the cording, right side out. Hold the strip in place with Wonder Clips.
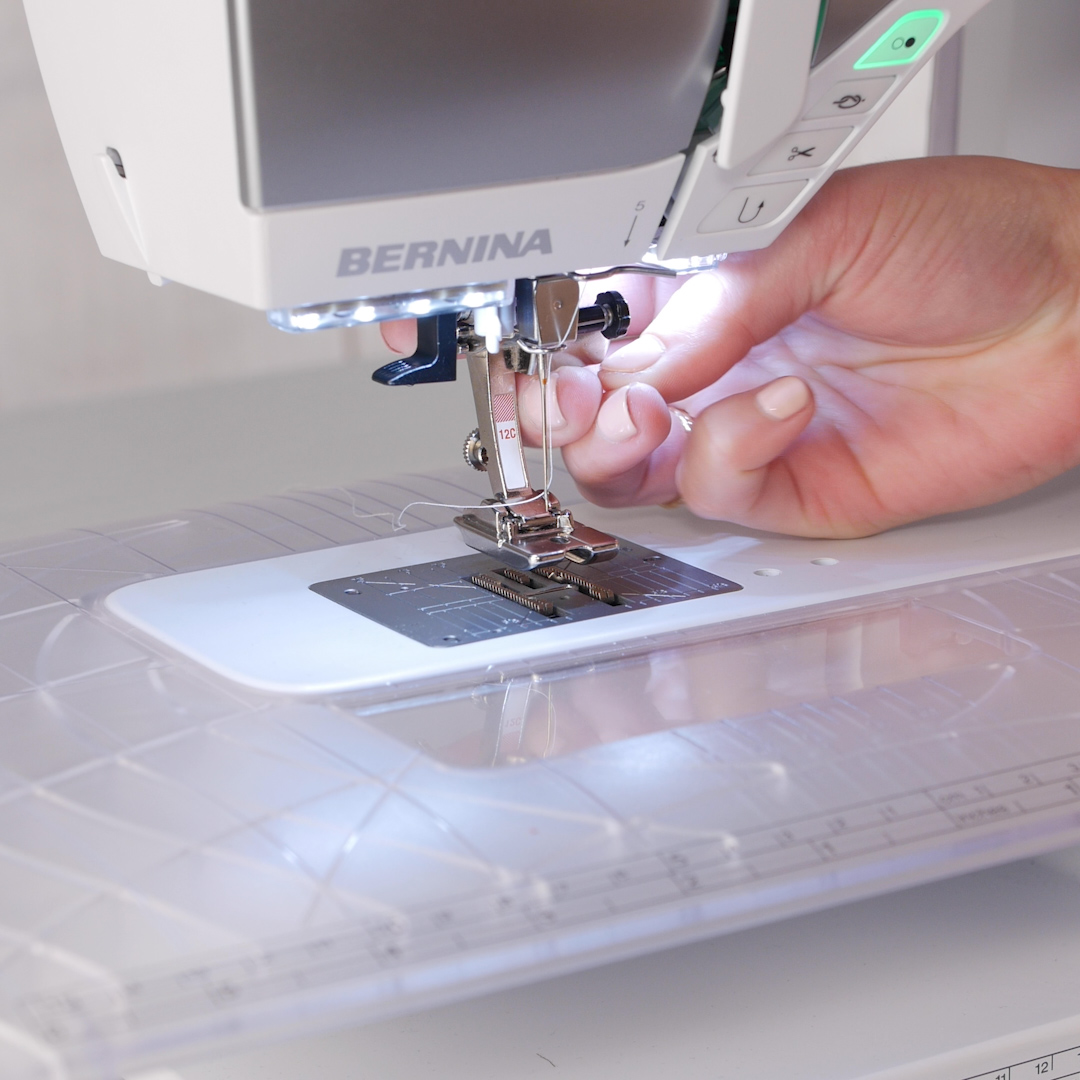
2. Prepping the Machine
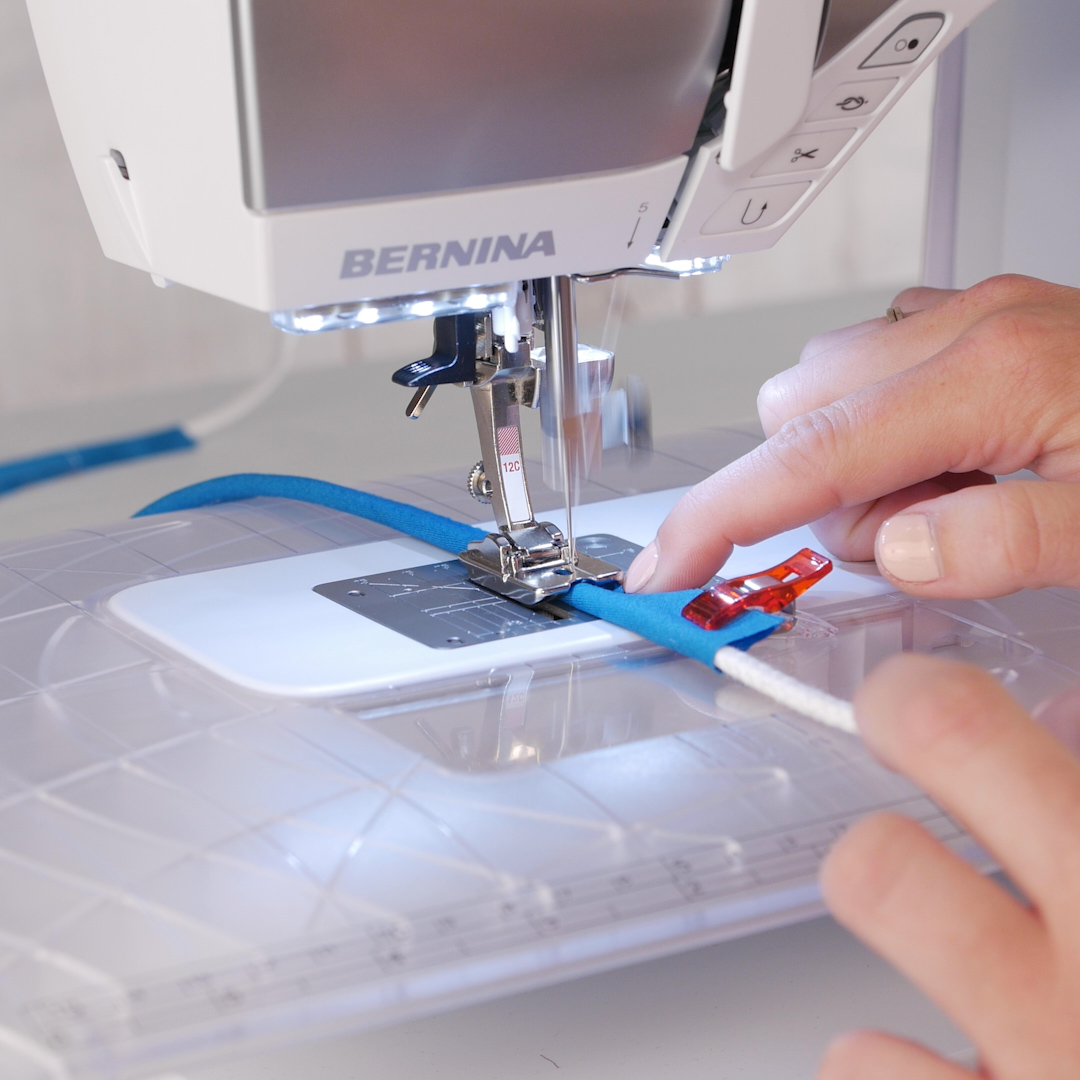
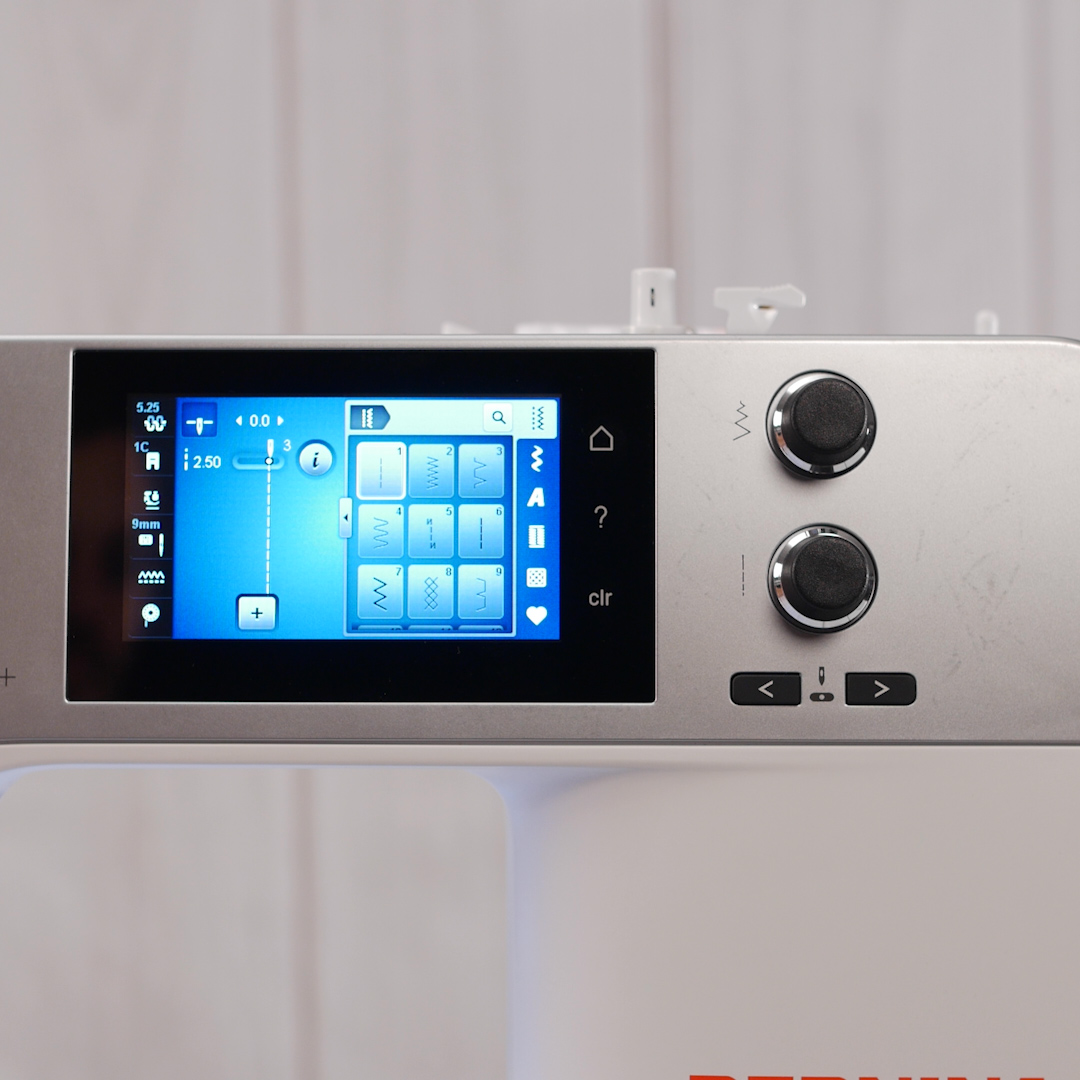
It is now time to prepare the machine for sewing. Attach Bulky Overlock Foot #12C to the B 480.
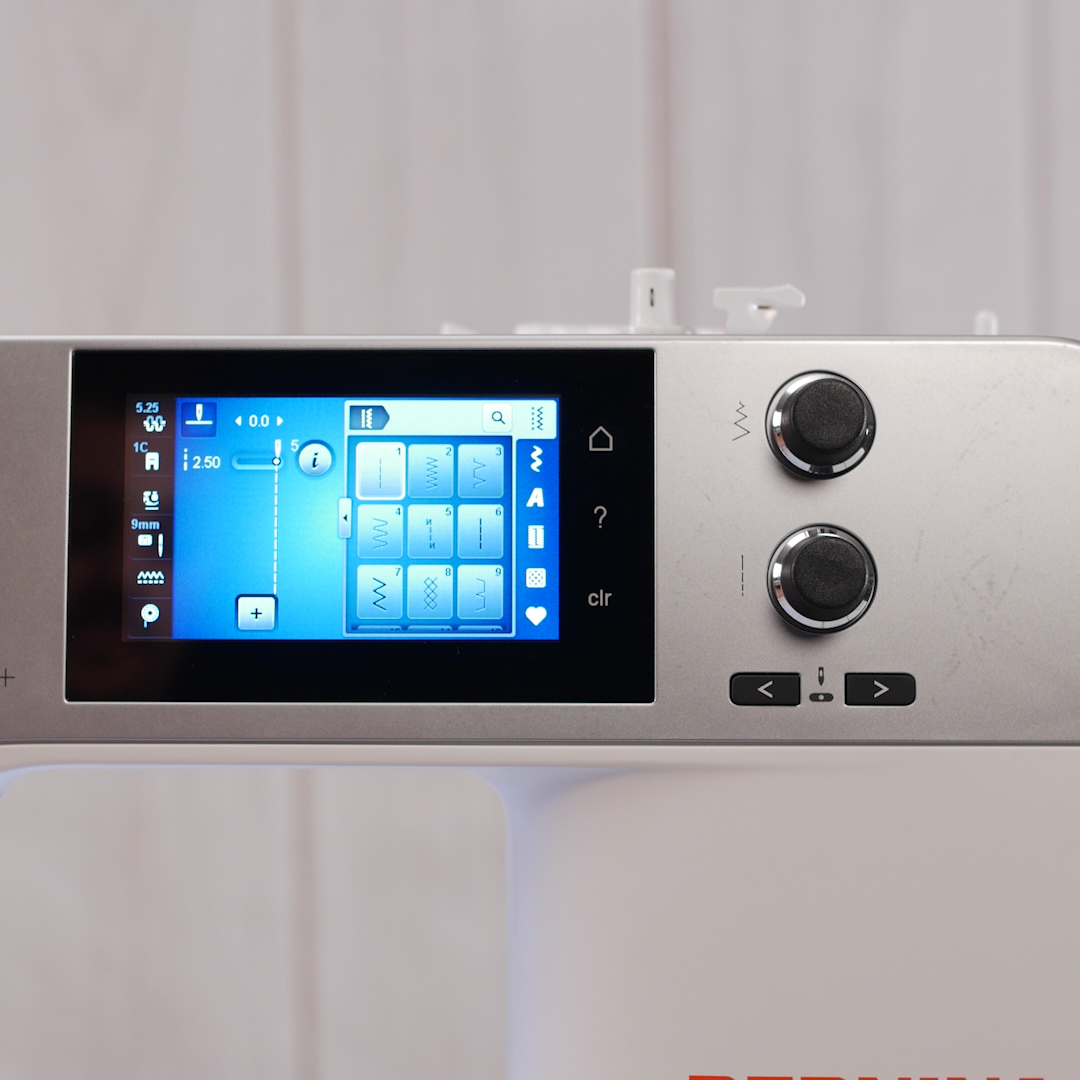
Adjust the needle position all the way to the right (+5). Note that the needle will move one position to the left after each step in the sewing process. Doing this will cover the tracks of the previous stitching.
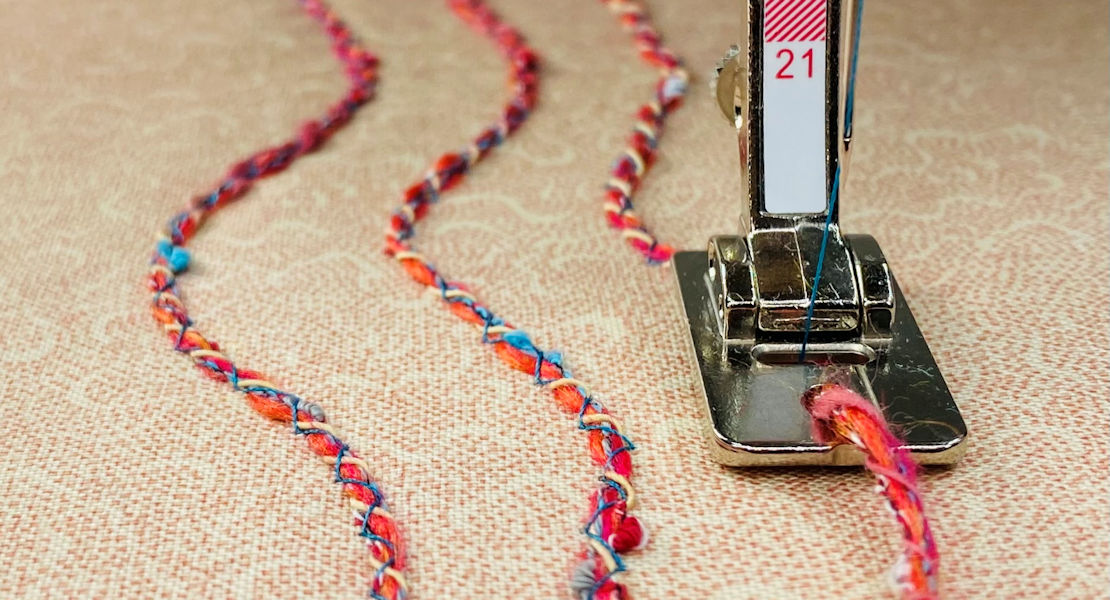
3. Time to Stitch
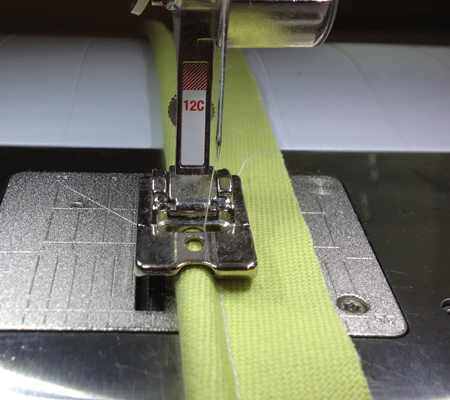
The first thing that needs to be sewn is the casing around the cording. Begin stitching 1 1/2″ from end of the fabric strip. This unsewn edge will be used in the second sewing step to finish the raw edge. Stitch the casing closed. Stop stitching 1 ½” from the end of the fabric strip.
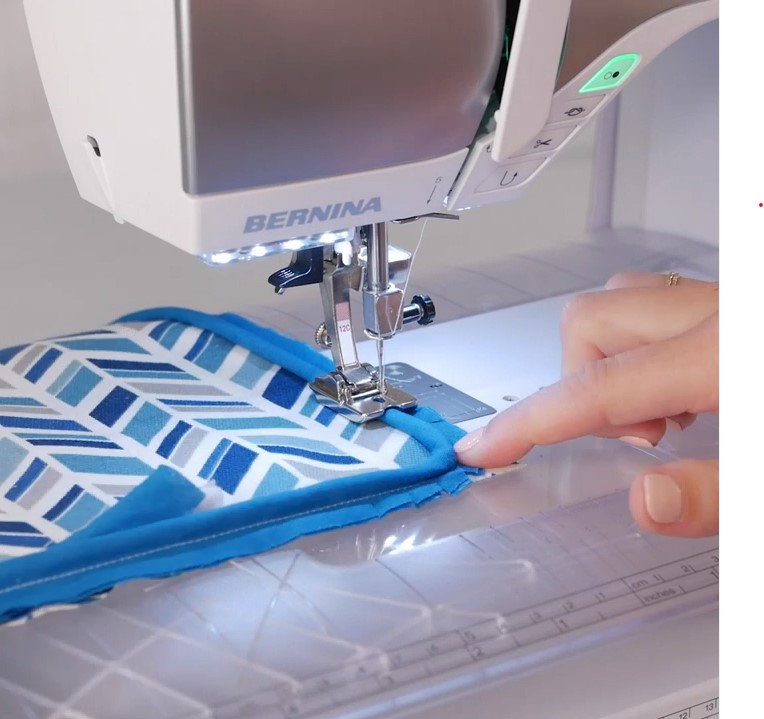
Next, the newly-created piping needs to be sewn to the pillow top. Move the needle one position back to the left (+4), and program the needle to stop down.

Start somewhere that will not be easy to spot. I chose to start at the bottom of the pillow in the middle. With the pillow top right side up and the piping on top of it, match the raw edges together. Again, start stitching 1 ½” from the end of the fabric strip, near where the last stitching was.
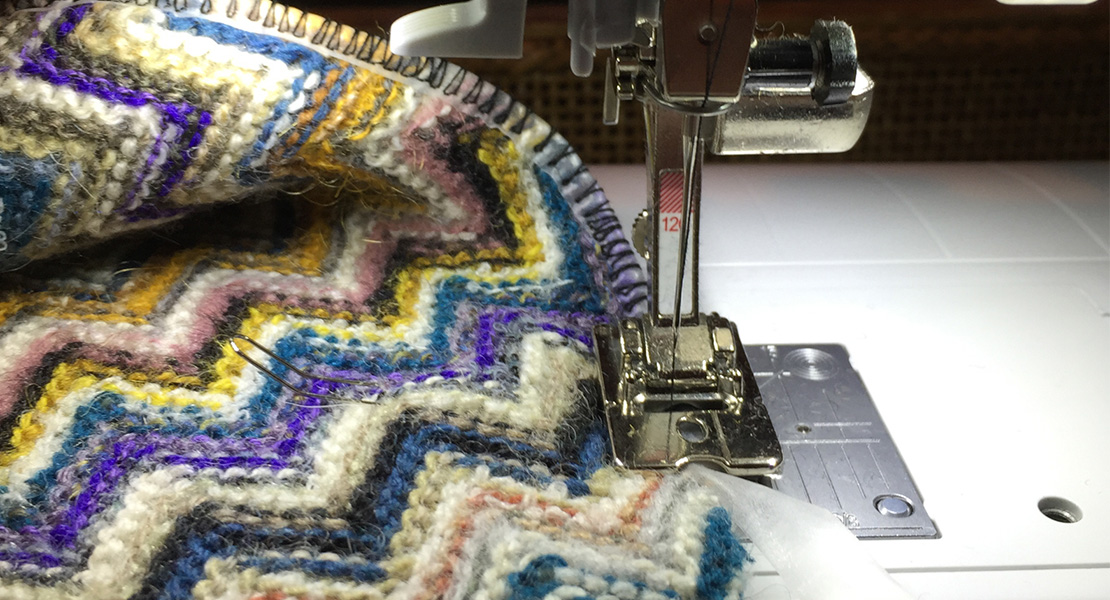
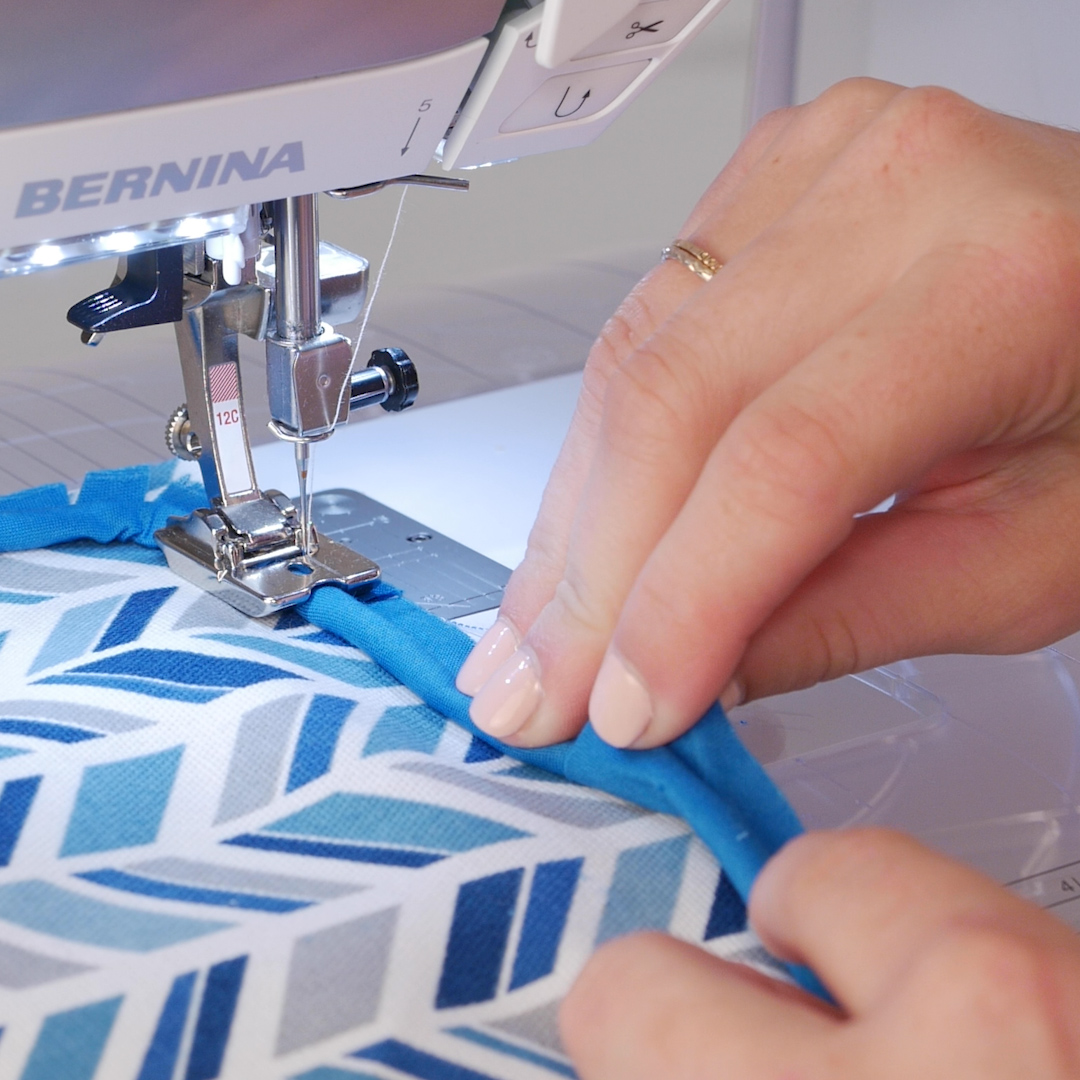
Upon approaching the first corner, stop 2” before the corner of the pillow top. Using small shears, snip into the seam allowance of the casing, careful to not cut the stitching. Make a cut every ½” for the 2” before the corner and 2” after. The more clips there are, the more pliable the piping is. Begin stitching again, slowly. Shape the piping to curve around the corner. Use the BERNINA Free Hand System to pivot around the corner as you go. Once around corner, realign the raw edges and continue stitching. Repeat around all corners.
As you start getting close to the end, stop and determine how much of the piping will need to be trimmed away in order to finish the pillow top. Stop stitching 4” before you get back to where the stitching began, but leave the needle down in the fabric. Trim down the end of the piping by cutting the cording and fabric so that it is even with the cording at the beginning. Do not cut the unsewn fabric from the beginning. Instead, take the short raw edge and fold it under ½”. Match the end of the cording that you just trimmed to the cording at the beginning and wrap the fabric casing around both, hiding all the raw edges. Stitch until you meet the stitching at the beginning.
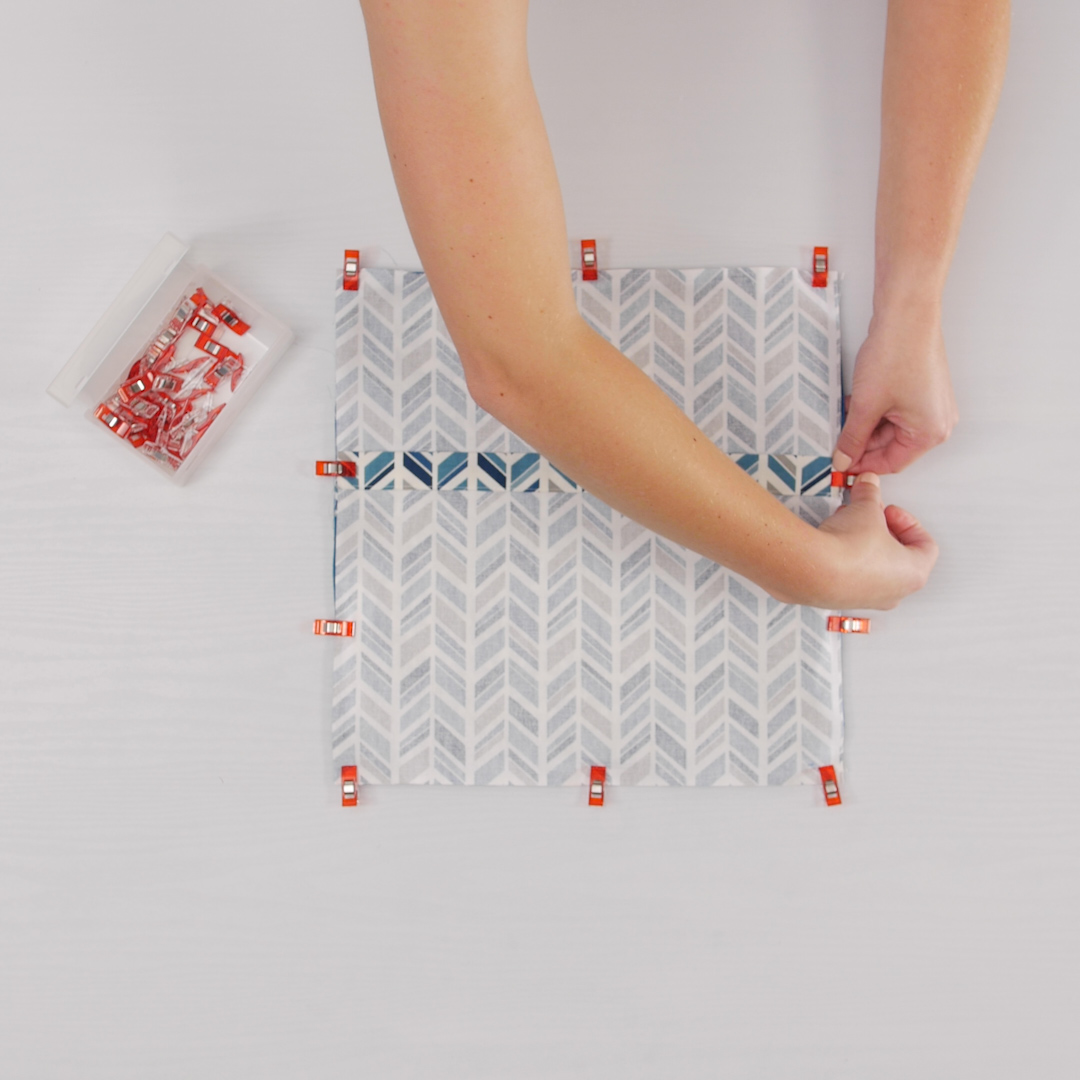
Layer the back pieces onto the pillow top and piping, with right sides together.
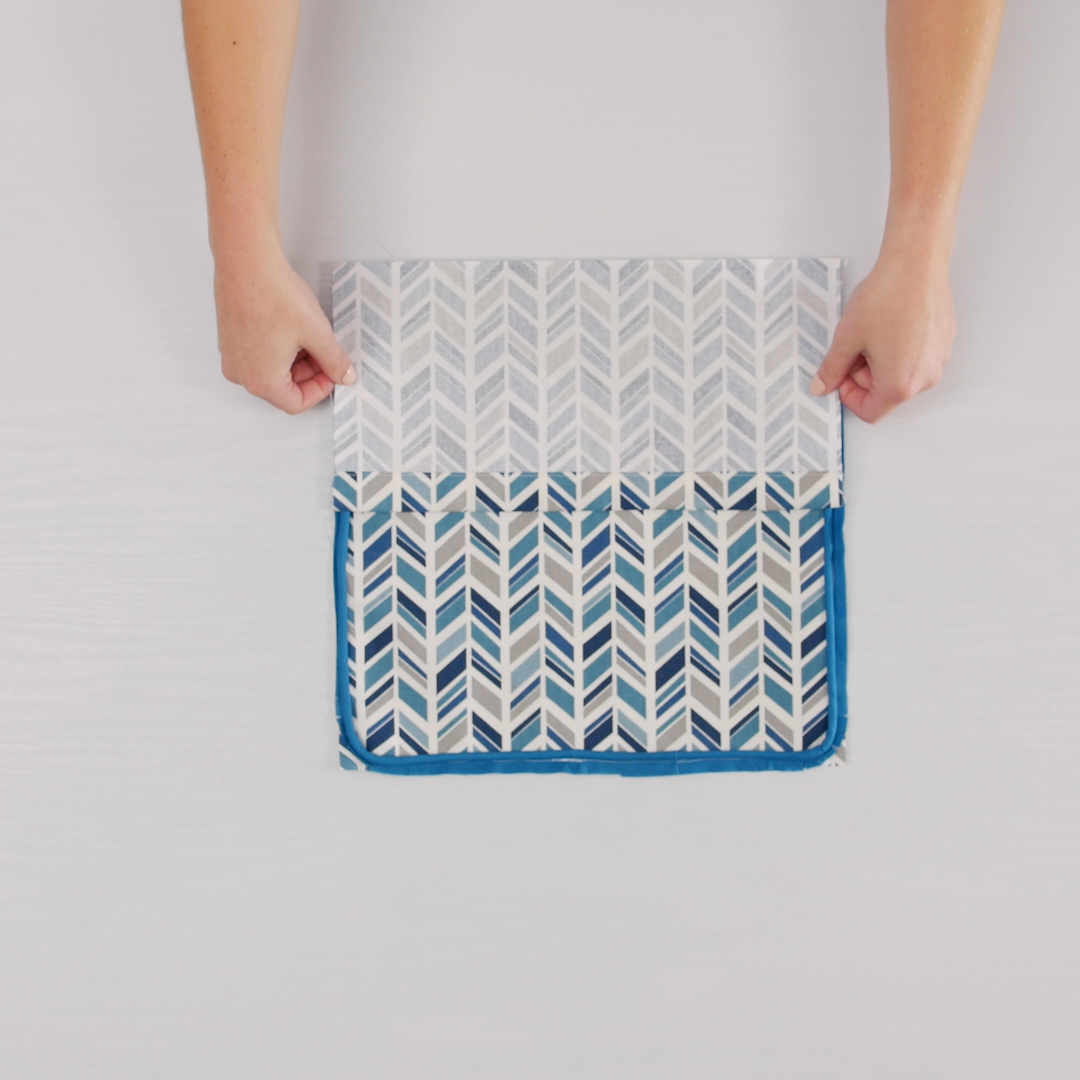
Use Wonder Clips to hold the layers together.
Move the needle position one to the left (+3).
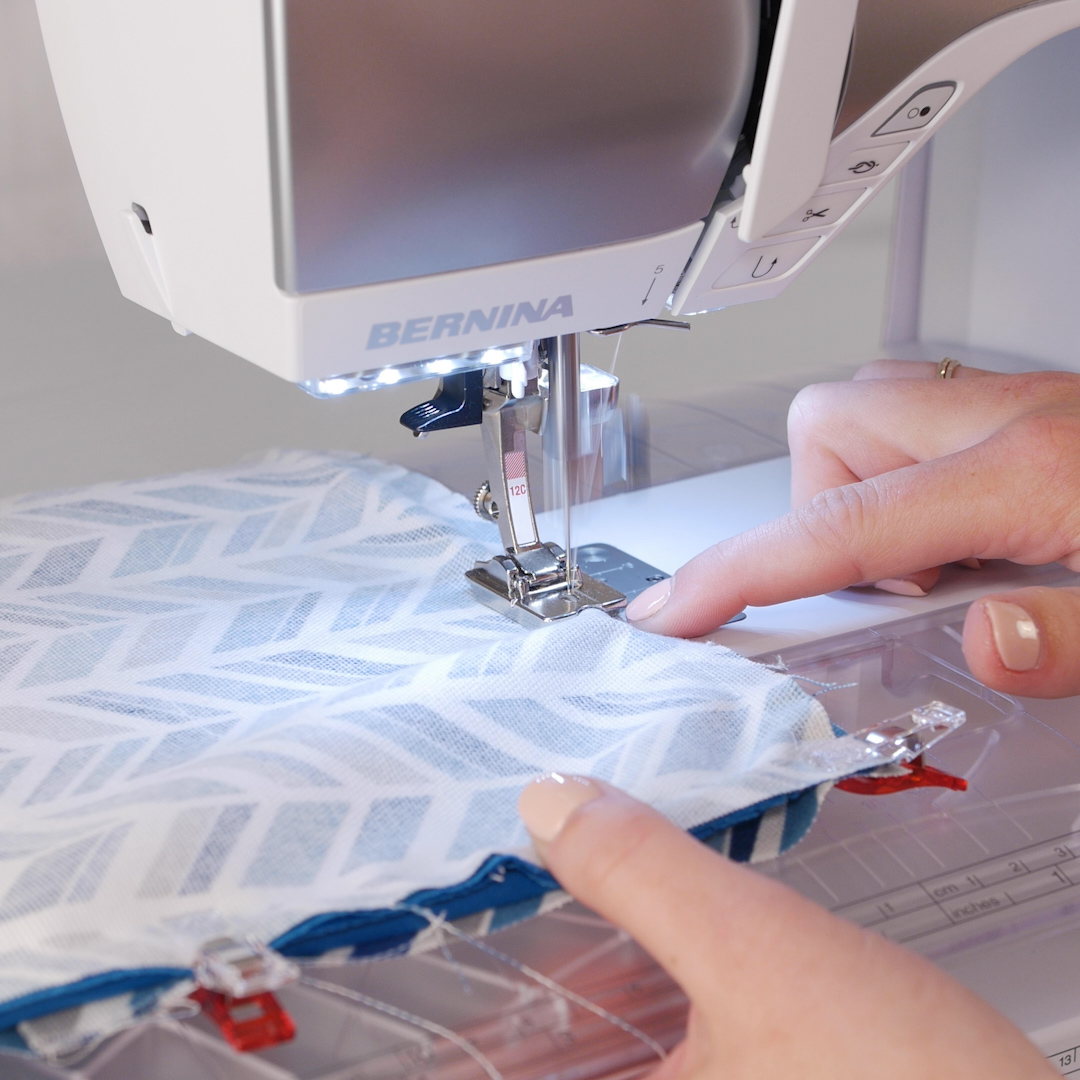
Stitch the pillow with the top facing up so you can see your previous stitching. Stitch all the way around, using the BERNINA Free Hand System to pivot around the corners.
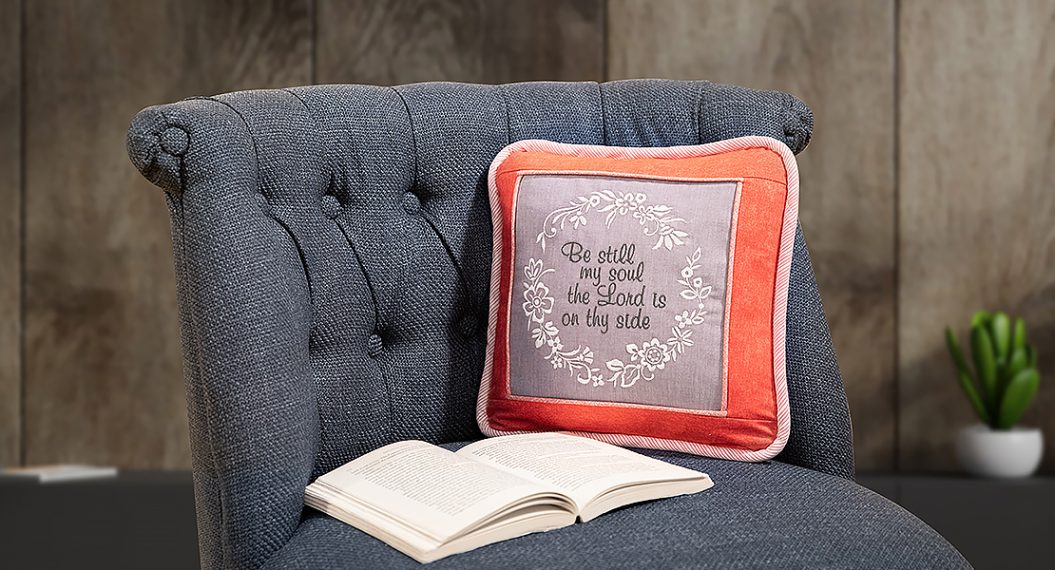
Insert a pillow form and there you have it! A new pillow for your house or apartment!
4. Tips and Tricks
- After sewing the pillow top and backs together, it may be beneficial to trim down the corners before flipping the project right side out. This will help the corner look smoother on the outside and will help you push it out completely.
- If you want a square corner, mark the stopping point where the pillow top will need to be pivoted, stitch to that point, make ONE solid clip into the casing’s seam allowance, lift the presser foot and rotate 90. Fewer clips means less stretching, making it easier to make one solid turn.
- If you choose to size down on the presser foot or cording, the stitching steps may need to be altered. After stitching the casing around the cording closed, leave the needle position where it is at. Then stitch the piping onto the pillow top. Stitch over your previous line of stitching. After this is complete, then move the needle one position to the right, pin on the back of the pillow, and stitch around the pillow entirely.
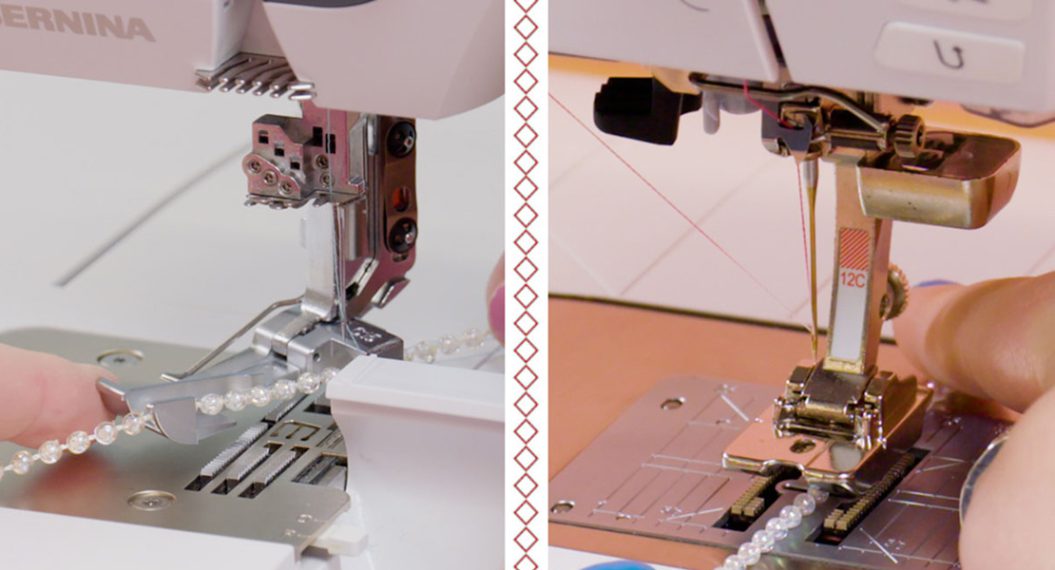
- This foot is capable of handling techniques other than just piping, such as sewing several layers of thick knits together and applying sequins to a project.
Other presser feet that can be used for piping techniques are Clear Applique Foot #23 to see exactly where you are stitching, Piping Foot #38 for mini piping, and Leather Roller Foot #55 for jumbo piping. - For more information on piping, download the Just SEW It: Piping Fundamentals eBook from bernina.com. It is a great resource and talks about other BERNINA presser feet that help with piping techniques!