How to Add 1/8″ Wide Sliver Piecing to Your Quilt
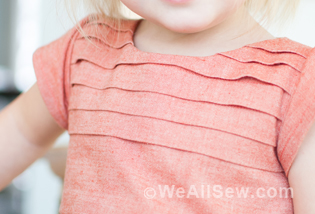
Oh, Wow! – Has this ever been your response to seeing a miniature quilt? Small-scale piecing can have a massive impact on large and small quilts. Today we will go step by step on how to add 1/8″ wide sliver piecing to your quilt.

Materials
- Background fabric at least 6″ square (Length can vary, but for your first insert, keep the width 8″ or less)
- Insert fabric at least 7″x1″ (make sure the length is at least 1″-2″ longer than the background fabric width. 1″ is the minimum width for the insert fabric, but wider is often easier to work with.)
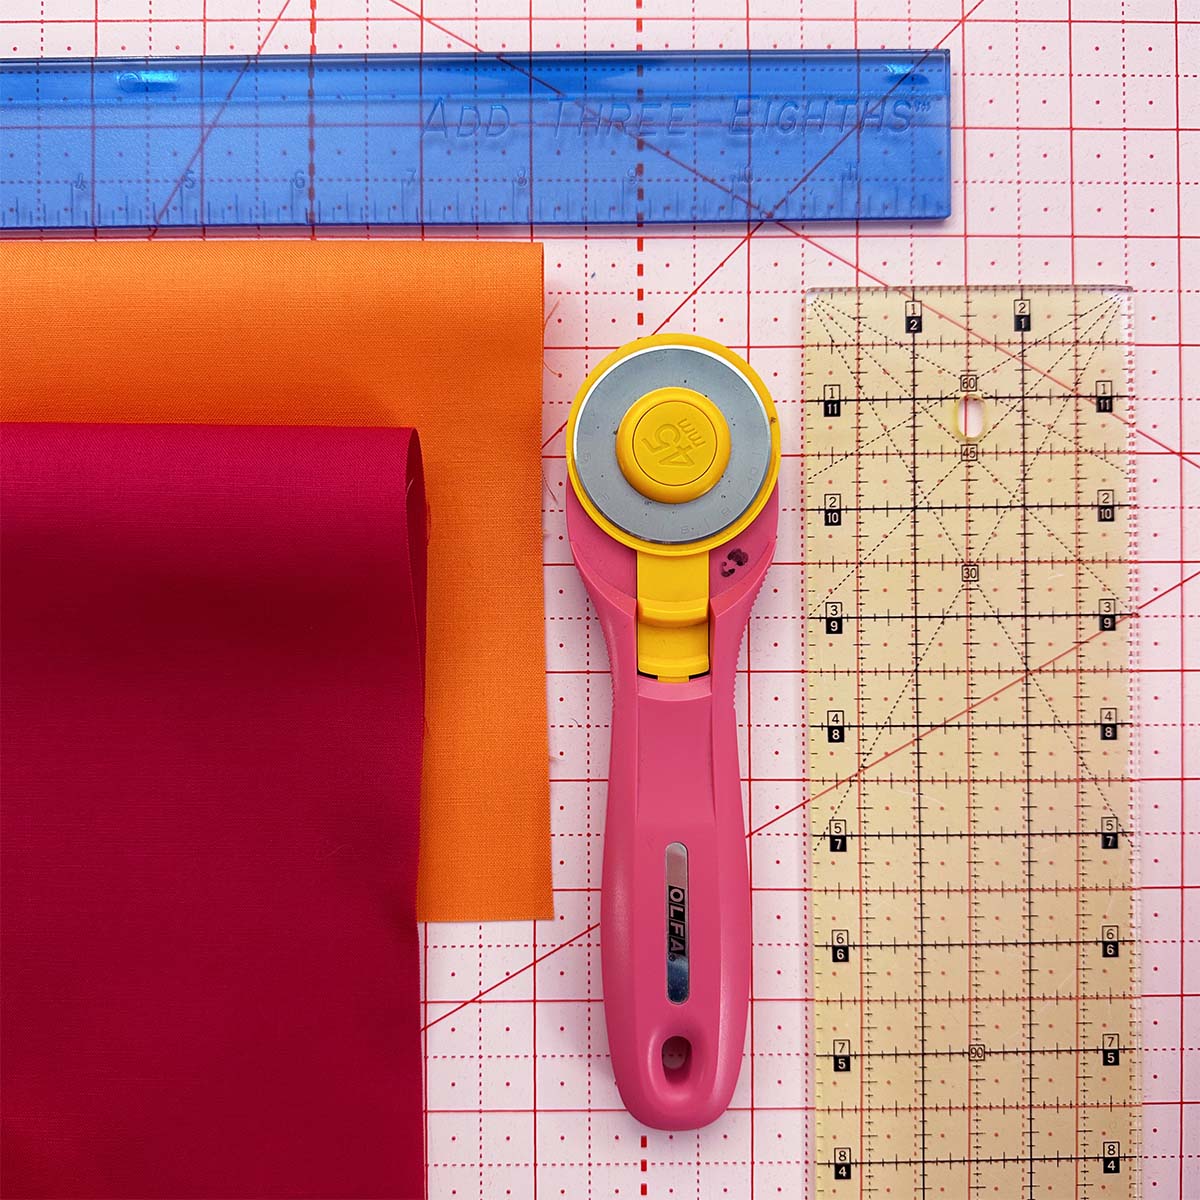
- Rotary Cutter and Mat
- Rotary cutting ruler with clearly marked ⅛” increments
- Optional: Add-Three-Eighths Ruler
Setting up the Machine
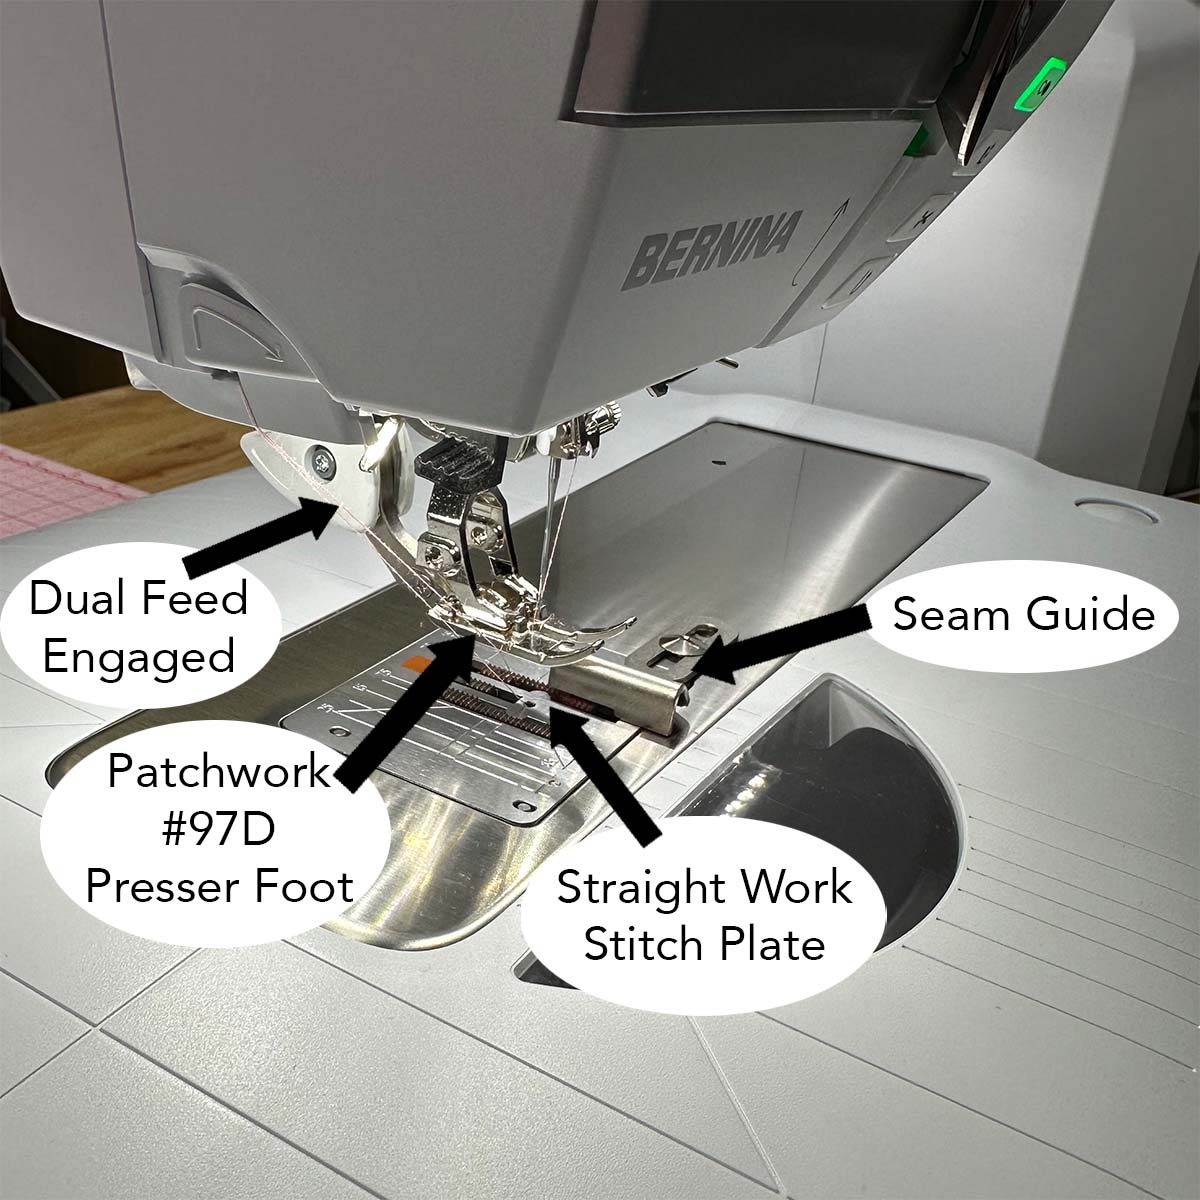
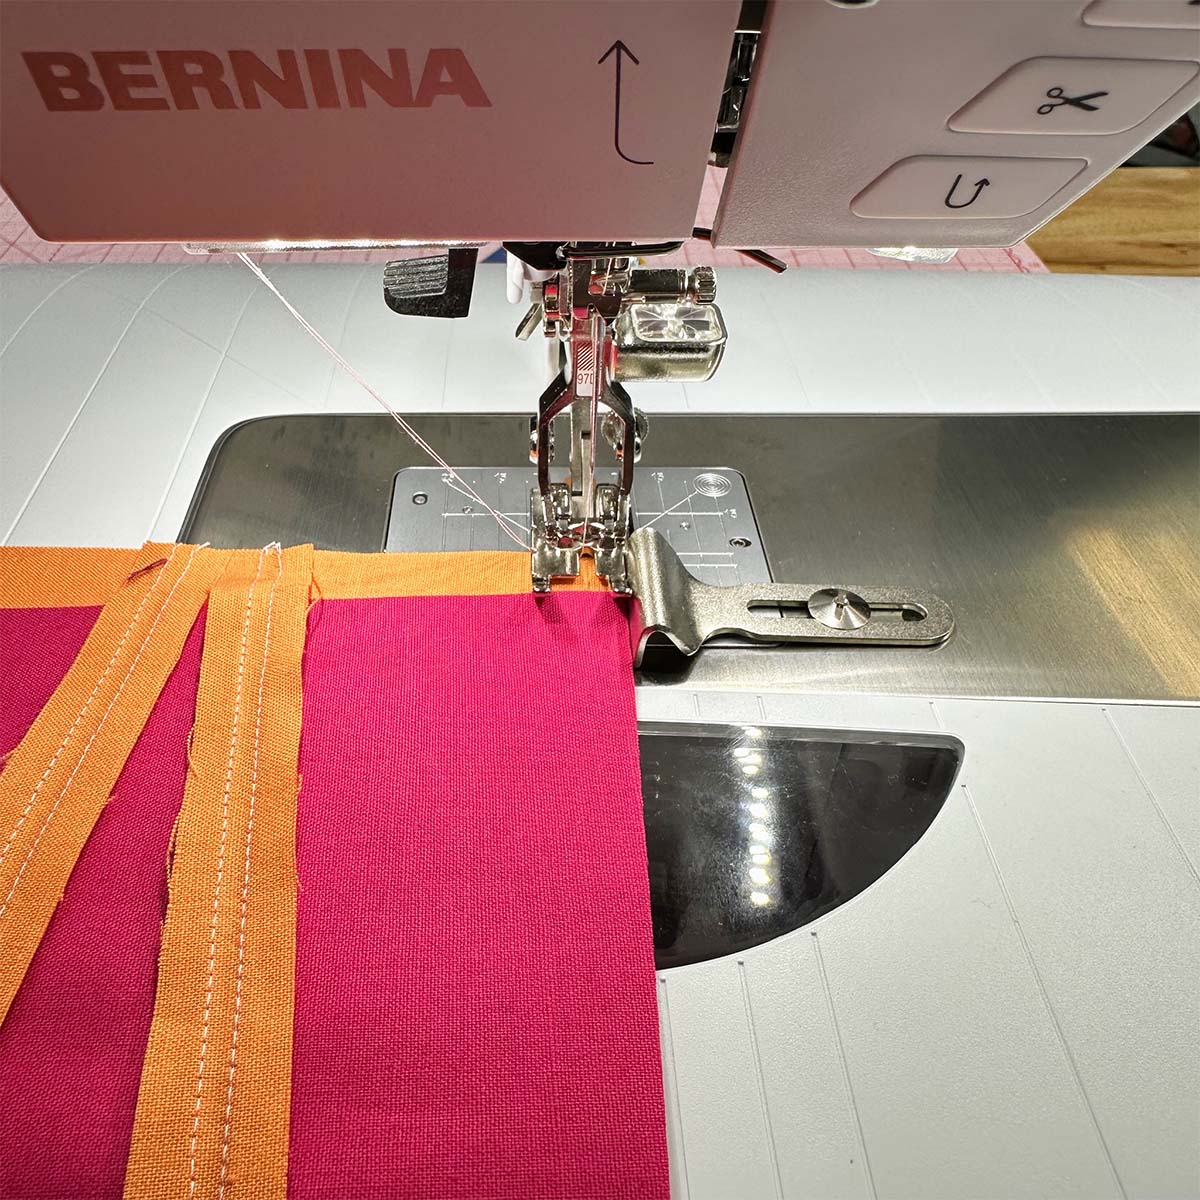
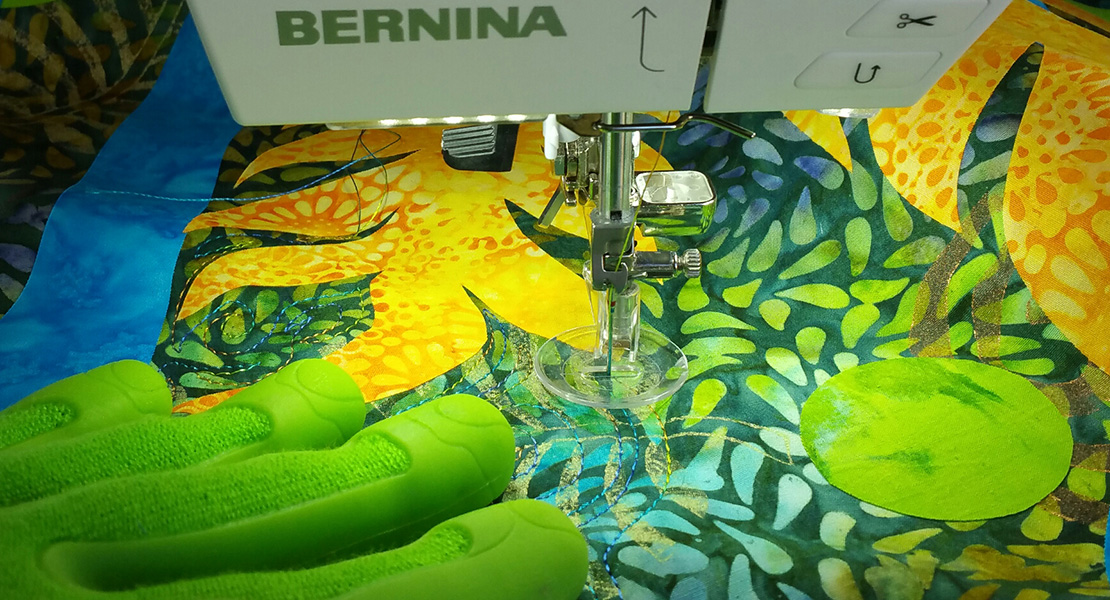
Attach your favorite ¼” patchwork foot. I use the Patchwork Foot #97D with the guide attached to the machine. Note: The #97D foot is for 9mm machines, including the BERNINA 770 QE PLUS I use. If your machine is not 9mm, you want to use the #37/37D or #57/57D.
Engage the dual feed if available on your machine.
Use the Straight Work Stitch Plate, if available.
Set the machine stitch to your favorite piecing straight stitch. I am using stitch 1.
How to Sew an 1/8″ Wide “Sliver” Insert
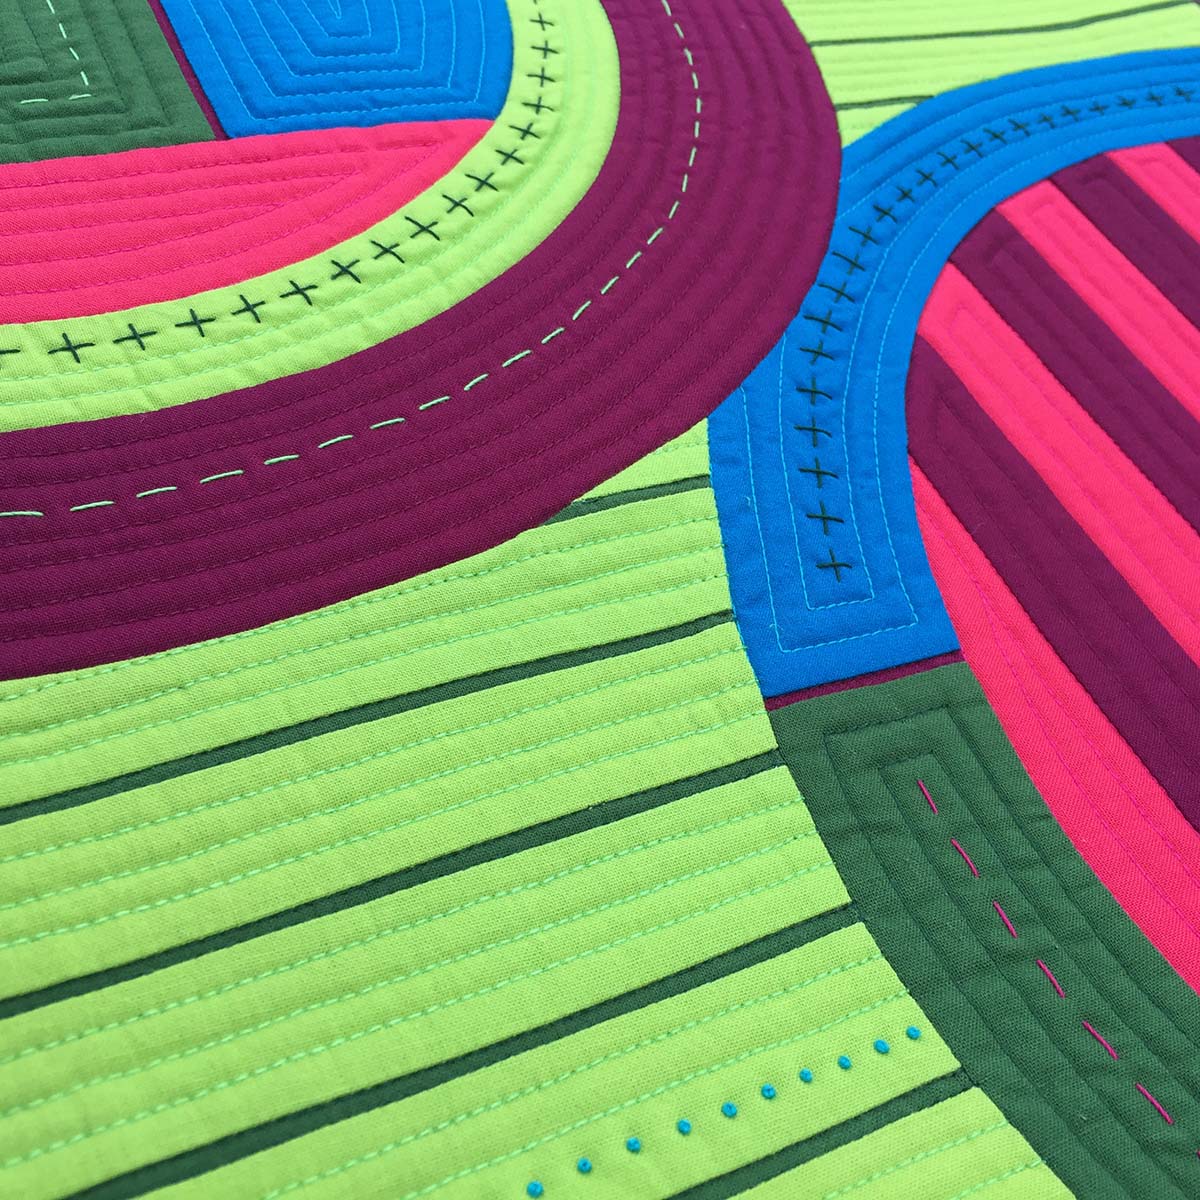
Are you ready to see how to add 1/8″ wide sliver piecing to your quilt? You can add ⅛” wide slivers by carefully measuring strips to create a regular pattern or inserting them at random angles. I have used both methods depending on the overall style of the quilt. Today I am inserting the slivers using various angles.
Cutting for Sliver Inserts
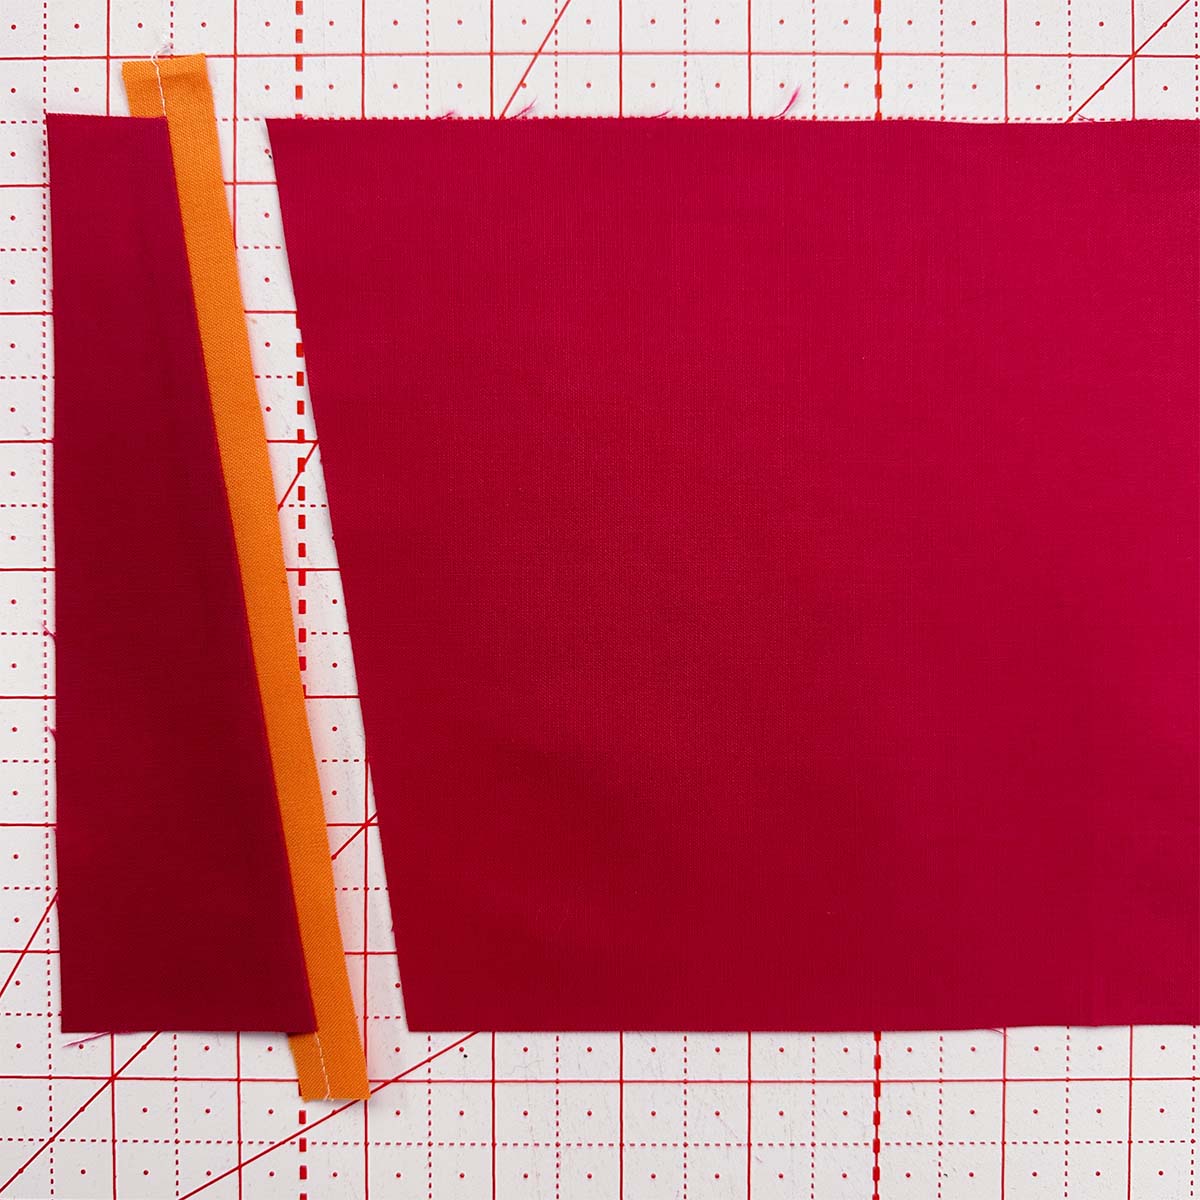
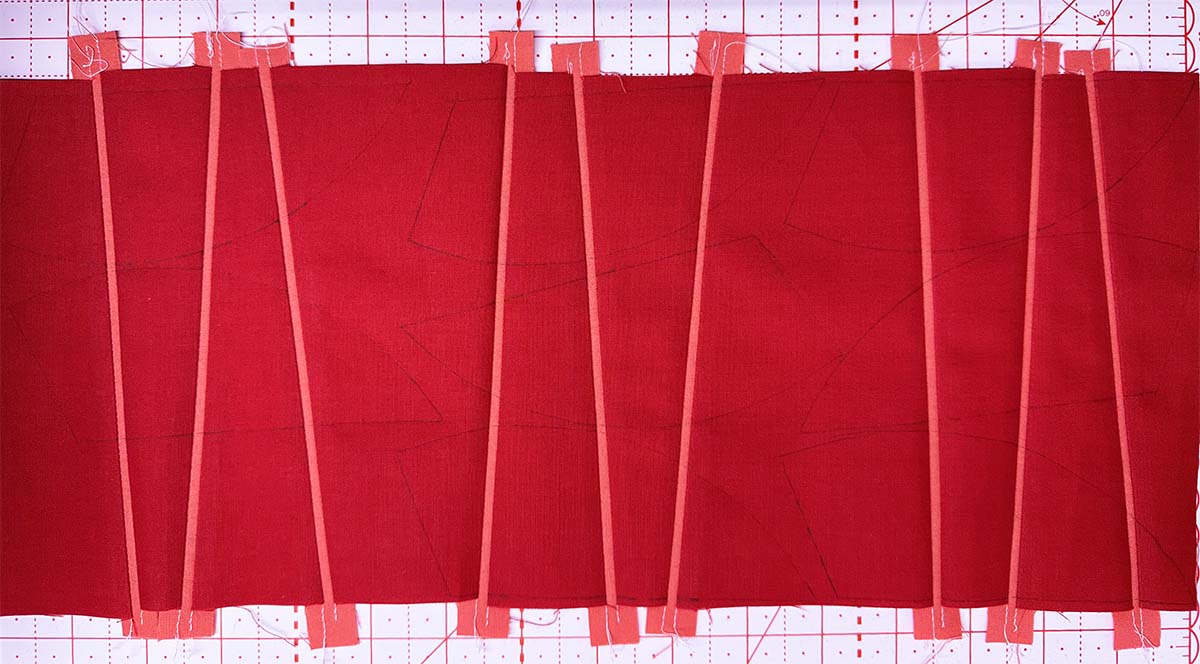
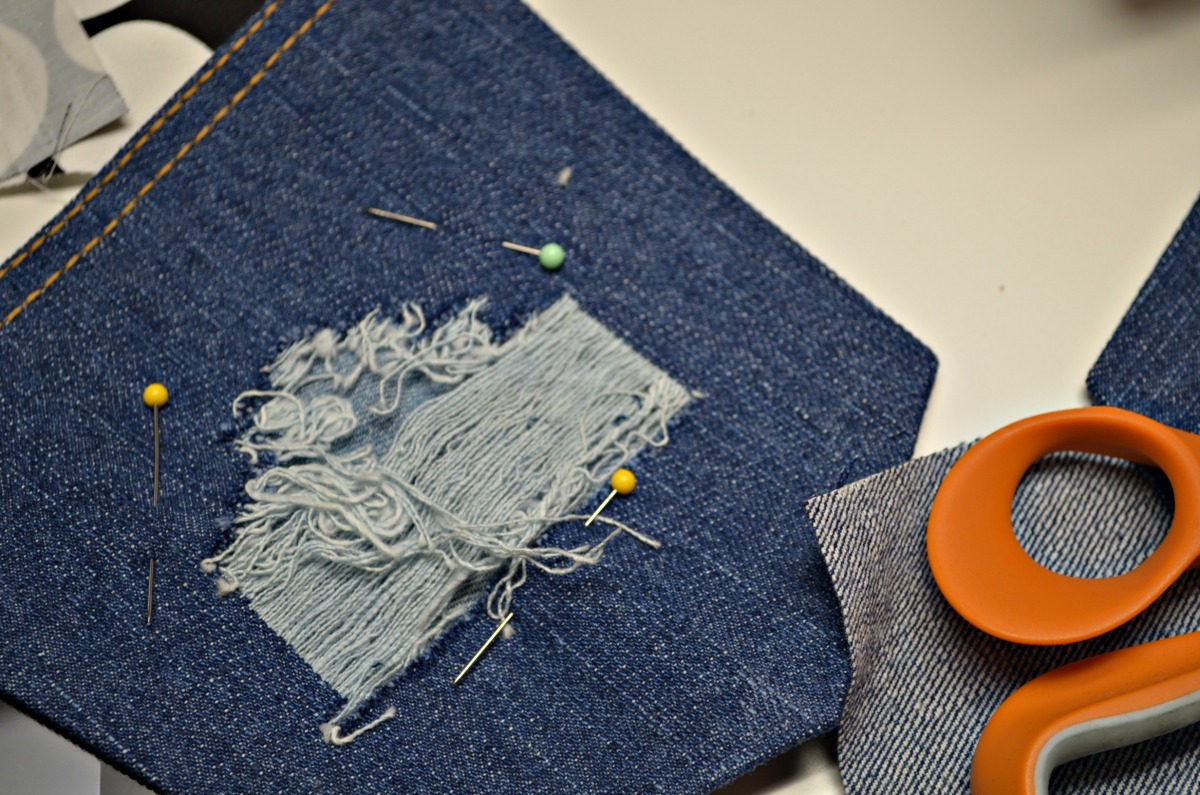
Place your background fabric on the cutting mat. Position the rotary cutting ruler at an angle you like and cut the line where you want the insert. When selecting the position, ensure you have at least 1″ of background fabric on either side of the cut line.
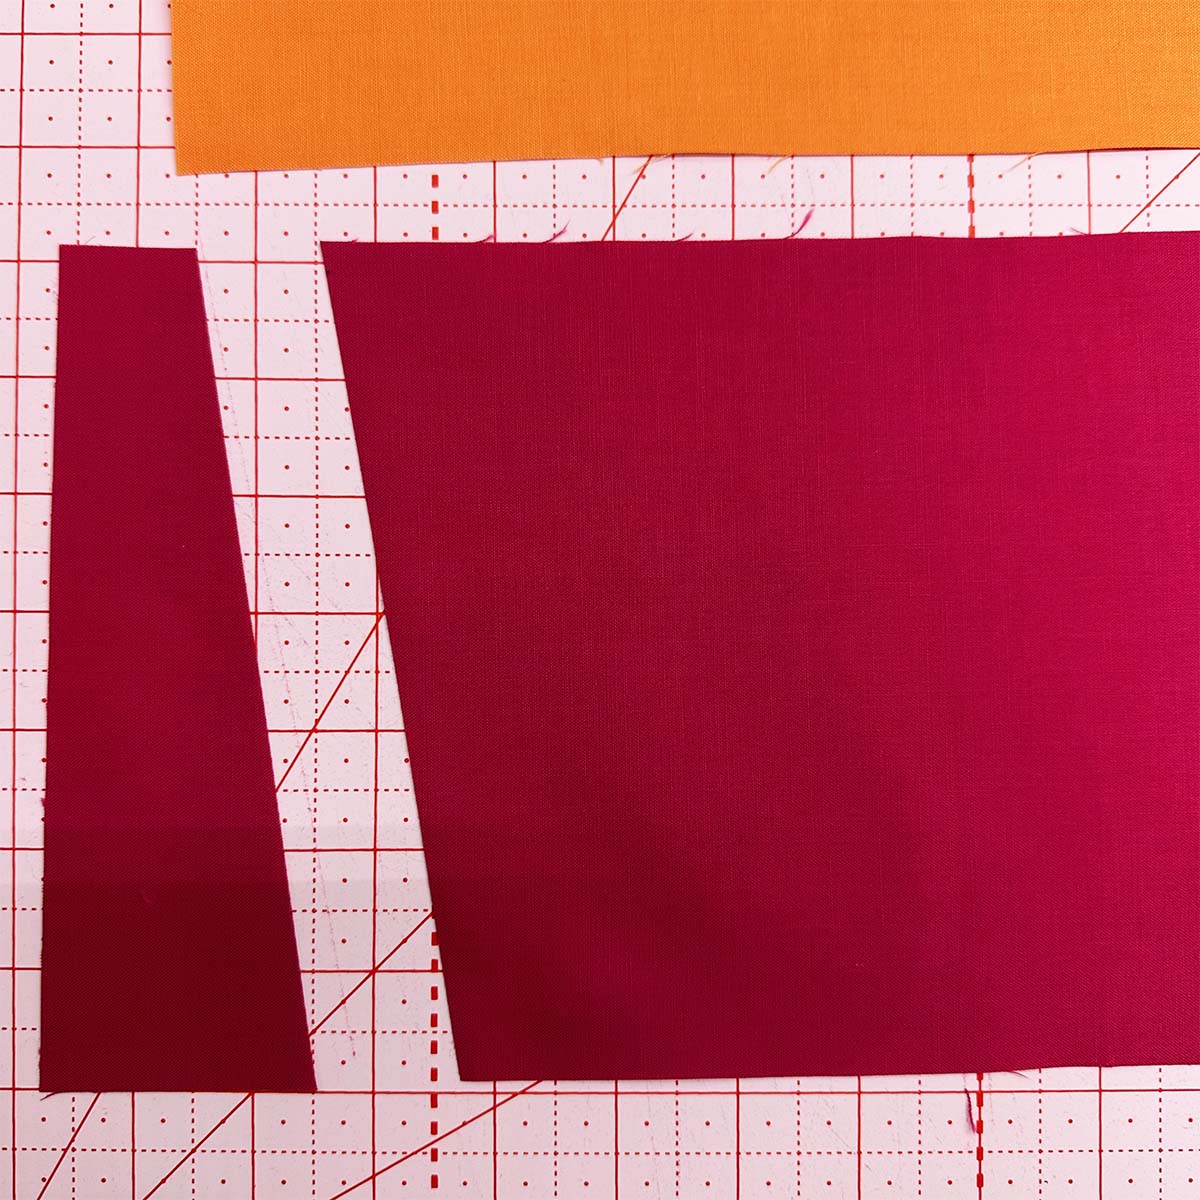
Take a moment to measure the length of your cut line. Notice how the angle makes it longer than the overall width of the fabric strip. This is why you will always want the insert fabric to be 1″-2″ wider than the background fabric.
Piecing the First Sliver Insert Seam
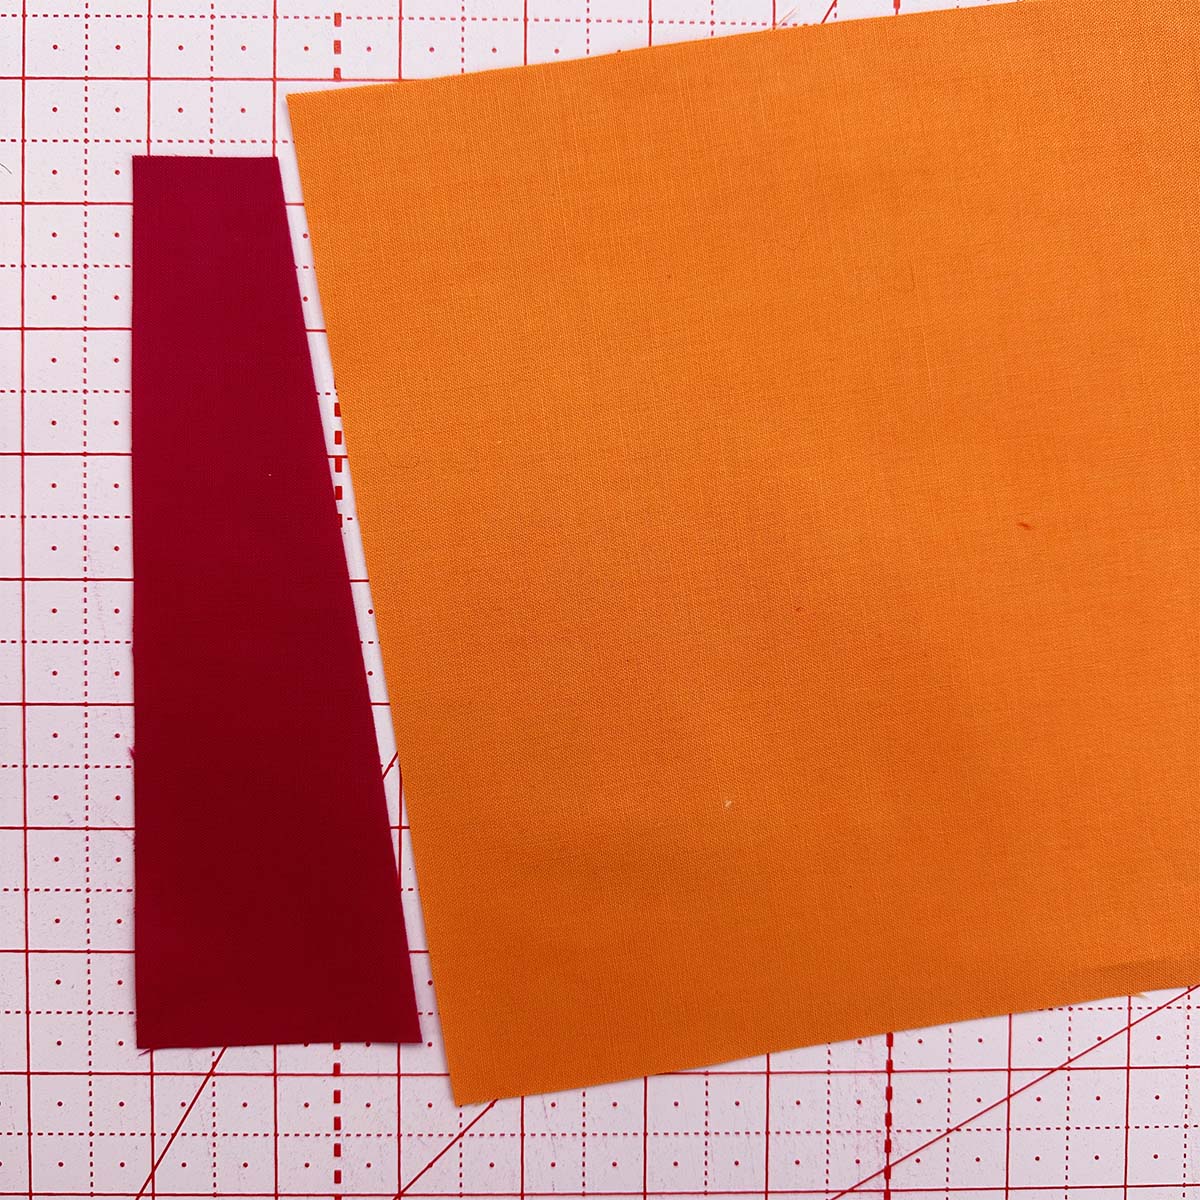
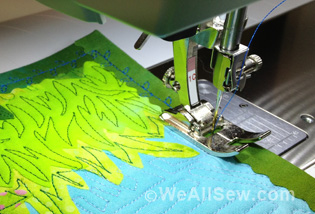
With the right sides of the fabric together, use a ¼” seam allowance to stitch the sliver and background fabric together.
Press the seam allowance toward the background fabric.
Tip: Use a wool pressing mat to achieve flat, accurate pressing
Trimming the Sliver Insert
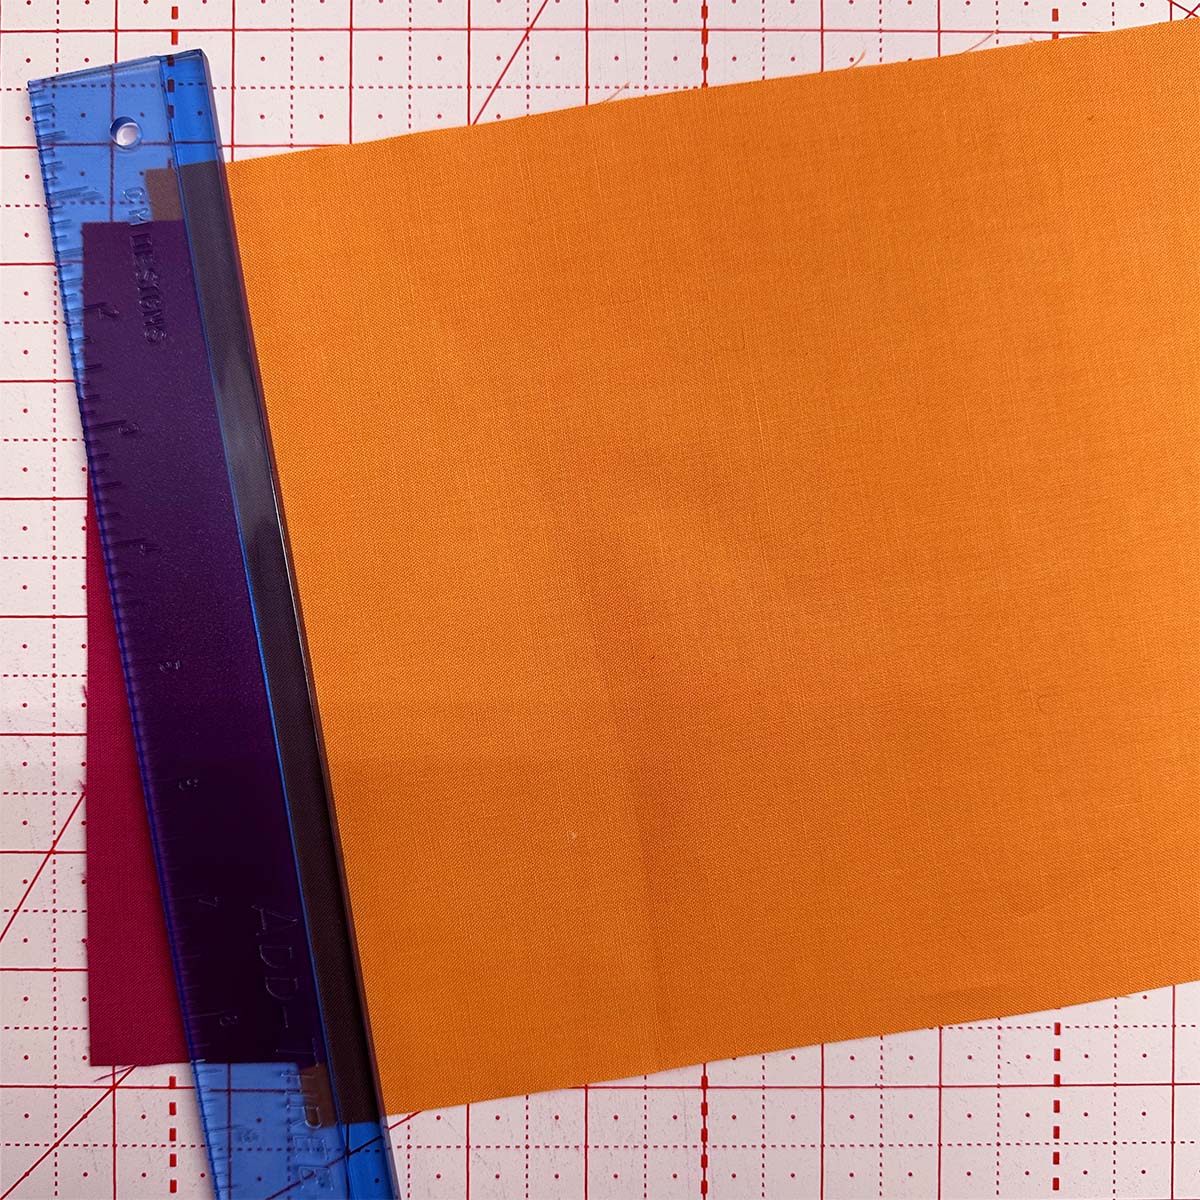
From the front side of the piecing, trim the sliver fabric to ⅜” away from the sewn seam line. Using a standard rotary cutting ruler, line up the 3/8″ line directly on the sewn line you just created. Trim the excess sliver fabric and set it aside for use on your next sliver insert. Take your time aligning your ruler to the seam line. This step is key to making a consistently narrow sliver insert.

If you have an Add-Three-Eighths Ruler available, it can speed up the trimming process. The ruler has a 3/8″ wide ledge on one side that catches against the pressed seam allowance and allows easy and accurate trimming.
Piecing the Second Sliver Insert Seam
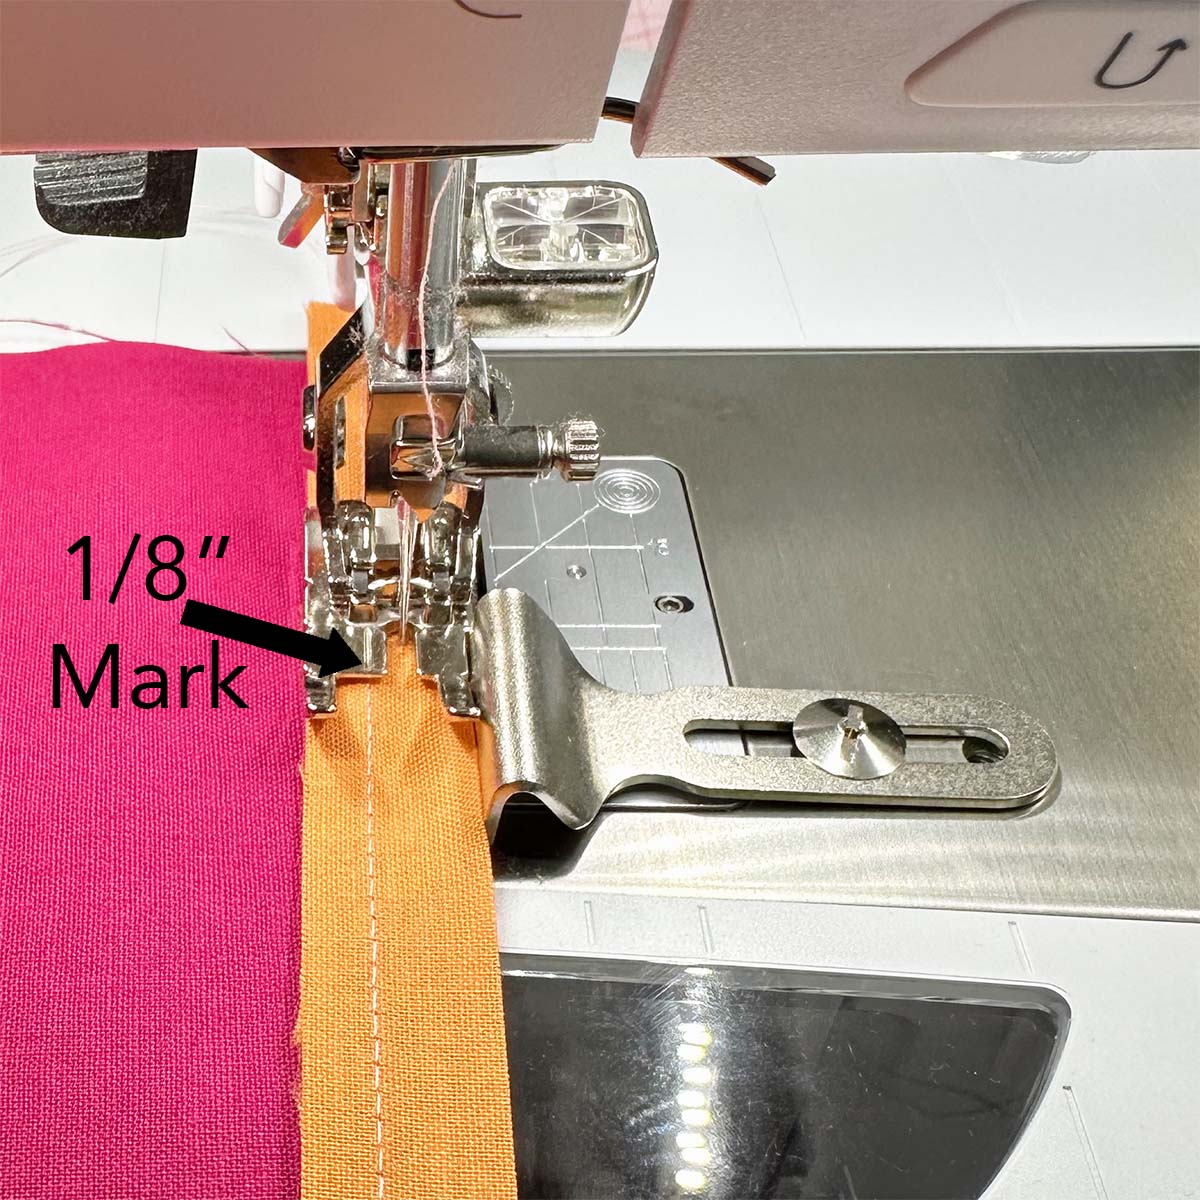
With the right sides of the fabric together, line up the next piece of background fabric with the raw edge of the sliver fabric.
Use a ¼” seam allowance to stitch the seam with the sliver fabric on top. For added accuracy, notice that the previously stitched seam line falls on the ⅛” mark on the presser foot. If there is a minor discrepancy between where the ⅛” mark lands on the seam line and where the presser foot’s edge aligns with the fabric’s edge, choose to keep the seam line matched to the ⅛” mark on the presser foot.
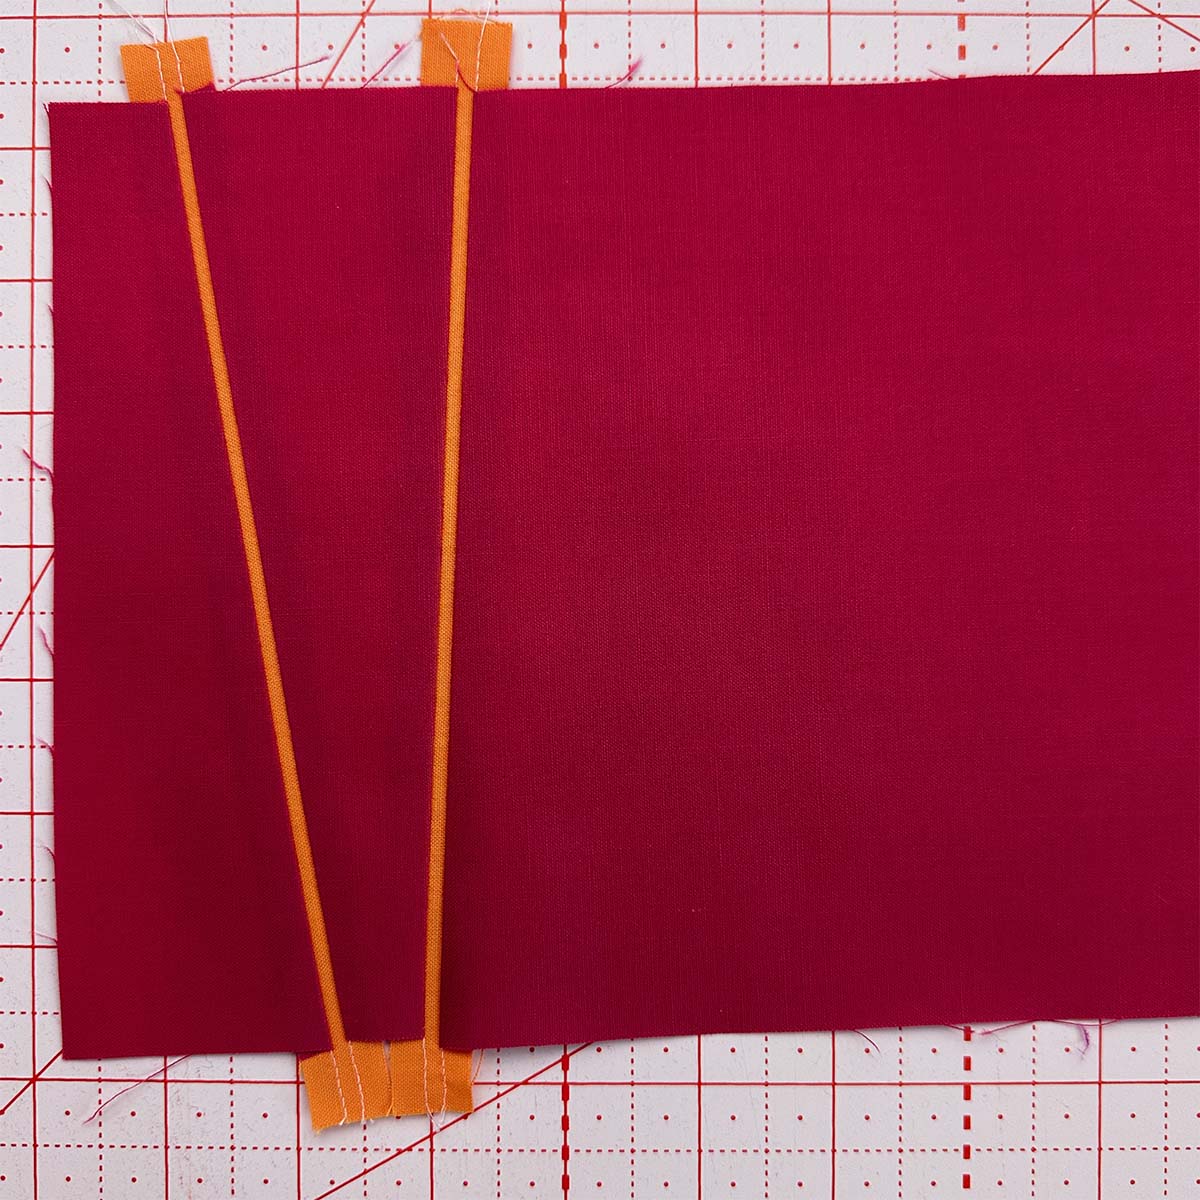
Press the seam allowance toward the background fabric. The ⅛” wide finished sliver will appear to recede slightly due to pressing the seam allowances toward the background fabrics.
Add additional slivers as desired. As you add more inserts to your piece, plan to have a minimum of ½” between the new cut line in the background fabric and the previously added sliver.
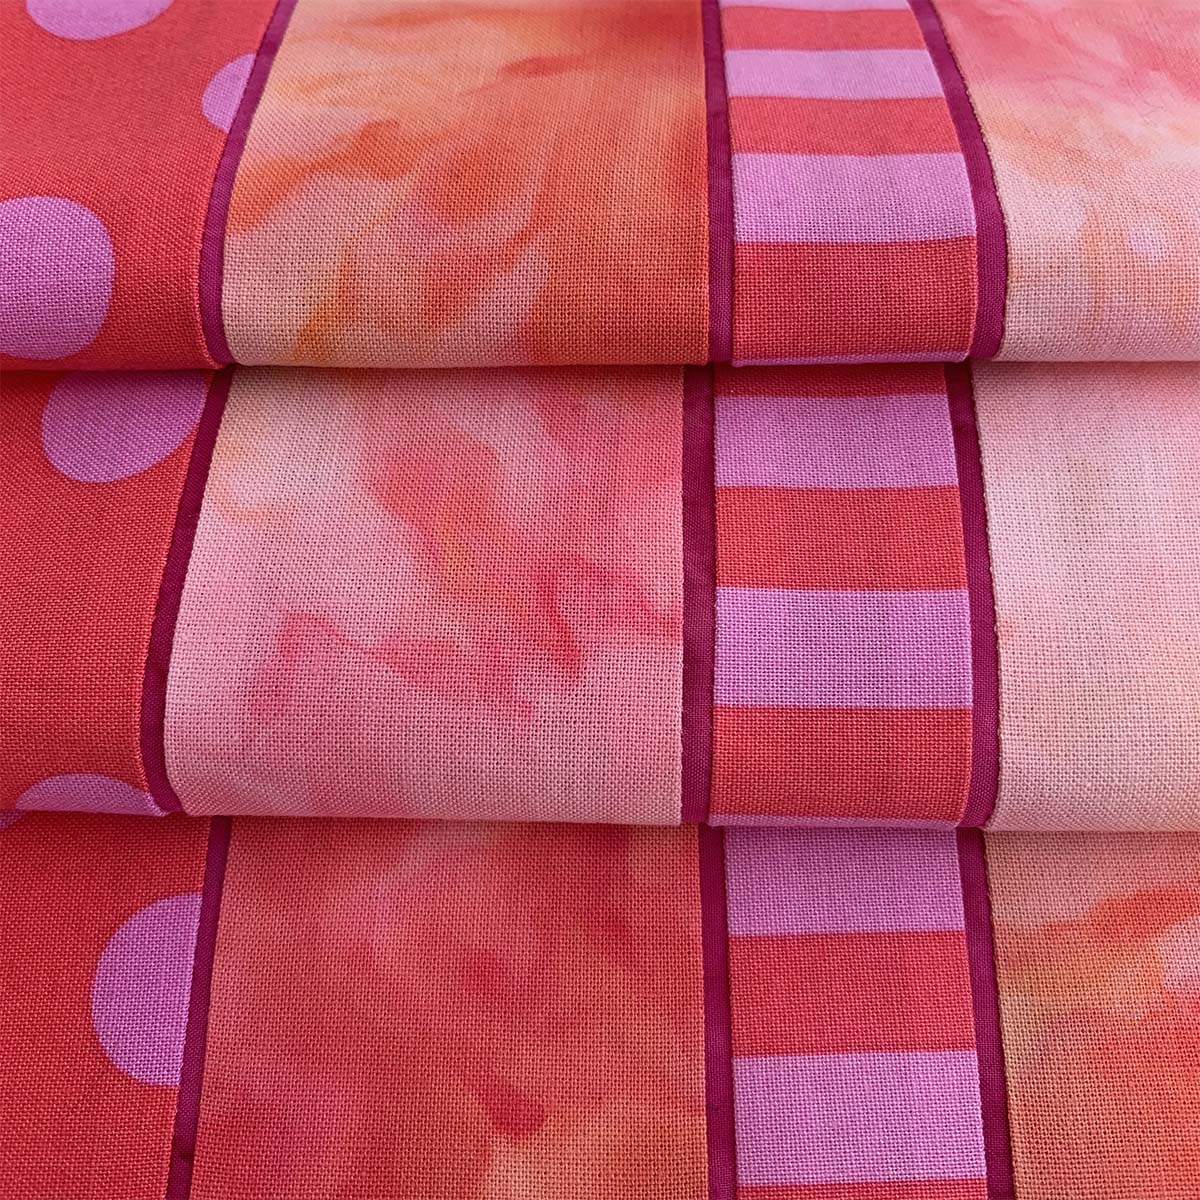
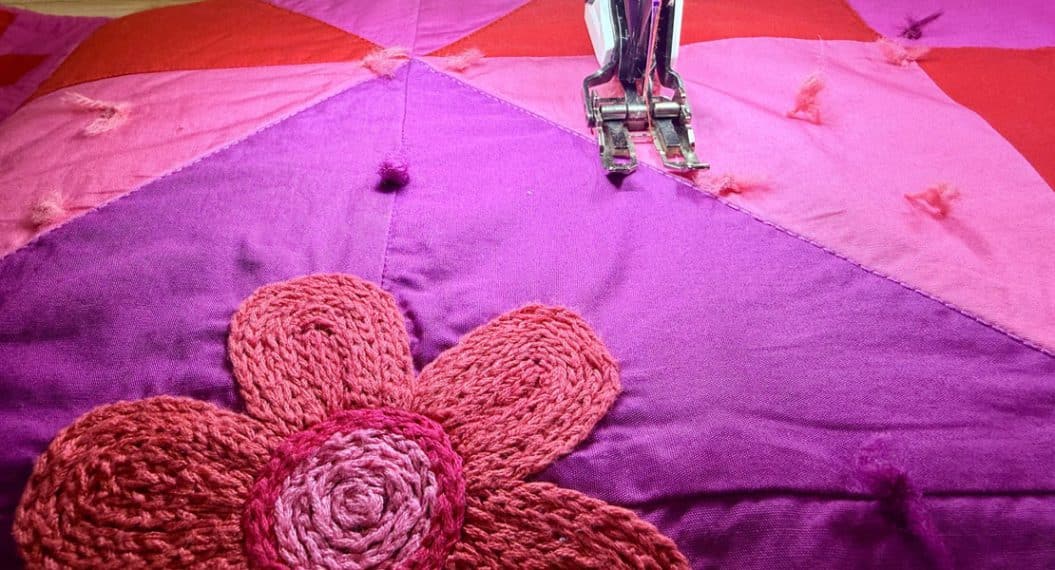
Incorporating Sliver Inserts Into a Project
Make your fabric first.
The easiest way to incorporate slivers into a project is to construct a larger pieced area of fabric and then cut out the pieces you will use for your final project.
Consider how slivers will work within each component.
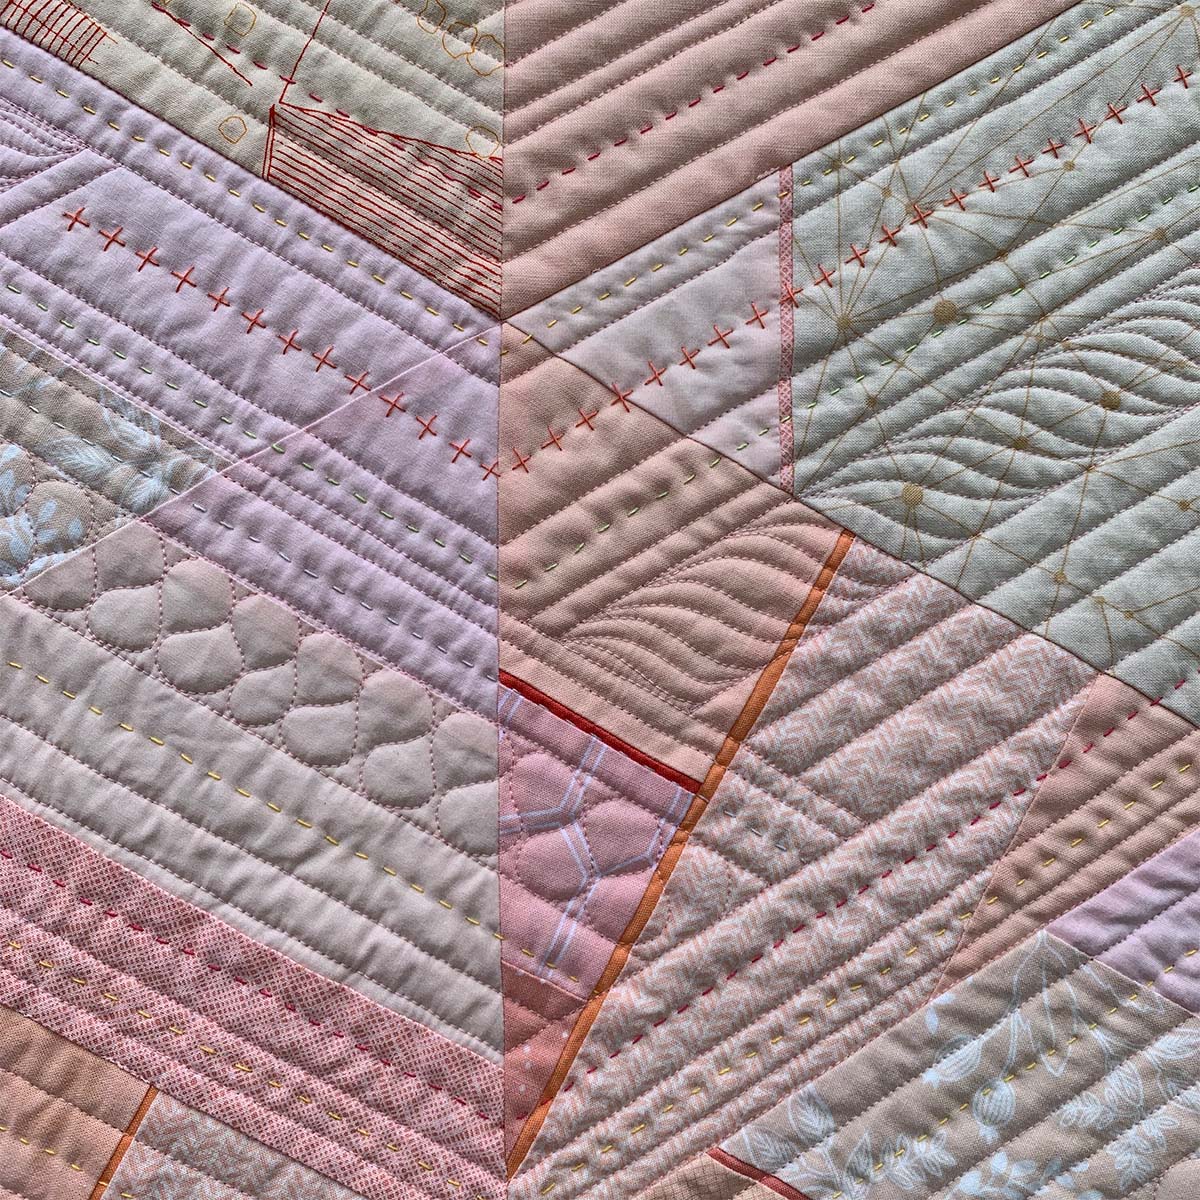
If you use a relatively small template for a project, you can plan sliver placement with the template placement in mind. Notice how the sliver placement for this piece leaves open areas near the points of each template and focuses the slivers on the main body of the components.
Turn a seam into a design feature.
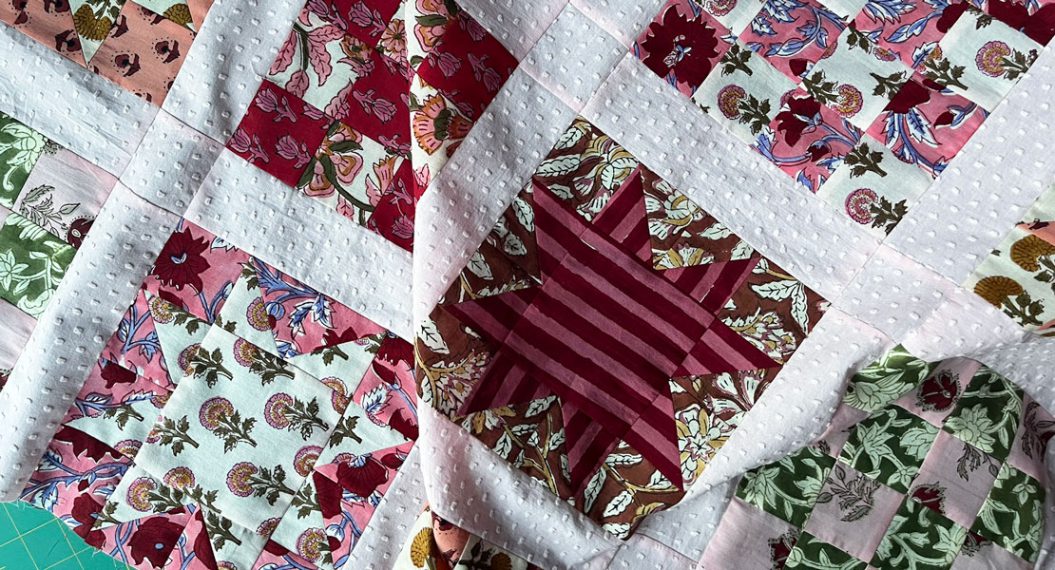
Slivers can make a necessary seam a design feature. In Complementary Composition, I needed longer pieces of turquoise fabric than I had available. By incorporating slivers, the seams I needed to make the quilt became design features.  What would you like to make using silver inserts?
Used Products


What you might also like


6 comments on “How to Add 1/8″ Wide Sliver Piecing to Your Quilt”
-
-
Thank you for a very clear and well planned explanation of an advanced technique ! I am ready to try it. I would love to see pictures of the two quilts you referenced at the beginning of this tutorial.
-
I enjoyed studying your successful application of the technique in “COMPLEMENTARY COMPOSITION”. Colorful and clever.
-
Great info! I will definitely be trying this out!
-
Is there a demo video of this technique?
-
Super tutorial! I’ve not seen 3/8″ ruler so want to get that.
Leave a Reply
You must be logged in to post a comment.

This is an amazing technique and I can’t wait to try it out and incorporate into my sewing!!!