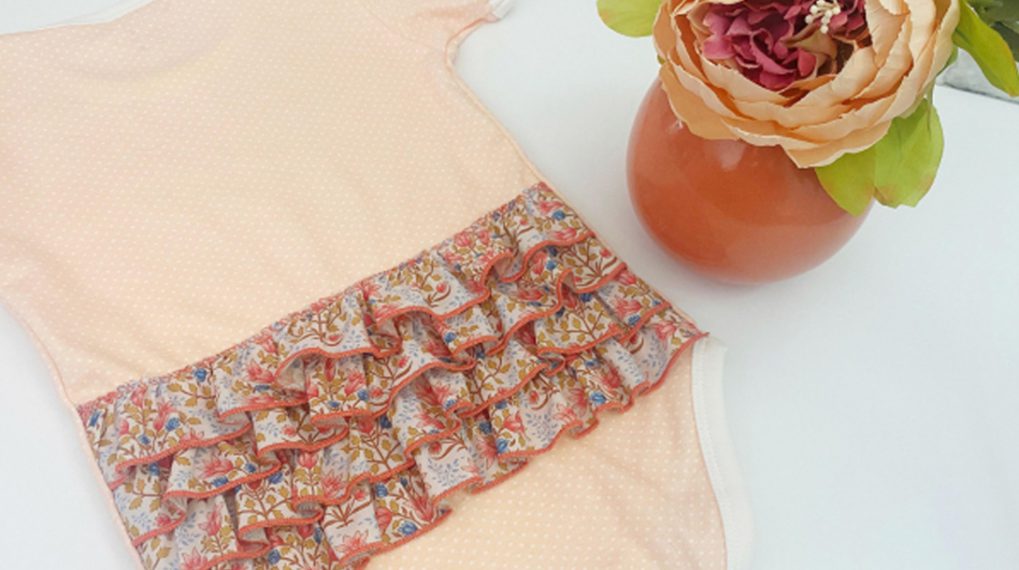
Boring to Beautiful Blanks with Your Serger, Part Four: Pillow
Blanks aren’t just for embroidering on anymore. They are a great way to practice serger stitches and finish a useful project. In this four-part series I’ll be showing how you can take an Apron, Onesie, Towel, and Pillow and go from boring to beautiful. You will get a chance to see various serger techniques, unique threads, and some additional presser feet you might want to add to your presser foot collection. During this series, I will be using the BERNINA L 890 serger for all four projects. Let’s get stitching.
![]()
Techniques and Stitches
In this pillow project you will learn these stitches and techniques:
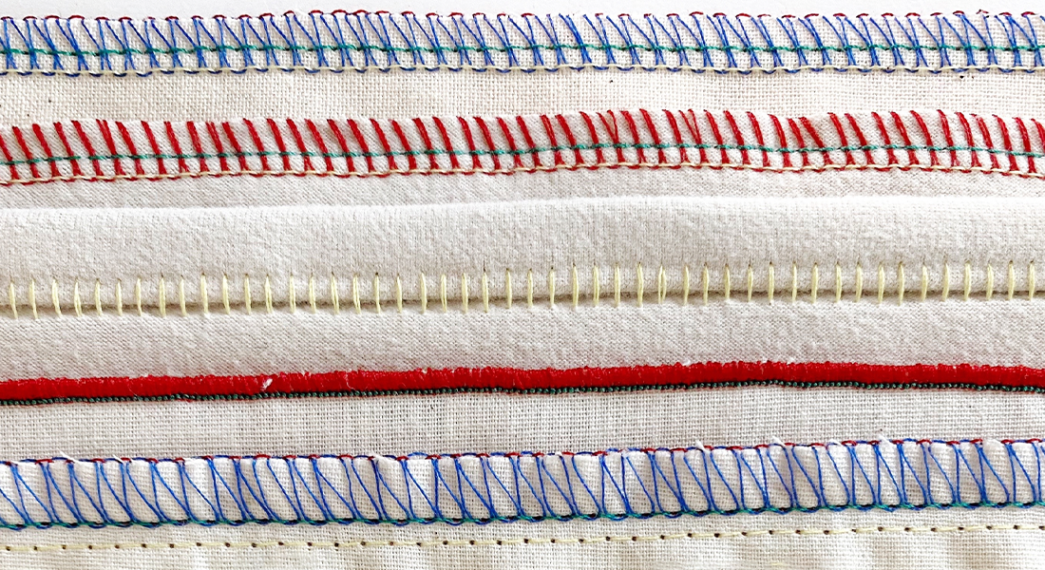
- 3-Thread Rolled Hem for the gather edges
- 2-Thread Chainstitch gathers down the center
- 2-Thread Chainstitch Construction to apply the gathers
- 3-Thread Narrow Coverstitch (LC-CC) for decoration down the center of the pillow
- 3-Thread Overlock Wide for pillow construction
![]()
Materials (width by height)
- Easy Sew Pillow Blank by OESD
- 14″ Pillow Form
- Fabric
- Wide fabric 5-1/2″ x 28″
- Narrow fabric 3-1/2″ x 28″
- Wonder Clips
- Marking Pen or Pencil
- Iron/Pressing surface
- Cutlery:
- Fabric Shears
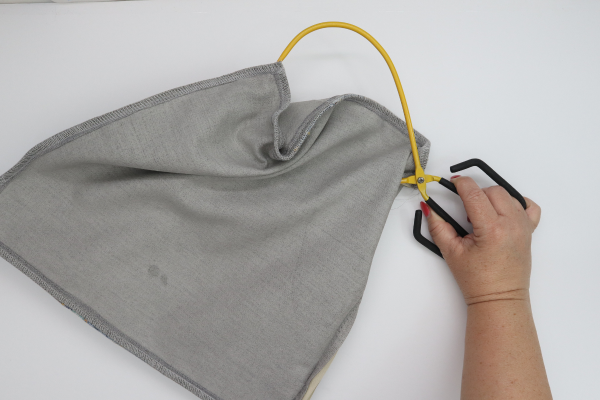
- EZ Hook n Snips i.e. Sookie Sews
- Rotary cutter, mat, and ruler
- EZ Point & Turner Large i.e. Sookie Sews
- Wonder Tape
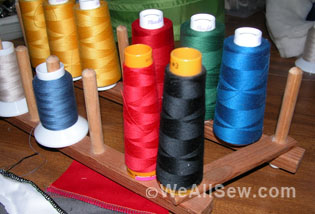
- Thread:
- Presser feet:
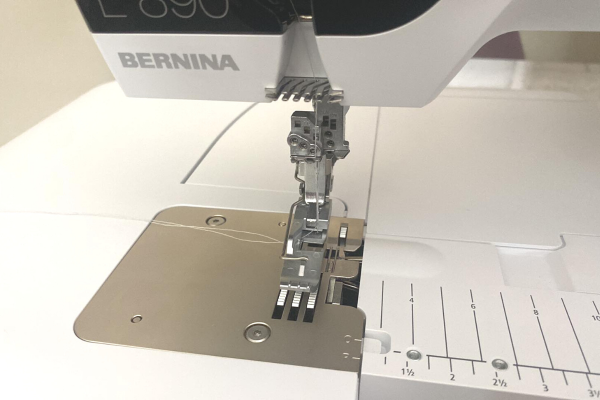
- Chain/Cover foot #C13
- Standard or Clear #C27
Steps
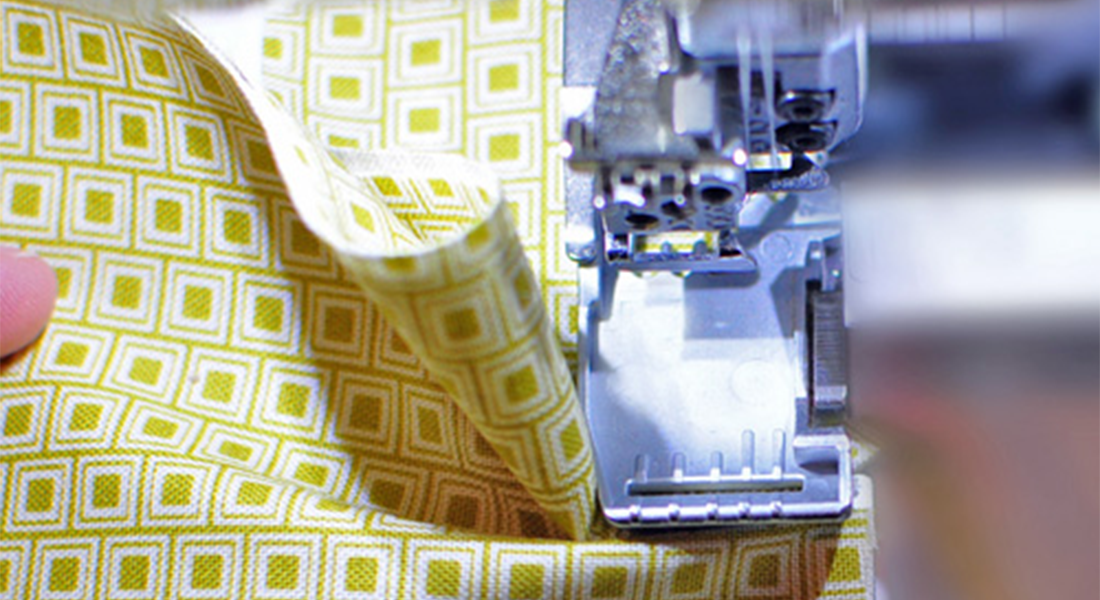
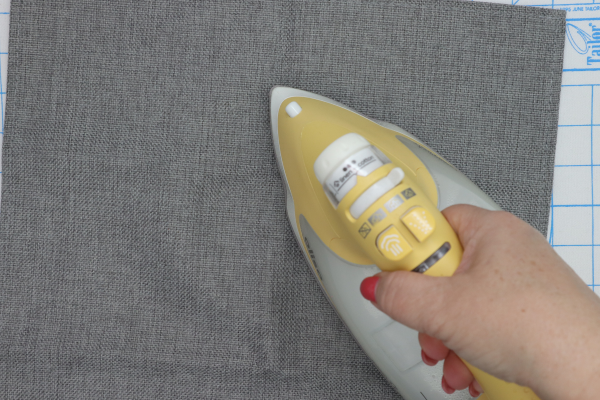
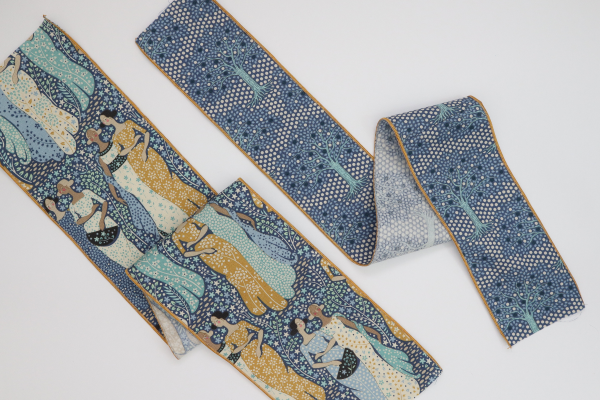
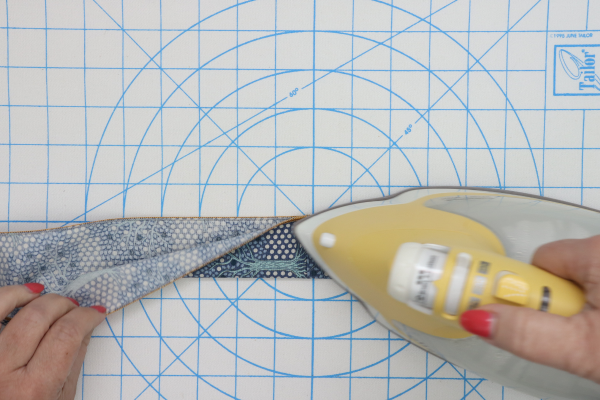
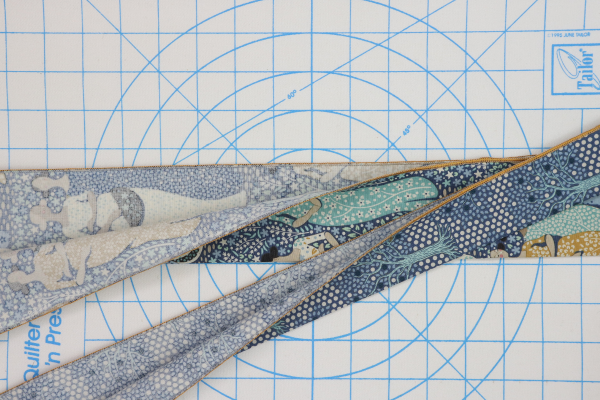
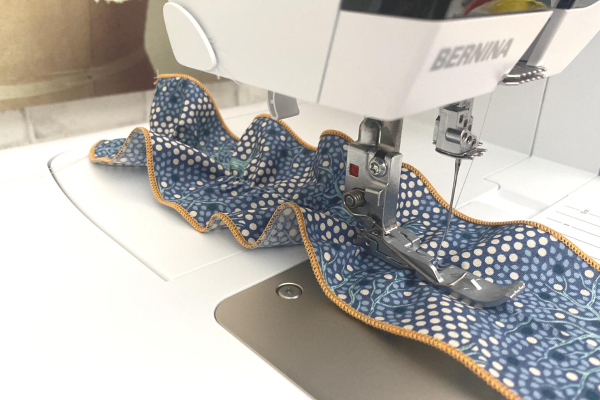
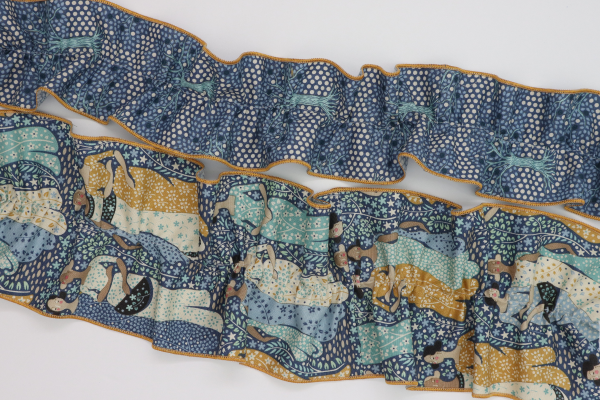
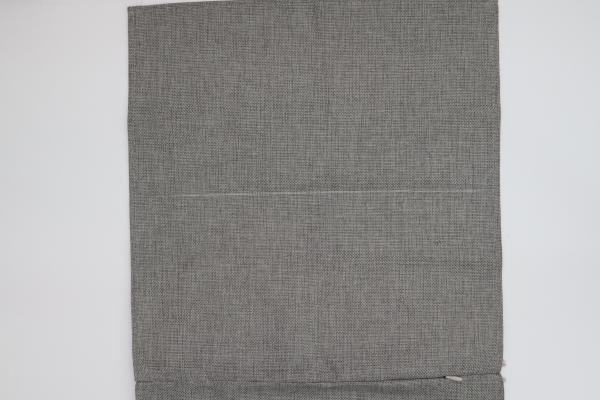
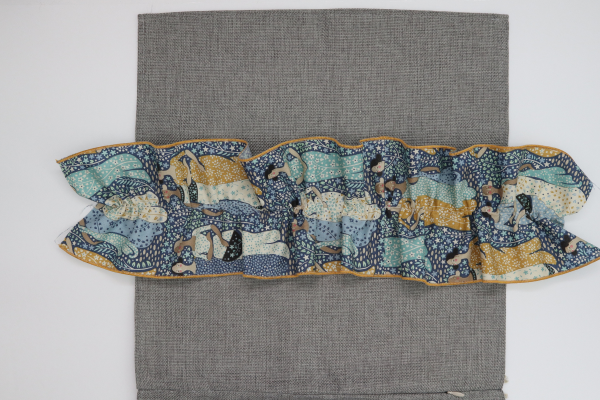
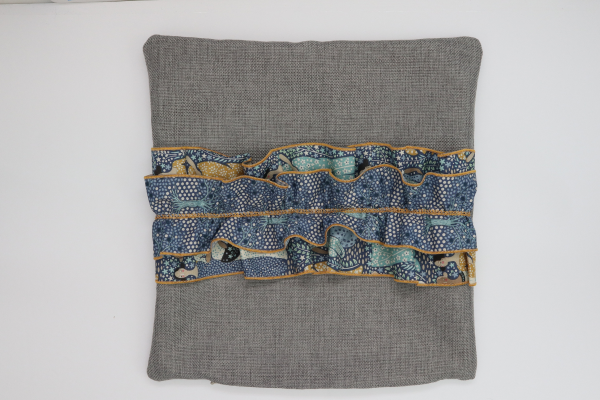
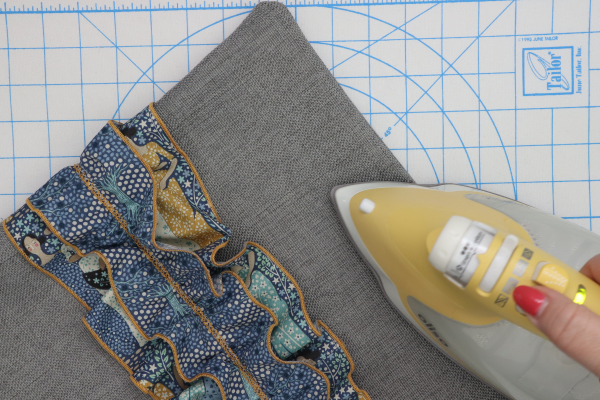
- The OESD pillow blanks come in a variety of colors with the zipper installed on one side, leaving three of the sides open ready for embellishment. Press the pillow to remove creases. Press the fabric strips.
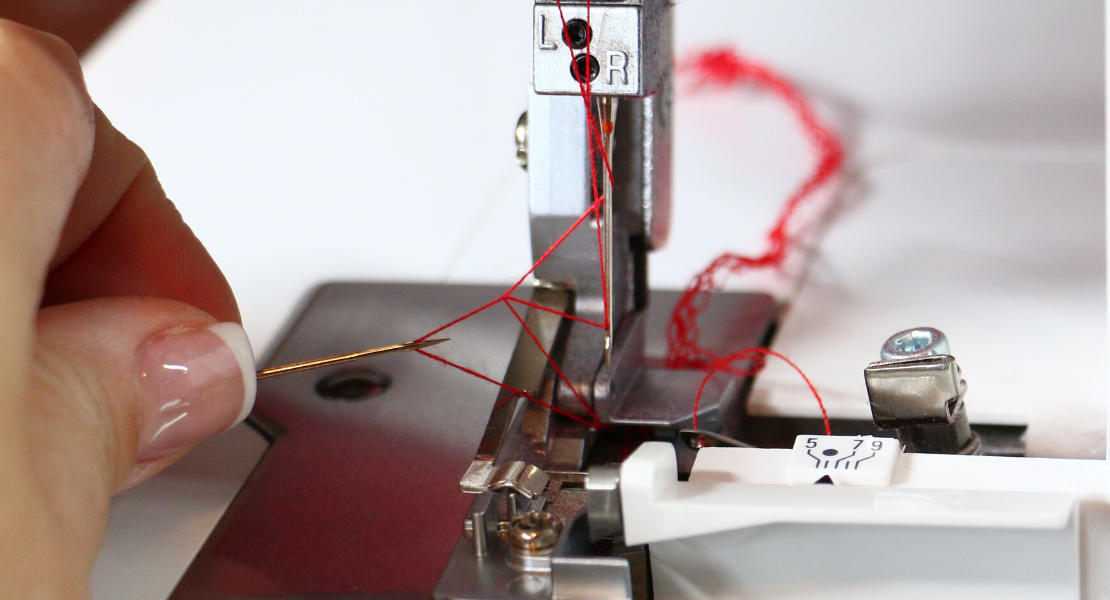
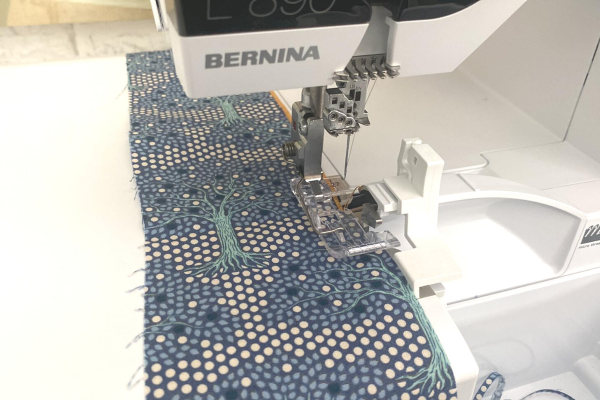
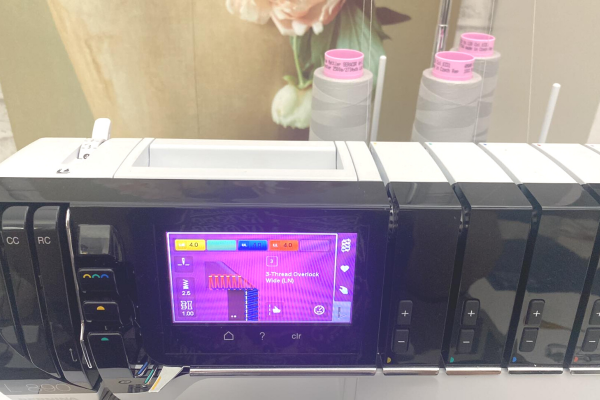
- Set serger up with 3-Thread Rolled Hem with standard thread in the needle and lower looper and 12 wt thread in the upper looper.
- Stitch the two long raw edge sides for each fabric strip right side up, use the Seam Guide to cut a tiny amount off.
- Mark the center of each fabric piece by folding in half and pressing wrong sides together.
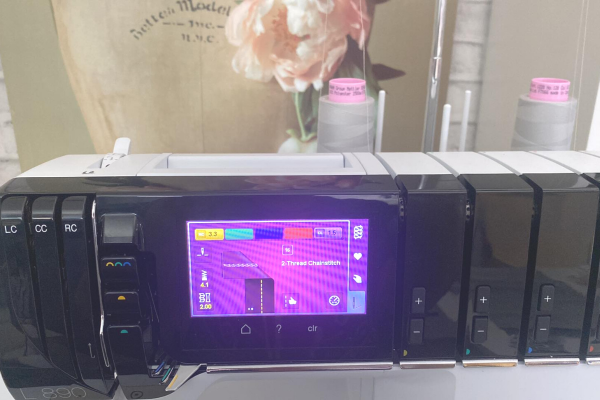
- Set serger up with 2-Thread Chainstitch with standard thread in the needle and looper. Adjust the Length to 4.1 and Differential feed to 2.0, this will gather the fabric pieces.
- With right side up, chainstitch on the fold for each fabric piece separately. Clip thread tails at the end.
- Adjust the Length and Differential feed back to the built in setting.
- Mark a line down the center of the pillow parallel to the zipper seam.
- Place a piece of Wonder Tape down the center of the line.
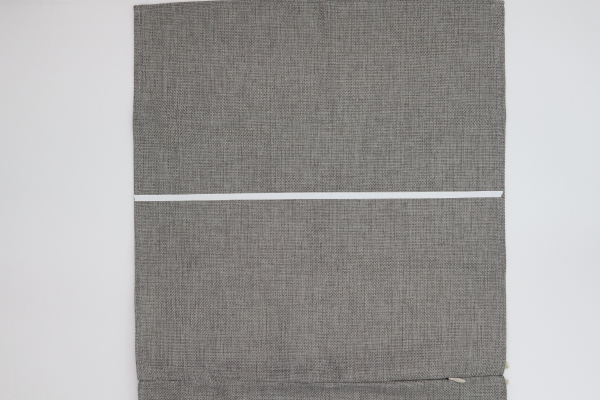
- Remove the paper to expose the adhesive.
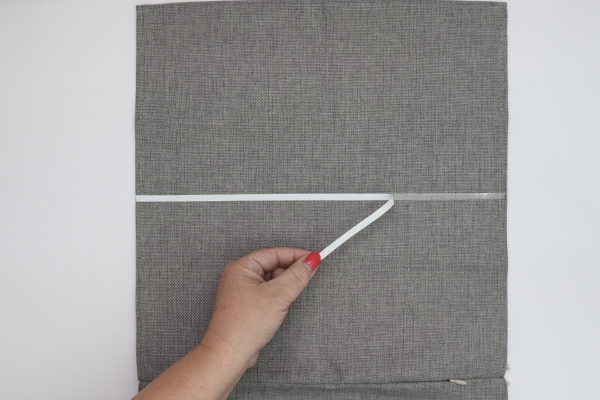
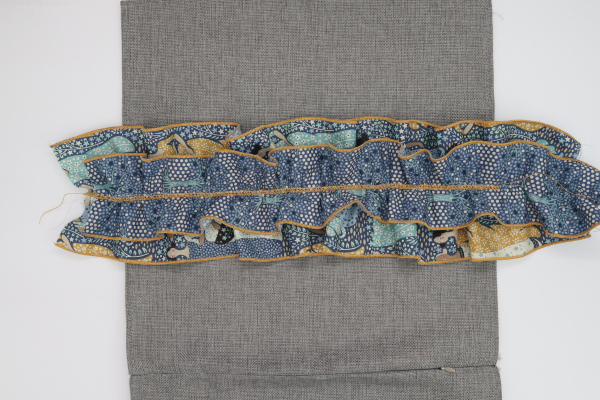
- Place the wide gathered piece centered right side up over the adhesive.
- Place a second piece of Wonder Tape down the center of the wide piece over the gathers.
- Remove the paper to expose the adhesive.

- Place the narrow gathered piece right side up over the adhesive.
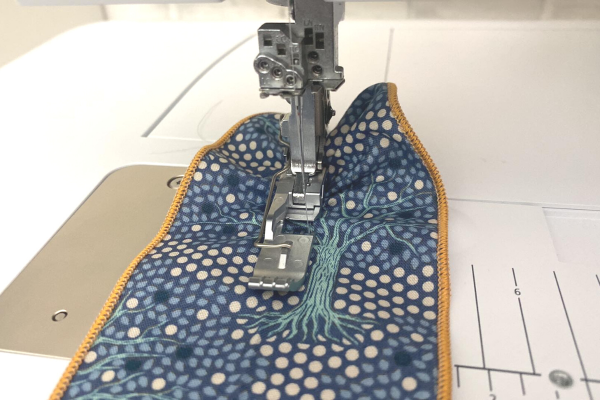
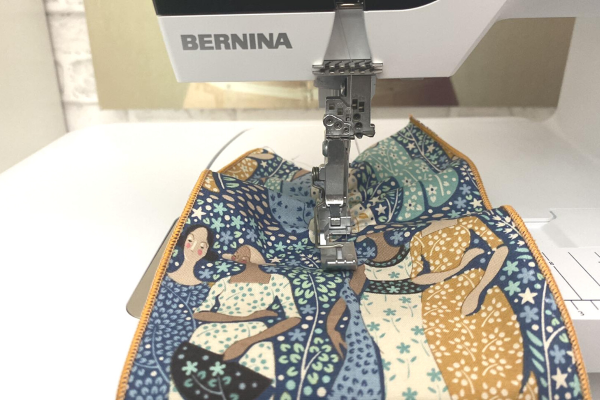
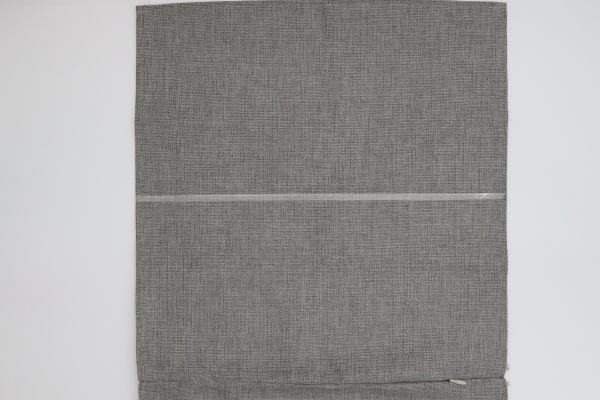
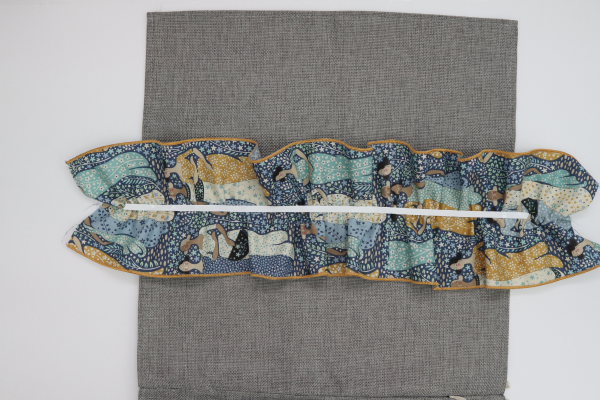
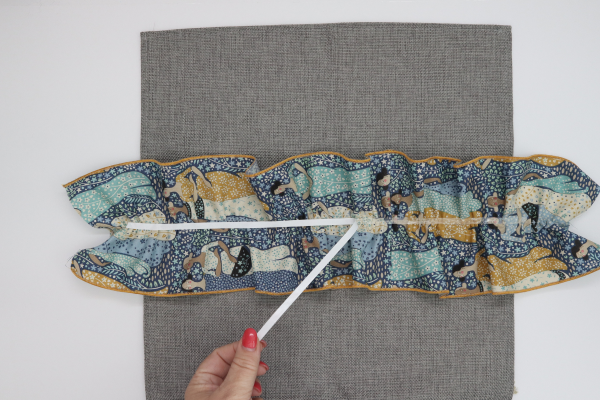
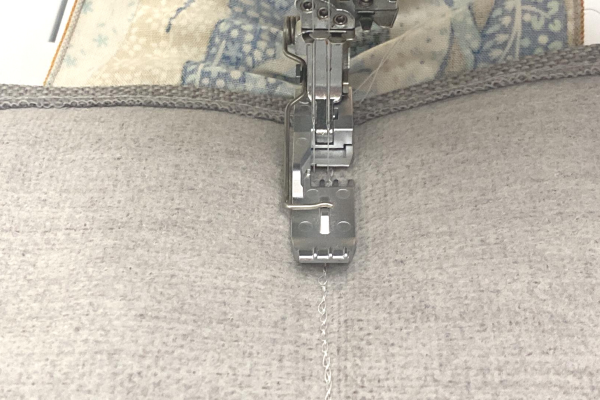
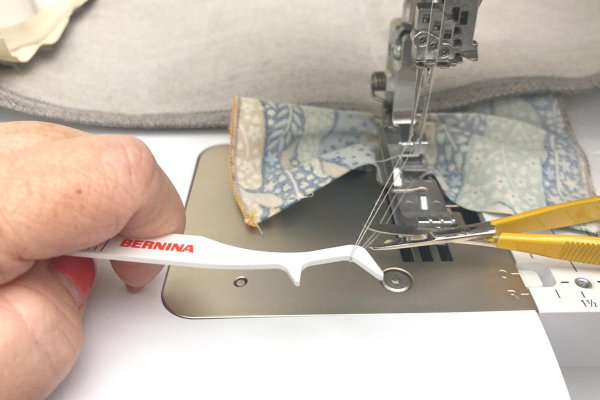
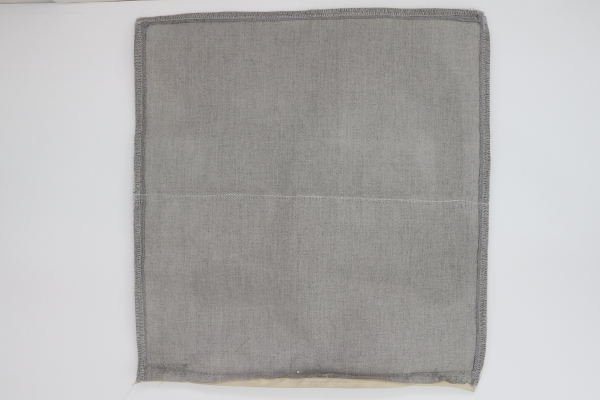
- With gathers right side up stitch a chainstitch down the center to secure the gathers to the pillow.
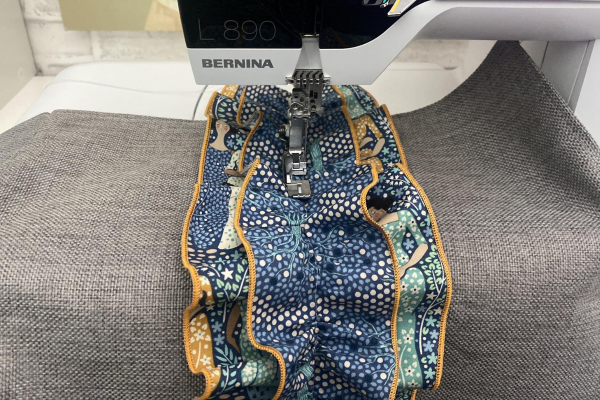
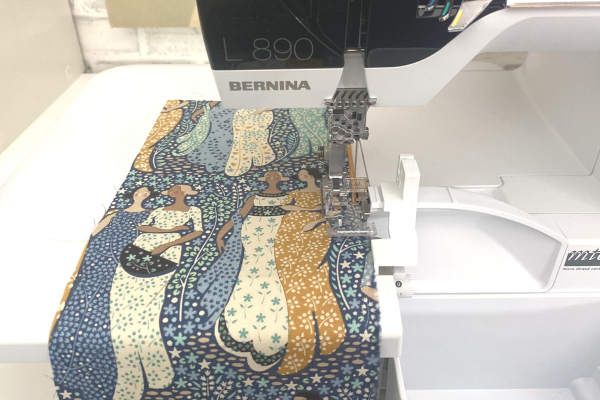
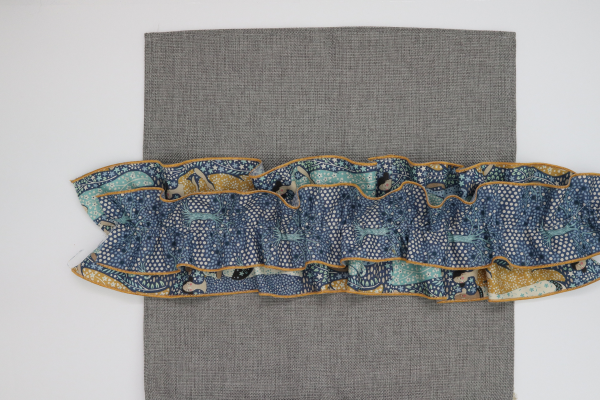
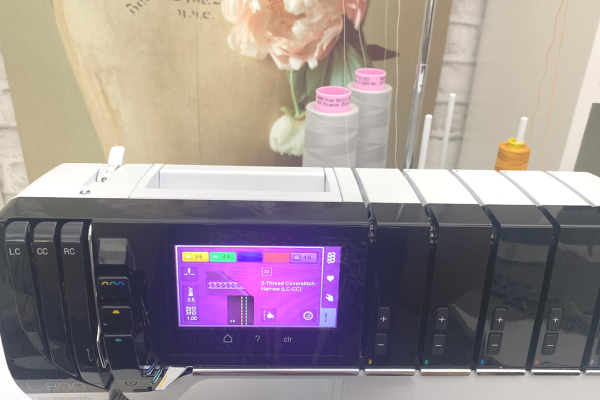
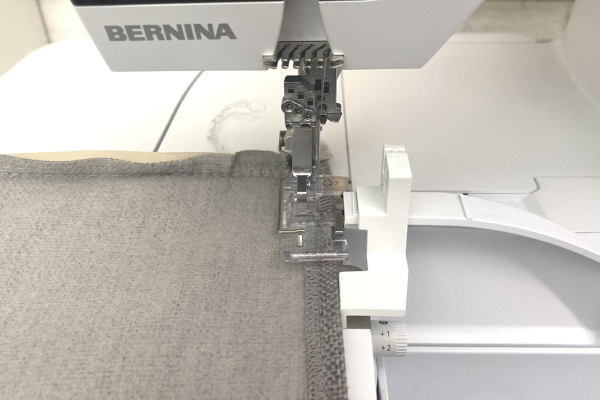
- Set serger up with 3-Thread Narrow Coverstitch (LC-CC) with standard thread in the needles and 12 wt thread in the chain looper.
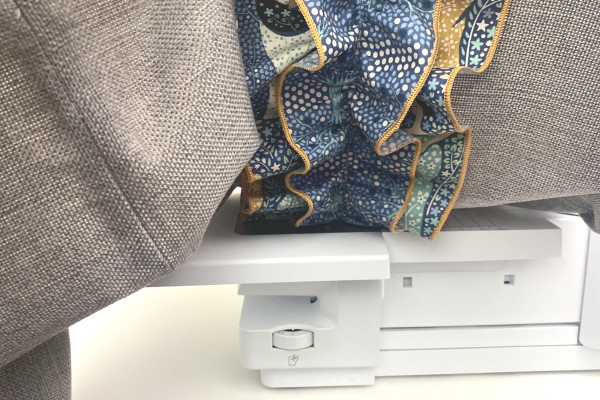
- Turn the pillow wrong side up and stitch the coverstitch following the chainstitch as a guide. Check to make sure the gathers are laying flat by flipping up the pillow occasionally. At the end of the stitching, raise the presser foot, use the CS Lock Tool, and clip threads. Gently pull the materials towards the back which will lock the stitch.
- Open zipper on pillow so that you can turn it right side out later.
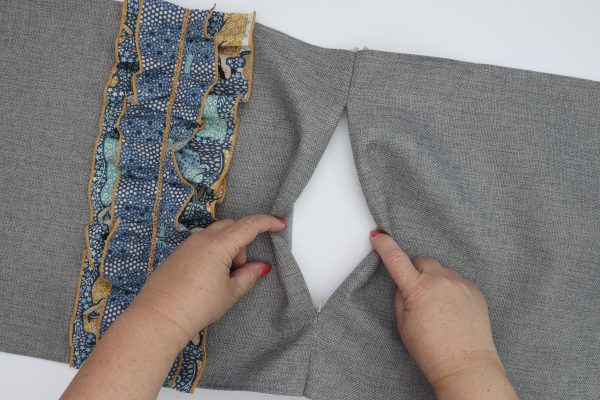
- Place pillow right sides together and align edges. With fabric shears cut the extra gathers on the side to make is easier to clip with Wonder Clips. Clip on the three open sides and be sure the fabric gathers are laying flat.
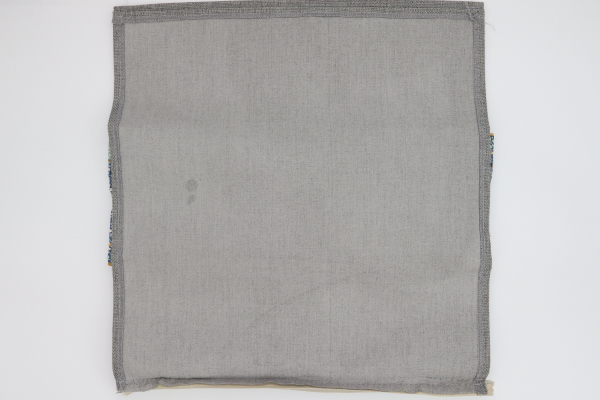

- Set serger up with 3-Thread Overlock Wide with standard thread in the needle and loopers. Change foot to Standard or Clear #C27 and Seam Guide to keep seam allowance consistent, seam allowance should be about 1/4″.
- Serge the three open sides one at a time and clip threads at the end of each. Cut very little off, use the Seam Guide to help with keeping the seam allowance consistent. Careful stitching over the bulky seams. Stitch slow and use the handwheel as needed to avoid breaking a needle or damaging the blade.
- When finished stitching, turn the pillow right side out with the EZ Point & Turner Large. Press and insert pillow form!
I hope you enjoyed this boring to beautiful serger project and enjoy making all of my easy serger projects! When you make yours, please snap a photo and tag me @SookieSews and @BERNINAUSA!!
![]()
![]()