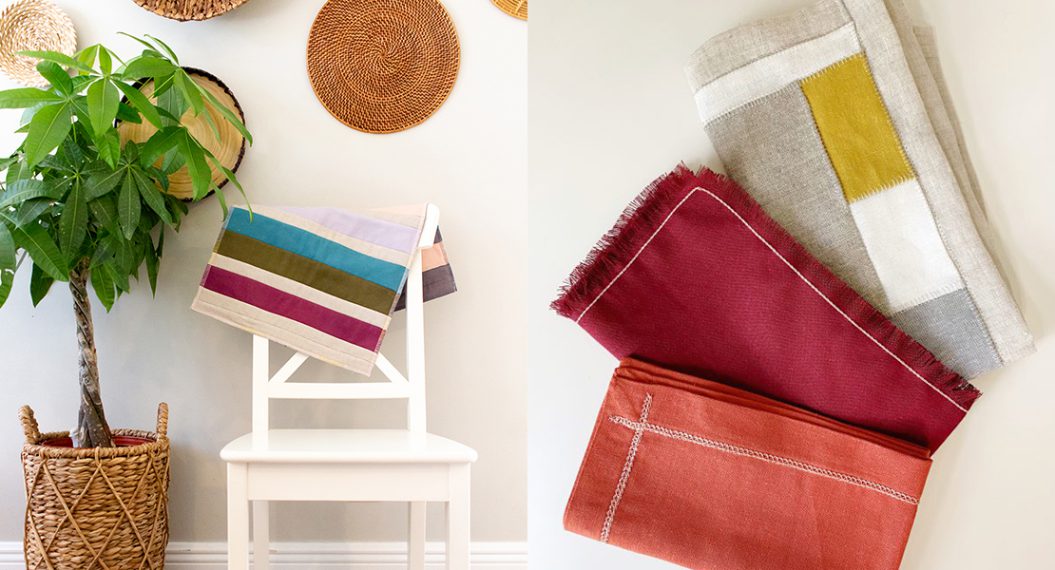
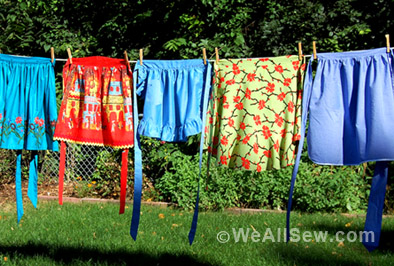
Boring to Beautiful Blanks with Your Serger, Part One: Apron
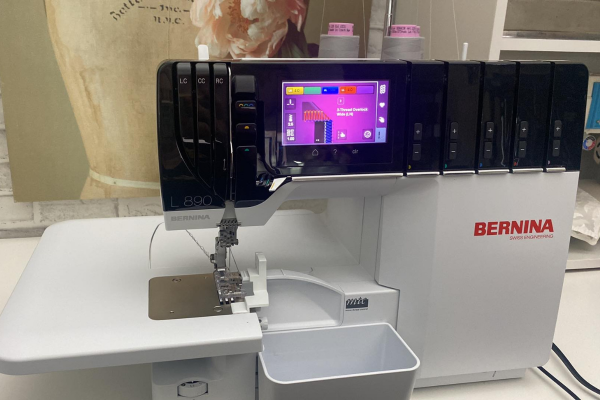
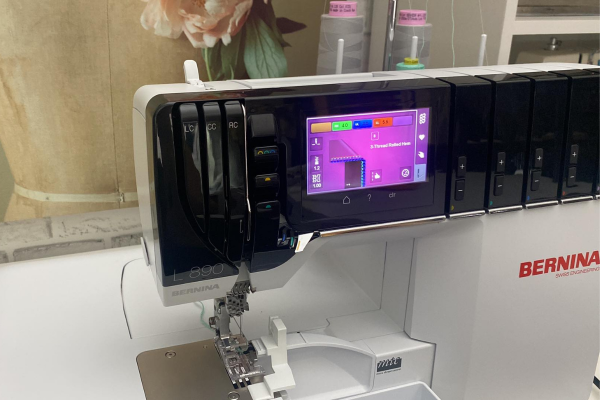
Blanks aren’t just for embroidering on anymore. They are a great way to practice serger stitches and finish a useful project. In this four-part series I’ll be showing how you can take an Apron, Onesie, Towel, and Pillow and go from boring to beautiful. You will get a chance to see various serger techniques, unique threads, and some additional presser feet you might want to add to your presser foot collection. During this series, I will be using the BERNINA L 890 serger for all four projects. Let’s get stitching.
![]()
Techniques and Stitches
In this apron project you will learn these stitches and techniques:
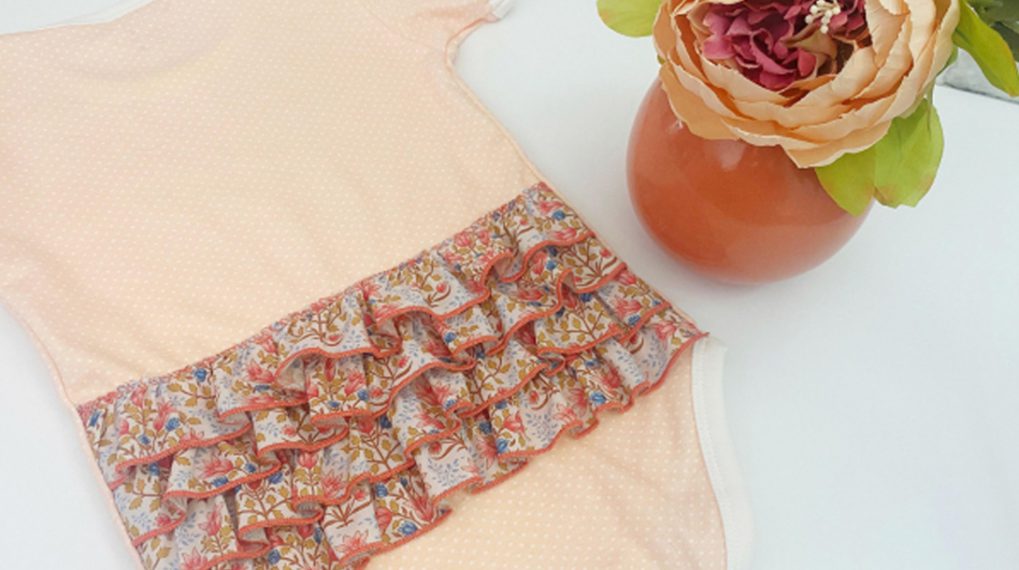
- 3-Thread wide overlock for the pocket construction
- 3-Thread Rolled hem for the Towel Loop
- 3-Thread Coverstitch Narrow (LC-CC) for securing the Pocket to the apron and adding decorative touches along the top
![]()
Materials (width by height)
- Blank Apron
- (2) Fat quarters
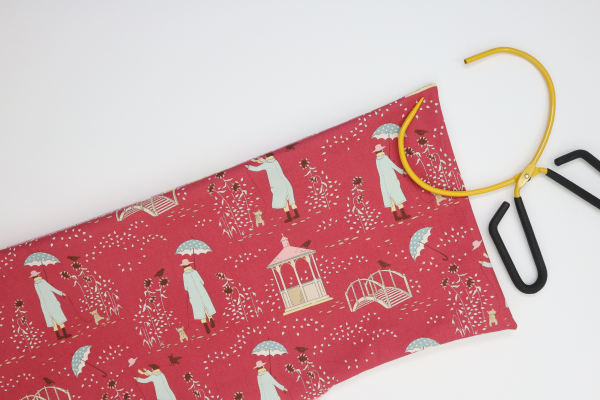
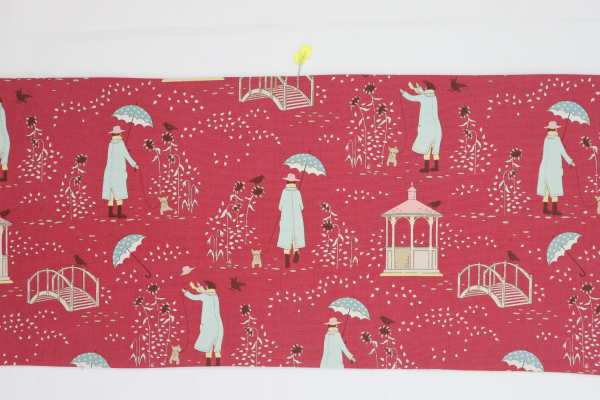
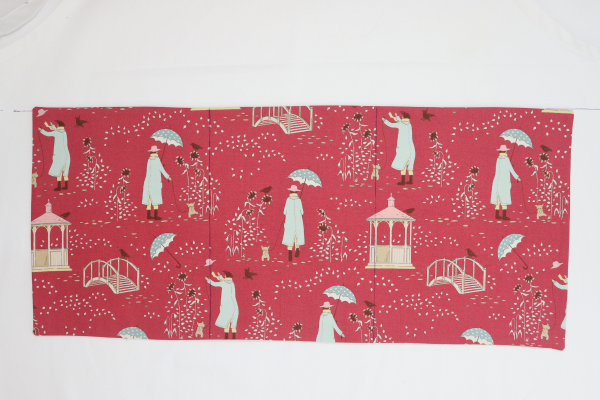
- Fabric A (Ladies with umbrellas):
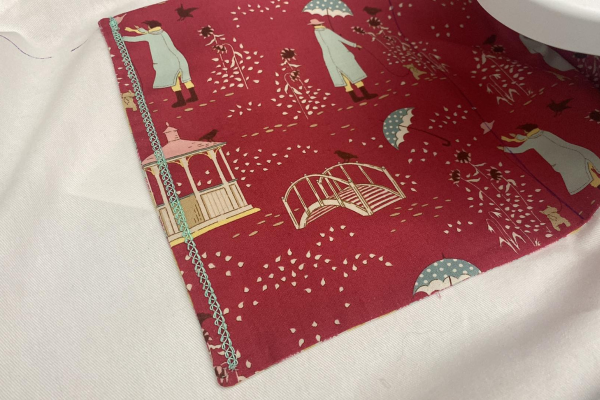
- (1) 22″ x 10″ Outside pocket
- Fabric B (Flowers):
- (1) 22″ x 10″ Inside pocket
- (1) 2″ x 10″ Towel loop
- Fabric A (Ladies with umbrellas):
- Flower Head Pins
- Wonder Clips
- Marking Pen i.e Frixion Pen
- Iron/Pressing surface
- Cutlery:
- Fabric shears
- EZ Hook n Snips i.e. Sookie Sews
- EZ Point & Turner i.e. Sookie Sews
- Rotary cutter, mat, and ruler
- Wonder Tape
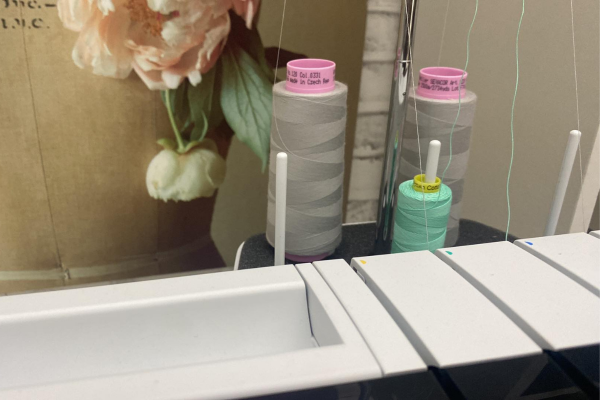
- Thread:
- Presser feet:
- Standard or Clear #C27
- Chain/Cover foot #C13
Steps
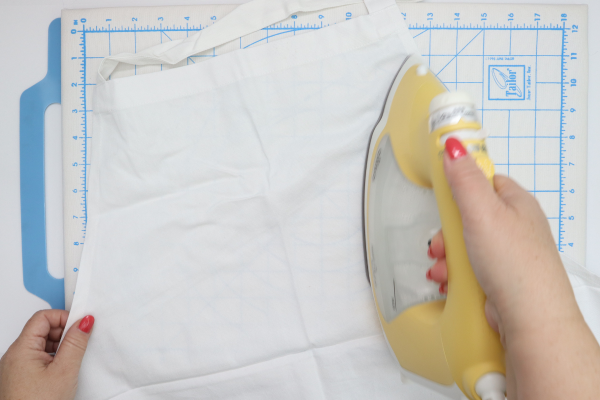
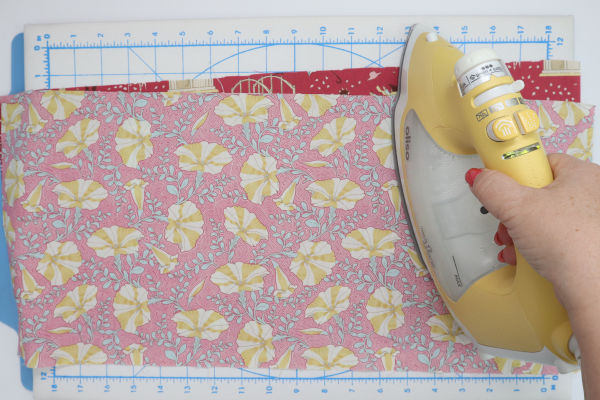
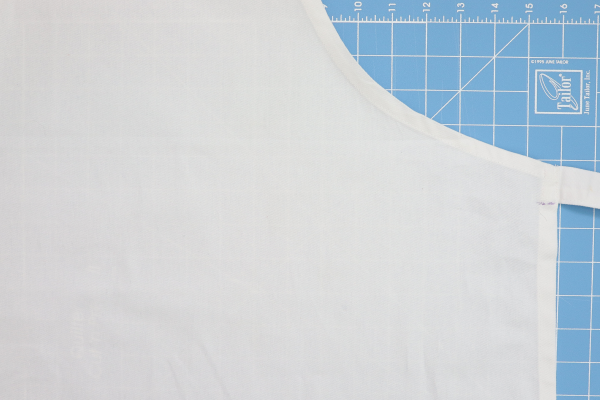
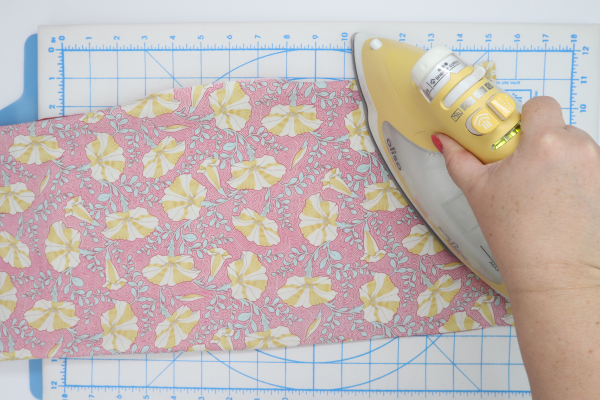
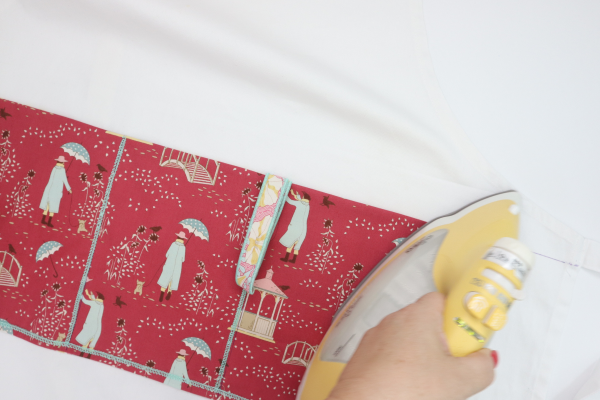
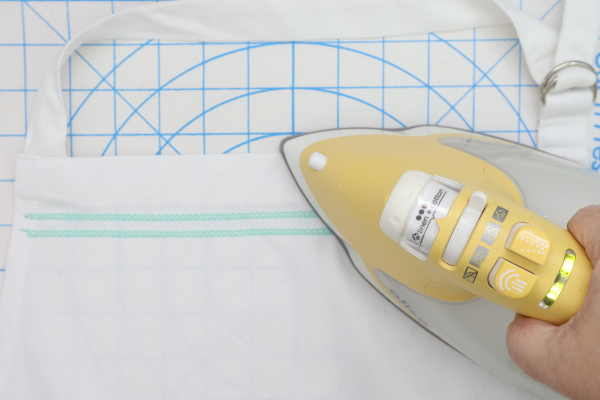
- Press the apron and fabrics to remove creases.
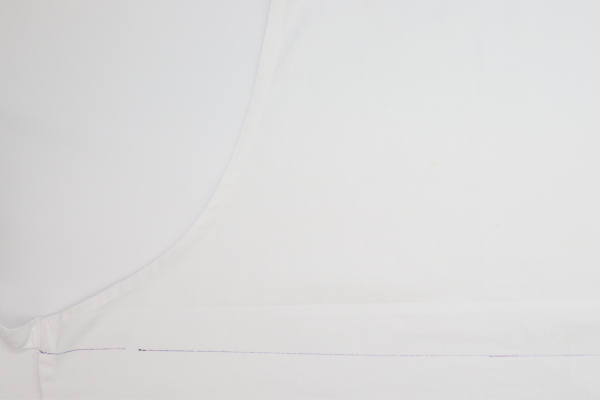
- Where the waist tie and side meet, mark 1″ down and a line straight across. This will be for the top pocket placement. This pocket placement might be a little high for someone over 5’5″, so consider lowering it to 2″ below the waist tie/side.
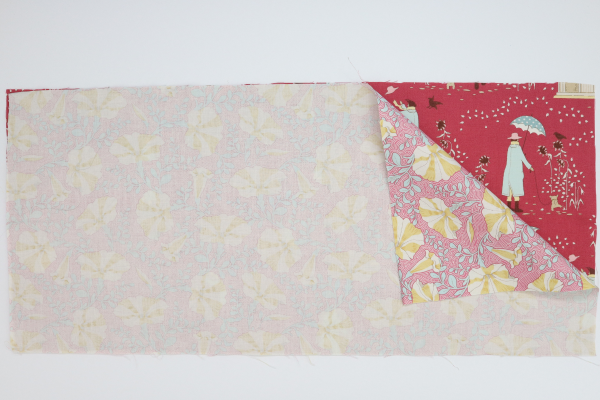
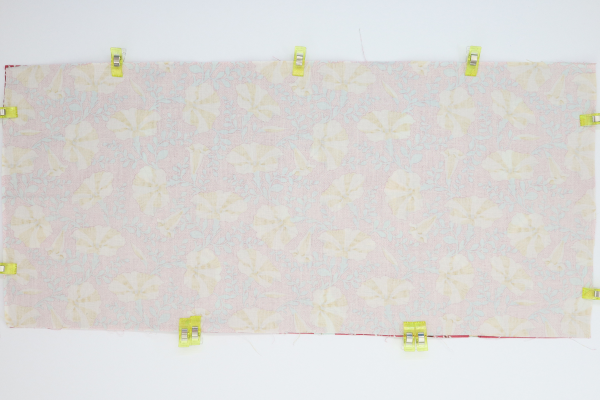
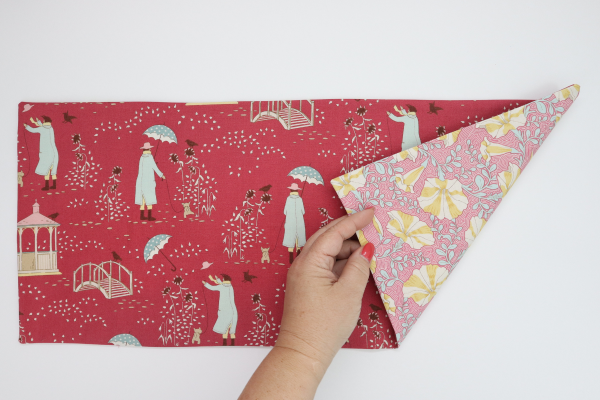
- Place the Outside Pocket and Inside Pocket right sides together and use Wonder Clips to secure all the way around. There will be a 6″ opening on the bottom seam to turn the pocket right side out. In order to mark this 6″, use double Wonder Clips at the beginning and end.
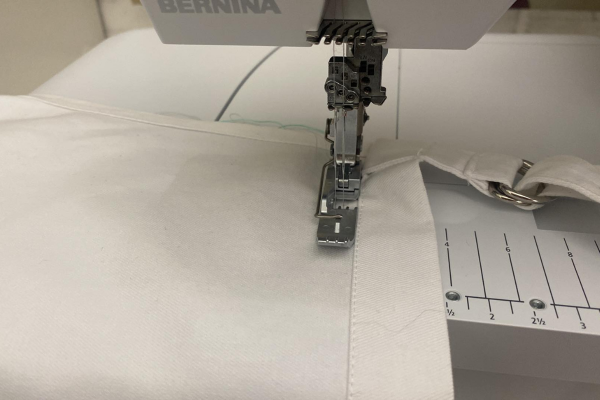
- Set serger up for 3-Thread Overlock with (3) spools of standard serger thread. Attach the Clear #27 presser foot (which helps you see the fabric) and the Seam Guide (which helps you get perfect seam allowance). Set the Seam Guide so the inside groove is 3/8″ from the left needle.
- Stitch on all four sides leaving the 6″ opening. Clip thread tails at the end of each side.
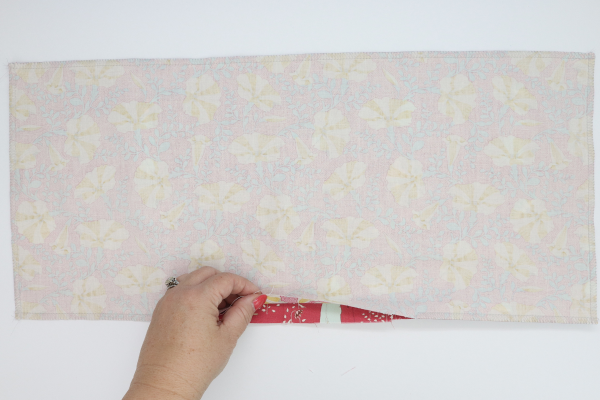
- Use the EZ Point & Turner to turn the Pocket right side out. Use the pointy end to get nice, crisp corners and press.
- When pressing, be sure to close the opening by tucking in the raw edge.
- Turn the Pocket so the Inside pocket is facing up. Place Wonder Tape along the two sides and bottom. Remove the paper to expose the adhesive.


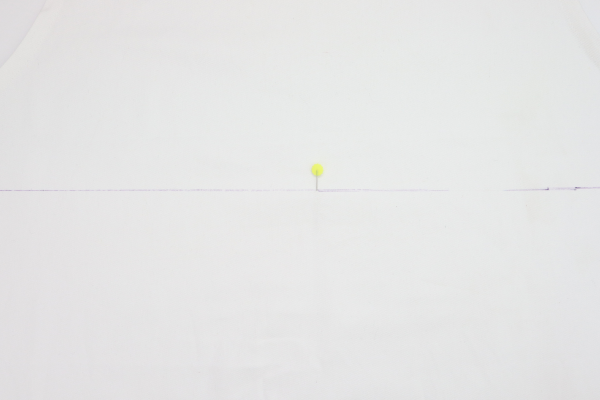
- Find the center of the apron along the lower line that was marked and place a pin.
- Find the center of the pocket and place a pin along the top.
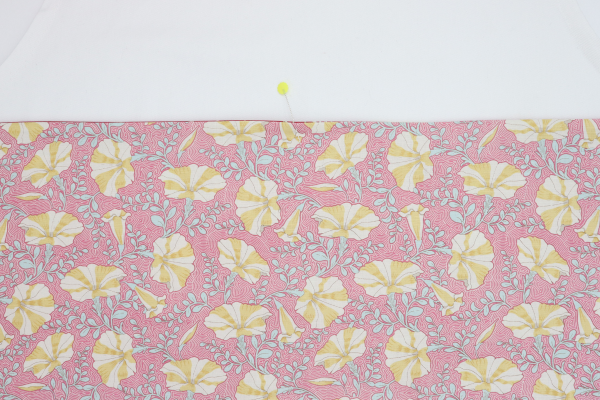
- Place the center mark of the pocket over the center apron and gently finger press the Wonder Tape down along the sides and bottom so it is secure to the apron. Remove pins.
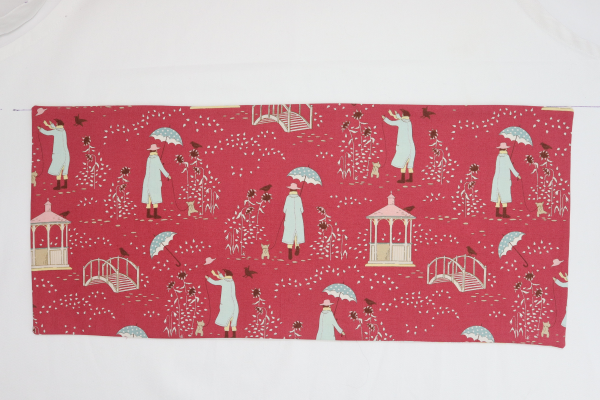
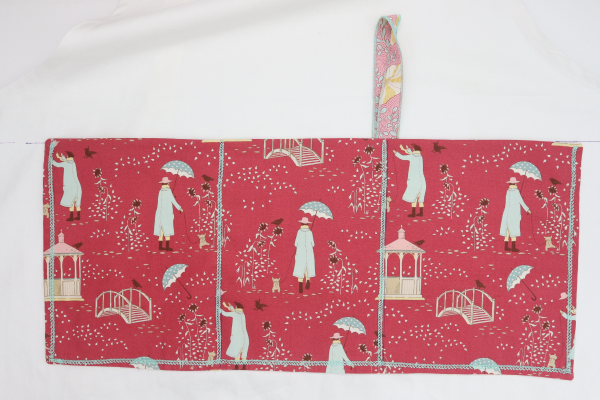
- Mark two lines on the Pocket, 7″ from each side which will create three individual pockets. Set apron aside for now.
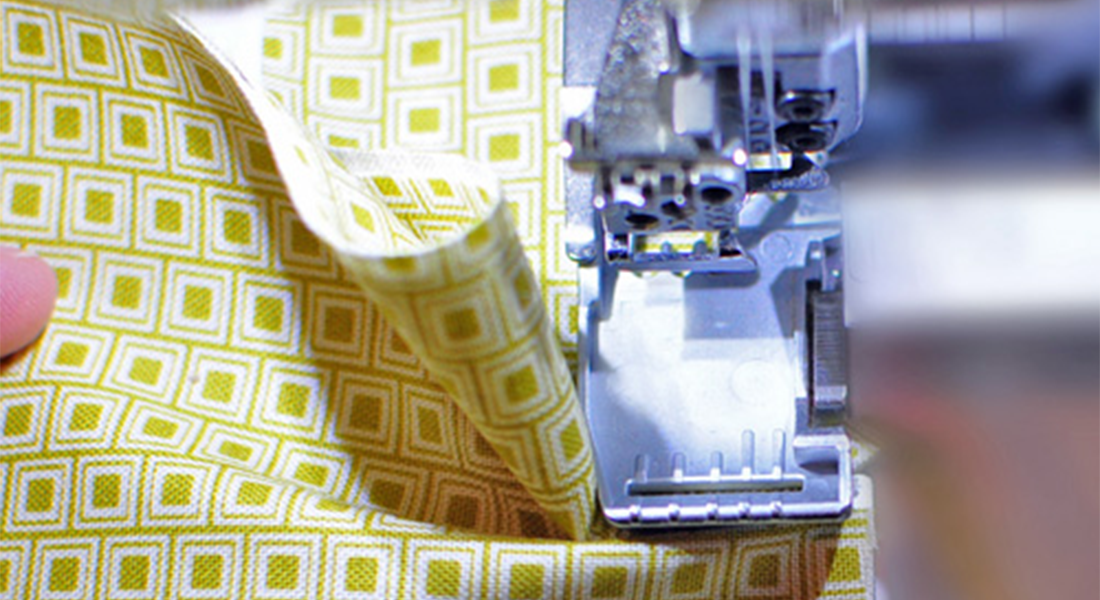
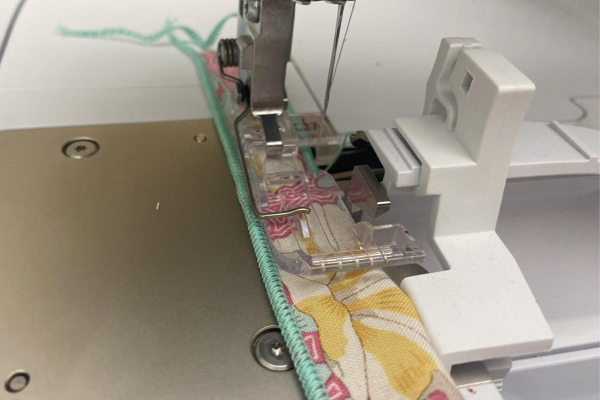
- Set serger up with 3-Thread Rolled Hem. Standard thread in the Lower Looper and Right needle and the 12 wt Spaghetti thread in the Upper Looper.
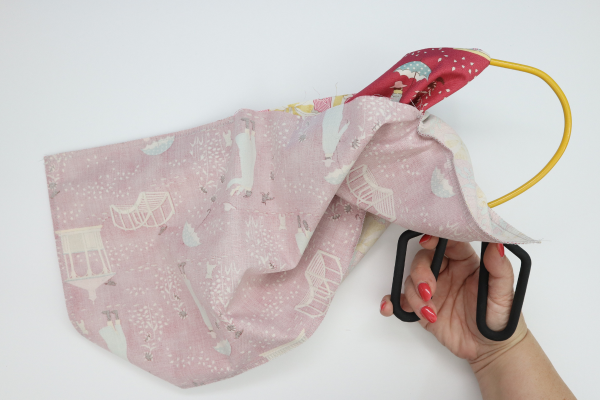
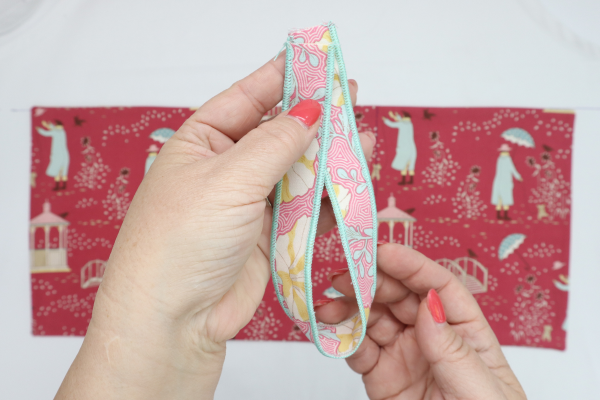
- Fold the Towel Loop in half lengthwise and serge down the long raw edge. Once finished, stitch on the “folded” edge cutting off about 1/8″. Clip thread tails at both ends.

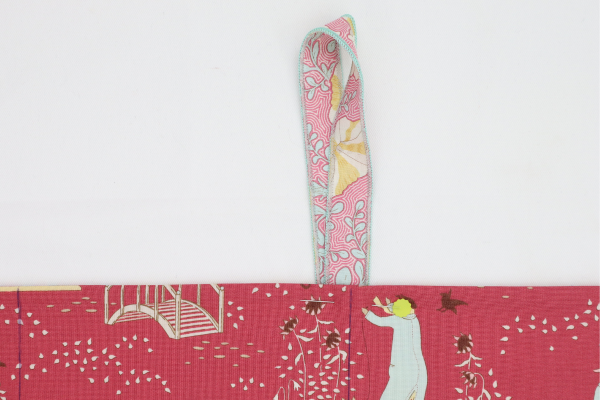
- Cross-over the two raw edges of the Towel Loop and tuck them under one of the Pocket lines, about 1″ and pin in place through all layers.
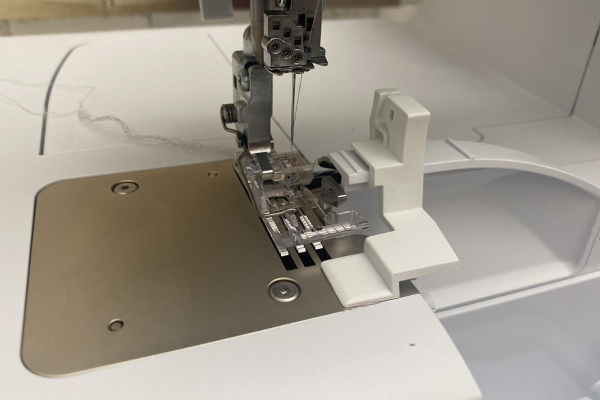
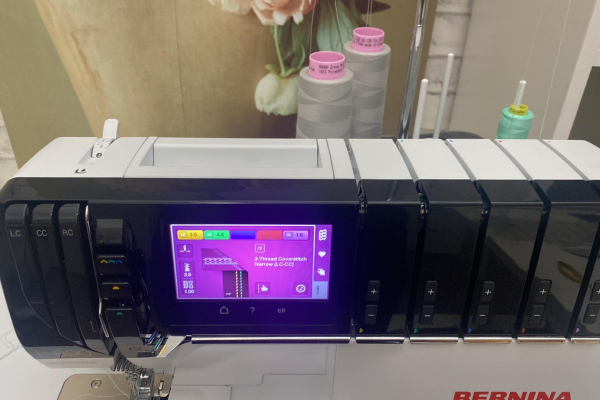
- Set serger up for 3-Thread Coverstitch Narrow (LC-CC) with standard thread in both needles and 12 wt Spaghetti in the Chain Looper.
- Turn apron to the wrong side and transfer the outside shape of the pocket and the two lines marked onto the pocket to the wrong side of the apron.
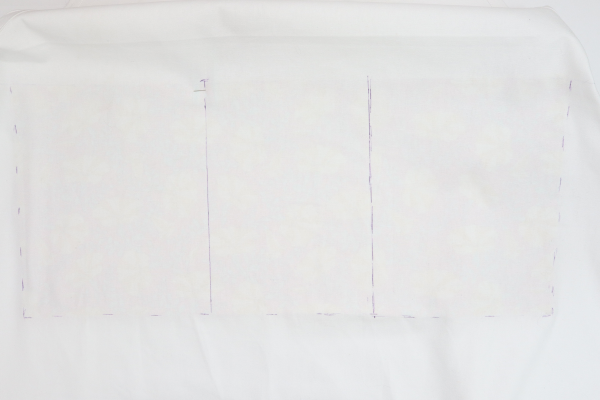
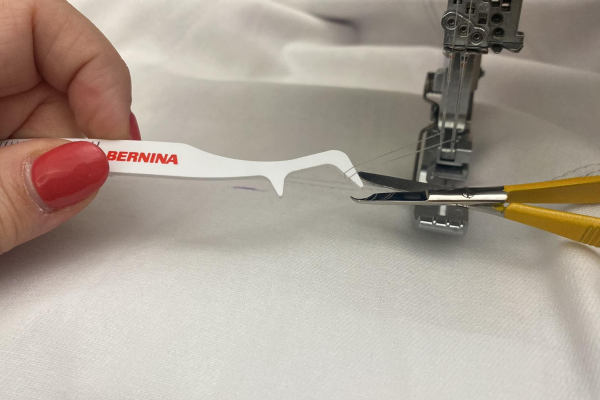
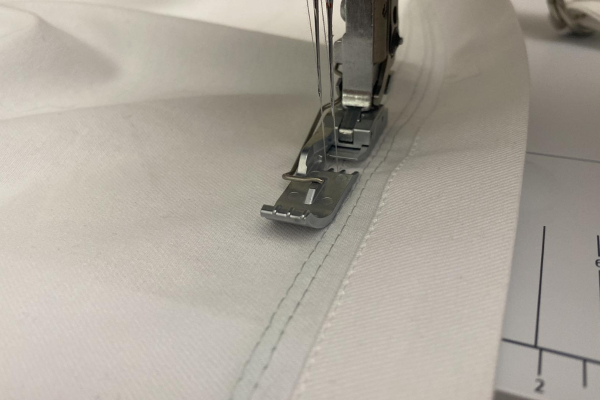
- With the apron wrong side up stitch one side from the top of the pocket to the bottom, then across the bottom, and then finally up the other side. When stitching, align the side of the presser foot with your marks. Clip threads at top and bottom. Each side will be stitched individually for a clean beginning and finish to the stitch. Use the CS Lock Tool to pull the threads out from the needles, clip threads, and gently pull the fabric towards the back after, this will lock each seam.

- With apron wrong side up, sew the lines down through the pockets to form three smaller pockets. Begin at the top of the pocket stitching towards the bottom. Be sure to catch the Towel Loop while stitching. Pin the Towel Loop up out of the way before stitching.
- When finished stitching the pocket sides, bottom, and dividing seams flip the Towel Loop towards the pocket and press the Frixion marking pen marks away.
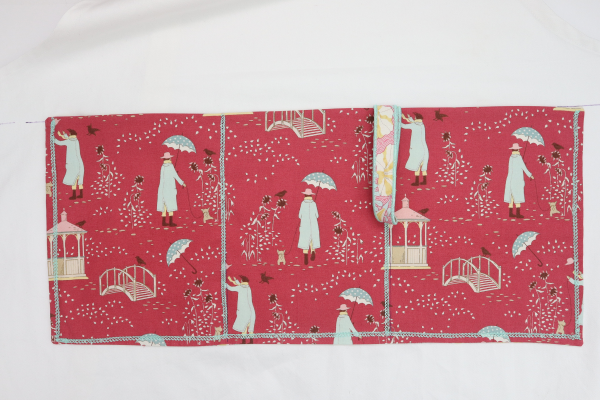
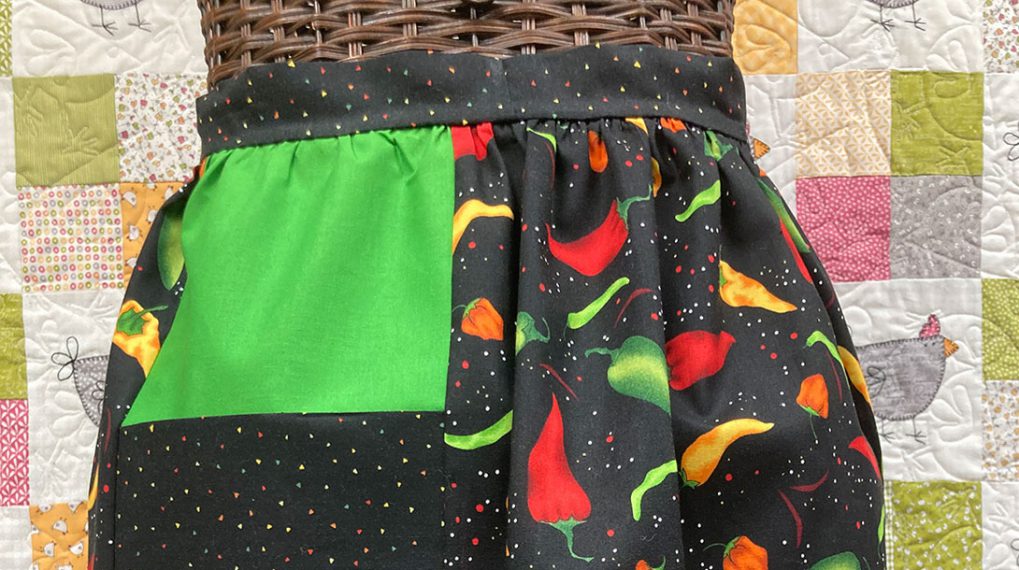
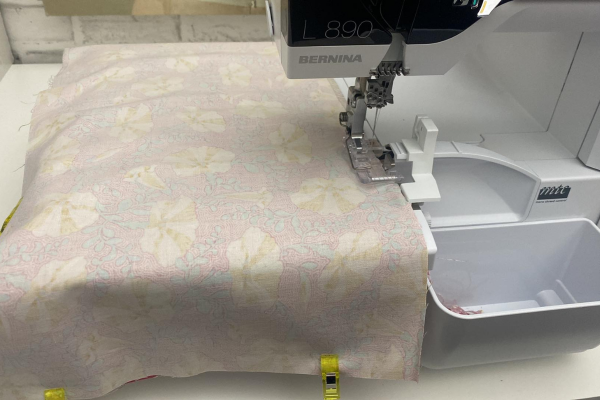
- Add two rows of decorative narrow coverstitch at the top hem, use the top hem of the apron as a guide to align with the side of the presser foot. For the second row, use the first row of coverstitch as a guide.
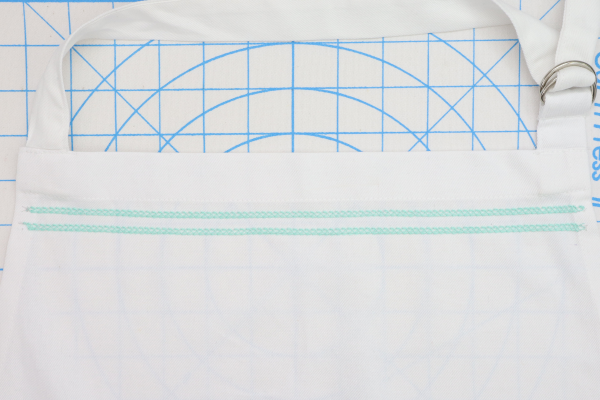
- Press apron and you are all finished.
I hope you enjoyed this boring to beautiful serger project and enjoy making all of my easy serger projects! When you make yours, please snap a photo and tag me @SookieSews and @BERNINAUSA!!
![]()