That Old ’57 Chevrolet, Part Four
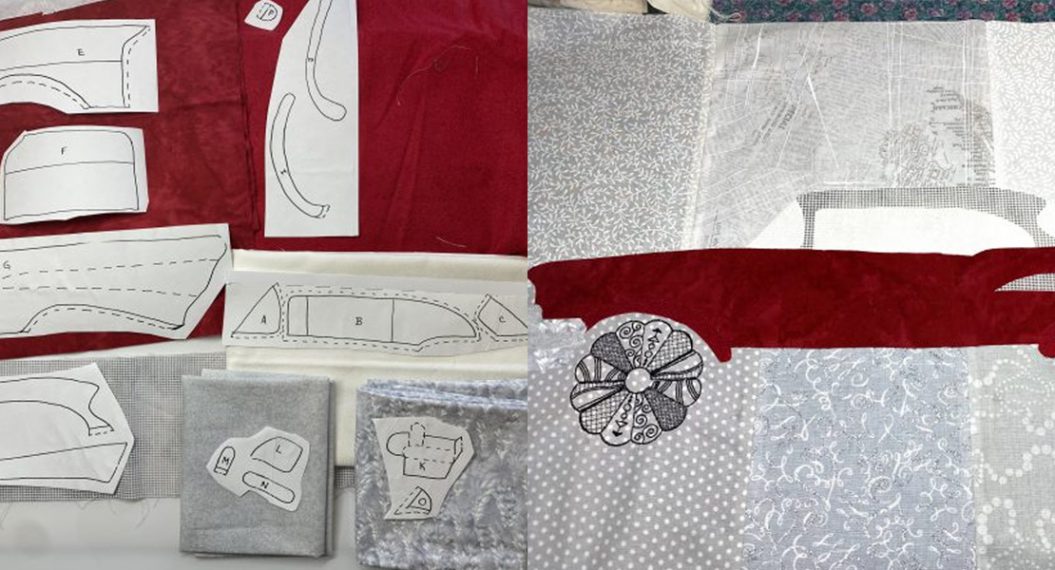
This is the final part of the four-part Quilt Along which includes a free downloadable pattern for this ’57 Chevy art quilt and the free downloadable Dresden Daisies 82028 embroidery design from BERNINA. Finished size is approximately 16 inches by 25 inches.
If you missed the previous posts, you can find them here:
Part four completes That Old ’57 Chevrolet Art Quilt. This session adds a hanging sleeve and binding along with addressing that last detail of what was missing.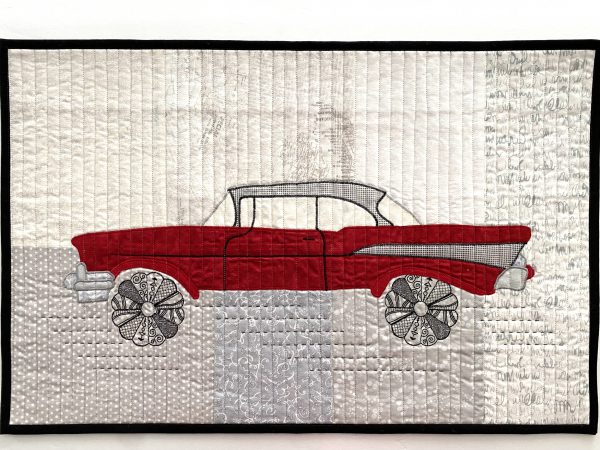
Materials for Hanging Sleeve and Binding
• Rotary Mat, Cutter & Ruler
• Iron & Ironing Matt
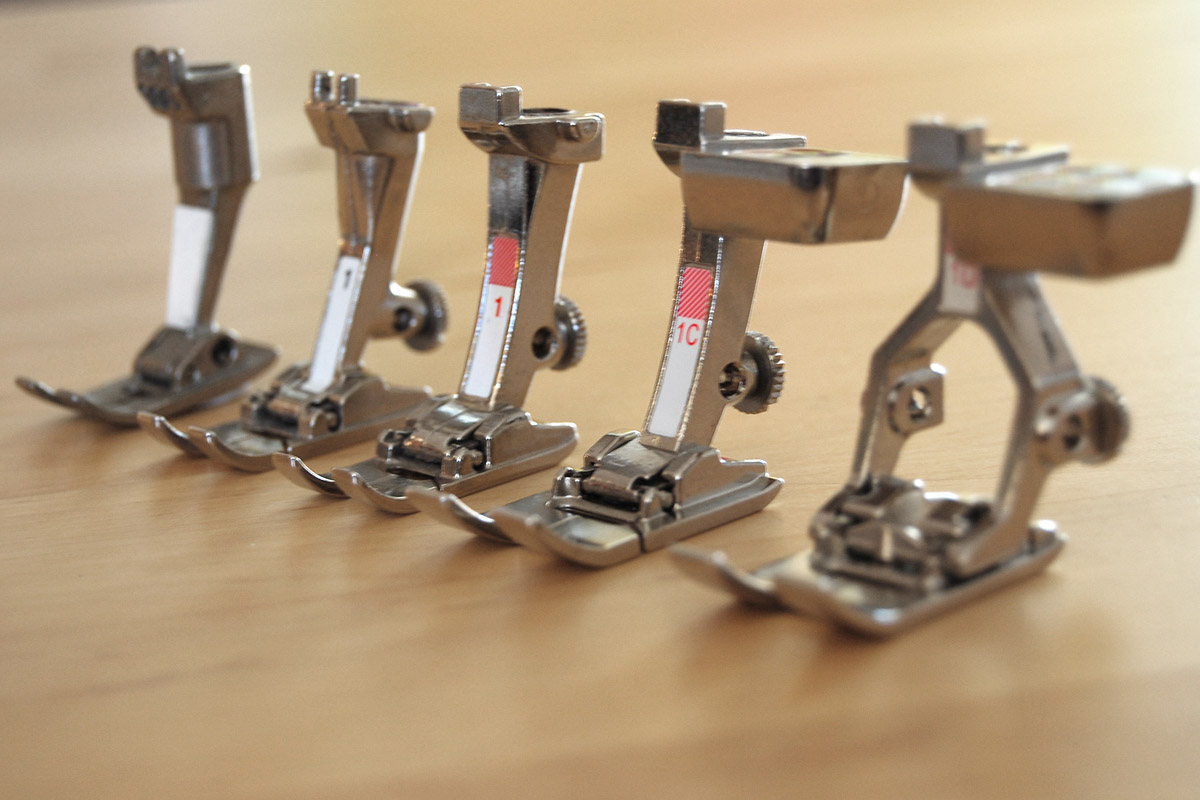
• Sewing Machine with 1/4 inch Foot
• Hera Tool or other marking tool
Finishing the Art Quilt
Piecing done…check! Appliqué done…check! Quilting done…check! Hanging Sleeve and Binding…Nope! Quilters have a love-hate relationship with getting a project across the finish line. Adding a method to hang an art quilt adds one more step the process. Machine stitching streamlines this as hand stitching is not my favorite.
Hanging Sleeve
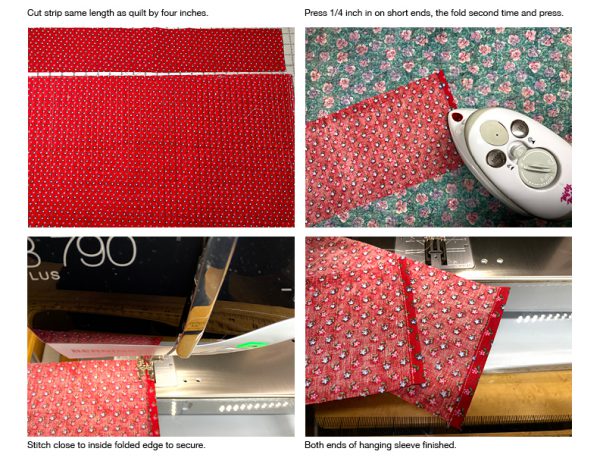 • Using rotary cutter, ruler and mat, cut hanging sleeve the width of quilt by four inches.
• Press in 1/4 inch on short ends of hanging sleeve then fold a second time and press. In addition to finishing the ends, this also shortens the sleeve so it is not caught in binding.
• Stitch close to inside fold to finish the short ends.
• Repeat to finish both ends.
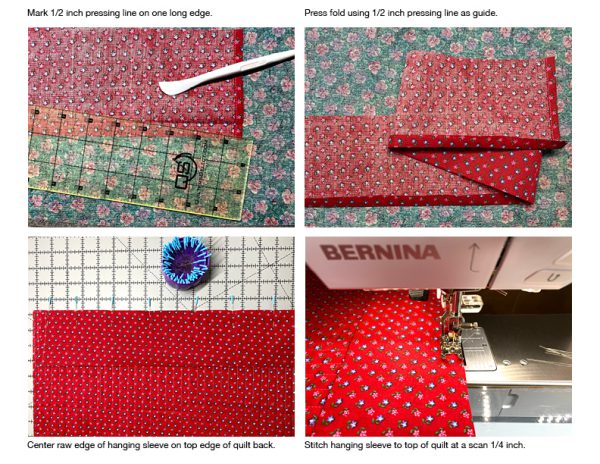 • Mark a pressing line 1/2 inch from one long edge of hanging sleeve. A Hera marker puts a crease in the fabric making it easy to press accurately.
• Press the marked 1/2 inch line to fold fabric creating a finished edge.
• Pin the remaining unfinished edge to the wrong side on top edge of quilt. Center hanging sleeve leaving approximately 1/2 inch on each end. Pin in place.
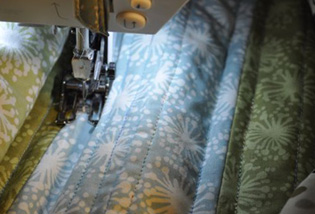
• Stitch raw edges with a scant 1/4 inch seam at top of quilt.
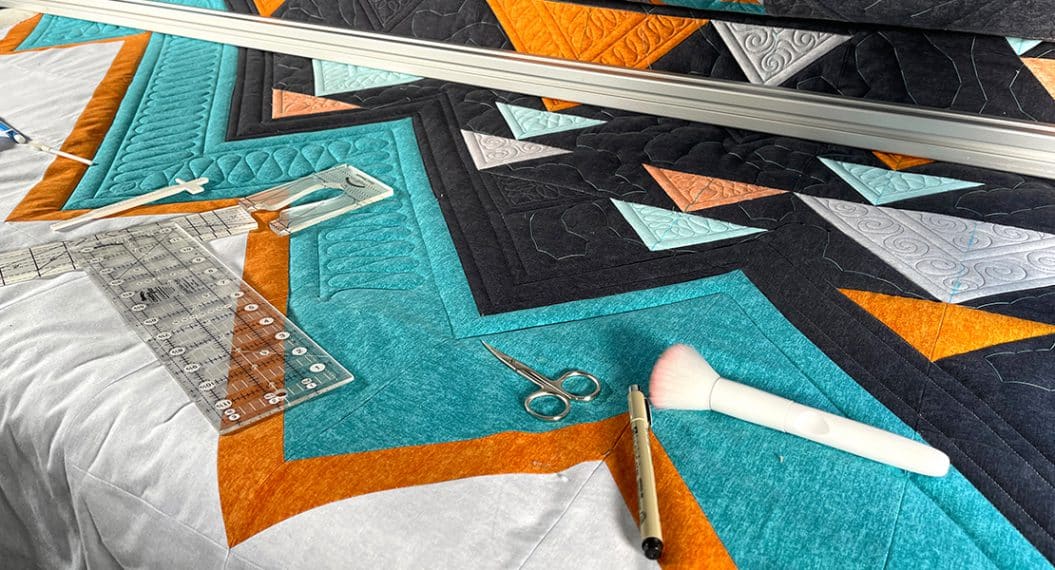
Binding

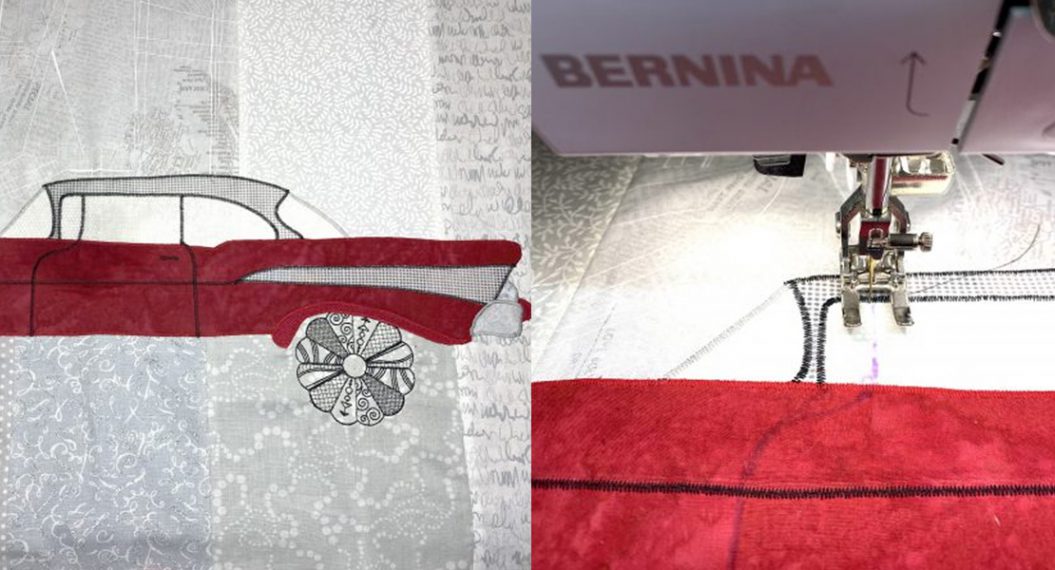
• Cut and attach binding using your preferred method. I use a single fold binding cut at 1 – 5/8 wide for art quilts which I stitch to the front then fold/press to the back.
• Shifting needle slightly to the left during final stitching allows need to connect VERY close to folded edge of binding. A sharp edge and very exact stitching line is the goal.
• Pin pressed edge of hanging sleeve to the back of quilt. Allow approximately 1/2 inch of slack in sleeve to accommodate thickness of hanging bar. Hand stitch folded edge to back of quilt.
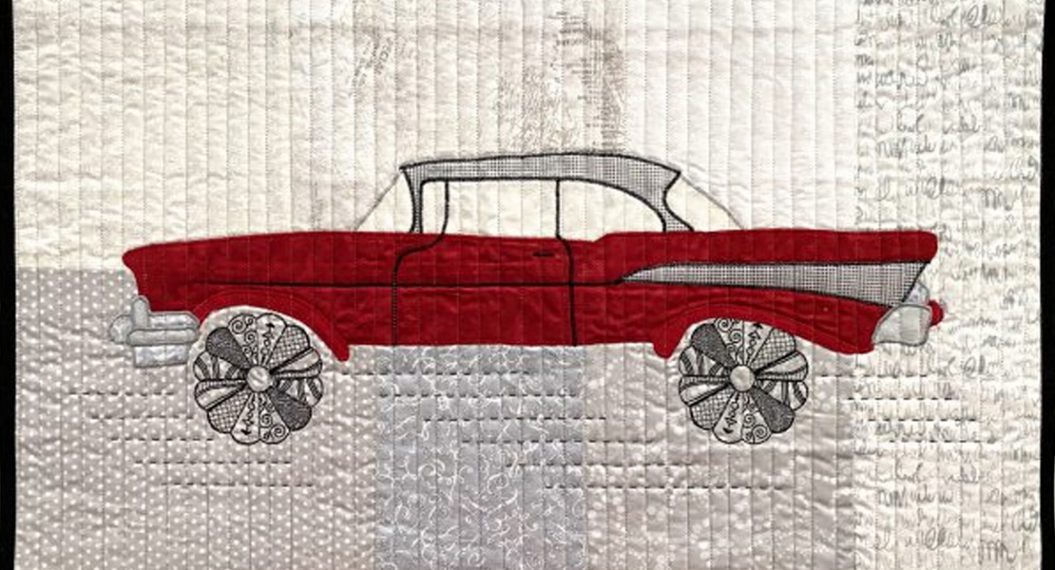
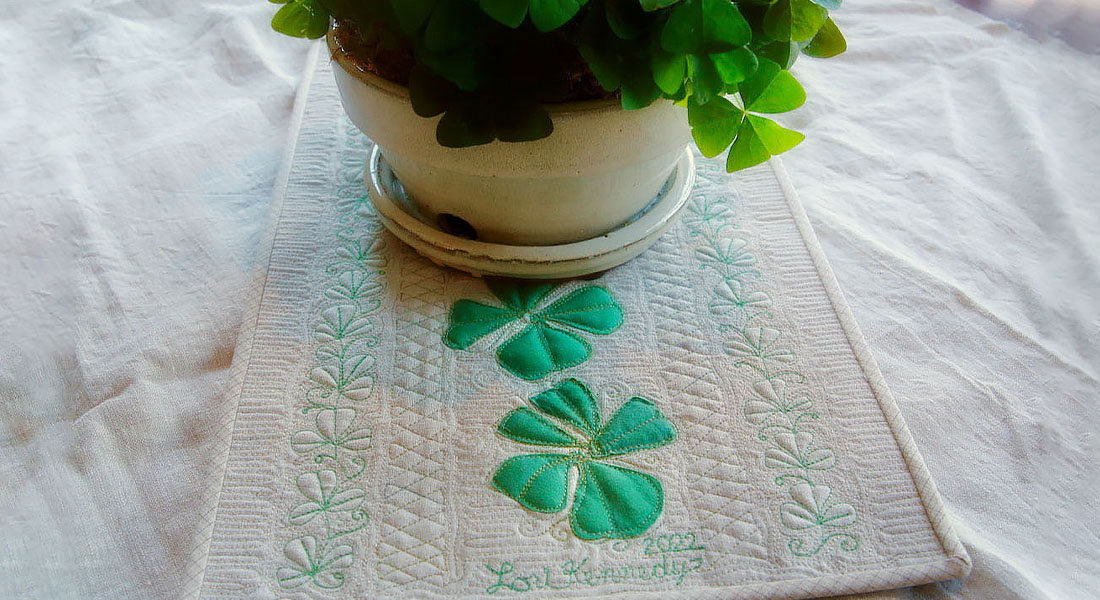
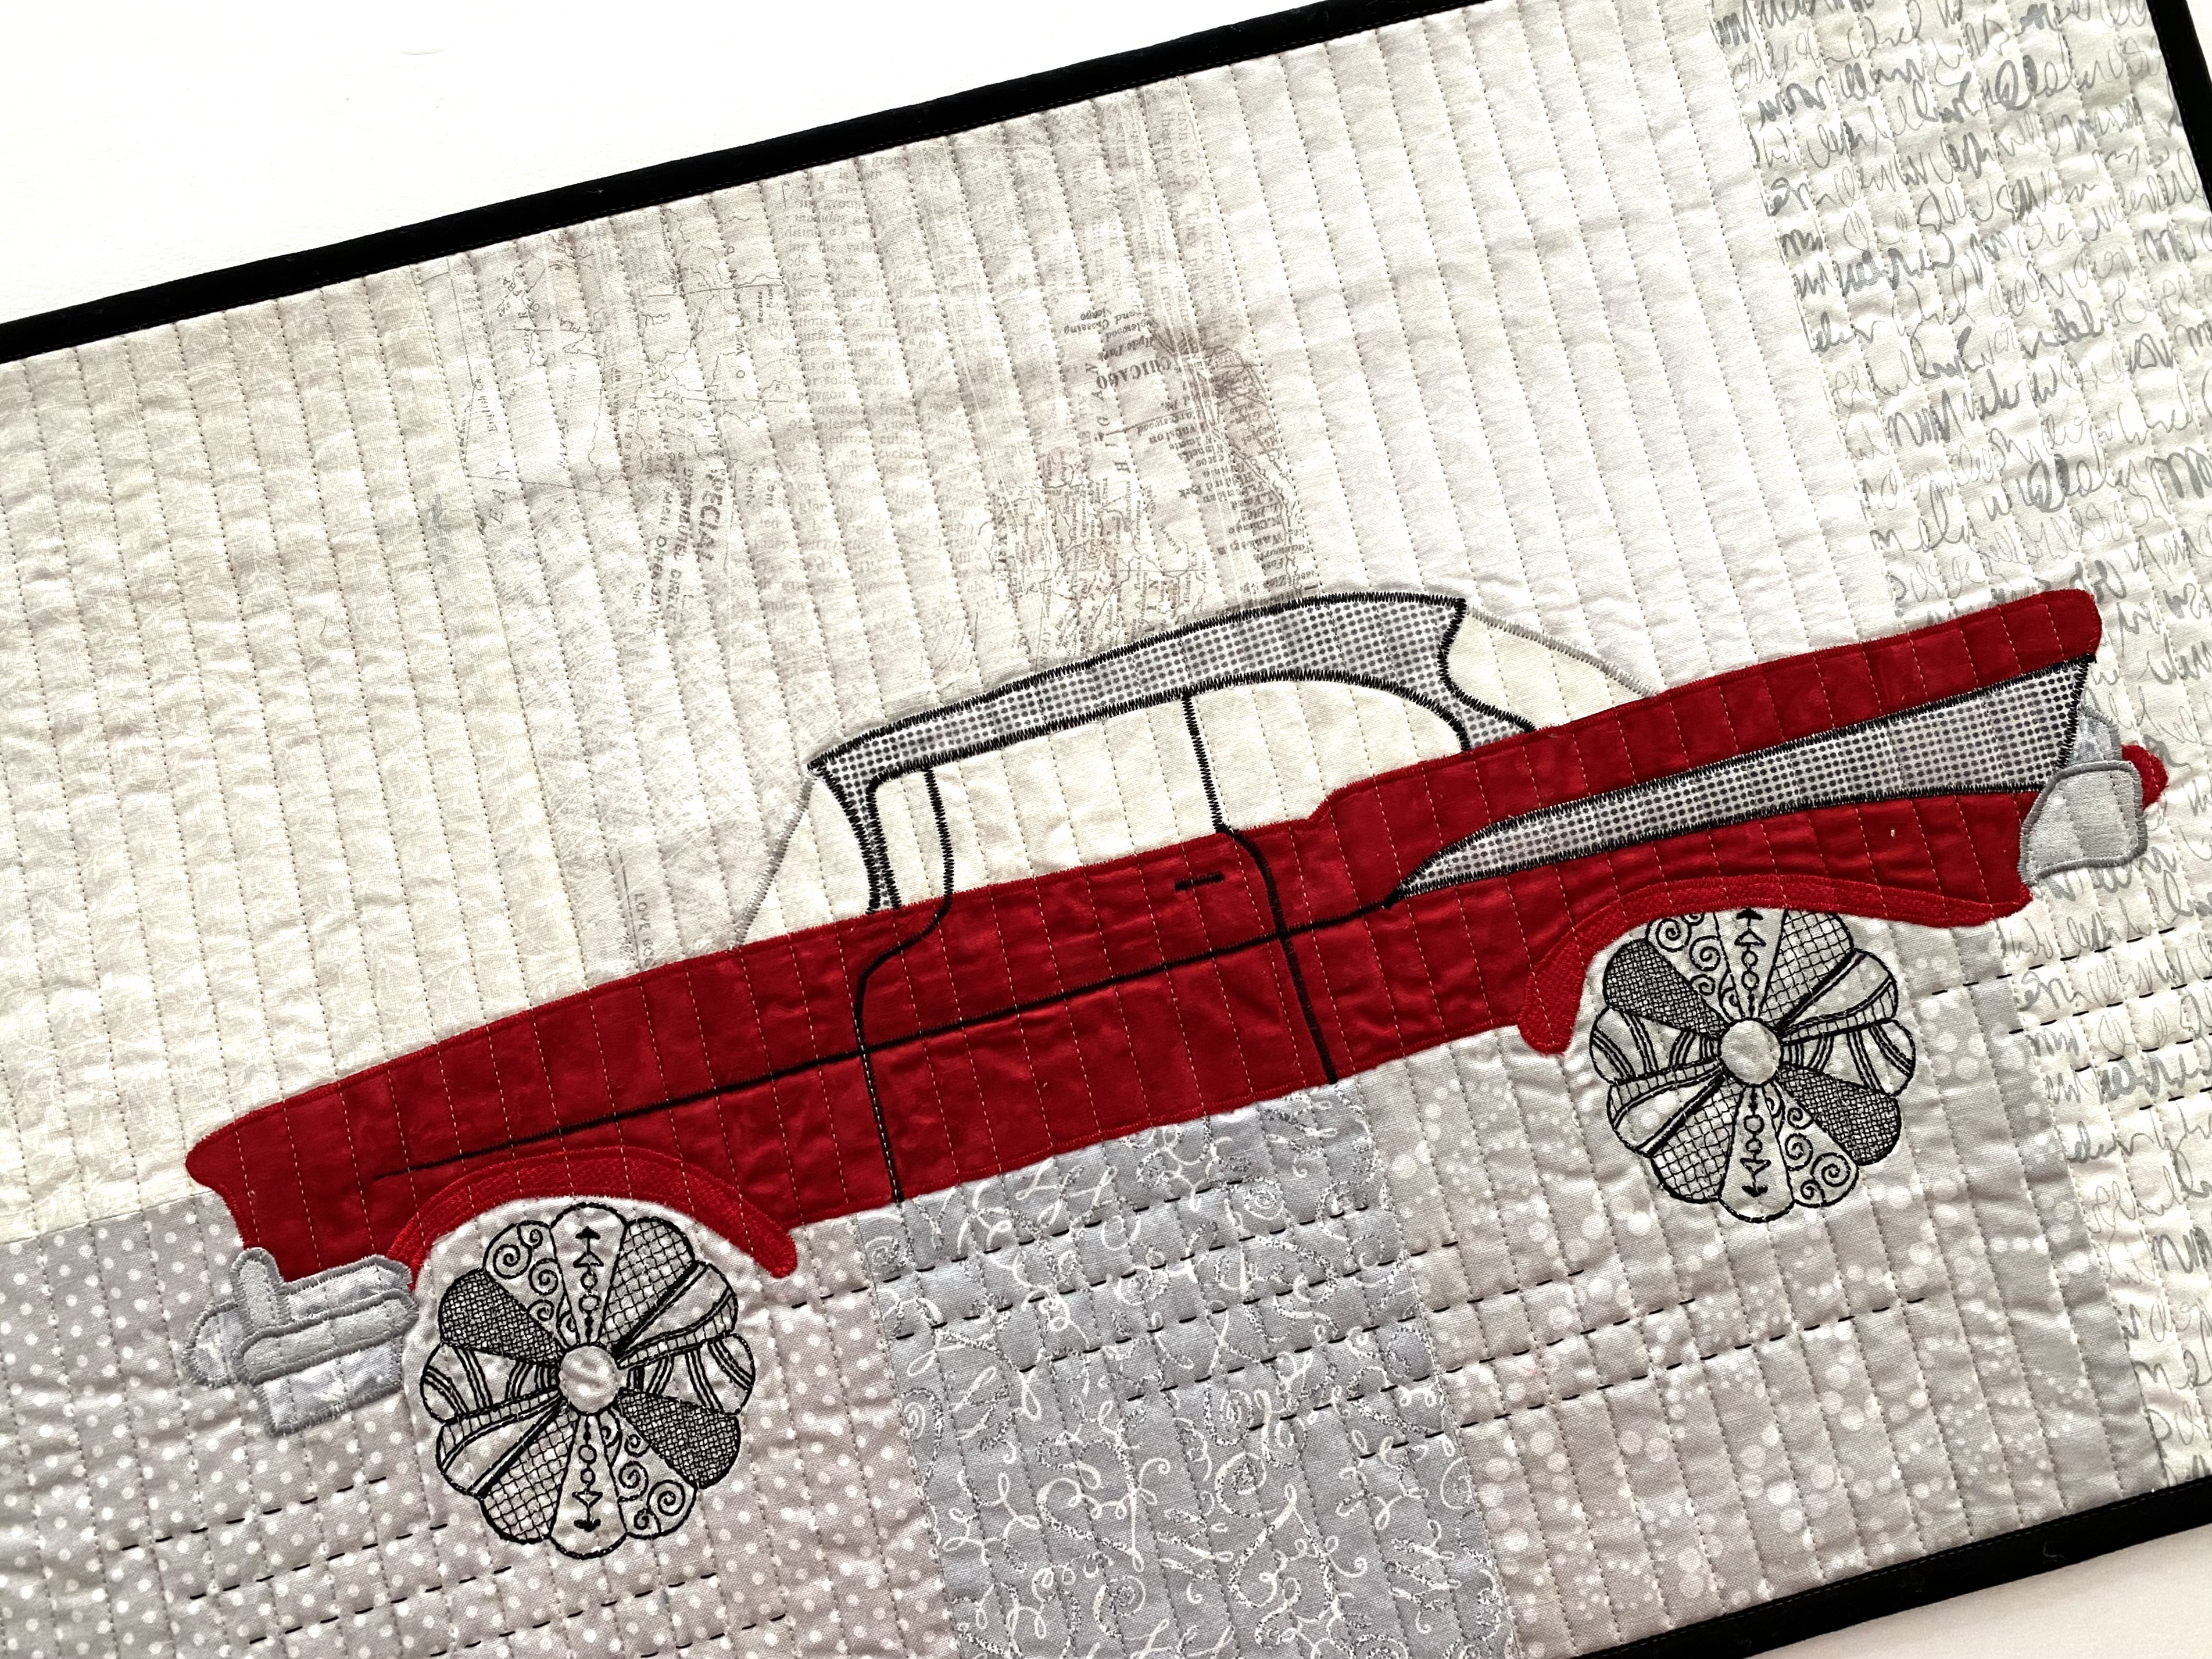
• Here’s the finished That Old 57 Chevrolet Art Quilt. It should be completed but it feels like it’s missing something. Time to ponder and experiment so more.
Additional Details
The car feels like it’s floating…cars don’t float..especially these old, heavy relics.
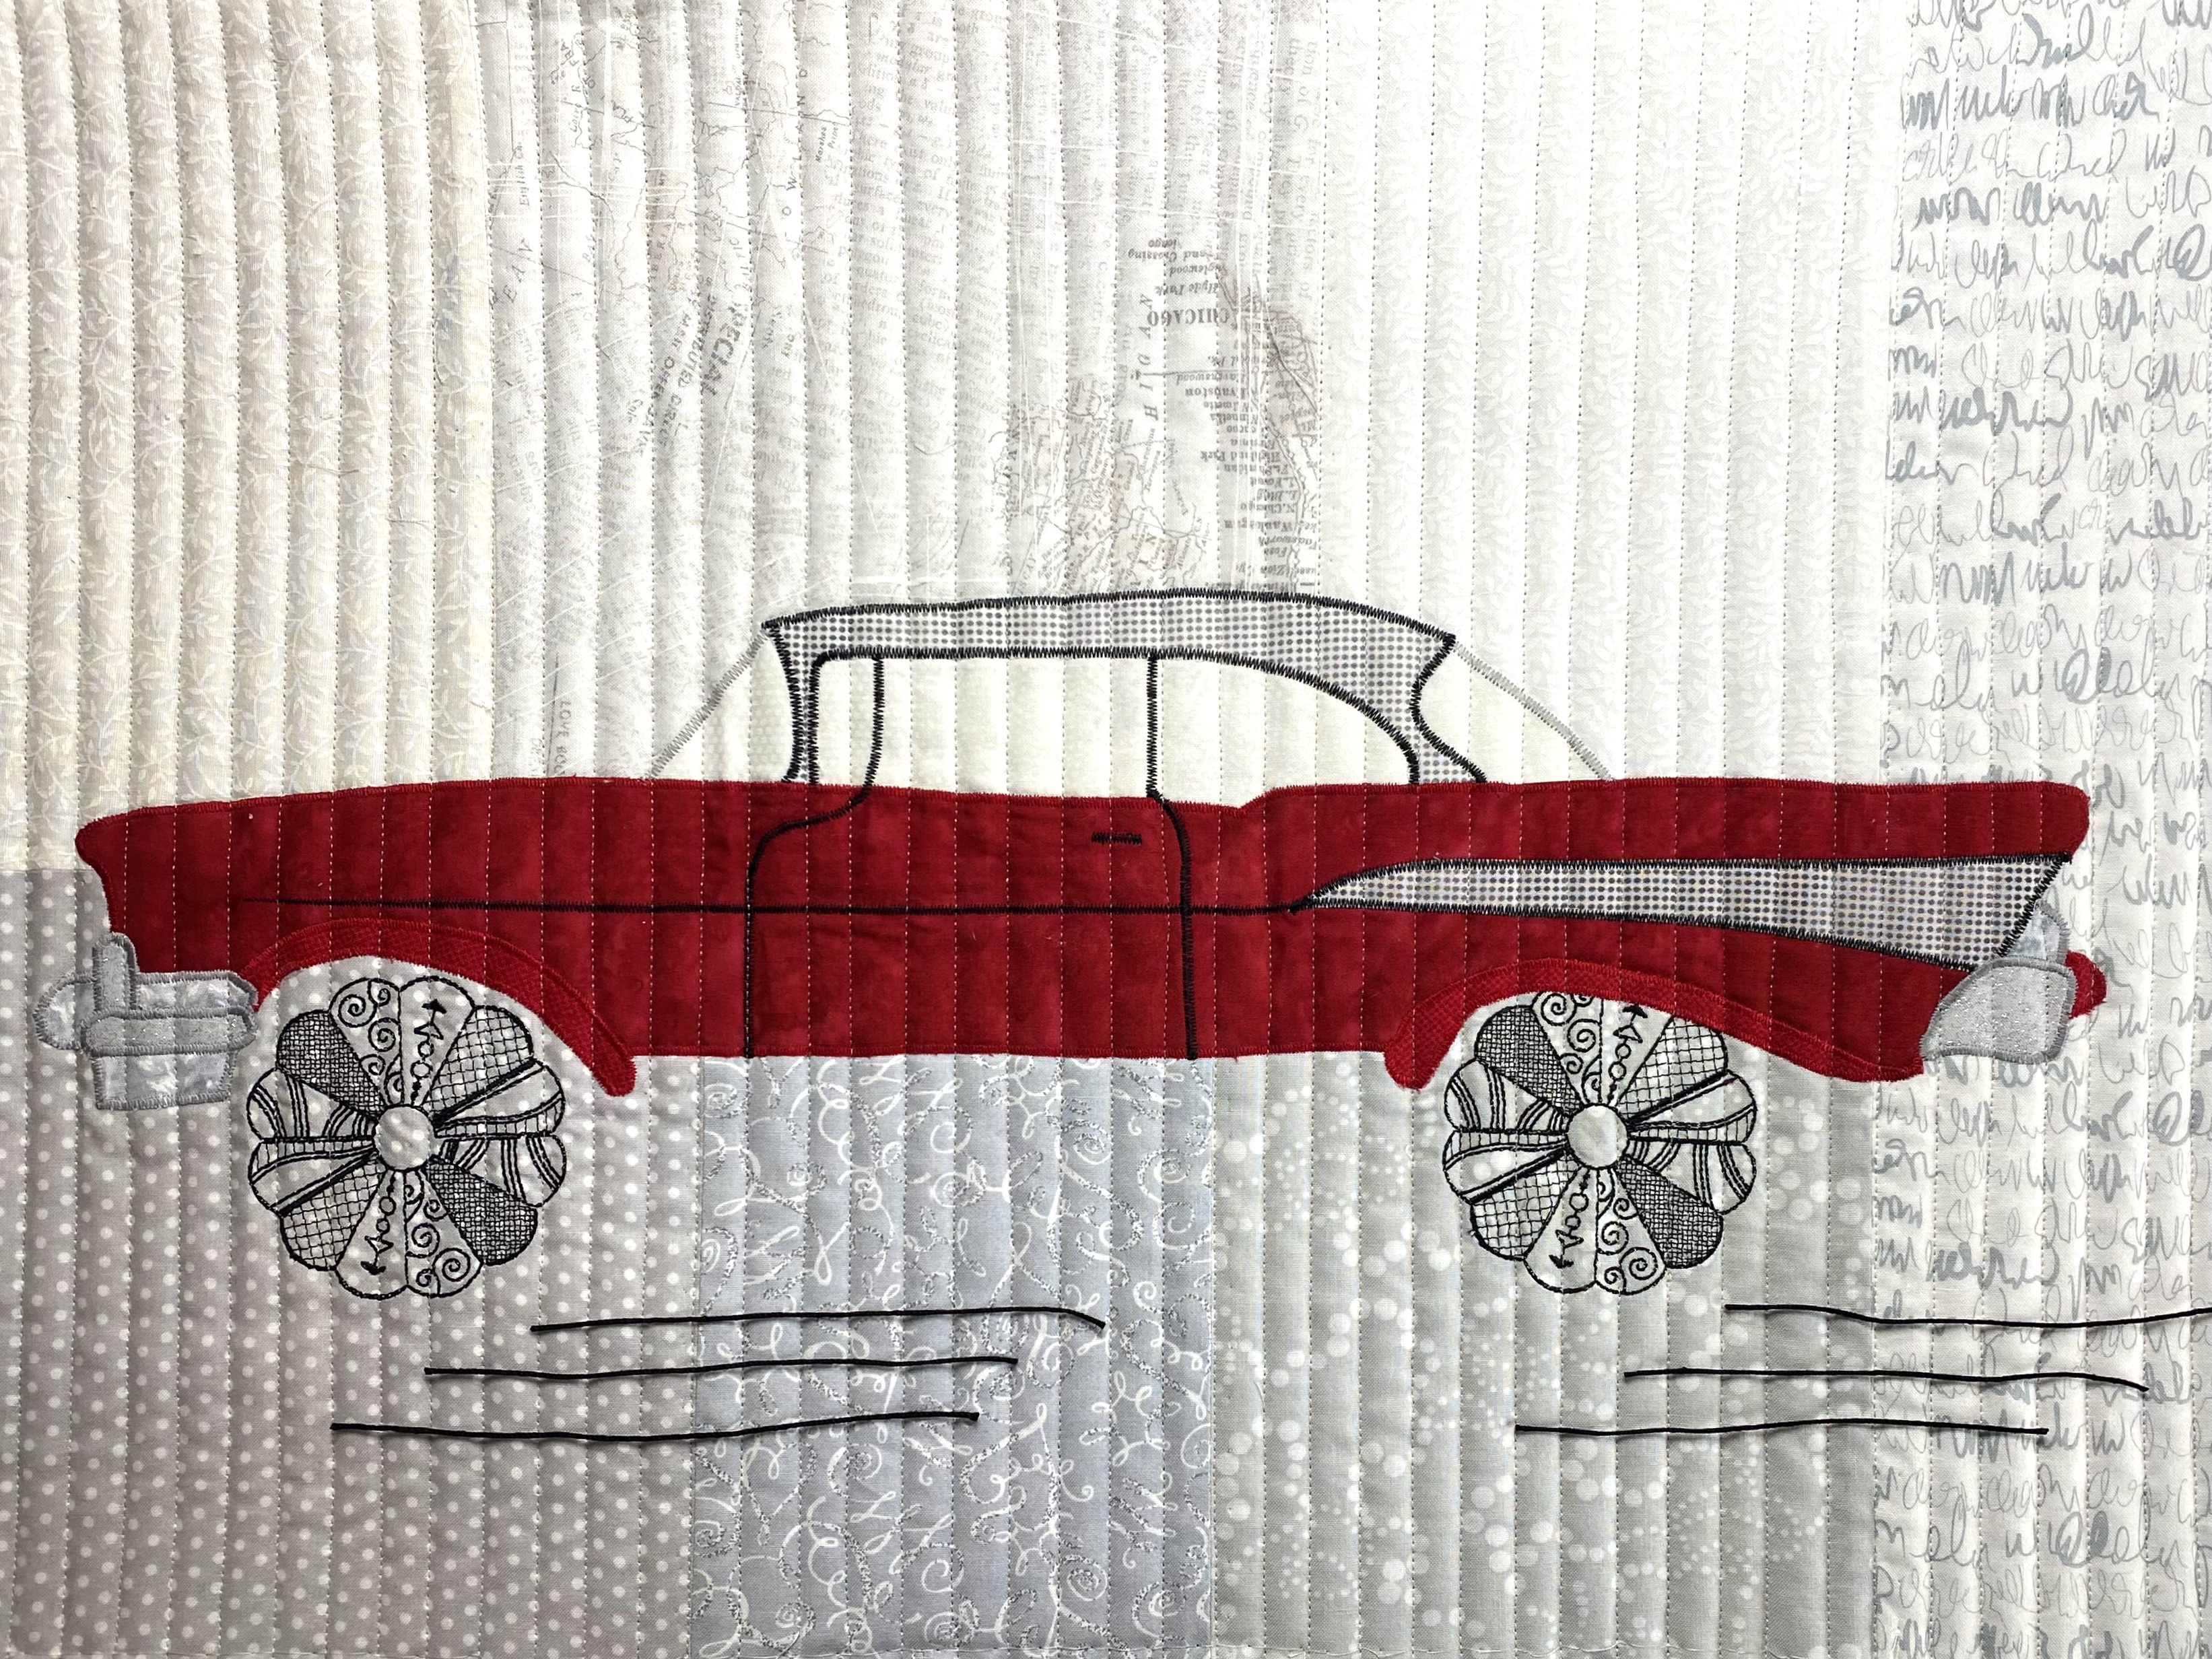
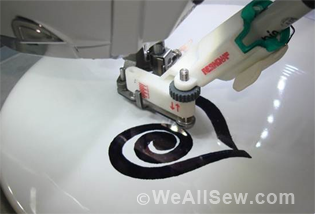
Auditioning details to ground the car with clipping from a supply of black crochet cotton. Positioning and heaviness of strands still feels wrong. Bobbin work or couching yarns would work better however the stitching might stretch the vertical quilting lines causing distortion of the finished piece. Still Pondering.

Two strands of Masterpiece black thread hand stitched in three sections secured the car to the ground. Not only did the floating disappear but the staggered lines provide movement forward. The zippy feel is just right for a ’57 Chevy.
Ready to race off to the next project.