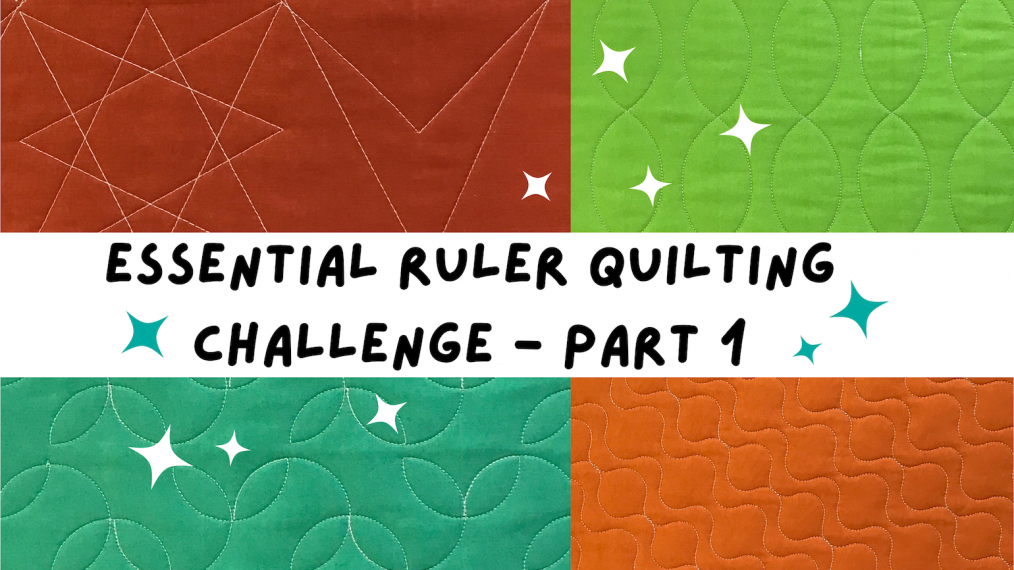
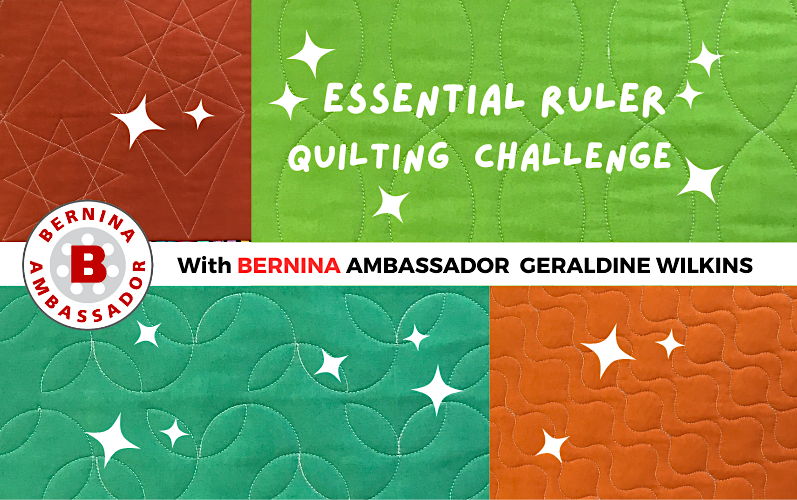
Essential Ruler Quilting Challenge, Part Four: Waves
Welcome to the Essential Ruler Quilting Challenge! This is part four of the ruler quilting challenge where we stitch rulerwork designs with a squiggle ruler.
If you are joining the Essential Ruler Quilting Challenge for the first time, it is not too late. Please review the introduction for the supply list. Join the challenge and work at your own pace. Below are links to each week of the challenge.
Part One – Learn rulerwork with a straight ruler.
Part Two – Learn three ruler quilting circle designs
Part Three – Learn curve rulerwork designs.
![]()
Join the challenge and download the image above. Share it on social media. Let quilting friends know about the challenge. Use the hashtag #rulerquiltingchallenge
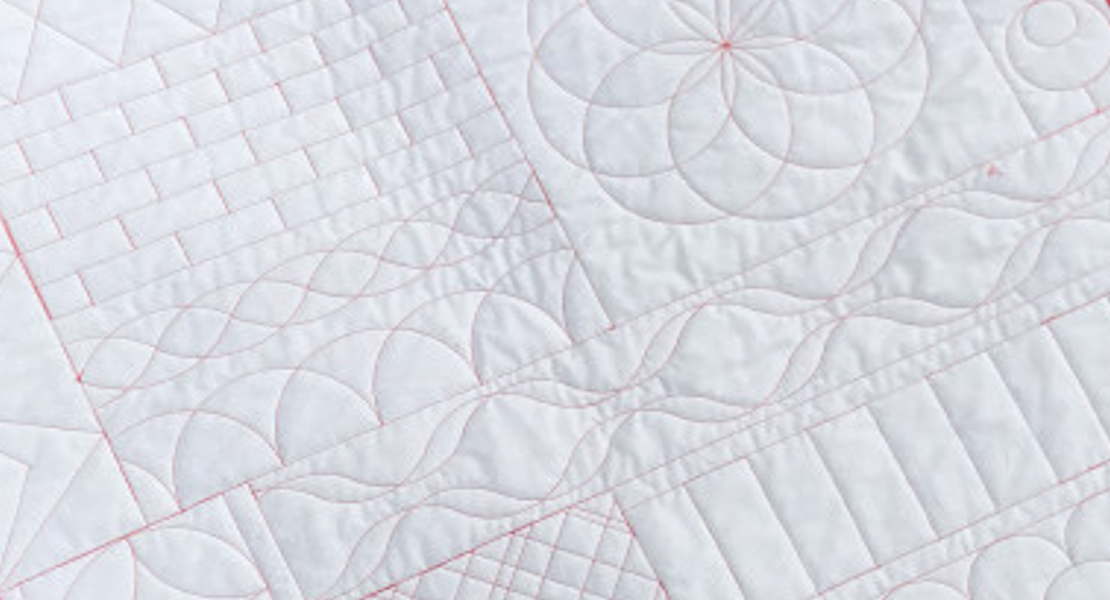
Essential Ruler Quilting Challenge – Waves
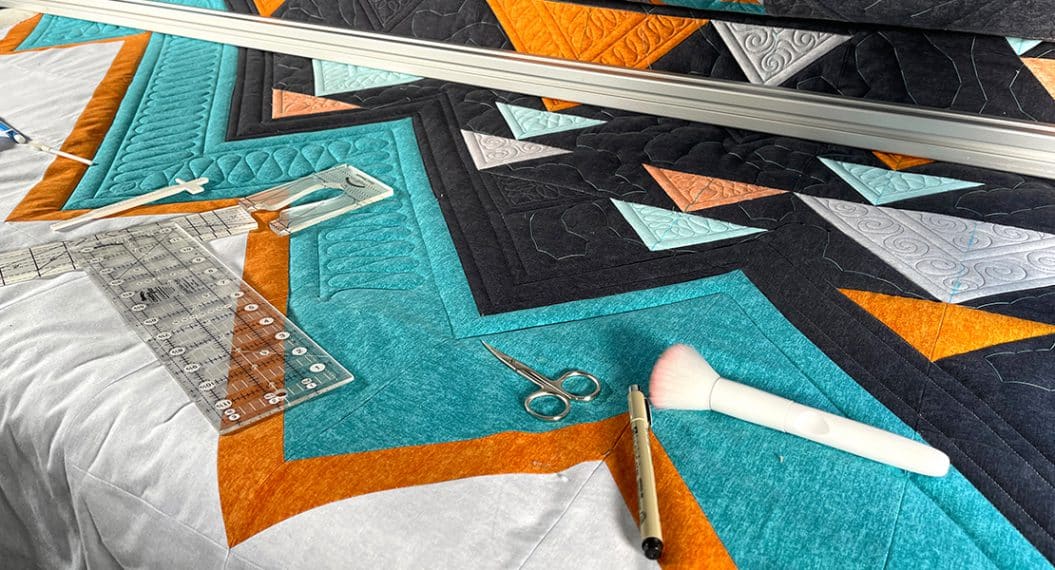
Now we are ready to use the squiggle ruler to stitch three rulerwork designs. The challenge includes three designs and stitching techniques using a squiggle ruler.
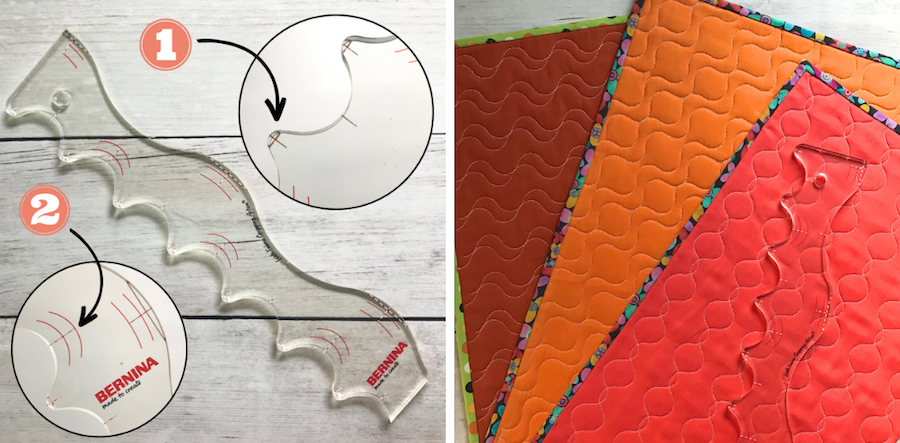
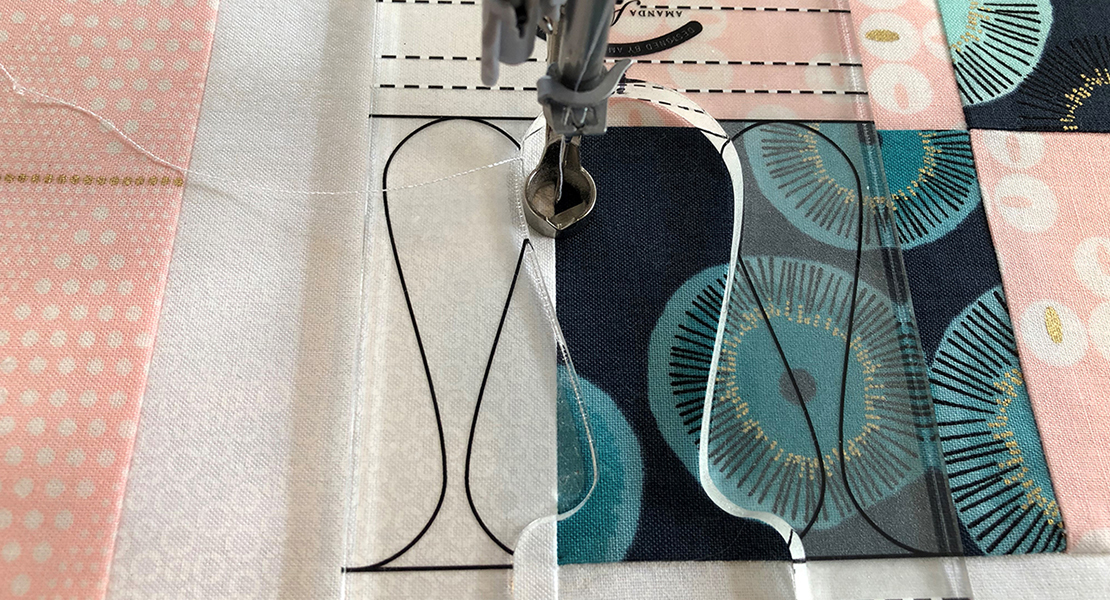
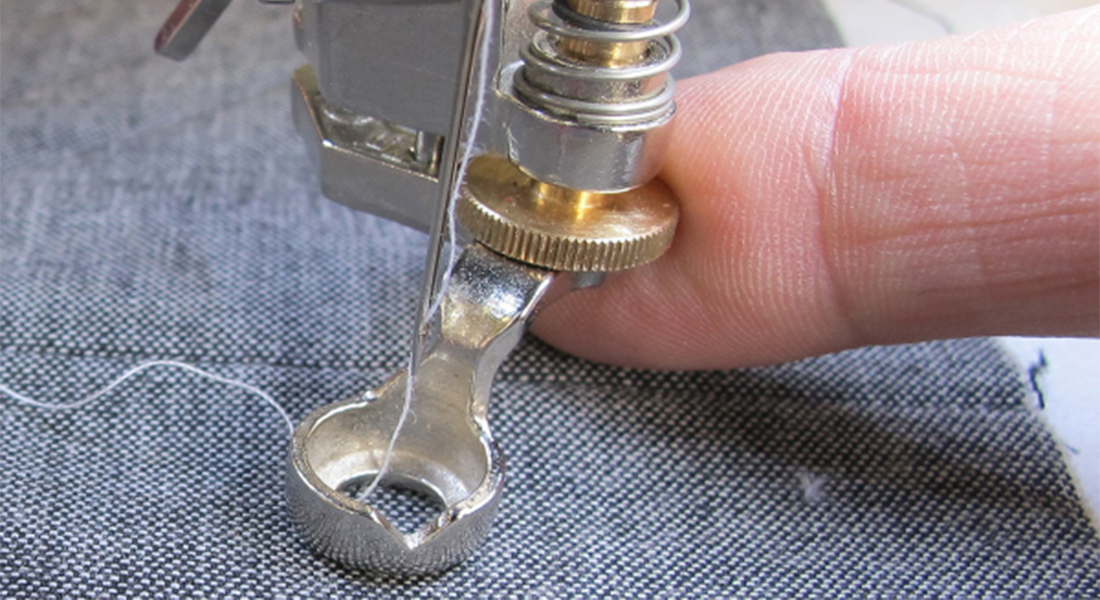
Rulerwork With A Squiggle Ruler
1- Ruler reference lines help us place the ruler in the right place for repeatable patterns within a design. Sometimes we will use both the drawn fabric reference in conjunction with the ruler reference lines.
2 – Red lines on the ruler, the ruler reference lines, help stitch echoes of the squiggle at 1/2” and 3/4” distances.

Step One
Make the small quilt sandwiches as indicated in the supply list.

Step Two
See instructions below to mark reference lines on the small quilt sandwich for each design. Also, carefully mark the lines on fabric to successfully stitch the design.
Step Three
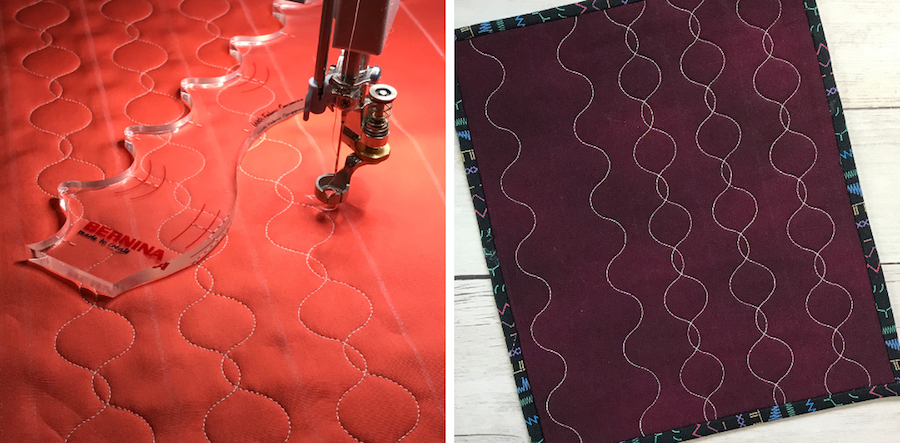
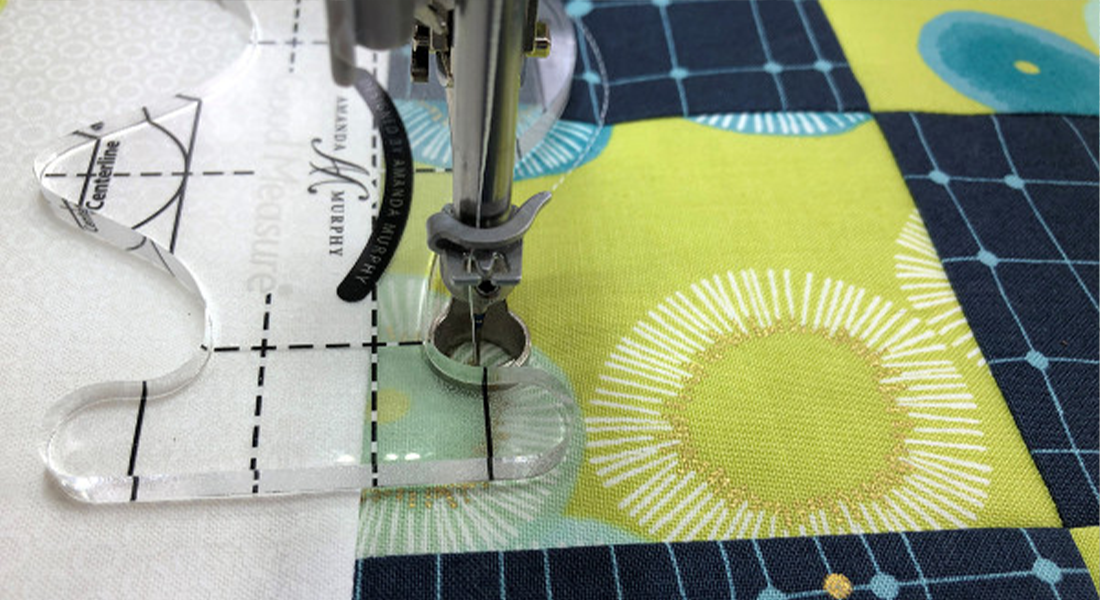
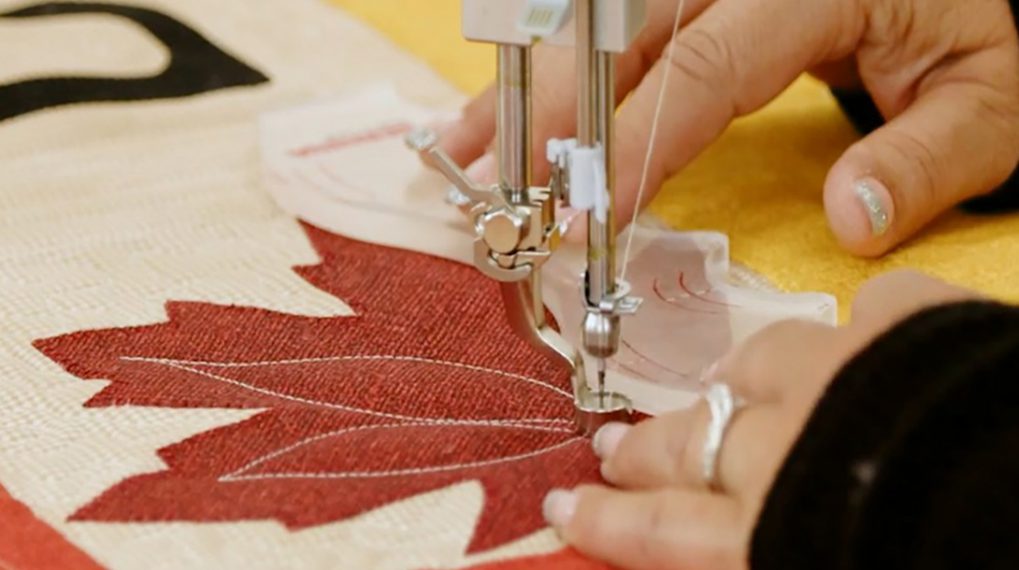
Setup a home machine or a longarm for free-motion ruler quilting. I used a BERNINA Q 20 sit-down longarm.
Step Four
Next, watch the videos below to learn how to stitch pearls, echo pearls and ribbon rulerwork designs.
Step Five
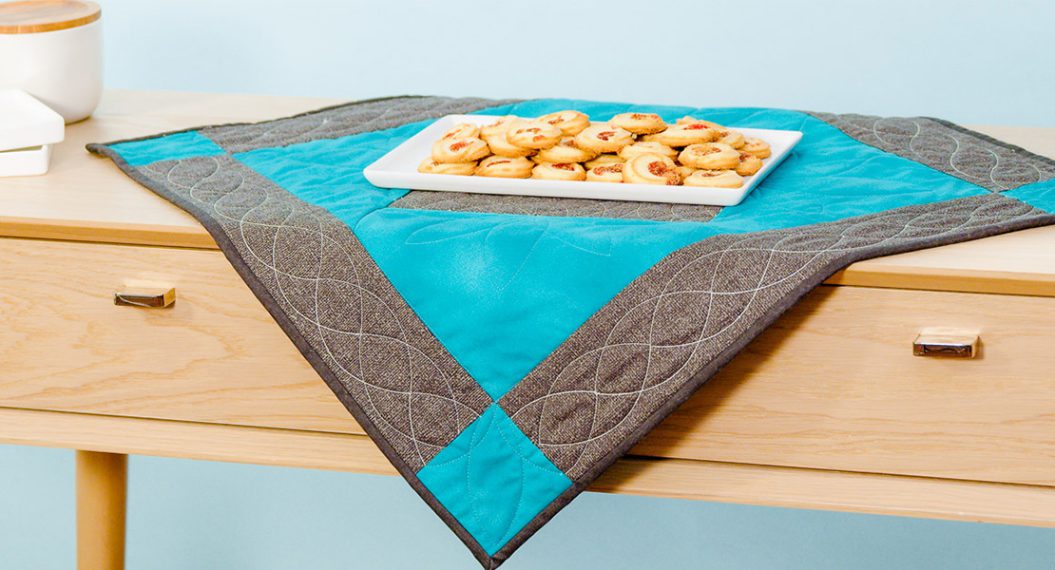
Lastly, we want to apply these ruler quilting techniques to a larger quilt sandwich to create an edge-to-edge design.
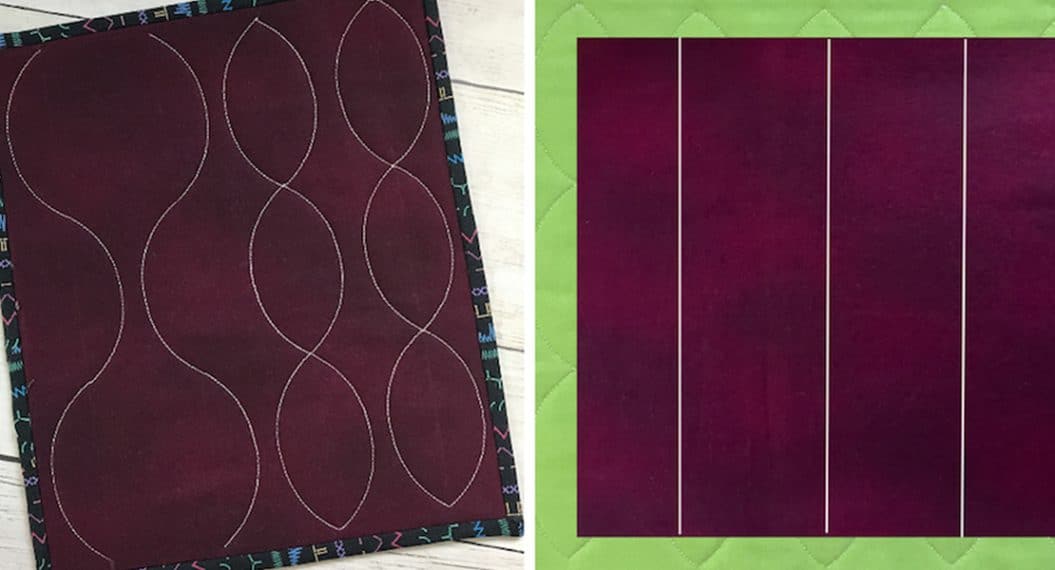
Rulerwork Pearl Design
Next, mark vertical reference lines on the small quilt sandwich 1-1/2” apart. Also mark one horizontal reference line at the top of the sandwich.
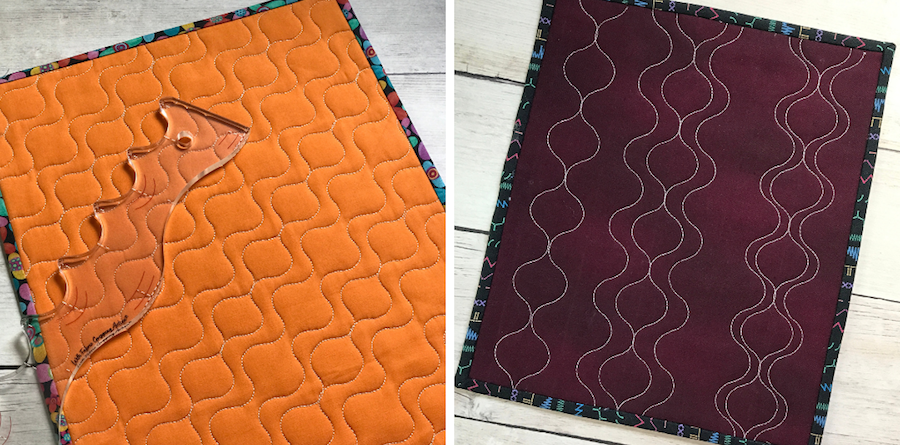
Rulerwork Echo Pearl Design
Finally, mark vertical reference lines on the small quilt sandwich 2 1/2” apart. Also, mark one horizontal reference line at the top of the sandwich.
Rulerwork Ribbon Design
Instead of fabric reference lines used above, mark reference lines on the small quilt sandwich 2-1/2” apart. Also, mark two horizontal references lines at the top of the quilt sandwich and 1/4″ apart

CONGRATULATIONS! We had several fun weeks together learning ruler quilting designs and techniques. I look forward to seeing your practice quilt sandwiches and other quilt projects quilted with Essential Ruler Quilting Challenge designs!
Used Products


What you might also like


2 comments on “Essential Ruler Quilting Challenge, Part Four: Waves”
-
-
Hi Dottie, I understand. Give ruler stickers a try to replace the marking. You are very welcome.
-
Leave a Reply
You must be logged in to post a comment.

My Bernina squiggly ruler does not have the same markings, maybe it’s an older version. Thank You for these lessons