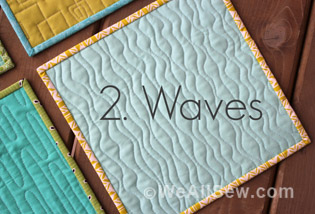
Rulerwork for Beginners Series, Part 7: Waves
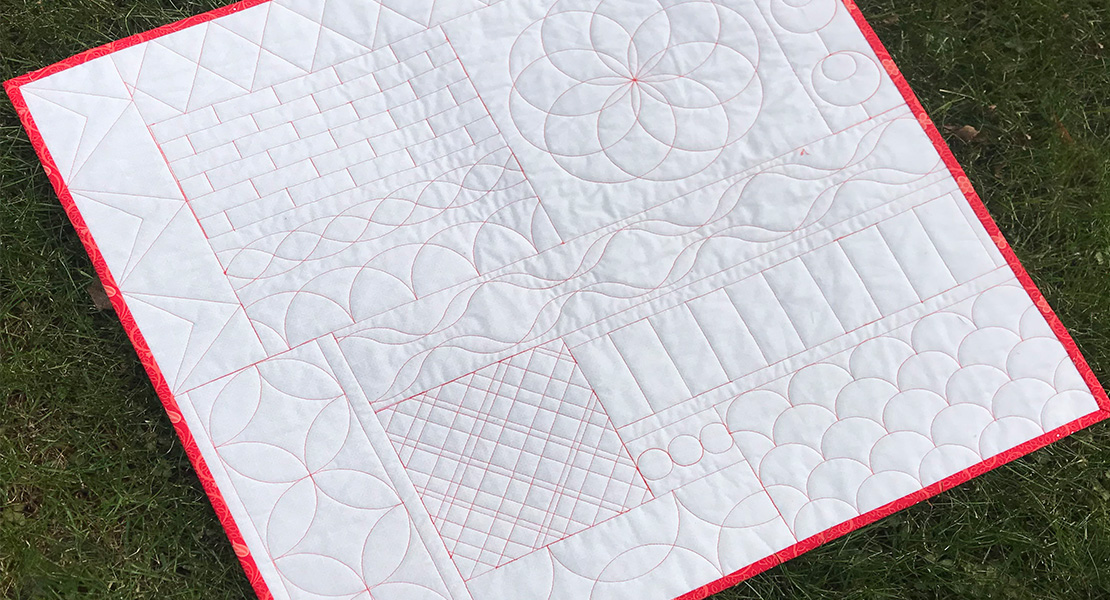
This month it is all about stitching waves—a very easy and a very versatile design. Take a look at the roadmap to see how we are going to use these rulers.
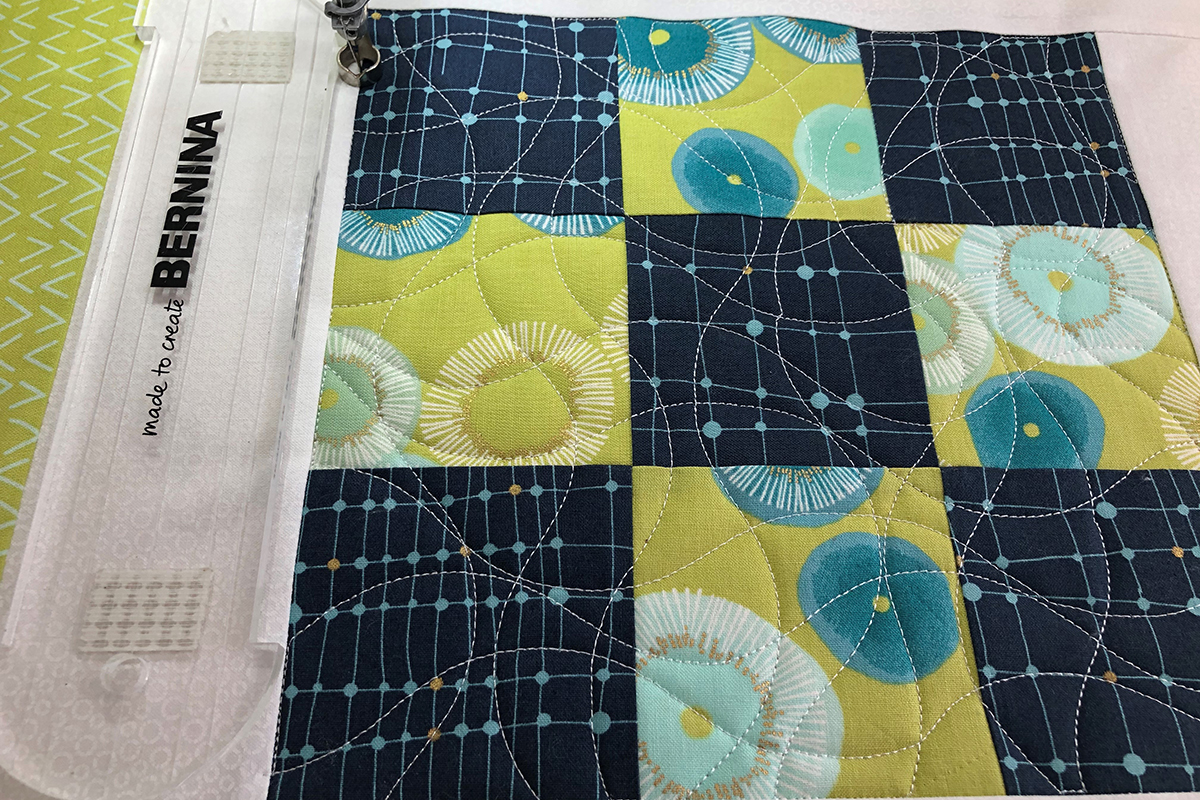
I have used Good Measure Amanda Murphy Every Wave Ruler Set, but you can also see there is a BERNINA Wave ruler. These designs could be done with the BERNINA Ruler, but they will just look different as the wave is smaller. But you could also create a new design!

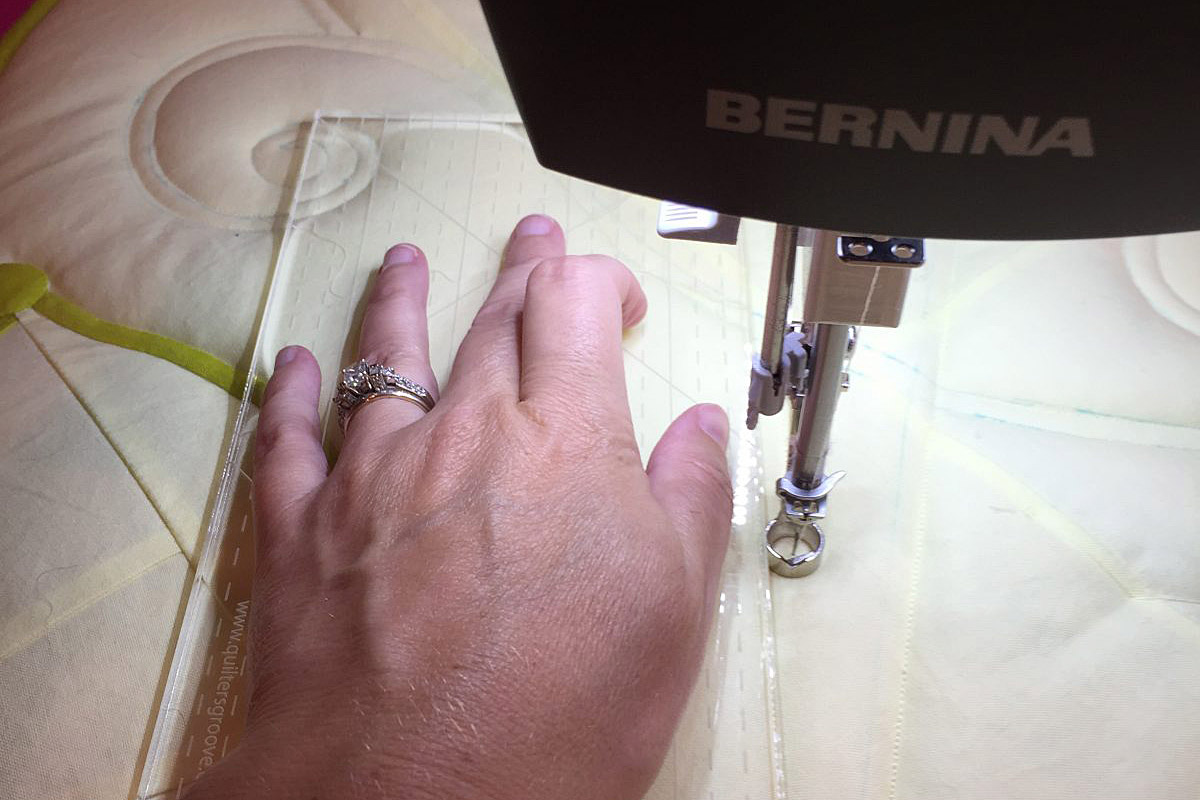
We will begin with the center 9-Patch, quilting wavy lines both horizontally and vertically. Remember if you are at a sit down machine, you should get used to quilting both horizontally and vertically and not turn your fabric. Use the gentle curved side of the 1” Wave ruler or the gentle side of the BERNINA Ruler. Begin at the top edge of the 9-Patch a little in from the corner.
The ruler may be held straight at times or at different angles at times. When you get to the end of the Good Measure Wave Ruler, there will be a notch. Stop at the notch with needle down.

Move the ruler and continue to the bottom edge of the 9-Patch.
To move to the next line of stitching, stitch in the ditch. You may use a ruler to do this.
Stitch vertical lines across the square varying the spacing and the curves.
When the final vertical row has been stitched, stitch in the ditch to the corner and up the side to begin horizontal rows.
When all the rows of stitching are complete, stitch in the ditch all the way around the 9-Patch.
This completes the center of the block.
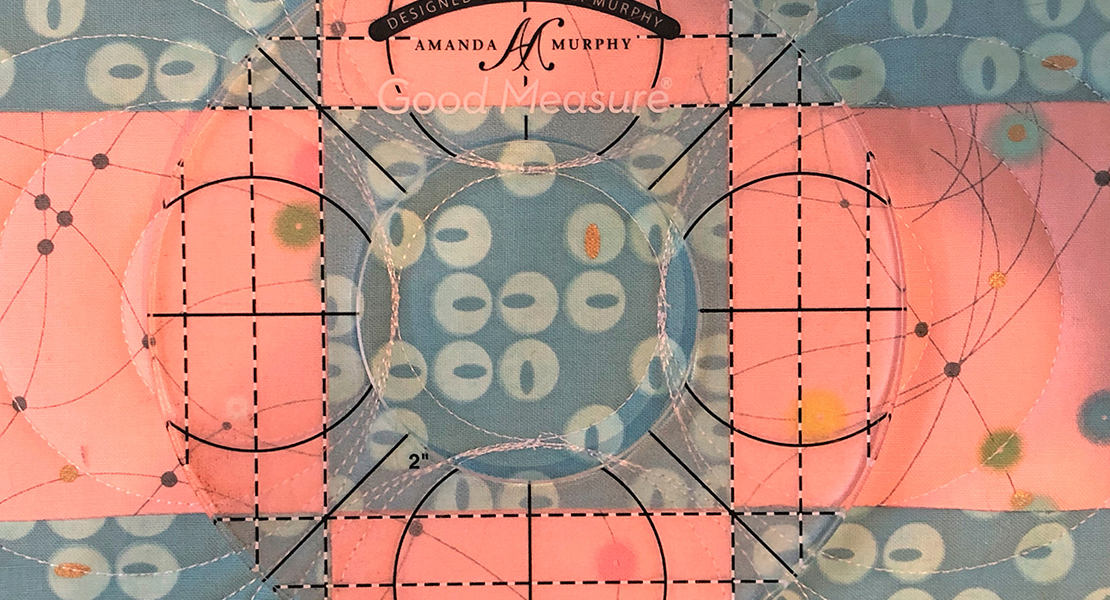
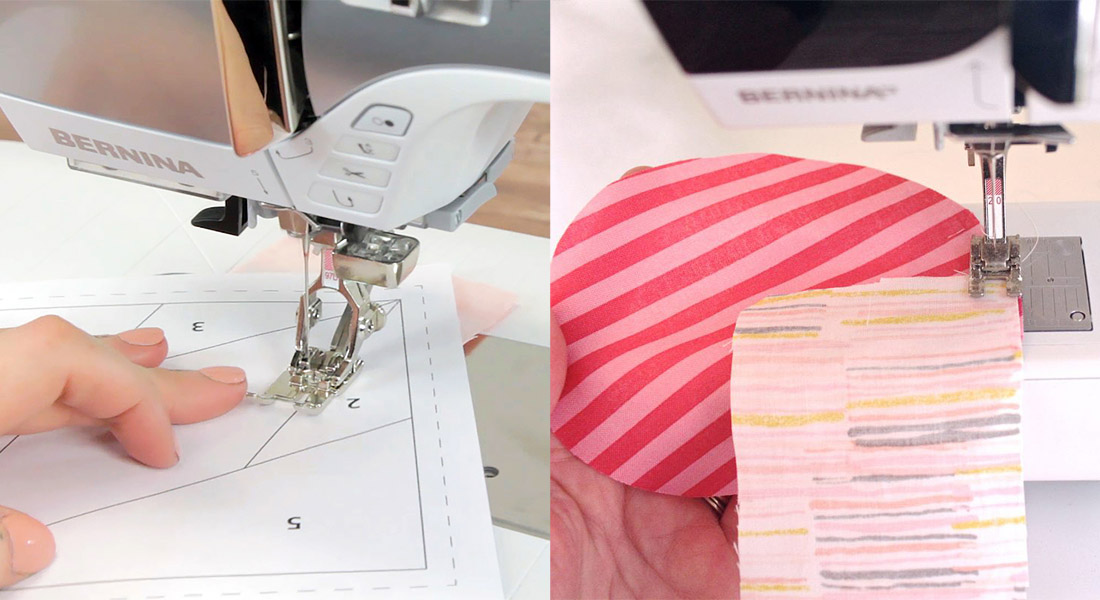
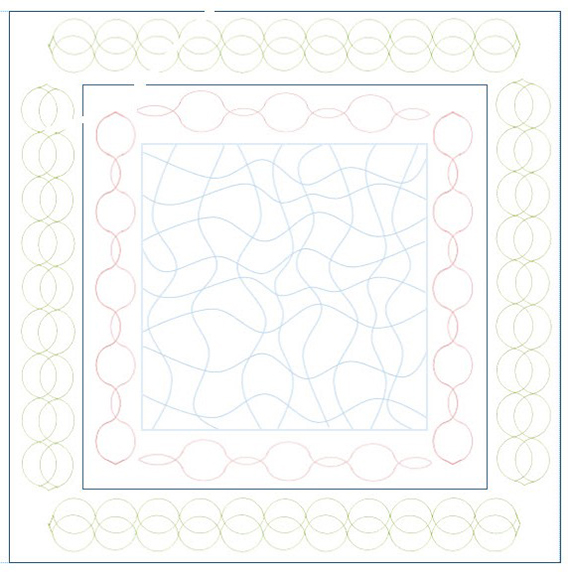
Now it is time to move onto the wave design in the borders. When playing with wave rulers, you may use them for simple waves to fill an area, or you can overlap the waves to create wonderful geometric designs. To play with creating designs before you actually get to the fabric, you may want to use a “pattern wheel” or a “stitching line disc” to draw 1/4″ away from the ruler so you can see exactly how the design will stitch out. This little device is something most ruler companies carry. By placing a pencil in the center of the disc and drawing along the edge of the ruler you are getting the actual size and shape of the design.
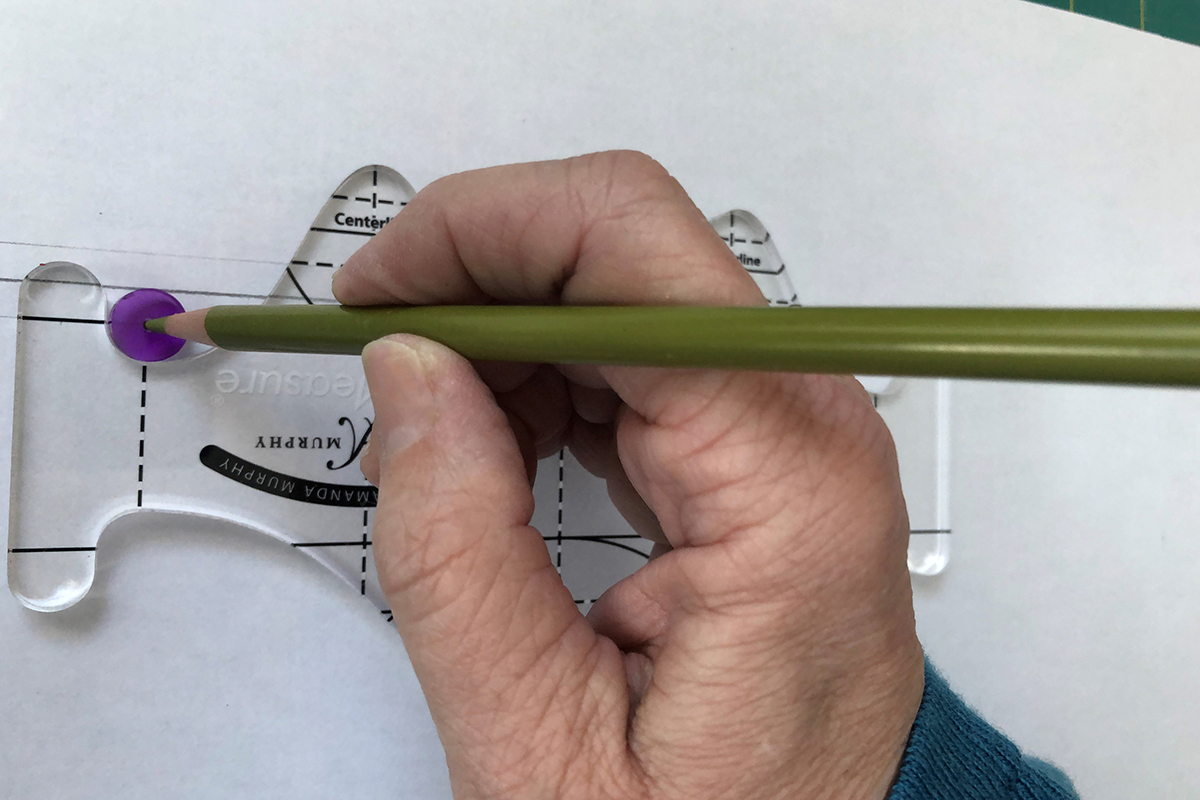
If you would like to draw out this design or play with your own design, begin by drawing a centering line on paper. Here I have drawn lines 1/4” on each side of the center line. If you are creating your own design, place whatever lines you feel you may need to keep a design straight. Check out the lines on the rulers to see how far apart they are, and then draw your lines accordingly.
Begin with the first border of our block. Mark a long center line in each border. They should overlap in the corner. Mark lines 1/4” to each side of this center line. Mark a diagonal line in each corner.
We will be stitching two long designs and two short designs. Let’s begin with the long borders.
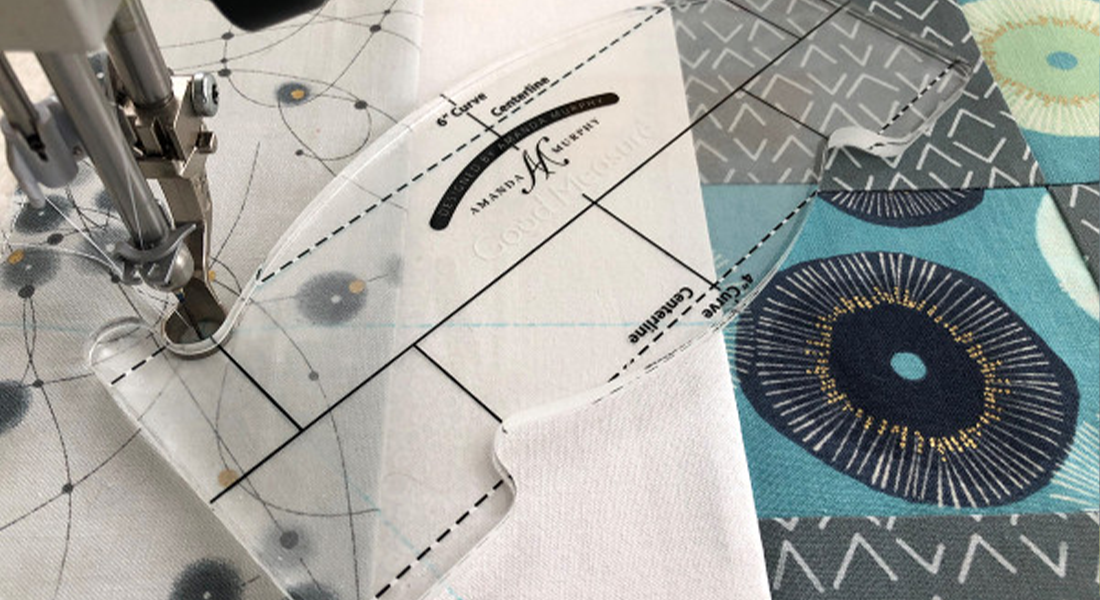
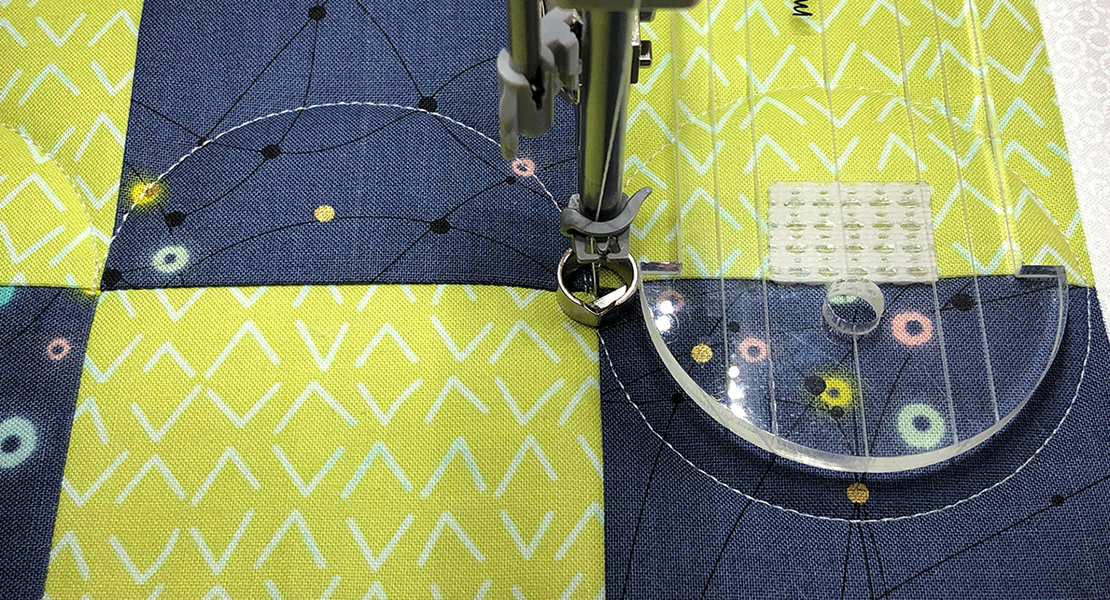
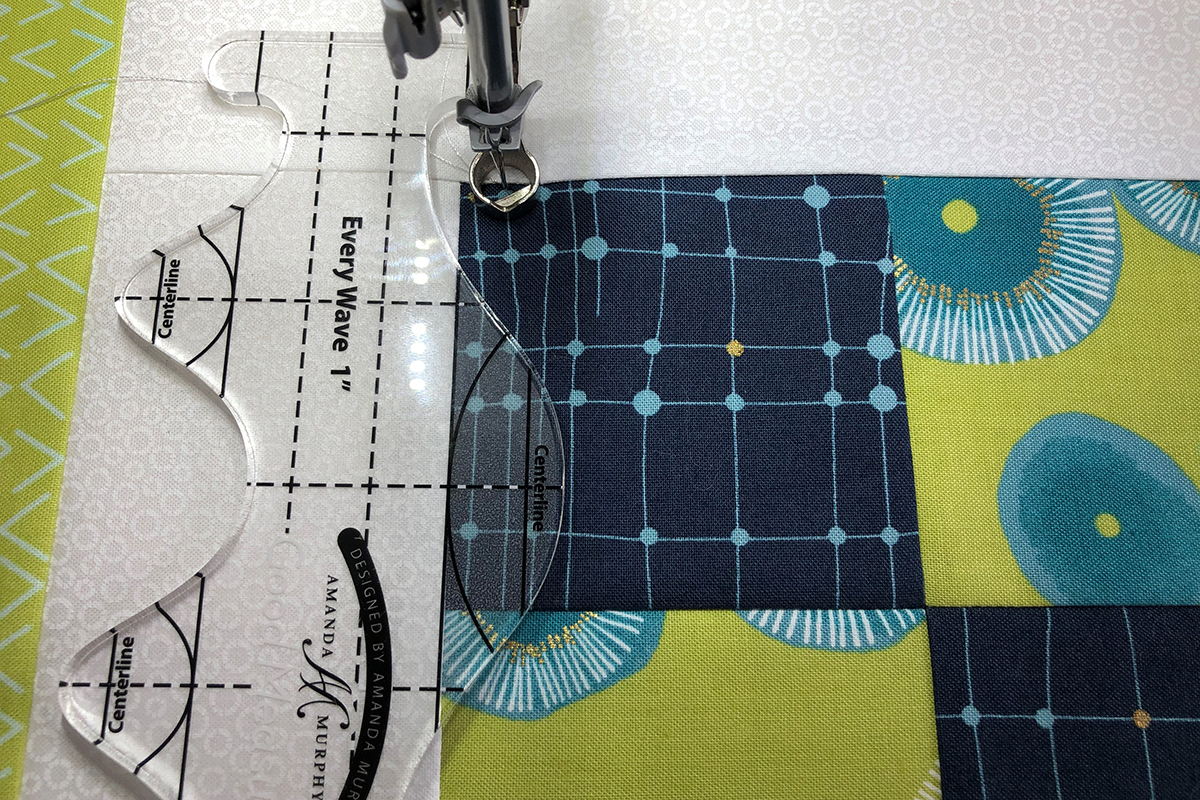
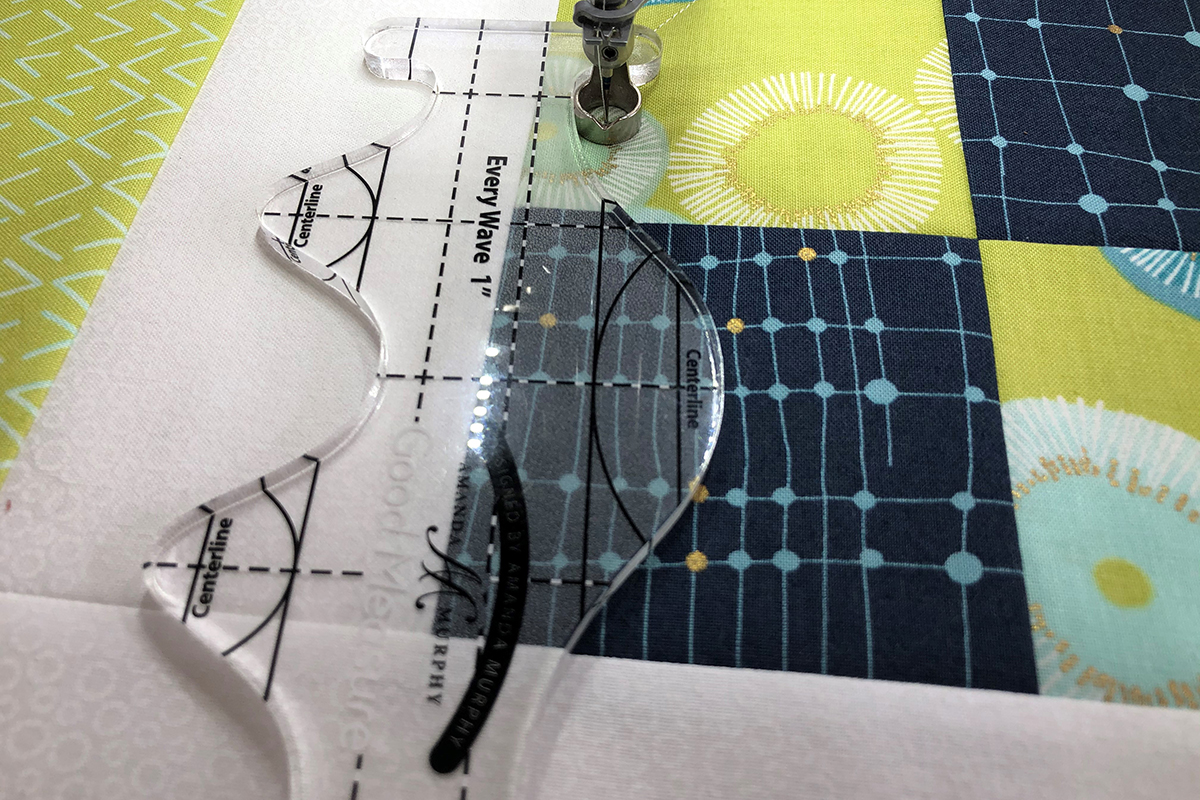
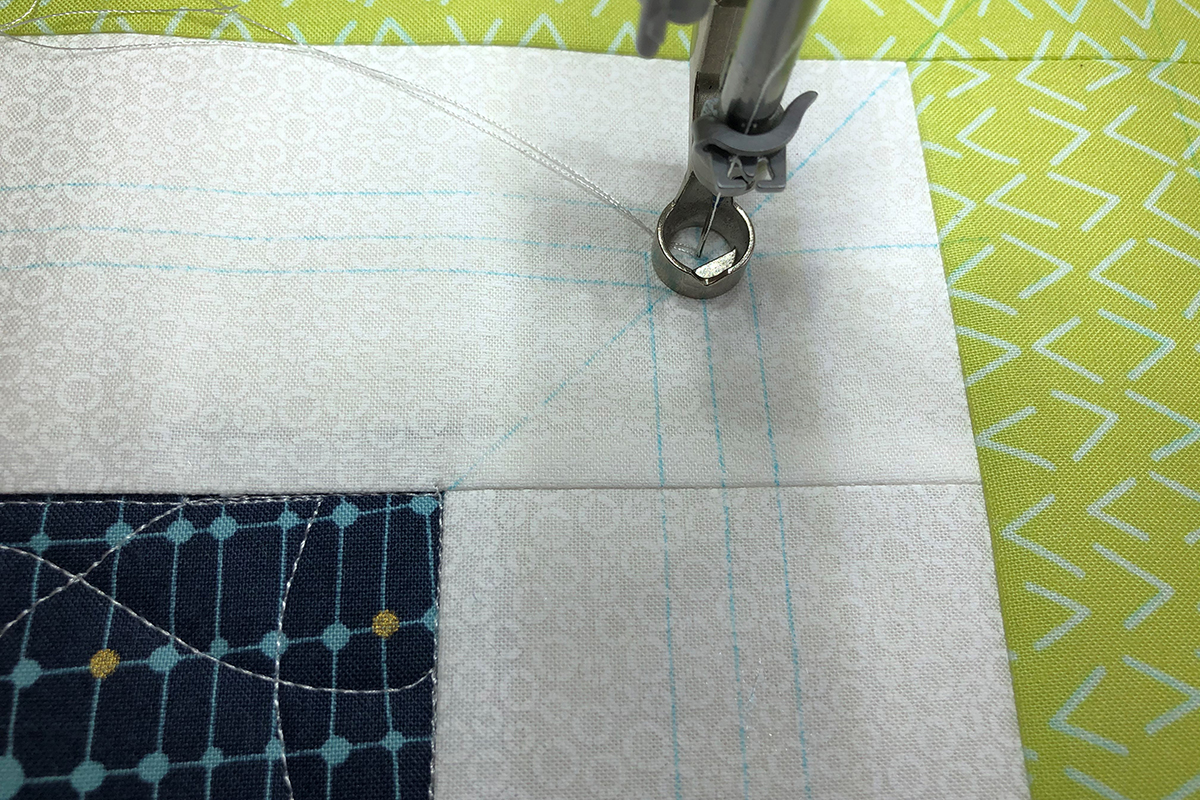
Lower the needle into the corner intersection as seen in previous photo and lower the foot. Place the 1” Wave Ruler with the wave pointed towards the outer border. The lines on the ruler should lay on the 1/4″ lines marked on the fabric. When you first place the ruler and line up the ruler lines with the marked lines, you will be starting on the slope of the first wave.
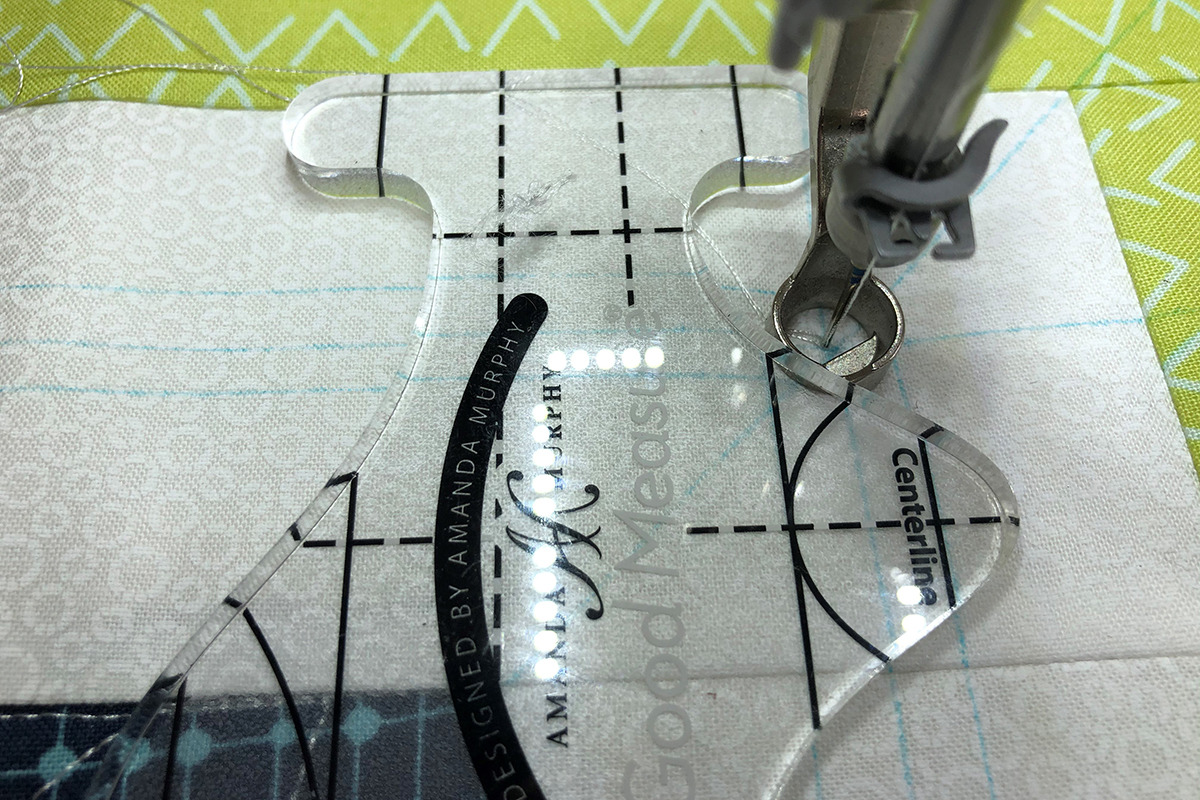
Stitch across the border. The row should end with a complete pattern at the other intersection of lines. Stop with the needle down. Turn the ruler in the opposite direction and line up the lines again. Stitch back across the border. Know that if the ruler slips at all in the first stitching line, you may have to do a little adjusting in the second row of stitching. Repeat the design in the opposite border.

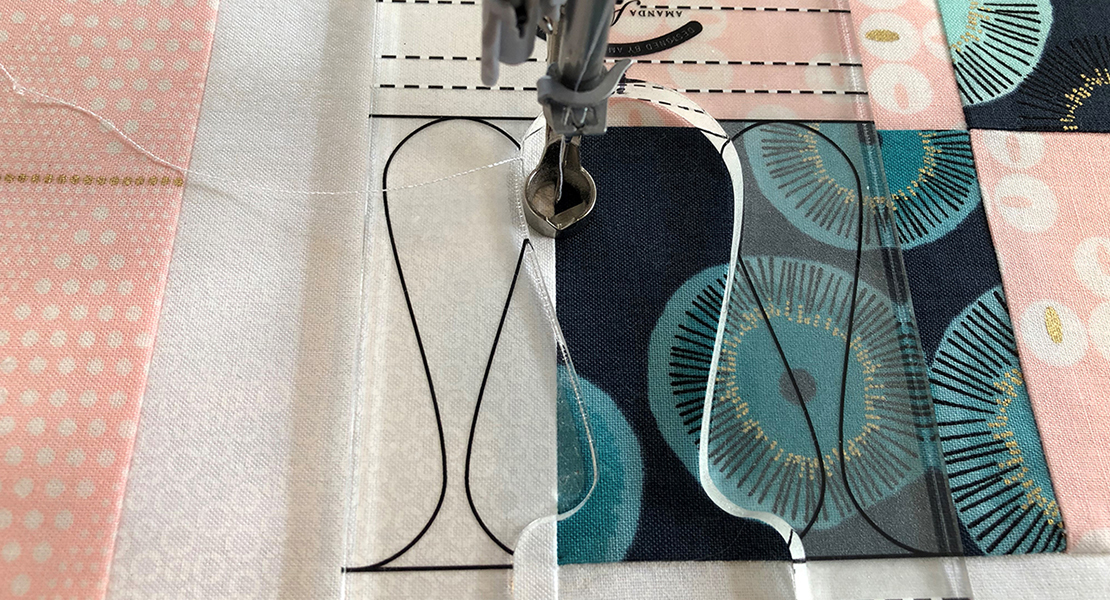
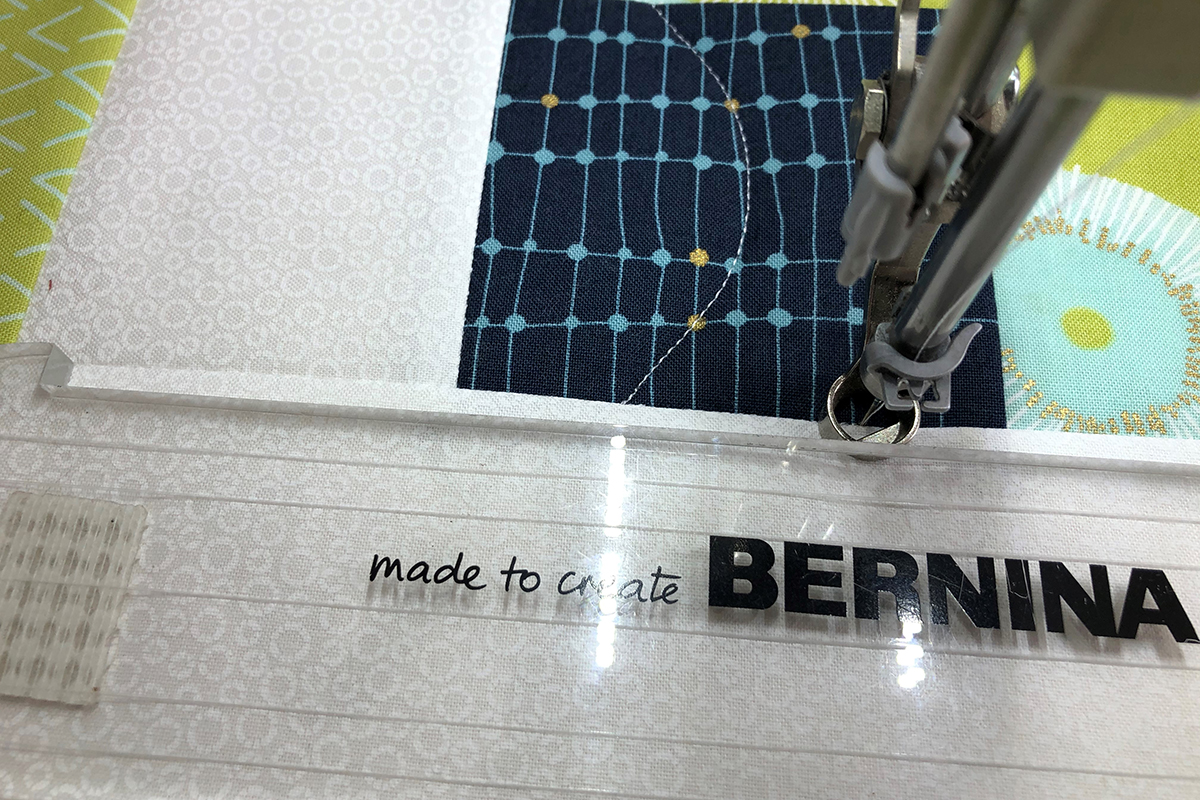
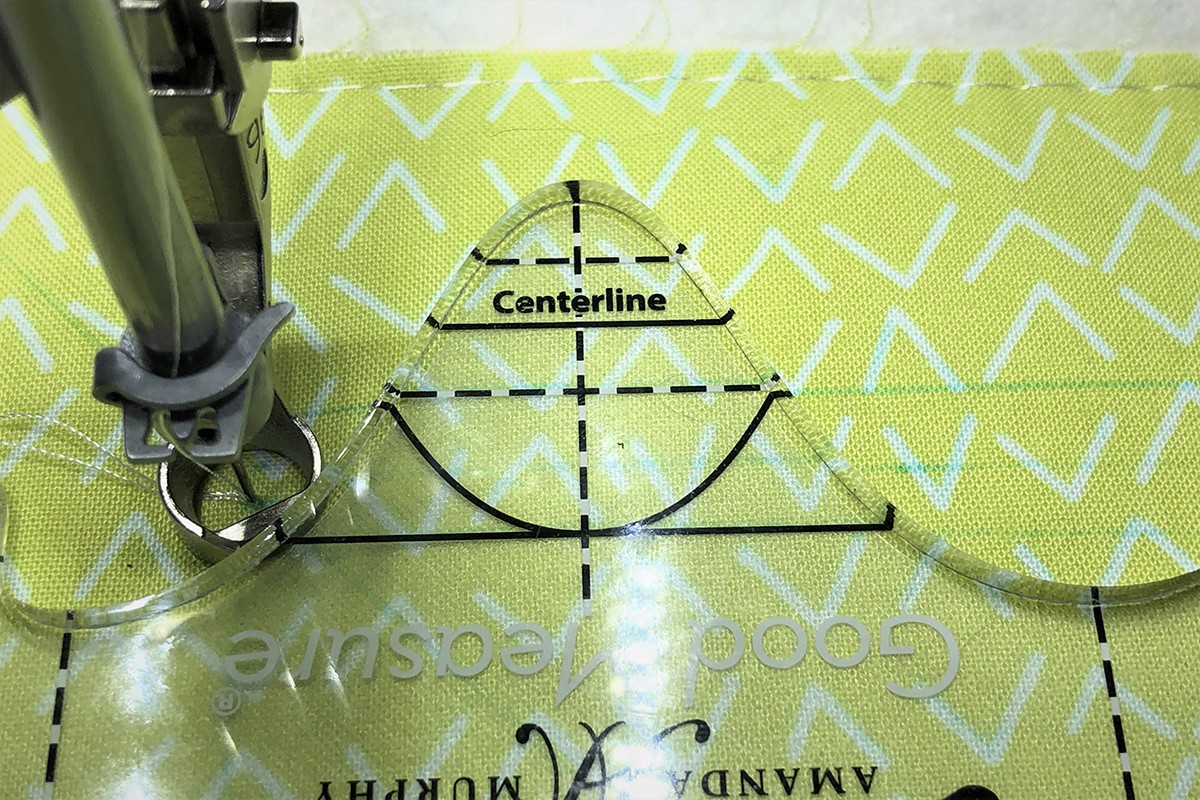
The other two borders are shorter, but still done the same way. From the corner, where the previously stitched design ends, measure in 1 1/2″. Lower the needle at this point on the center line. Position the ruler as shown. You will start with the small inside curve.

Stitch to the end of the row, stopping on the center line with needle down. You should be about 1 1/2″ from the corner.
Turn the ruler around and stitch back to where you started. Repeat in the opposite border.
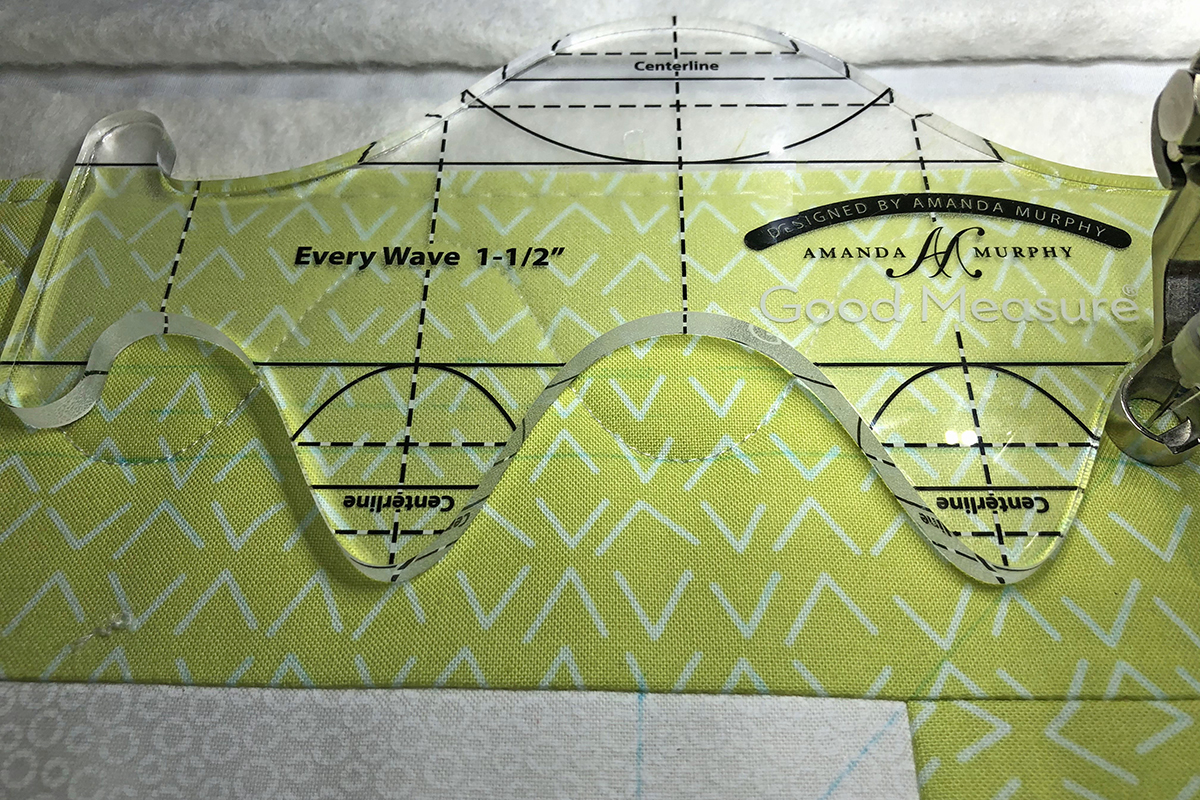
Moving on to the outside border, we will be using the 1 1/2” wave ruler. Mark the outer border with center lines and lines 1/4″ from the center lines as you did for the inside border. Continue the diagonal lines out to the corners of the block. The outer border has two different lengths of borders. We will start with the longer design stitched in the longer border strips without seams.
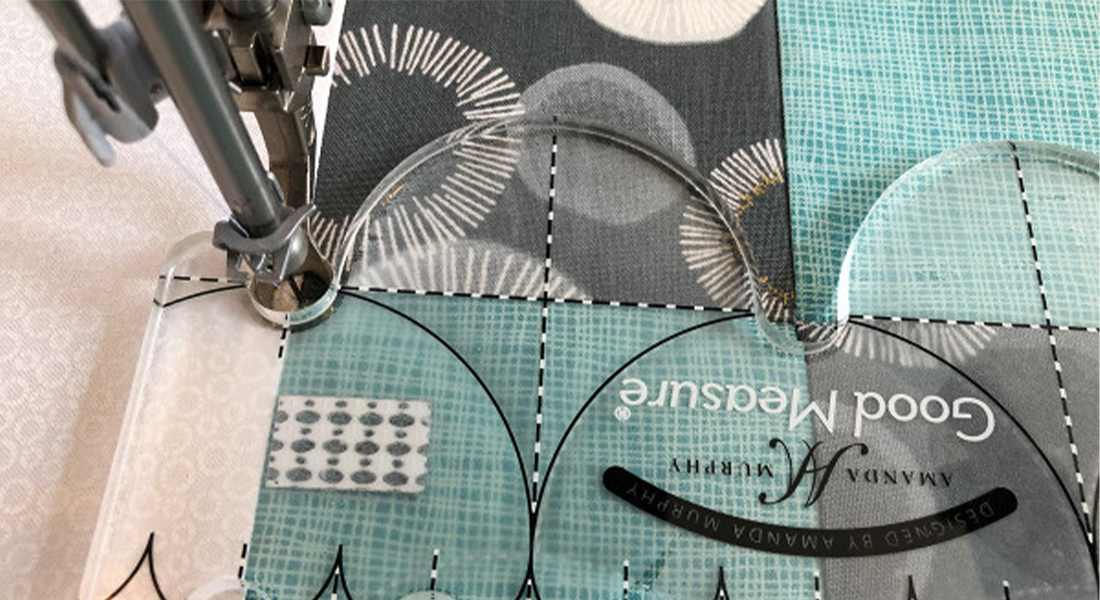
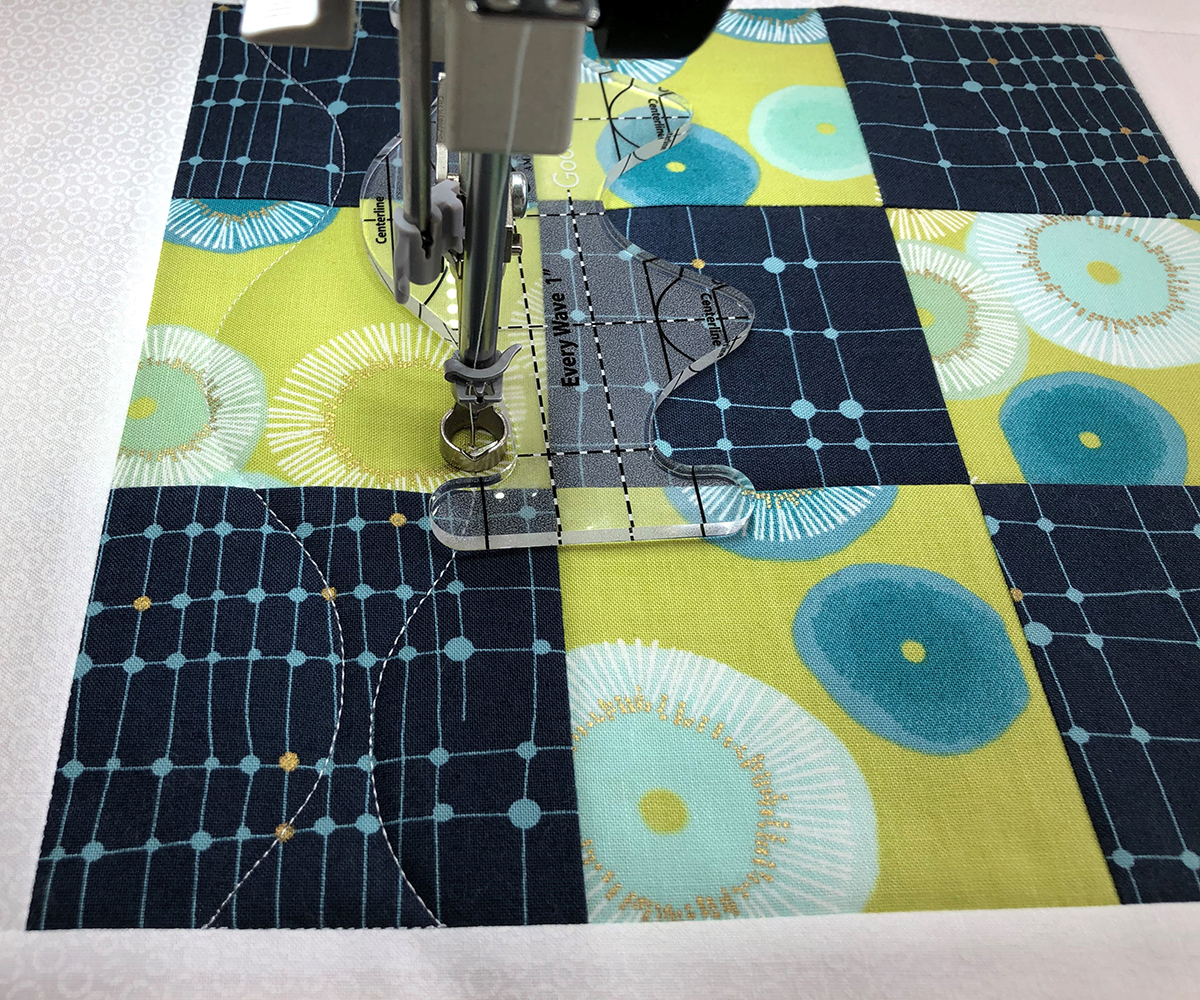
Lower the needle into the corner where lines intersect; lower the foot. Position the 1 1/2″ Wave Ruler with the lines over the marked lines as you see in the photo.
Stitch to the opposite corner stopping on the intersecting lines. Stop with needle and foot down.

Pivot the ruler. Line it up on the marked lines and stitch back to the original corner.
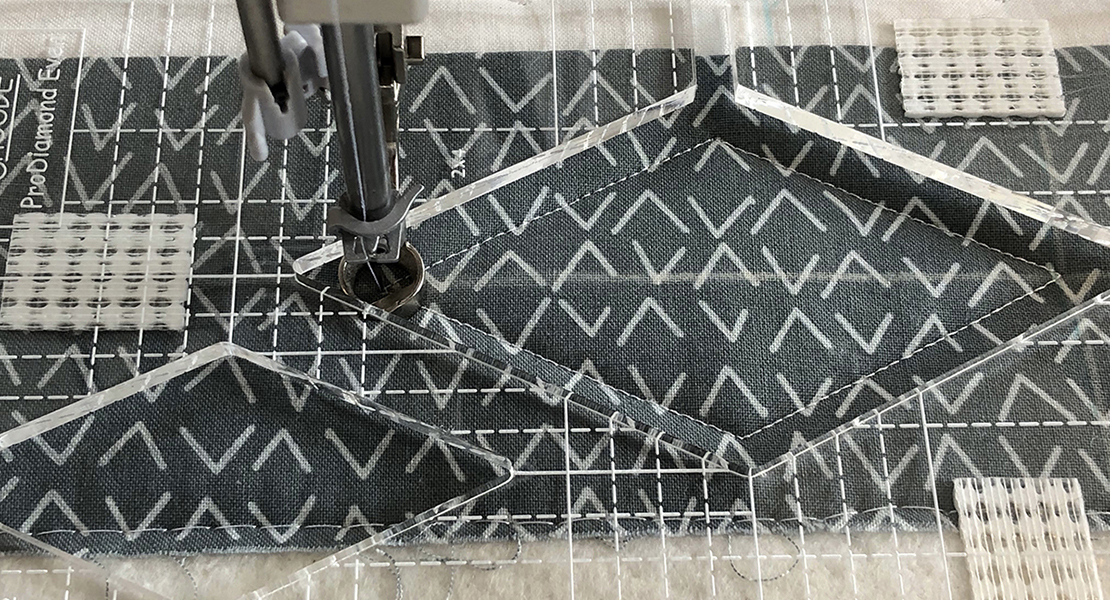
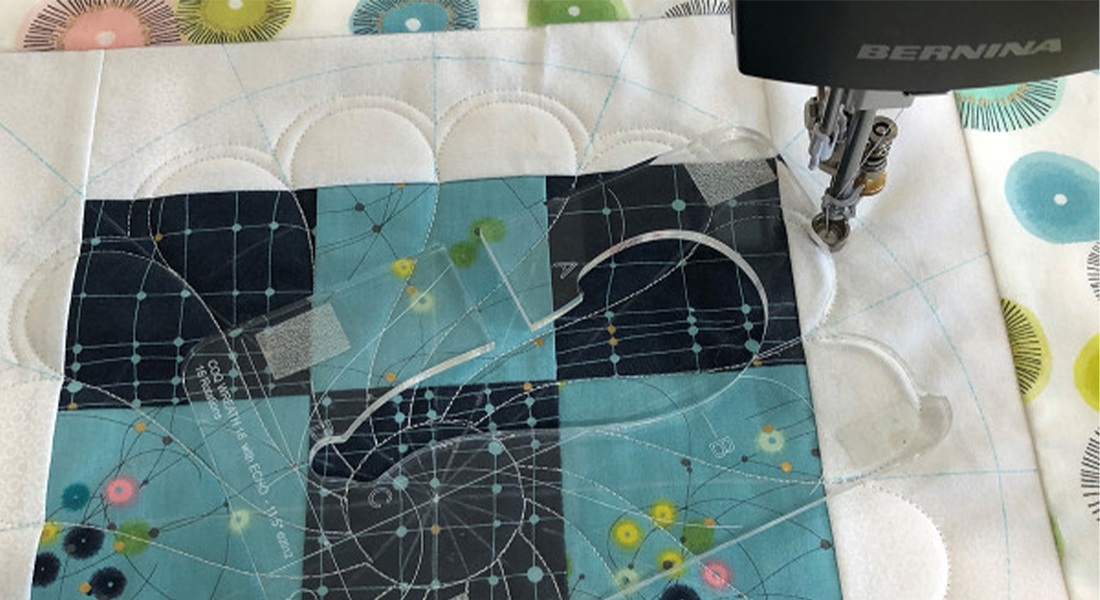
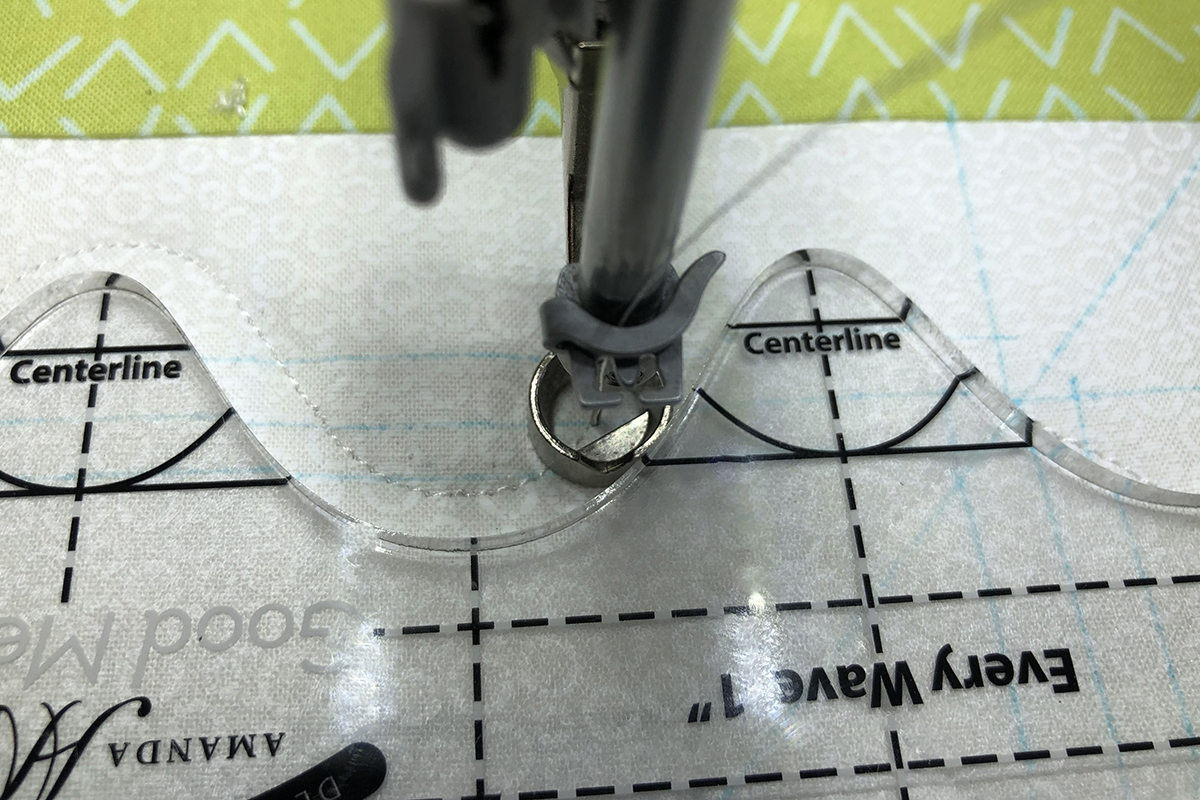
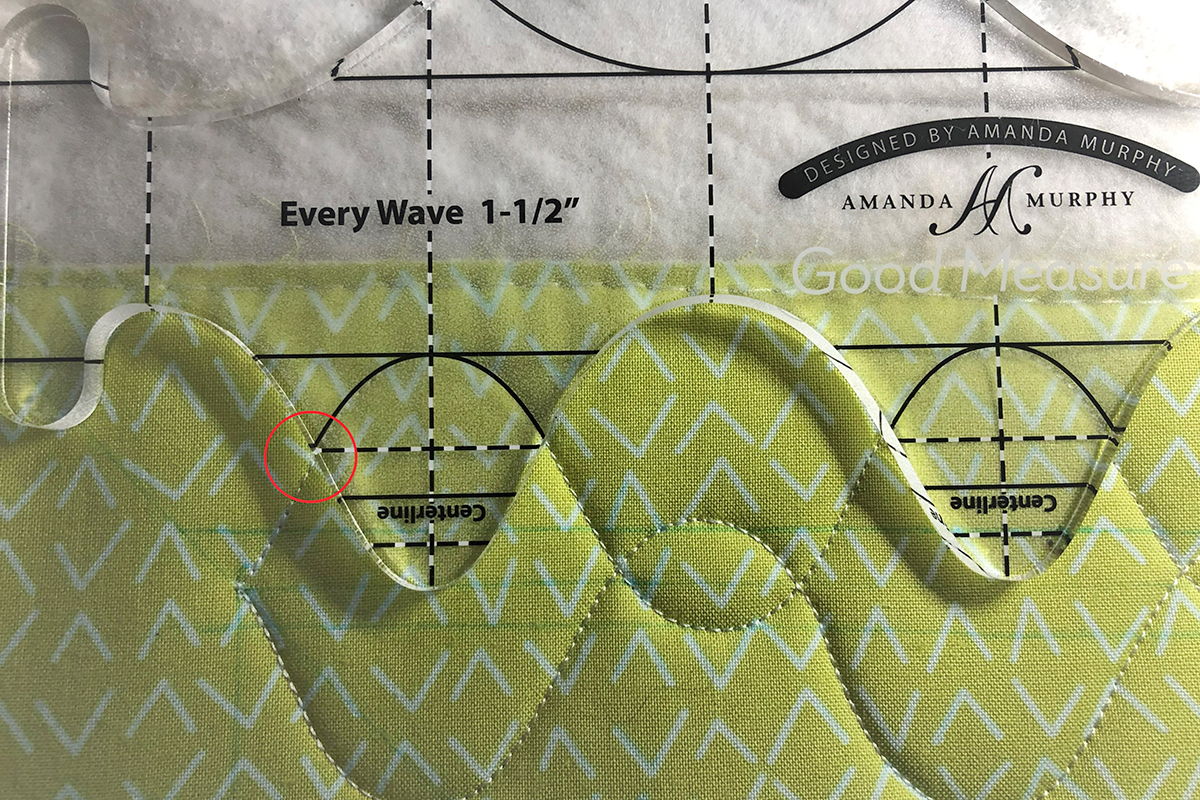
Staying on that same border, you will stitch back and forth again. Lay the ruler over the previously stitched design. Notice the circle in the photo where you will begin stitching. It is more important that you keep the ruler over the previously stitched design, than trying to line it up with any of the marked lines. If you slipped even the teeniest amount with the first stitching, you may have to do some “fudging”.
Stitch across the row until you hit the stitching line of the design on the end. Secure and cut threads.
Go back to the beginning of the row. Turn the ruler around and repeat the previous row.
![]()
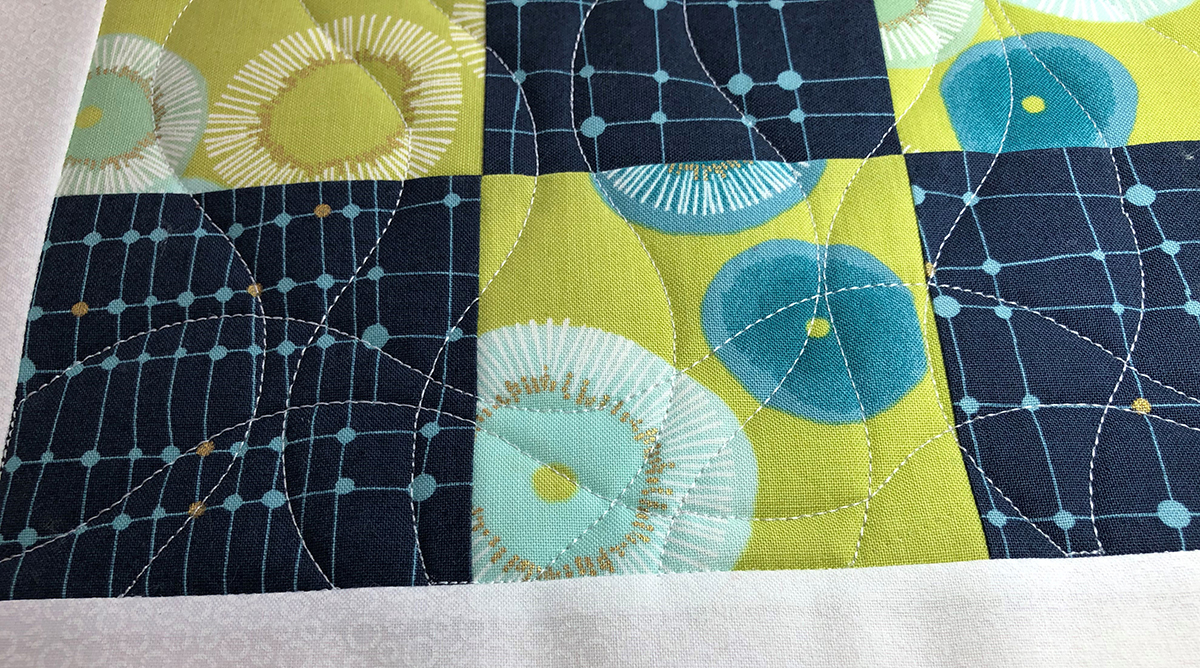
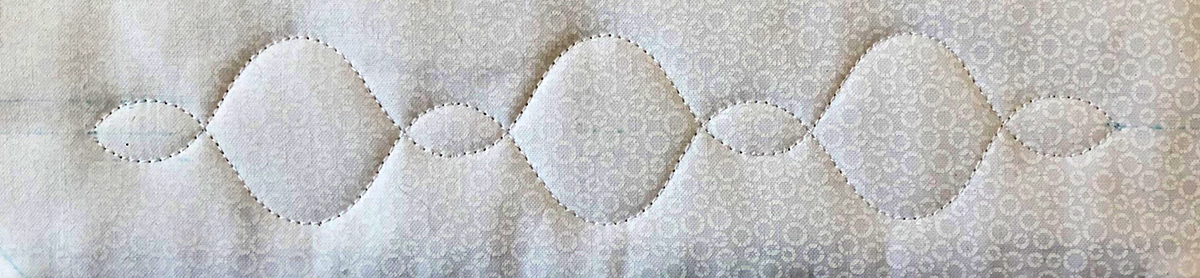
This will finish the longer design. Repeat this in the opposite border.
When creating this border design with the Wave Ruler, I realized that it was not going to work to begin the other two borders at the corners. There was too much overlap. This is where I found that drawing it out on paper using the ruler and the Pattern Wheel was very helpful for placement. That way I could use that drawing by laying it on the block to see what was going to work.
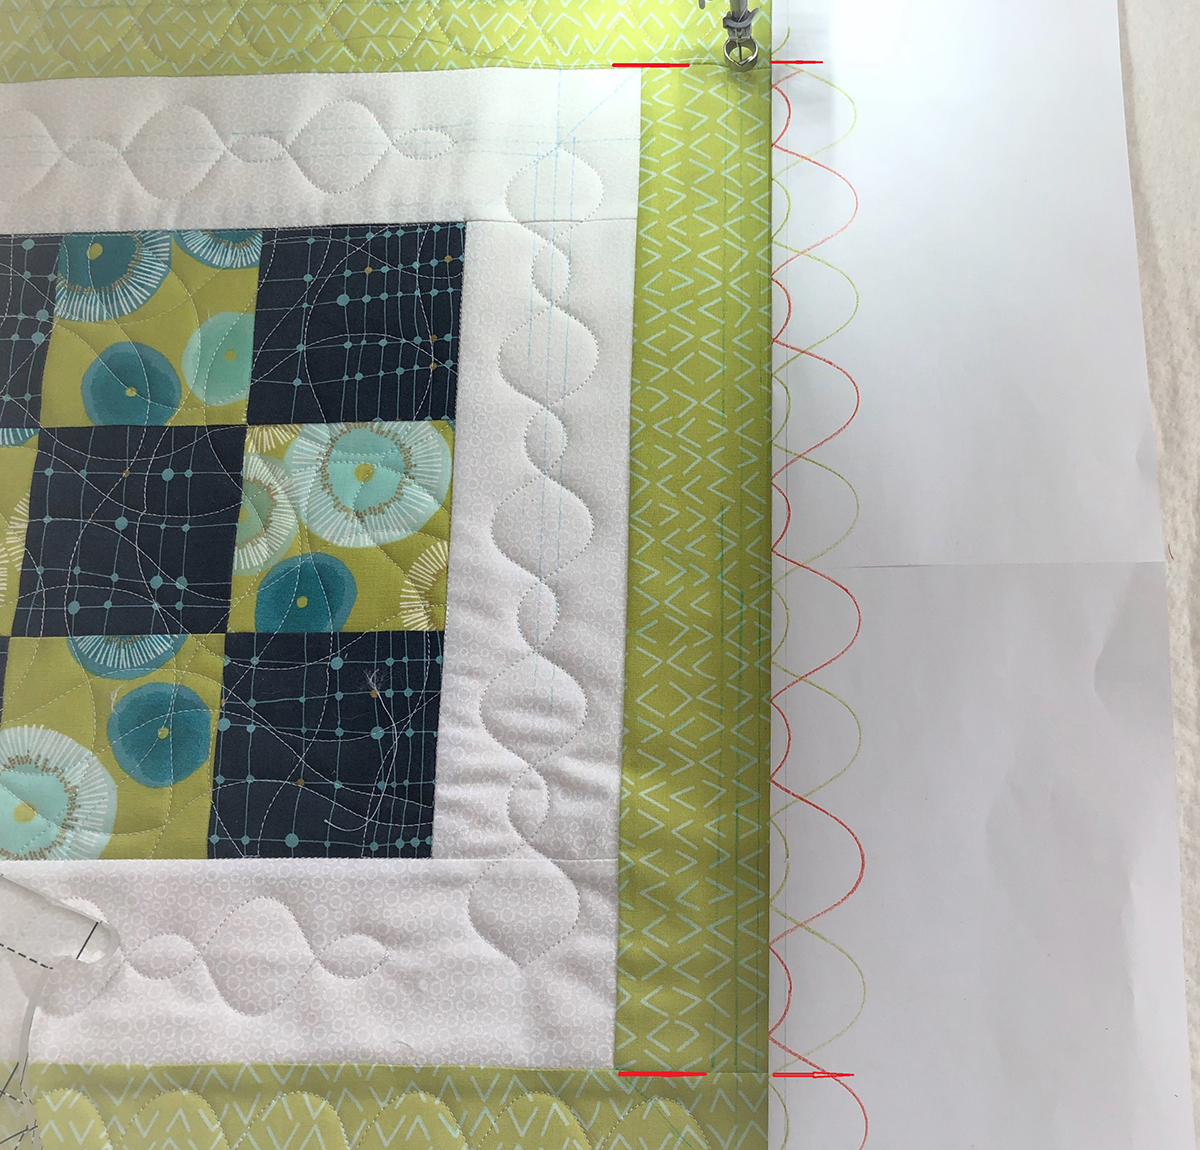
To quilt the remaining 2 borders, you will use a shorter design. As you see in the photo you will be starting at the seam line with the same design you just did and ending at the opposite seam line. The process for the shorter border is the same as the longer one.
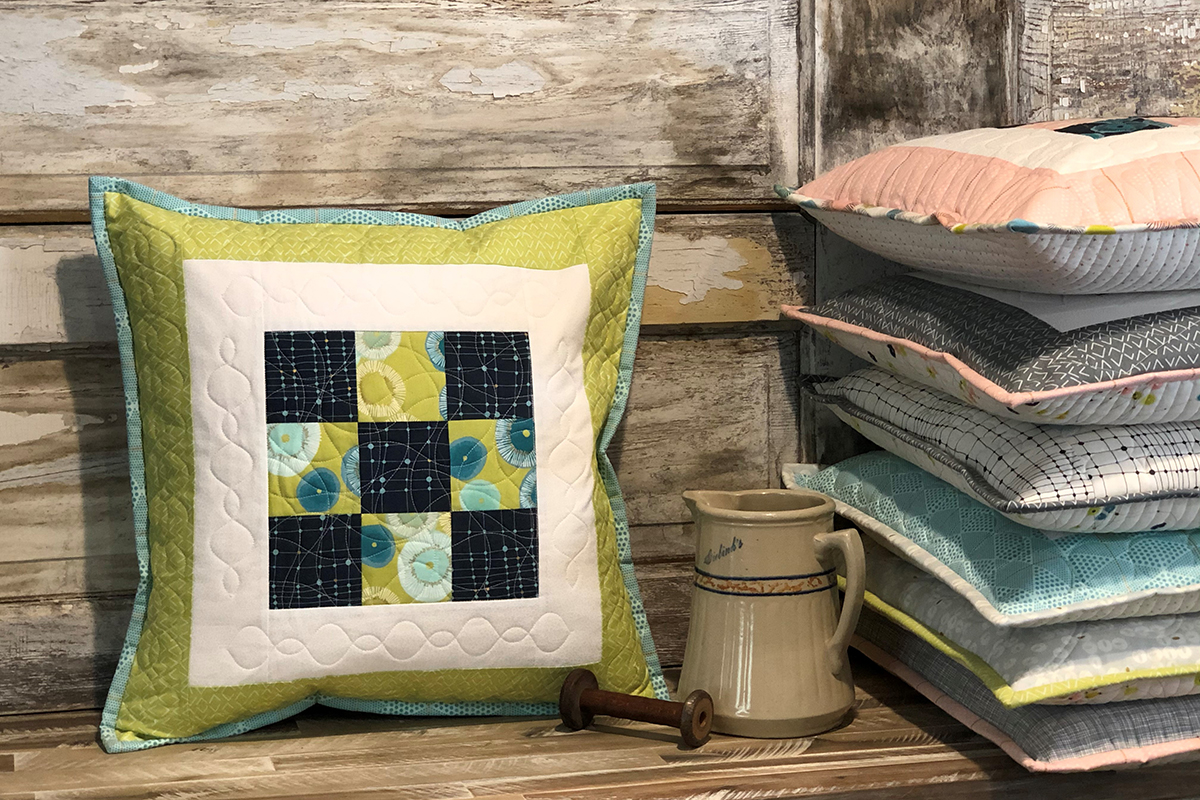
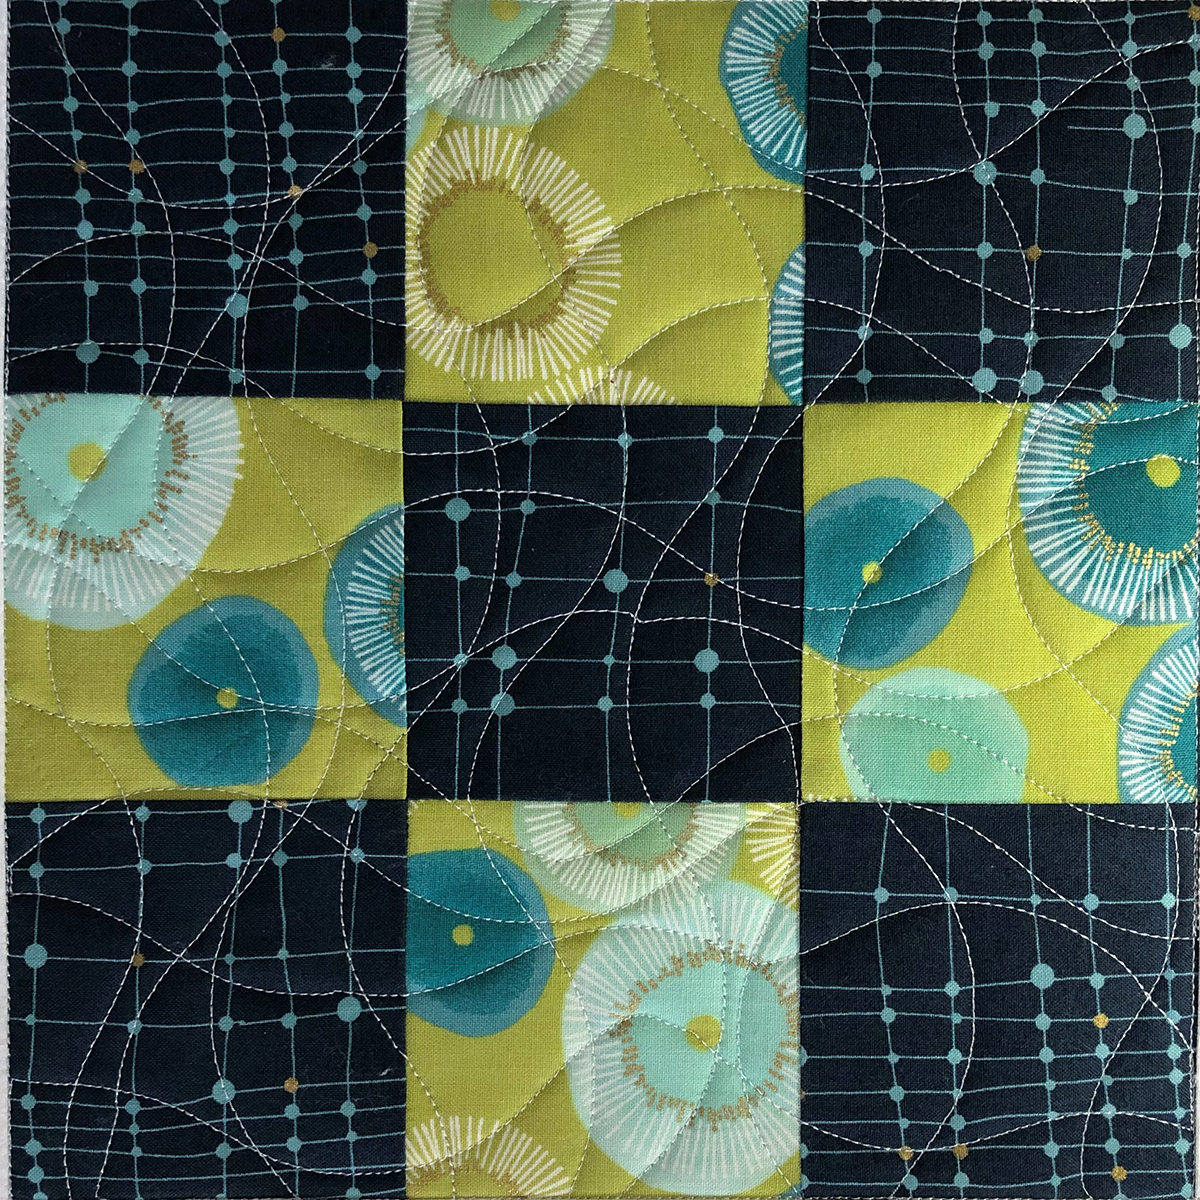
And there you have it! Another finished block.
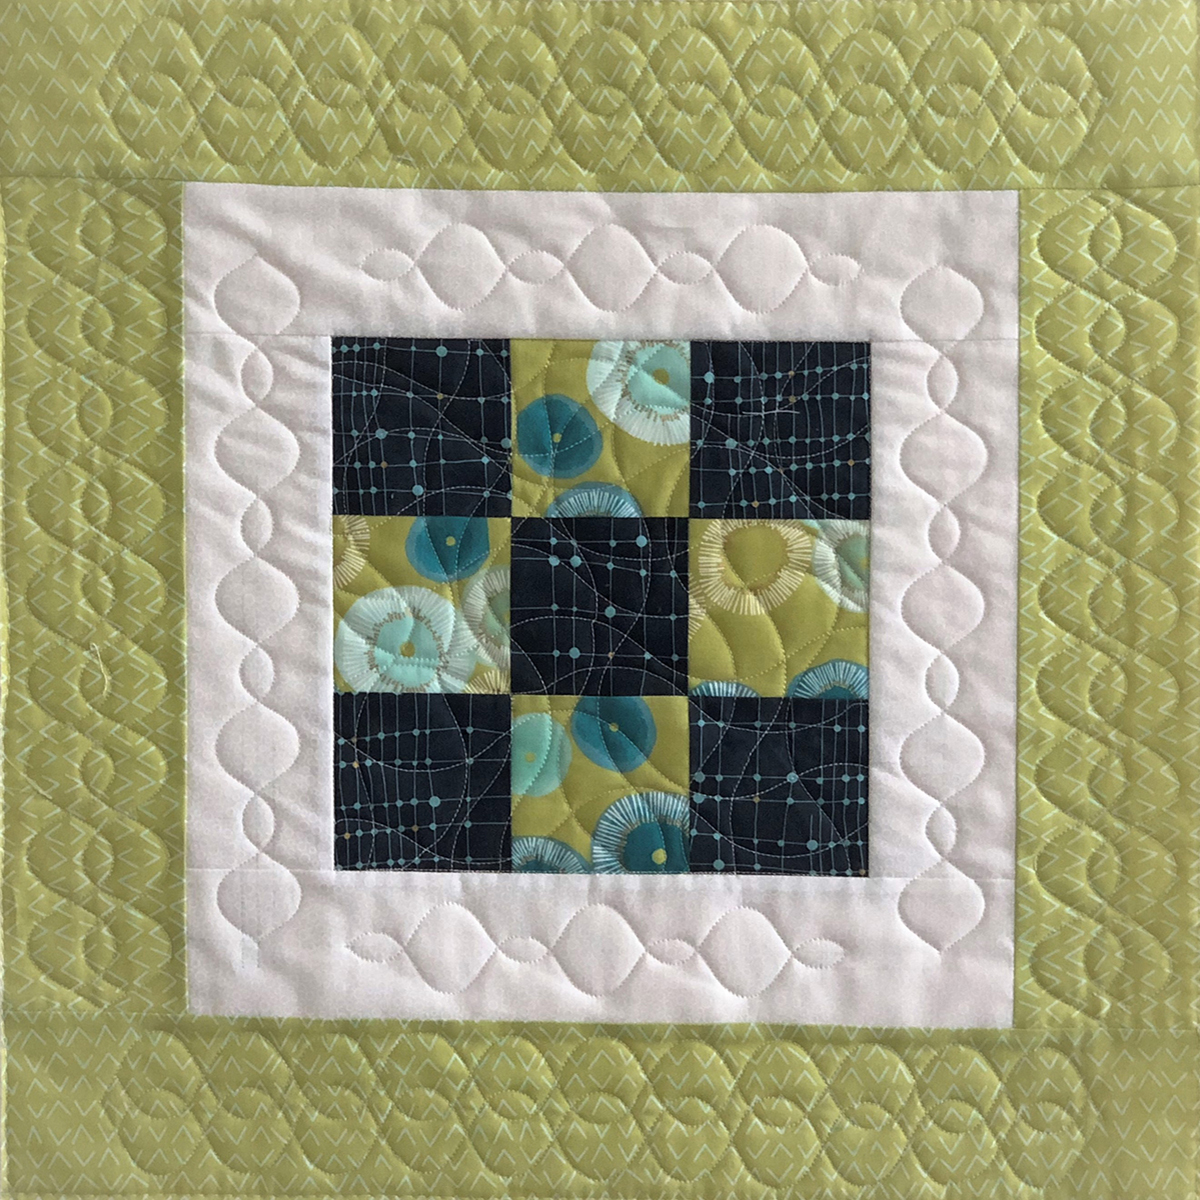
Play with the Wave Ruler as I think you will come up with all sorts of designs!
Next month we will explore doing Feathers with rulers! I will be using Good Measure Amanda Murphy Every Feather Spine Template and Every Feather Template Set.
Rulerwork for Beginner Series
Rulerwork for Beginners, Part 1: Rulers
Rulerwork for Beginners, Part 2: Roadmap
Rulerwork for Beginners, Part 3: Stitching Circles
Rulerwork for Beginners, Part 4: Clamshells