Longarm Quilting for Beginners Part 2: Loading a Frame
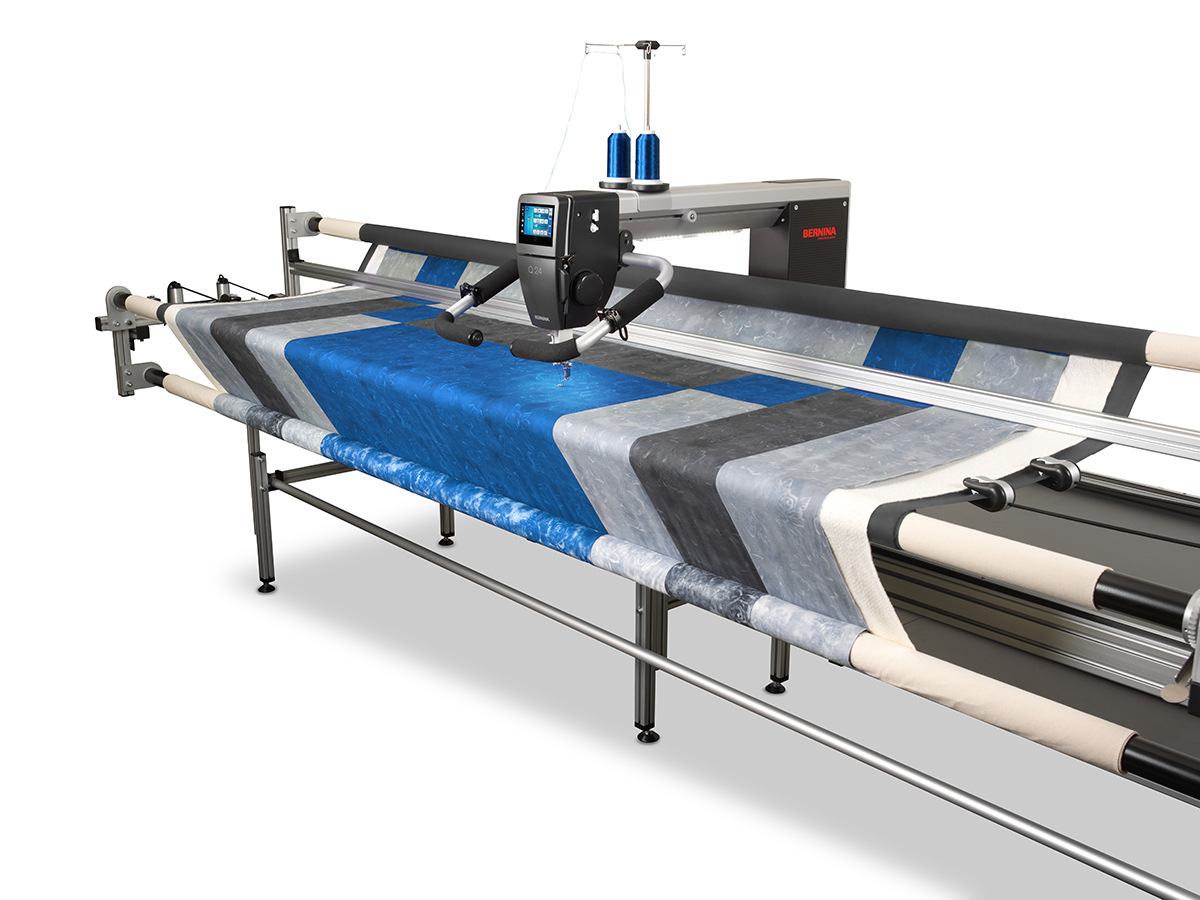
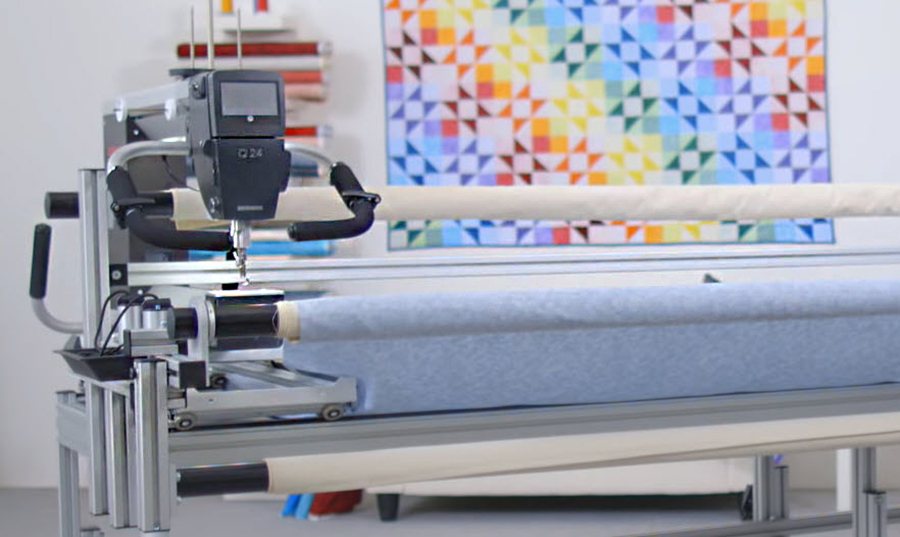
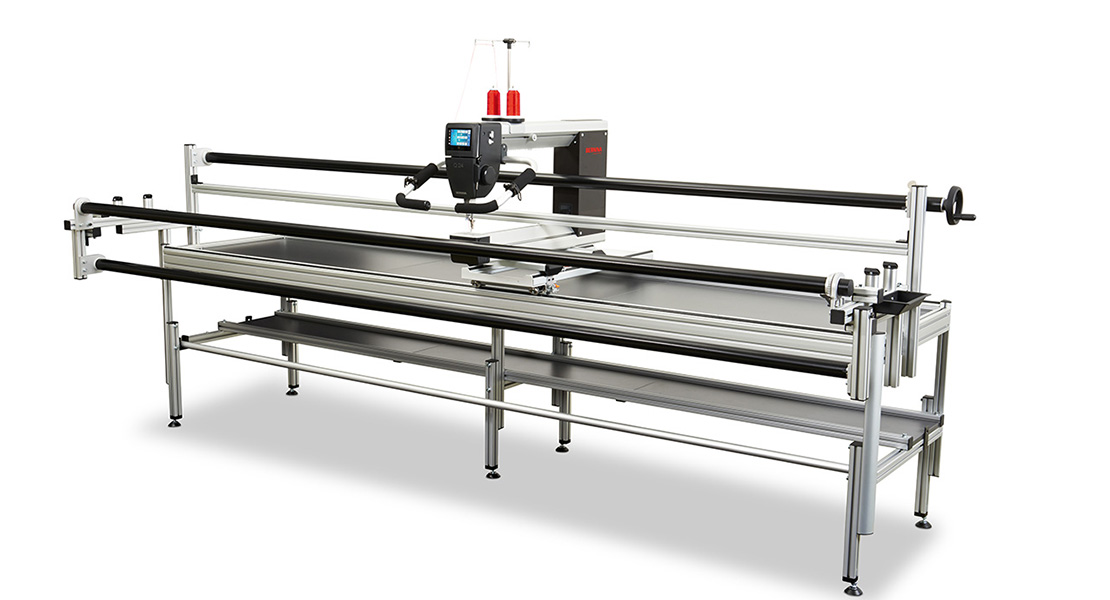
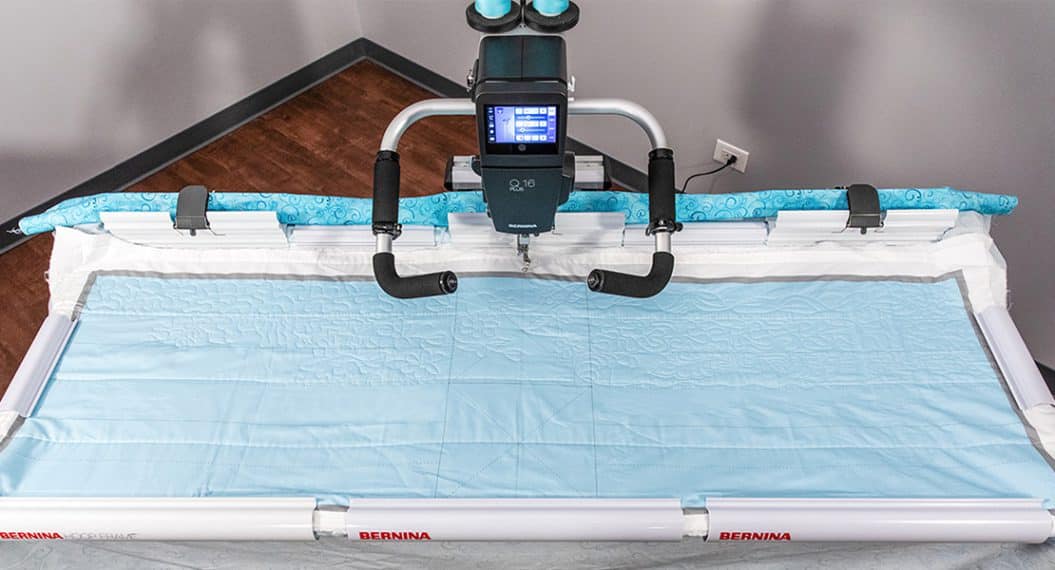
Most longarm frames are very similar in construction. A frame is made up of three rails to hold the quilt before and after it is quilted. They also have legs to hold the rails up off the floor so that it is easy to stand or sit on a tall stool to move the Sewhead on a carriage to quilt. The idea of quilting on a frame and moving the sewhead, not the fabric under the machine head, is more like writing. Think of the Sewhead’s needle as a pencil and the quilt layers as the piece of paper.
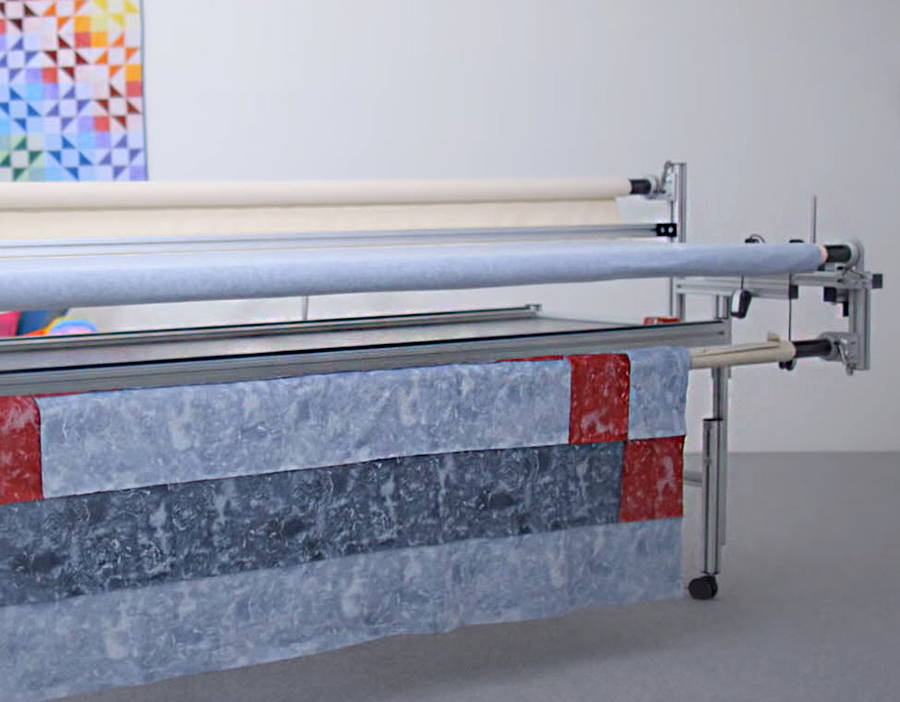
The three rails on the frame (Take-up Rail, Backing Rail, and Top Rail) are very important in keeping the quilt straight and smooth during the quilting process. The three rails all have their own purpose. Each one is equally important in getting a nicely quilted project. Each rail has what is called a leader on it to hold the layers of the quilt on the frame. The BERNINA frame has labeled each rail so it is easy to know which one is for which layer of the quilt.
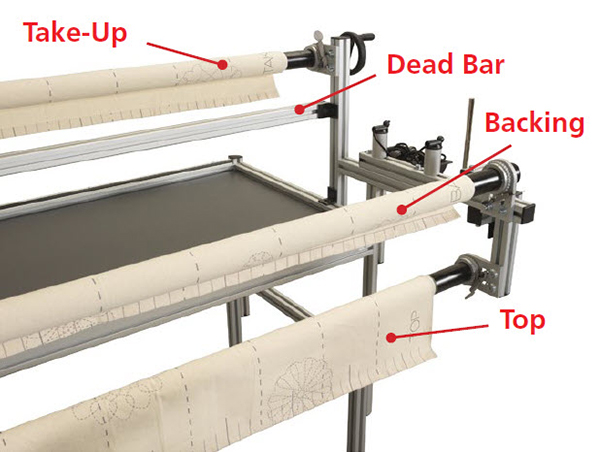
The rail that goes through the neck of the Sewhead is called the Take-up Rail. This rail and leader also hold the layers of the quilt once they have been stitched together. The rail that is right at your waist when standing in front of frame is called the Backing Rail. The quilt backing is attached to this leader first when loading the frame and then is attached to the Take-up Leader. Don’t forget the backing must go under the Dead Bar on the frame. The last, but just as important, rail is called the Top Rail. The leader on this rail is attached to the bottom of the quilt top.
How to Load a Frame For a Longarm Quilting Machine
- Make sure the backing for the quilt is straight and square. It will also need to be at least 3 to 4 inches larger than the quilt top. Park the Sewhead at end of frame.
- Spread the quilt back over the frame just like you will be quilting it, with the wrong side up and pretty side down. If there are seams in the backing, try to make them run parallel to the rail and facing up with the wrong side of fabric. If the seams are perpendicular to the rail they will become thick when rolled up on rail.
- Find the center of the top edge and the bottom edge that will be attached to rail. Mark the center.
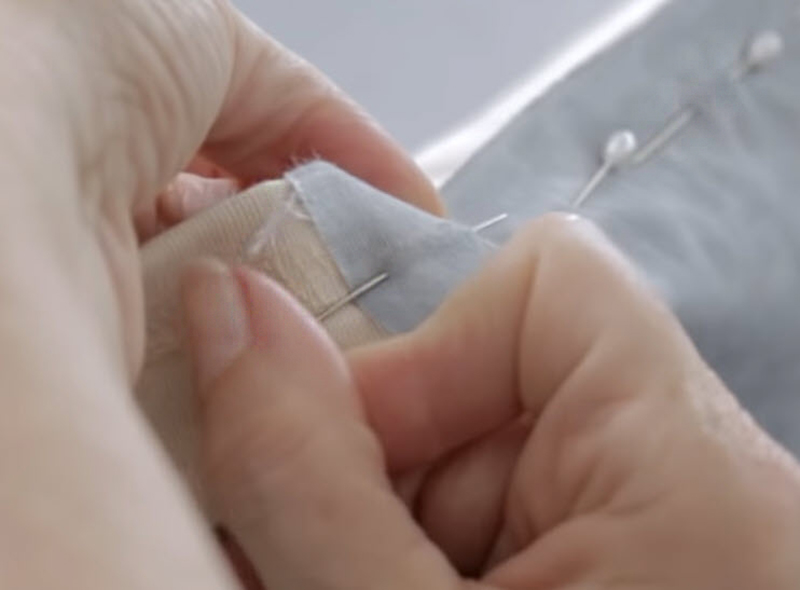
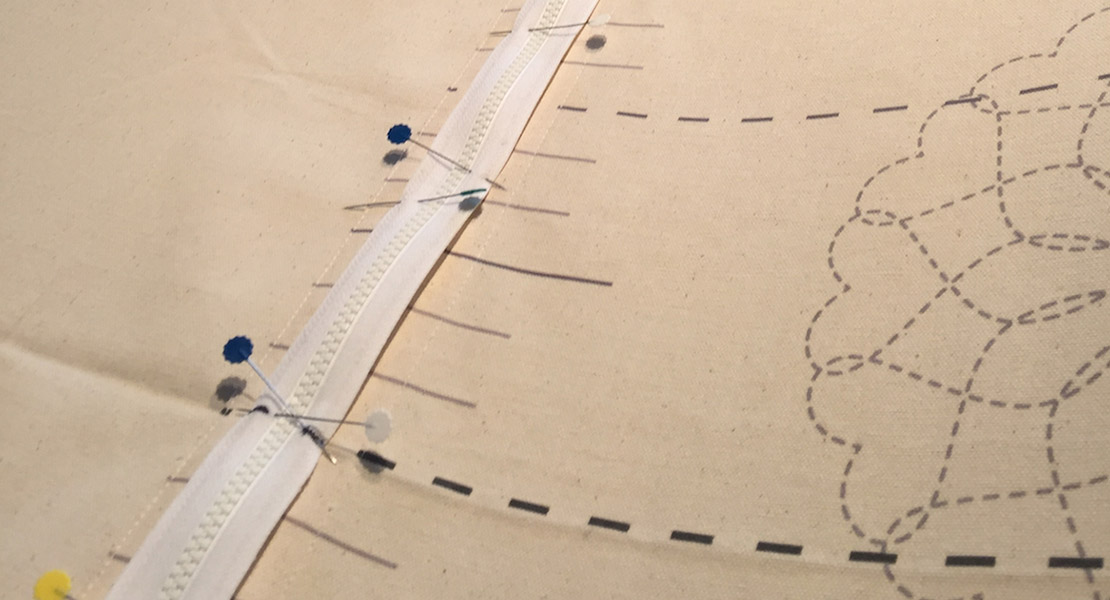
- Starting in the center, pin the backing to the leader using a sturdy pin. The center of the leader is marked with a heavier black line. The pins should run parallel to the hemmed edge of the leader. Pin from center out in each direction making sure not to stretch either the leader or the backing.
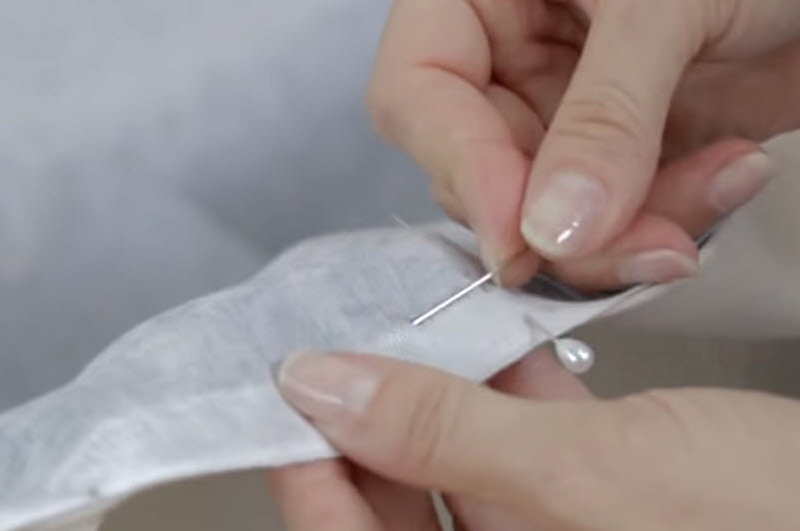
- A great idea is to turn the last pin on the left so that the point is facing inward. This way you will not get your clothes or skin hung on that pin point. Also, if you make sure the pins are nice and straight, they will not stick you when you smooth out the fabric on the rails.
- Roll up backing on the rail making sure it is flat and smooth.
- Pull the backing to the back of frame under the Dead Bar and up to the leader on the Take-up Rail. Pin to the Take-up Leader the same way as you did for the other side. The pins should be close but do not have to overlap. I like to put a pin on each of the dashed lines on the leader and then go back and put a pin on the solid line between. This is the right amount for me.
- Firm up the backing by making sure the ratchets on the rails are locked and turn until the backing looks flat. I like to place the pinned edge to the leader just under and to the back of the Dead Bar.
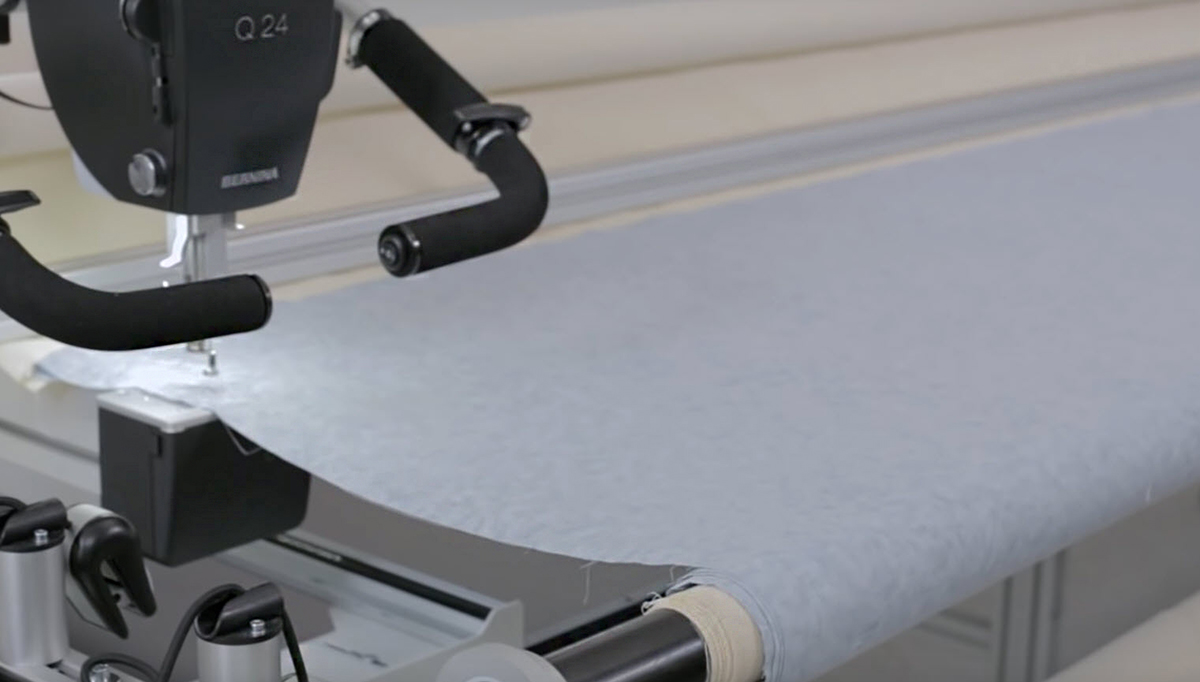
- Now to load the quilt top. Spread the quilt top over the frame just like you want to quilt it with the pretty side up. Make sure and mark the center of the top and bottom that will be pinned to the leaders.

- Starting in the center, pin out in one direction and then in the other. Make sure not to stretch the quilt top or the leader as you pin. Pin the same as you did for the backing.
- Roll up onto the Top Rail making sure it is flat and smooth.
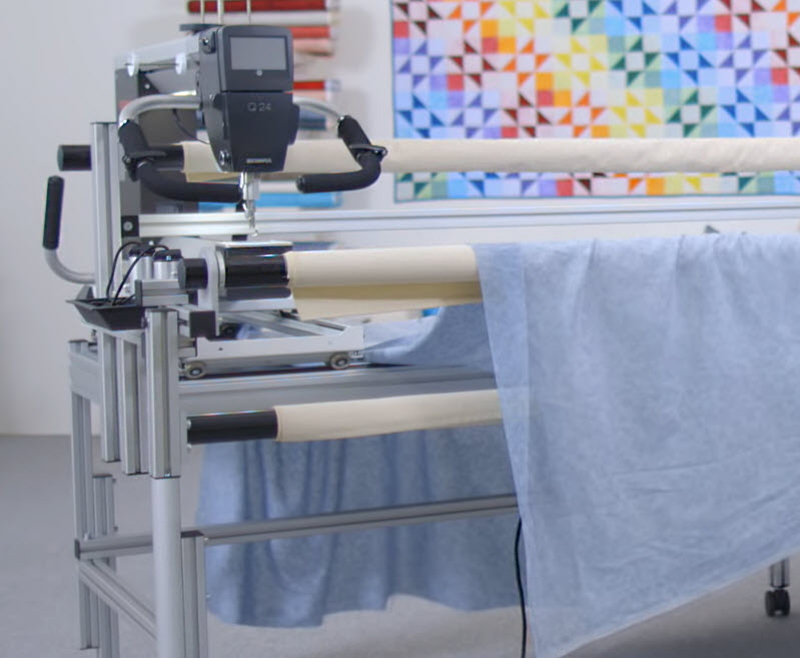
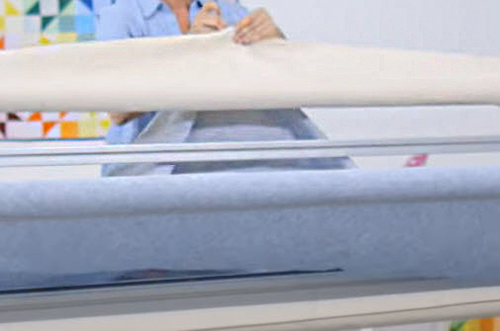
- Place the batting onto the backing and push the rest between the Backing Rail and the Top Rail. Smooth out the batting.
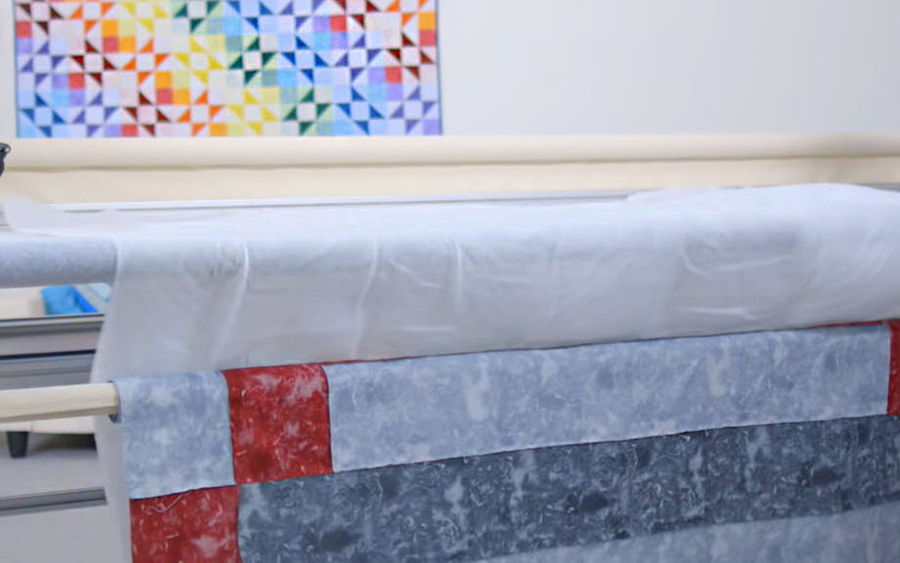
- Unroll the quilt top until you have enough to reach up and over the Backing Rail and close to the Take-up Leader.
- Make sure the quilt top is in the center and smooth.

- Baste the quilt top in place using BSR 3 with 4 SPI (stitches per inch) on the top and the sides. You may want to place a pin or two to hold it in place until you get it stitched.

- You are now ready to quilt.
You also have some options if you just don’t want to pin to the leaders of the rails. There are lots of aids available to help you load a little differently. I feel the way of loading described above is the best way to manage the quilt until you have more experience in loading. With the quilt top attached to the Top Leader, it will help you know for sure where the quilt top is going to lay on the frame, keeping it straight and squared.
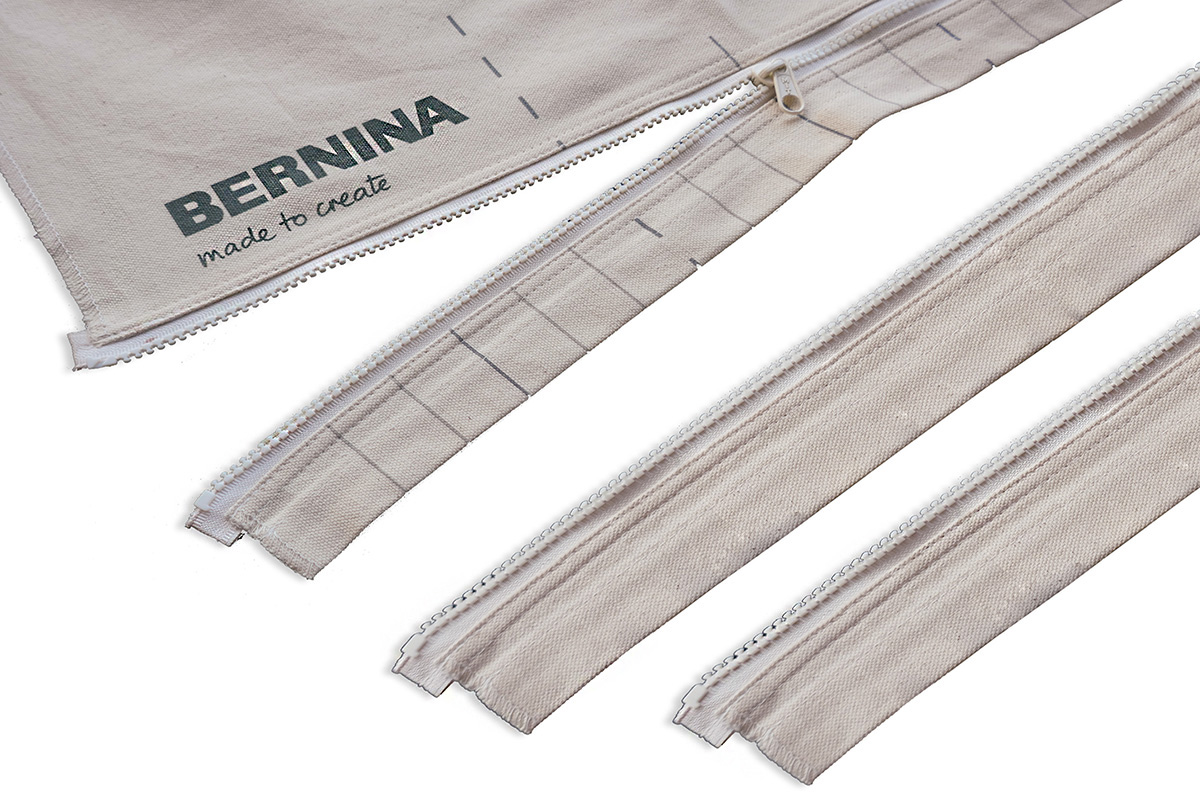
BERNINA has an optional accessory for our frames that you can still load this way, but also have the ability to work on more than one project at a time. They are called Zippered Leaders. They are attached to your frame just as the standard leaders are, but you can zip off a small strip that the quilt layers are attached to in order to easily put another project on the frame. The set of Zippered Leaders comes with two extra zip-on strips for each leader. You could work on three projects at one time if you wanted by zipping one off and zipping another one on. If the pinning is not what you want to do, you could take the zip-on strip to your sewing machine and baste the quilt top and backing to it.
Tips for Working on a Longarm Quilting Frame
- Make sure all three leaders are installed straight and centered. All three center lines on the leaders should line up.
- You can create a straight line of basting across the top of your backing and batting to help you get your quilt top straight on the frame. Just place the sewhead where you want the line to be and lock the optional channel lock on the carriage to keep the Sewhead from moving from front to back. Guide the machine across the frame using BSR 3 (the basting mode), and stitch a line going from one side to the other.
- The Side Clamps come with the frame. These clamps, attached to the sides of your backing and batting, will help keep the backing flat so that you do not get tucks or pleats in the backing while quilting. As you know, quilting will shrink up a little of the quilt, so using the clamps will help to minimize this shrinking. However, it will not totally eliminate shrinkage, as that is just a natural part of quilting.
- Make sure to always load the quilt in the center of the frame. This is still true even if you are working on a very small quilt.
- When you load your quilt backing, sometimes there is a saggy spot on the fabric on the frame. To get rid of this sag, you can roll all of your backing onto the Take-up Rail before you load the other parts of the quilt, giving a little tension on the Backing Rail as you roll it up. Now lock the Backing Rail, unlock the Take-up Rail and roll the backing back to the Backing rail with a little tension on the Take-up Rail. I just hold my hand on the rail that the fabric is coming off of to add just a little tension. The sag should be gone now. Make sure both rails are now locked.
- The extra 3 to 4 inches of backing on all four sides is not only to use to clamp on and to pin on, but it is also used to test your stitch before you start on your quilt. It is a good idea to test your stitching anytime you change threads, change bobbins or rethread for any reason. We are all human and make mistakes sometimes. So check the stitching before you start back.
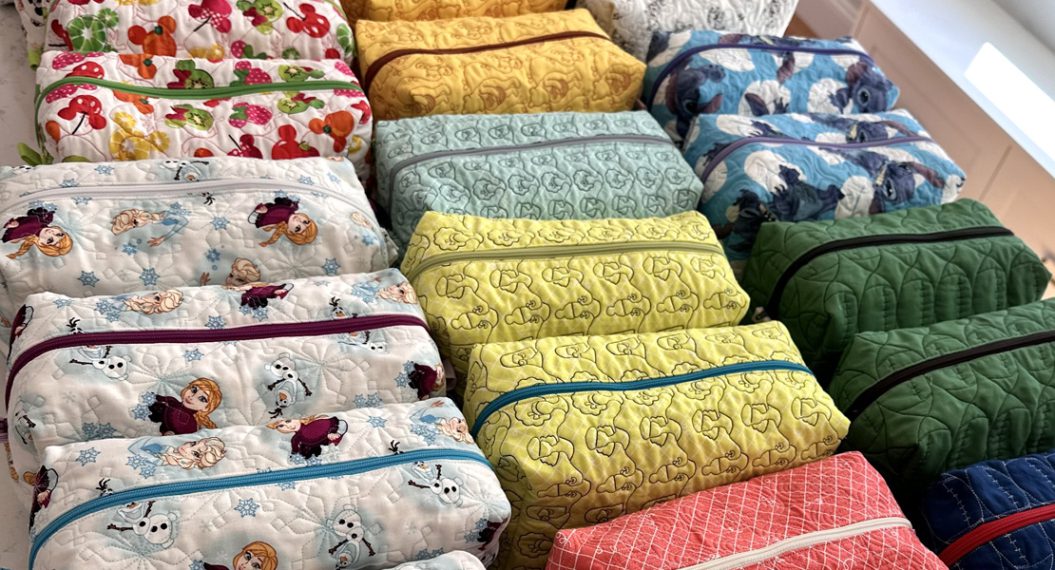
- If you would like to work on multiple small projects on the frame at one time, the best way to do that is to load one backing for all of the smaller projects. You can then place four placemats or other small projects across the frame all on one piece of backing.
BERNINA Logarm Quilting for Beginners Series
Used Products

What you might also like


6 comments on “Longarm Quilting for Beginners Part 2: Loading a Frame”
-
-
Hi, so sorry this happened but if you have not started quilting yet you can turn the quilt to go side ways on the frame. If you have started quilting you could tighten just the seam on the backing rail to get it as flat as you can. It will get better the more you quilt. The other thing you could try and I don’t normally ever suggest that you flow the top but you could unload the backing and top. Put the backing on the quilt top rail and just float the top. If you do this be very careful about keeping your quilt top straight on the frame.
I hope this helps you and Happy Quilting,
Denise
-
-
A couple of questions. Can you please do a follow up post showing a fully floated quilt top on a Bernina frame? I currently own an APQS Millennium and I’m feeling frustrated with the frame design — the quilt top roller on the APQS frame site above the backing roller, above the surface of the quilt, so I have to reach over that roller awkwardly to use rulers, etc. even if I have fully floated my top. What’s more, even with that roller removed, I have a “dead zone” on my APQS frame of 6″ from the backing bar at my tummy to the farthest point that my needle can quilt before the throat of the machine hits the pickup roller. Not only do I have to remember where that invisible “brick wall” is, but I also am reaching farther away from my body due to the frame design, which isn’t ideal for visibility or for ergonomics. Can you tell me how much of a “dead zone” there is at the front of the Bernina Q24 on the frame — the distance from the needle to the back of the backing bar when the machine is moved as far to the front of the machine as it can quilt? I would also like to see how easy or difficult it is to access the batting layer(s) to ensure they remain smooth throughout quilting, as you advance the quilt. I am seriously considering selling my APQS so I can buy a Bernina… 🙂
-
Hi, to fully float a top on the BERNINA frame you would just not load the quilt top onto the Quilt Top rail. I personally always use all three rails and leaders to load any quilt I do.You could use some kind of clamp that goes over the rail if needed but there is nothing to get in the way when doing ruler work.
I did check the space from the needle to the inside edge of the backing rail and it is 2 inches. If I have the ruler base on the machine for ruler work the space from needle to inside of rail is 4 inches.
To access the batting when you have a quilt loaded is just a simple raise of the quilt top rail. You would reach down in the center of the rail and raise it up until the ratchet releases on the pole mounted on the right end of the frame. You can then make any adjustments to the batting needed. There is a tutorial on the BERNINA site that shows how to load a frame and it shows raising up the rail to check the bobbin. I would move the machine down the frame to the end to check bobbin but it is great for checking the batting. Copy and paste the link: https://www.bernina.com/en-US/Longarm-Quilting-US/BERNINA-Q-20-Q-24-on-Frame#!tutorials
I hope this information has helped. Thank you for checking with us on these things.
Denise
-
-
The leaders on my machine sag on the ends. They were installed by the store I purchased my machine. If I am quilting something smaller it doesn’t seem to affect it much but I tried to do a king size and it is a problem. How do fix this issue?
-
Hi,
You will want to unroll the leader all the way on the rail. Check to see if there is a difference or it is not straight. If it looks straight take a look at the leader. Check to see if it is straight. An easy way to do this is to see if it is square on both corners that are attached to the rail. If one of these trouble shoot ideas are what is causing the sag then remove the leader from the rail trying to leave the tape on the rail. Then straighten what is not correct. If for some reason the tape does not stay or will not work anymore, it is carpet tape the can be purchased at the home supply store. Also check to make sure the leader is rolled on the rail tight. This sometime can cause sag.
Hope this helps you.
Thanks,
Denise
-
Leave a Reply
You must be logged in to post a comment.

Well, I never realized I had to piece my back horizontally to quilt on a long arm machine. I have already pieced my back vertically and discovered in my own that this creates a problem on the back rail. Is there any work around with this problem? Please help!